• Home
  • Help Guides
    • Storage Sites
    • Equipment Reviews
  • Document Library
    • Electrical Drawings
  • Photo Gallery
    • Caravan Log
    • MPG
  • Trip Map
  • Shop
  • About Caravan Chronicles…
  • Contact
  • Links

Caravan Chronicles

~ not just another caravan blog

Caravan Chronicles

Tag Archives: Towing

A Few More Jobs Ticked Off The List…

01 Wednesday May 2024

Posted by Simon Barlow in 5th Wheel, Blog updates, Donkey Creek Farm, Events, General, Mini Break, Projects, The Old Oaks

≈ 2 Comments

Tags

blog, Camping, Caravan, Caravanning, Caravans, Touring, Towing, travel

Like any project, ticking the small stuff off a list is the way to move forward even if it seems like sometimes you have ground to a halt. A bit lacking on photos…. I’m temporarily unsure of their location… pilot speak for I’ve lost them! I’ll correct that in due course.

I built a new aluminium frame for the water pump and moved the pump from the original mounting position which caused a lot of noise when running, especially in the bathroom…. as we have a direct tank flush not a holding tank, this was particularly annoying if the loo was flushed at night. So now the water pump is mounted on its isolation feet on an isolated aluminium frame bolted directly to the sub-floor in one of the lockers. I also changed the piping from the pump from solid to flexible connections further reducing noise transmission through the pipes. My next step… some time this week is to install a larger one litre accumulator tank between the pump and plumbing to reduce the cycle times of the pump. Thankfully the plumbing system installed in the 5th wheel is rated for a greater pressure than most caravans and motorhomes… that’s what gives us a great shower!! so I’ll be able to match the accumulator pressure with the pump pressure to get the best out of them.

The other little upgrade was to move the grey water and fresh water dump outlets closer to the side of the caravan. They used to be set back about eight inches and required a kneeling mat and one arm dexterity to plug in the flexible waste pipes when on a fully serviced pitch. Now it’s a simple matter of bending over and I can easily access both outlets for connecting pipes…. saving the knees a bit of hard labour at my age is key. Also if dumping at a motorhome service point I can easily see if I’m in the correct position for a clean dump and not going to splash all over the place. As the Hanks say… “Let ‘er rip”

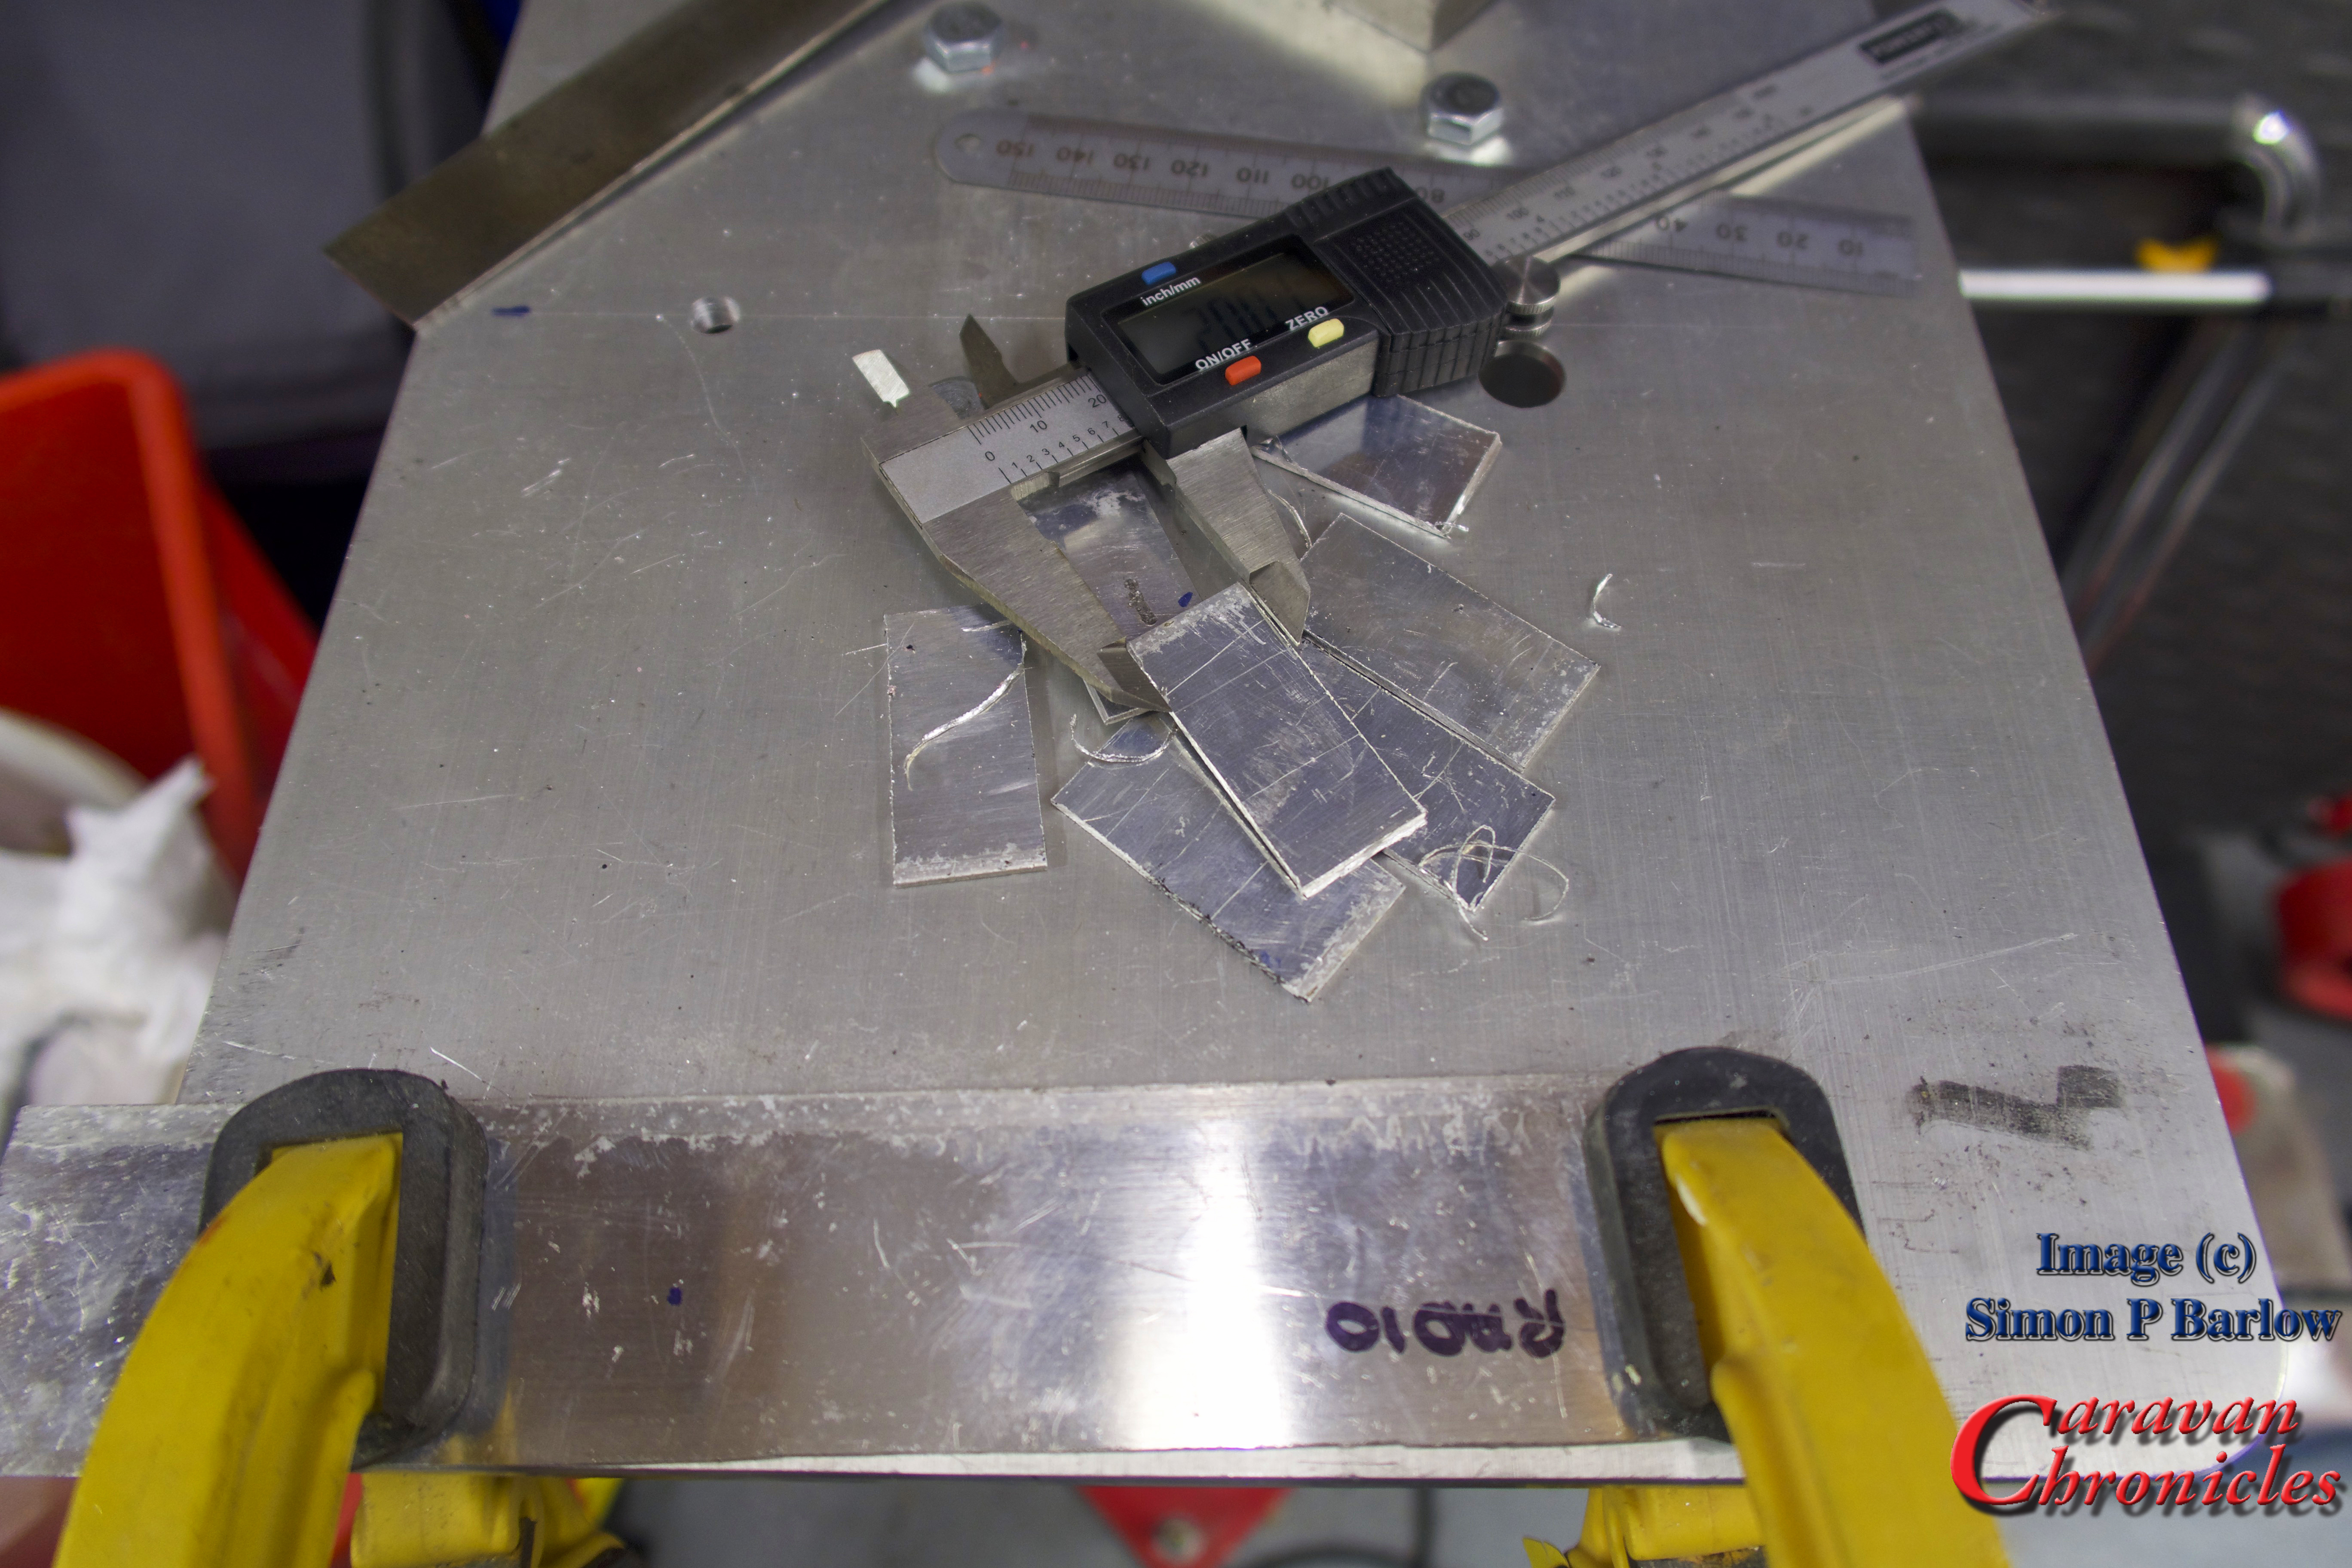
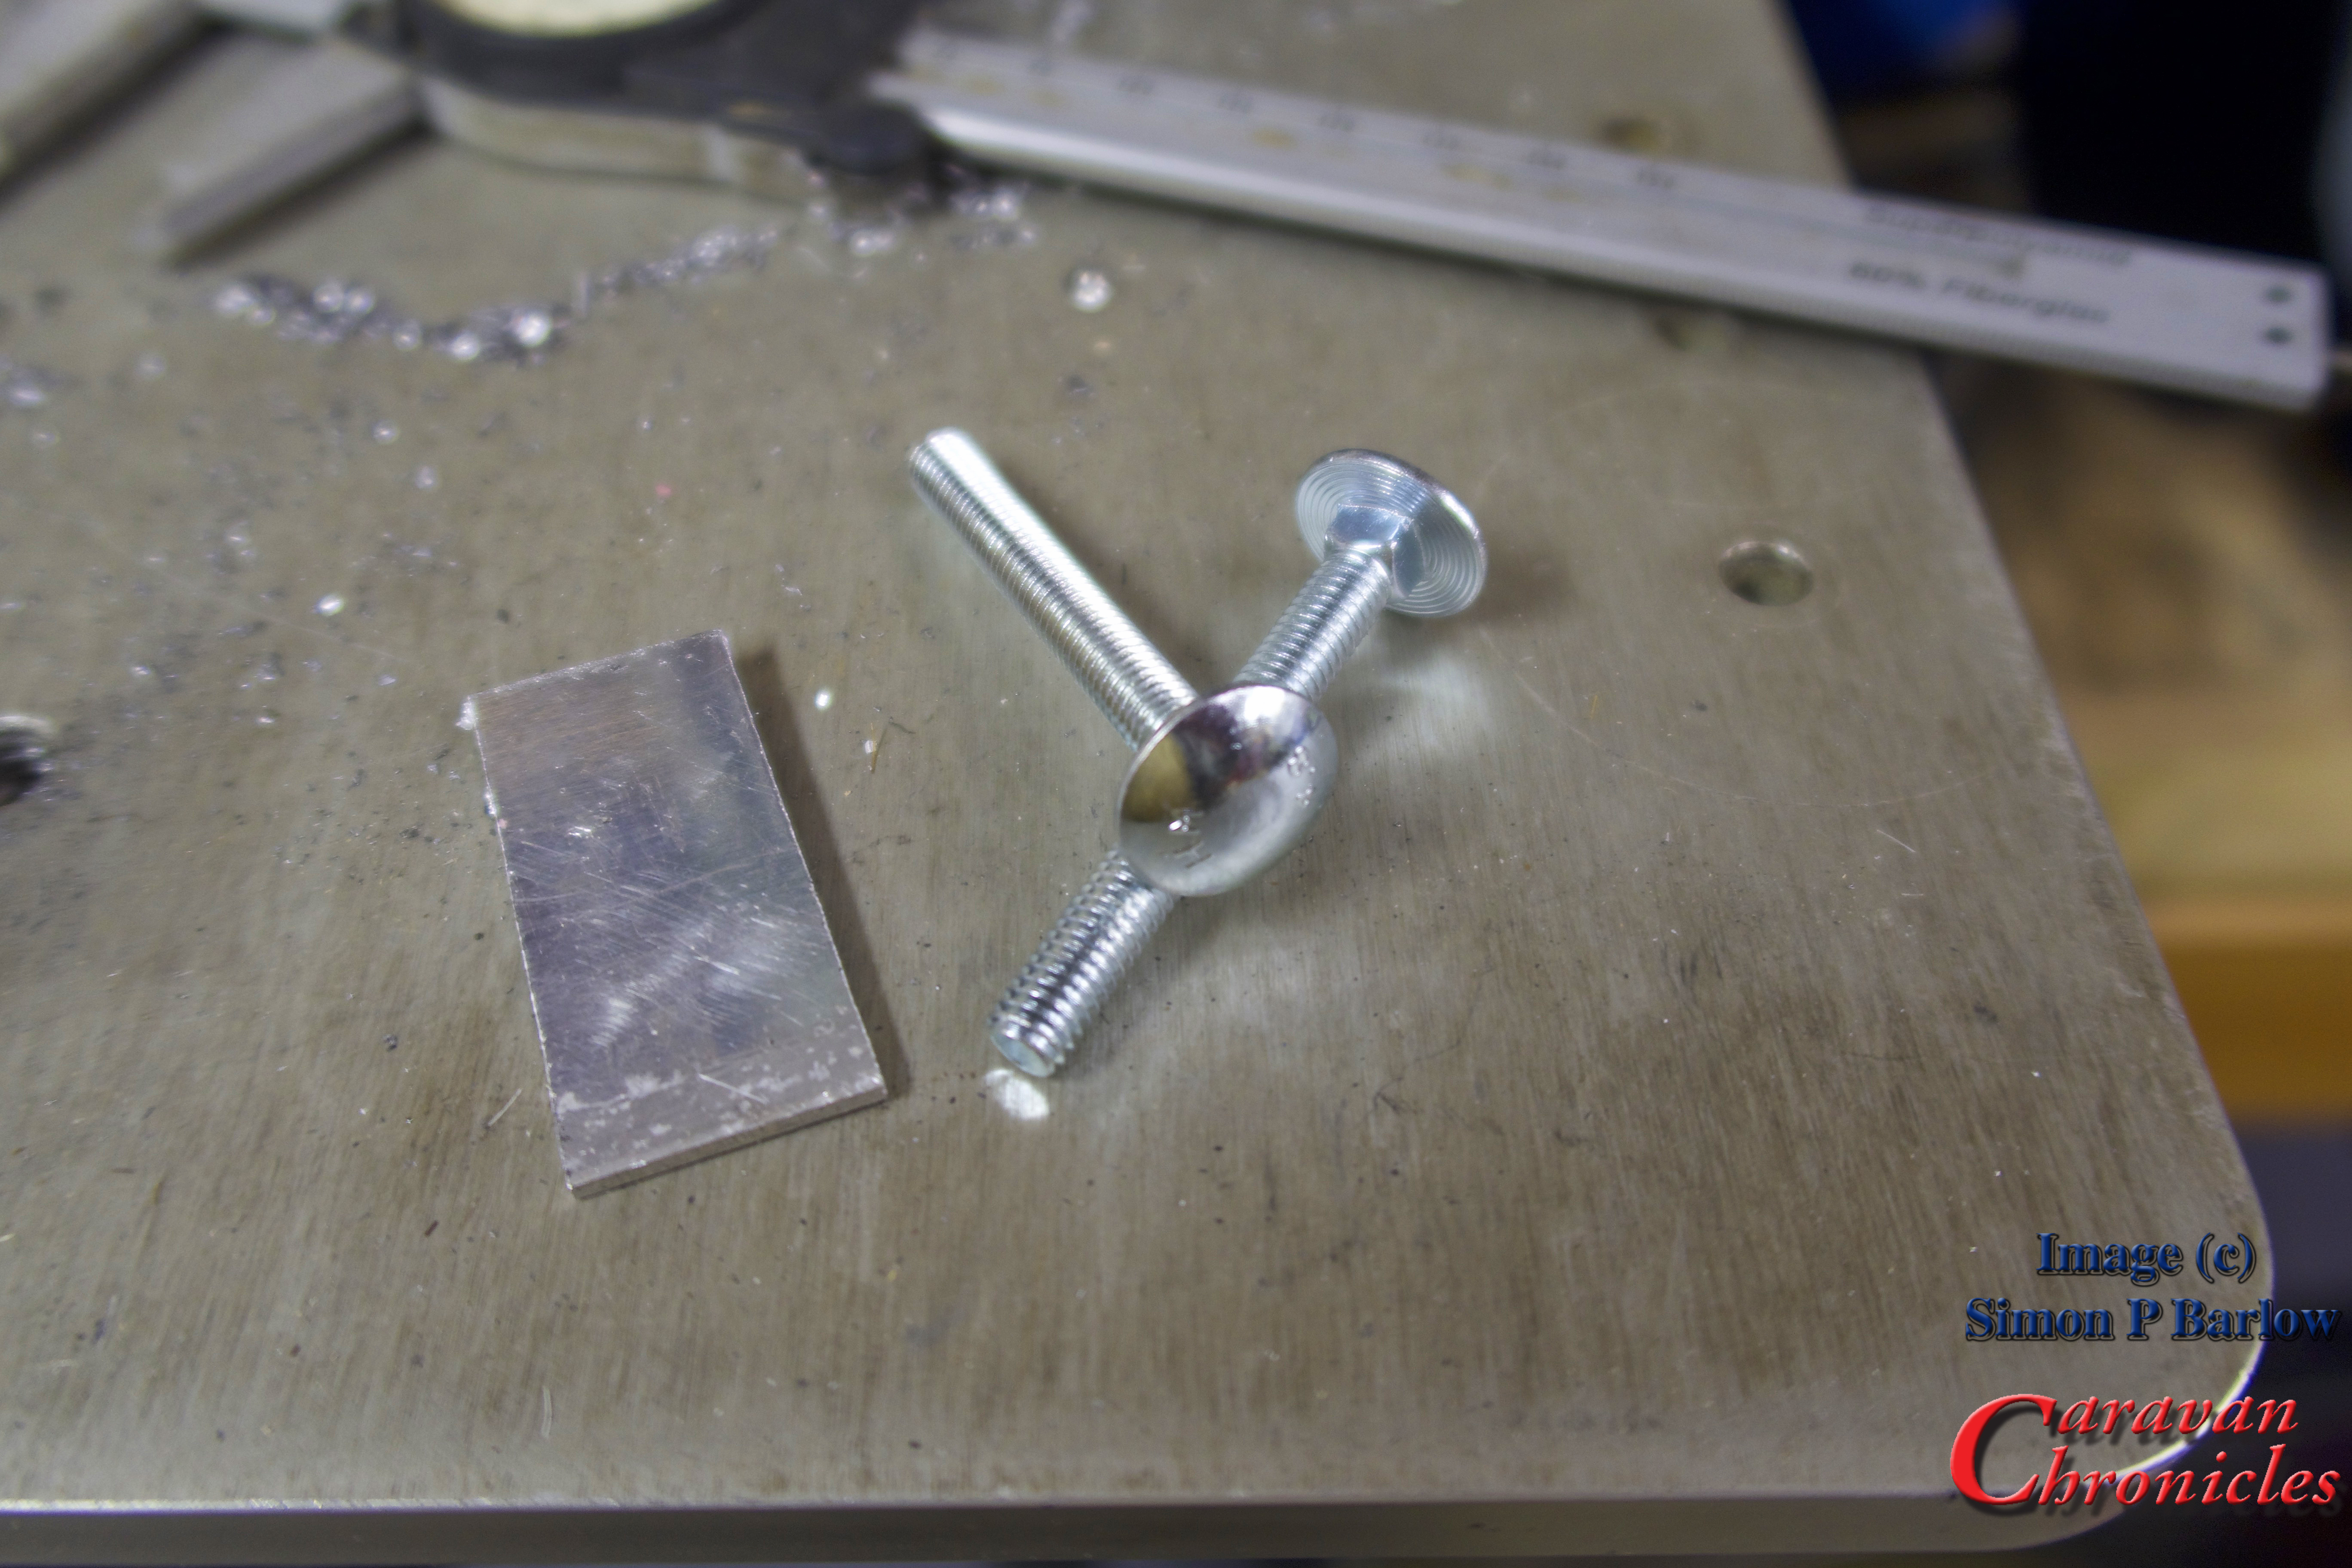
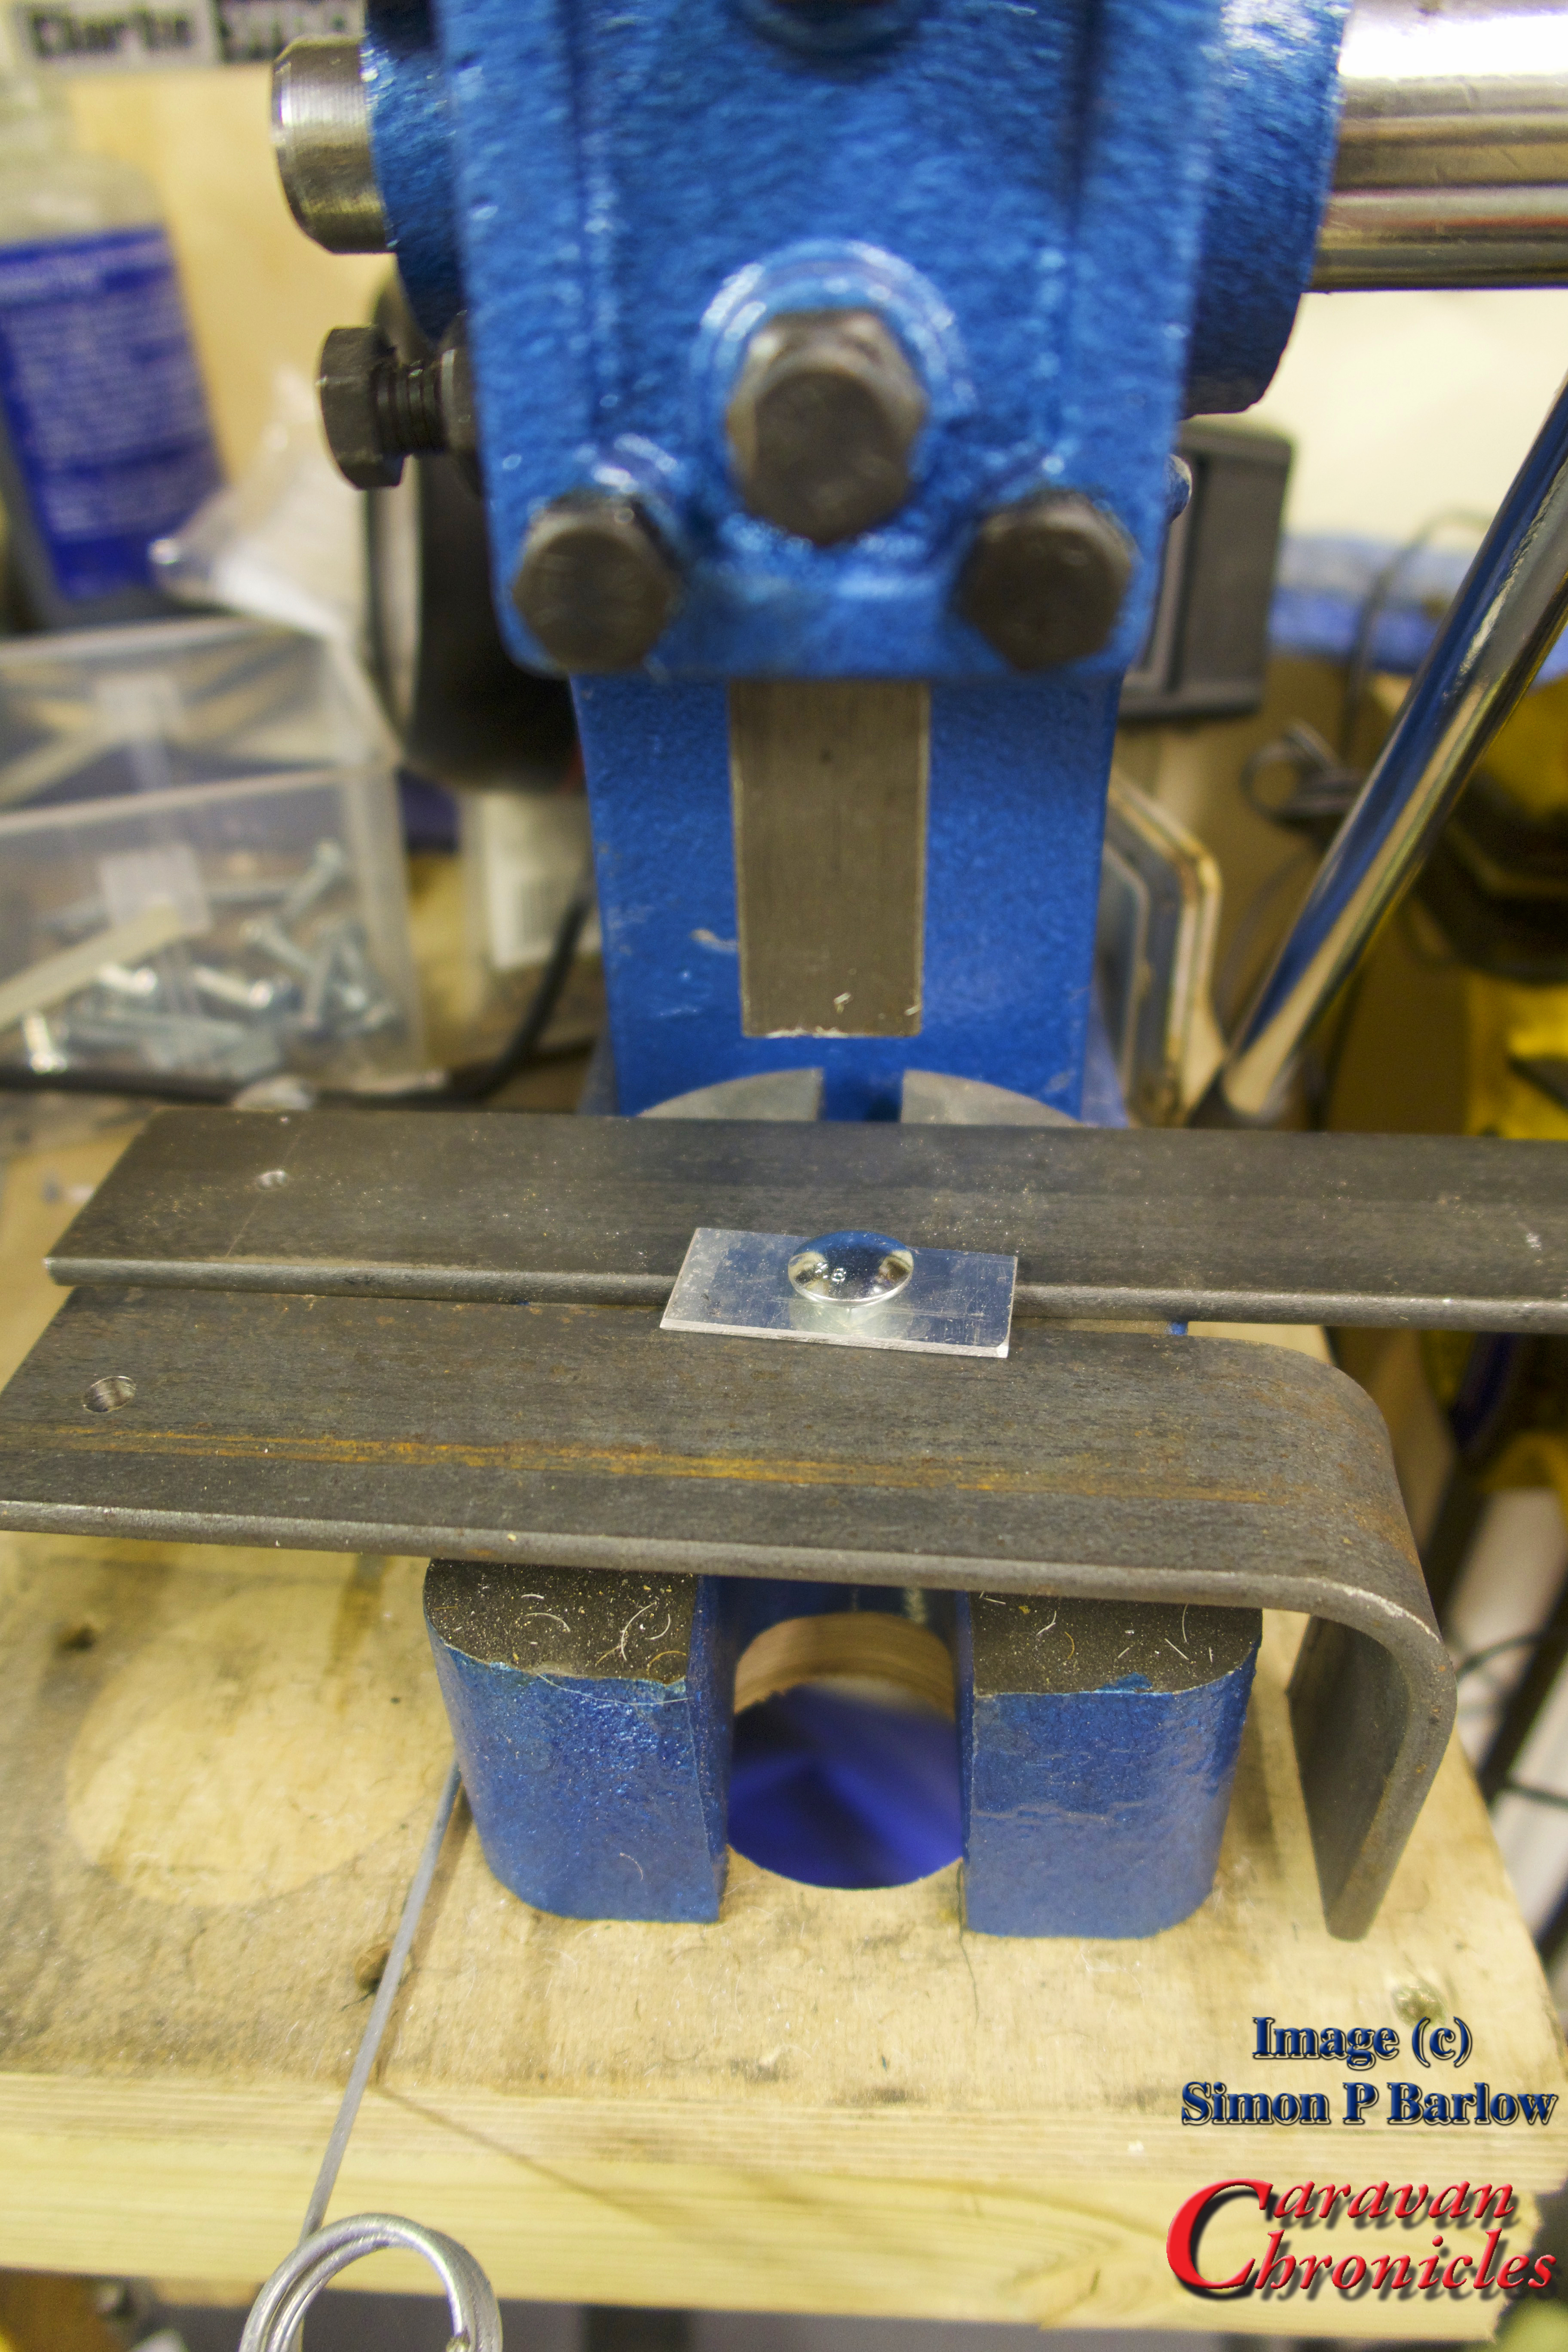
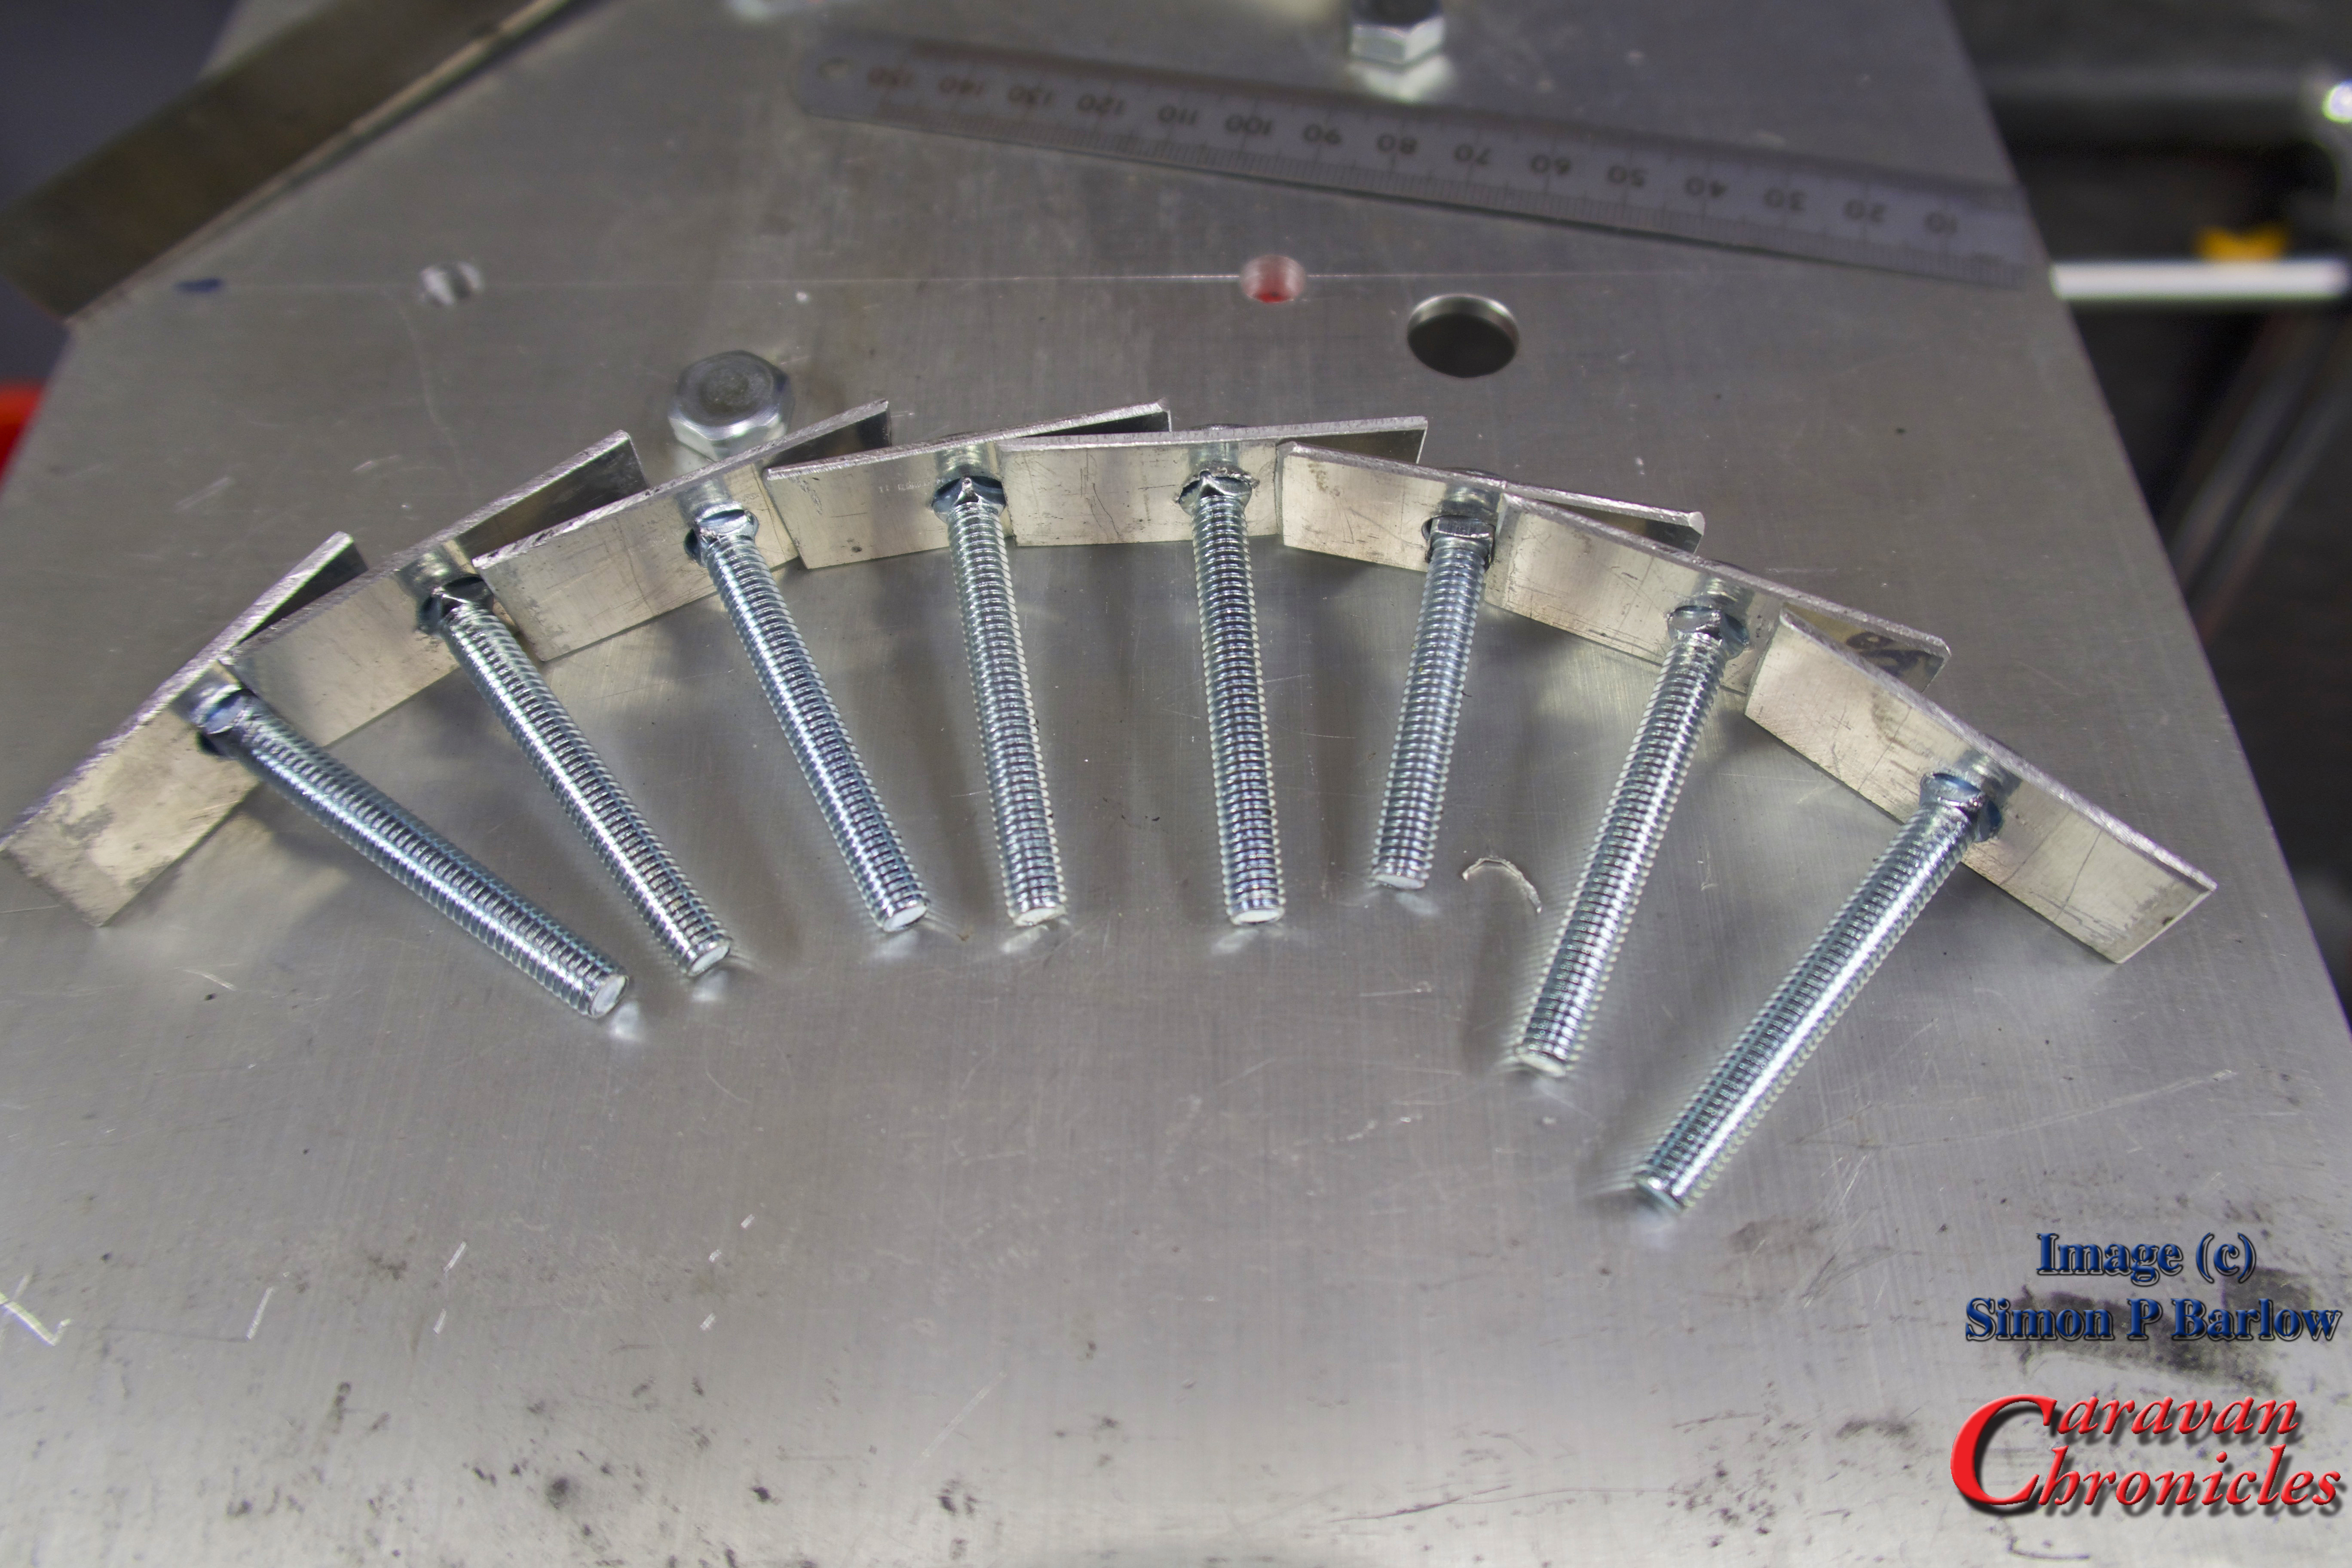
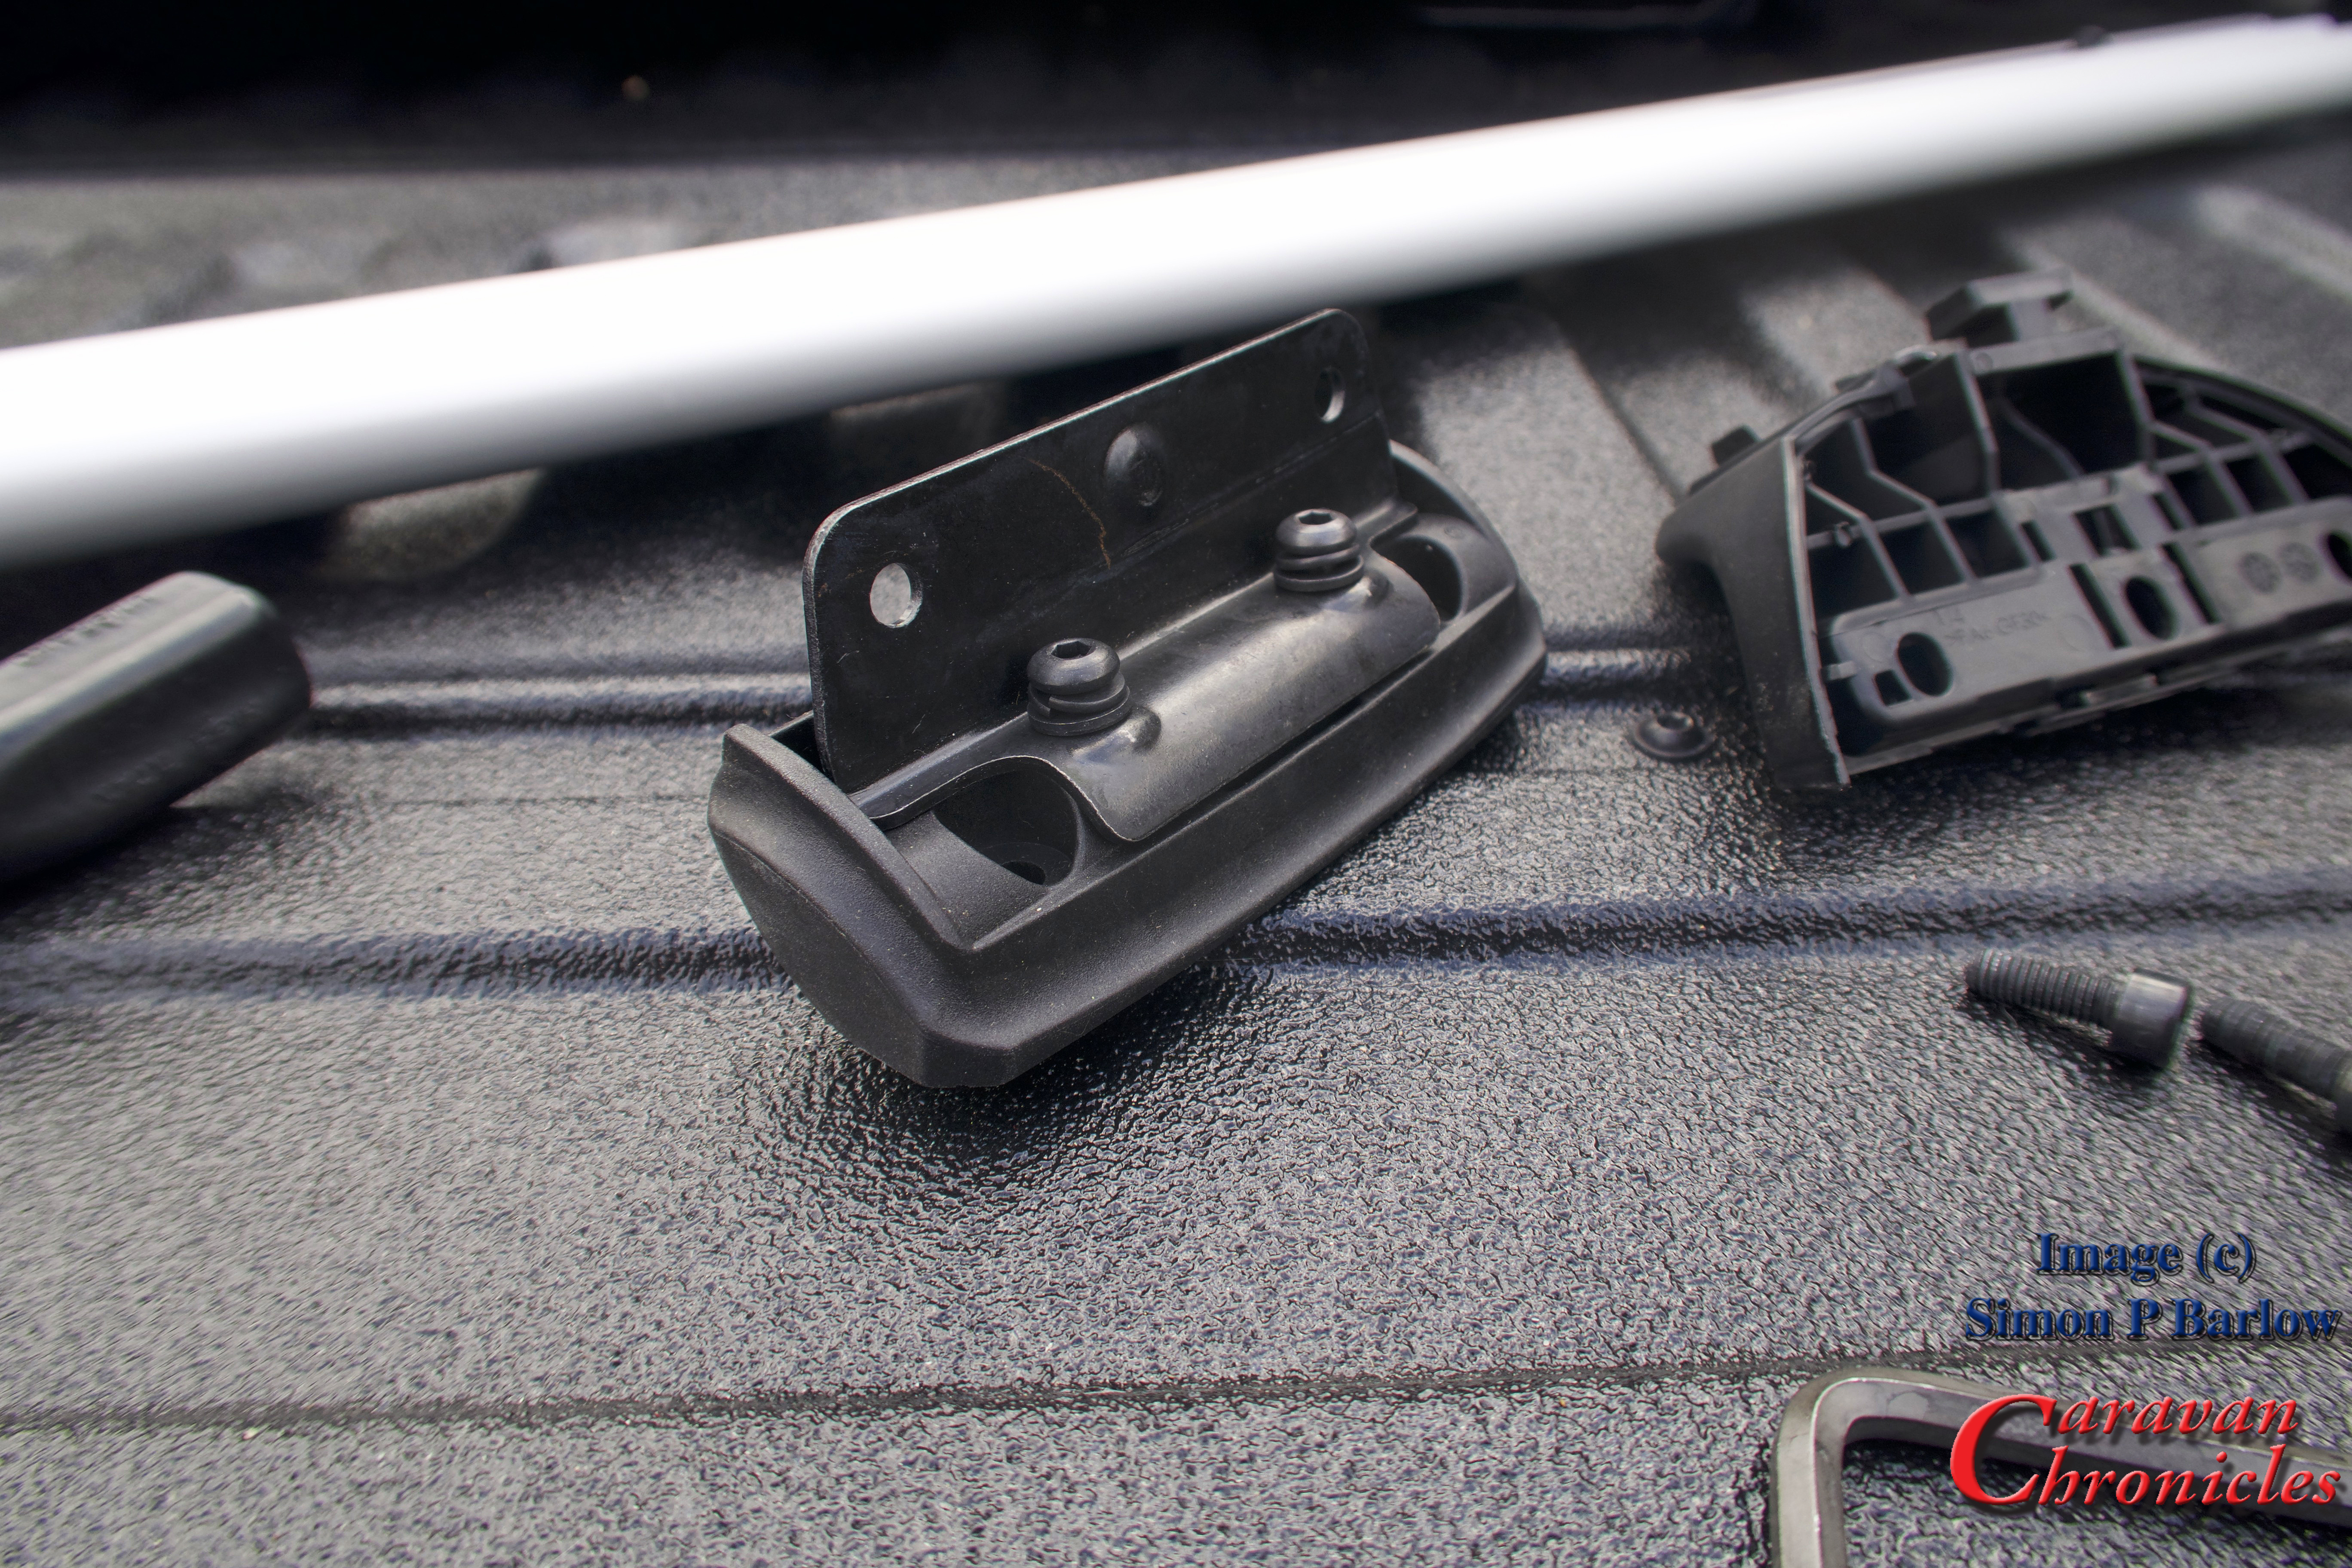
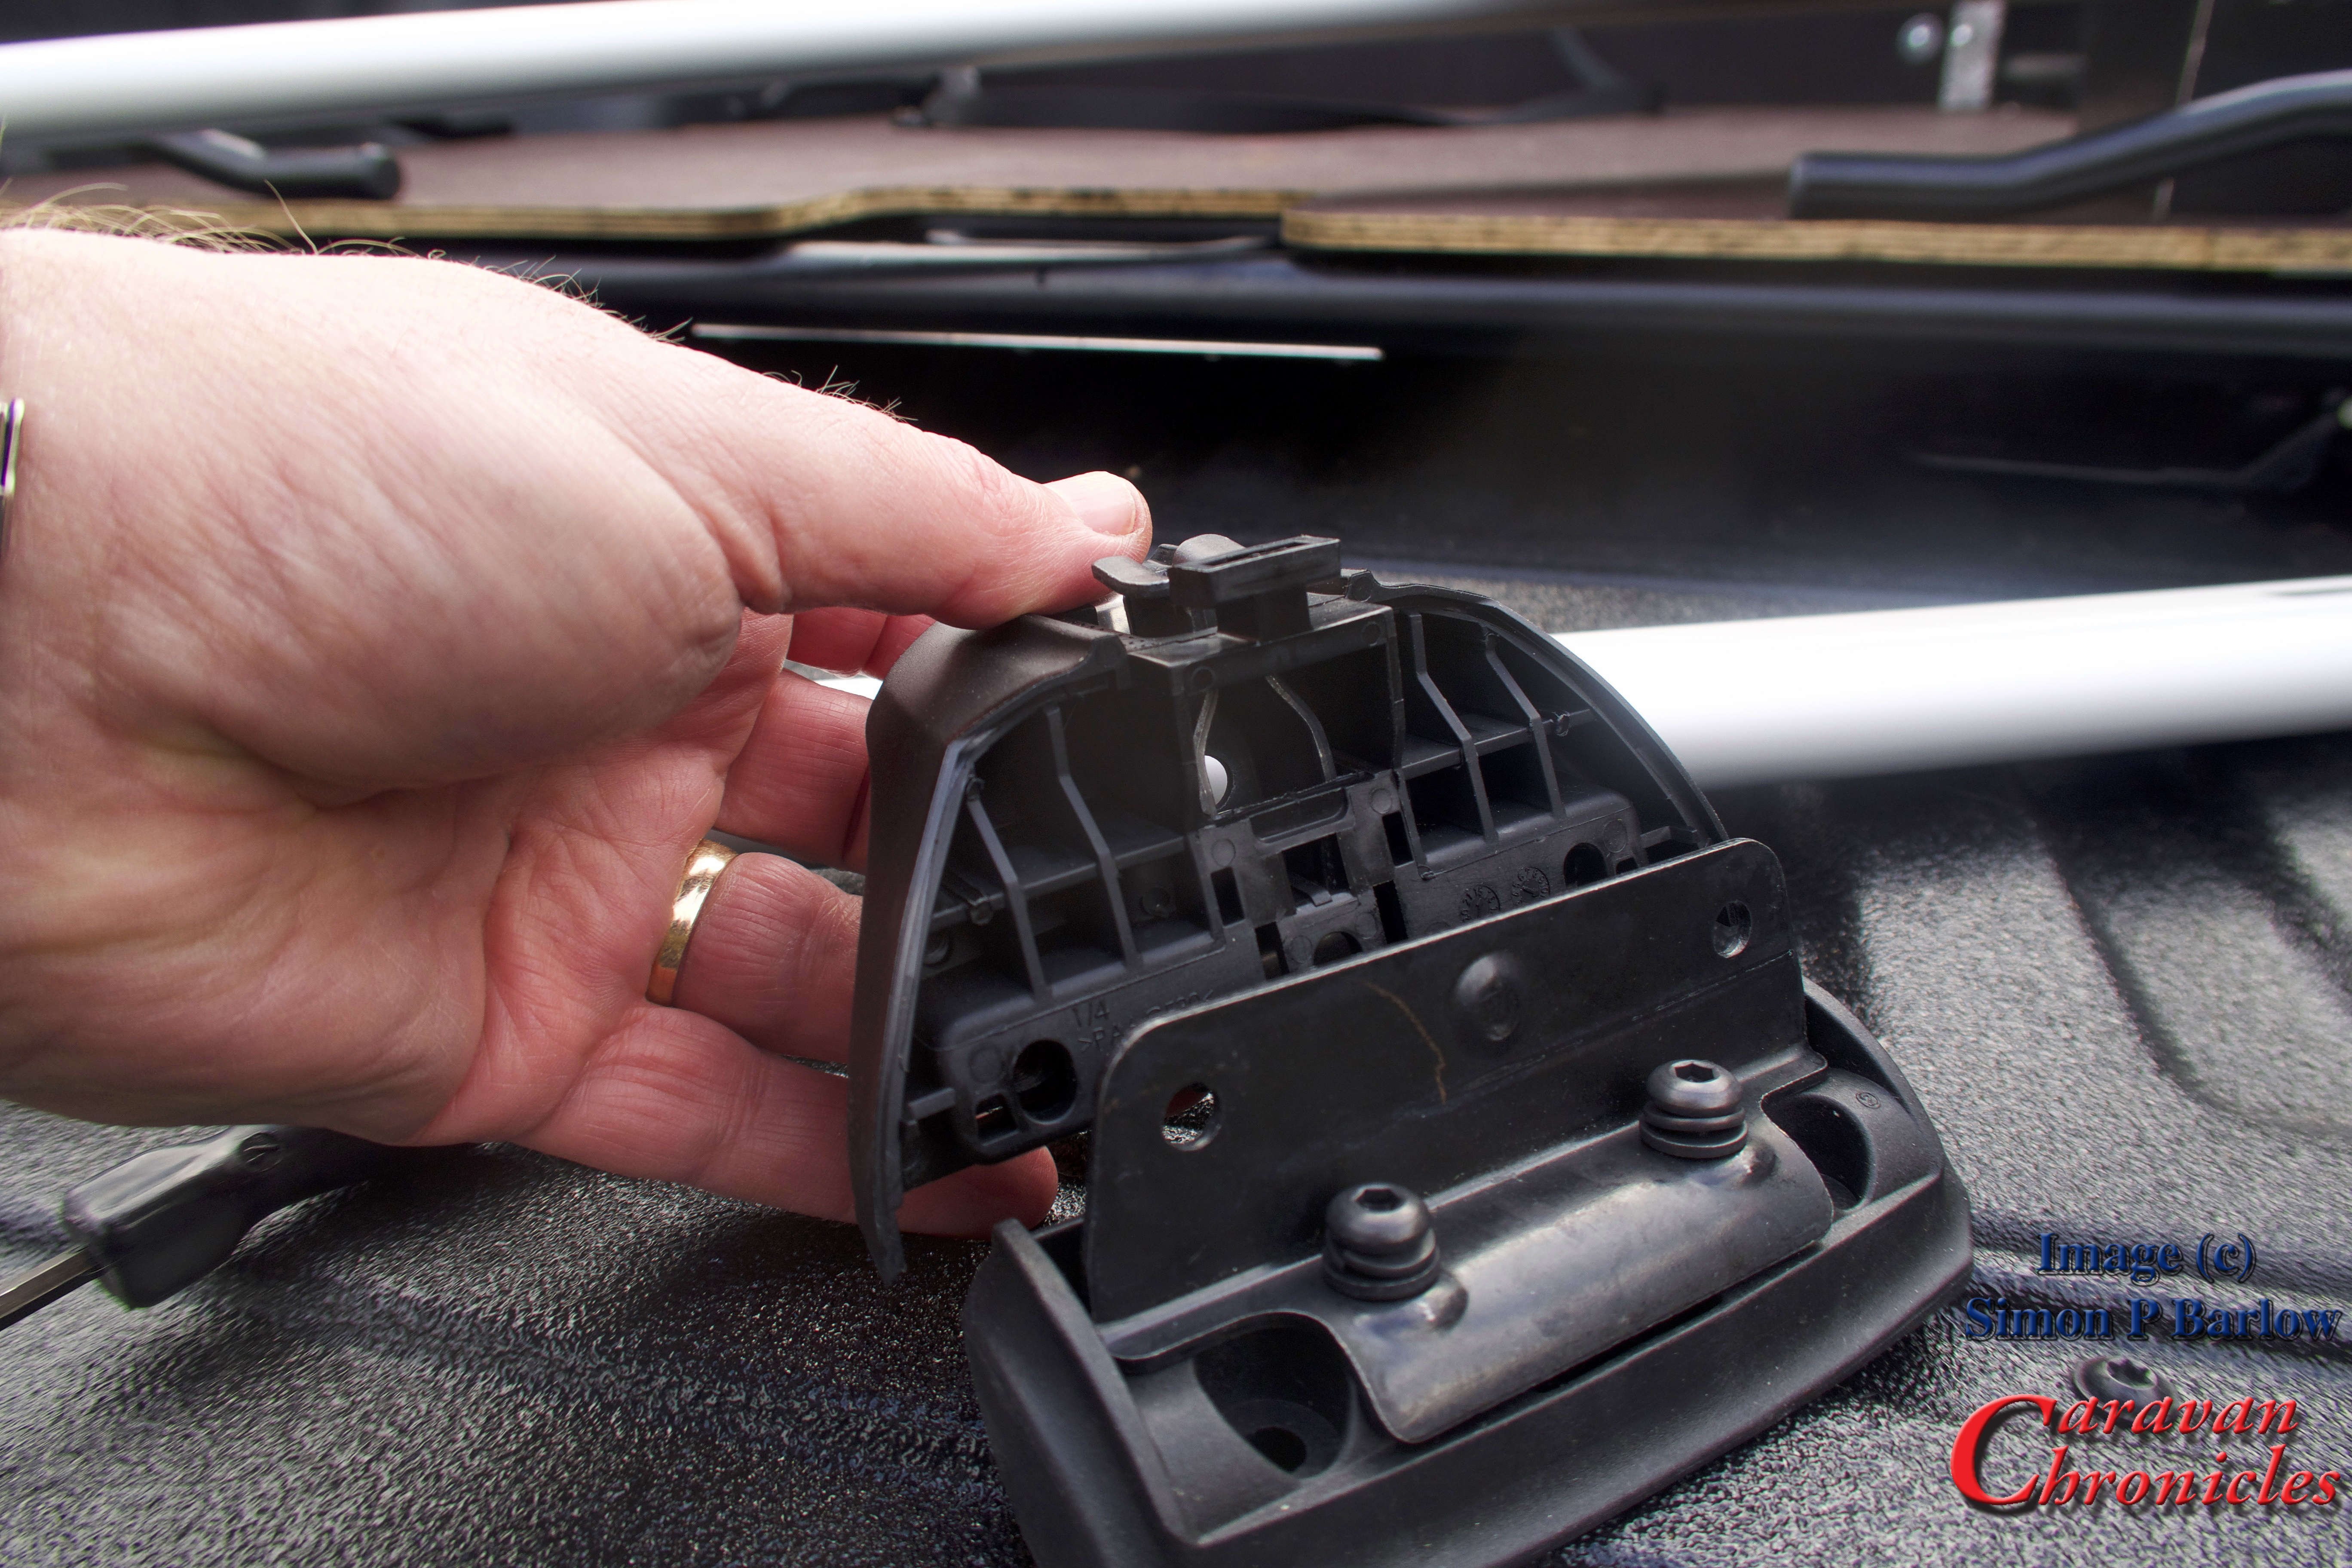
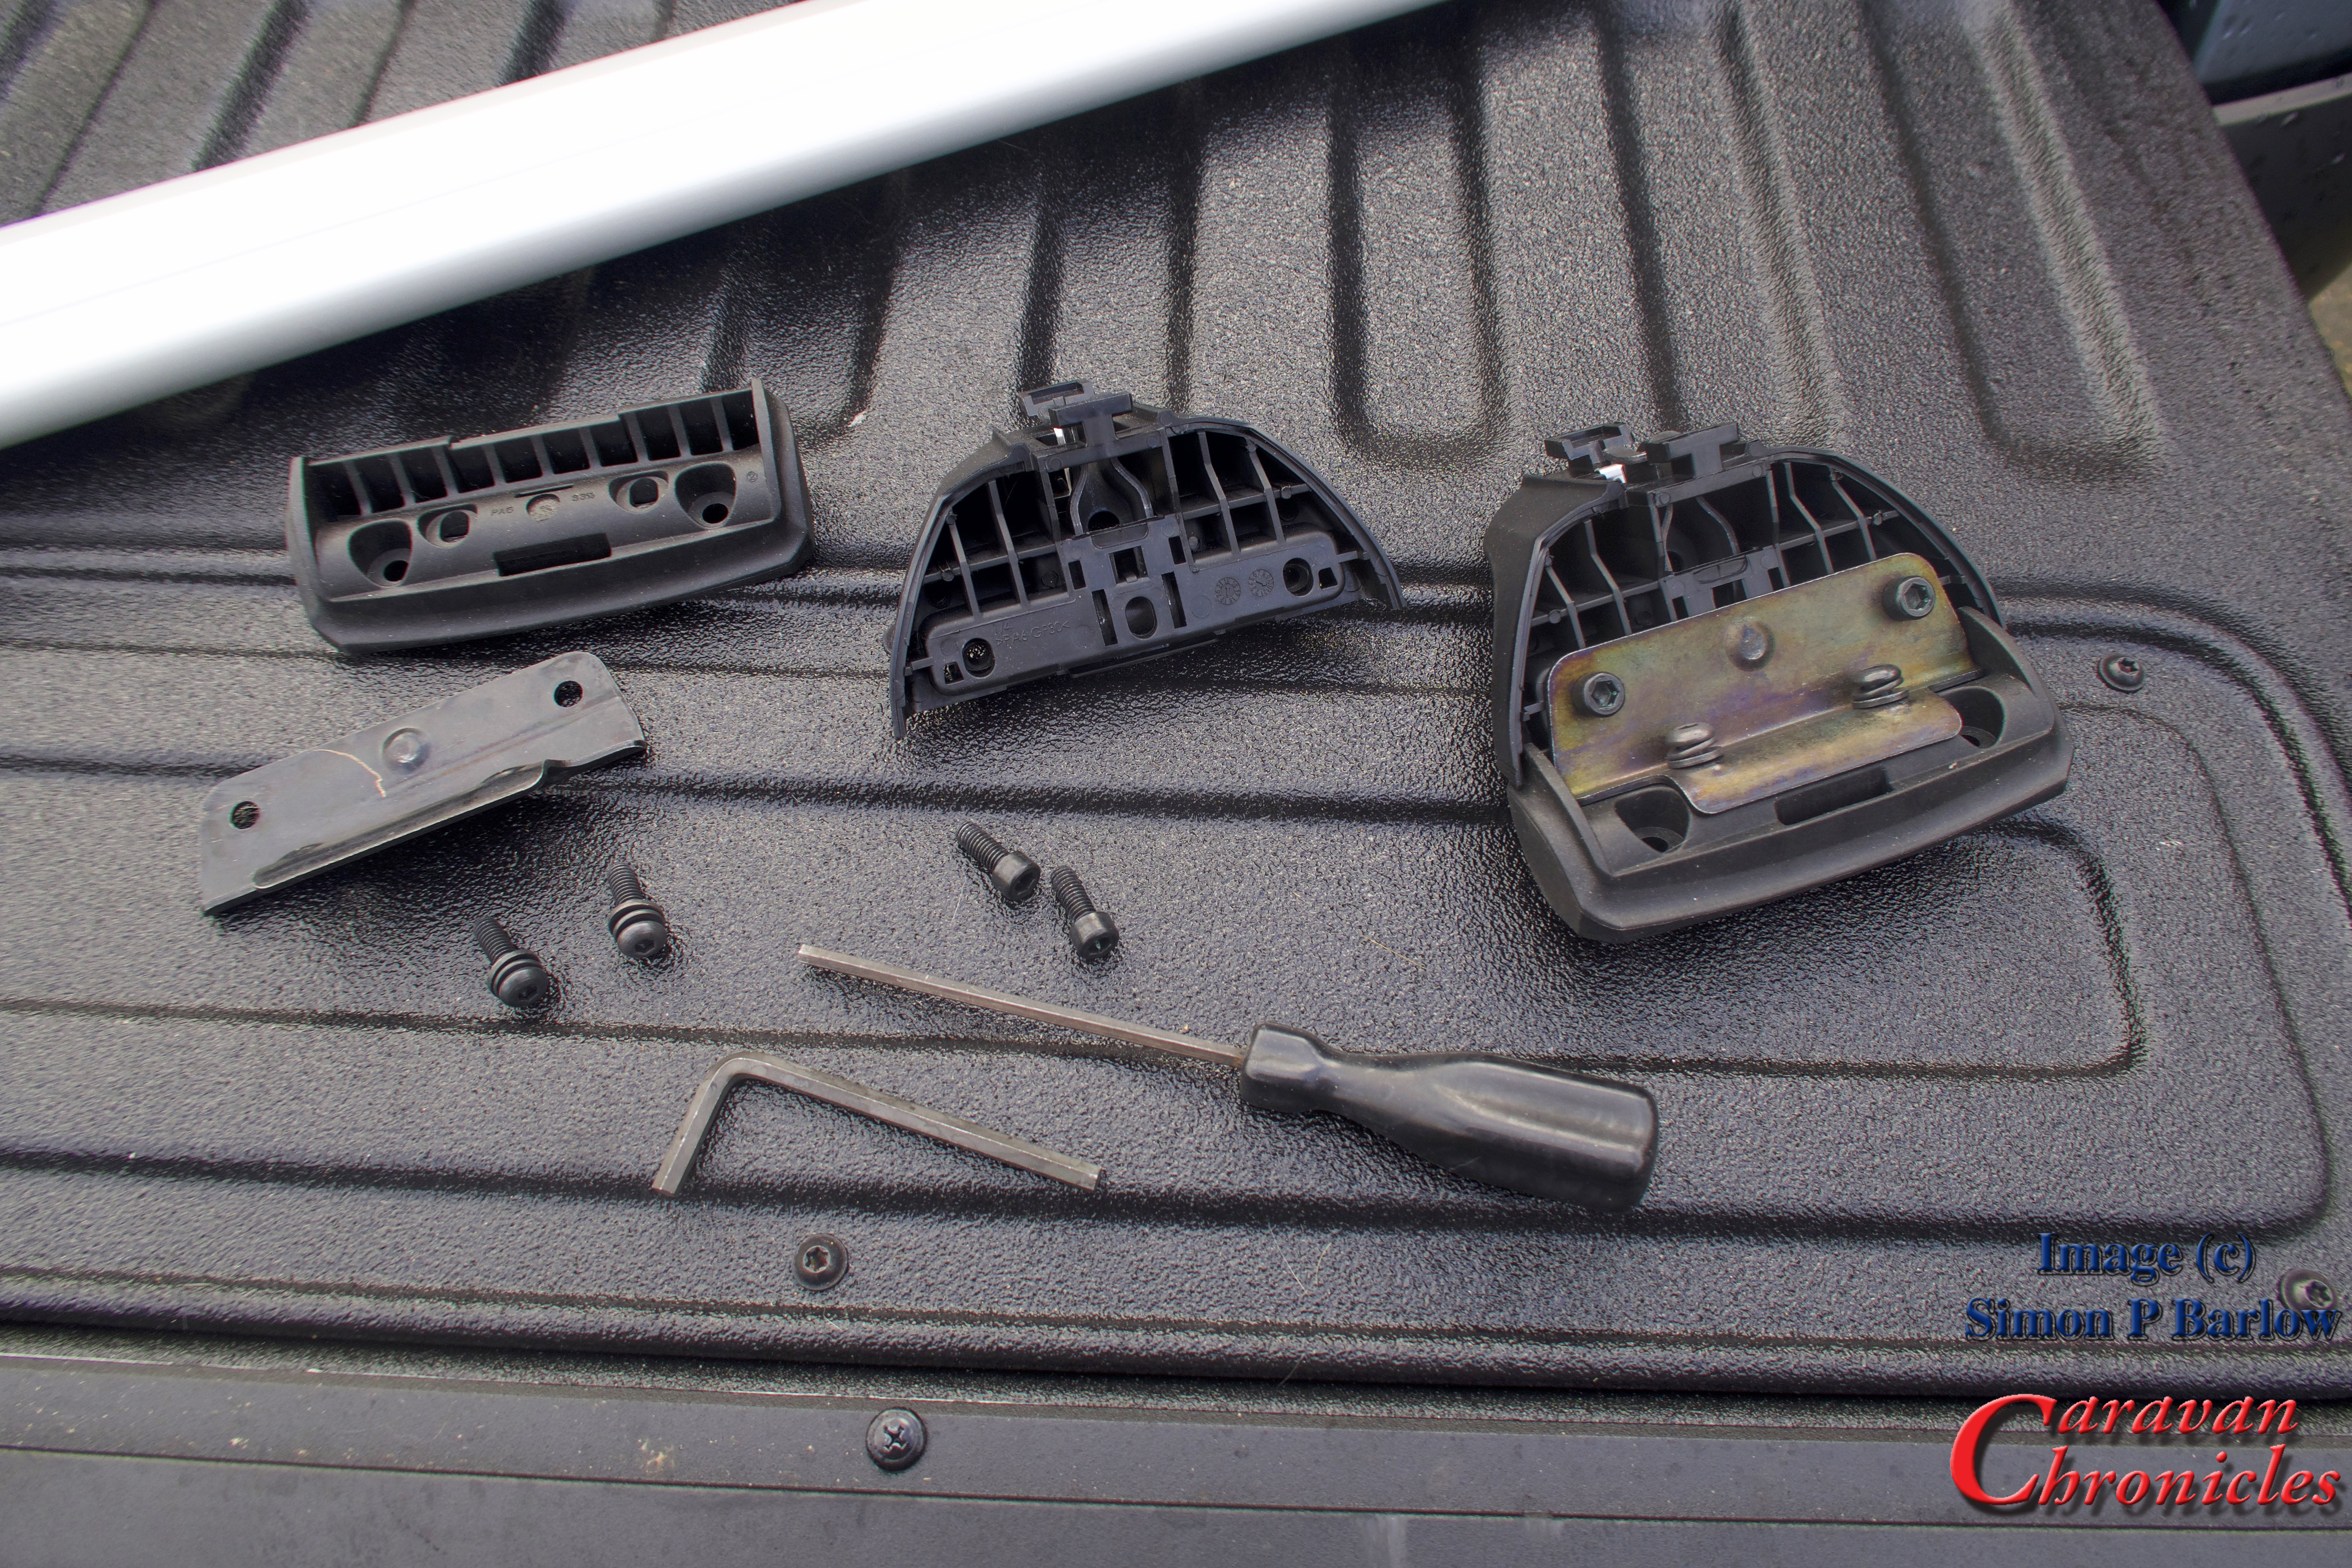
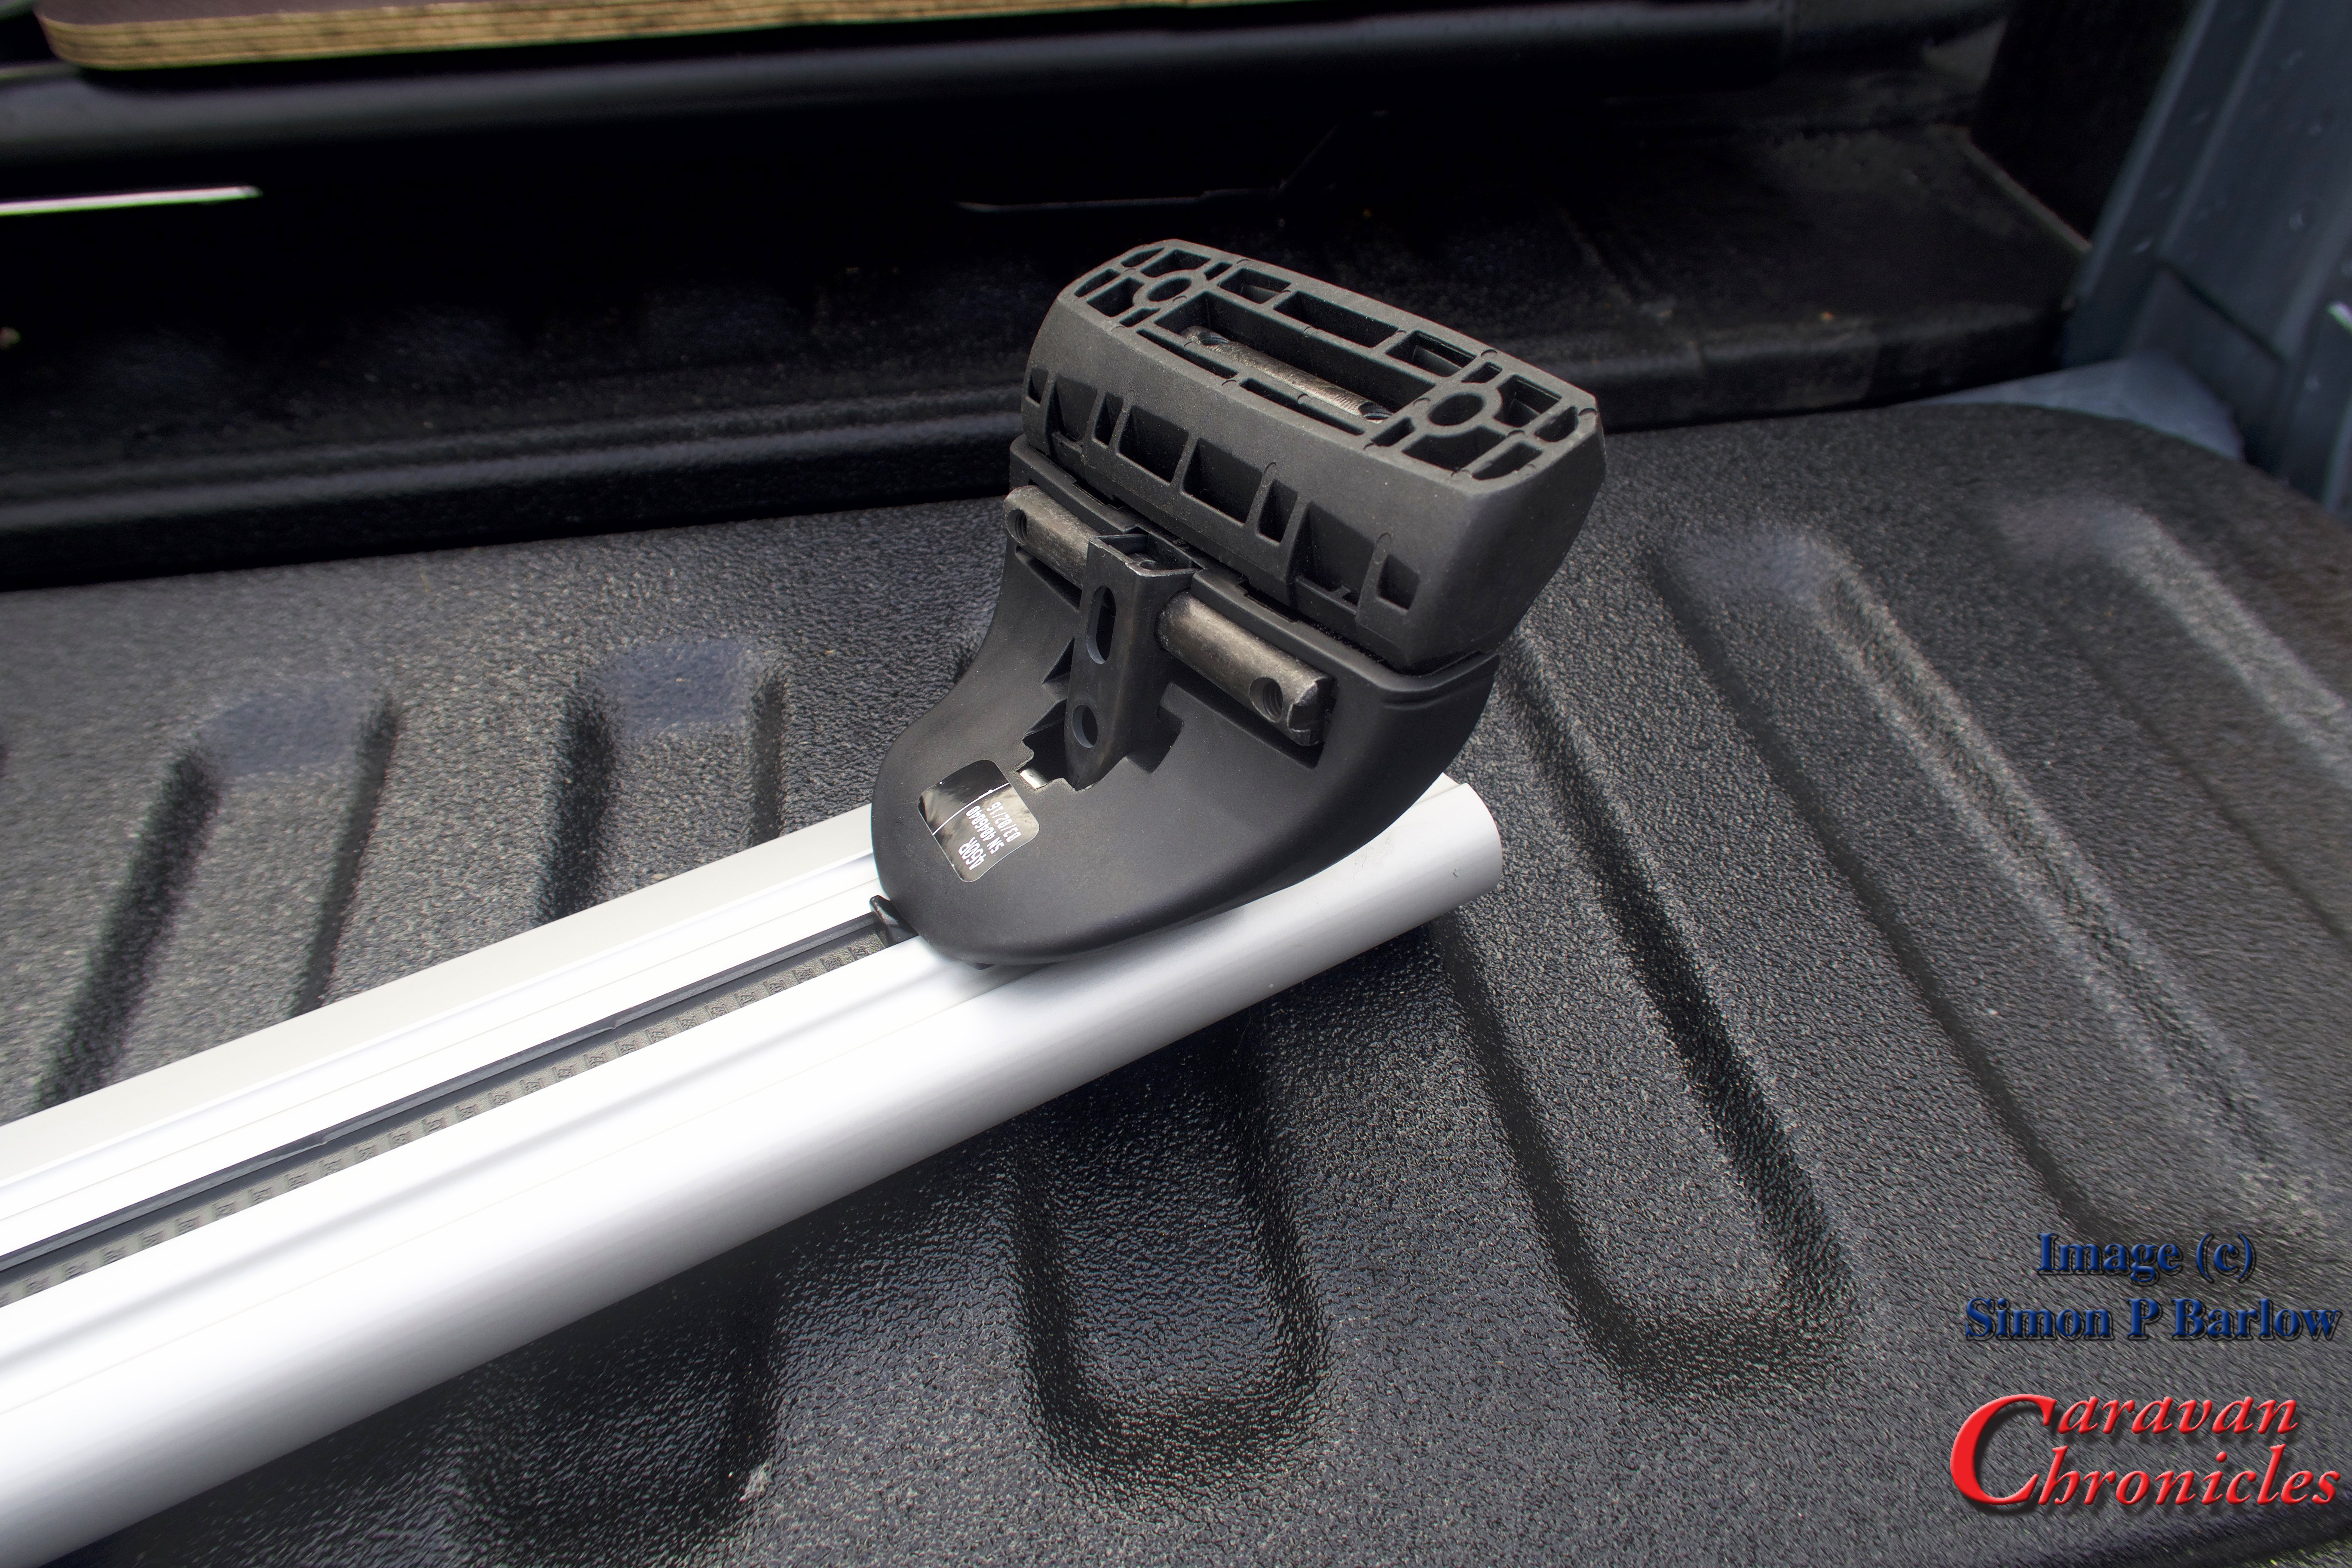
Thanks to my local nut and bolt supplier… Francis Kirk and Sons I’ve been going there for bits and pieces since 1976… I have now got a full set of stainless steel fittings… an odd collection of UNF and UNC sizes…. ready to replace all the nuts and bolts on the pull out sun canopy, replacing the original components that were showing signs of rust and starting to bind up. I also managed to get a set of tap and dies to run through all the threads before changing everything over.

We managed to get some of the picture frames mounted inside the caravan and that makes a huge difference…. along with upgrading the occasional side lights to LED dimmable units…. feels more like home with each little improvement.

Not long to wait now….

Looking forward to Tourfest North West in a three weeks time, 24th May – 27th May at Donkey Creek Farm and meeting up with some of the bloggers and vloggers I’ve followed over the years. Thankfully no one will recognise Sue and I so we can sneak off if it gets too rowdy . I believe it is now fully booked so if you wanted to go you will just have to wait until the next one.

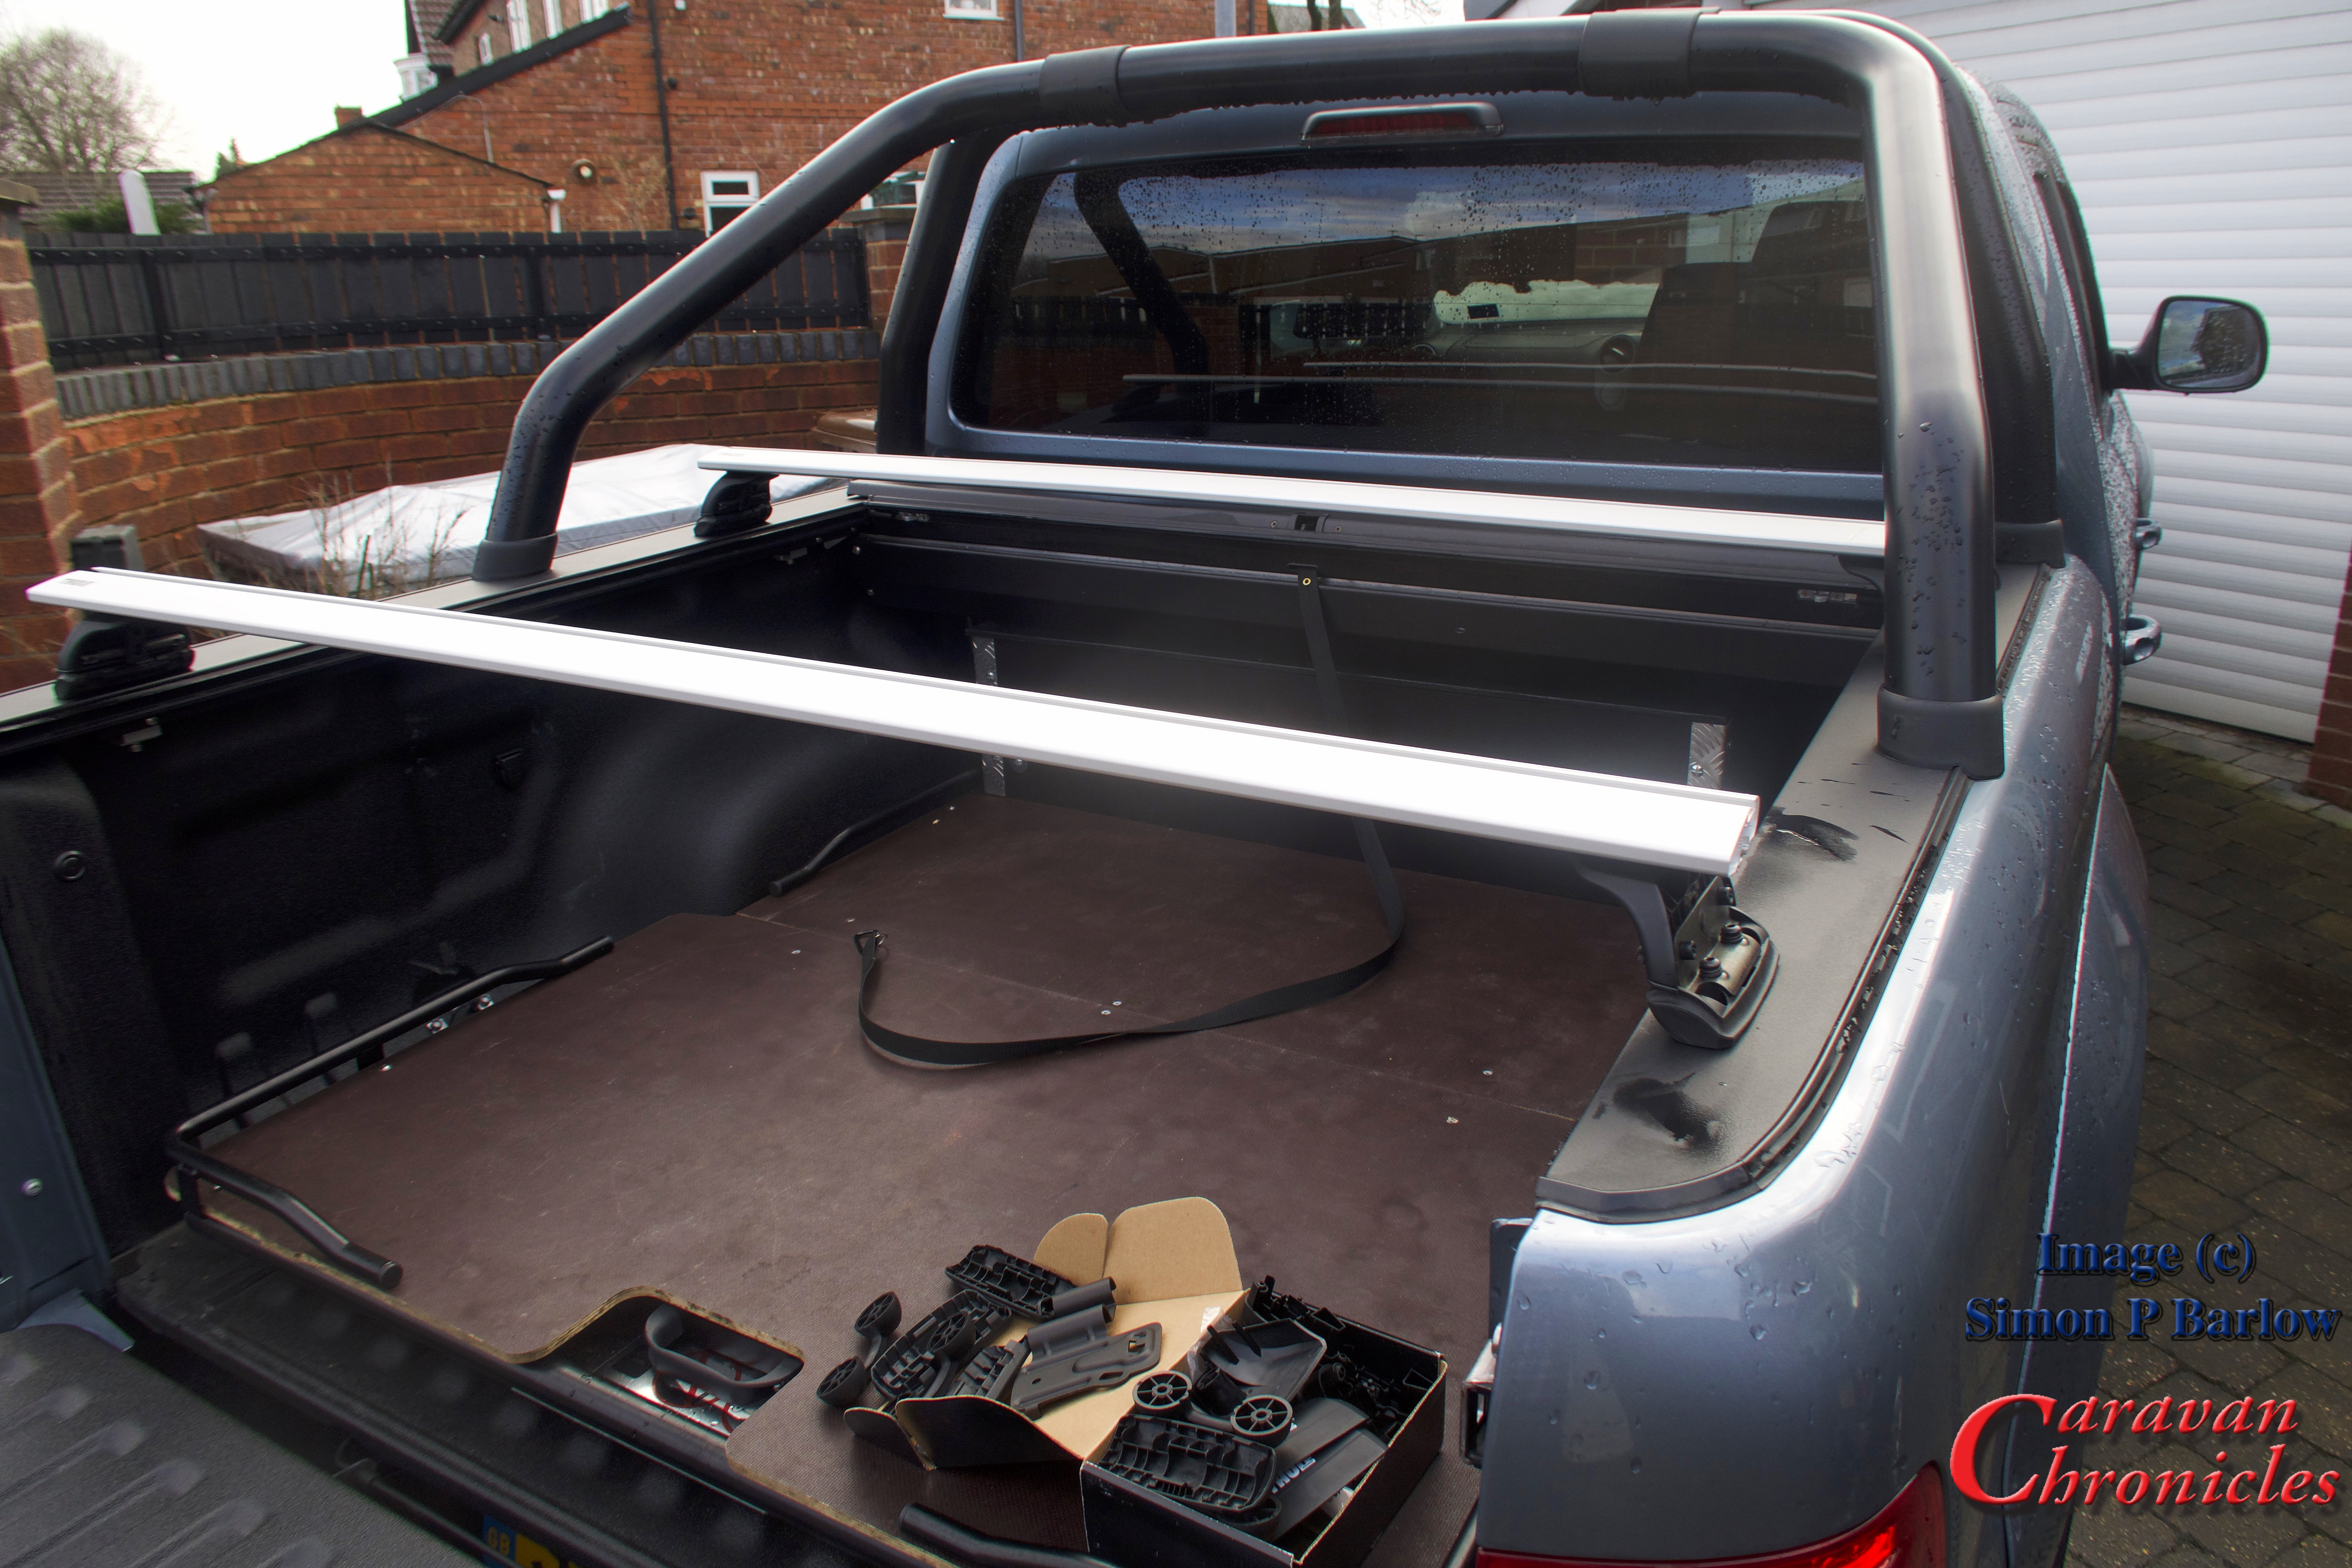
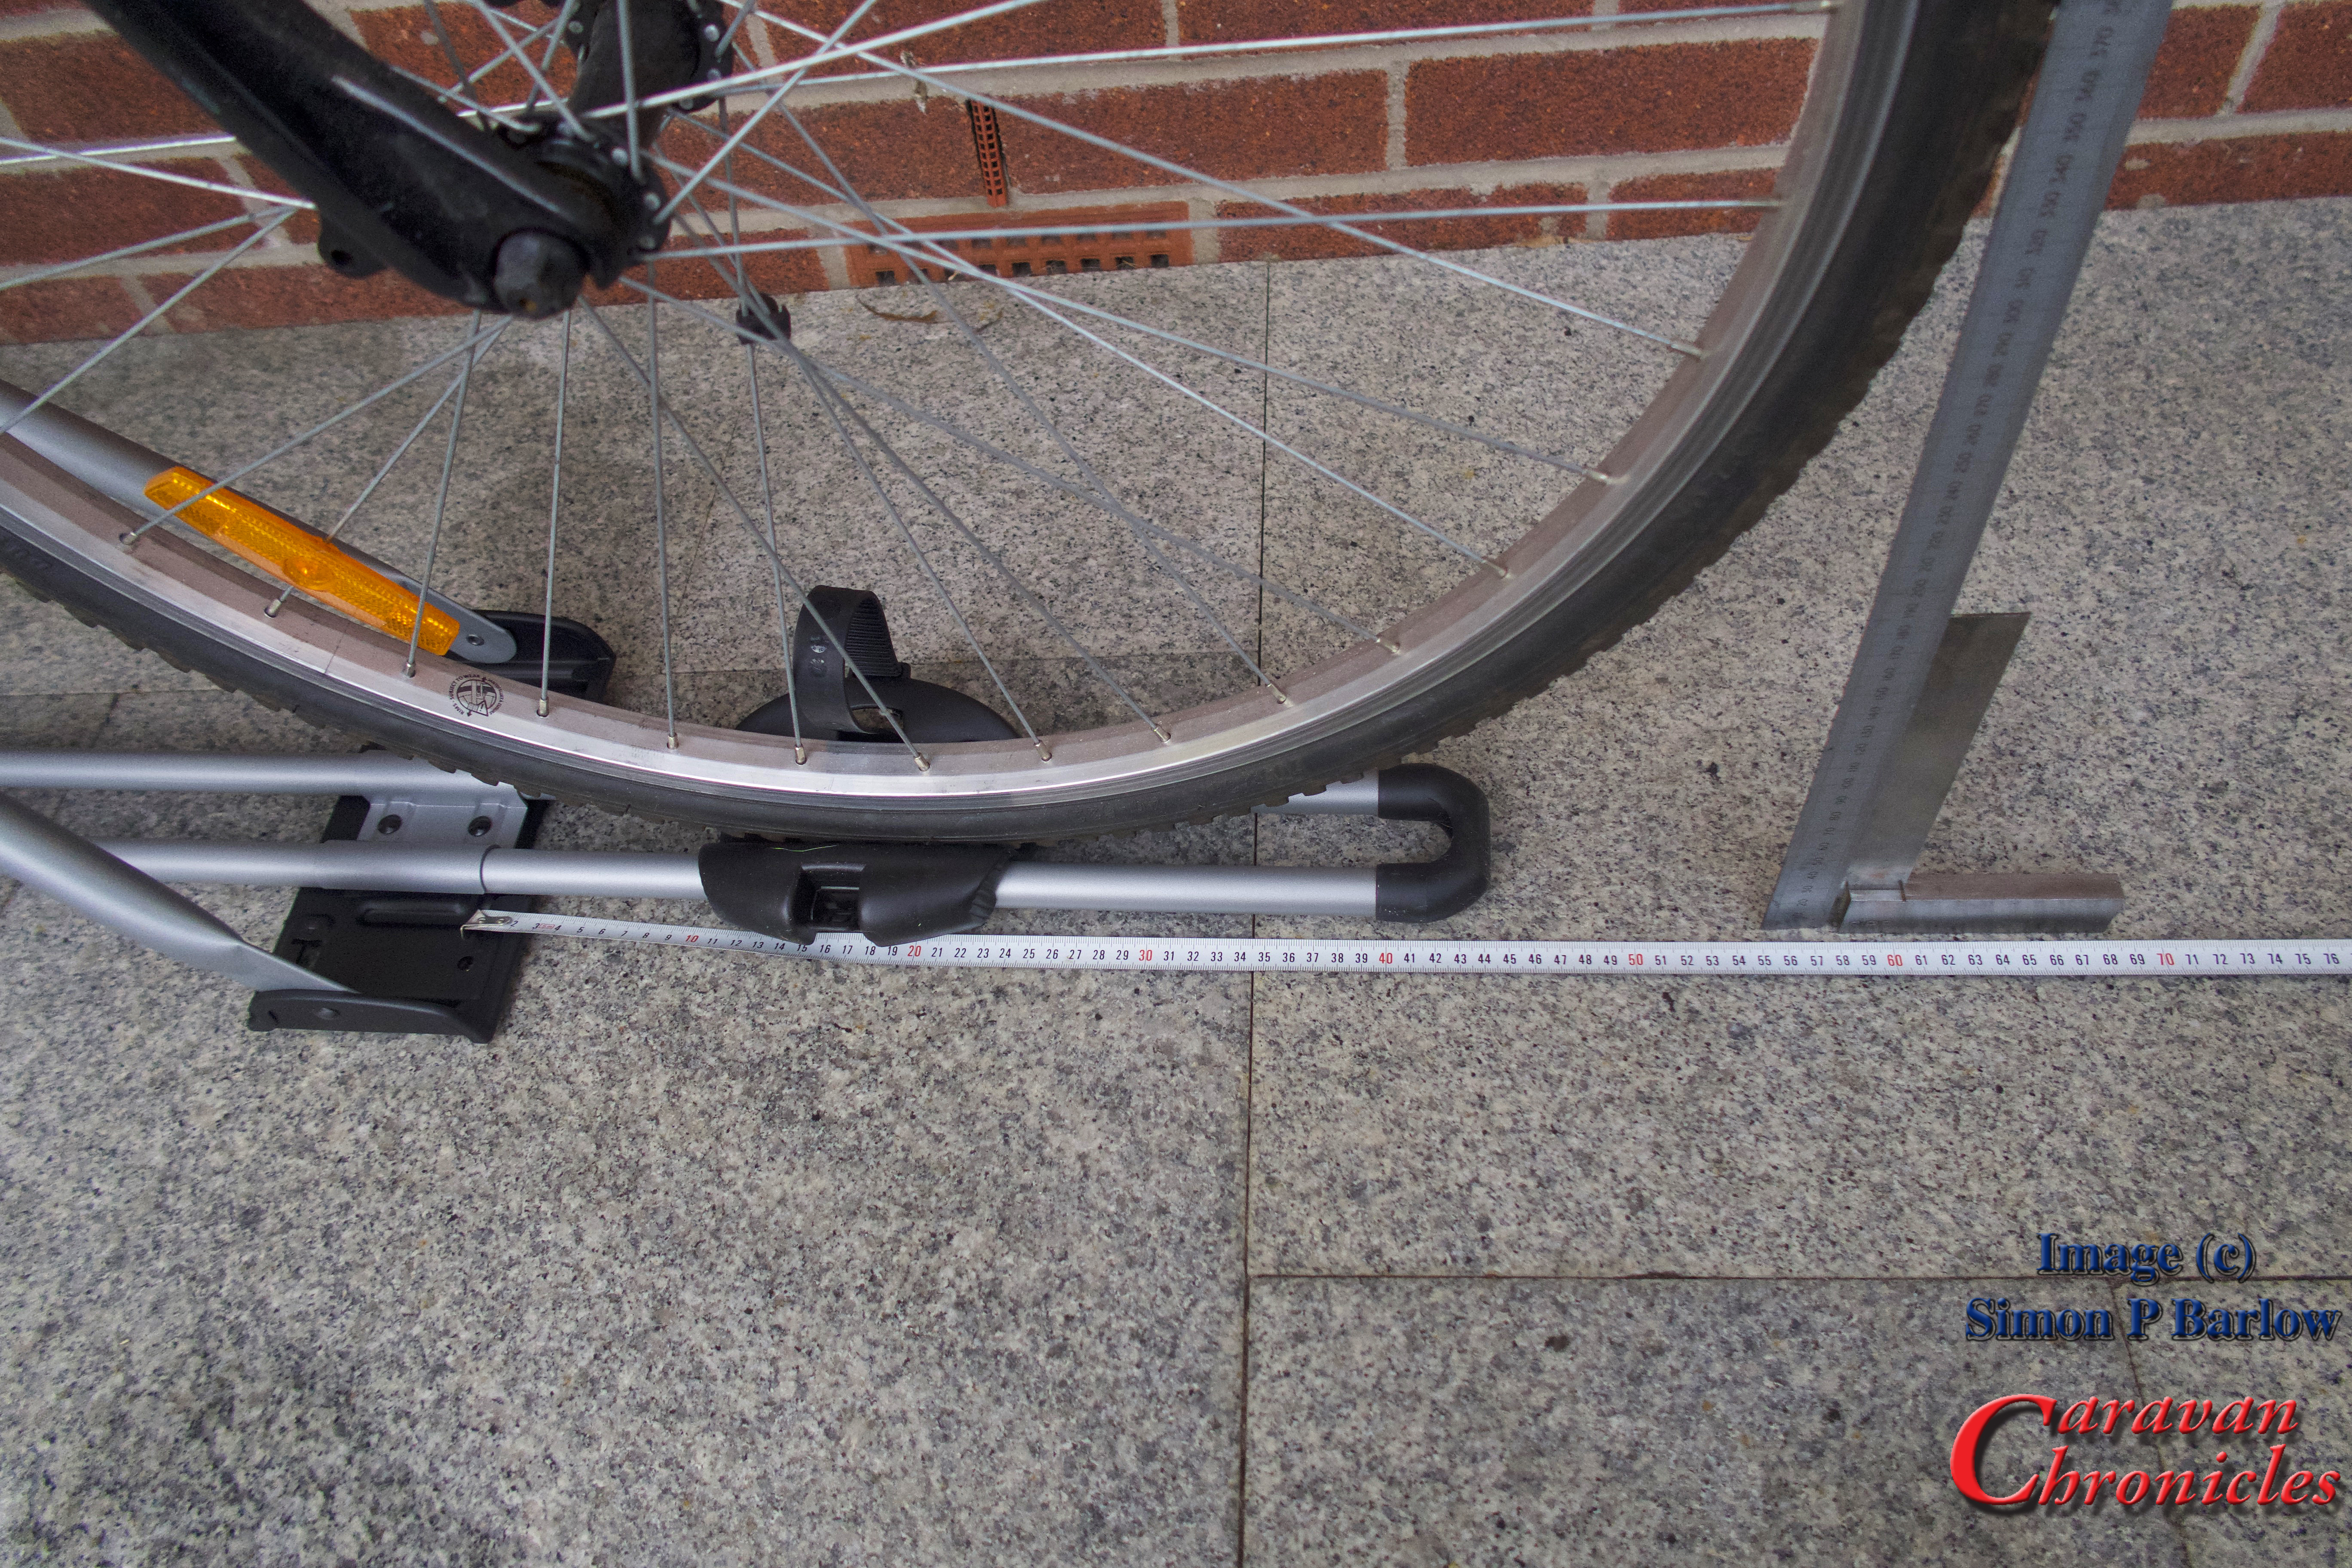
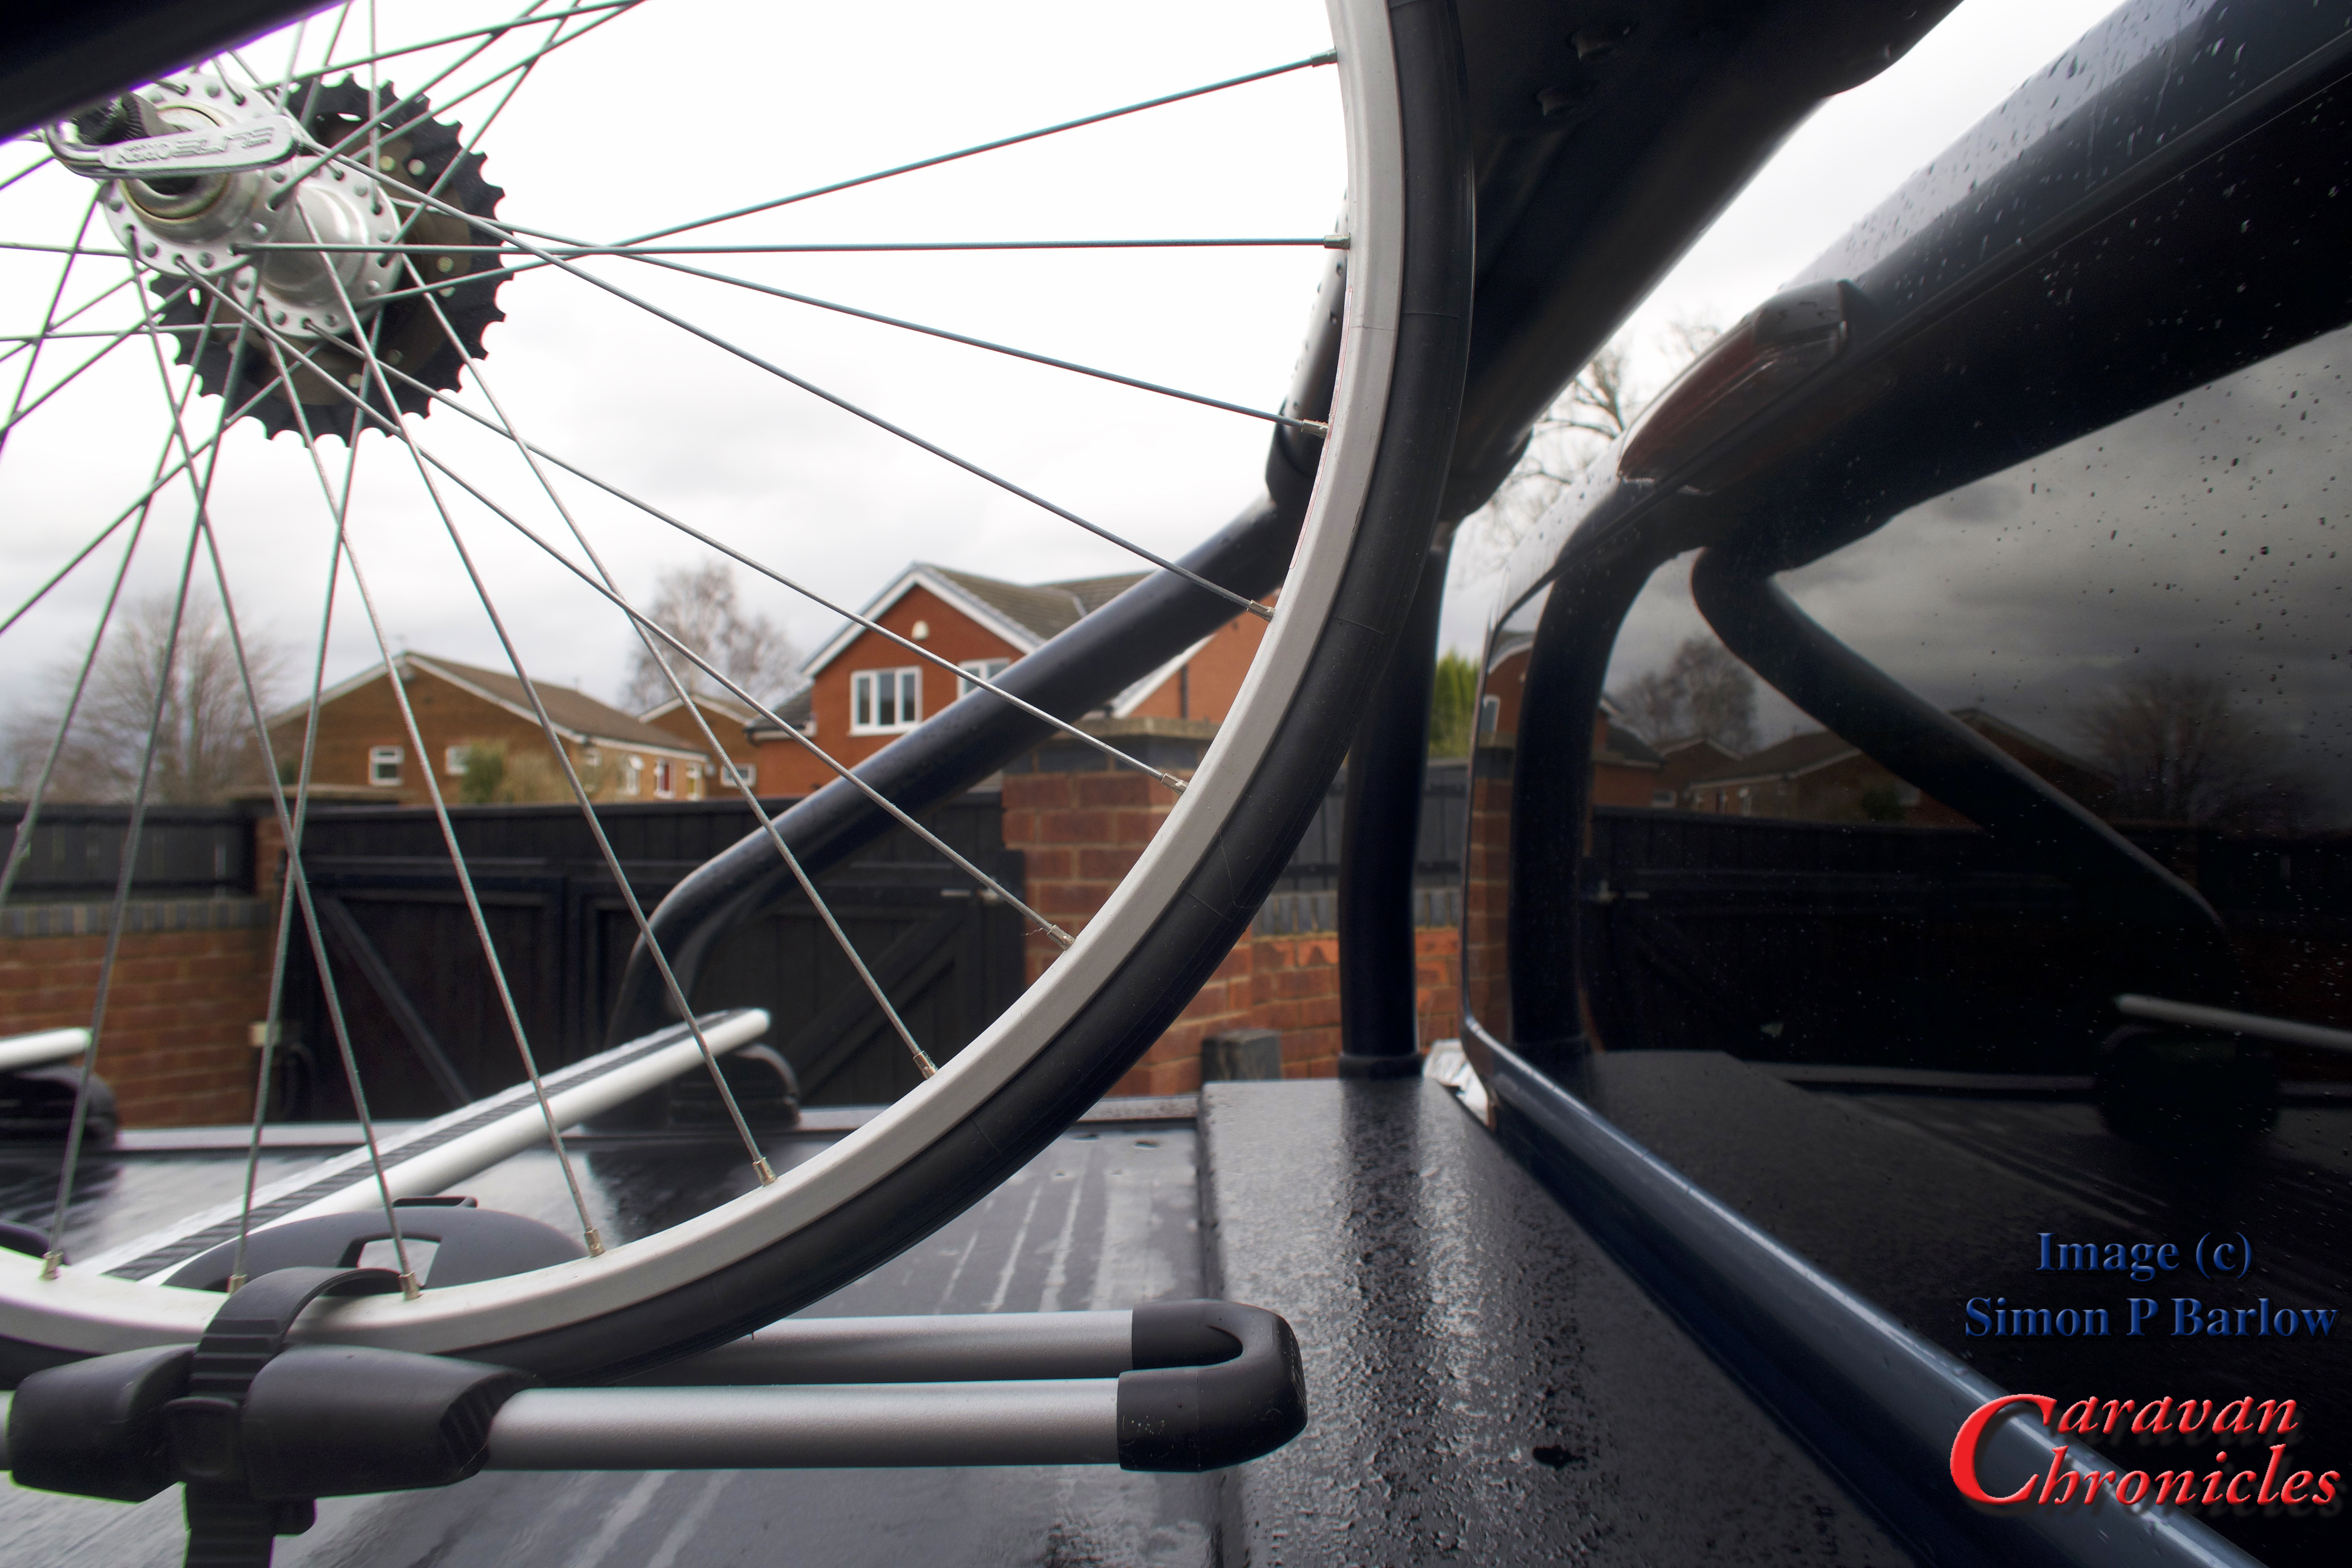
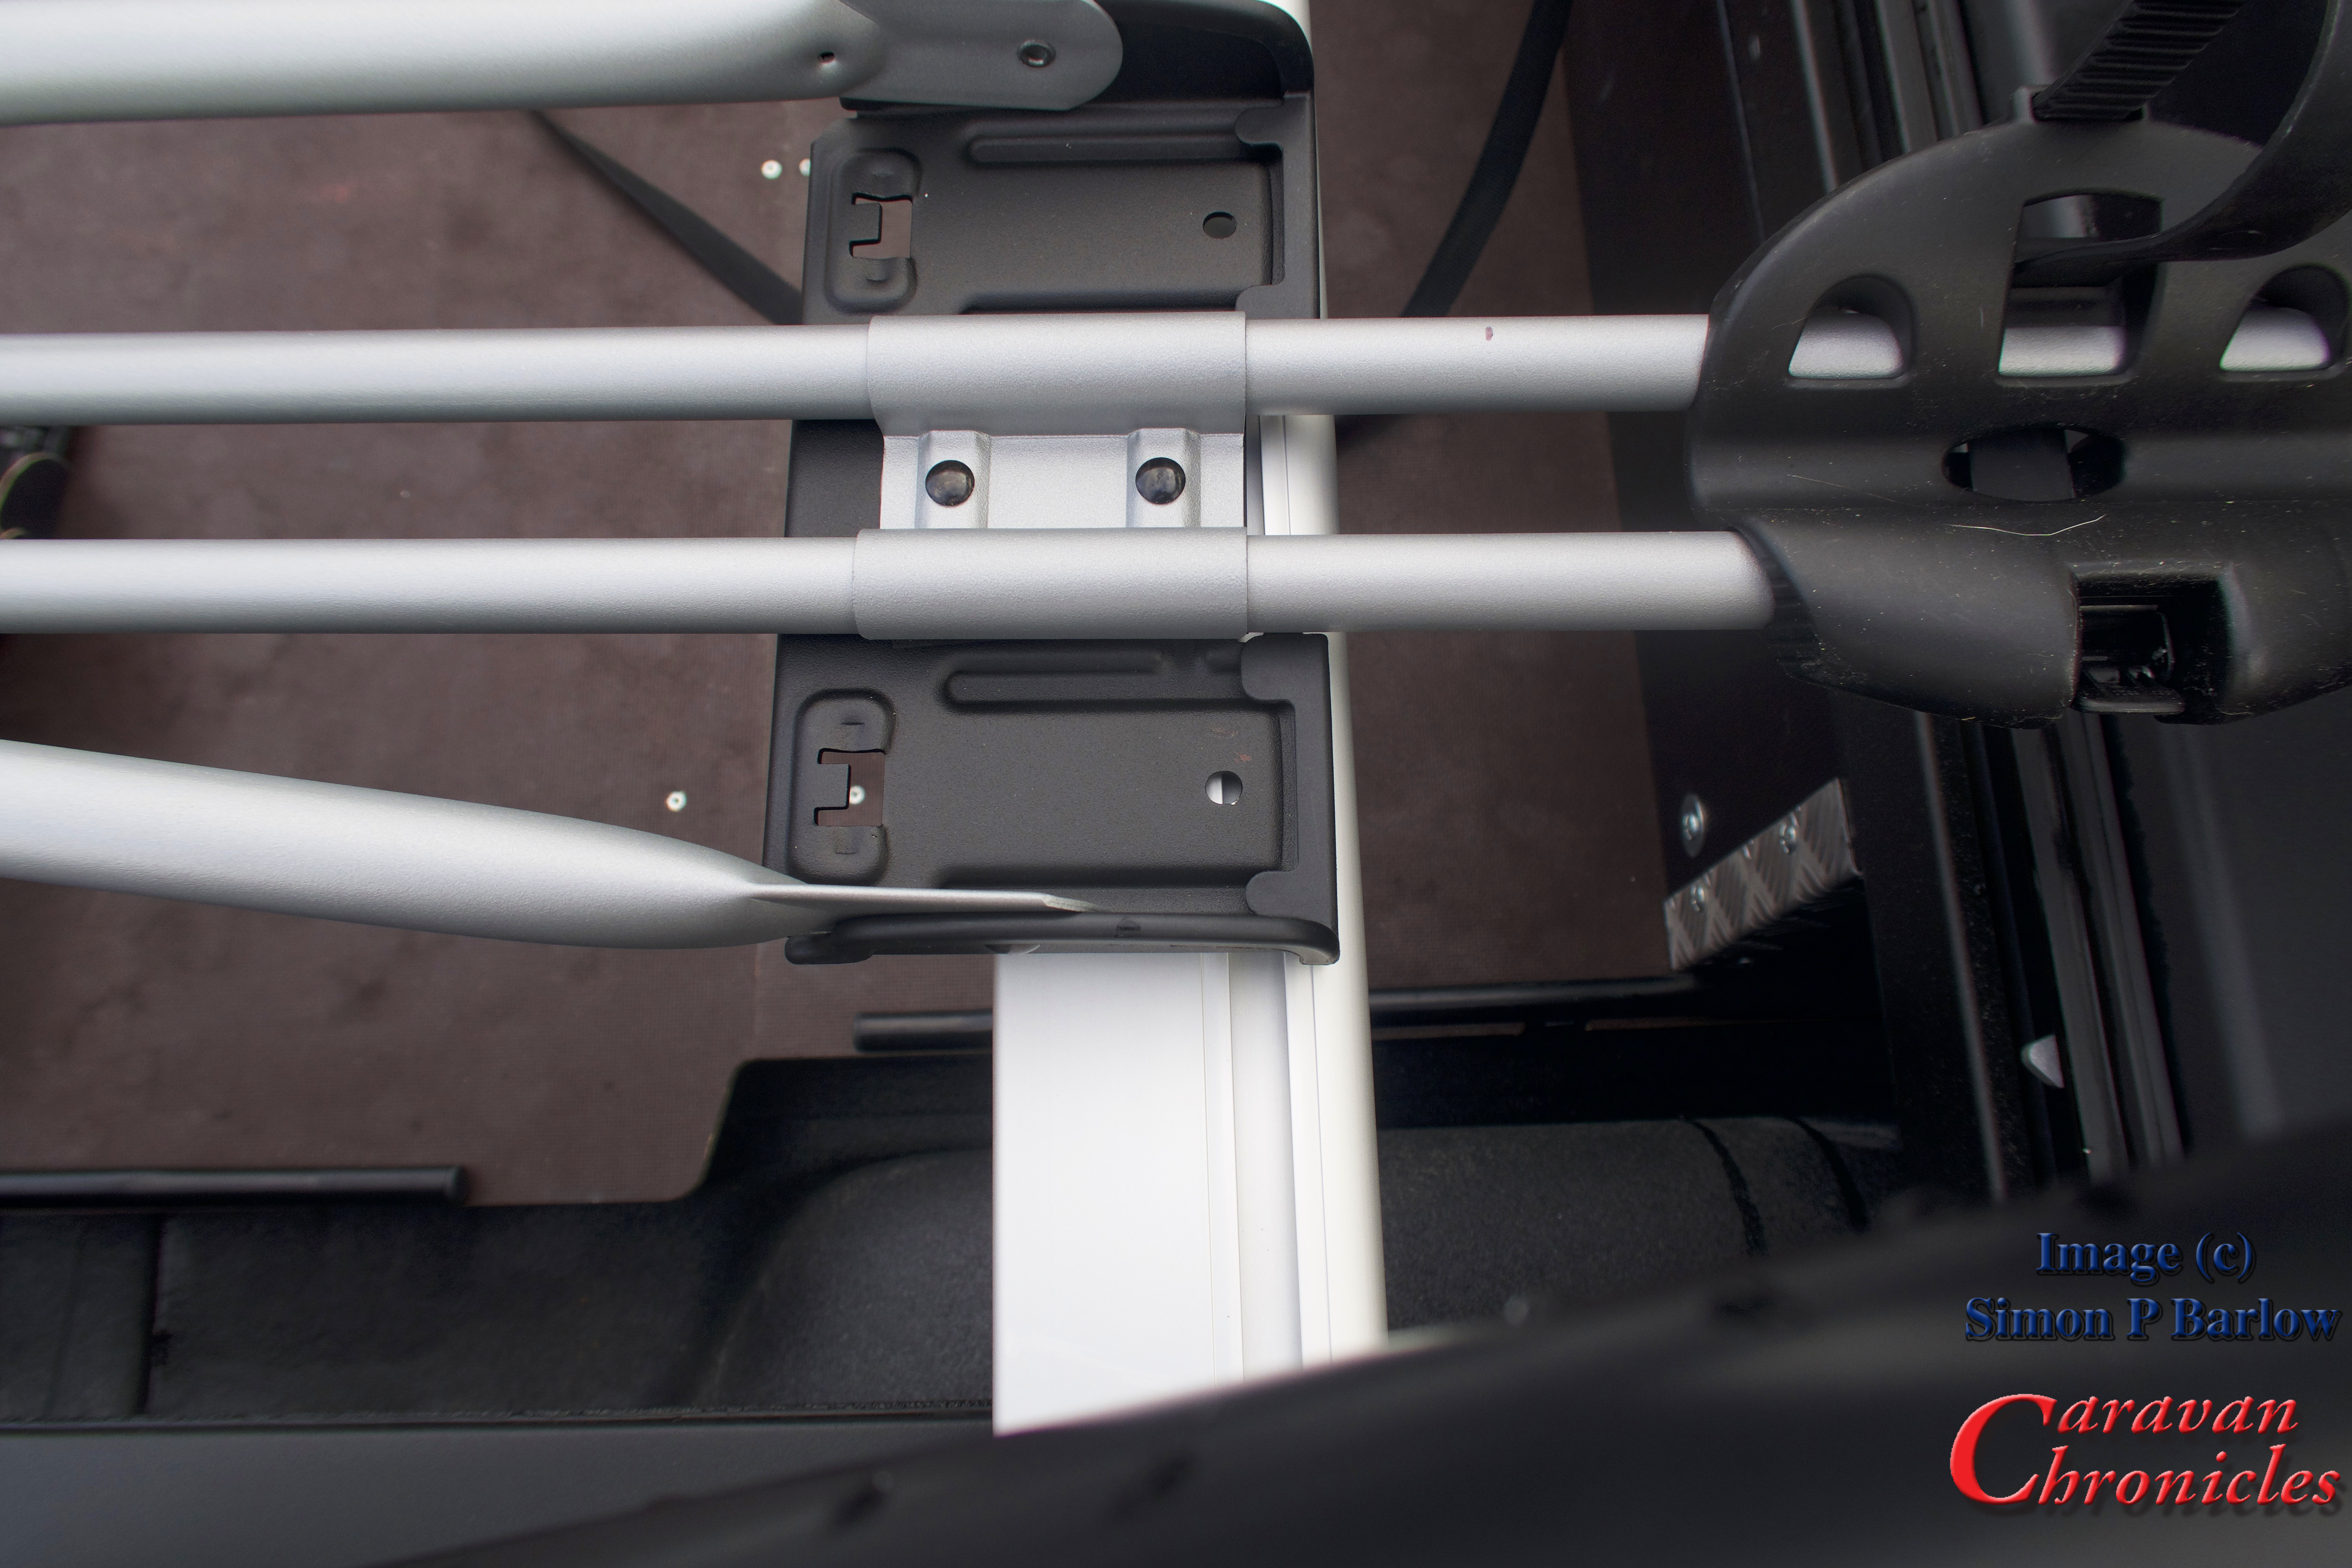
A few days after that we are off to The Old Oaks at Glastonbury…. it’s been a few years since we were there so it will be nice to go back and see all the changes and improvements they have made. Hopefully we can get back out on our bikes again as well.

Share this:

  • Click to share on X (Opens in new window) X
  • Click to share on Facebook (Opens in new window) Facebook
  • Click to share on Tumblr (Opens in new window) Tumblr
  • Click to share on Pocket (Opens in new window) Pocket
  • Click to share on Pinterest (Opens in new window) Pinterest
  • Click to share on Reddit (Opens in new window) Reddit
Like Loading...

A Bit Of a Follow Up…

02 Saturday Sep 2023

Posted by Simon Barlow in 5th Wheel, Dash Cam, Hitch Camera, Maintenance

≈ Leave a comment

Tags

5th Wheel Caravan, Hitch Camera, Modifications, Reversing Camera, Towing, Trailer Electrical projects

This is just a bit of a follow up to A Bit Of An Upgrade… really. After installing the new camera on the 5th wheel, I went ahead and installed a new camera for hitching up. Now obviously hitching up a 5th wheel is a bit different to a tow ball and having a camera in the right position makes it so much easier… So the view in the ‘mirror’ is now a bit different!

The cameral is aligned with the hitch centre line so it should make reversing back on to the pin a doddle…. OK I have square it up a bit since taking the photos! The system I opted for allows the addition of up to 4 cameras to the screen and I have the option of displaying any combination of these cameras in single camera, two camera or four camera in various patterns, all easily configurable from the screen. So for the moment I have it configured so that each camera is displayed full screen and I can simply swop between them using the CHannel button.

Mounting the camera was pretty easy…. I used a short length of 50mm aluminium angle and with a deft bit of drilling in the right places it allowed me to mount the slim licence plate style camera on the top of the Roll-N-Lock cover.

From a distance it doesn’t stand out too much. I sprayed the aluminium angle with etch primer then a couple of coats of black bed liner so it almost matches into the black of the Roll-N-Lock… but a quick glance I don’t think you would notice it from the rear.

So I think that is that project finished…. until I decide to do the trailer side view cameras that is!

Share this:

  • Click to share on X (Opens in new window) X
  • Click to share on Facebook (Opens in new window) Facebook
  • Click to share on Tumblr (Opens in new window) Tumblr
  • Click to share on Pocket (Opens in new window) Pocket
  • Click to share on Pinterest (Opens in new window) Pinterest
  • Click to share on Reddit (Opens in new window) Reddit
Like Loading...

The Big Reveal…

28 Wednesday Jun 2023

Posted by Simon Barlow in 5th Wheel, e-bikes, General, Motor Home, Rhuallt

≈ 7 Comments

Tags

5th Wheel Company, Caravanning, Towing

I think one or two of you might have already guessed… we have bought ourselves a 5th wheel caravan. (Was it the pickup that gave it away?) So here it is…

Why a 5th wheel?

We decided that as we have now both fully retired that we would like to change the style of caravanning from a few days in one place then returning home to more of a few days somewhere…. then a wander somewhere else for a while then maybe move on again over a period of a couple of weeks before returning home. We can (and have) done this with our old caravan but packing up and then pitching again was becoming a chore for multiple stops. So we started looking at motorhomes as these had the advantage of more payload and a bit more elbow room. Something else we wanted to do was store our e-bikes inside rather than secure them outside when on site.

However when the cost of a suitable motorhome started to creep well above £100K…. we dismissed all the UK built motorhomes as most are just a caravan dropped on a chassis with an engine. So A-class it was. We looked at Carthago and really liked the c-line but my wallet went into cardiac arrest. We could cut costs a little if we cut some of our requirements and on top of that adding a vehicle that we could tow. It meant we were looking at the thick end of £150K. On top of this would be the cost of a towed vehicle and the decision to either flat tow or trailer. I believe that flat tow can be a bit of an issue in some European countries, but that might be hearsay. The yearly cost of two services, MOT’s, Insurance was also a big factor.

We started looking again at caravans with a new vision. The problem was for me, writing this blog for over 12 years now, I was a little nervous of investing in the mainstream UK offerings. It also left us with the original reason for changing over to a motorhome – the convenience of it all, that was still in our minds.

We had known about the 5th Wheel Company in North Wales for a long time, in fact a few years ago we sat in both a Celtic Rambler and a Dream Seeker at the Yorkshire Caravan Show and I had a bit of an affair moment with them. However back then we were still towing with our Land Rover Freelander (which we still own and is still going strong!) and the cost of a pickup and a 5th wheel was just not within our budget. But my brief dalliance with the 5th wheel remained in the back of my mind.

Just before we went to Sutton-on-Sea we had talked about maybe a 5th wheel instead of a motorhome. It has the load capacity (with this one we have about 950Kg available) plenty of elbow room, storage and it only requires servicing… no MOT or vehicle insurance only caravan insurance, this time we already have a pickup so no need to change vehicles. It is fitted with a 250 litre fresh water tank, grey tank, still uses a Thetford Cassette for the loo (so no issues trying to dump a black tank) so is exactly the same as a motorhome in a lot of ways. Plus it has a slide out for that all important elbow room (I’ll refrain from saying ‘enough room to swing a cat’ as Henry might be lurking around)… I’m getting ahead of myself.

I dropped an email to 5th Wheel Company asking if they could put us on a list just in case they had any pre loved units come in for resale. A few days later George from 5th Wheel emailed me back that they just happened to have both a Celtic Rambler and a Dream Seeker coming in and sent me the details they day we departed for Sutton-on-Sea.

Long story short… we received an email while we were in Sutton-on-Sea from George at the 5th Wheel Company letting us know they were having two opening days and asking if we would like to come along. The first one was Friday the day after we were due to return home from Hanworth Country Park.

5th Wheel Company Open Day

Friday was warm and clear blue skies and the run out from Manchester to Rhuallt was rather pleasant with light traffic. We were a bit early so stopped for a coffee at a service statin that overlooks the North Wales Expressway and parked looking at all the caravans and motorhomes passing by in both directions. I’ve aways wondered why so many caravans and motorhomes only seem to have one bike… there seemed to be a lot more with one bike that two and of course there were camper vans that looked like support vehicles for the Tour de France with six or seven on the roof or hung off the back.

When we arrived we were met by George and shown into the main showroom and offered coffee’s. We chatted to the couple manning the coffee table and discovered they had just sold their 5th wheel and bought an Inos caravan. Sorry I can’t recall their names. We had a look round the Dream Seeker and then the Celtic Rambler. For us, the Dream Seeker seemed the right ‘fit’. Although the Celtic Rambler has a larger bedroom we actually preferred the layout of the main living space.

The previous owners had opted for a few extras, a twin 11 kg Gaslow system with external filling point, twin 110Ah batteries and a 15 foot Carefree awning as well as a leather upgrade, Nature Pure water tap and a few other bits were included. Simon came over and introduced himself and we started chatting, answering my growing list of questions. He asked if we would like a test drive of a unit that had outside. It was a customers unit that they had permission to use. We hopped in and Simon took us out for a short run and then we swopped over and I had chance to get the feel of pulling just over 4 tonnes of Celtic Rambler. The unit was fully loaded with the customers belongings so it was a good test of reality. My honest opinion was to be a bit underwhelmed… I don’t know what I expected but it was such a non event towing it round small welsh backroads, through a couple of small villages and honestly the roundabouts, I didn’t even feel I was towing. OK the performance reflected that there was 4 tones back there but handling was no problem and even accelerating onto the Expressway, put your foot down it still went. Probably a bit better than some of the large motorhomes.

We got back and went and sat in the Dream Seeker again…. with another coffee. We spoke to Simon about figures, weight’s, costs etc and had another wander round.

The Drive Home…

The drive home was a little busier and full of conversations about what to do. Late afternoon and I think the whole of the North West was descending on North Wales. The queue round Shotton and back to the M56… and on the M56 was horrendous. Thankfully we were heading in the opposite direction.

That evening I emailed Simon to ask if he could just check the door opening size of the garage, Sue wasn’t convinced we could get out bikes in, I kind of thought we could but best to make sure.

Saturday morning Simon emailed me back a photo of the door with all the sizes on it.

I emailed him back simply saying…. “Put a Sold sign on it”.

Share this:

  • Click to share on X (Opens in new window) X
  • Click to share on Facebook (Opens in new window) Facebook
  • Click to share on Tumblr (Opens in new window) Tumblr
  • Click to share on Pocket (Opens in new window) Pocket
  • Click to share on Pinterest (Opens in new window) Pinterest
  • Click to share on Reddit (Opens in new window) Reddit
Like Loading...

Lighting Up The Scene…

25 Saturday Mar 2023

Posted by Simon Barlow in Accessories, Car Trailer, Caravan Electrics, Caravan Road Lights, Electrical, Gadgets, Maintenance, Modifications, Projects, Technical, Tow Vehicle, Towing, Vehicle Wiring Projects

≈ 7 Comments

Tags

Caravan, Caravanning, Caravans, Maintenance, Modifications, Reversing lights, Scene Lights, Towing, Trailer Electrical projects, Travel Trailer, Travel Trailers, Work lights

A while ago I upgraded the lights on our caravan by changing the functions round and added two new LED reversing lights which I can’t understand why I hadn’t done this years ago. In daylight they are bright… and at night they are really bright… retina burning bright according to reports. Reversing into a dark pitch is a lot easier and safety wise having an additional set of tail and brake lights with two large bright rear fog lights instead of the single factory 21 watt light mounted almost as low as you can get on the rear of the caravan is a vast improvement in my mind. You can read about my changes here… “Put Yer Lights On Mate…“

Following that article I had lots of people contact me letting me know they liked what I had done and considering upgrading themselves. Not a clue if anyone did, but that’s how these things go. I did have another email from a gentleman which was a bit different. Now I’ve edited it a bit as it was originally two emails and included a company name and some specific details which I’m sure they would not wish me to publish to the world…. here’s the gist of it though:

“Hi Simon, been reading your blog for a while and I read your post about upgrading your caravan lights. I was wondering if you might be able to help with something we would like to do with our trailers or could put us in touch with someone who can? We have around eight trailers that are used on various locations separately or as a group and are towed by a variety of vehicles, mostly our own but occasionally by contractors. Most of our trailers have additional side lighting powered off the trailers own batteries which are charged from the vehicle or while on site from generators. A lot of our set up and tear down is done at night and we have had issues at dark locations where the vehicles reversing lights don’t really help. Is there any way we could get the side work lighting to come on when the vehicle reverses but could be controlled from the vehicle without any additional switches or alterations to the vehicles but could be turned on and off as reversing on a public road with them on might not be legal”

From an exchange of emails, I do know what the company does and some of the sorts of places it works. They don’t always have access to mains power when setting up or tearing down and would like something that can easily be installed in a trailer without too much alteration to the electrical services. Nothing could be installed in any of the tow vehicles as the vehicles were not always their own and I first suggested a cheap(ish) remote switch that could be used by the driver to turn them on and off as required. I was told this was not an option as the remote switches would likely get lost/damaged or need batteries or be with the wrong crew, some sites they could not use any radio equipment.

Time to put my thinking cat on…

Polo…. always a great thinking cat, sadly no longer with us.

I had a bit of an idea forming. Something I’d seen on a Class A American RV (Prevost I think) was a set of spotlights set in the side panel of the RV pointing backwards and located near the front wheel. These lit up down the side of the RV and the ground to the side when reversing…. I’d thought about adding a couple of simple cheap LED lights to the underside of the caravan between the wheel and front of the caravan angled outwards by about 60 degrees mounted under the floor… so when I reversed they lit up the caravan wheel and the ground it was going over so I could see it clearly at night in my mirrors. I had pondered how to switch this on and off using the Amarok but not add any more wiring between the caravan and vehicle. So I’d already come up with a solution.

Here is what I came up with…

It’s a simple two relay set up. The two triggers for this to work are the vehicle reversing lights and the rear fog lights. The top relay in the box is activated by the vehicle being in reverse with the reversing lights on. The lower relay is activated by turning the vehicles rear fog lights on. Only when these two conditions are met, is there a circuit across the two relays switches made thus activating the work lights on the trailer.

Quite simply when reversing to turn on the work light simply turn on the rear fog lights and the work lights will come on.

Cables 1, 2 & 3 connect to the road lights. Cables 4 & 5 are for the switched load. The cost was around £15 for the components for each unit and that included Bosch relays & sockets, the die-cast box and fuse holder. I guess putting it in a plastic case and using cheaper eBay sourced relays could halve that cost.

I did also think that as an upgrade or option the relay operated by the reversing lights could be a timer relay. Set it to say 15 seconds, then when reversing you turn on the work lights and they will remain on of 15 seconds after reversing as long as the rear fog lights are on. This would give you time to reverse, pull forward and reverse again. Each time you select reverse the timer would reset and as soon as you disengaged reverse the timer would start its countdown again.

High level work lights could be a boon to reversing into dark pitches or storage sites. Image take from the internet, copyright not mine.

It was as simple as I could get it using existing signals from the vehicle that already pass through to the trailer. I guess it could be used to turn anything on using any combination of lights operating from the vehicle.

The wiring between the road lights and work lights is kept separate as I wasn’t 100% sure how the trailers power system worked and how it was connected to the road lights (if at all) The two relays were installed in a die cast box with a grommet for the 5 cables. All the trailers were fitted with one of these and apparently they have all been working fine for several months.

Why did I opt for reversing lights and fog lights?

I wanted something that would not be used generally through the day so reversing on a public road during daylight or even at night the work lights would not illuminate. Running during the day with lights on and your fog lights will not operate the working lights… and if you are running in weather that requires headlights and rear fog light… then I guess having the working lights come on while you reverse in those inclement weather conditions just makes you more visible to everyone around. So apart from that I don’t think that you will cause a danger on the road with this set-up.

So…. I think I might just have to install one of these on my caravan…. just in case!

Low level scene lights down the side of the trailer can be just as effective as high level work lights. Image taken from the internet, copyright not mine.

Its a fairly simple DIY job to build a box and install it without too much messing about with the original wiring. Now someone asked me about getting the orange side marker lights to flash in time with the indicators…. and remain as side markers when the indicators weren’t being used. Is this something I need to put my thinking cat on for? Let me know in the comments.

Share this:

  • Click to share on X (Opens in new window) X
  • Click to share on Facebook (Opens in new window) Facebook
  • Click to share on Tumblr (Opens in new window) Tumblr
  • Click to share on Pocket (Opens in new window) Pocket
  • Click to share on Pinterest (Opens in new window) Pinterest
  • Click to share on Reddit (Opens in new window) Reddit
Like Loading...

Fit2Go Tyre Pressure Checker…

05 Wednesday Apr 2017

Posted by Simon Barlow in Accessories, Gadgets, General, Maintenance, Product Review, Reviews, Technical, TPMS

≈ 6 Comments

Tags

Caravan, Fit2Go, Maintenance, Touring, Towing, TPMS, Tyre Monitoring, Tyre Pressure

Back in December last year I did a write up and little video with Andy Harris from RoadPro about the Fit2Go tyre pressure monitoring system. In the video he promised to send me one of the new Fit2Go Tyre Pressure Checker units as soon as they were released. Well Andy kept his word and yesterday I received a little package from Road Pro.

IMG_1112

I had seen a sneak preview of one of the first early production units available at the NEC show in February and managed to have a quick run through of it very simple operation.

IMG_1113

The unit comes neatly packaged and isn’t contained on one of those damn near impossible to open blister packs thankfully. It arrive complete with a set of AAA size batteries, a holder which has a pad of 3M VHB tape to allow it to be attached and stowed securely inside the vehicle. VHB if you don’t know stands for Very High Bond, so choose your storage location wisely… it might be a bit of a do-dah to move!

IMG_1114  
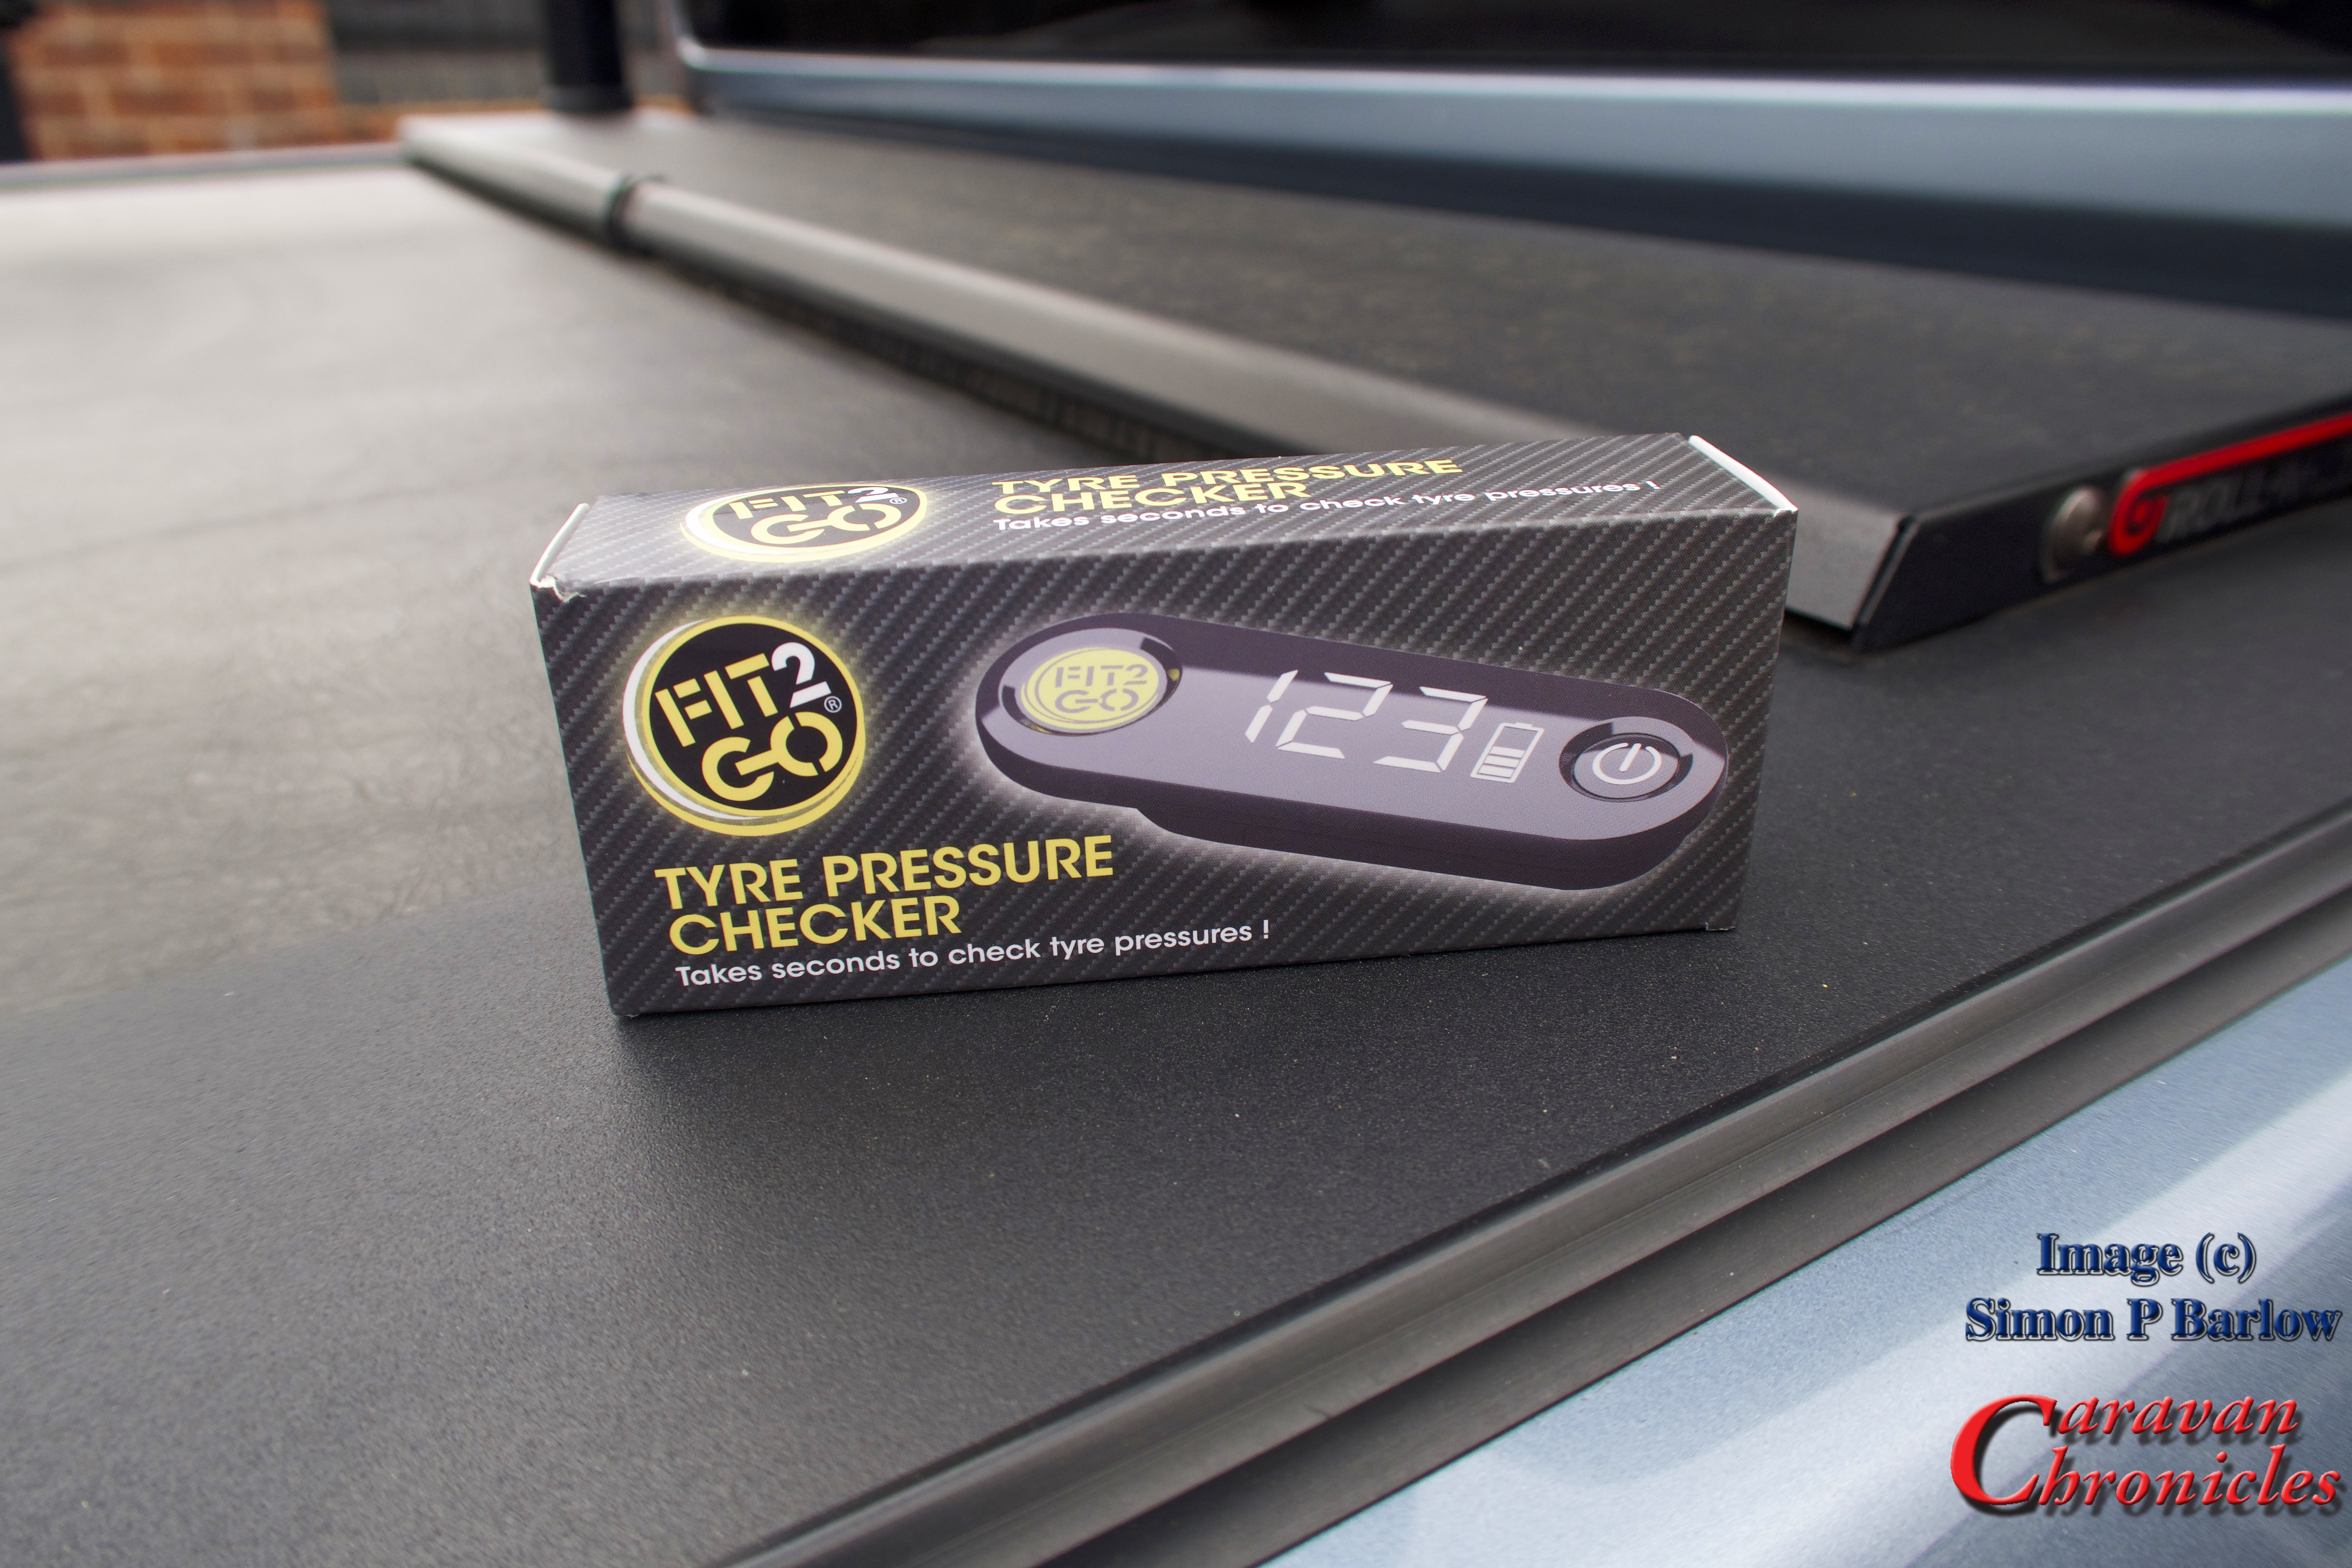
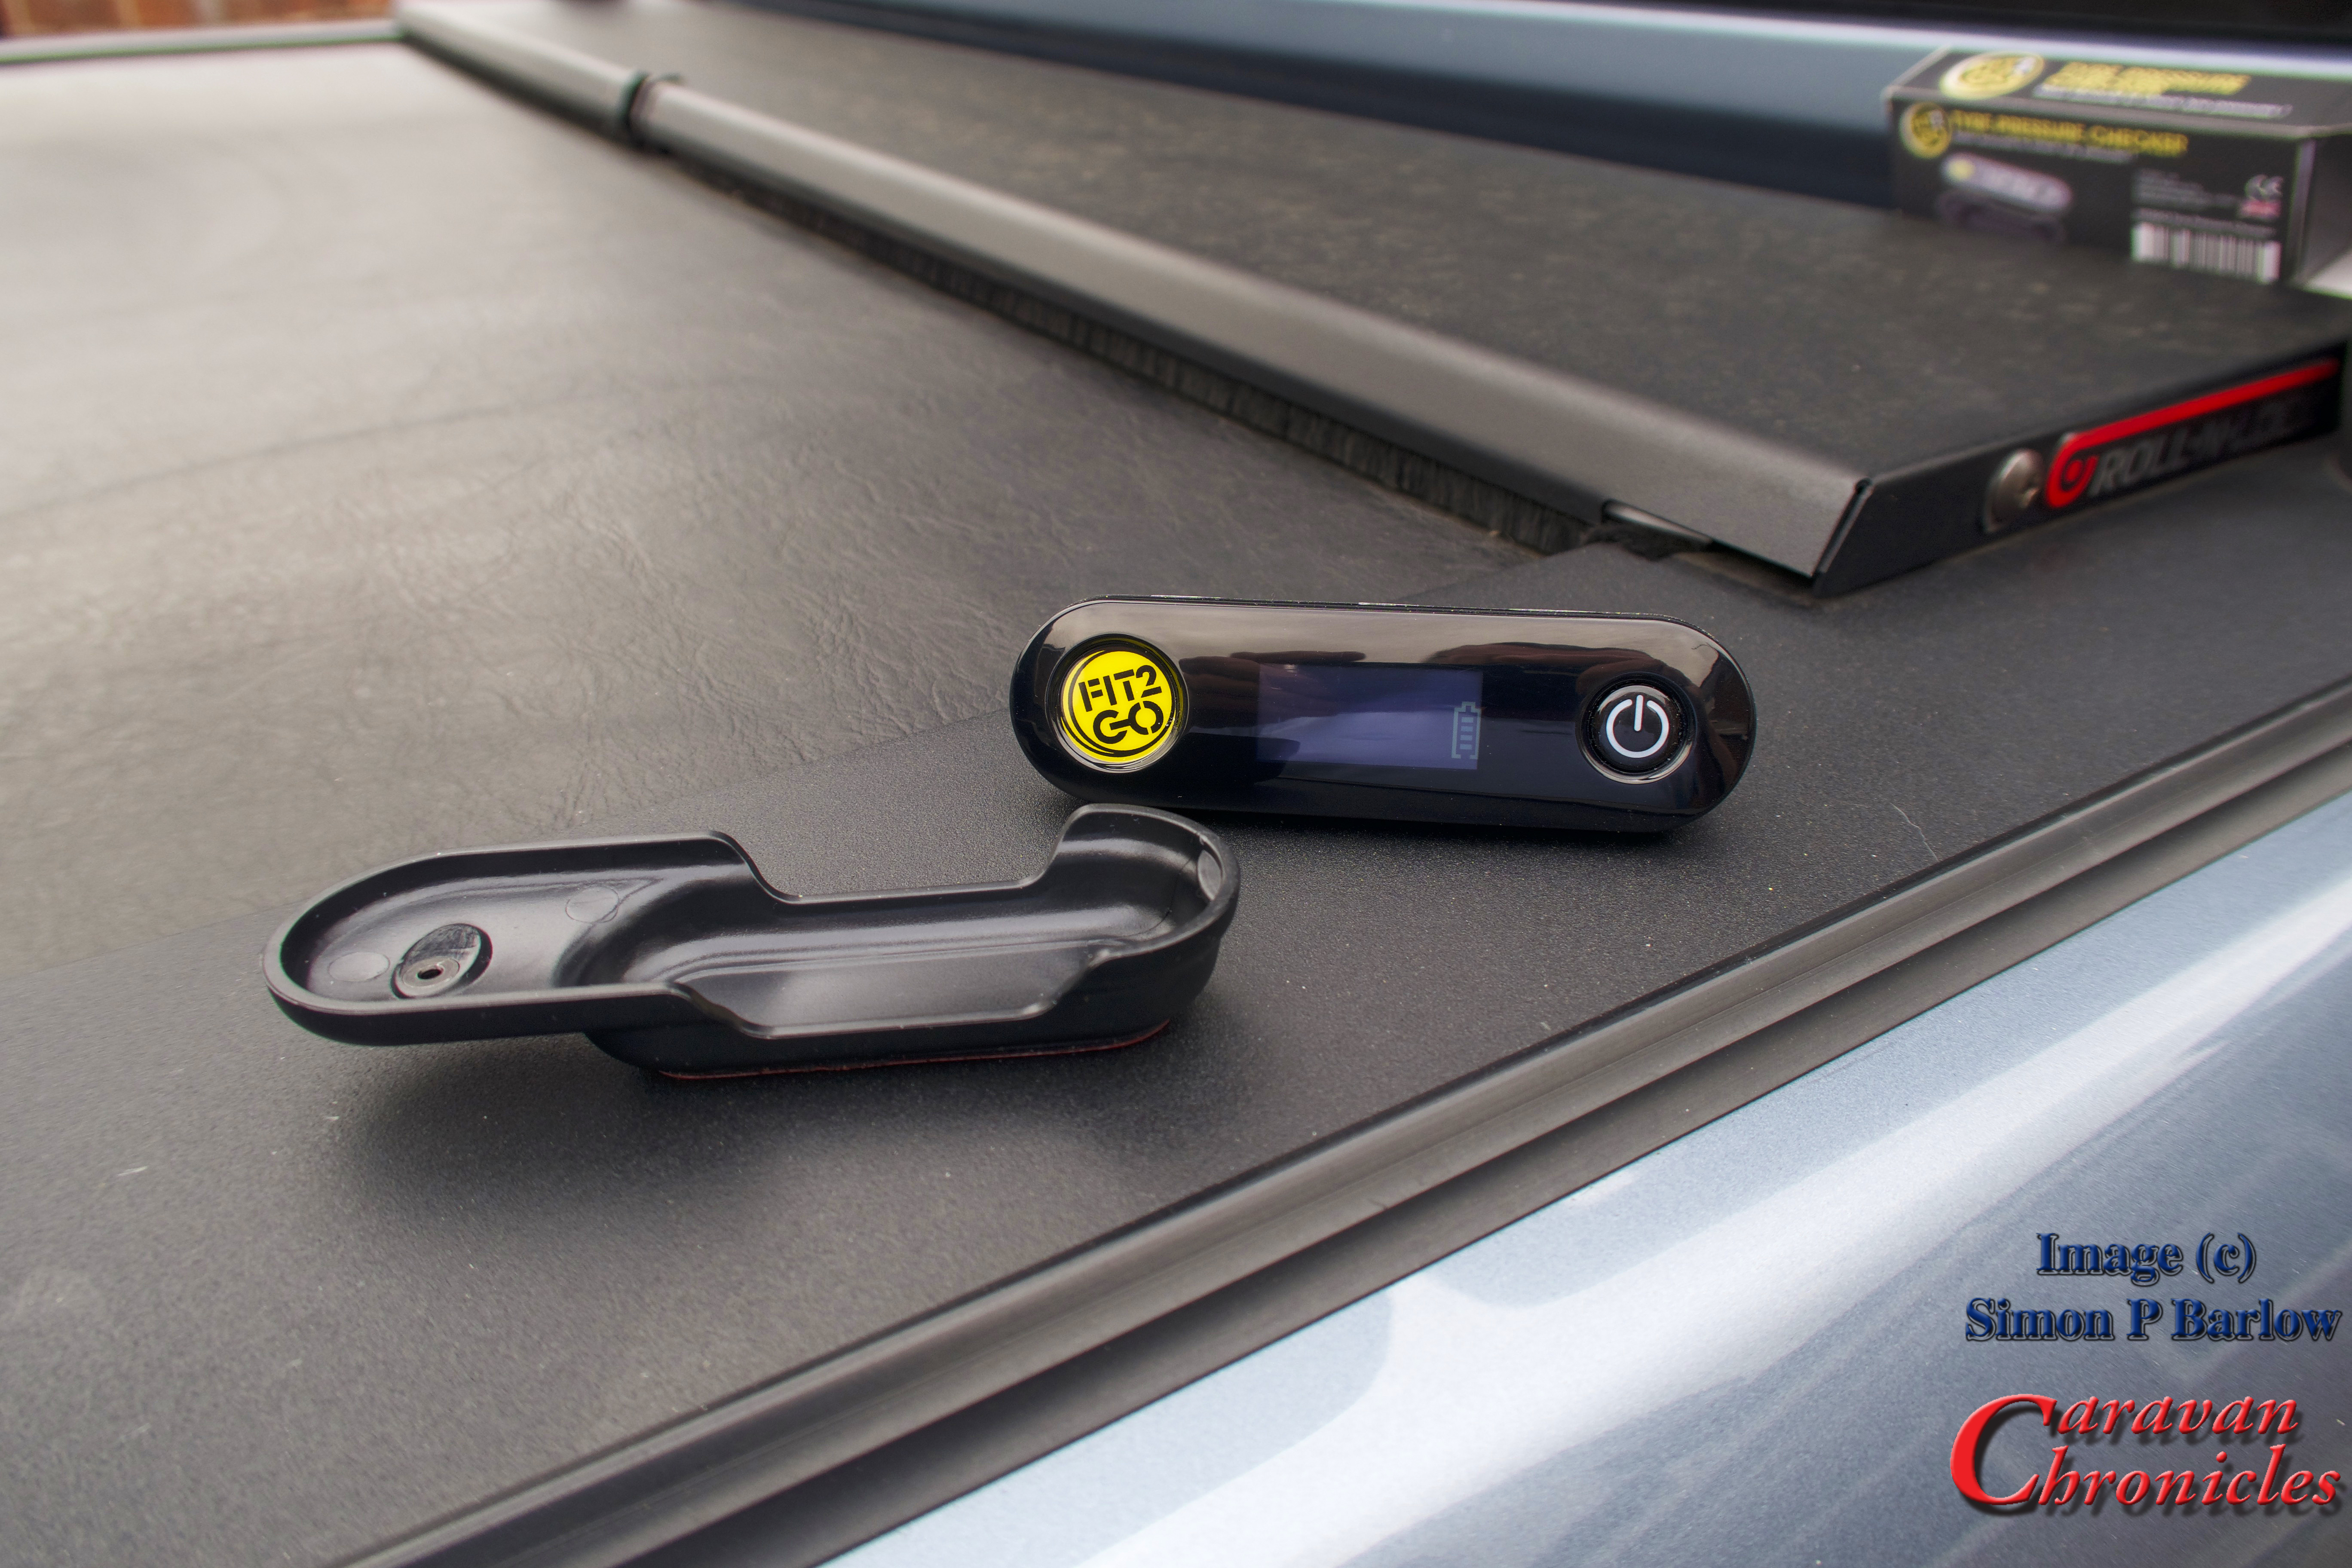
Operation is really simple. Press and hold the on button for five seconds and the unit will power up and display the status of the units own batteries.

IMG_1116

To obtain a pressure reading, simply place the unit’s logo over the tyre pressure sensor and you will feel a slight pull as the internal magnet pulls it towards the sensor, it’s this magnet that ‘wakes up’ the sensor.

IMG_1118

29 PSI is correct for the Amarok running light, and this sensor is showing 3 battery bars.

After a few seconds the Pressure Checker will beep and you can read the pressure for that wheel… and cleverly, you can also check on the battery level in the sensor. The display is in good old PSI, however if you don’t work in PSI and much prefer BAR, while the Pressure Checker is turned on, simply press the on/off button five times in quick succession and it will beep and the reading will now be in BAR. To change it back, simply do the same again to revert to PSI. To turn the Pressure Checker off, simply hold down the power button for 3 seconds and it will beep and turn off.

That is about as complicated as it gets.. really. The only real challenge is to find a spot to stick the holder!

IMG_1115
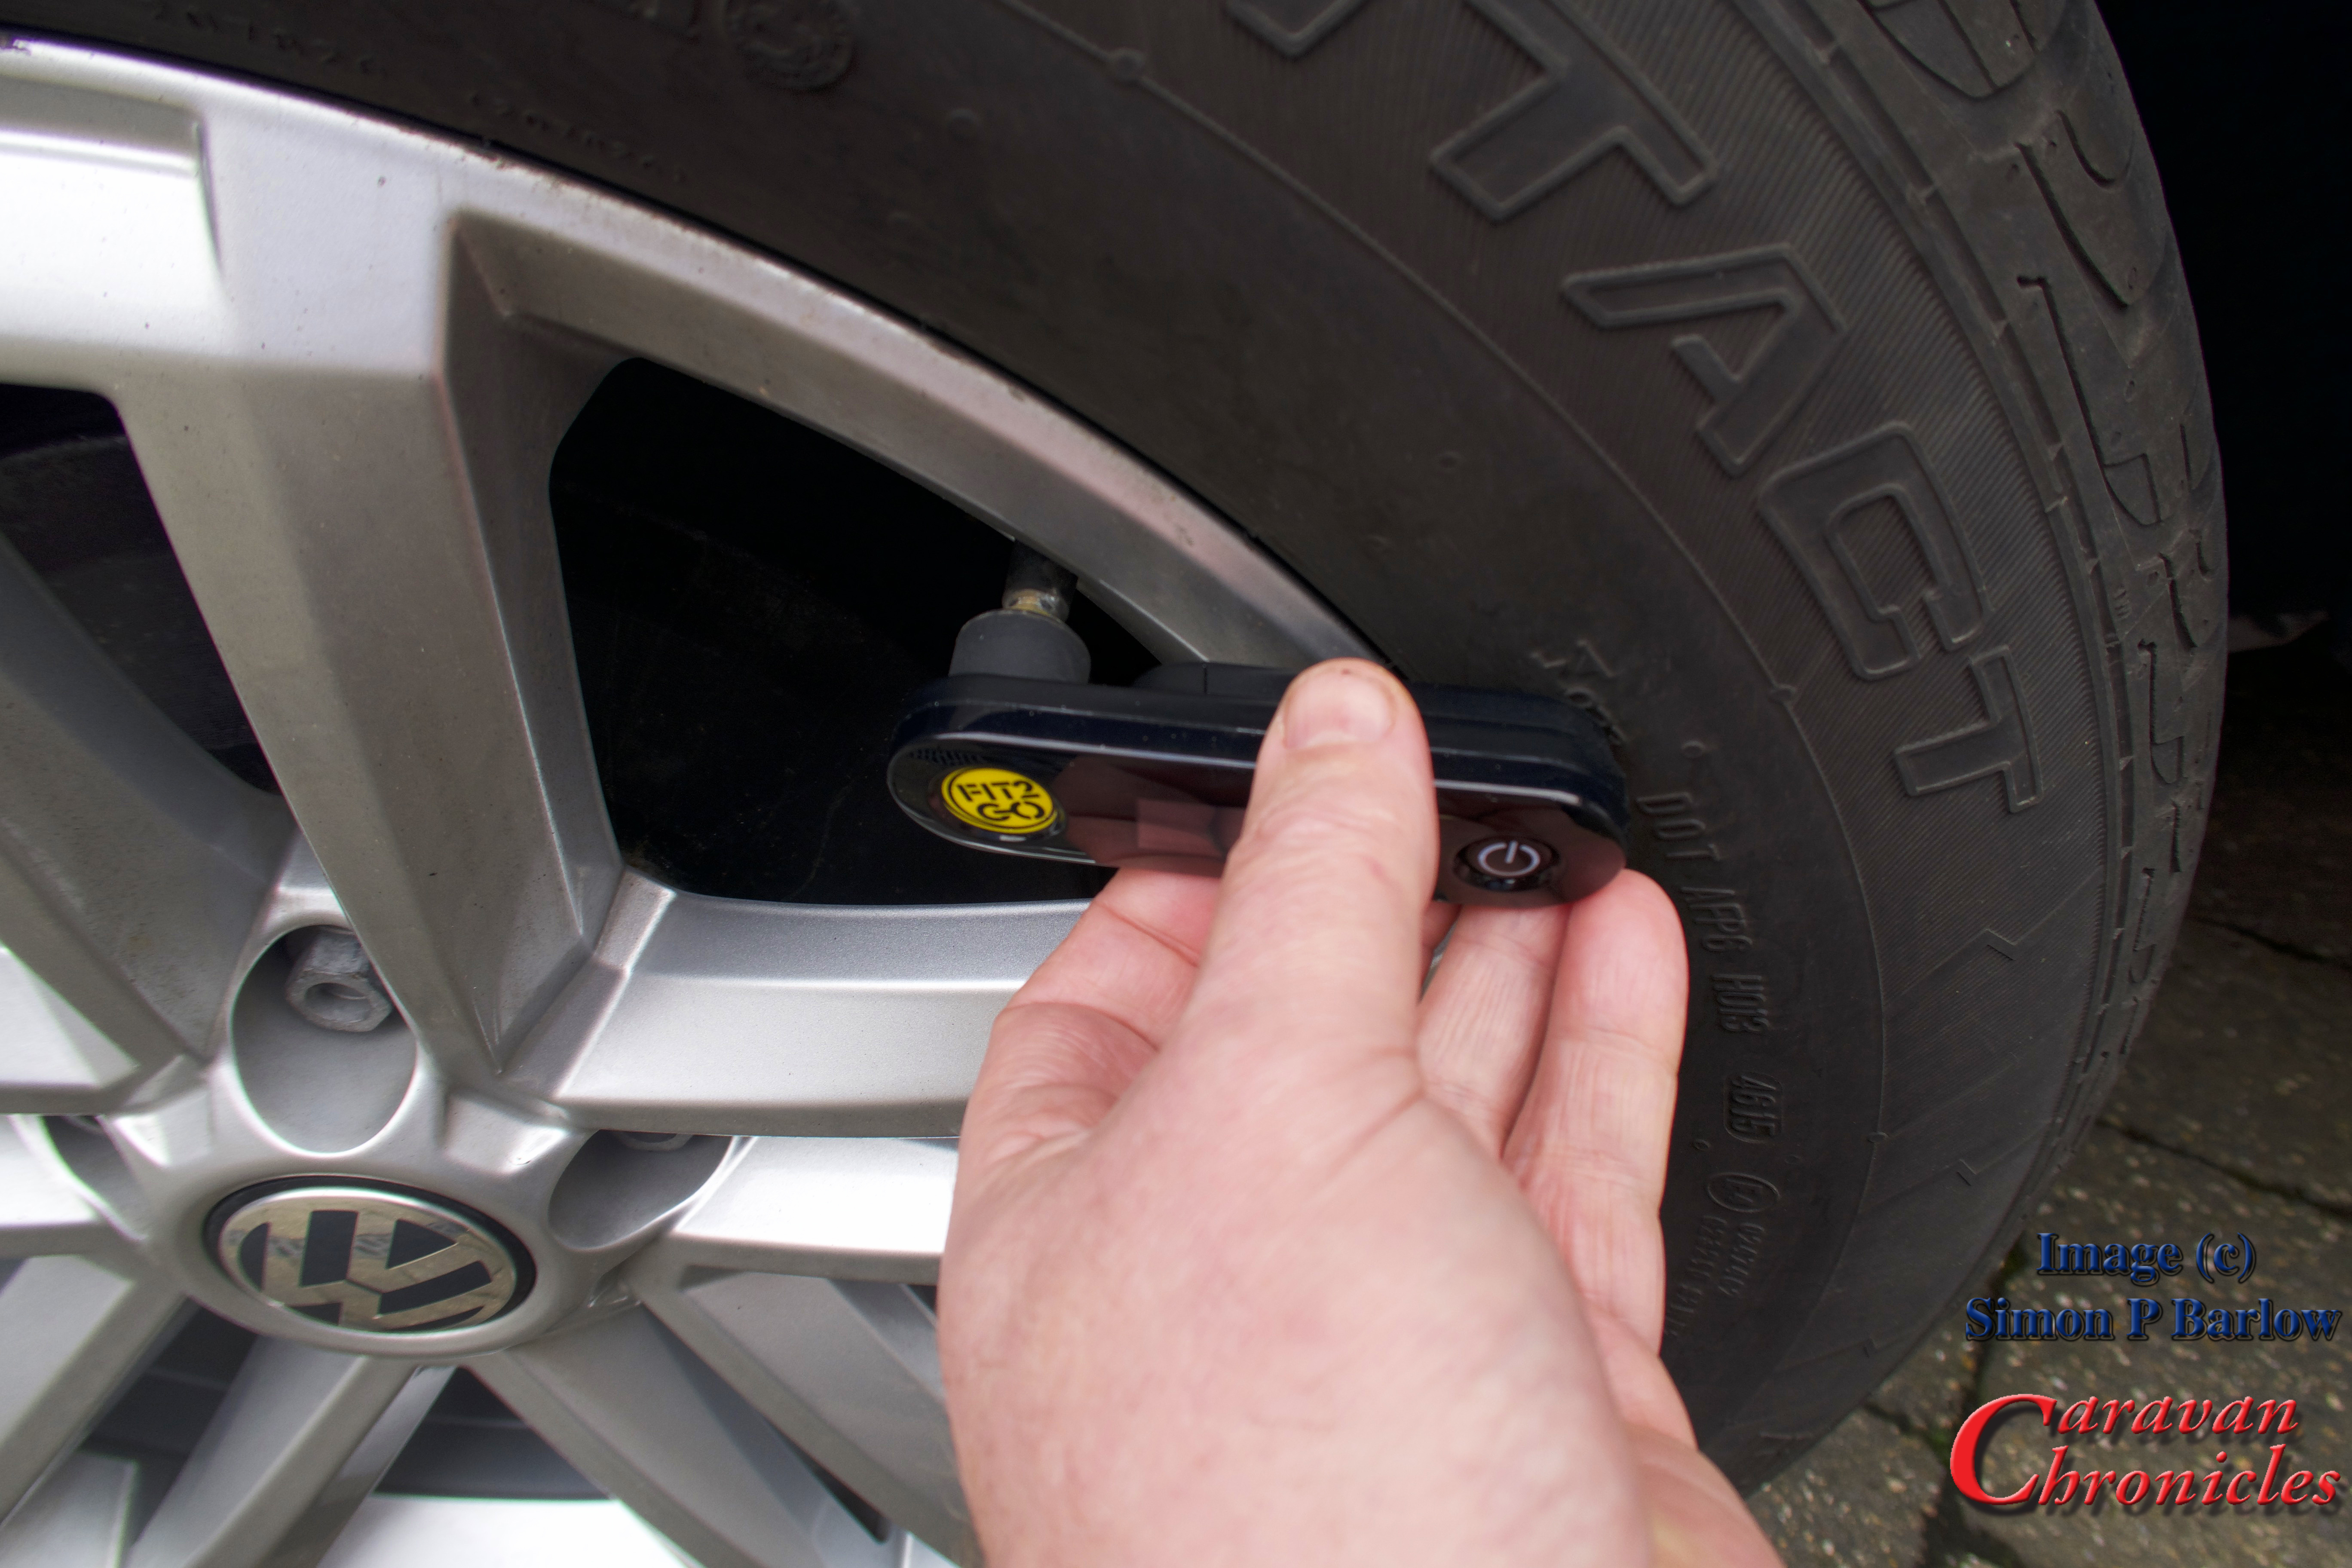
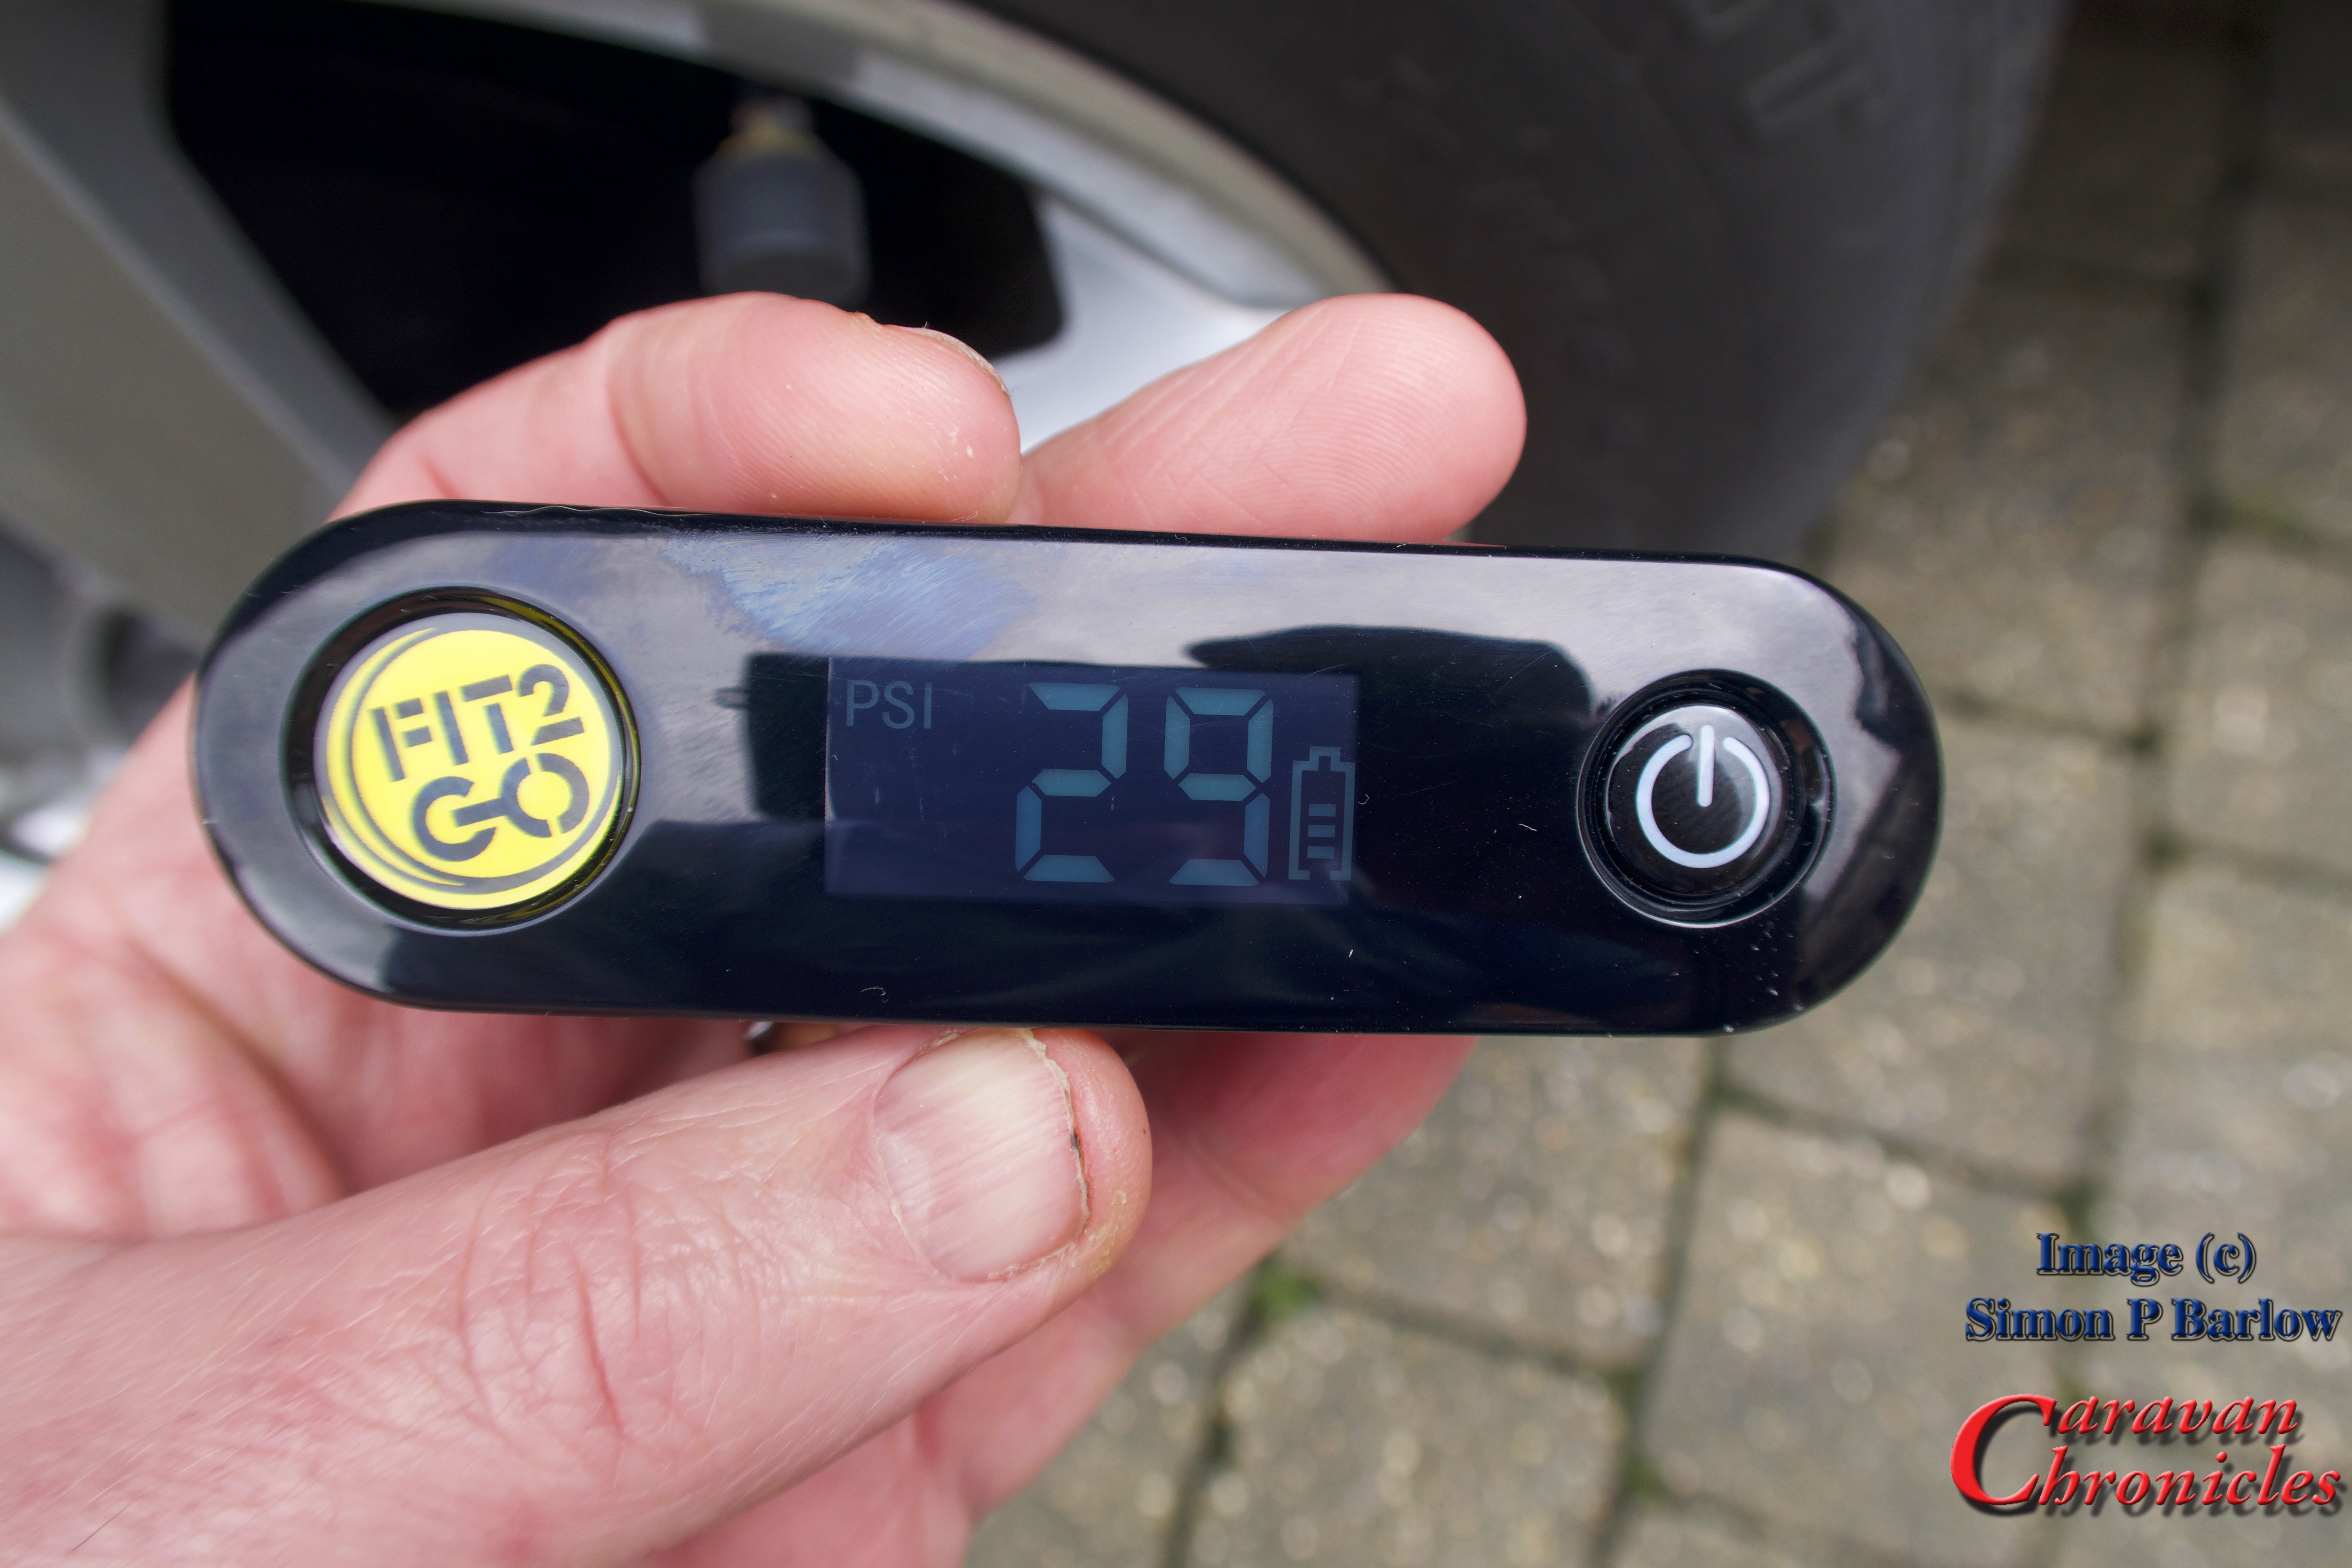
I have tried a few different TPMS ‘solutions’ over the past couple of years and all have plus points and minus points. As I am one of these people who likes to do walk rounds before setting off (throw back to my flying days I guess) I really didn’t want Formula 1 type information thrown at me all the time. I wanted a simple warning system and a simple way to check the pressure without having to remove any sensors. Fit2Go ticks these boxes.

If I did have a negative point about the Fit2Go system it would be the fact that the batteries in the sensors are not user replaceable. At least I do have a way to check the status of them now. The sensors are not too expensive when they need replacing, but  will be more expensive that replacing just a battery. Part of my brain is shouting “recycling” at me… and I do wonder why the manufacturer hasn’t come up with a recycling scheme… exchange your old sensors for new for a few pounds less than buying new and we will recycle them. Or maybe a discount voucher scheme when you recycle?

The Fit2Go Tyre Pressure Checker is available from RoadPro for just under £40 (exc shipping) or you can always find it on Amazon.

Share this:

  • Click to share on X (Opens in new window) X
  • Click to share on Facebook (Opens in new window) Facebook
  • Click to share on Tumblr (Opens in new window) Tumblr
  • Click to share on Pocket (Opens in new window) Pocket
  • Click to share on Pinterest (Opens in new window) Pinterest
  • Click to share on Reddit (Opens in new window) Reddit
Like Loading...

Fitting A Bike Rack to the VW Amarok – Finale…

12 Sunday Mar 2017

Posted by Simon Barlow in Accessories, Amarok, Bike Carrier, Bike Rack, General, Modifications, Tow Vehicle, VW Amarok

≈ 5 Comments

Tags

Bike Rack, Modifications, Touring, Towing, VW Amarok

It’s time to wrap up the bike rack install. I had to wait a few days for the final rack to arrive. Although I had ordered a twin pack of the Thule FreeRide 532 from Holdcrofts via Amazon and they had shipped out a twin pack, it would seem that their courier had ‘lost’ one and to Holdcrofts credit as soon as I emailed them they dispatched another… which the courier took four days to deliver.

IMG_1098 Continue reading →

Share this:

  • Click to share on X (Opens in new window) X
  • Click to share on Facebook (Opens in new window) Facebook
  • Click to share on Tumblr (Opens in new window) Tumblr
  • Click to share on Pocket (Opens in new window) Pocket
  • Click to share on Pinterest (Opens in new window) Pinterest
  • Click to share on Reddit (Opens in new window) Reddit
Like Loading...

Fitting A Bike Rack to the VW Amarok – Part 2…

04 Saturday Mar 2017

Posted by Simon Barlow in Accessories, Amarok, Bike Carrier, Bike Rack, General, Modifications, Projects, VW Amarok

≈ 3 Comments

Tags

Bike Rack, Maintenance, Modifications, Touring, Towing, VW Amarok

OK, so now to fit the actual bike carriers onto the rack I had previously installed a couple of days ago.

We had opted for the Thule FreeRide 532 over the ProRide version. What put me off the ProRide were a couple of videos on YouTube showing just how easy it was to remove a bike supposedly locked on to the rack. The FreeRide 532 has two arms supporting the bike and offered an option for additional security…. which I’m not going to go into for obvious reasons!

I had ordered a twin pack of the FreeRide 532, unfortunately I only received one. It seems the other was lost in transit somewhere according to my enquiries with the supplier. The other thing I found out was they (or it) didn’t come with the “T” track fixings. OK so a quick trip down to my nearest Thule dealer Northwest Towbars to pick up the elusive fixings. They would remain elusive… Northwest Towbars didn’t have any in stock. Not to be out manoeuvred I’d make my own.

To the bat cave again…

I just happened to have some 2mm aircraft grade aluminium handy and cut eight 21mm x 45mm pieces. The FreeRide 532 normally has three mounting locations, but as there was an additional hole that lined up with the “T” track it would be rude not to use it! So I made four for each rack.

img_1069For the threaded bolt I had some dome head bolts handy. The width of the dome head was wide enough so it would not pull through the slot on its own so I was not relying on a 2mm think aluminium plate entirly. To hold the bolts in place I drilled a slightly undersized hole in the aluminium…

img_1074

img_1075img_1077…and used my small press to force the square shoulders of the bolt through the aluminium plate to hold it in place.

img_1078The result was eight “T” track bolts. A quick dressing up on the sanding belt and fine grinding wheel to remove any rough edges finished them off.

img_1079 The excess length of the bolt would be trimmed later.

Fitting the FreeRide 532 Racks

Sliding four of the newly made “T” track bolts in to the WingBars I could place the FreeRide 532 on to the bars.

img_1080I used a couple of nuts to hold the rack in place while I test fitted one of the bikes. It was a bit too tight. The swing up frame section that clamps on to the bike only partially engaged on the bike frame. The whole rack needed moving rearwards by about 10 to 15 mm.

Not a problem, as the WingBar mounting is off set laterally compared to the “T” track, reversing the bar so it faced the other way would solve this and effectively move the “T” track slot rearwards by about 20mm.img_1081

With the WingBar mounted in the other direction the bike was a perfect fit. Also it made it easier opening the end caps of the WingBar as configured the correct way round they were a bit tight against the roll bar.img_1083img_1084img_1082The next thing to address was the overhang. I still had around 50 to 60 mm of adjustment I could make to the rails of the FreeRide rack. Removing everything again and a bit of ‘adjusticating’ with a small rubber mallet soon saw the rails in the correct position. I had not been able to get the rear of the mount flush with the pickup tailgate as was my original hope, but checking with a plumb bob…

img_1090img_1091… It was still shorter than the tow ball and only about 40mm longer than the rear bumper. So the overhang wasn’t anything to worry about.  Even with a bike on the rack it would be clear of the caravan in the tightest of turns. Next it was just a matter of squaring things up and tightening everything down.

img_1092

I ended up locating the rack more to the side than I first planned. This was for two reasons. Firstly, once the second rack is in place it leaves me with nearly 800 mm between the two racks which will allow for the option in the the future of having the ability to install a mesh tray, ski rack, surfboard rack (we don’t ski or surf… ho hum) or slimline roof box if we ever run out of storage in the Amarok. The second reason is it will give the rear view dash cam a relatively unobscured view rearward even with two bikes on the back.

Everything torqued to the correct settings, I topped off the nuts with an additional nylon lock nut to make sure they could not vibrate loose…

img_1093img_1094… and using a Dremmel I cut off the excess thread and ground off any sharp edges.  I need to find a suitable plastic or rubber push on cover for these then I can give them a quick coat of preserving grease.

One thing that I did think about was the prospect of the swing arms bouncing up and down when bikes were not on the rack. A quick rummage in my straps box produced a few of these little blue straps and a handy slot on the mounting plate seemed ideal…

img_1096… problem solved. A simple solution to something that may or may not be a problem.

So one rack fitted, all that is left is to repeat for the other side, when it arrives!

img_1097

Share this:

  • Click to share on X (Opens in new window) X
  • Click to share on Facebook (Opens in new window) Facebook
  • Click to share on Tumblr (Opens in new window) Tumblr
  • Click to share on Pocket (Opens in new window) Pocket
  • Click to share on Pinterest (Opens in new window) Pinterest
  • Click to share on Reddit (Opens in new window) Reddit
Like Loading...

Fitting A Bike Rack to the VW Amarok – Part 1…

03 Friday Mar 2017

Posted by Simon Barlow in Amarok, Bike Carrier, Bike Rack, Modifications, Uncategorized, VW Amarok

≈ 8 Comments

Tags

Bike Rack, Modifications, Touring, Towing, VW Amarok

It’s been a few months since we bought our VW Amarok and I hadn’t originally intended it to take this long to install a bike rack or carrier. What slowed us down was sorting out the bits needed for mounting a bike carrier above the bed of the Amarok. In the USA, pickups are plentiful and there are various companies that make carrier systems and mounts for pickups. My initial thoughts it would be fairly easy and started perusing the Thule website. Unfortunately they did not sell the correct mounting hardware for where I wanted to mount the rack.. on the side rails for the Roll-N-Lock cover.

Searching the internet found plenty of results for the type of mounting I wanted… all in America and the most promising system was produced by Yakimar.

However, trying to find a retailer that would ship to the UK was a bit of a problem as most would only ship to the US and Canada. I did eventually find a company in California that would. The next hurdle was the cost. To buy everything and get it shipped over here would ring up a massive £2180 bill at the checkout. This was not worth it. I out the bike rack on the back burner for a while… and the pound against the dollar slipped in the meantime.

Getting ready for installing the bike rack

I started looking around again at the start of this year and returned to Thule and Fiamma. Could I make up my own “kit of parts” to do the job? Fiamma while having a great selection of racks and bits didn’t provide anything in the way of a roof bar so back to Thule again. While mooching about their website I accidentally got on to the American  area of their site and while looking for mounting feet came across one specifically designed for mounting on to flat roofs. The part was intended for a Fibreglass canopy on a Jeep Wrangler but pictures showed them being used on a number of vehicles and camping trailers. This was exactly the part I needed.

I checked with a number of Thule retailers to see if they had Kit 3113 which was used to mount Rapid Podium Foot Pack 460R on flat surfaces. No one had it, so a quick email to Thule asking if it was obtainable in the UK or Europe was fired off. The answer was a bit surprising. It was an American part produced by the American Division and was not obtainable in Europe.

OK, back to my contact at Worldwide Cyclery in California… did they stock it and could they ship it? It arrived within six days. I also ordered the Foot Pack 460R as it was over £60 cheaper even after paying import duty than buying it in the UK on-line. I now had the means to mount the WingBars(Aeroblade). I just needed to check the size and order these and two FreeRide 232 bike mounts. Before I ordered, I checked the width I’d need. Next problem, The WingBars in the UK were 1500mm wide and in the US being manufactured in English sizes were slightly wider by about an inch. They arrived a few days later from the US!

OK, so now I had all the parts… to the bat cave!

Assembling the 3113 mounting plates

Assembling the 3113 mounting plates

The first task was to assemble everything so I could to a test fit of the whole caboodle on the back of the Amarok before drilling anything… always a good idea! The four Kit 3113’s were assembled first and the four 406R feet were mounted on to them.

img_1048

Assembling the 460R on to one of the 3113 mounting plates.

img_1045

 Once this was done, the sub assemblies were slid on to the ends of the WingBars.

img_1050

Once this was done, I could roughly position the two partially completed WingBars across the bed of the Amarok.

img_1051

I now needed to check the position of the bike on the FreeRide 532 so that would in turn give me the position I needed to mount the WingBars. From the centre line of the mounting plate the front edge of the front wheel is about 550 mm, so the front WingBar needs to be at least 550mm back from the rear of the cab.

img_1044

However, the Amarok’s sport bars have to be taken into consideration as these stop the front wheel of the bike going too far forward and will help protect the cab.

img_1067

This presented a problem. The rear of the FreeRide232 protruded back and hung over the rear tailgate by about 350mm and if possible I wanted everything flush. Not a problem, the two bike wheel mounts can be slid forward and backwards to accommodate various size bike frames and the main mounting point… with a little assistance from a rubber mallet and be slid backwards. So in effect I nudged the two main bars forward so they didn’t protrude over the tailgate and the bike still fitted. You can see my mark as I started to move the main mounting plate on the picture below:

img_1053

While doing the test fitting and adjusting the position of the mountings, I discovered I had a bit of luck. On the Amarok sport bar there are two ABS plastic mouldings that fit round the bars that are designed for mounting spot lights or work lights that just happen to line up and can be used as ‘rub strips’ to stop the front wheels contacting the coated stainless steel sports bars.

img_1065

I could now measure where I wanted the WingBars to be located and marked out the positions. I wanted the rear cross-bar to be as far to the rear as possible (something planned for the future) and worked out the distance from the front bar which had to be located so the bike rack fitted with the front wheel tucked against the roll bar.

img_1054

As the sides of the Roll-N-Lock cover had a slot underneath, I’d previously machined 4 pieces of steel to fit in them and pre drilled and tapped the holes. All I needed to do was drill the sides of the Roll-N-Lock cover.

img_1057

The (supplied) hex bolts passed through and screwed into the steel plates I’d machined. I also added a spreader nut and lock nut underneath… just to be sure! The lock nut wasn’t tightened up to the spreader nut, so if someone tries to undo the hex bolts, they will simply back off a little then spin round.

OK, first one done time to do the other side…

img_1056

Other side complete a quick test fit of the WingBar…

img_1059

While pre-positioning the front bar ready for marking out, I was interrupted by Sue… a welcome coffee and hot pie break!

img_1062

Both rails fitted, it was time to add the covers and rubber strips…

img_1051

A final position check of one of the racks and time to call it a day as the rain set in again.

img_1063

The spacing of the bars will give us lots of options for the future to add a top box, ski mounts – these will allow ski’s to be carried angled upwards over the cab (have to learn to ski first though!) or a mesh tray.

I’ll post part two soon showing the bike carrier mounting and go into some of the little pitfalls I have come across.

Share this:

  • Click to share on X (Opens in new window) X
  • Click to share on Facebook (Opens in new window) Facebook
  • Click to share on Tumblr (Opens in new window) Tumblr
  • Click to share on Pocket (Opens in new window) Pocket
  • Click to share on Pinterest (Opens in new window) Pinterest
  • Click to share on Reddit (Opens in new window) Reddit
Like Loading...

Smart Alternators: how they affect Caravans and Motorhomes….

15 Wednesday Feb 2017

Posted by Simon Barlow in Accessories, Caravan Electrics, Electrical, Maintenance, Motor Home, Technical

≈ 43 Comments

Tags

Battery Charging, Caravanning, Caravans, Leisure Battery, Maintenance, Towing

I have been receiving a lot of emails over the last two or three months from people reporting issues around charging their leisure batteries after changing tow vehicles and a similar number from people who are having problems with performance of the installation of the electrical harness on their new vehicle tow bar.

I’ve spent quite a bit of time answering emails and thought I’d try to sum up what is happening. A lot of this is also going to apply to Motor Homes, especially if they have a new Euro 6 engine. Continue reading →

Share this:

  • Click to share on X (Opens in new window) X
  • Click to share on Facebook (Opens in new window) Facebook
  • Click to share on Tumblr (Opens in new window) Tumblr
  • Click to share on Pocket (Opens in new window) Pocket
  • Click to share on Pinterest (Opens in new window) Pinterest
  • Click to share on Reddit (Opens in new window) Reddit
Like Loading...
← Older posts
Buy Me A Coffee

Blog Stats

  • 45,897,949 hits
Follow Caravan Chronicles on WordPress.com

Follow Caravan Chronicles and receive notifications of new posts by email.

Some previous posts you may like...

My last post….

Many thanks to all my friends. As I write this I’m in the Christi hospital hoping to go home in a few days. I was told about a week ago that I had about 3 months to live and should start preparing my affairs. Which Sue and I are trying to do. I have some…

A Bit Of A Tour…

Well not really a tour, only two locations. The first leg was down from Manchester to Glastonbury and a stay at The Old Oaks. We first went there in 2012 and had five or six more visits in the next four years. So it had been quite a while really. We were located in the…

What’s The Question I Get Asked a Lot?

“What’s in your toolbox when travelling?” Tricky one… I don’t have a tool box anymore. I recently started mooching around the internet for a smaller tool box… or rather a tool bag. I used to use up until a few months ago a Stanley Tool Bag. It was lighter than a tool box, I could…

#Tourfest North West

Tourfest North west was our first time attending anything like a gathering of bloggers, vloggers and the generally like minded. It was organised by The Caravan Addys with a little help from others I’m sure as it must be a time consuming task and hard work to bring everything together. We opted to arrive at…

More Jobs Ticked Off…

OK we are still working on a few bits and pieces but the weather on Friday and Saturday was ideal for cleaning the outside of the 5th Wheel. So while Sue made a start on the cleaning of the nose cap, I finished the first stage of the water pump relocation project and upgraded the…

A Few More Jobs Ticked Off The List…

Like any project, ticking the small stuff off a list is the way to move forward even if it seems like sometimes you have ground to a halt. A bit lacking on photos…. I’m temporarily unsure of their location… pilot speak for I’ve lost them! I’ll correct that in due course. I built a new…

A Few Little Jobs Done…

It seems such a long time since I posted anything. Last time out with the Dreamseeker I noticed that the charging voltage when we were hooked up to the truck was only about 12.1 to 12.3 volts as measured in the Dreamseeker battery box. I know that the VW Amarok puts out 14.6 to 14.8…

Happy New Year…

Happy New Year to everyone, I hope you have a great touring year ahead. I’d like to take this opportunity to give you a bit of an update on my personal circumstances and a look forward to a couple of projects I’m planning to kick off our year. First… … A HUGE thank-you yo everyone…

Sutton-on-Sea In September

Just like to say a huge thank you to so many people that have commented or emailed me over my last post. It has cheered me up no end…. it really has. Enough to rattle this post off! We recently went back to Cherry Tree Springs at Sutton on Sea for an 7 day break.…

This Might Be My Last Post…

Not clickbait…. Three weeks ago Sue and I were cycling between 8 and 10 miles each morning to get a morning coffee. Arrived back home and…. well time stopped. I had received notice that my test sample for Bowel Cancer screening had come back positive. Two days later I underwent a colonoscopy procedure which didn’t…

Something went wrong. Please refresh the page and/or try again.

  1. Dave Hart's avatar
    Dave Hart on How to: Connect two batteries in parallelAugust 27, 2024

    brilliant and so well explained! Thank you, love your work!!

  2. Simon Barlow's avatar
    Simon Barlow on Caravan Road Lights – Basic Fault FindingAugust 25, 2024

    Please look at my very last post on the blog

  3. Martin's avatar
    Martin on Caravan Road Lights – Basic Fault FindingAugust 25, 2024

    martin here caravan lights worked fine for two stop overs I had then hooking up again for my third trip…

  4. Emmy’s Camper Travels's avatar
    Emmy’s Camper Travels on My last post….August 25, 2024

    I’m so sorry. My sincerest sympathies go to you and your wife Sue. Your ideas and advice have been so…

  5. Steve Walsh-Jones's avatar
    Steve Walsh-Jones on My last post….August 22, 2024

    very sorry to hear this. Your posts have been very informative and enlightening providing an in depth view on different…

  6. thetwinaxletouringscouser's avatar
    thetwinaxletouringscouser on My last post….August 22, 2024

    Good heavens above Simon I am ever sorry to hear of such devastating news for both you yourself and Sue.…

  7. Eileen's avatar
    Eileen on My last post….August 22, 2024

    Simon and Sue, thank you both for sharing your passion for caravans with us. The news is extremely sad, our…

  8. Philip Parkes's avatar
    Philip Parkes on My last post….August 22, 2024

    Simon. So sad to read you last post today. Our thoughts are with you and Sue at this time. Whilst…

  9. Philip Parkes's avatar
    Philip Parkes on My last post….August 22, 2024

    Simon. So sad reading your post today. Our thoughts are with you and Sue at this time.

  10. Philip Parkes's avatar
    Philip Parkes on My last post….August 22, 2024

    Simon our thoughts are with you and Sue.

  11. Luke Tarrant's avatar
    Luke Tarrant on My last post….August 22, 2024

    Very sorry to read this and my thoughts are with you both at this time.

  12. Alan Smith's avatar
    Alan Smith on My last post….August 22, 2024

    Dearest Simon. I have never met you, but I feel as though I have some (limited) knowledge of you and…

CaravanChronicles.com Tag’s…

5th Wheel Caravan 13 Pin Plug Accessories AL-KO Avtex Bear Extender Bike Rack Blackpool Blackpool Illuminations blogging Cadac Camping & Caravanning Club Canterbury Caravan Caravan Blog Caravan Club Caravan Electrical Caravan Electrics Caravanning Caravans Caravan Show Caravan Talk Cheltenham Chirk Christmas Market Christmas markets Cleaning design Event City Factory Visit Fiamma France Freelander Glastonbury Glossop Caravans Humor Insync Jonic Bedding Lady Heyes La Tournerie Ferme Leisure Battery Leisure Battery Charging LPG Refilling Maintenance Manchester Caravan & Motorhome Modifications NEC North Western Caravans Ltd OLPRO One Hairy Caravanner Oswestry Oxford Product Review Project Review Safefill Sat Nav Sterling Caravans Sterling Power Wildside Swift Factory Swift Group Swift Talk Technical The Old Oaks Touring Towing Tow Vehicle Trafford Centre travel Travel Trailer Travel Trailers vacation VW Amarok Warwick Racecourse WiFI

Website Powered by WordPress.com.

  • Subscribe Subscribed
    • Caravan Chronicles
    • Join 672 other subscribers
    • Already have a WordPress.com account? Log in now.
    • Caravan Chronicles
    • Subscribe Subscribed
    • Sign up
    • Log in
    • Report this content
    • View site in Reader
    • Manage subscriptions
    • Collapse this bar
 

Loading Comments...
 

    %d