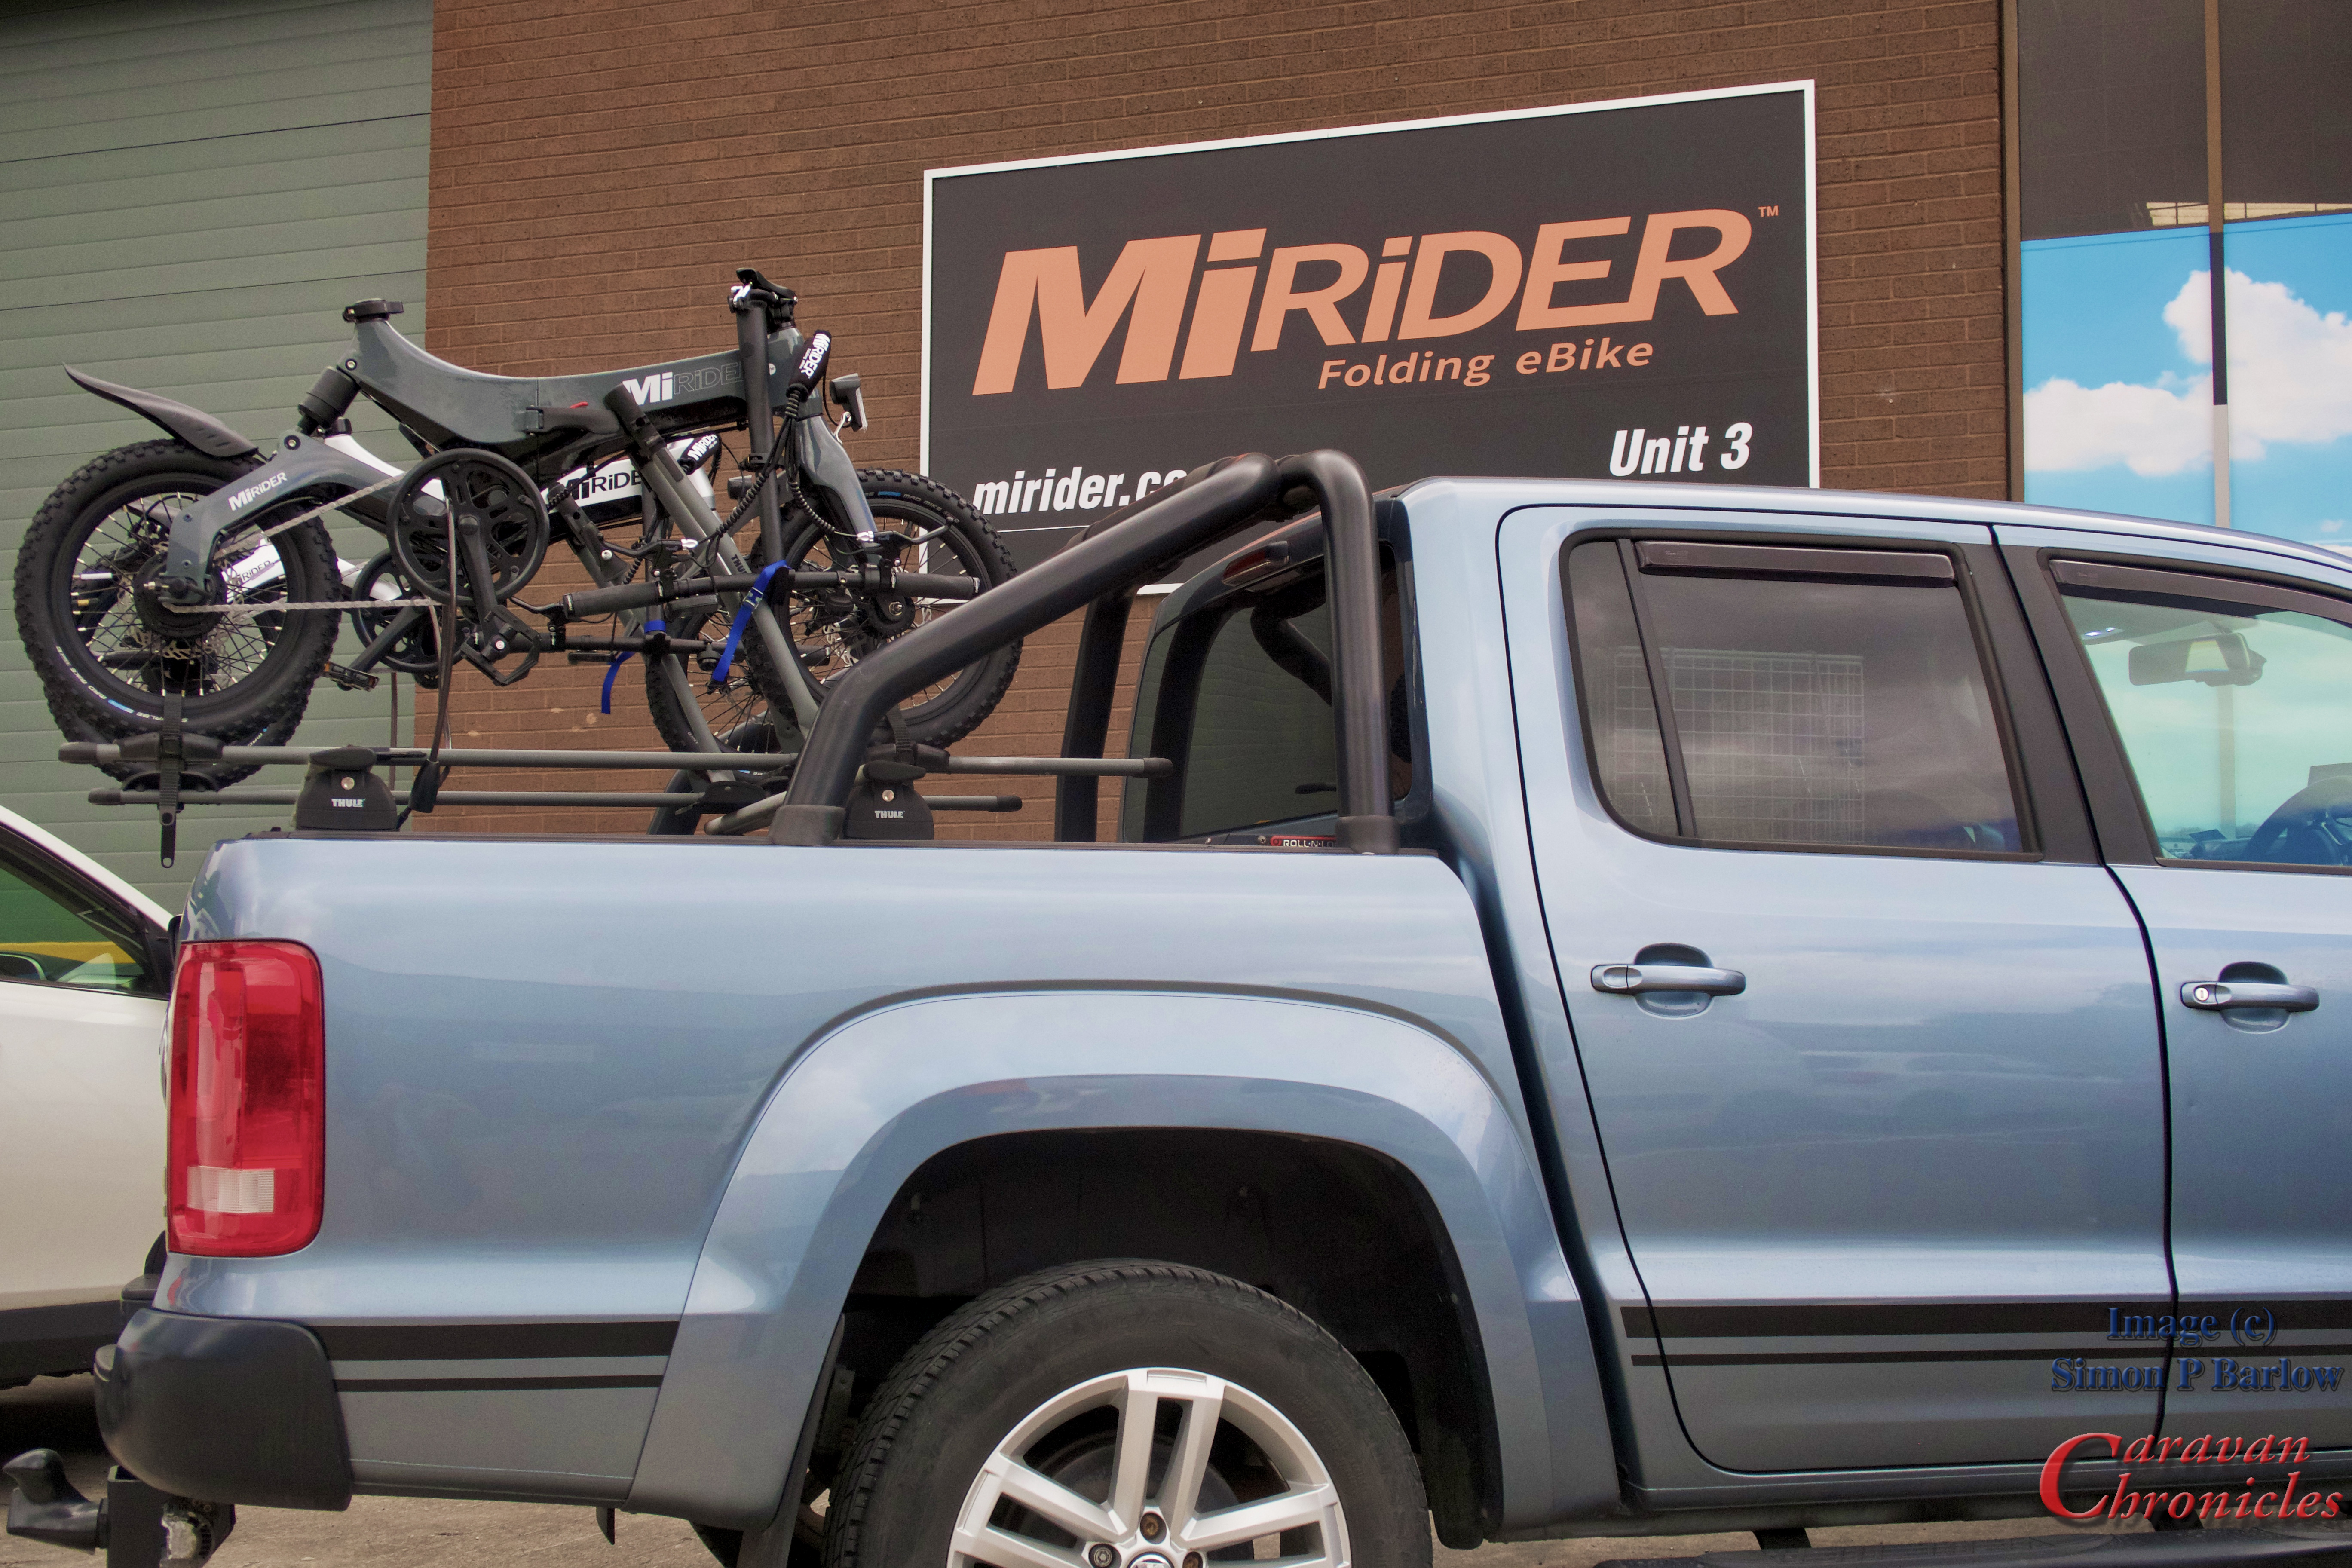
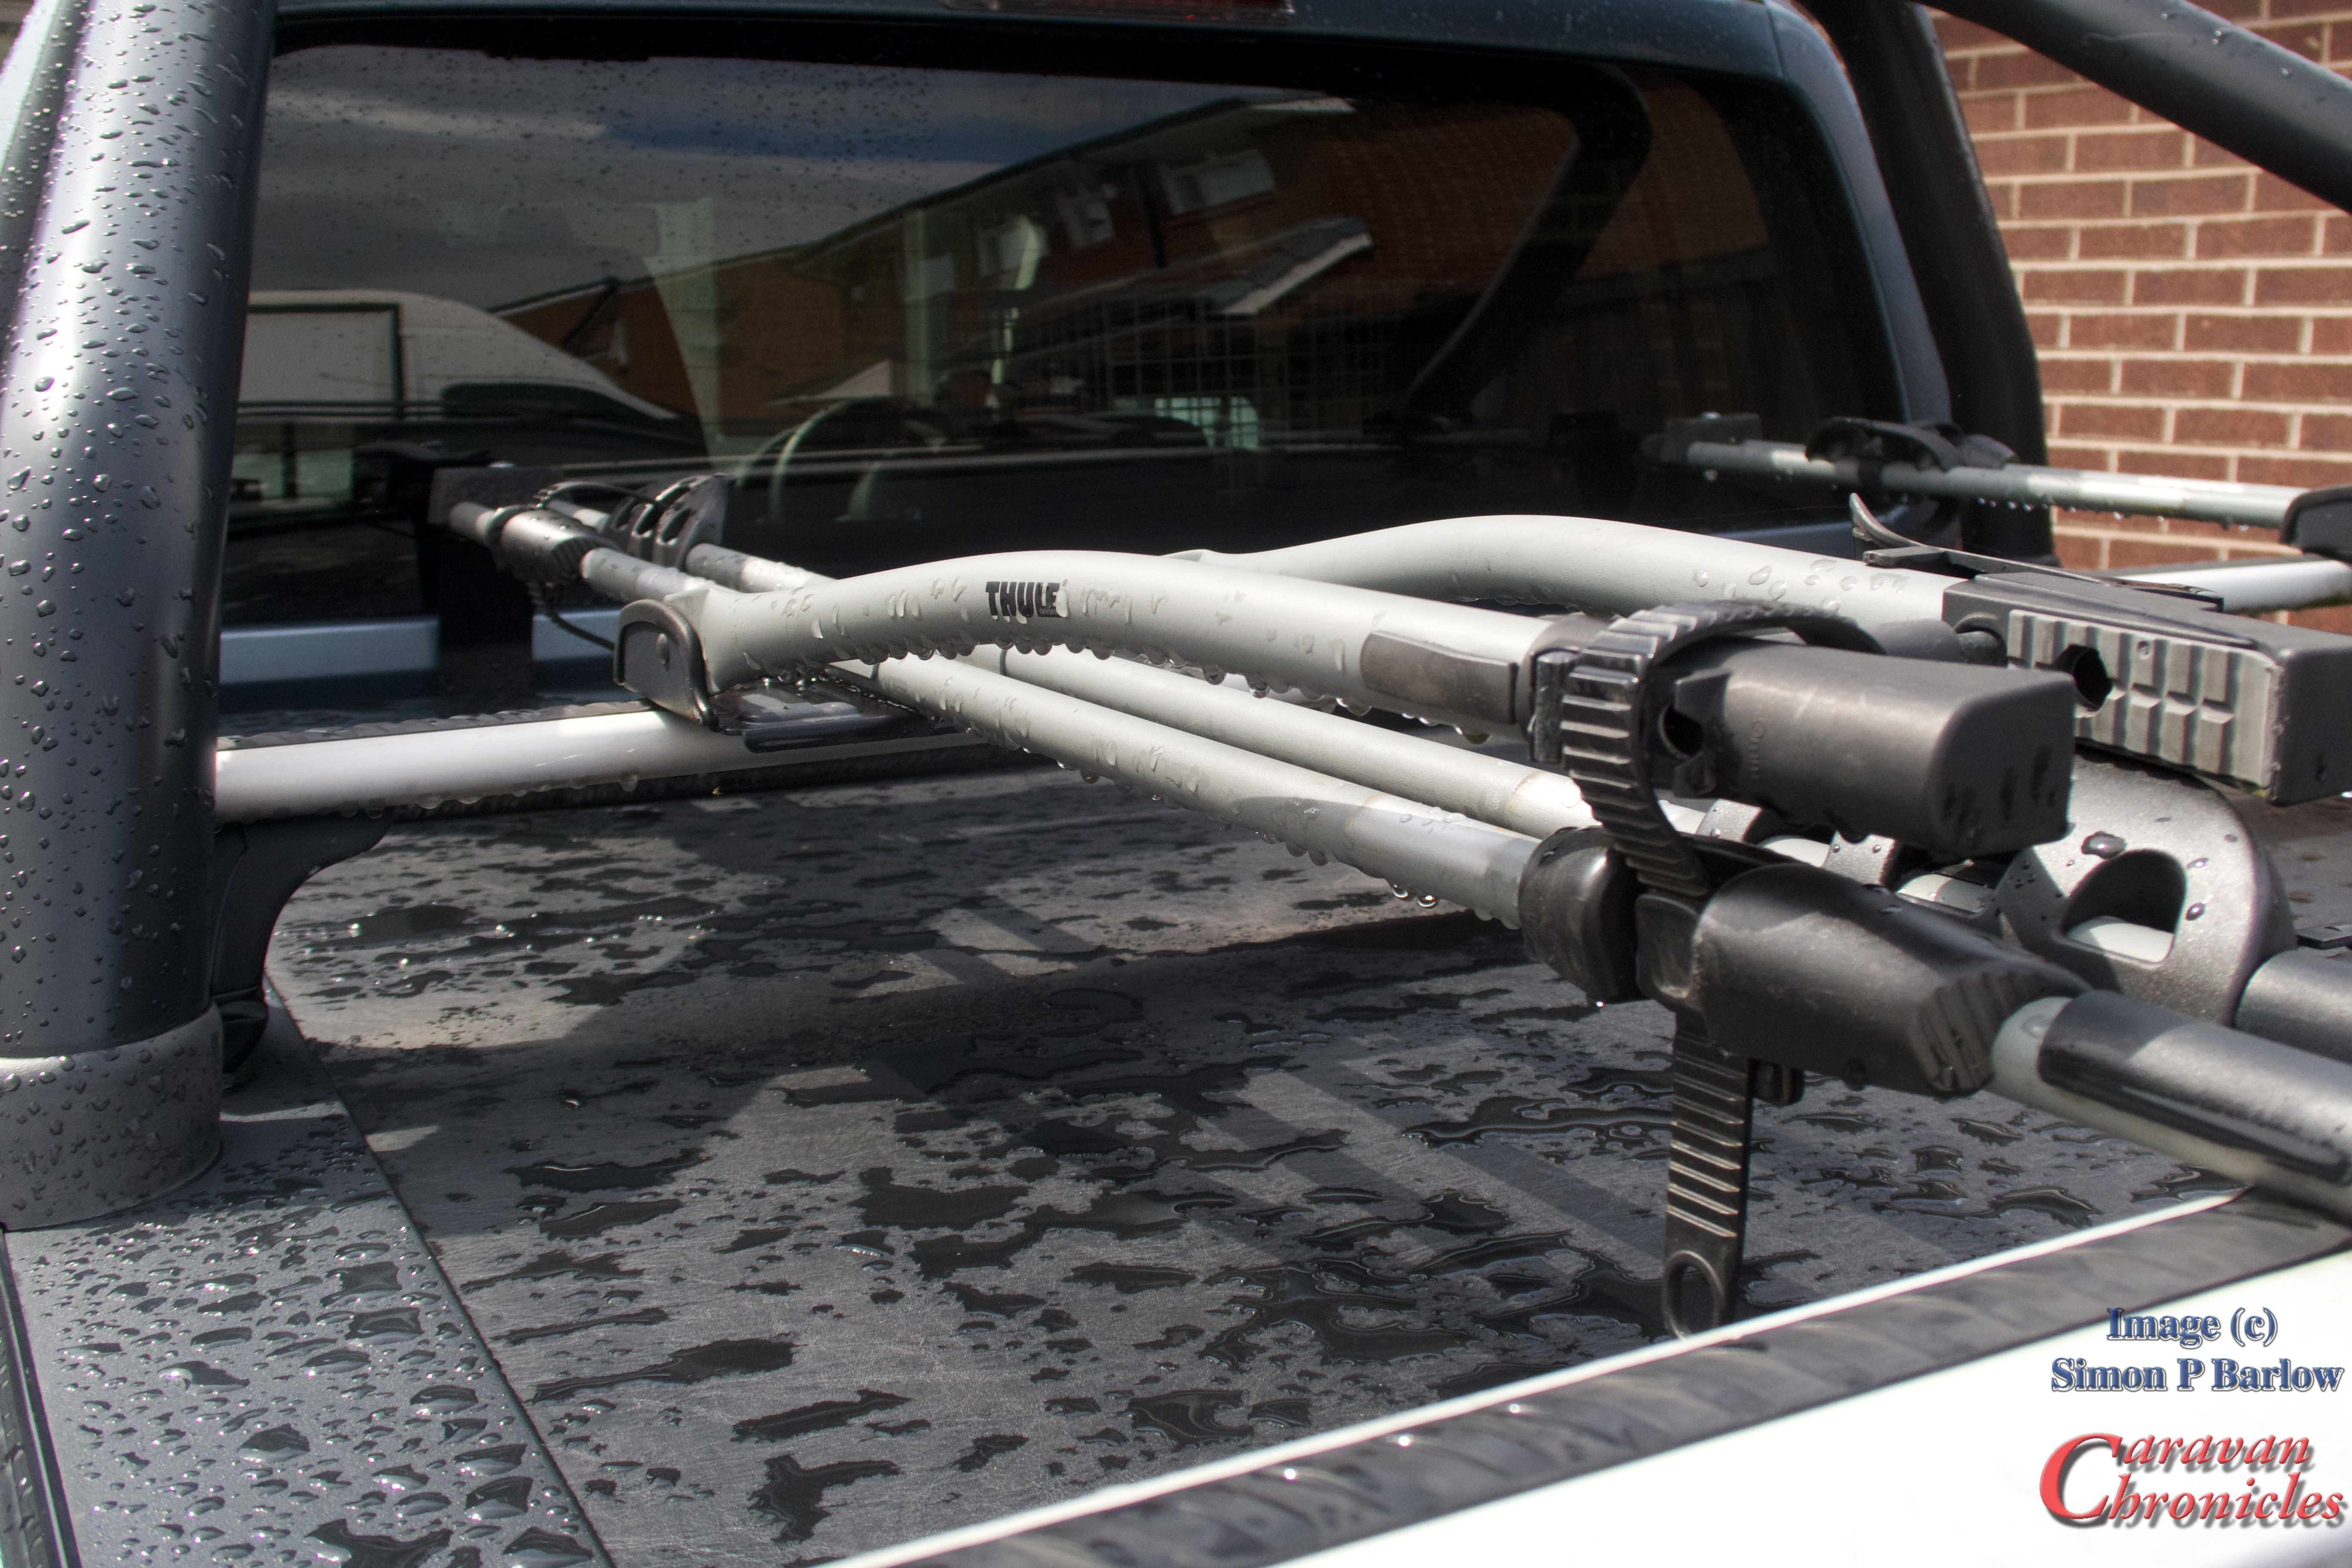
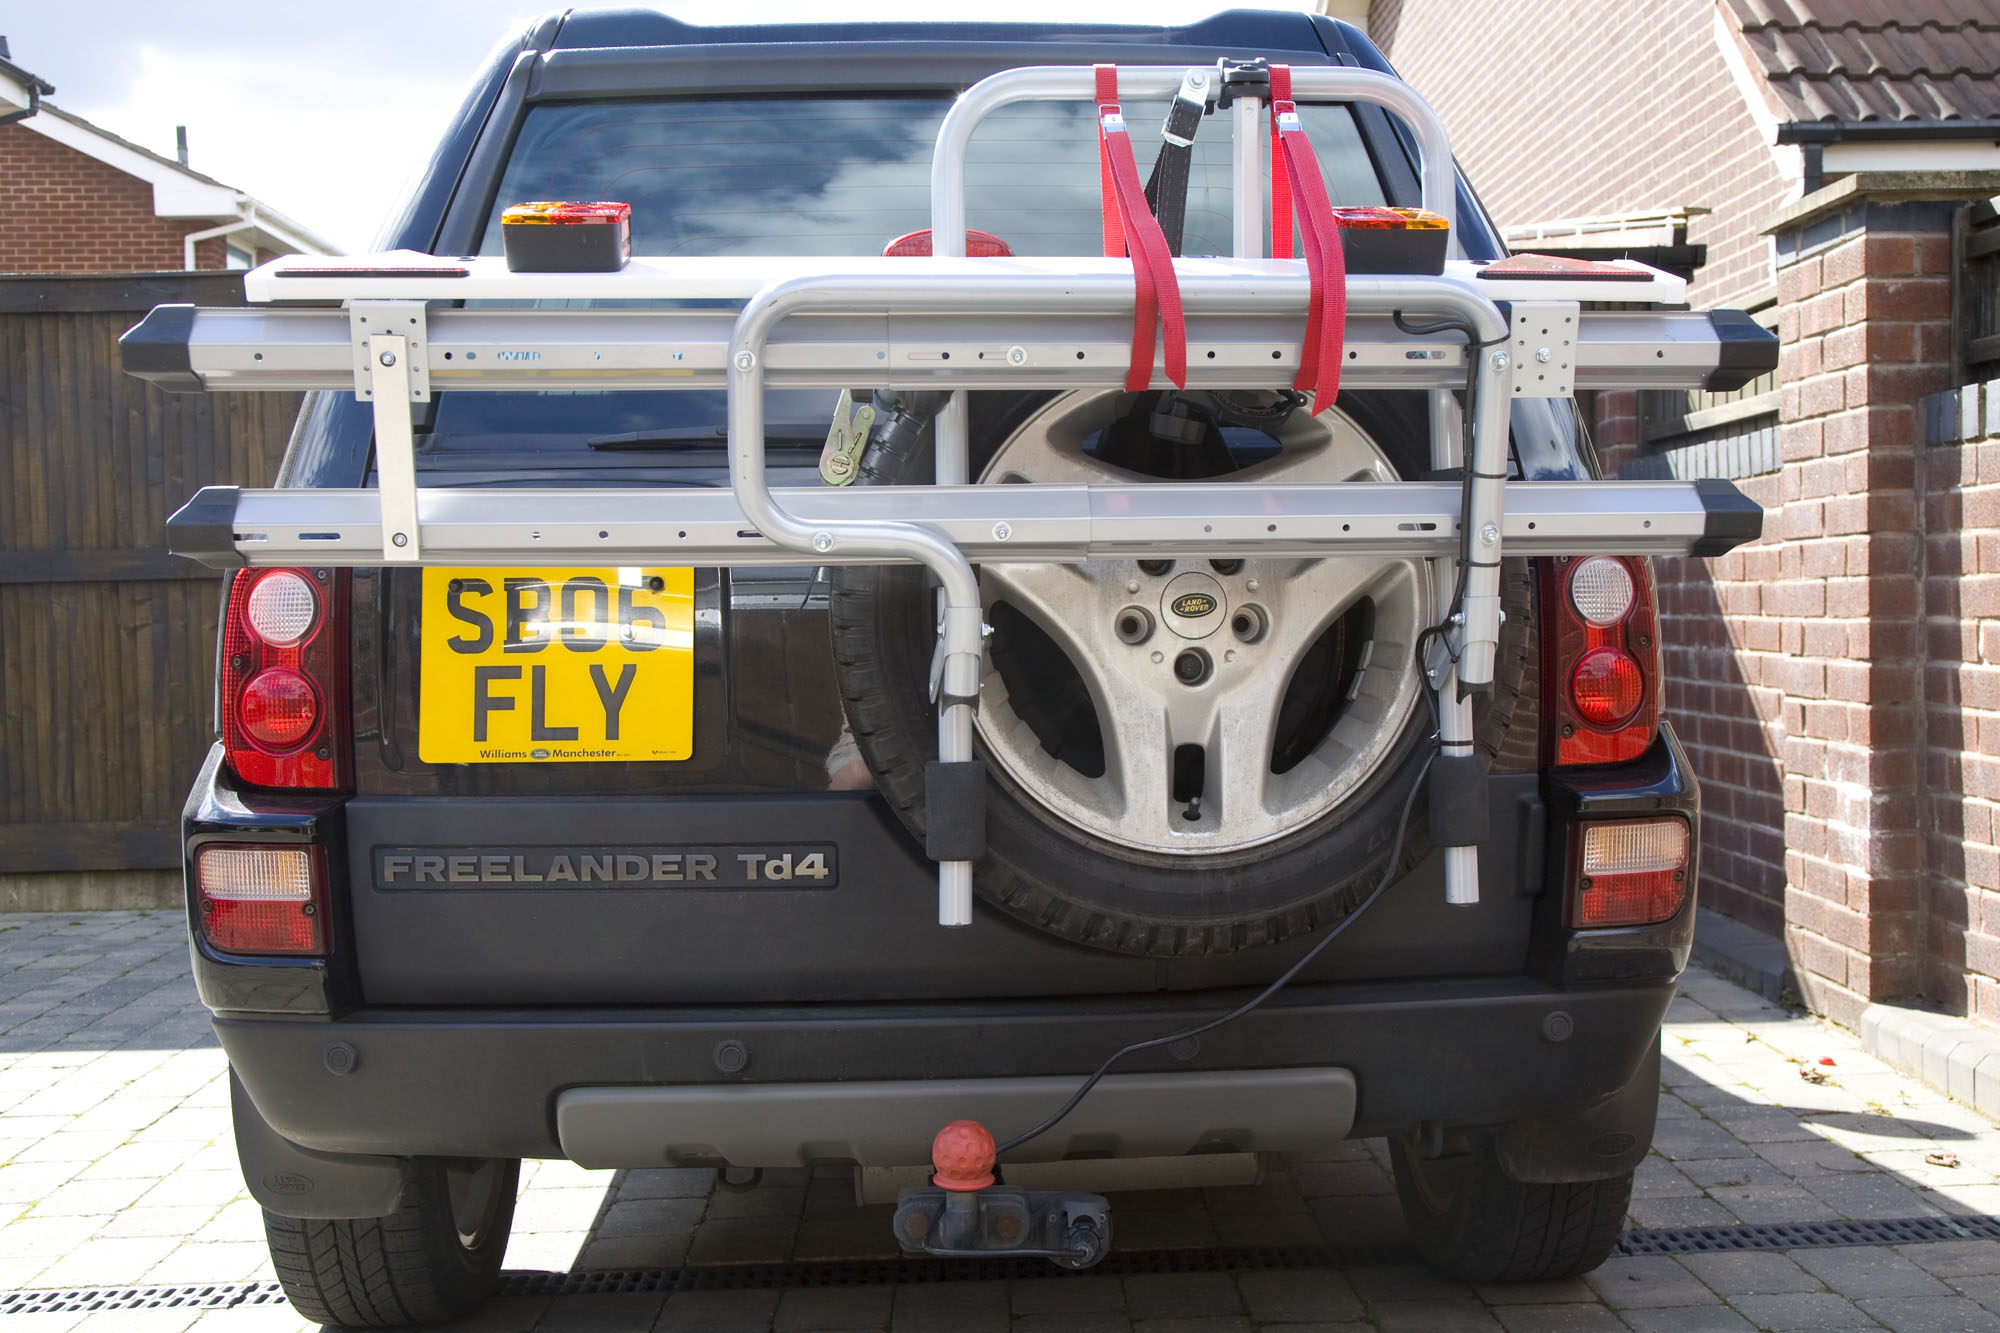
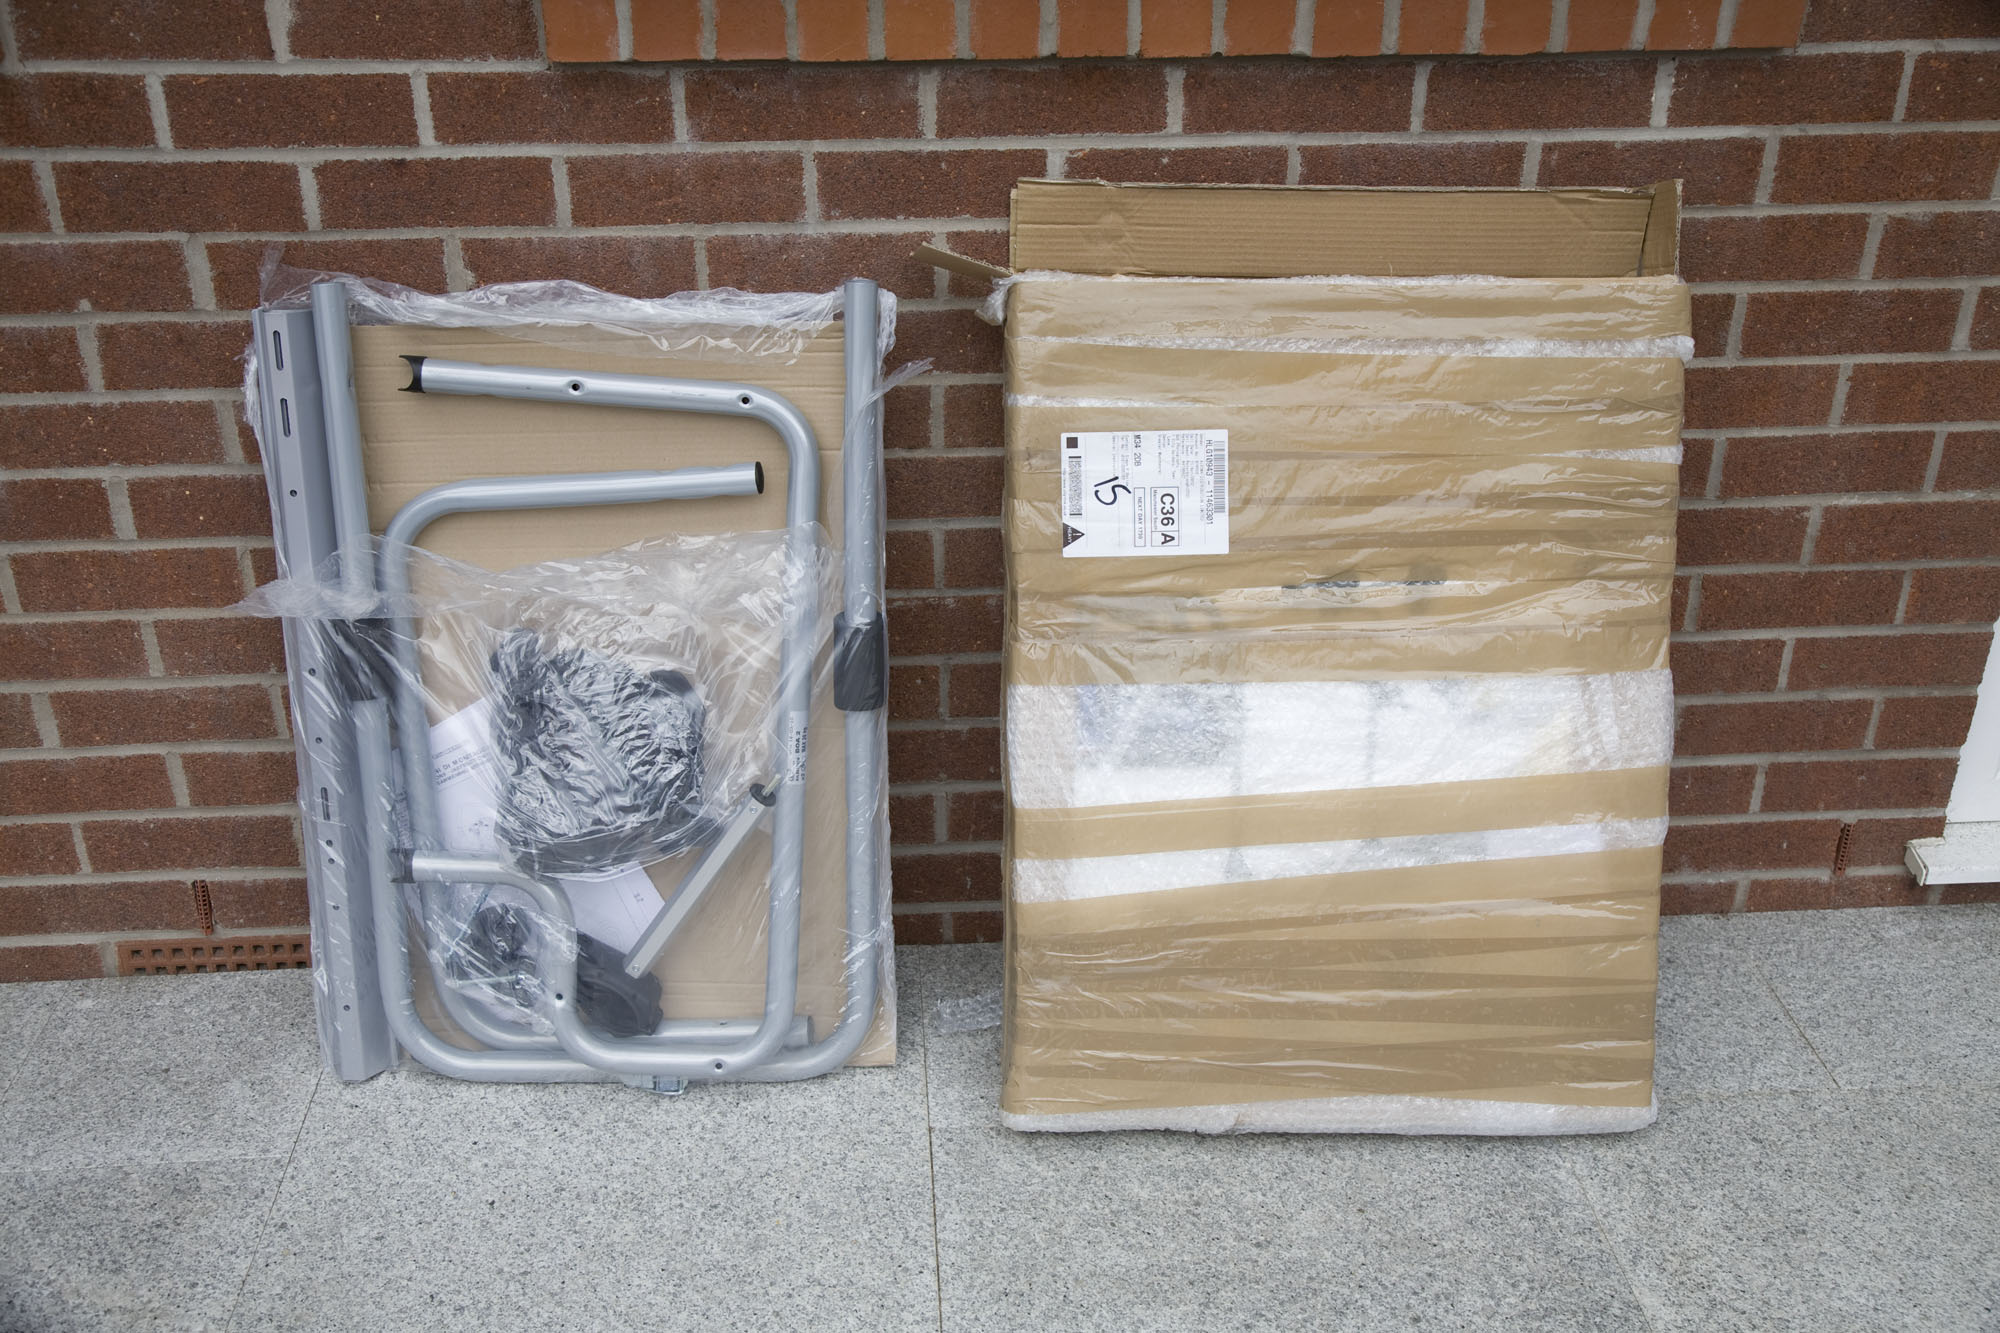
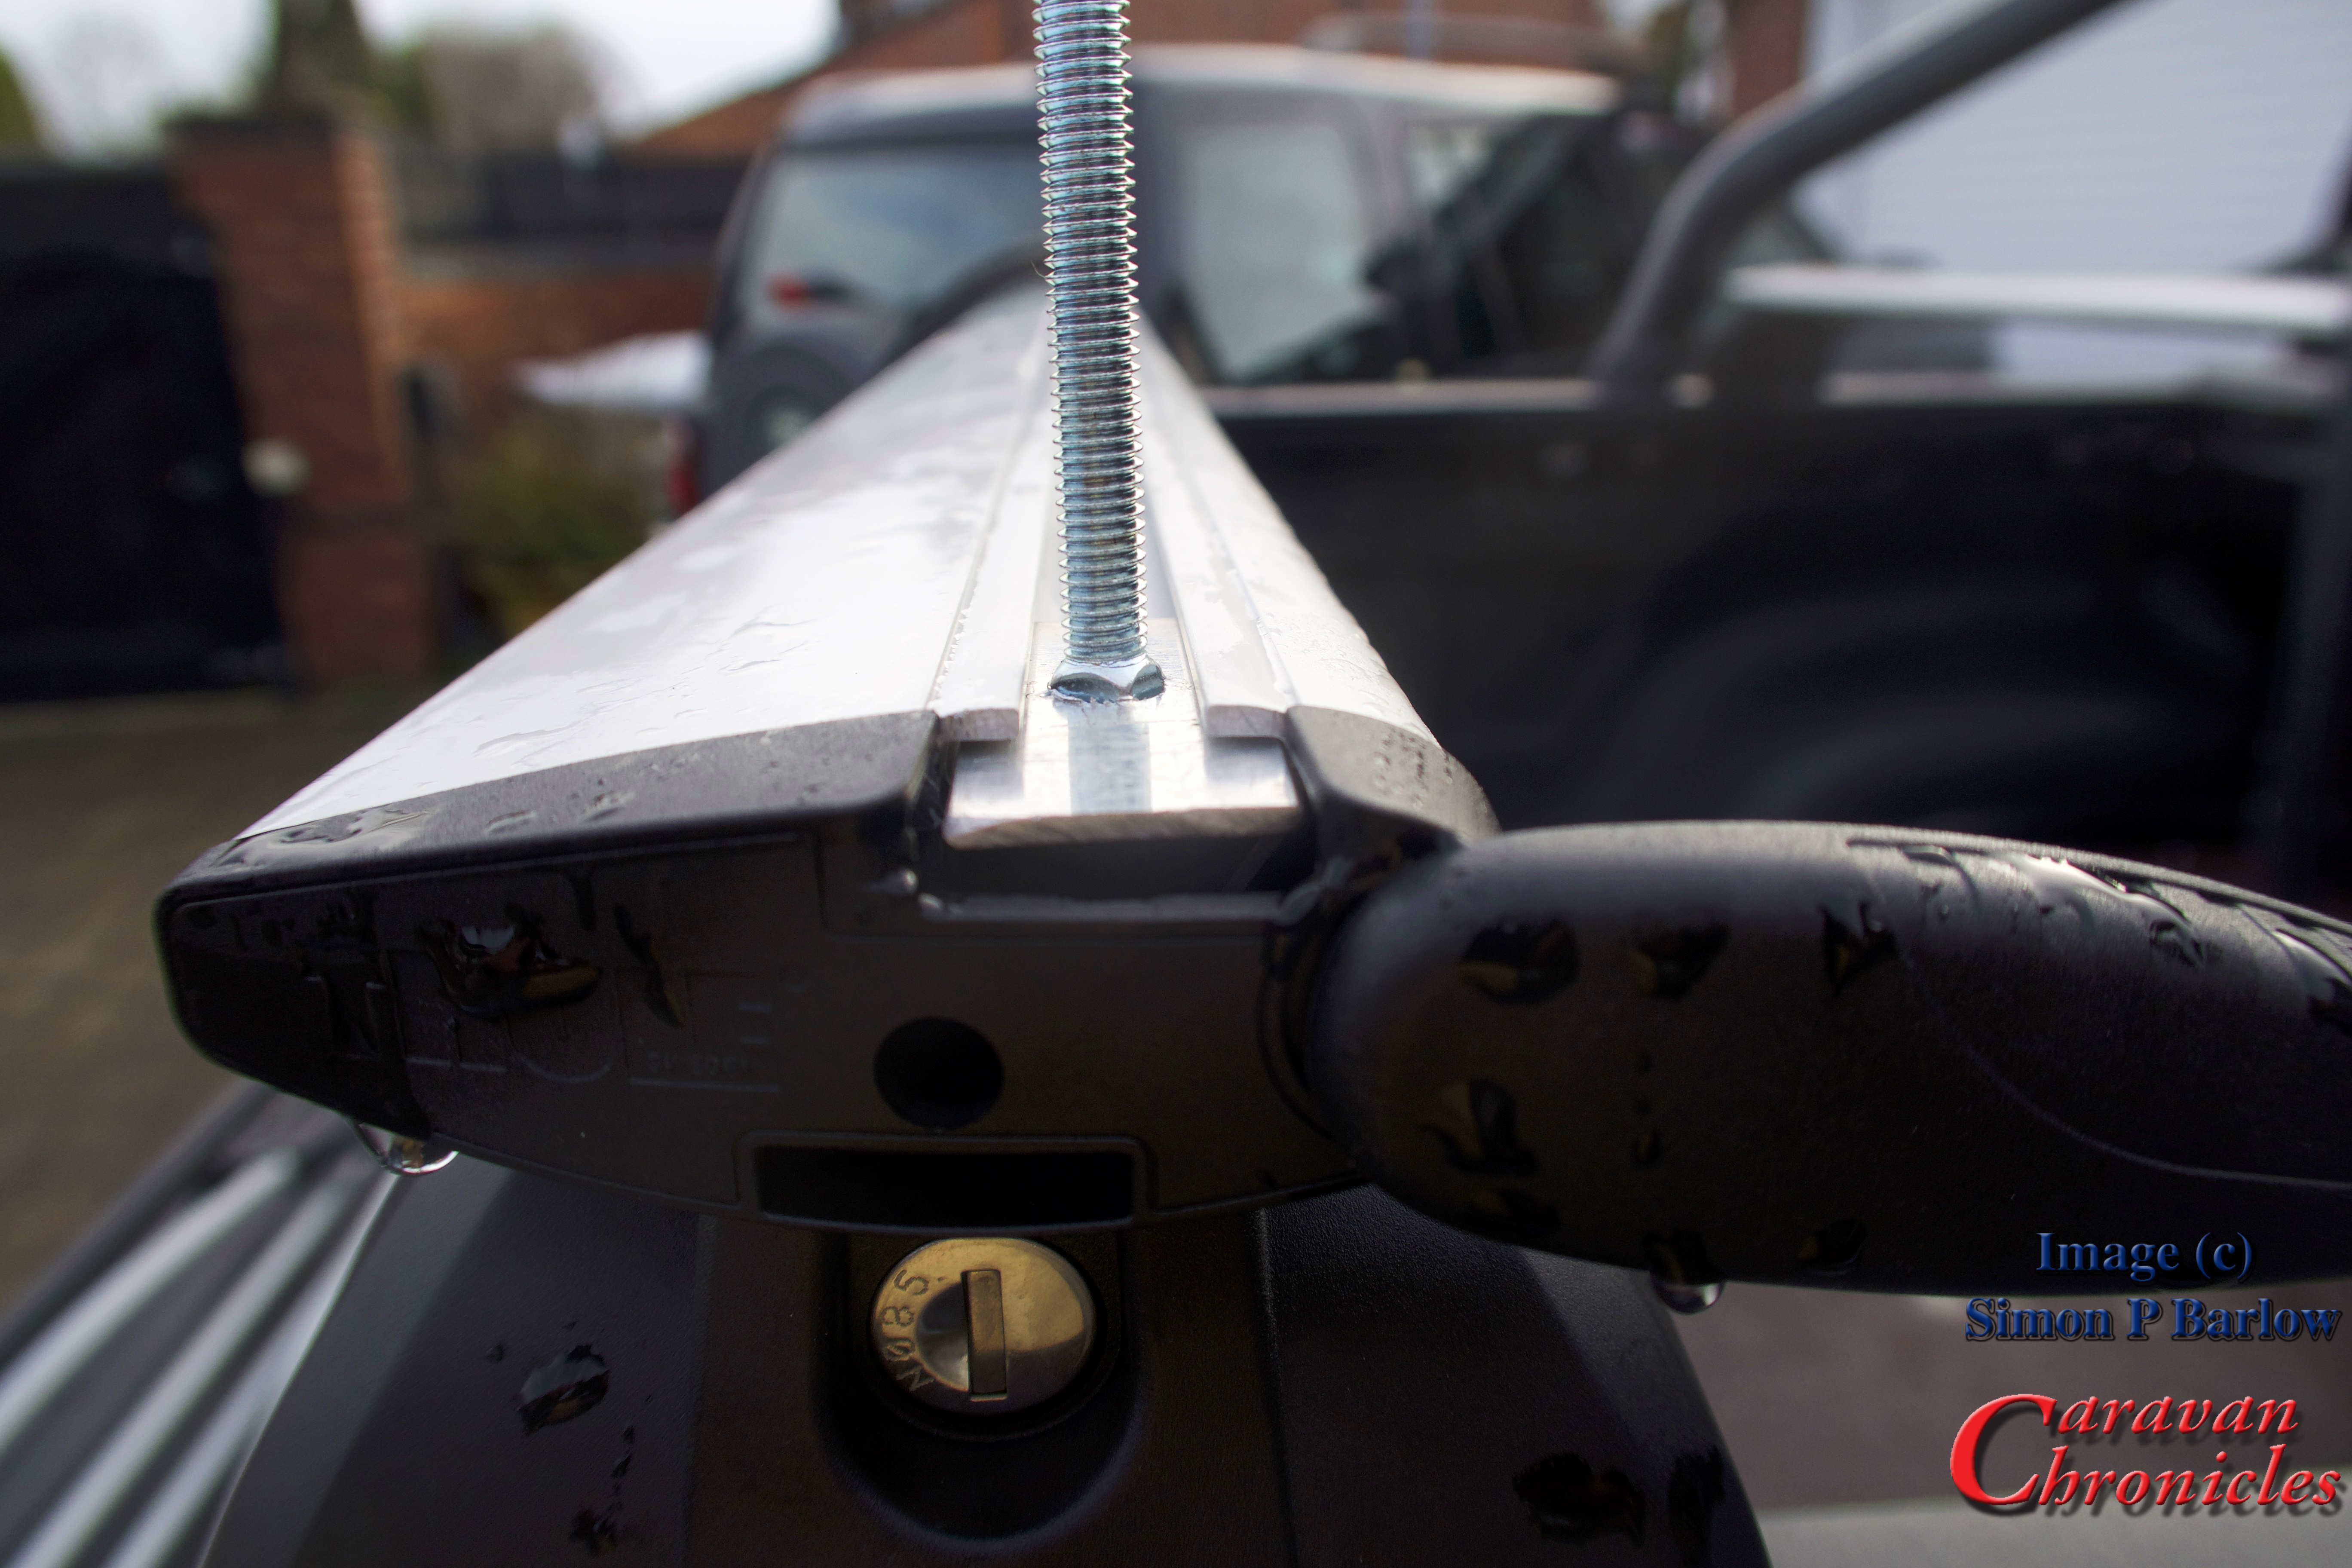
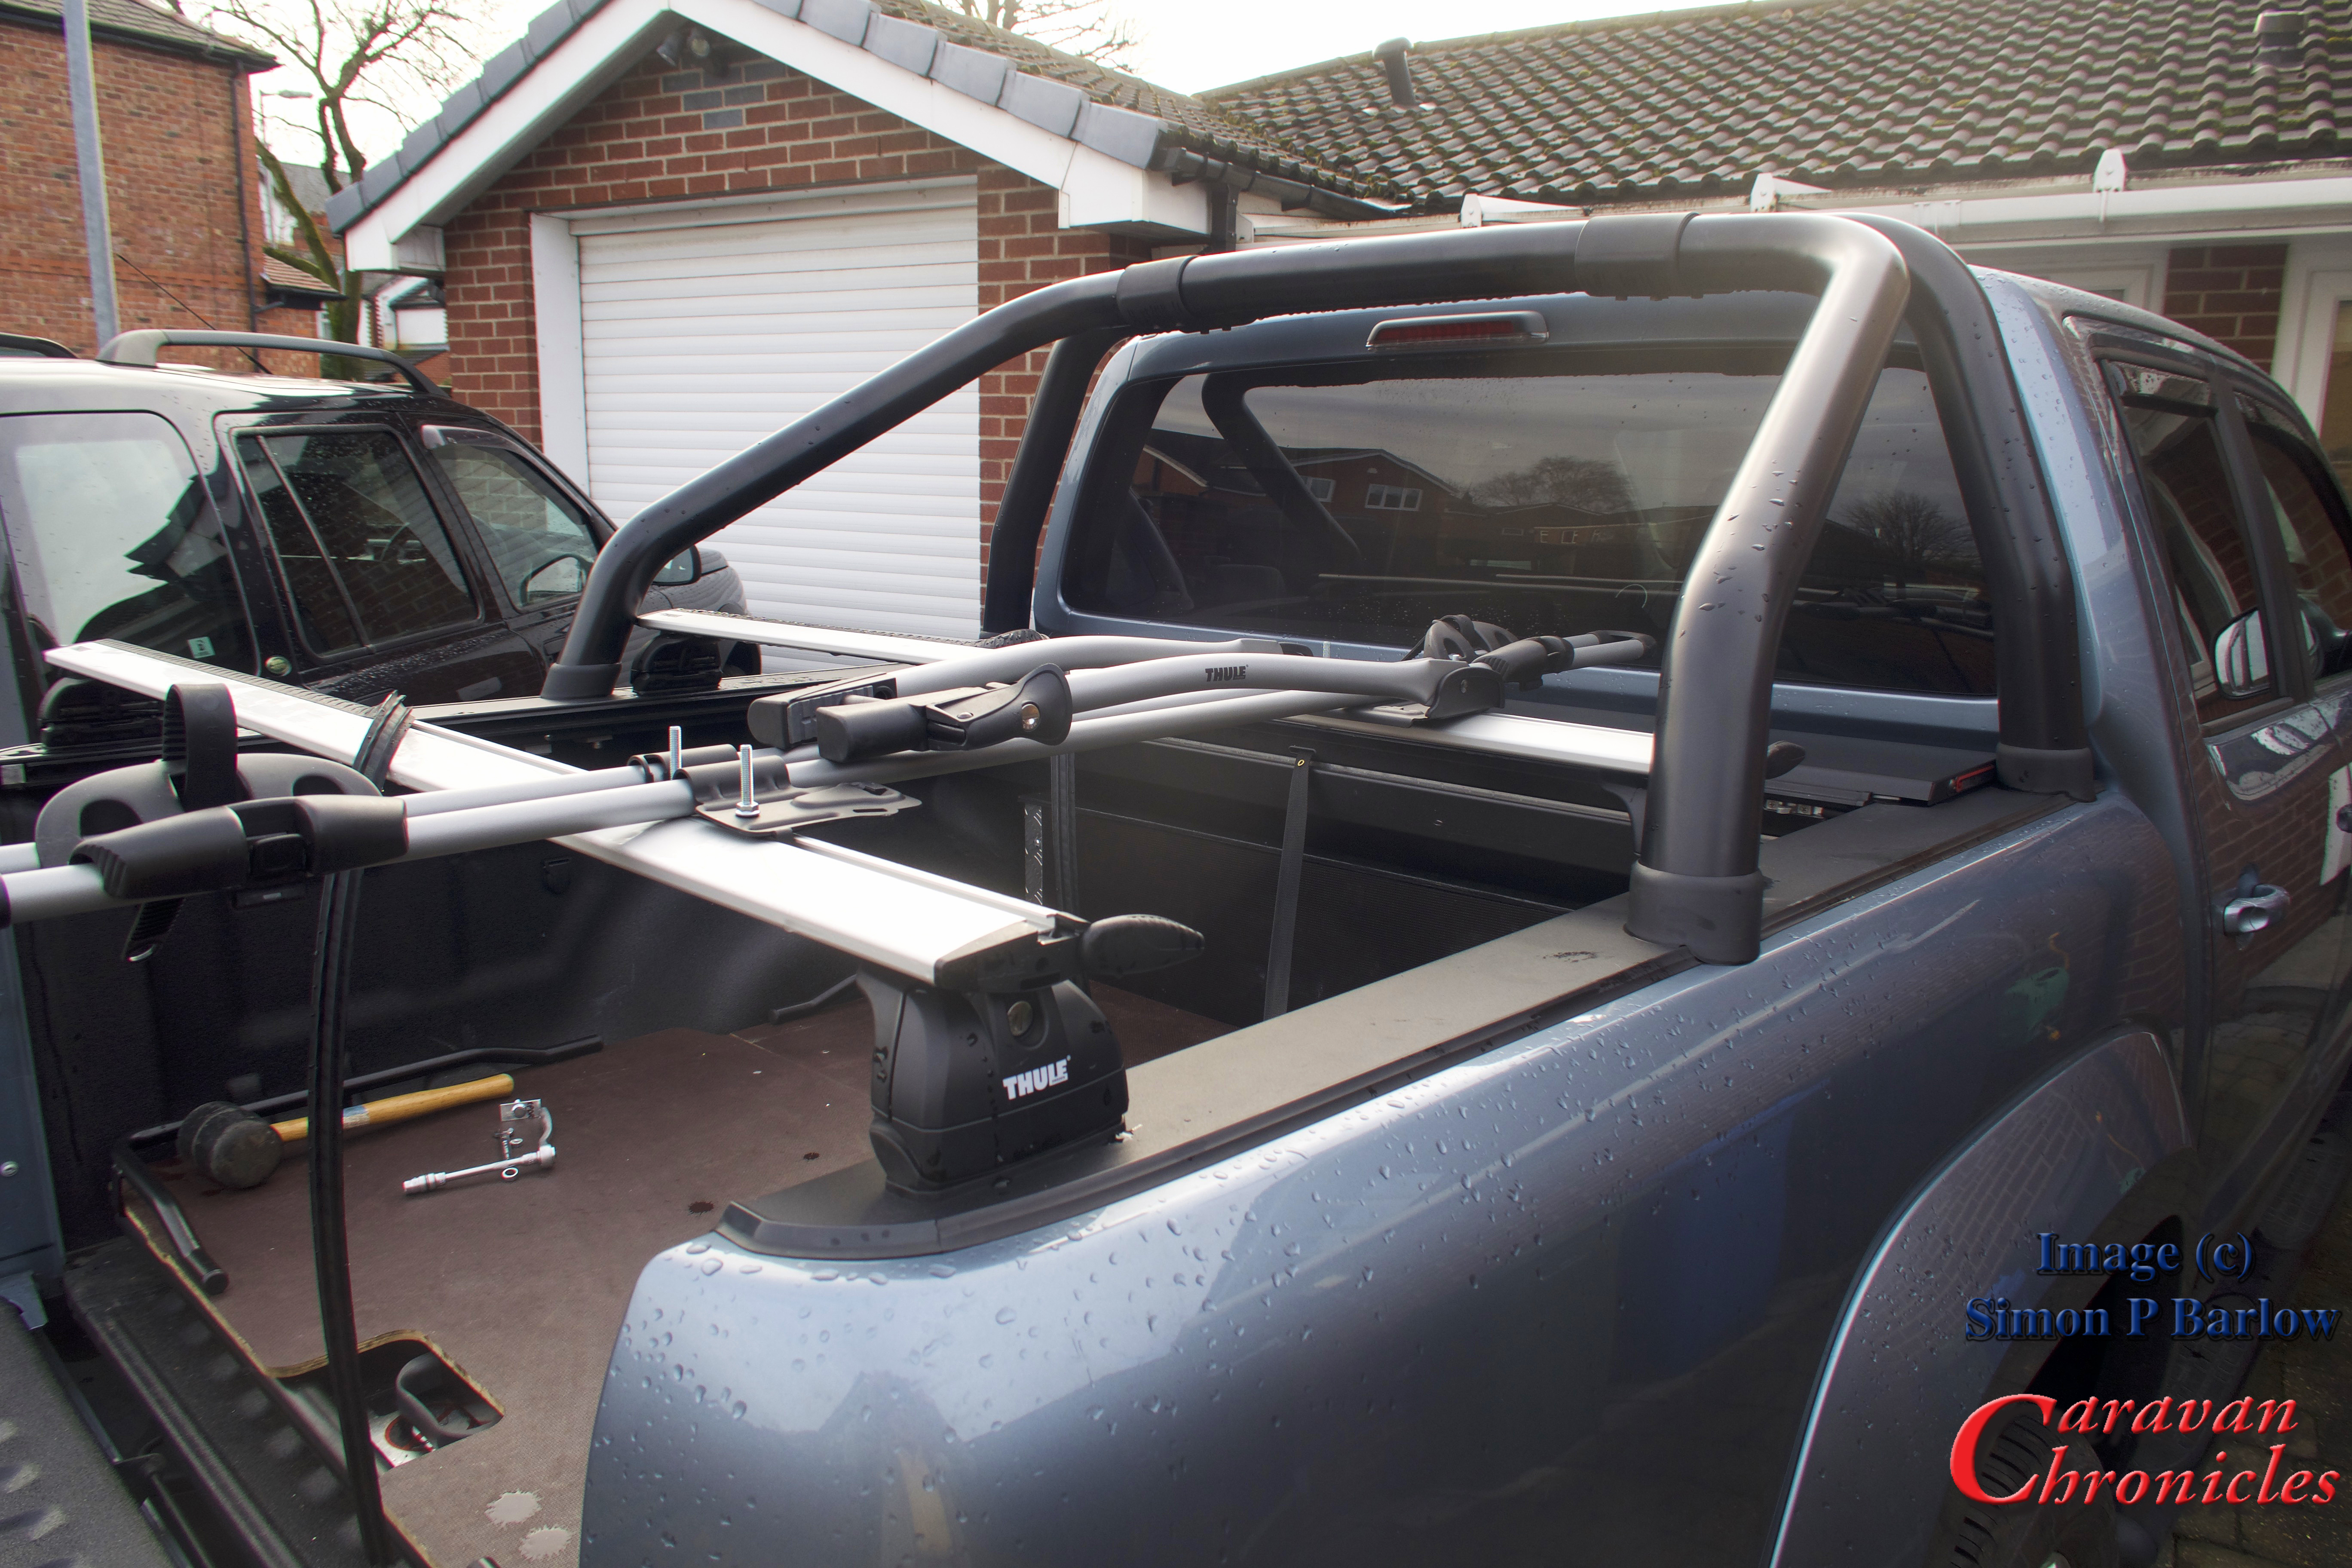
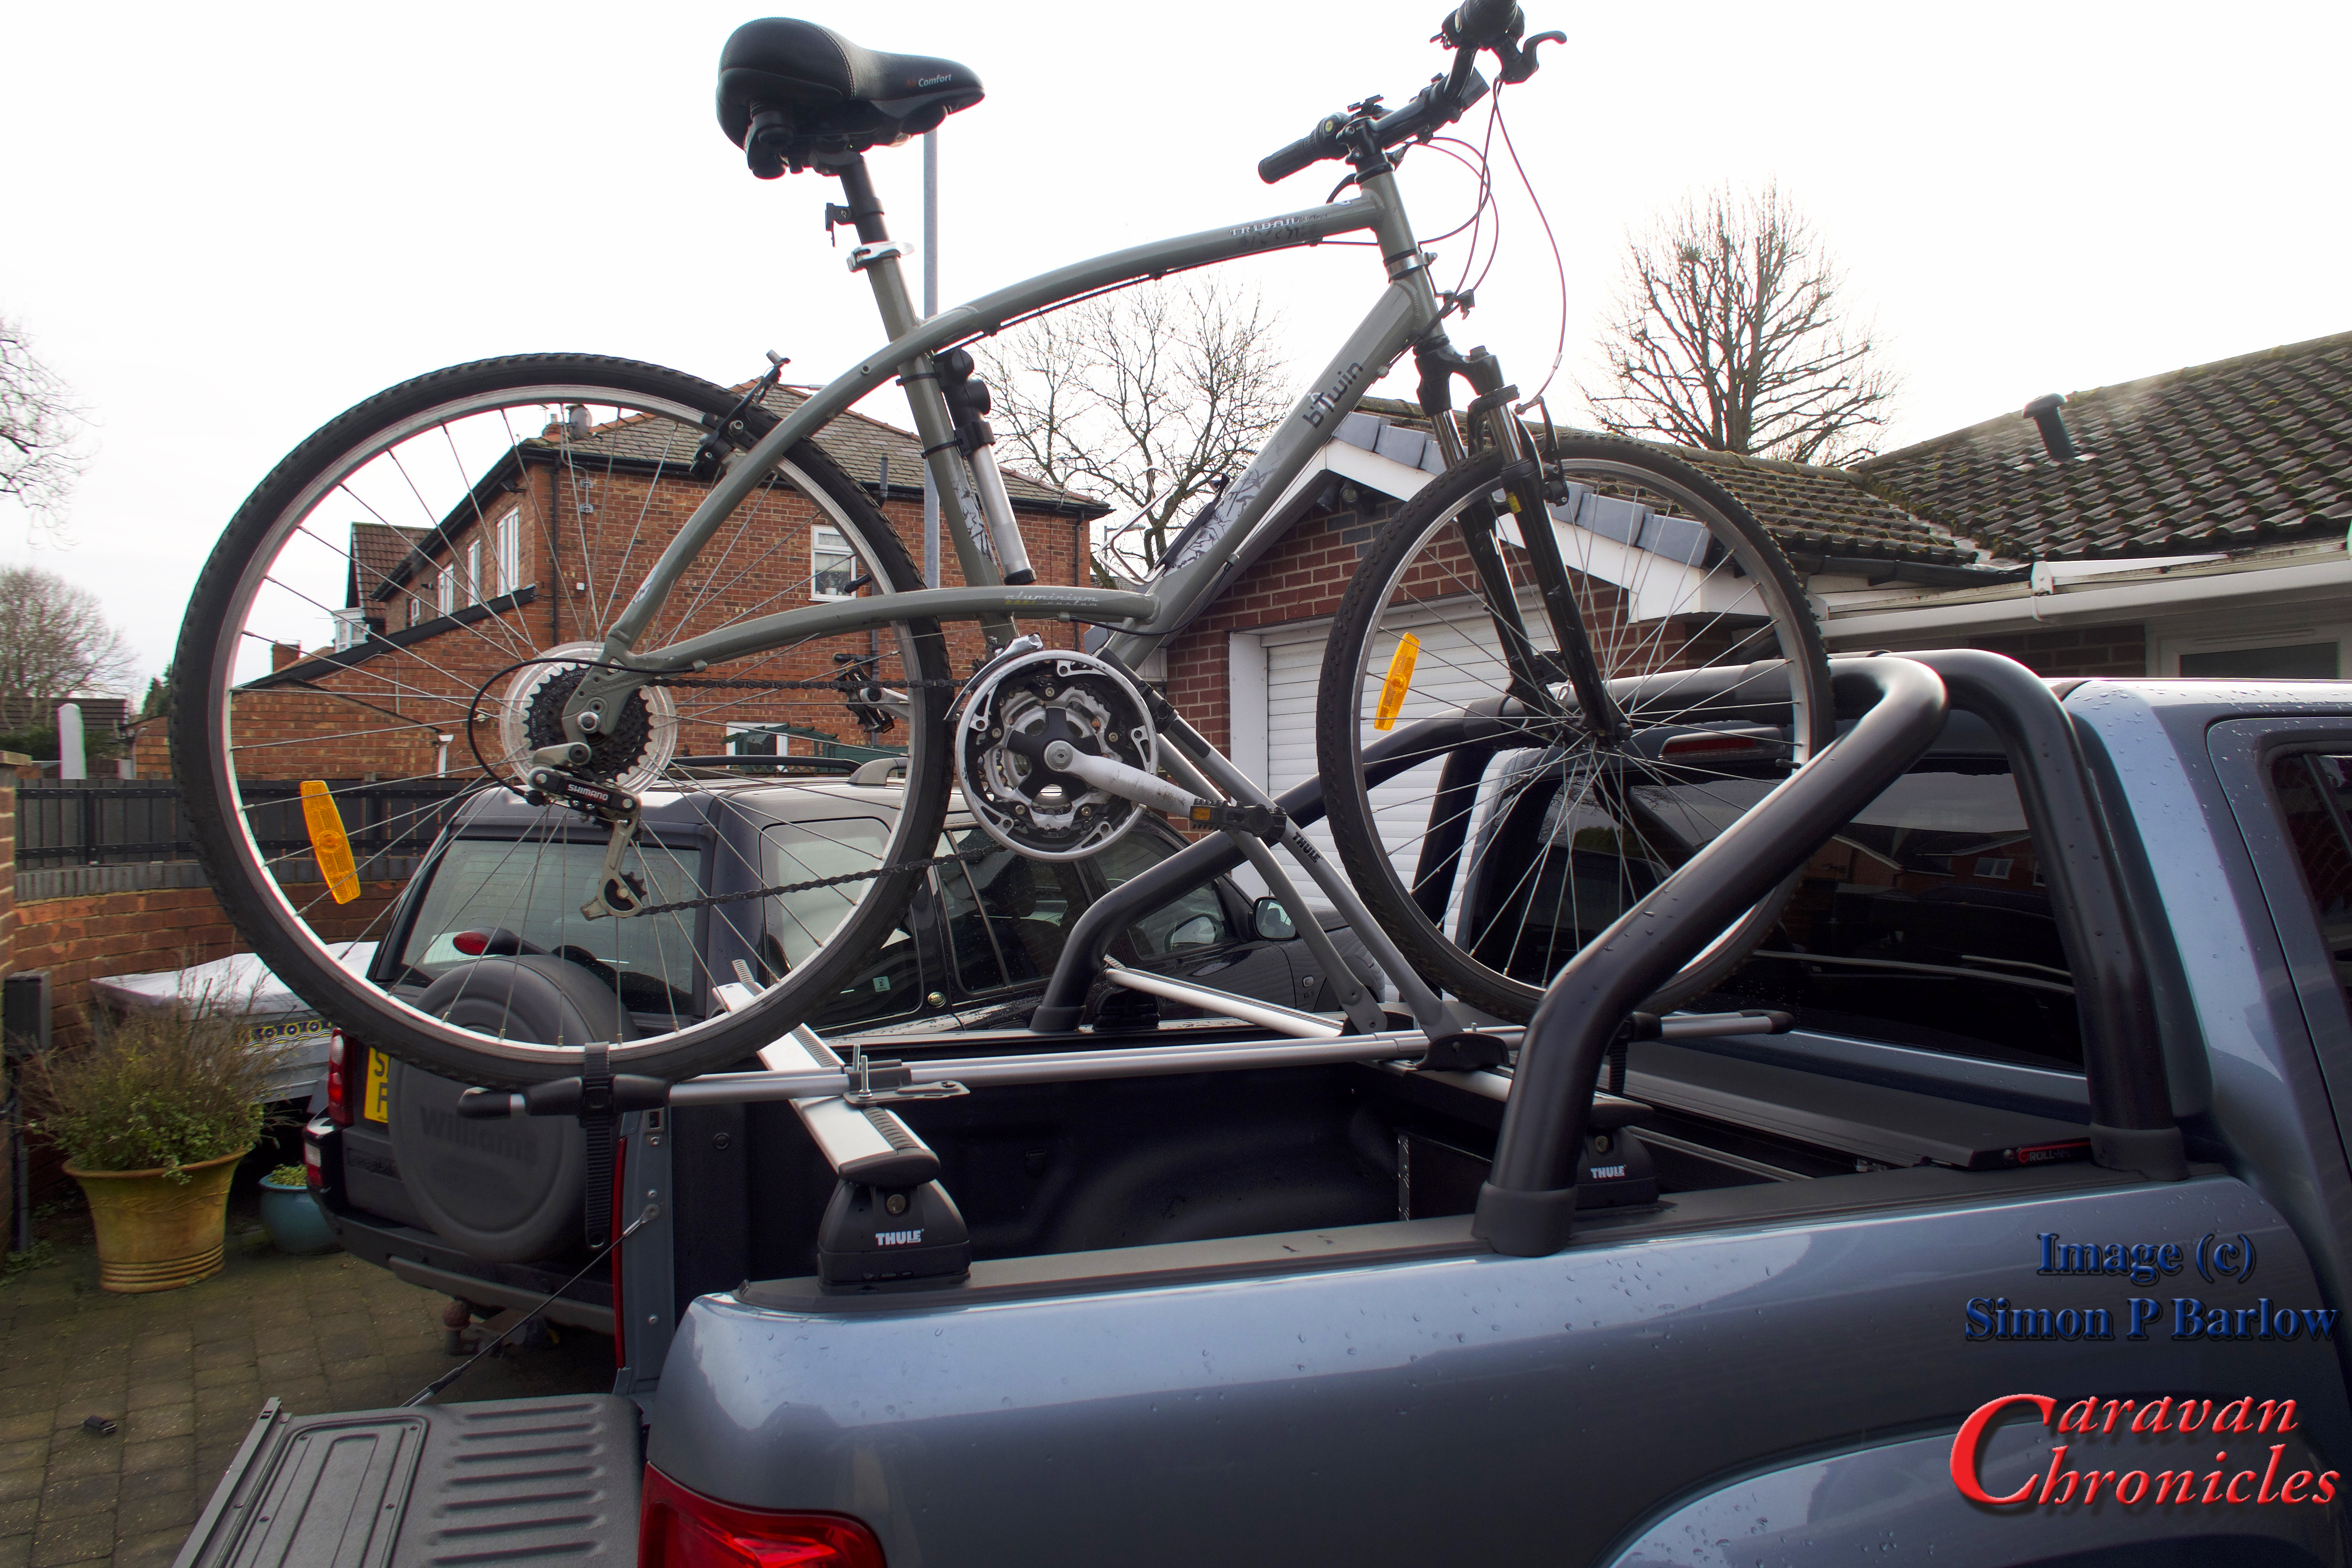
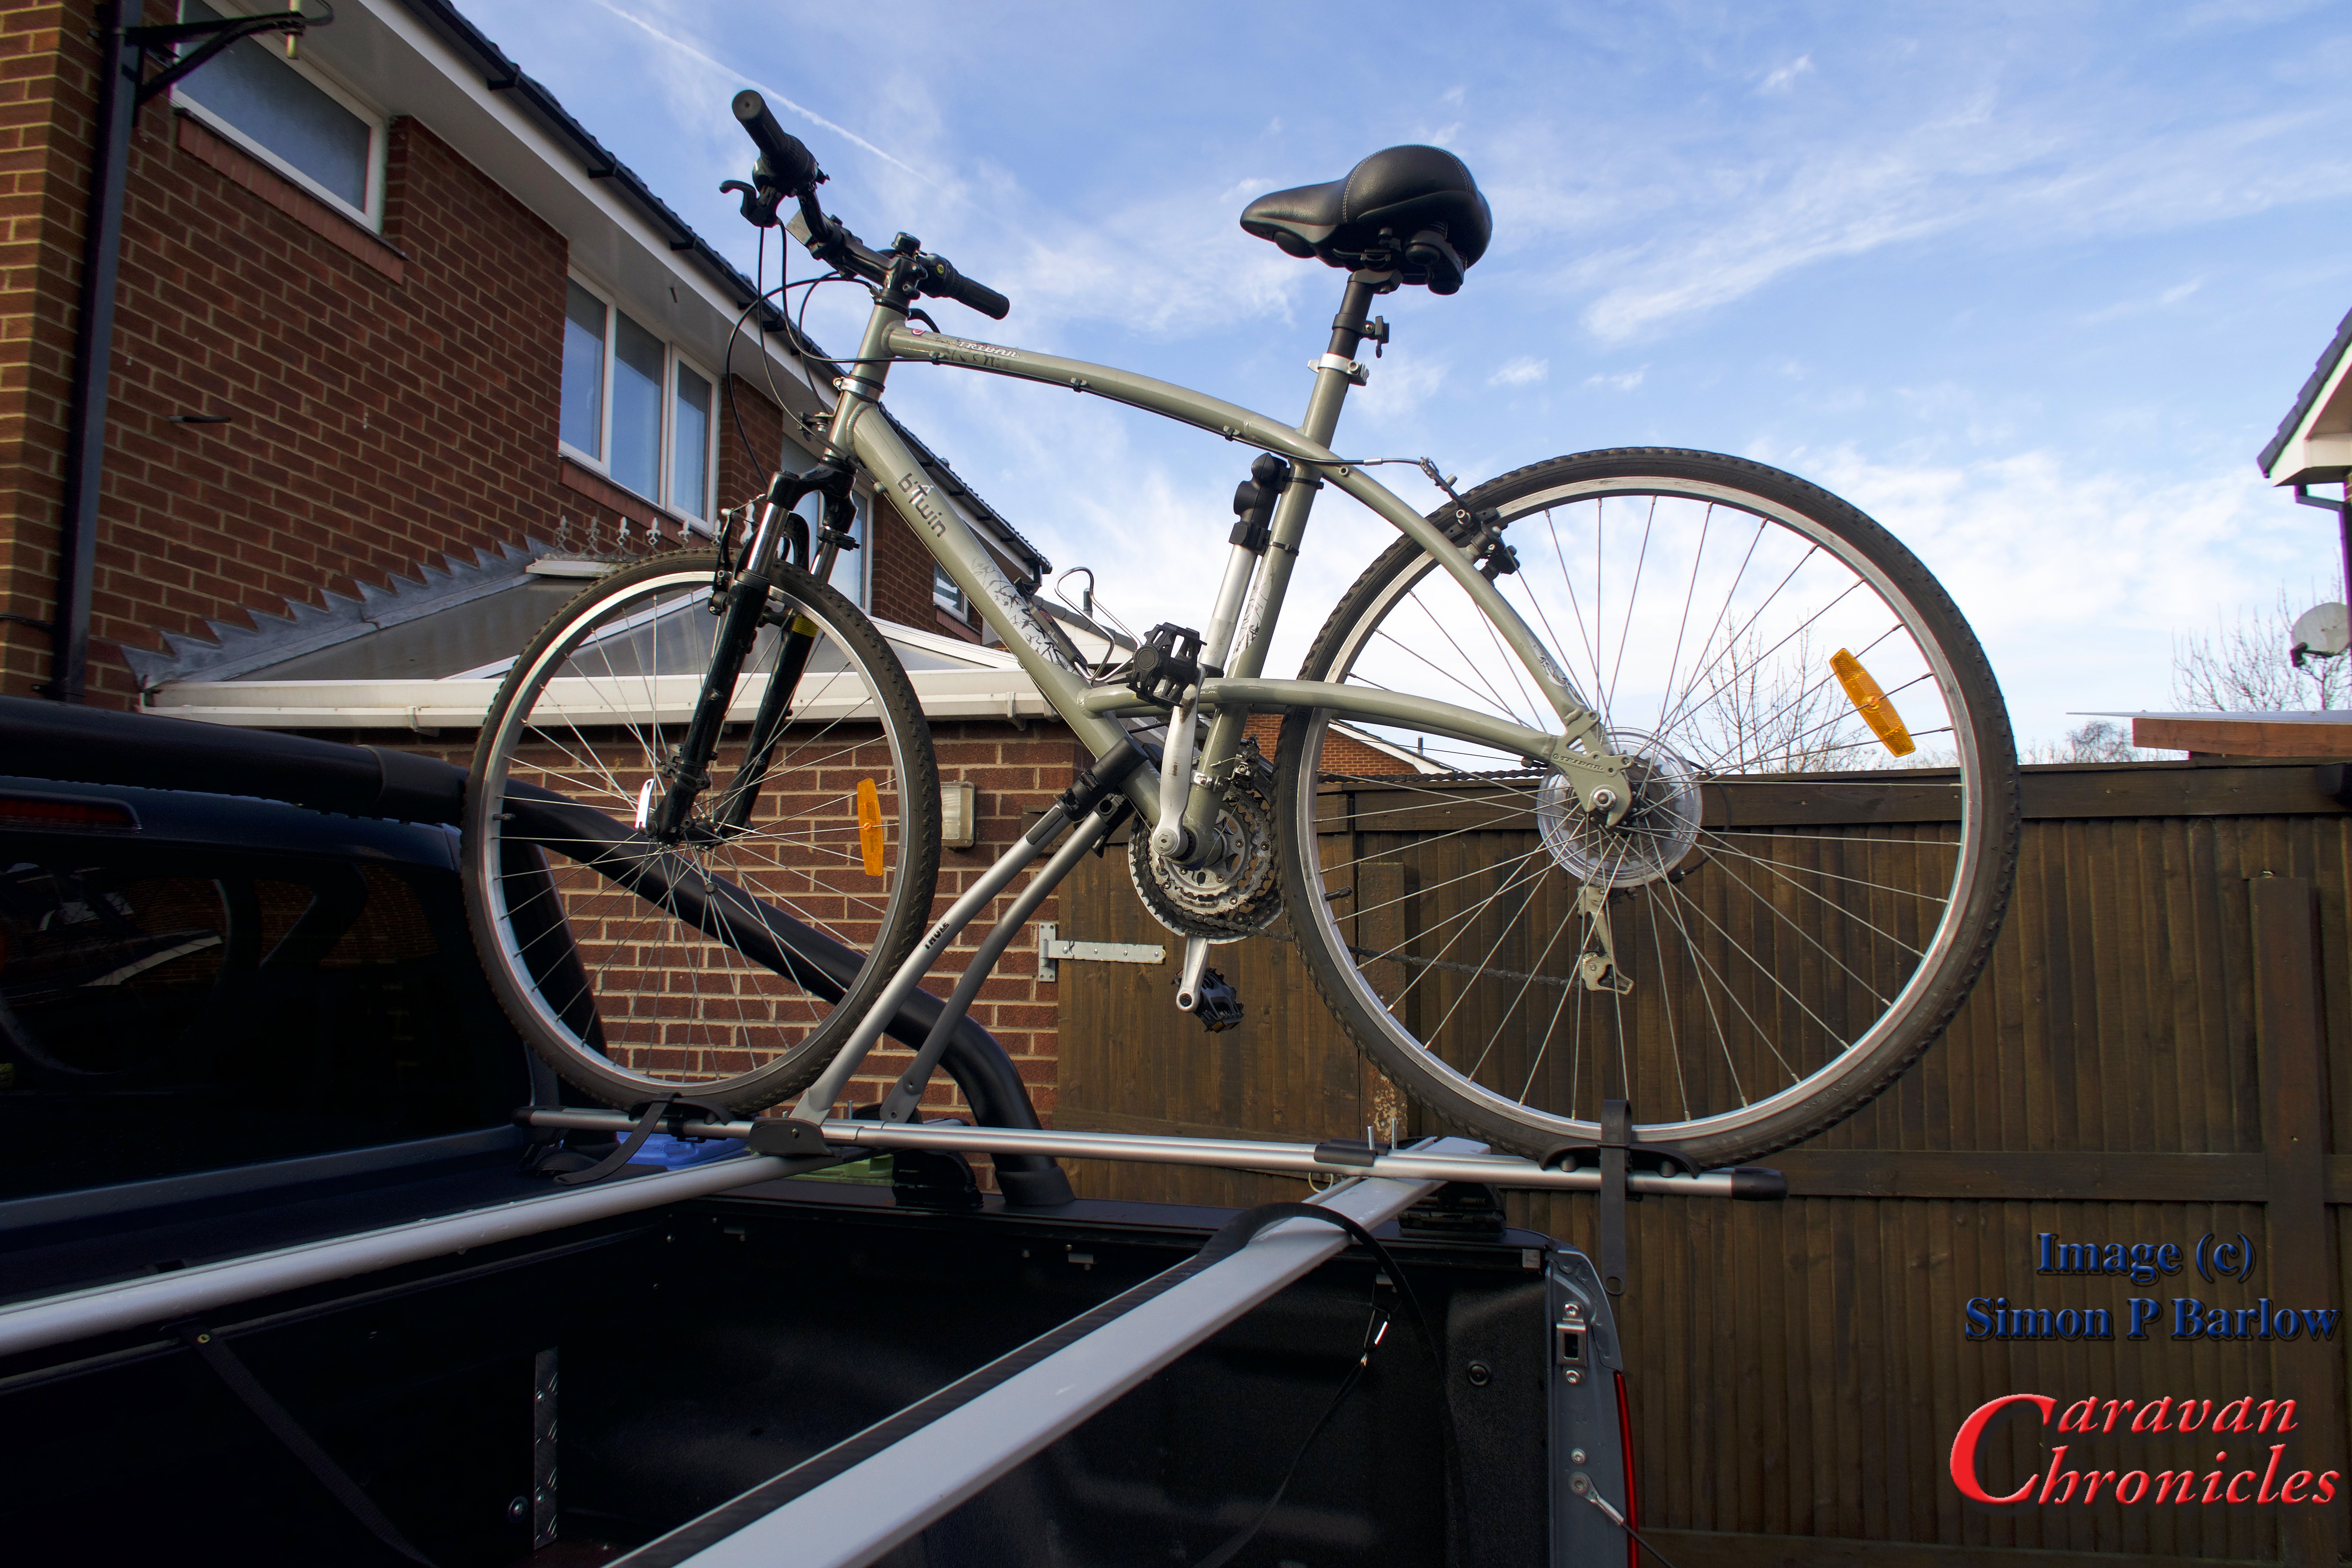
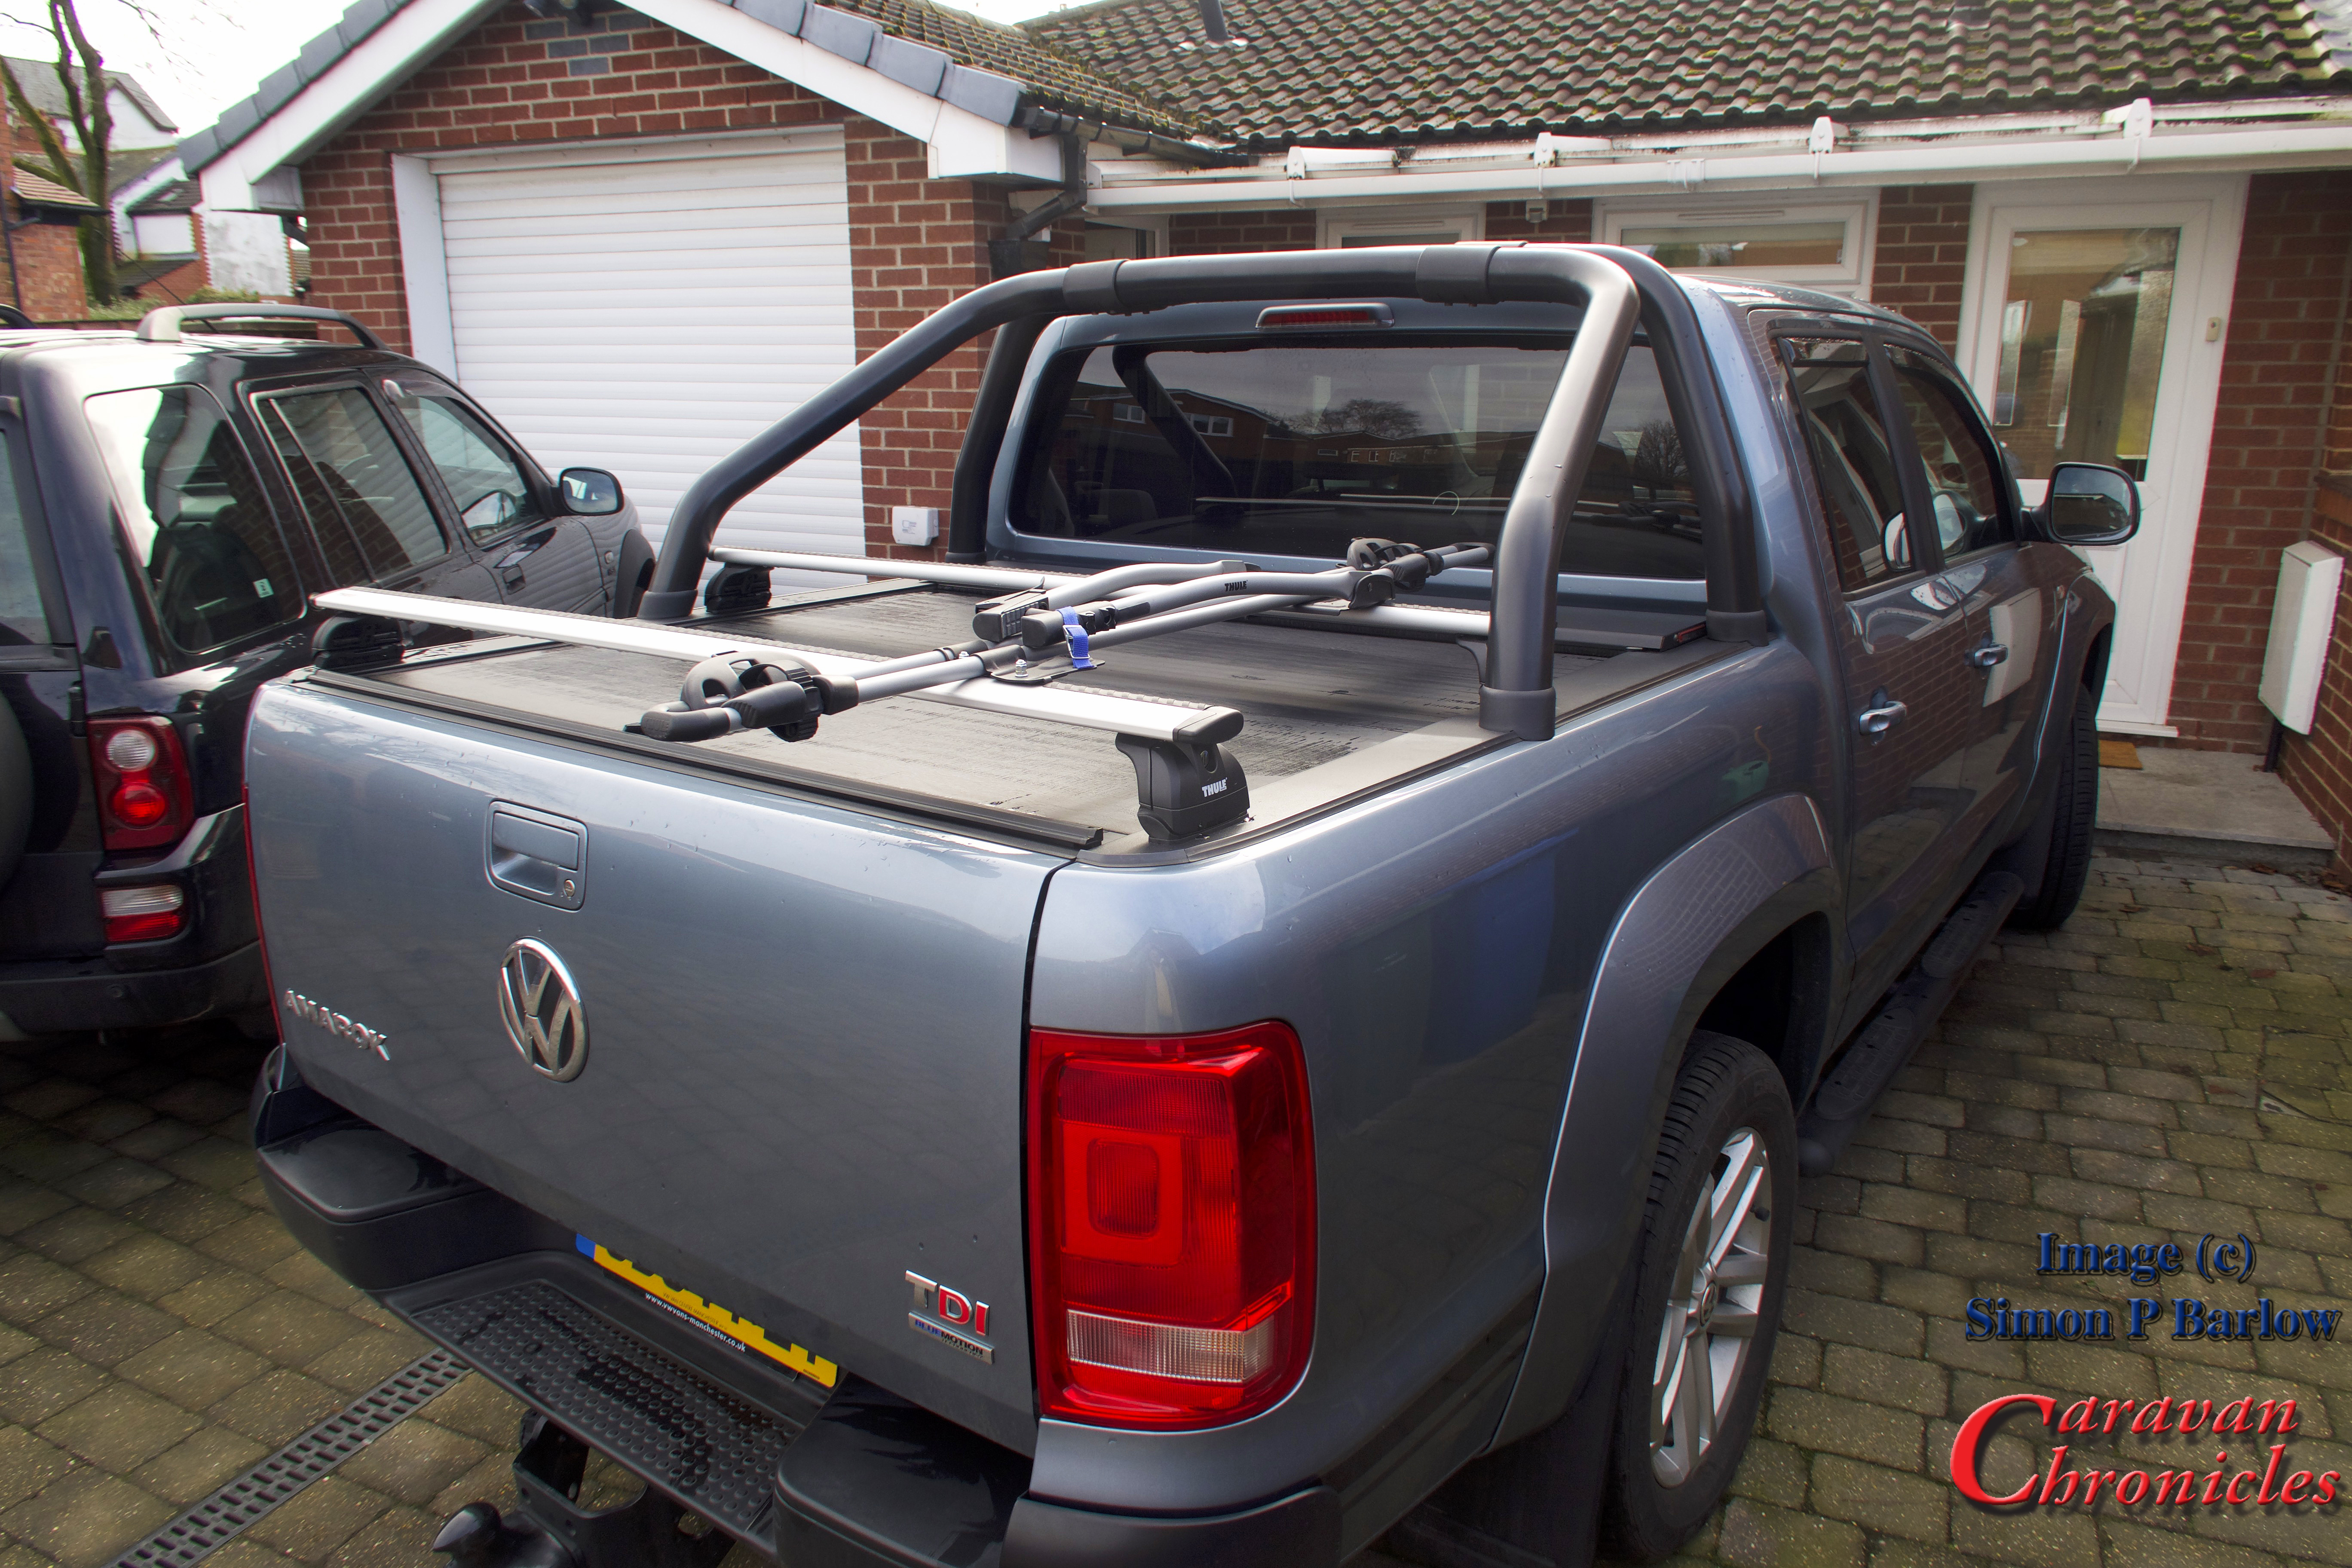
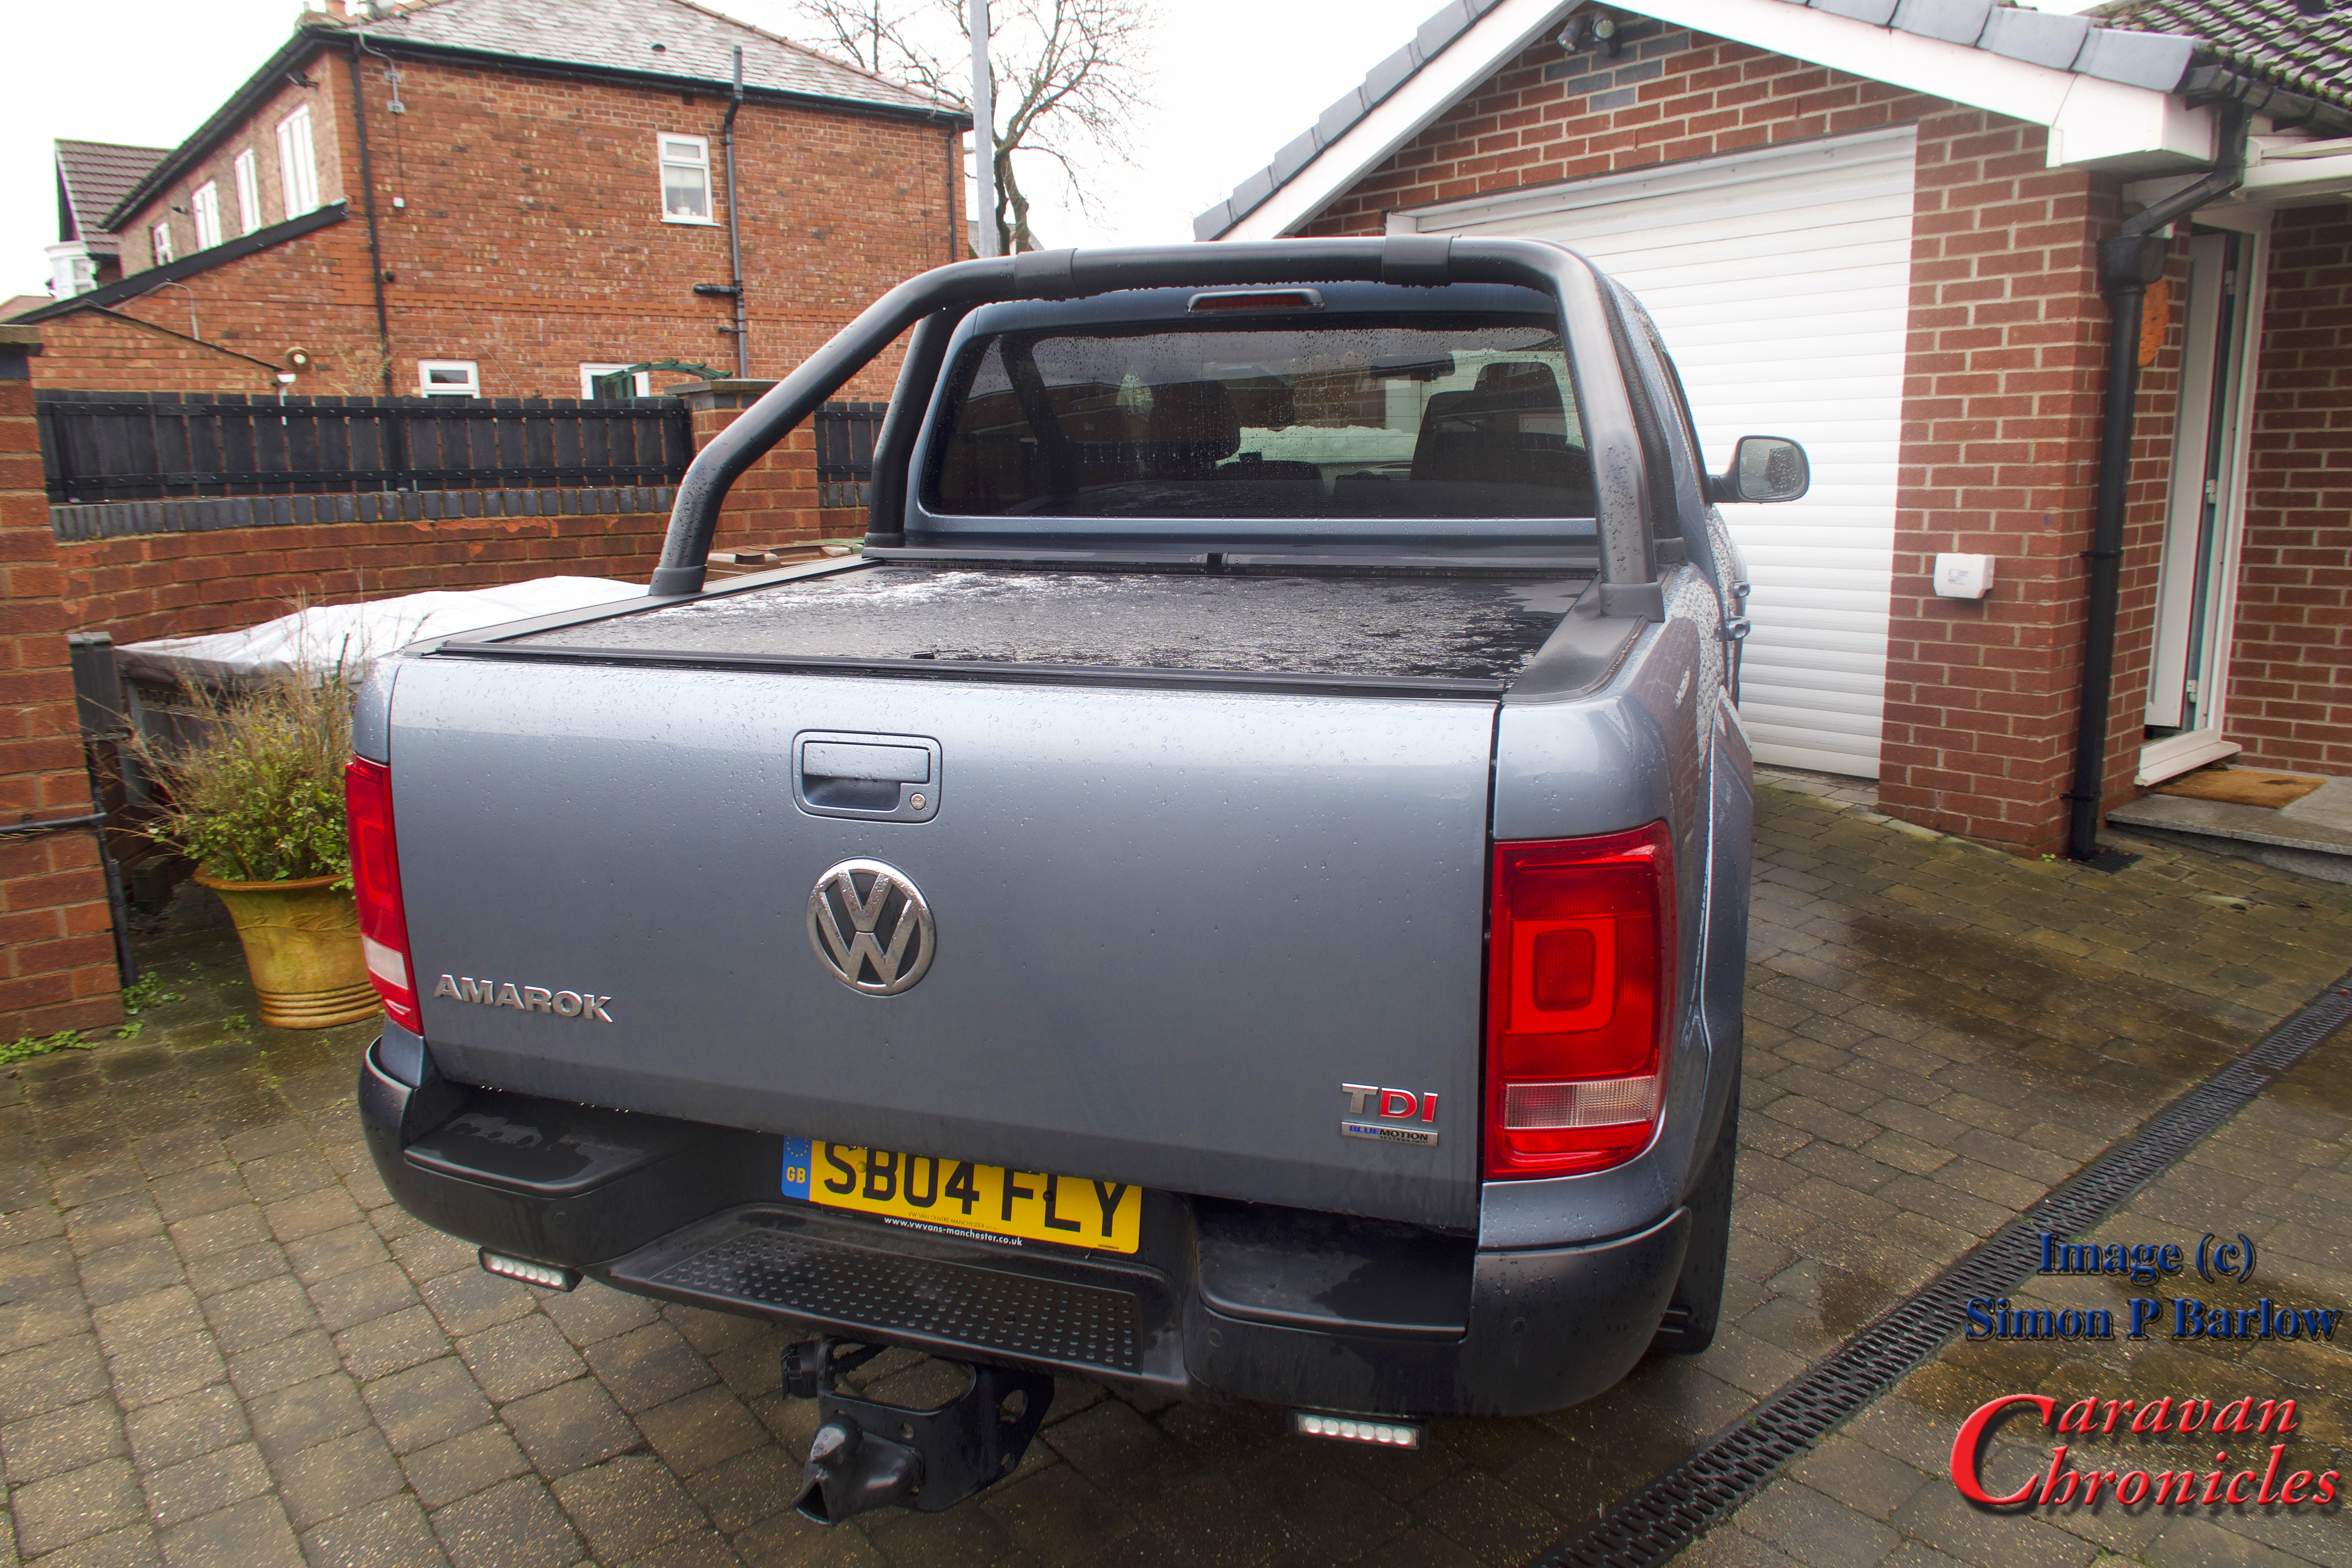
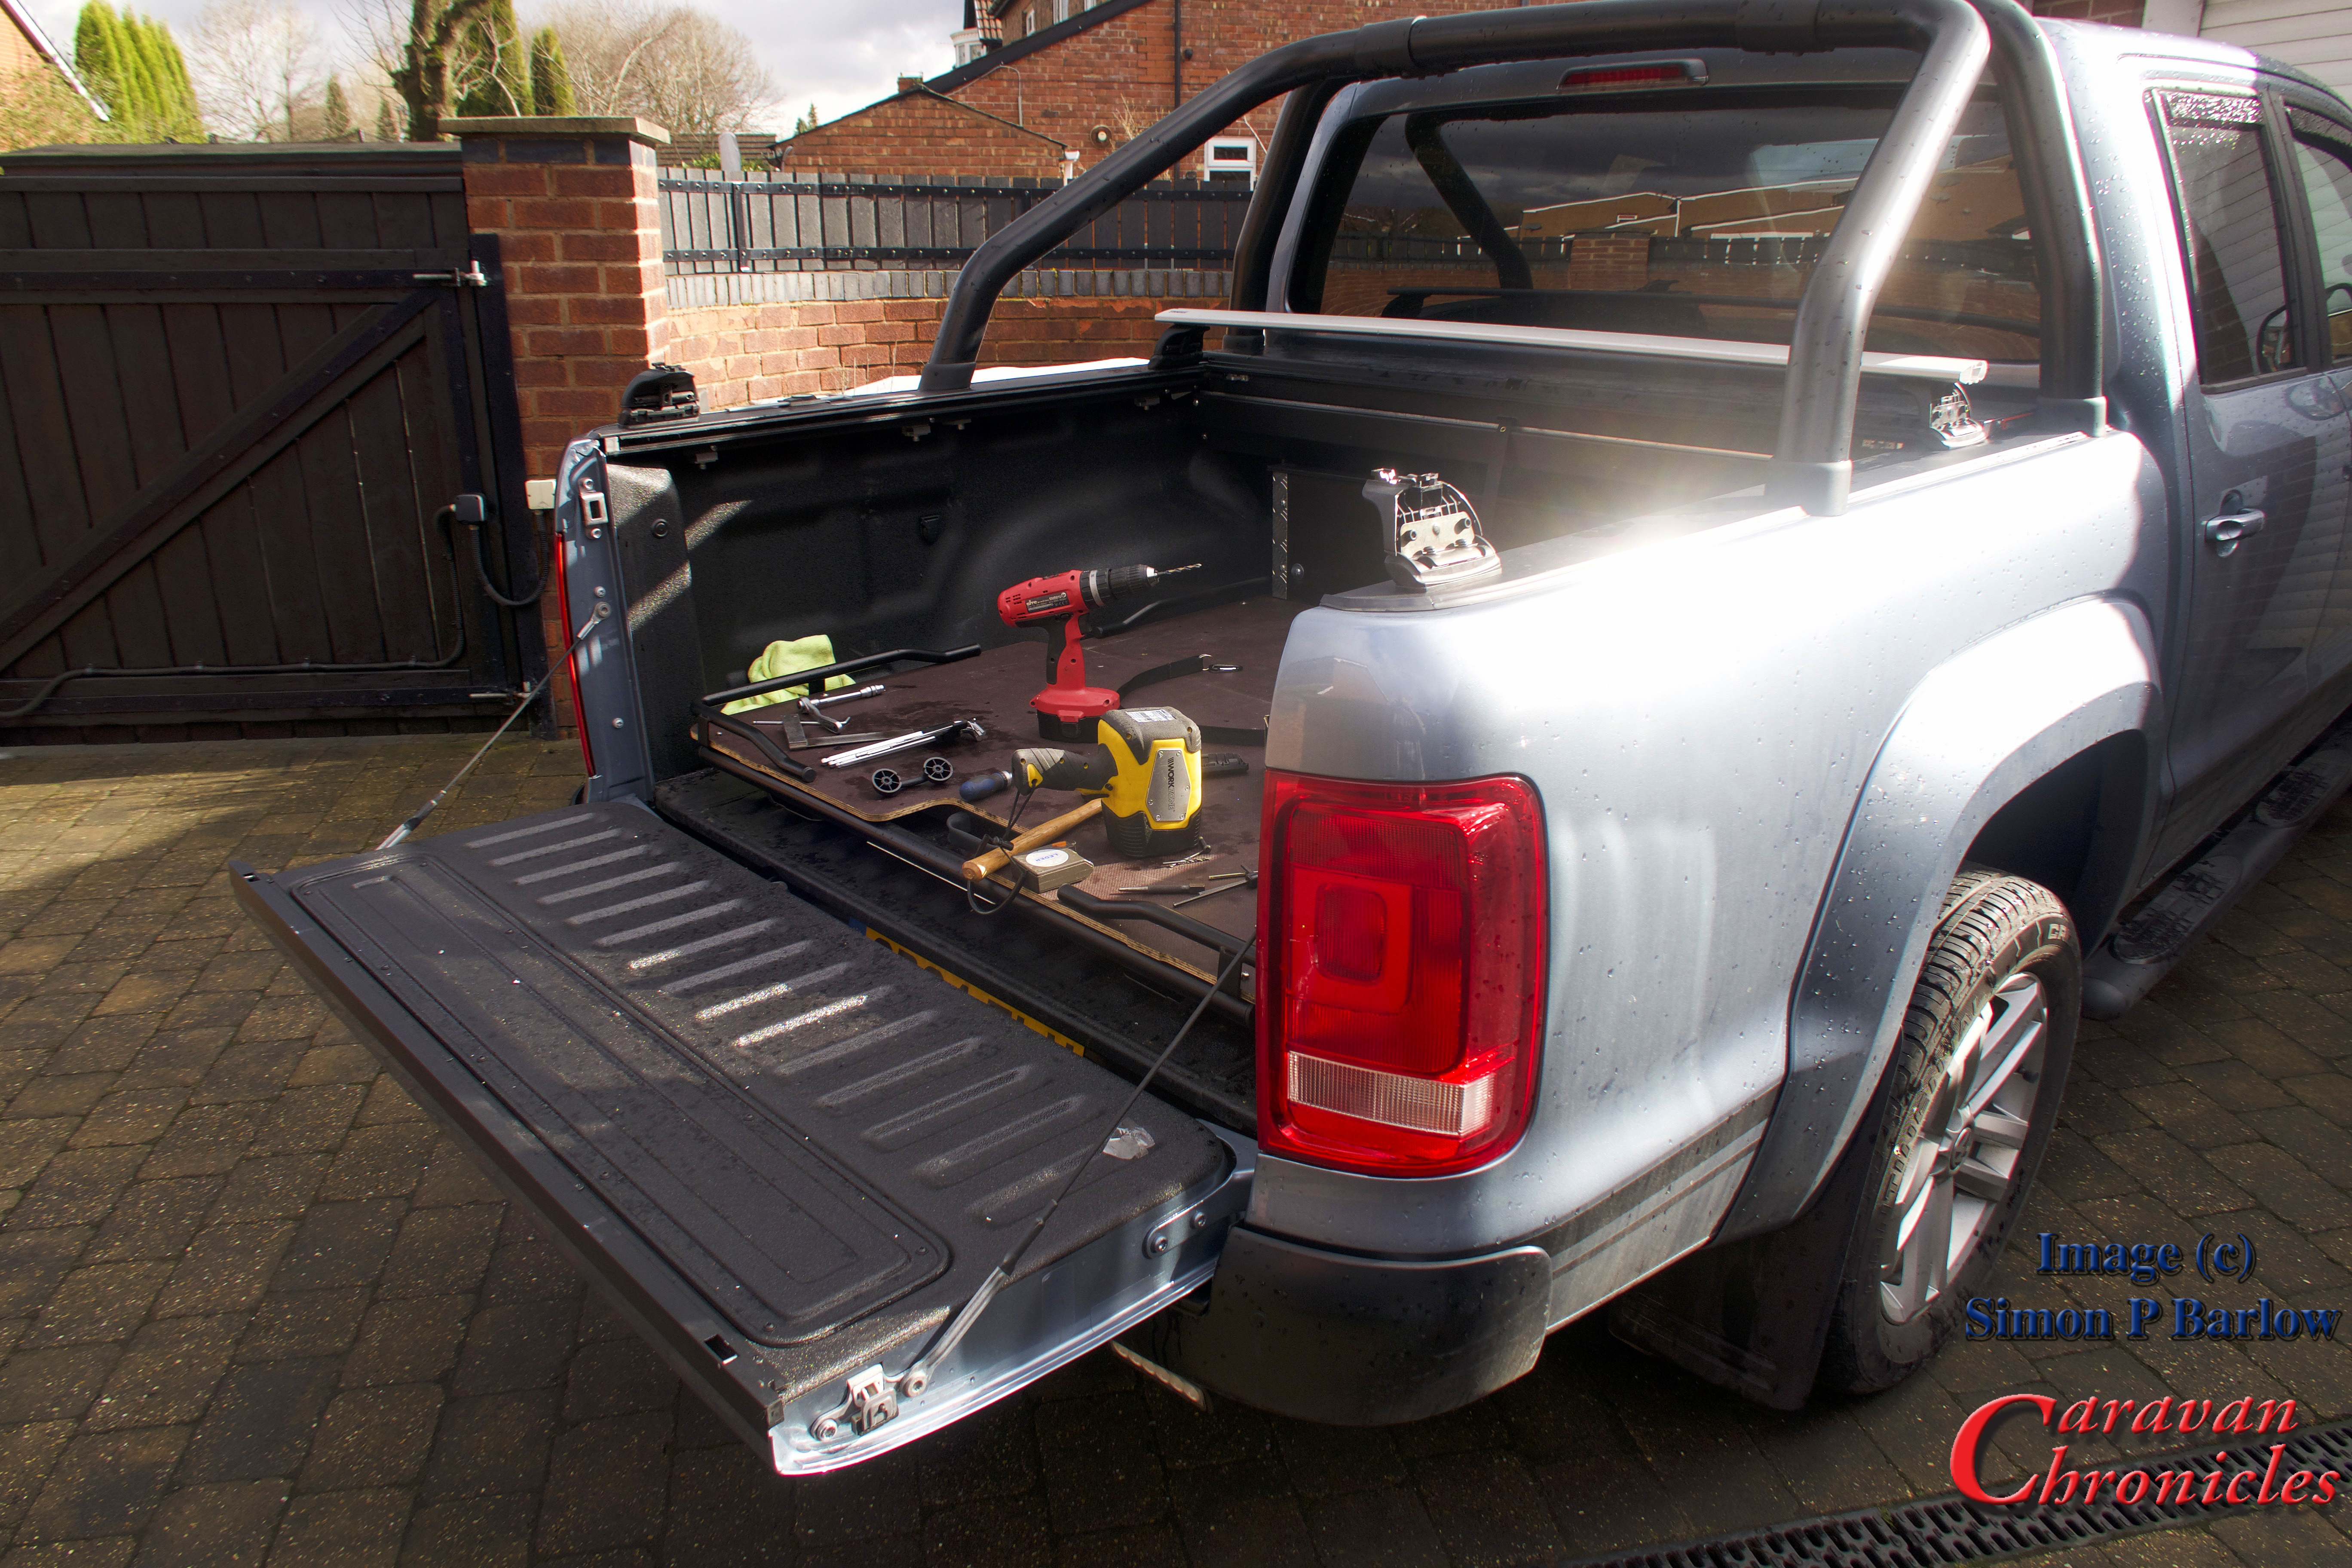
One of the huge advantages of having a 5th wheel caravan over a bumper pull caravan is the payload and space. It’s as good as a large motorhome… we have around 960Kg of payload available to use. One thing we wanted to do was move our two MiRider e-bikes into the ‘garage’ locker of the 5th wheel. Although I built a great rack for the VW Amarok towing a 5th wheel means I had to take that off. When I designed it I aways wanted it easily removable just in case I ever needed the full capacity of the pickup.

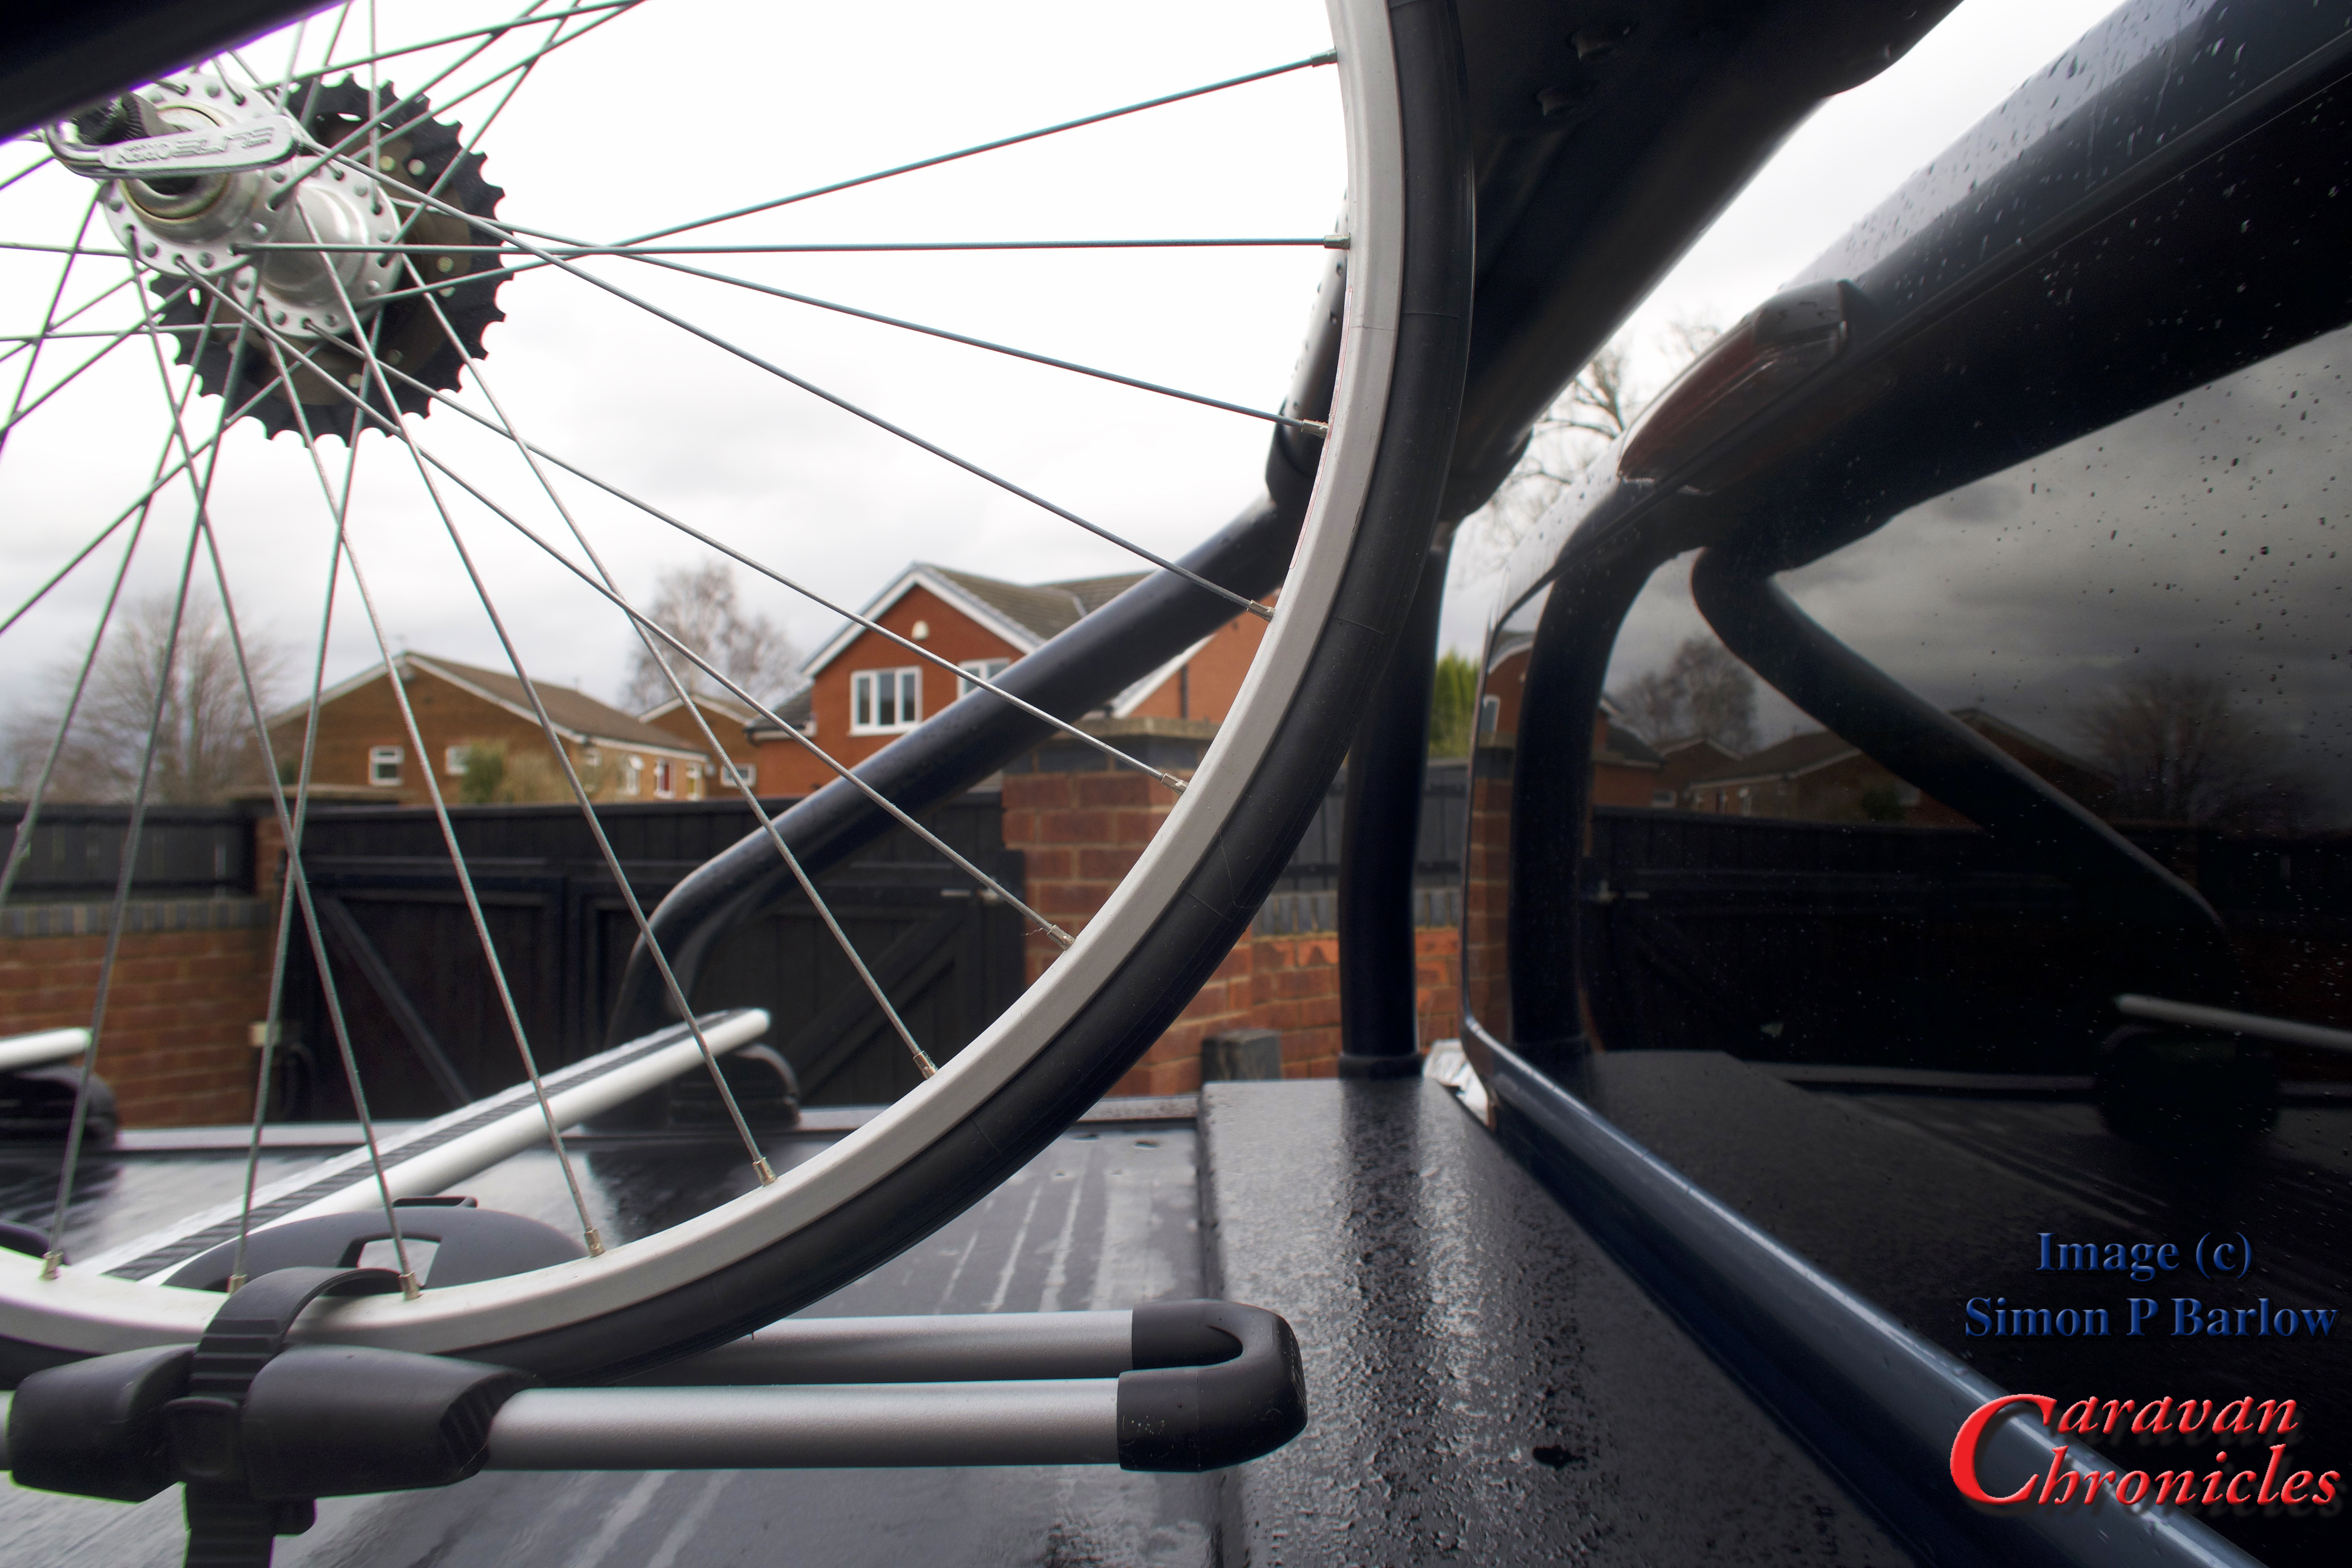
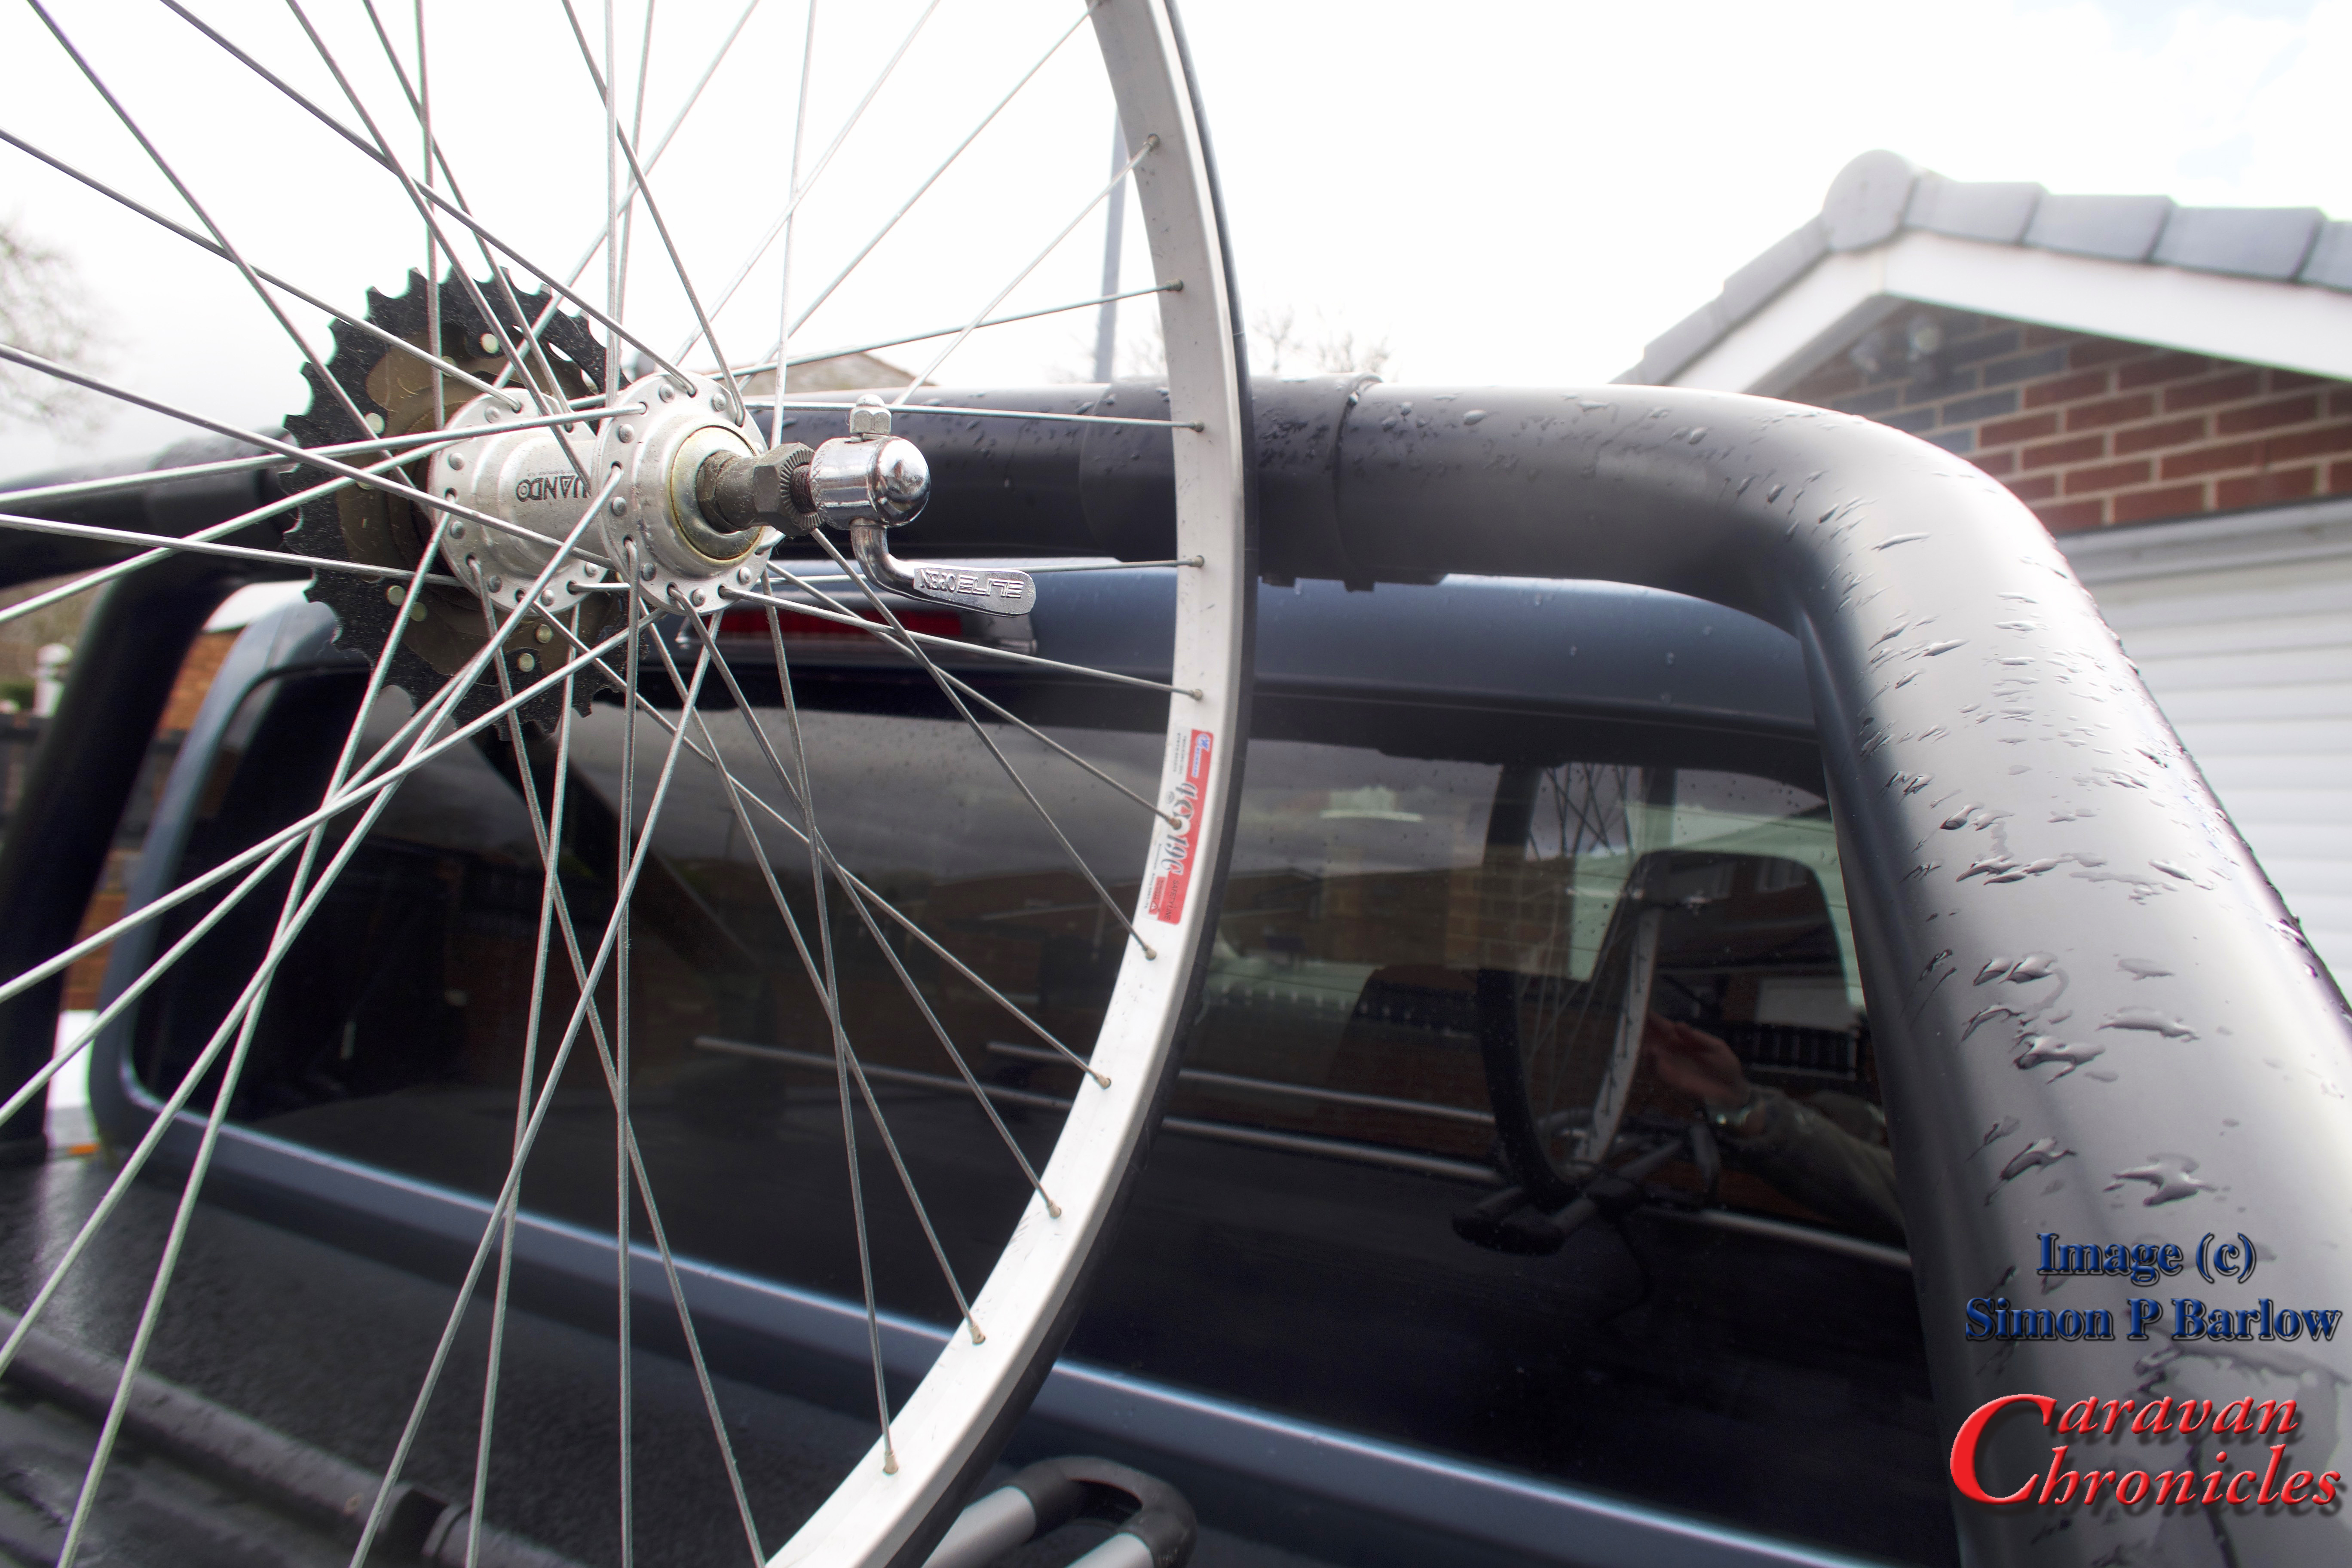
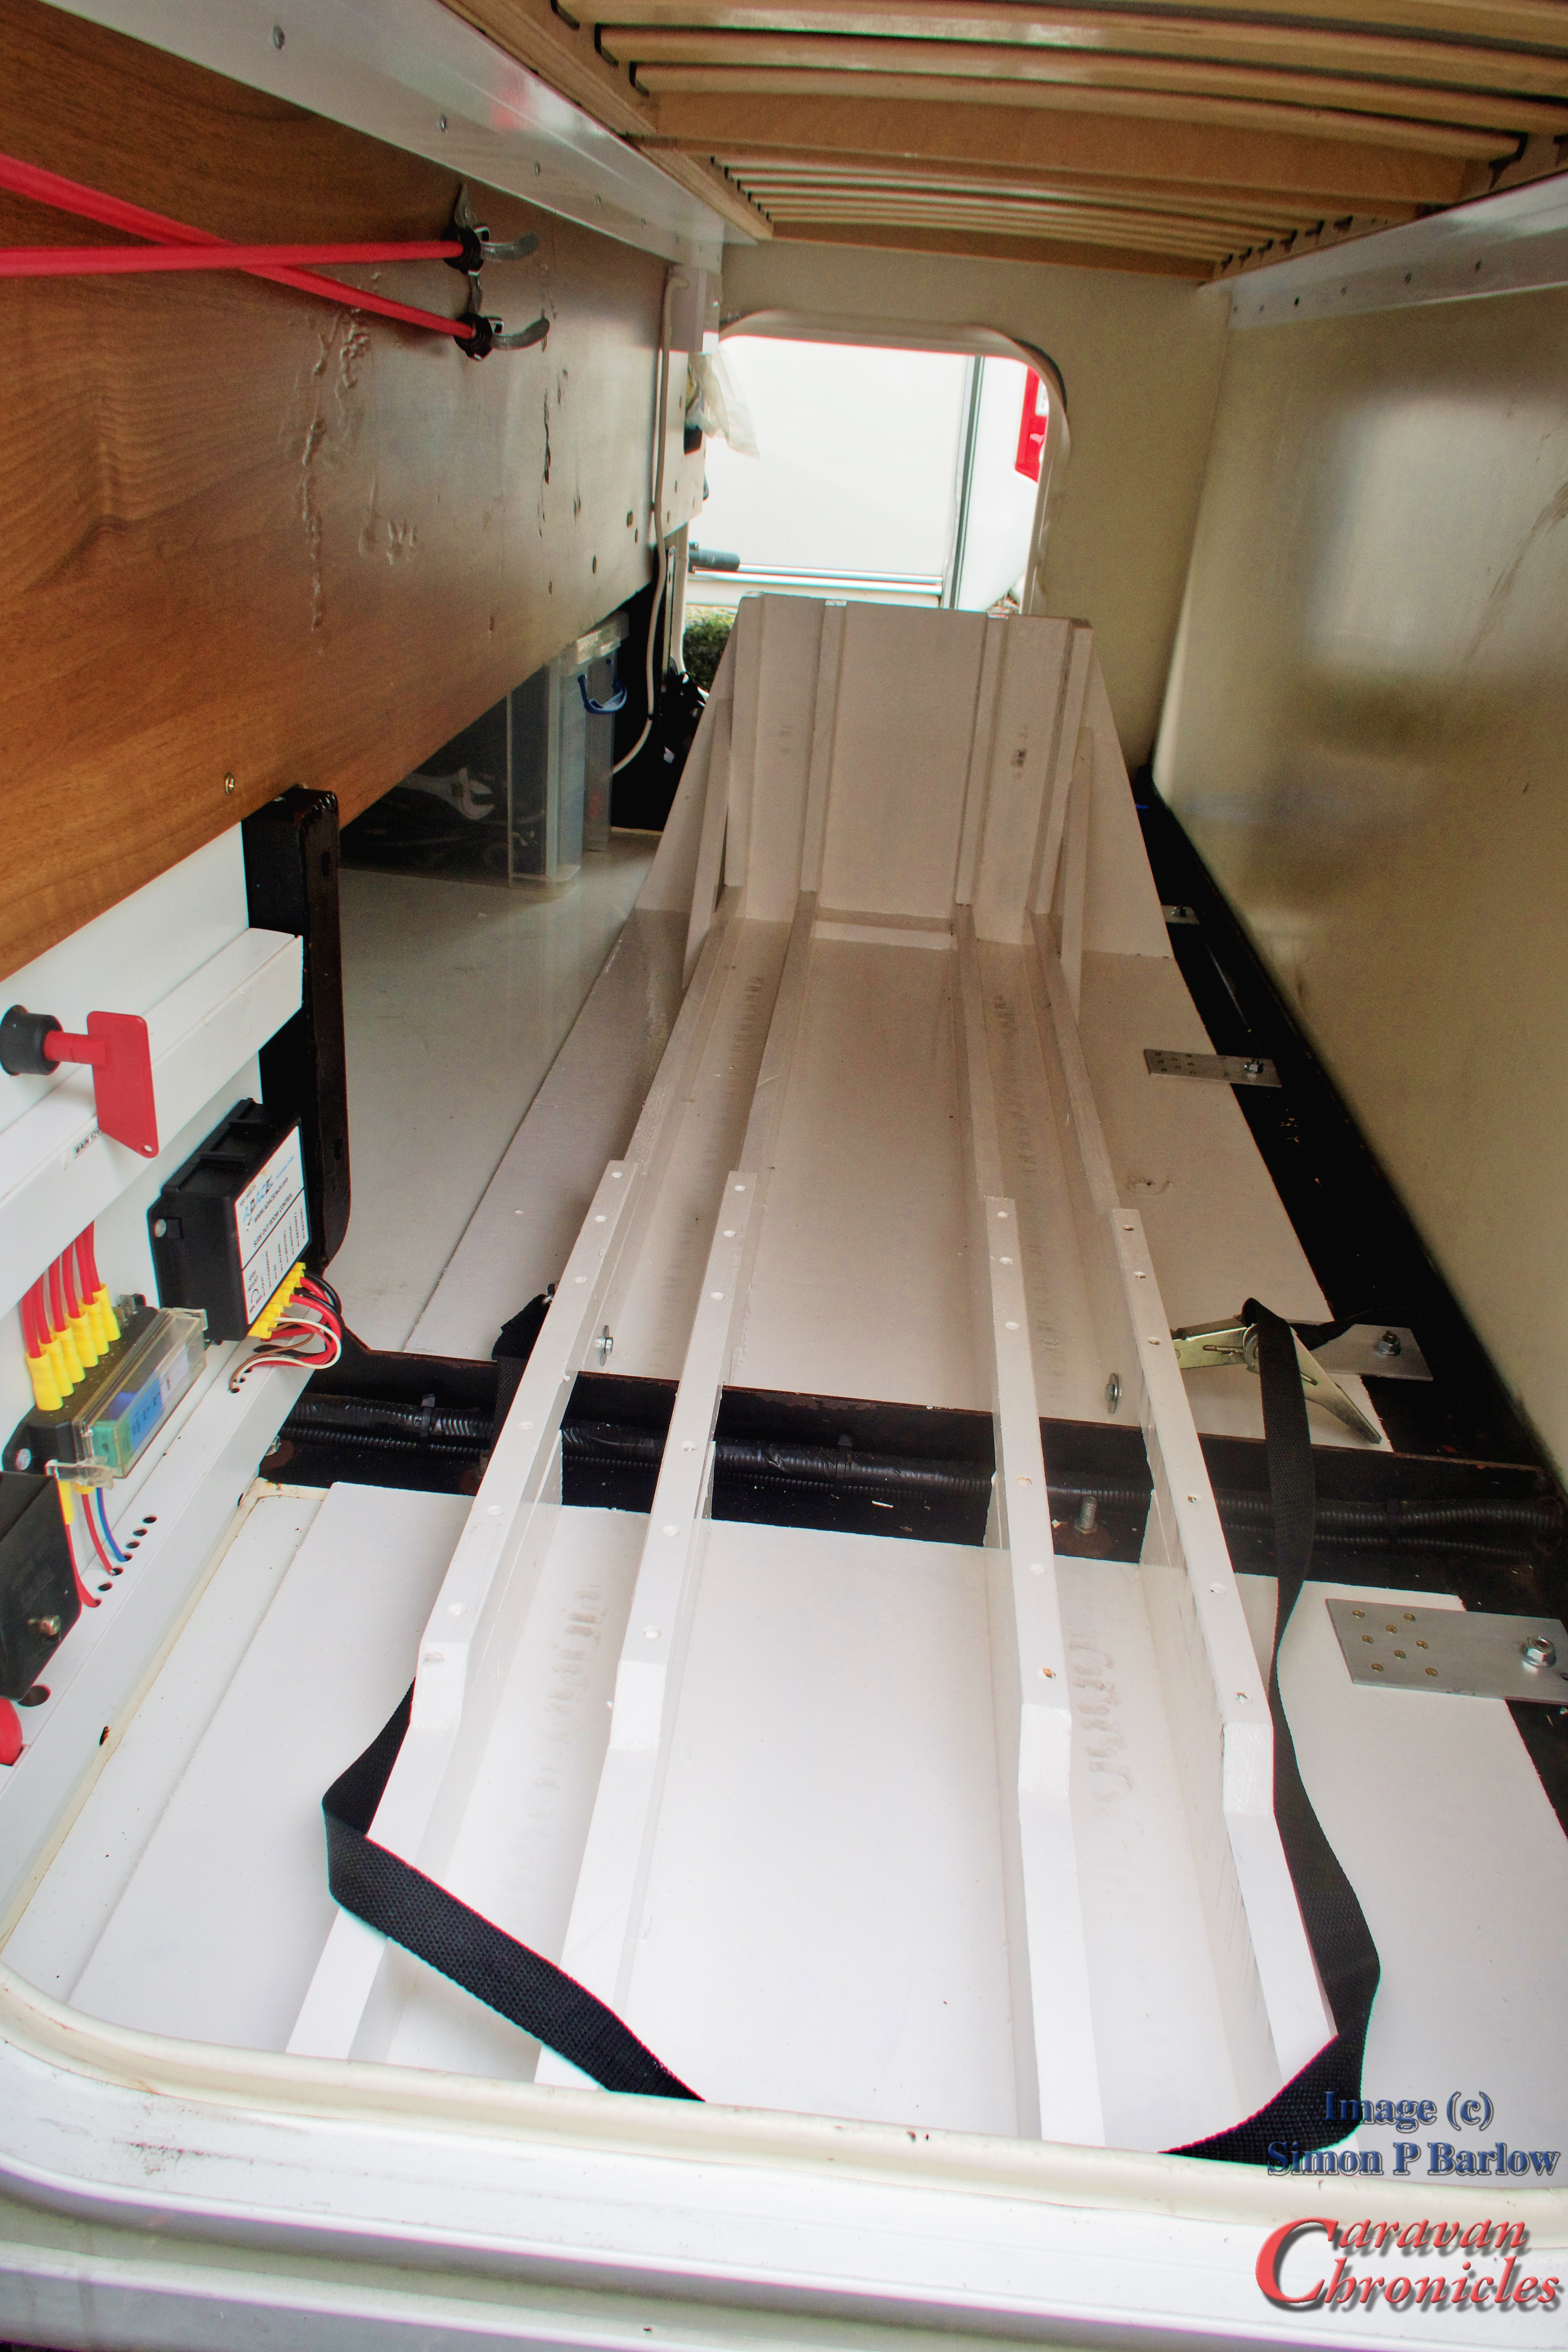
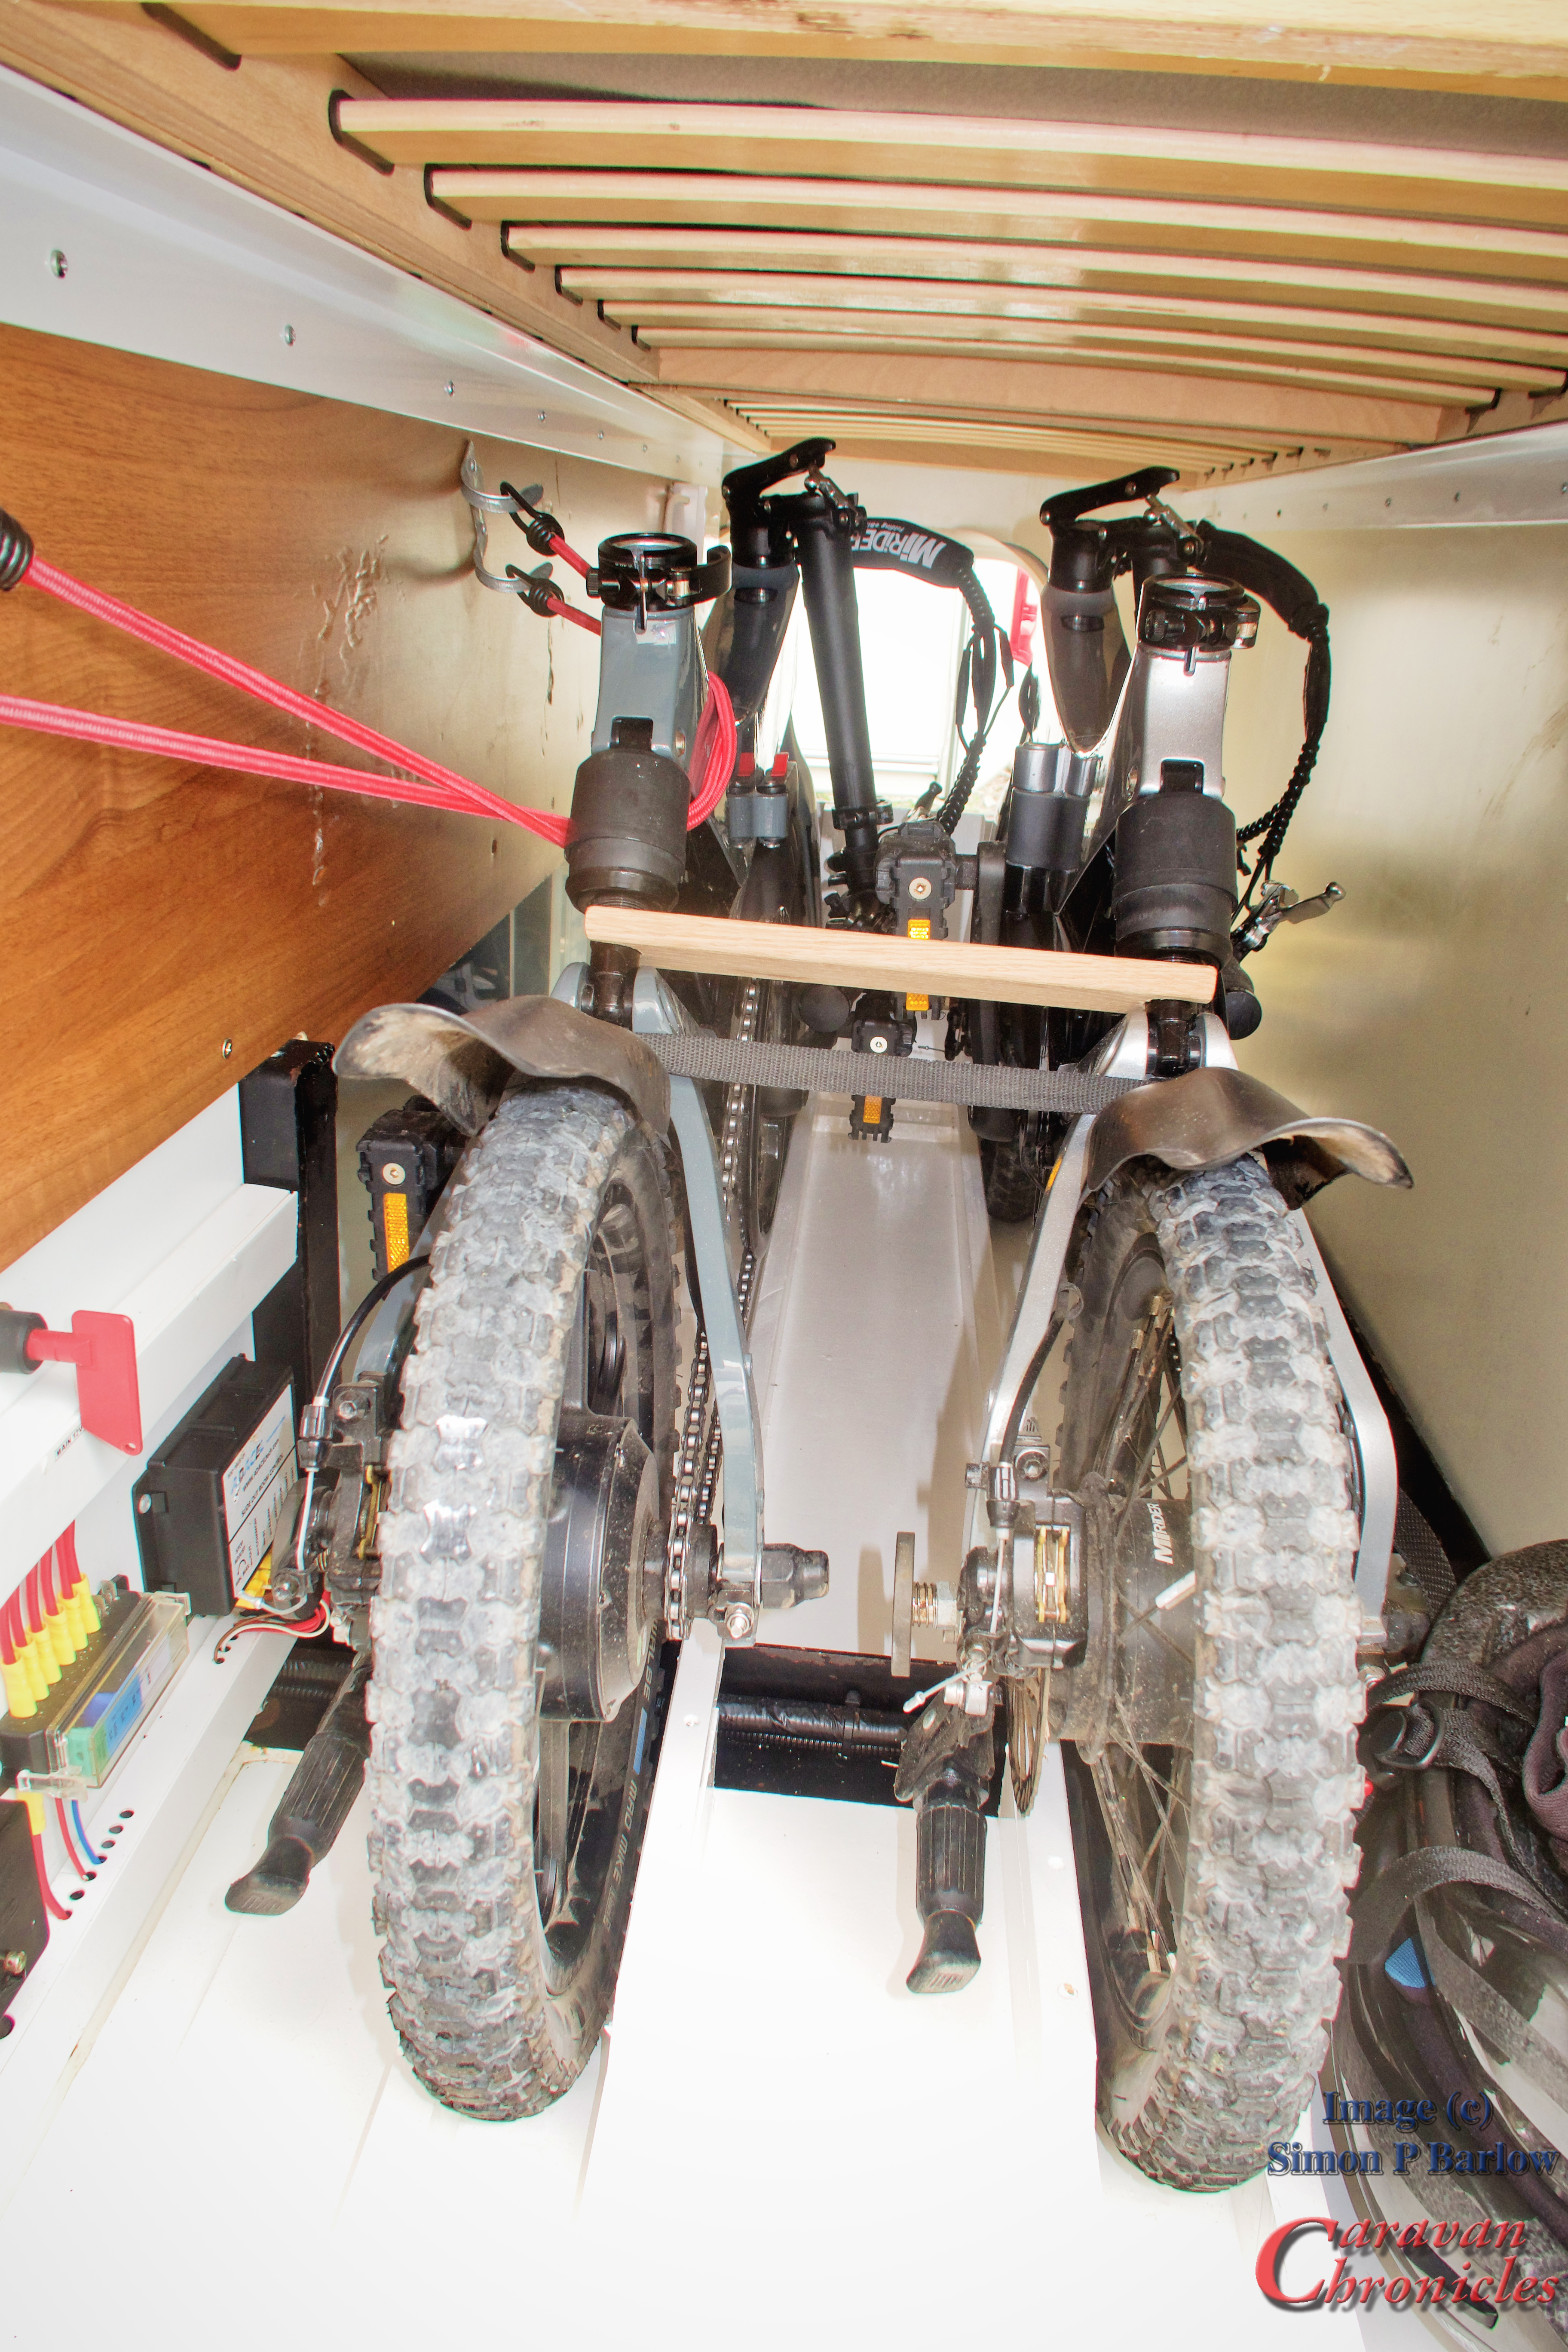
The garage space in the Dream Seeker is big enough to fit the two bikes without having to remove any wheels. On the pickup we already removed the seats and dropped the folding handlebars so this is the same with the garage space. I needed something that would allow me to ‘wheel’ the bikes in keeping the front wheels straight and at the same time retaining either one of the bikes in an up right position while the second bike is loaded.
I wanted something that could be installed and removed easily and could also be used in my workshop to store the bikes if required.
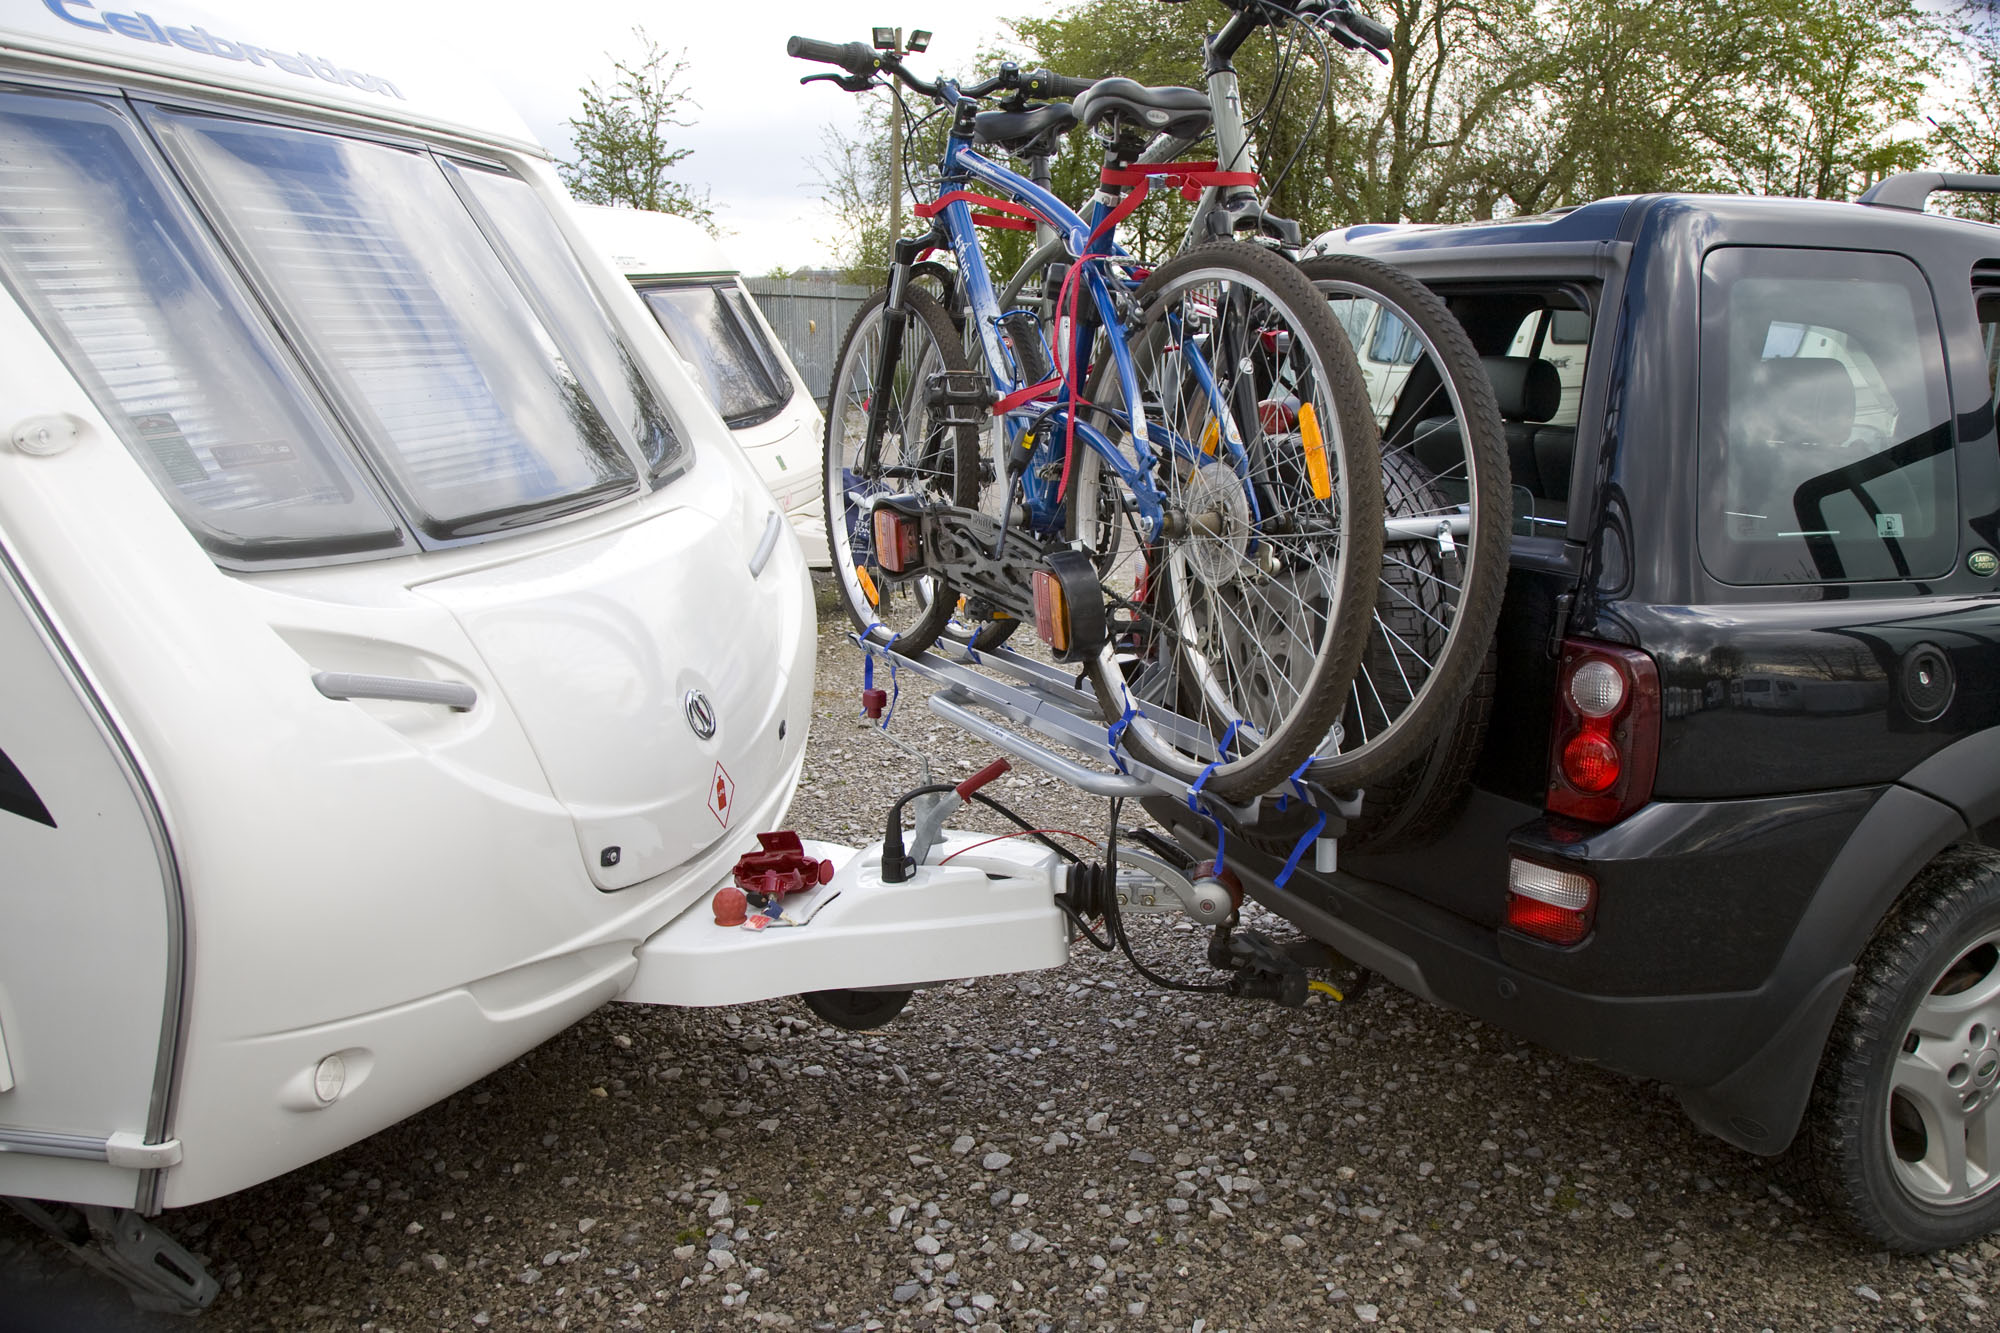
After a bit of mooching around the workshop I initially thought of using an old bike rack we had for the rear of our Land Rover Freelander…. a day spent disassembling and reassembling resulted in a heavy and awkward contraption that didn’t really do anything I wanted except hold the bikes.
Mk II
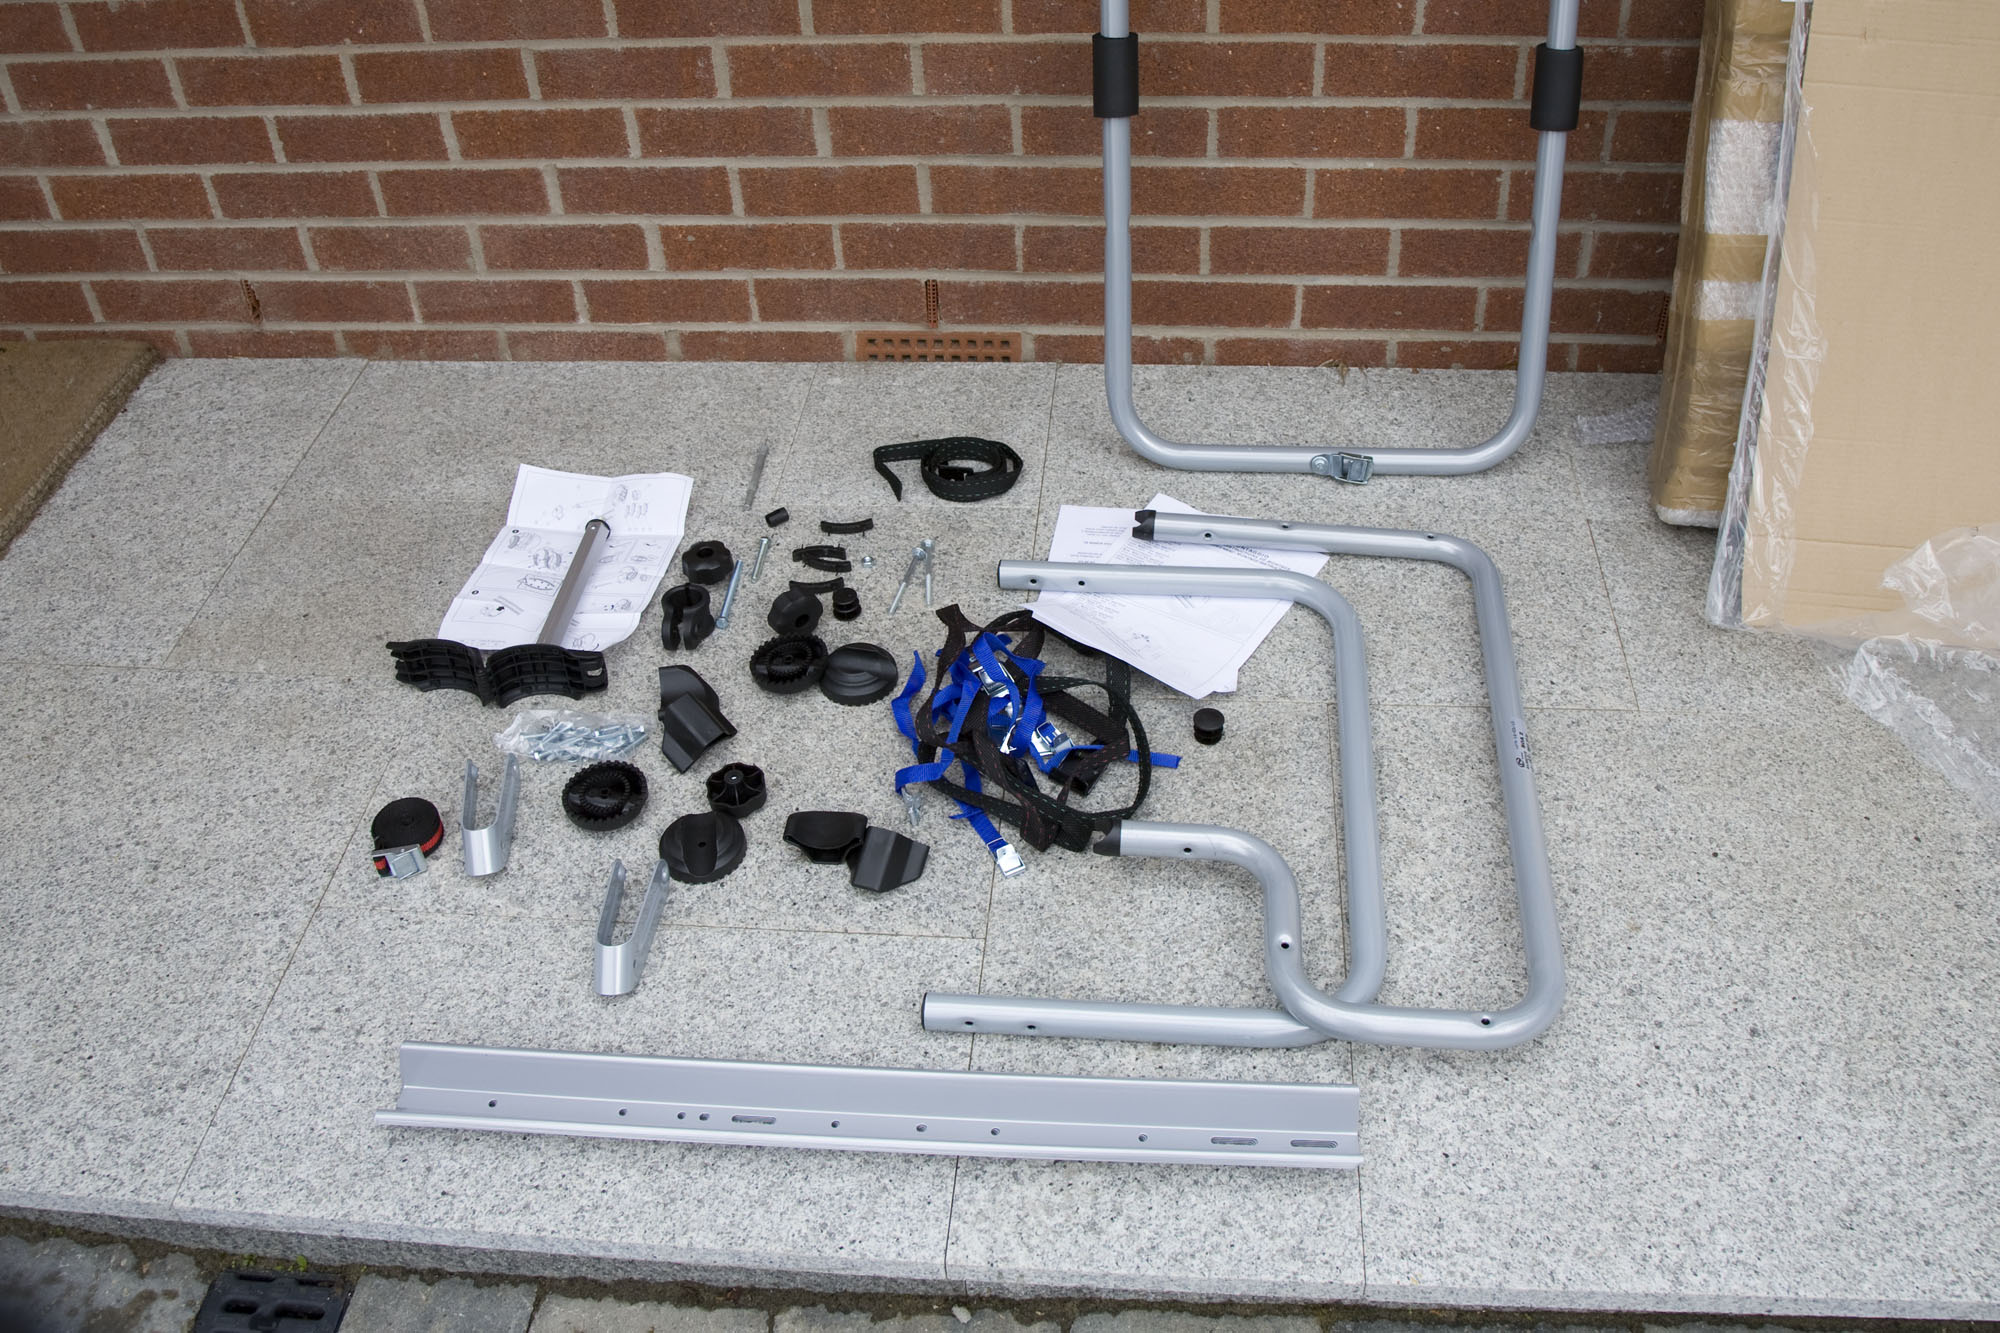
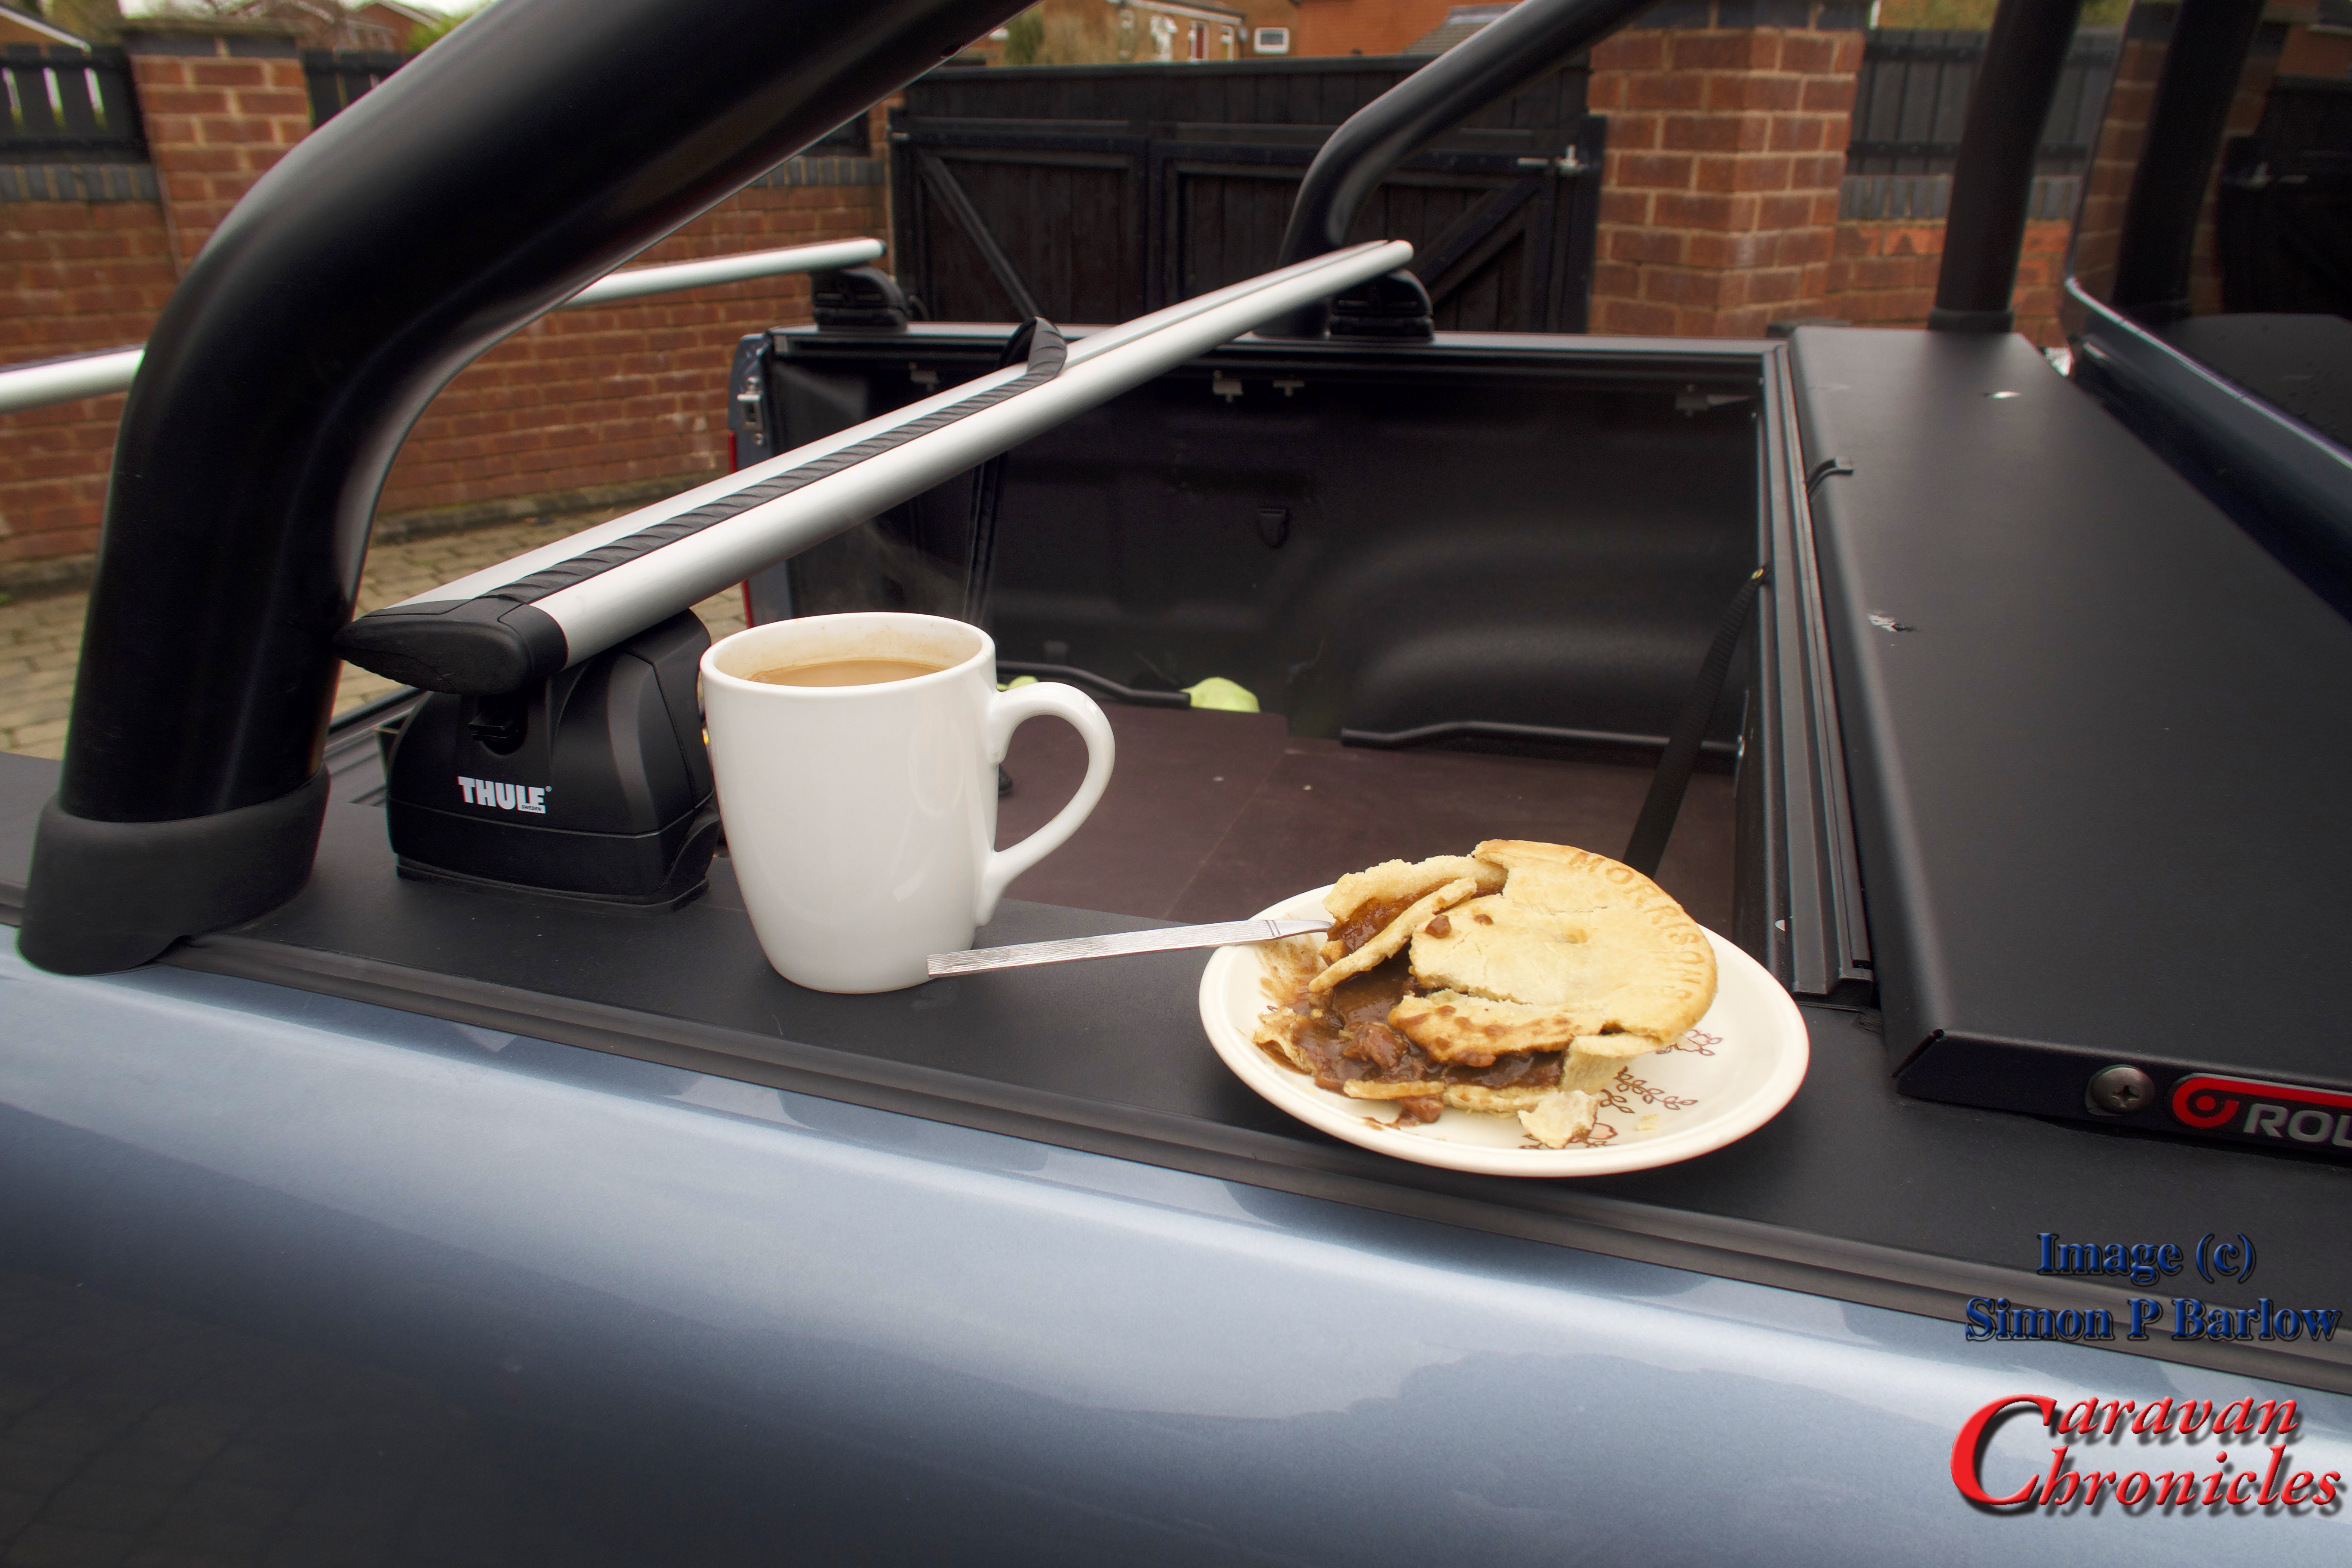
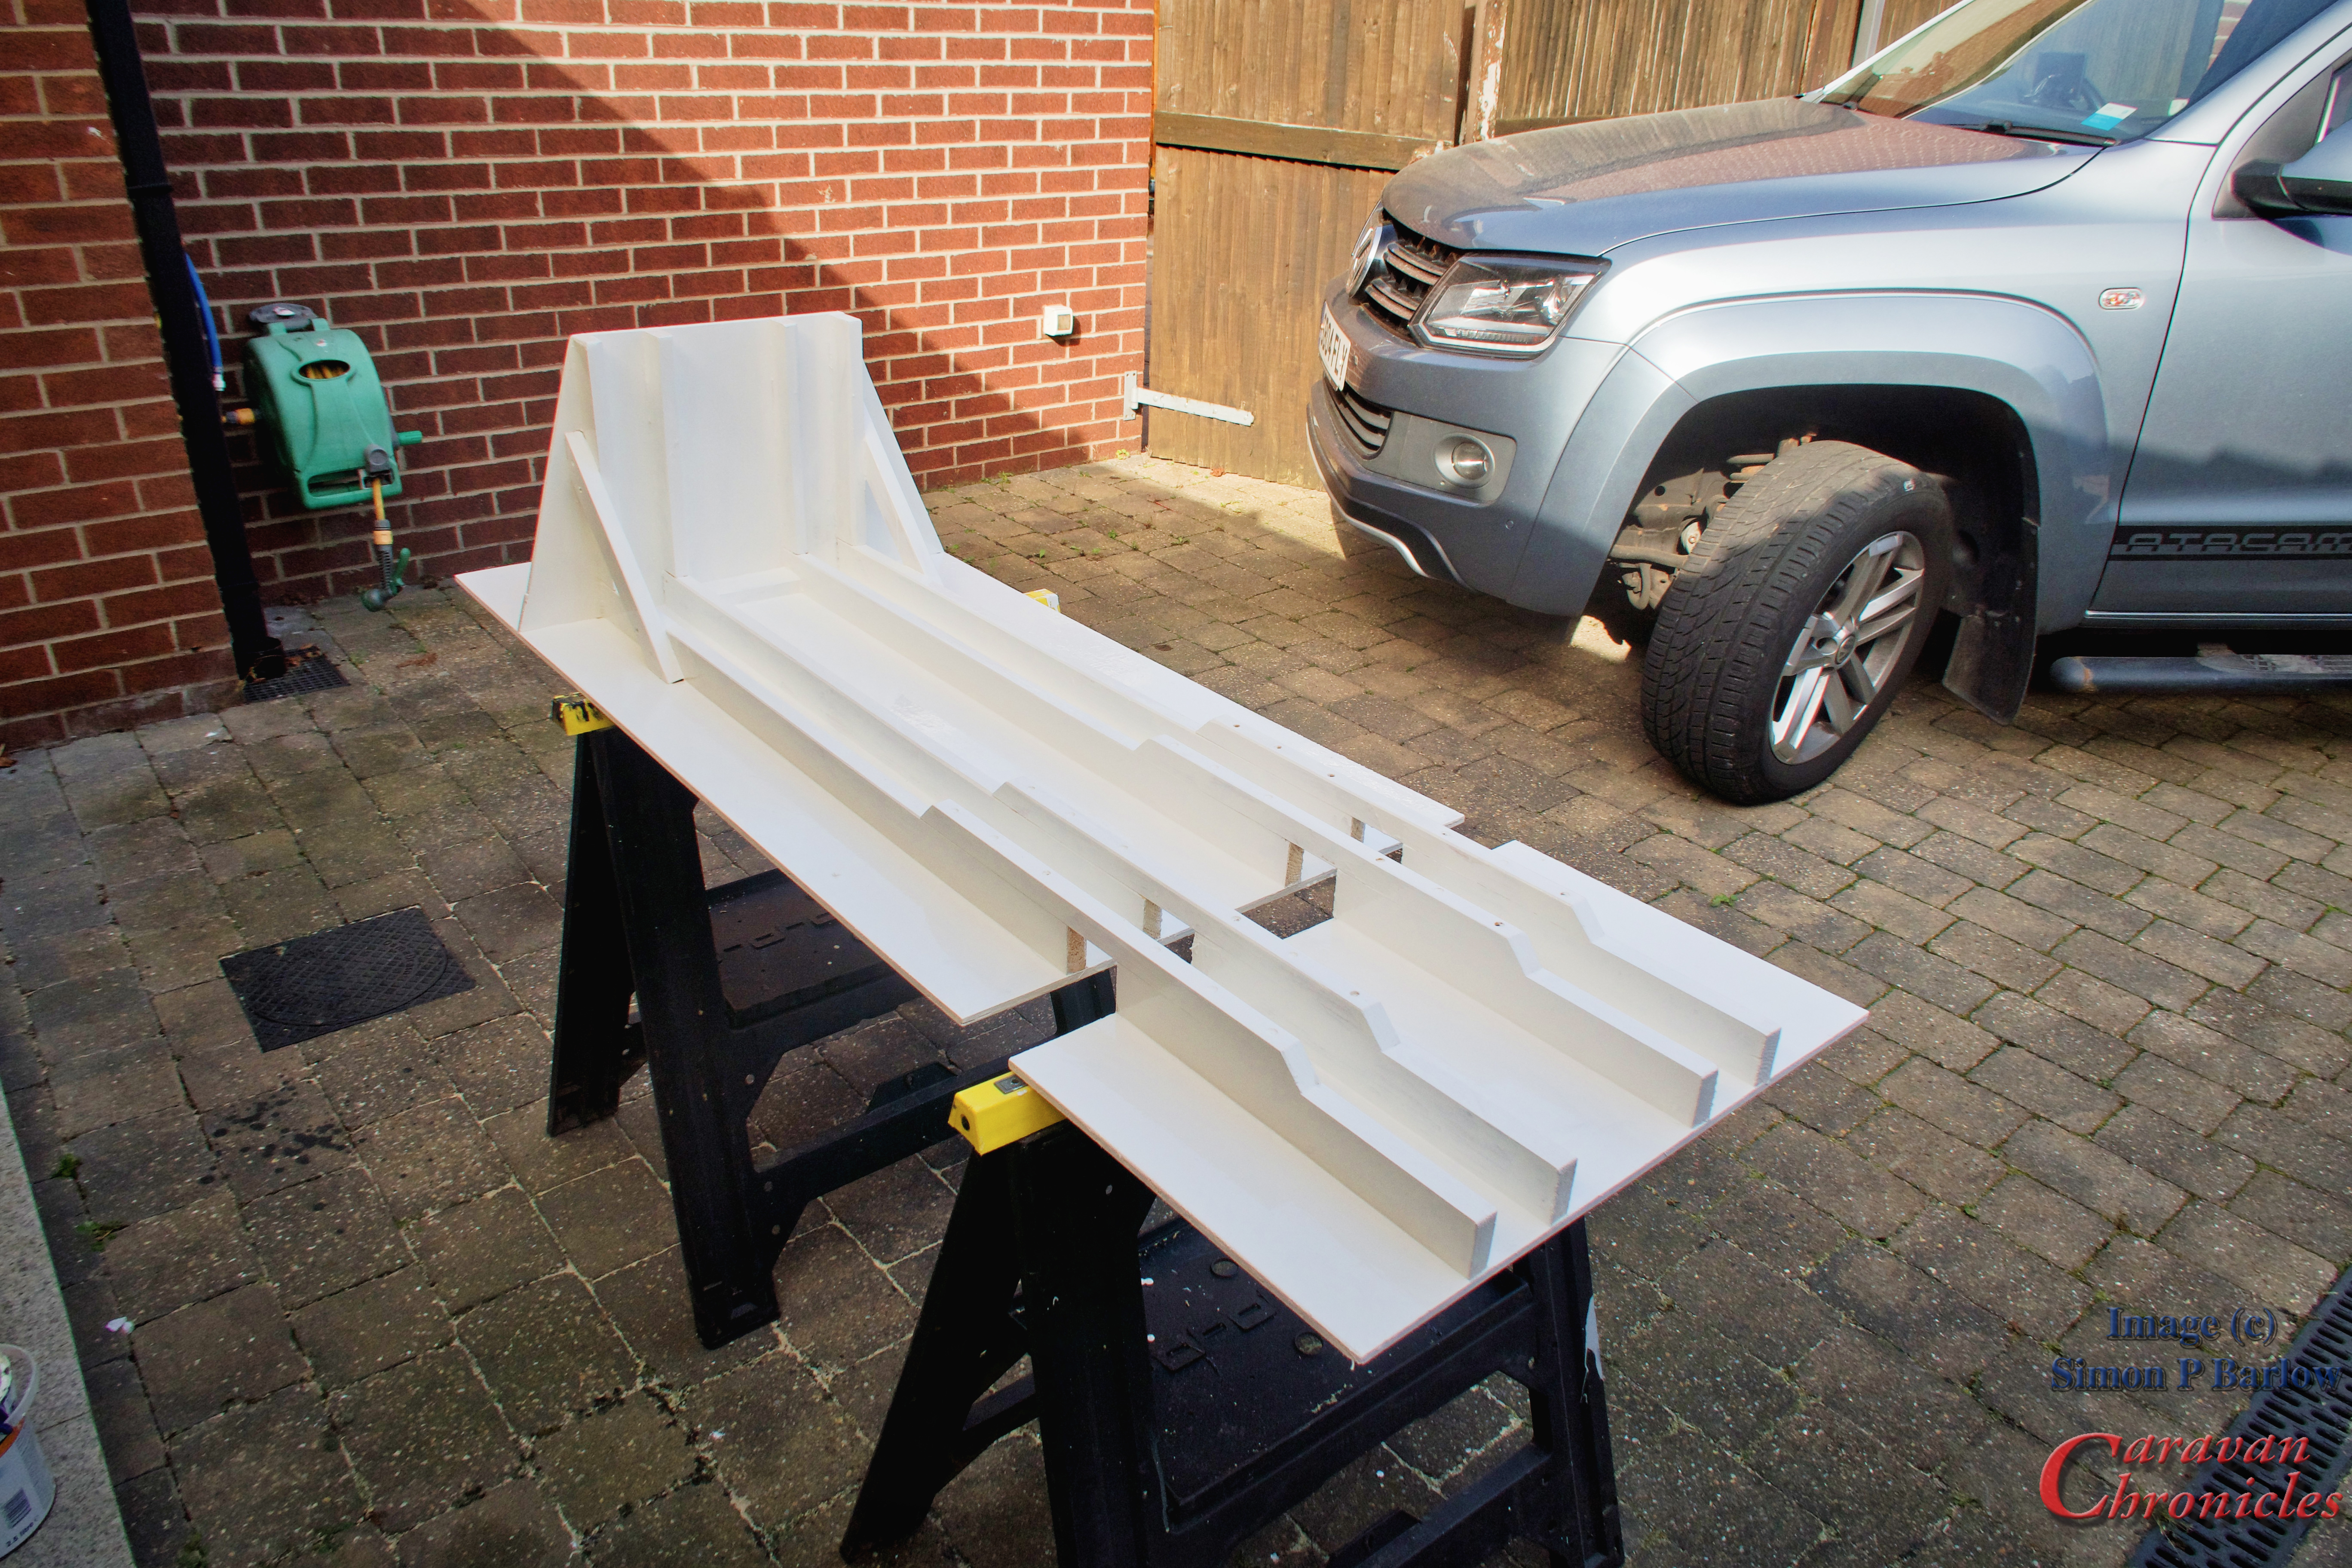
OK, time for coffee and a rethink. Day two. A flat sheet with rails seemed like a good start…. with a small end wall to stop the bikes going in to far…. extend the rails up the wall to hold the front wheels upright would work. I needed to leave a gap for part of the steel chassis of the 5th wheel…. a plan was forming… more coffee.
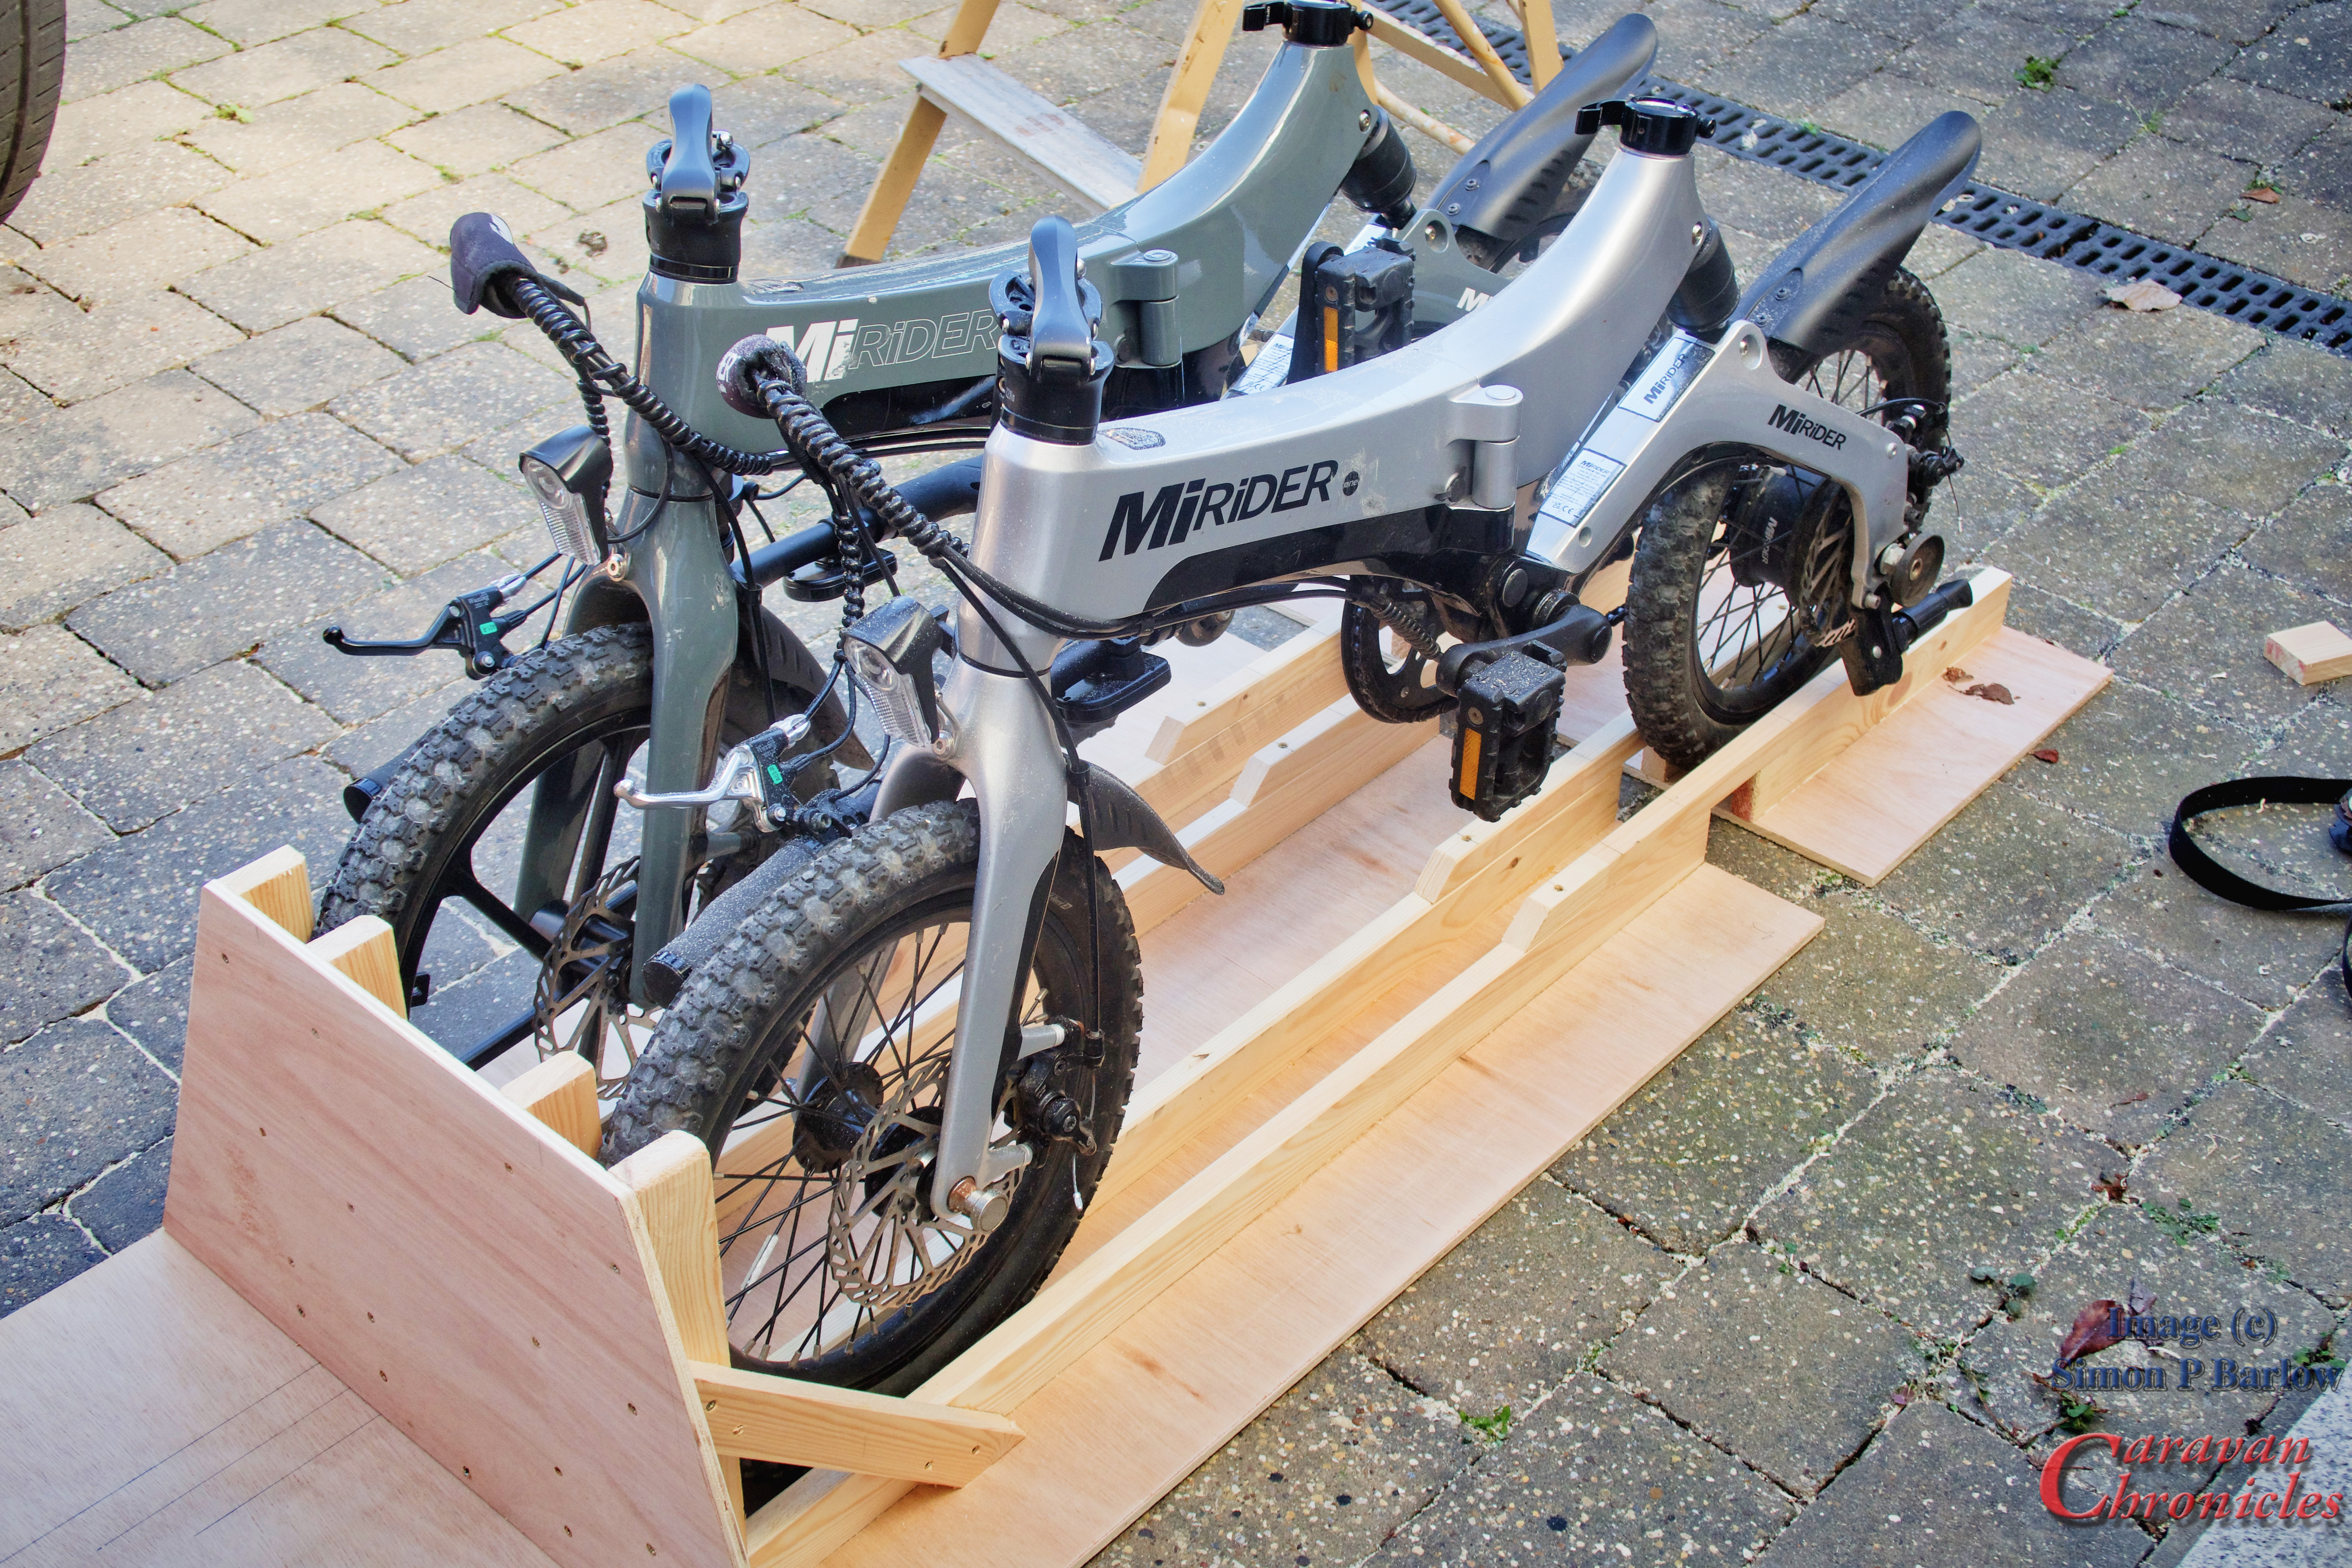
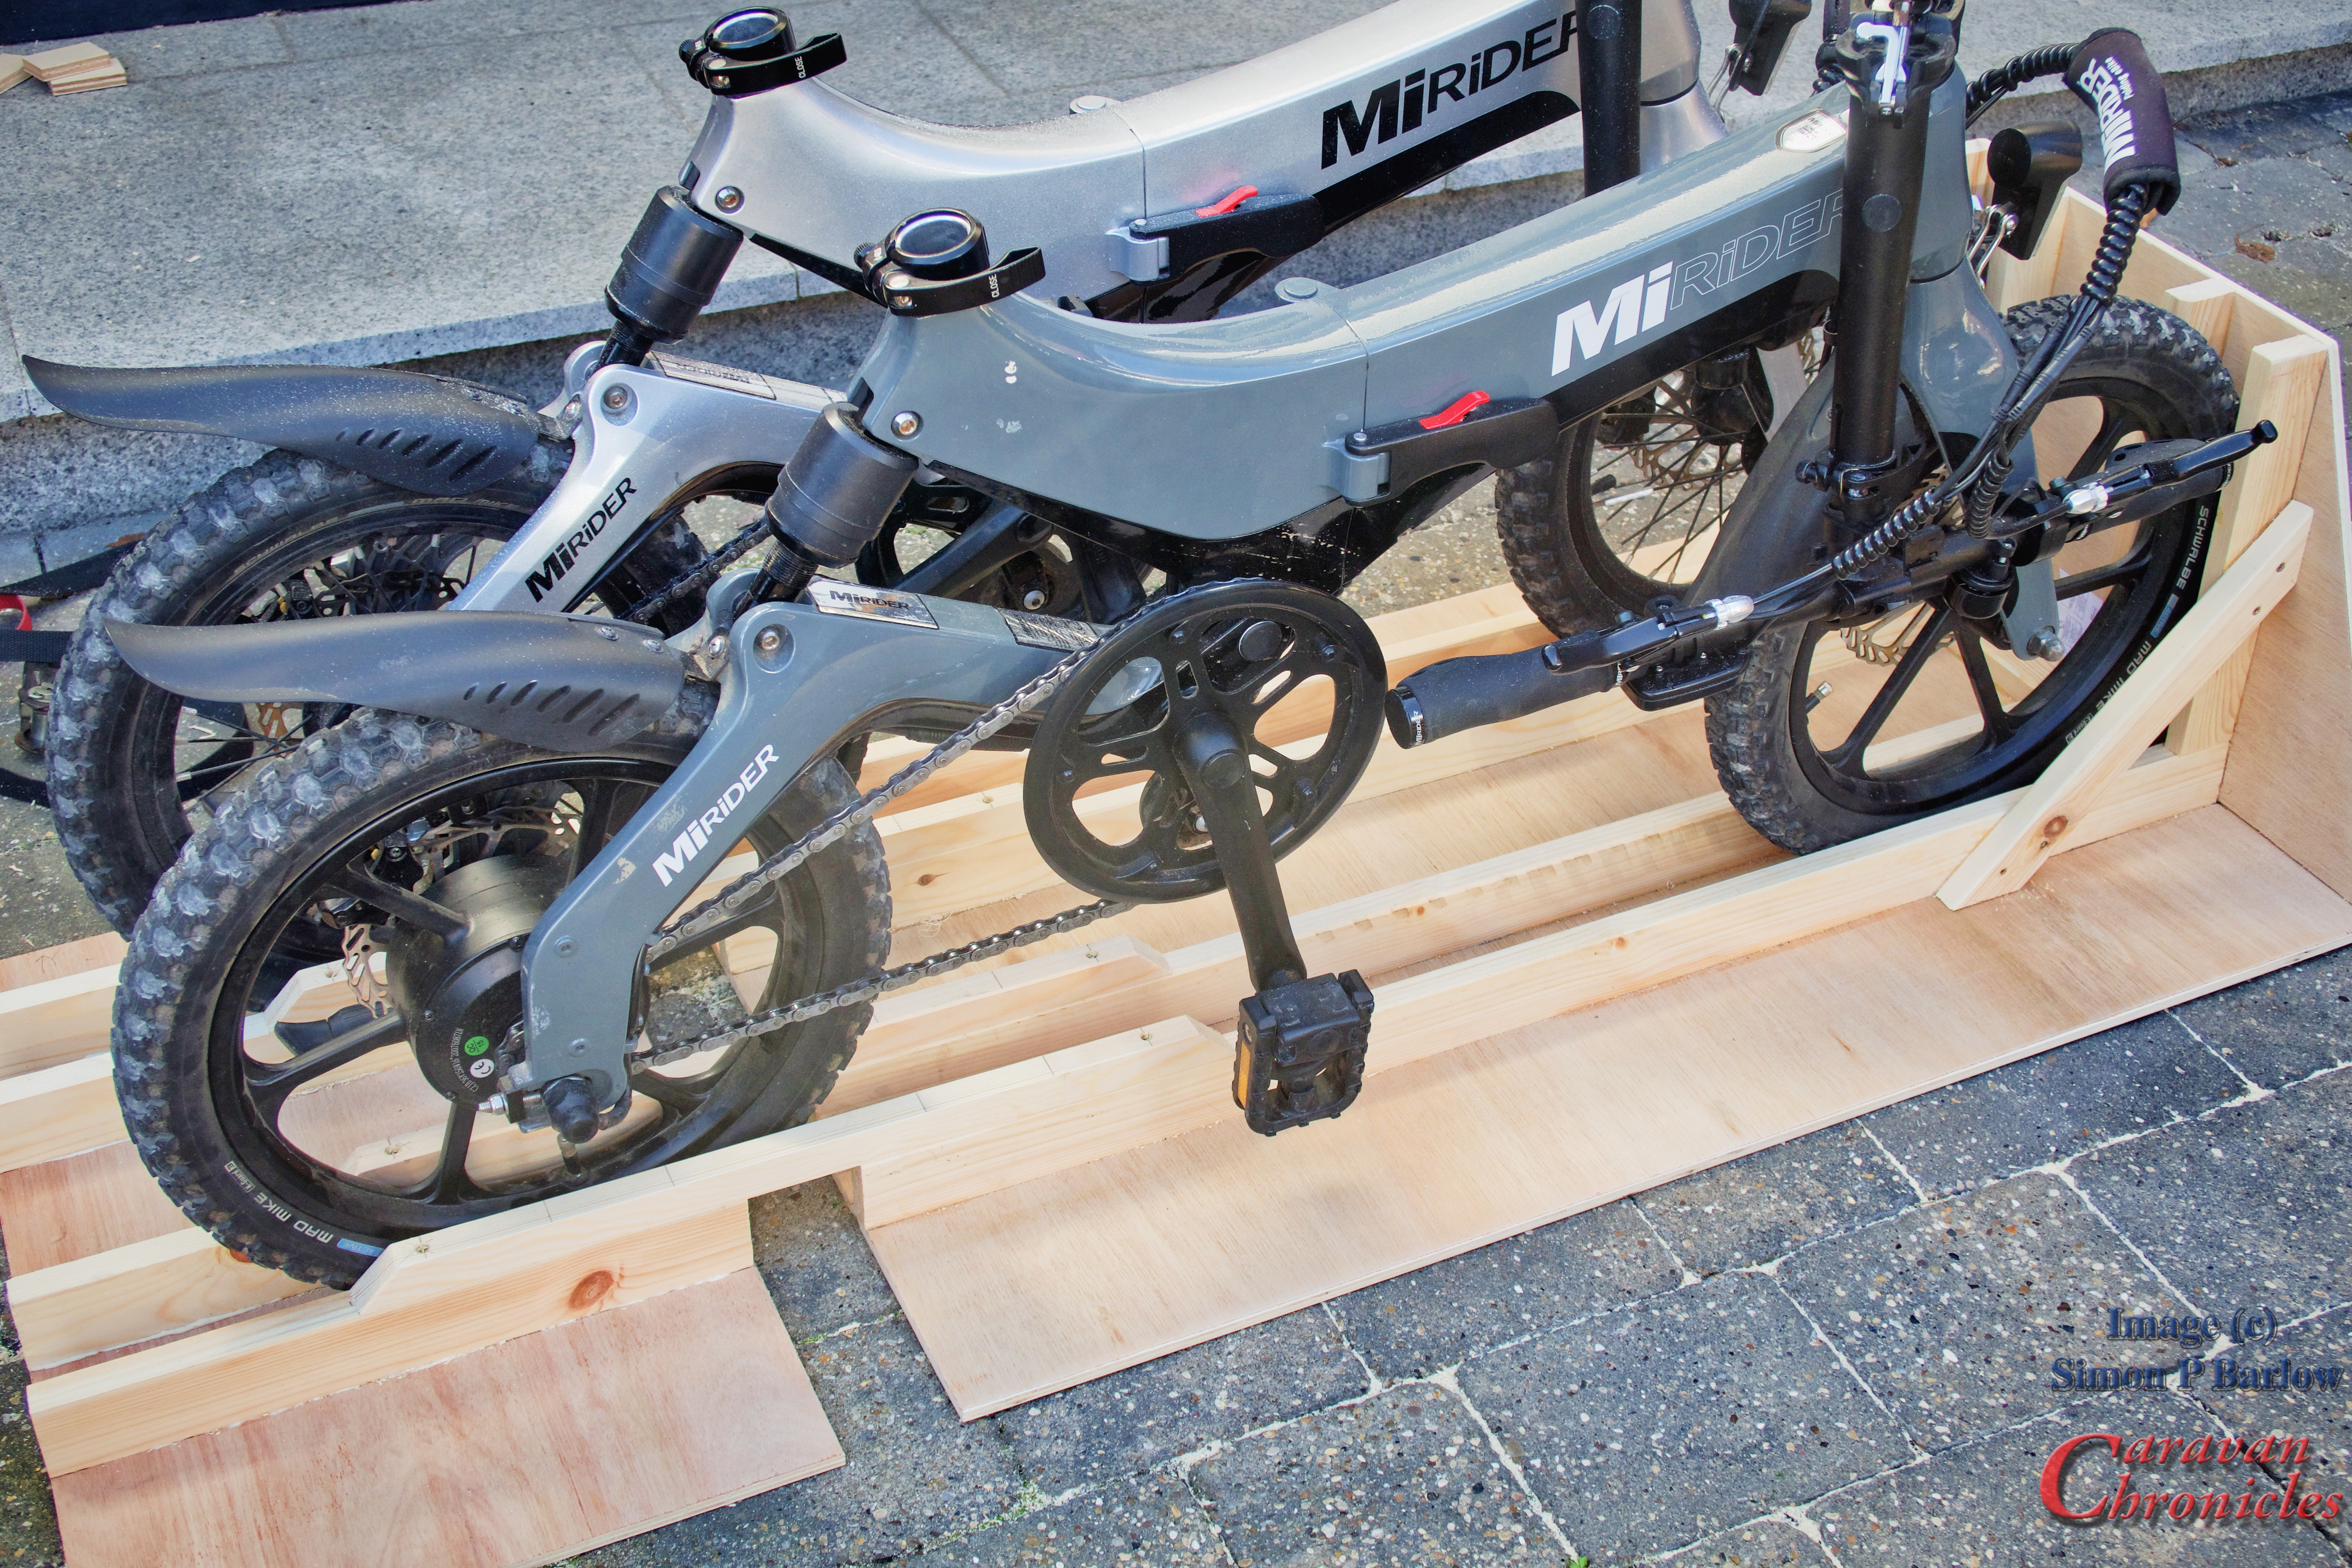
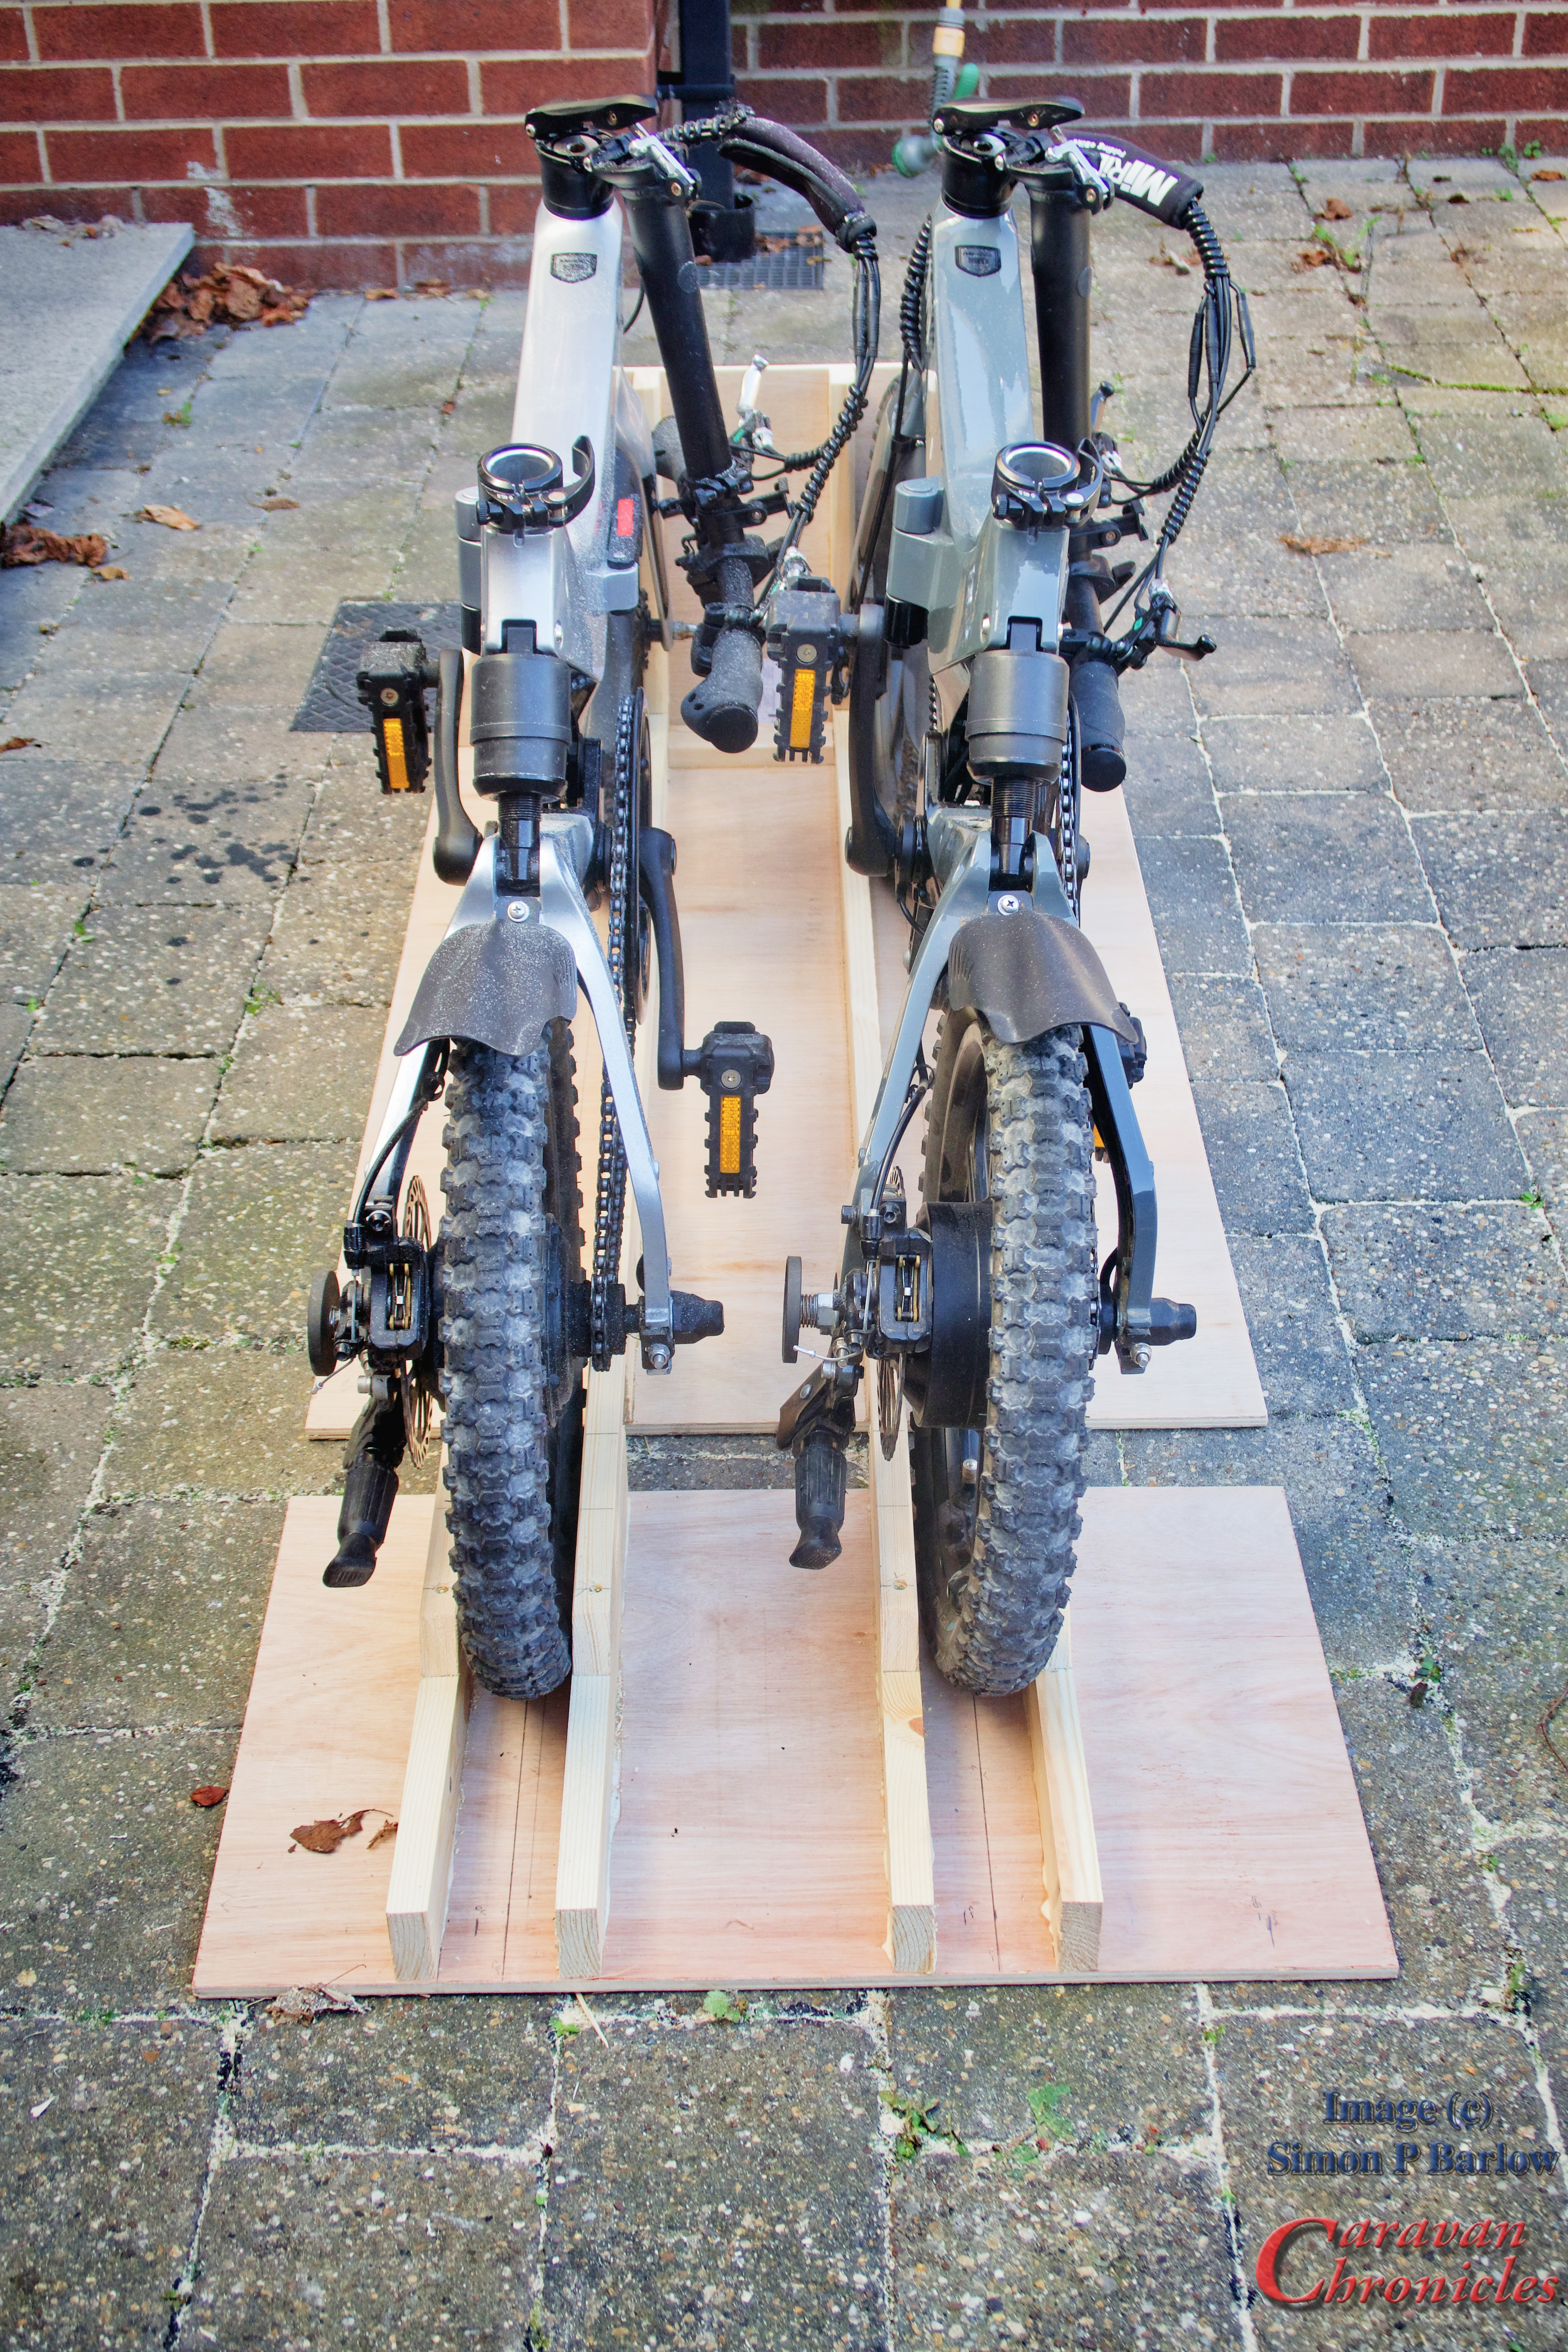
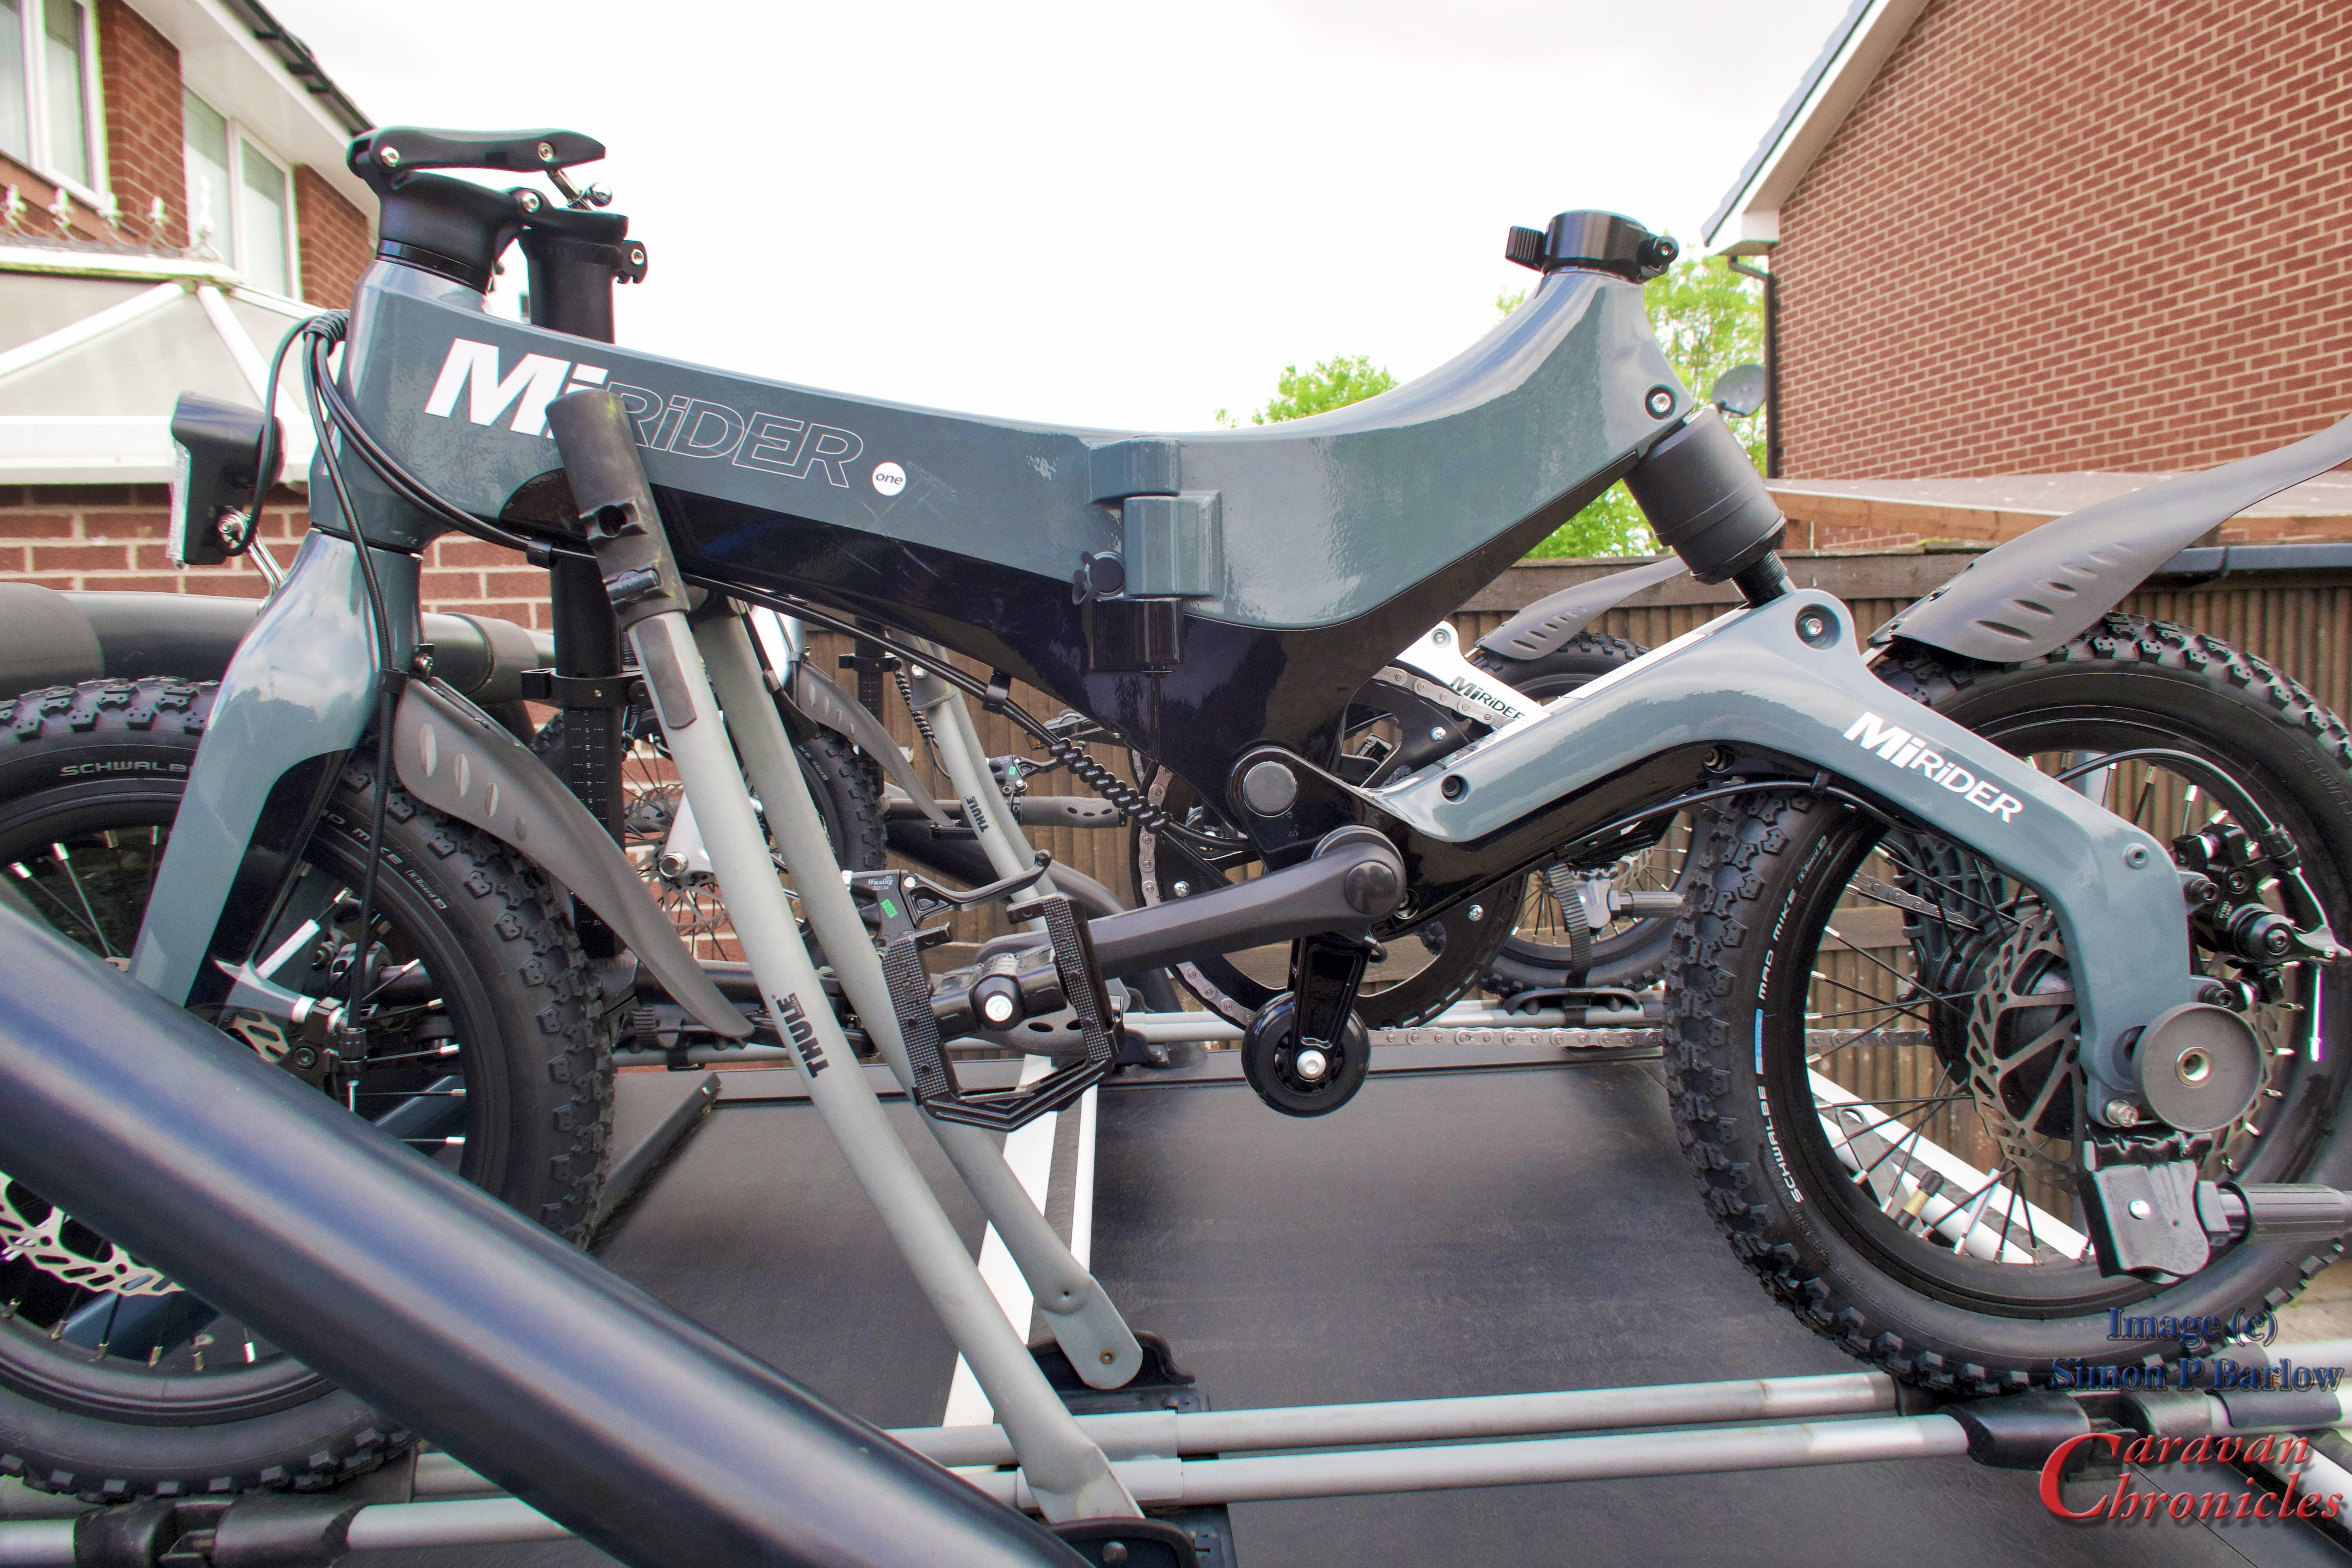
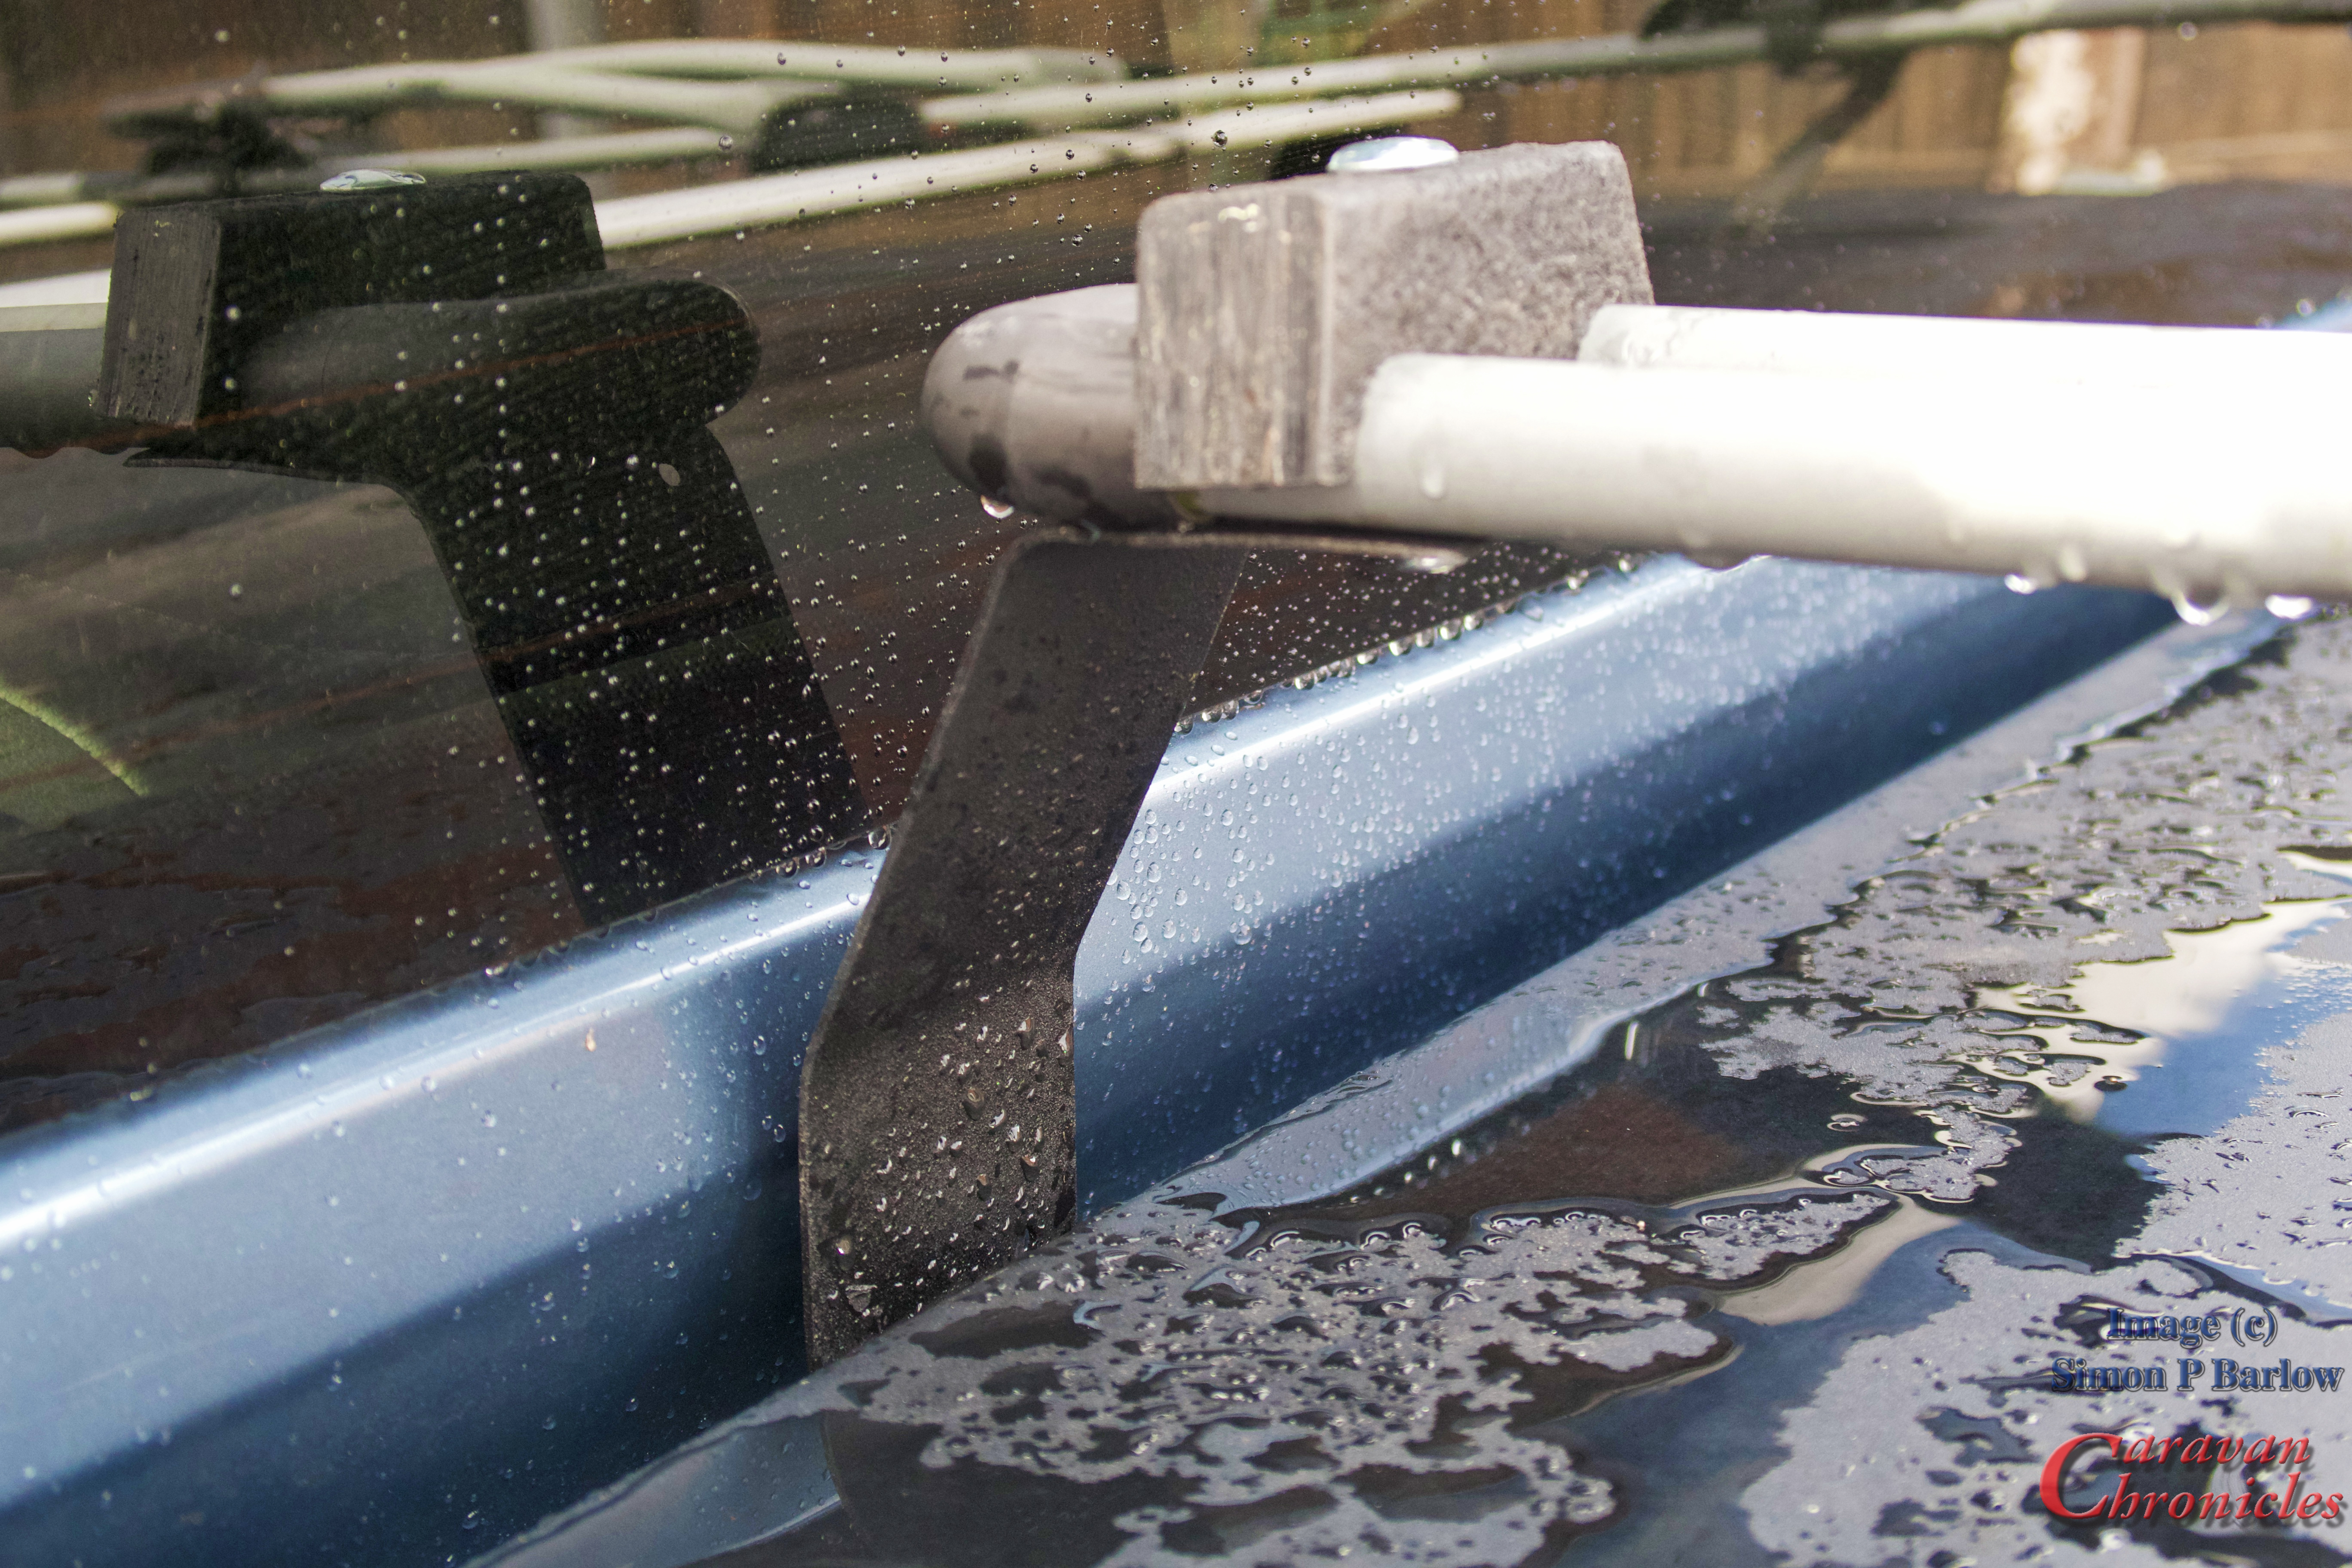
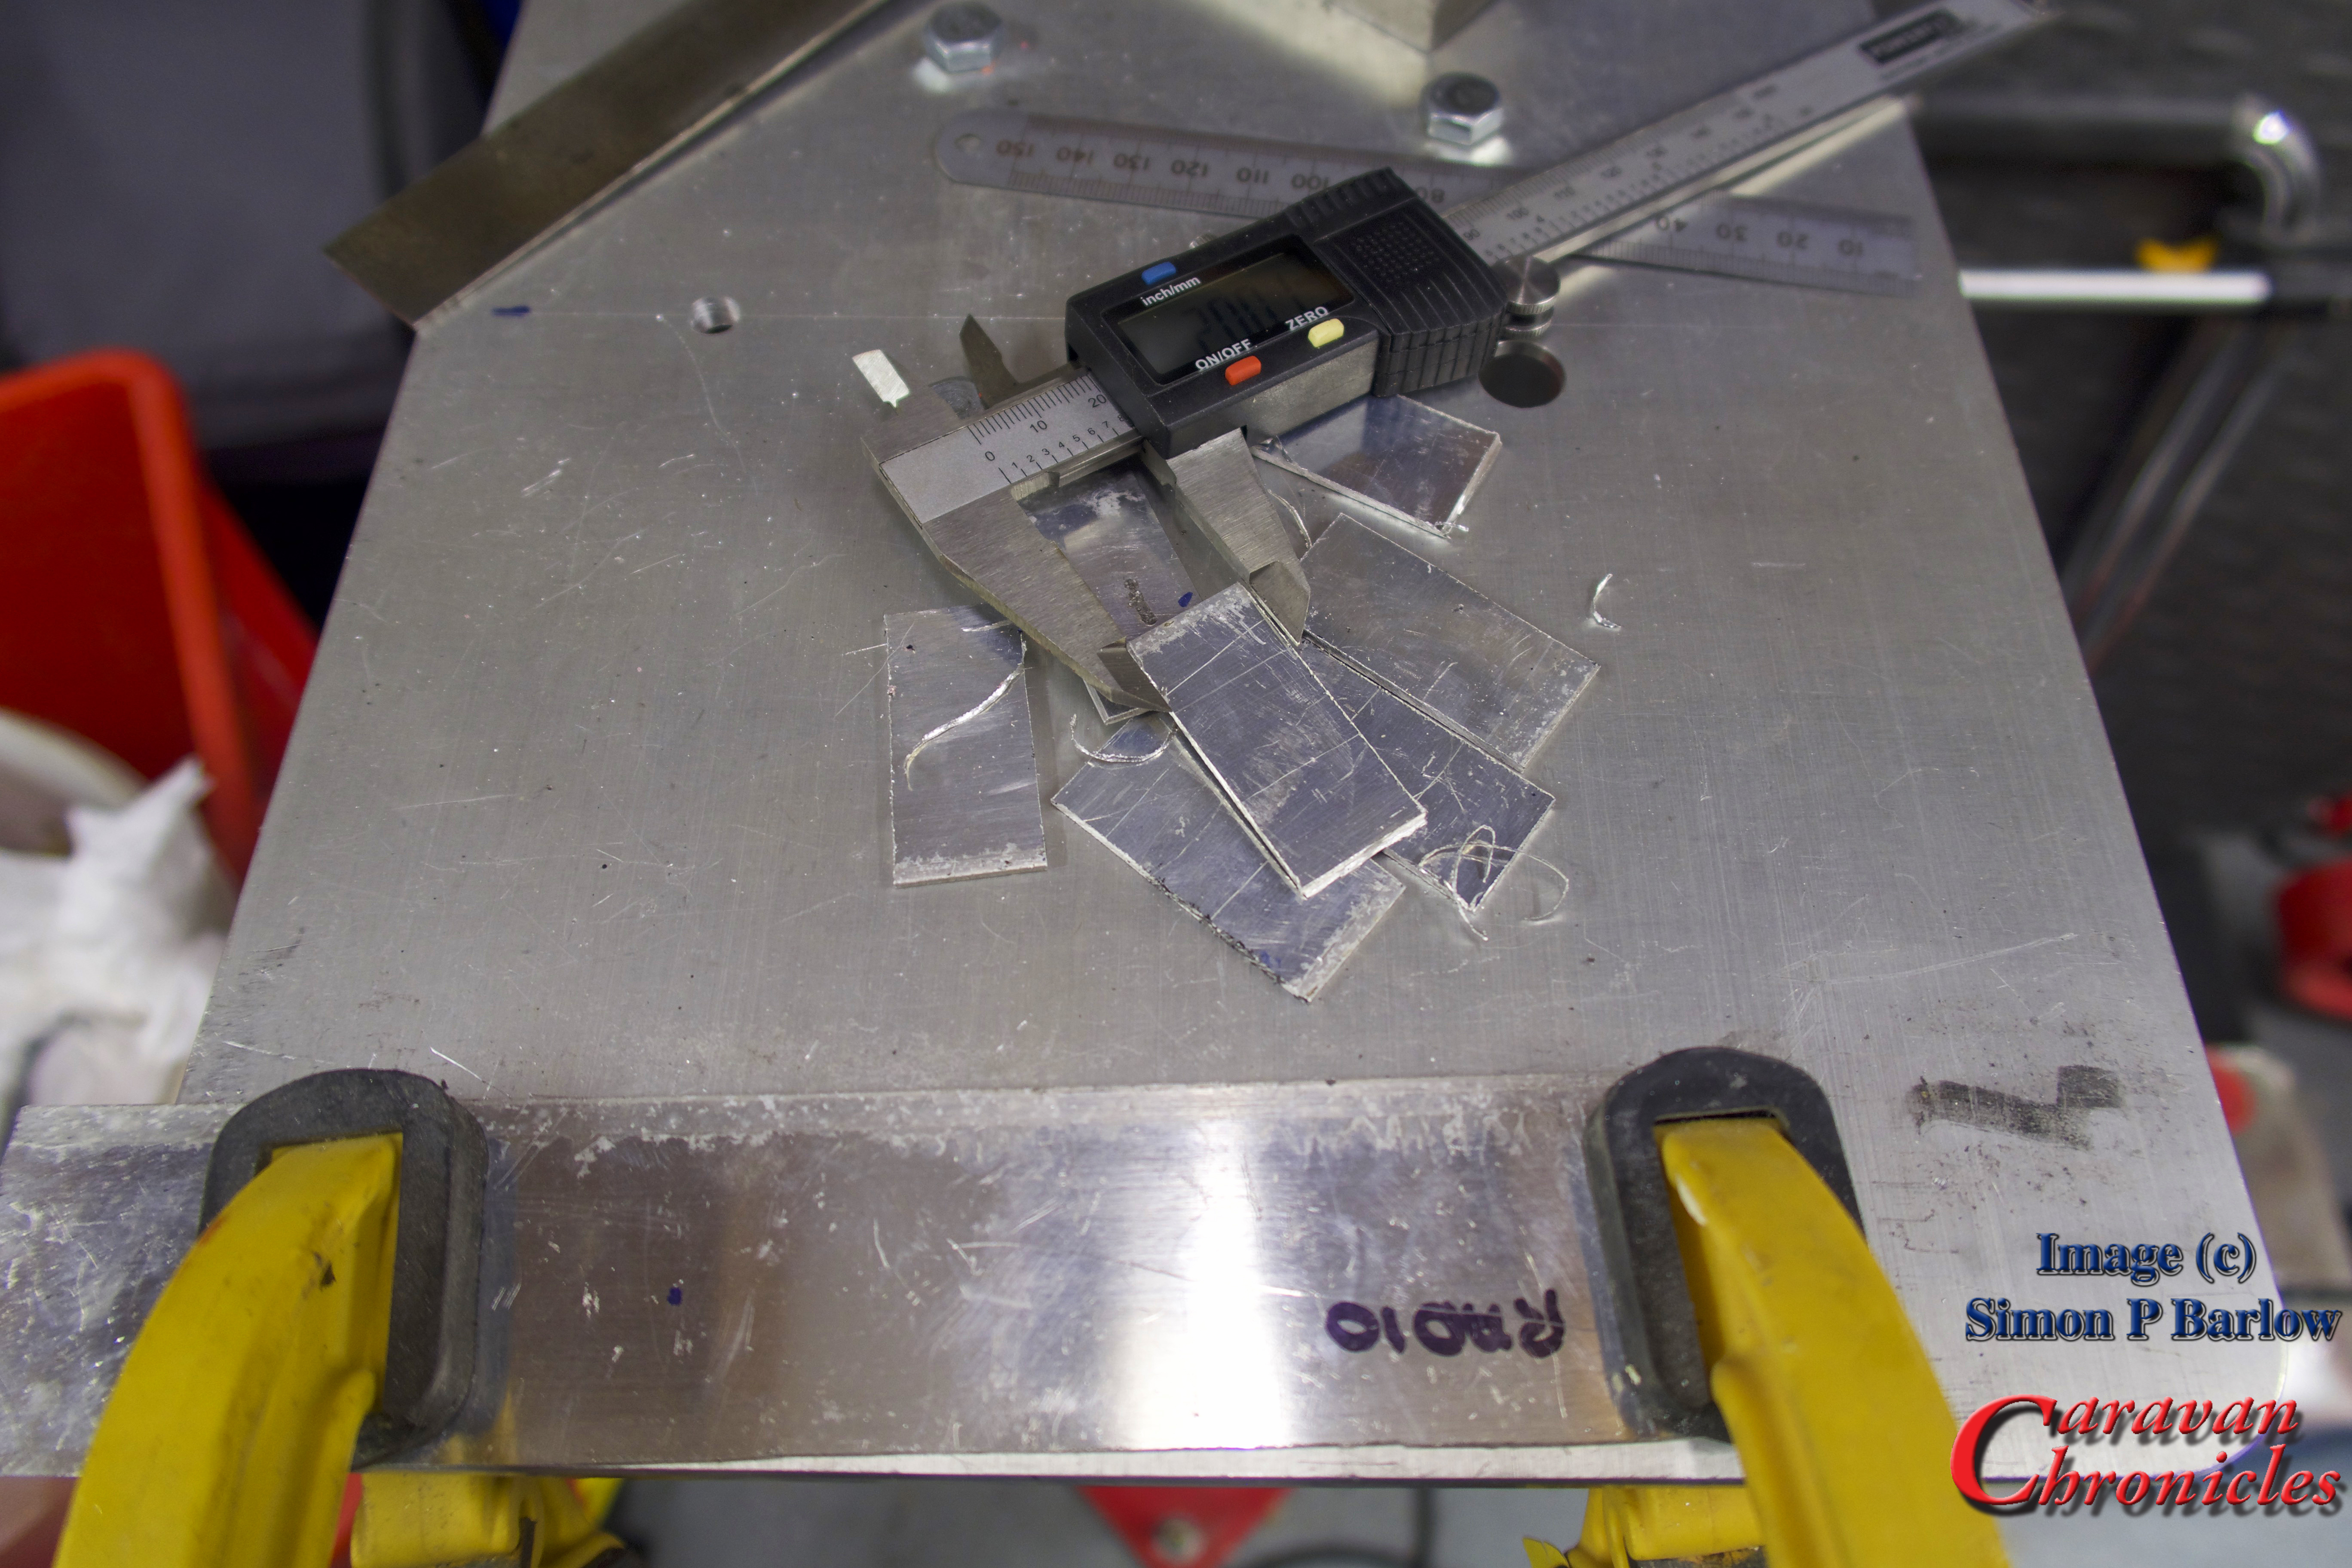
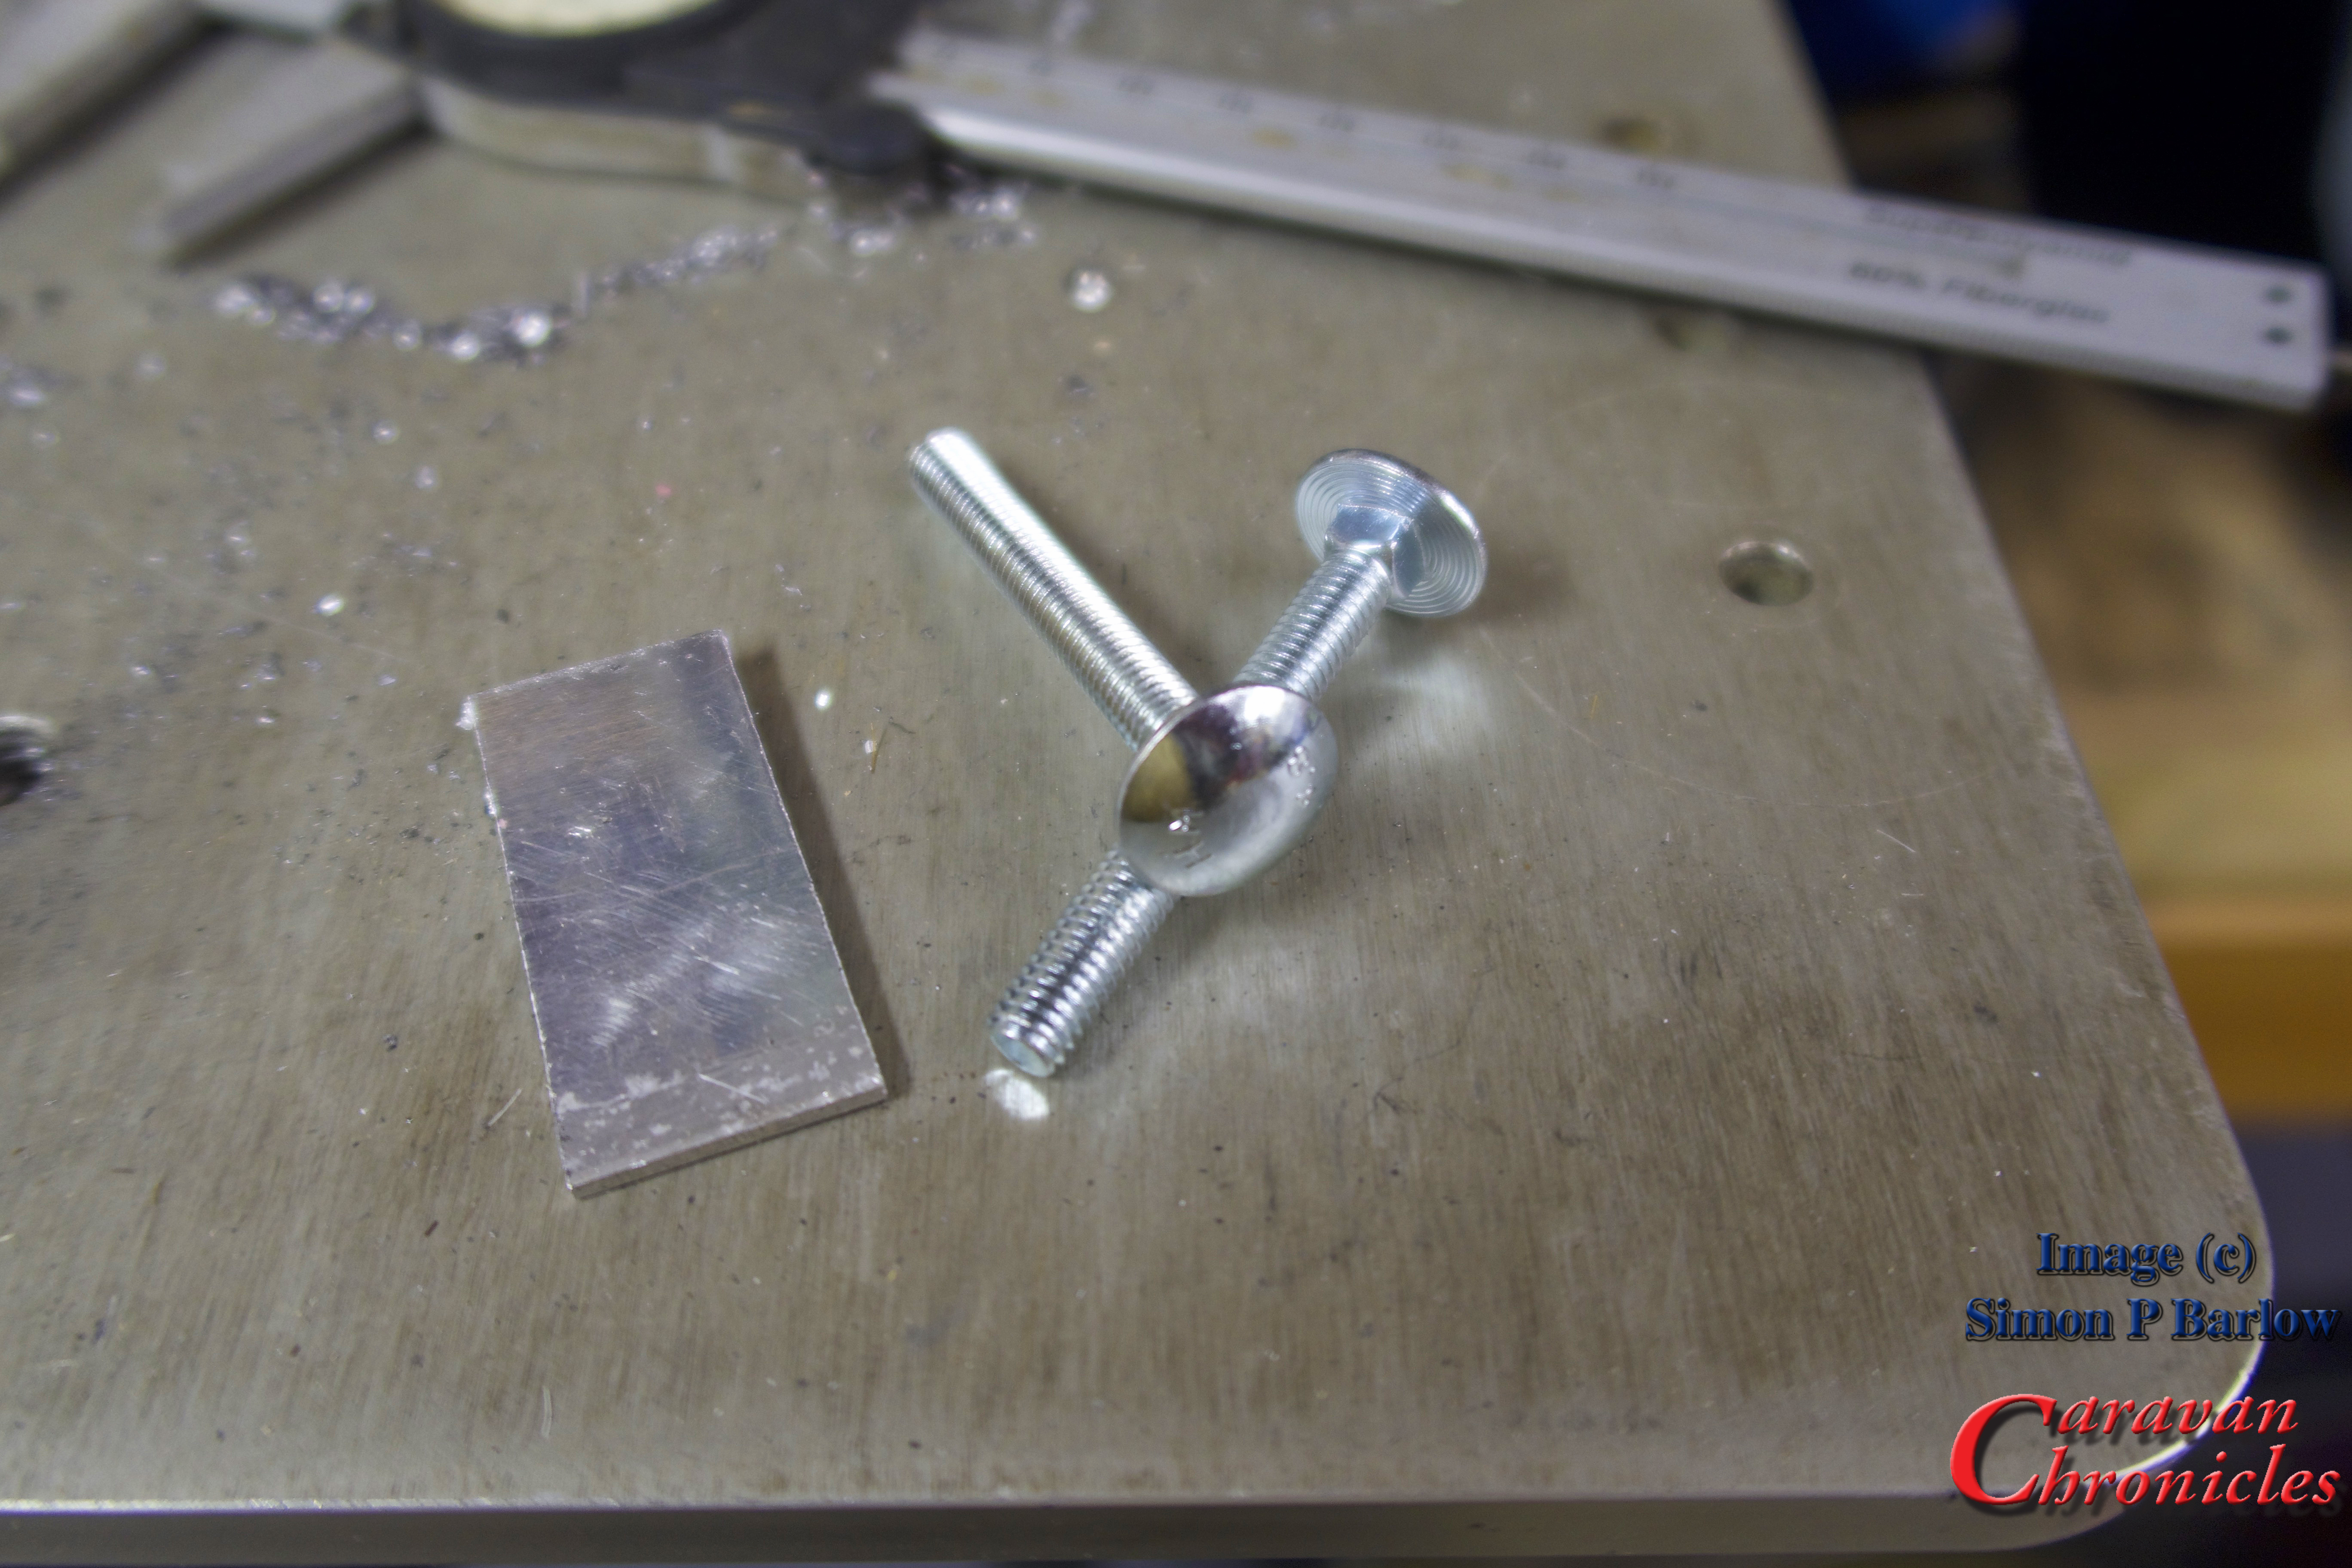
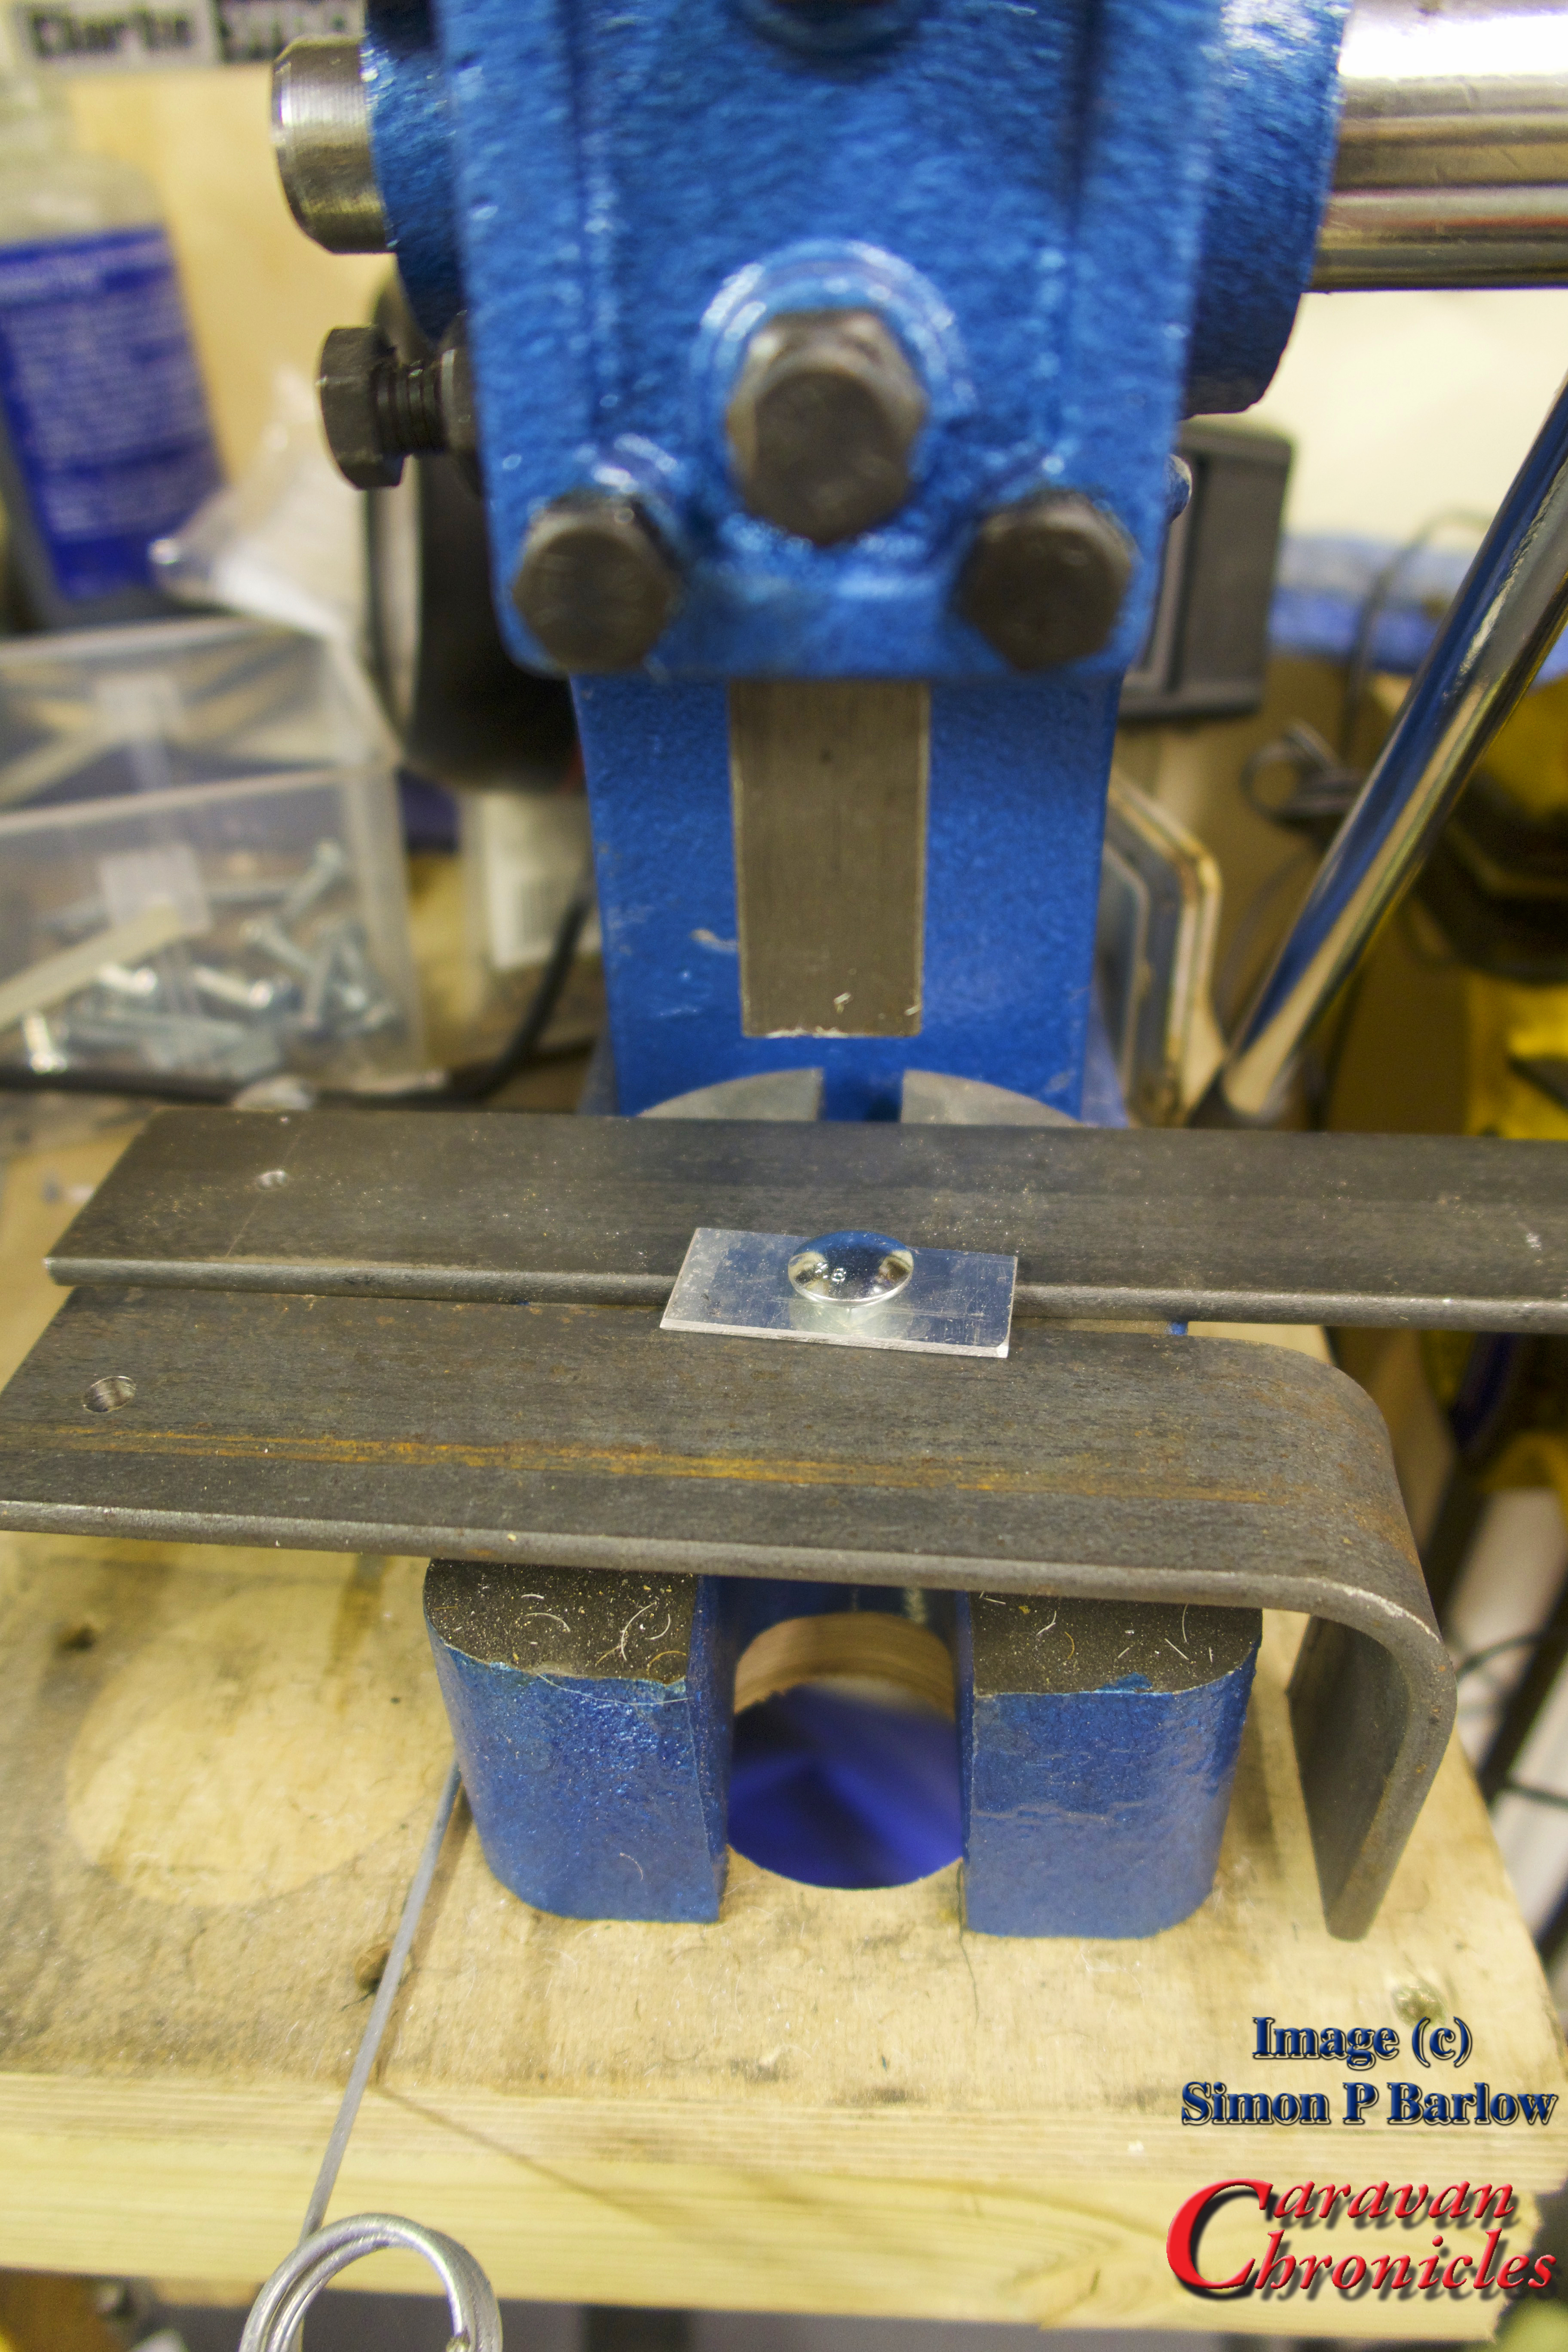
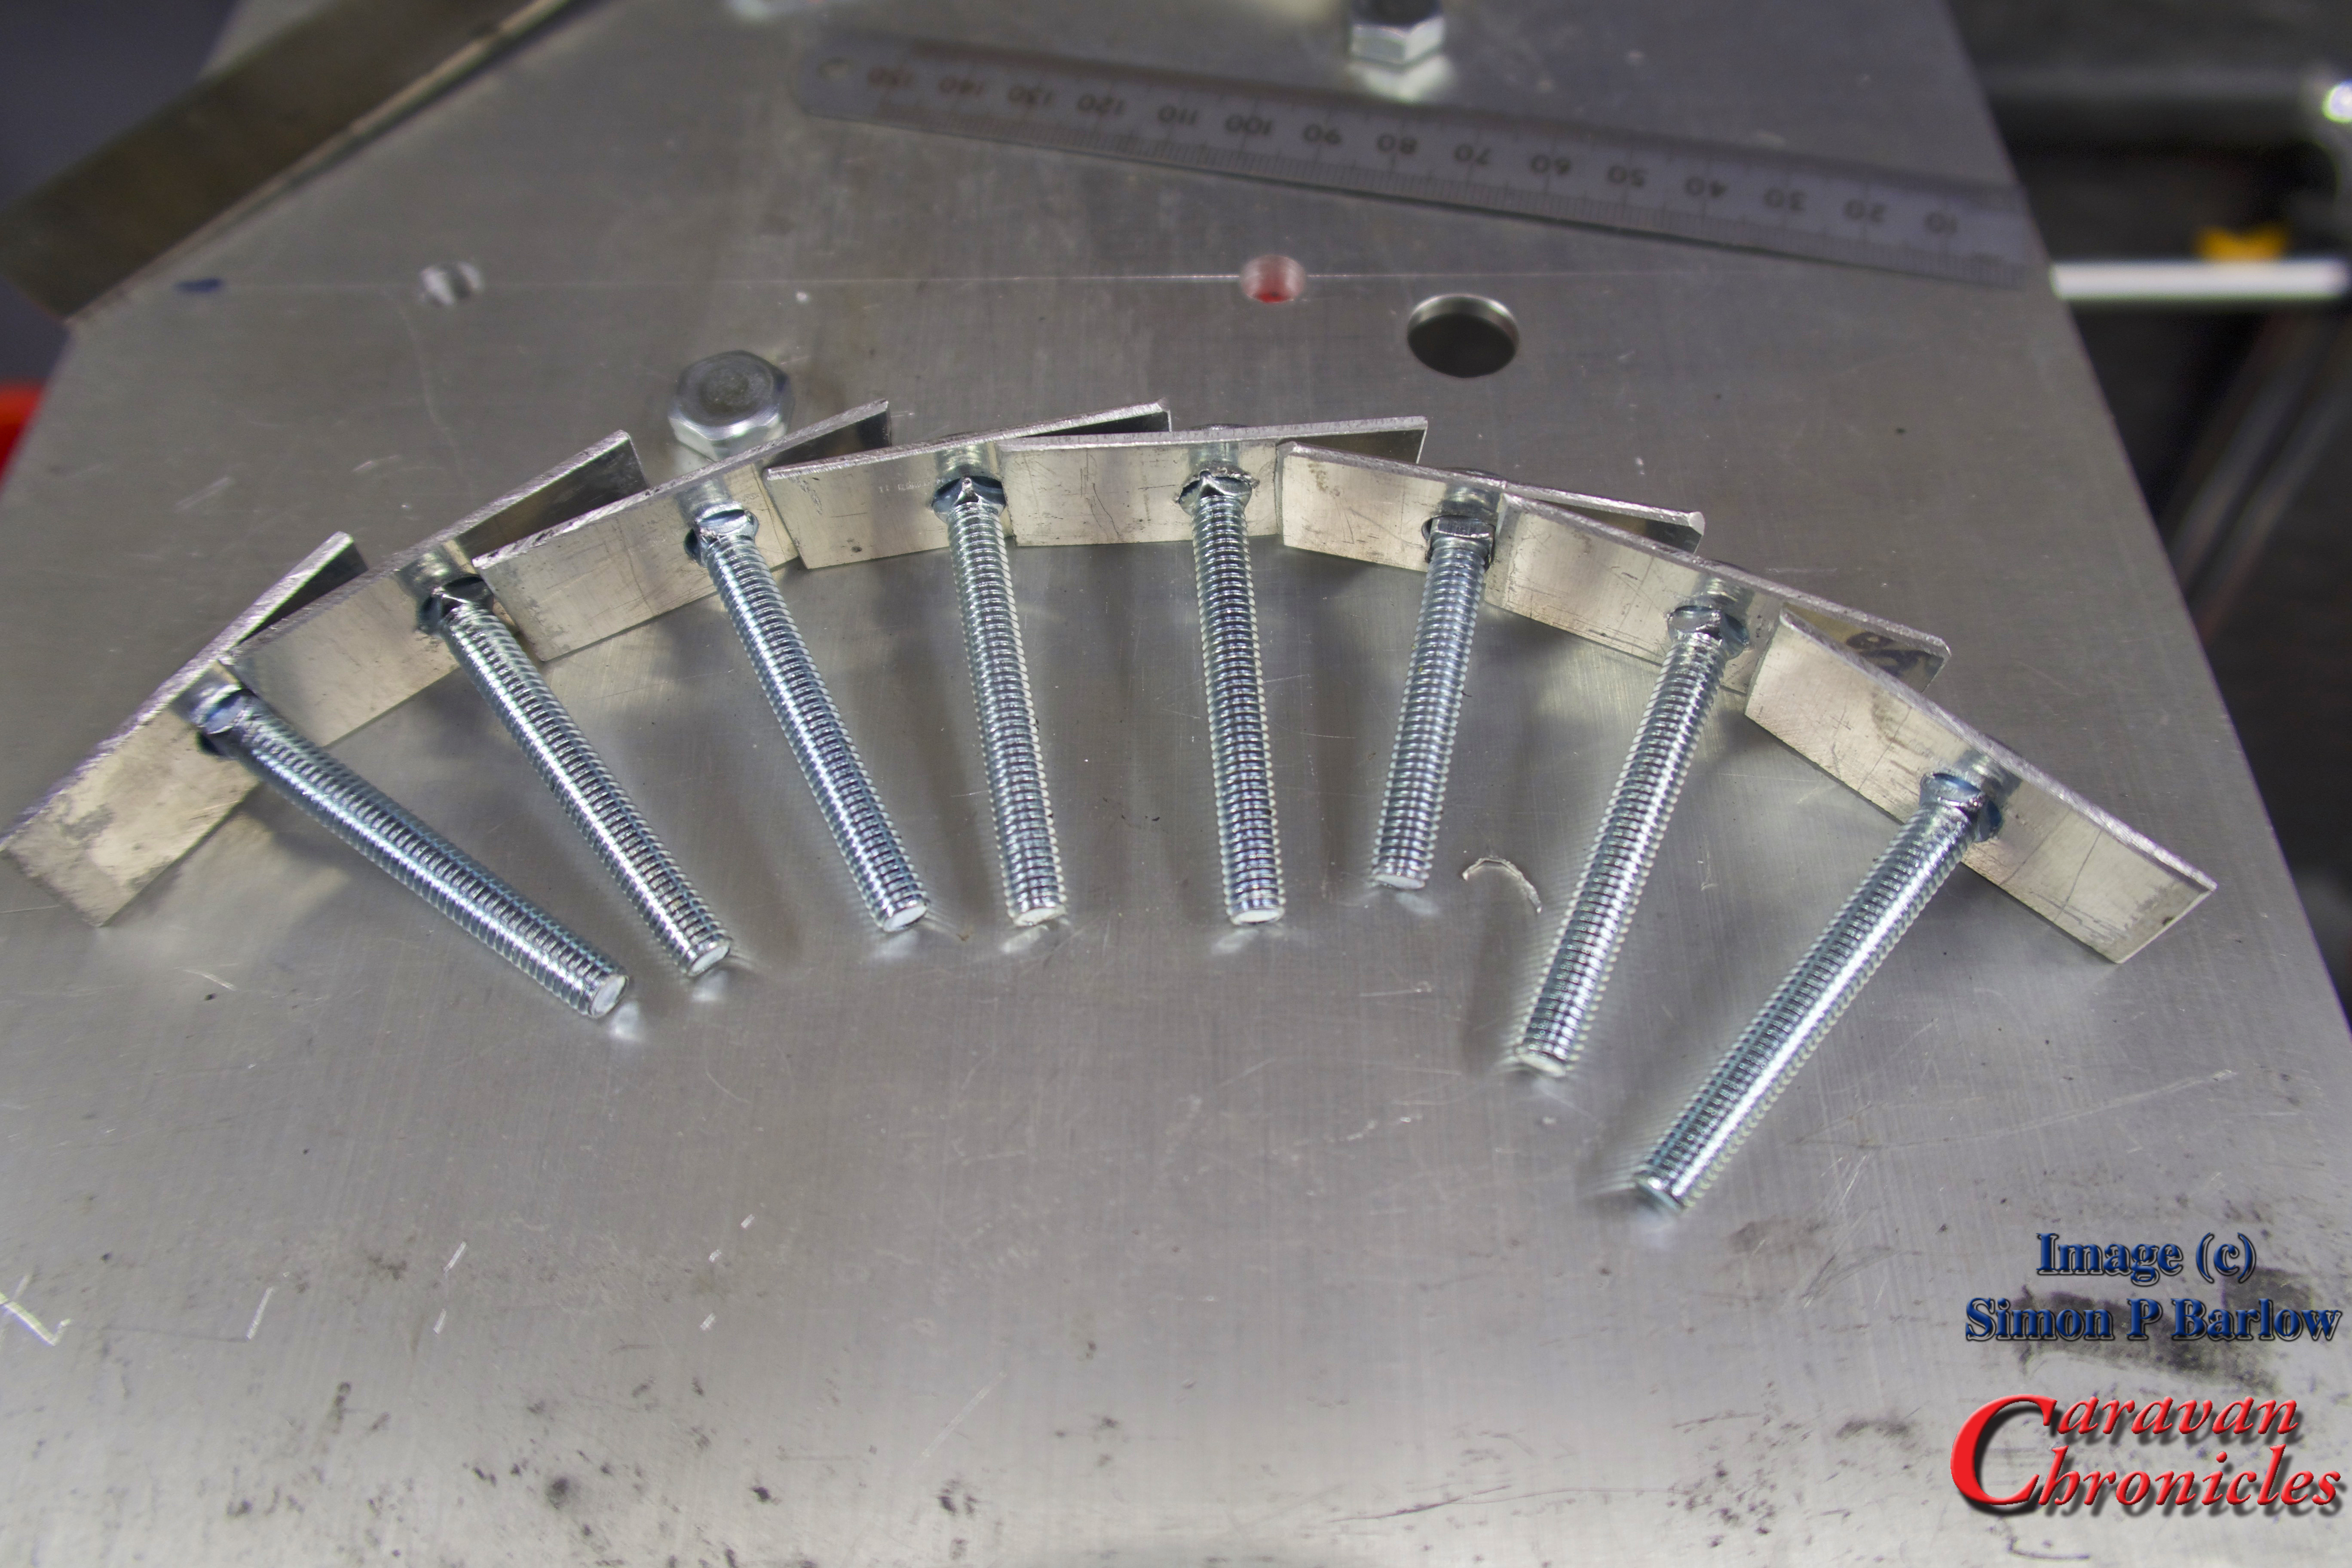
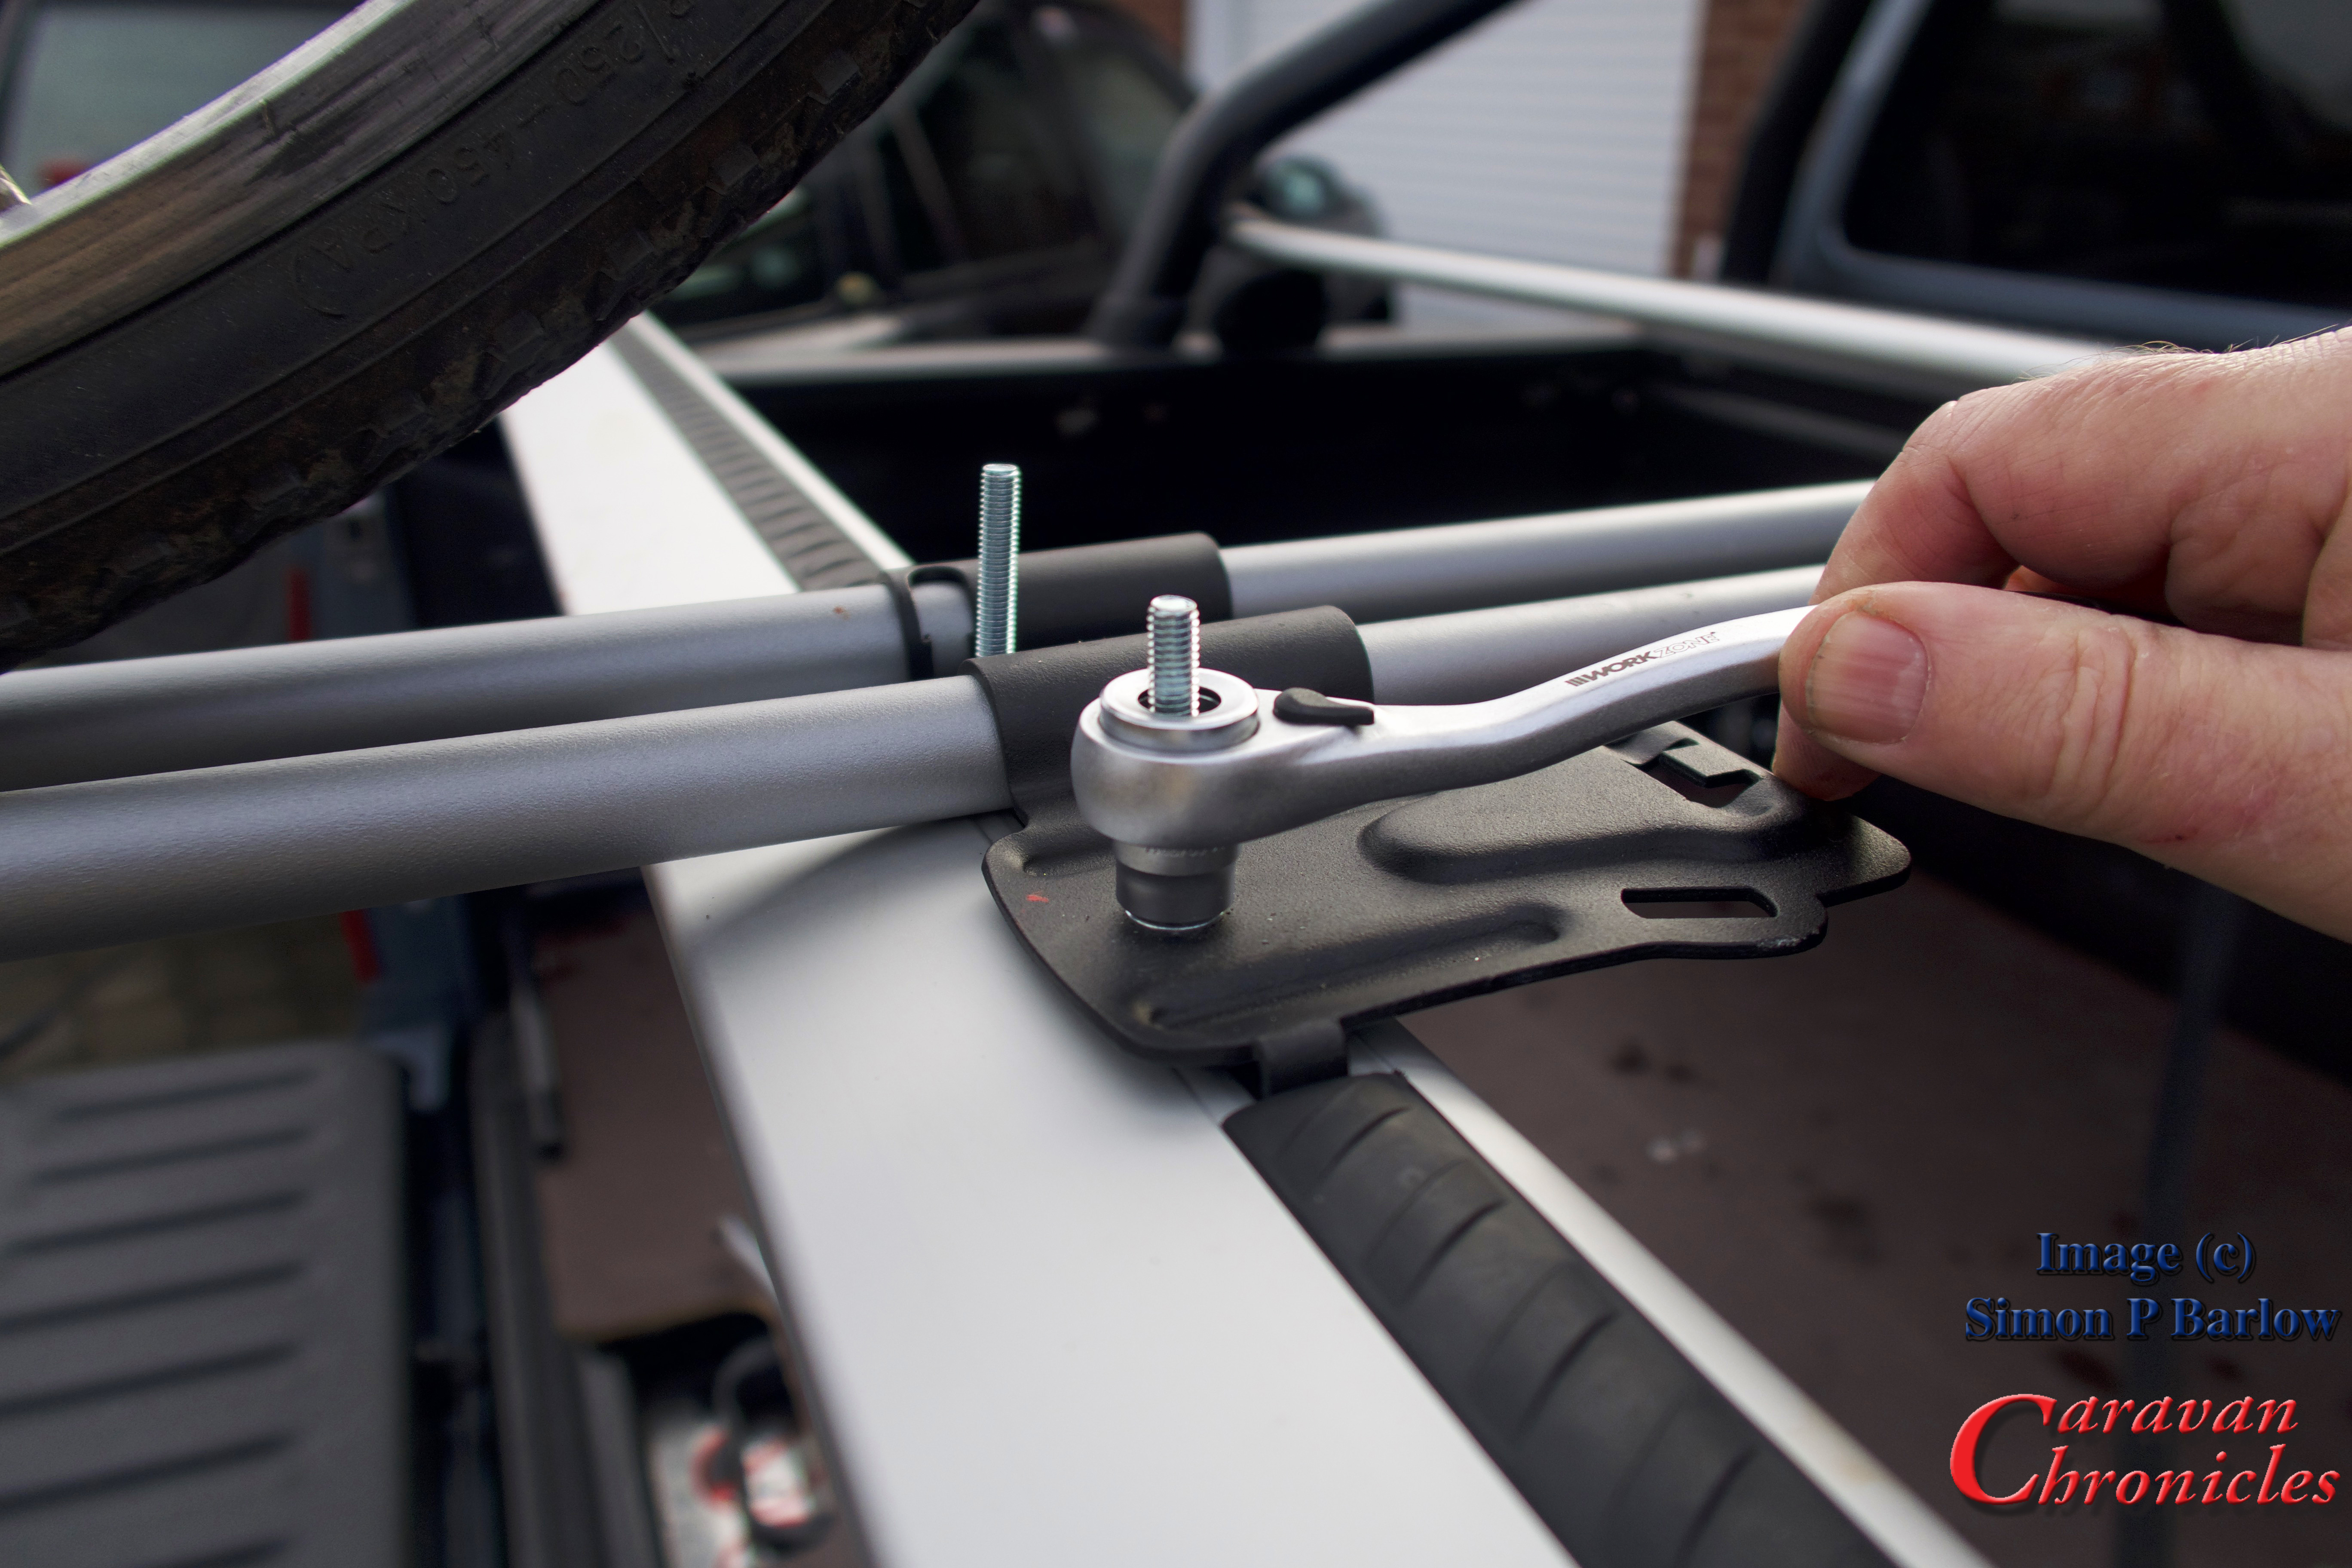
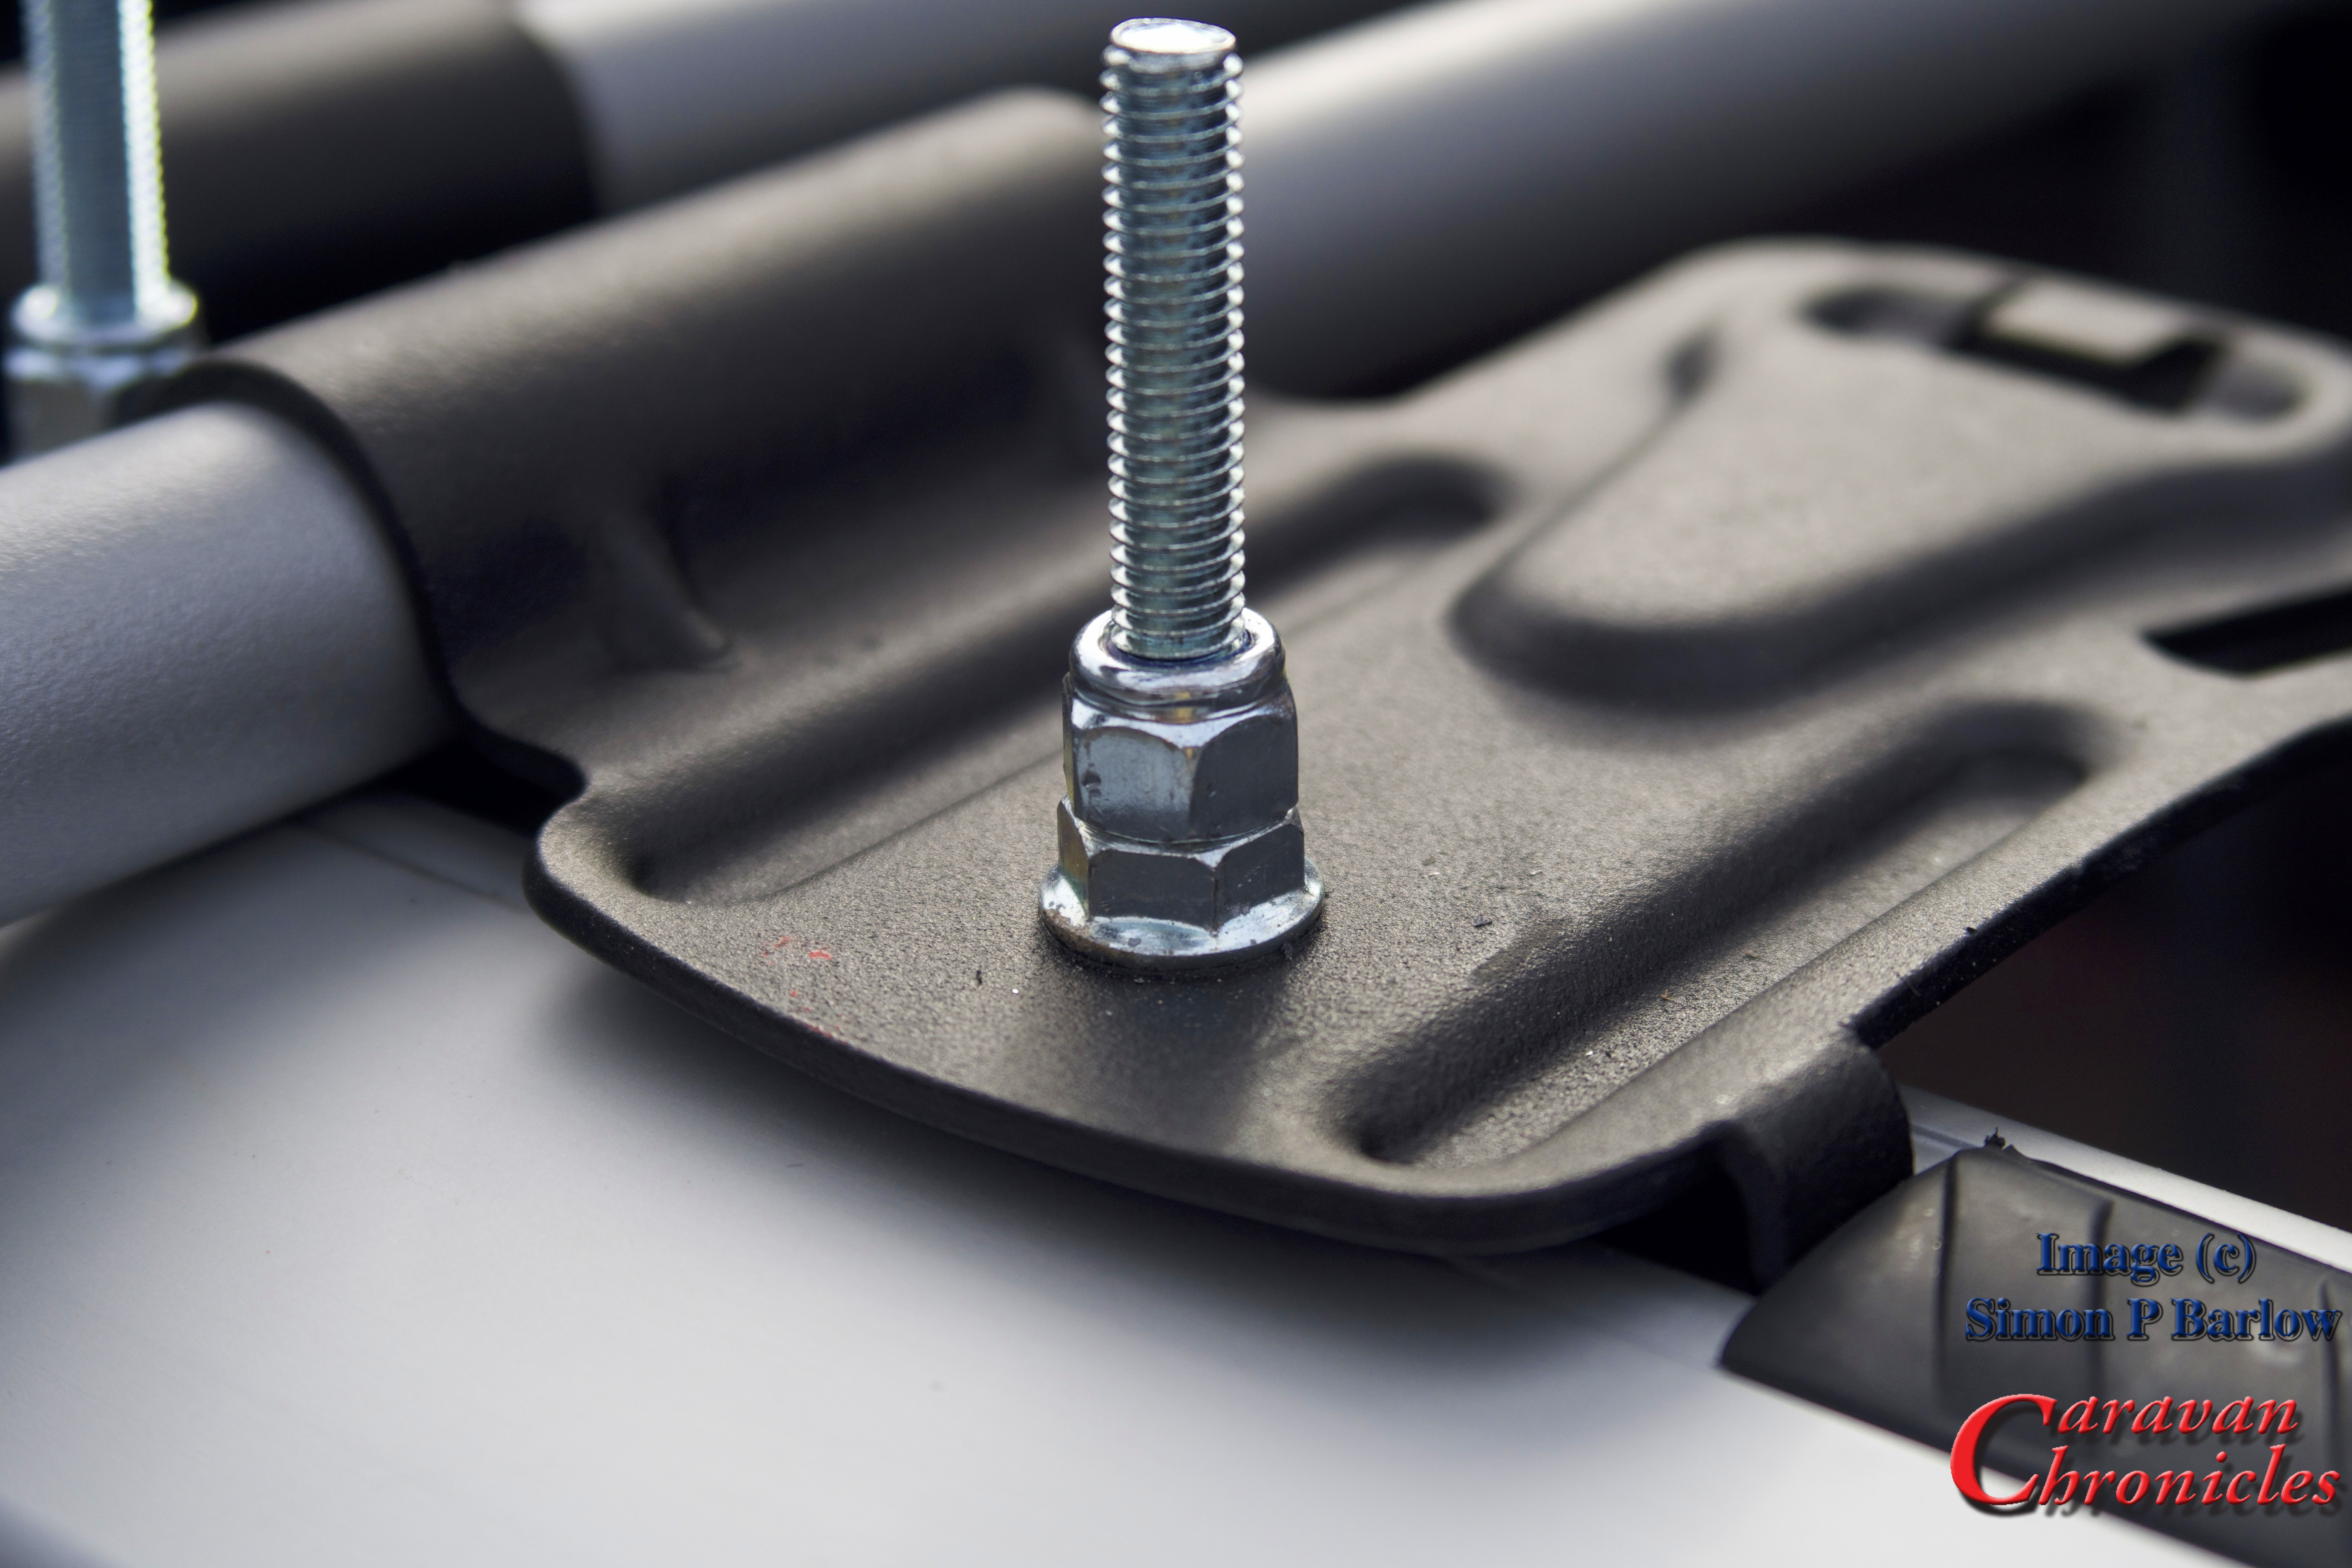
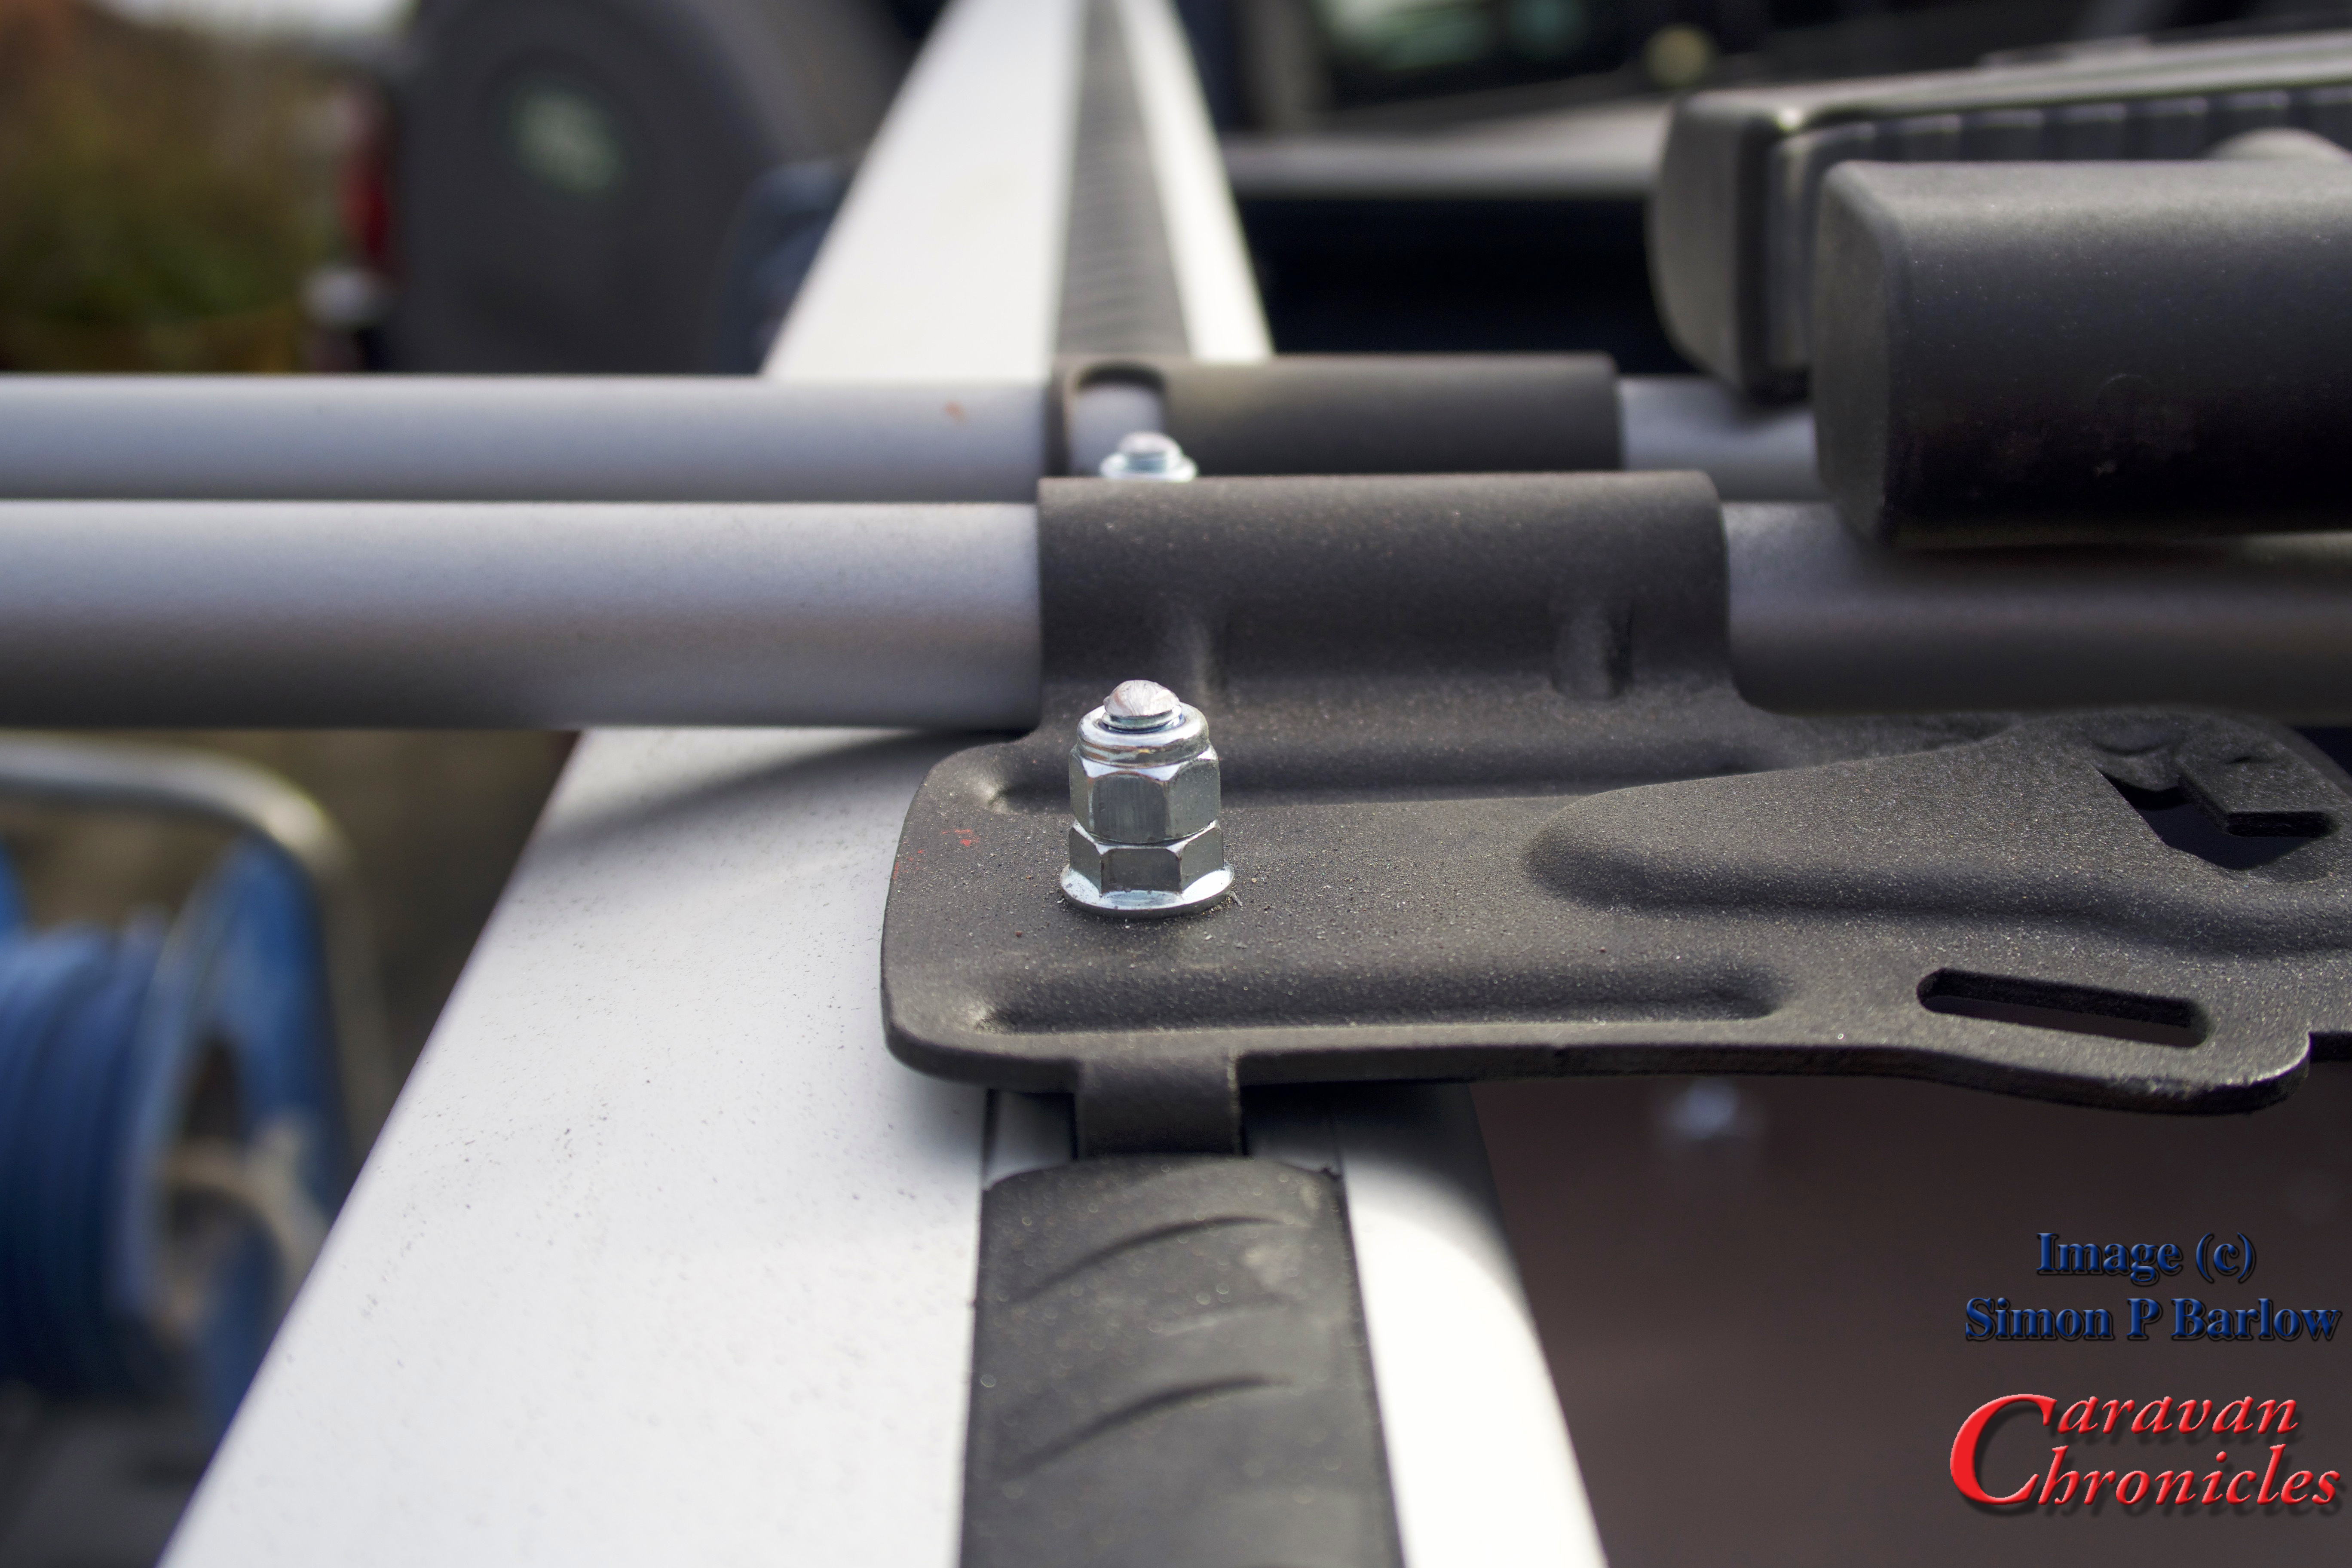
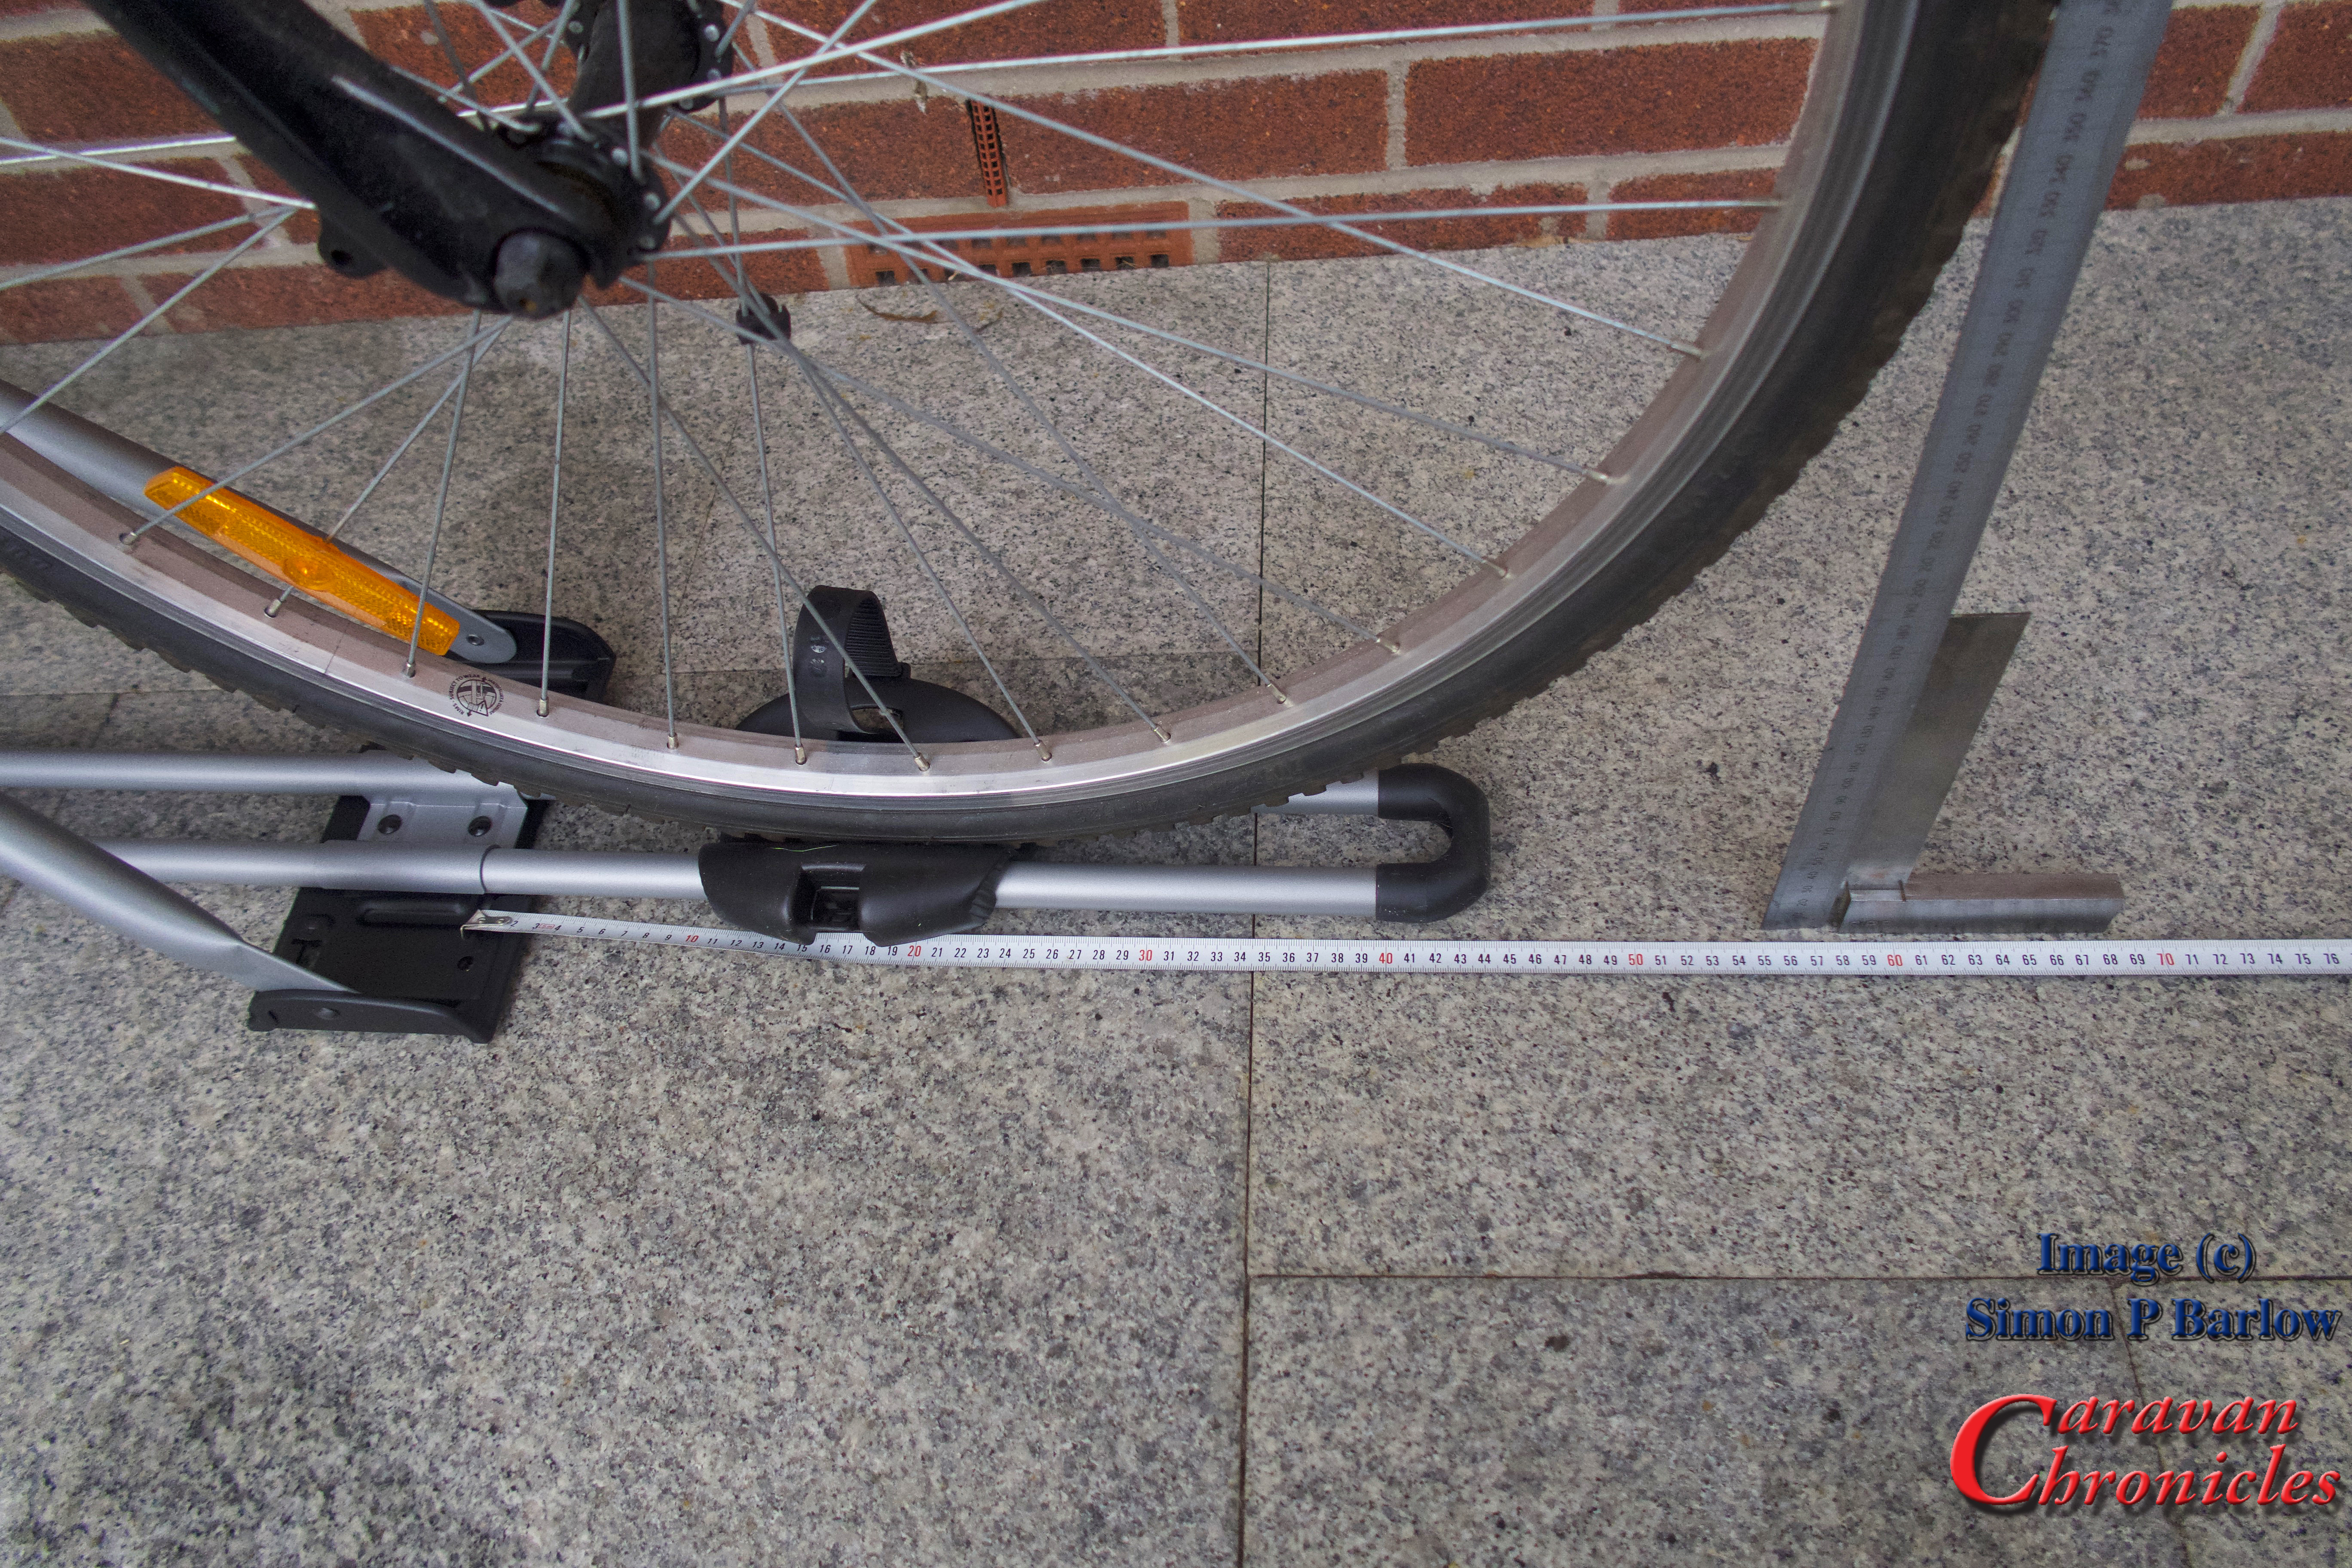
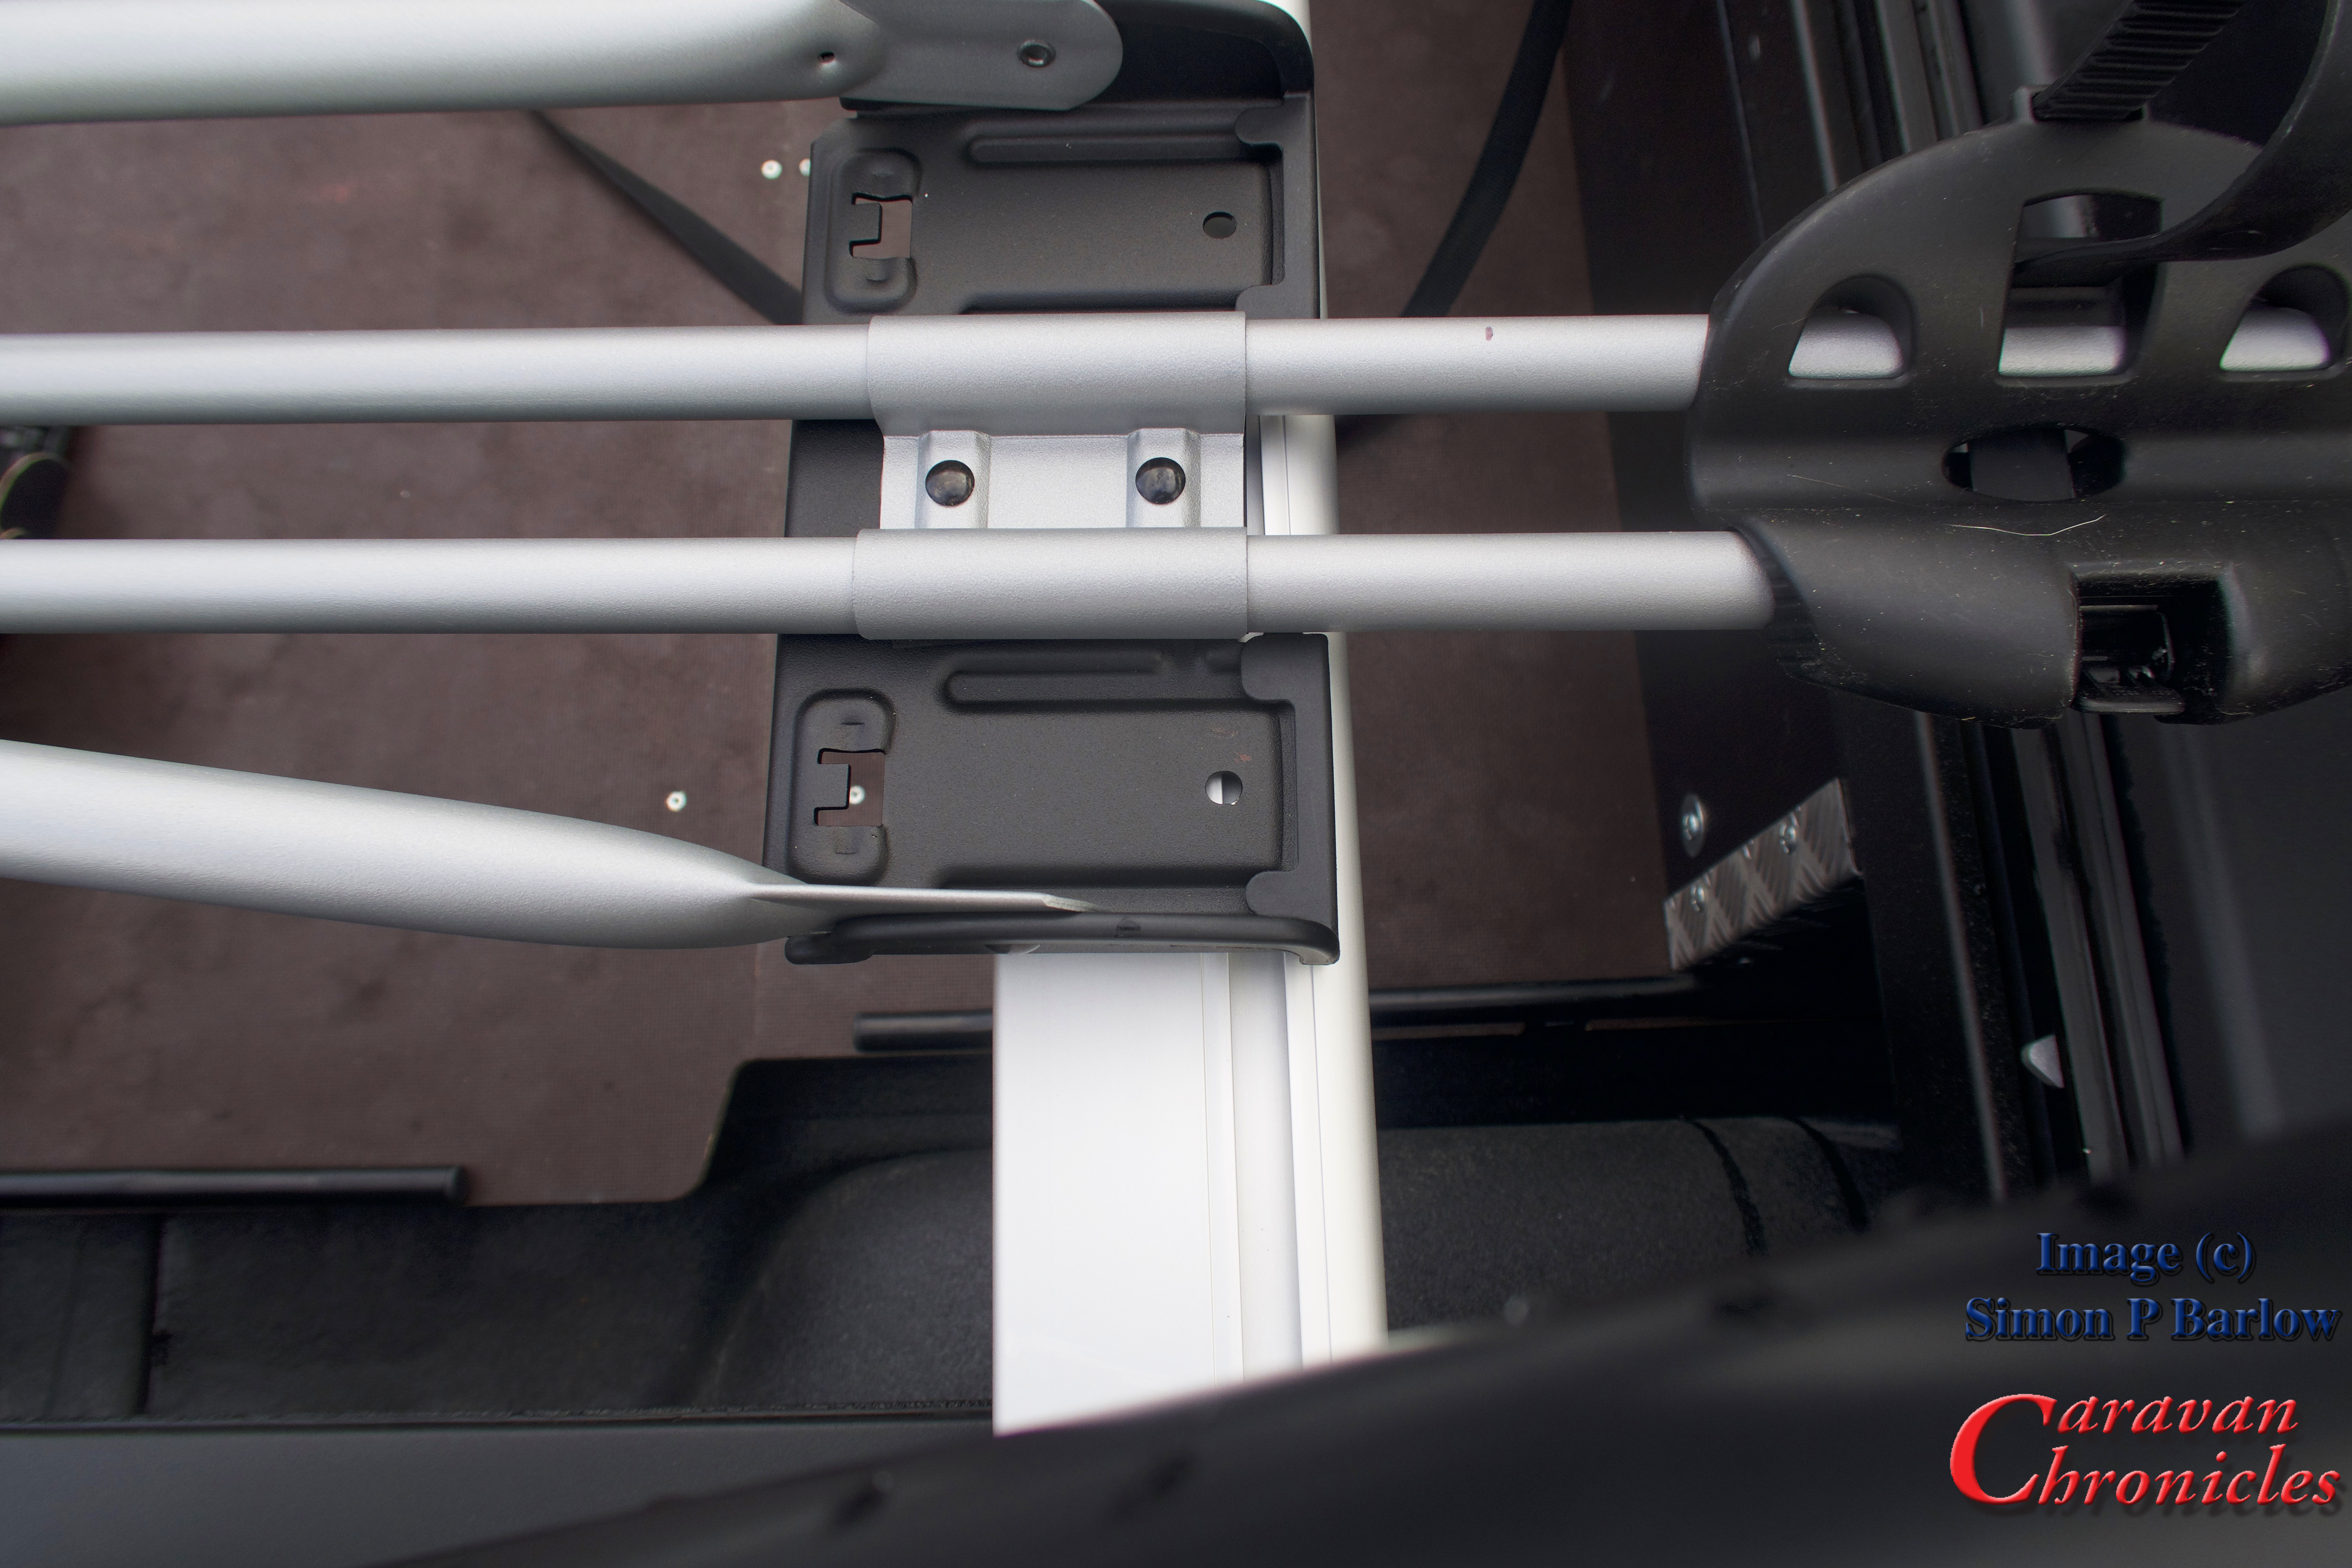
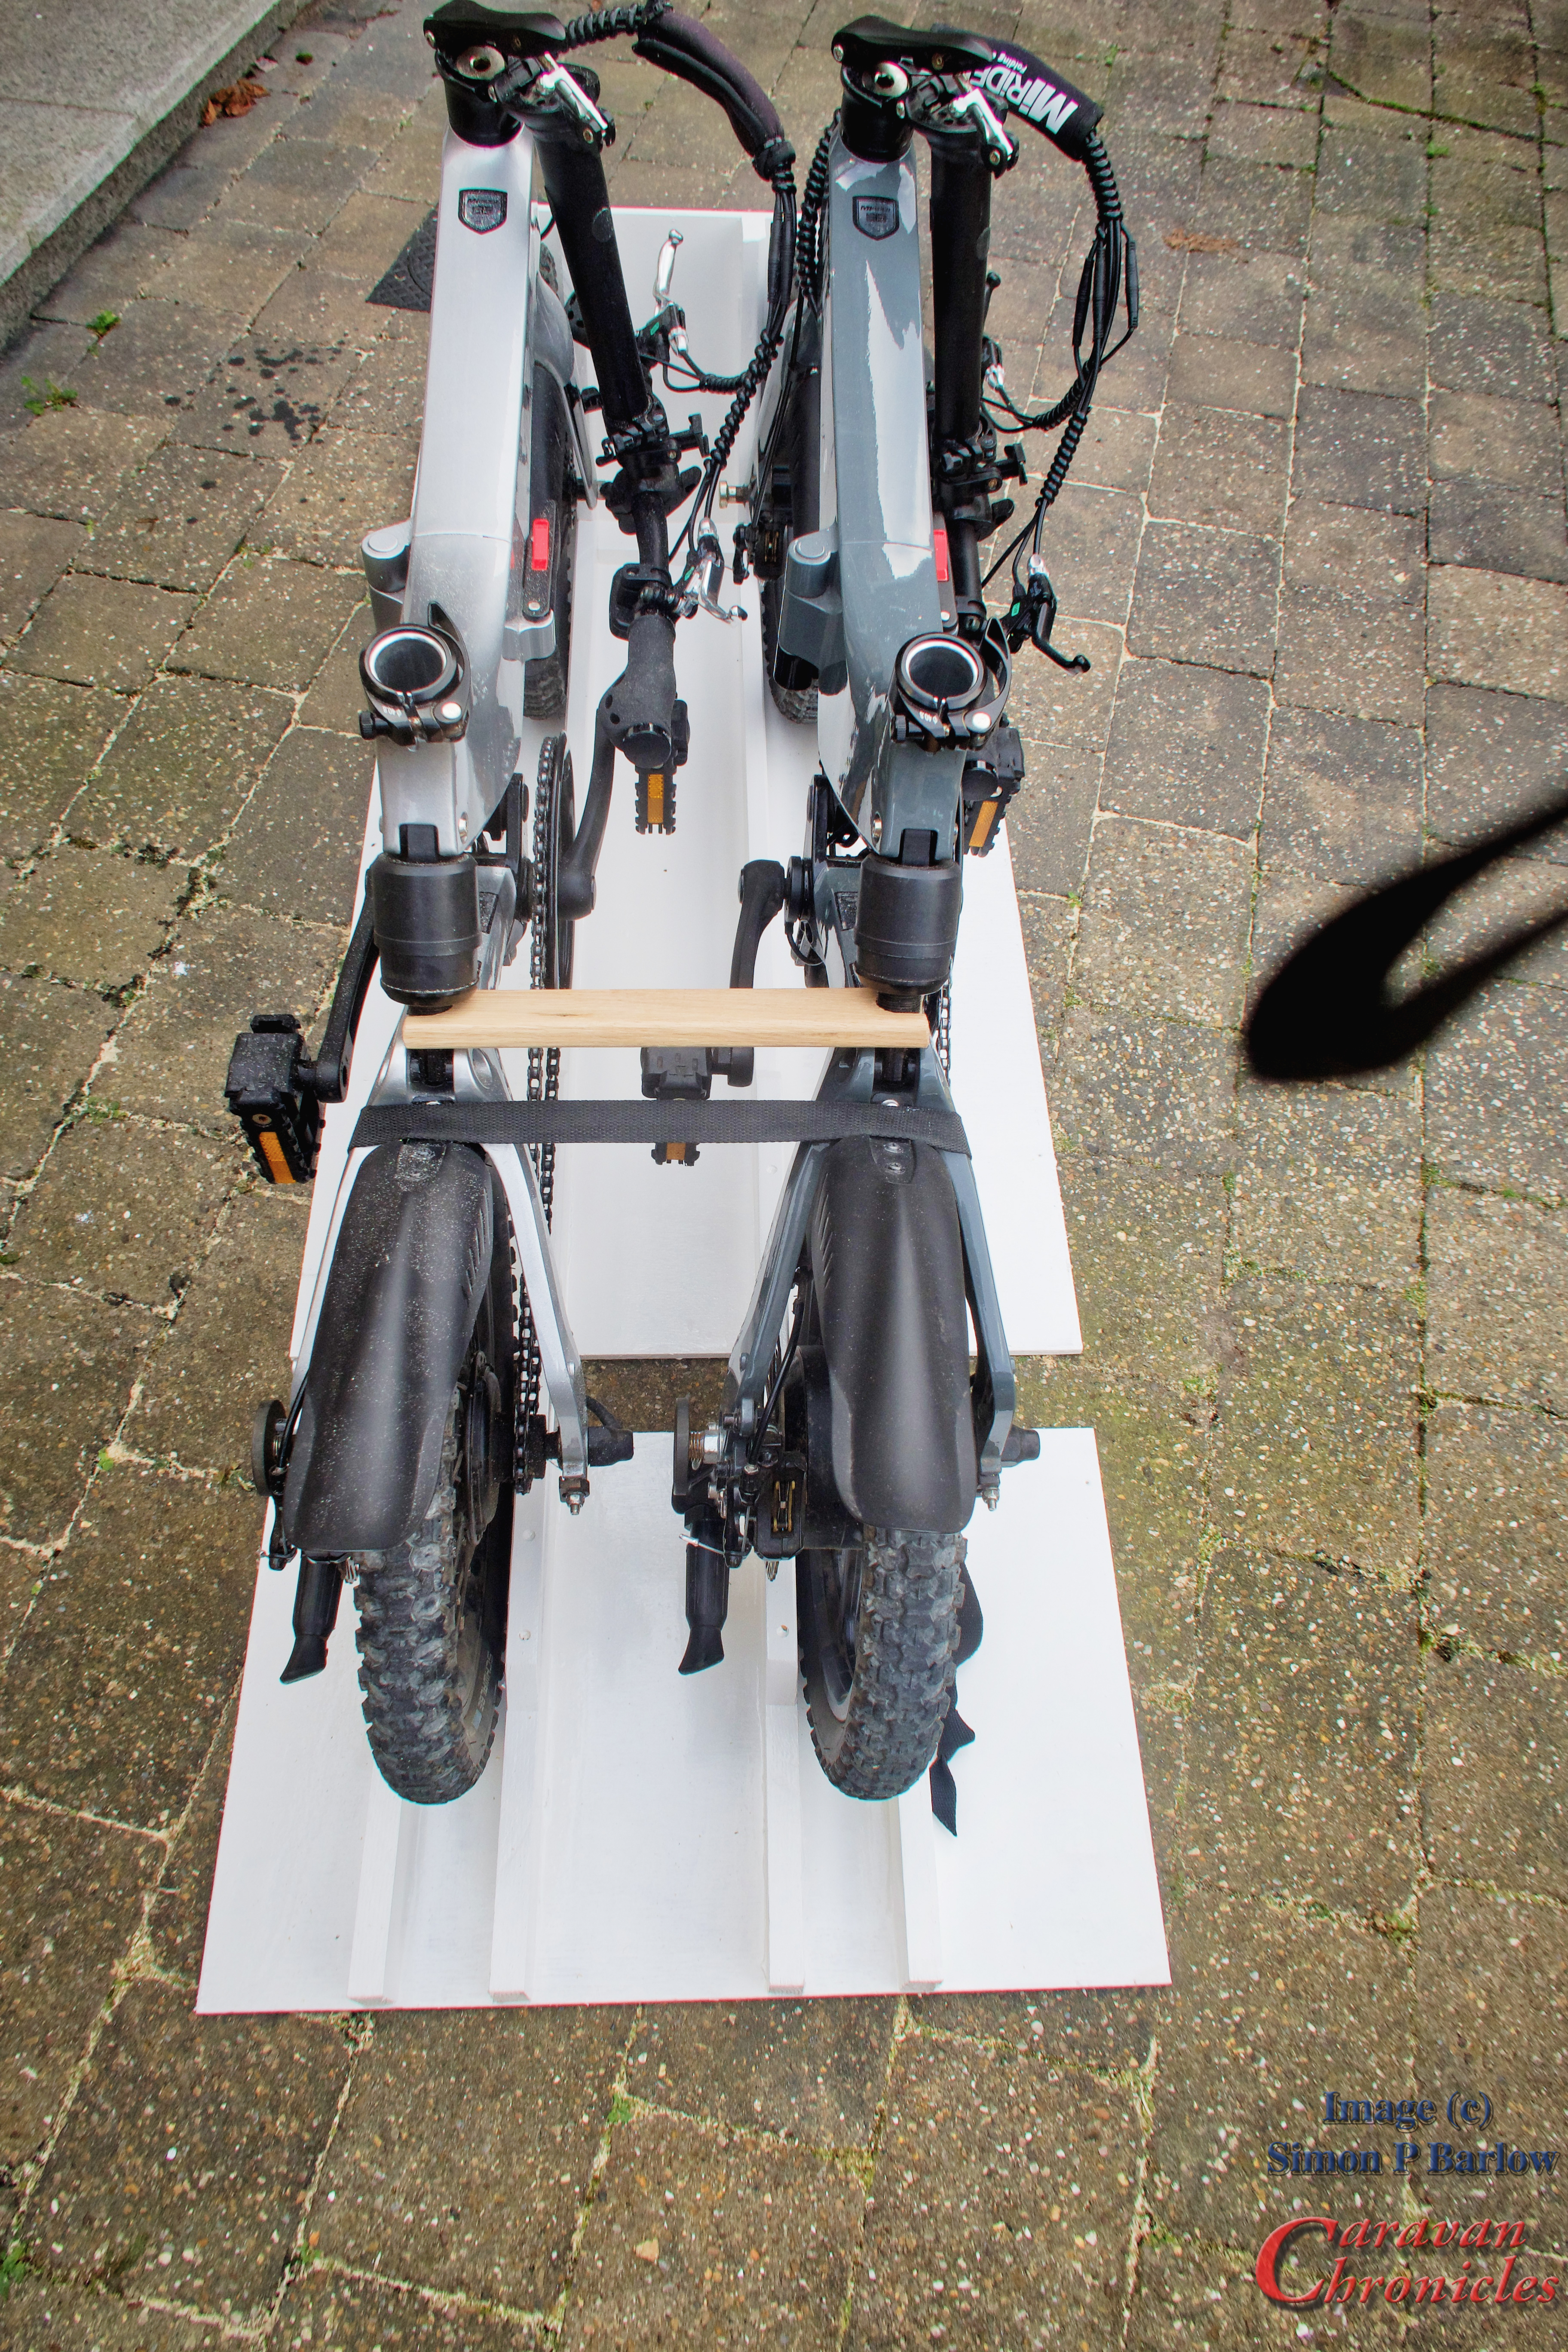
I’d worked out that if the bikes were 250mm apart, with the pedals folded and the handlebars folded they would pass each other with ease. I off set this slightly so the edge of the plywood would lie flat right next to the rear chassis cross member and left a gap so the short rear chassis rail would pass through the middle. The front wall was tapered either side so I could install the rack through the door vertically and then twist it 90 degrees to lie flat on the floor. To hold it in place I fabricated 4 aluminium plates that would drop onto the existing bolts in the rear chassis crossmember. These bolts were just long enough to allow me to drop a plate on and a second nut. This way I didn’t have to touch the original bolts… they were still to the factory torque.
I thought about clear coating the stand…. then thought about a brush on wax shaded to match the Dream Seeker’s woodwork…. In the end I use some old exterior white hard coat gloss… several coats in fact. One less old paint tin in the workshop! I think that it looks OK and installed in the garage looks bright and clean… for the moment!
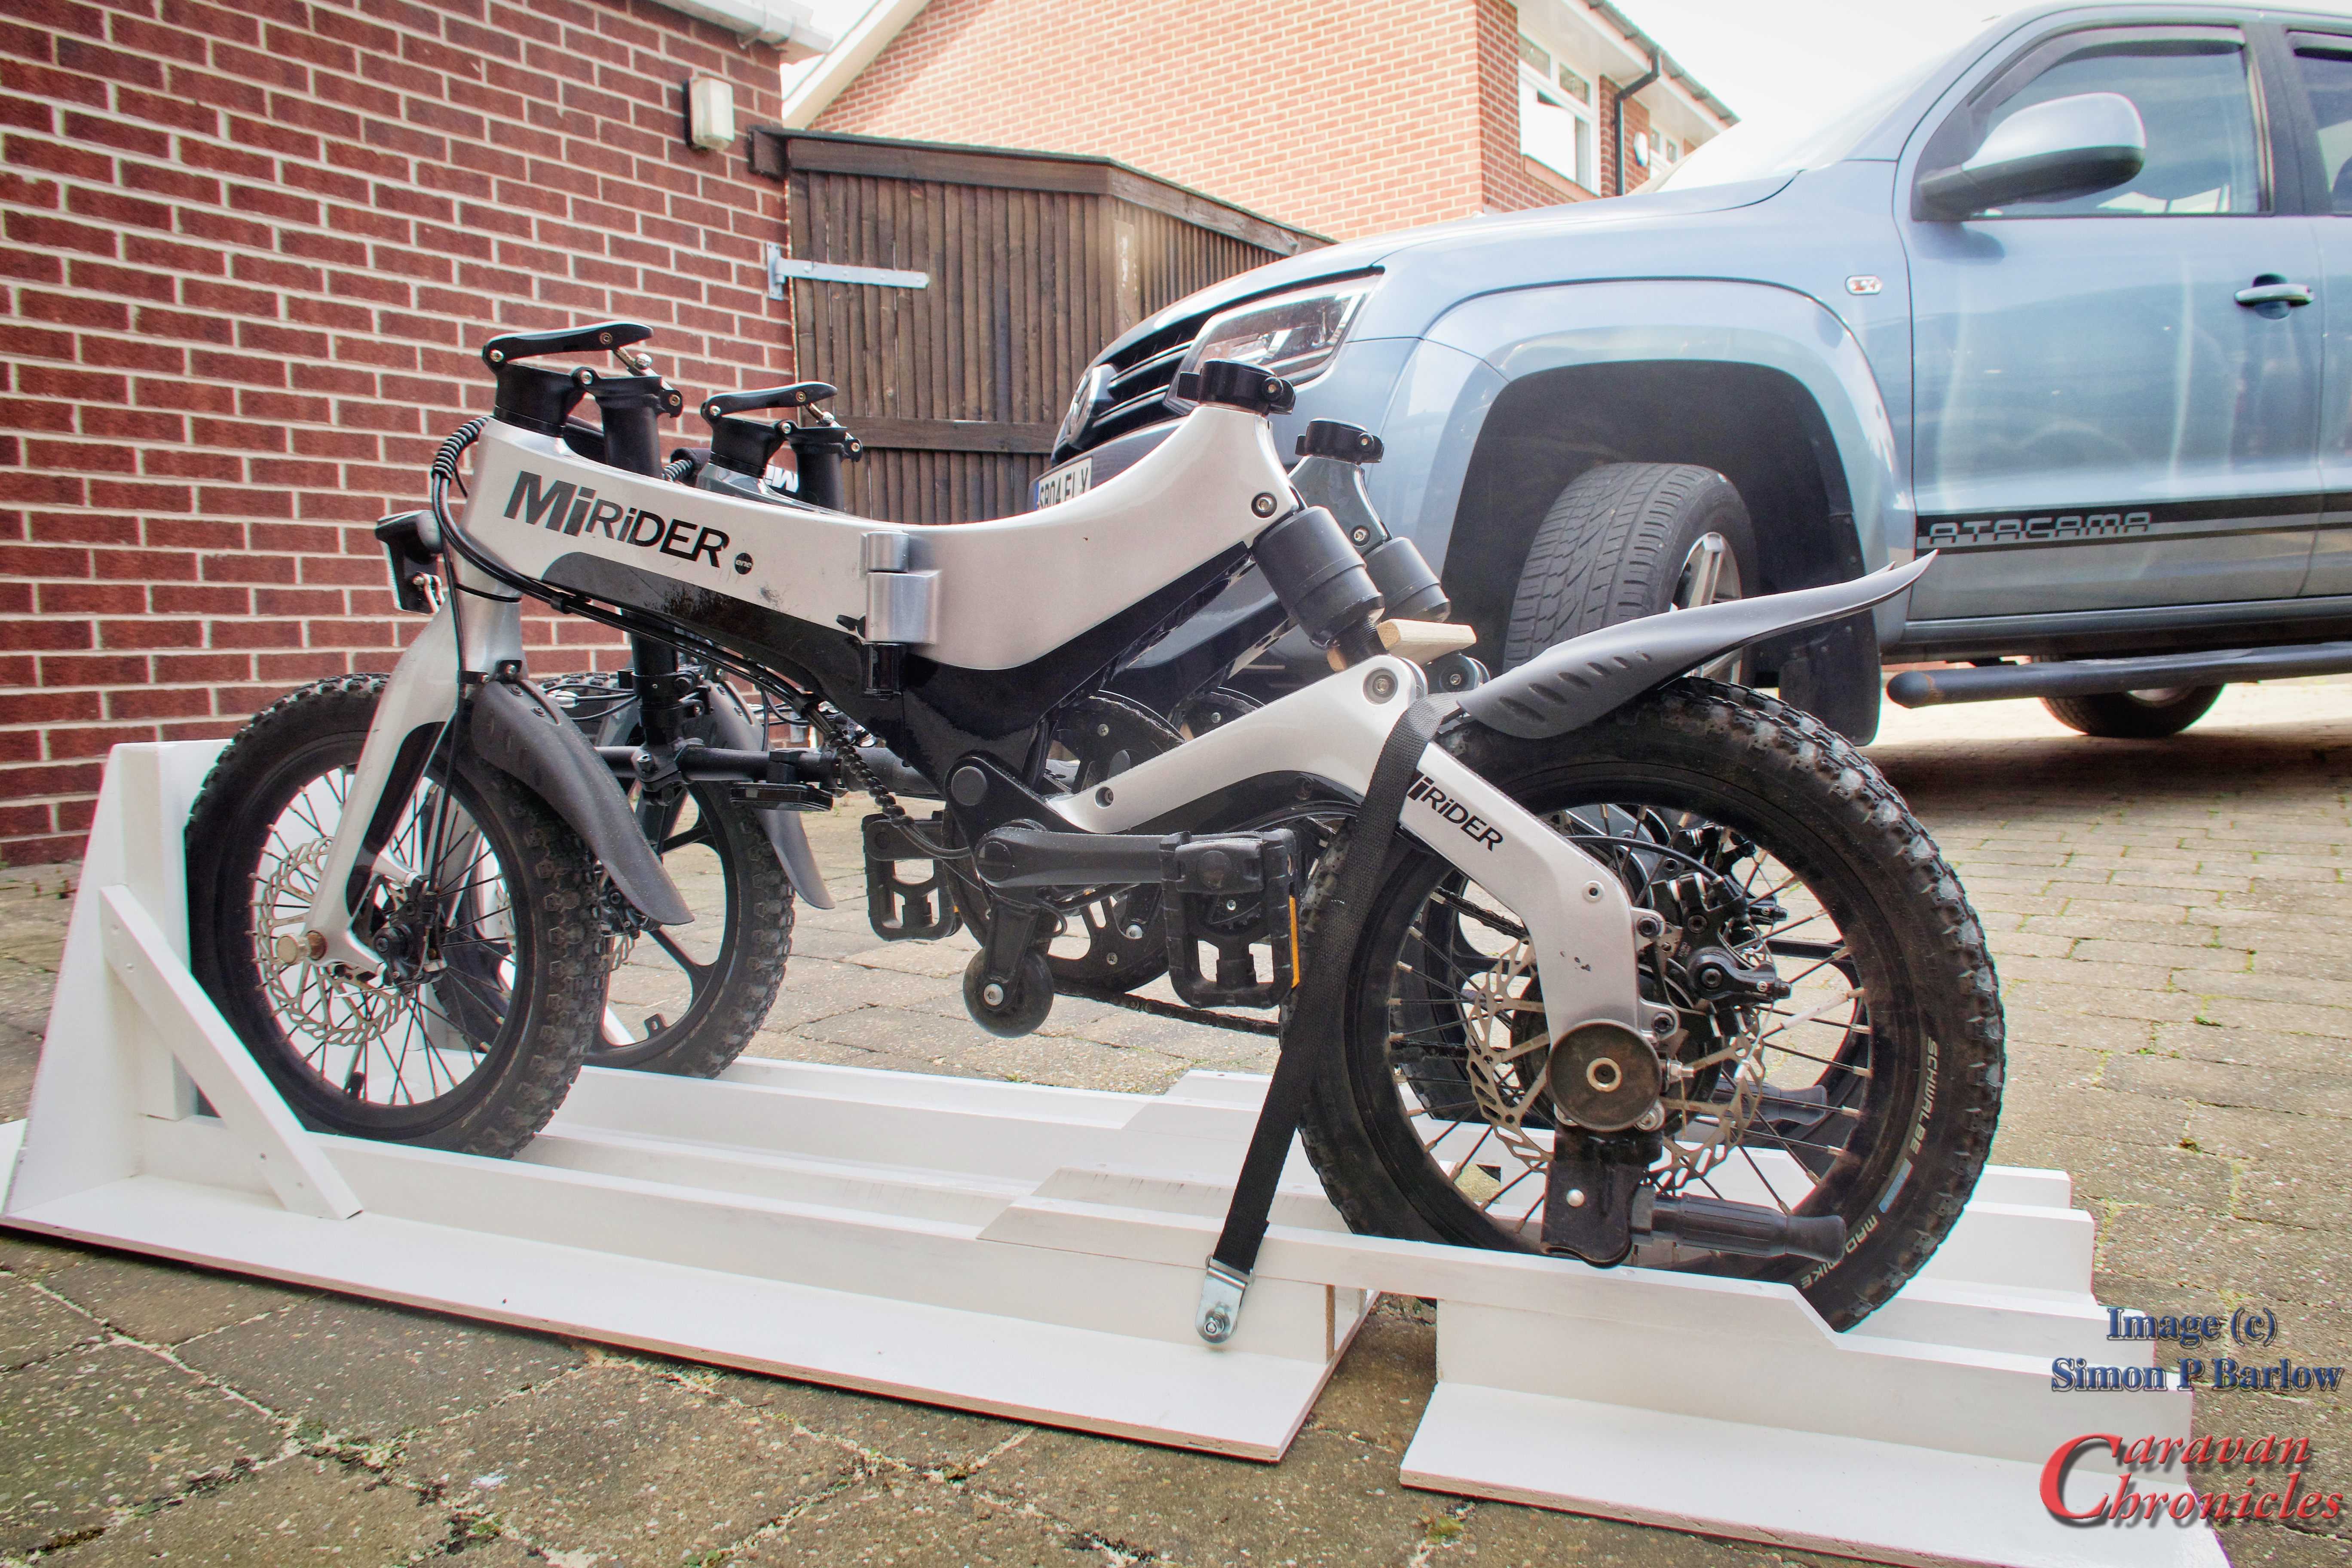
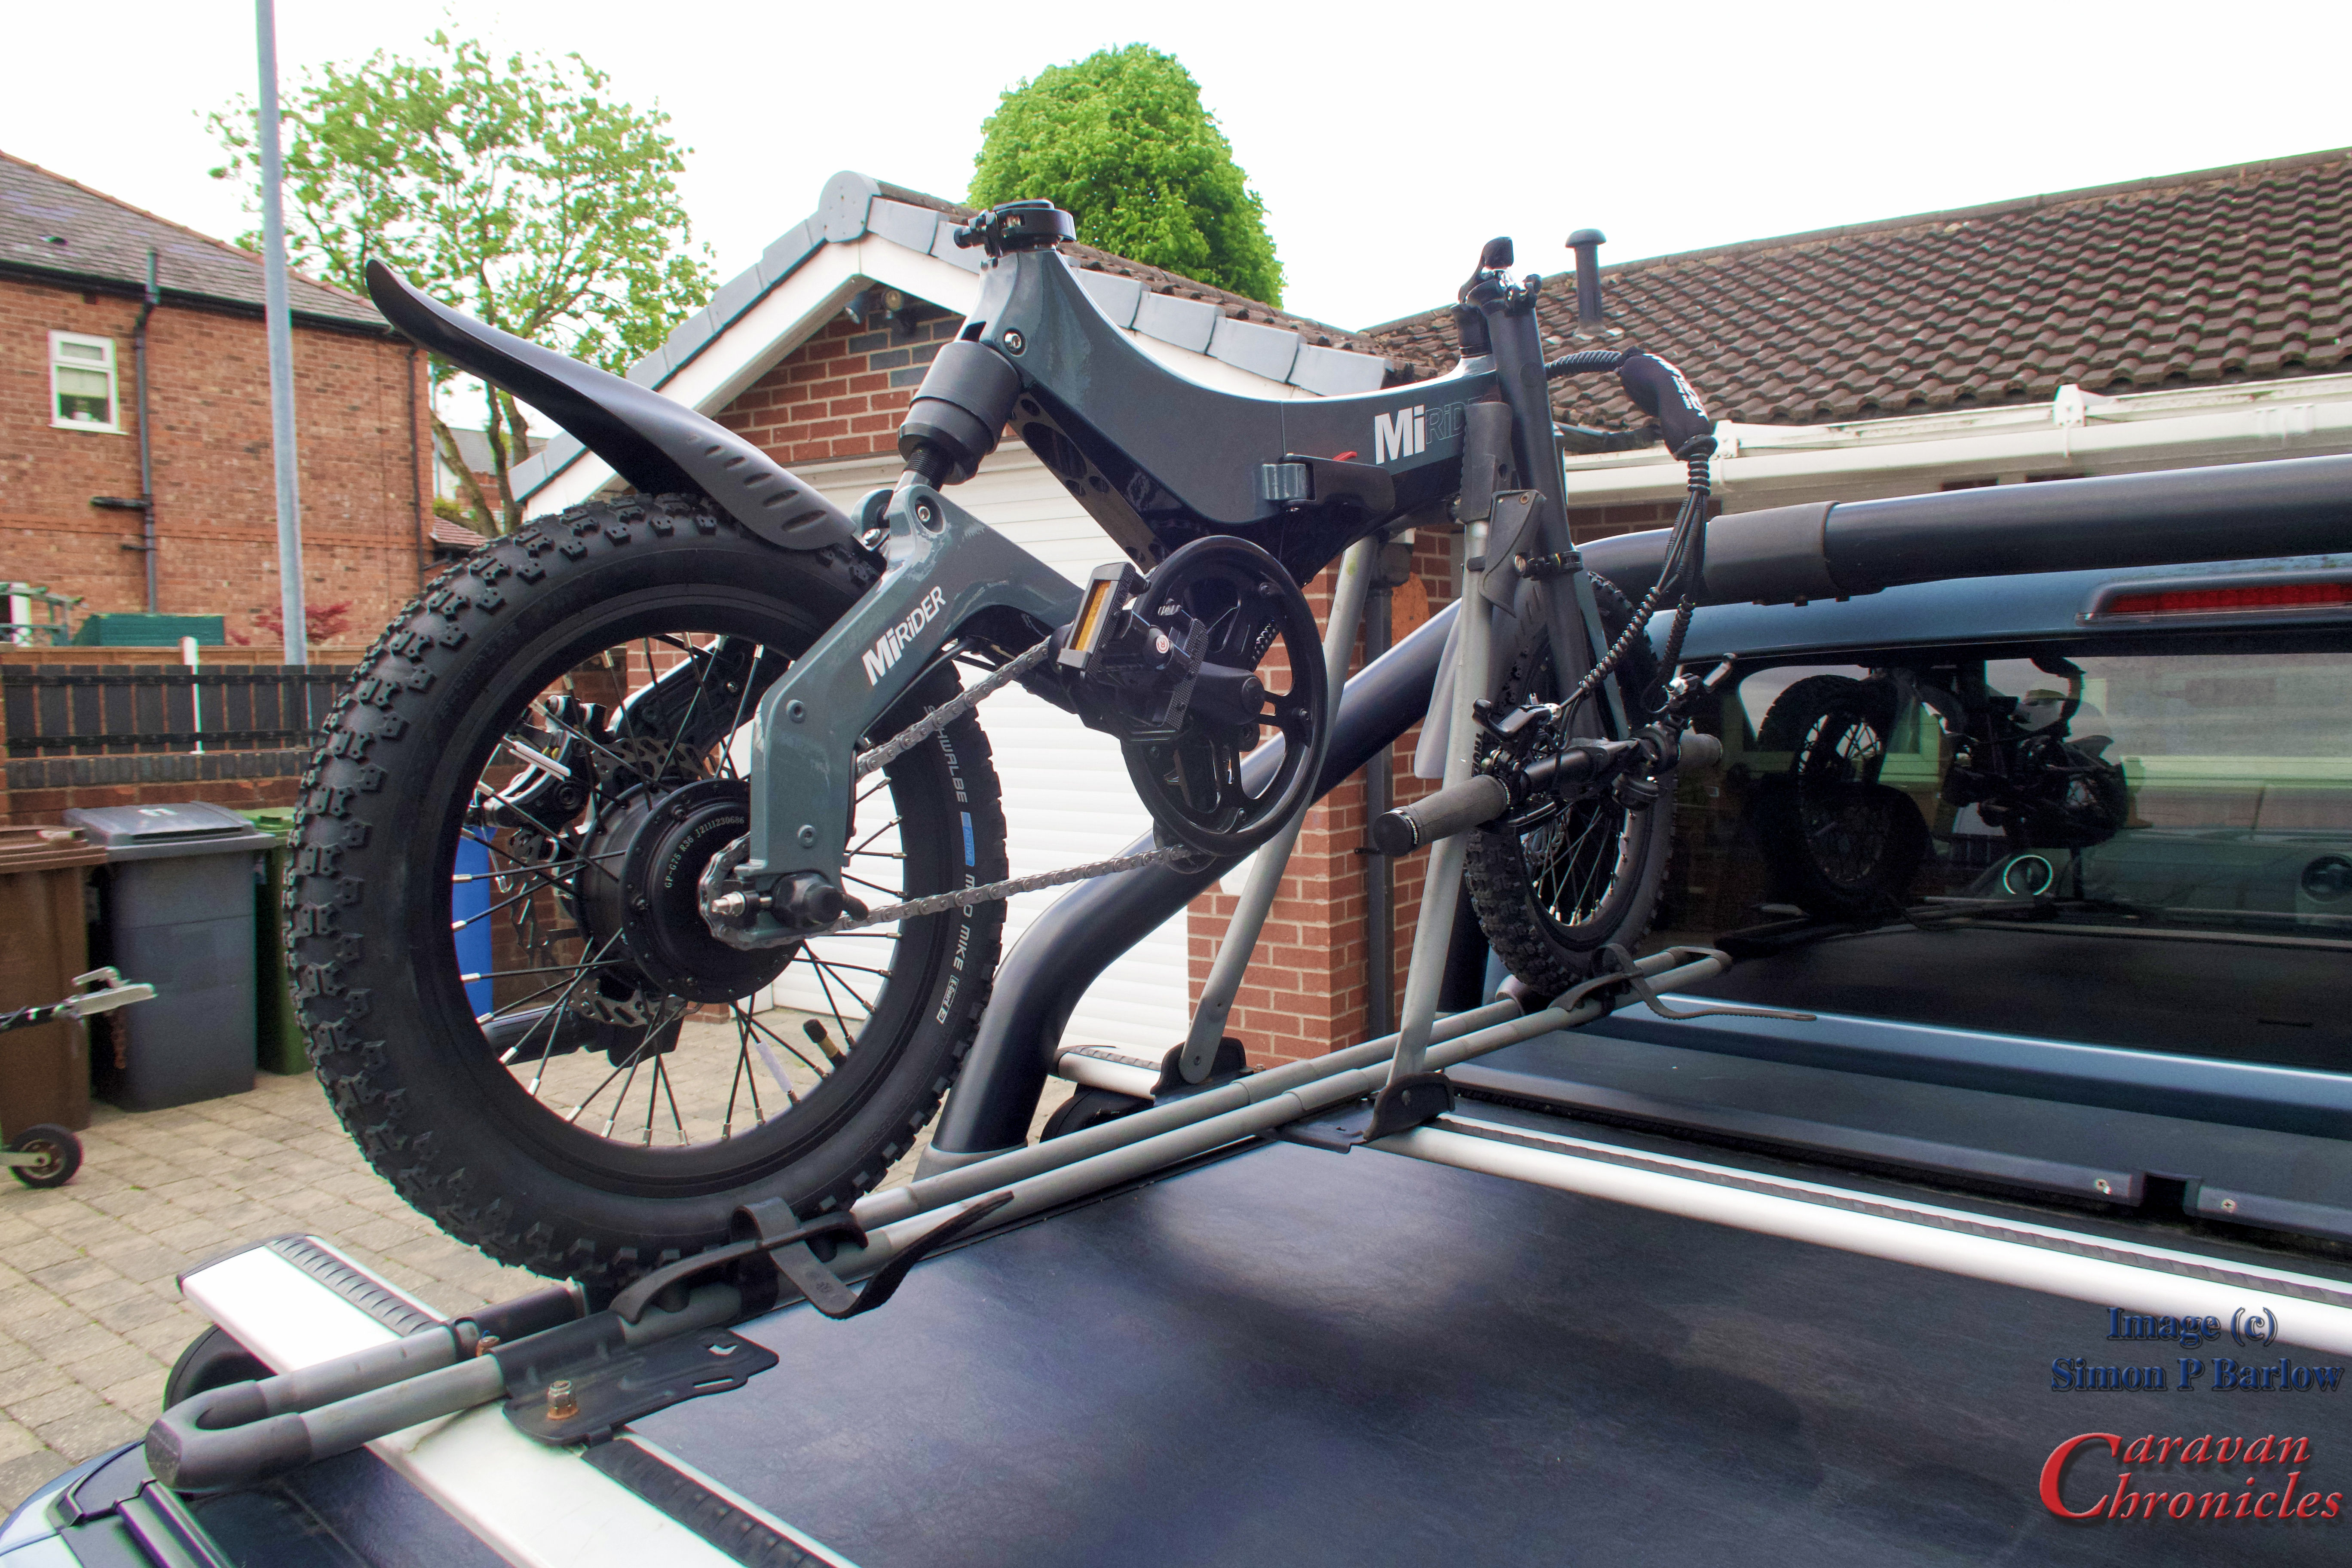
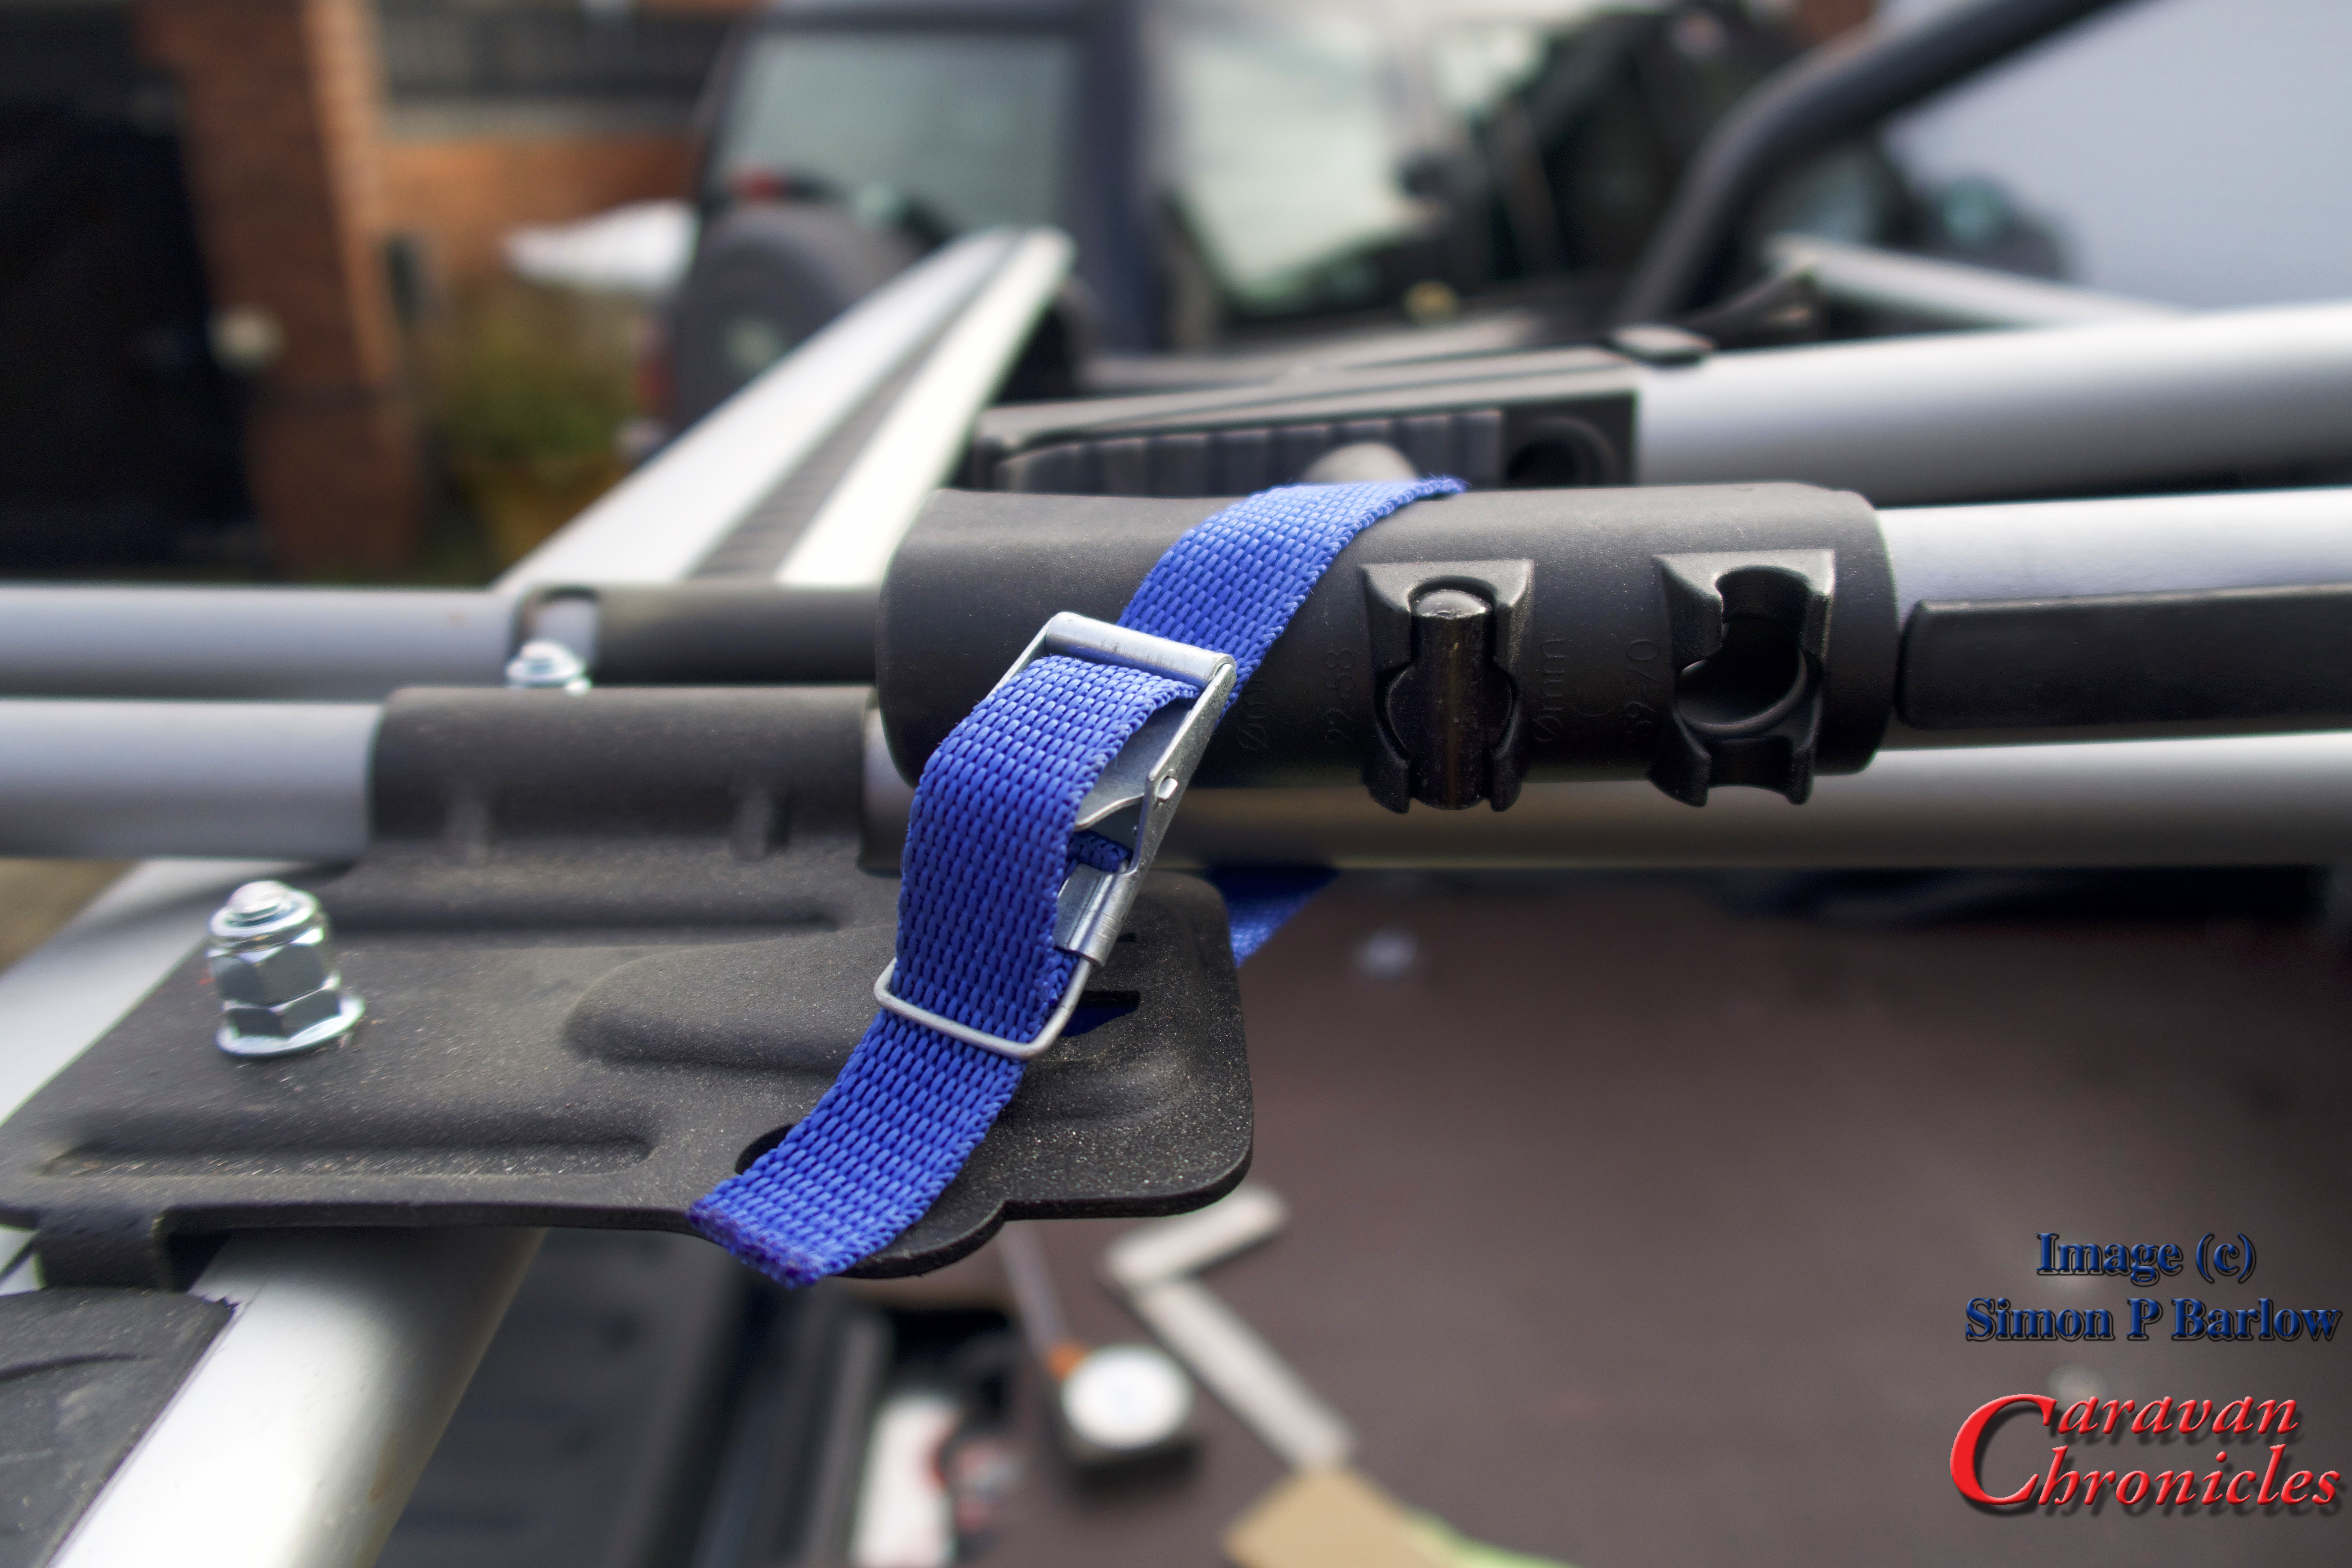
I added a ratchet strap, secured at both ends and cut short enough to allow me to hold the bikes down but not get in the way when loading or unloading.
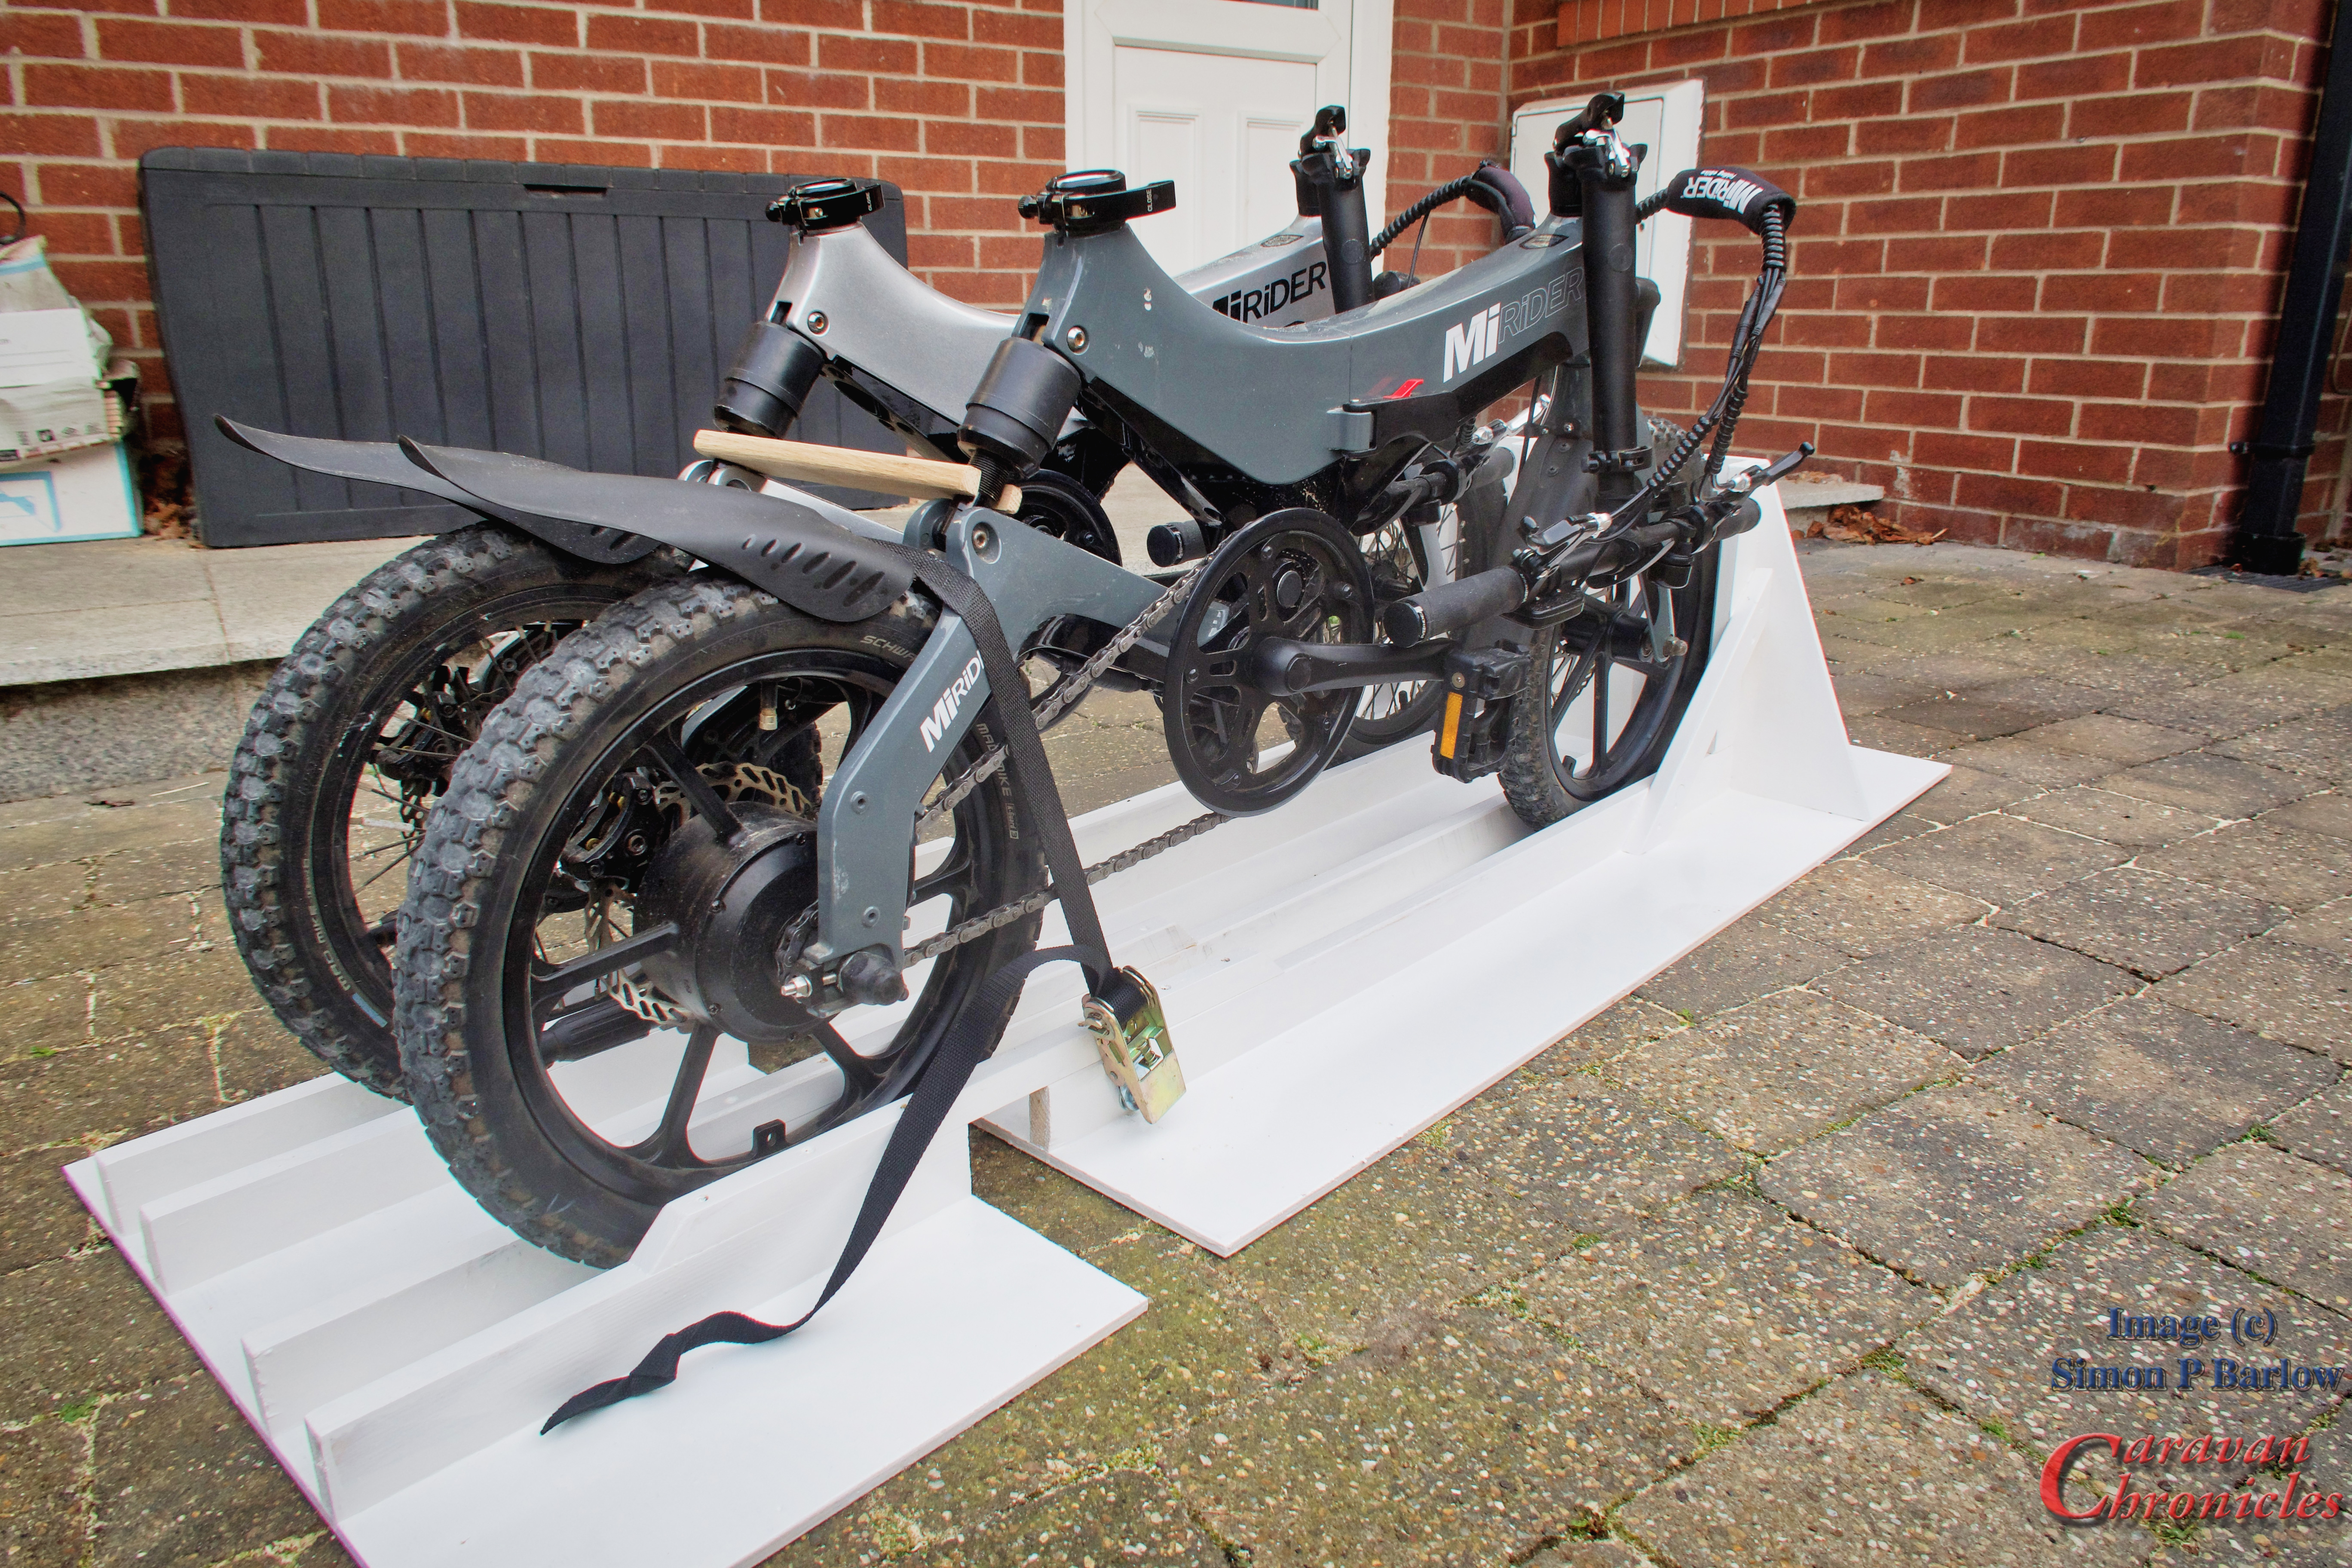
To stop the two bikes pulling together a simple length of oak with a round cut out in each end holds the bikes 250mm apart.
Fitting into the Dream Seeker was easy enough and I installed the fixing plates once I was sure everything fitted in OK.
The bikes fit in perfectly and are held securely. For security I have taken measures that secure the bikes directly to the chassis in two locations and with the bikes in the garage make it damn difficult to even get access to try and defeat them. Obviously I’m to going to show this.
Bikes installed…. and still a bit of space to fit locate the two seats and bike helmets. So off to Sutton-on-Sea soon to test them out!
P.S. While I was at it I also installed two 240 volt sockets in the garage so we can plug the chargers in if needed. Although my preference for safety is to charge the bikes outside the Dream Seeker. I installed the sockets near the opposite door so they will reach the bikes while they are under our awning…. or allow us to power an electric griddle plate under the awning. Always thinking.