Tags
Campervan electrics, Caravan Electrics, Electrical Faults, Motorhome electrics, Overland Vehicle Electrics
The problem with information on the internet is that although there is some great advice to be found there is also some less than great…. poor… really really poor advice and sorting out the good from the bad is sometimes not easy.
We are currently pitched on the Caravan & Motorhome club site Beechwood Grange near York and I decided to sit down and pen this post as for the last few months I seem to have been sorting out a number of problems via emails and phone conversations that really should not have arisen.
I’m going to give you a couple of examples of what’s been dropping in my inbox. To protect the inoccent I’m not going to name anyone or the channels. I do have the OK to relate these issues.
Case 1
“Hope you can help, I’m converting a VW Transporter into a camper van and have been following a number of YouTube channels for information on how to do it. It’s nearly complete but I have a problem when I go to use my inverter off grid. The base of the seat starts to warm up and a get a funny smell in the front of the van”
After an exchange of emails and a few photos were sent I eventually worked out what was going on. The 2000W Pure Sine Wave inverter was floor mounted in a cupboard towards the rear of the van where it was convenient for the mains sockets on the inverter to be reached. A suitable size Positive (+ve) lead ran back to the two 100Ah AGM batteries located under the front seat. A suitably sized Negative (-ve) lead also ran back to the batteries and was bolted to the chassis under the seat along with a number of other smaller -ve leads. The batteries were mounted on a wooden platform above this connection. The +ve lead from the inverter went to one battery +ve terminal and a link wire to the second battery +ve tied the two together. The size and rating of this tie wire was a lot less than it should have been.
The -ve posts of each battery had a very short 10mm2 cable going to a threaded stud mounted on the base of the seat and were helpful on to the stud by a star washer and nut. The seat base was a 3rd party metal fabrication hat had been powder coated and bolted to the vehicle floor by 4 bolts and ‘penny’ washers.
What was going on?
When the inverter was operated, it drew current from the battery down the +ve lead. Apart from the fact there wasn’t a fuse between the battery and inverter this side of the circuit was OK. The return path however was a different story. The inverter -ve lead was connected to the vehicle chassis under the seat – not at one of the seat mounting points. The -ve of the two batteries was connected to a stud that was a press fit into the seat base. It didn’t have a hexagonal head just a mushroom head. It was also way under size for the terminals that were fastened to it. The oversize star washer stopped the nut pulling through the terminals. The return current path therefore had to flow into the vehicle chassis, up the four bolts holding the seat to the floor and through the seat base to the push fit stud and finally into the two short leads connecting the battery -ve terminals. The relative high current drawn by the inverter through the single undersized push fit stud and the four floor bolts that were securing a powder coated frame with penny washers presented enough resistance for 60 or 70 Amps of current to start to heat things up a bit and burning off some of the powder coating. 70 Amps passing through a 0.1 ohm resistance will generate 490 watts of heat (calculated using R x I2 = P) this is why it’s critical to get any cabling correctly crimped with the right terminals for the job.
Conclusion
Don’t rely on the vehicle chassis as a return path. install cables for both ‘legs’ of the circuit from source to destination and back again.
There wasn’t a fuse installed near the battery. Any cable coming from a battery MUST have a fuse close to the battery before it goes off anywhere to supply anything else.
If a cable terminal requires an M4 nut and bolt…. use an M4 bolt nothing smaller will do.
If you are ‘grounding’ to anything metal, clean the surface, use a dab of protective dielectric grease (there are different ones for steel and aluminium!) and make sure any washers used work correctly. Flat clean washers for electrical contact and a star washer as a mechanical anti vibration measure to stop the nut loosening.
Case 2
“When ever we have been away for a few days off grid on the return trip there always seems to be a strange smell coming from the engine compartment. We have a self converted T6 camper and 400Ah of AGM leisure batteries with 240 watts of solar on the roof. After watching a couple of YouTube installations of DC to DC chargers I recently installed a Redarc DC to DC charger to help keep the leisure batteries in good condition and fix some issues I was having with the smart alternator”.
OK again after several email exchanges and a couple of video clips I got to the bottom of this one as well. The RedArc unit is capable of charing at 50 Amps and to do this pulls around 55 to 60 amps from the vehicles alternator. However there are a couple of issues in doing this. One of the first things that the Car Audio guys always recommend before installing any of the mahoosive bass pumping amps in vehicles is to replace and upgrade three essential cables. The first is the cable from the alternator output to the battery, the second which might not seem so obvious is the ‘earth strap’ as it is sometimes called from the engine to the vehicle chassis. This need either replacing completely with a larger cross section and also where it terminates on the vehicle needs altering. Usually the Audio boys install a new cable from the alternator mounting bolt directly back to the negative battery terminal*. Why” Well quite often the engine earth strap is just a simple copper braid strip sized just big enough so the starter motor current won’t burn it out for the 5 to 10 sends the starter is operated. You start trying to push the engine battery charing current and the additional 60 amps for the DC to DC charger through it, it starts to get warm. Not a problem as usually it’s not covered in a PVC jacket and hanging down in a bit of air flow under the engine. So the Audio guys change or upgrade it and they pull more current than we do. The third and last one that is upgraded is the short stubby battery negative lead going to the vehicle chassis. For our purposes, not really a necessity but hey ho.
*A note of caution. On most vehicles now there is a shunt between the large negative cable going to the battery and the negative terminal of the battery. This allows the vehicle ECU to determine the current flow in and out of the battery. It is important that you only connect any ancillary equipment to the cable side of this shunt and not to the battery side. However some DC to DC chargers specify you connect to the battery side of the shunt. Please refer back to the instructions with your particular unit.
What was going on?
Well basically the negative side of the circuit was getting a bit warm and the lead from the alternator was running at virtually it’s maximum rating. What you have to remember is that the vehicles electrical system is really designed down to a price and to do just the job of keeping the vehicle running. As soon as you start to ask a bit more of it you are stressing some elements and you have to consider all aspects and upgrade parts sometimes.
Conclusion
Adding an additional earth strap from the alternator mount directly to the chassis side of the shunt on the negative post of the engine battery and upgrading the alternator positive cable made a big difference and there is no longer any smell after a couple of hours of charging from the engine. Apparently starting the diesel engine has been improved with the report: “it seems to turn over a lot faster when starting” so maybe there was an underlying issue with engine earthing somewhere?
My two cent’s….
- Don’t use the vehicle chassis as a neutral return path for any additional equipment you install. Modern vehicles are not so much welded as bonded together and some have aluminium or plastic body panels. Additionally even the steel they are made from is not as good a conductor of electricity as copper. Leave the vehicle electrics to the vehicle body and install your own neutrals.
- Don’t ‘ground’ the leisure battery to the vehicle body. Keep the leisure battery circuits isolated from the vehicle body. Run a suitably sized neutral cable directly from the leisure battery to the vehicle battery.
- Don’t use leisure battery terminals as a place to connect everything. Use a proper terminal bus bar block for live and neutral connections. The only connection on your battery terminal should be the main conductor going to either a second battery or a bus bar terminal block. The only exception to this is for battery monitors!
- Don’t assume the vehicle electrics are up to the job. Most vehicle electrics do the job they were designed to do and not much more. As soon as you start asking the alternator to charge another one or two 100Ah batteries you are ‘stressing the system’ to a greater or lesser extent. Some big 4 x 4’s can handle this, some smaller vans might not be able to. Consider what you are installing and think about how the vehicle will handle this and look to see if anything needs upgrading.
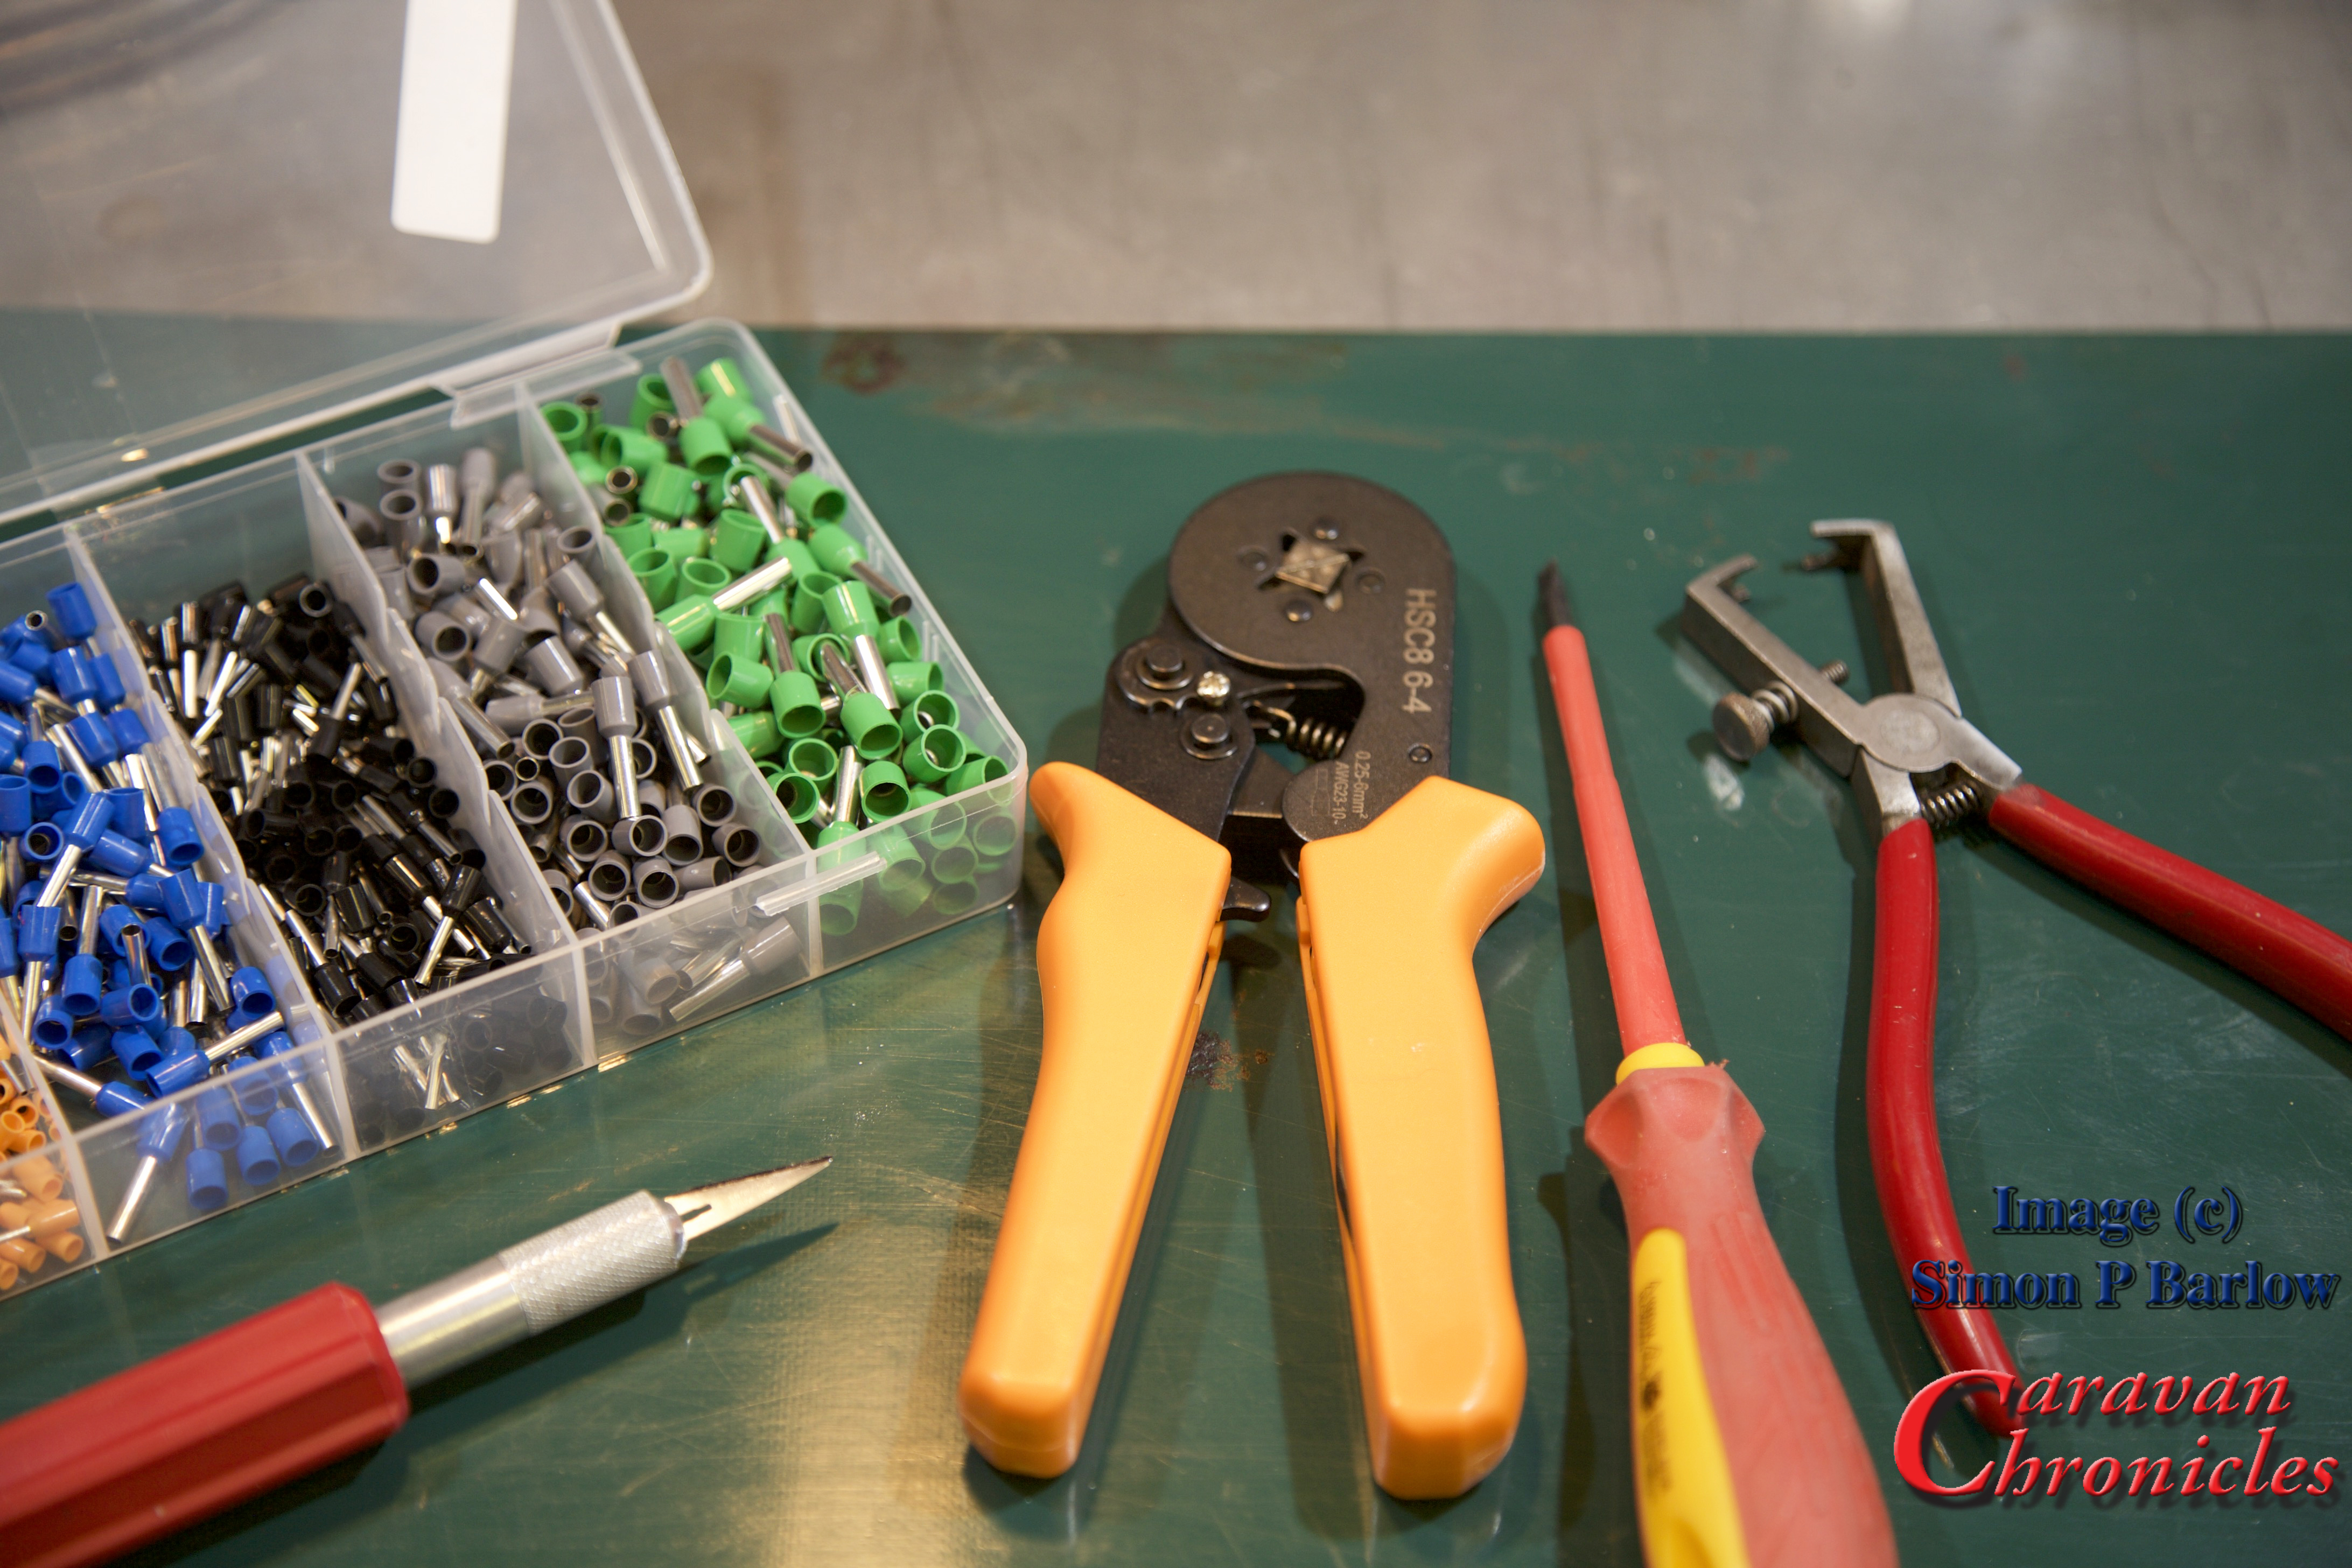
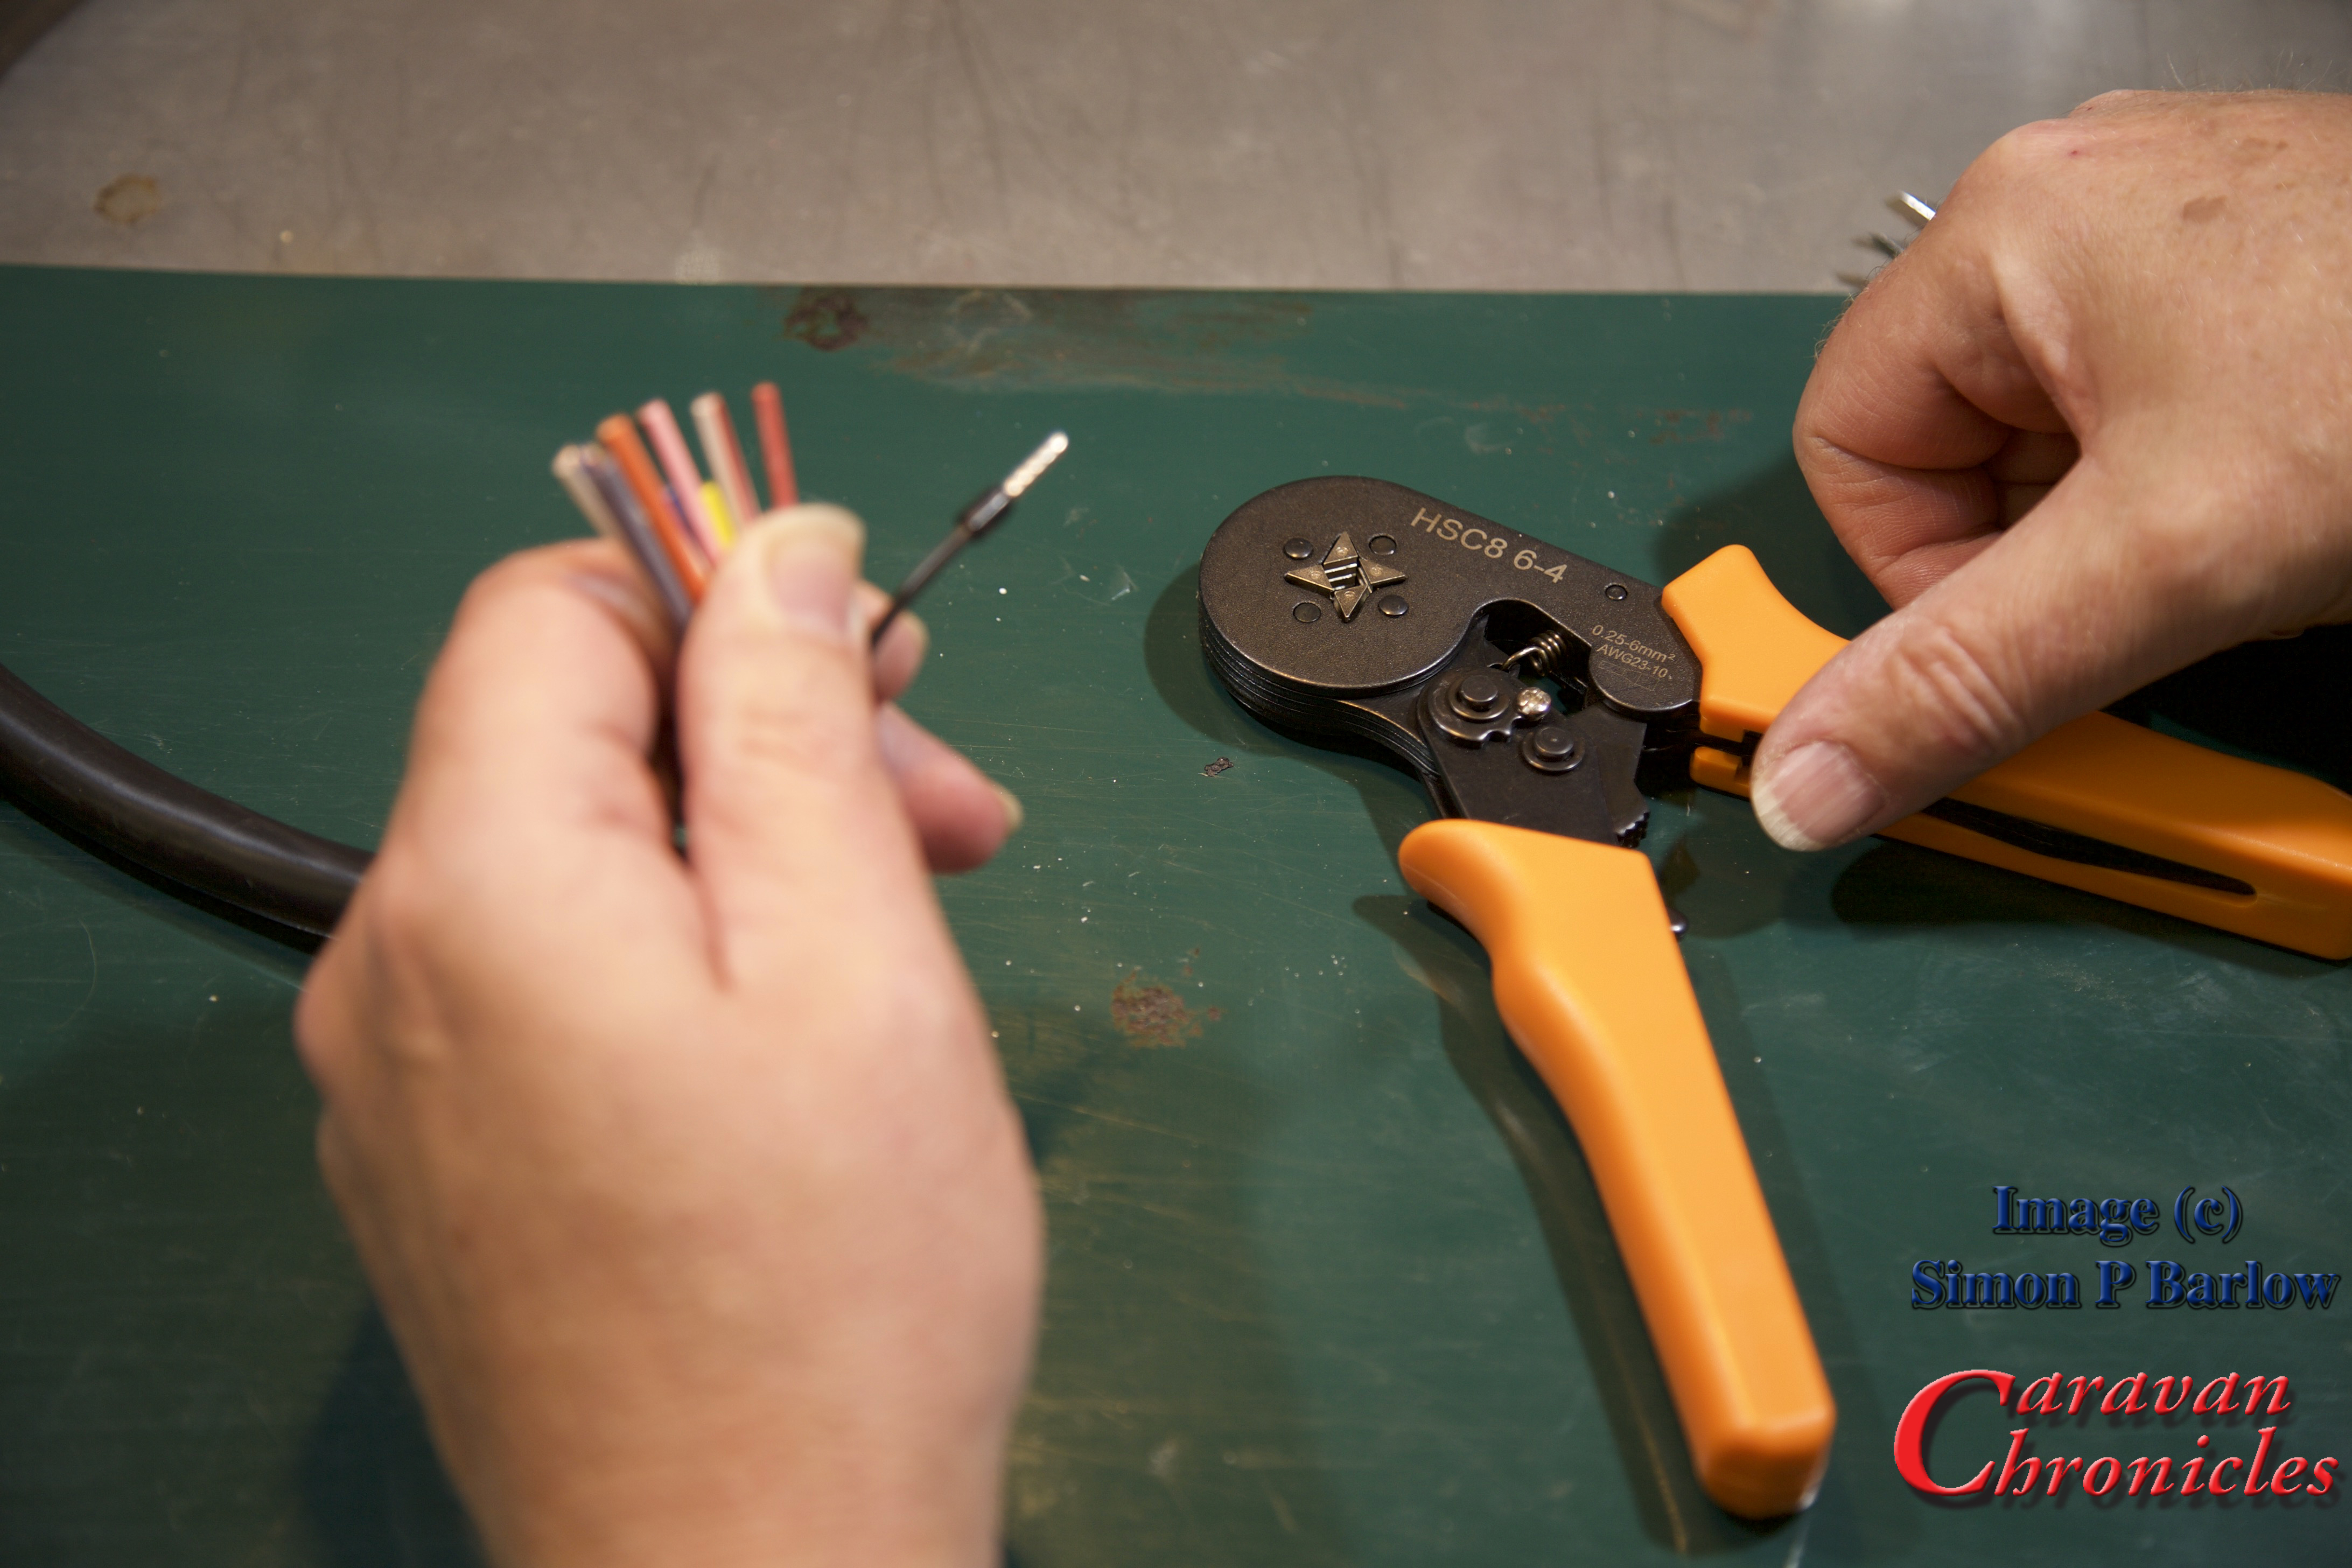
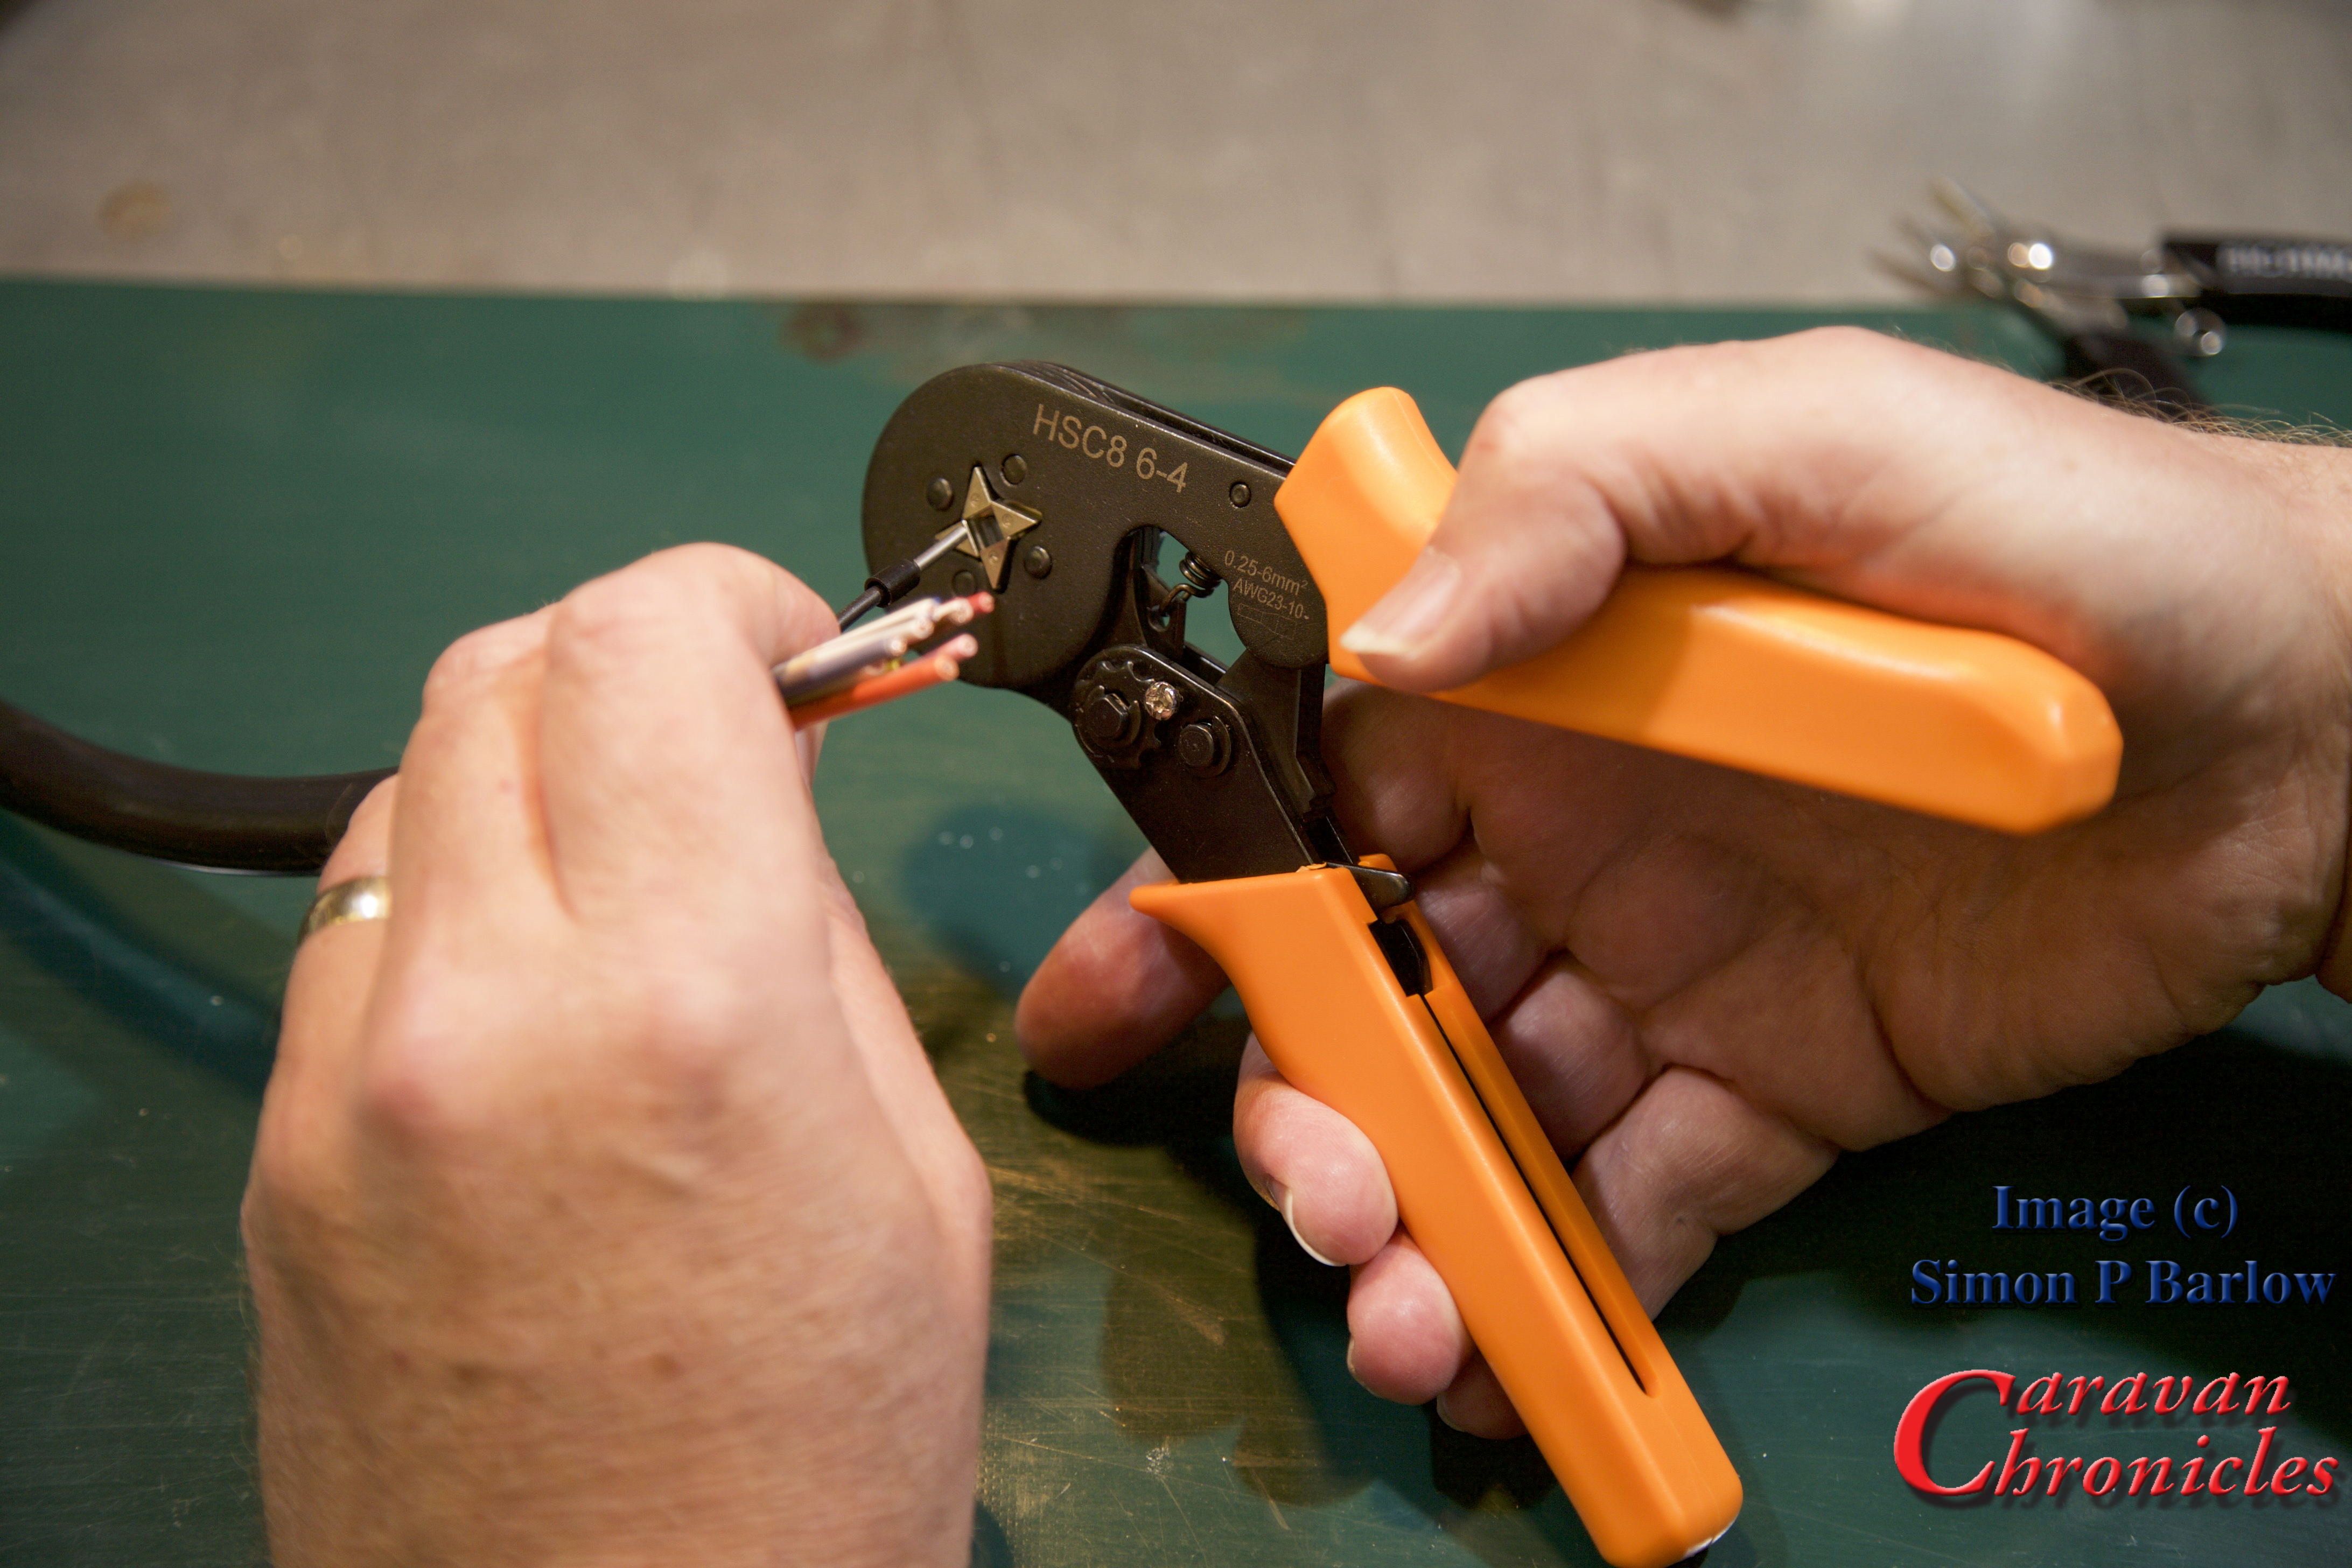
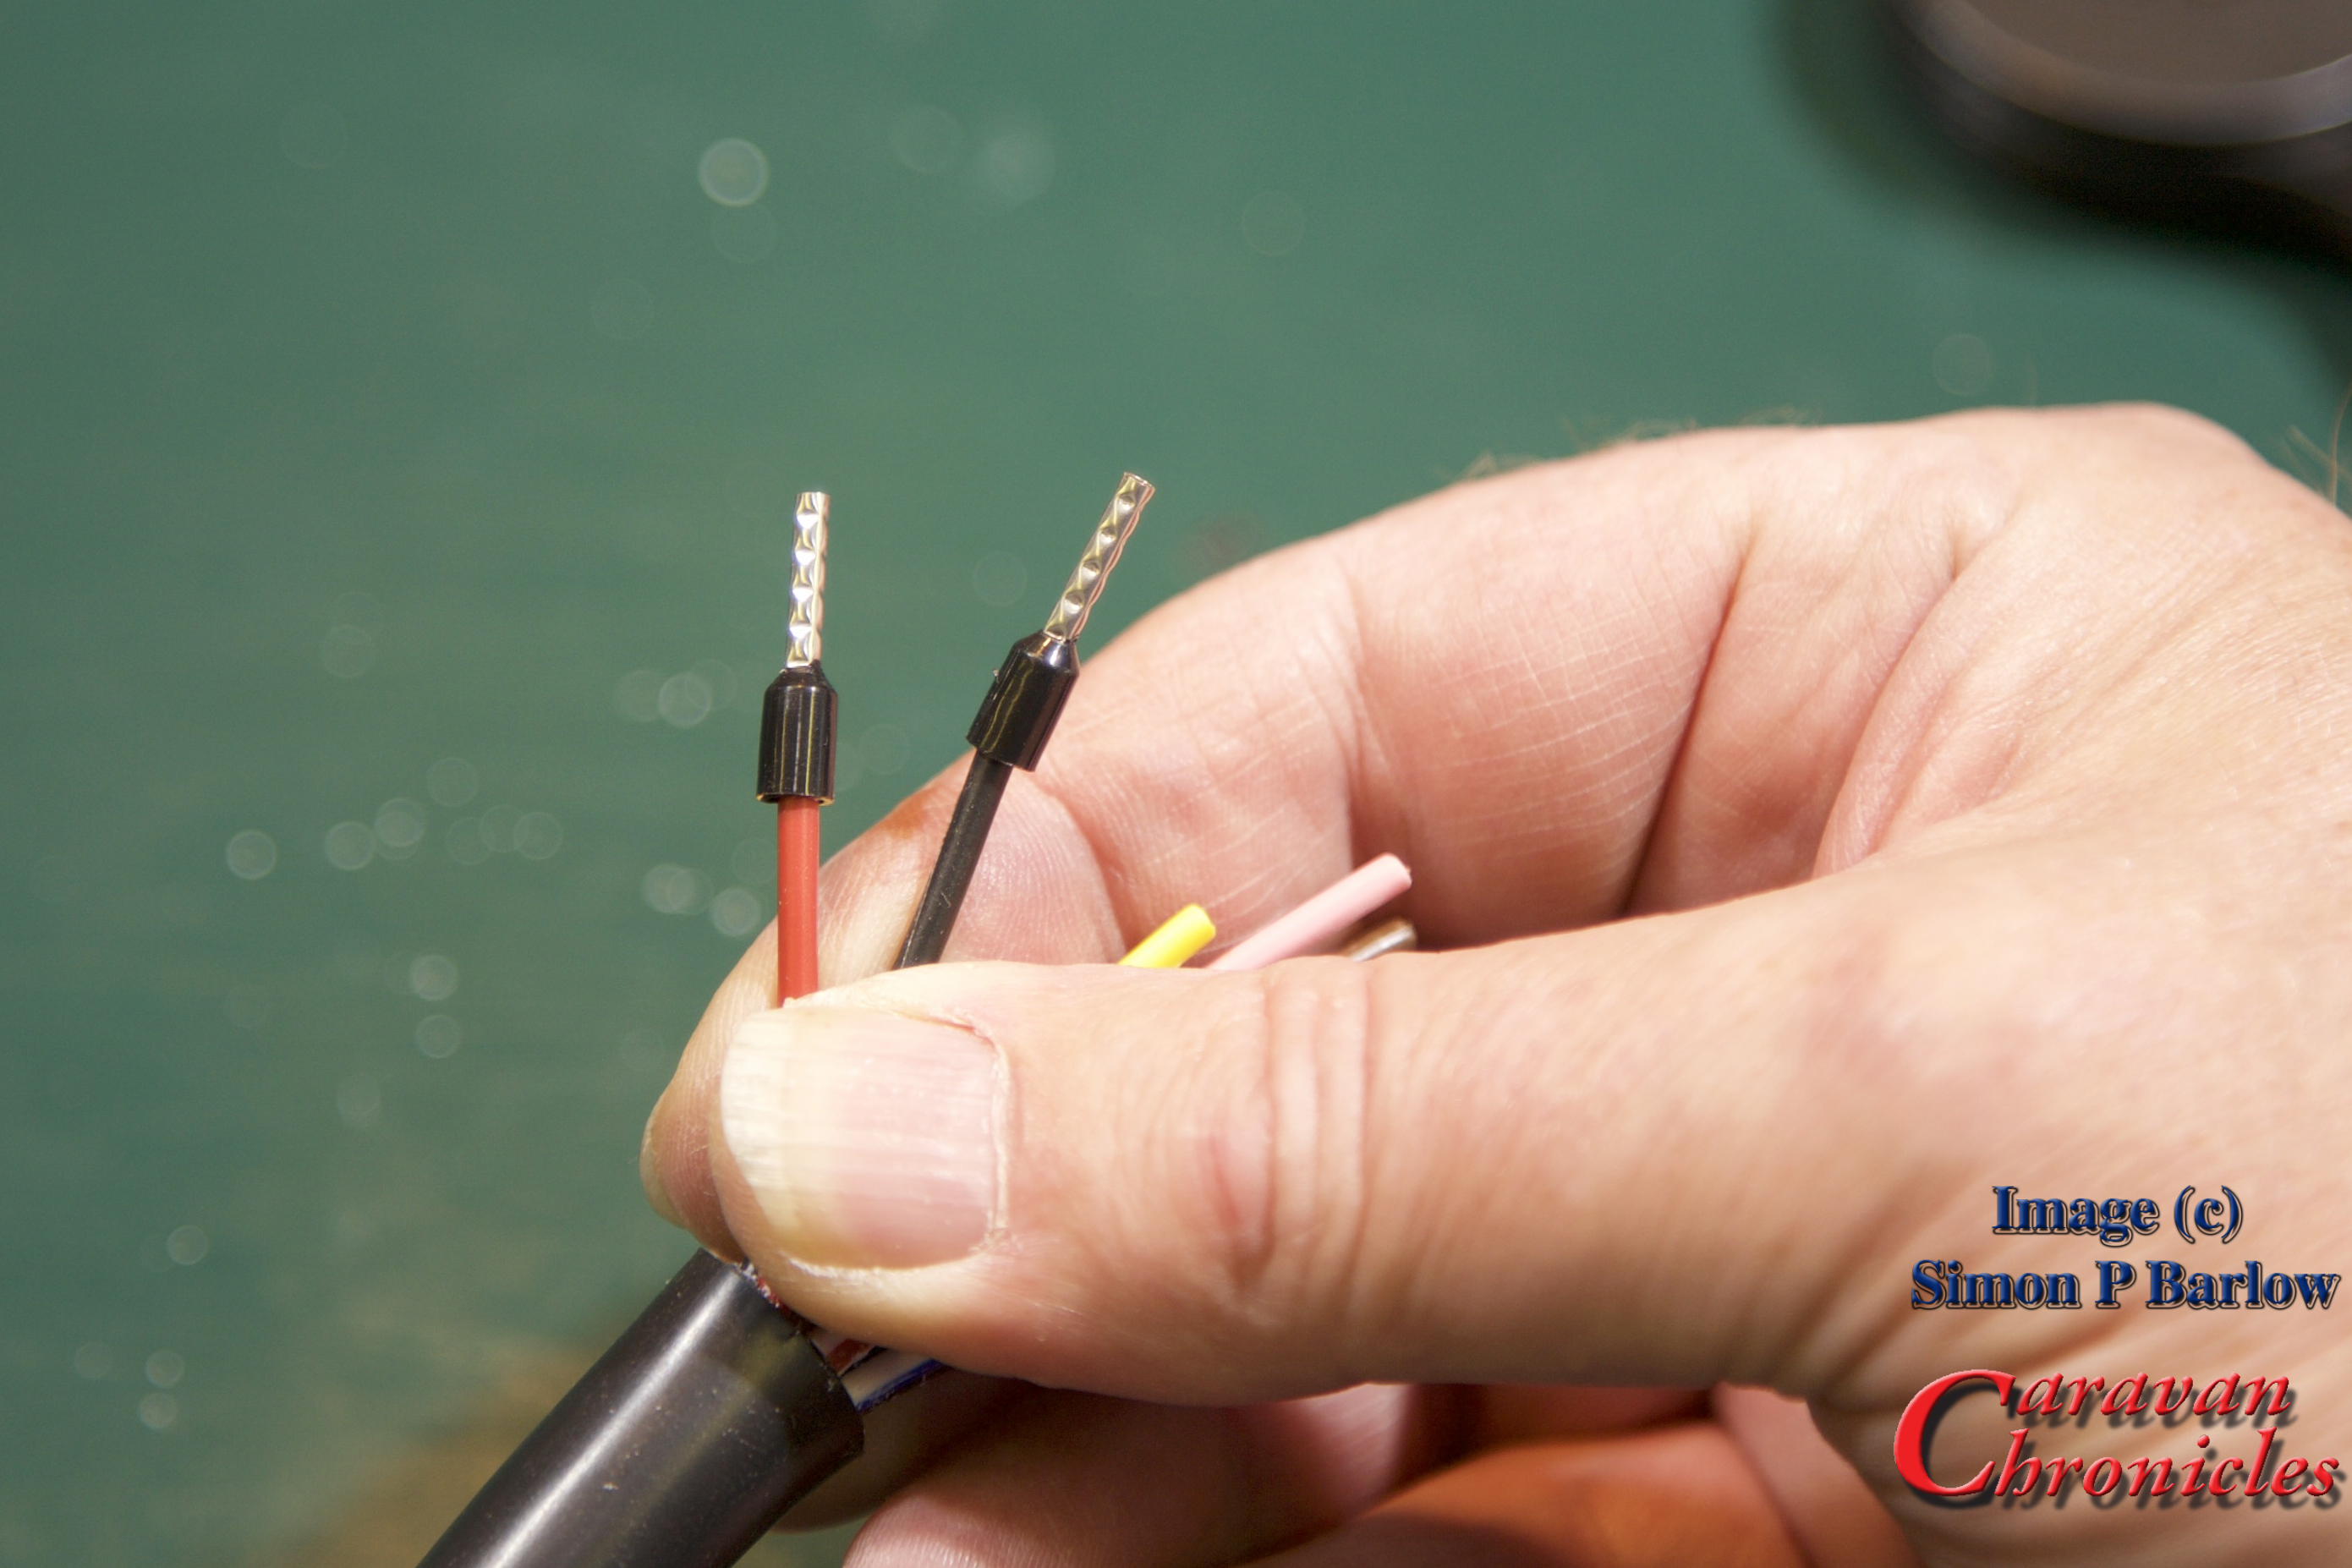
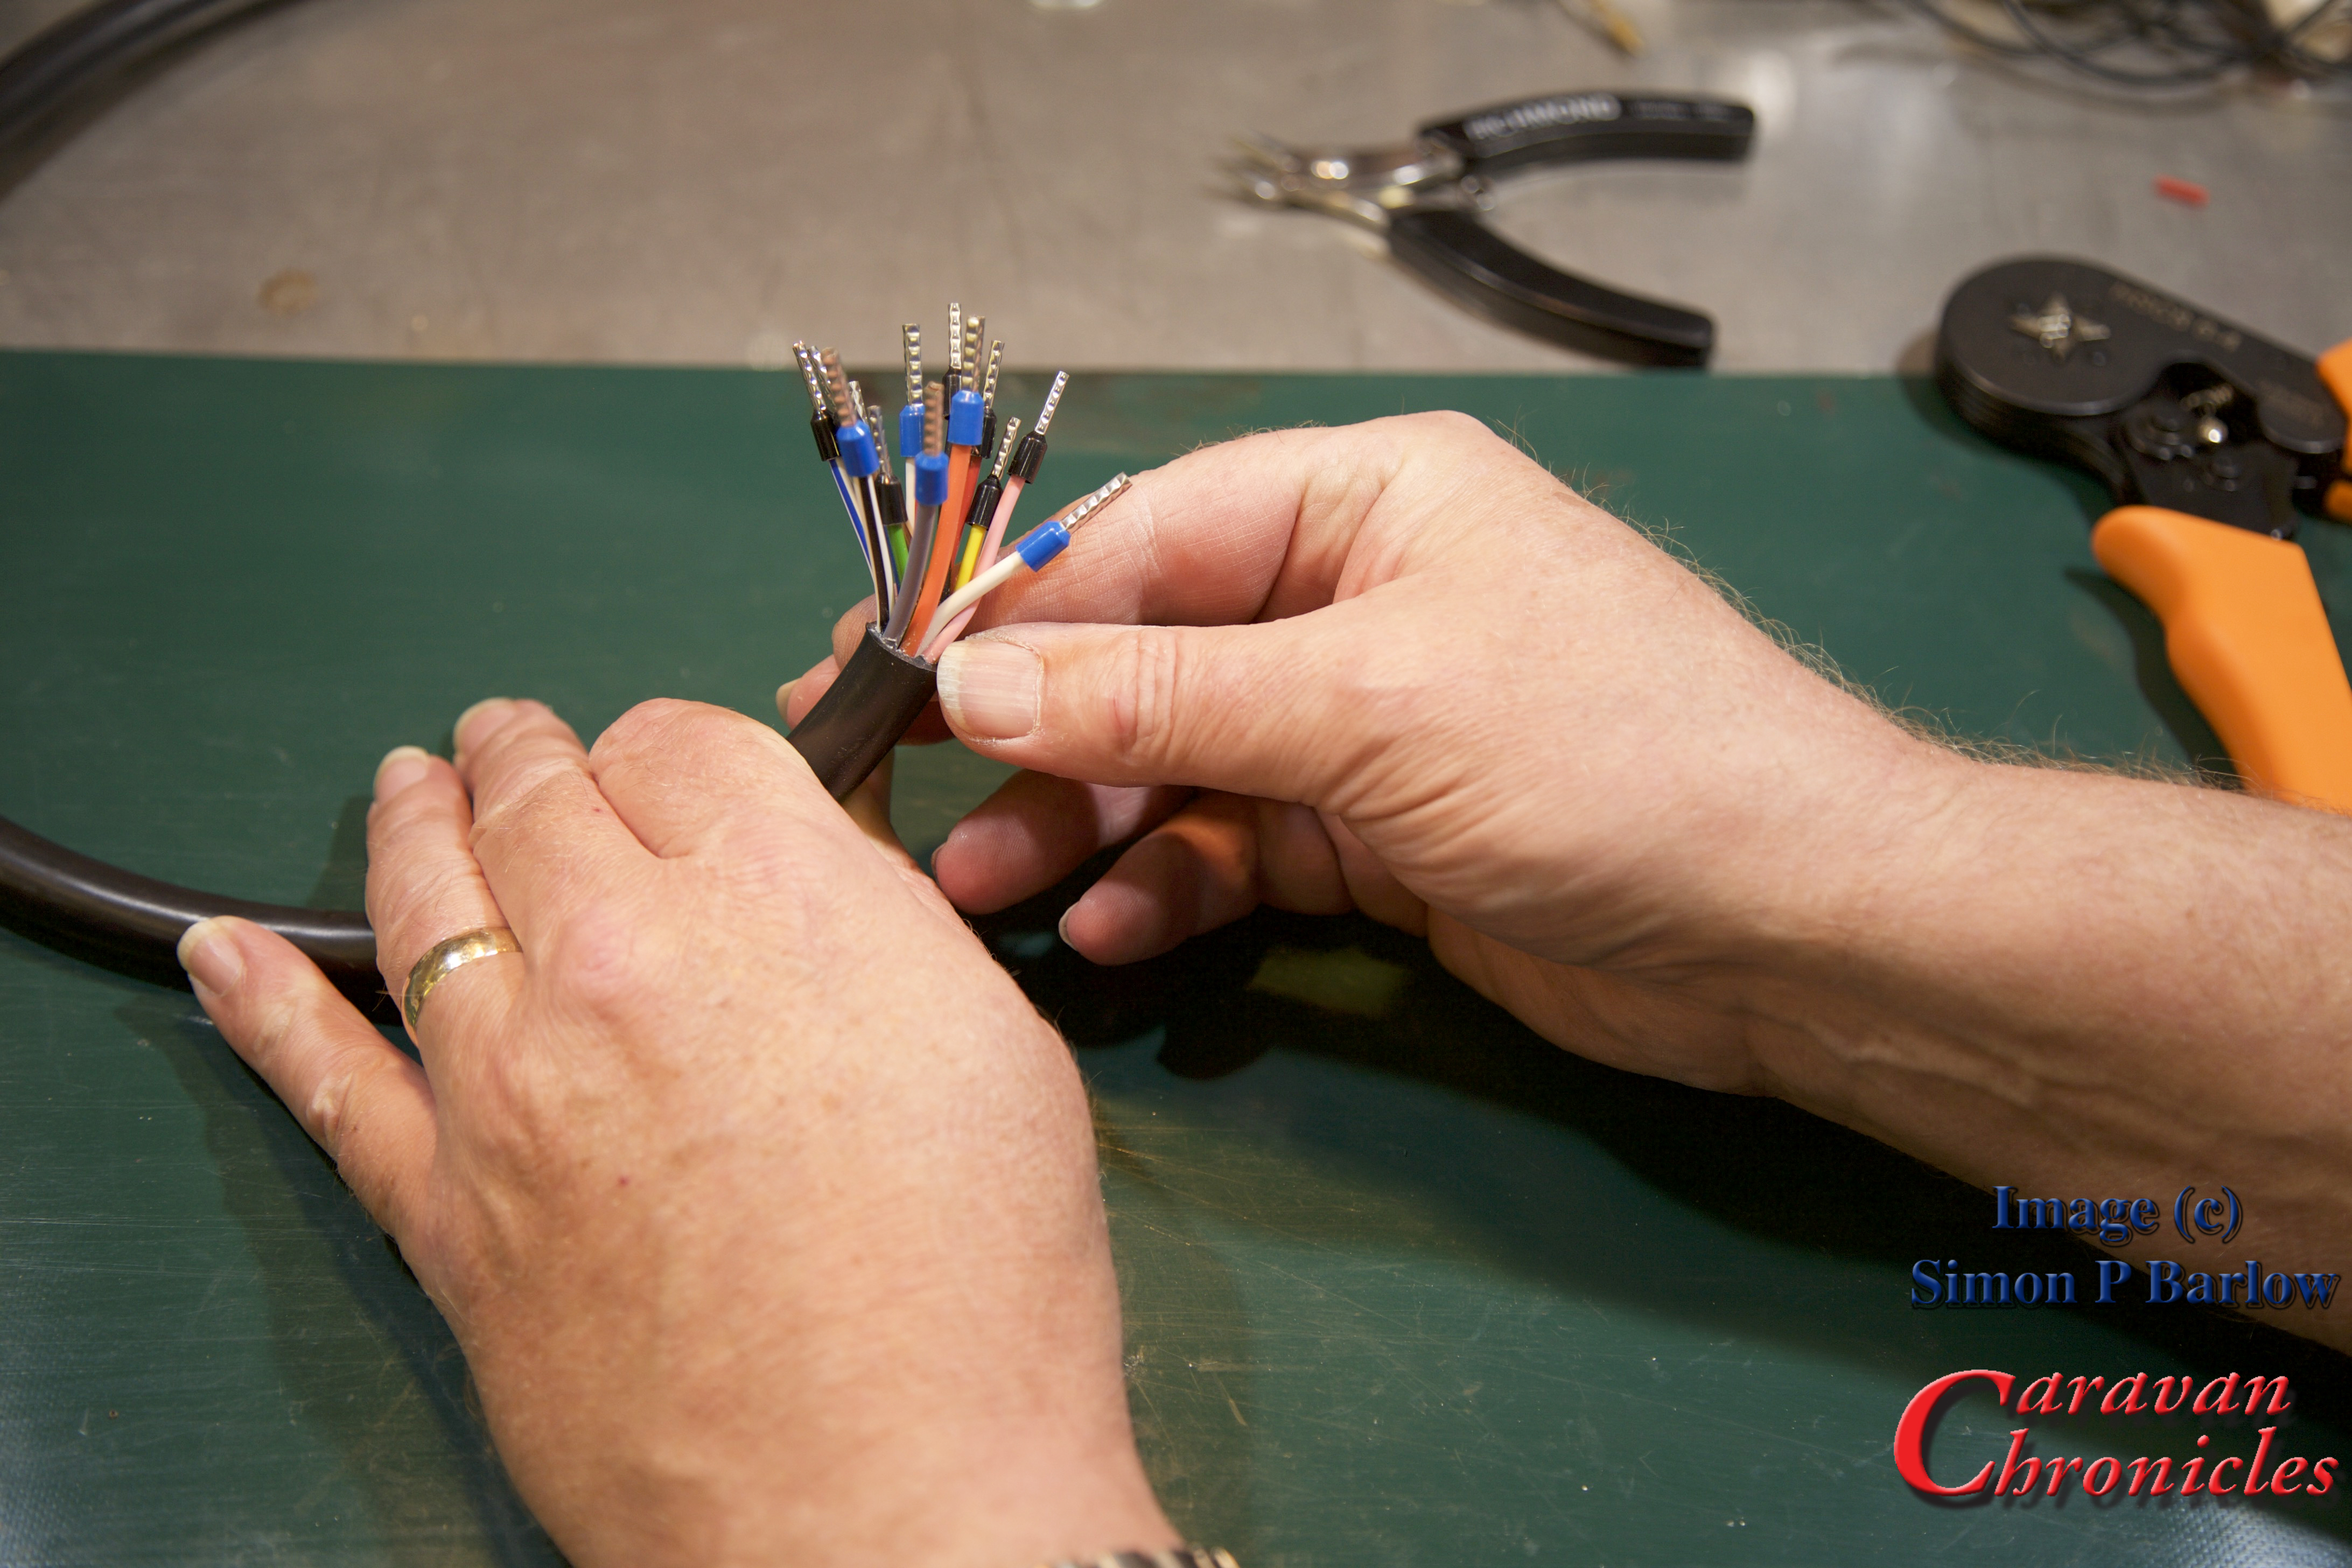
- Know what cable terminations to use and where. Also don’t cheap out on the correct terminal installation tool. If you are building or converting a camper van is it worth saving £25 on a proper ratchet crimp tool?
Don’t watch someone on YouTube do something and assume that if you do it exactly the same way it’s going to be right. It’s interesting on how many times people make a video on wiring or installing equipment and follow it up with “if you want to know more go and watch so and so’s video about it. He produces really good videos how to do this” Just because someone produces really good videos doesn’t mean the videos show how to do something correctly. It’s only how they did it, not an installation bible. You have to do your own research and learn to sort out the good guides from the bad.
I have watched an awful lot of YouTube motorhome refits, camper van, step van and bus conversions etc and a lot of the electrical installation – especially on the 12 volt side is poor in my opinion. I’m not an expert however and I’ll only ever say how I’d so something and the rational behind why I’d do it that way.
Just throwing this out there to see if there is any interest….. I was thinking about doing either a small forum on the blog or a Q & A page as a resource for some of the electrical ramblings. Would that be of interest/use to anyone? I do know that quite a few of the electrical drawings I have done have been downloaded and again wondered if specific drawings for equipment would be useful. Let me know in the comments below.
- Related posts you may like…
- A Request…
- Euro 6 Engines, Smart Alternators and Your Leisure Battery…
- For Anyone Restoring A Vintage Caravan…
- Overland Vehicle Electrics and Other Stuff…
- A Quick Fault Finding Tip…
- Something For Your Toolbox…
- Getting All Charged Up – Update 2…
- Is A Euro 6 Engine Killing Your Leisure Battery?…
- Getting All Charged Up – Update
- Getting All Charged Up – Part 3 “The Install”…
- Getting All Charged Up – Part 2…
- Getting All Charged Up – Part 1…
- Smart Alternators: how they affect Caravans and Motorhomes….