Like any project, ticking the small stuff off a list is the way to move forward even if it seems like sometimes you have ground to a halt. A bit lacking on photos…. I’m temporarily unsure of their location… pilot speak for I’ve lost them! I’ll correct that in due course.
I built a new aluminium frame for the water pump and moved the pump from the original mounting position which caused a lot of noise when running, especially in the bathroom…. as we have a direct tank flush not a holding tank, this was particularly annoying if the loo was flushed at night. So now the water pump is mounted on its isolation feet on an isolated aluminium frame bolted directly to the sub-floor in one of the lockers. I also changed the piping from the pump from solid to flexible connections further reducing noise transmission through the pipes. My next step… some time this week is to install a larger one litre accumulator tank between the pump and plumbing to reduce the cycle times of the pump. Thankfully the plumbing system installed in the 5th wheel is rated for a greater pressure than most caravans and motorhomes… that’s what gives us a great shower!! so I’ll be able to match the accumulator pressure with the pump pressure to get the best out of them.
The other little upgrade was to move the grey water and fresh water dump outlets closer to the side of the caravan. They used to be set back about eight inches and required a kneeling mat and one arm dexterity to plug in the flexible waste pipes when on a fully serviced pitch. Now it’s a simple matter of bending over and I can easily access both outlets for connecting pipes…. saving the knees a bit of hard labour at my age is key. Also if dumping at a motorhome service point I can easily see if I’m in the correct position for a clean dump and not going to splash all over the place. As the Hanks say… “Let ‘er rip”
Thanks to my local nut and bolt supplier… Francis Kirk and Sons I’ve been going there for bits and pieces since 1976… I have now got a full set of stainless steel fittings… an odd collection of UNF and UNC sizes…. ready to replace all the nuts and bolts on the pull out sun canopy, replacing the original components that were showing signs of rust and starting to bind up. I also managed to get a set of tap and dies to run through all the threads before changing everything over.
We managed to get some of the picture frames mounted inside the caravan and that makes a huge difference…. along with upgrading the occasional side lights to LED dimmable units…. feels more like home with each little improvement.
Not long to wait now….
Looking forward to Tourfest North West in a three weeks time, 24th May – 27th May at Donkey Creek Farm and meeting up with some of the bloggers and vloggers I’ve followed over the years. Thankfully no one will recognise Sue and I so we can sneak off if it gets too rowdy . I believe it is now fully booked so if you wanted to go you will just have to wait until the next one.
A few days after that we are off to The Old Oaks at Glastonbury…. it’s been a few years since we were there so it will be nice to go back and see all the changes and improvements they have made. Hopefully we can get back out on our bikes again as well.
Just like to say a huge thank you to so many people that have commented or emailed me over my last post. It has cheered me up no end…. it really has.Enough to rattle this post off!
We recently went back to Cherry Tree Springs at Sutton on Sea for an 7 day break. We had been there earlier in the year and really liked the atmosphere and the people there. As we have been trying independent sites this season over Caravan & Motorhome Club sites, I did a comparison. To stay at the C & M Club site for the same dates would have cost £280.00. We paid £178.50 at Cherry Tree so a saving of £101.50…. in fact we stayed an extra night making 8 in total so saved even more!!!
The facilities block is as you would expect… really clean, plenty of hot water and warm. The rest of the site is really well maintained and the pitches are level with plenty of space for parking and room for a large awning.
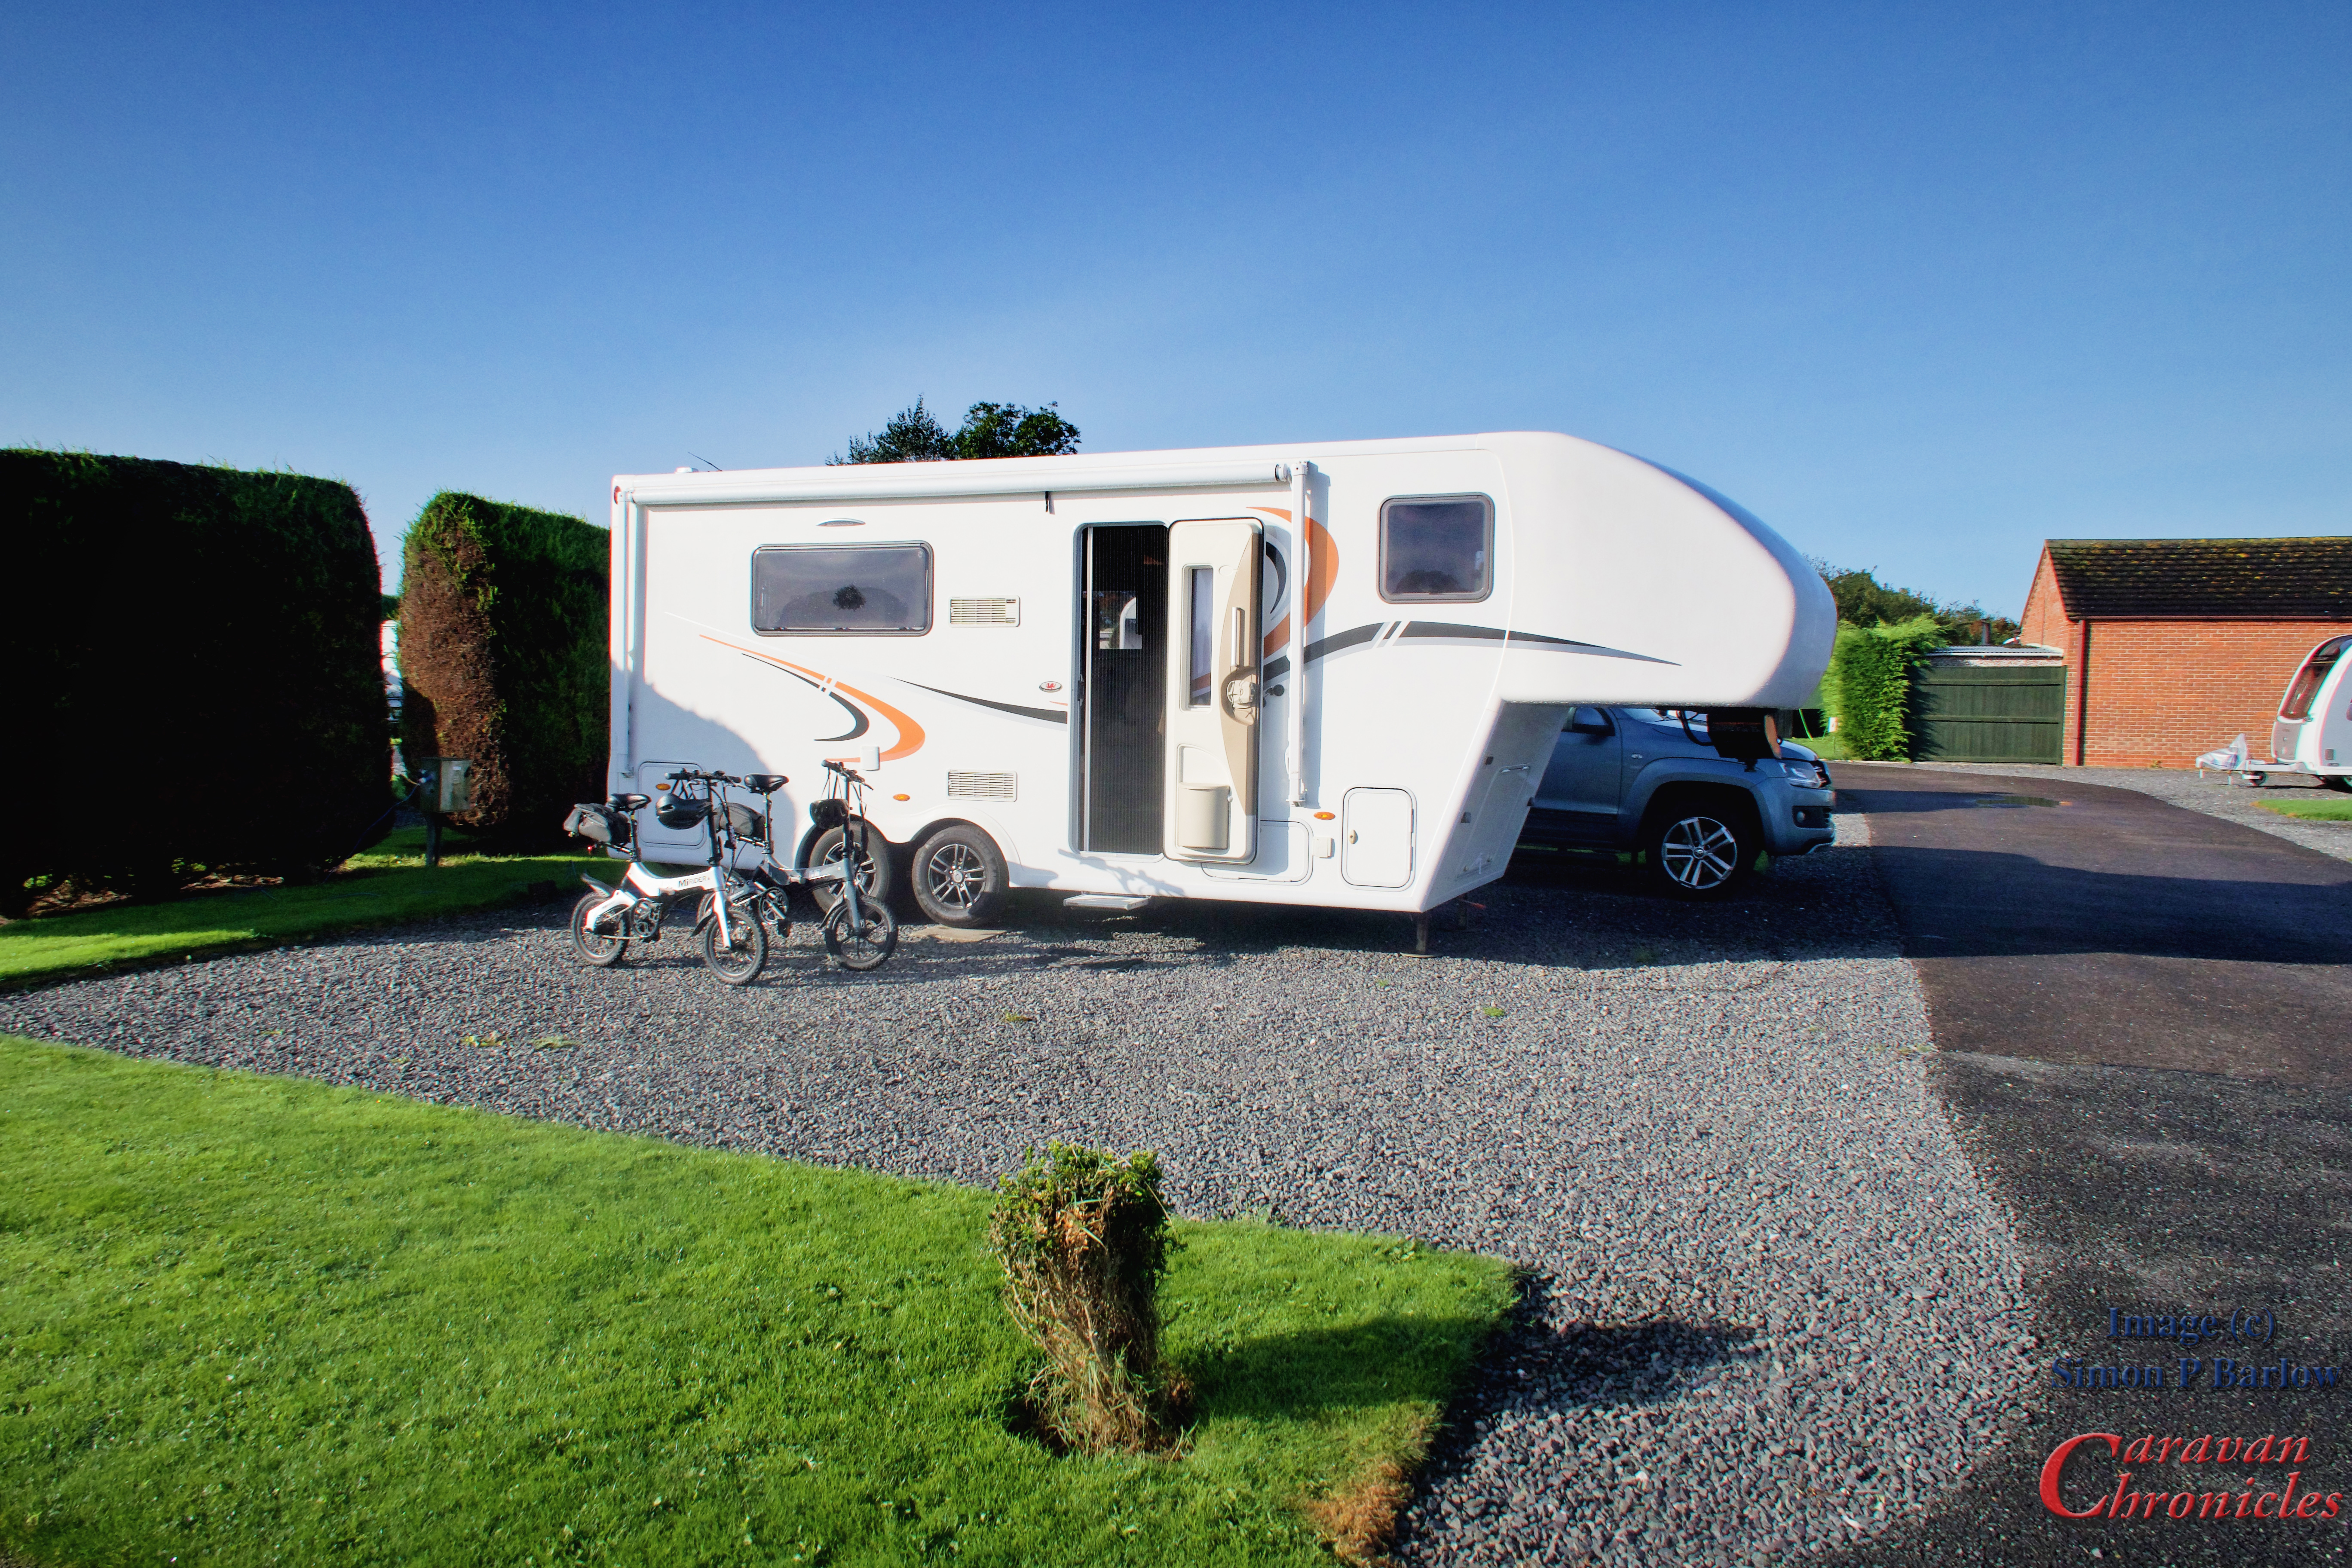
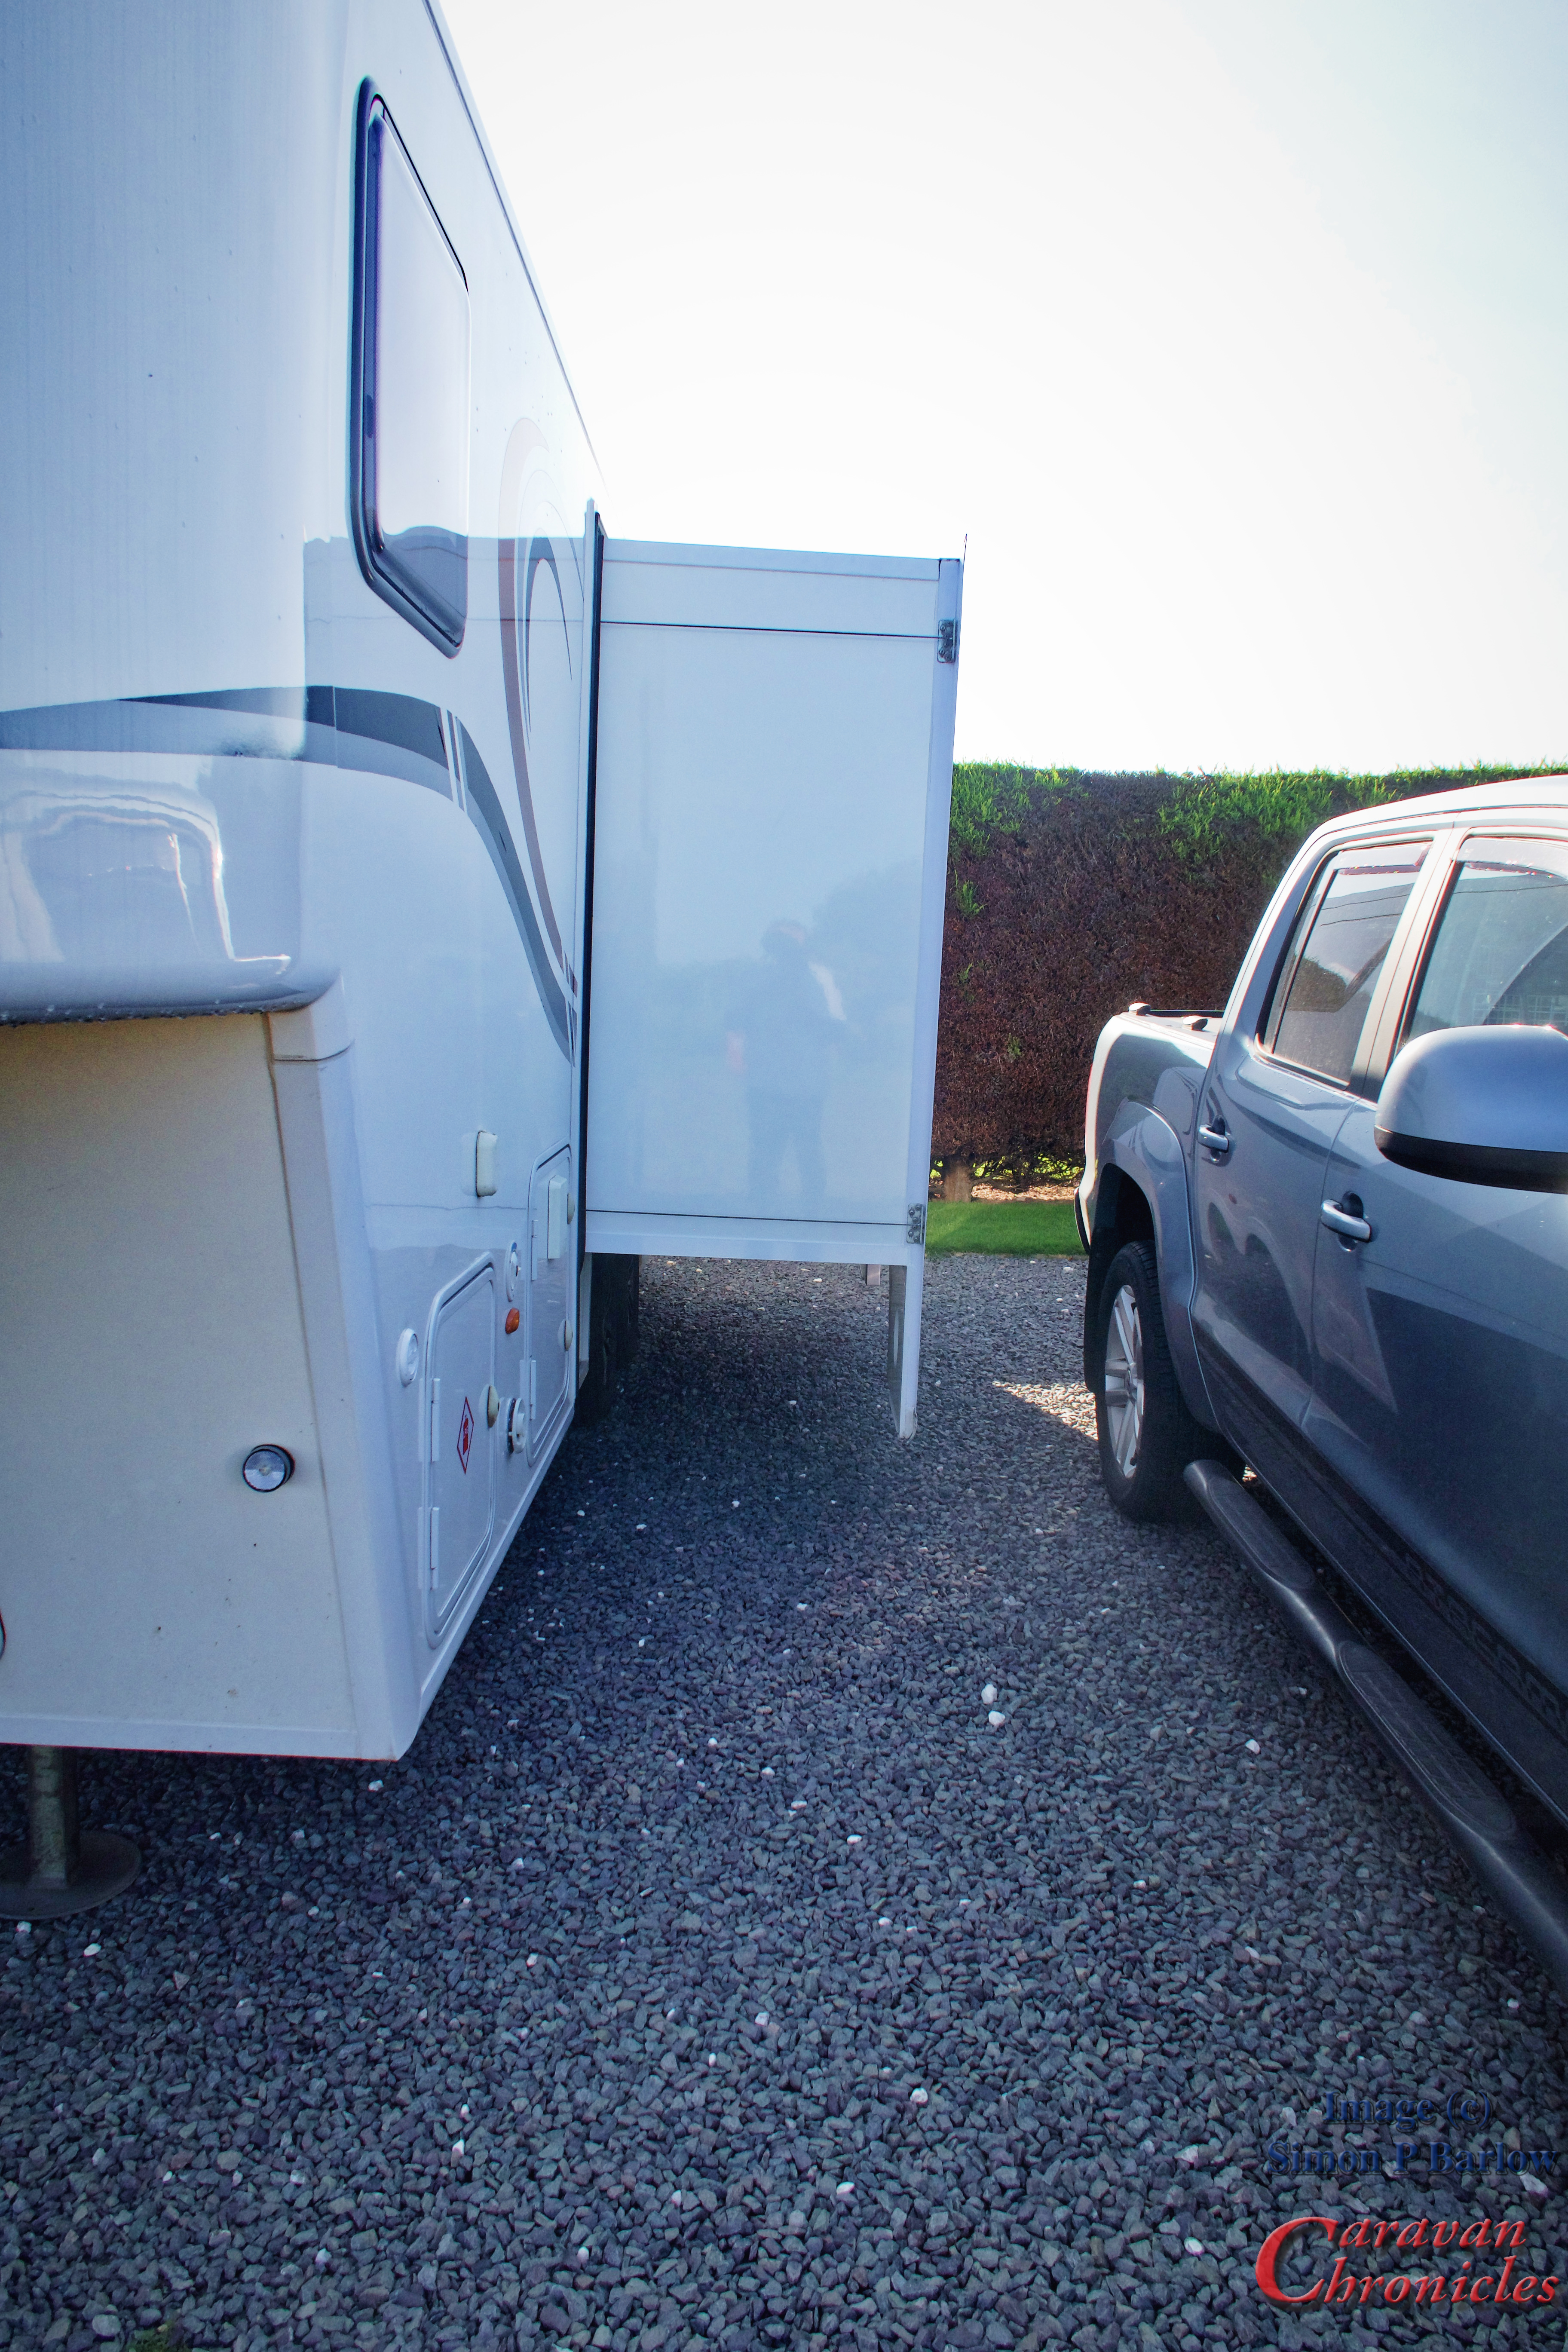
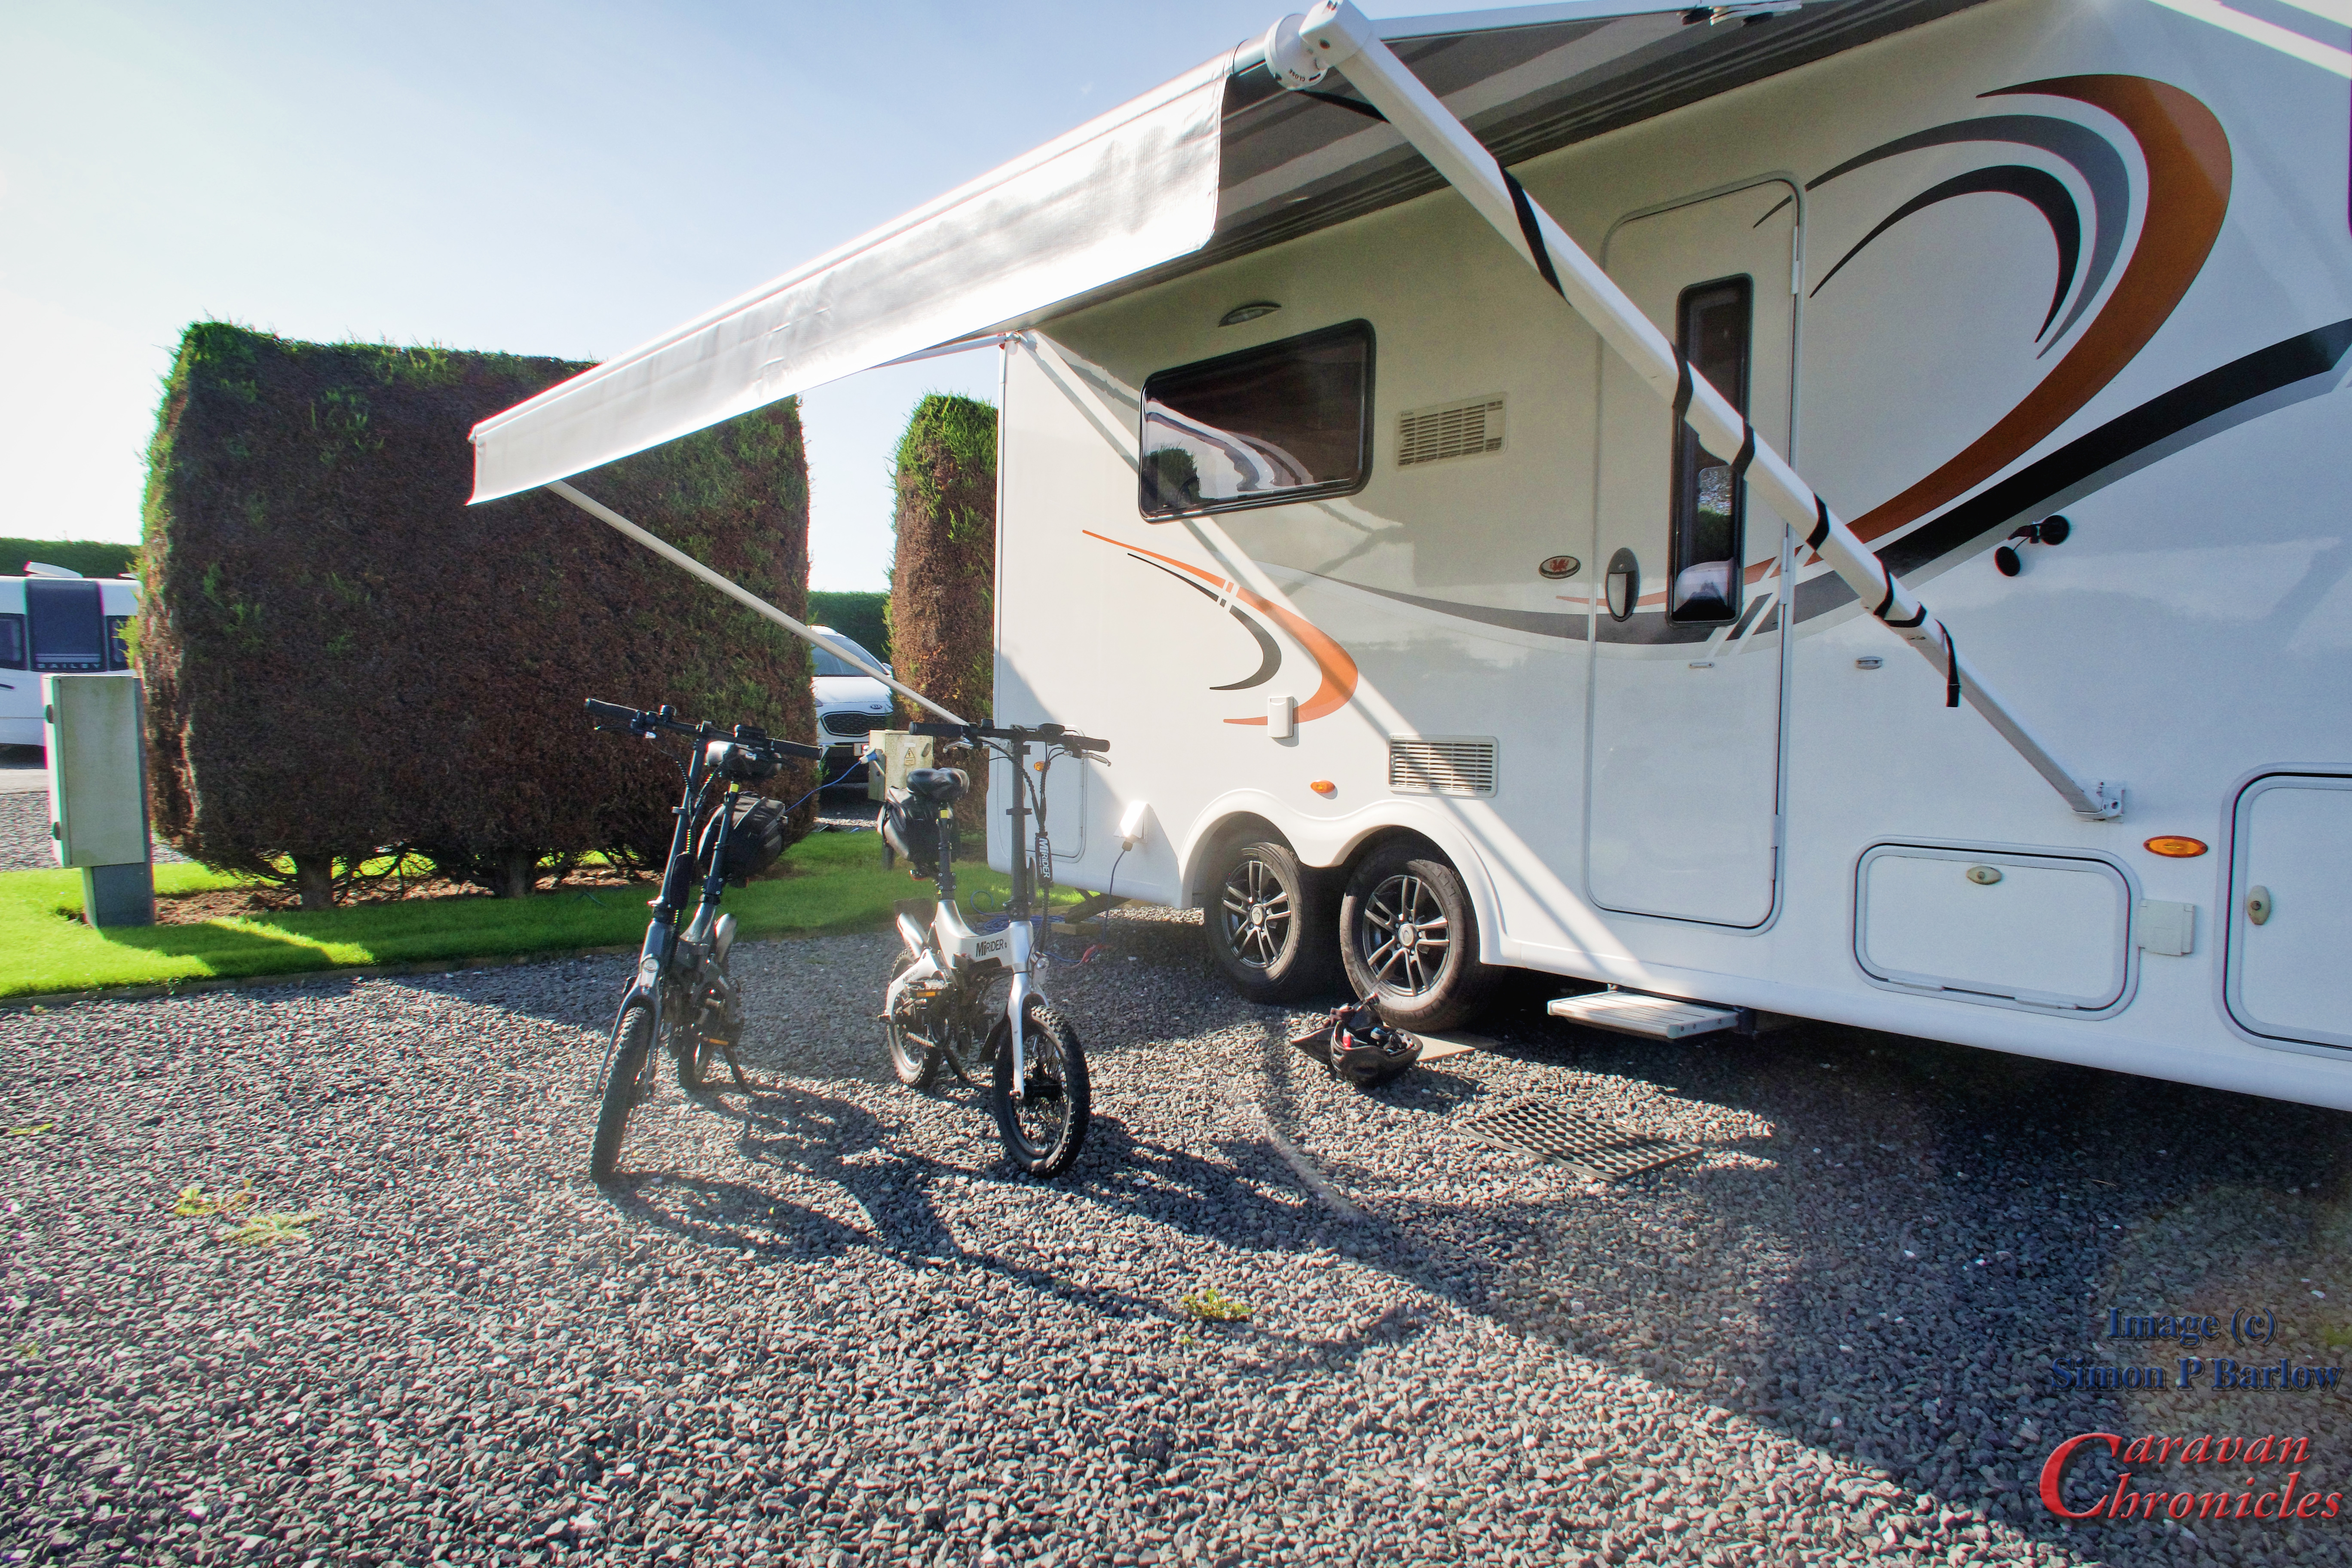
Even with our slide out… out, I still had room for the VW Amarok and plenty of room on the other side for our huge roll out canopy.
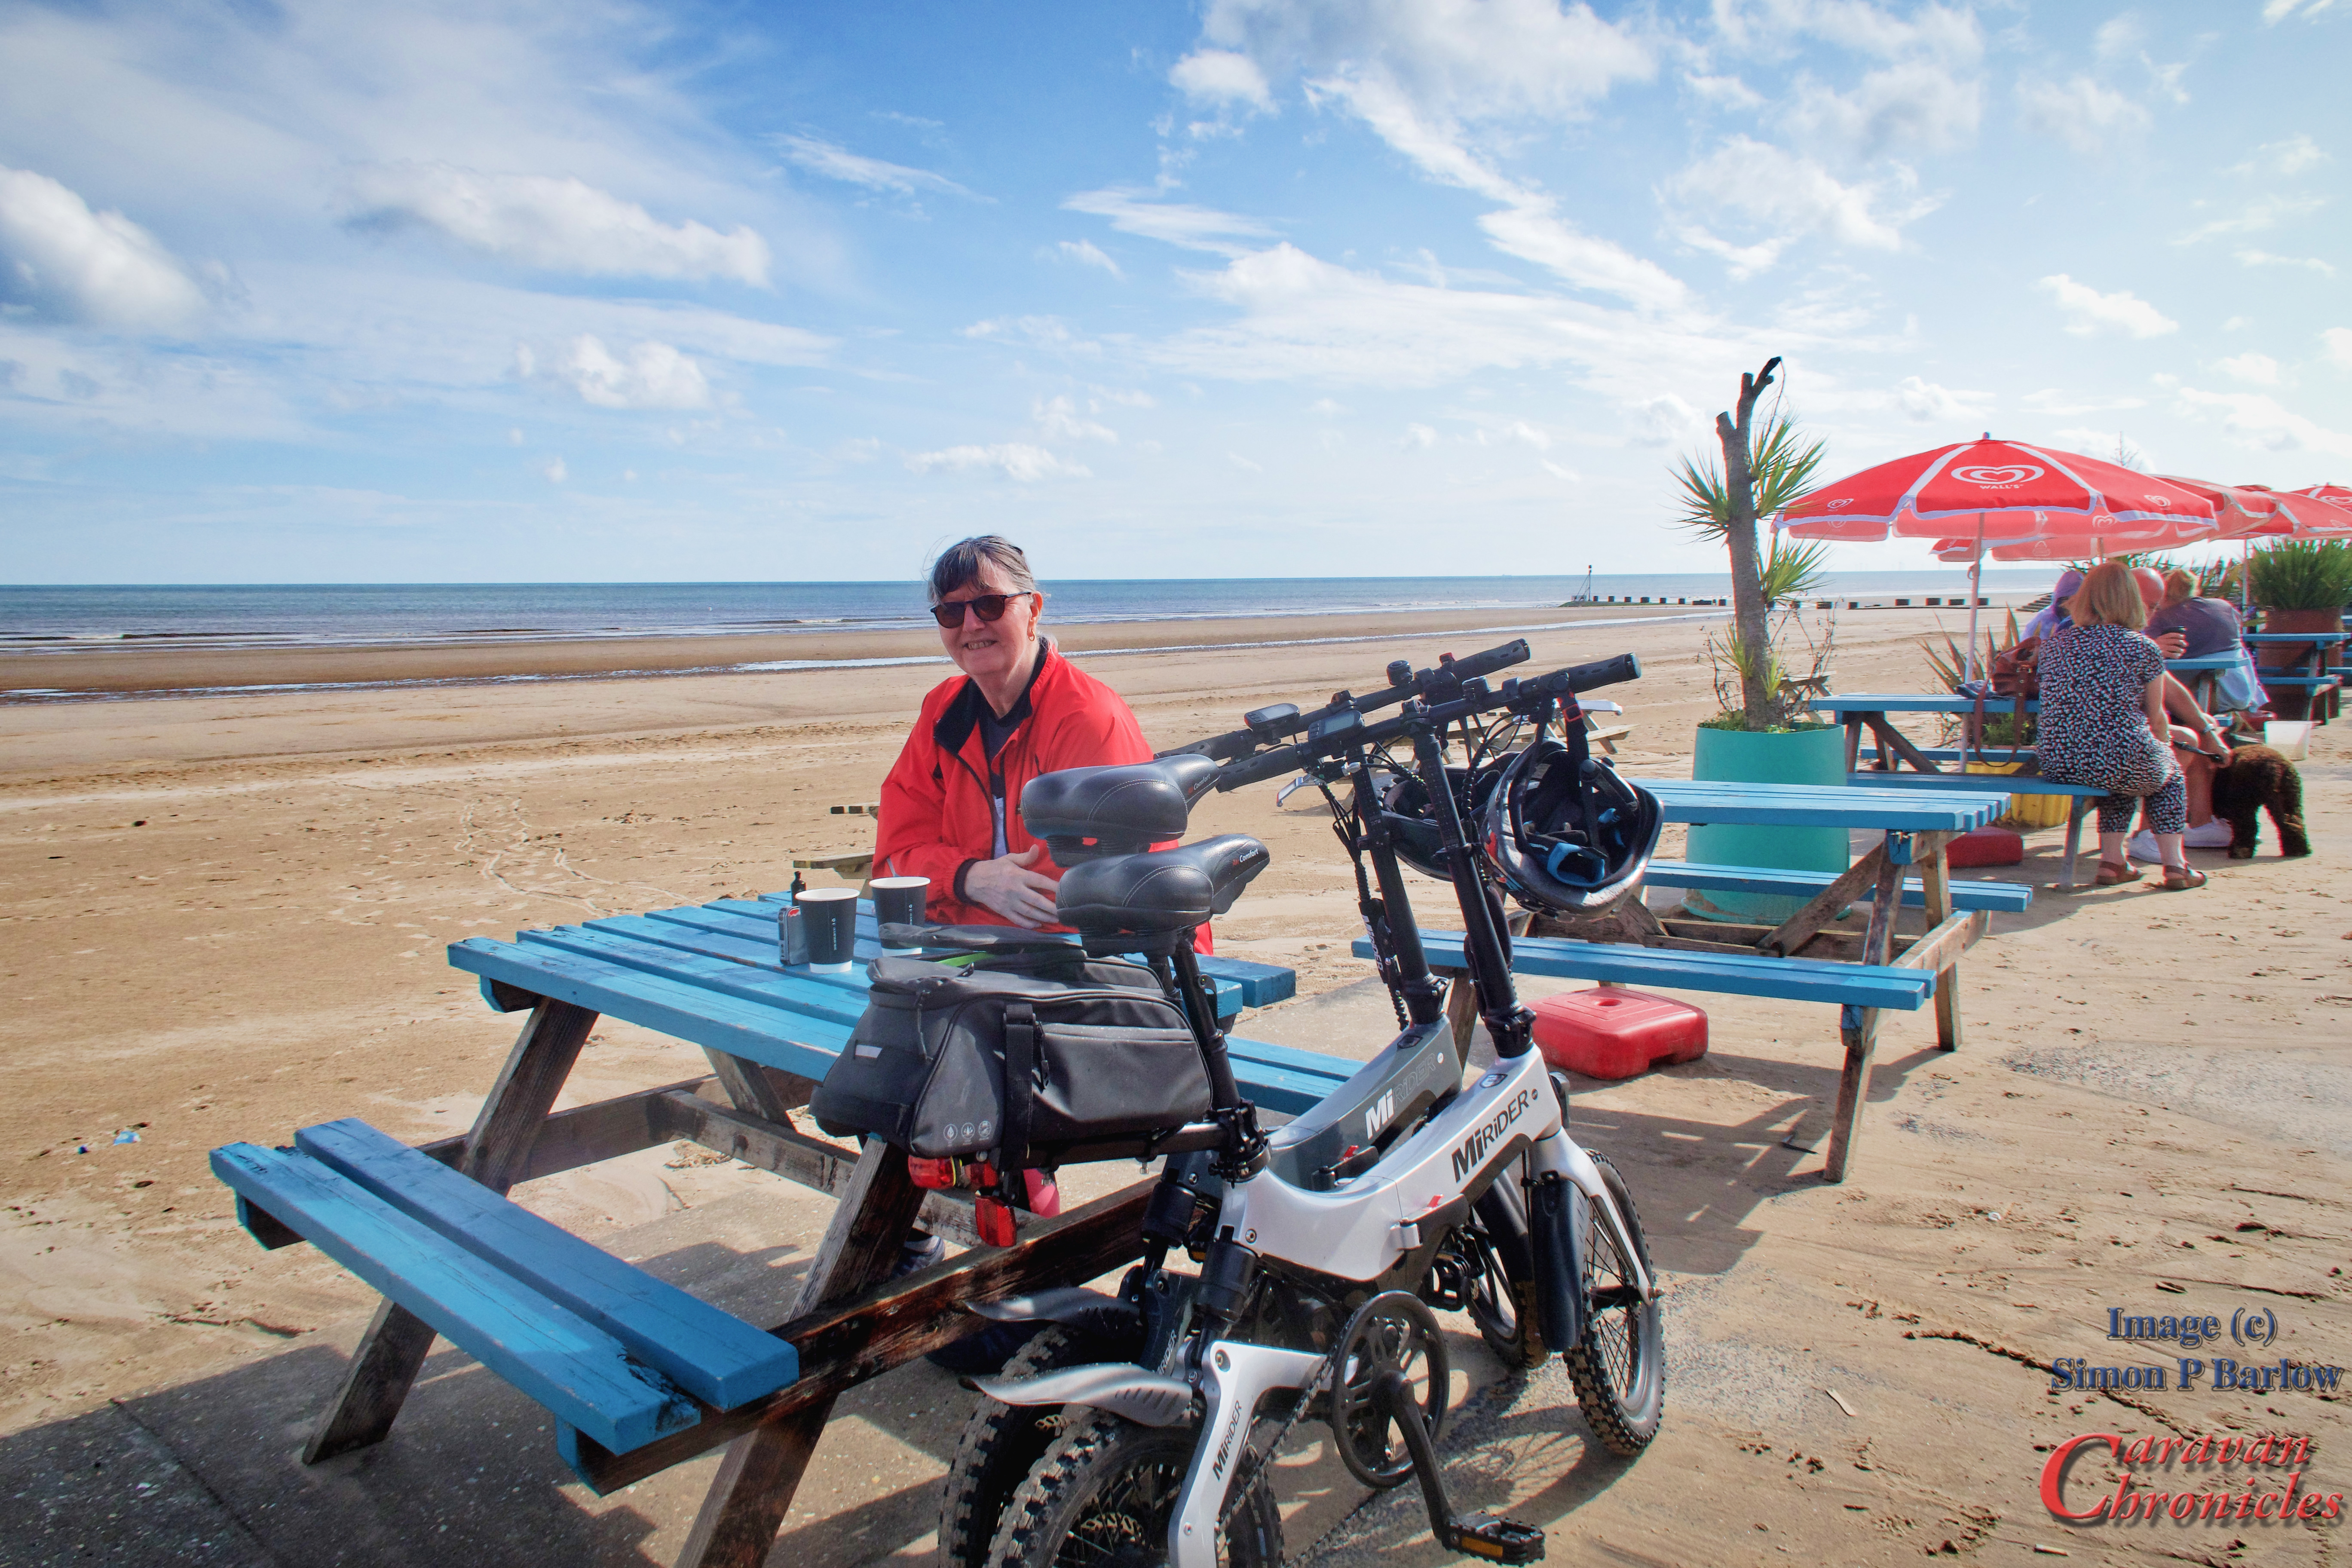
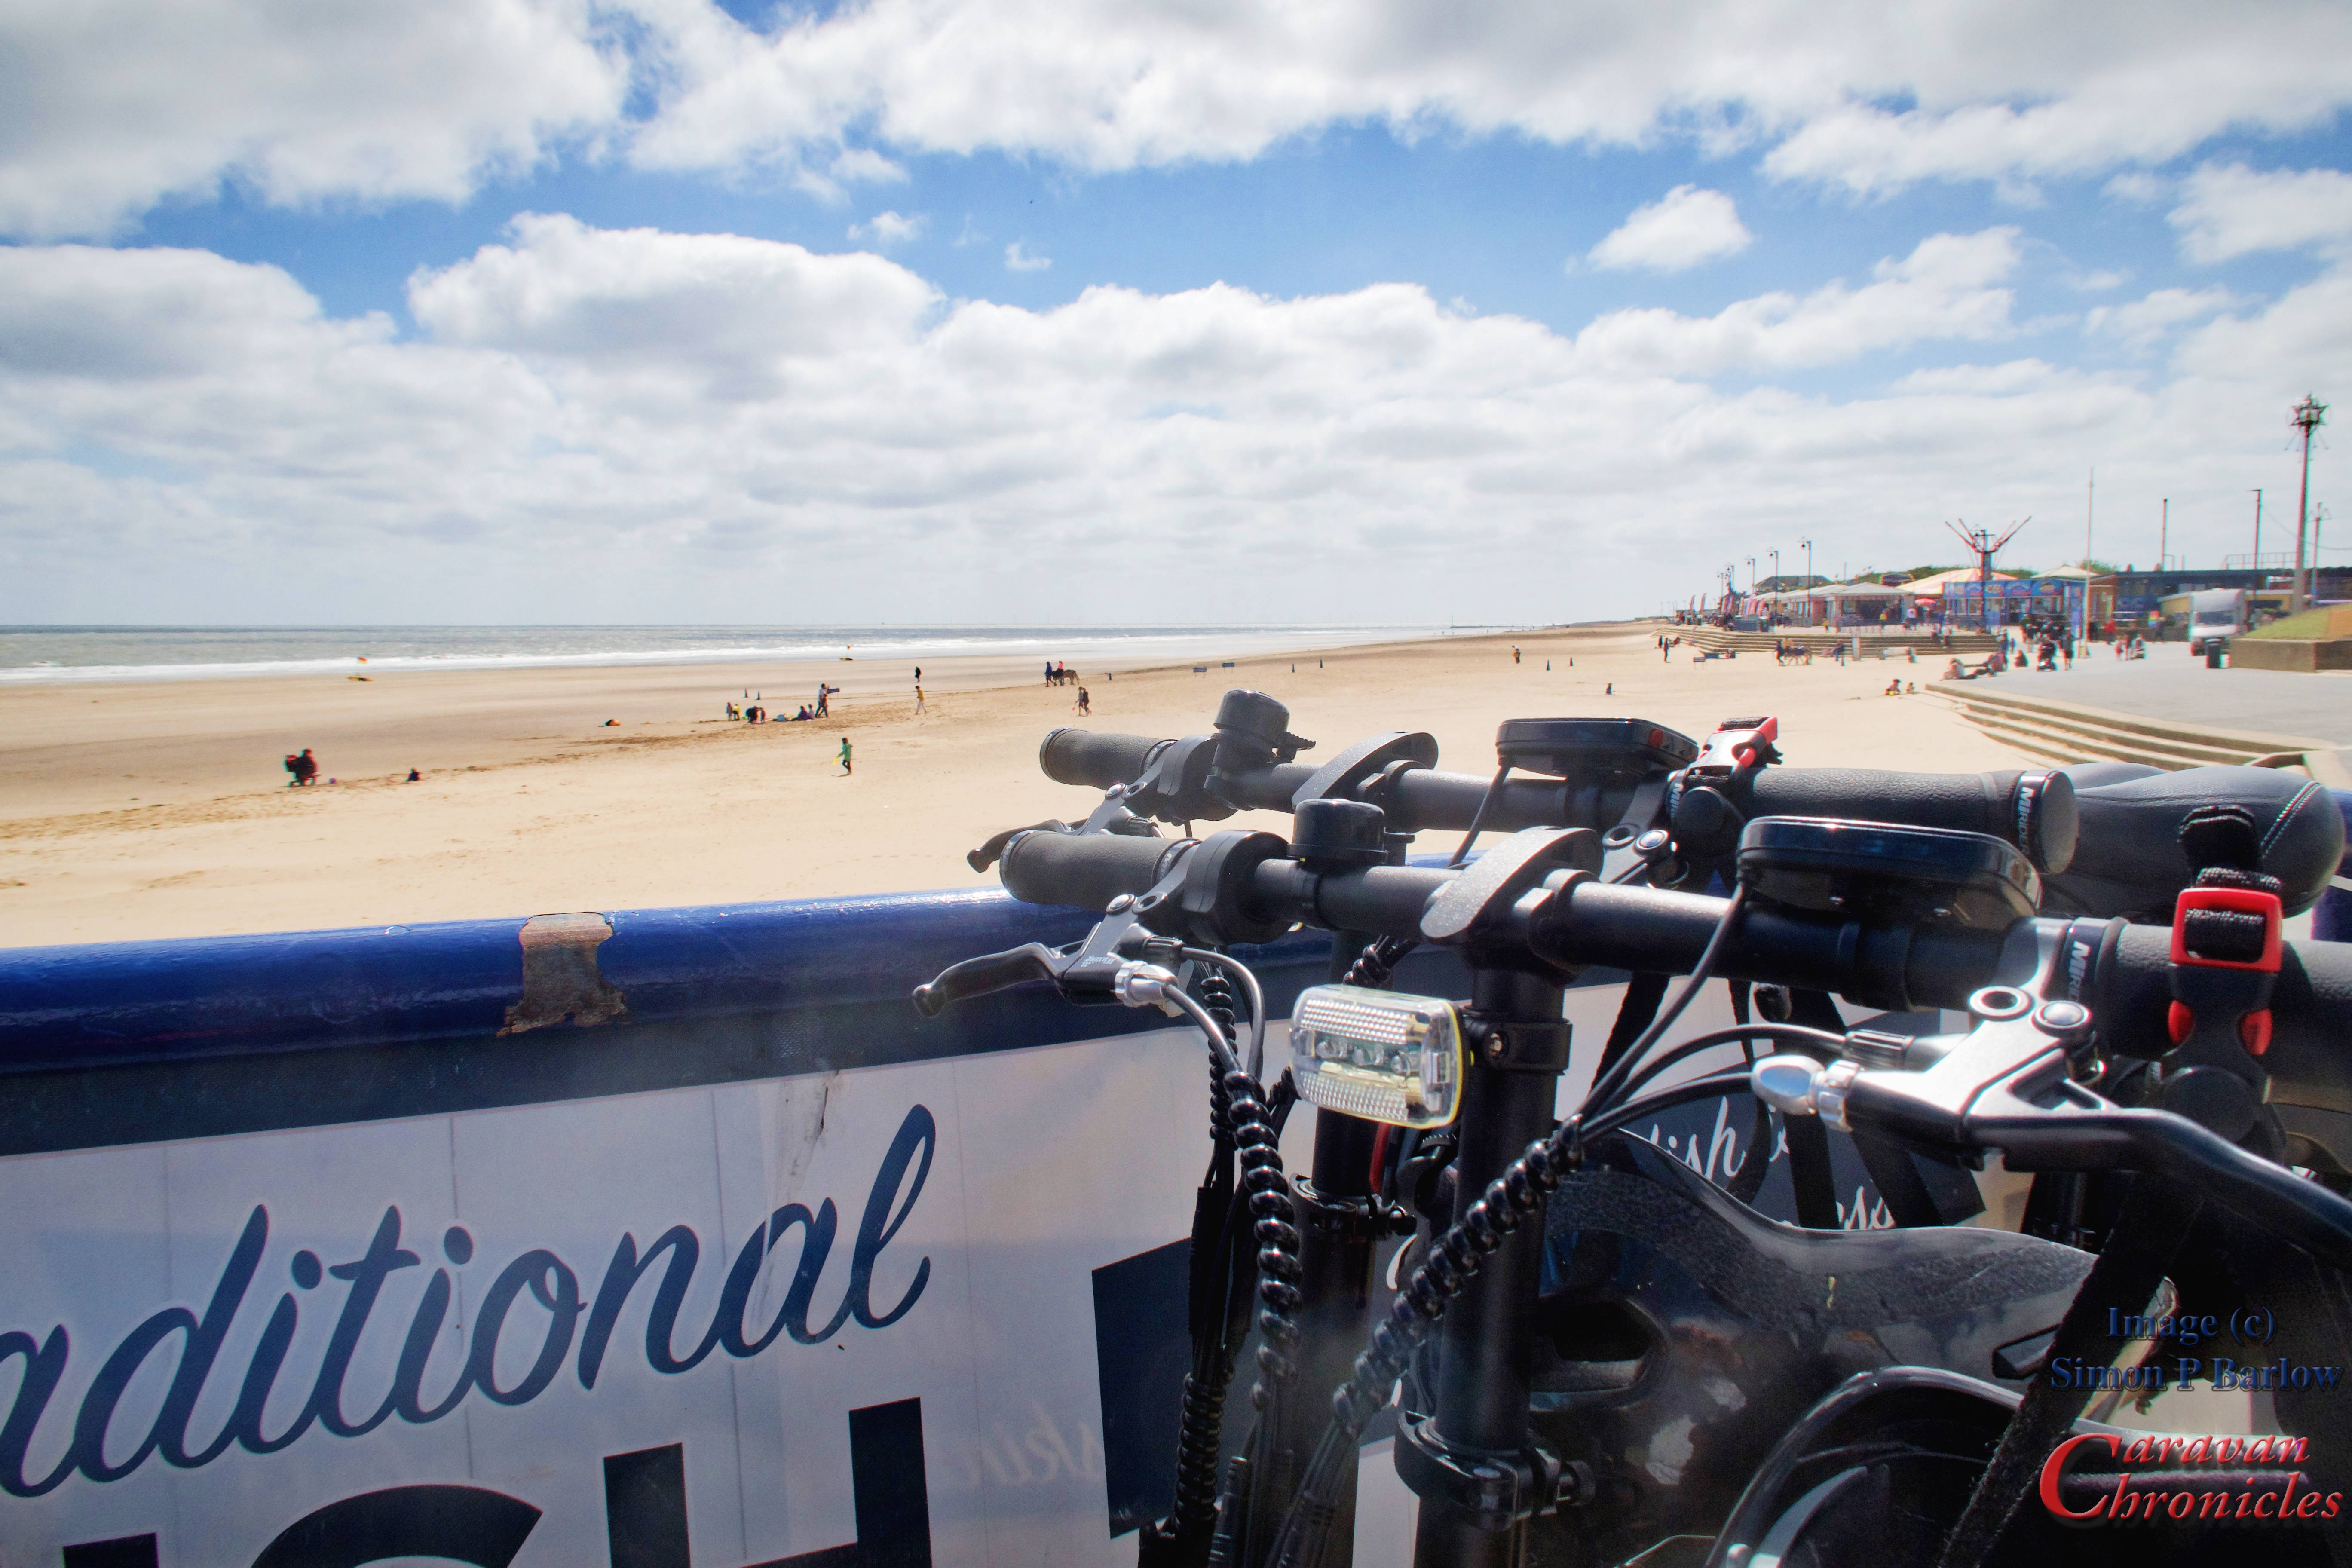
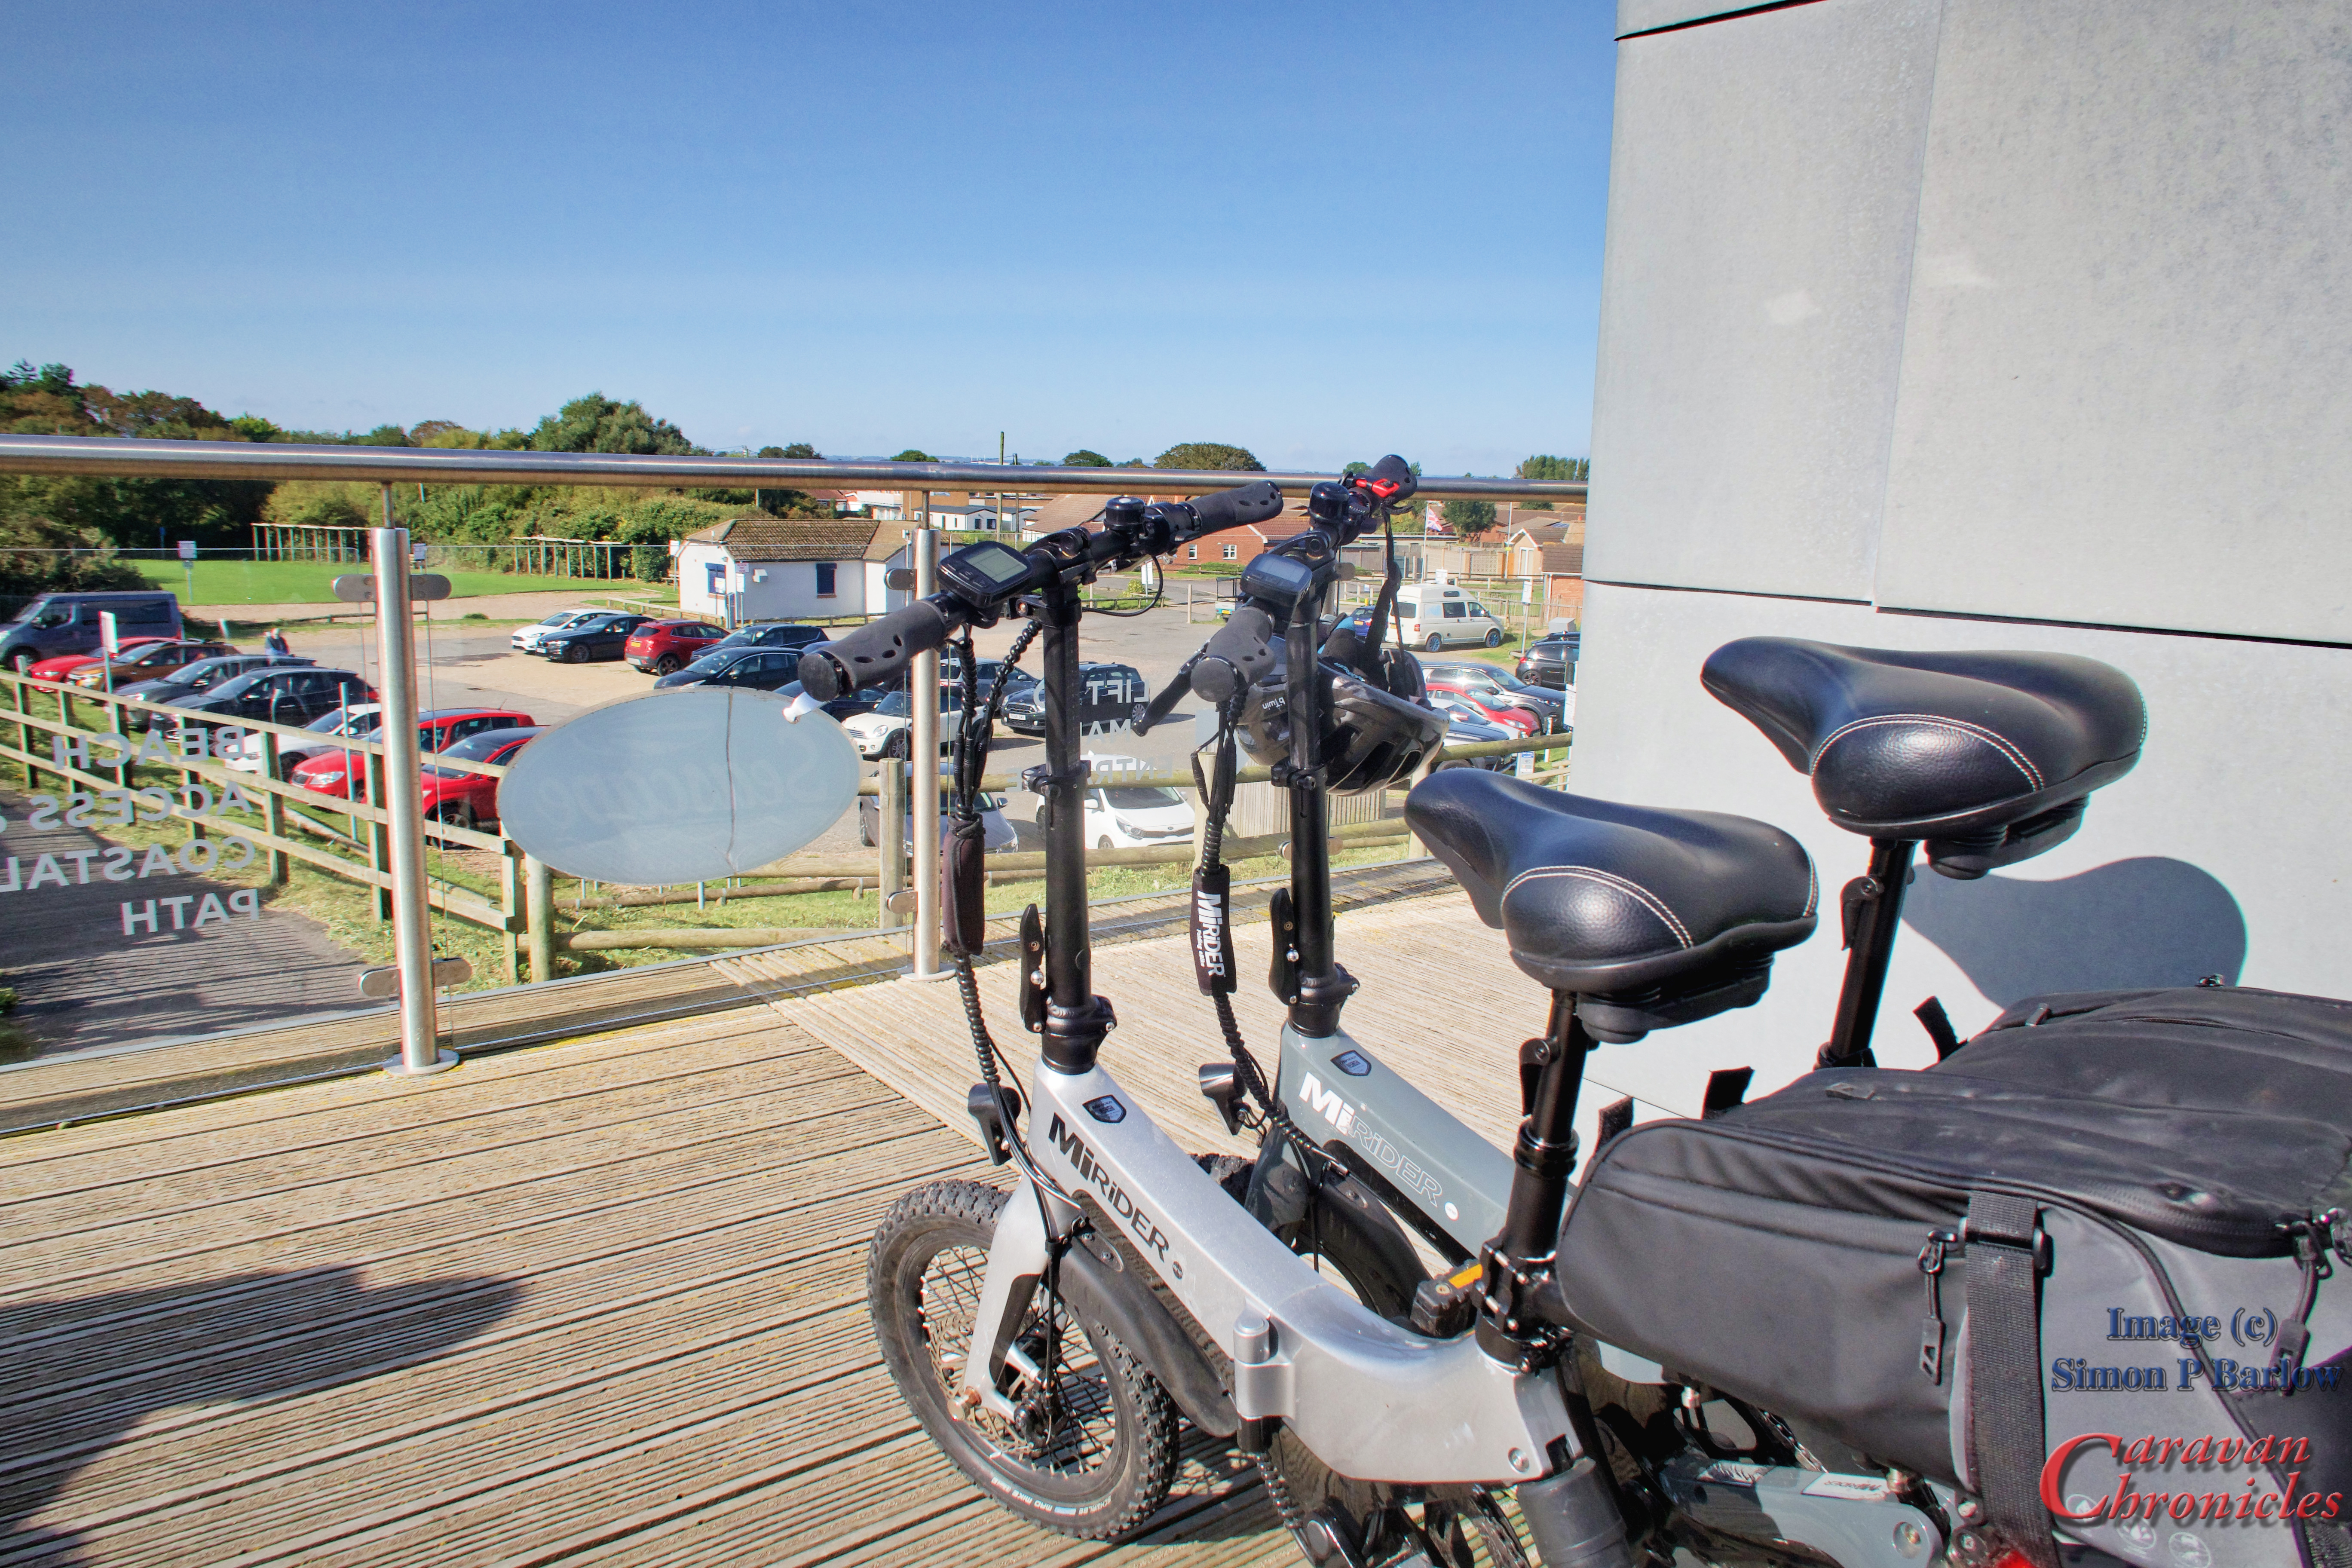
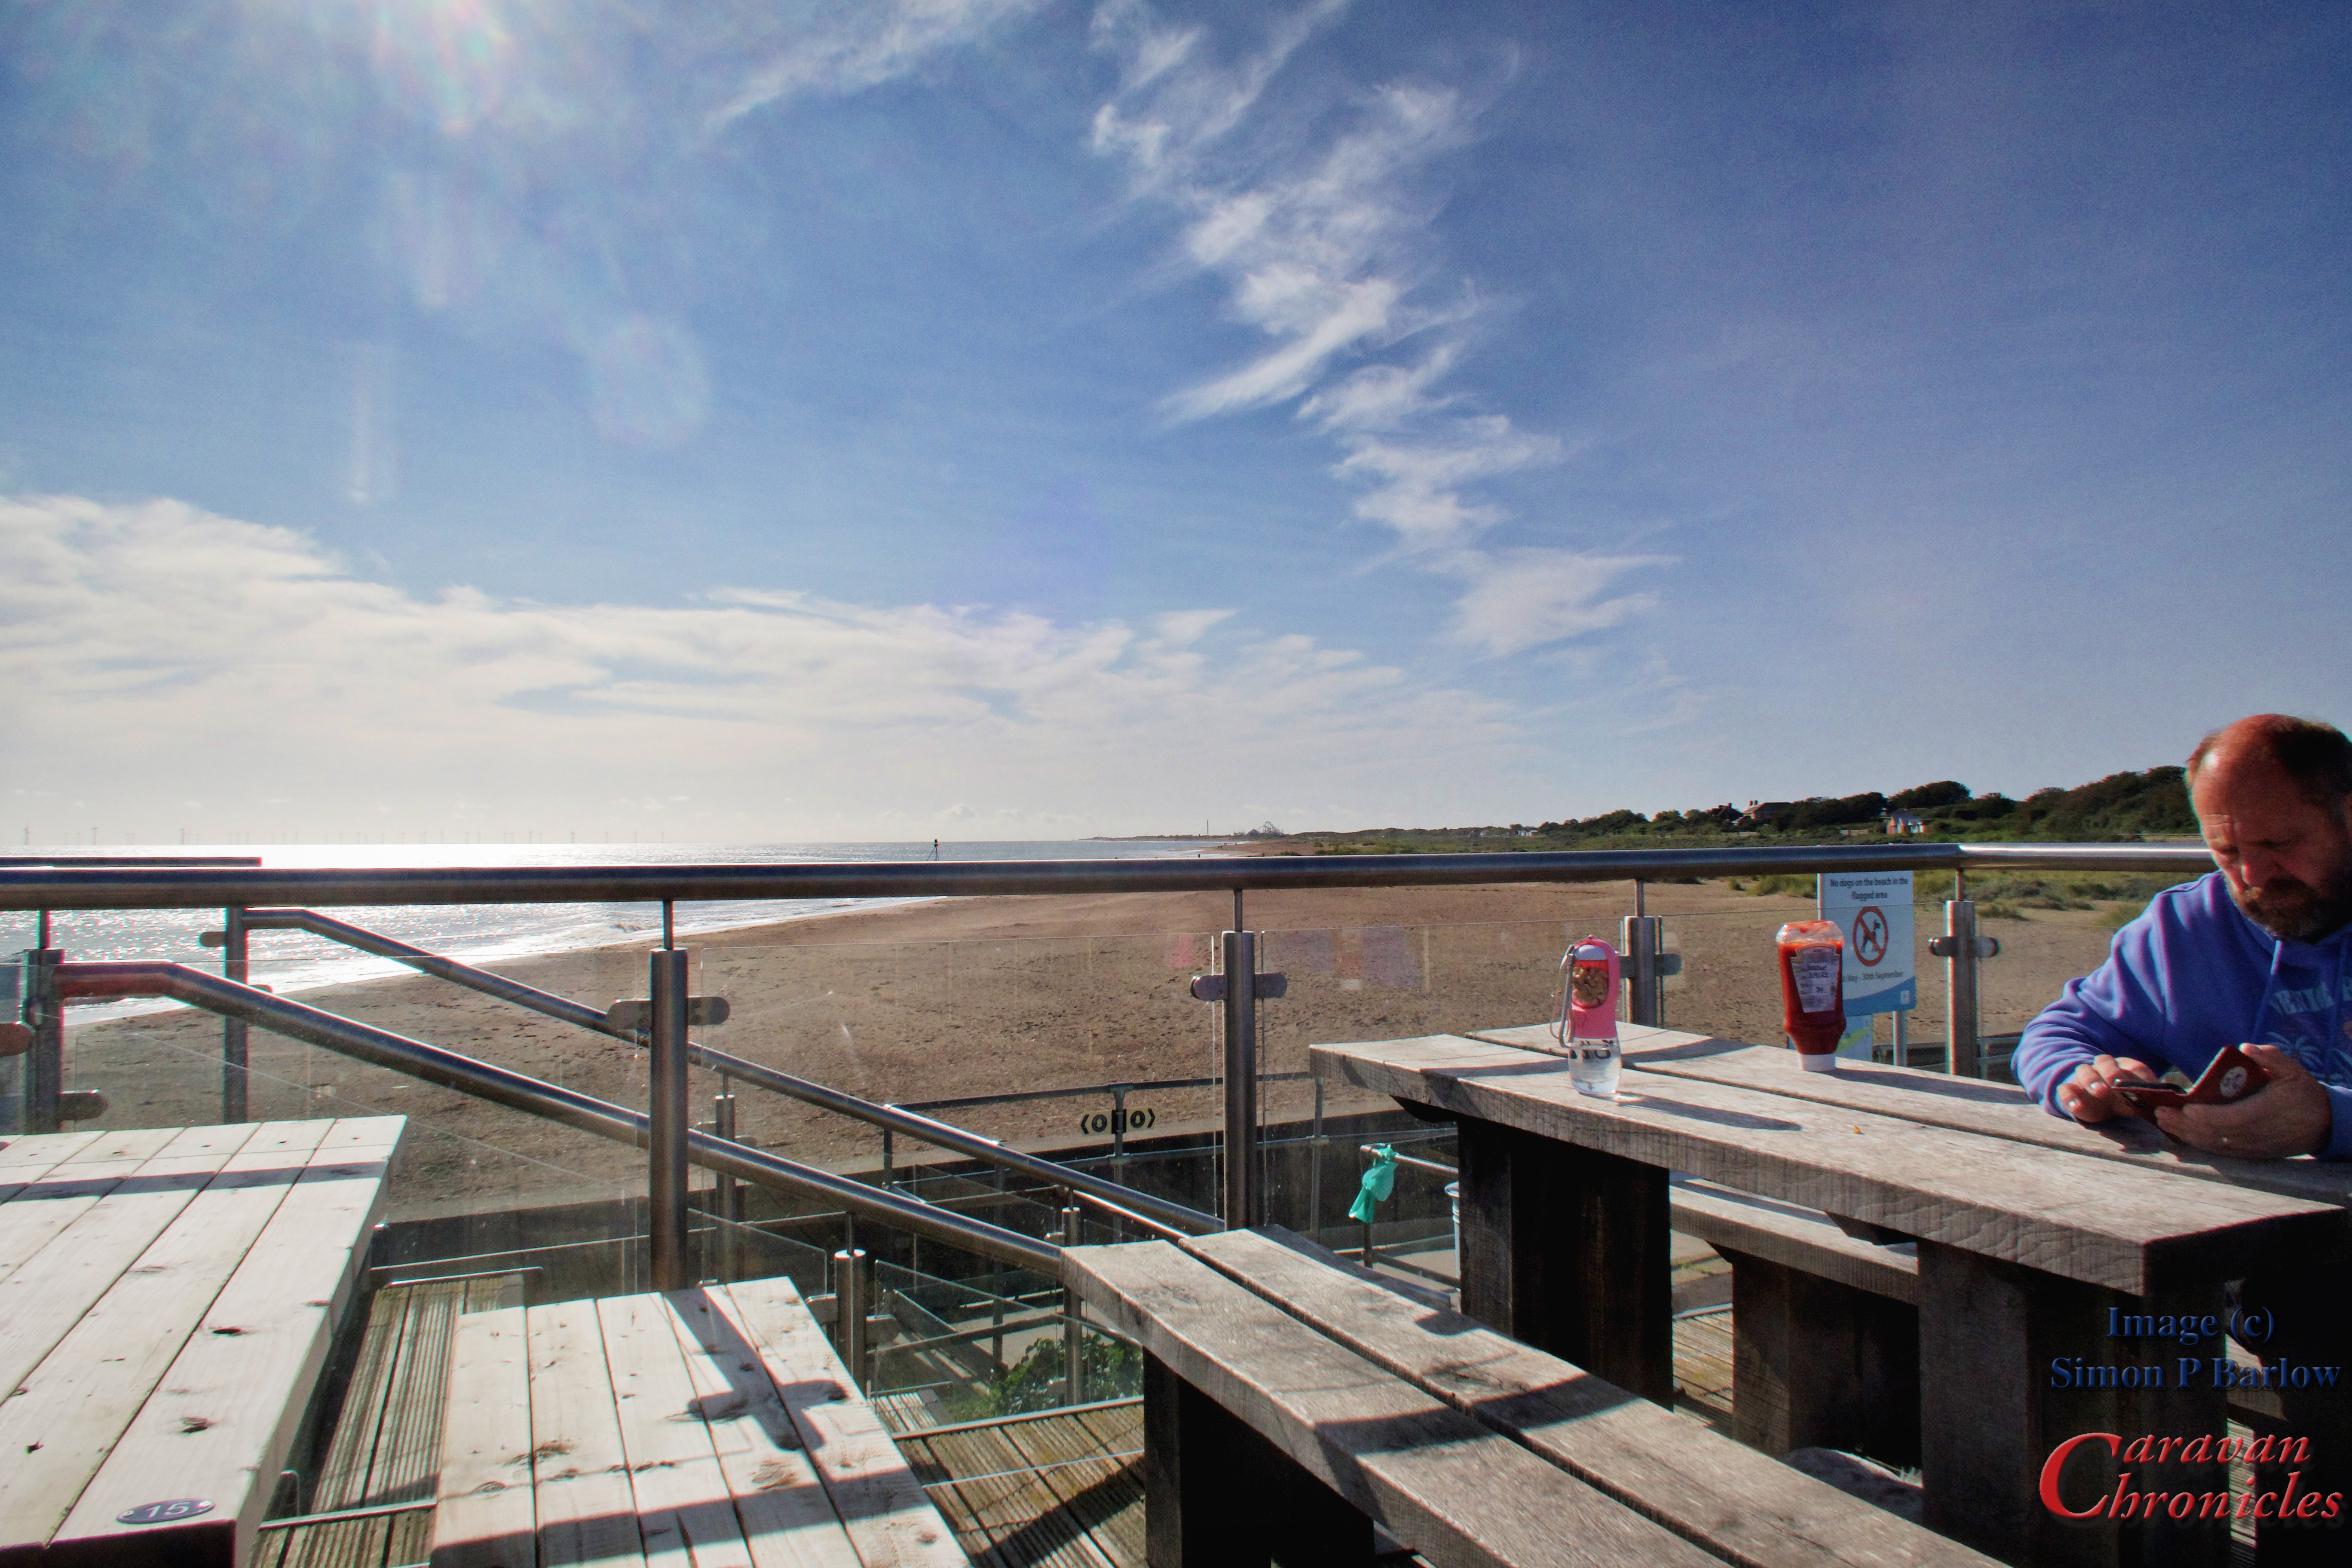
Apart from a couple of days the weather was blueish skies and warm for September which allowed up to get a bit of cycling in. Having the MiRider bikes stored in the garage in the frame I made (read “Rack’em Up“) makes it easy to get them out ready for a quick ride out. Mornings were usually a cycle, north up the coast to Mablethorpe for morning coffee, either sat next to the beach…
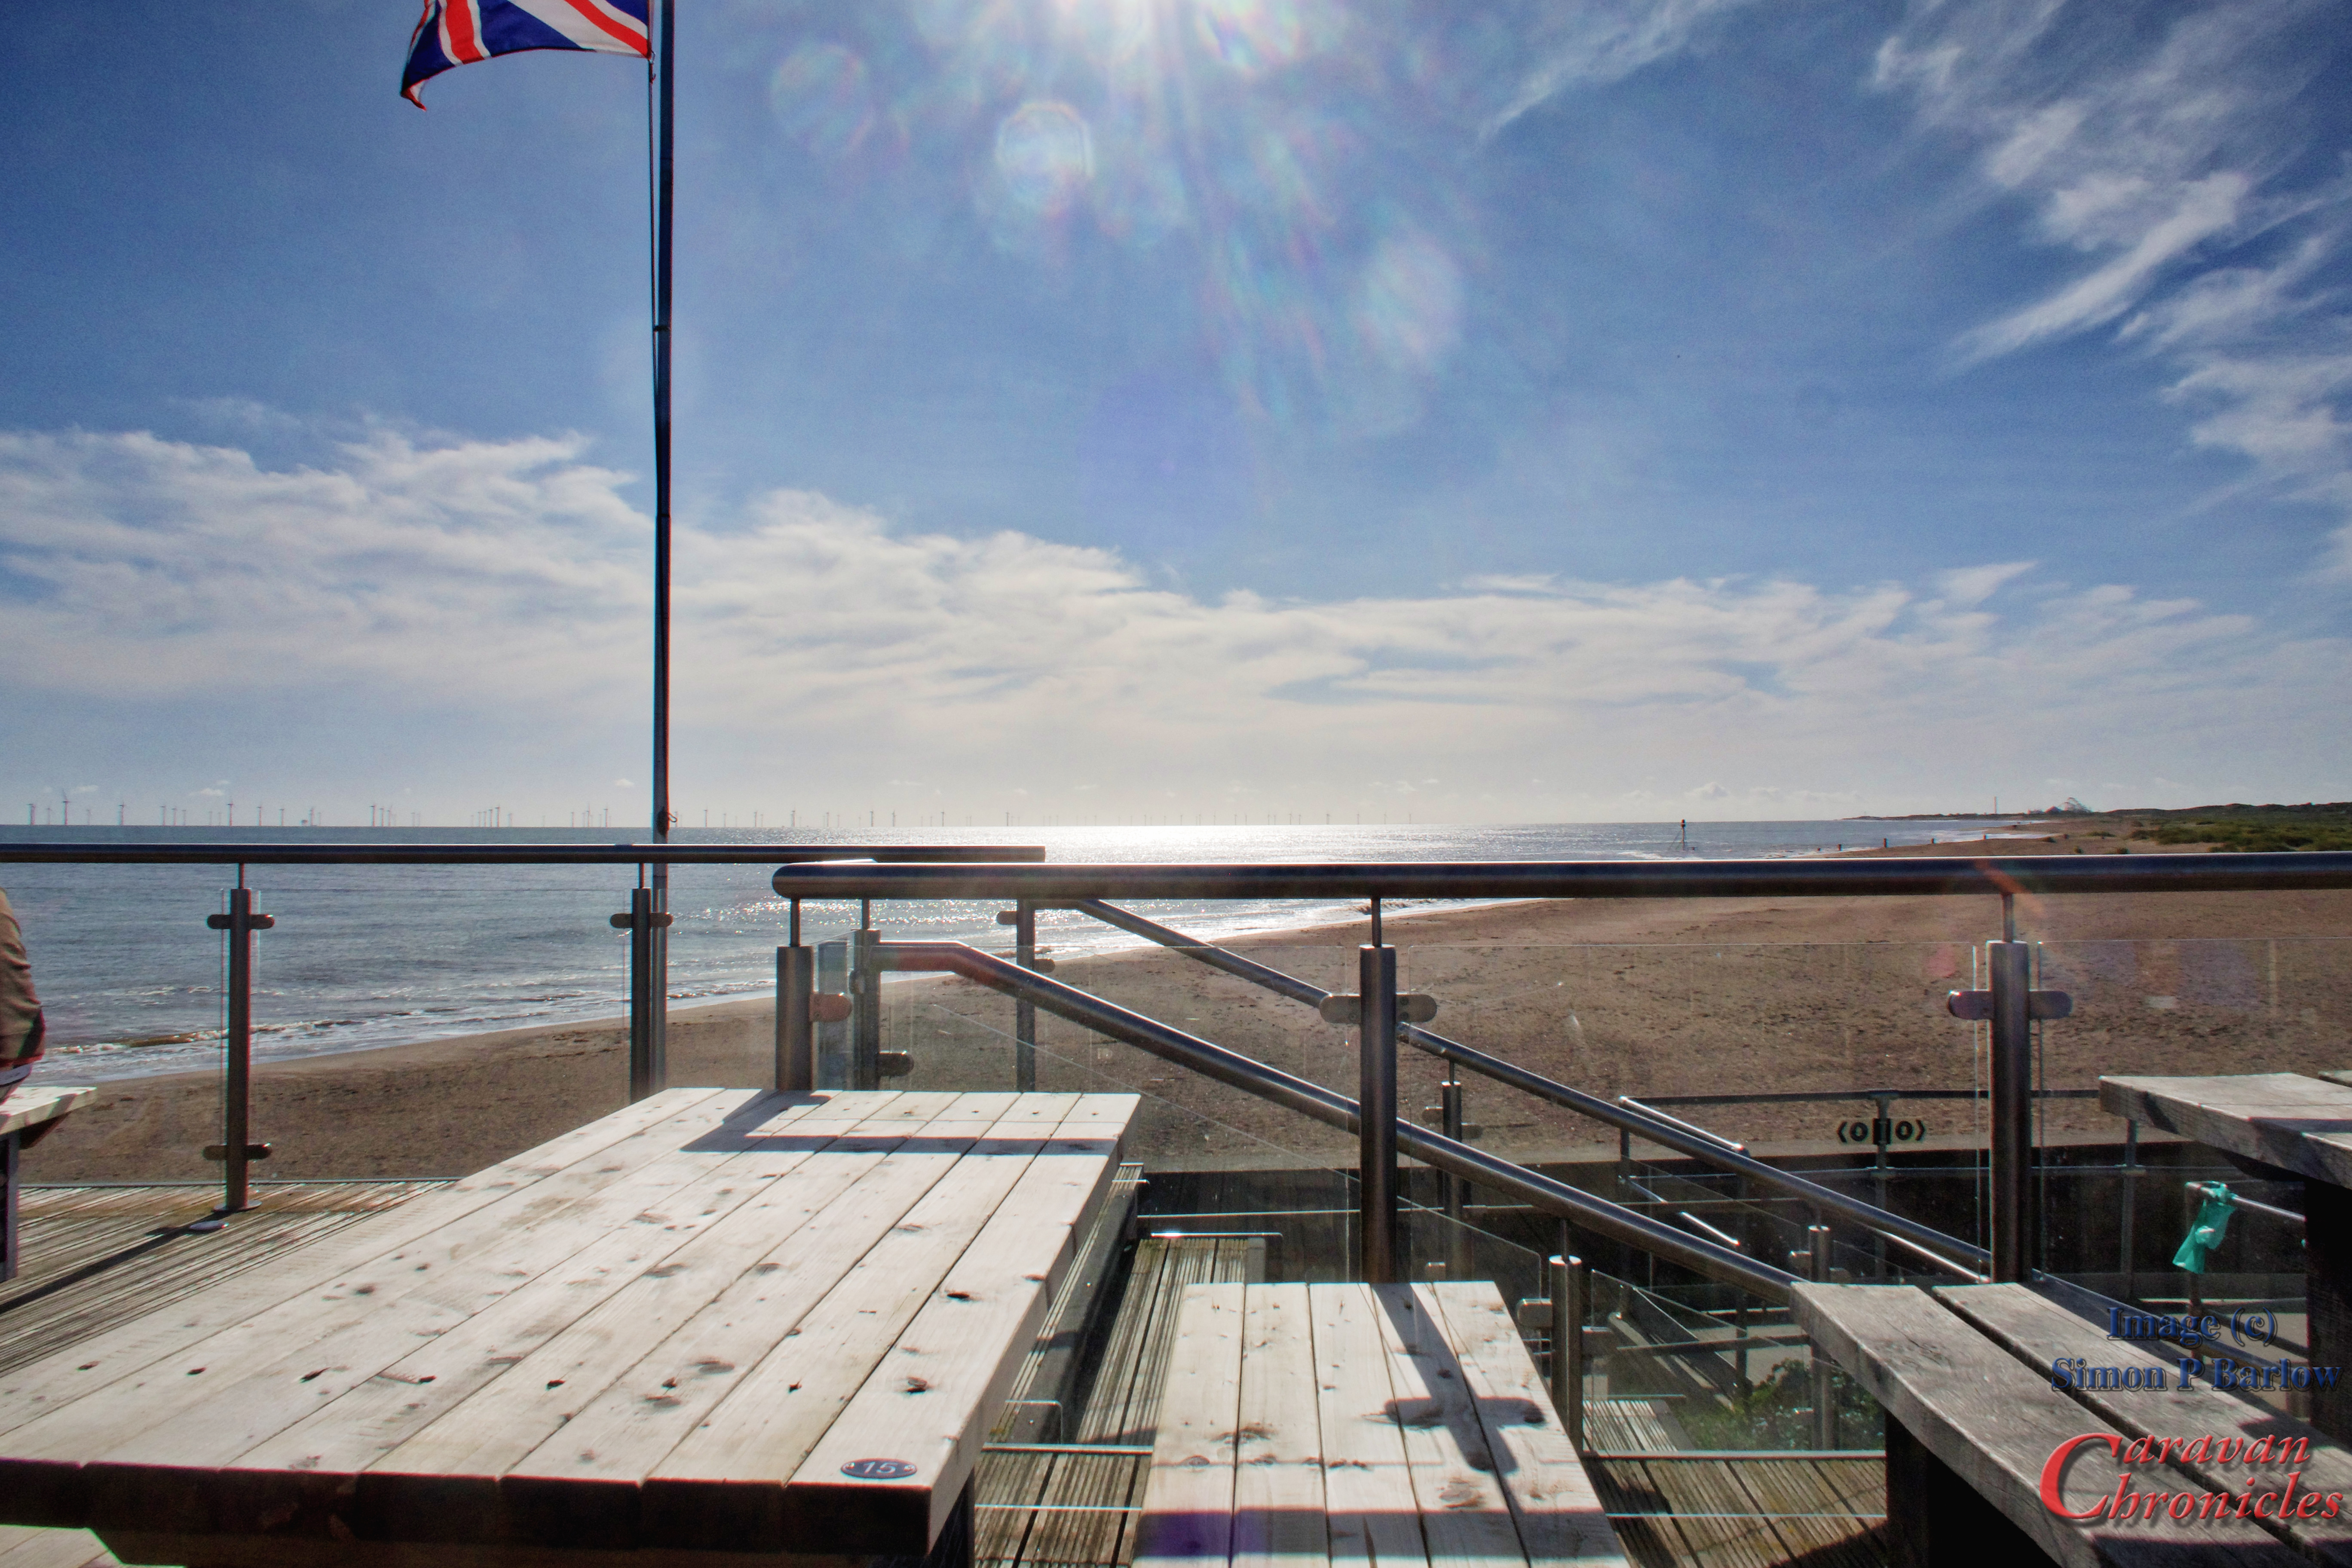
… or sat up on the elevated section in front of the cafe next to the life guard station. The coffee there is much better we think.
Top Tip
A great little shortcut on the bike to get to the front…
If you turn right out of Cherry Tree Springs enter Huttoft Road and follow this for about 300 metres… the first turning on your right is Bluestone Road. Turn right and cycle 70 metres up Bluestone Road. At the end is a T-junction, turn right and 8 metres on your left is a walkway between the houses. Take the walkway and at the end is Walkington Way. Cycle along walking ton Way to the end to another T-Junction. Turn left and ride for 100 metres and on your right a steep ramp up to the top of the Roman Bank… this will get you on the prom and you can cycle all the way to Mablethorpe on it. If you turn right at the end of Walkington Way you can fool Huttoft Bank all the way to Chapel St Leonards.
Its a quick little cut through and allowed us to get to the sea front in about 6 or 7 minutes
Another nice cycle ride is to follow Huttoft Bank south to Chapel St Leonards… it’s a bit further but easy cycling and stop off at North Sea Observatory, Chapel Point for a coffee….
We can both recommend you try out their toasted tea cakes…. The coffee is rather good too! looking at some of the plates being brought out to other customers, the English breakfast looks rather good as well. Unfortunately cycling with a full English onboard is not something to be undertaken lightly.
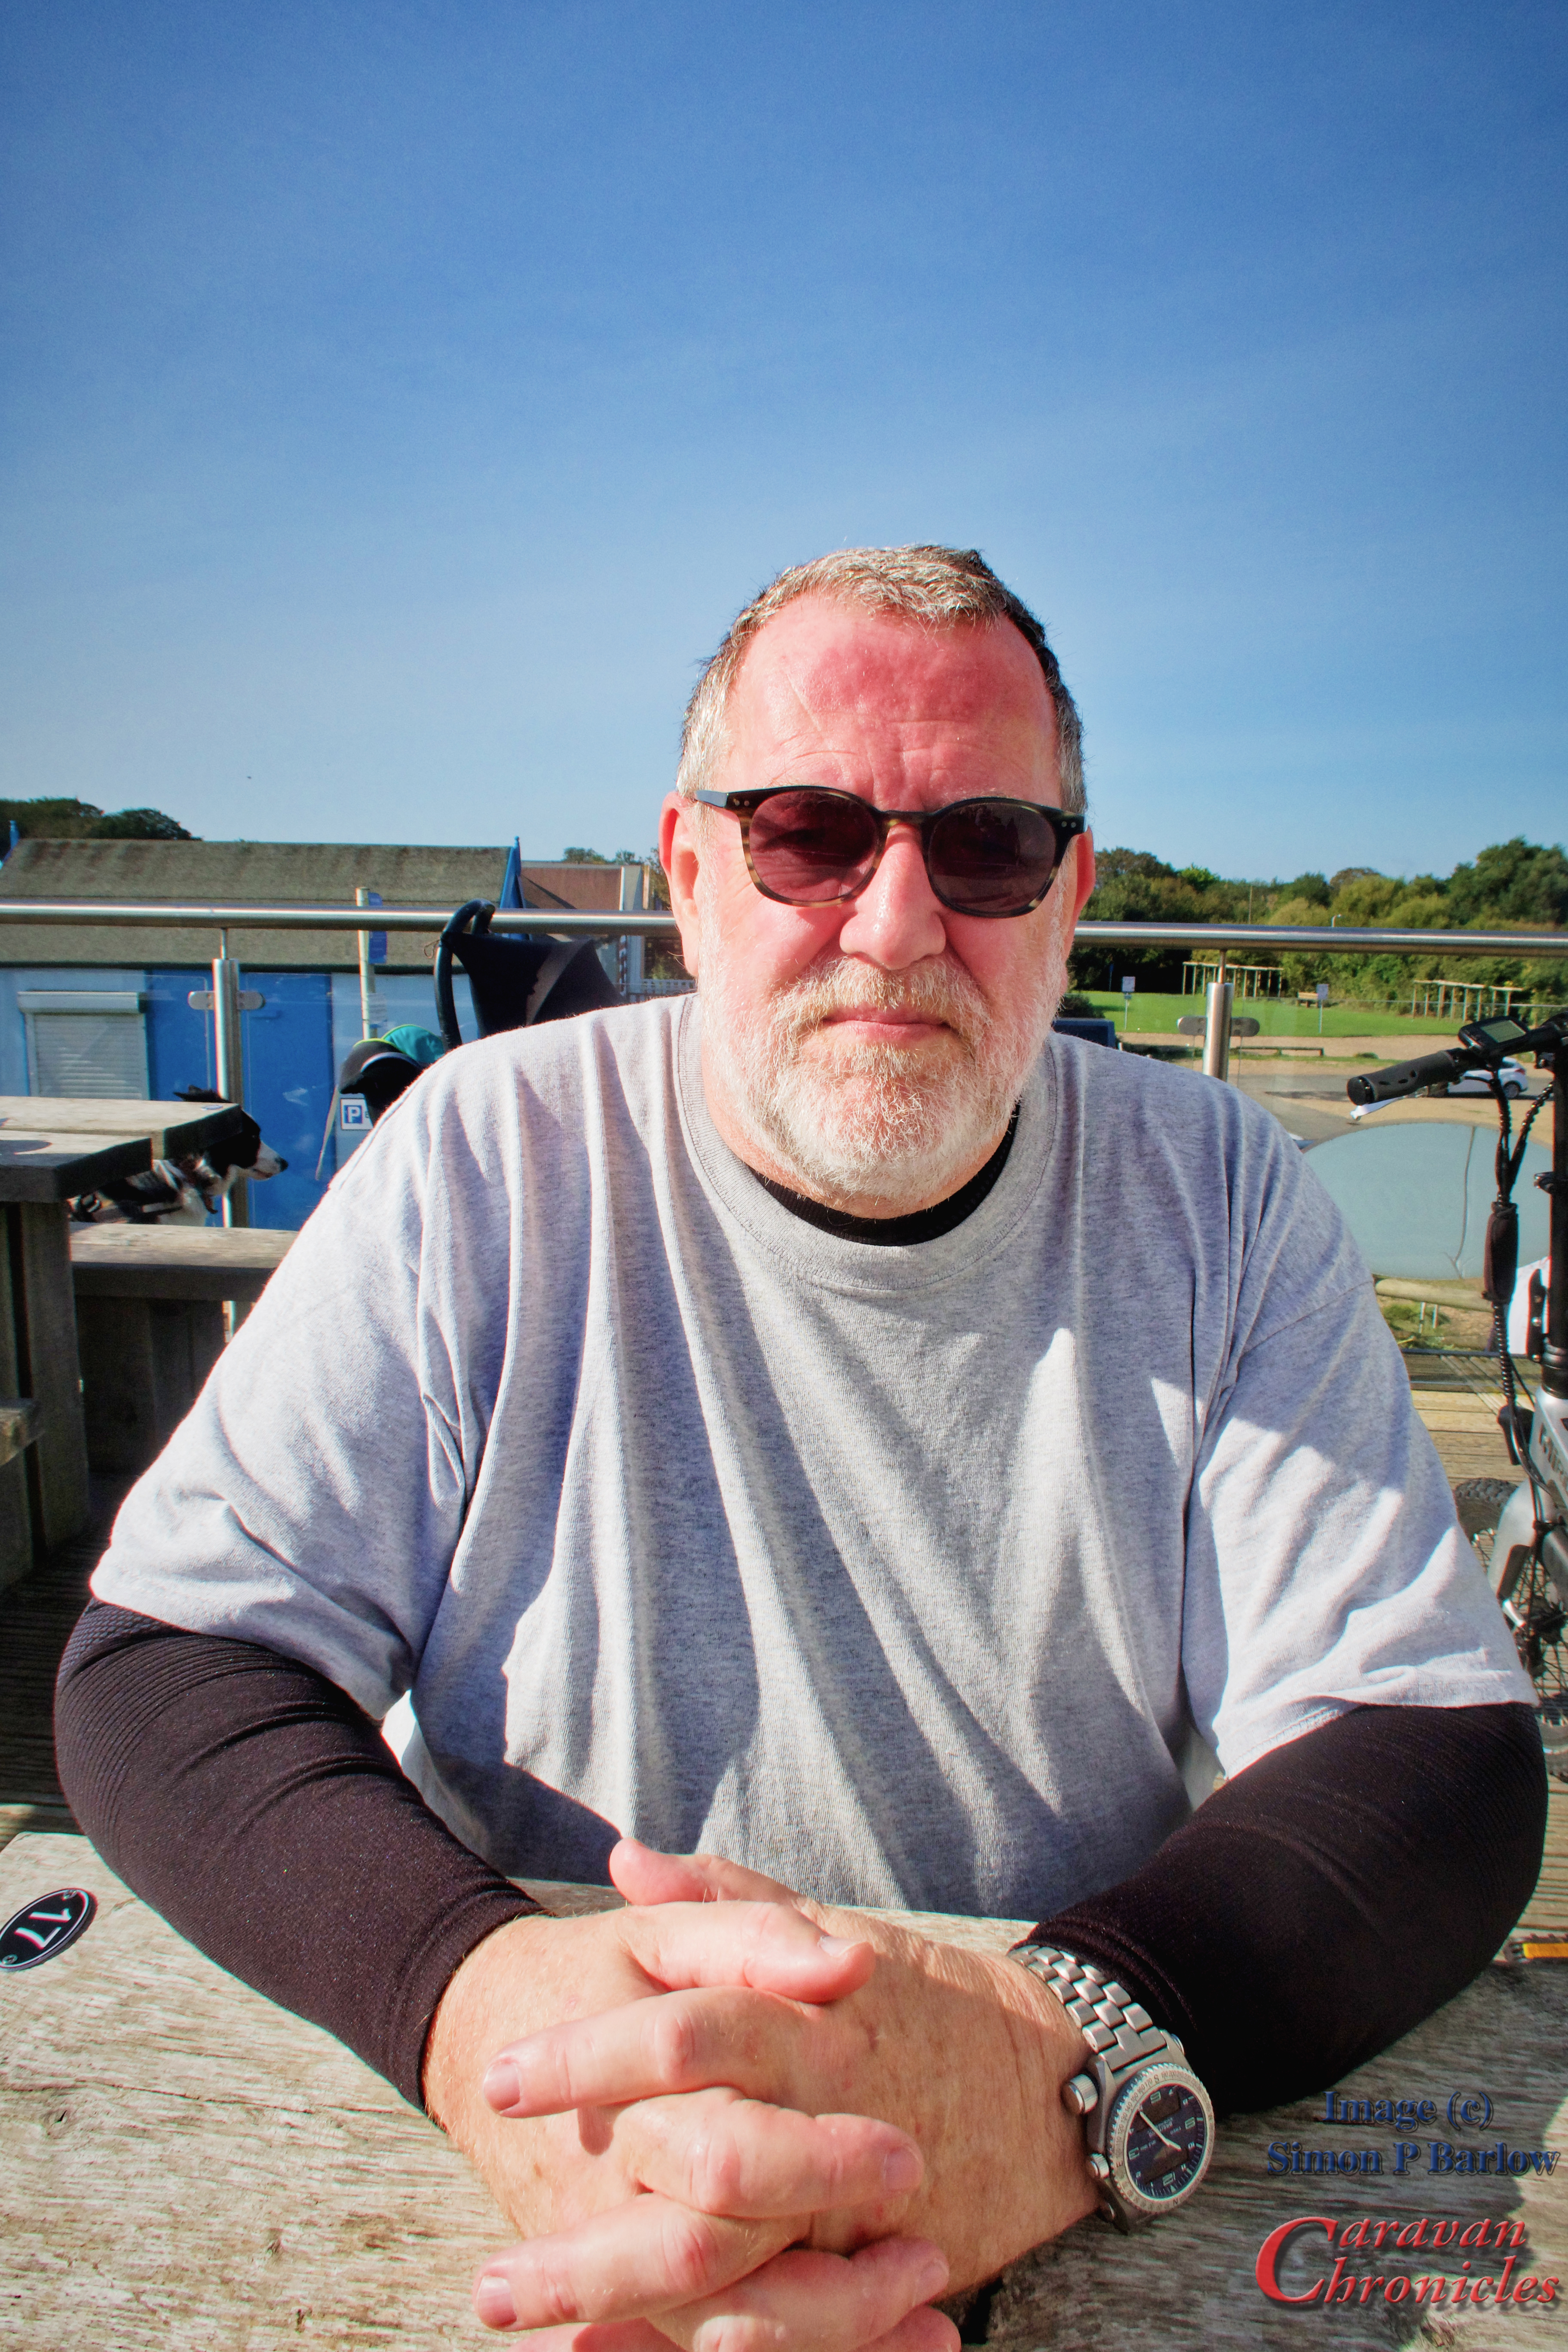
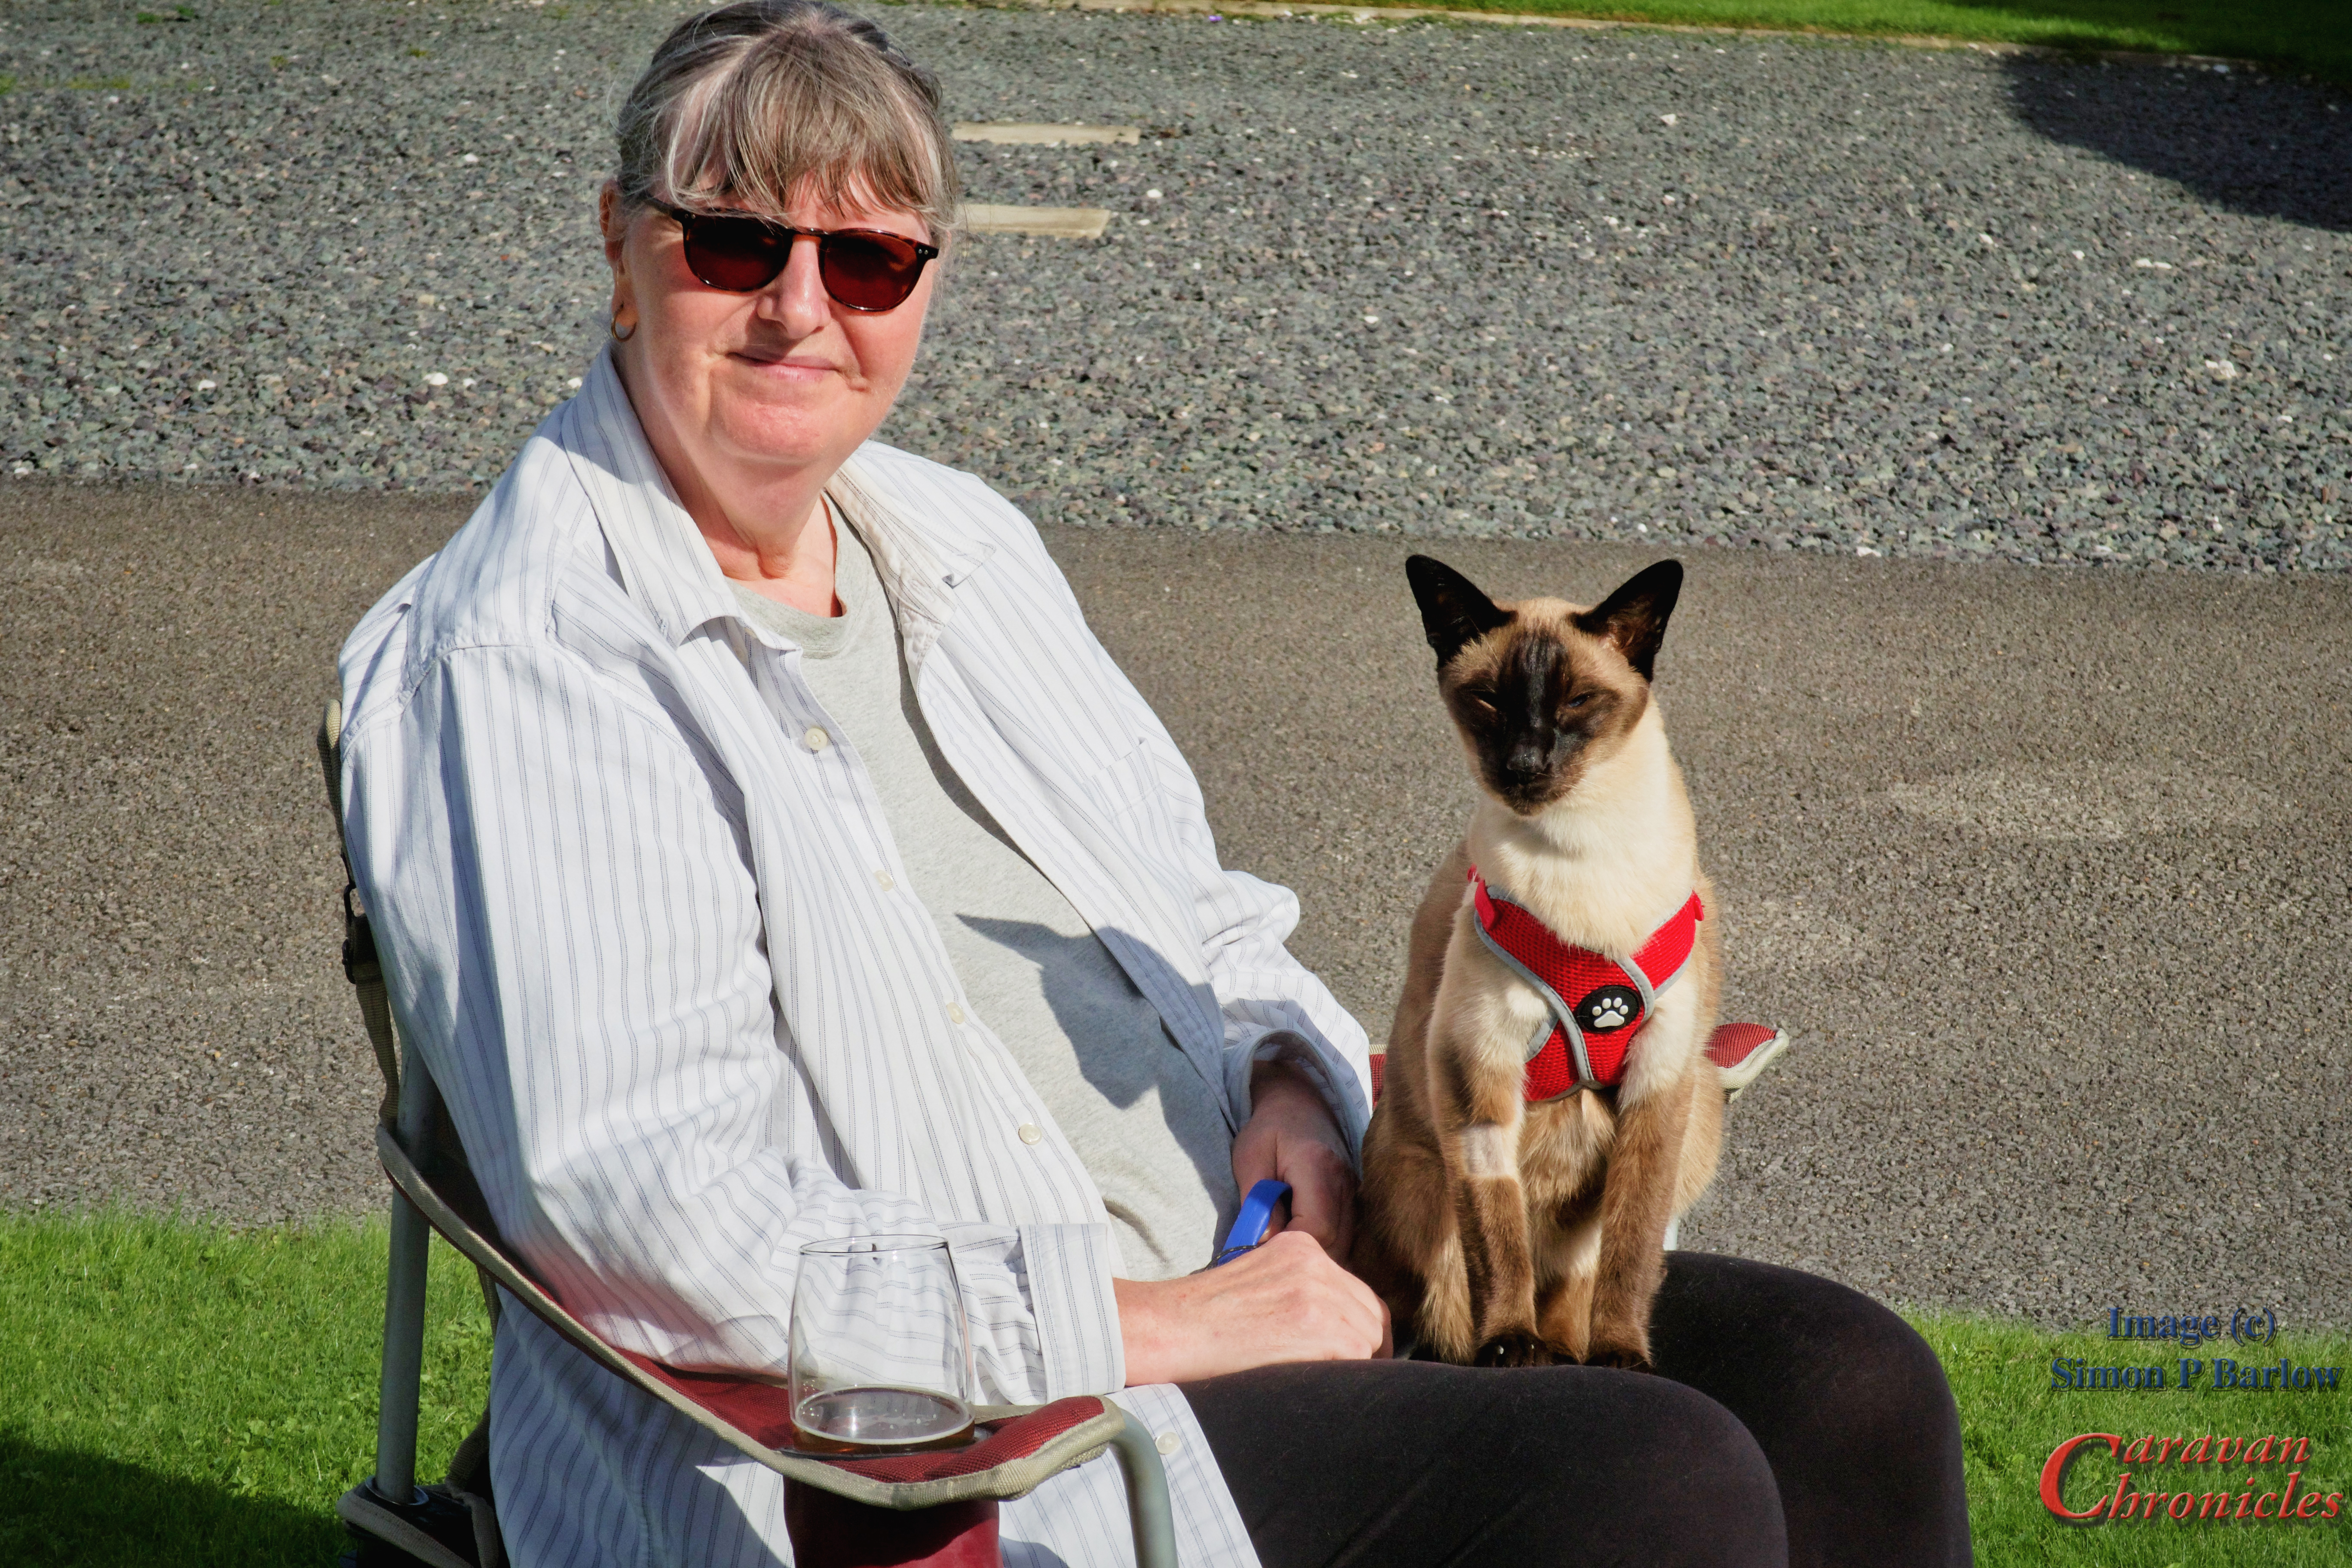
The nice thing about Cherry Tree Springs is there always seems to be someone to have a chat with… not in an intrusive way but sat out with Henry – yep he’s getting better at this now with his little harness on and rather like the attention he gets.
The 5th wheel aways attracts attention and we had a few people stop and talk to us about it. We have done a couple of walk throughs and I’m now getting dab hand at going through the usual questions about what its like to tow (easy peasy, much easier than a bumper pull) and what needs to be done to a pickup to convert it and the weights. Everyone still has a jaw dropping moment when I tell them our user payload is 960Kg… which is slightly more than half of the total weight of our old caravan fully loaded! (PS 5th Wheel Company…. I think we deserve some tee shirts!)
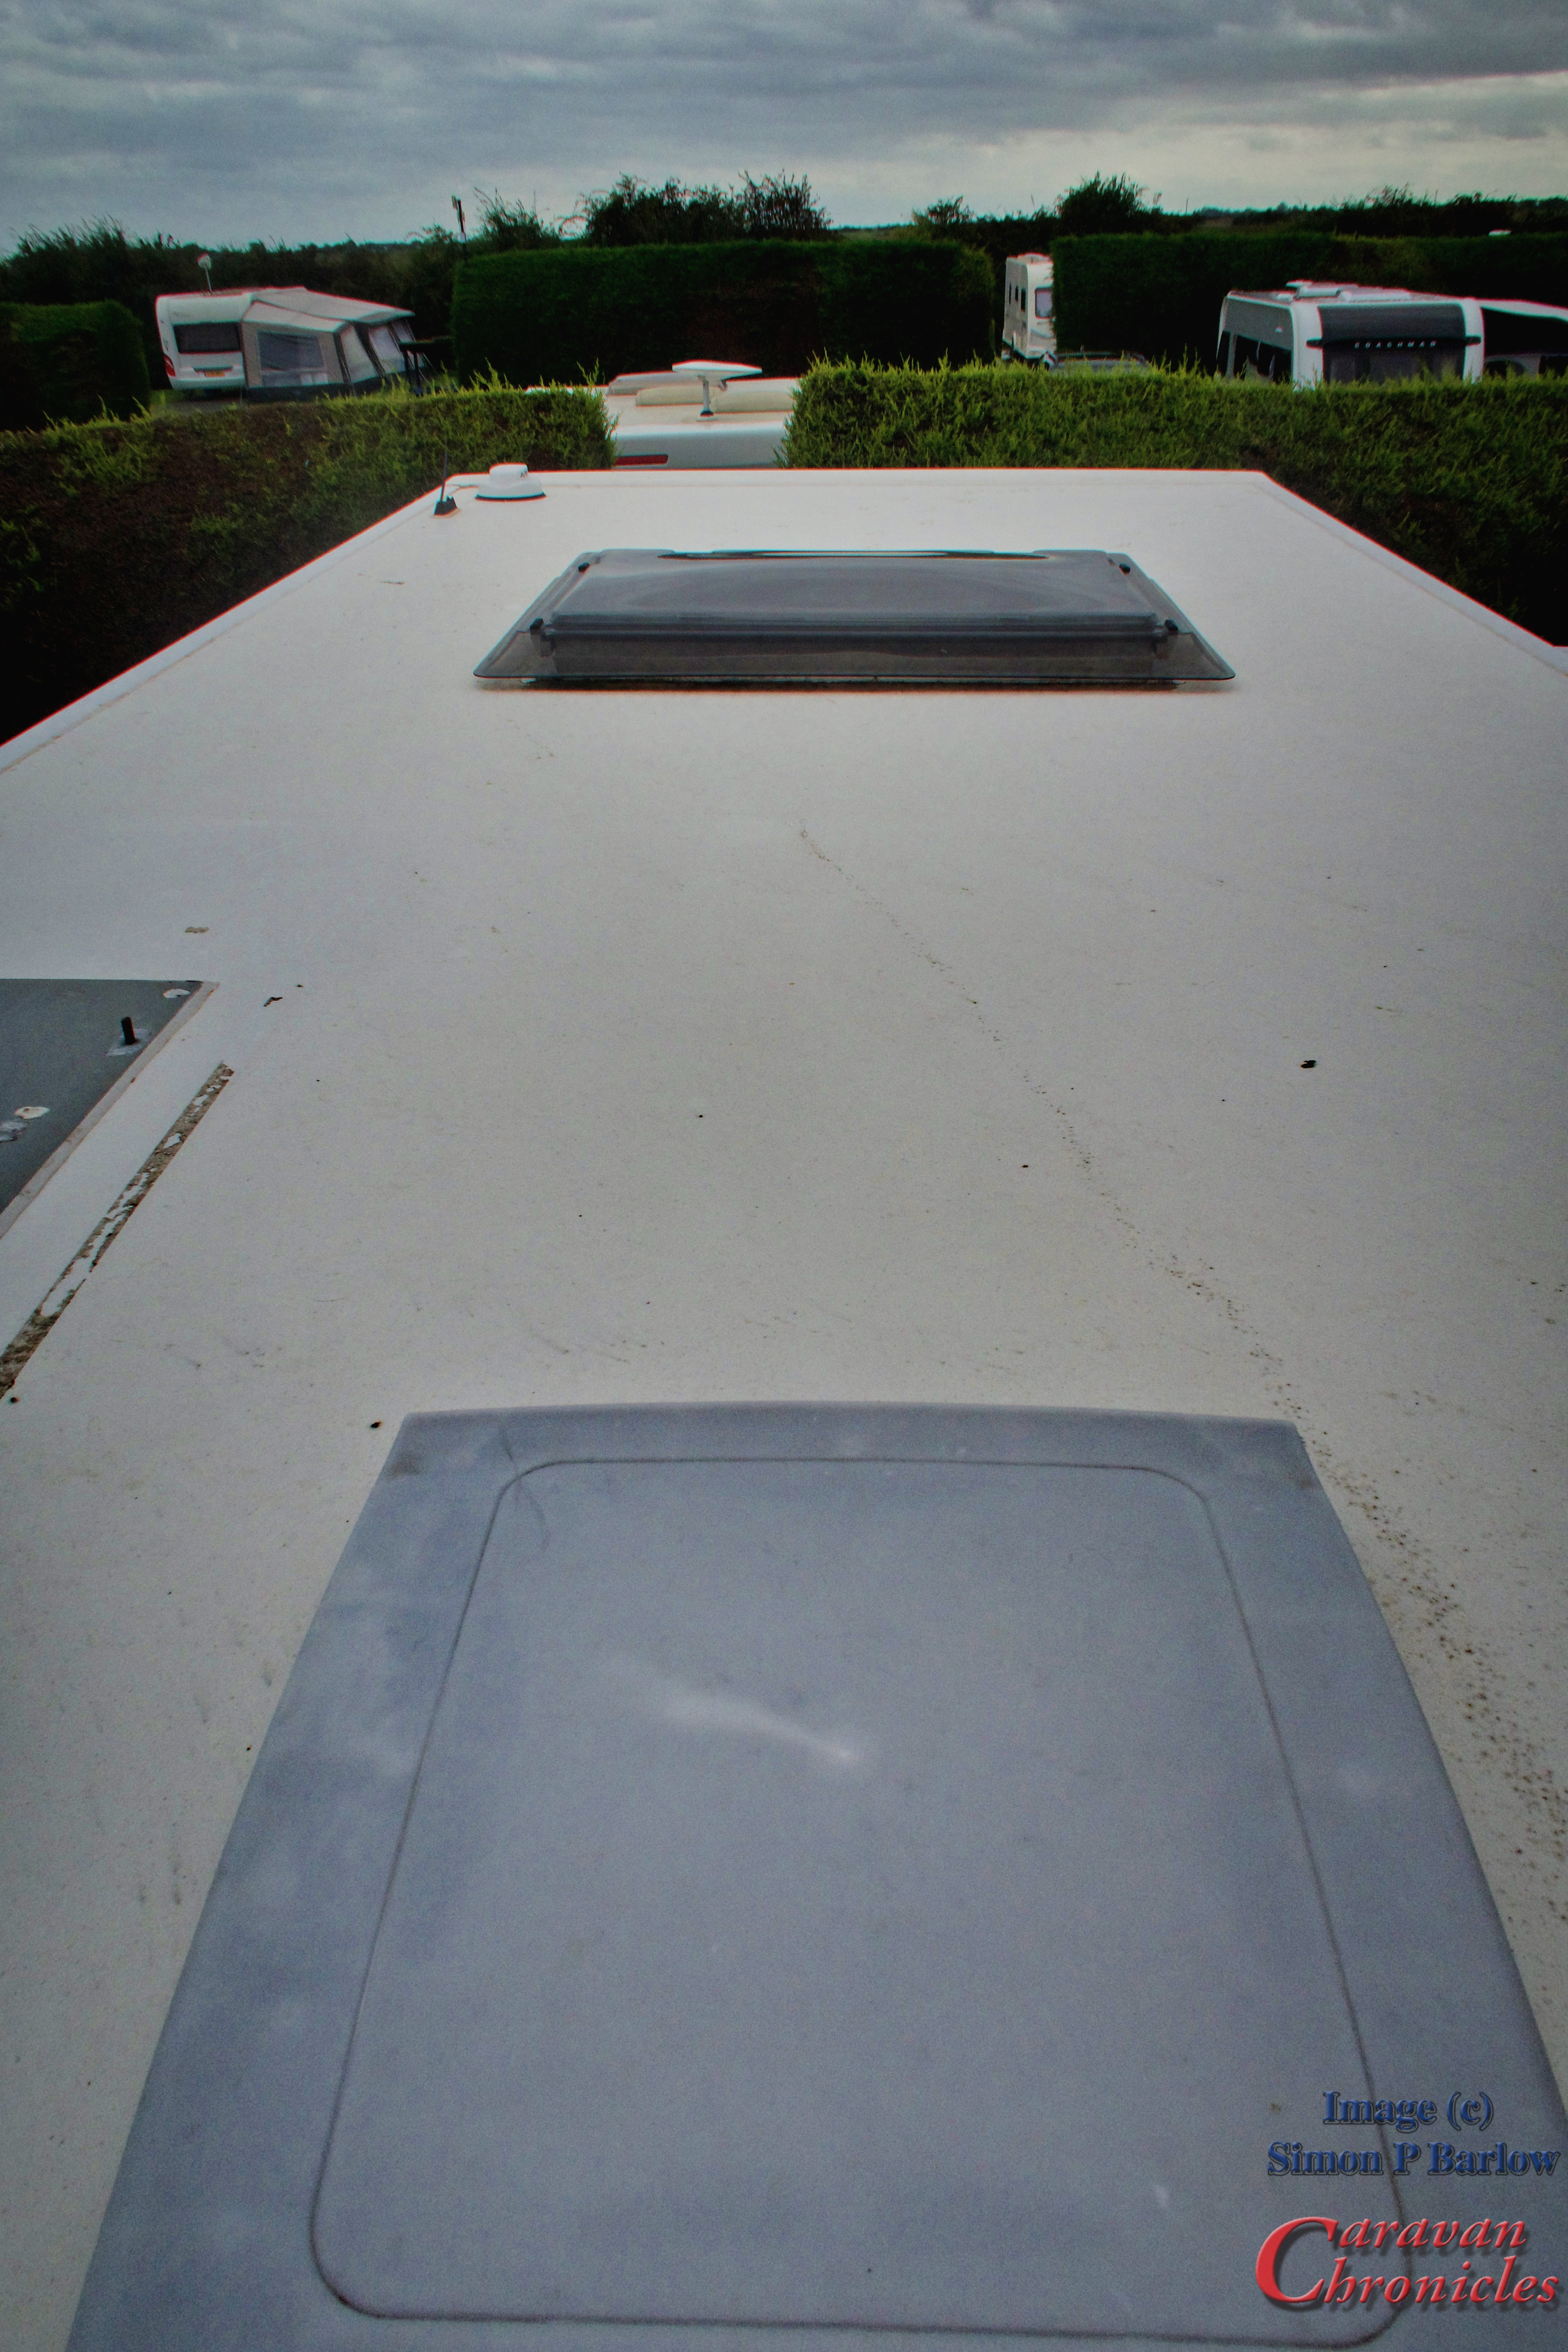
The next step I think will be to install some solar…. and we have a nice flat roof as I found out when I stood on the bed and poked my head out of the front skylight… I think it will be easy to get 800 or 1000 watts of panels on there!
Currently I’m leaning towards Renogy’s kit as the big blue seems to be getting very overpriced and you need so much of it box wise to make a system. But that’s for the future… and maybe if I can get them to work with me on it.
PS If you do stay at Cherry Tree Spring….. give Square Pizza in Sutton a go…. the details are in reception…. not found anything that beat’s them outside of the USA (so far!)
On Sunday we left Cherry Tree Springs as close to the departure time as we could as the GPS gave us a travelling time of about an hour… which would have put us arriving before the arrival time at Hanworth Country Park. We headed west towards Lincoln following the GPS. I’d flown over Lincolnshire many times in the past… one glorious sunny Saturday actually flying over most of the old WW2 airfields, or where they once were trying to spot the outlines of now long forgotten runways. I’d never driven much around Lincolnshire, except for a stint while working on the AWACS project, Alpha Dispersal at RAF Waddington or “Waddo” back in the late 90’s.
The weather was good, traffic light and apart from me missing a turn after a late call from the GPS a great drive. We got to see some really lovely parts of Lincolnshire. I do really like trips where you have two or more stops as you drive through parts of the country you would normally mis in a ‘home to site and back’ trip. (keep this in mind for later!)
Hanworth Country Park
Hanworth Country Park in Potterhanworth is a bit more than just a park. Created by two chaps, one a farmer who’s family had owned the farm since 1931 and the other a builder who shared the vision of what Hanworth Country Park could become set about transforming the land and are still at it today. It’s not just park with caravan pitches… it has glamping pods, luxury lodges, leisure lodges, shepards huts and lakes… lots of lakes… it has to be on any fisherman’s list of places to fish. (I don’t fish… so may be talking out of my Bass)
It’s also got a rather fine cafe. Well when I say cafe…. “Brewers” is a bit more than just a cafe you would expect to find at a country park…. in fact it seems to be a go-to place for locals too!
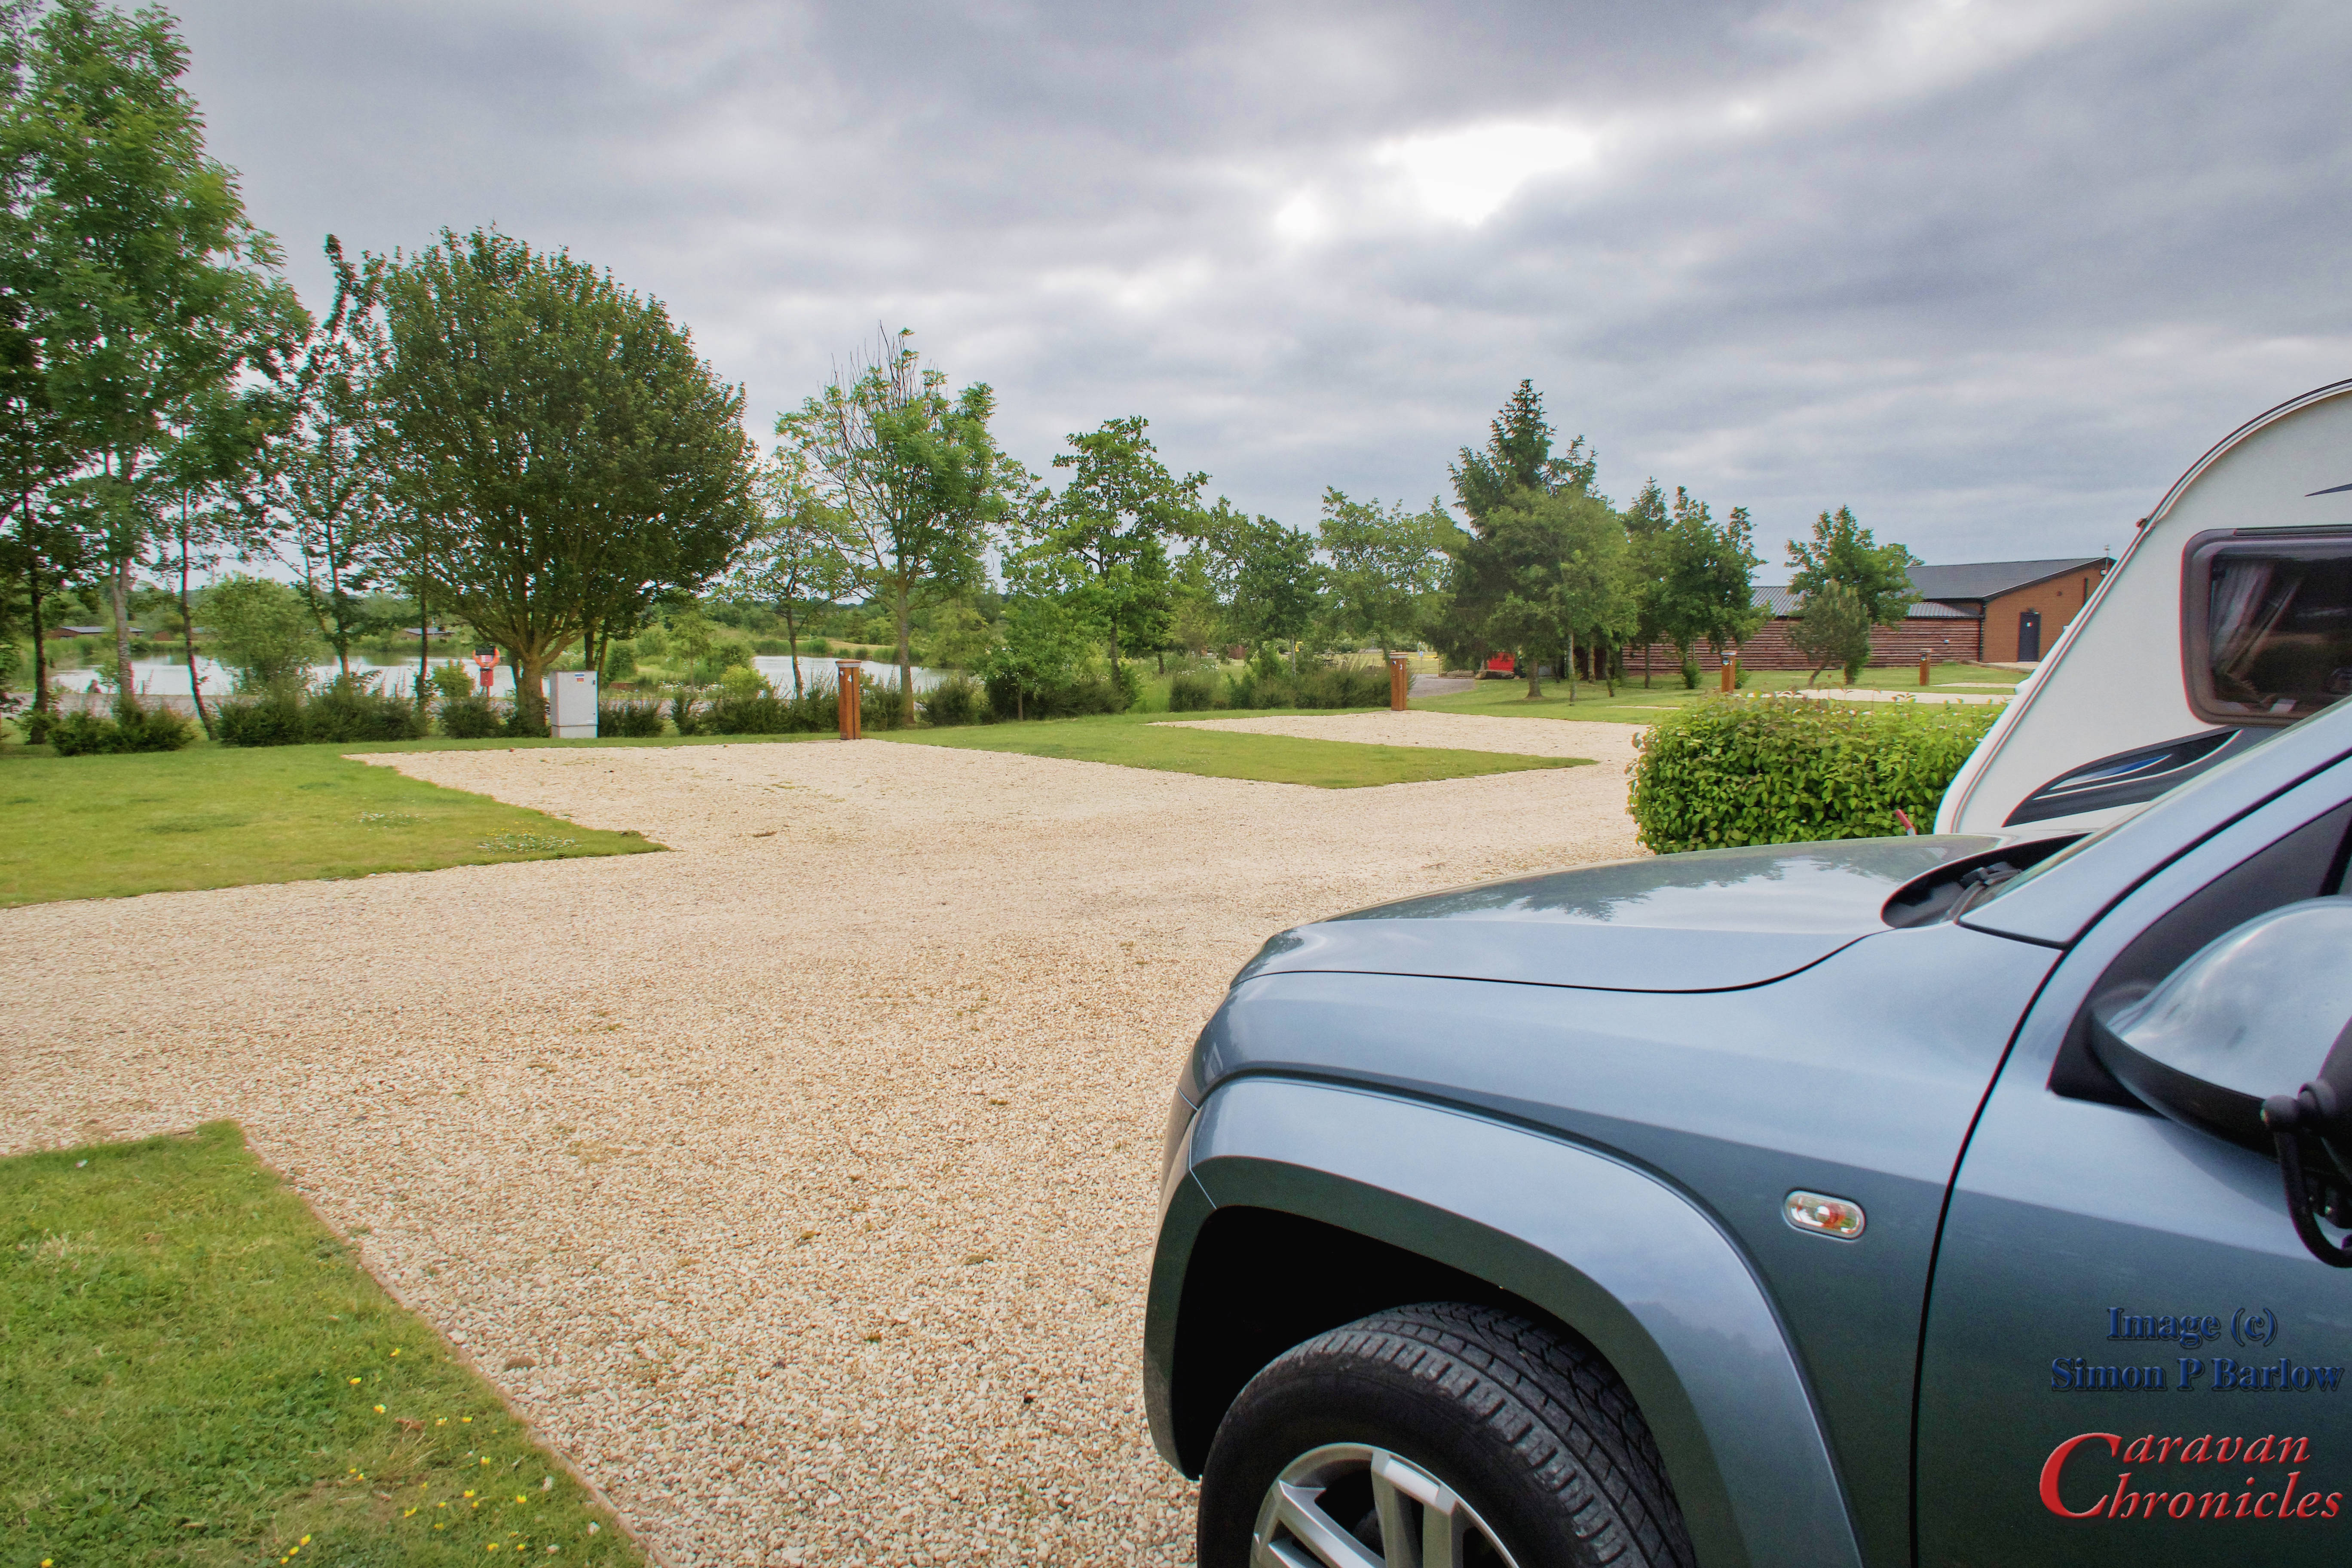
Check-in at reception was quick, easy and the staff were welcoming. You get all the information you need in an arrival pack. We booked a full service pitch, which was firm… very firm… I had to use rock pegs to secure the sun shade. Phone signal on O2 was a tad weak, I had to tweak our router to only connect at G3…. but it was fast enough for internet and tv streaming of iPlayer and Netflix.
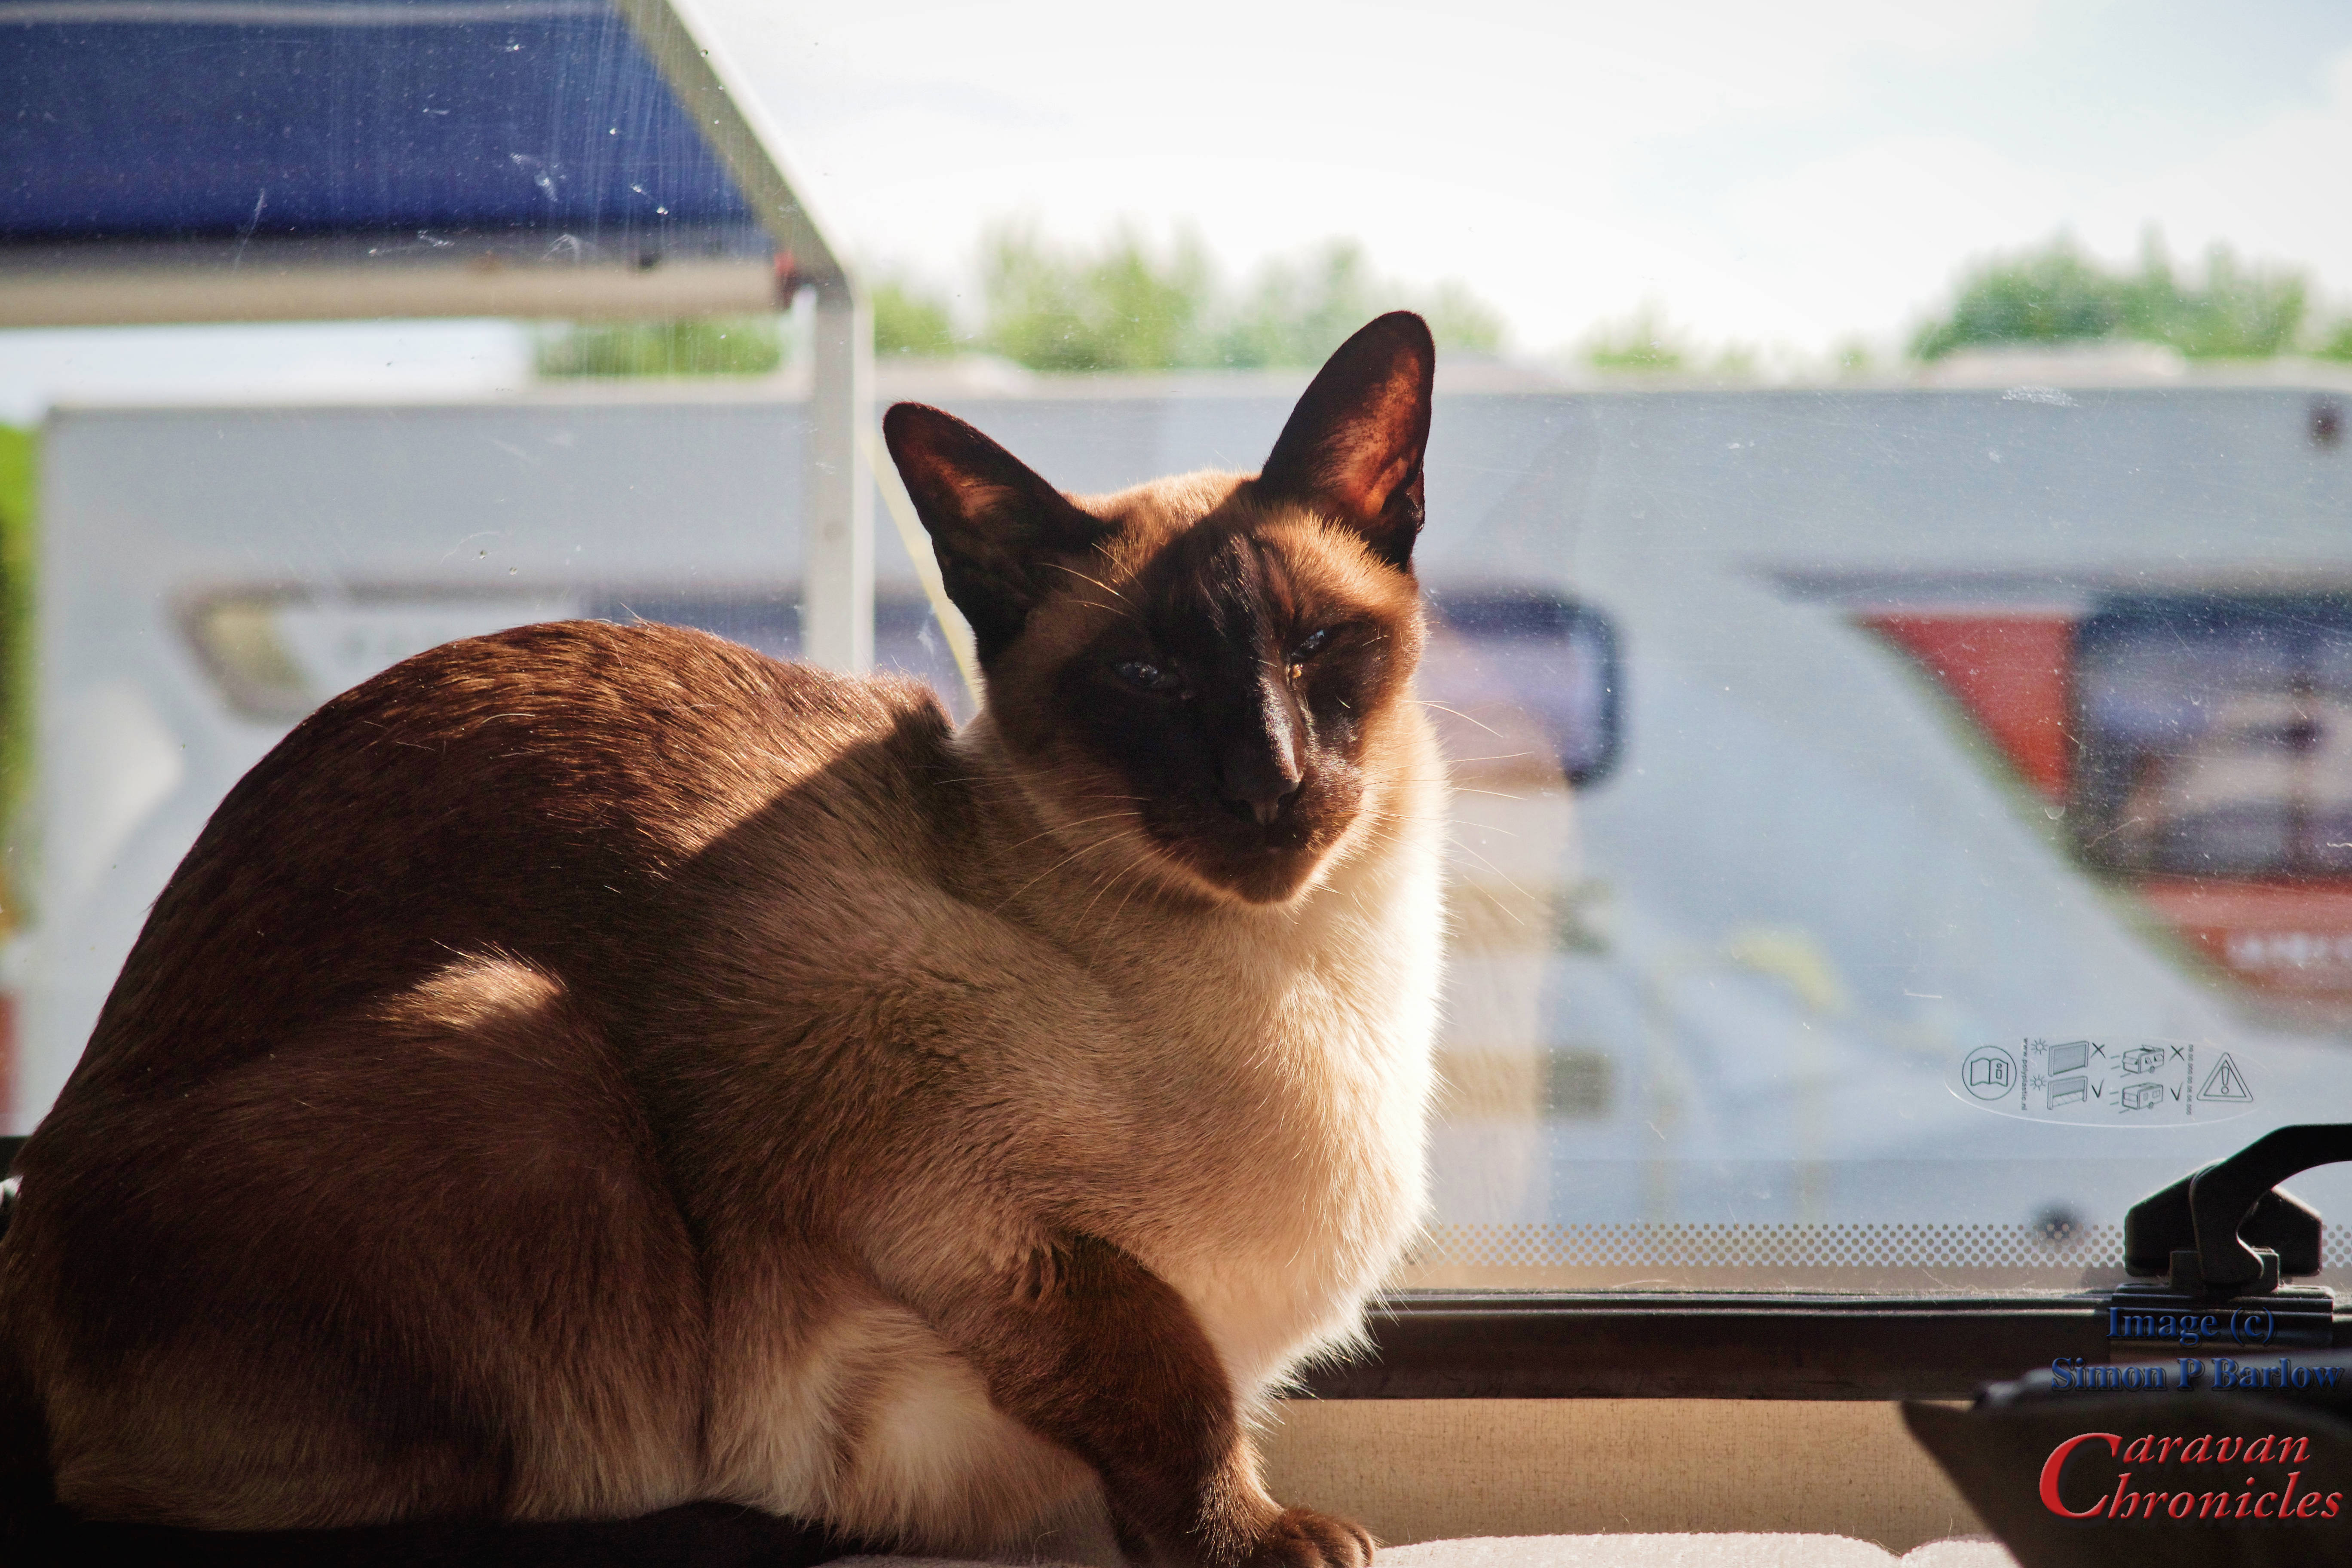
Monday we did a few odd jobs and caught up on things while our friends that we had arranged to meet up with traveled down from Edinburgh. We got the text message they had arrived at the Petwood Hotel where they were staying. So we set off to drive over and spend the evening with them. Henry wasn’t best pleased as I think he was expecting an evening curled up on Sue’s lap receiving belly rubs… Henry is our cat by the way!
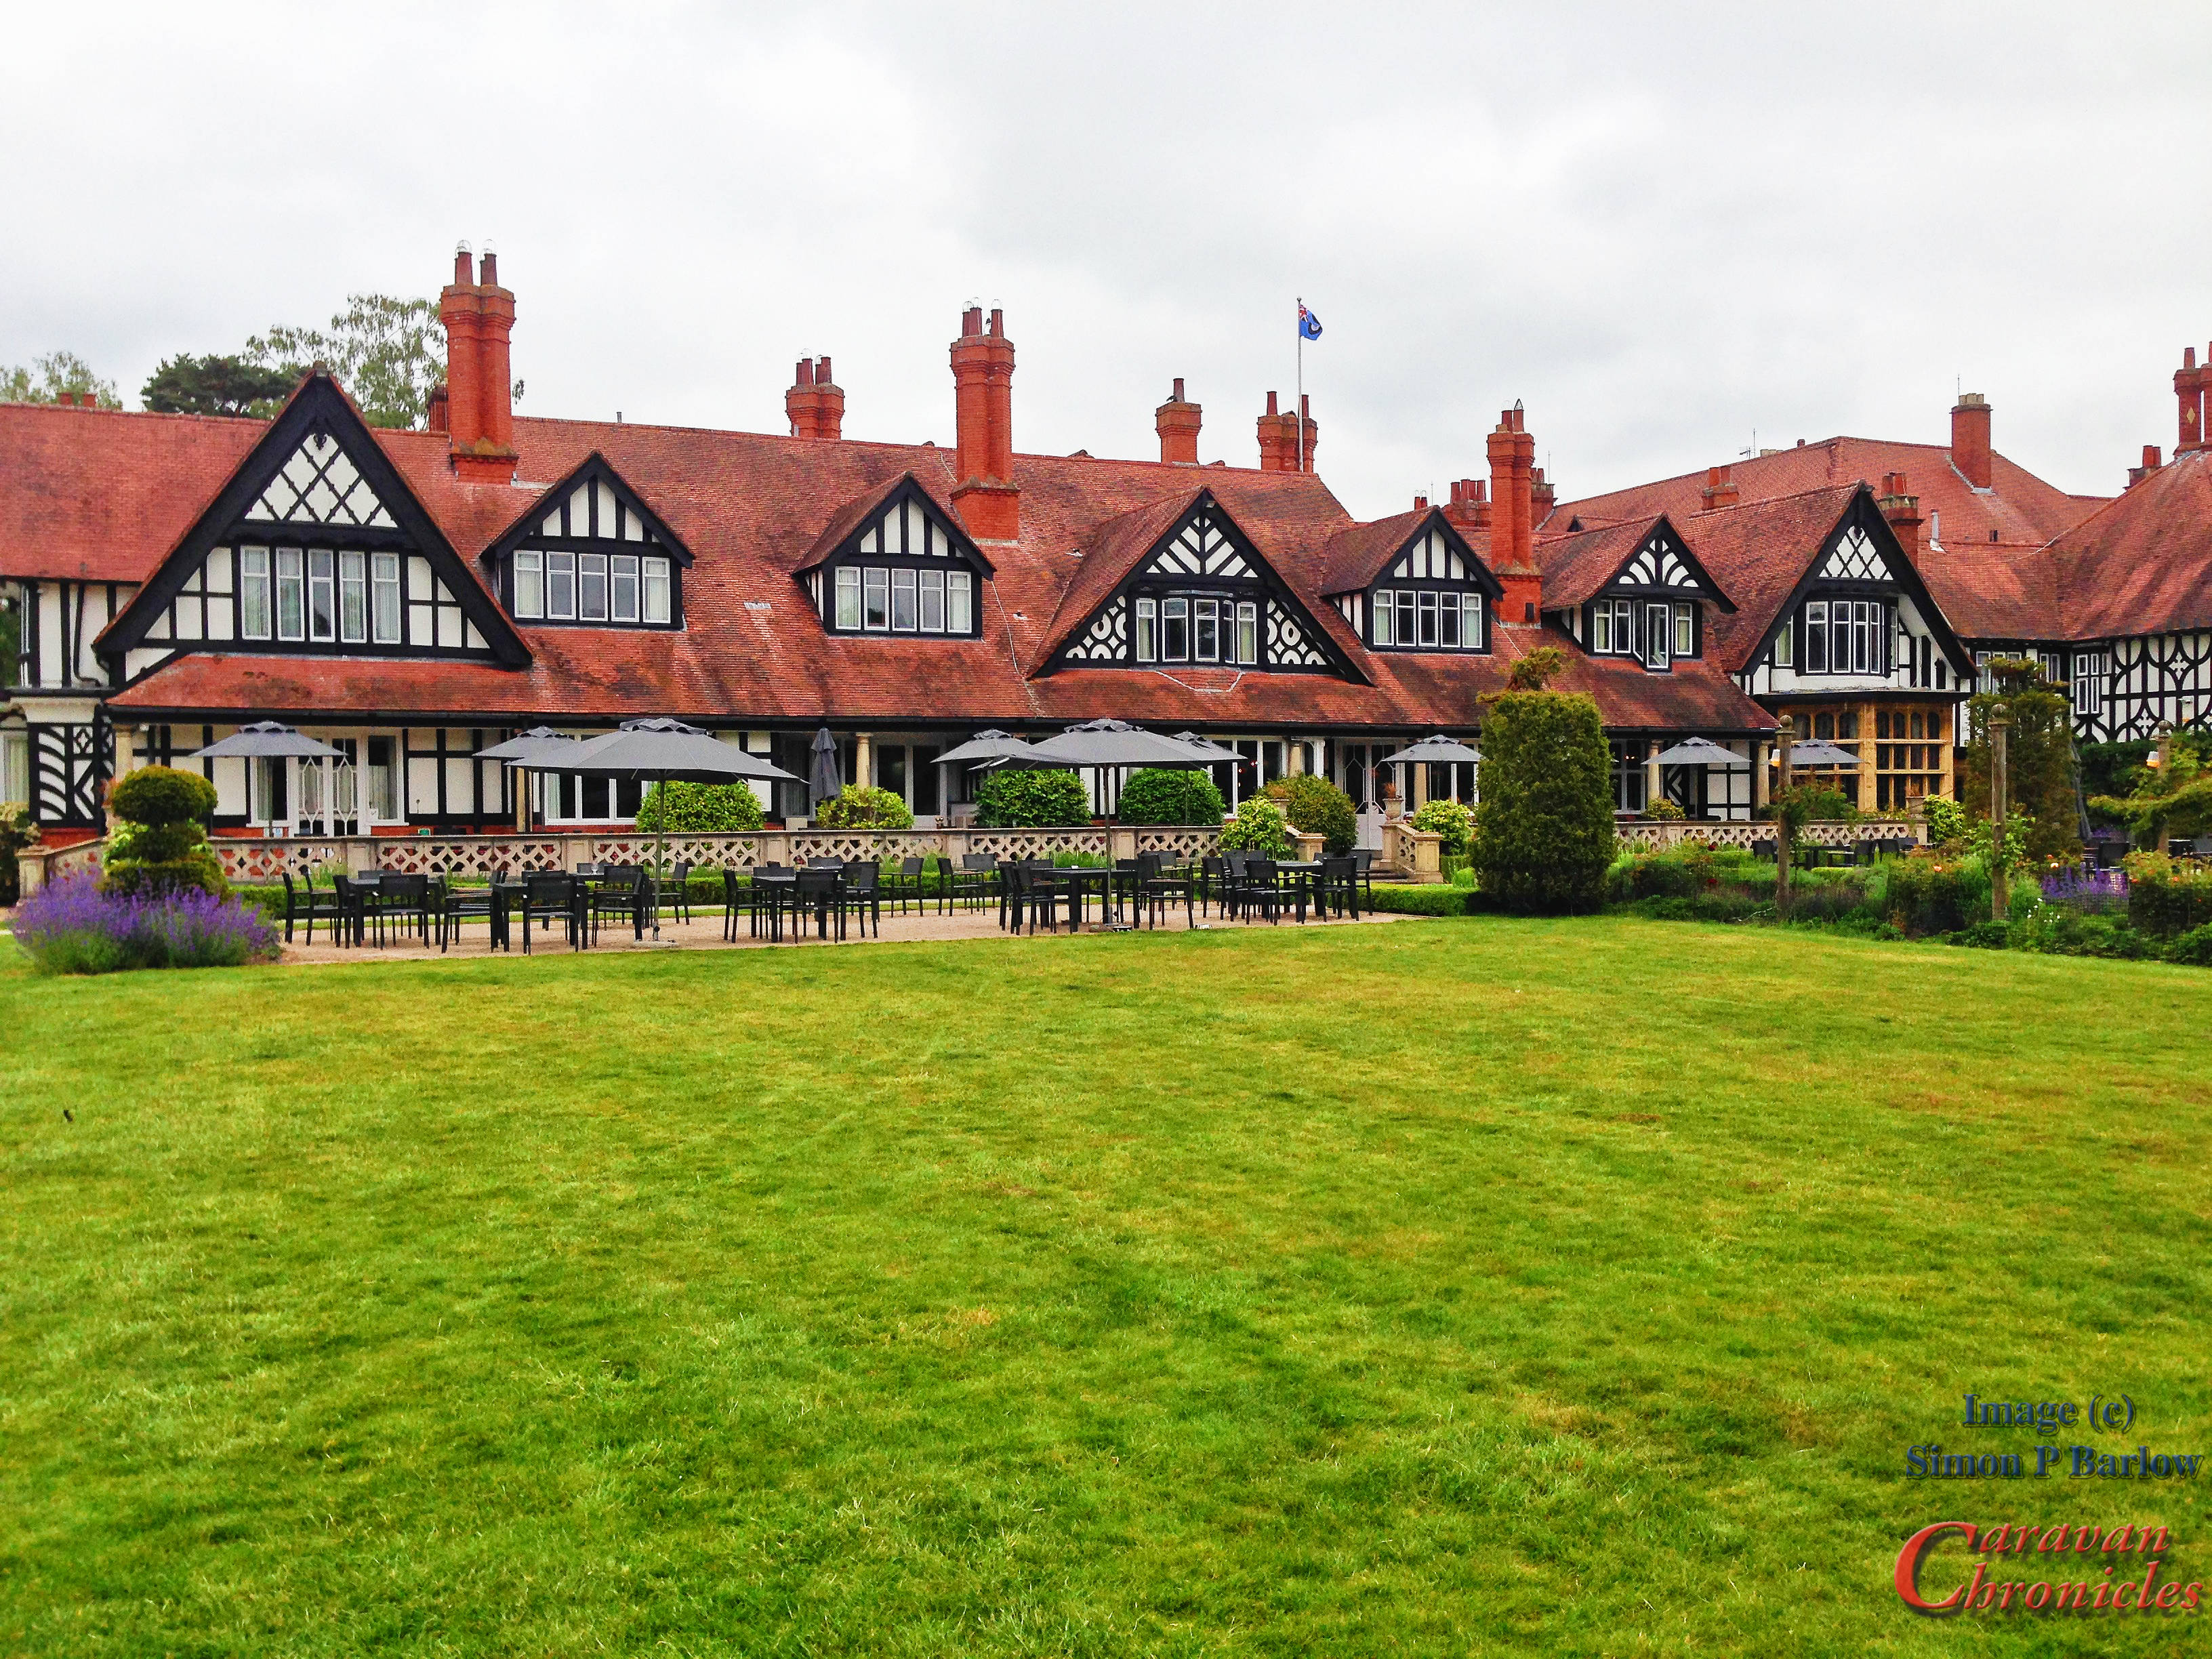
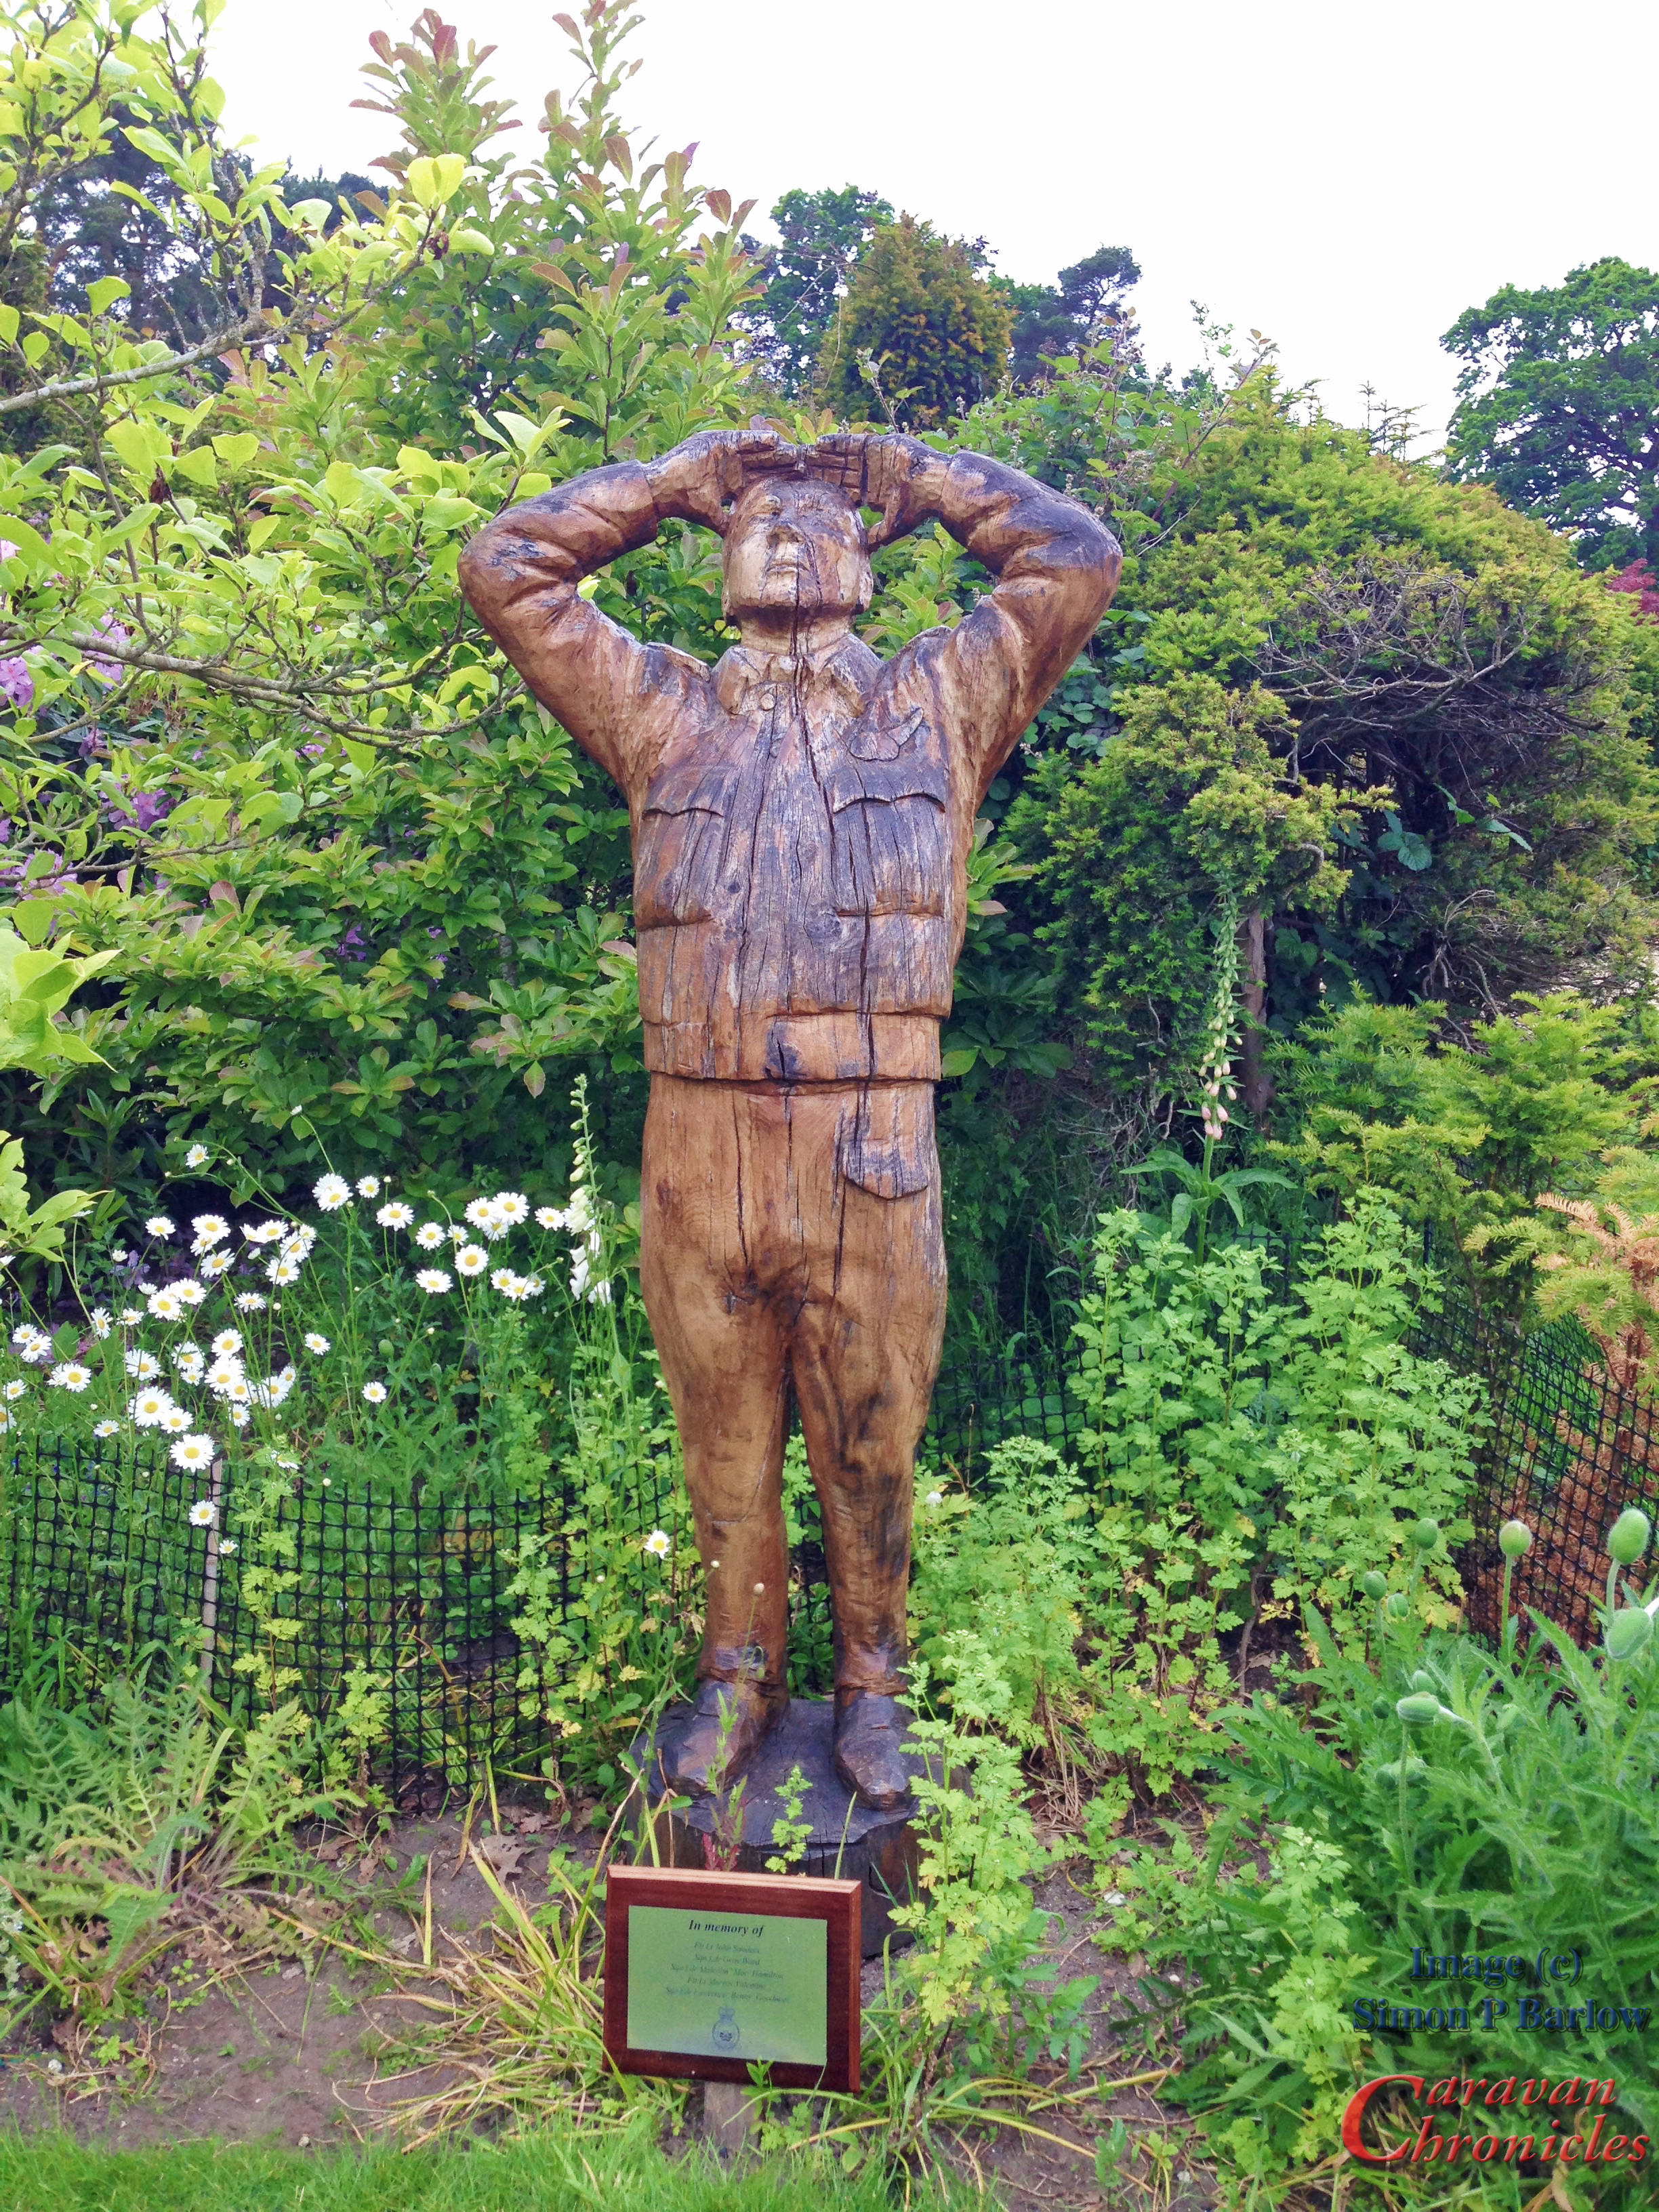
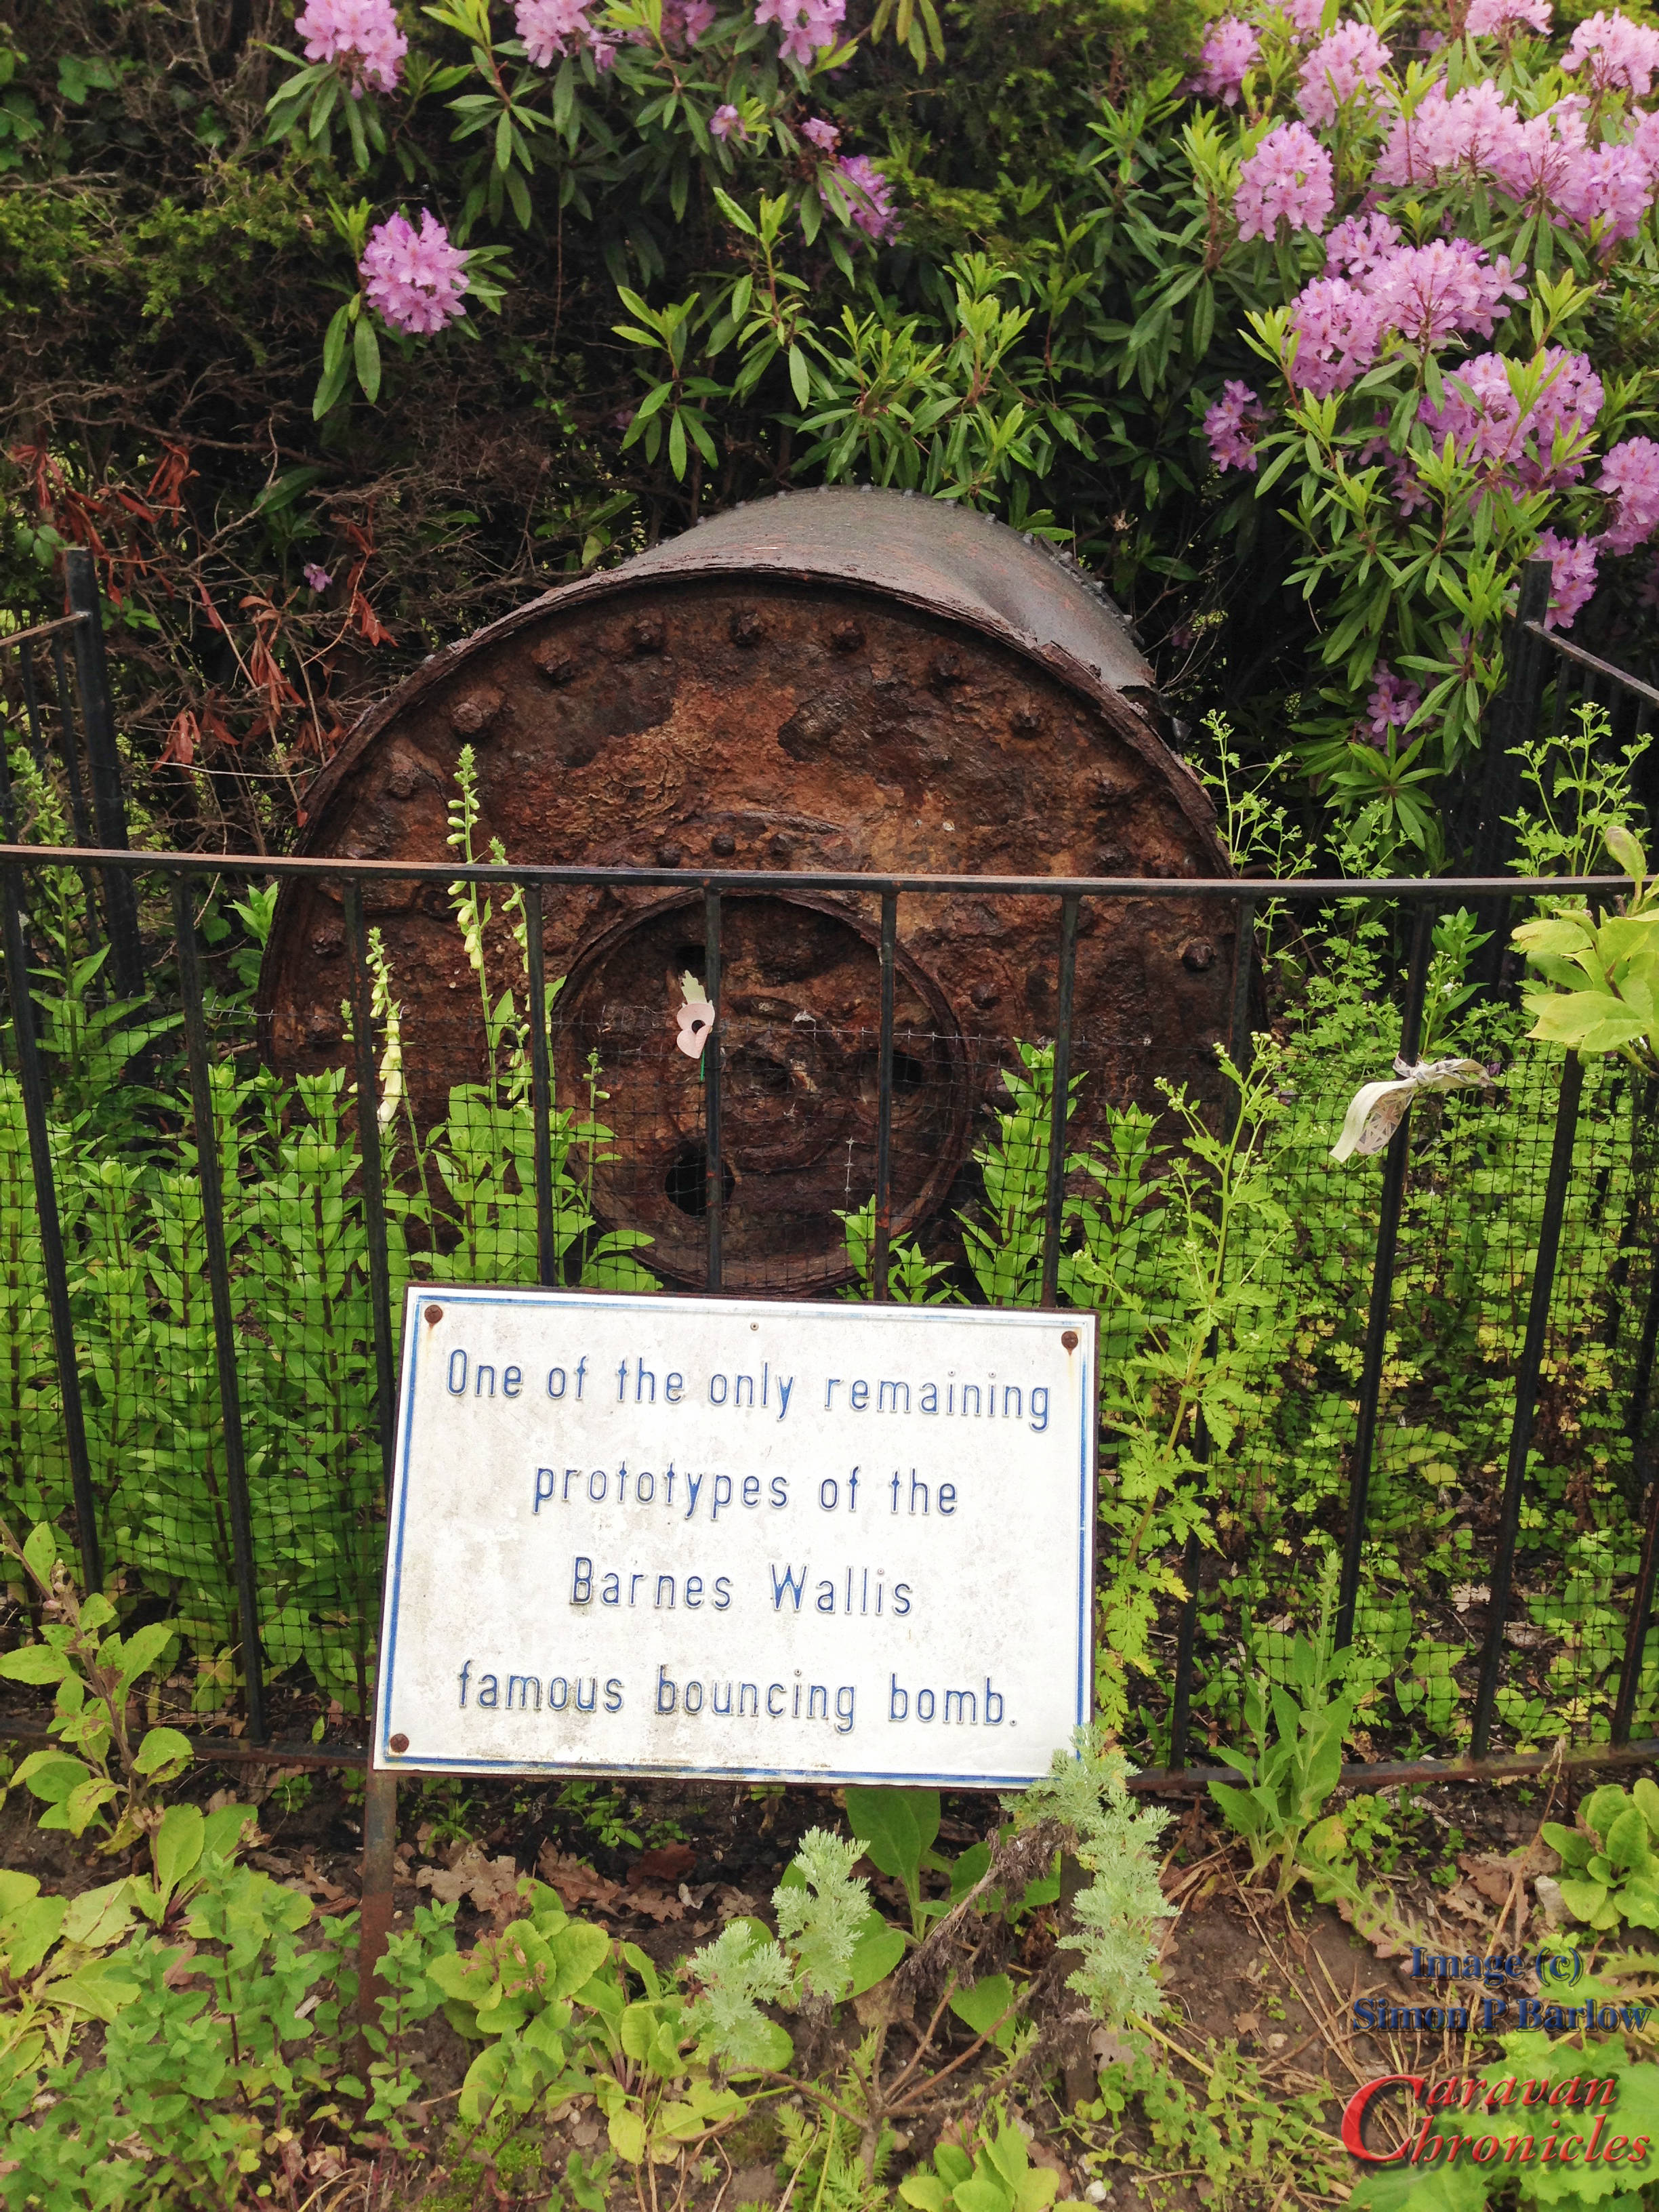
Petwood Hotel
Petwood Hotel is rather a special place for any one with a remote interest in aviation. During WW2 it was the officers mess for 617 Sqdn, probably better known as “The Dambusters” . It’s amazing to think that Wing Commander Guy Gibson VC DSO DFC may have thrown a ball across this lawn for his dog (who I’m not allowed to call by name) to fetch while having a pint with his fellow officers.
Wandering around the hotel there is an amazing collection of photos and historical items from that period. I did take photos of many of them, but not wanting to breach copyright, they will remain for my own collection.
A splendid evening with friends was had along with an excellent meal and a great catchup as it has been over 12 months since we last saw them.
Tuesday…. we take on Lincoln
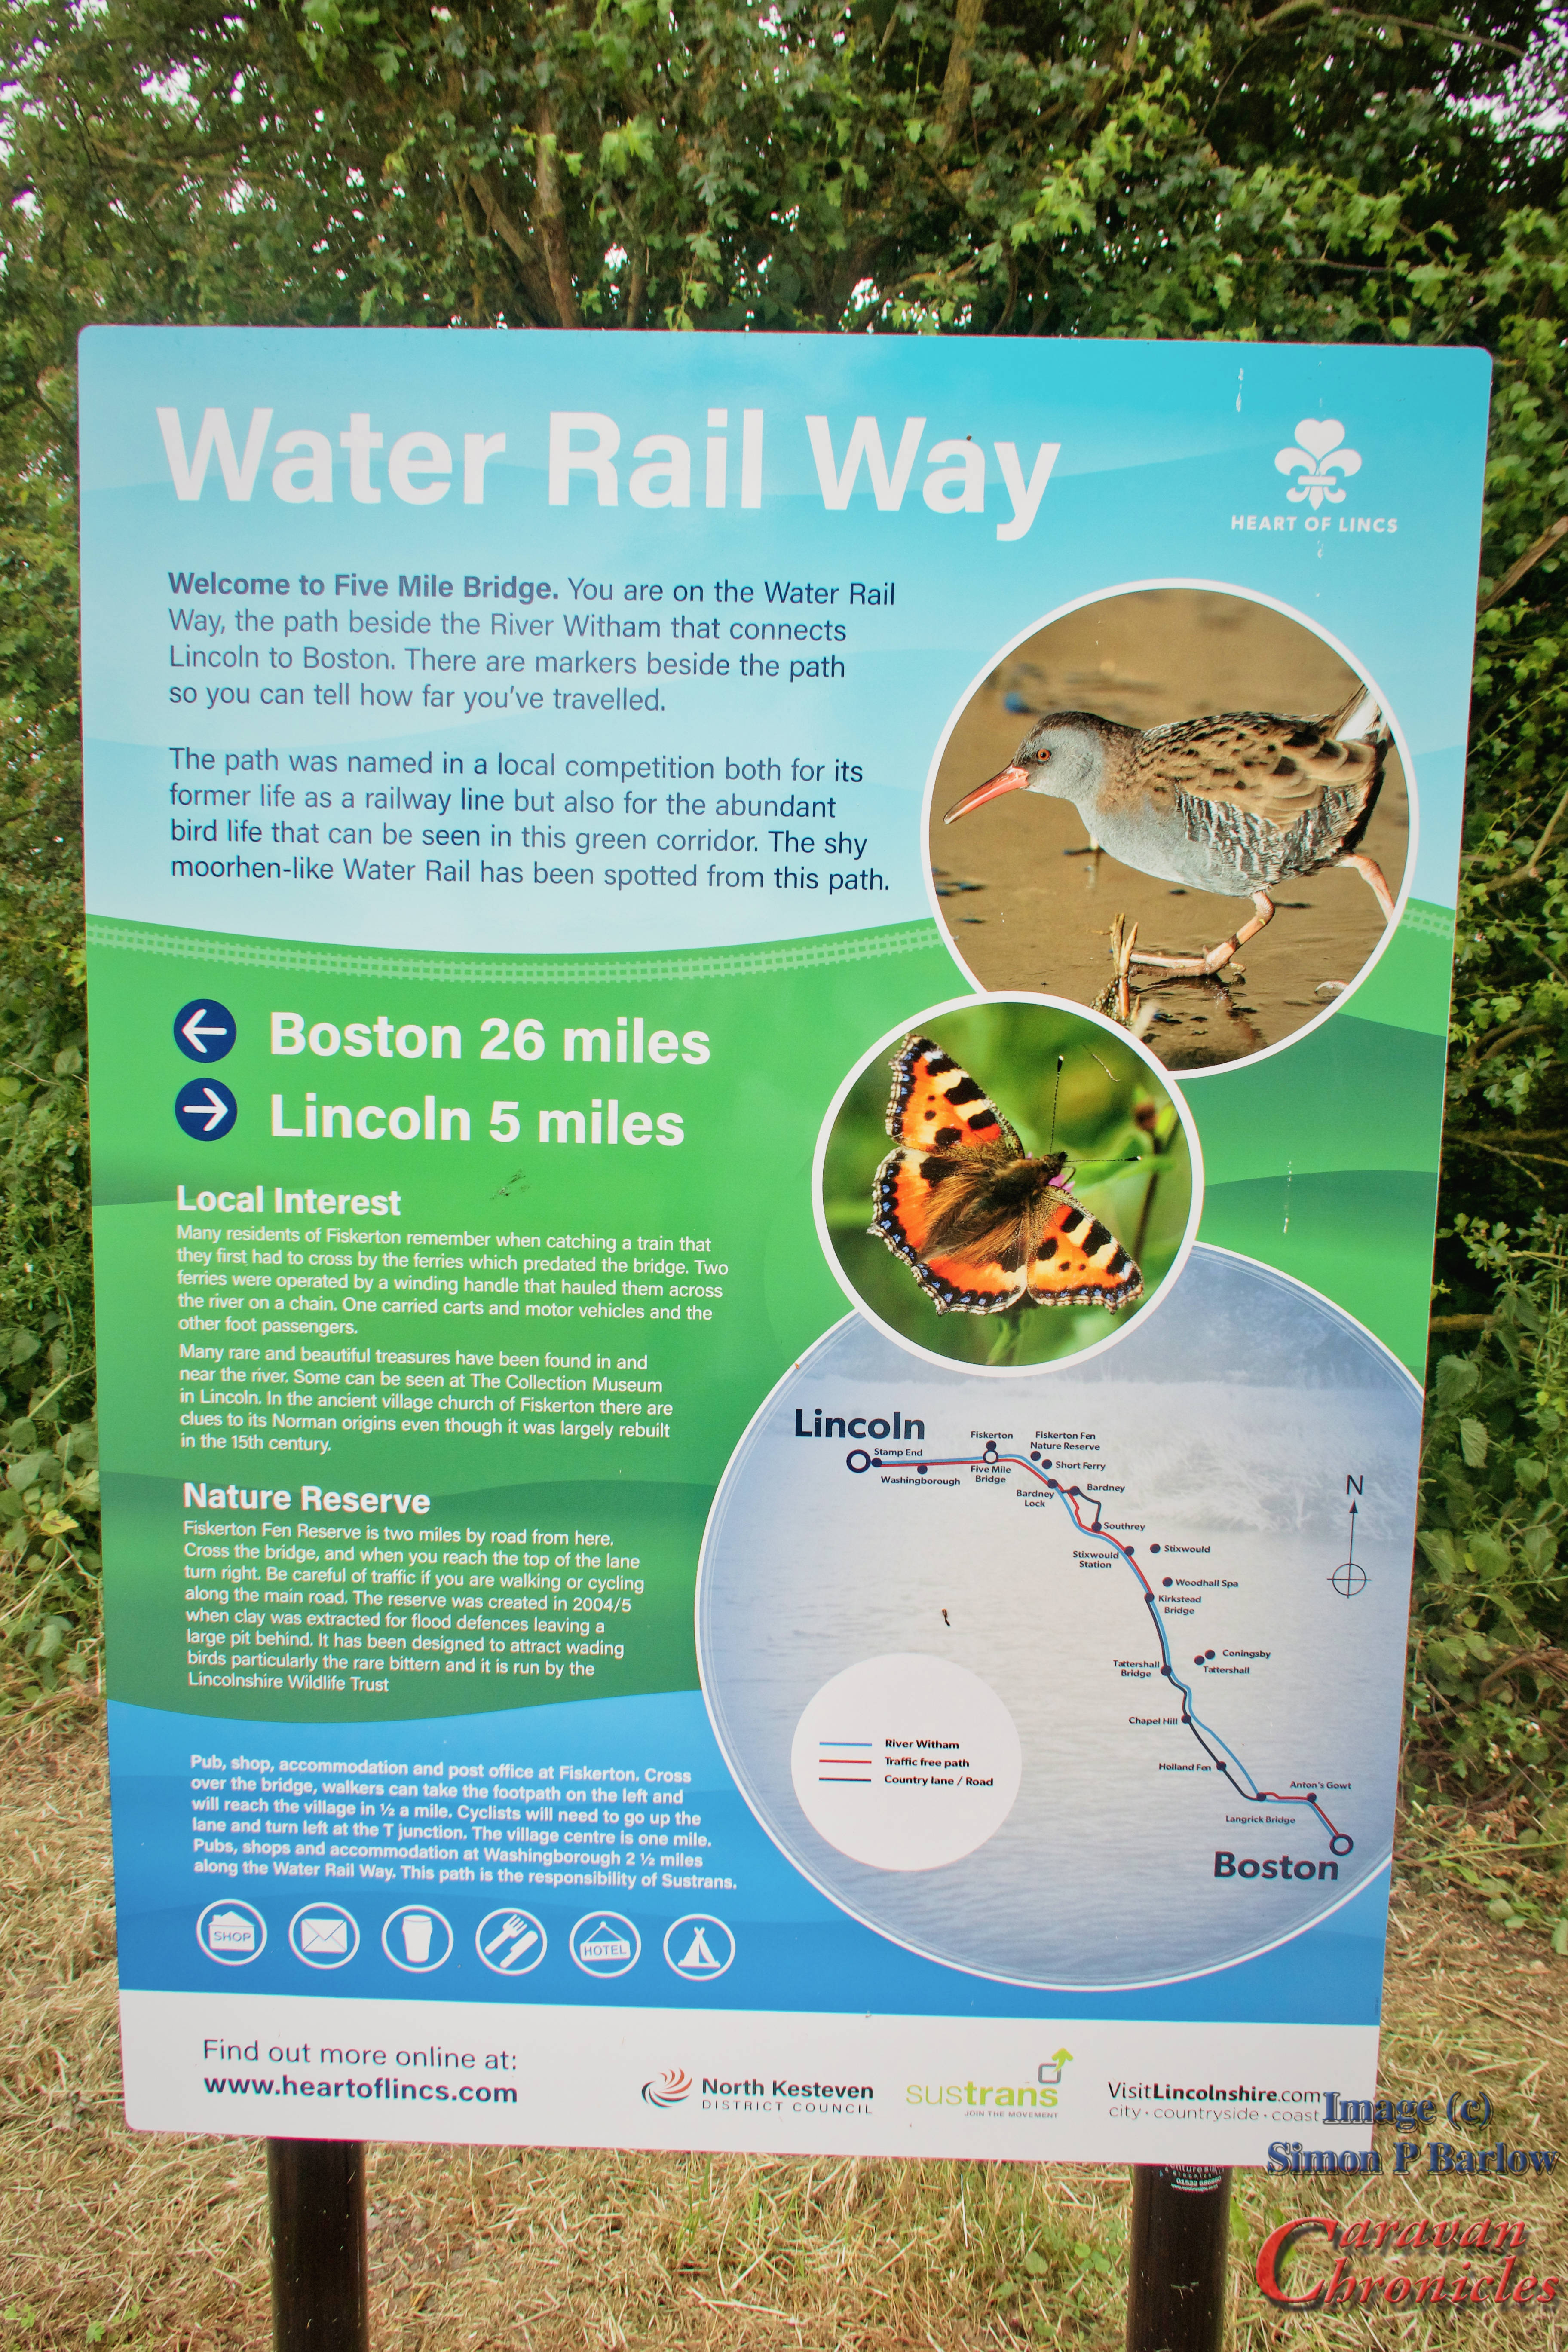
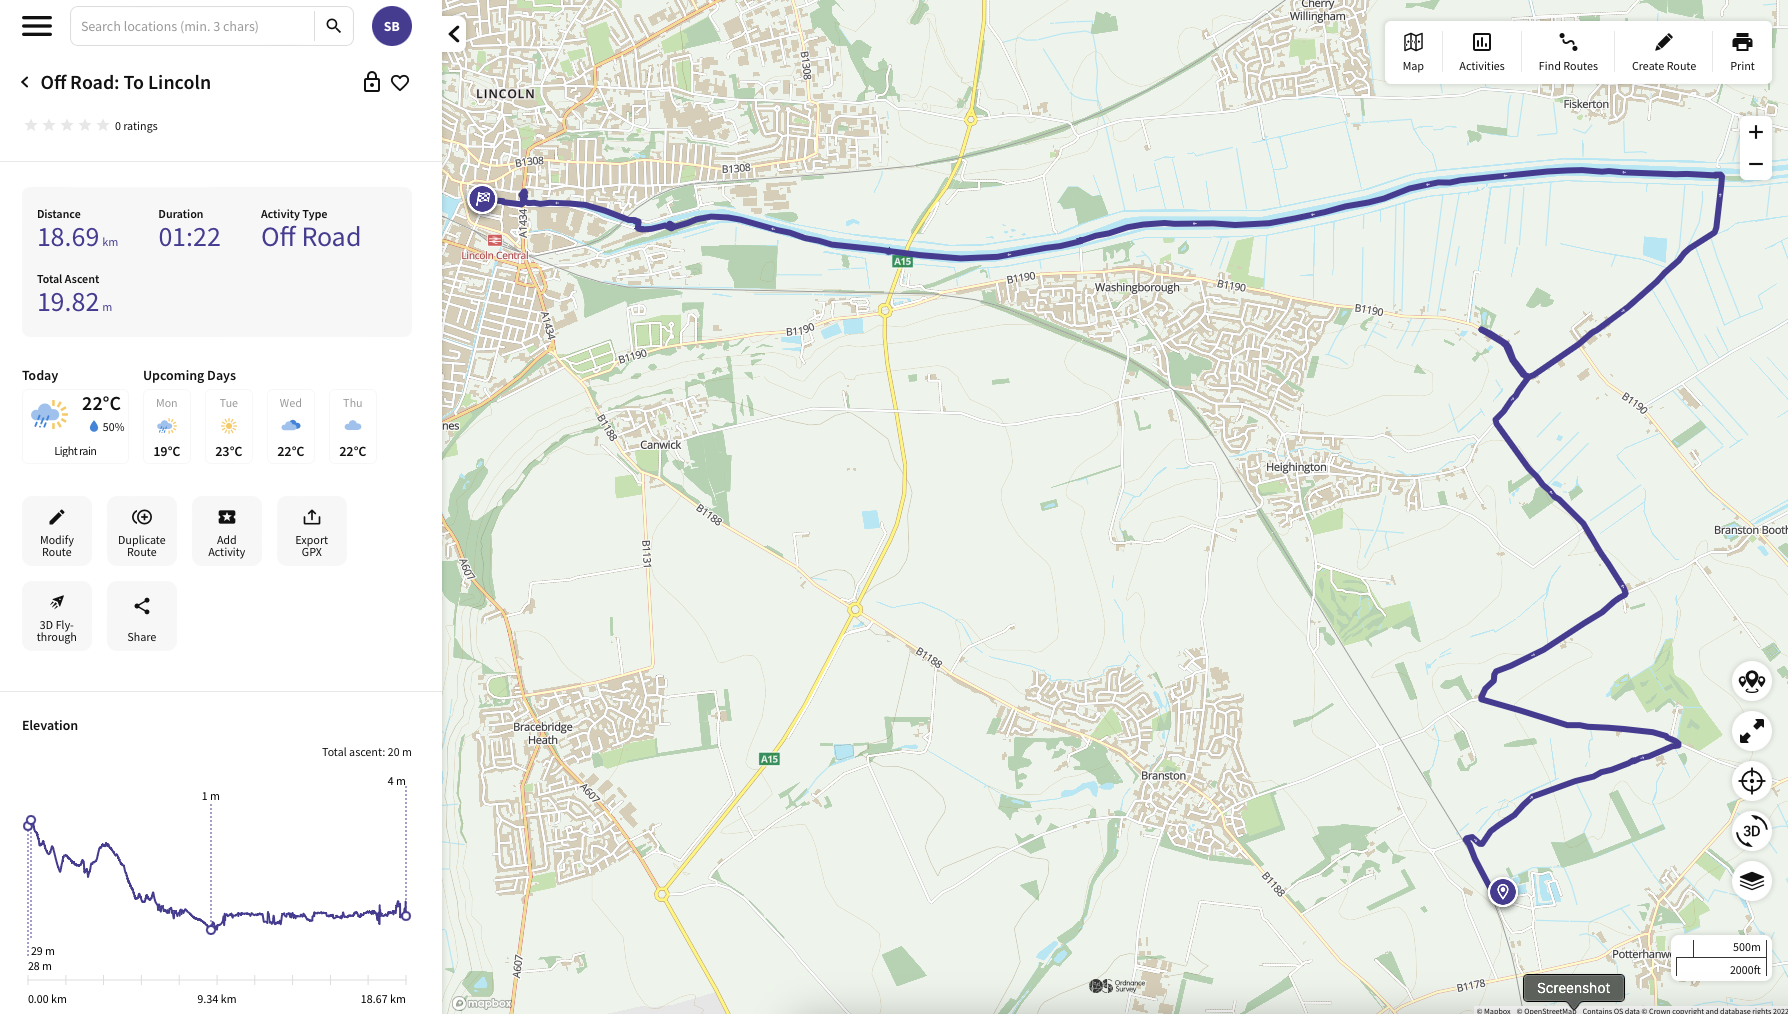
There is a great resource in Lincolnshire called the Water Rail Way. It’s the route of the original Lincoln to Boston rail line that has been turned into a cycle way. From the site you have to navigate to “5 Mile Bridge” which unsurprisingly is 5 miles from Lincoln.
The route however from the site to 5 Mile Bridge is a little wiggly….
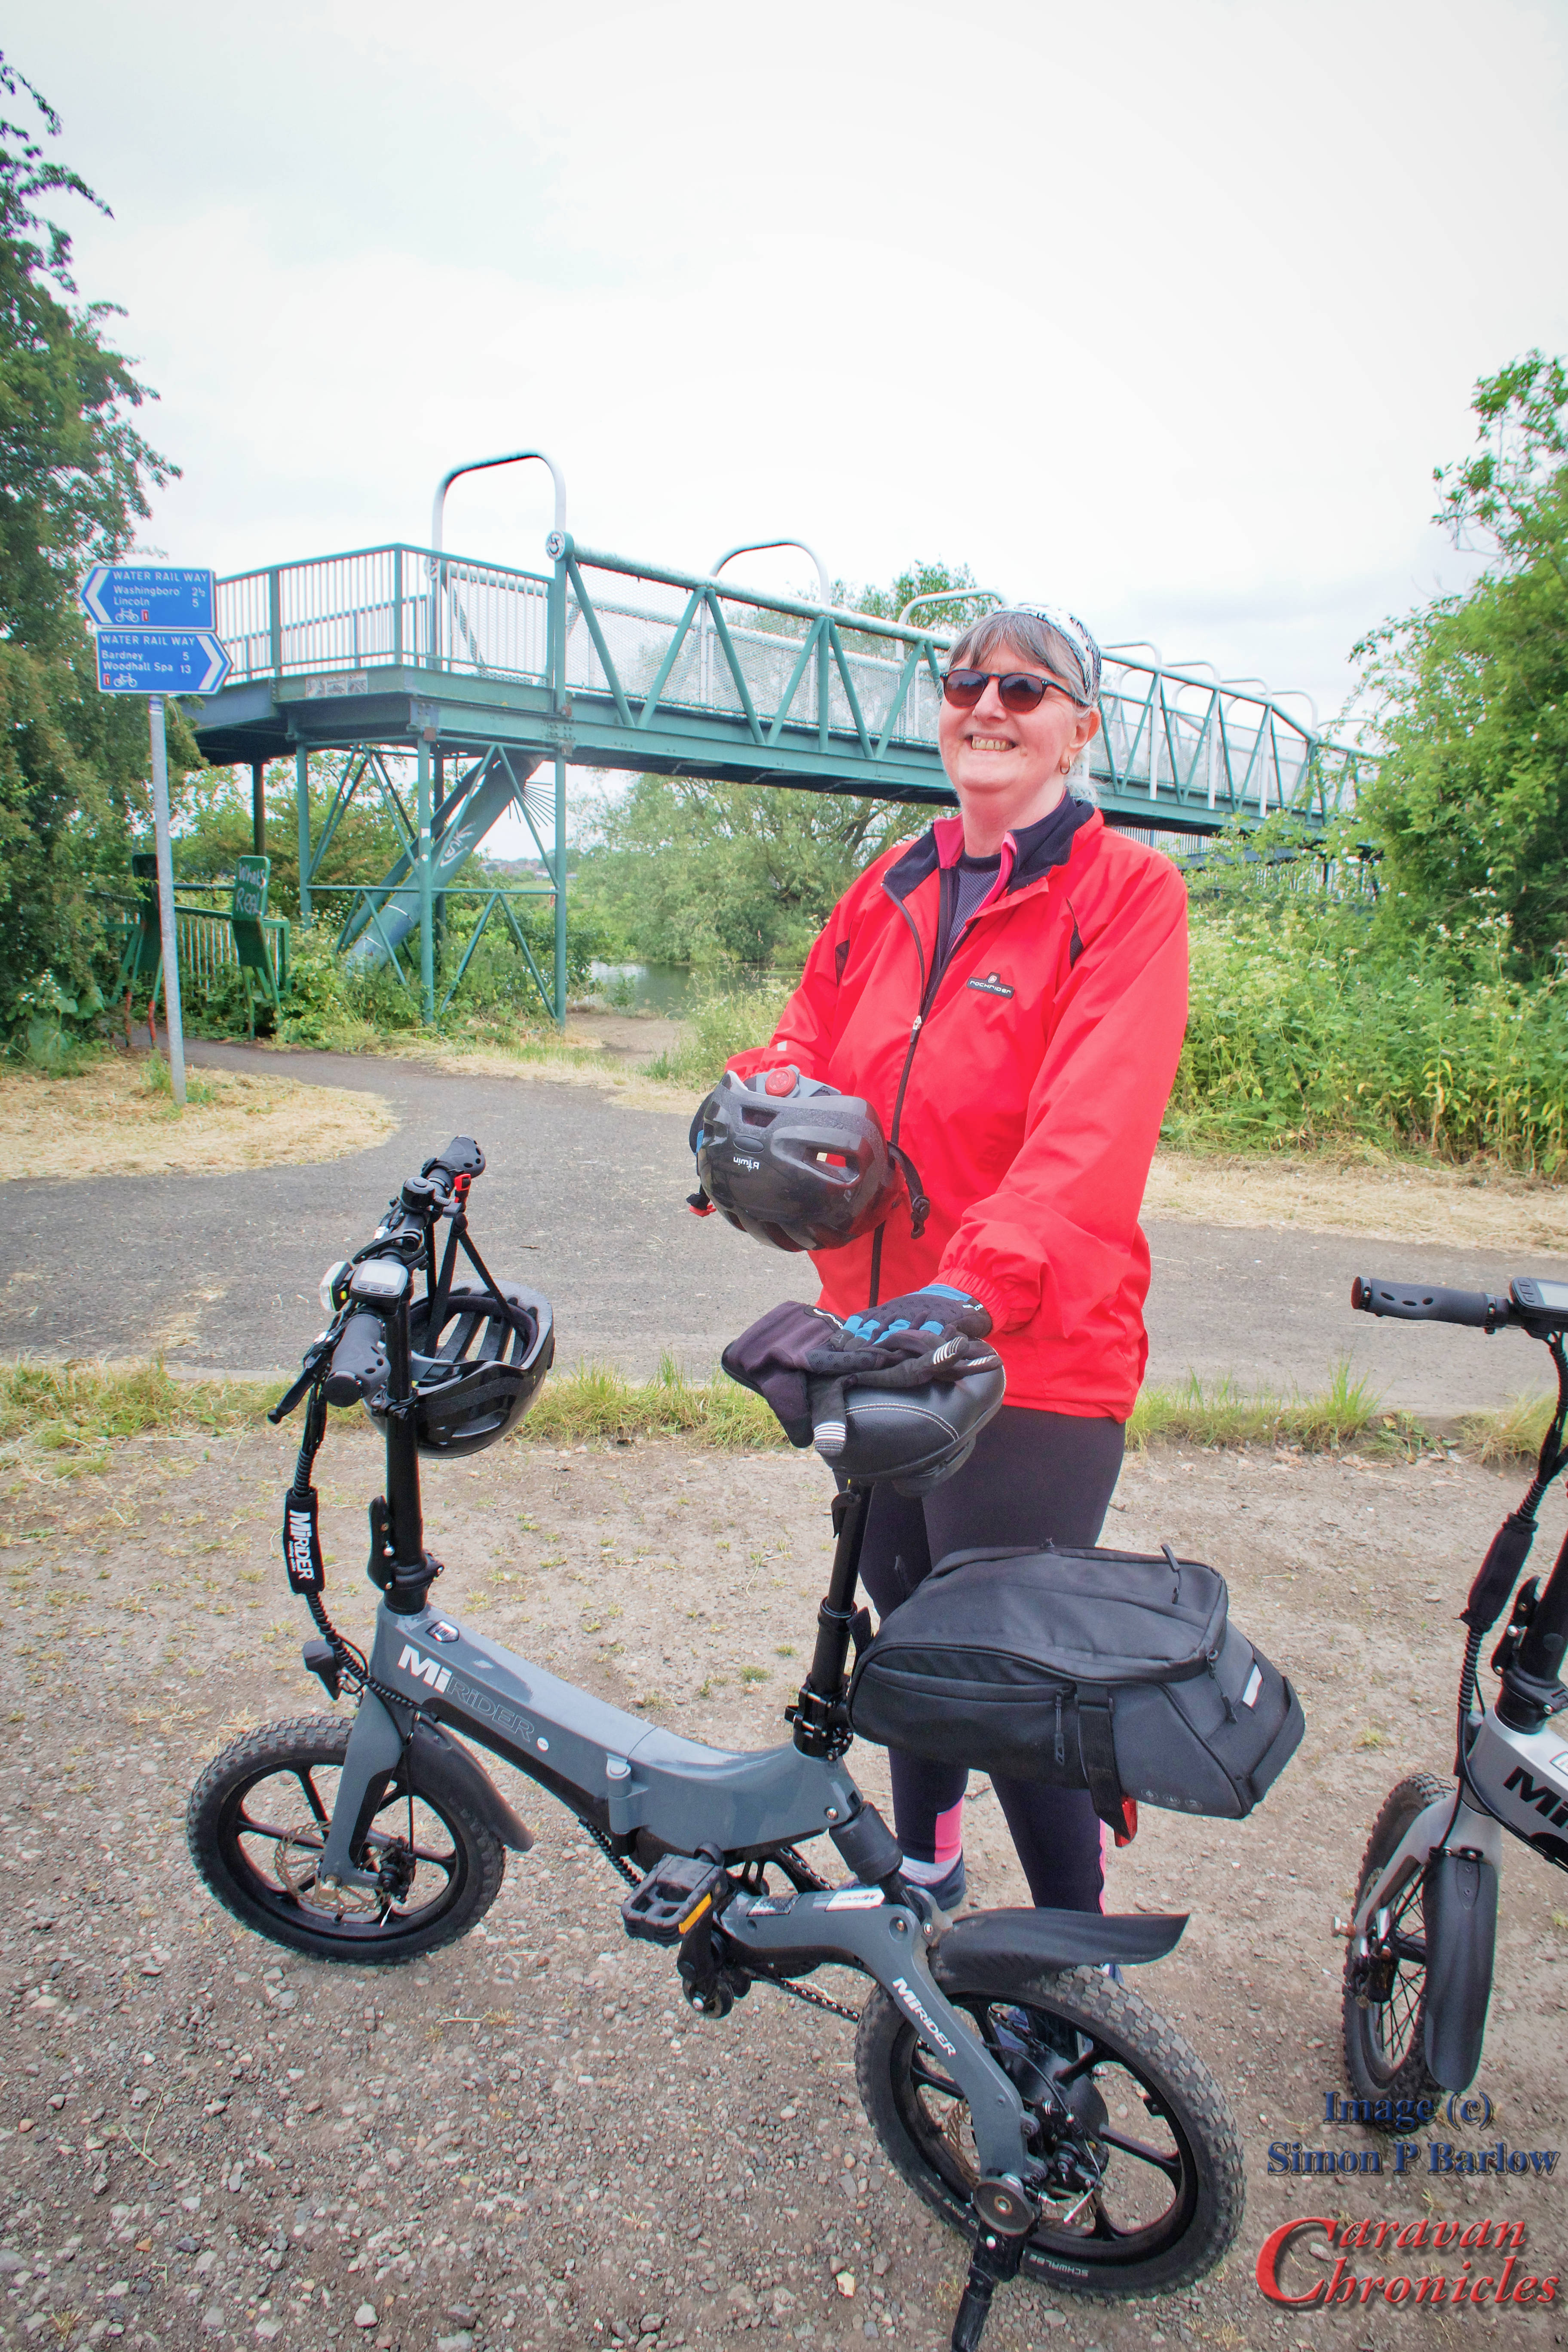
The distance we cycled was around 18.7km and took us 1h 22m… but that did include a couple of stops to check directions and a bit of a back track when I got it wrong. We eventually got to 5 Mile Bridge…
The MiRider bikes are really outstanding bits of kit!
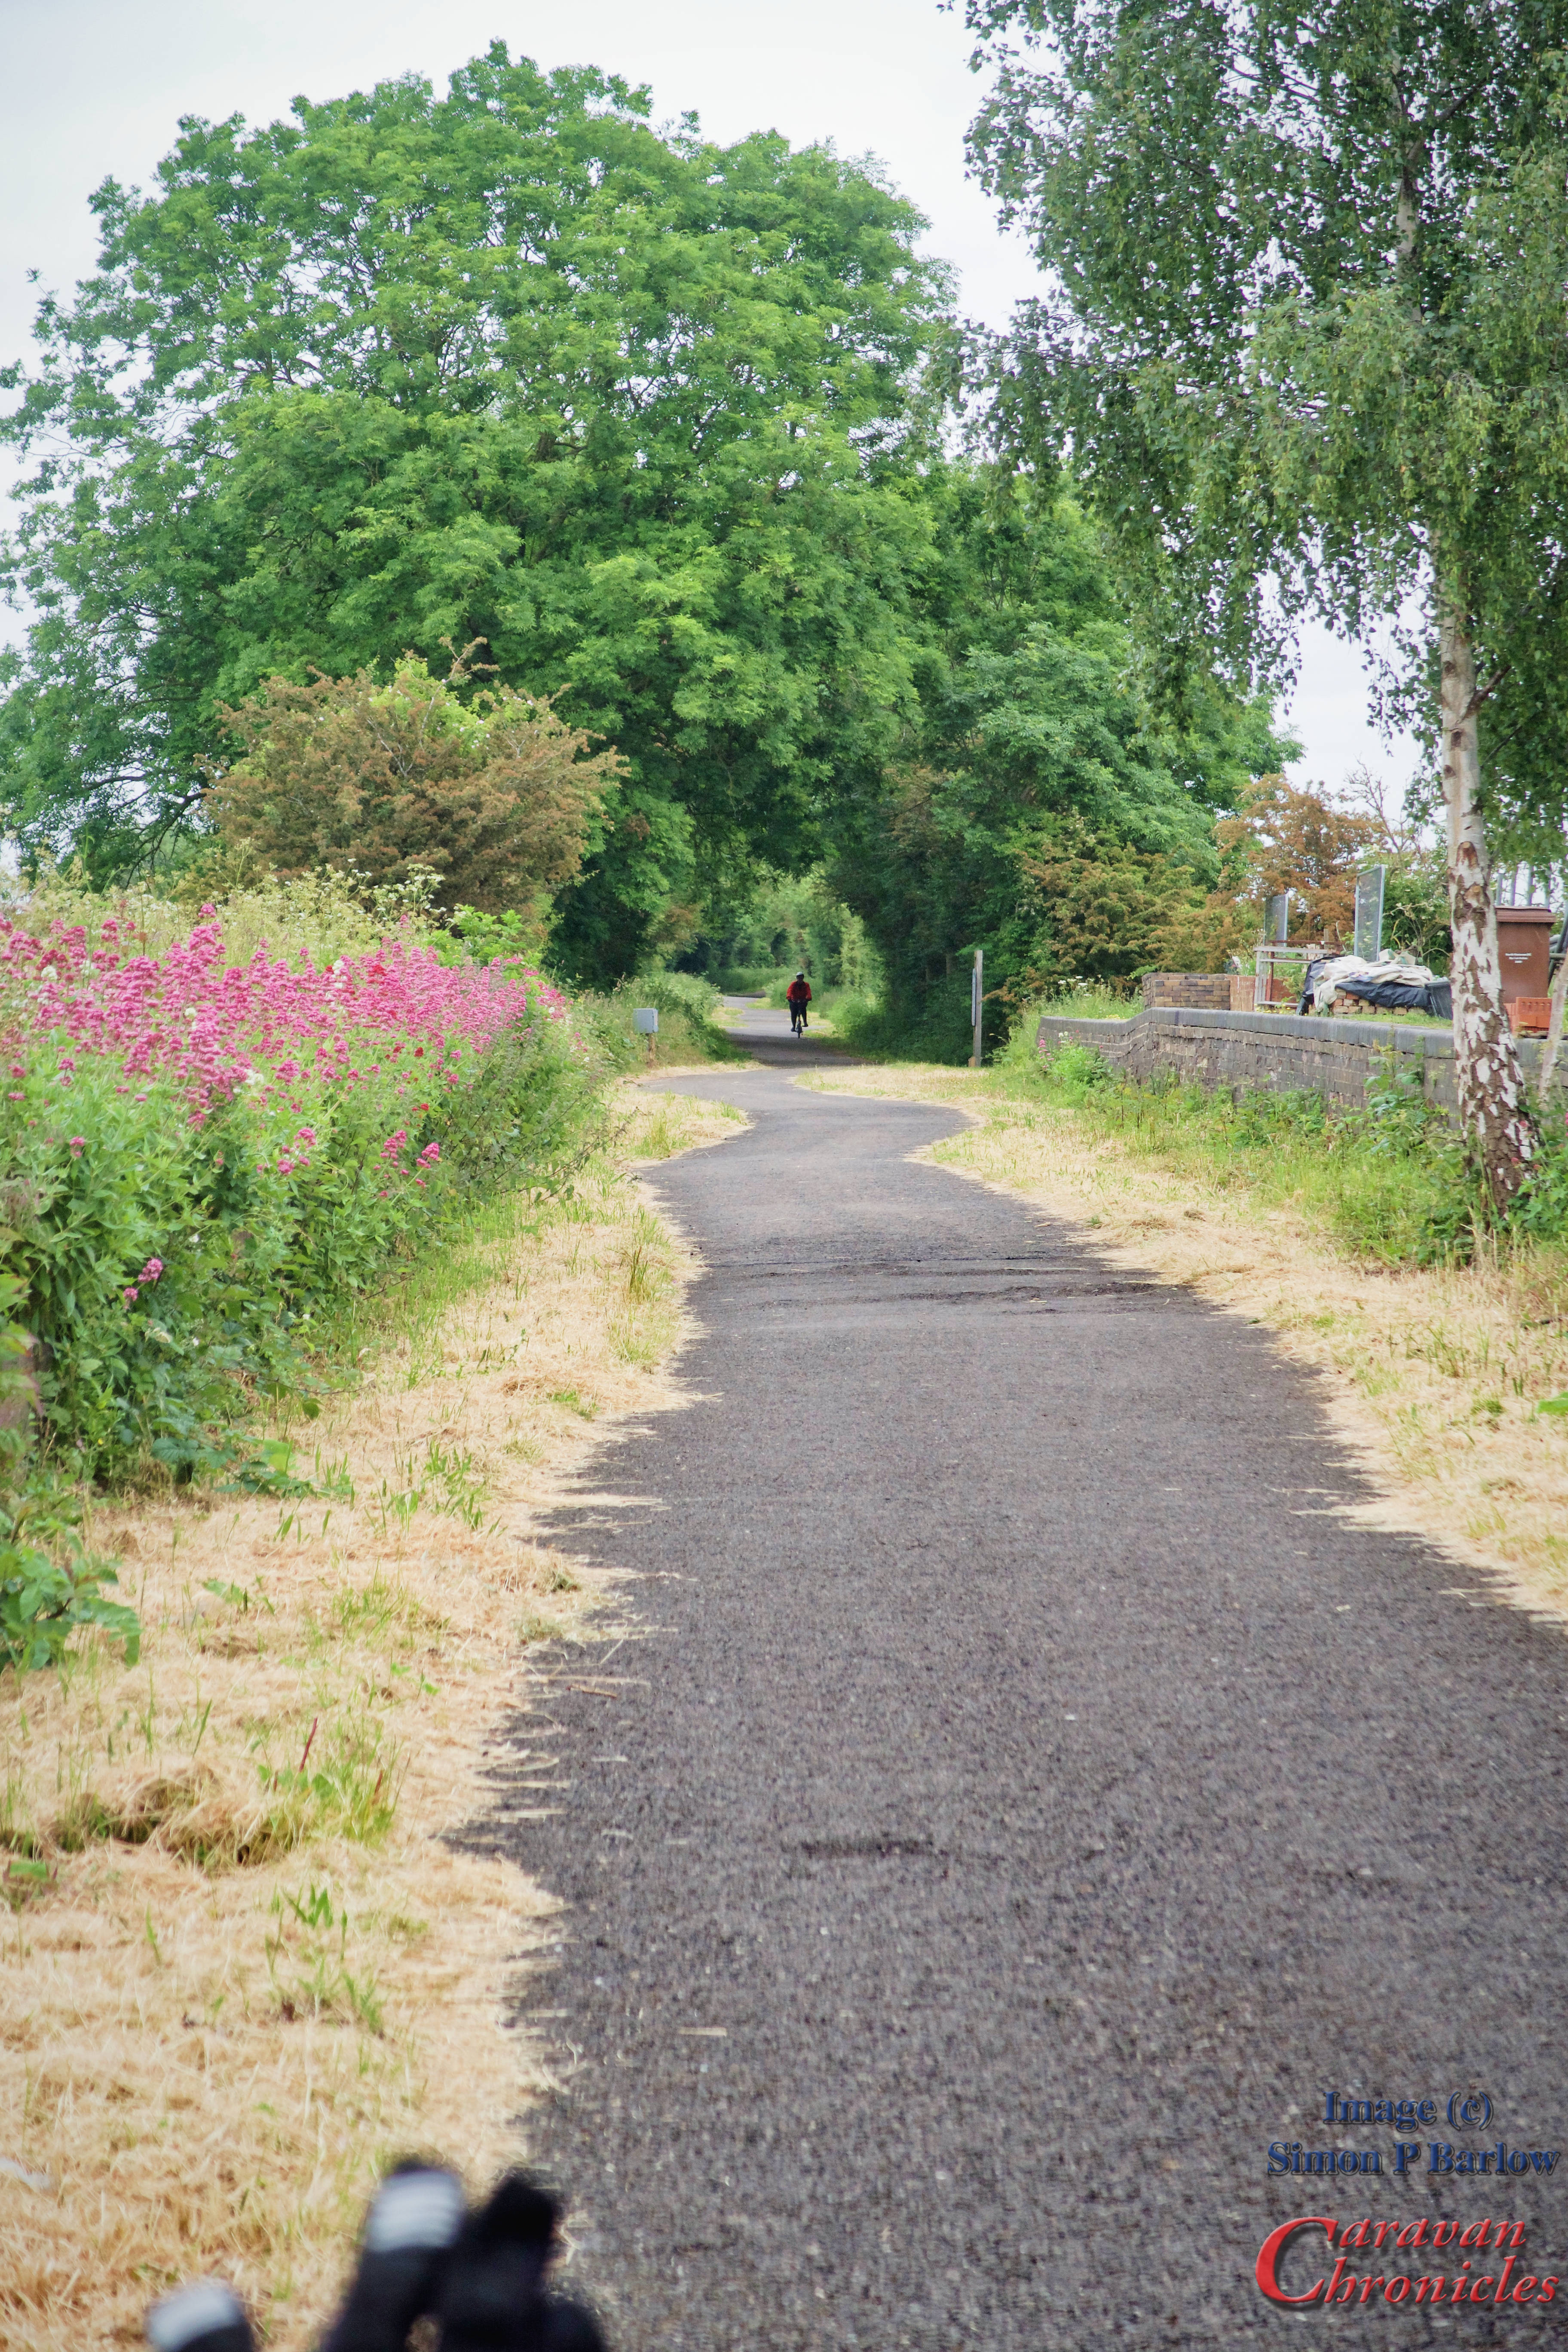
… and turned left to cycle the remaining 5 miles into Lincoln. Sue was rather pleased with her performance as it was the first long ride since being diagnosed with a heart condition. The Water Rail Way was a wide tarmac track that generally was in a good state of repair and easy to ride. The total climb for the trips was only around 20 metres. On the stretch into Lincoln however, there is no where to stop for refreshments…. so pack water, and if it is a hot day make sure you have enough for the whole trip.
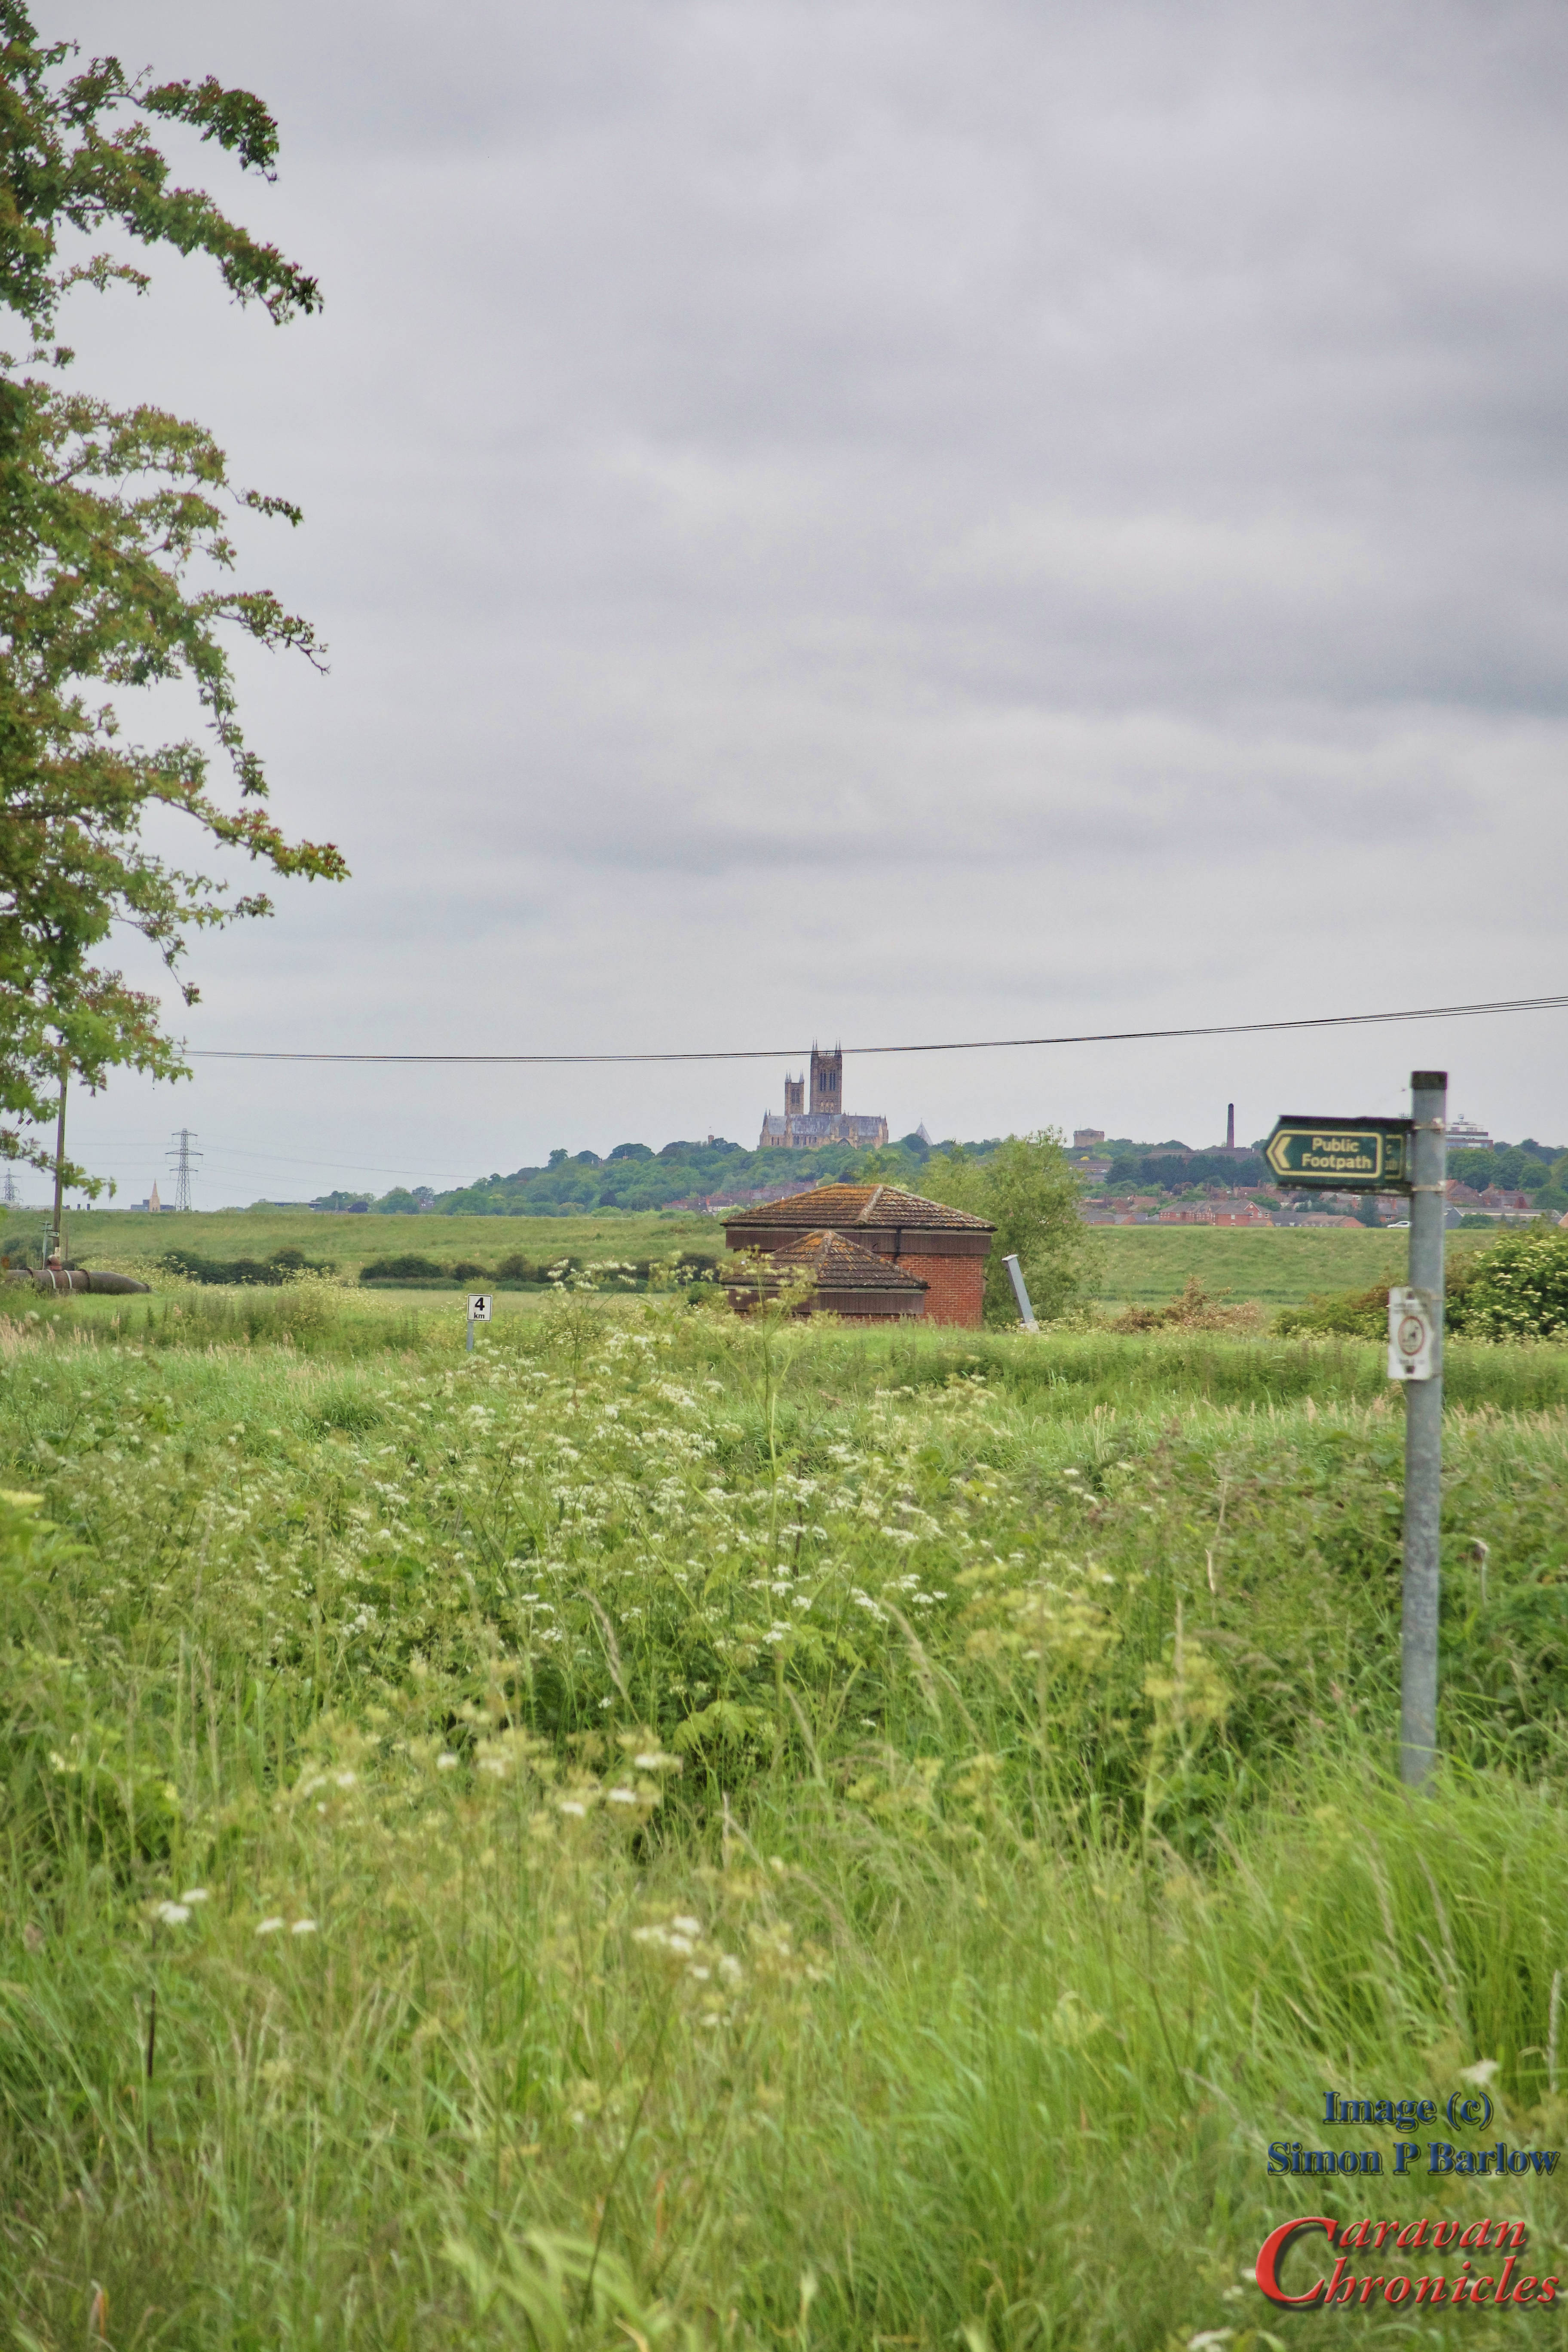
Hmm… that’s not Blackpool Tower…
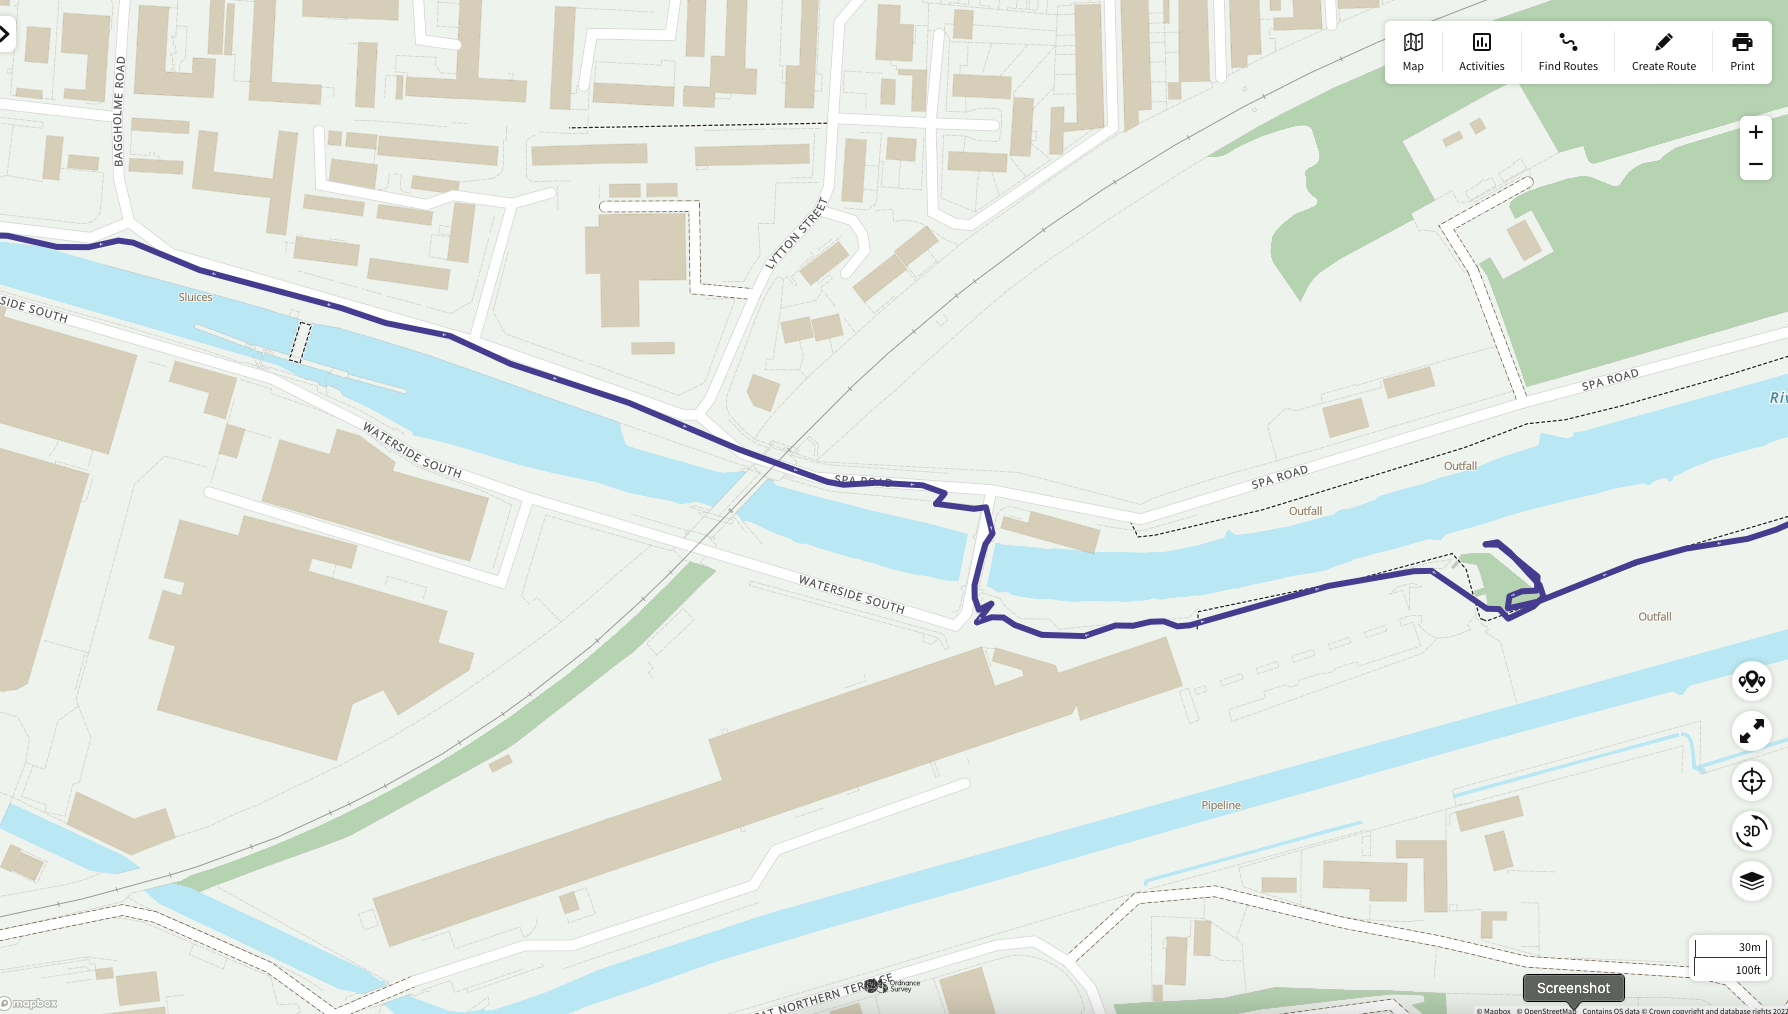
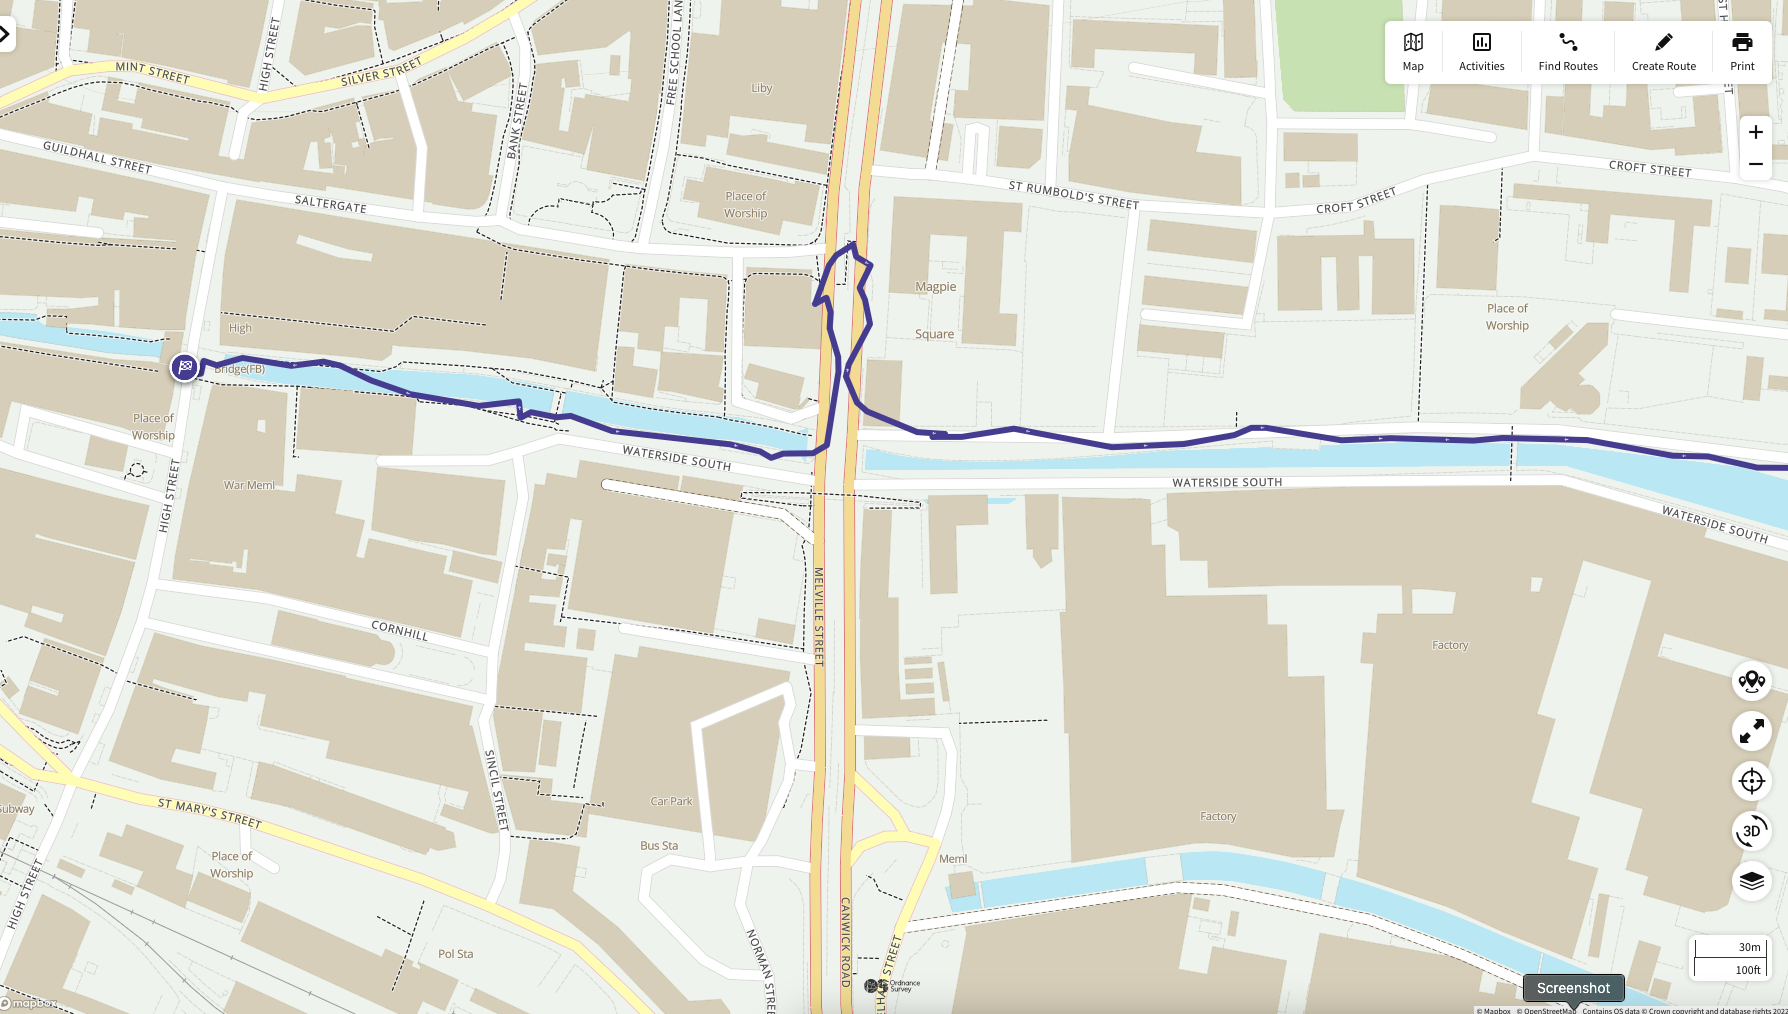
The section into Lincoln gats a bit confusing as you approach and it’s handy if you have had a look at the map and got a bit of an idea where to go as it involves going through a car park and crossing over a rather humpy bridge…. well it does the way we went.
We found somewhere to sit outside and have coffee and as a treat, squishes before heading back. No, we didn’t tackle “Steep Hill” (I challenge anyone to tackle Steep Hill and not say part way up “Bloody Hell this is steep”) on this trip, however we decided we will be back and I think I have found an easier cycling route from the site to the Water Rail Way that reduces the distance by about 7km in each direction. The total cycling for the day was 36.1 km or 22.4 miles.
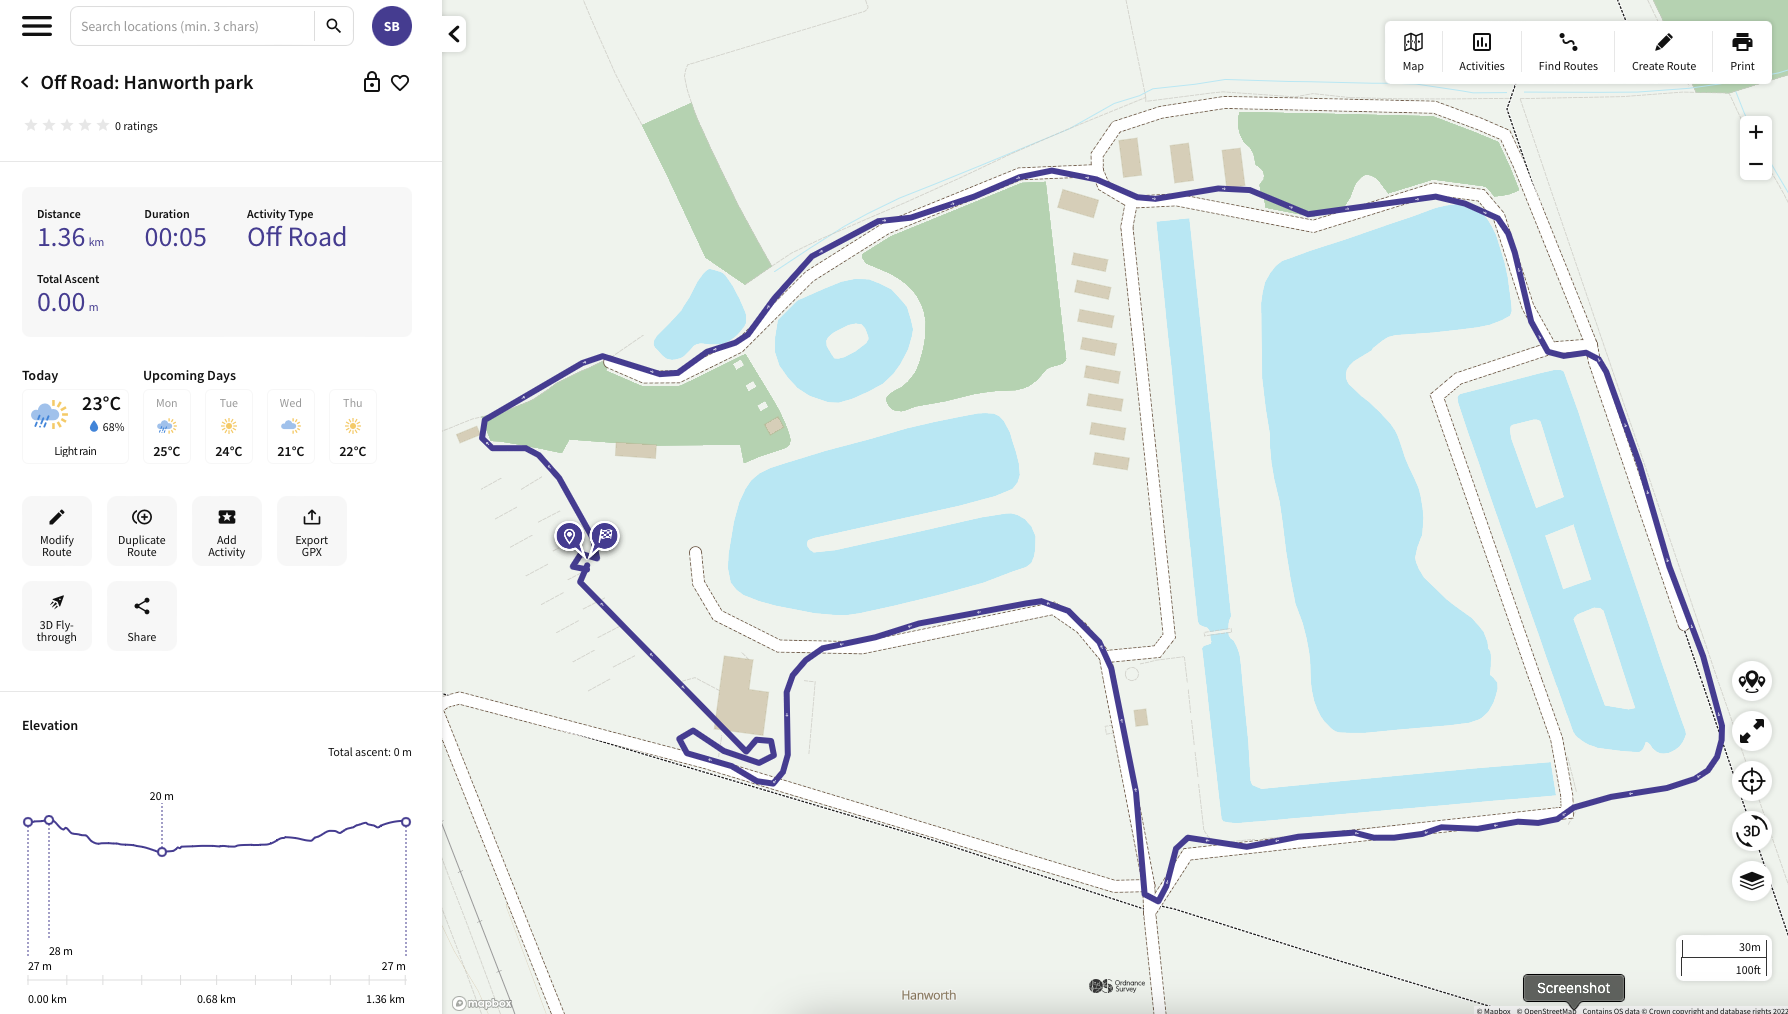
Wednesday was a bit of a relax (read: a bit tender) so we only managed a cycle round the grounds of Hanworth Country Park and a strawberry cornetto from the cafe…
Told you there were a lot of lakes….
We Interrupt You Scheduled Programming with some Breaking News…
I know you have only been reading down to this point to find out what the breaking news is…. so here goes….
We are selling our caravan! Yep it’s as good as sold all bar the paperwork… is that someone cheering I can hear….. Graham is that you… the Caravan Vlogger…. I guessed as much.
Yep soon it will be off to a new owner to hopefully allow them to enjoy caravanning as much as we have done over the last 12 years. Are we giving up caravanning… ah that is the question. Lets just say the day after we came back from Hanworth Country Park we headed over to North Wales…. to Rhuallt to be exact to see George and Simon….. and see the next stage in our adventures.
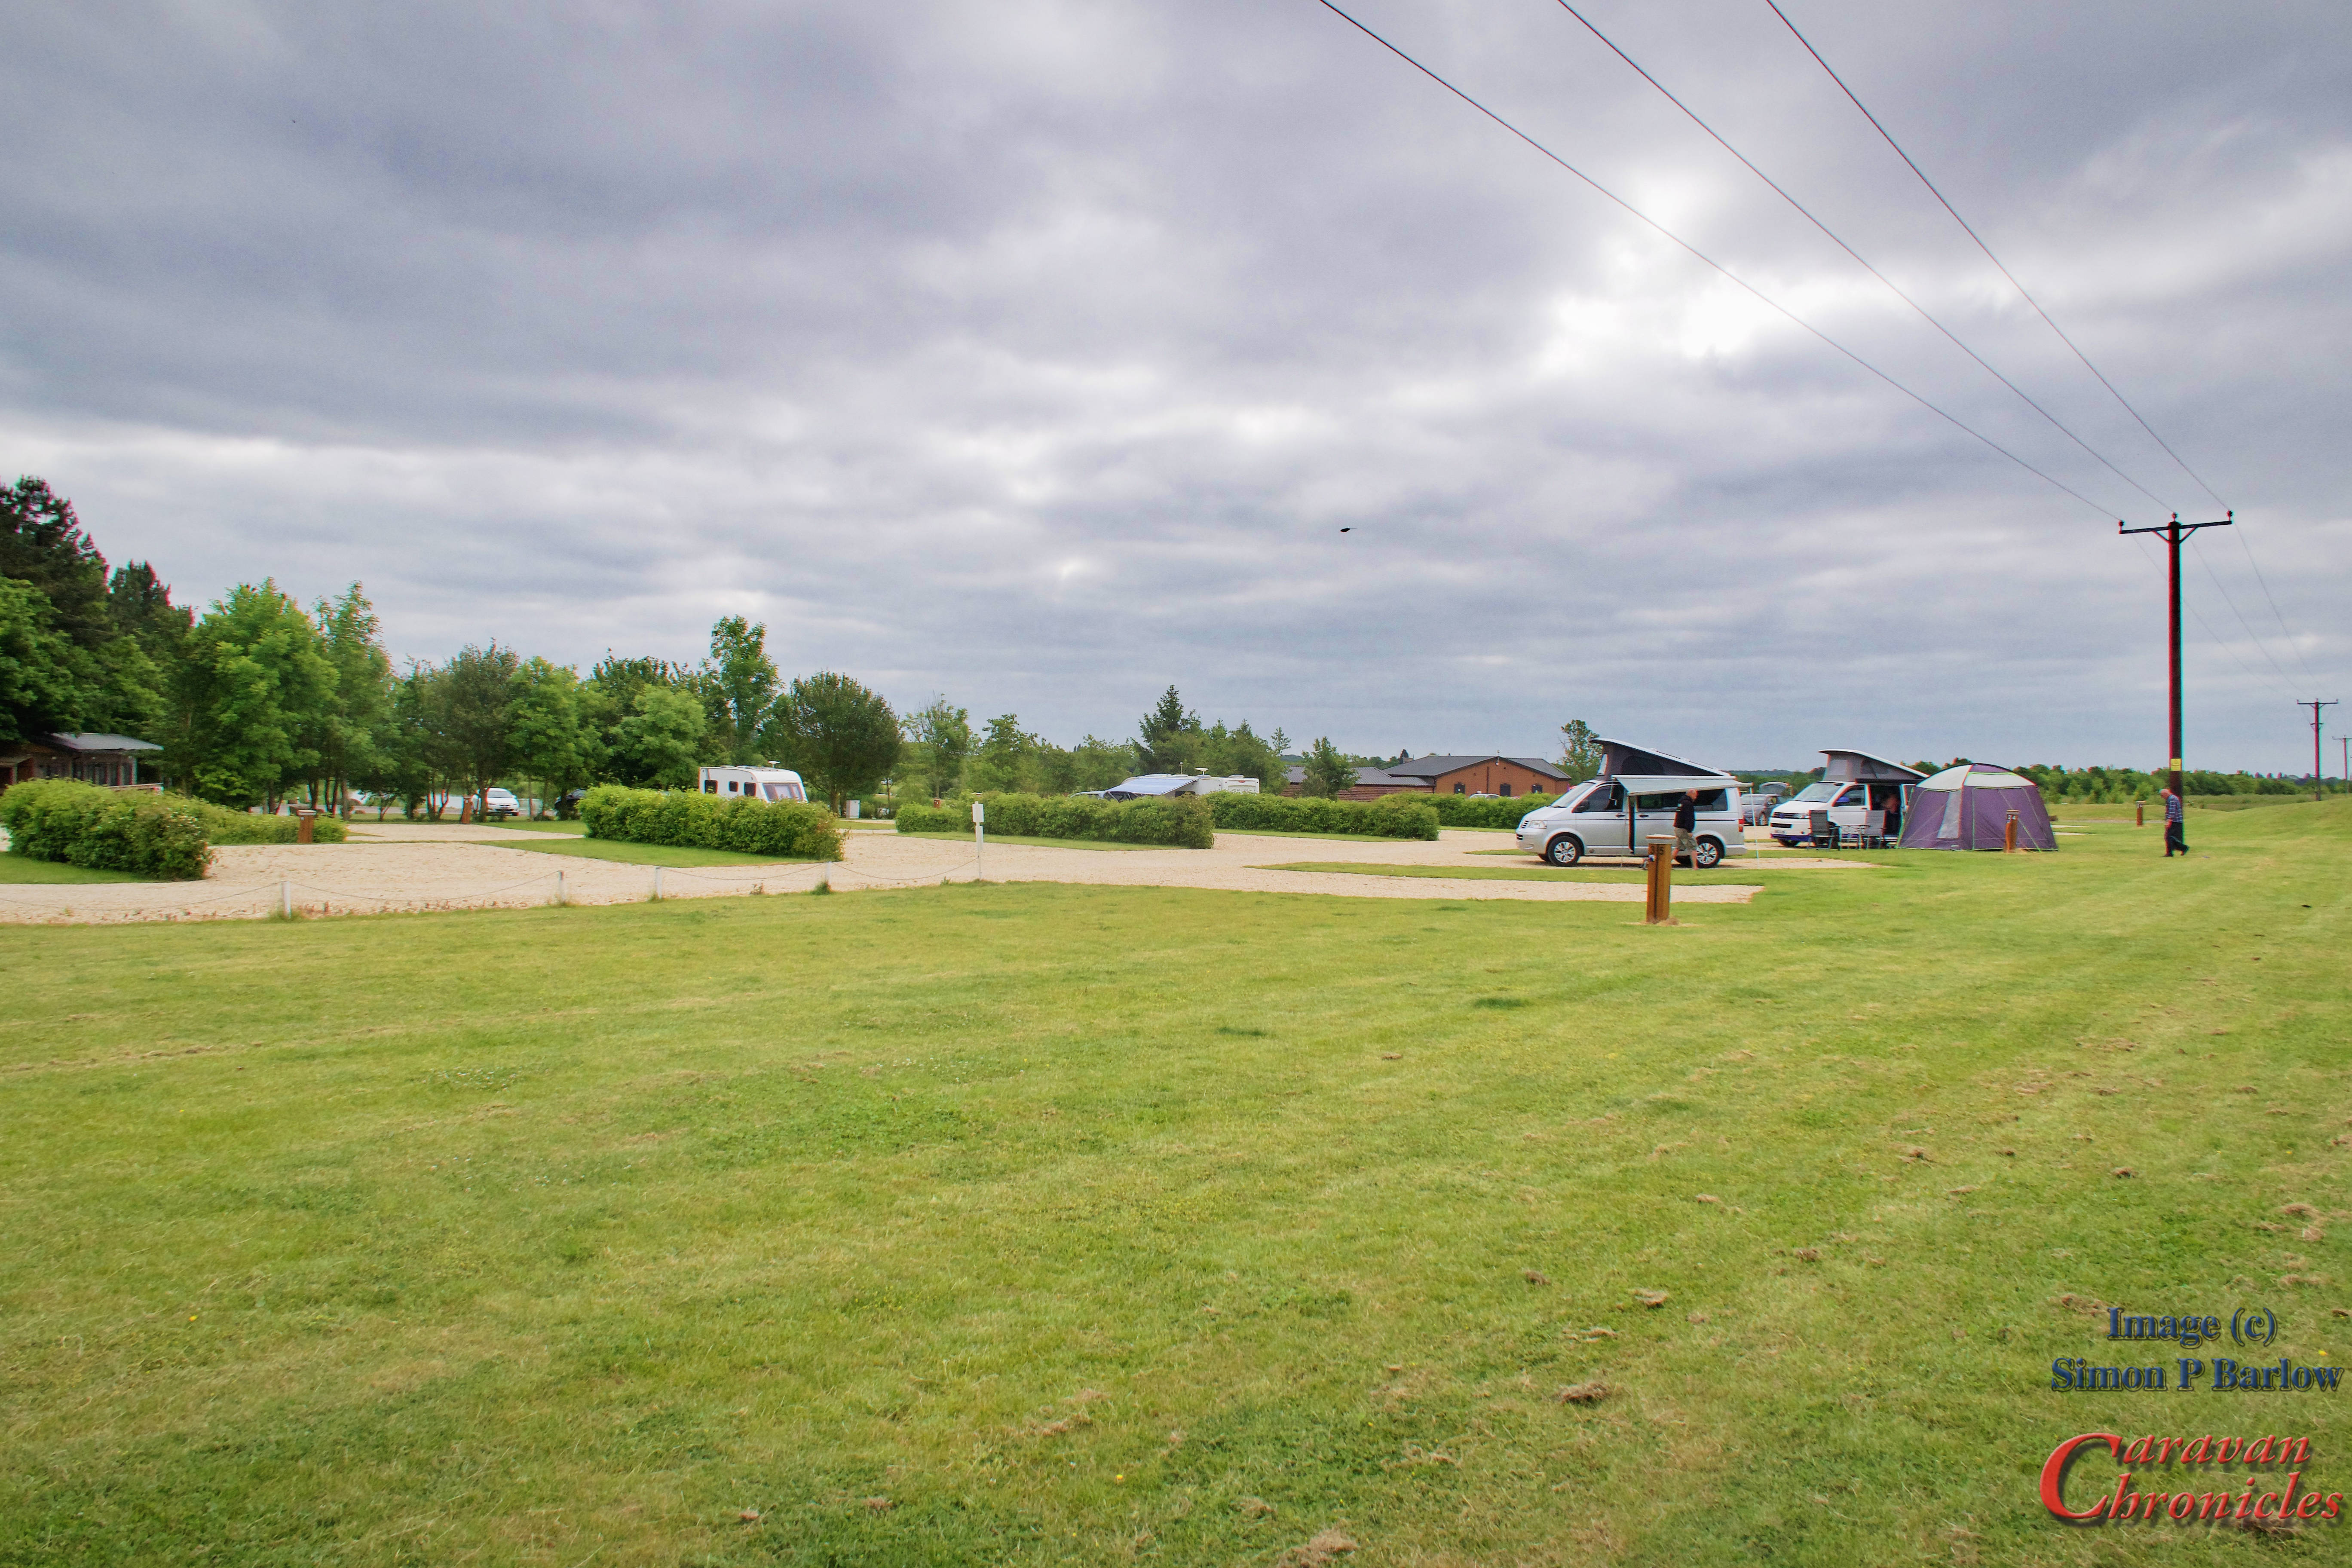
We or more probably me don’t normally do site reviews. That said we recently came back from a few days away at Donkey Creek Farm in Freckleton, and we liked it that much I had to put pen to paper…. or in more modern parlance lay fingers on keys.
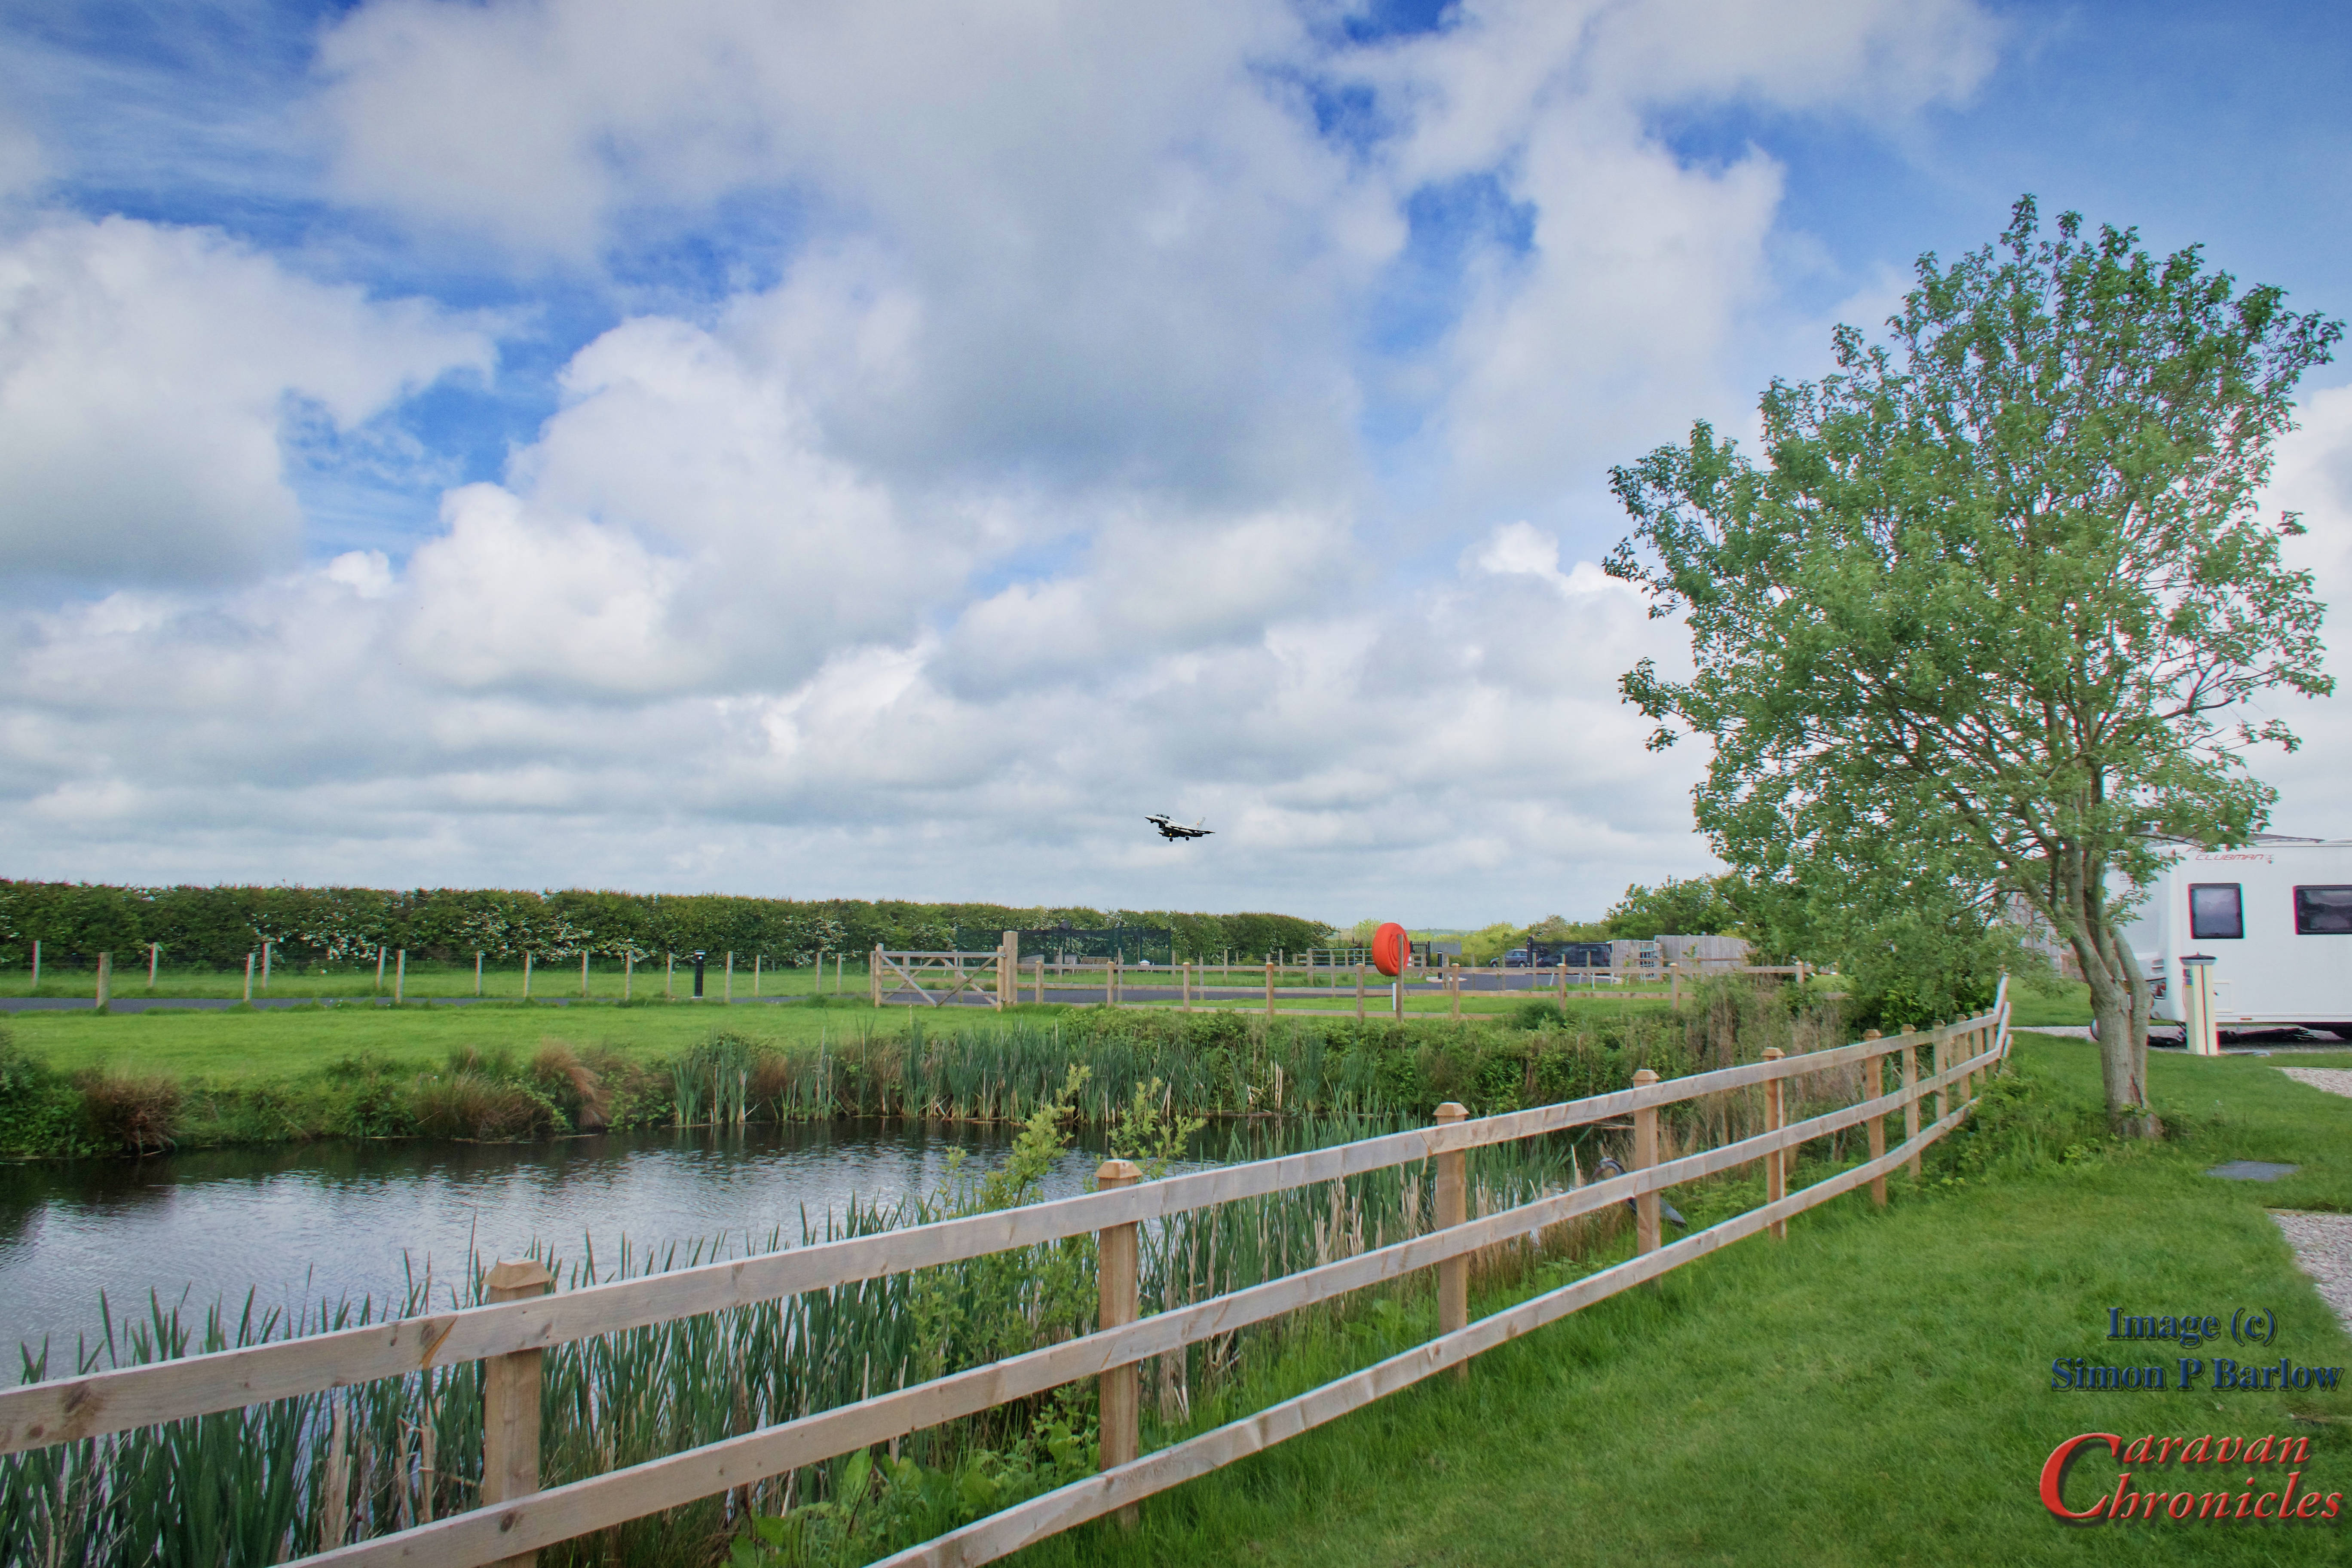
The site is located on Naze Lane East just south of Freckleton and is just the other side of Naze Lane from the eastern end of BAE Warton’s runway. Don’t let this put you off though. At weekends you may get the odd light aircraft doing low approach and go-rounds but in the main it’s quiet. Weekdays, there are a couple of BAE’s scheduled staff planes in the morning and evening and the occasional fast jet. Having spent 7 years working there in the 90’s I don’t notice it.
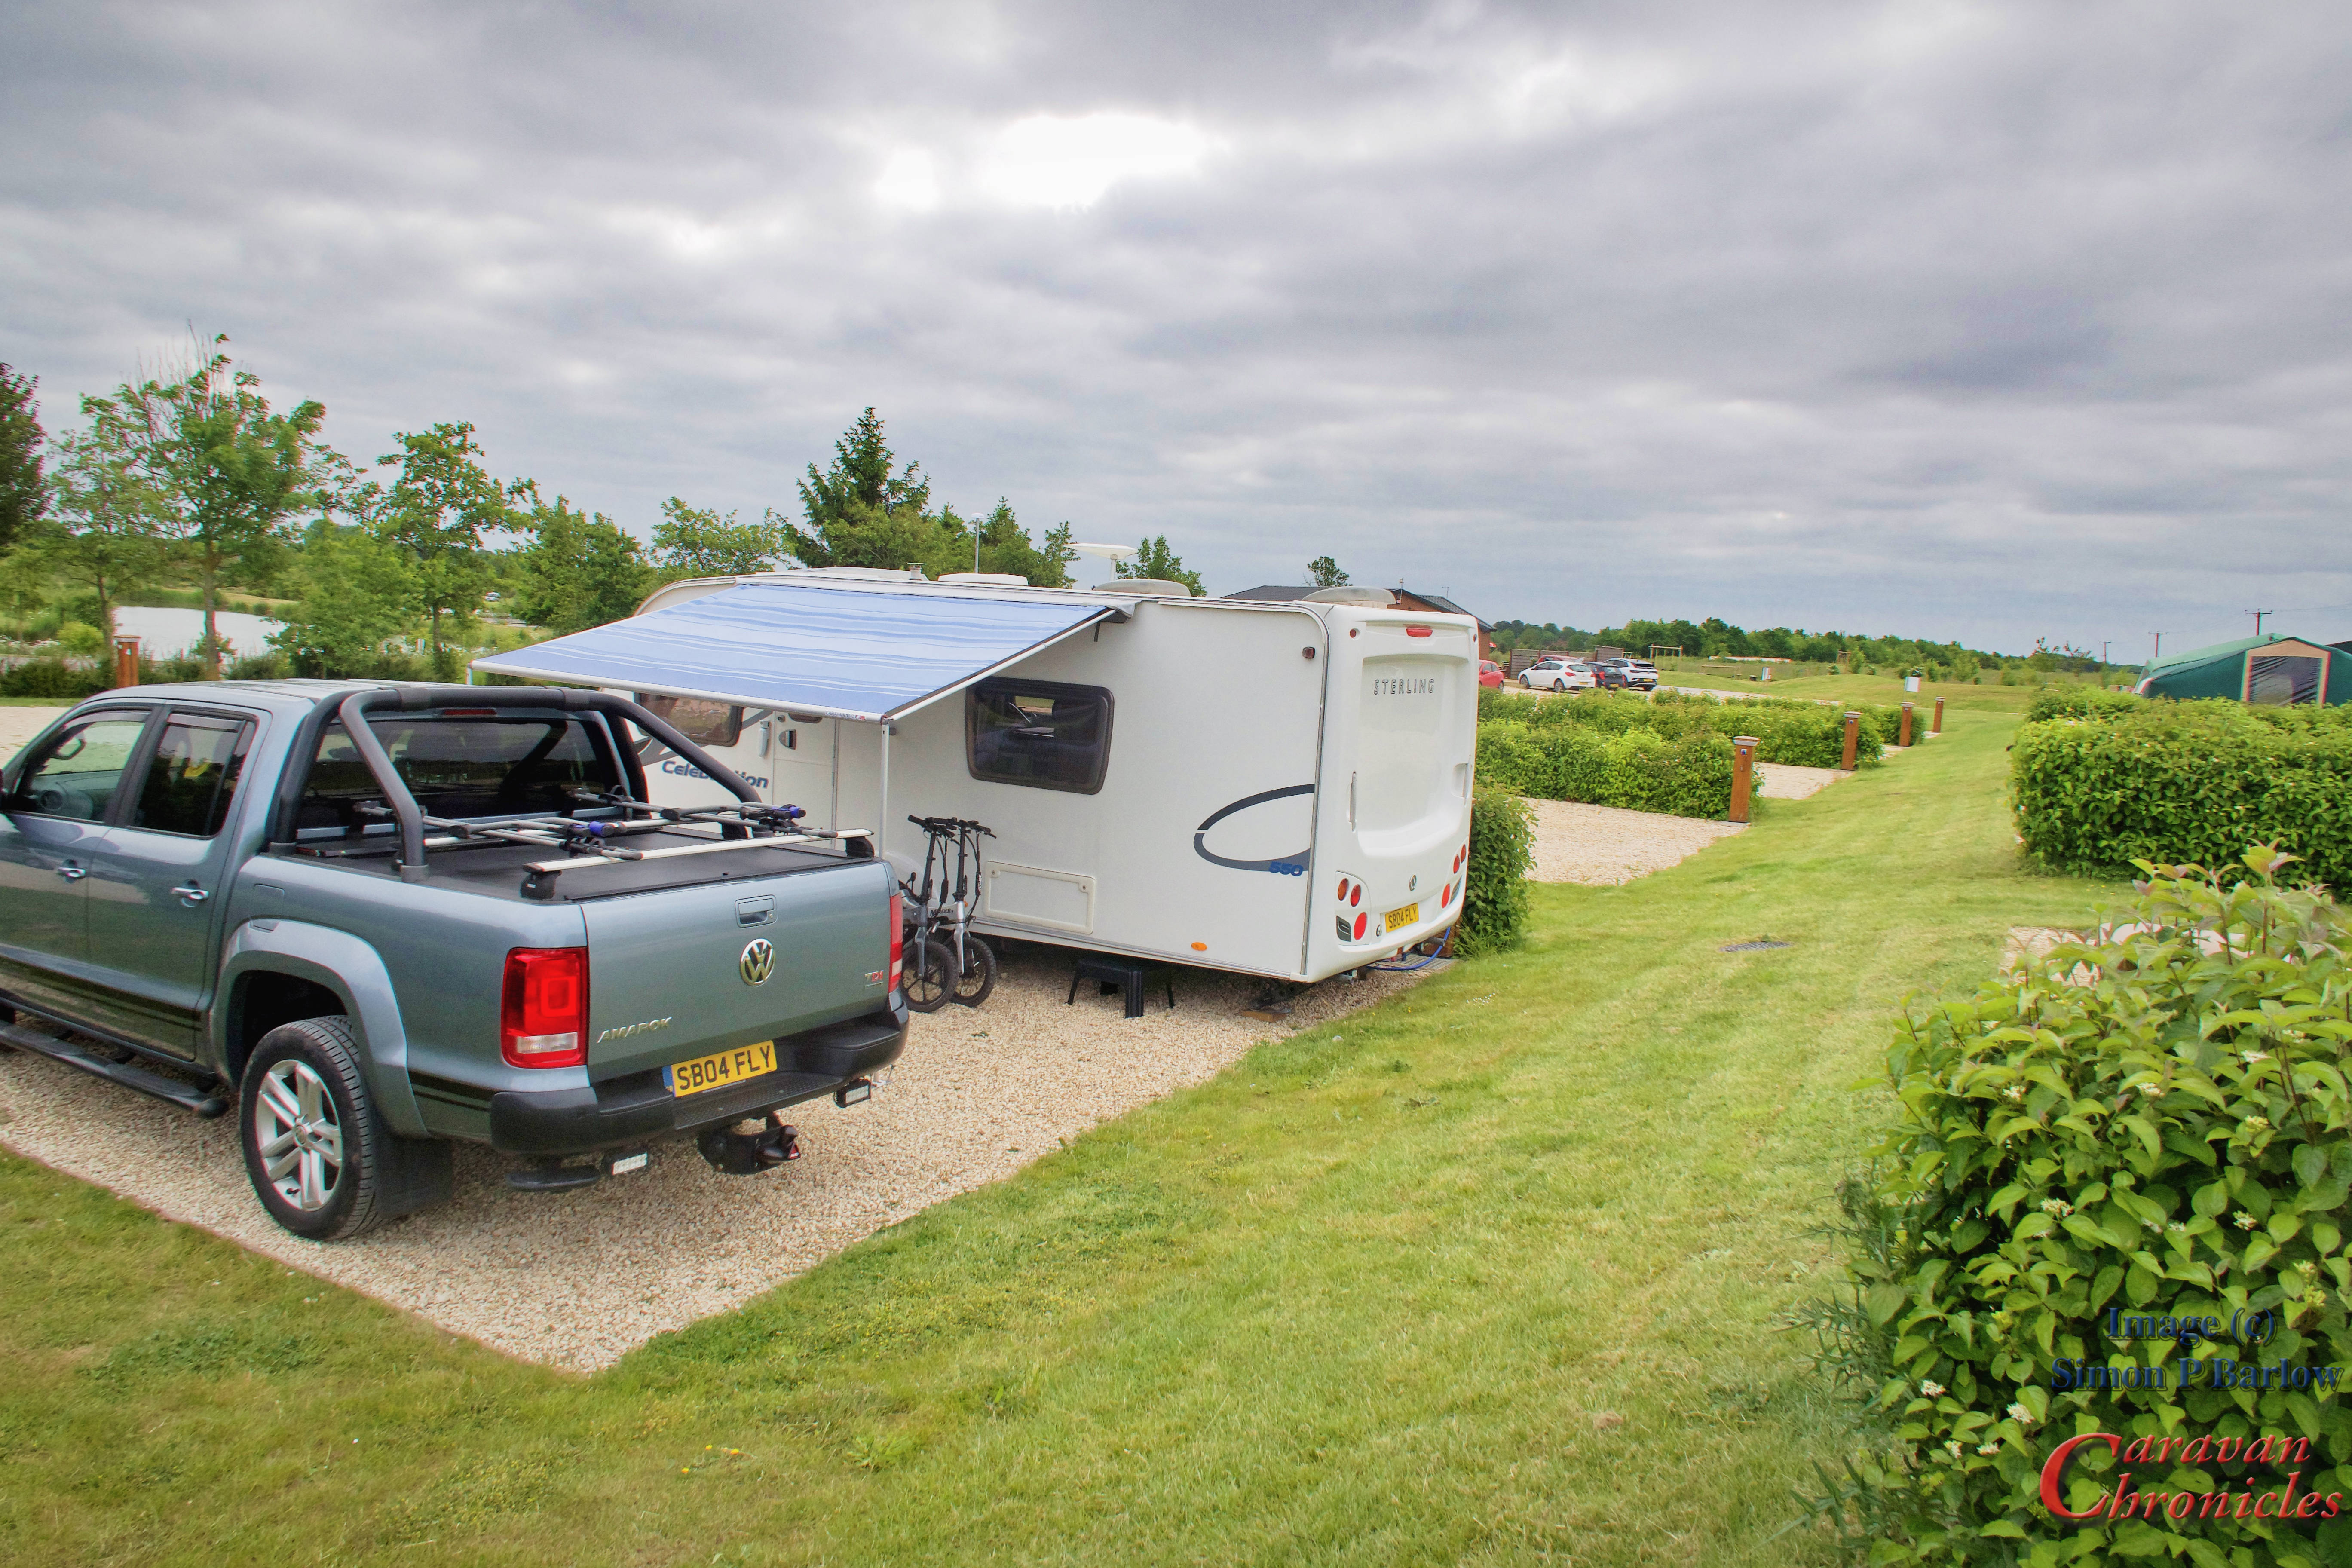
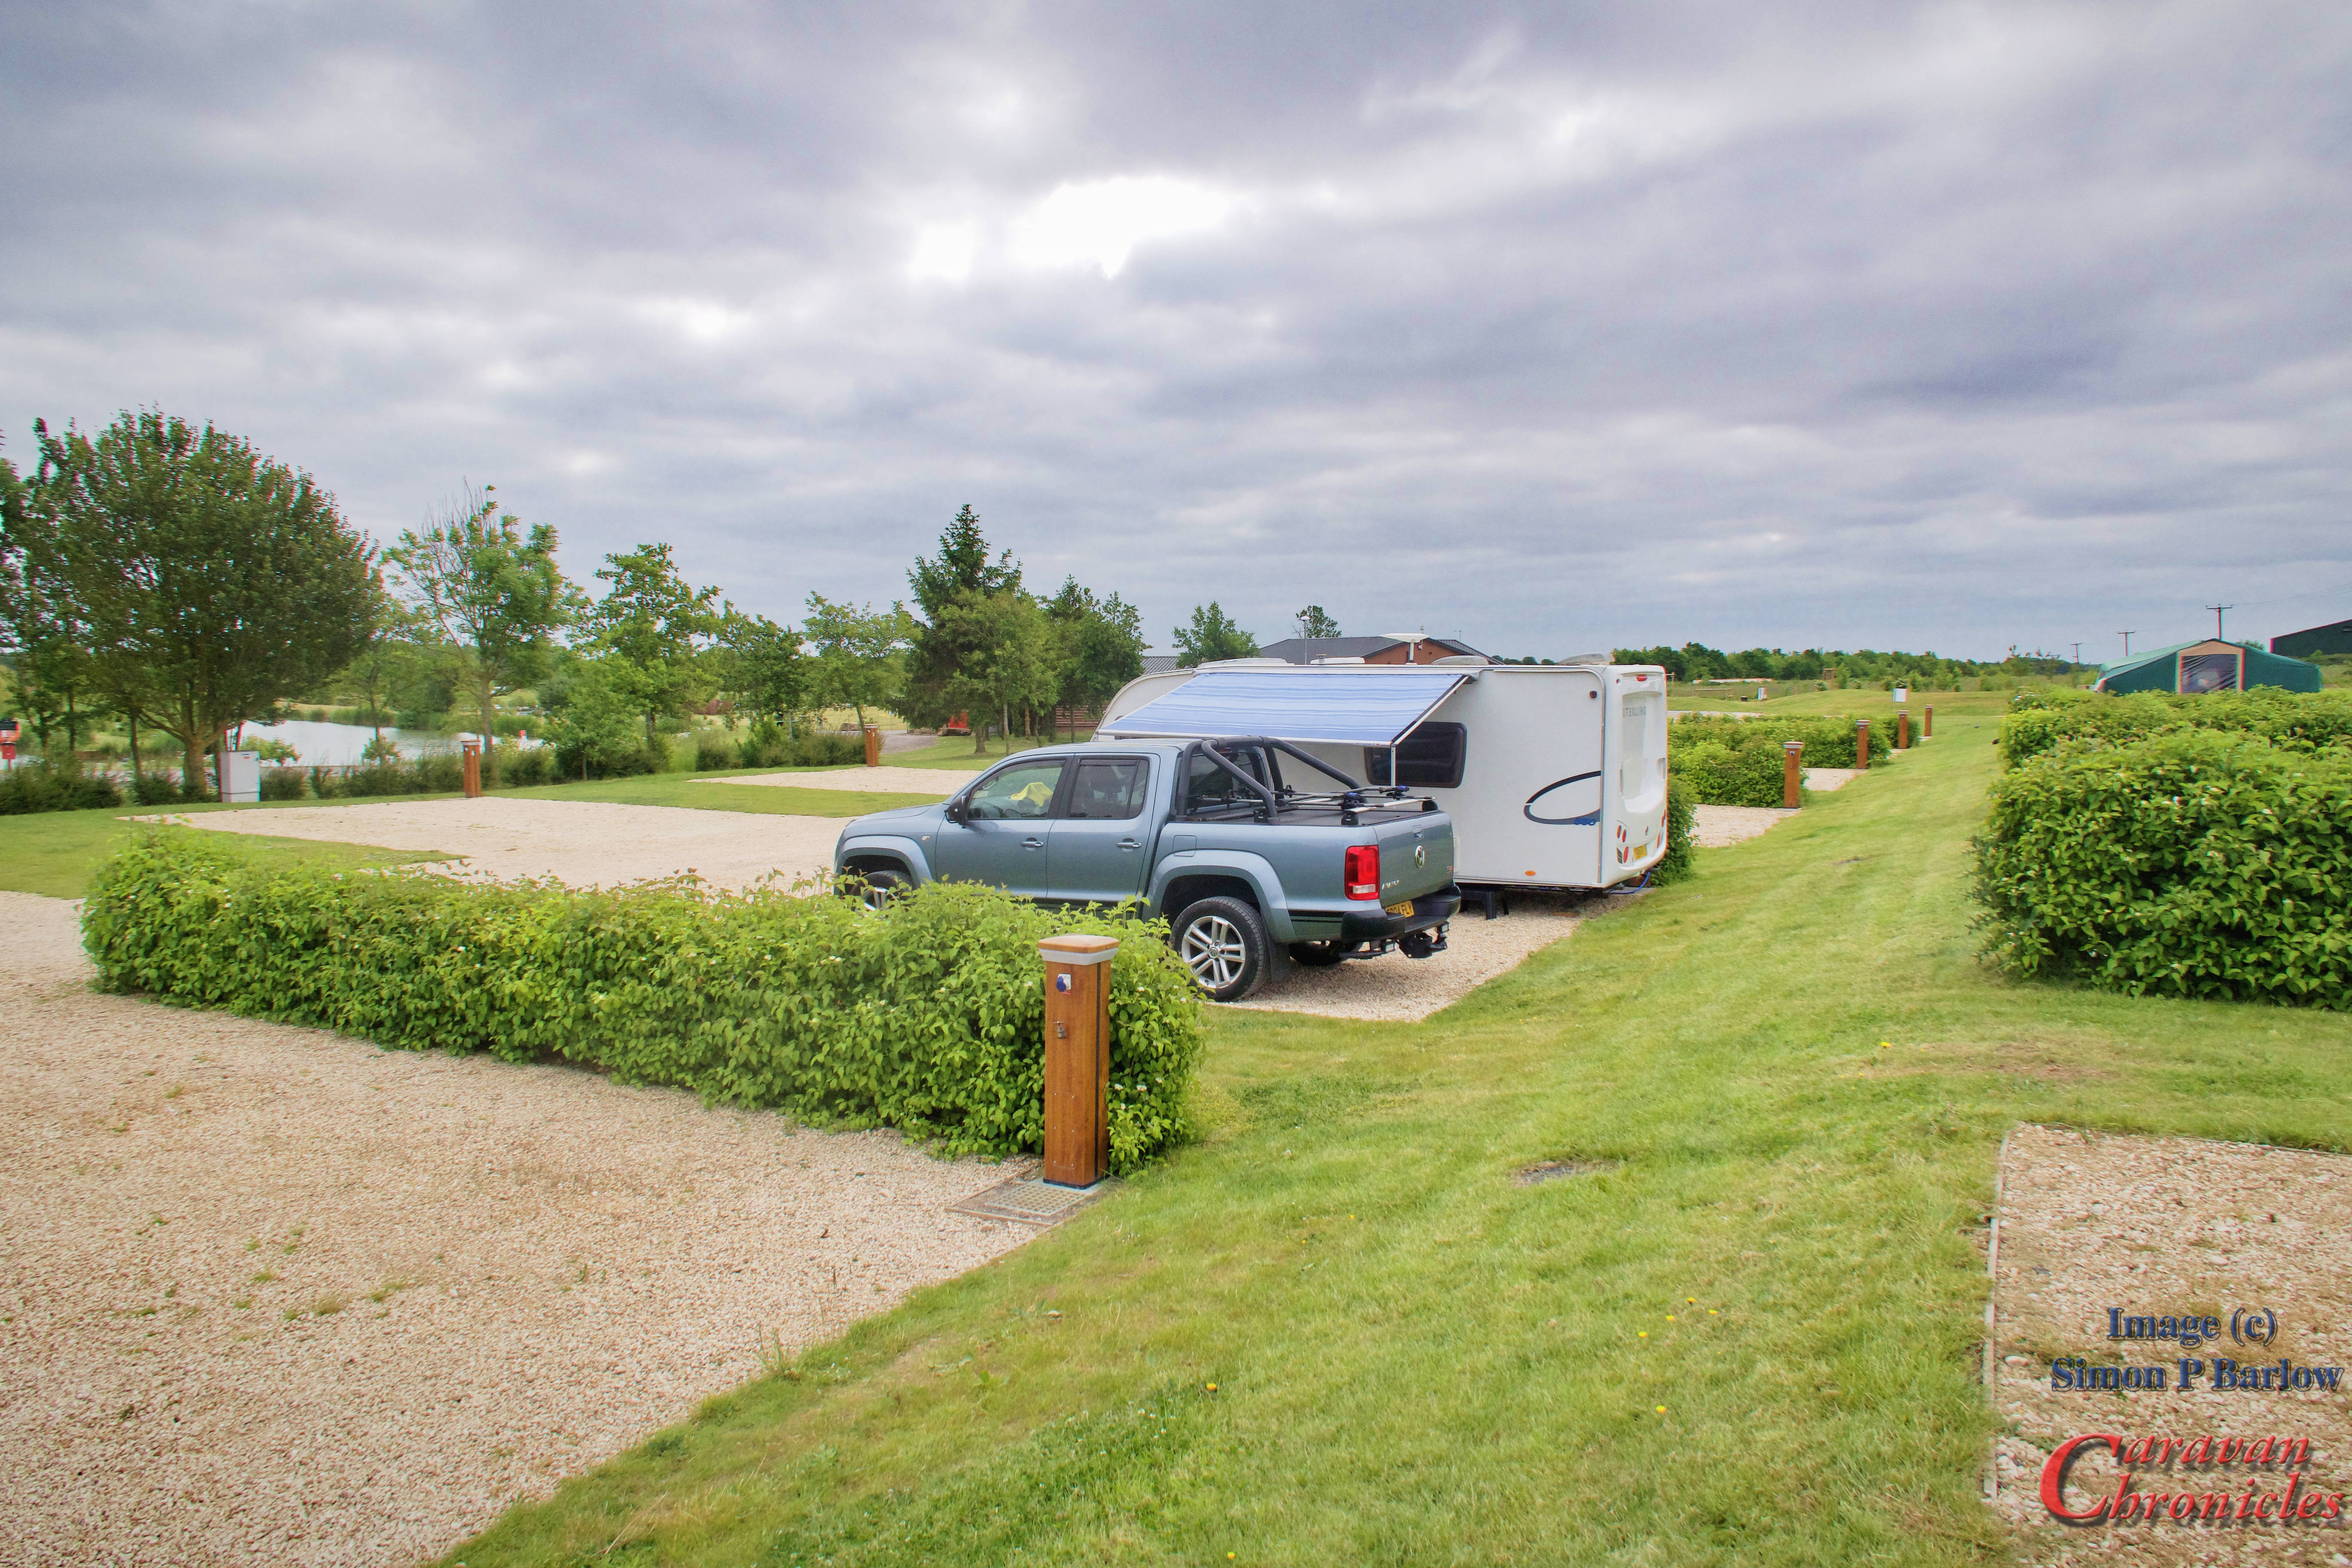
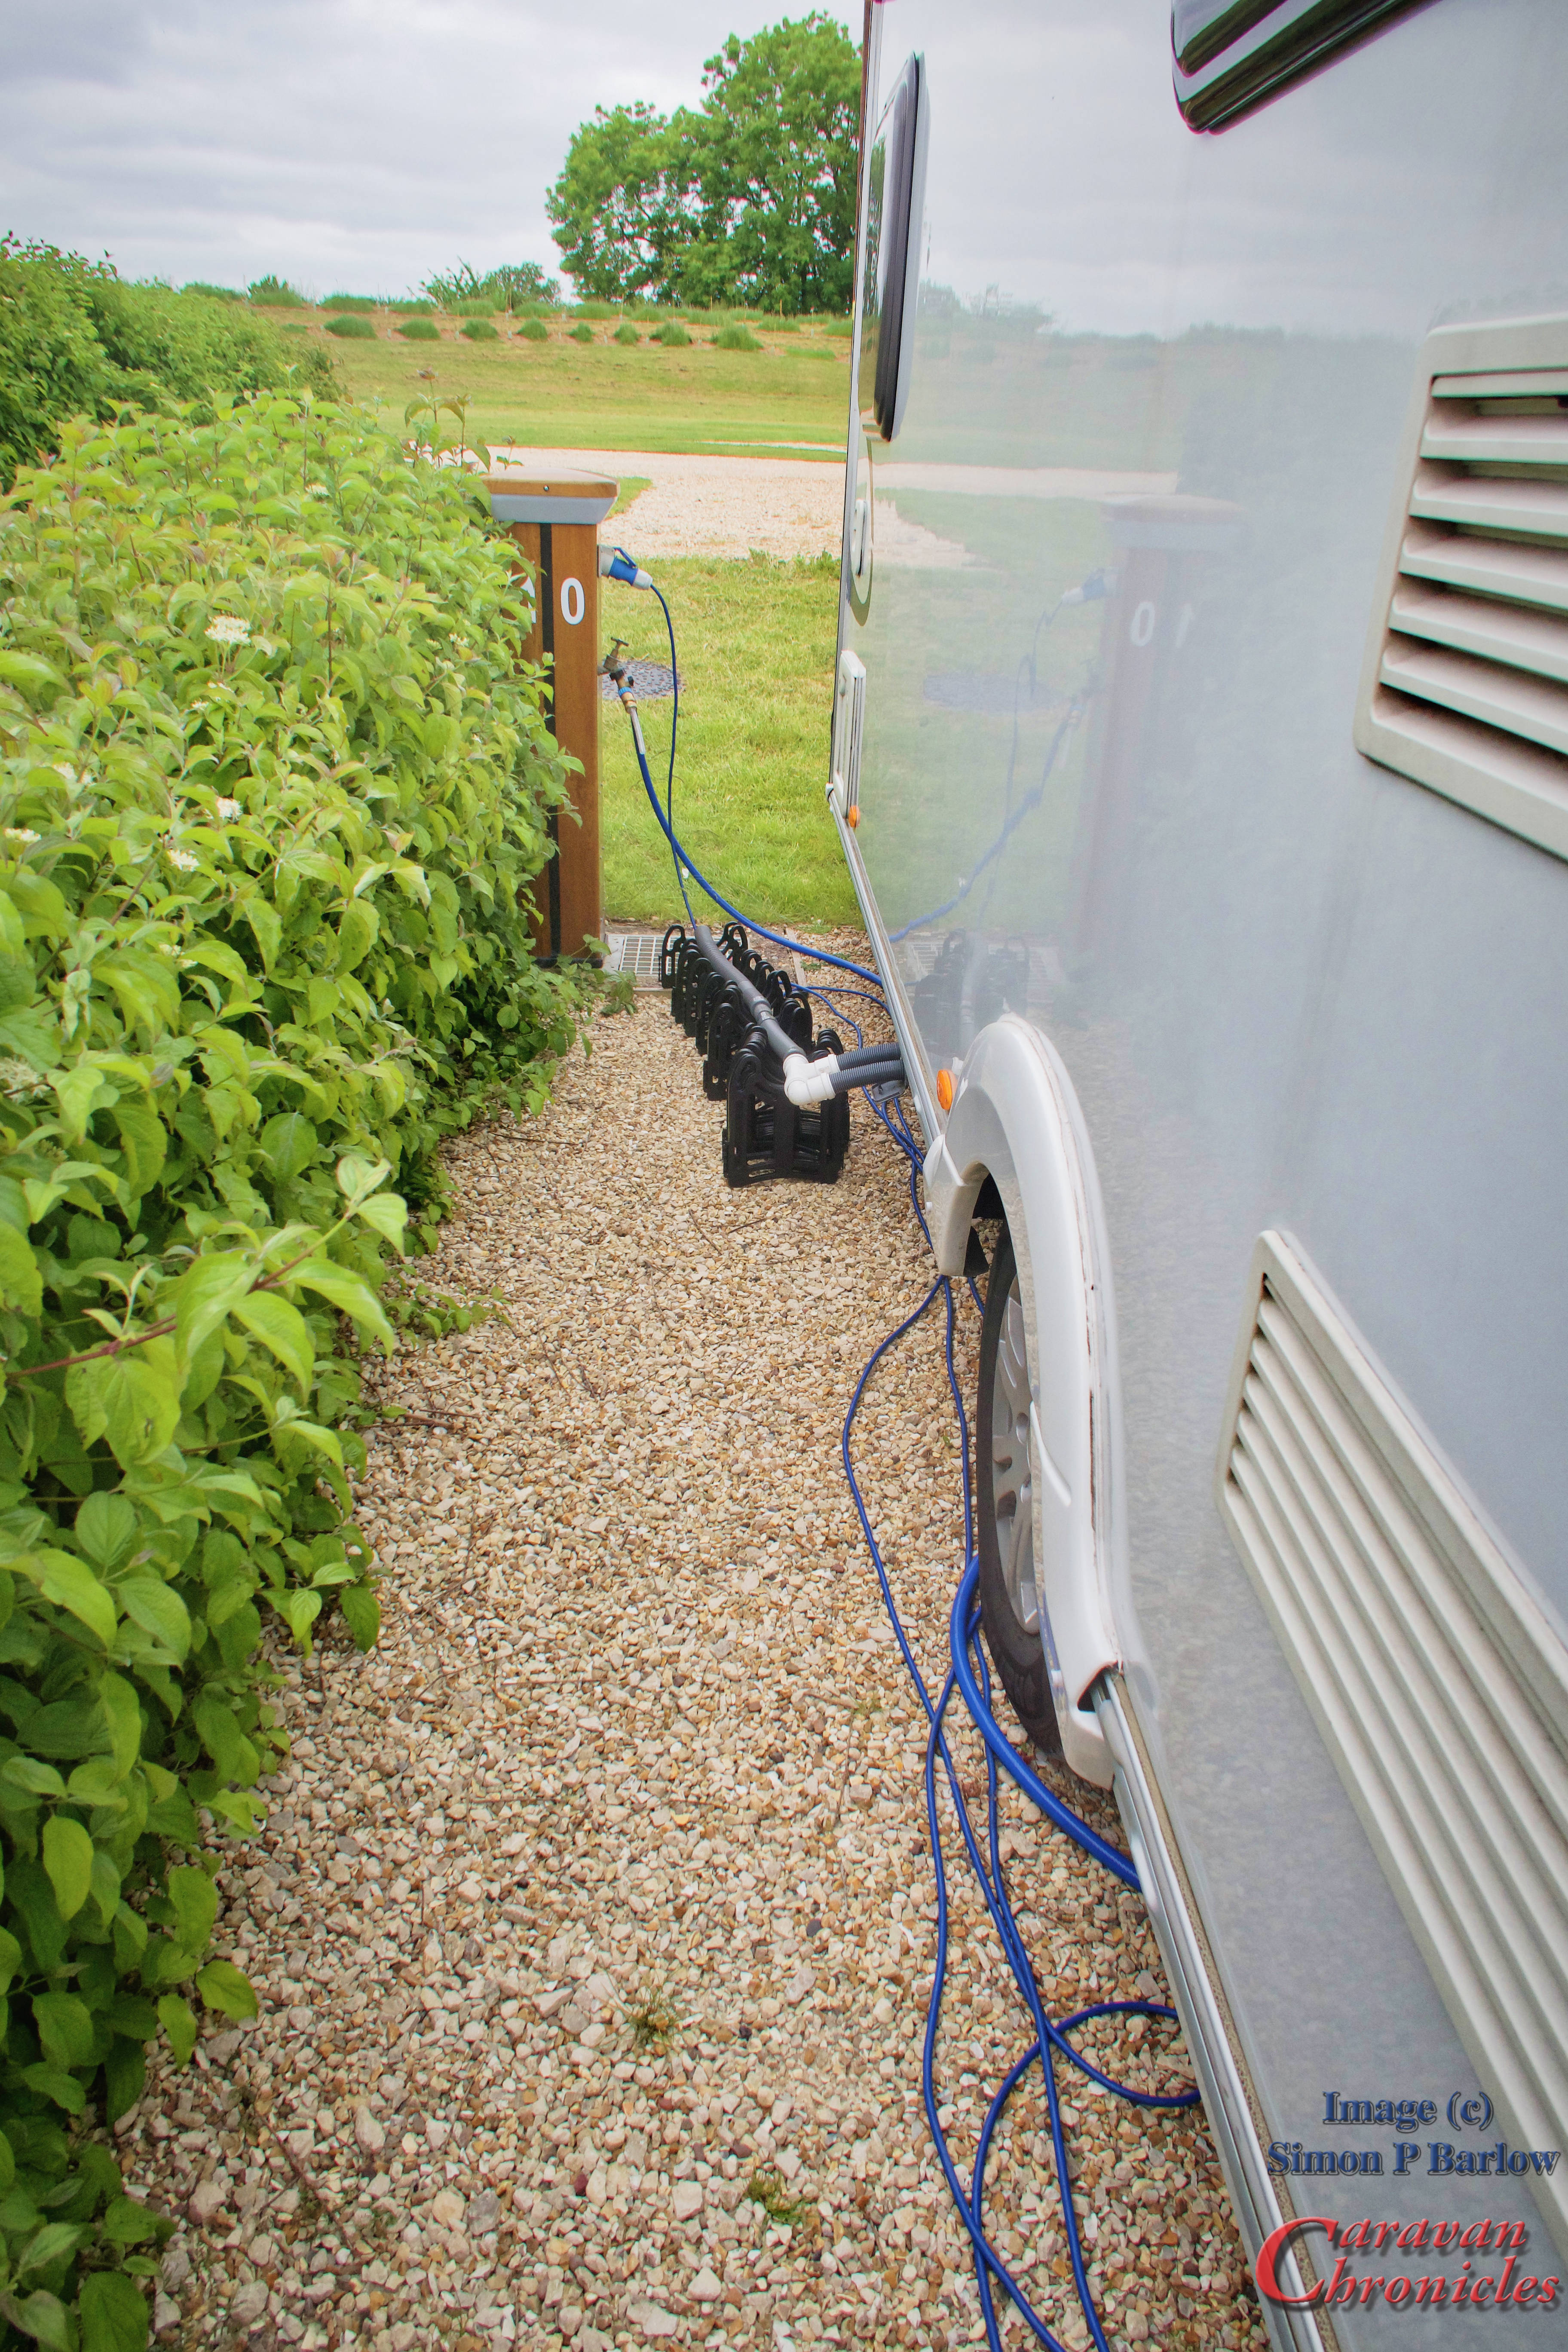
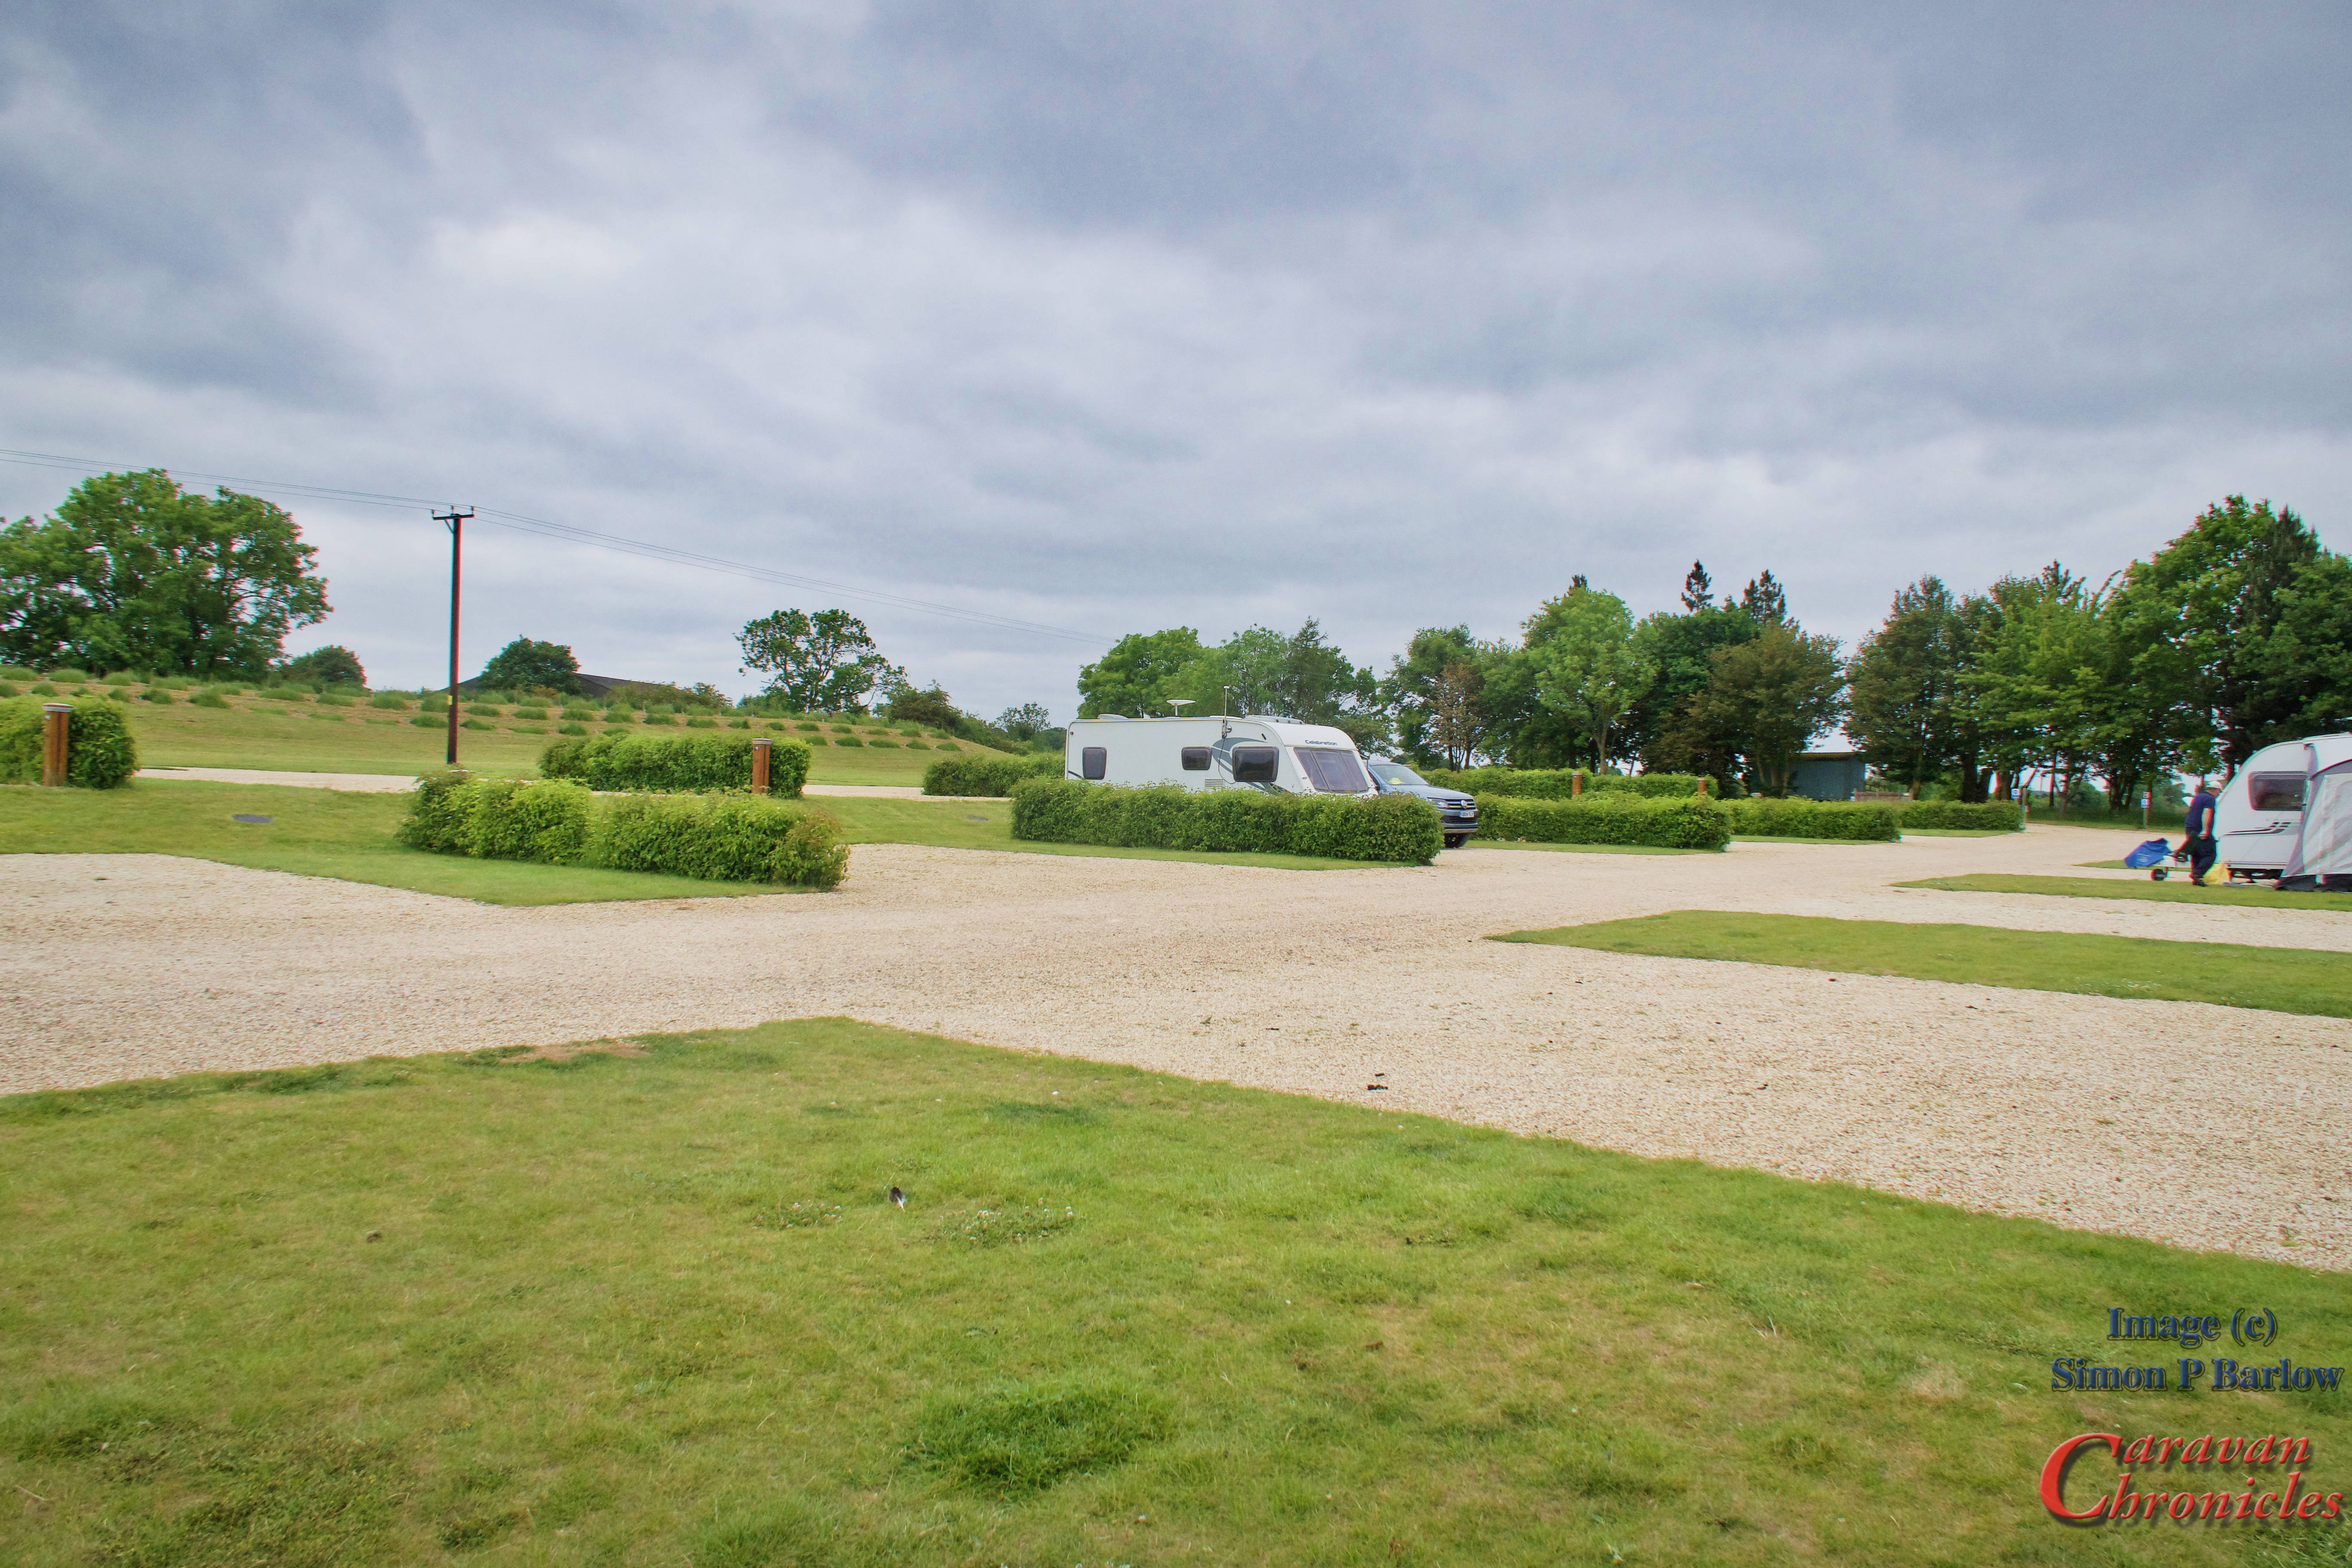
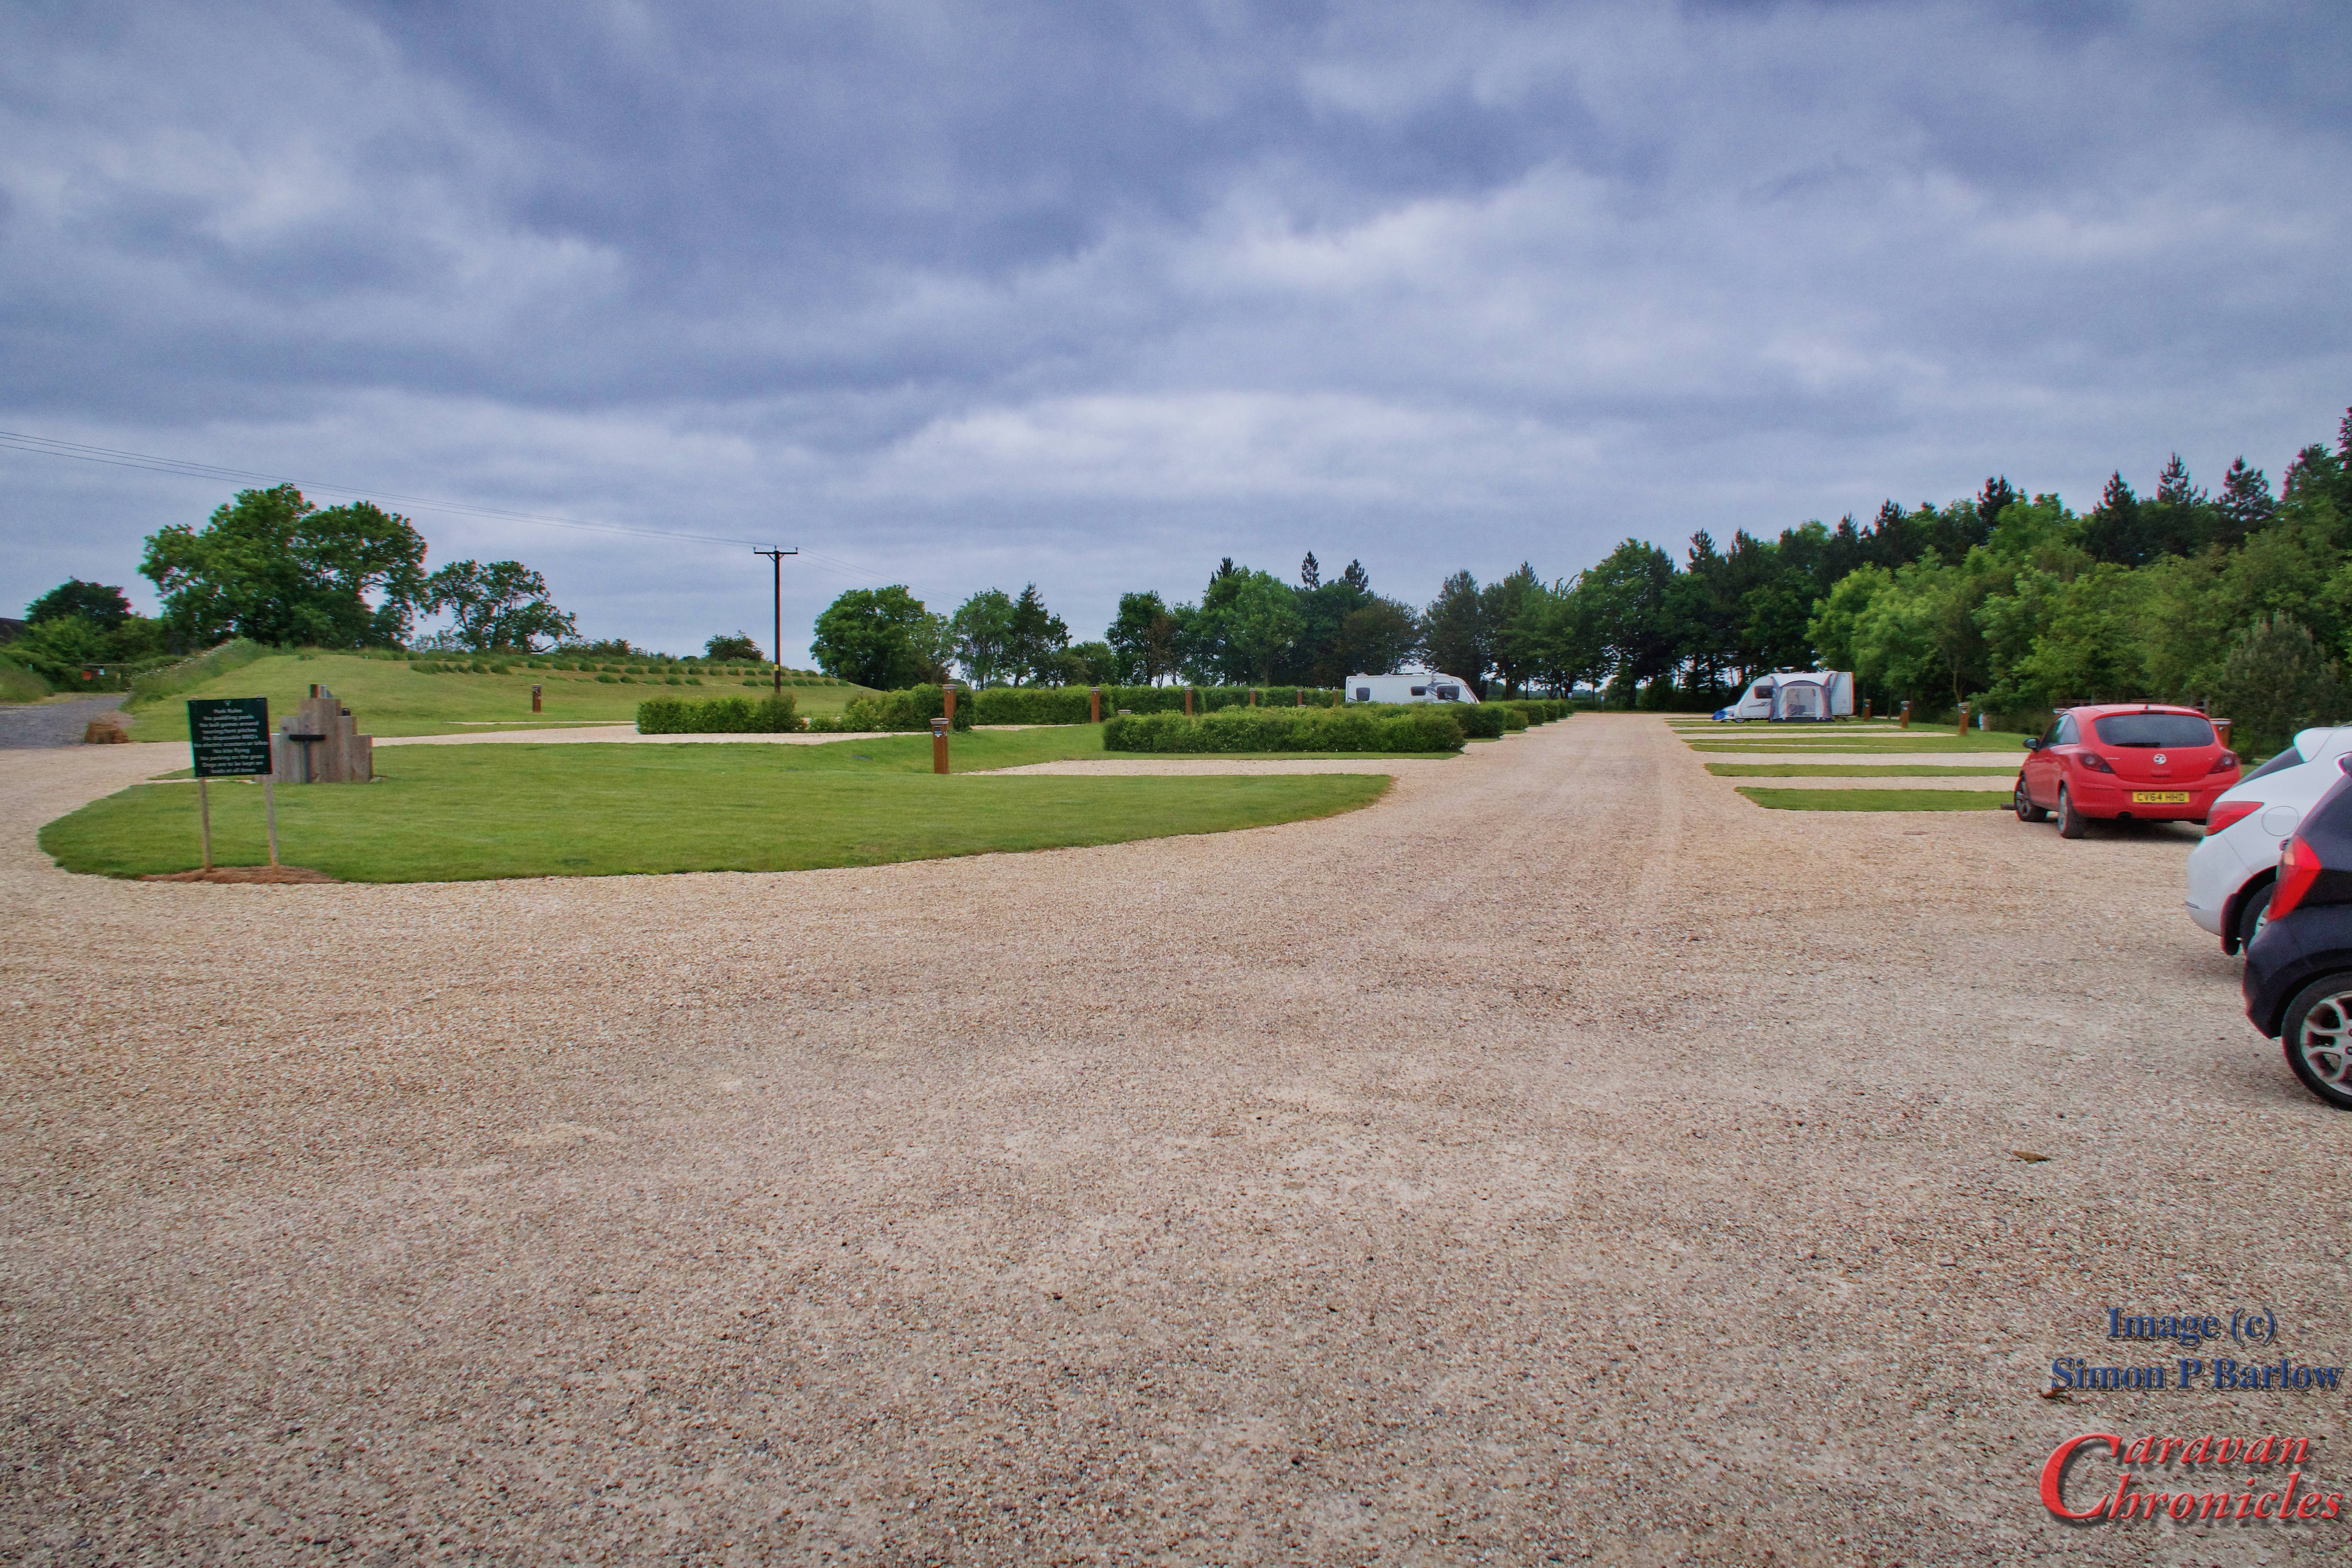
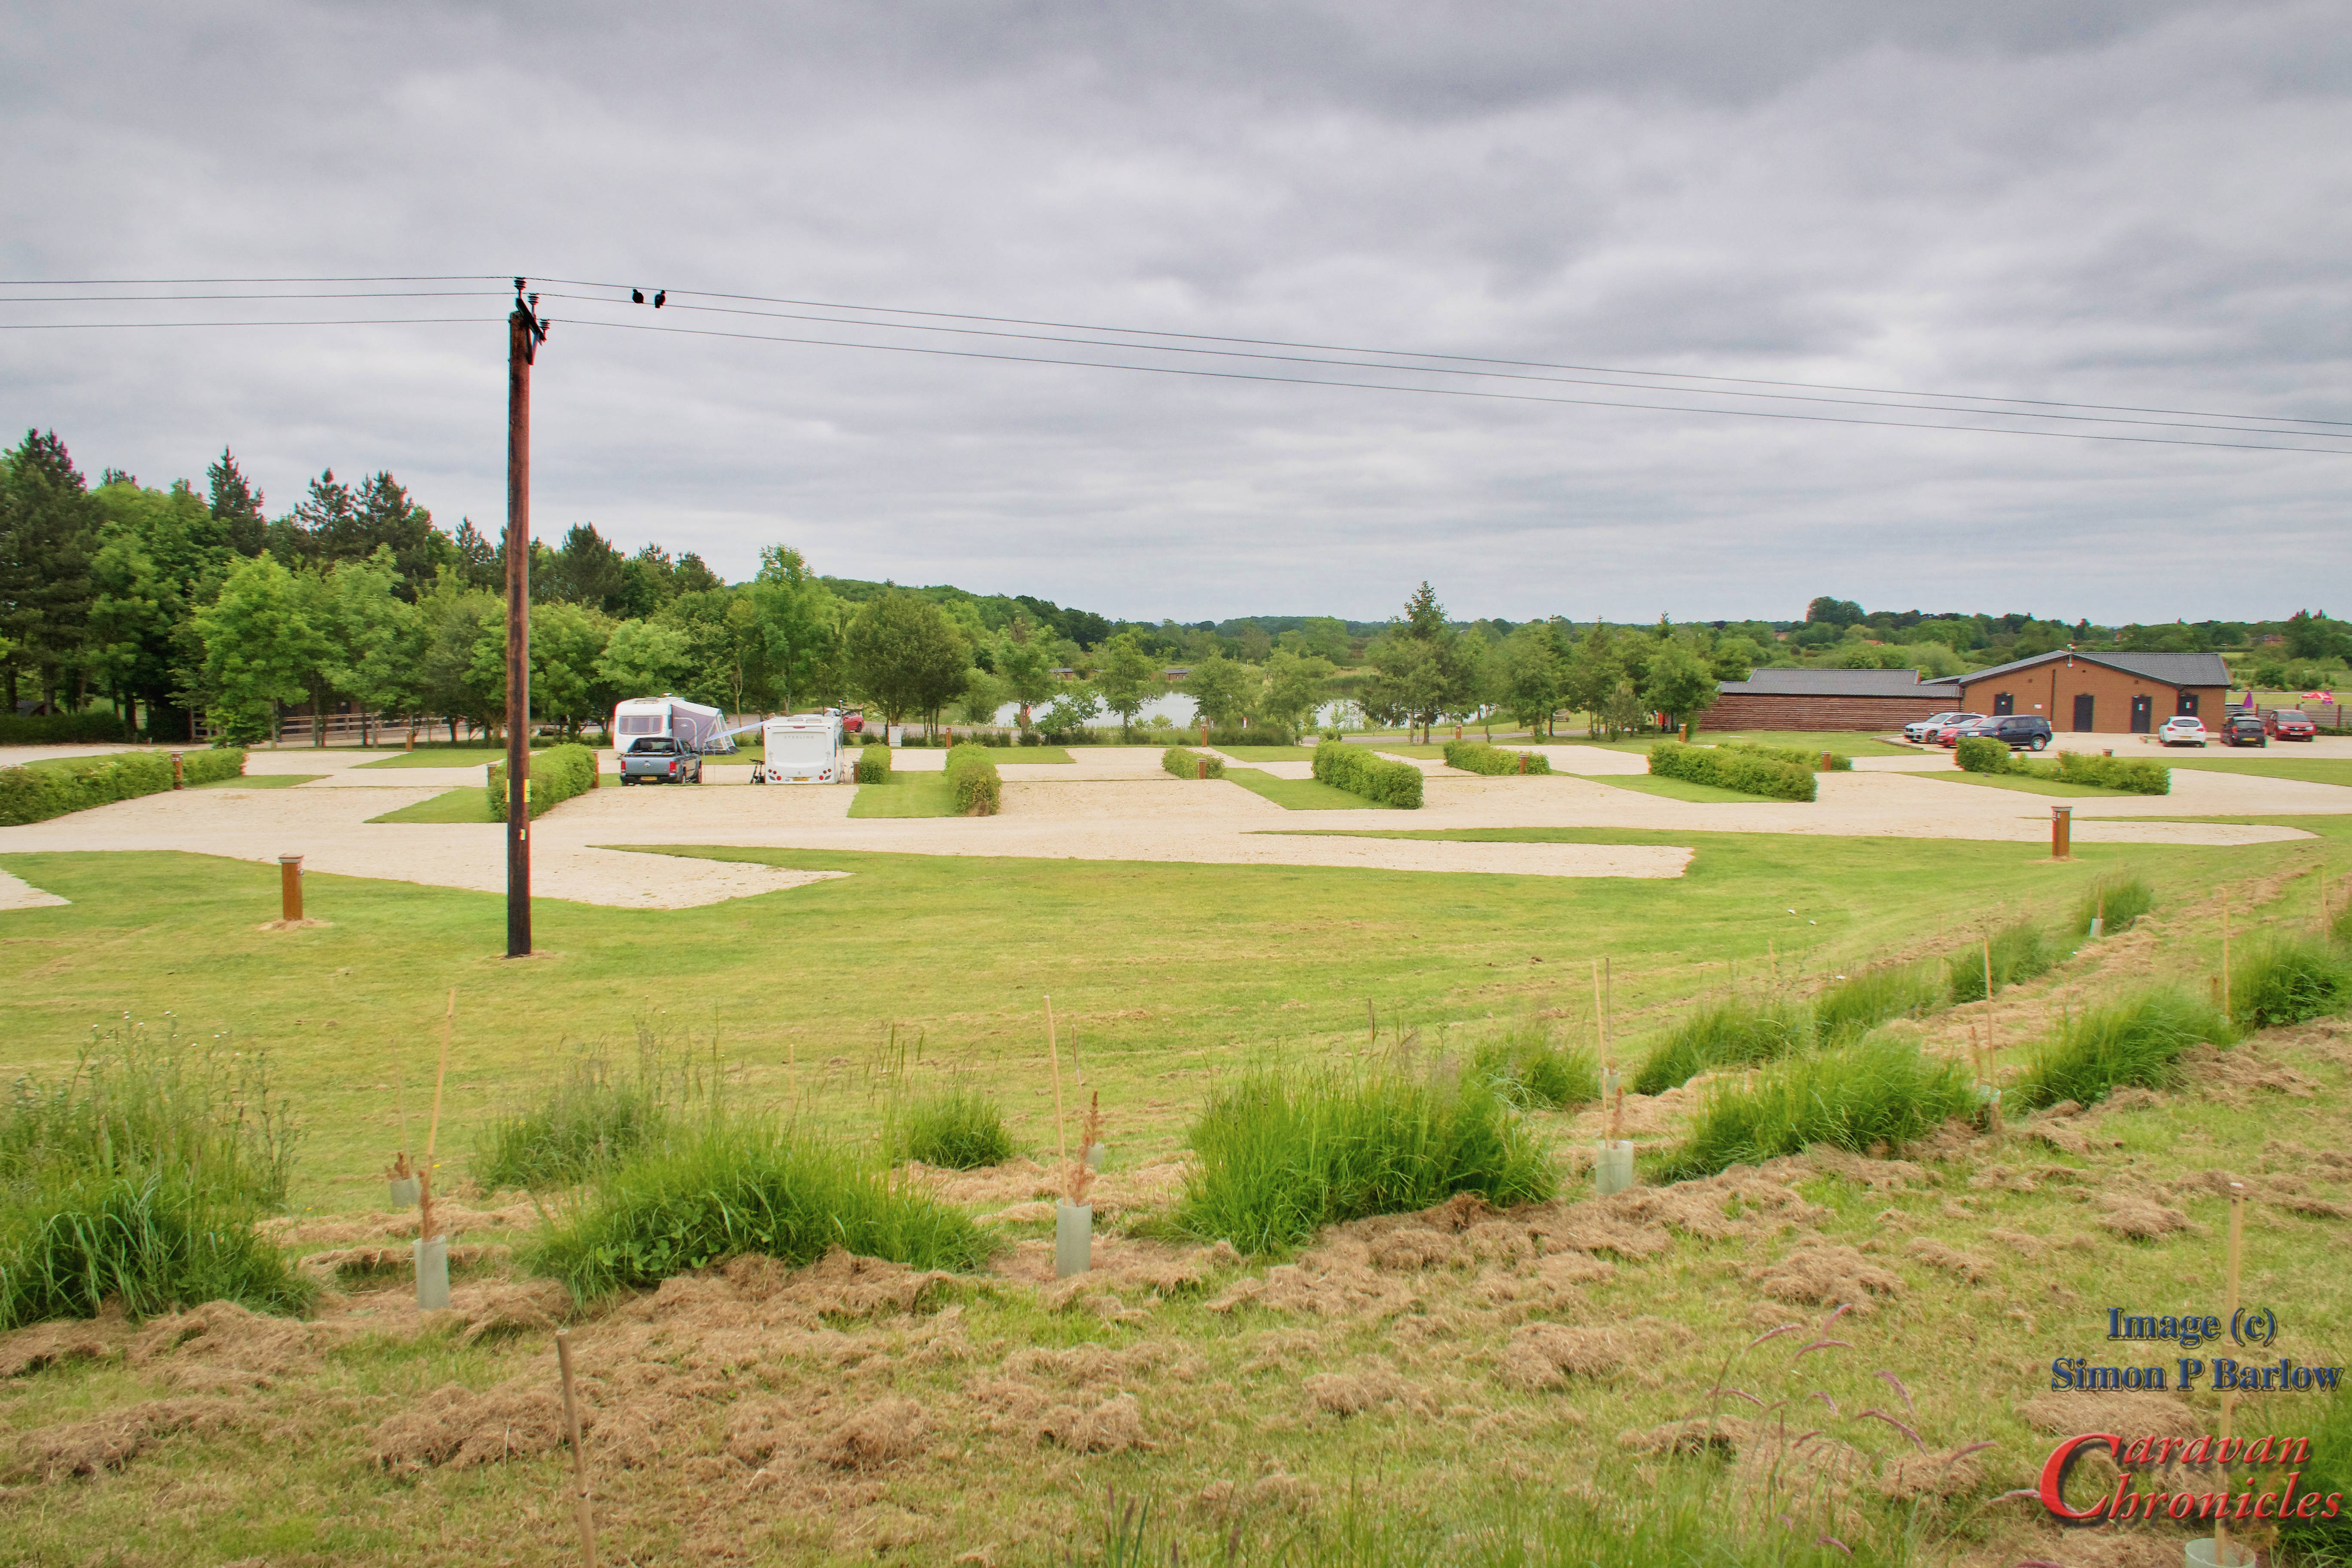
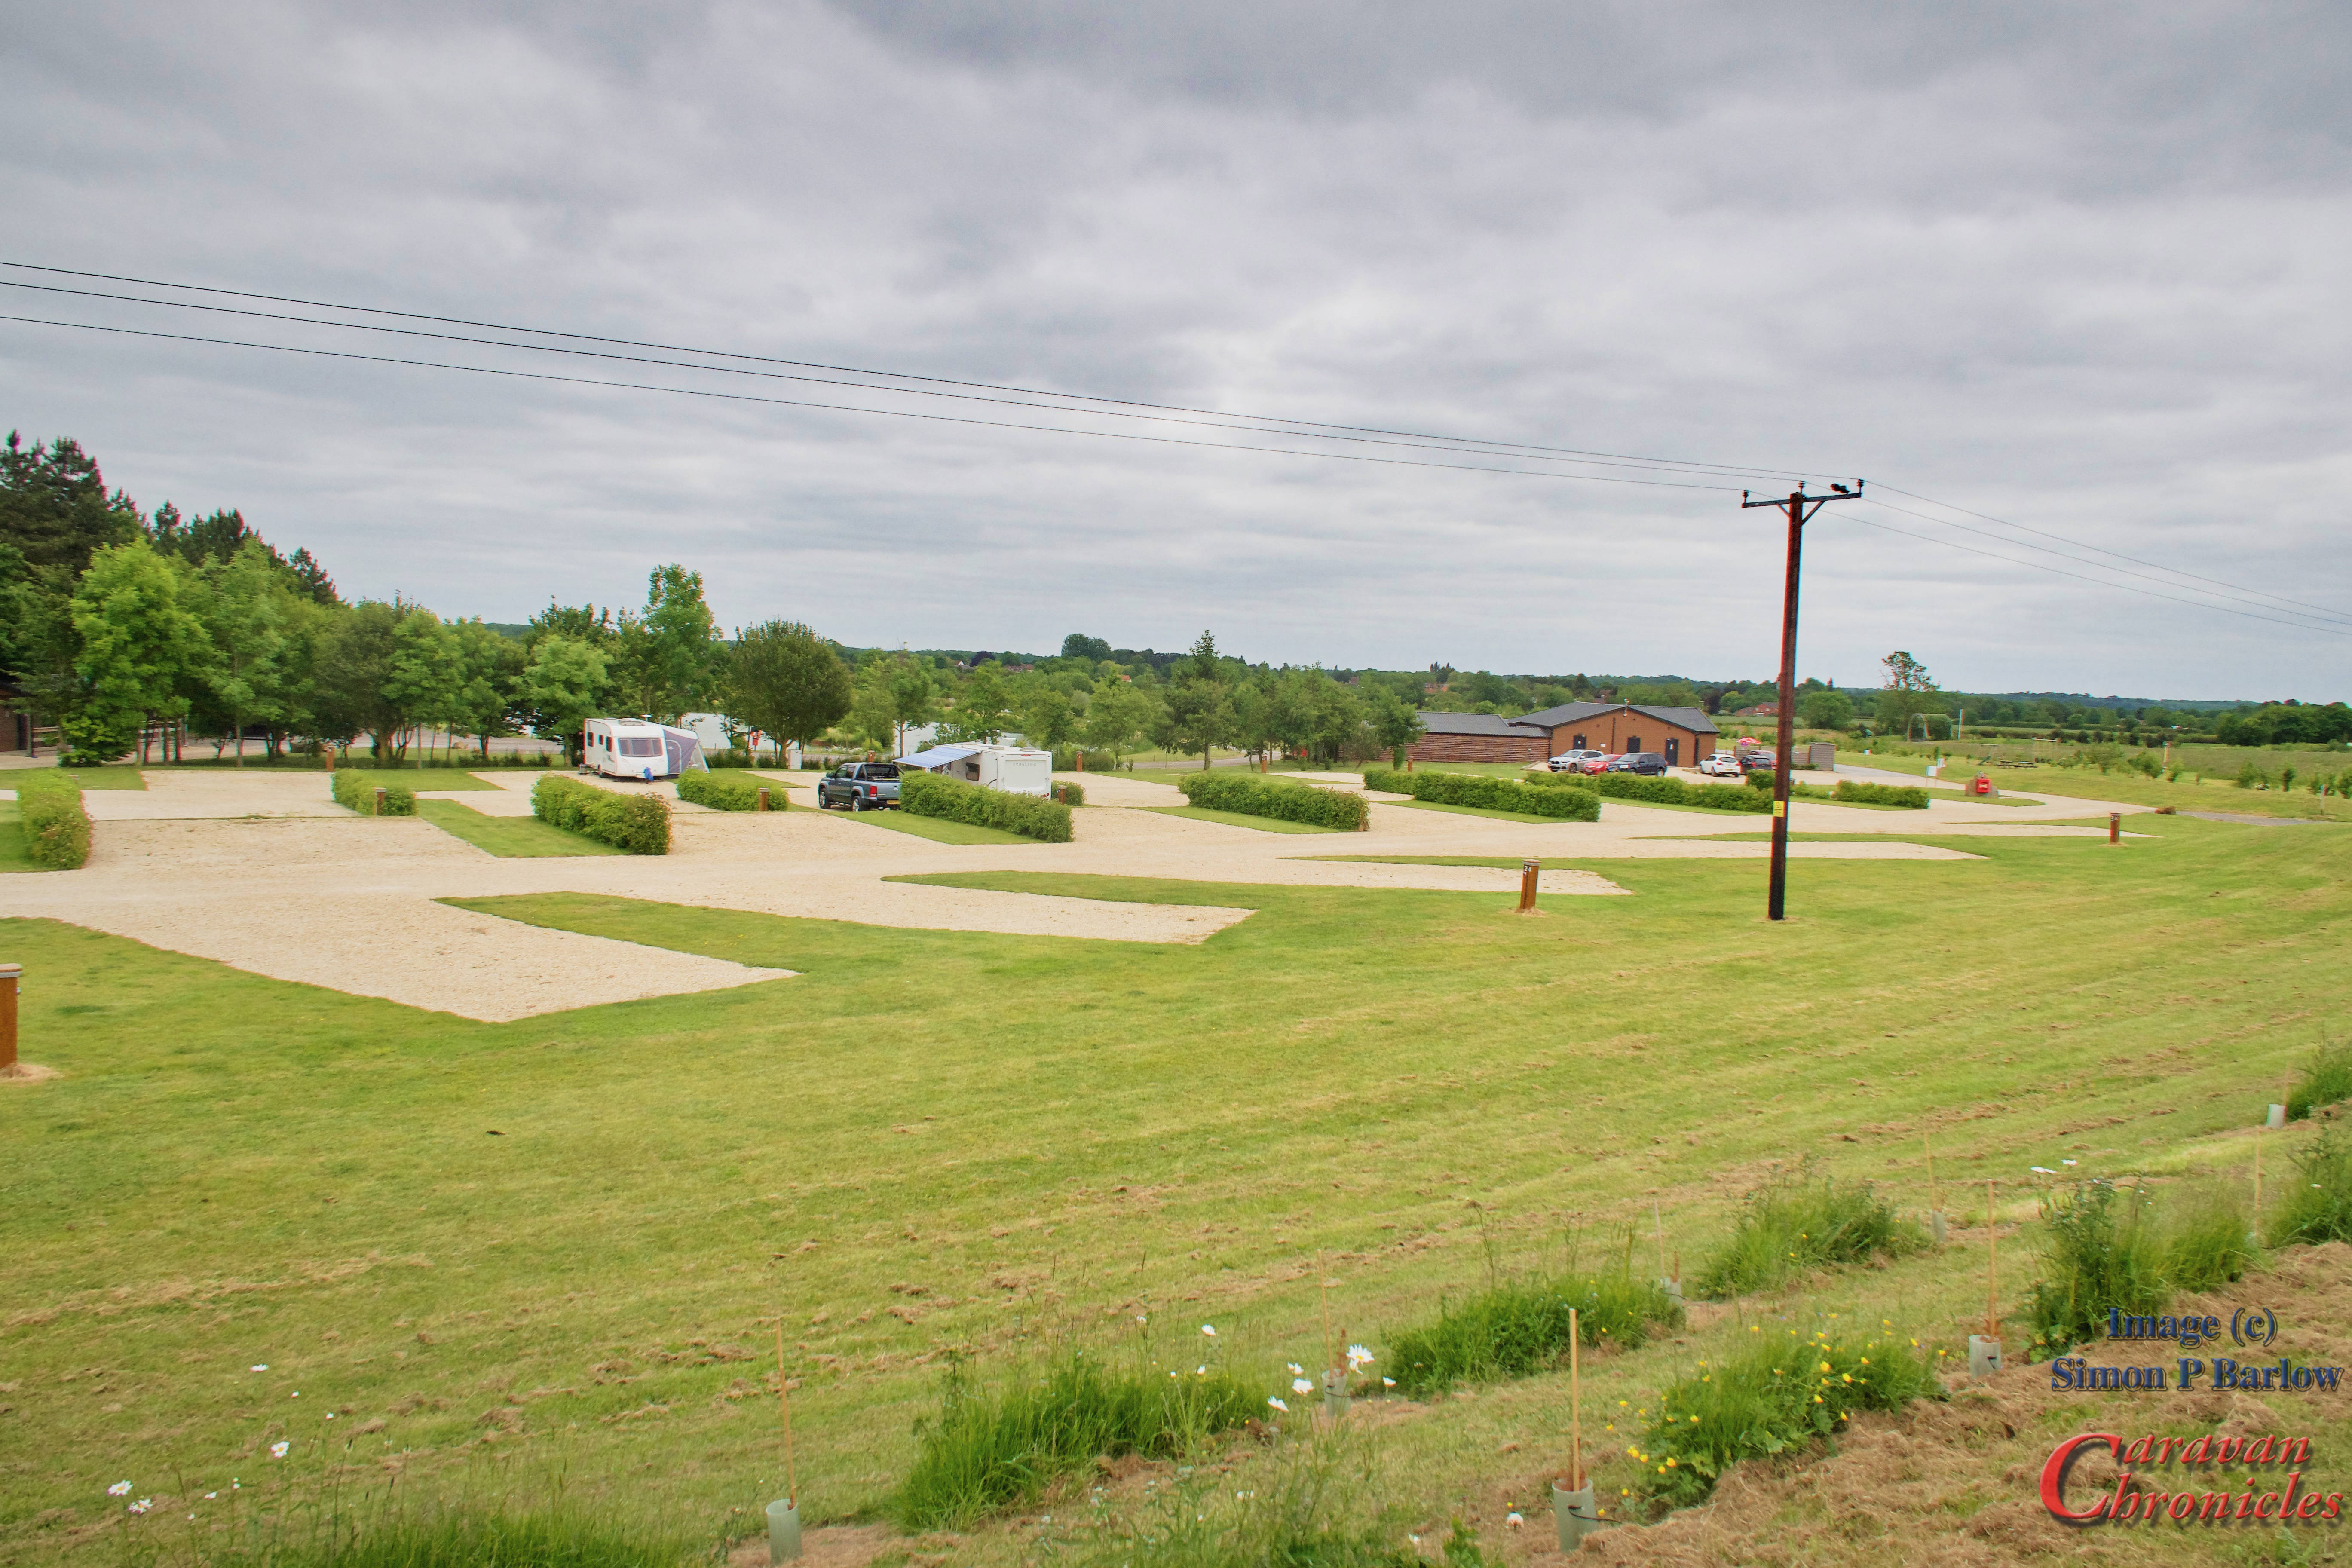
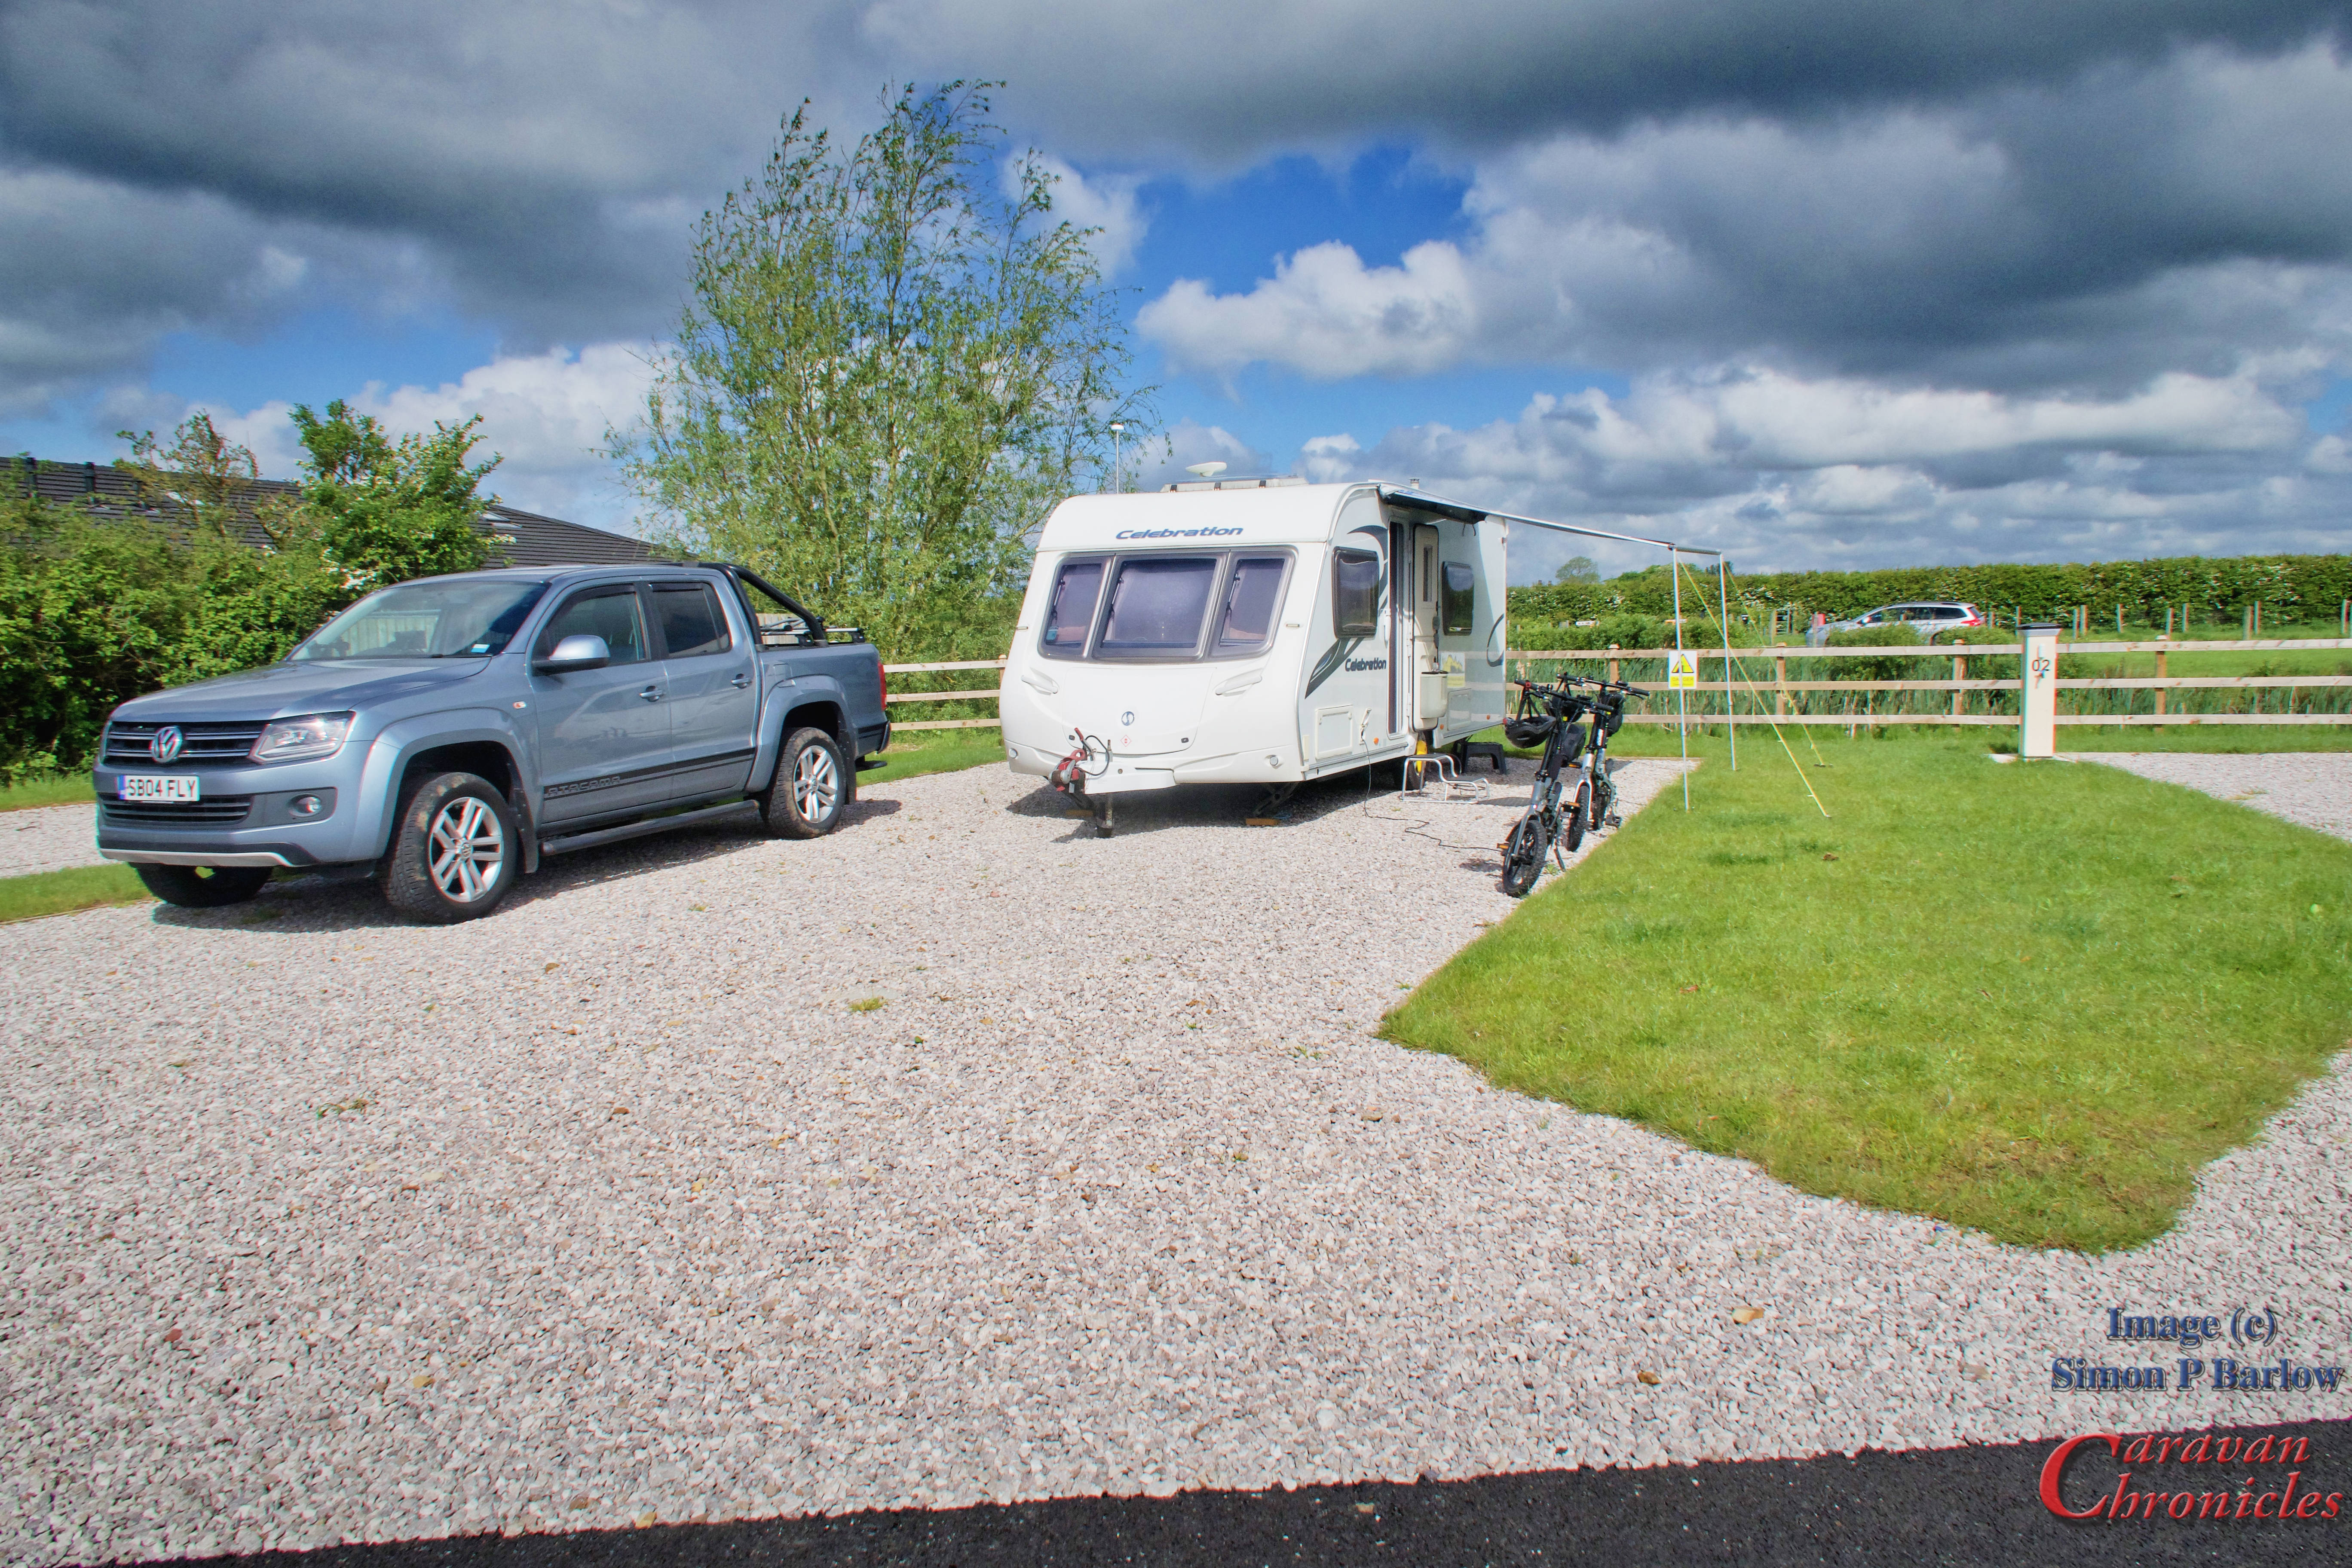
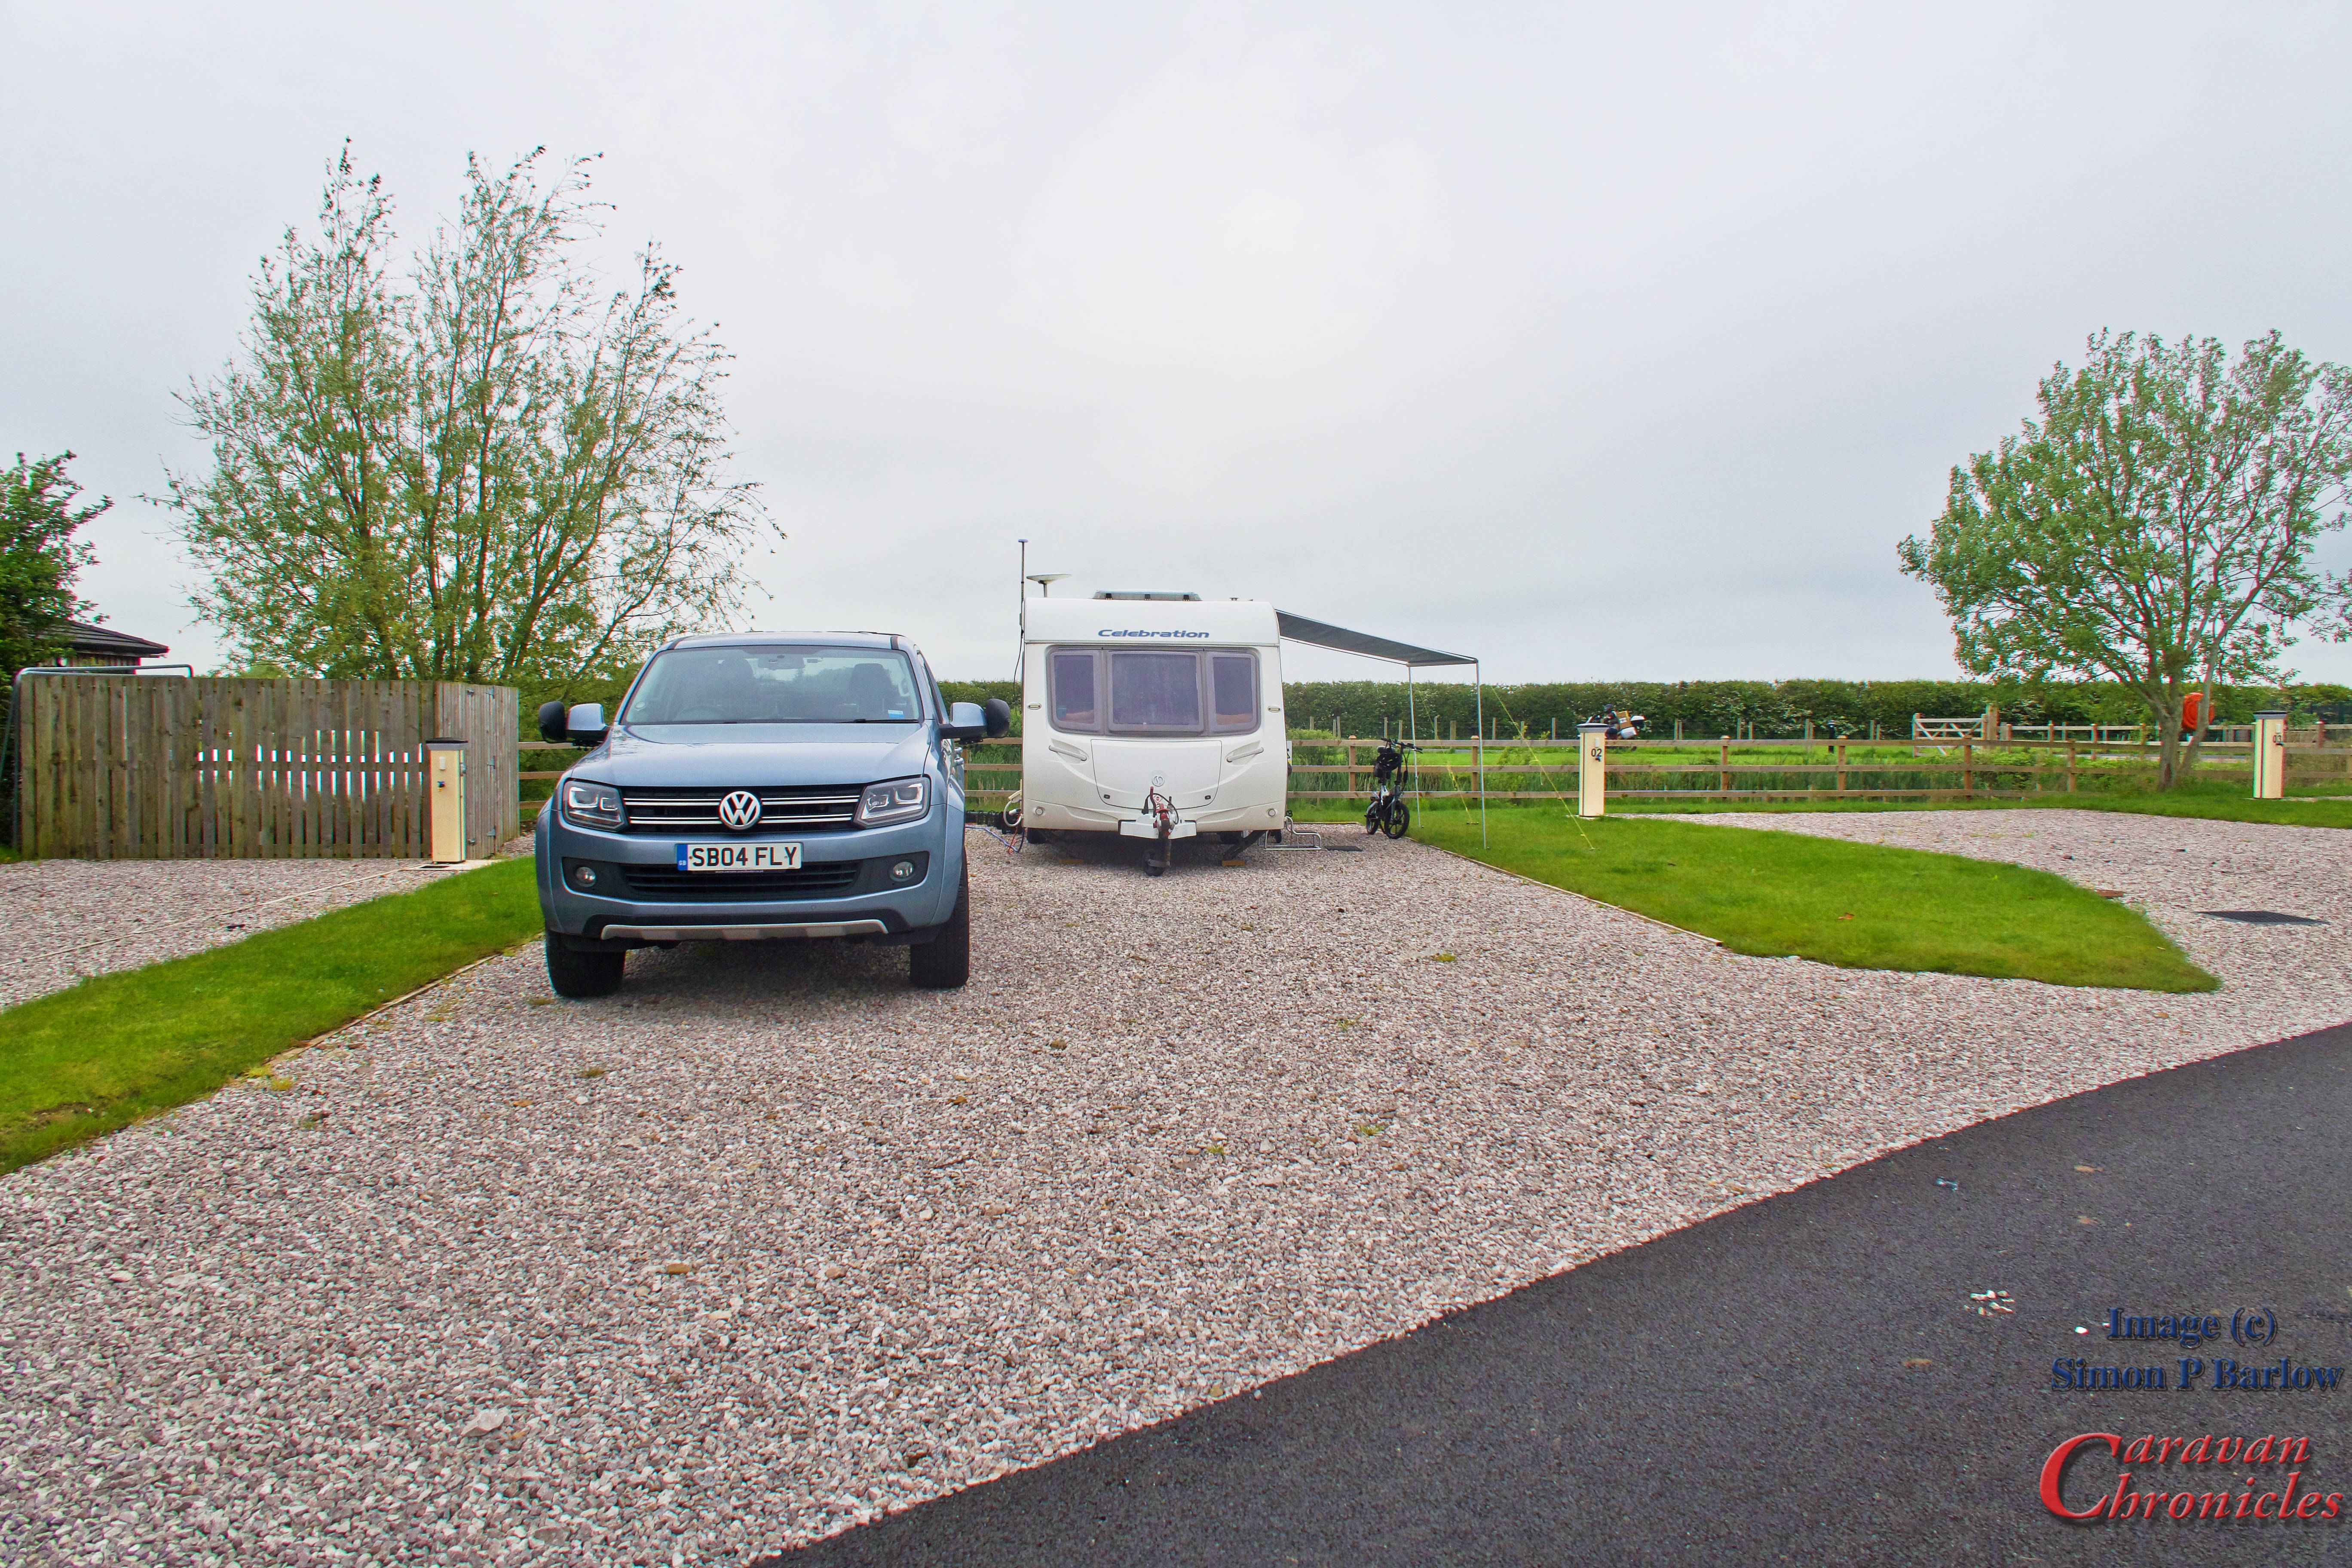
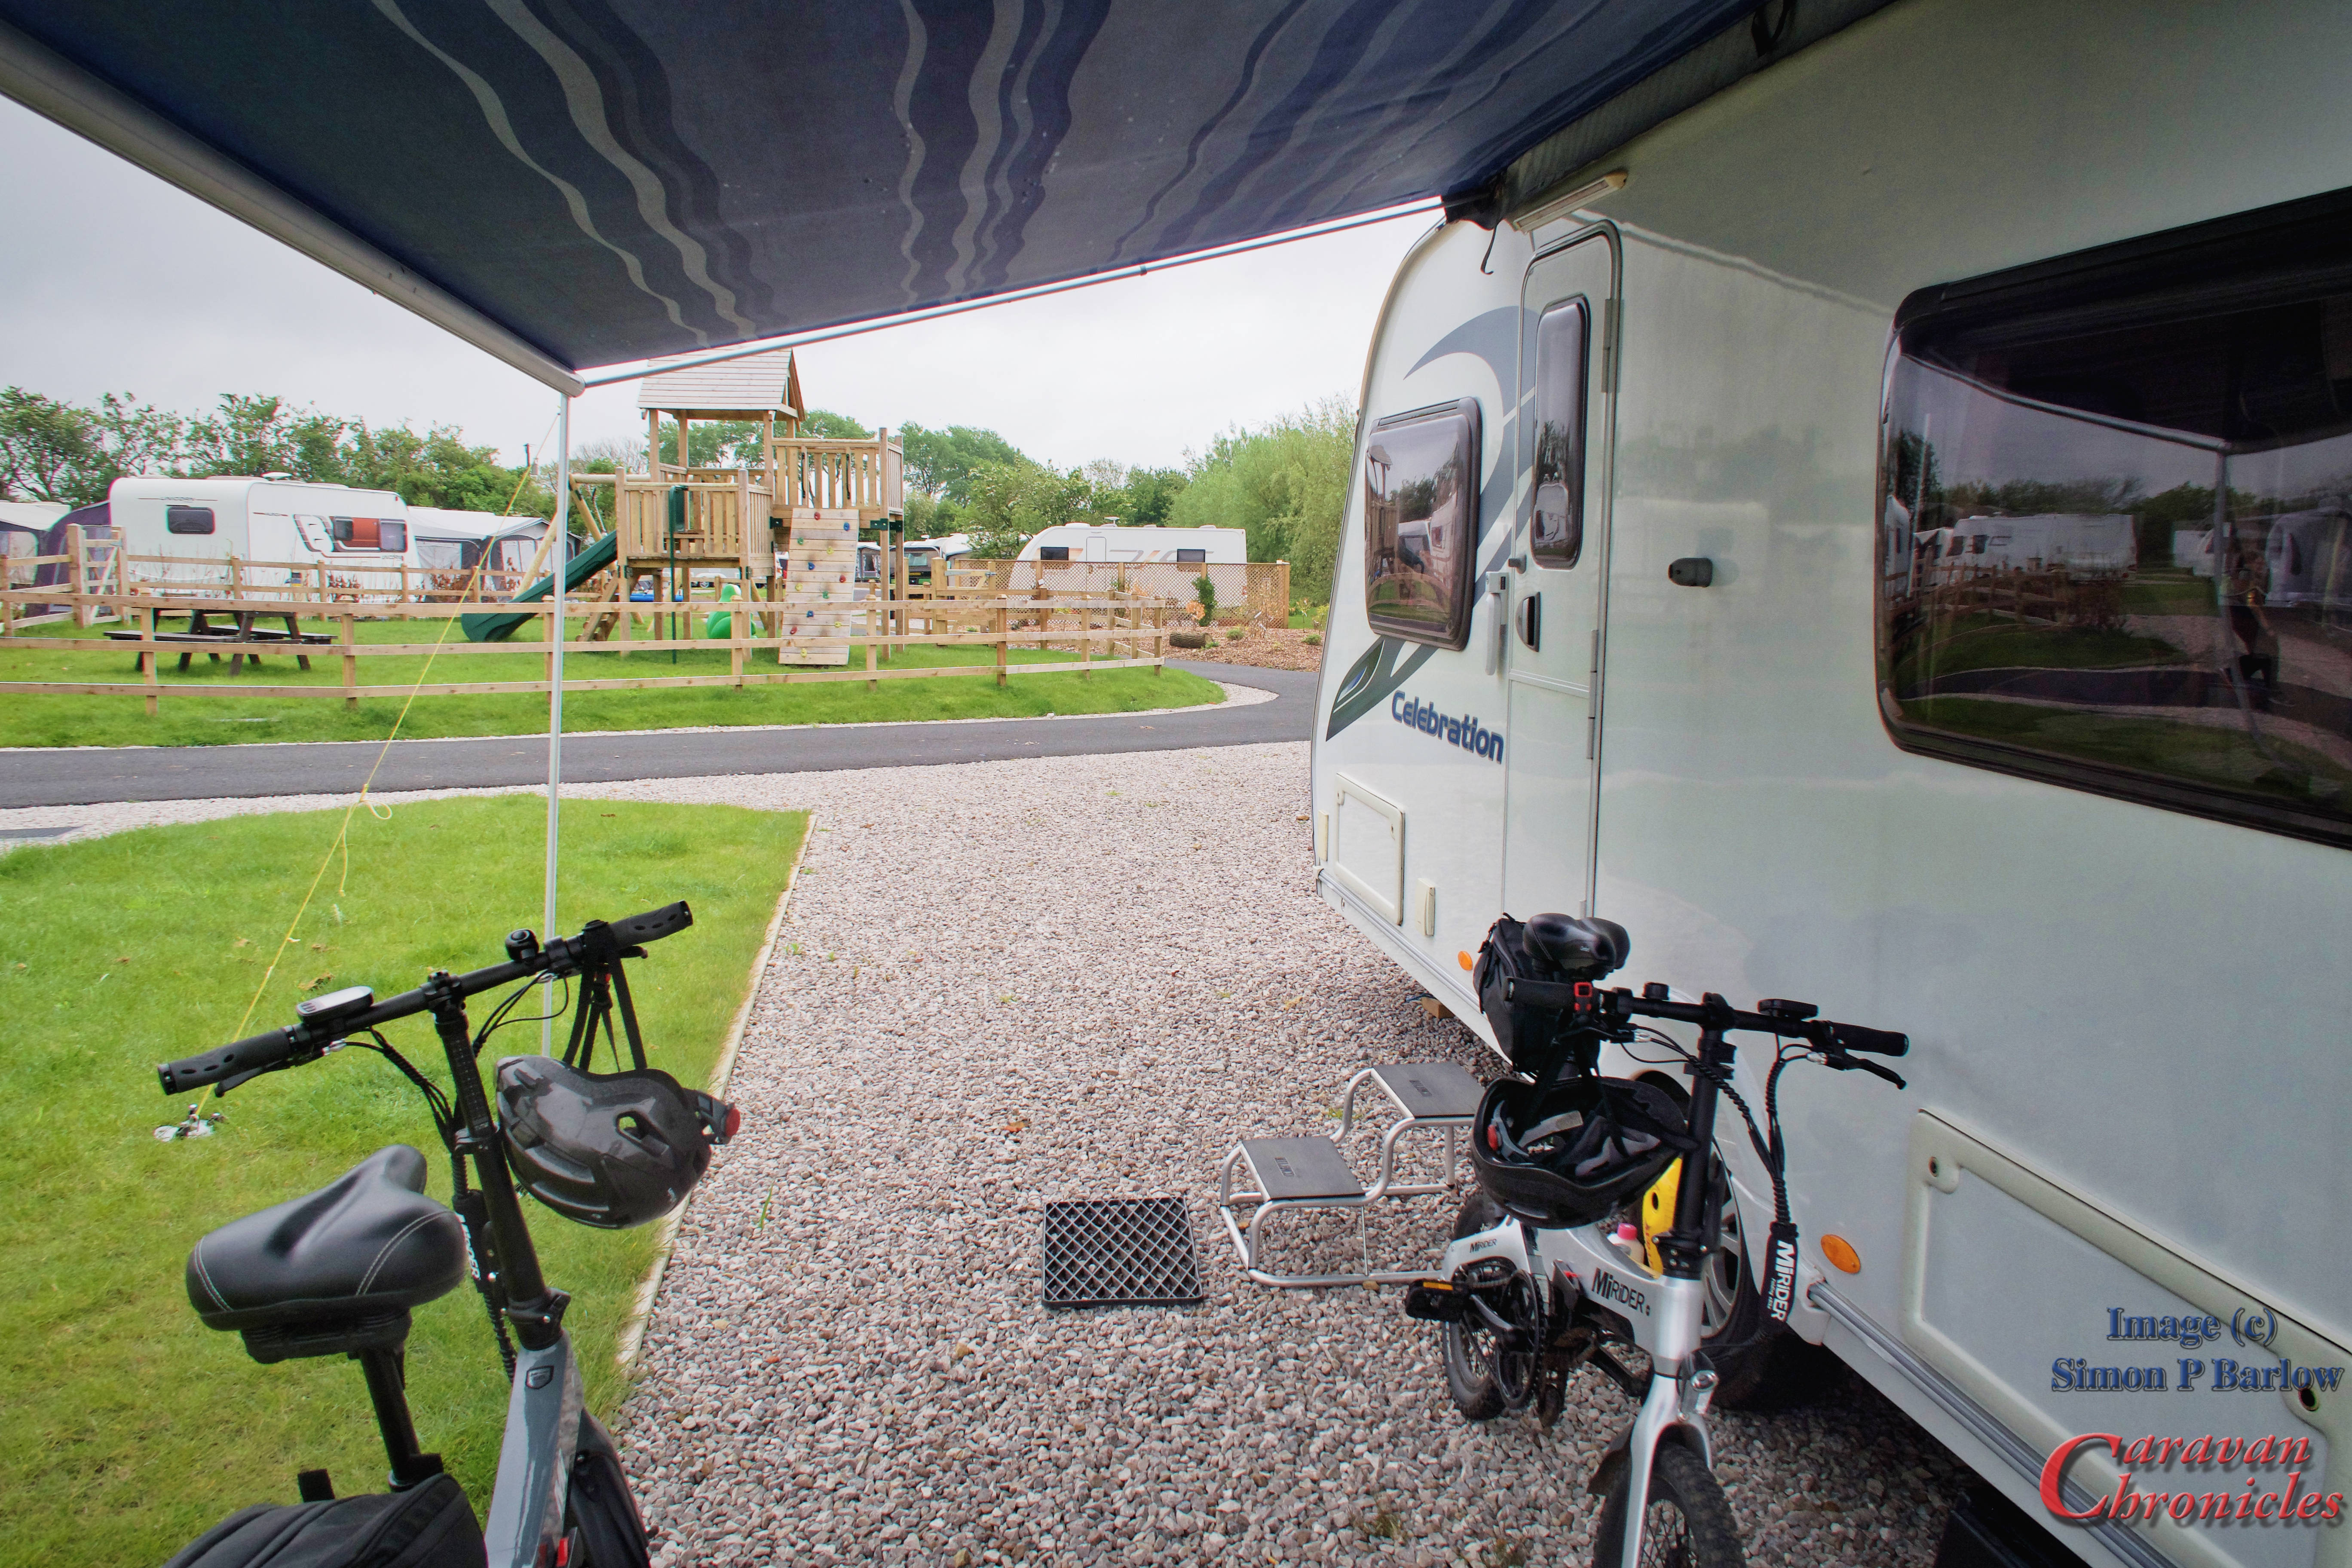
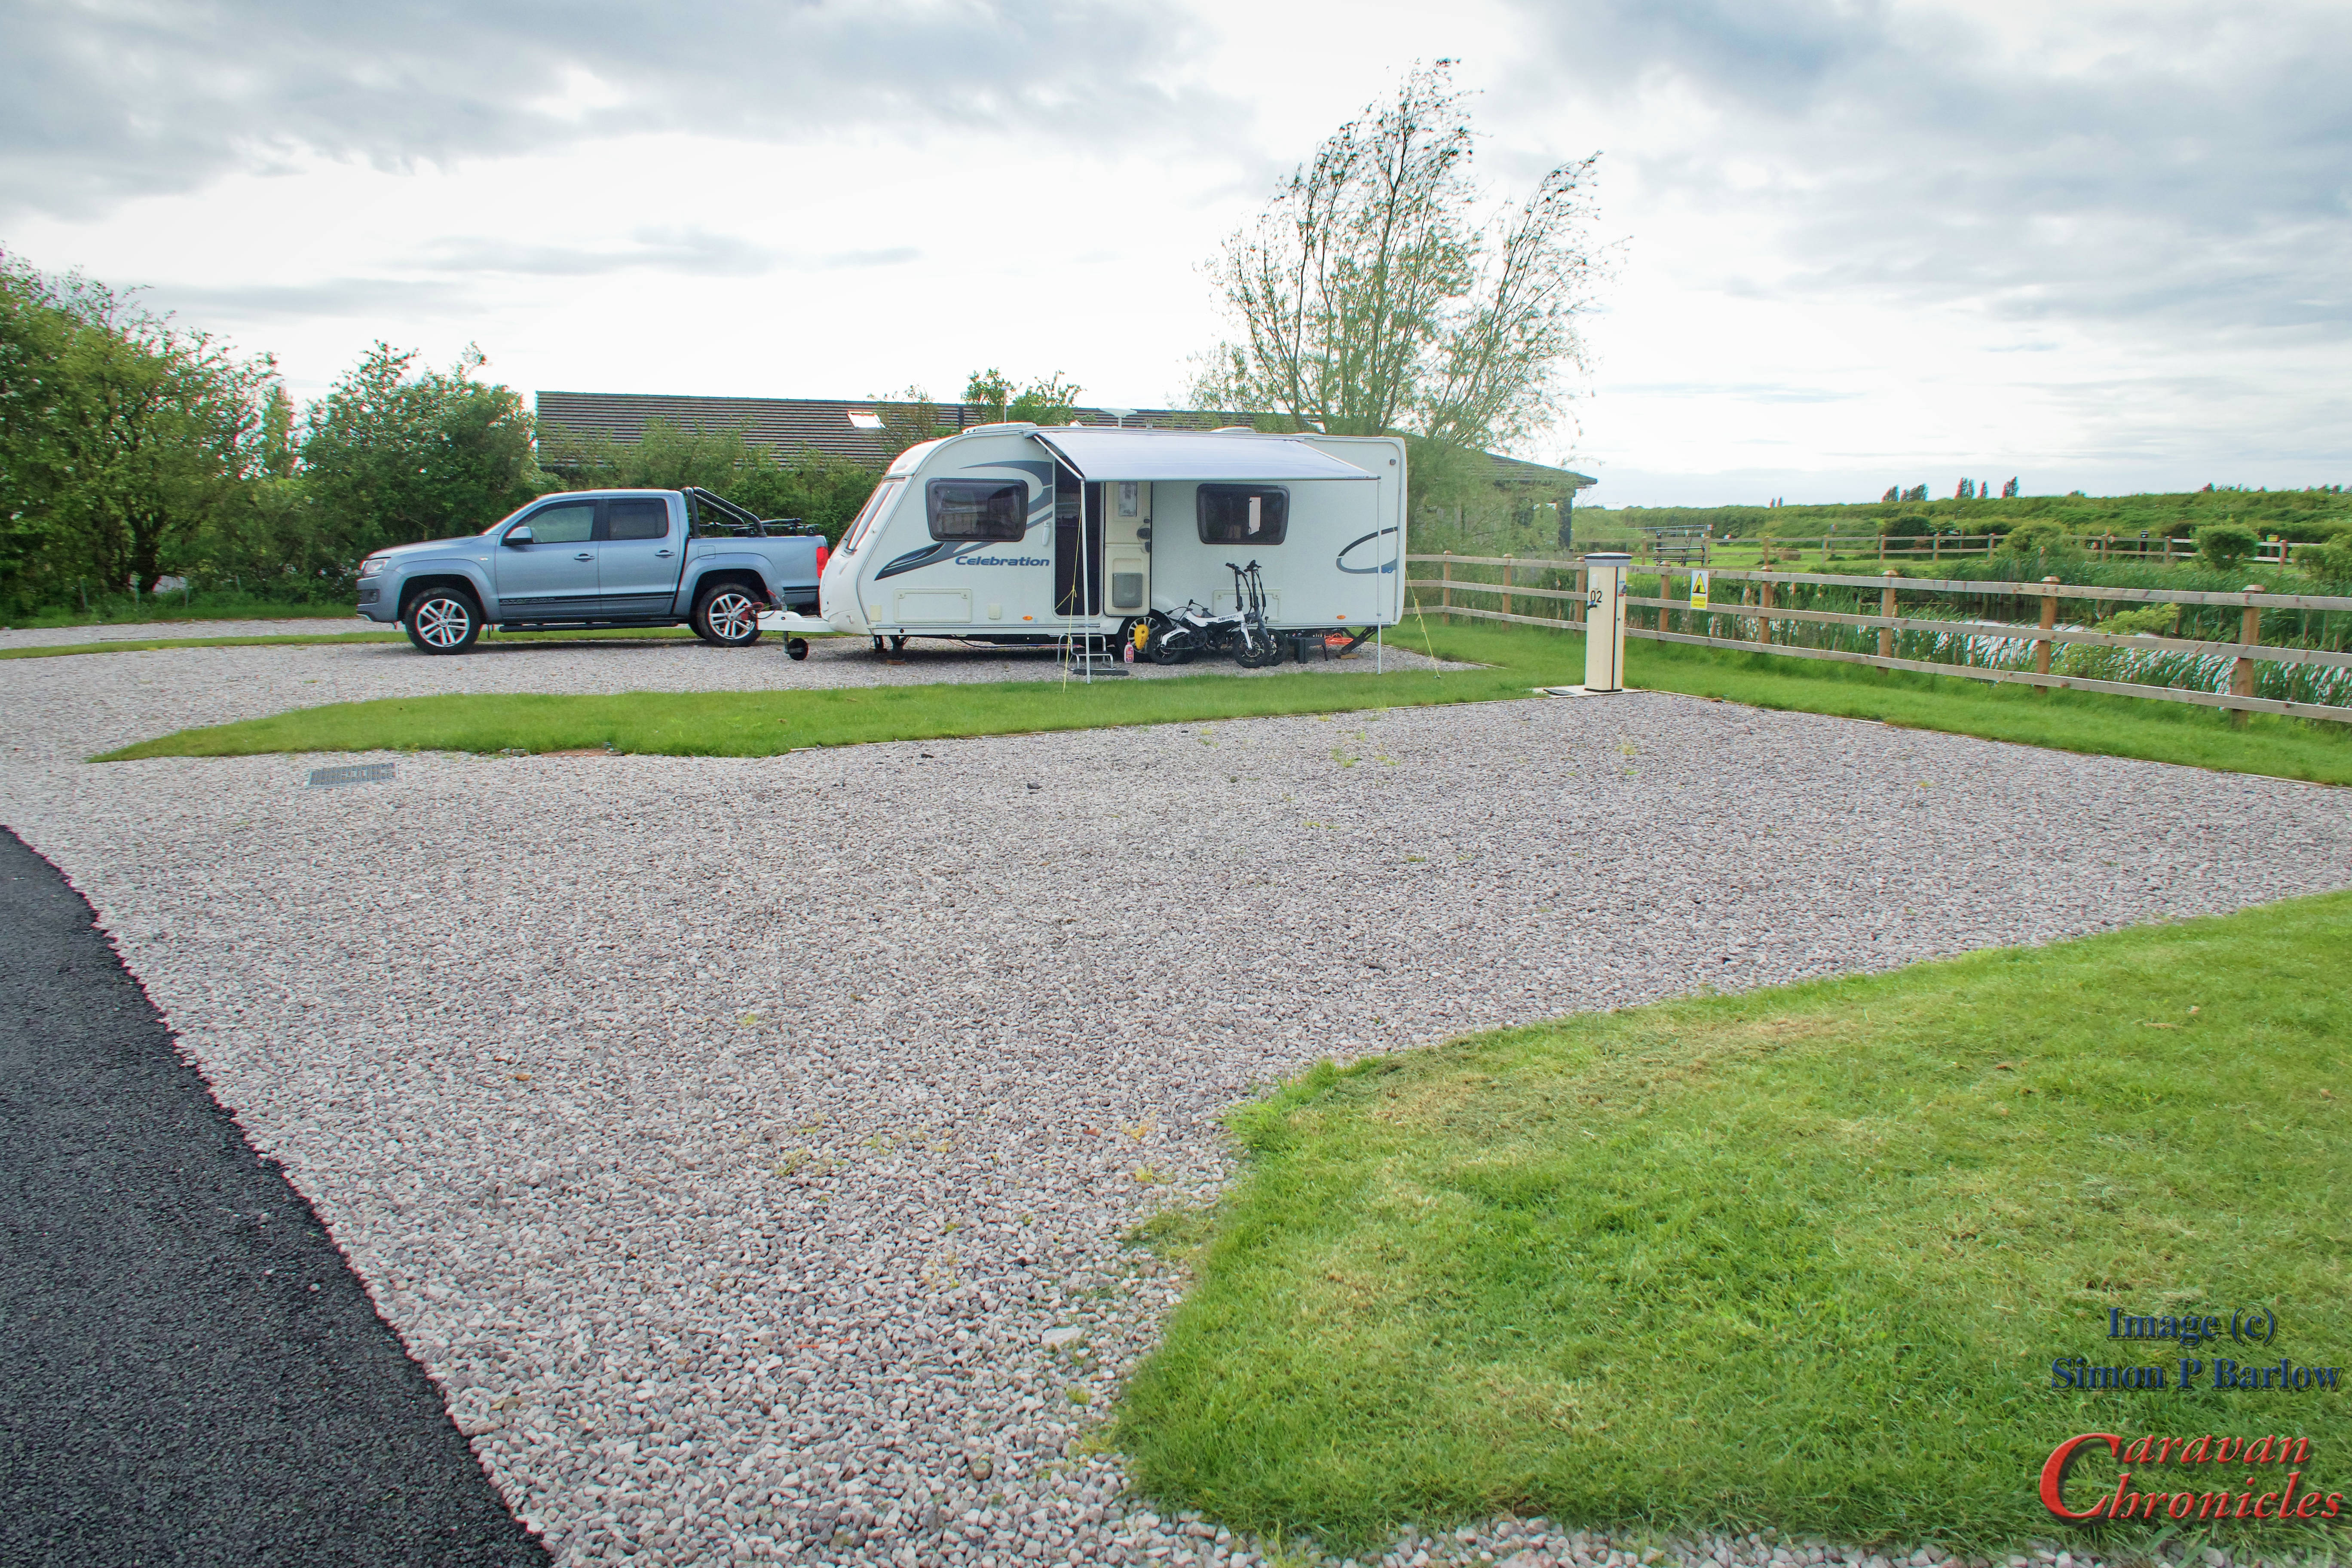
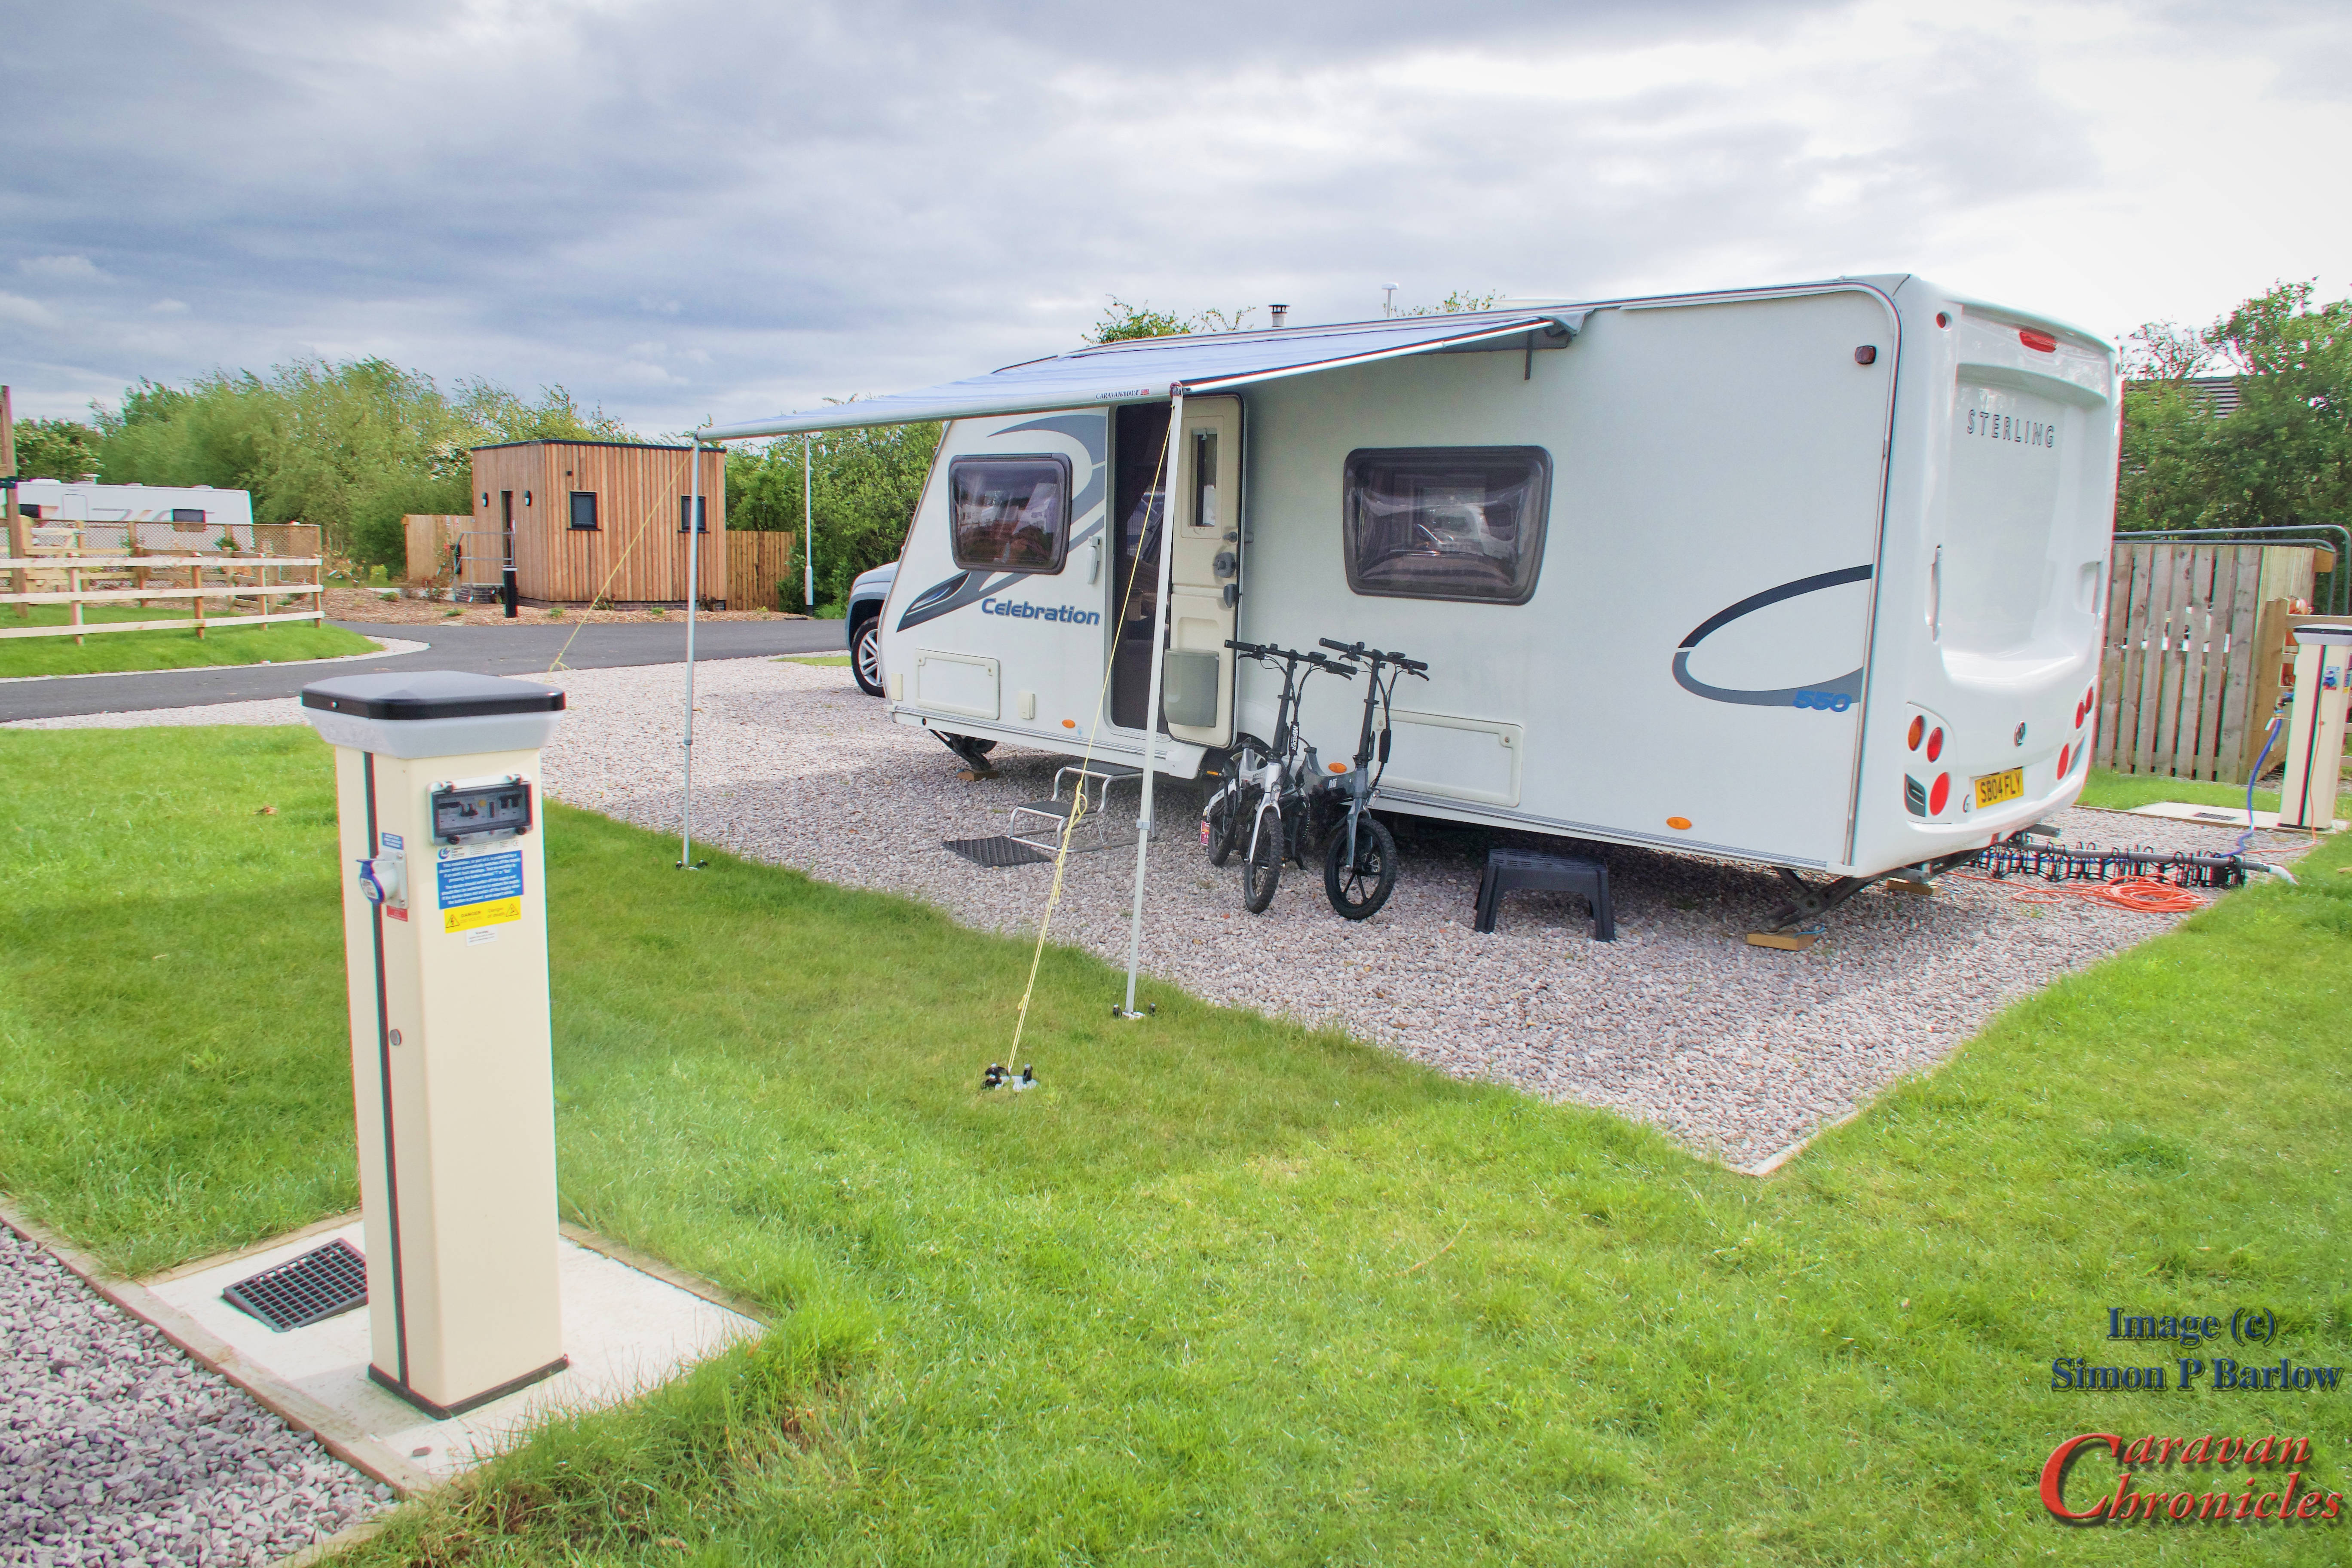
The site is well laid out and only a few years old so most of the pitches are fully serviced and the facilities first class in every respect. The last time I was impressed this much was when we went to The Old Oaks site at Glastonbury, which at the time I said was the one to beat.
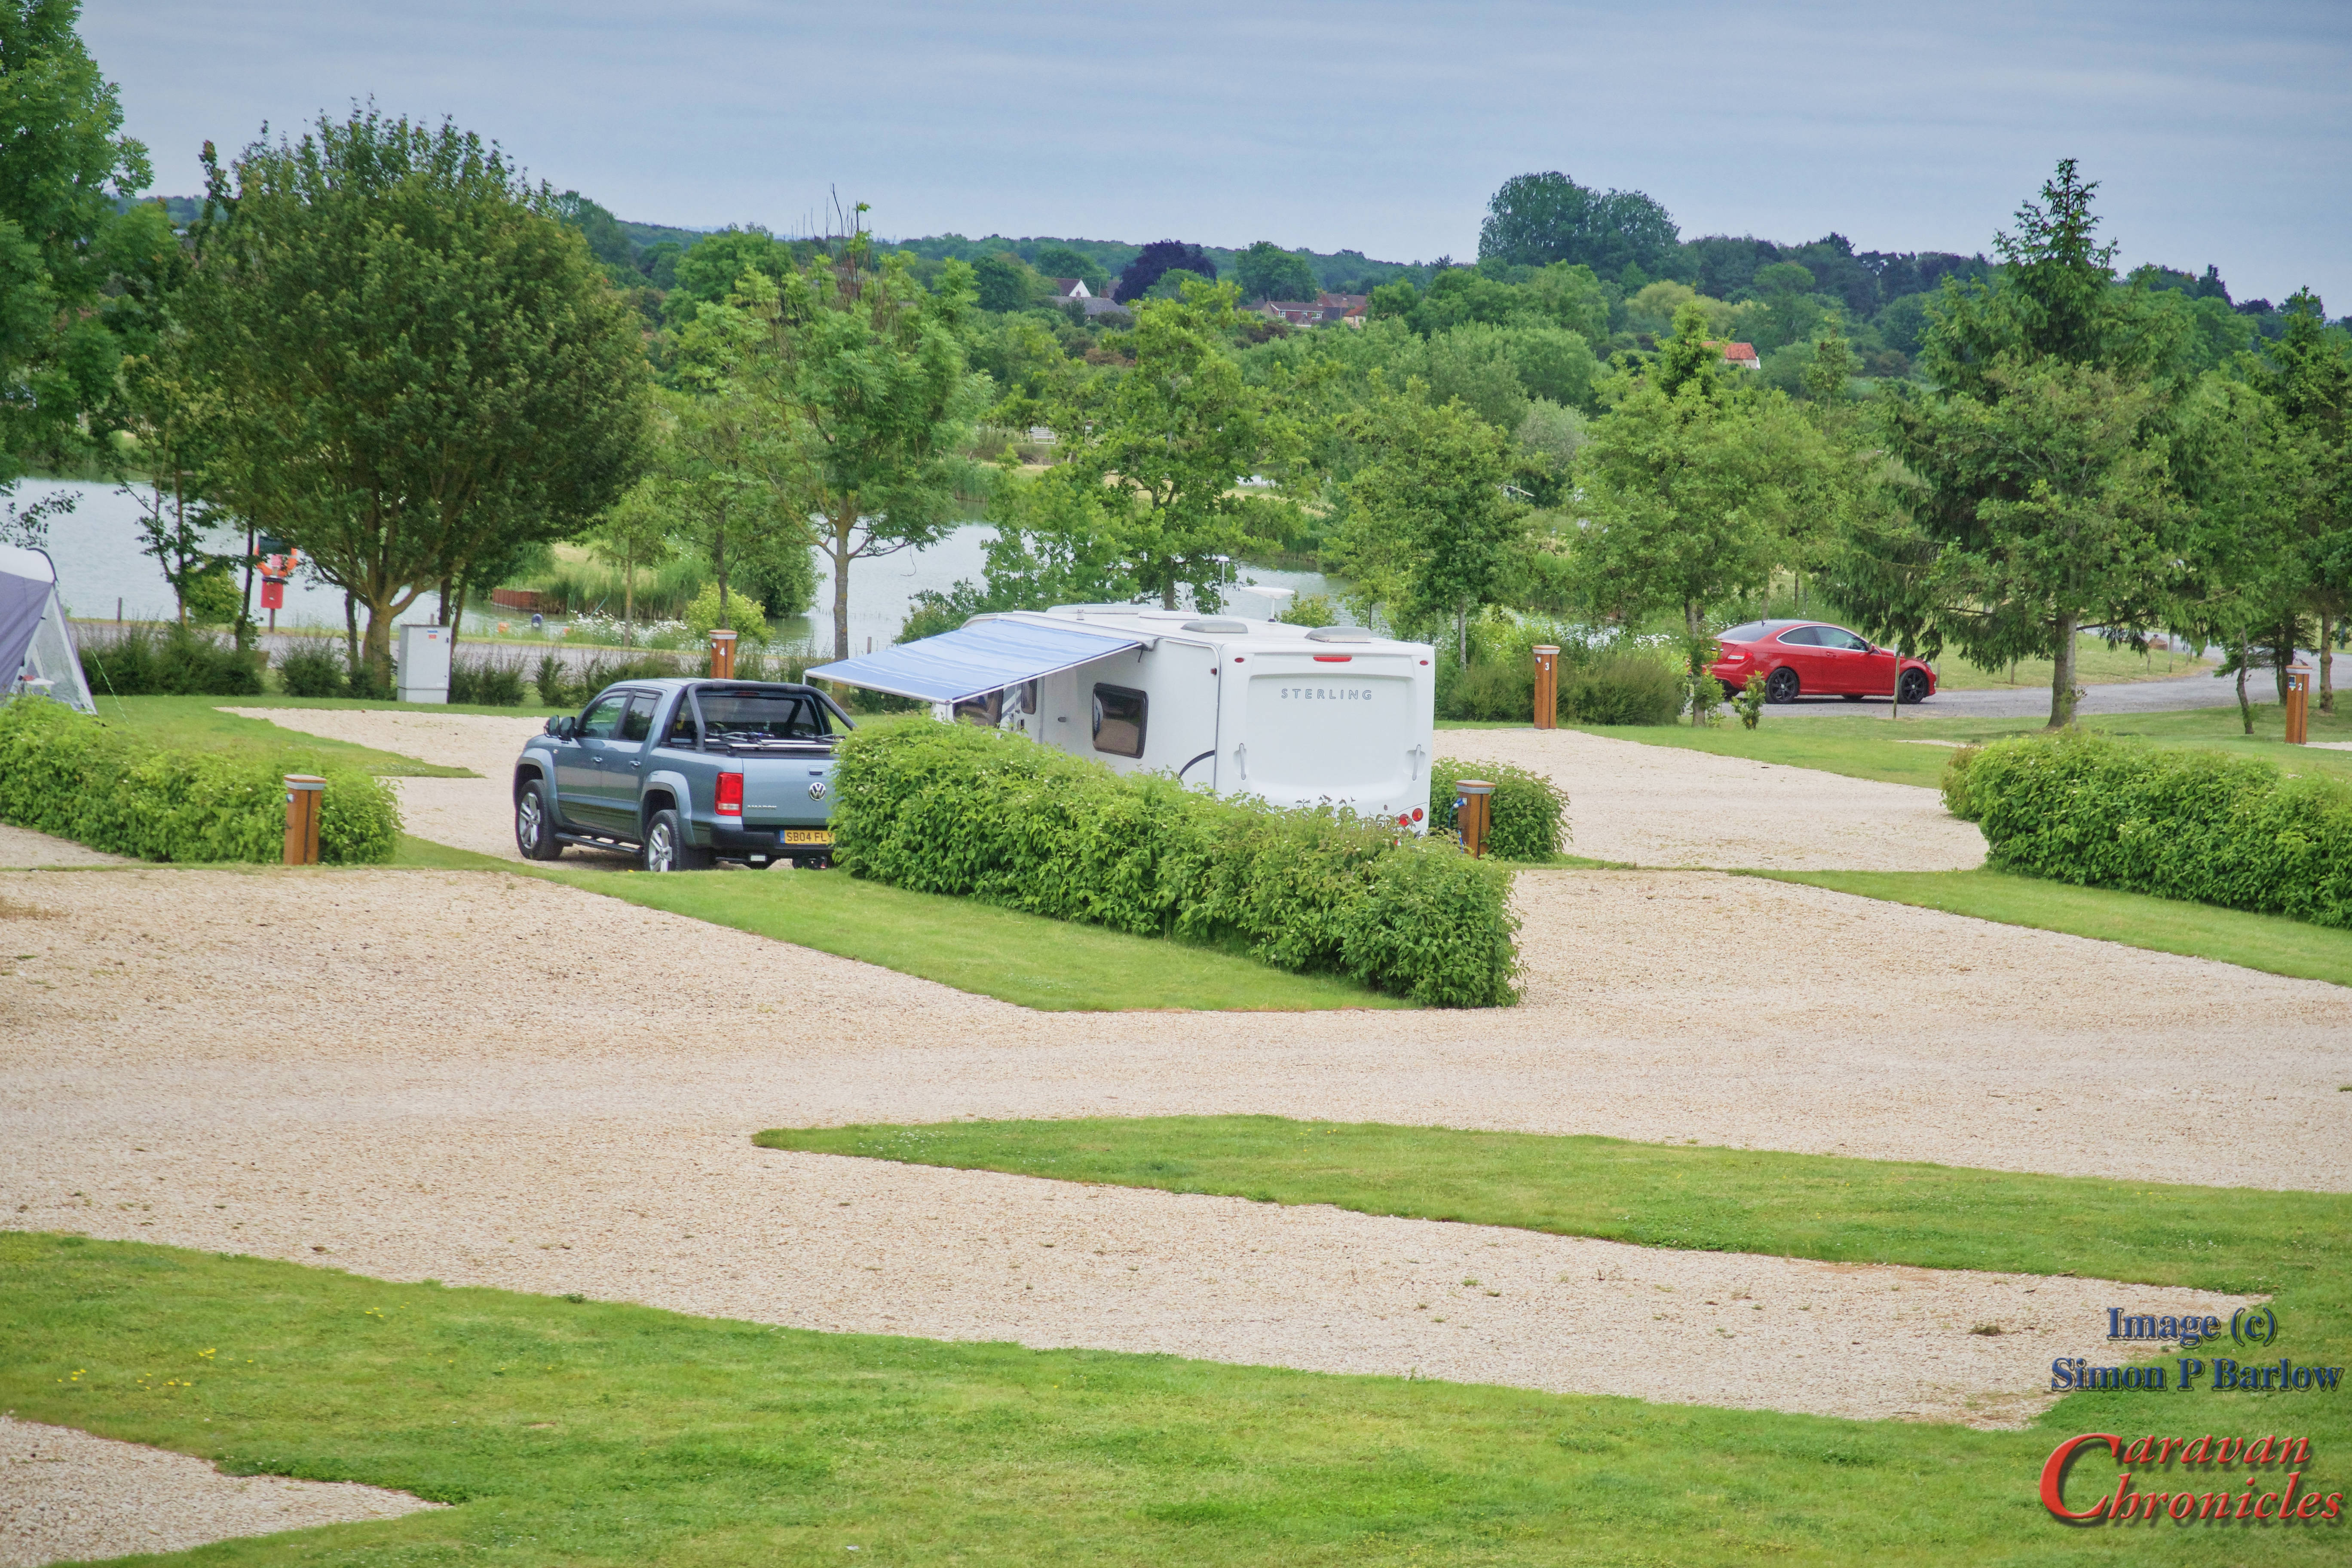
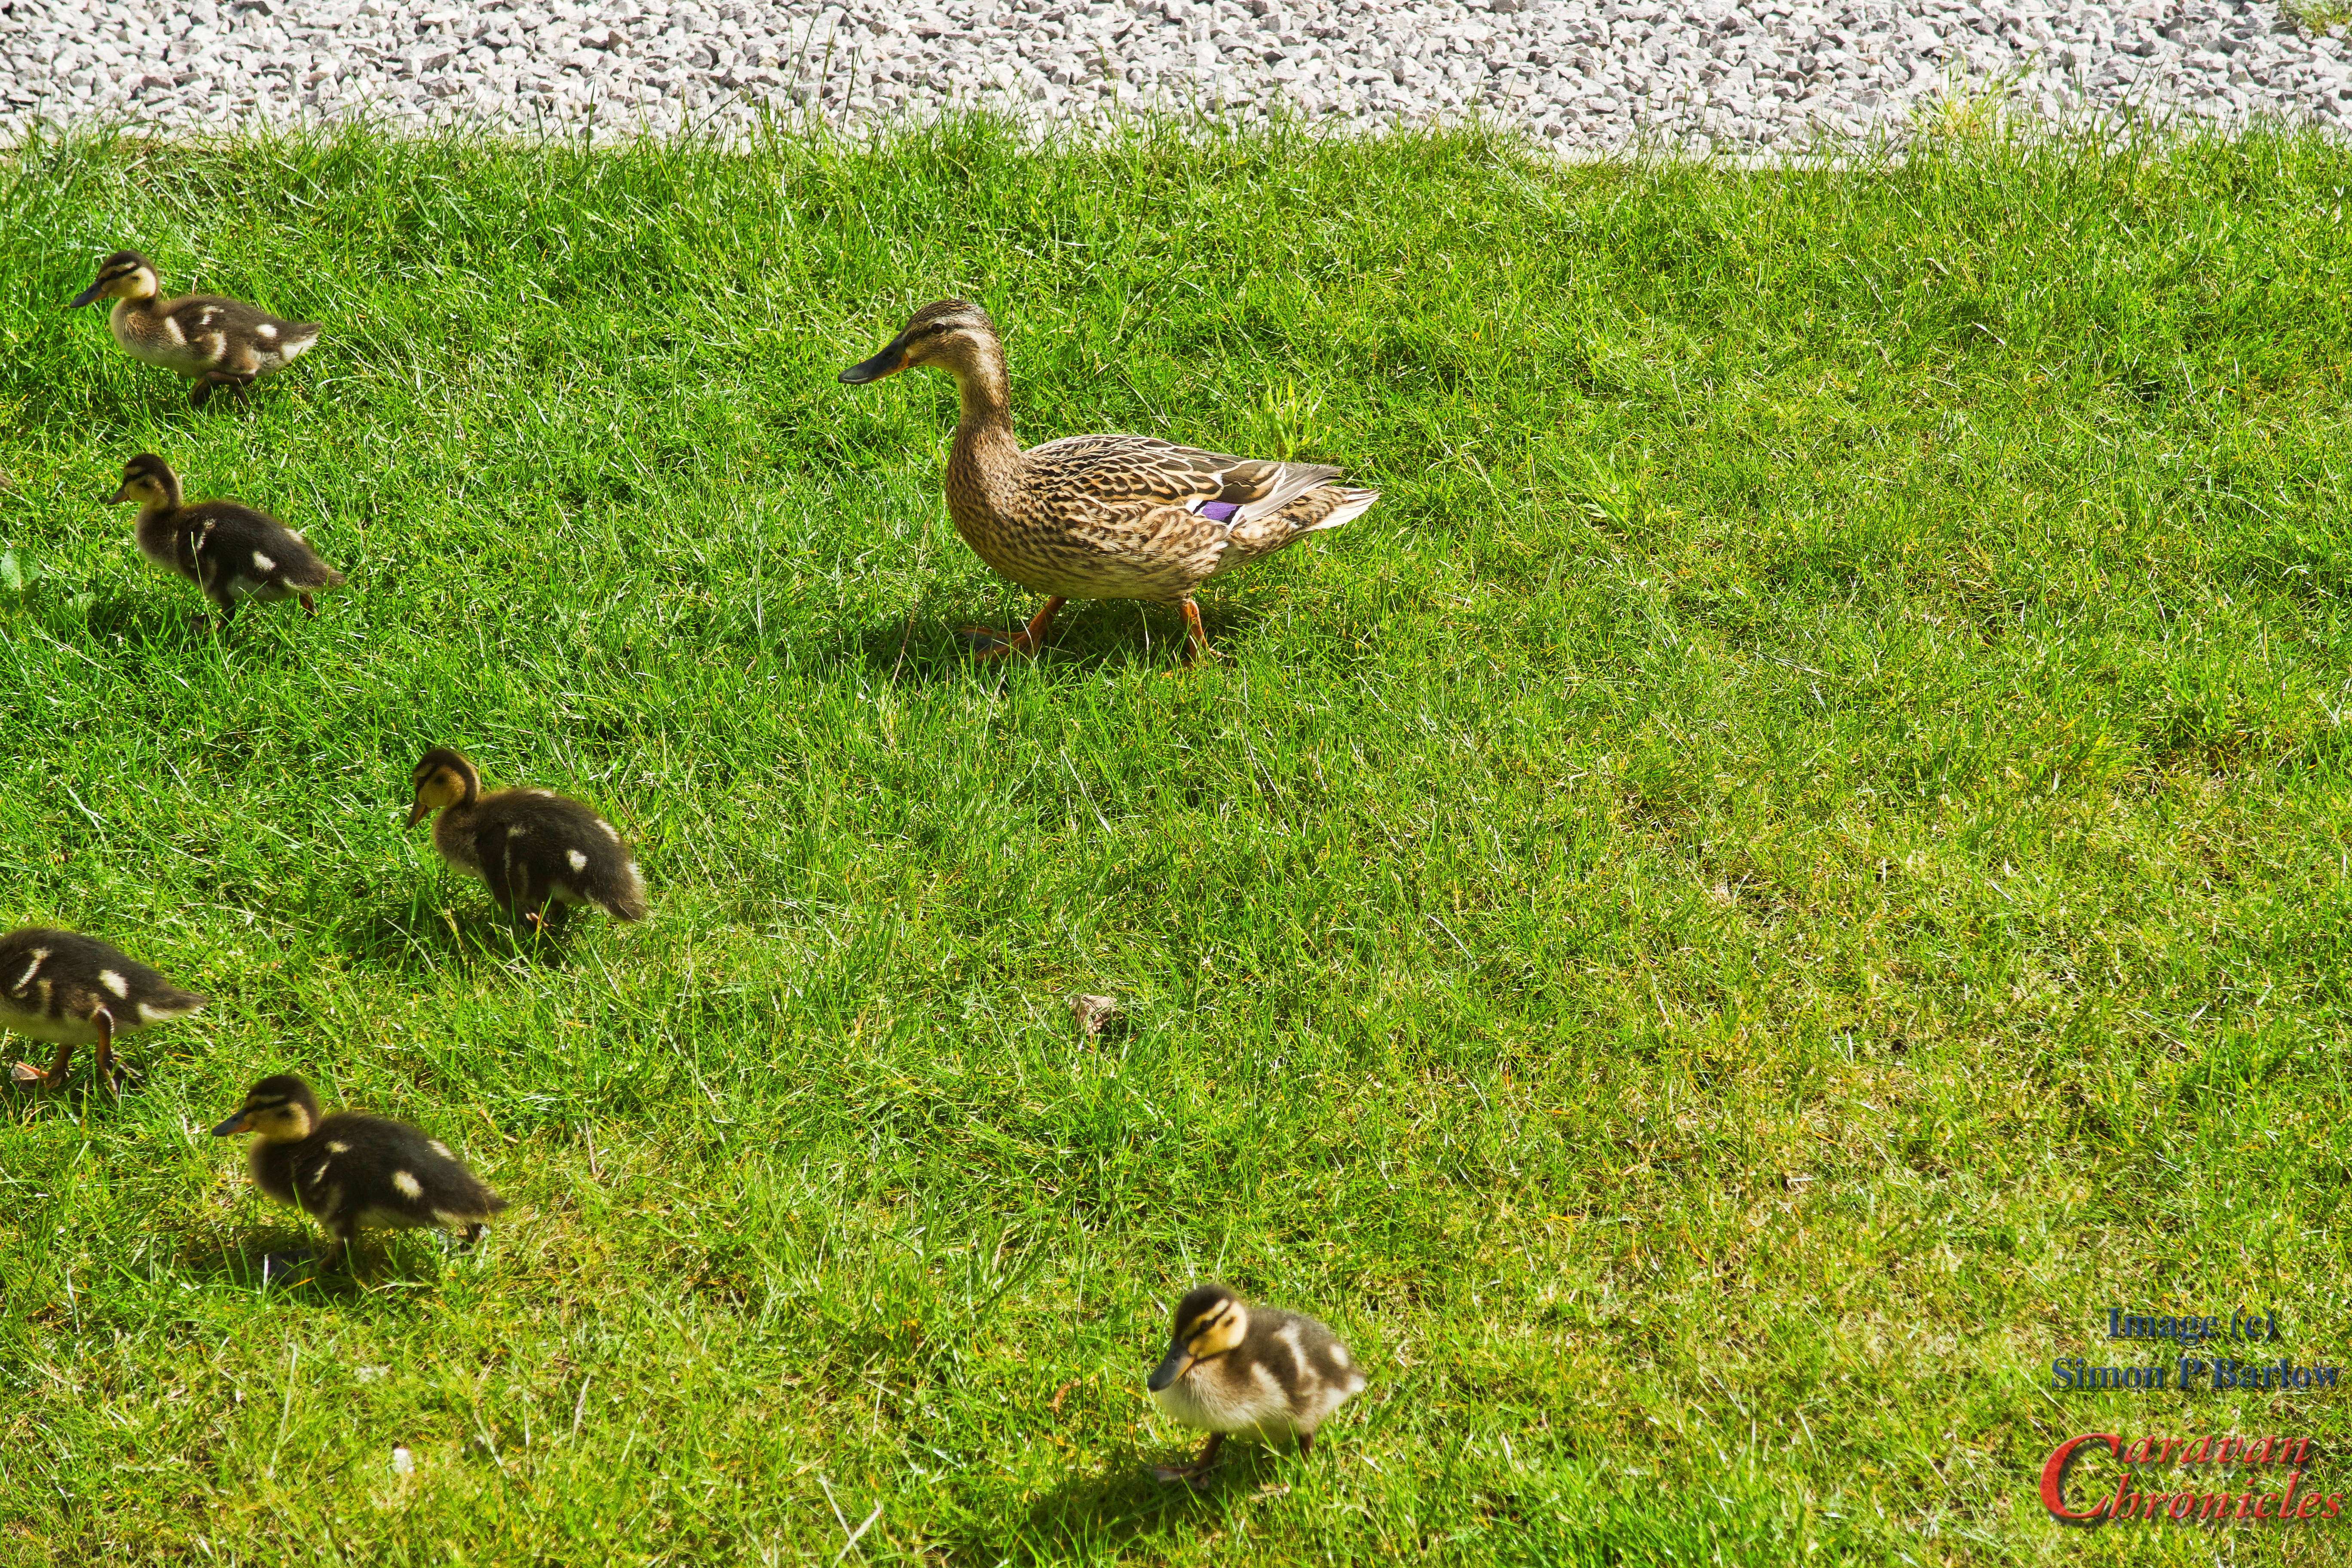
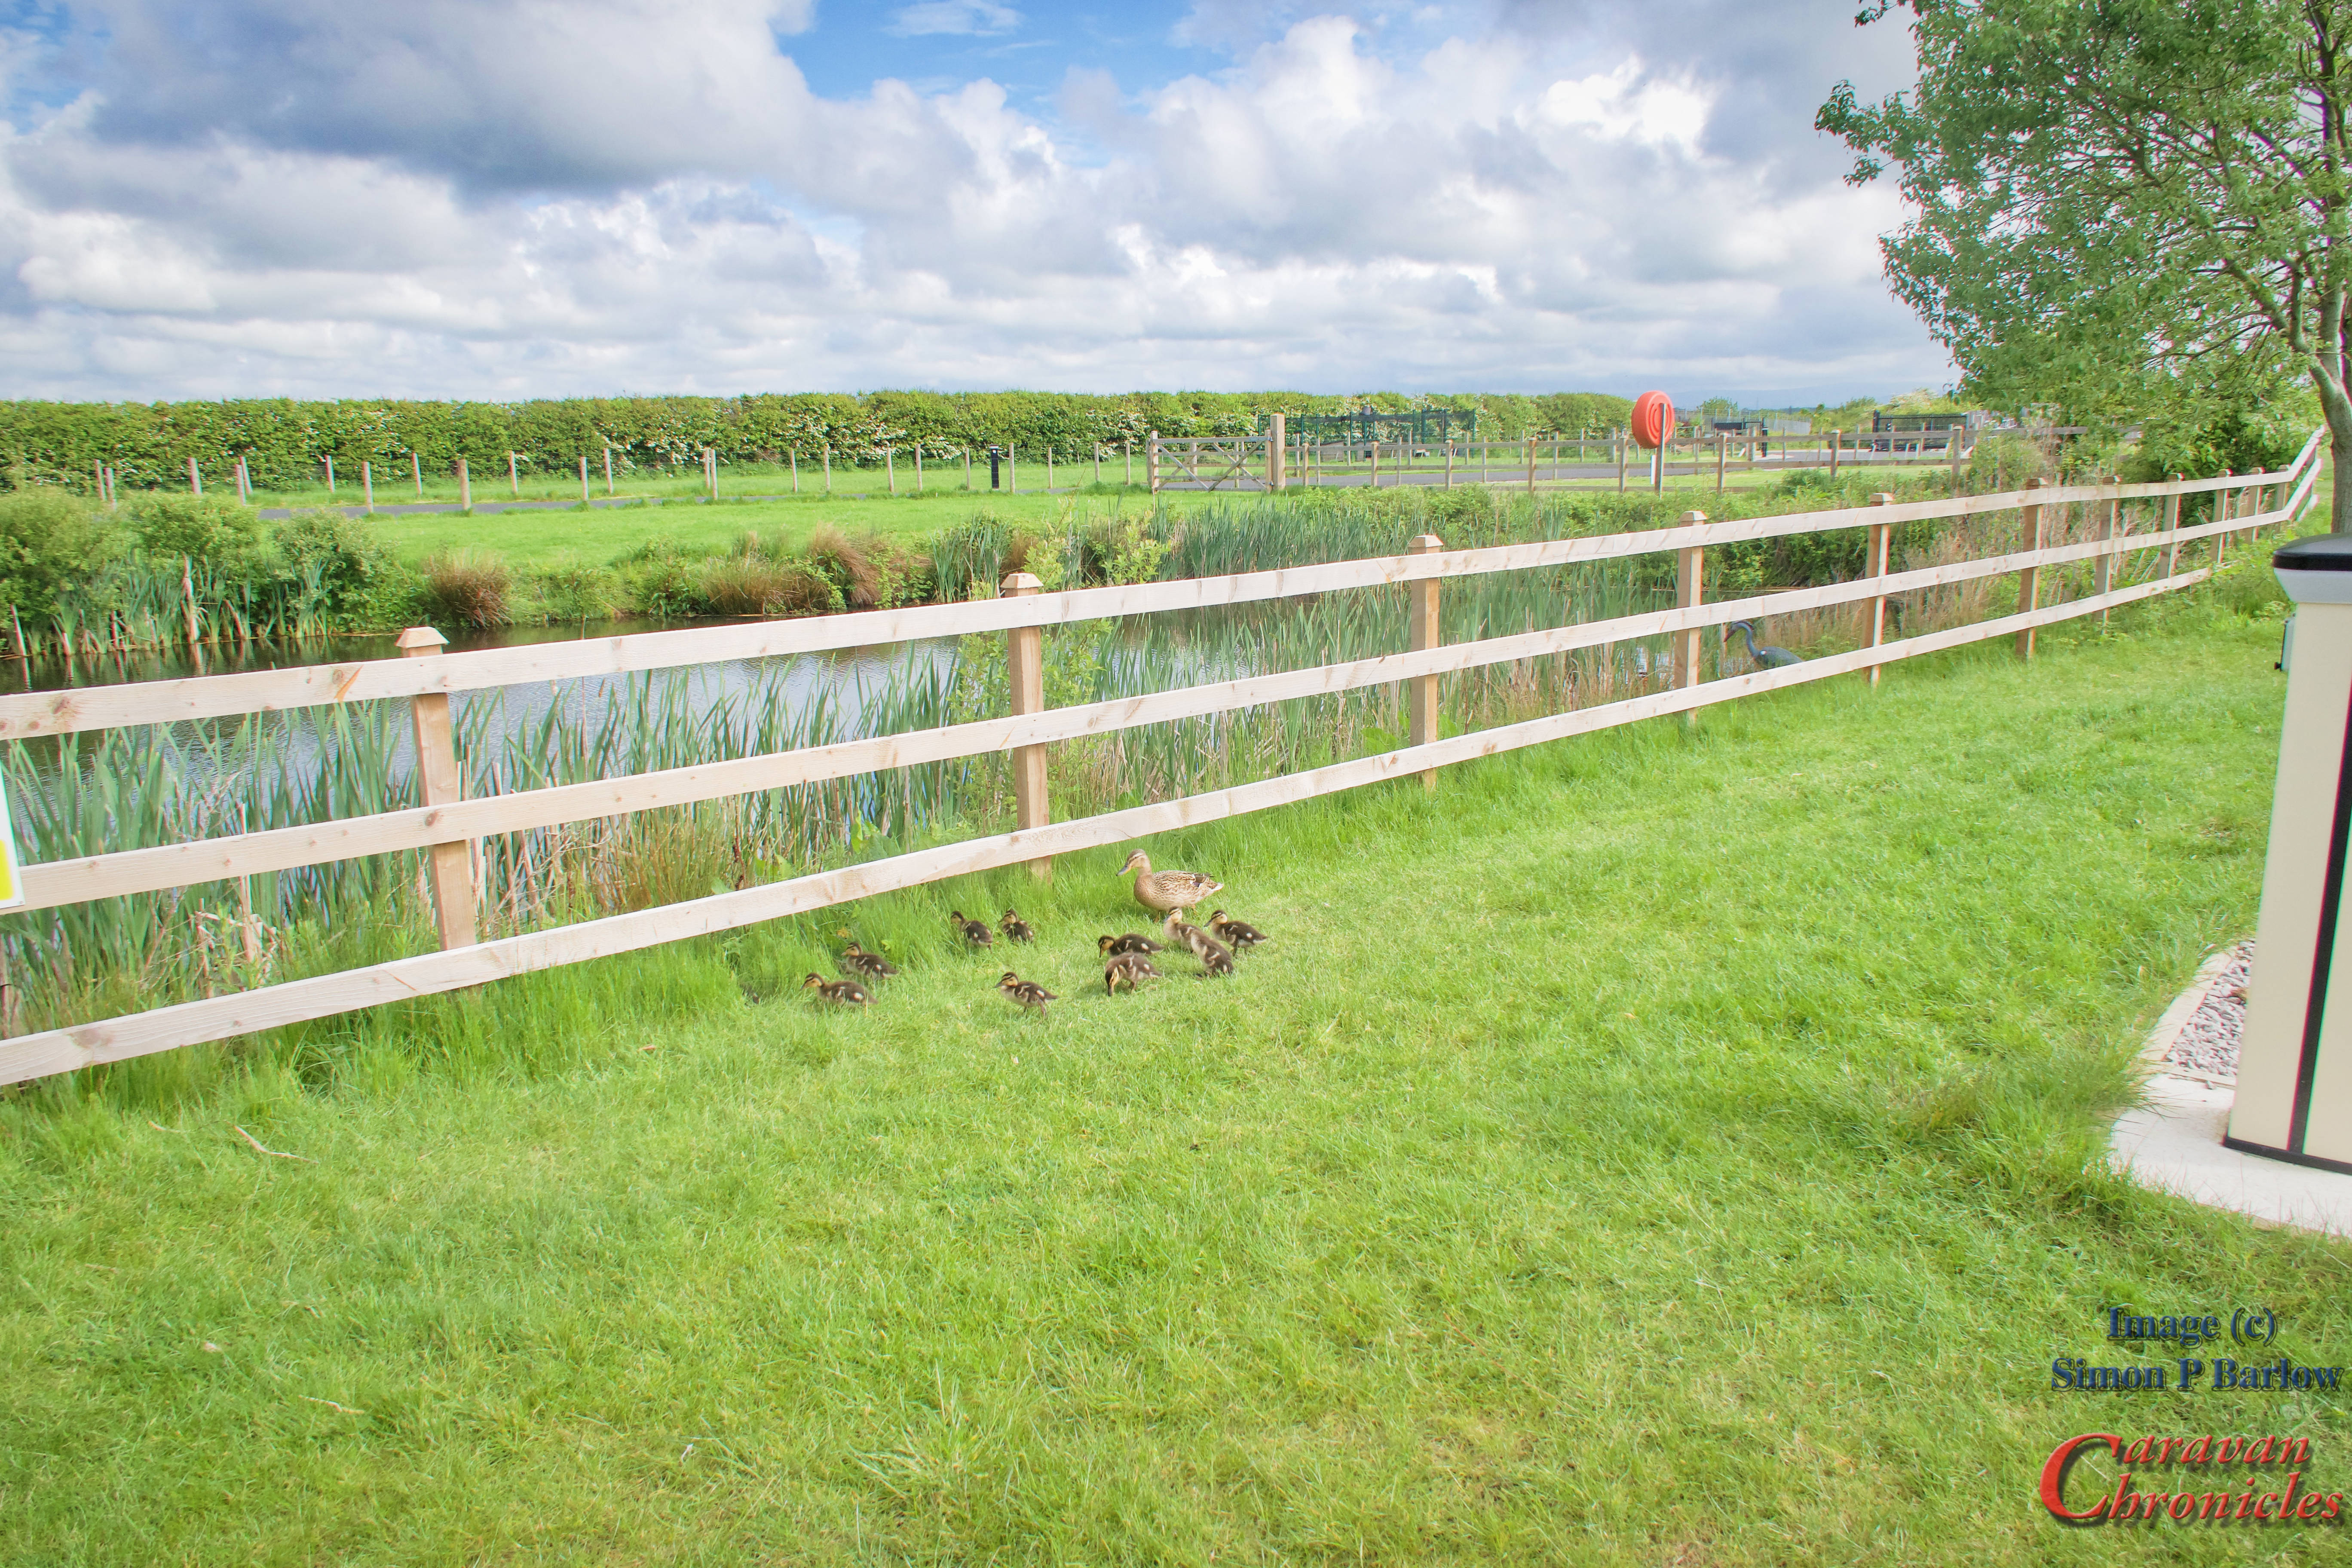
The pitch are level and firm under the gravel, all service roads are tarmac. Our pitch backed onto the small pond which was home to a pair of ducks and twelve ducklings which mother took for a walk umpteen times per day. She seemed to be getting the ducklings used to standing in front of caravan doors as they would all gather outside the door at the slightest sign of activity from within.
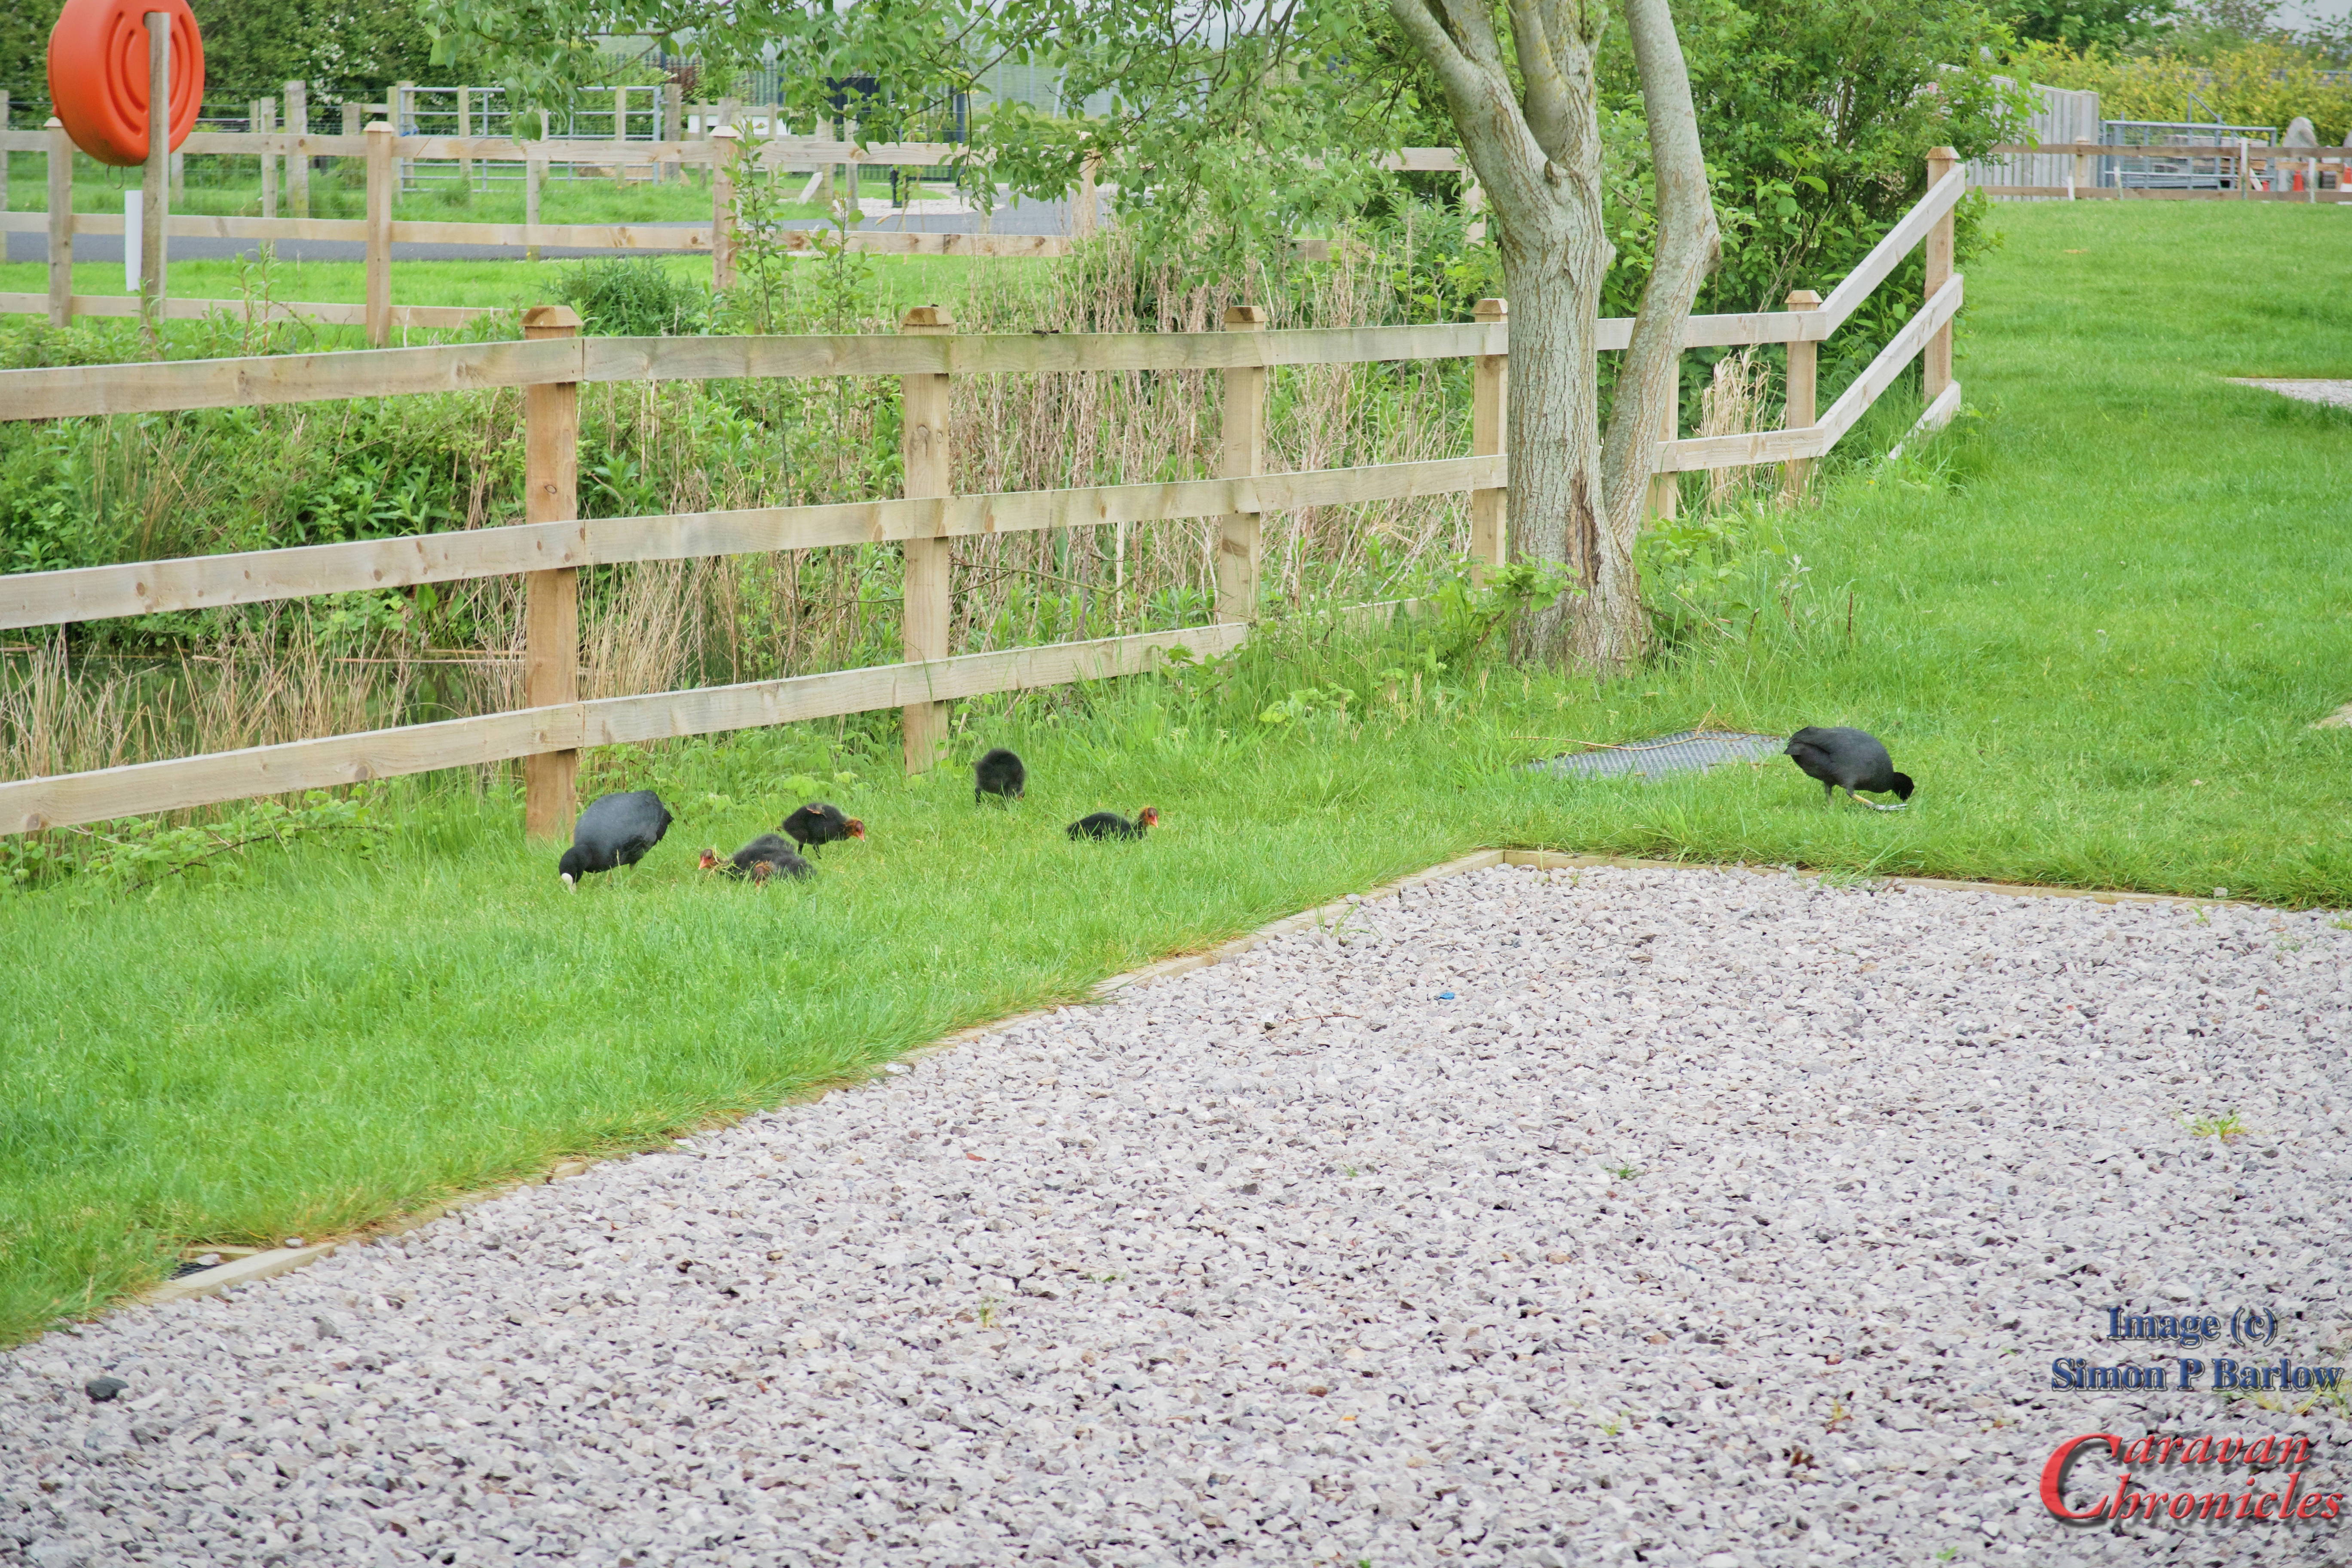
We also had a family of coots as frequent visitors who had also made the pond their home….
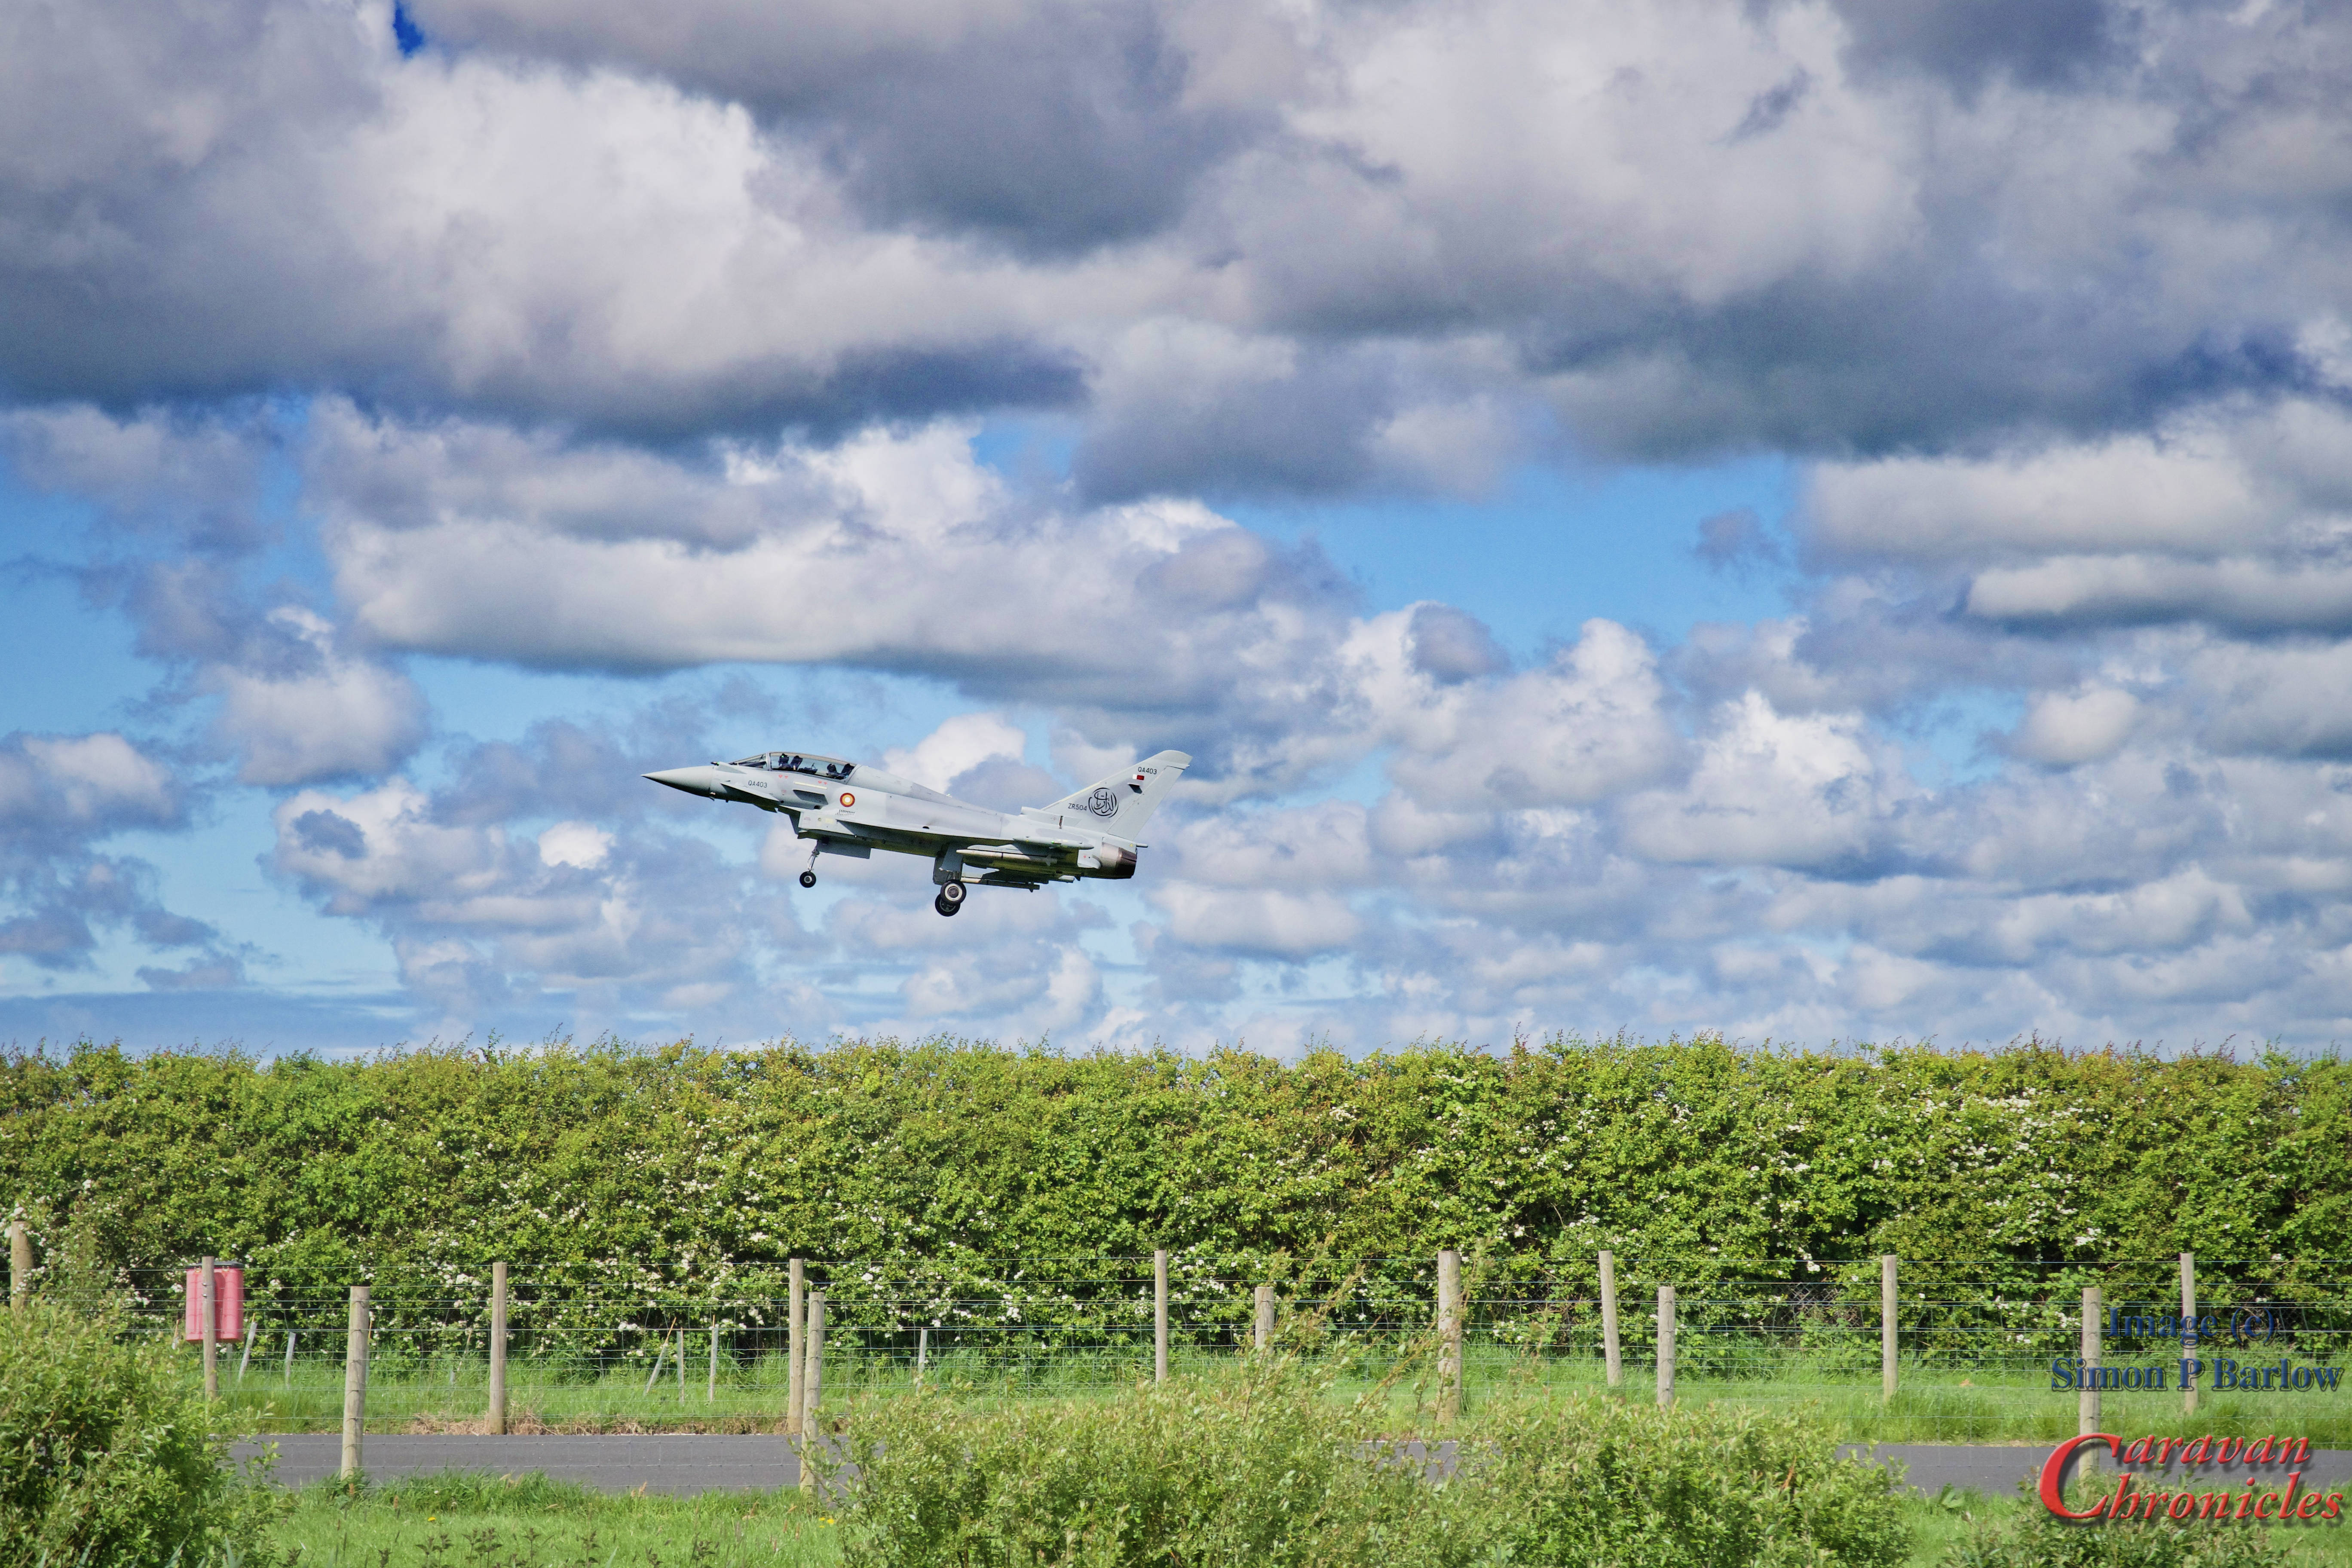
As I mentioned earlier, you do get the occasional fast jet through the weekday…
They don’t seem to bother the wildlife and they didn’t bother us…. apart from me scrambling to find my camera…. a retired pilot is still a person with jet A1 running through their veins.
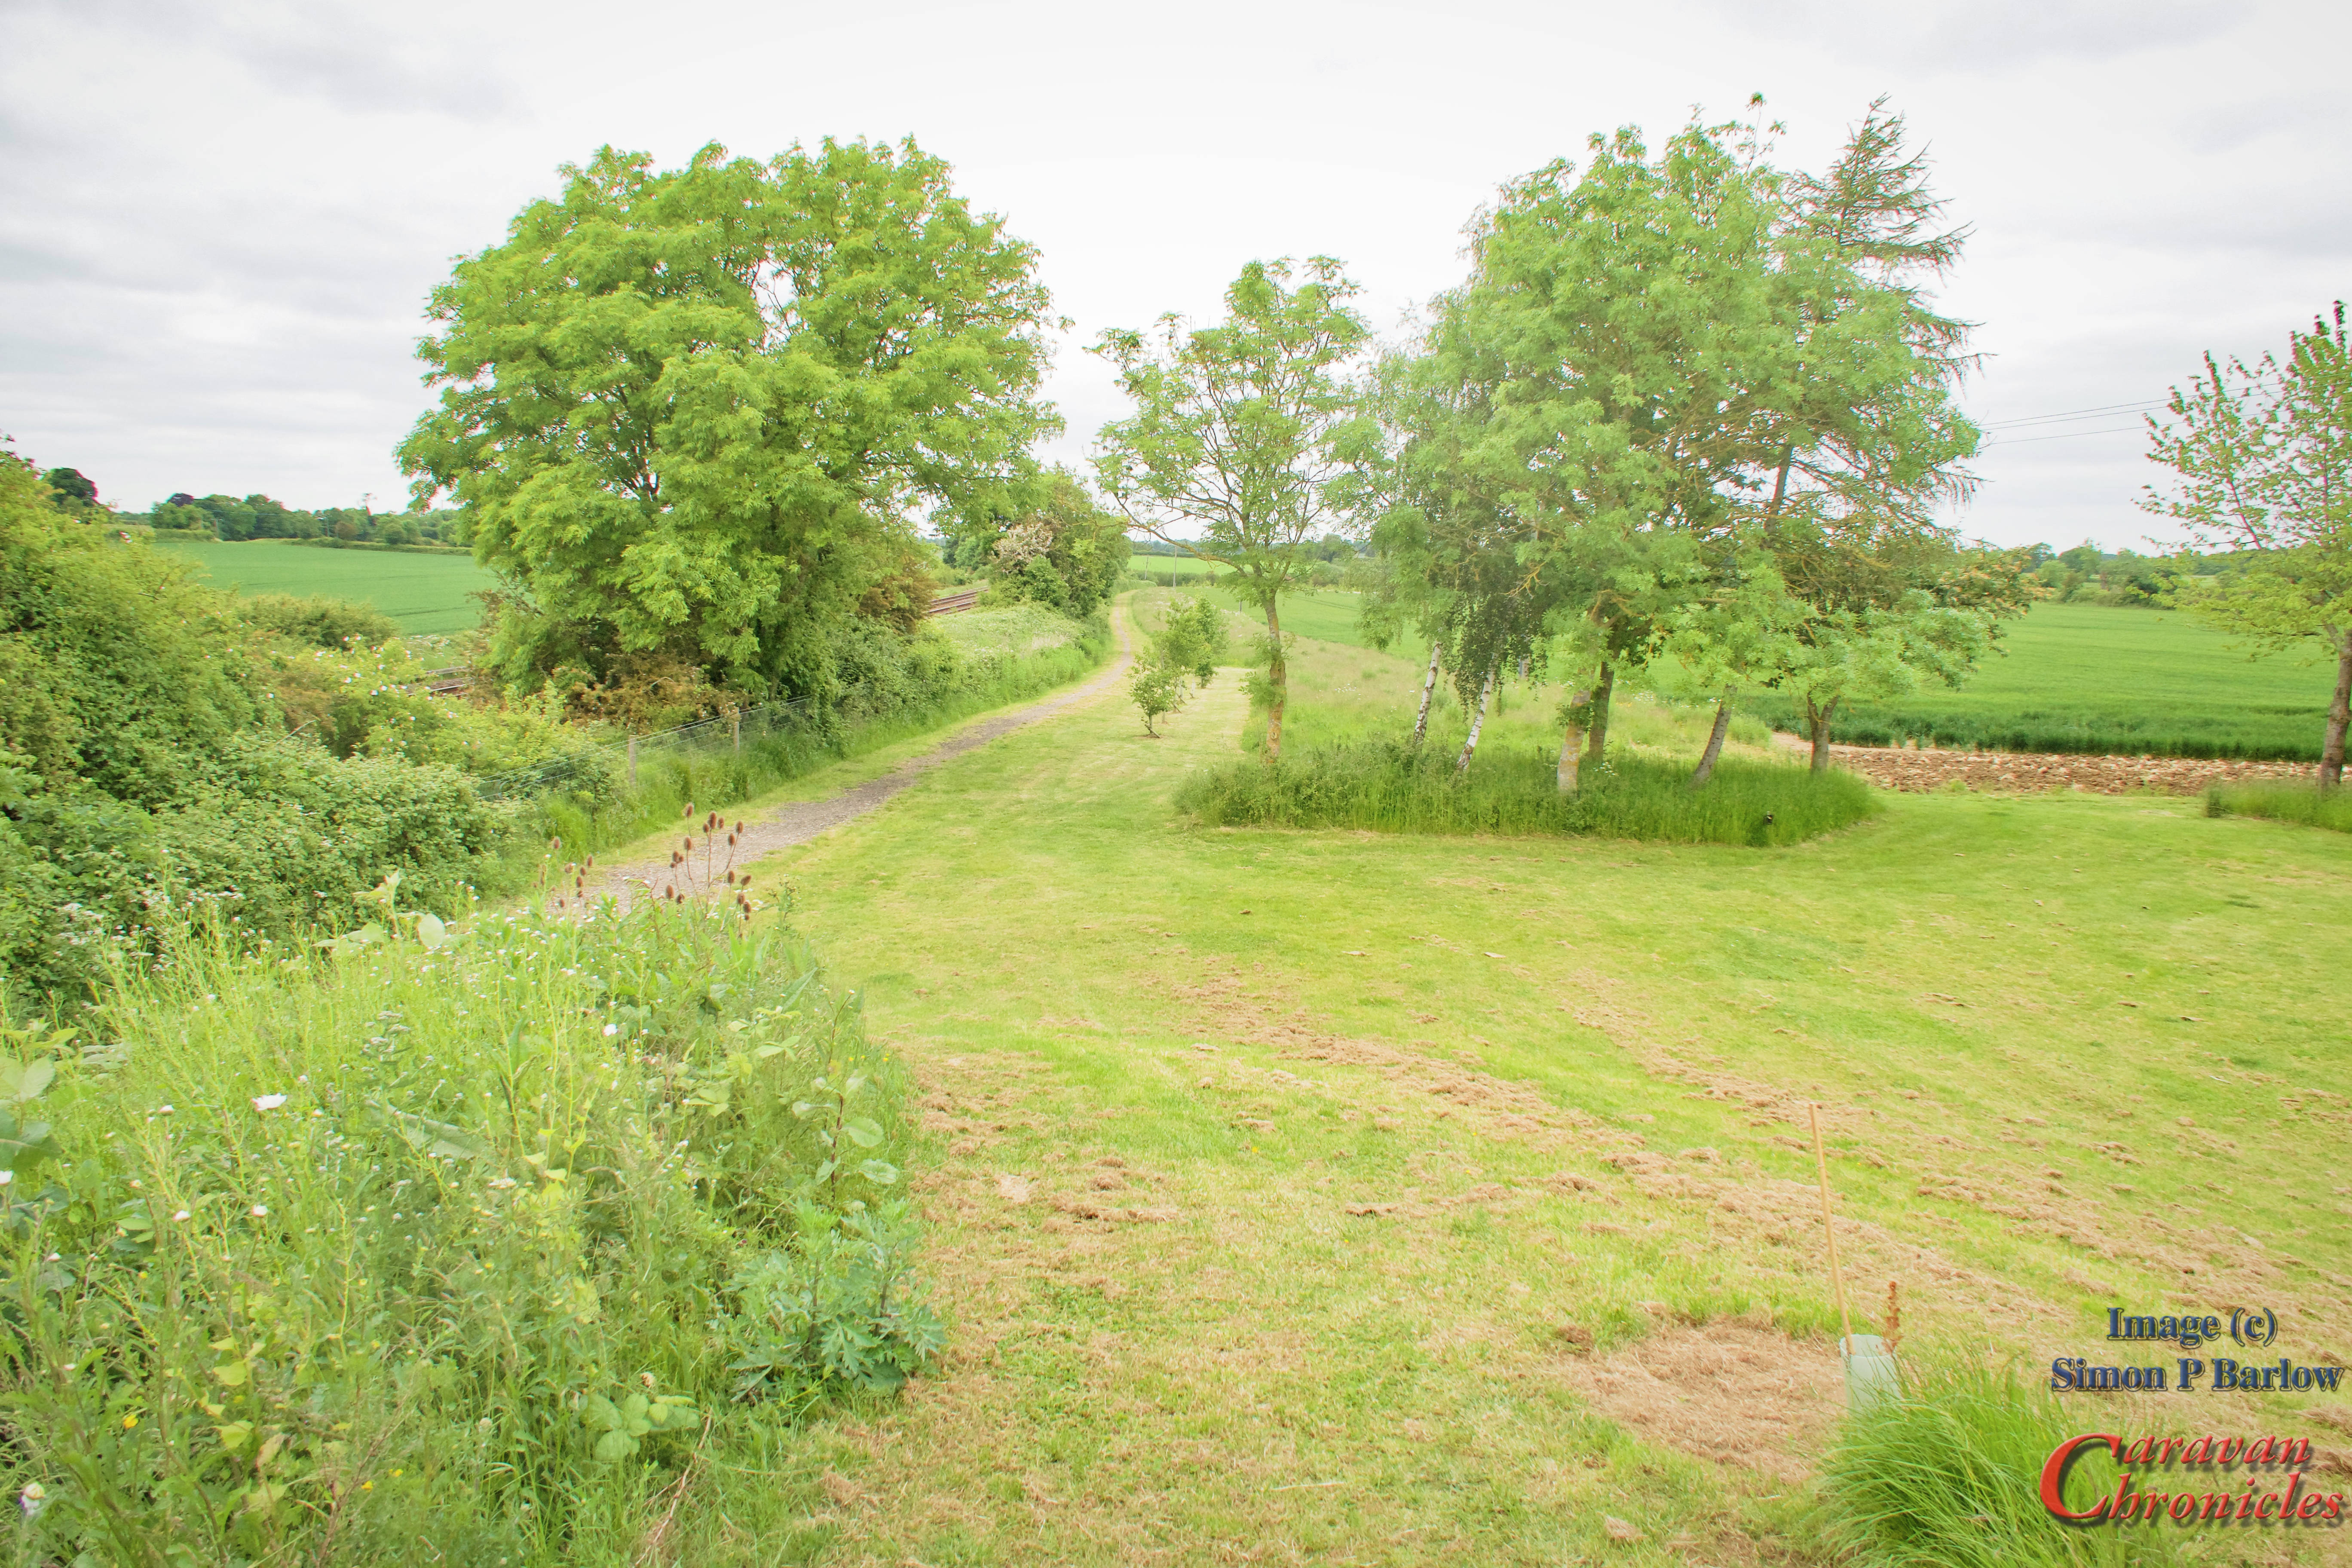
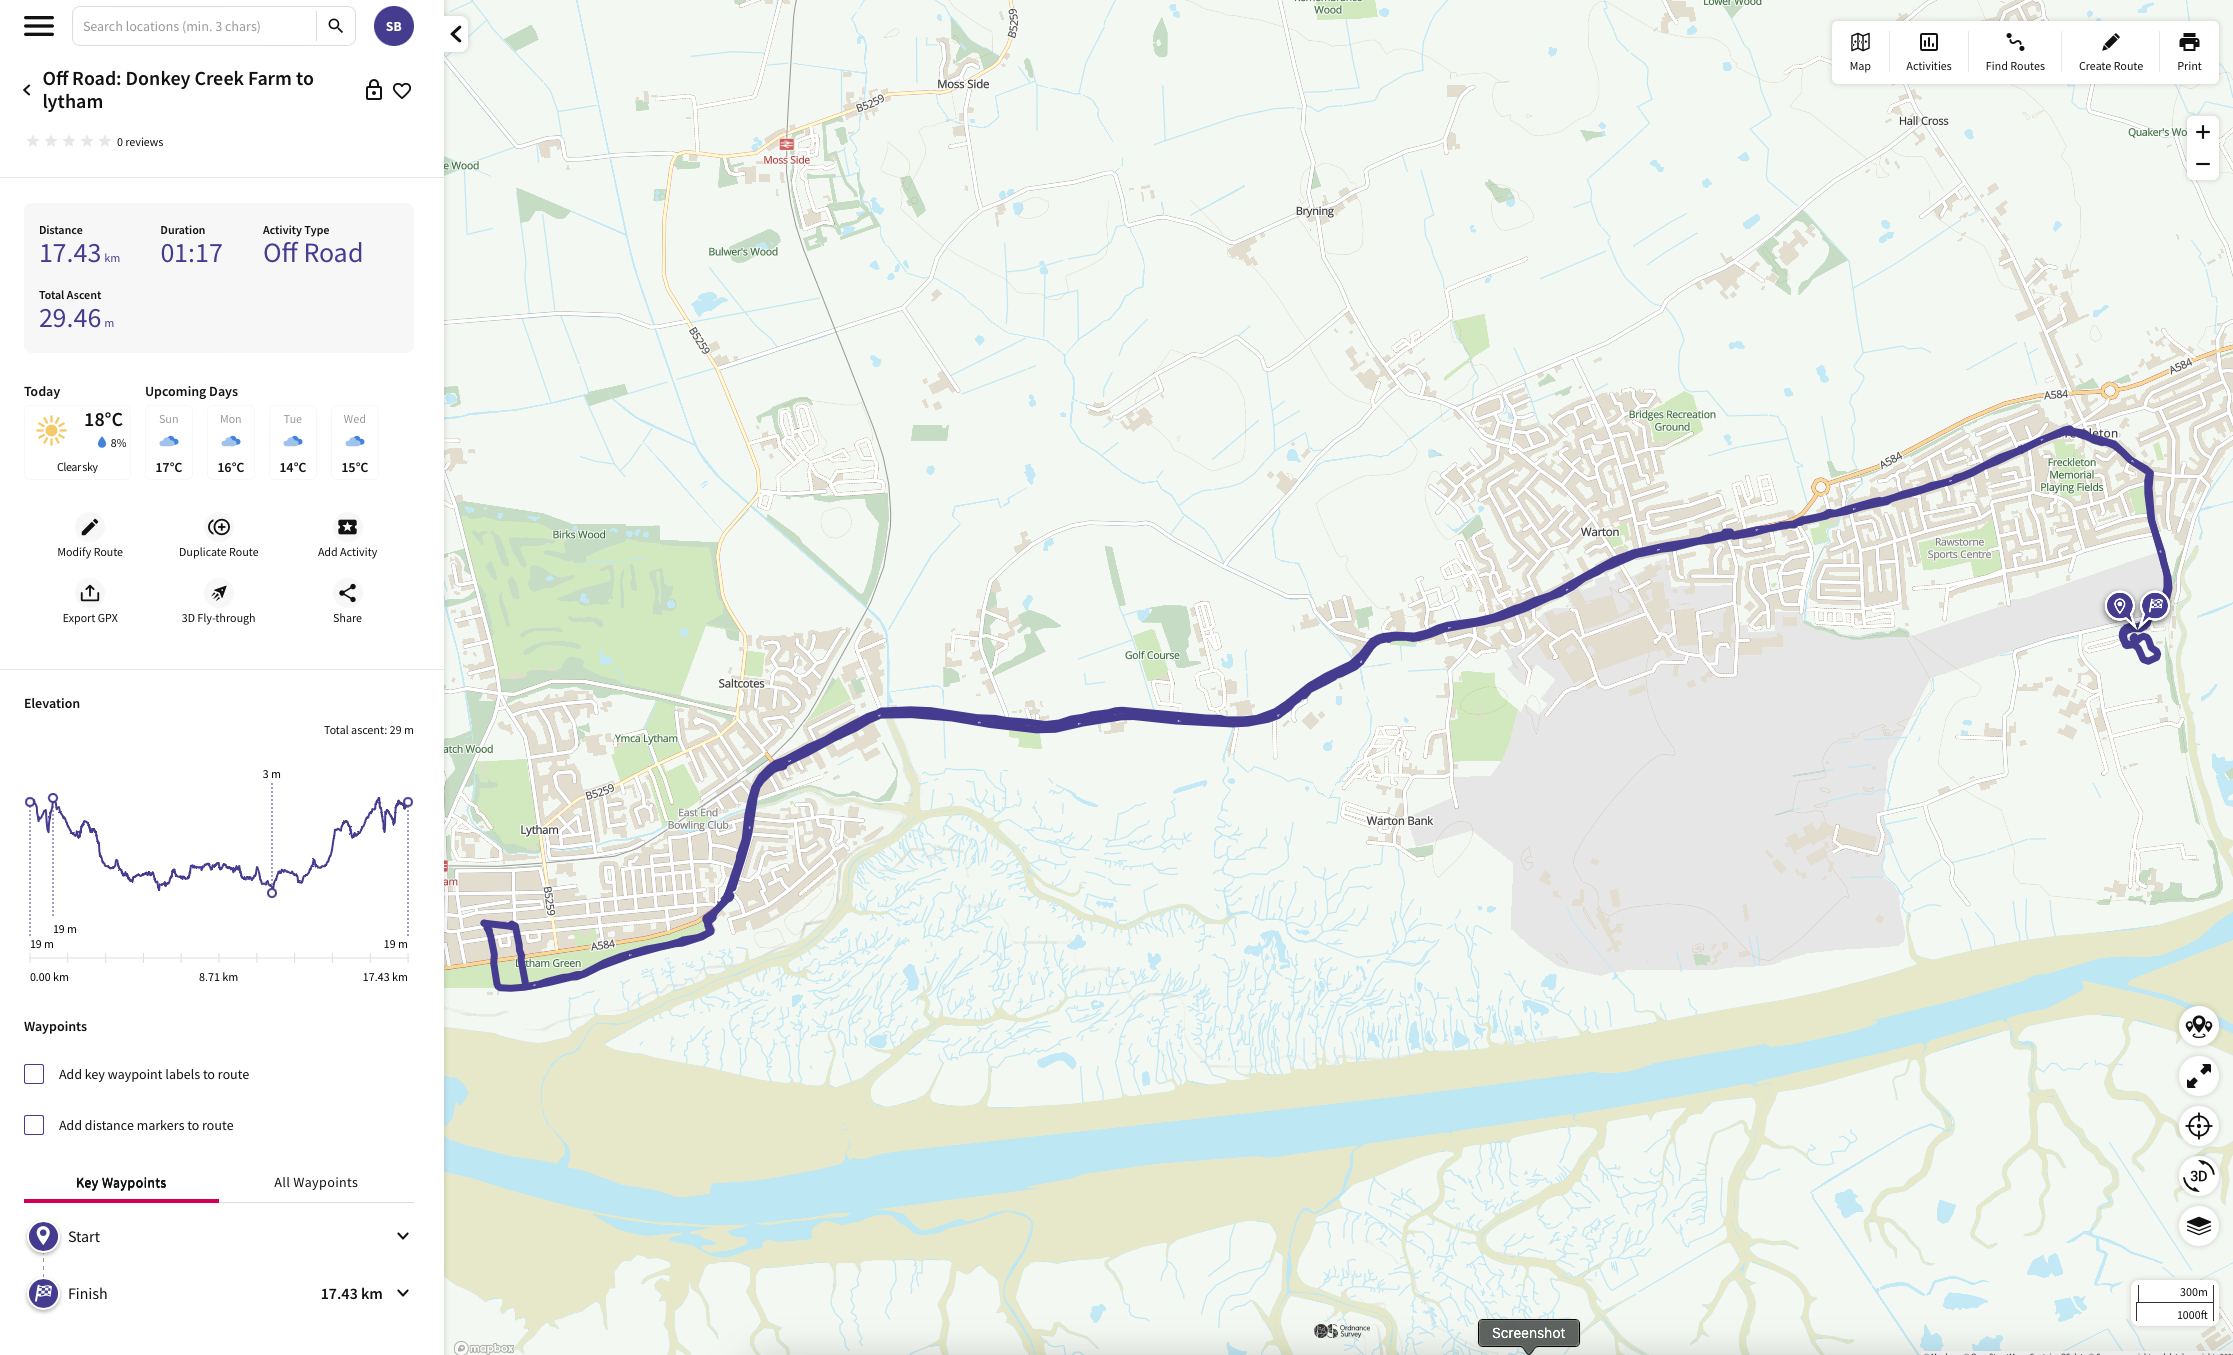
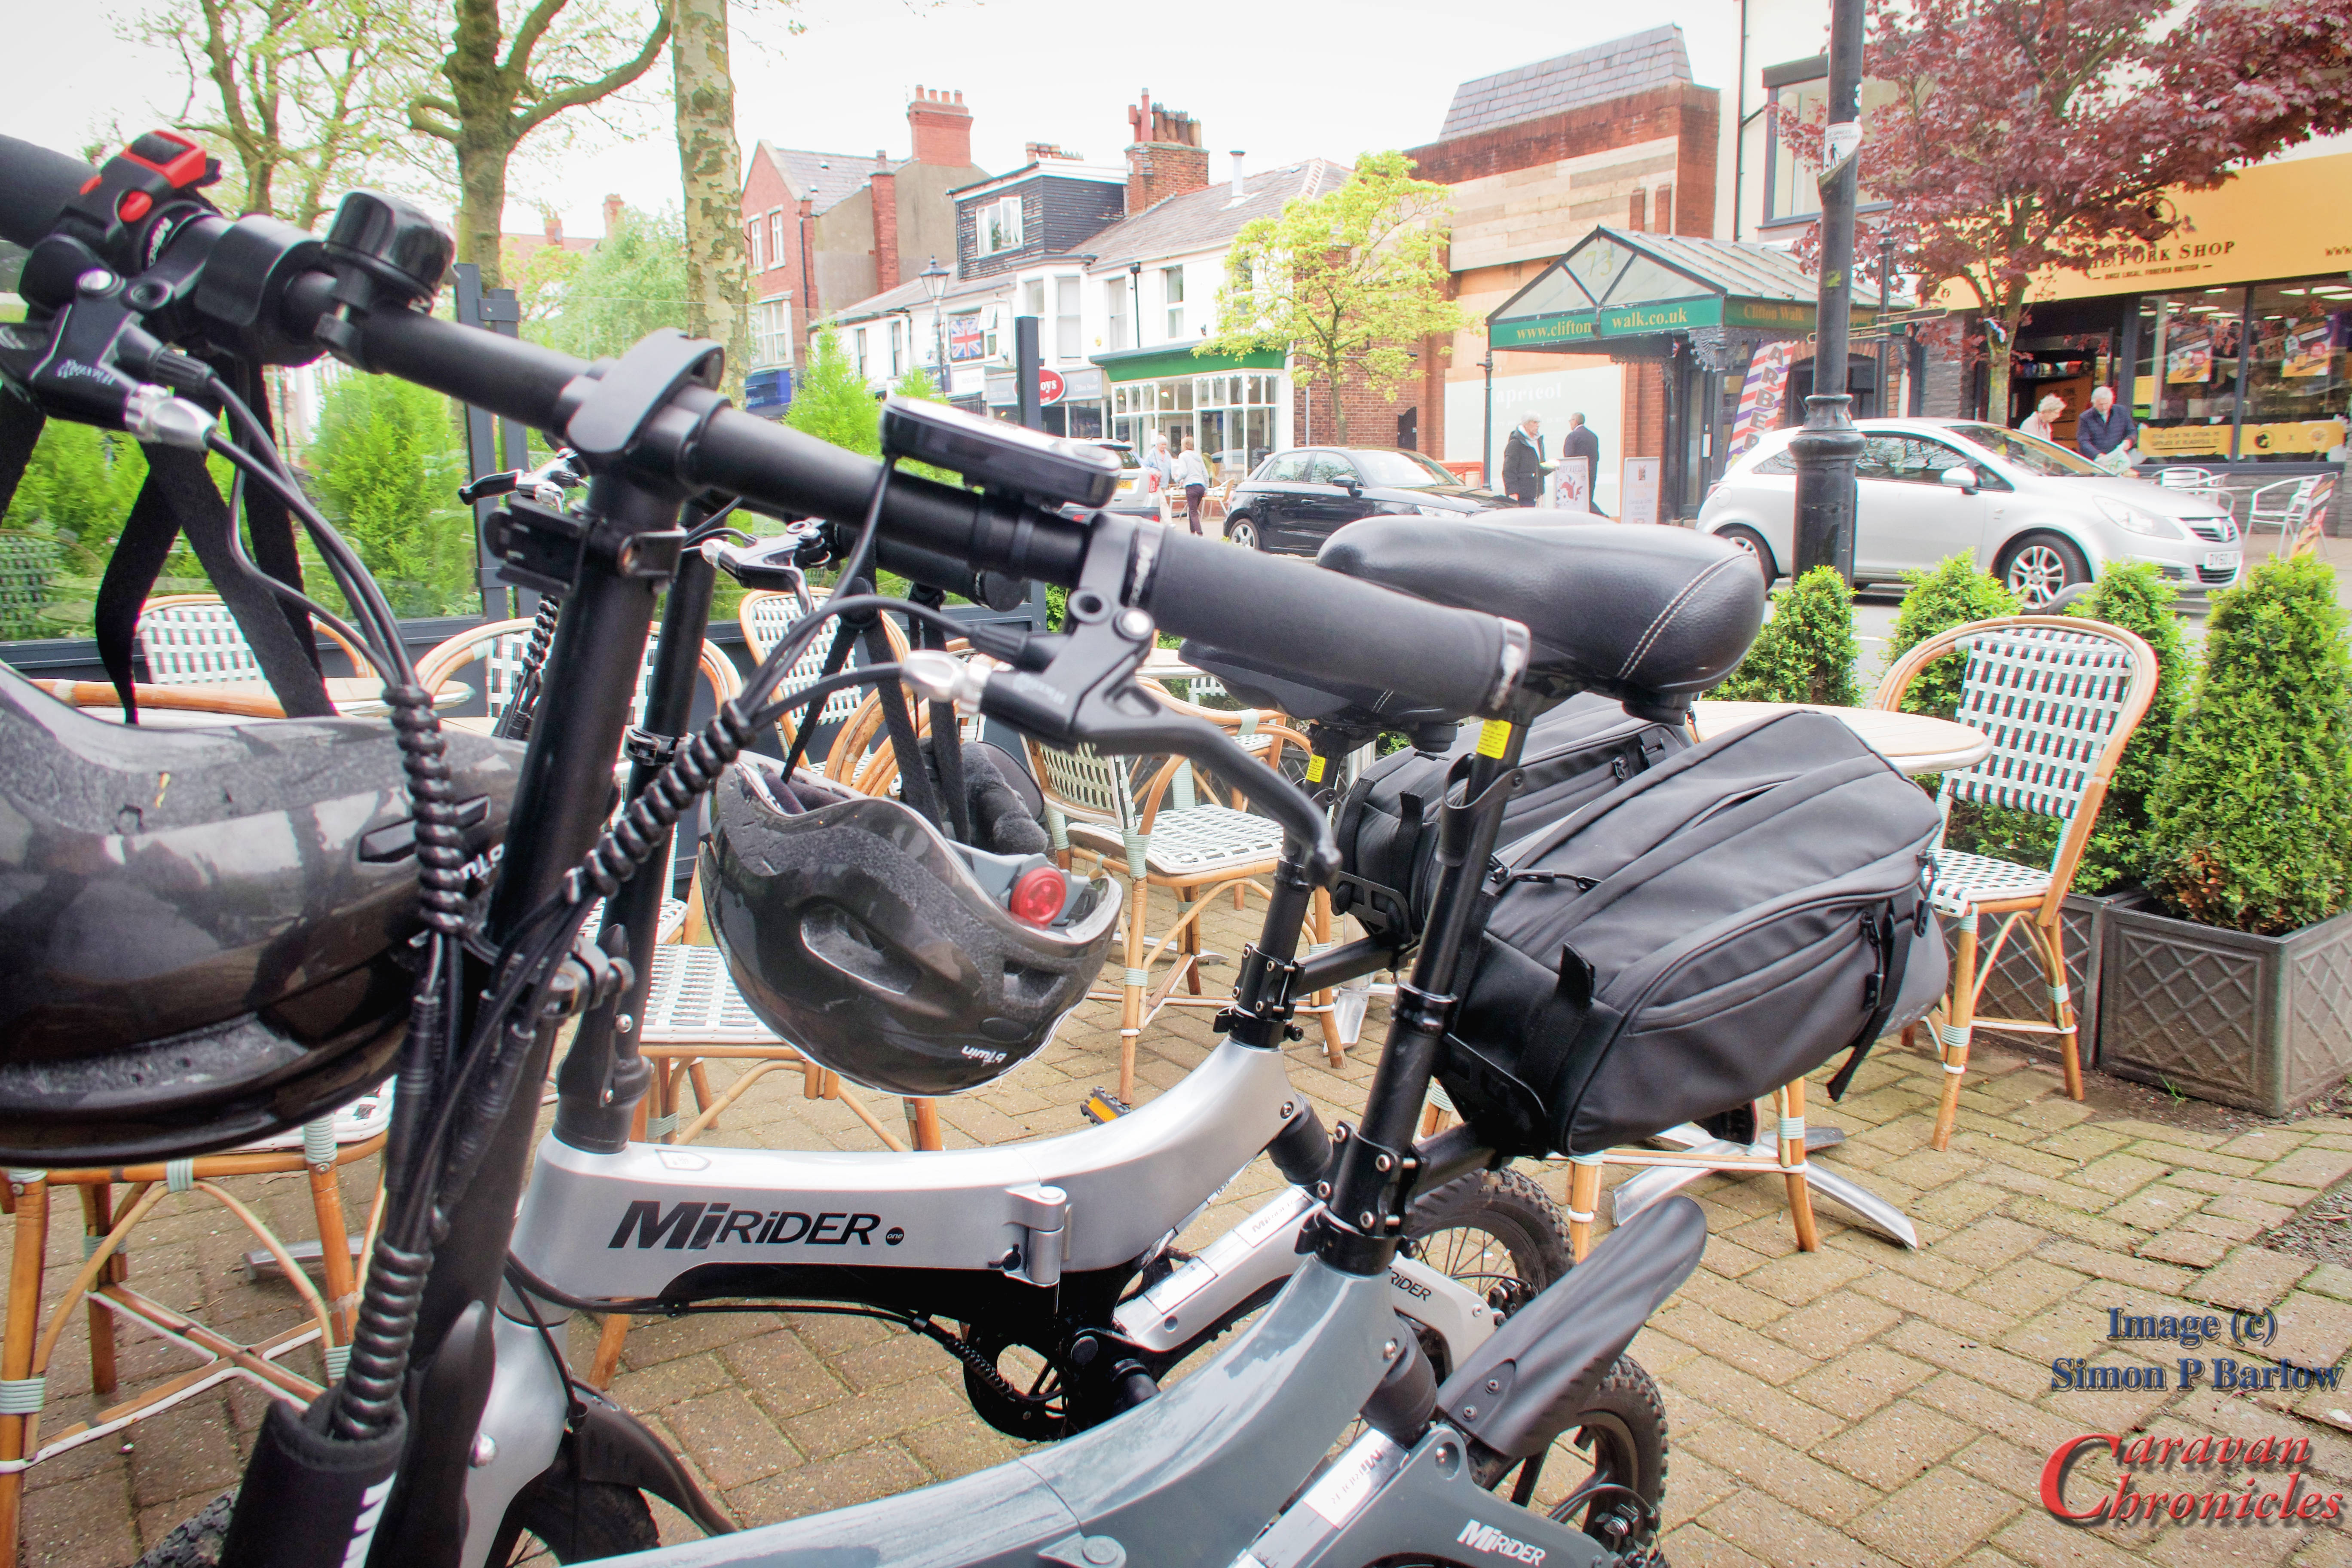
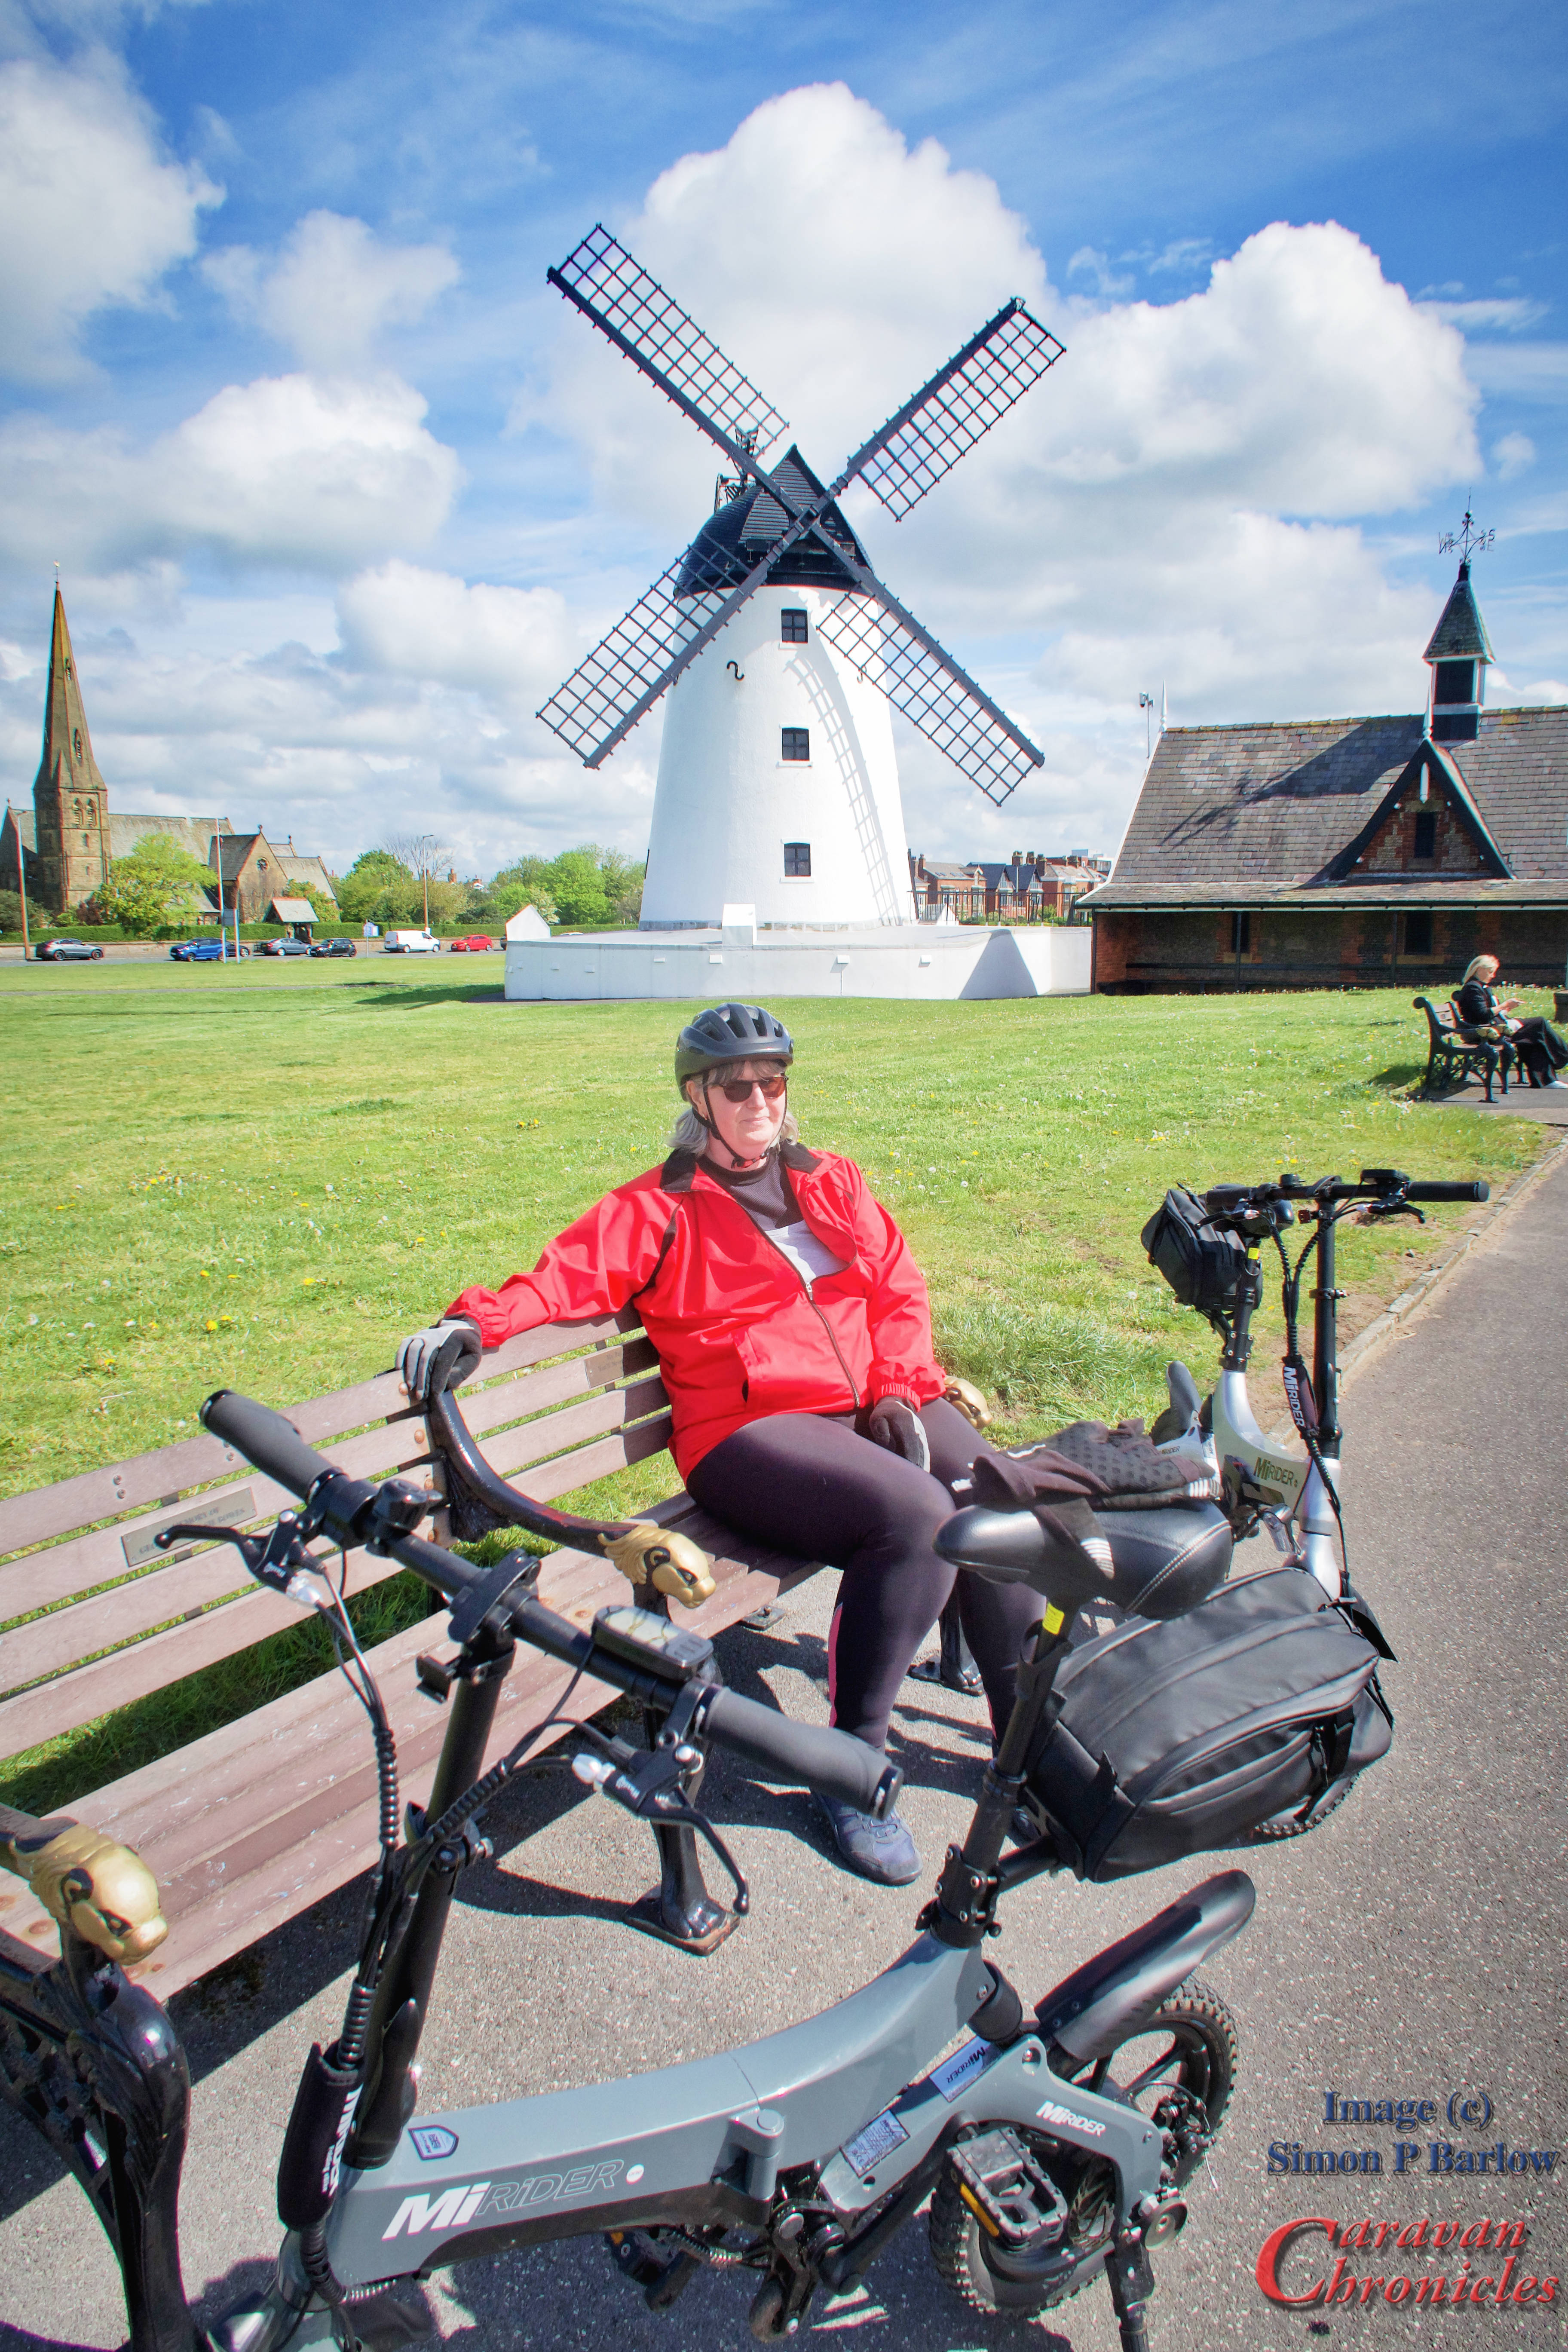
Cycling is quite easy and on the first day we cycled into Lytham for morning coffee. The route from Donkey Creek Farm is an easy ride and from the farm to the Lytham Windmill is exactly 5 miles…
We found a suitable cafe called “Central Beach” on the corner of Bath Street and the main shopping street Clifton Street. We sat and did a bit of people watching while having a coffee and toasted teacake.
The total round trip only took us 1h and 17m of cycling, a distance of 17.4 km which is a little under 11 miles.
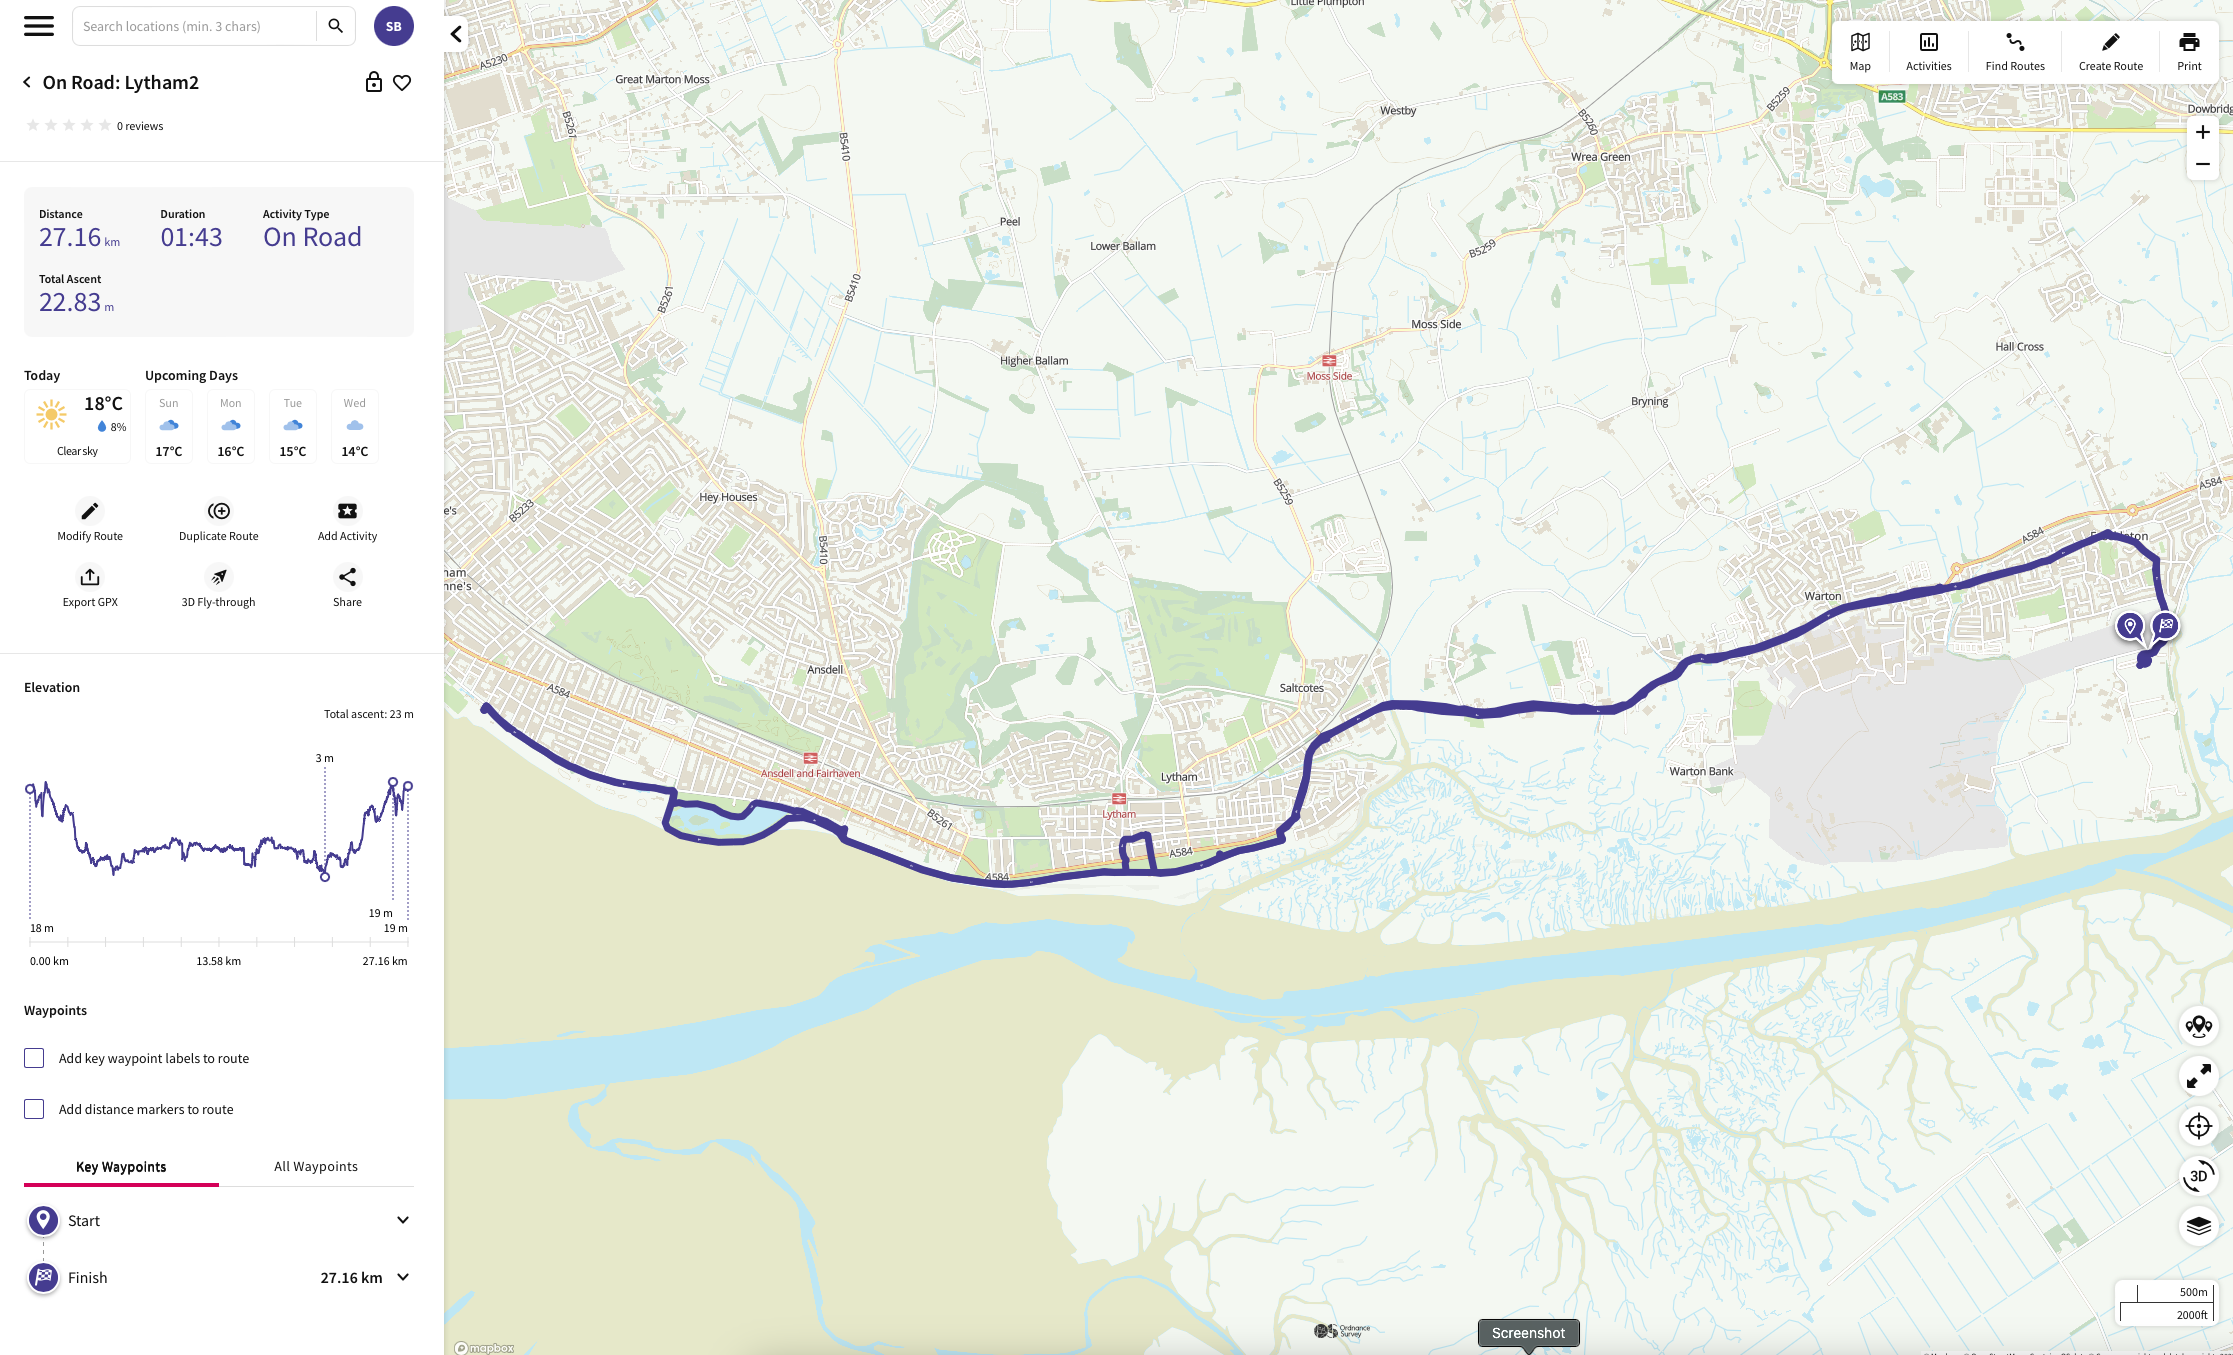
Day two was interrupted by the need to visit a local caravan accessories shop (fell over at the cost of everything!!!) and the odd light shower passing through, but day three was blue skies and worth a bother outing on the bikes…. so we went back into Lytham, a little further this time past Fairhaven Lake to the beach cafe.
An easy ride again totalling 1h 43m of peddling and a distance of 27.16 km (16.8 miles). These are a lot shorter distances than we are used to, but a few months ago Sue was diagnosed with a heart condition…. ironic really considering the job She spent most of her working life doing! So we are building up slowly, on the flat with plenty of options to stop for a rest…
We indulged in a strawberry Cornetto at the beach cafe before heading back to Donkey Creek Farm. The next day we were supposed to be heading home, however the weather was kind, the site superb, the ducklings cute and even Henry was relaxing to the point he didn’t want to get up in the mornings.
So we decided to stay another day, the pitch was available and that gave us the chance to cycle into Lytham one again this time for a lazy lunch at “The One” in Clifton Square. Again sat outside people watching.
Why did we choose Donkey Creek Farm?
We normally kick off our season with a trip to Southport C & M Club site, but when booking for four nights on a serviced pitch had a bit of a shock… £175.20. That seemed a bit steep so I started looking round on Pitchup.com for sites within a 25 mile radius and scrolling through recognised the name Donkey Creek Farm from YouTubers “The Caravan Addies” and “The Caravan Nut“. (Go on tell me I’m name dropping!) Checking the prices for the same 4 nights on a fully serviced pitch was £136.00 a saving of £39.20. Which was a bit of a jaw dropper…. realising just how expensive the C & M Club has become.
I’ve just booked our next trip to Sutton-on-Sea on the east coast…. and this time for 5 nights on a fully serviced pitch I’ve saved £83.50 based on the same dates for a fully serviced pitch on the Sutton C & M Club site. I’ll let you know how we get on soon!
Something that may be happening later this year…
As you may know, since we started caravanning we always try to cycle Blackpool Illuminations. Usually in October and we have done it from 5 different sites. However I was thinking of maybe doing it from Donkey Creek Farm this year.
Set of around lunchtime from Donkey Creek Farm and cycle to Squires Gate or The Pleasure Beach for a coffee. Cycling along the prom past the Tower continueing to Bispham for an afternoon snack somewhere. Around 5 easy cycle along the prom up to Redbank Road ready for the illuminations to come on and start the trip back through Blackpool. We have cycled from Squires Gate to Lytham in the dark and it’s OK as most is on a cycle path… and having cycled Lythan to Donkey Creek Farm several times, cycling that route should not be a problem as it is on a separate cycle path apart form about a mile stretch around the entrance to BAE Warton where it’s a cycle lane on the road but the road is well lit.
We normally do it before the clocks change in the Autumn so it means setting off around 7 from Red Bank Road, I recon it will be about a 2 hour ride back and overall about a 28 mile round trip with 2 or 3 breaks
I’m not going to say it’s an organised ride…. but I’ll work out a bit of detail and a date we are going to do it. It will be mid week and an option of two or three days to allow for weather. Anyone is welcome to join.
Wow… it’s been quite a while since our last posting, and many thanks to all those of you who have emailed asking if we are OK. We are both fine, thanks.
Back in October we were due to go to the Caravan & Motorhome show and we had booked in to the campsite at the NEC for 4 days. However, the day before, we actually wondered why we were going. Plenty of other bloggers and video bloggers would be going and posting on YouTube. I guess the plethora of video bloggers filming each other meeting other video bloggers wasn’t what we were about…. so we went to the C & M Club site at Southport instead.
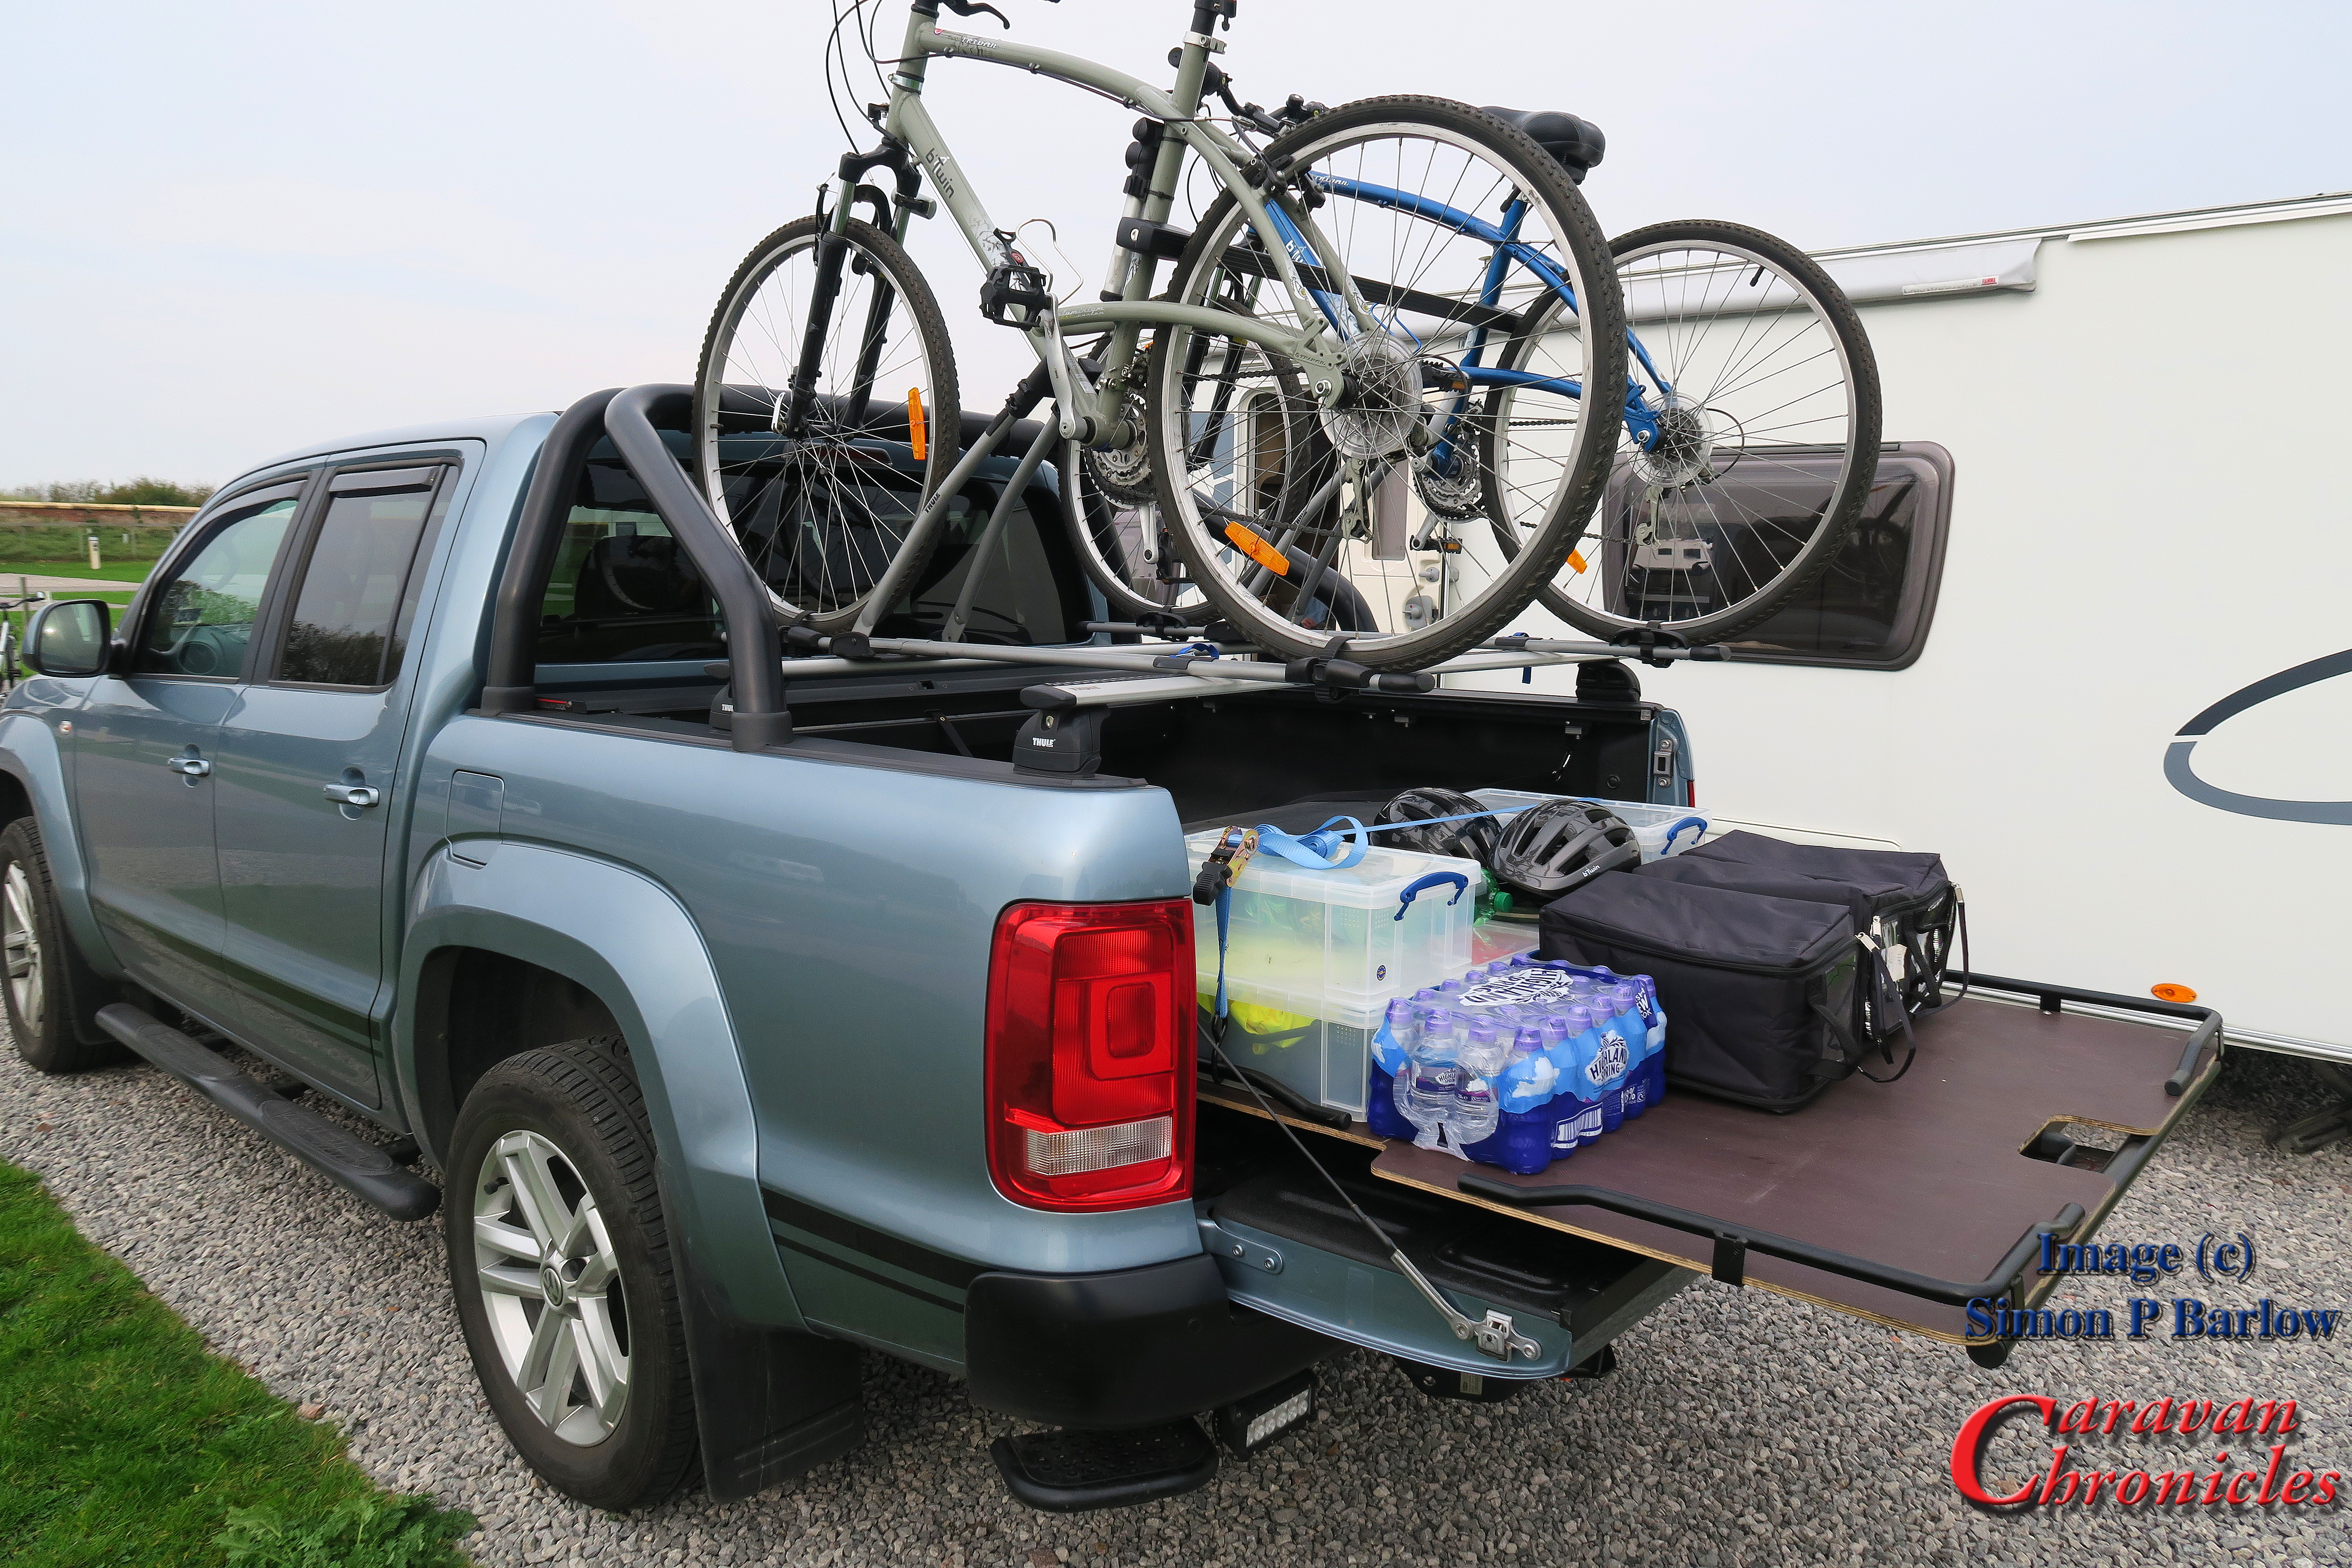
The weather played ball and we had a great few days in the October sunshine getting some cycling and walking in. This was also a bit of a try out for the bike rack on the Amarok and a change in how we pack. Although I’d done a couple of check-runs to make sure everything was stable with the bikes, this was the first real run with the caravan in tow and I’m pleased to report that the rack was stable and didn’t affect the towing in any way.
The bikes were fairly easy to load and unload thanks to the drop down step I’d previously fitted to the rear of the Amarok and all things considered, I think we will now be taking the bikes on more trips. The other change was to how we pack. We now have ‘pre-loaded’ more of the items we take away with us and this makes things a lot easier having a stacking system with boxes for specific things. We are lucky that I have a “bat cave” at home. It’s a workshop really that allows us to store our packing boxes (check out the Really Useful Storage Box Company ) and get them stocked up ready for the next trip over a period of time. It now takes about 10 minutes to load the Amarok and all thats left is to load the clothes.
The other bit of kit that we are long-term testing is the Sterling Power Wildside unit. I’ve written a couple of things in the past about this unit and so far the only thing I can really add is that it has exceeded my expectations of its performance. After not using the caravan for a couple of months and having a parasitic current draw from the alarm (the small charging circuit and 12 volt battery in the alarm has failed yet again!) by the time we had towed from Manchester to Southport our battery was fully charged and the fridge was cold as expected.
Christmas Markets…
Many of you will know in December we like to kick off the festive season with a Christmas Market or two. For the past couple of years we had gone down to Birmingham but this year we fancied trying something different. We booked a couple of sites to give us the chance to try somewhere different.
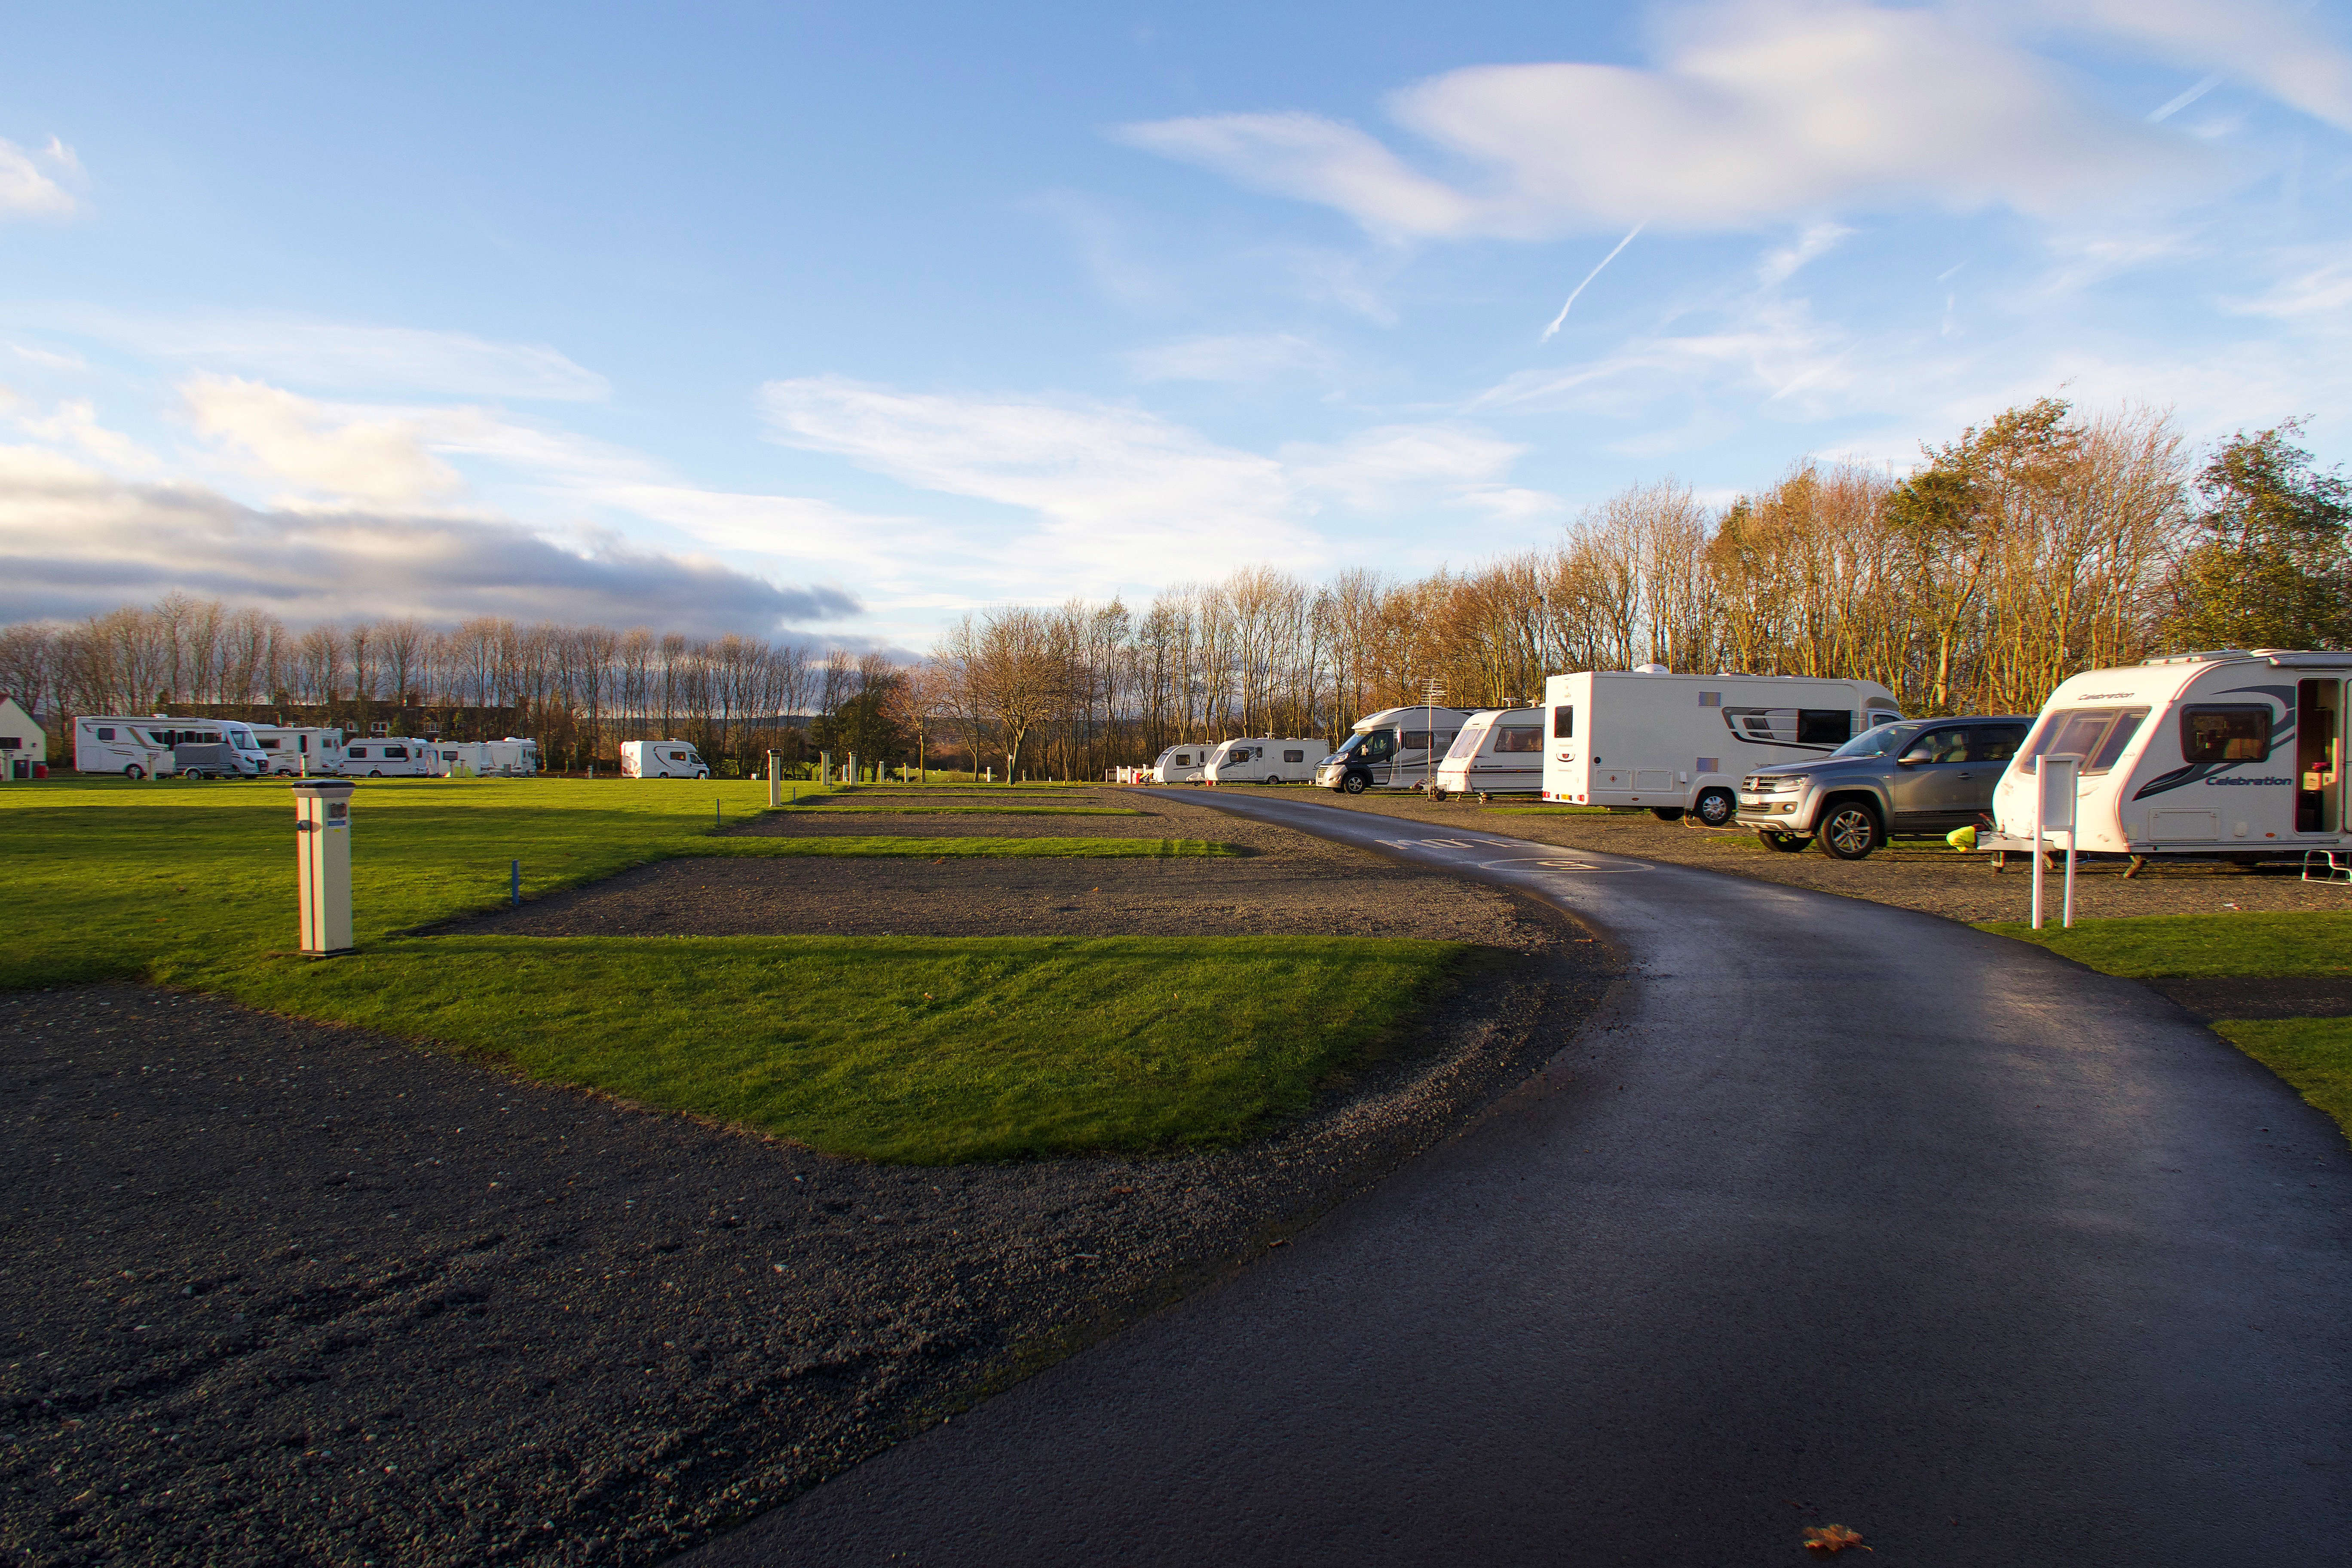
The first was Durham Grange C & M Club site just off the A1M. This would put us very close to Beamish Museum and Durham. Although Durham Grange is really close to the A1M Junction 62 you can’t really hear the traffic and is a great little site. The general site and facilities were up to standard and the wardens very helpful.
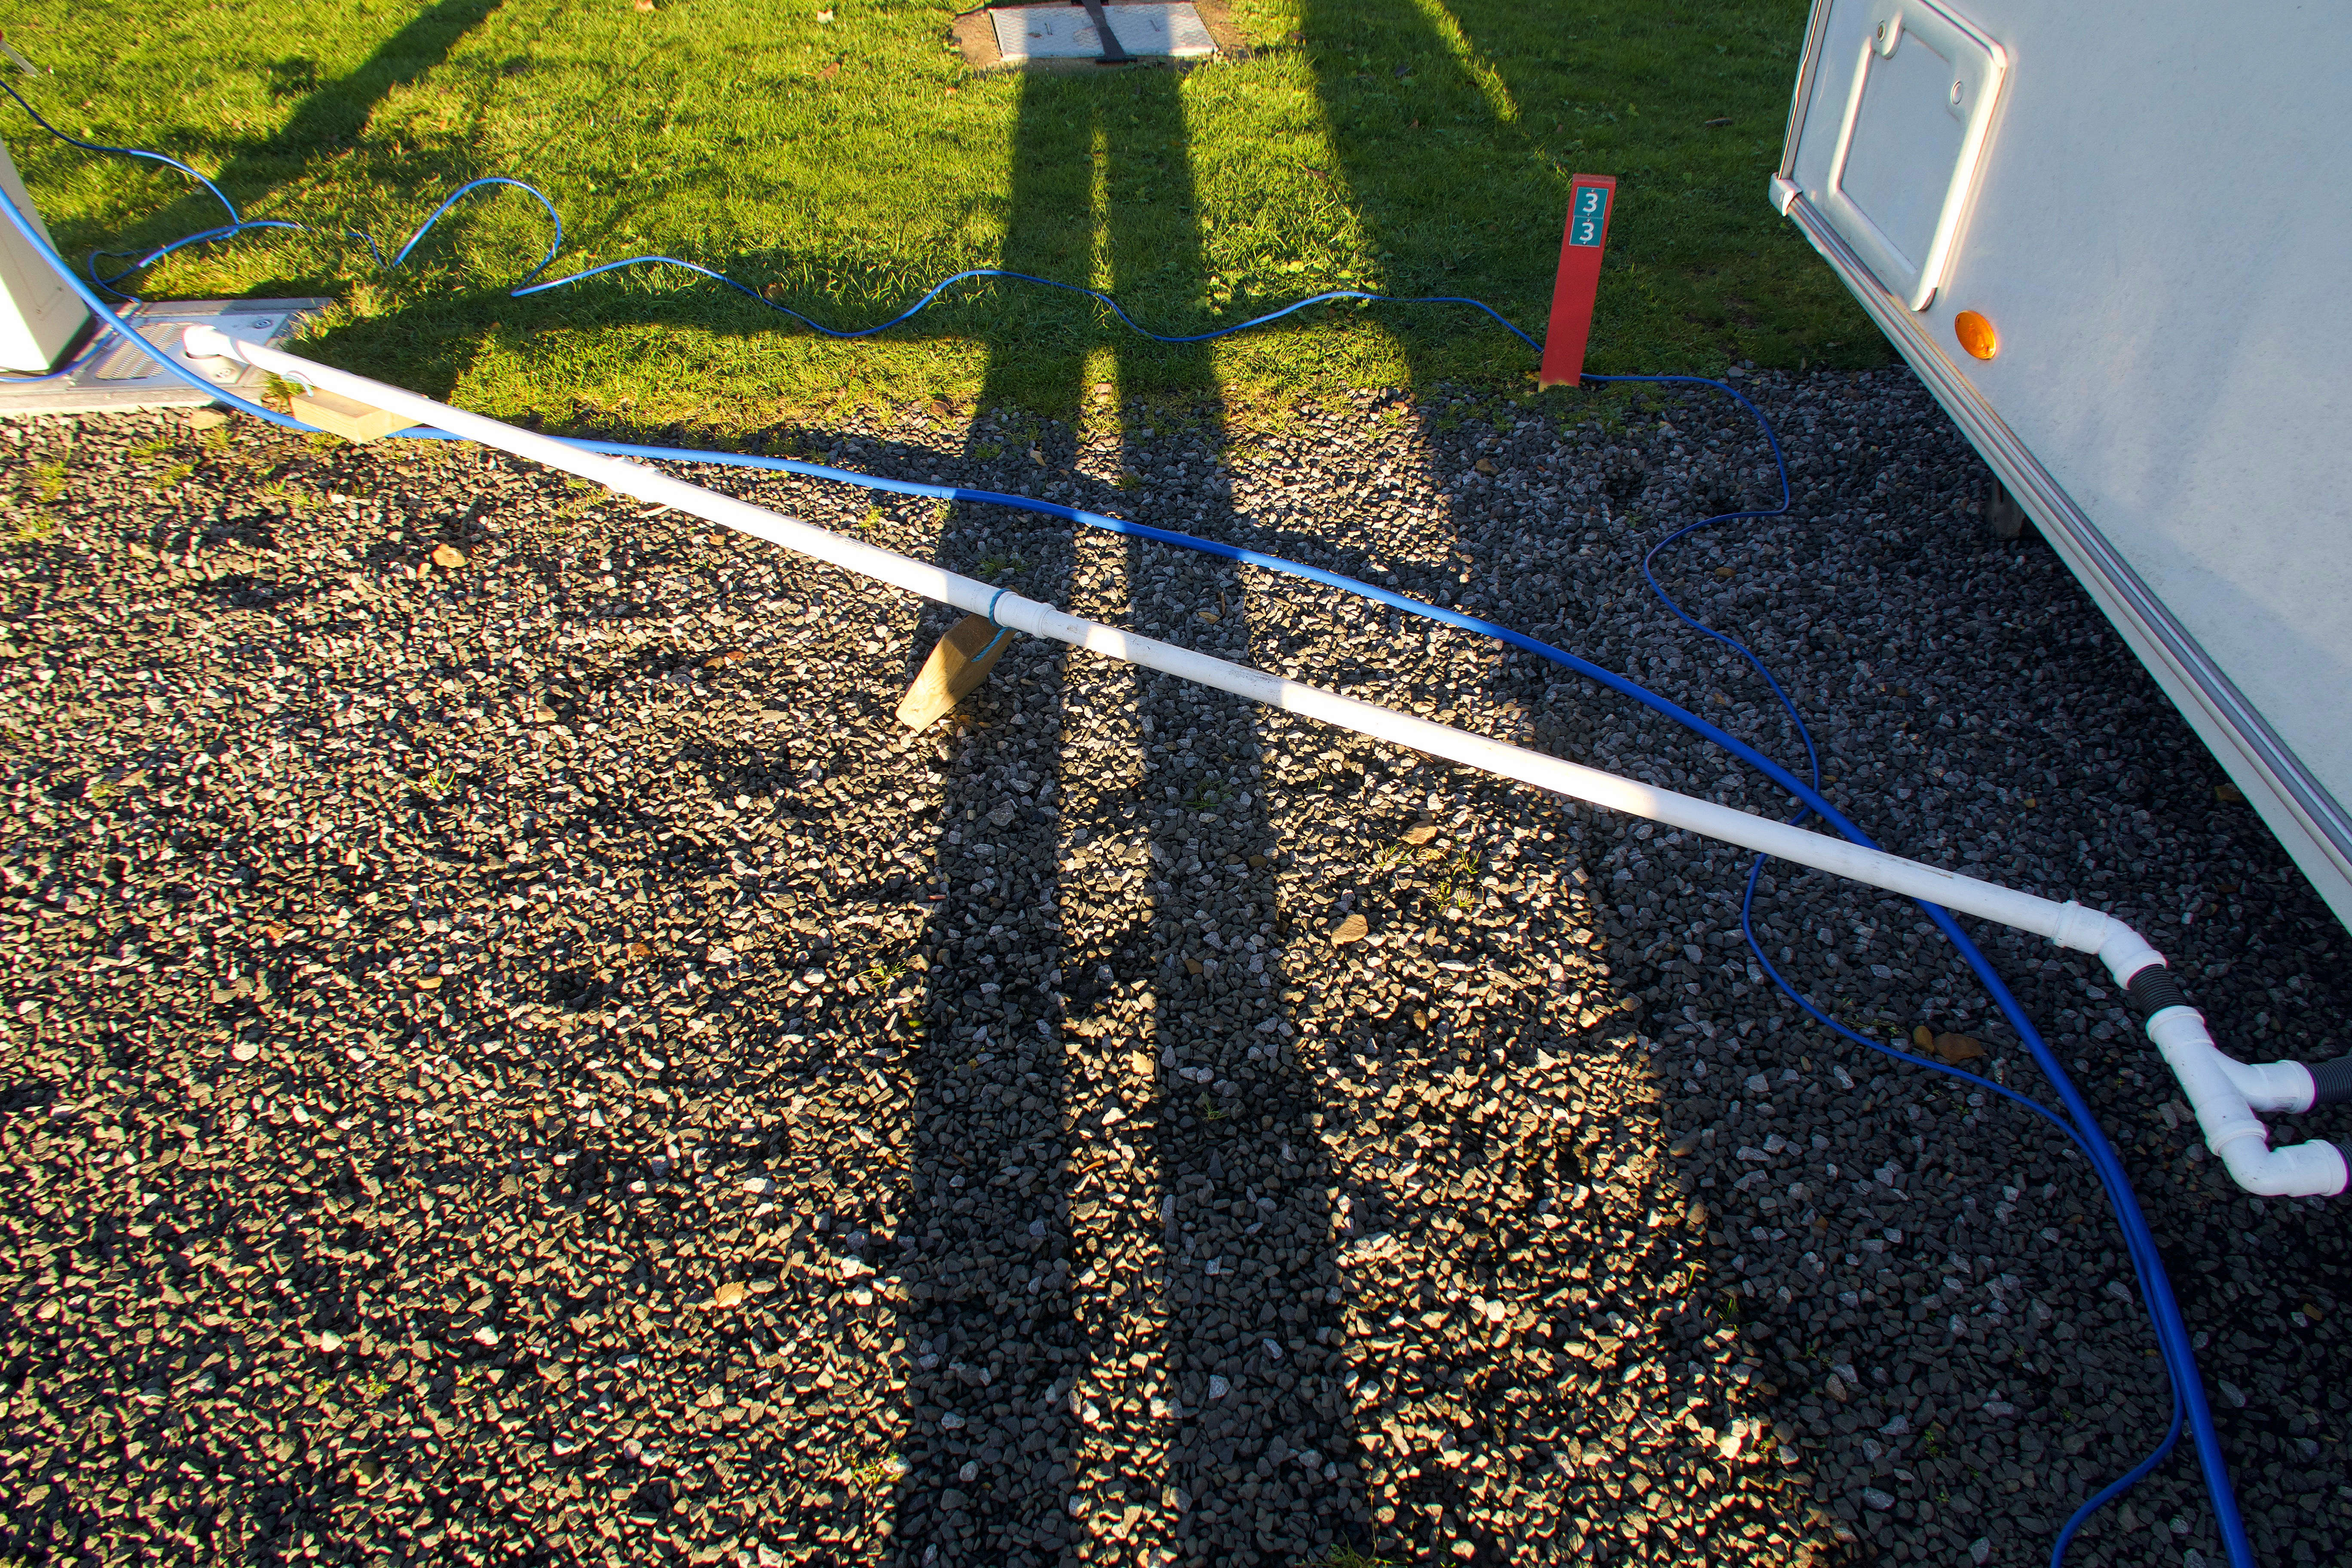
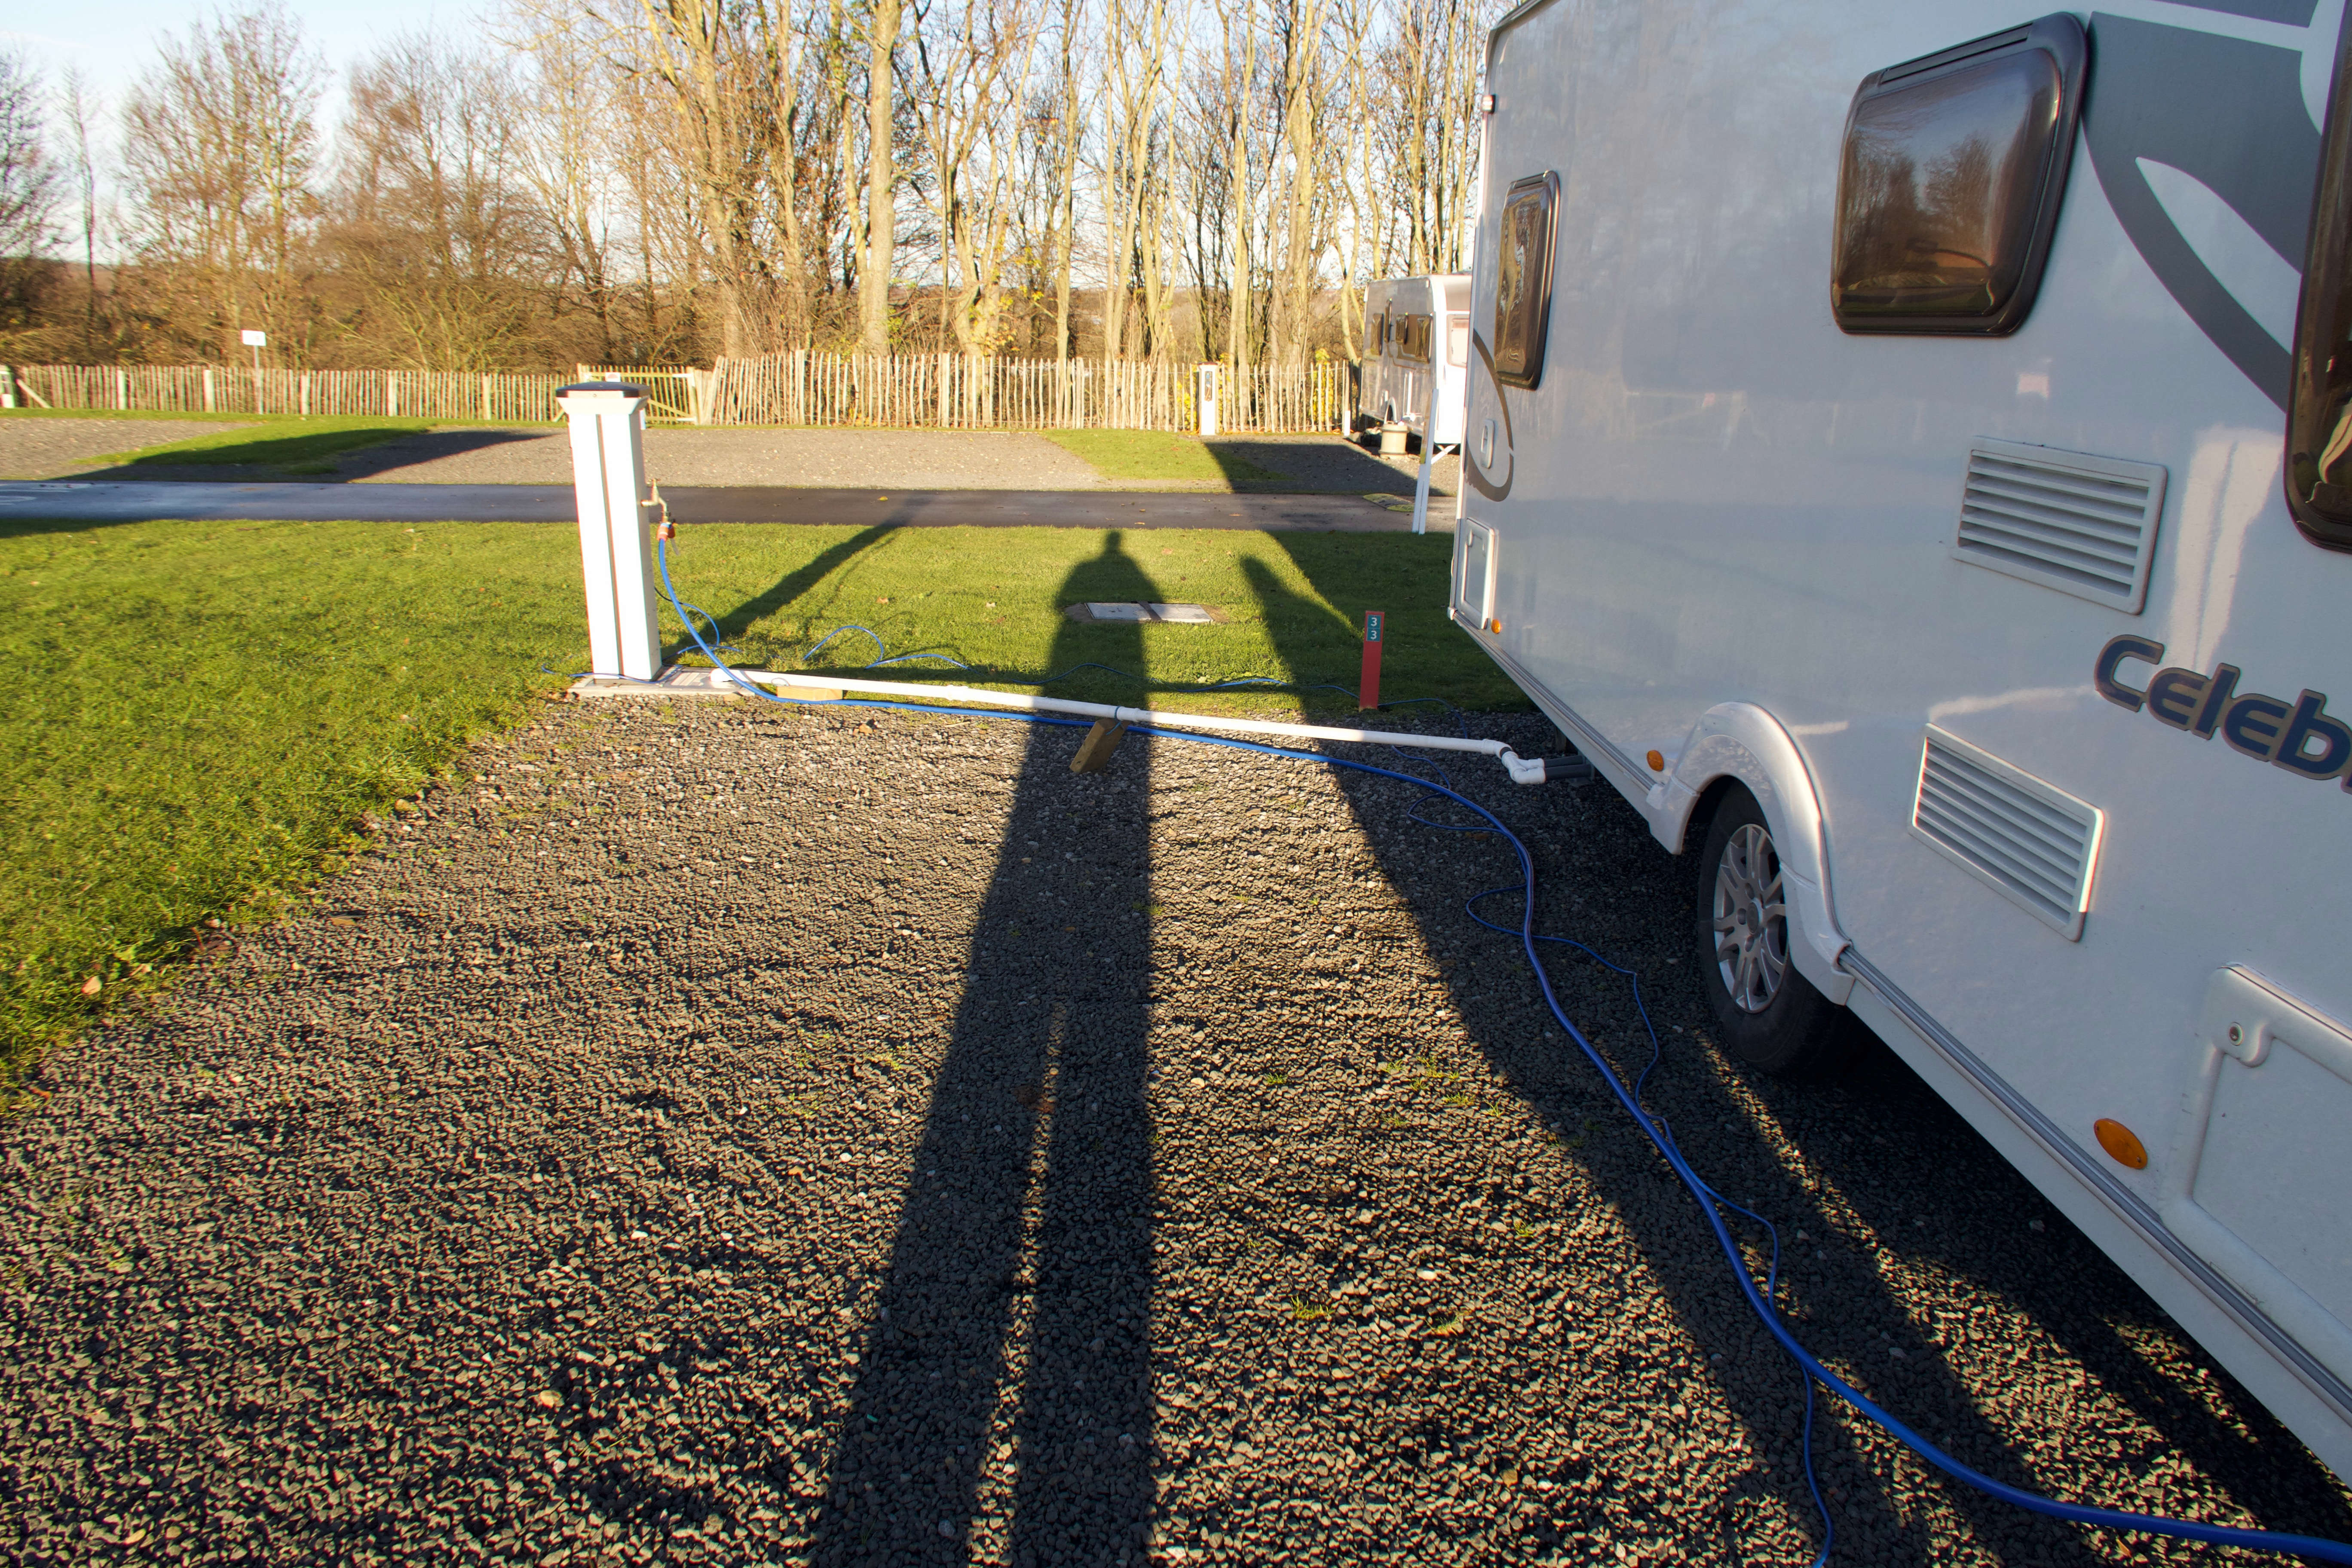
We were on a fully serviced pitch and my standard ‘kit’ of parts allowed connection to the grey water drain without any head scratching.
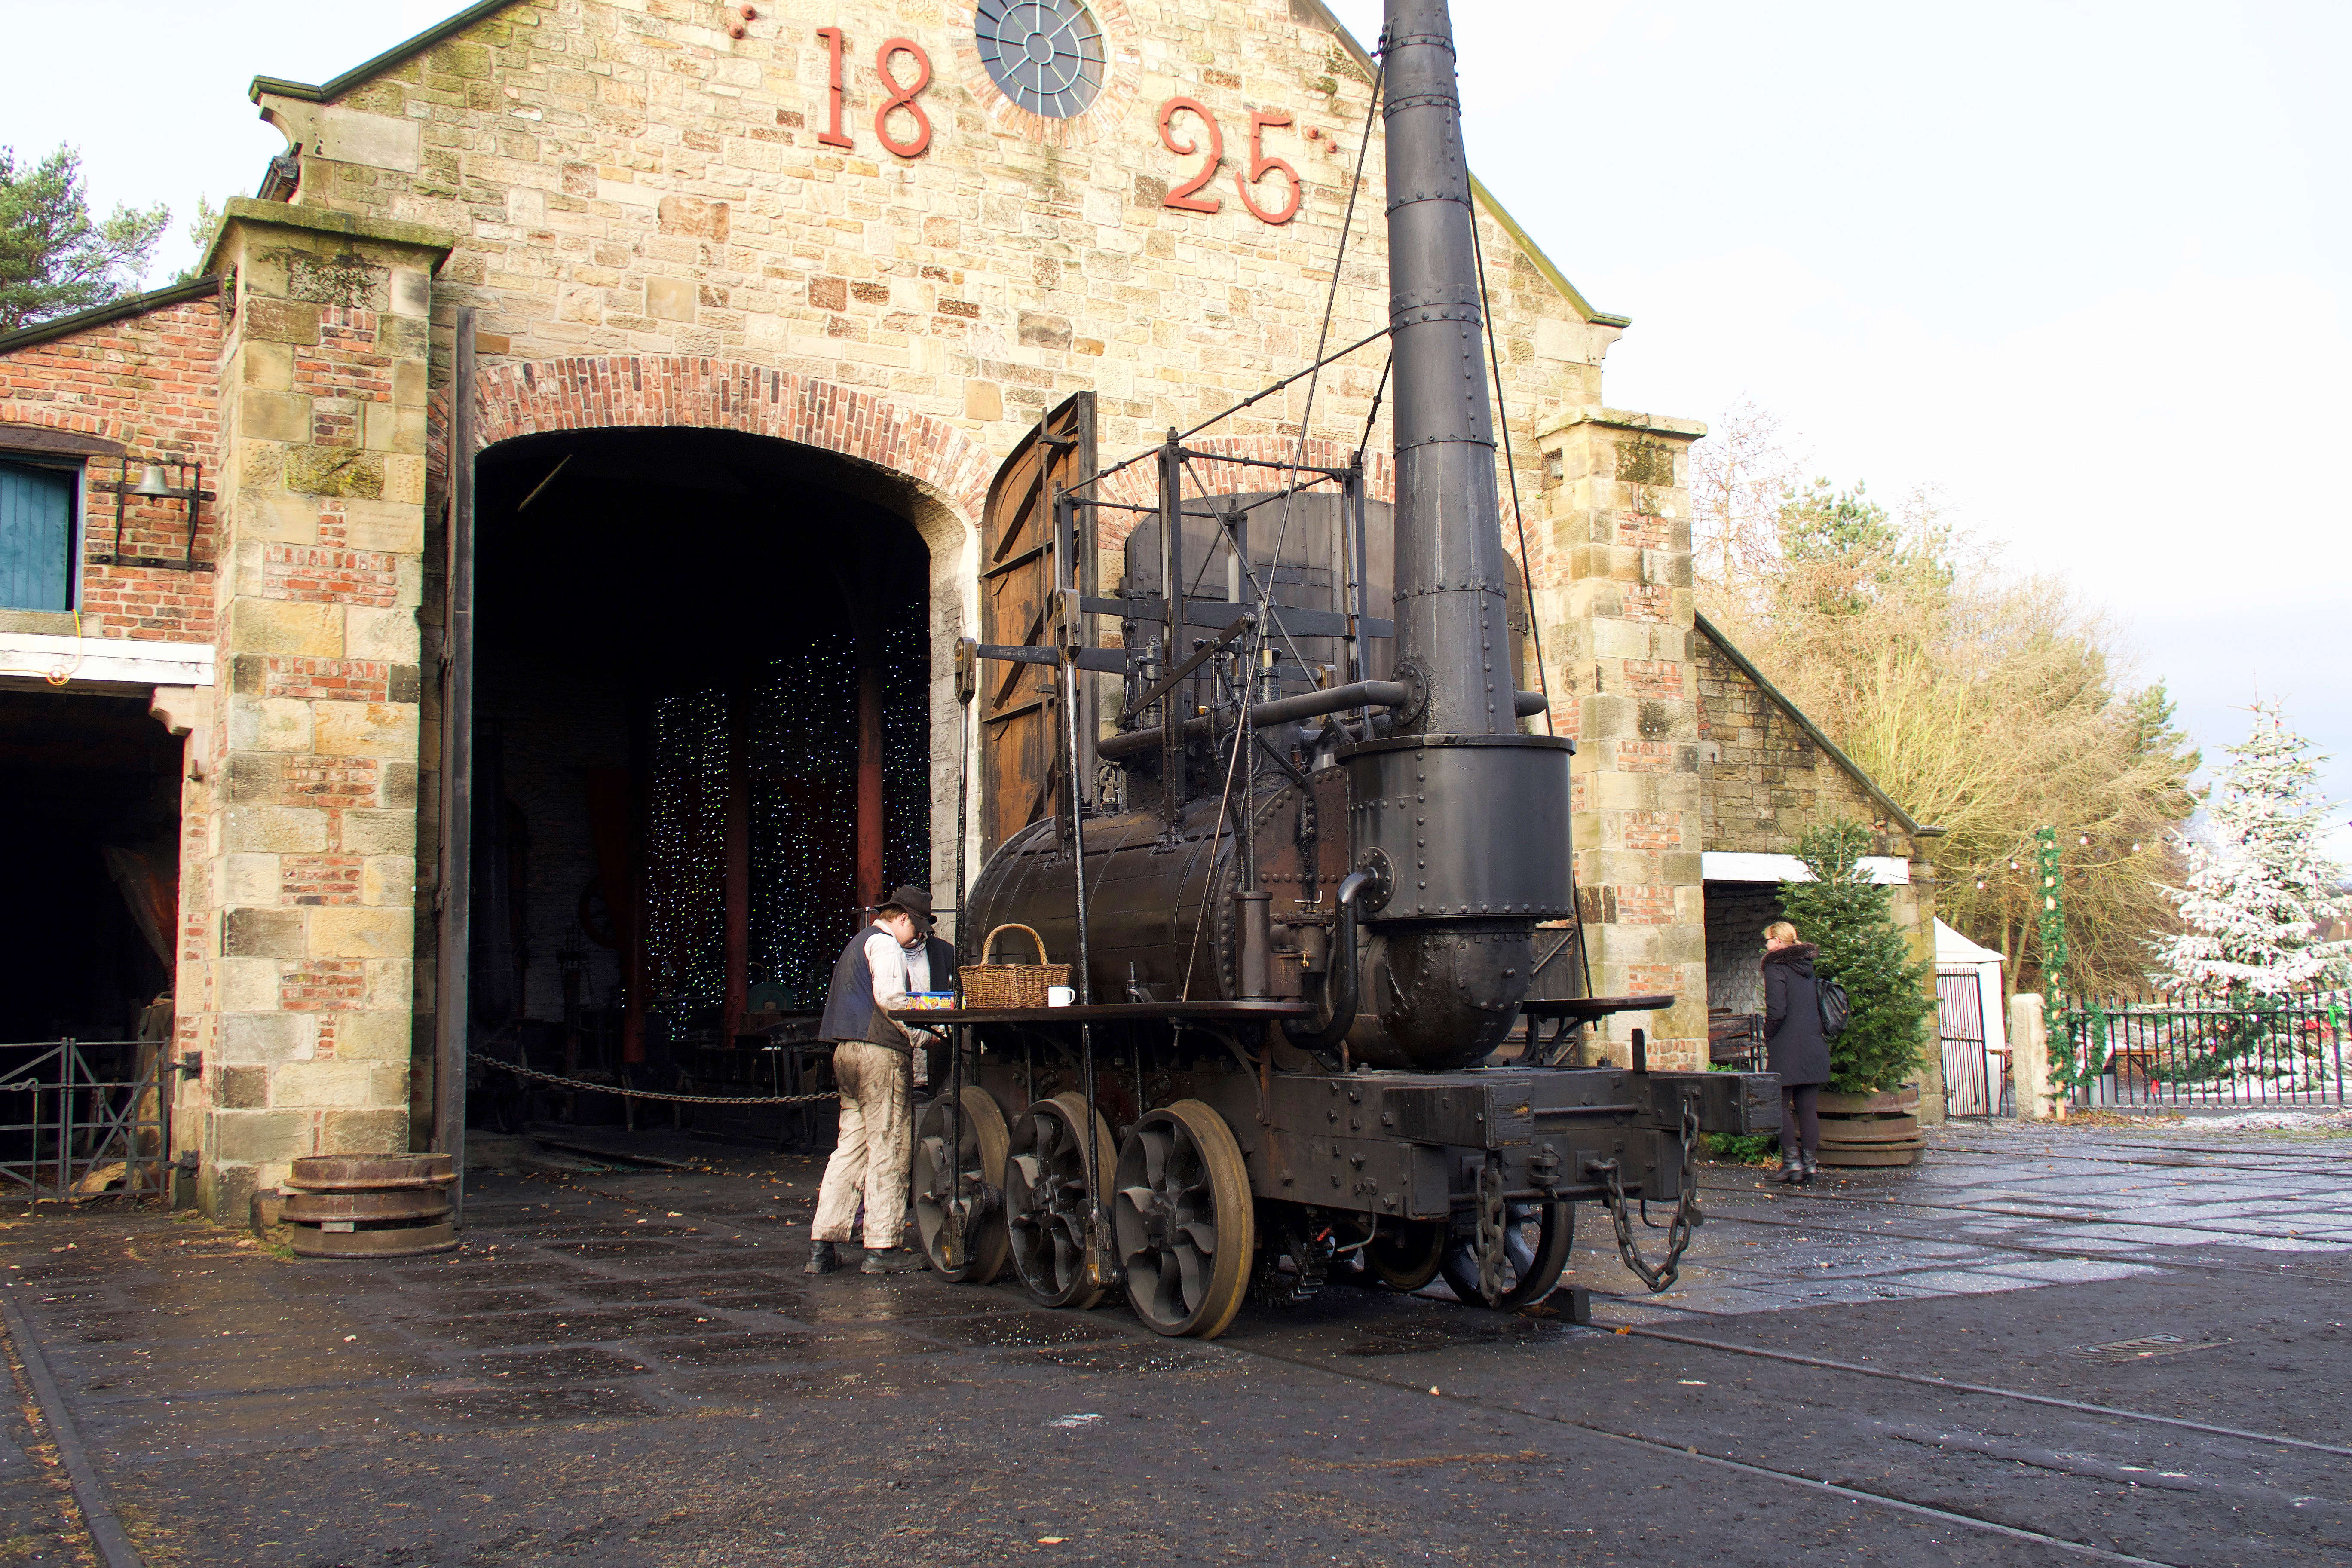
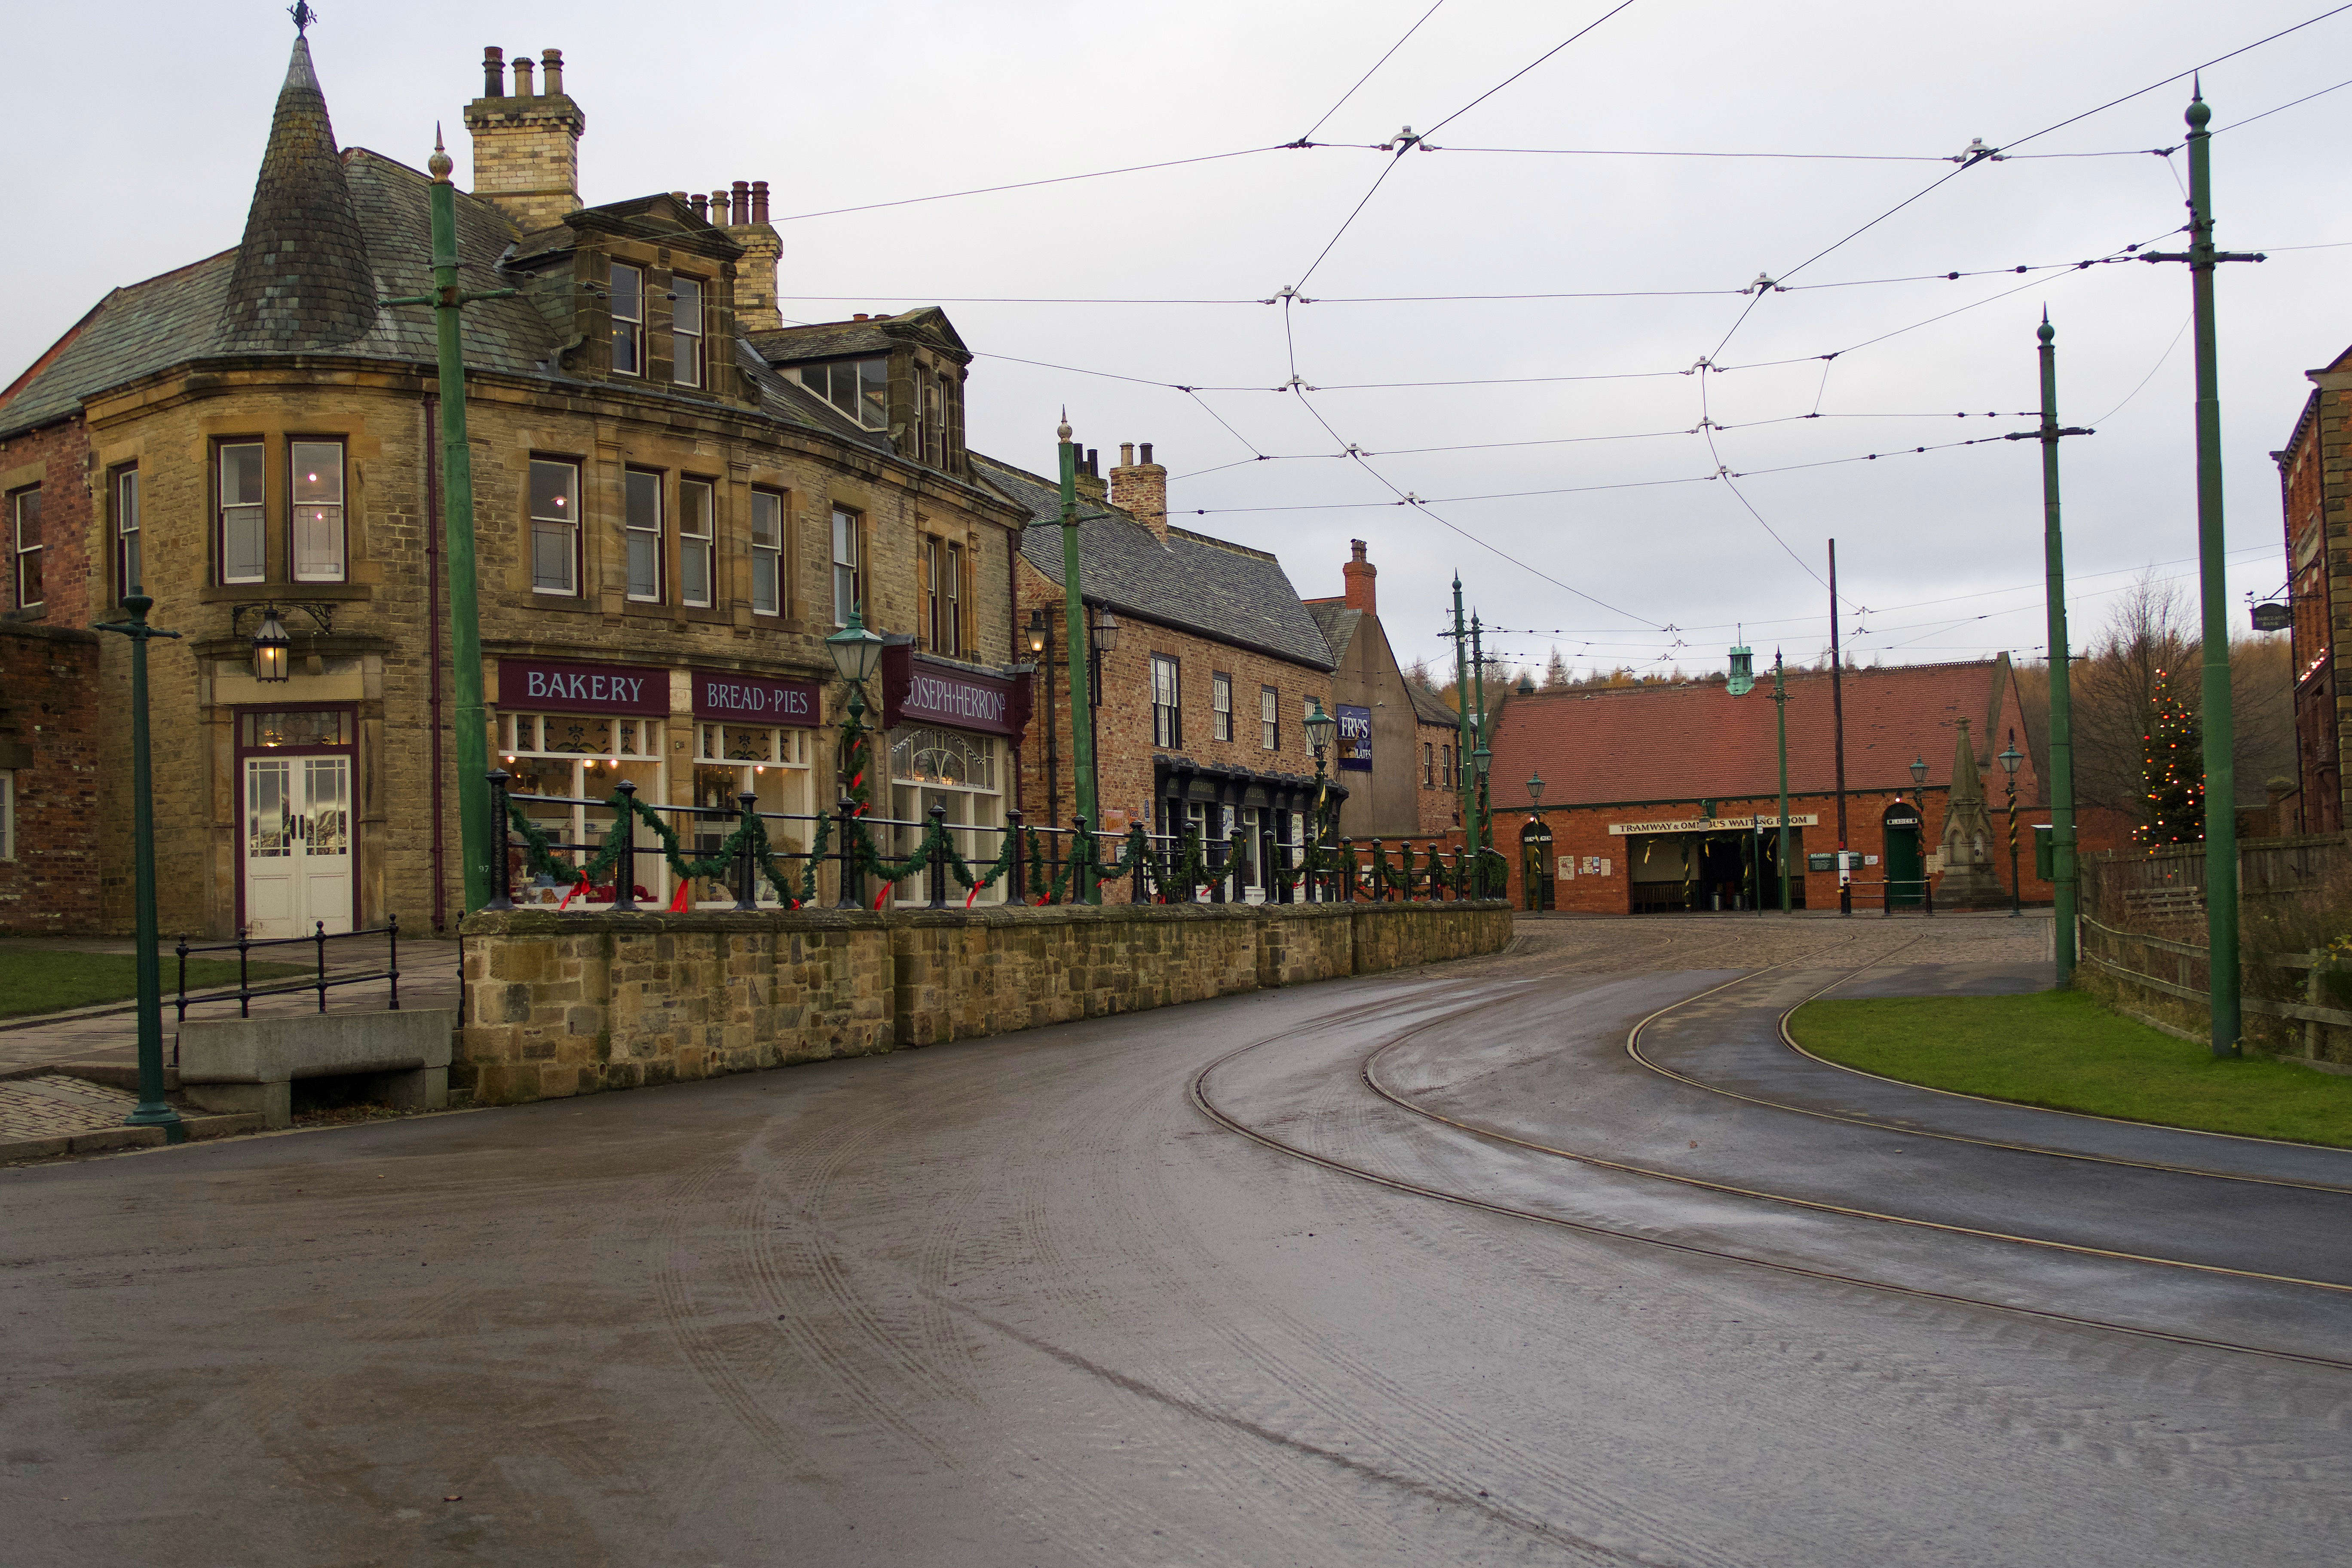
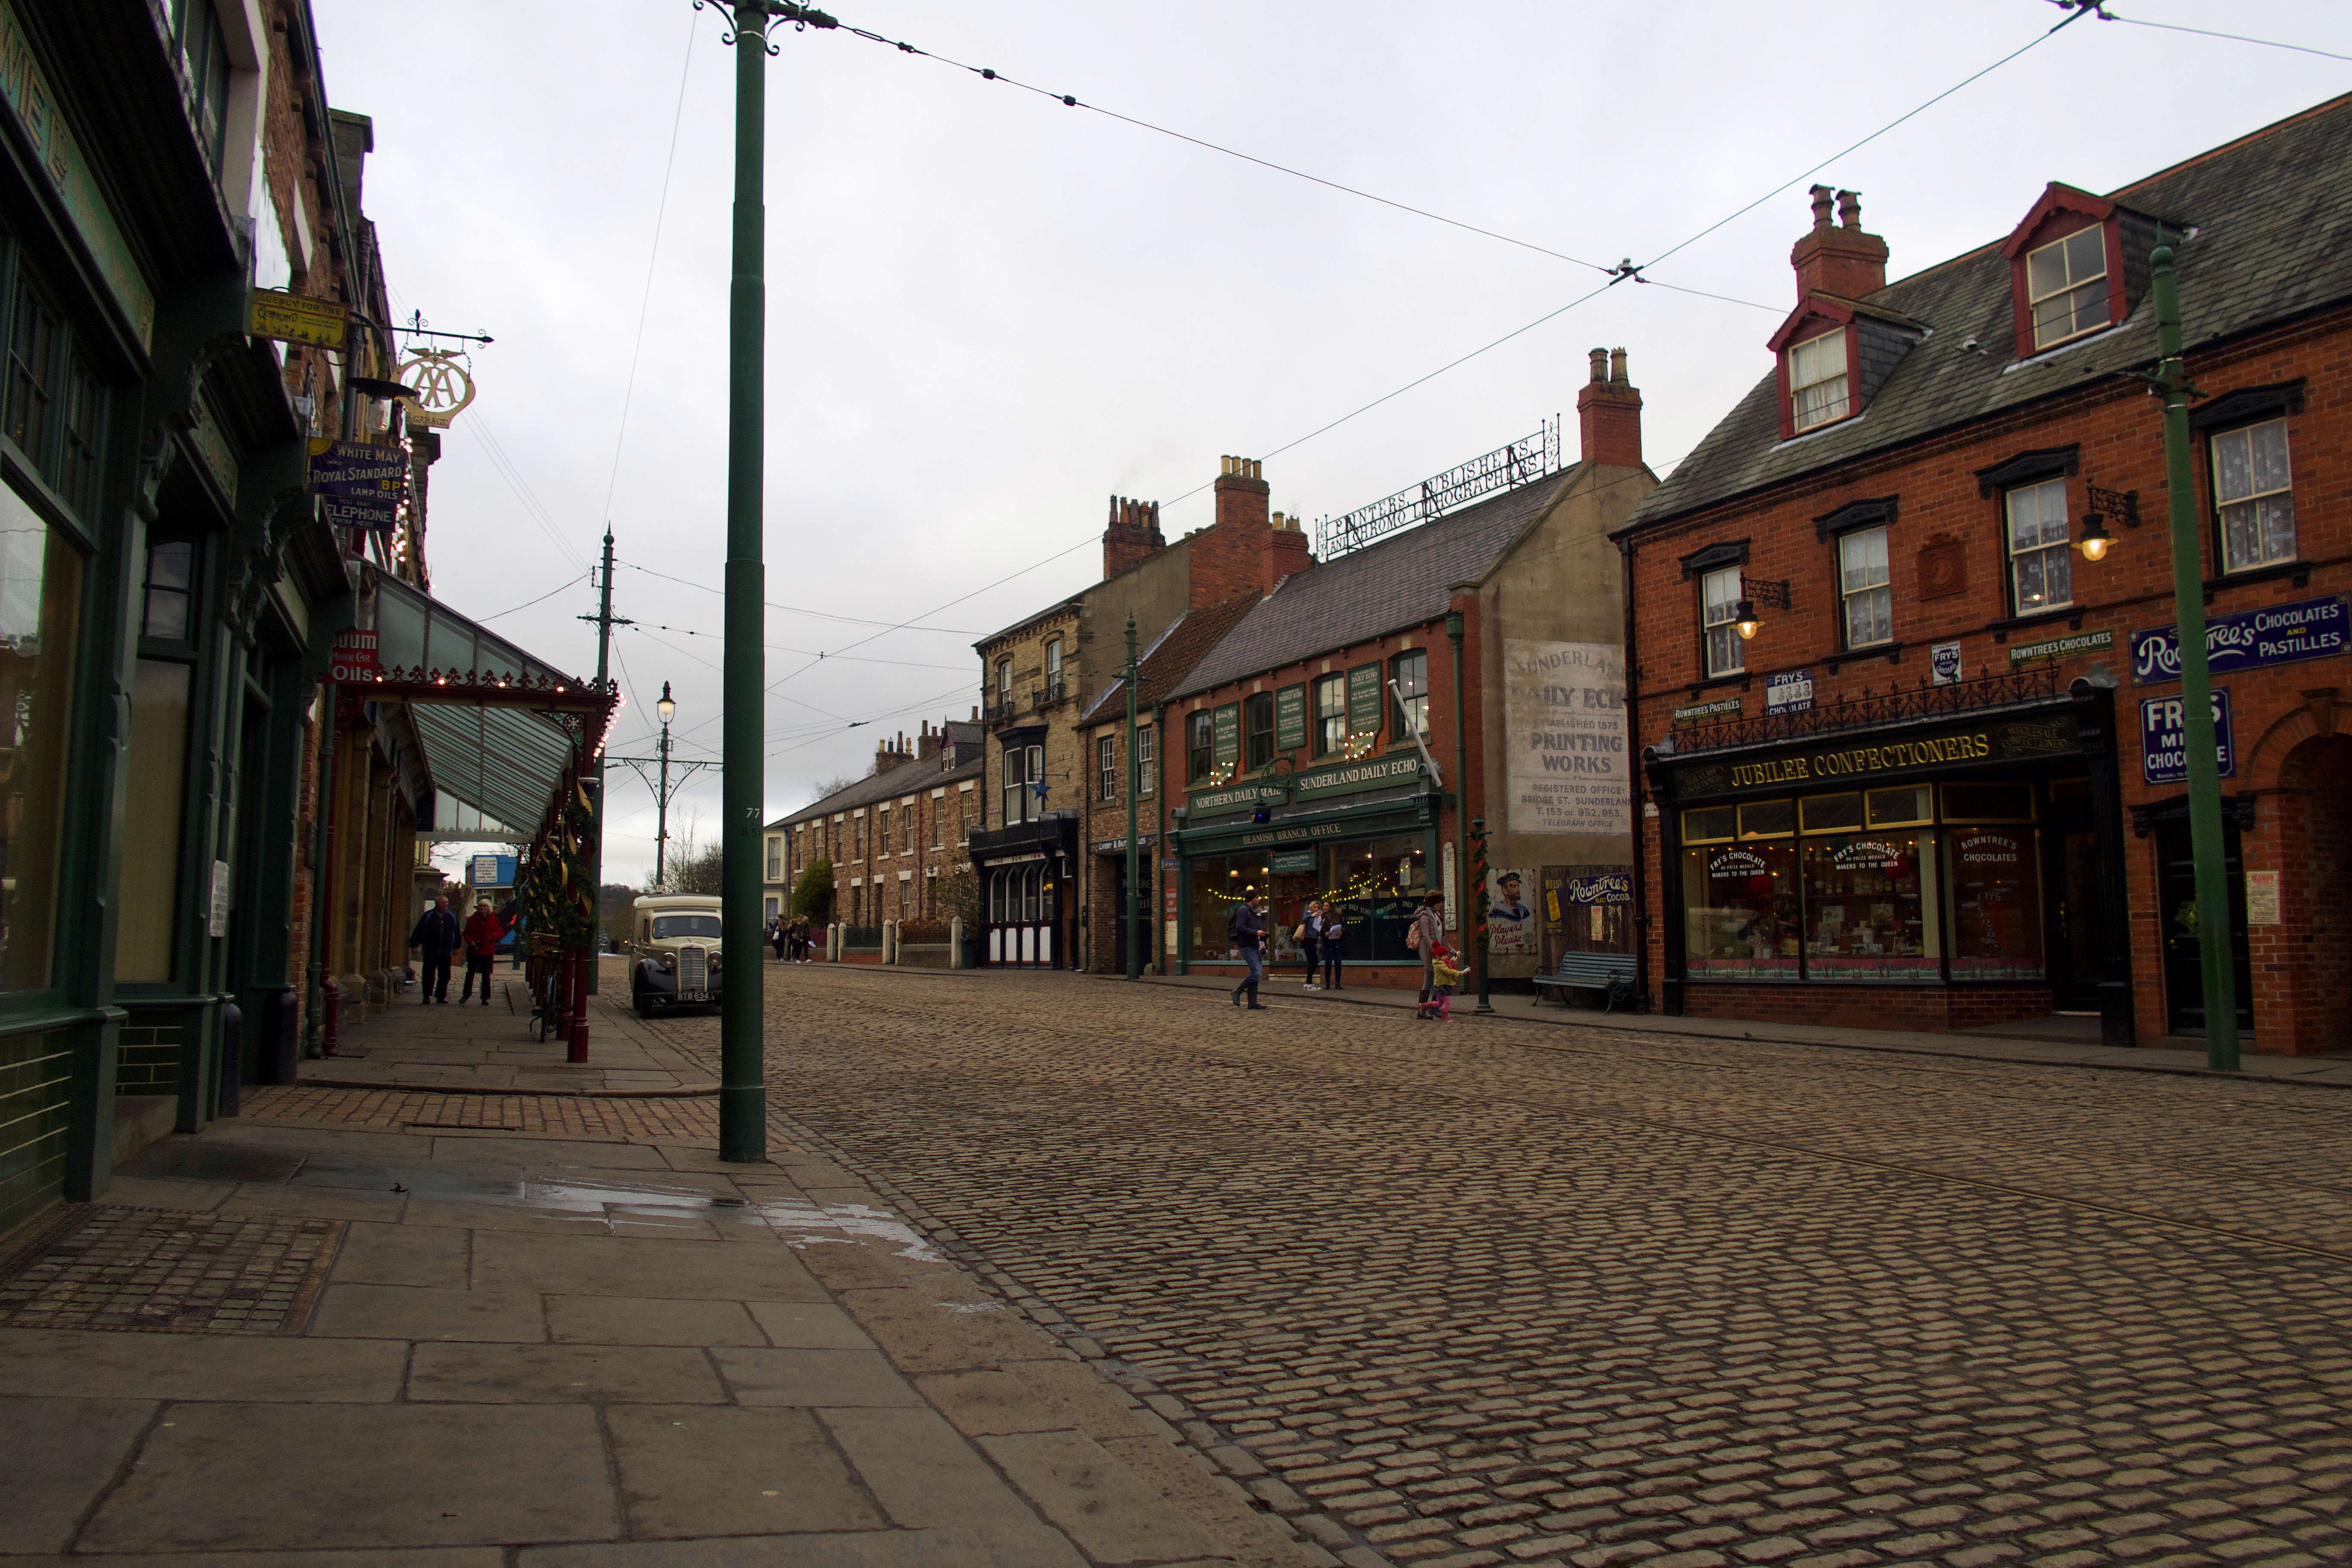
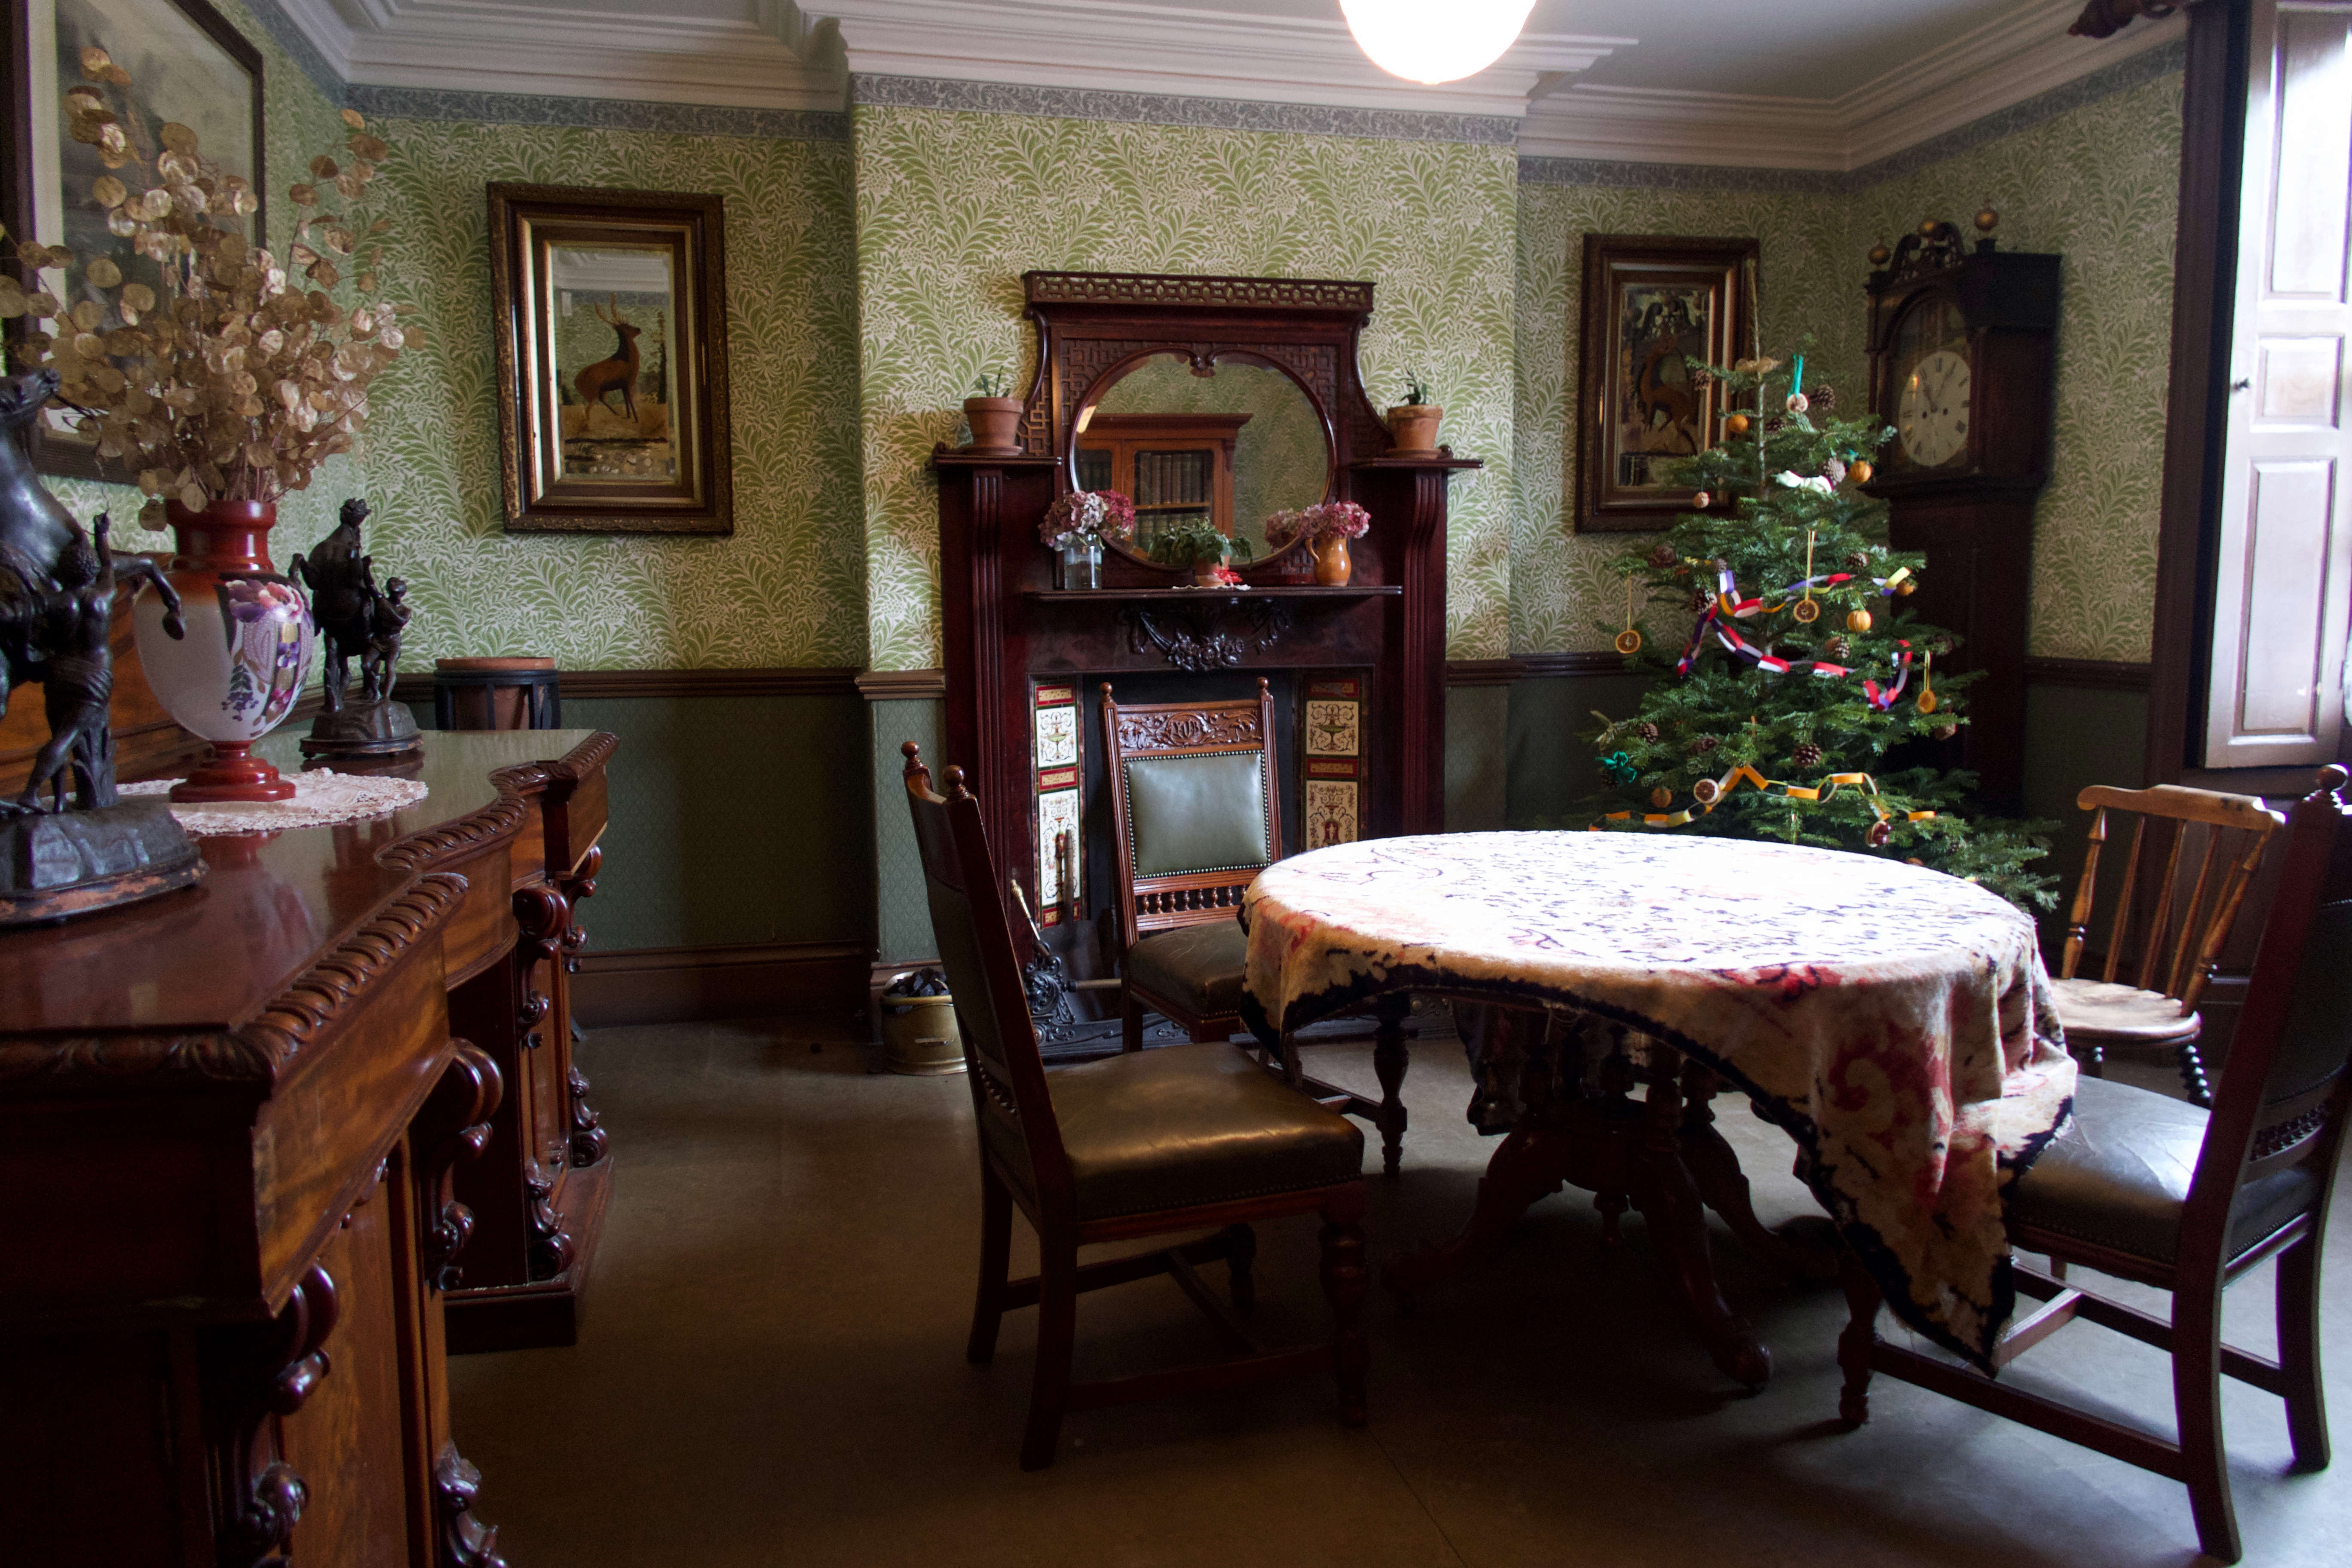
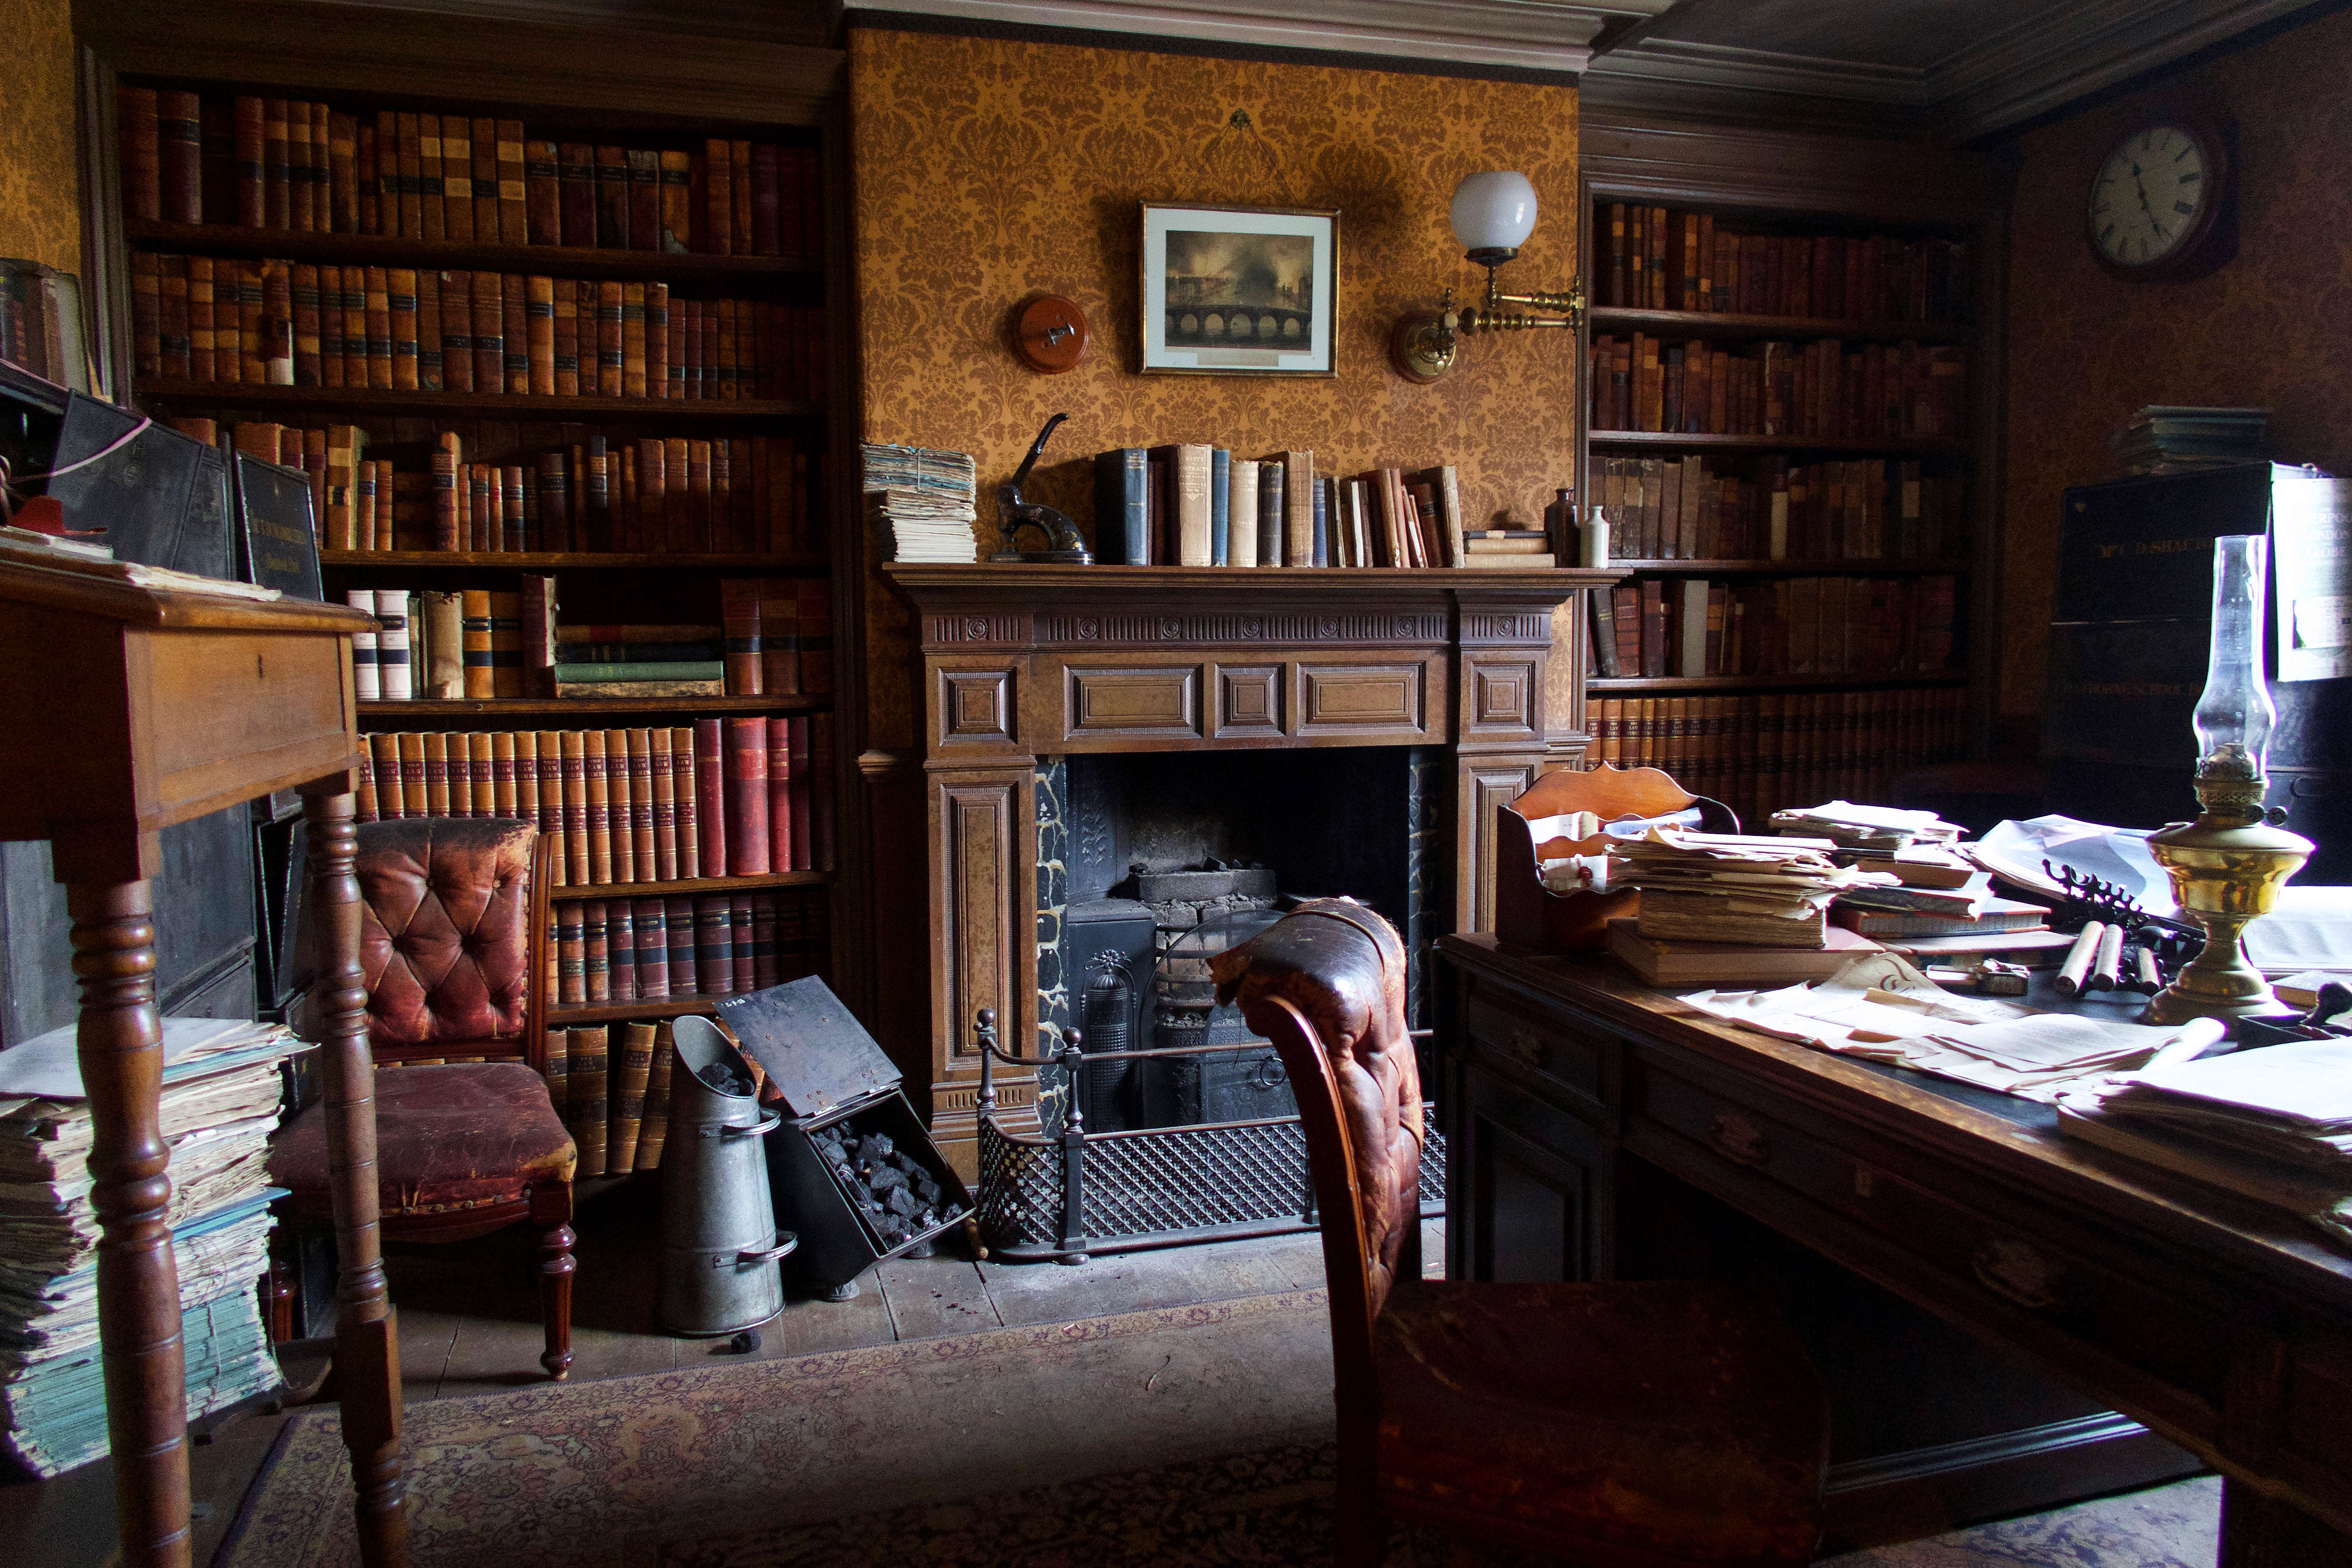
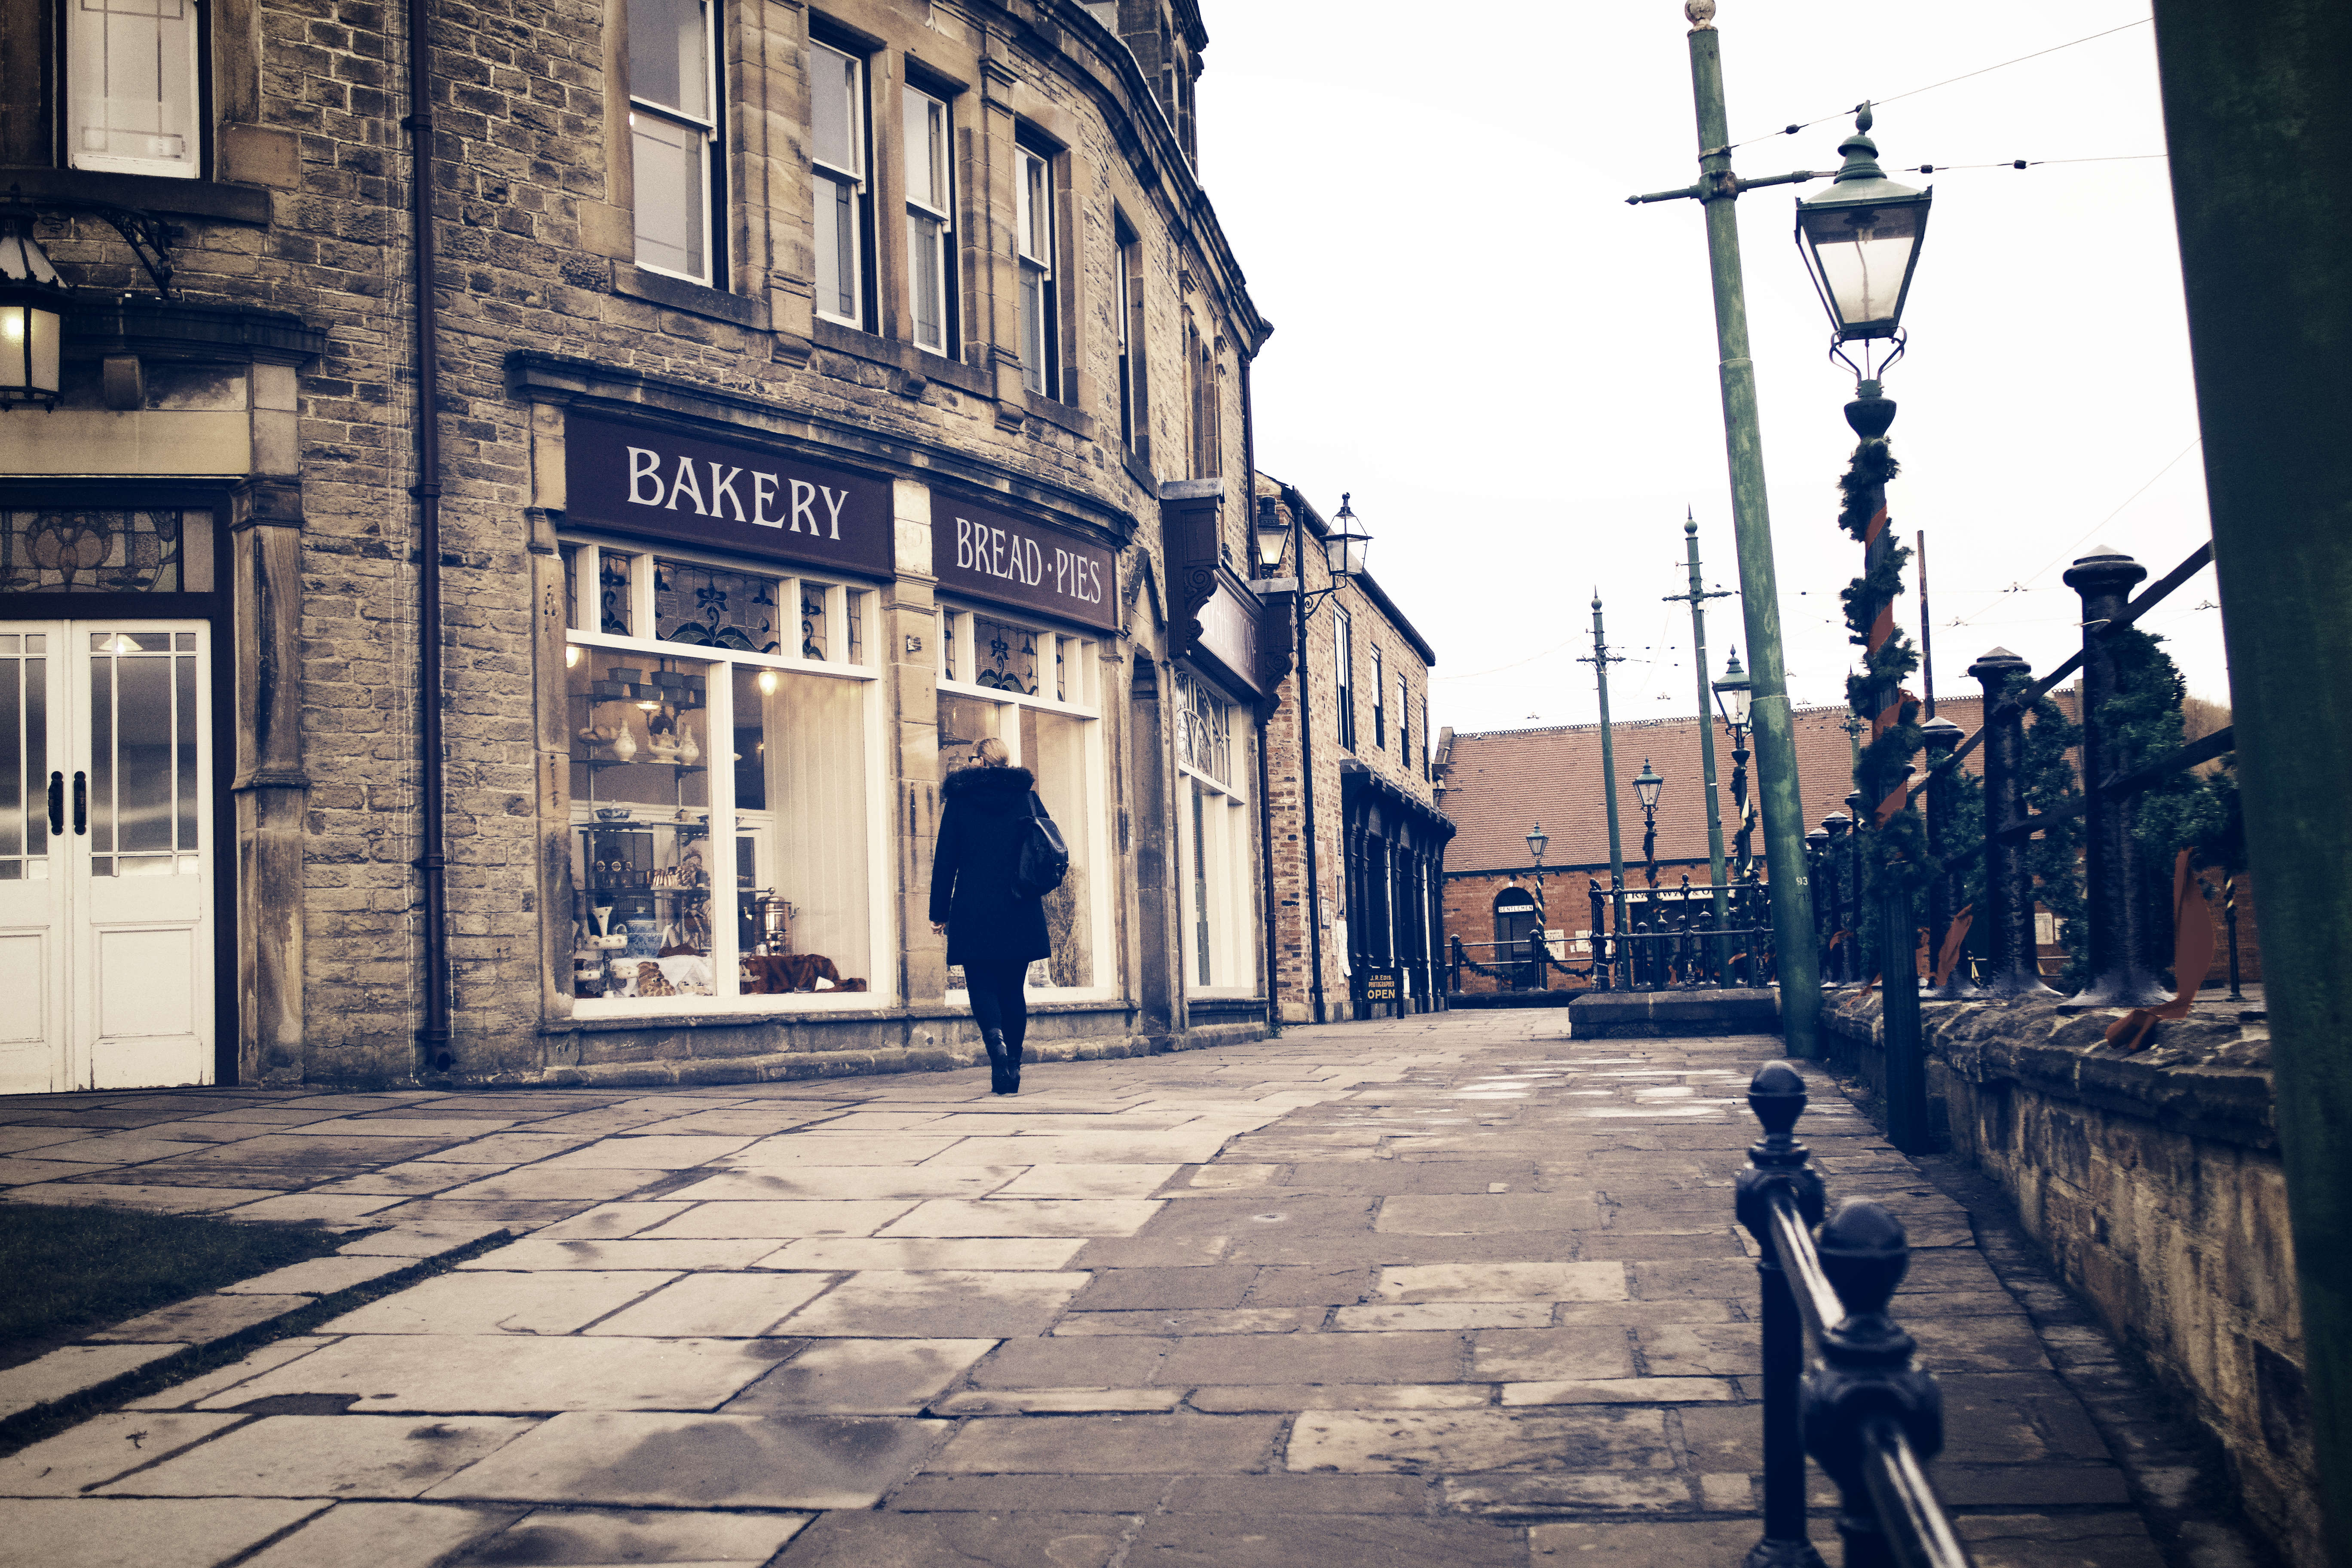
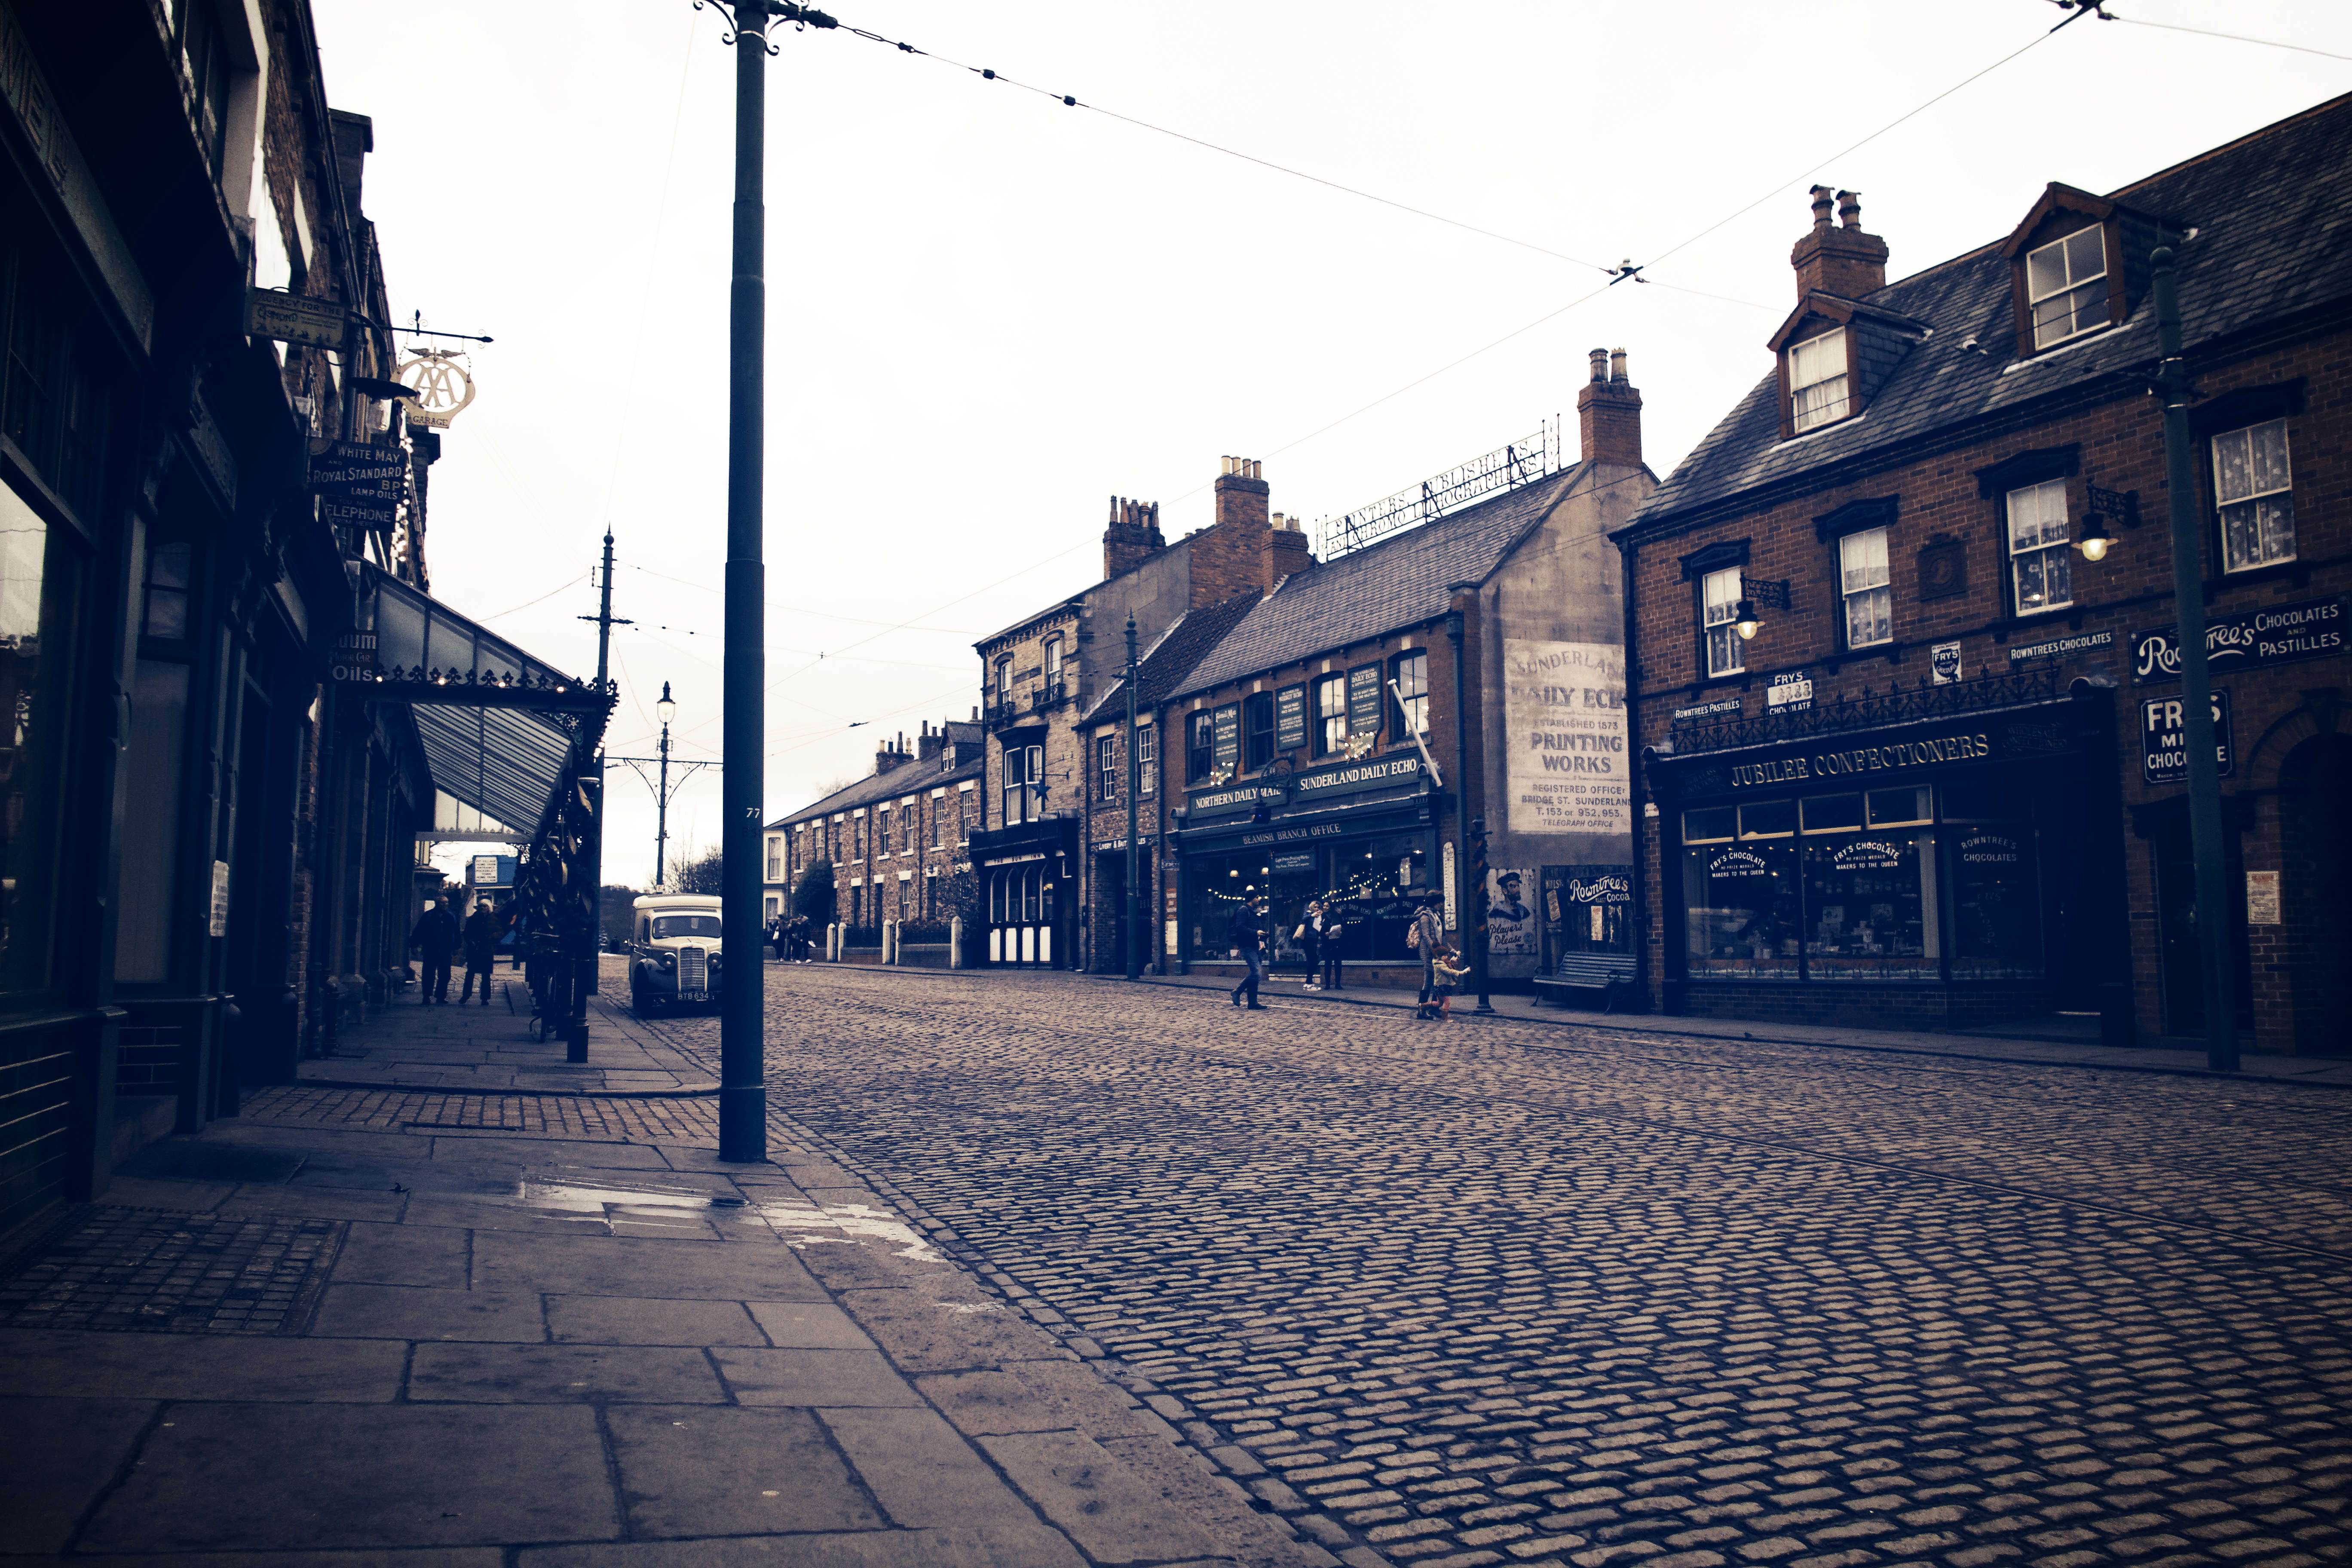
Again we were lucky with the weather, mainly dry but turning much colder. Beamish is only about a 20 minute drive away and it meant that we could have a full day at the museum without having a silly o’clock morning start. If you have never visited Beamish, I would recommend you put it on your “must do” list, especially if you have children/grand children. One thing you must do while there… go and see the dentist and have a chat and then visit the fish and chip shop with the coal-fired frying range. Standing outside smelling fish and chips frying mixed with the smell of coal fires really takes me back to my early childhood.
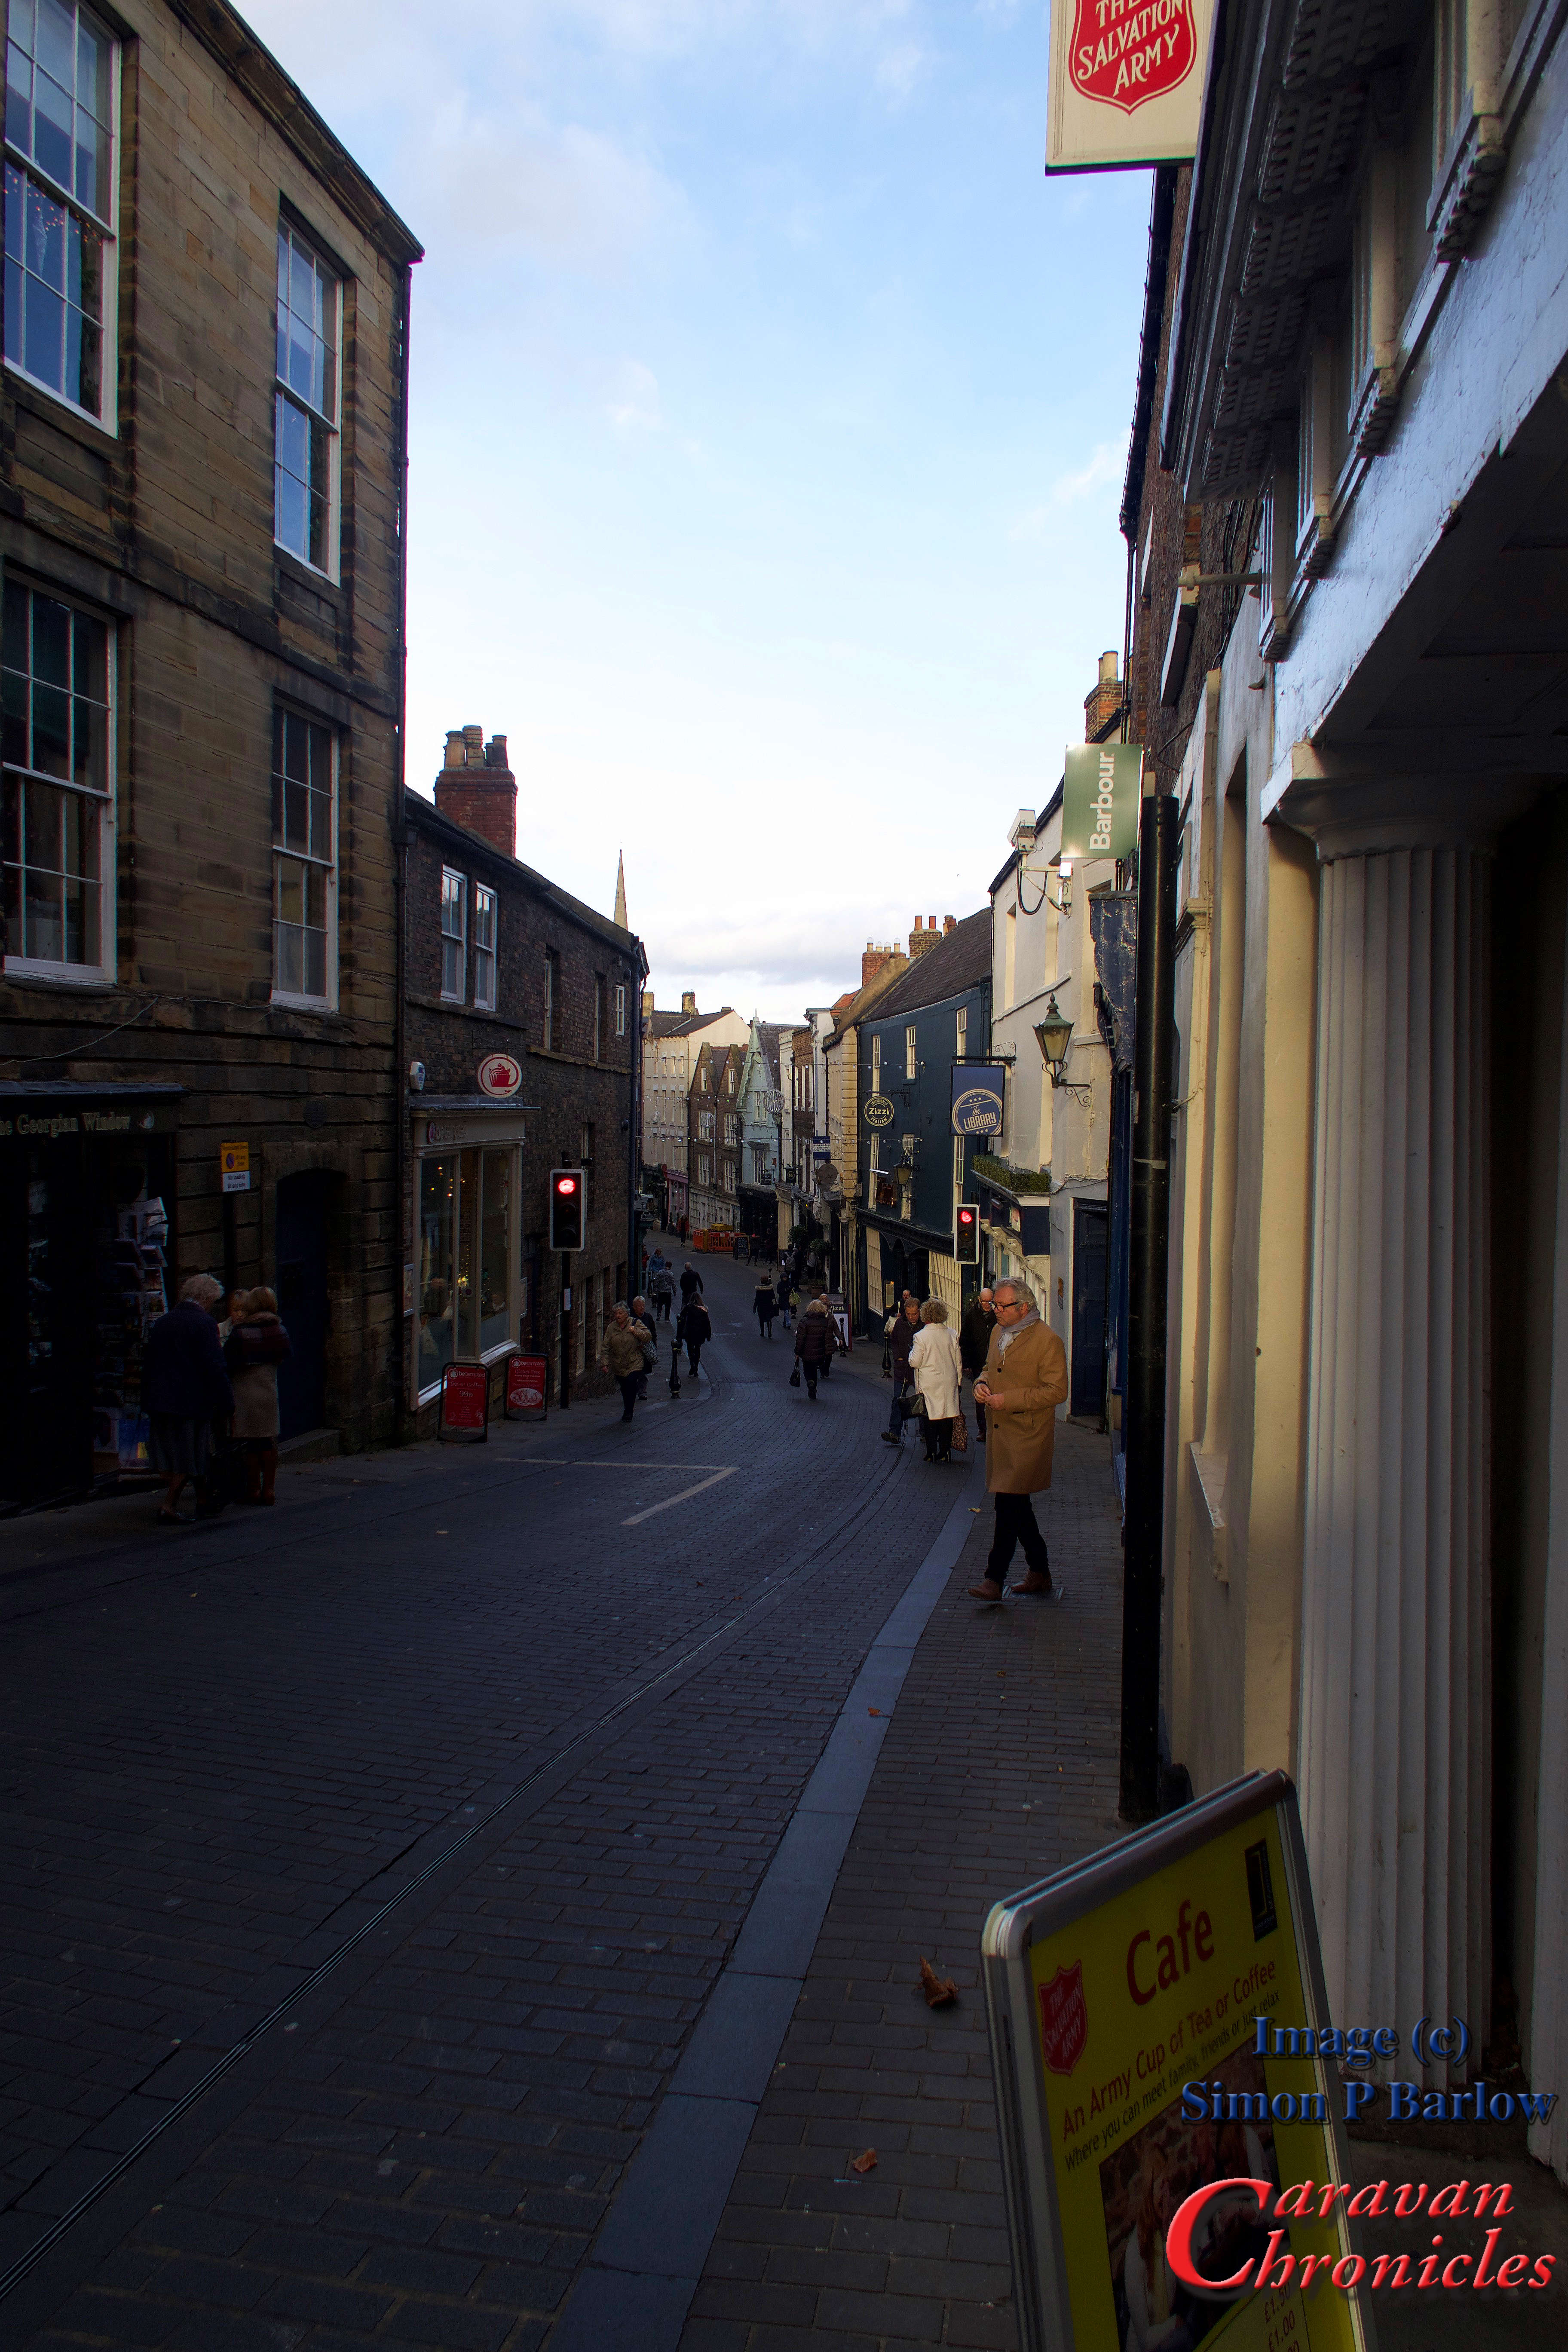
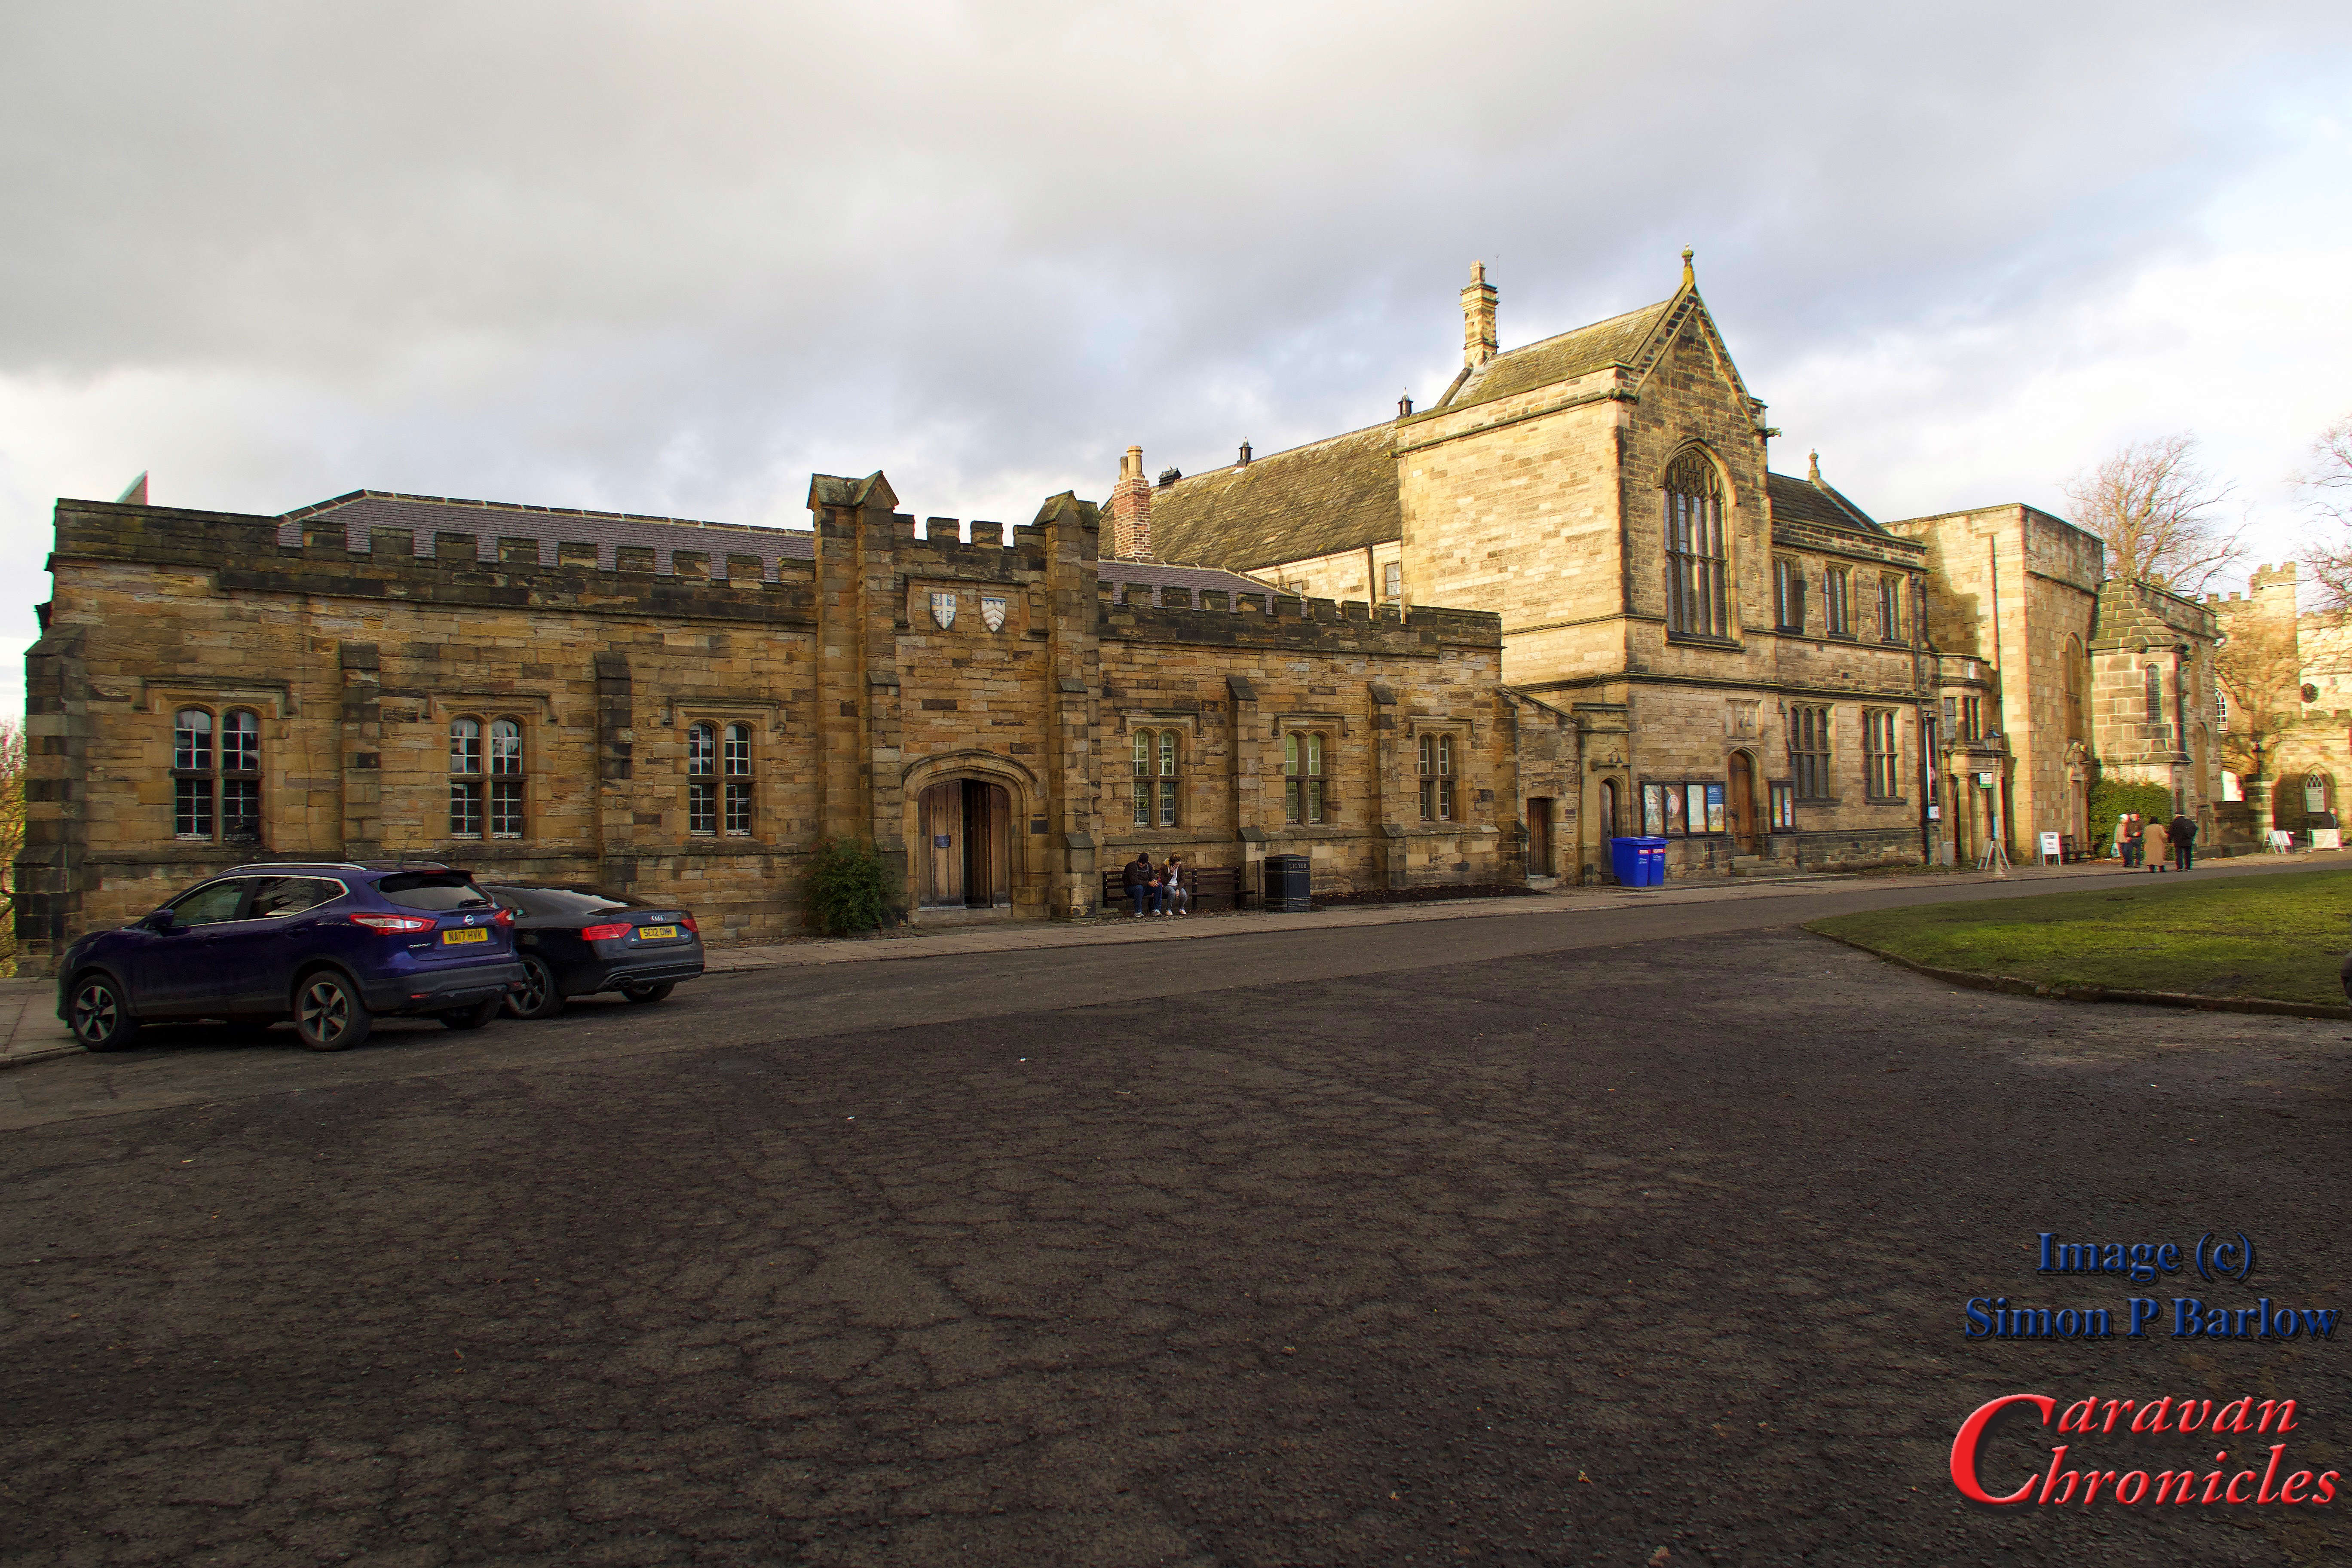
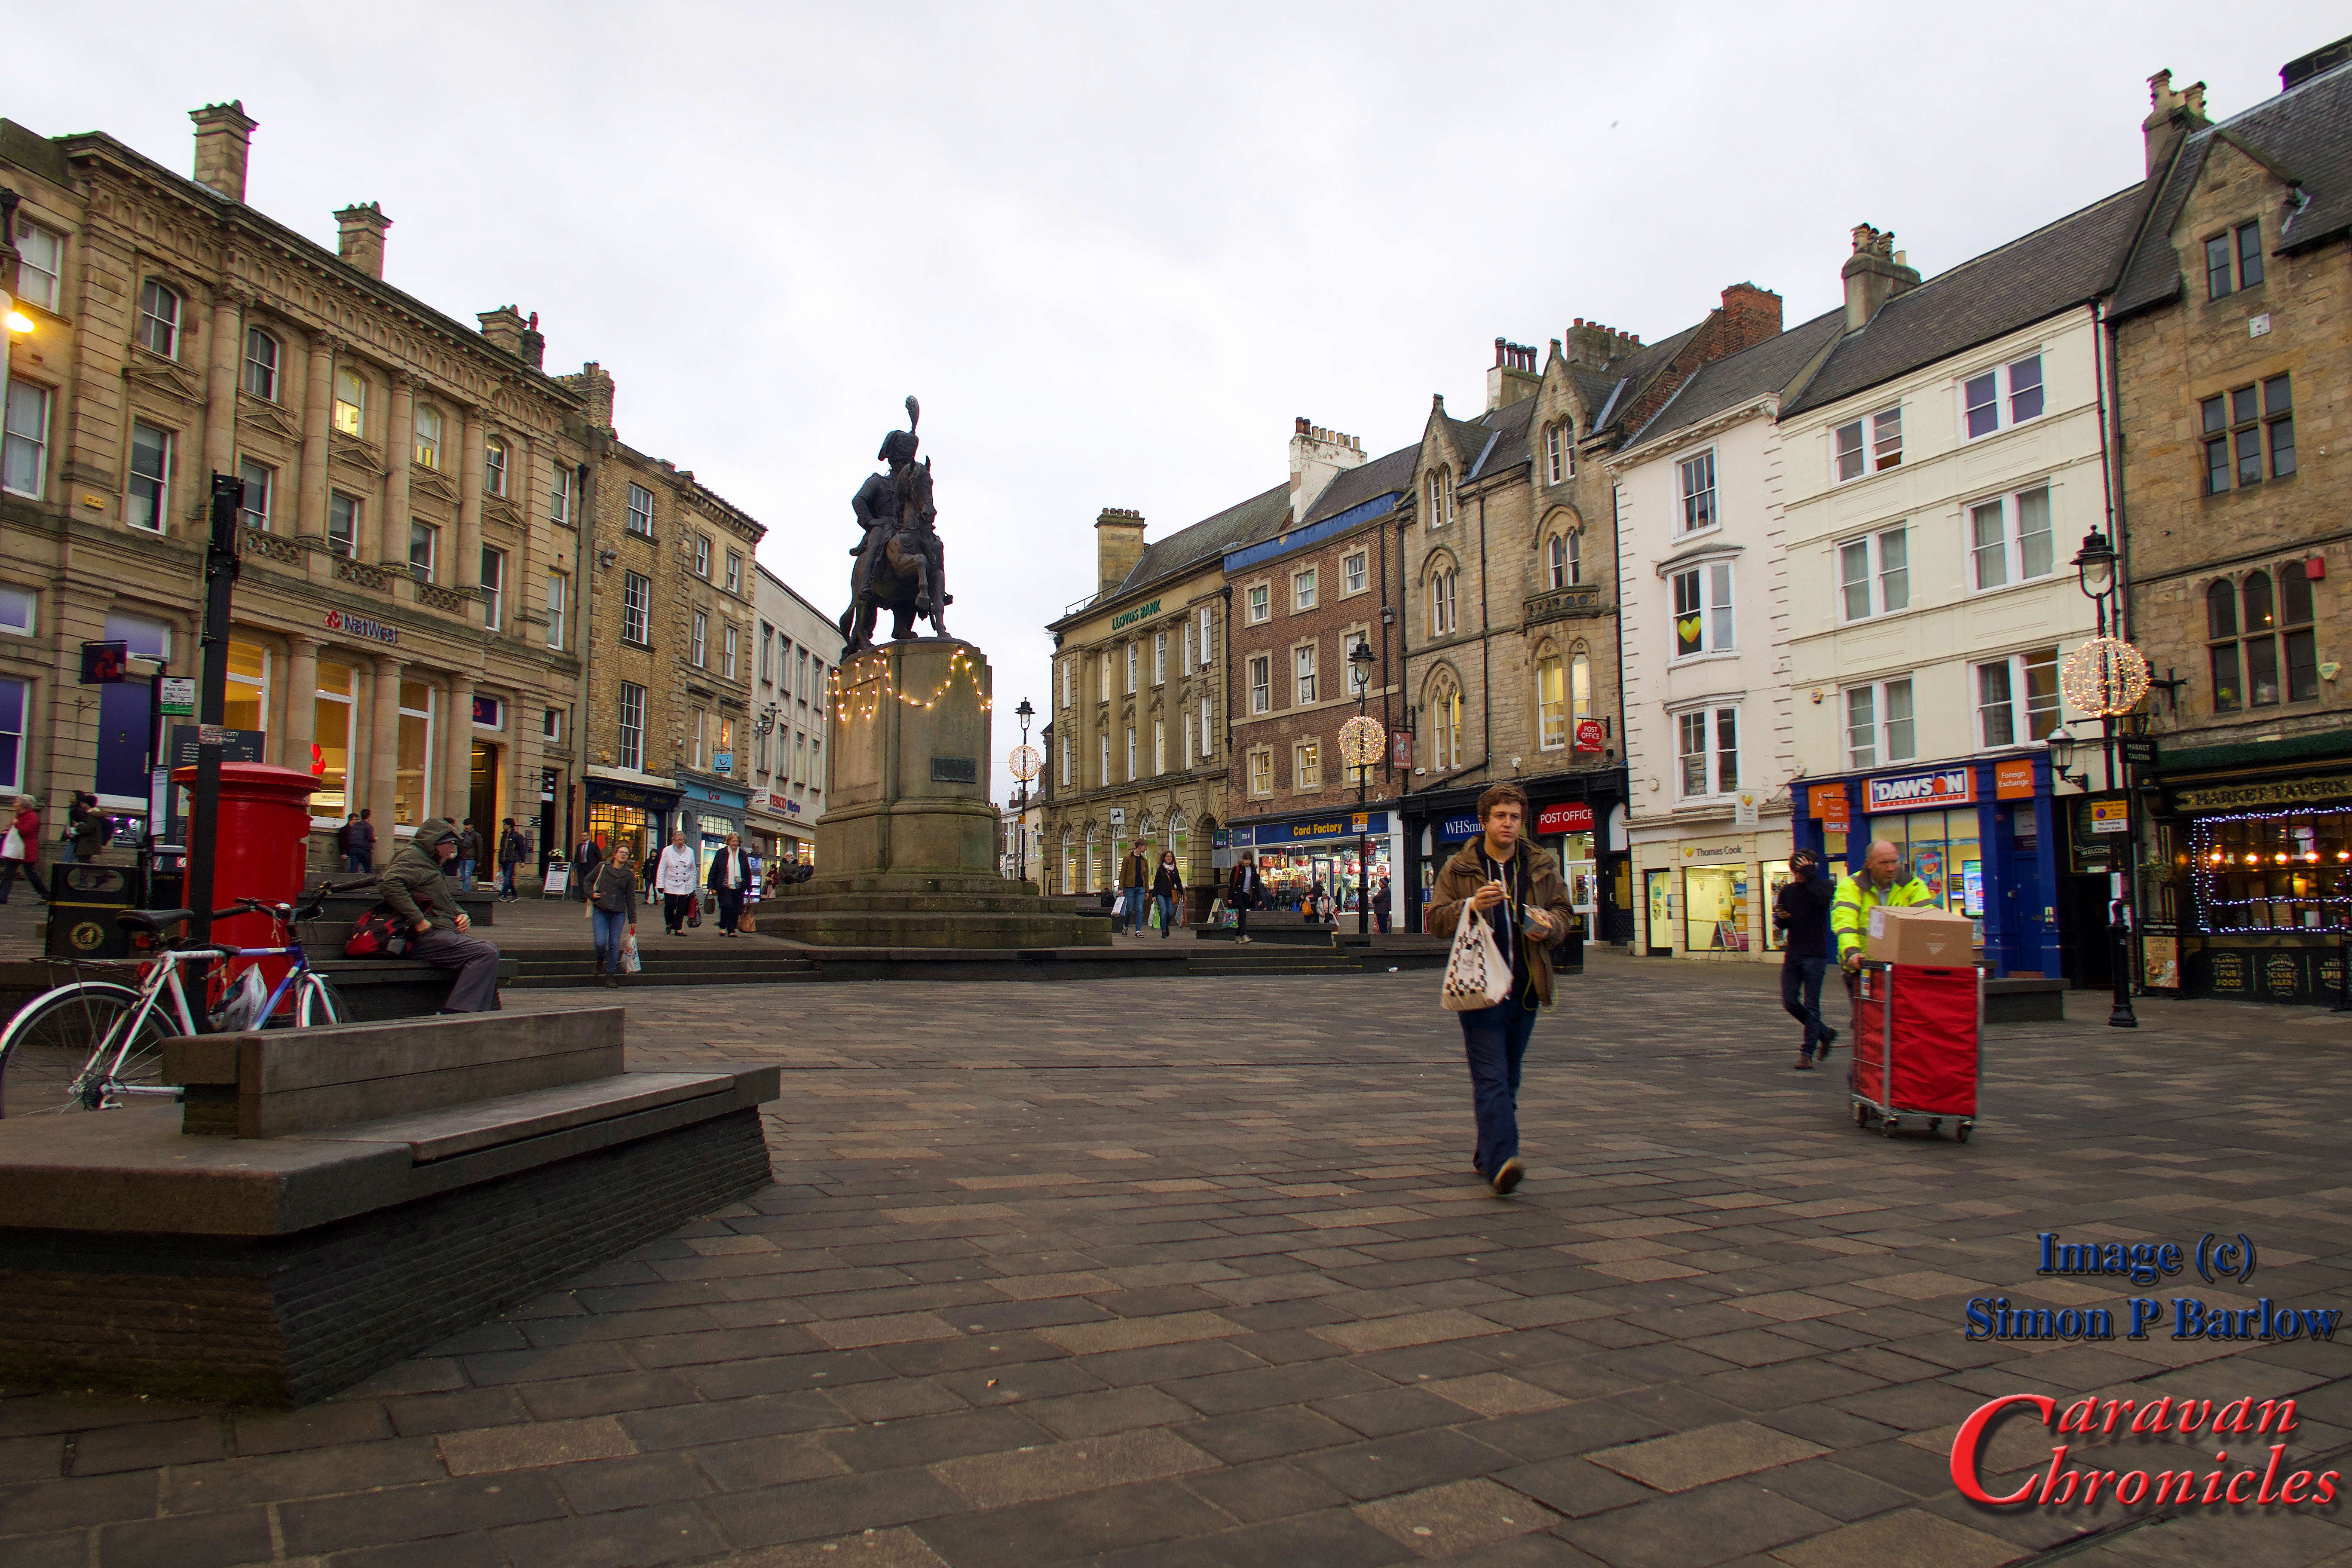
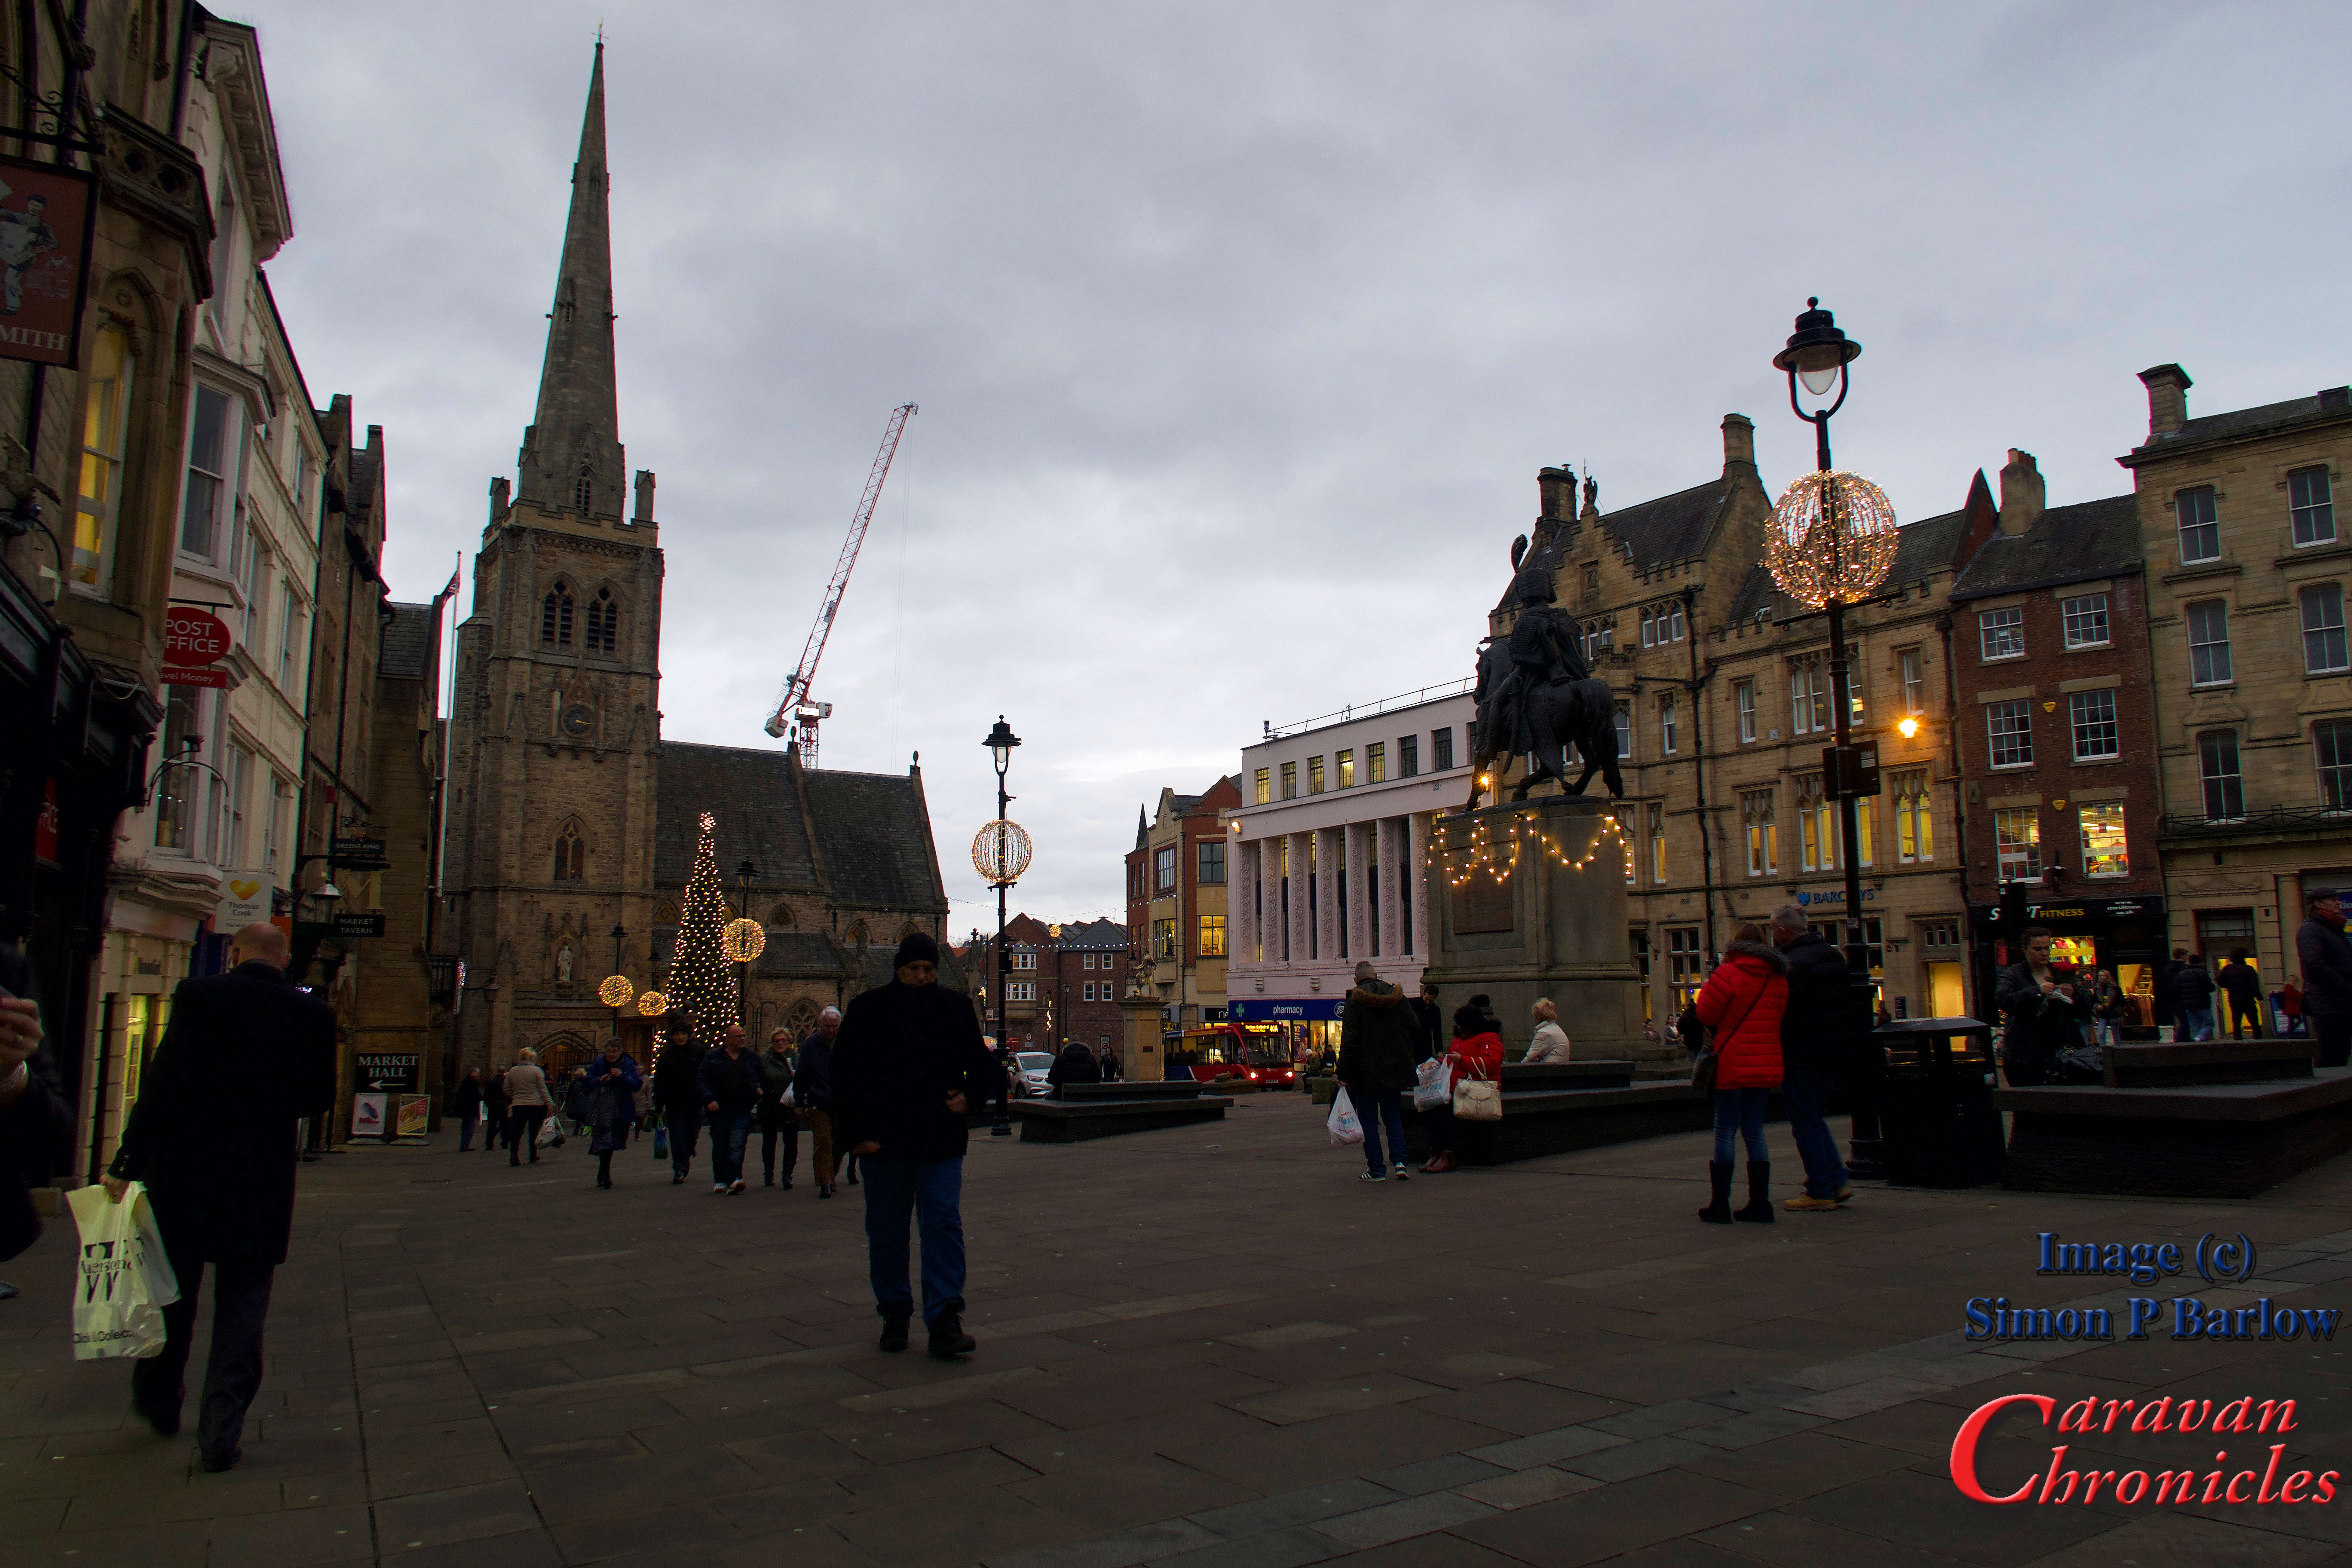
Durham Grange is also a great base for a trip into Durham. The Cathedral and Castle are worth a visit and there are plenty of shops to explore in the tiny streets in the city centre. Getting into the centre from the caravan site is easy. On the other side of the A1M to the site is a park and ride that takes you right into the city centre. However a word of caution….. if you walk you have to cross two-three lane slip roads to the A1M and it’s busy even out of peak periods. Trying to walk back to the site in rush hour has to be avoided. We got the park and ride bus in but decided that it would be safer getting a taxi back. In summer however, if you ask the wardens they have a map with the details of a riverside walk into the town centre.
Three days at Durham Grange really didn’t give us chance to explore further, it has been added to the long list of “must go back so we can see….” collection.
Next stop…. York
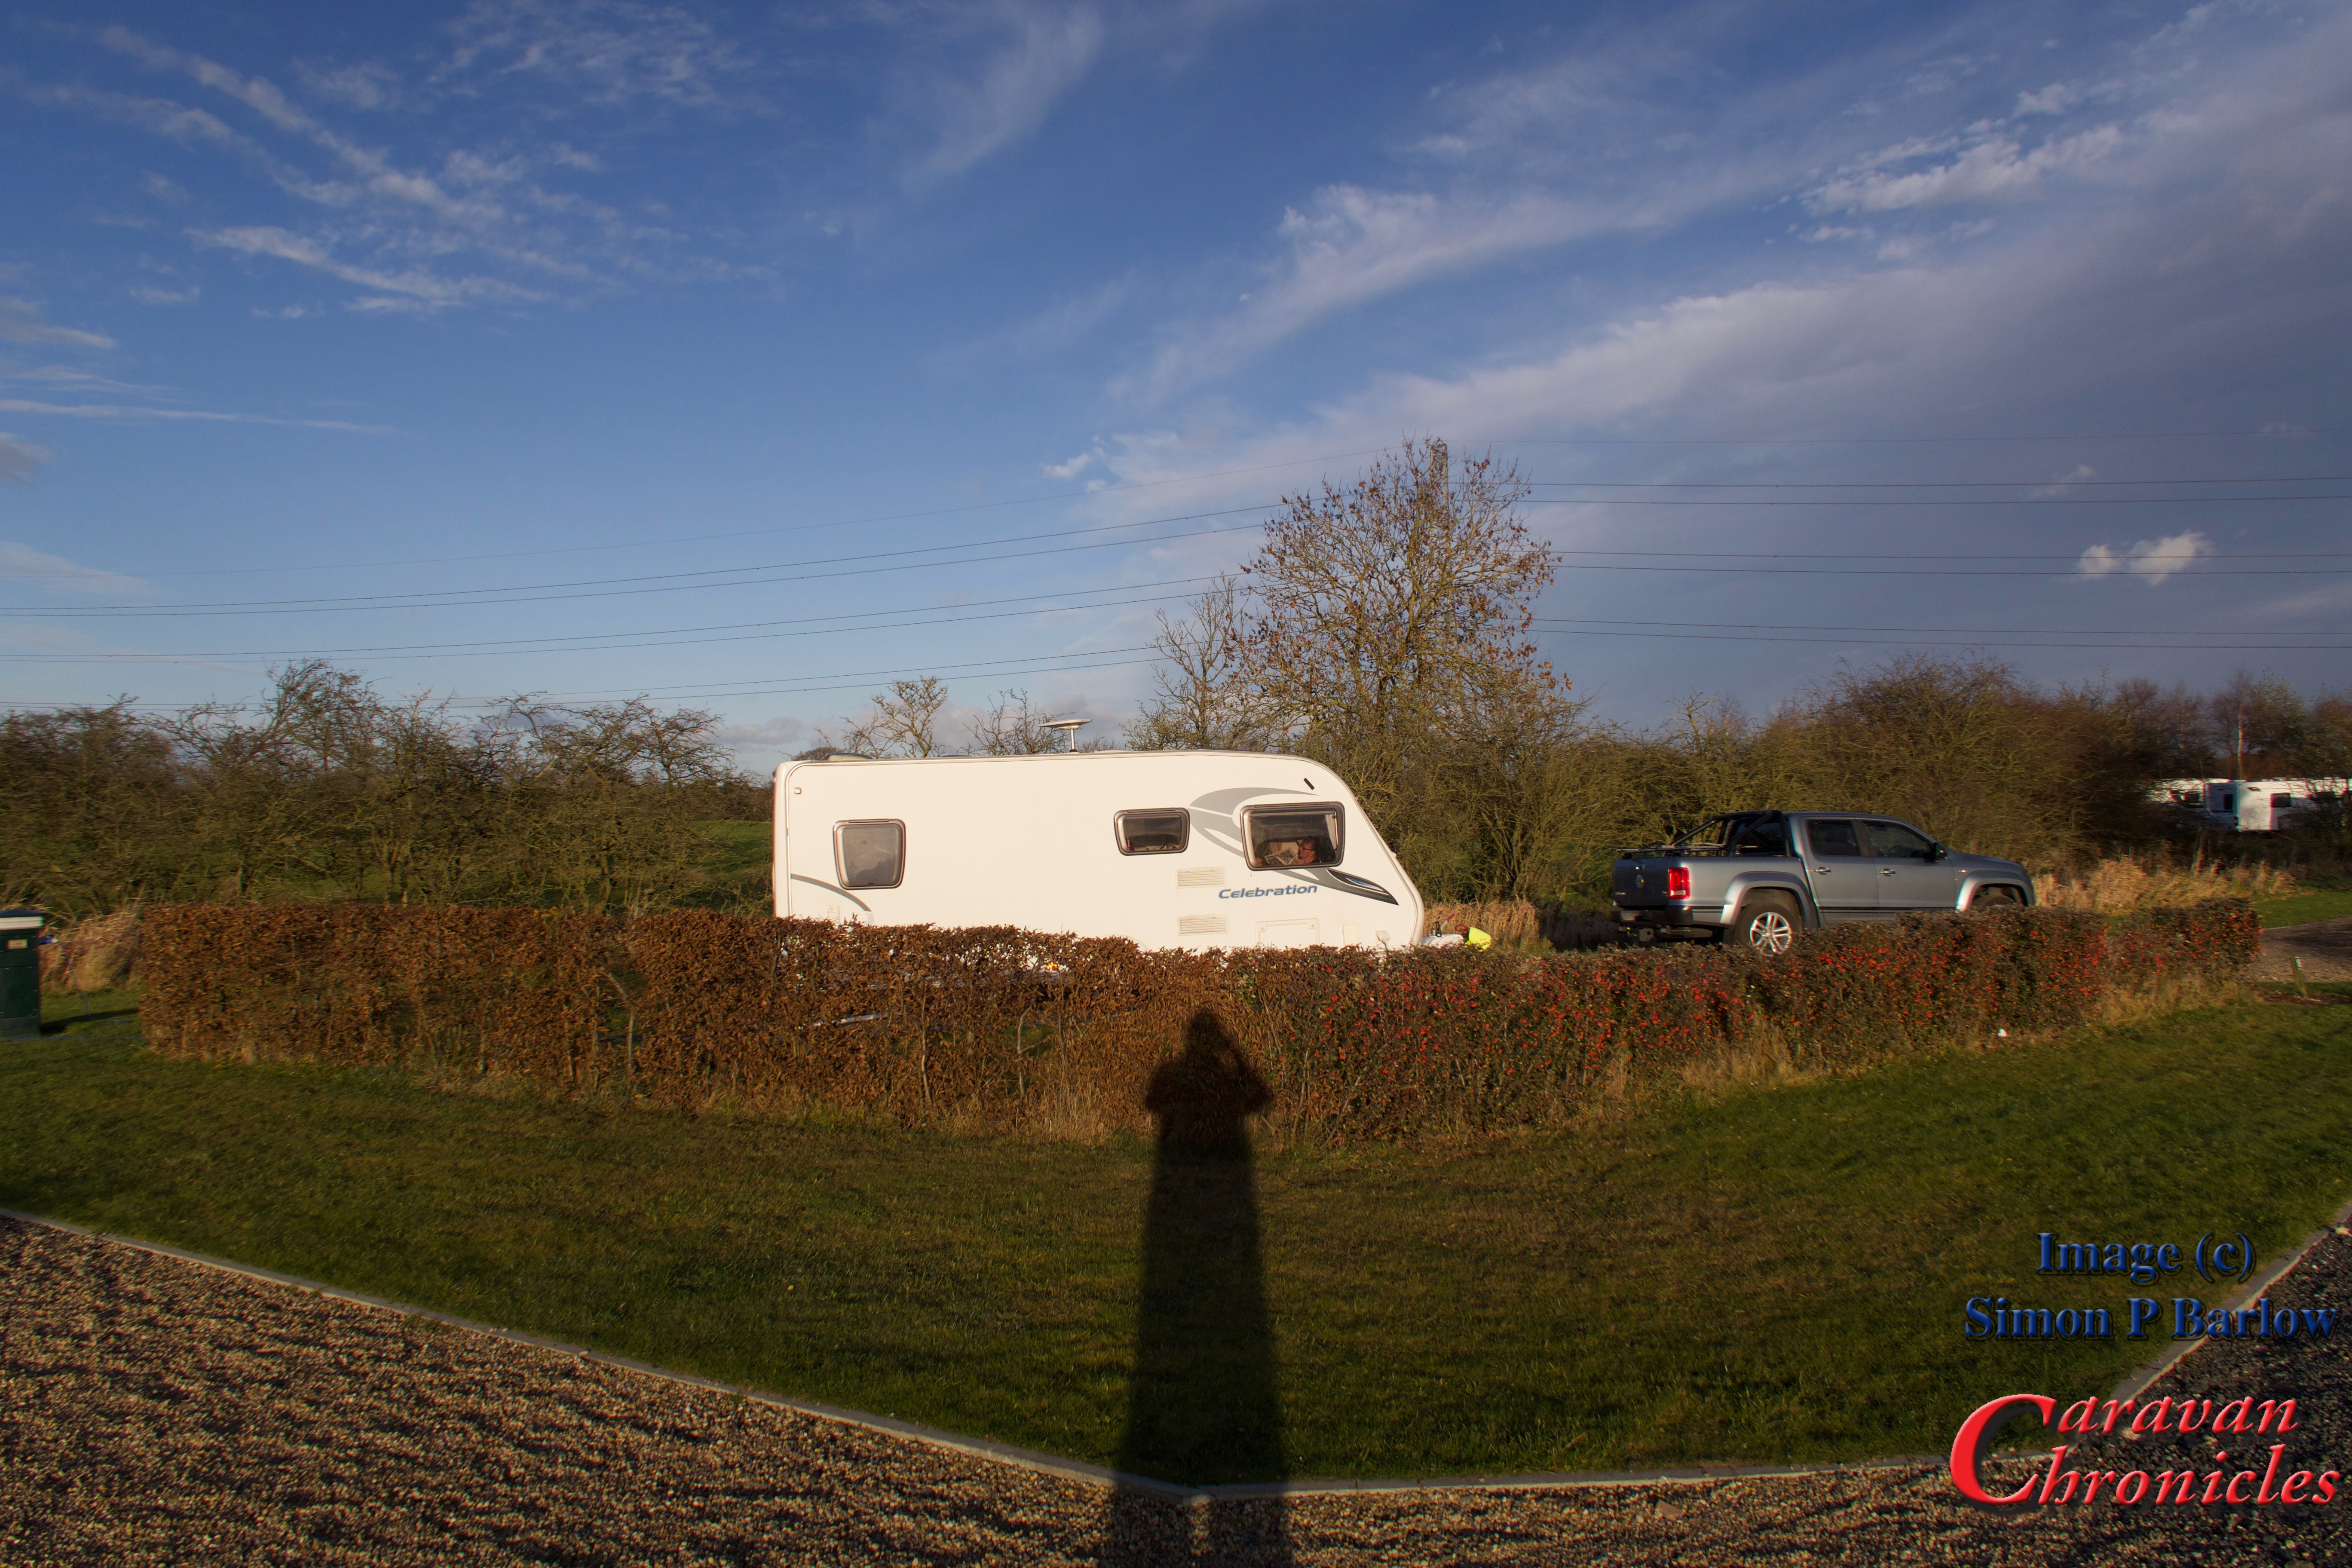
York has to be on everyone’s list of favourite cities. We had chosen a Tranquil Touring site – York Caravan Park for the second part of our festive tour. Despite the weather forecast of strong winds for the next 24 hours and an increasing chance of light snow the further south we got, the drive down from Durham was an easy tow and the sat nav directed us round Yorks outer ring roads. The only real traffic we saw was around the ring road. As York is a bit of a no go for visiting by car the ring road and feeder roads to the various park and ride points can be a bit congested, but a bit of patience and we were only around 15 minutes late based on what our sat-nav had predicted when setting off. The temperature by now was also dropping and hadn’t risen above four degrees for the whole journey.
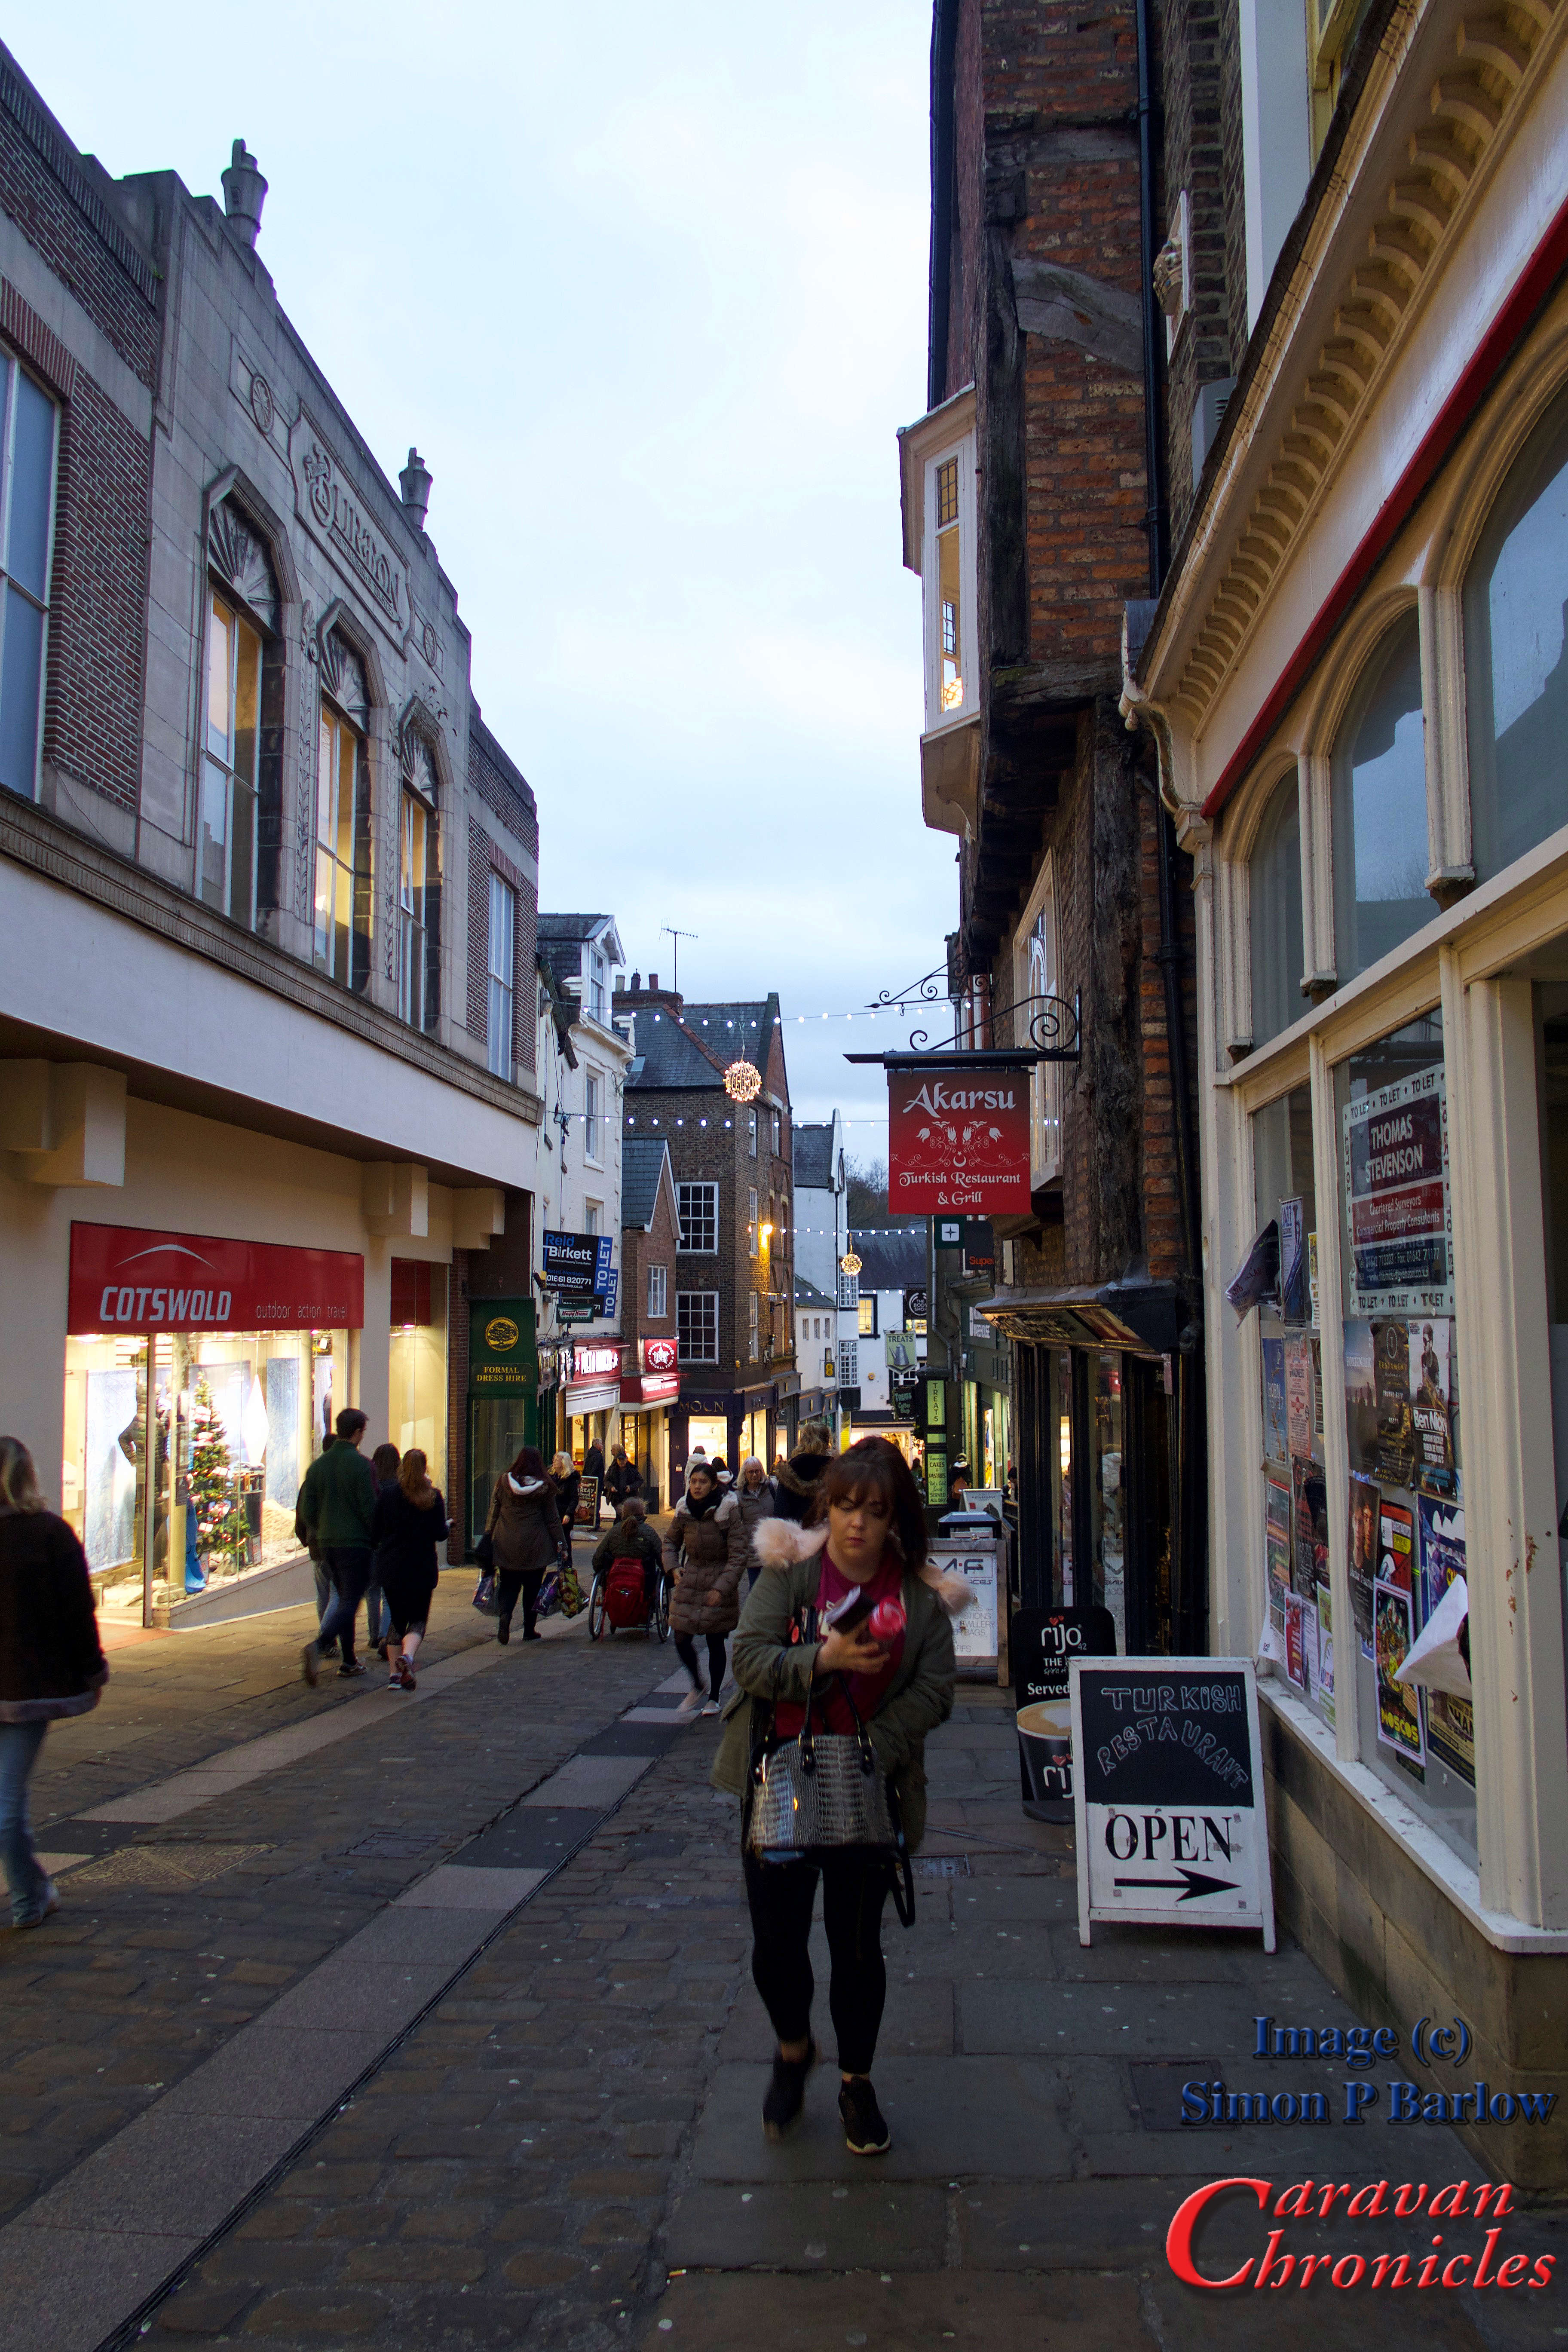
York Caravan park is only a couple of miles outside York and right outside is a convenient bus stop with a bus that will whisk you right into the centre in about ten minutes. It had been several years since we had both been to York and one of the stops Sue wanted to do was Jorvik viking centre. The bus dropped us off and we headed in the general direction of Jorvik through all the Christmas Market stalls. At one end of the market was a large teepee that had a log fire burning in the centre and a bar serving all manner of festive spirits. While Sue opted for Mulled Wine, I decided on a mug of hot chocolate with Baileys… well it was only three degrees with a bit of a wind chill.
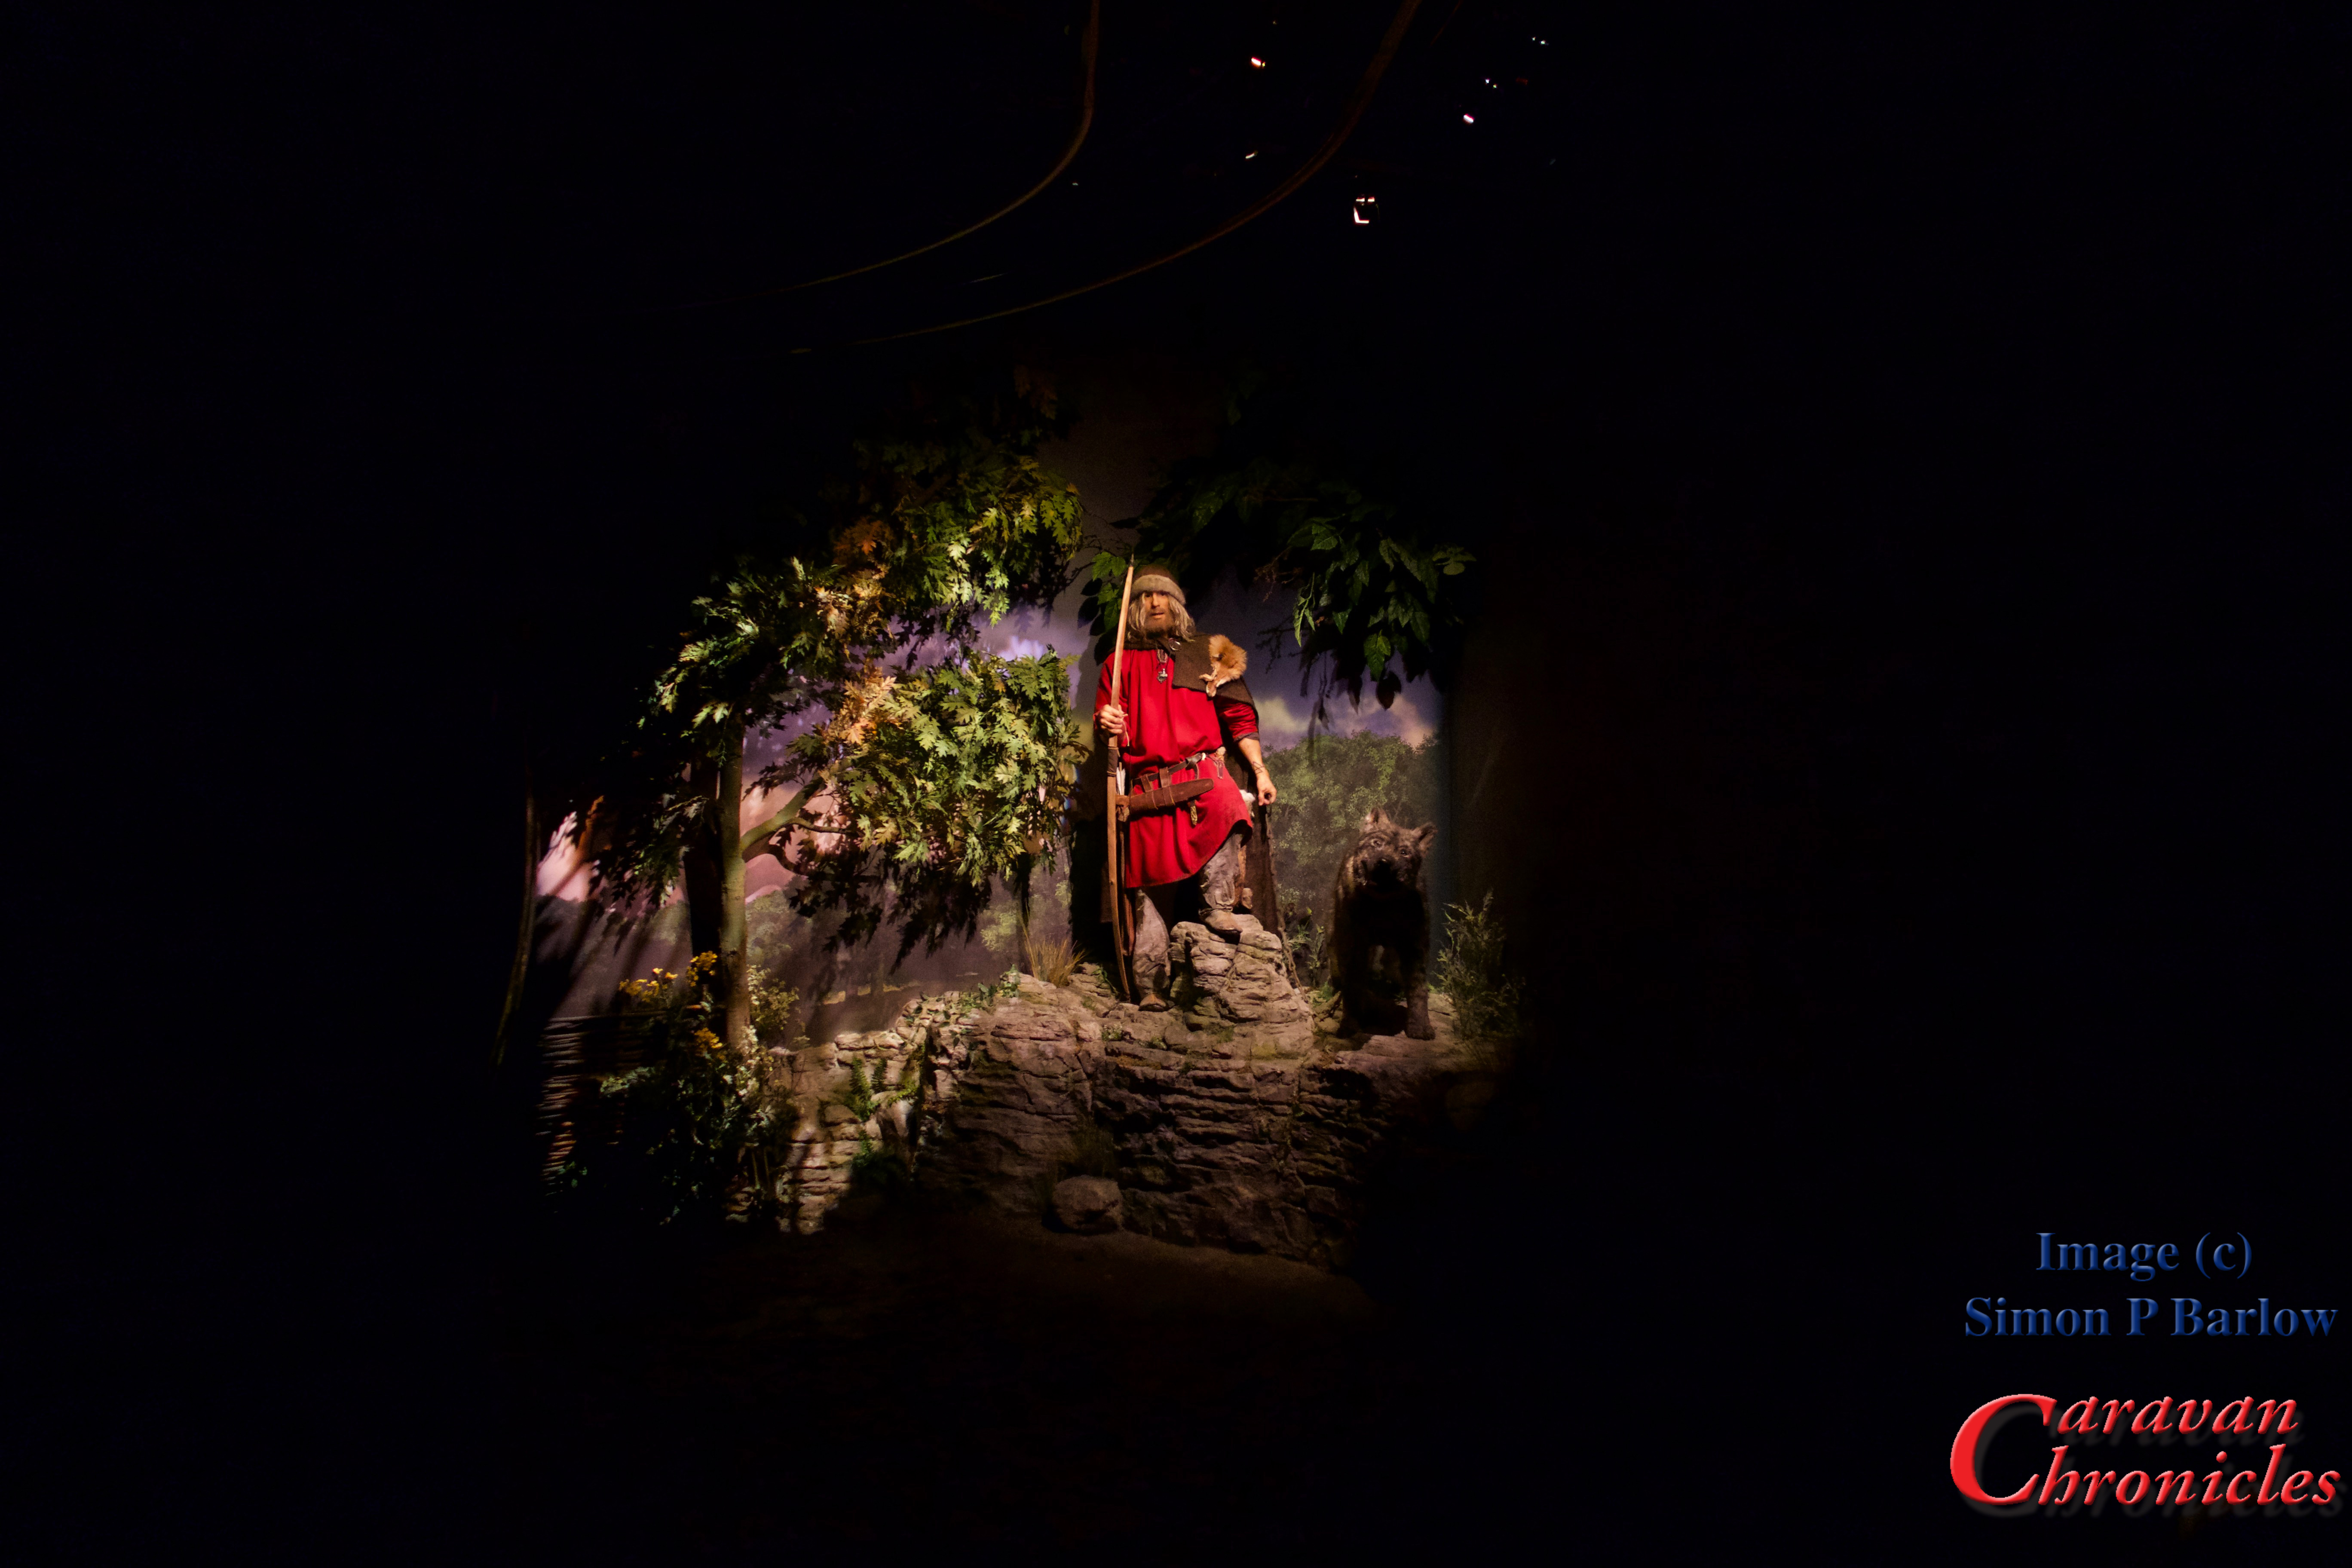
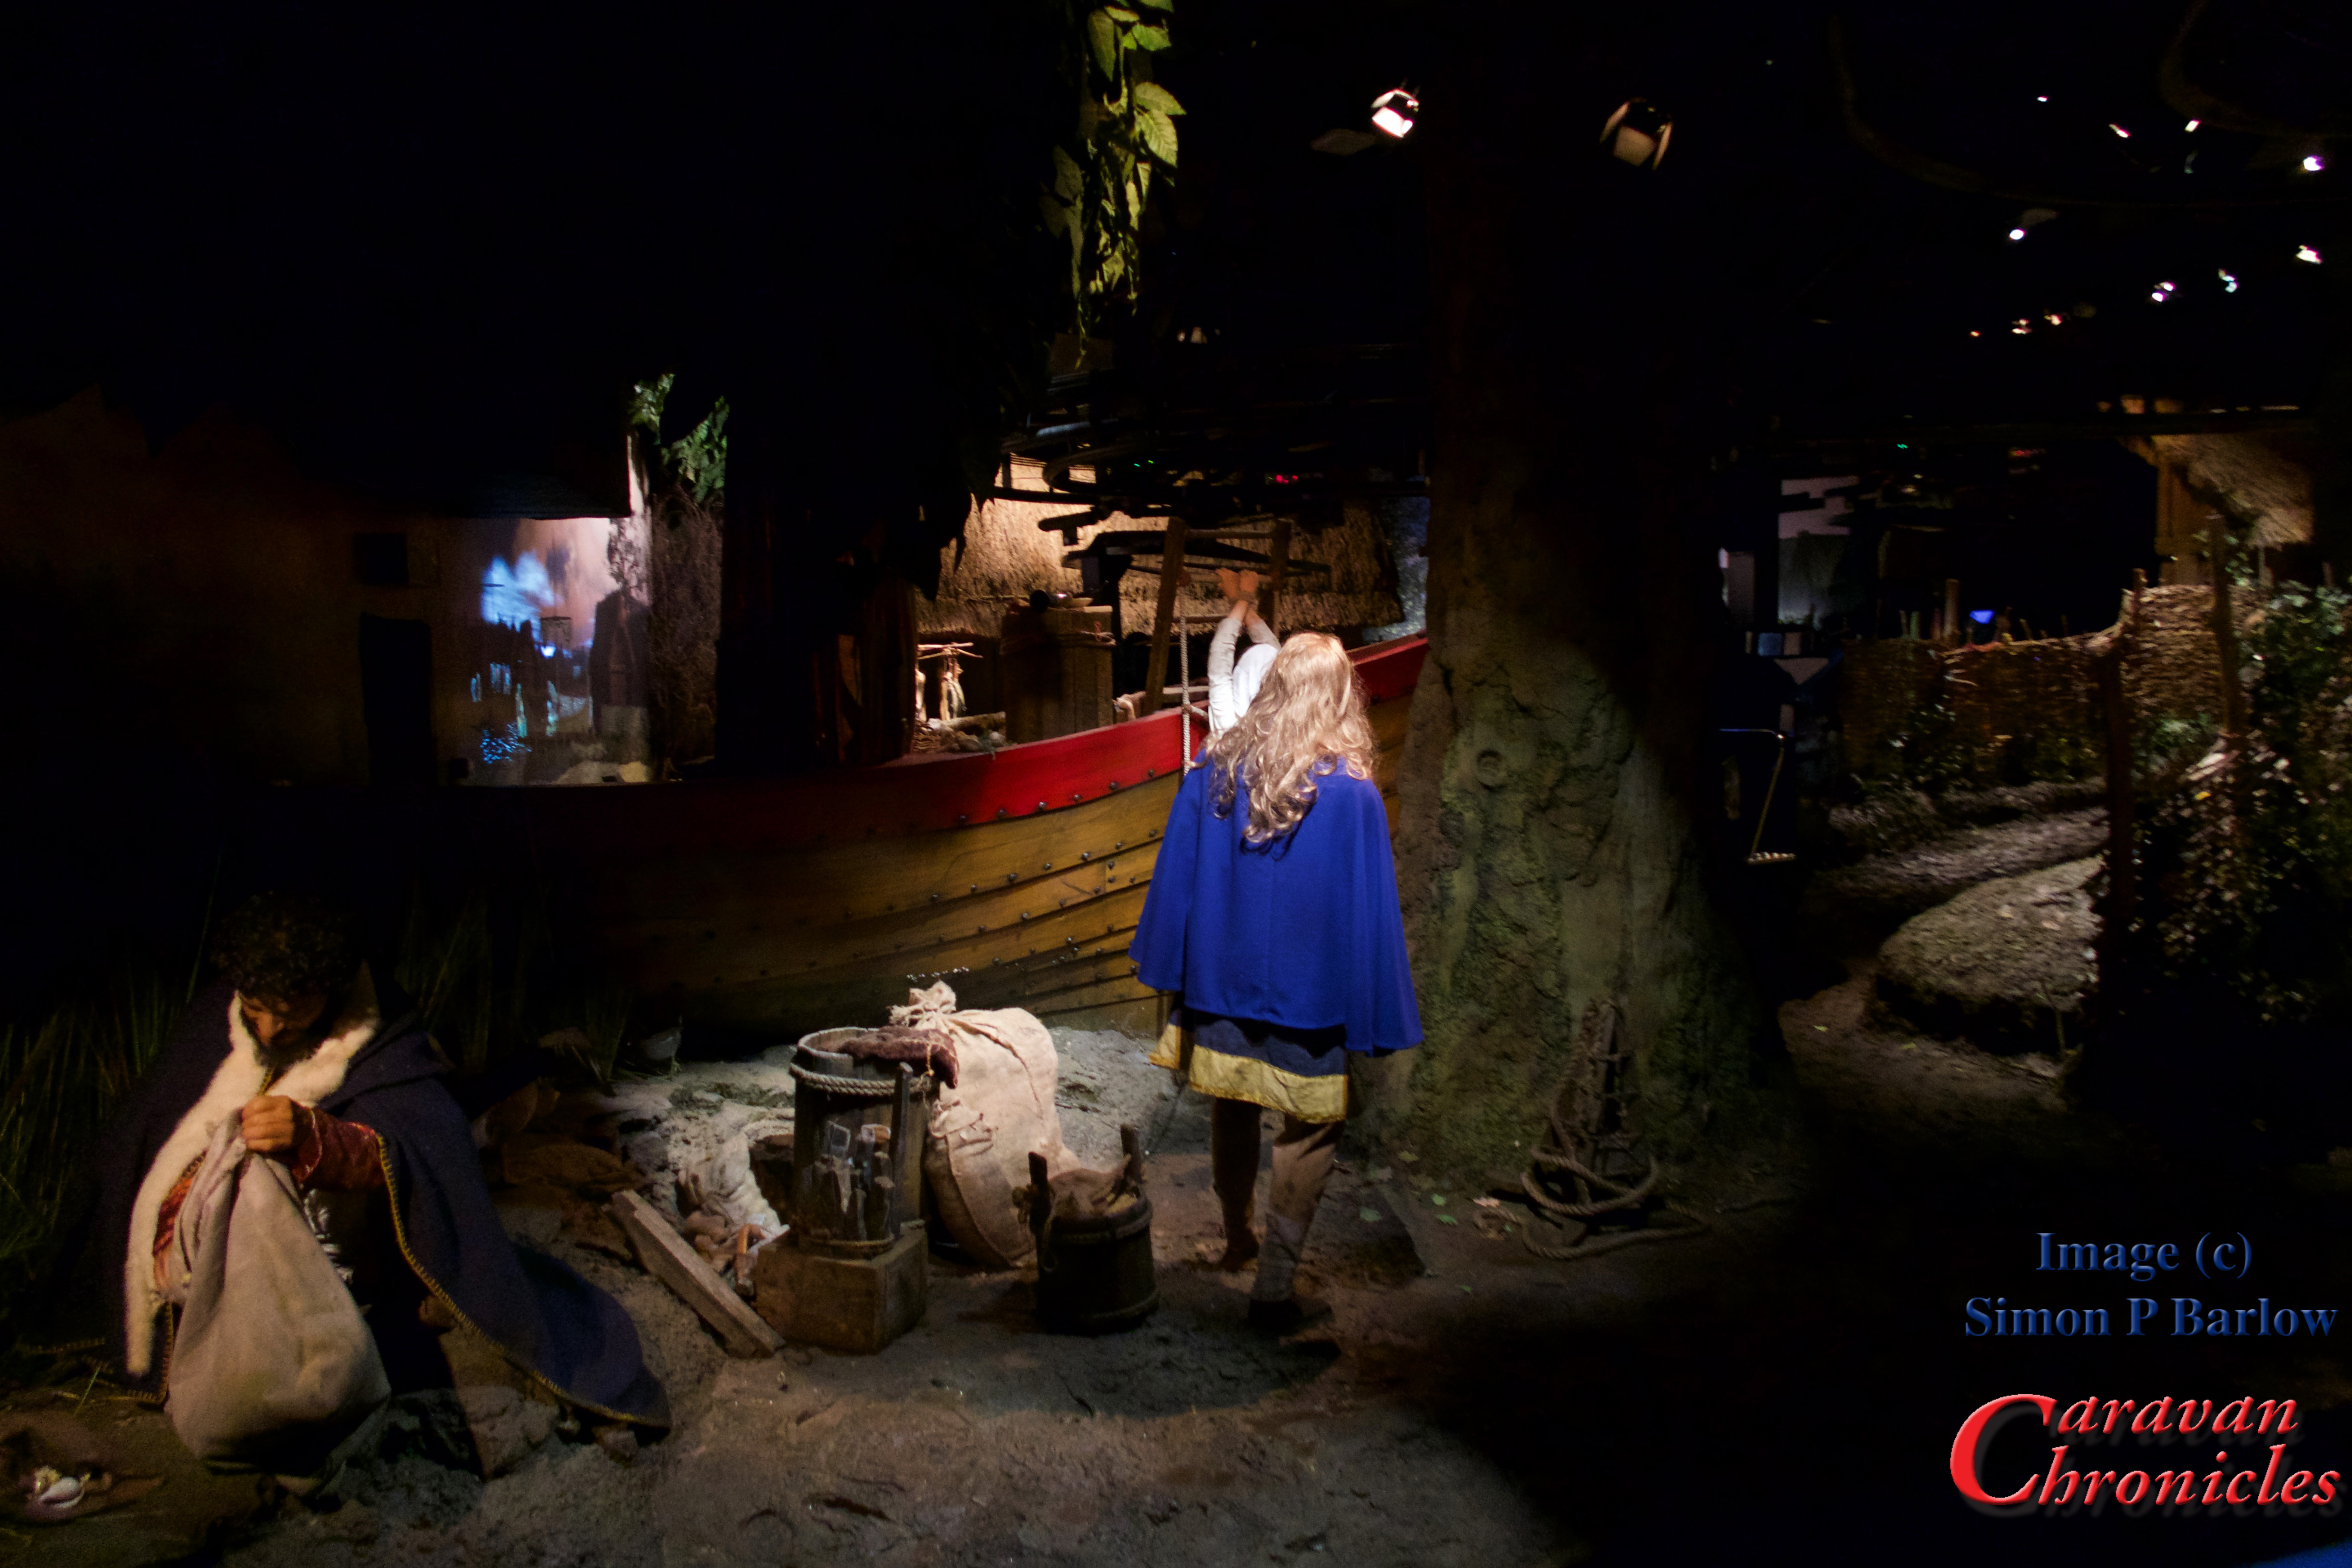
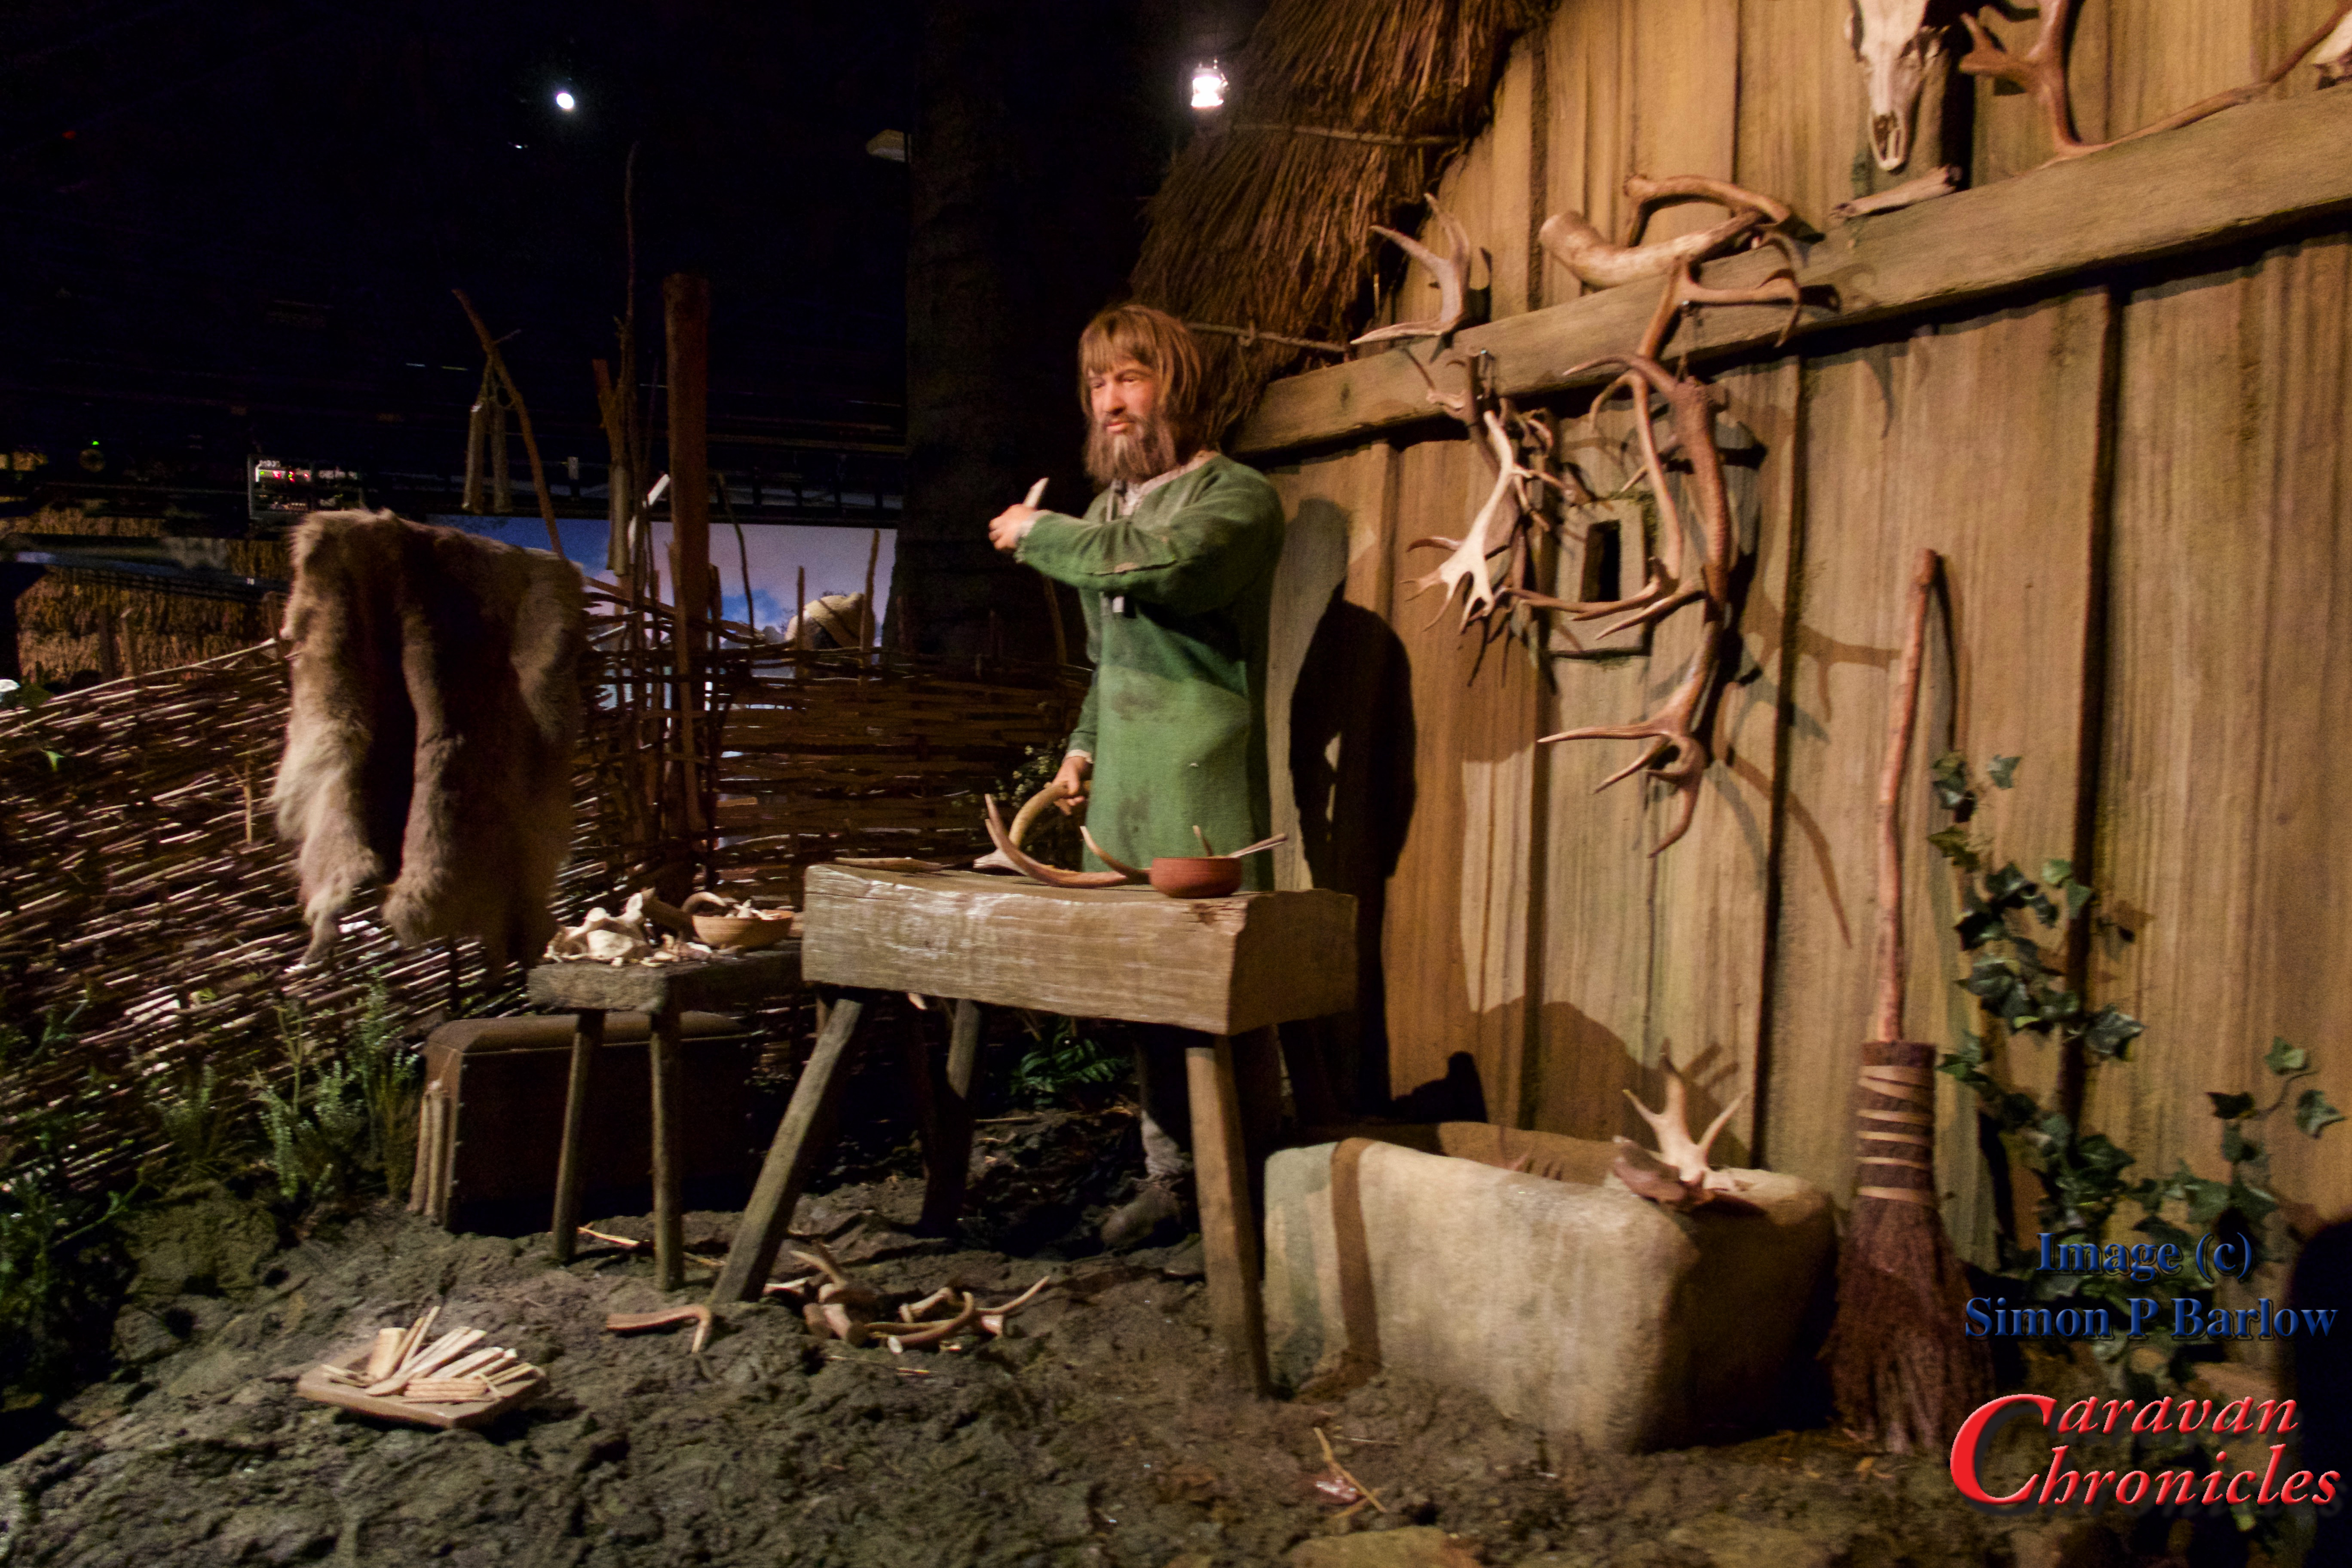
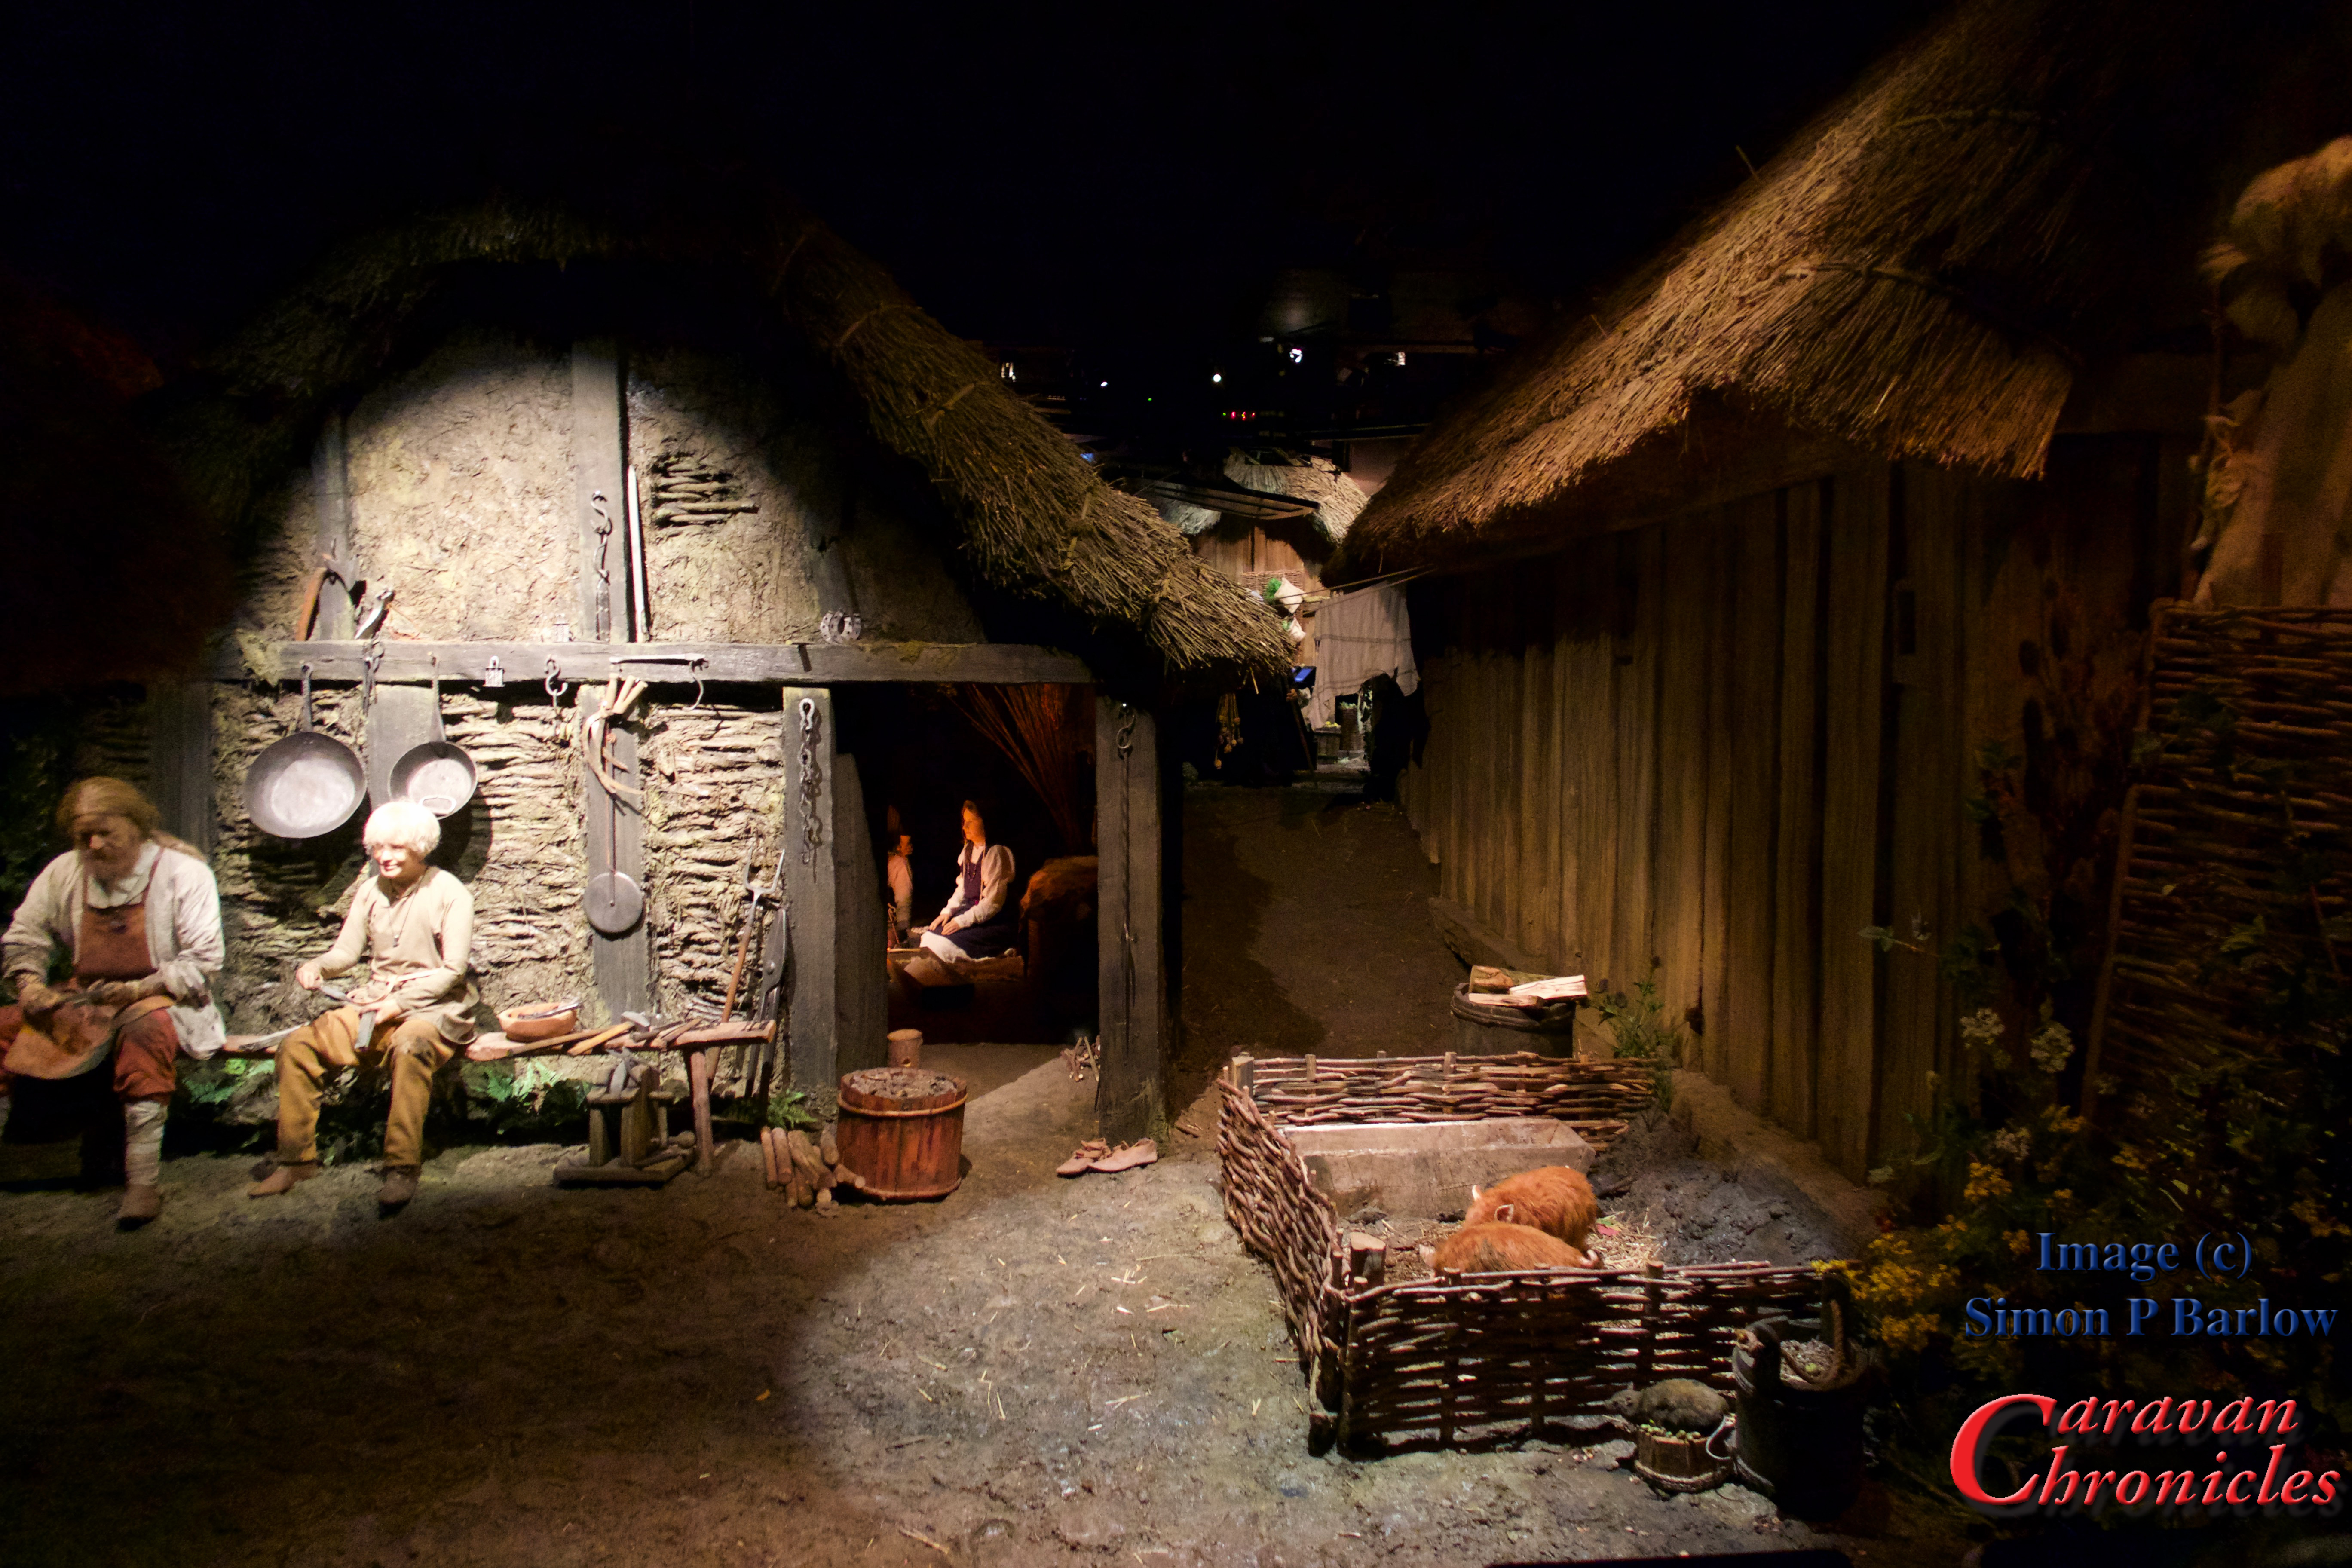
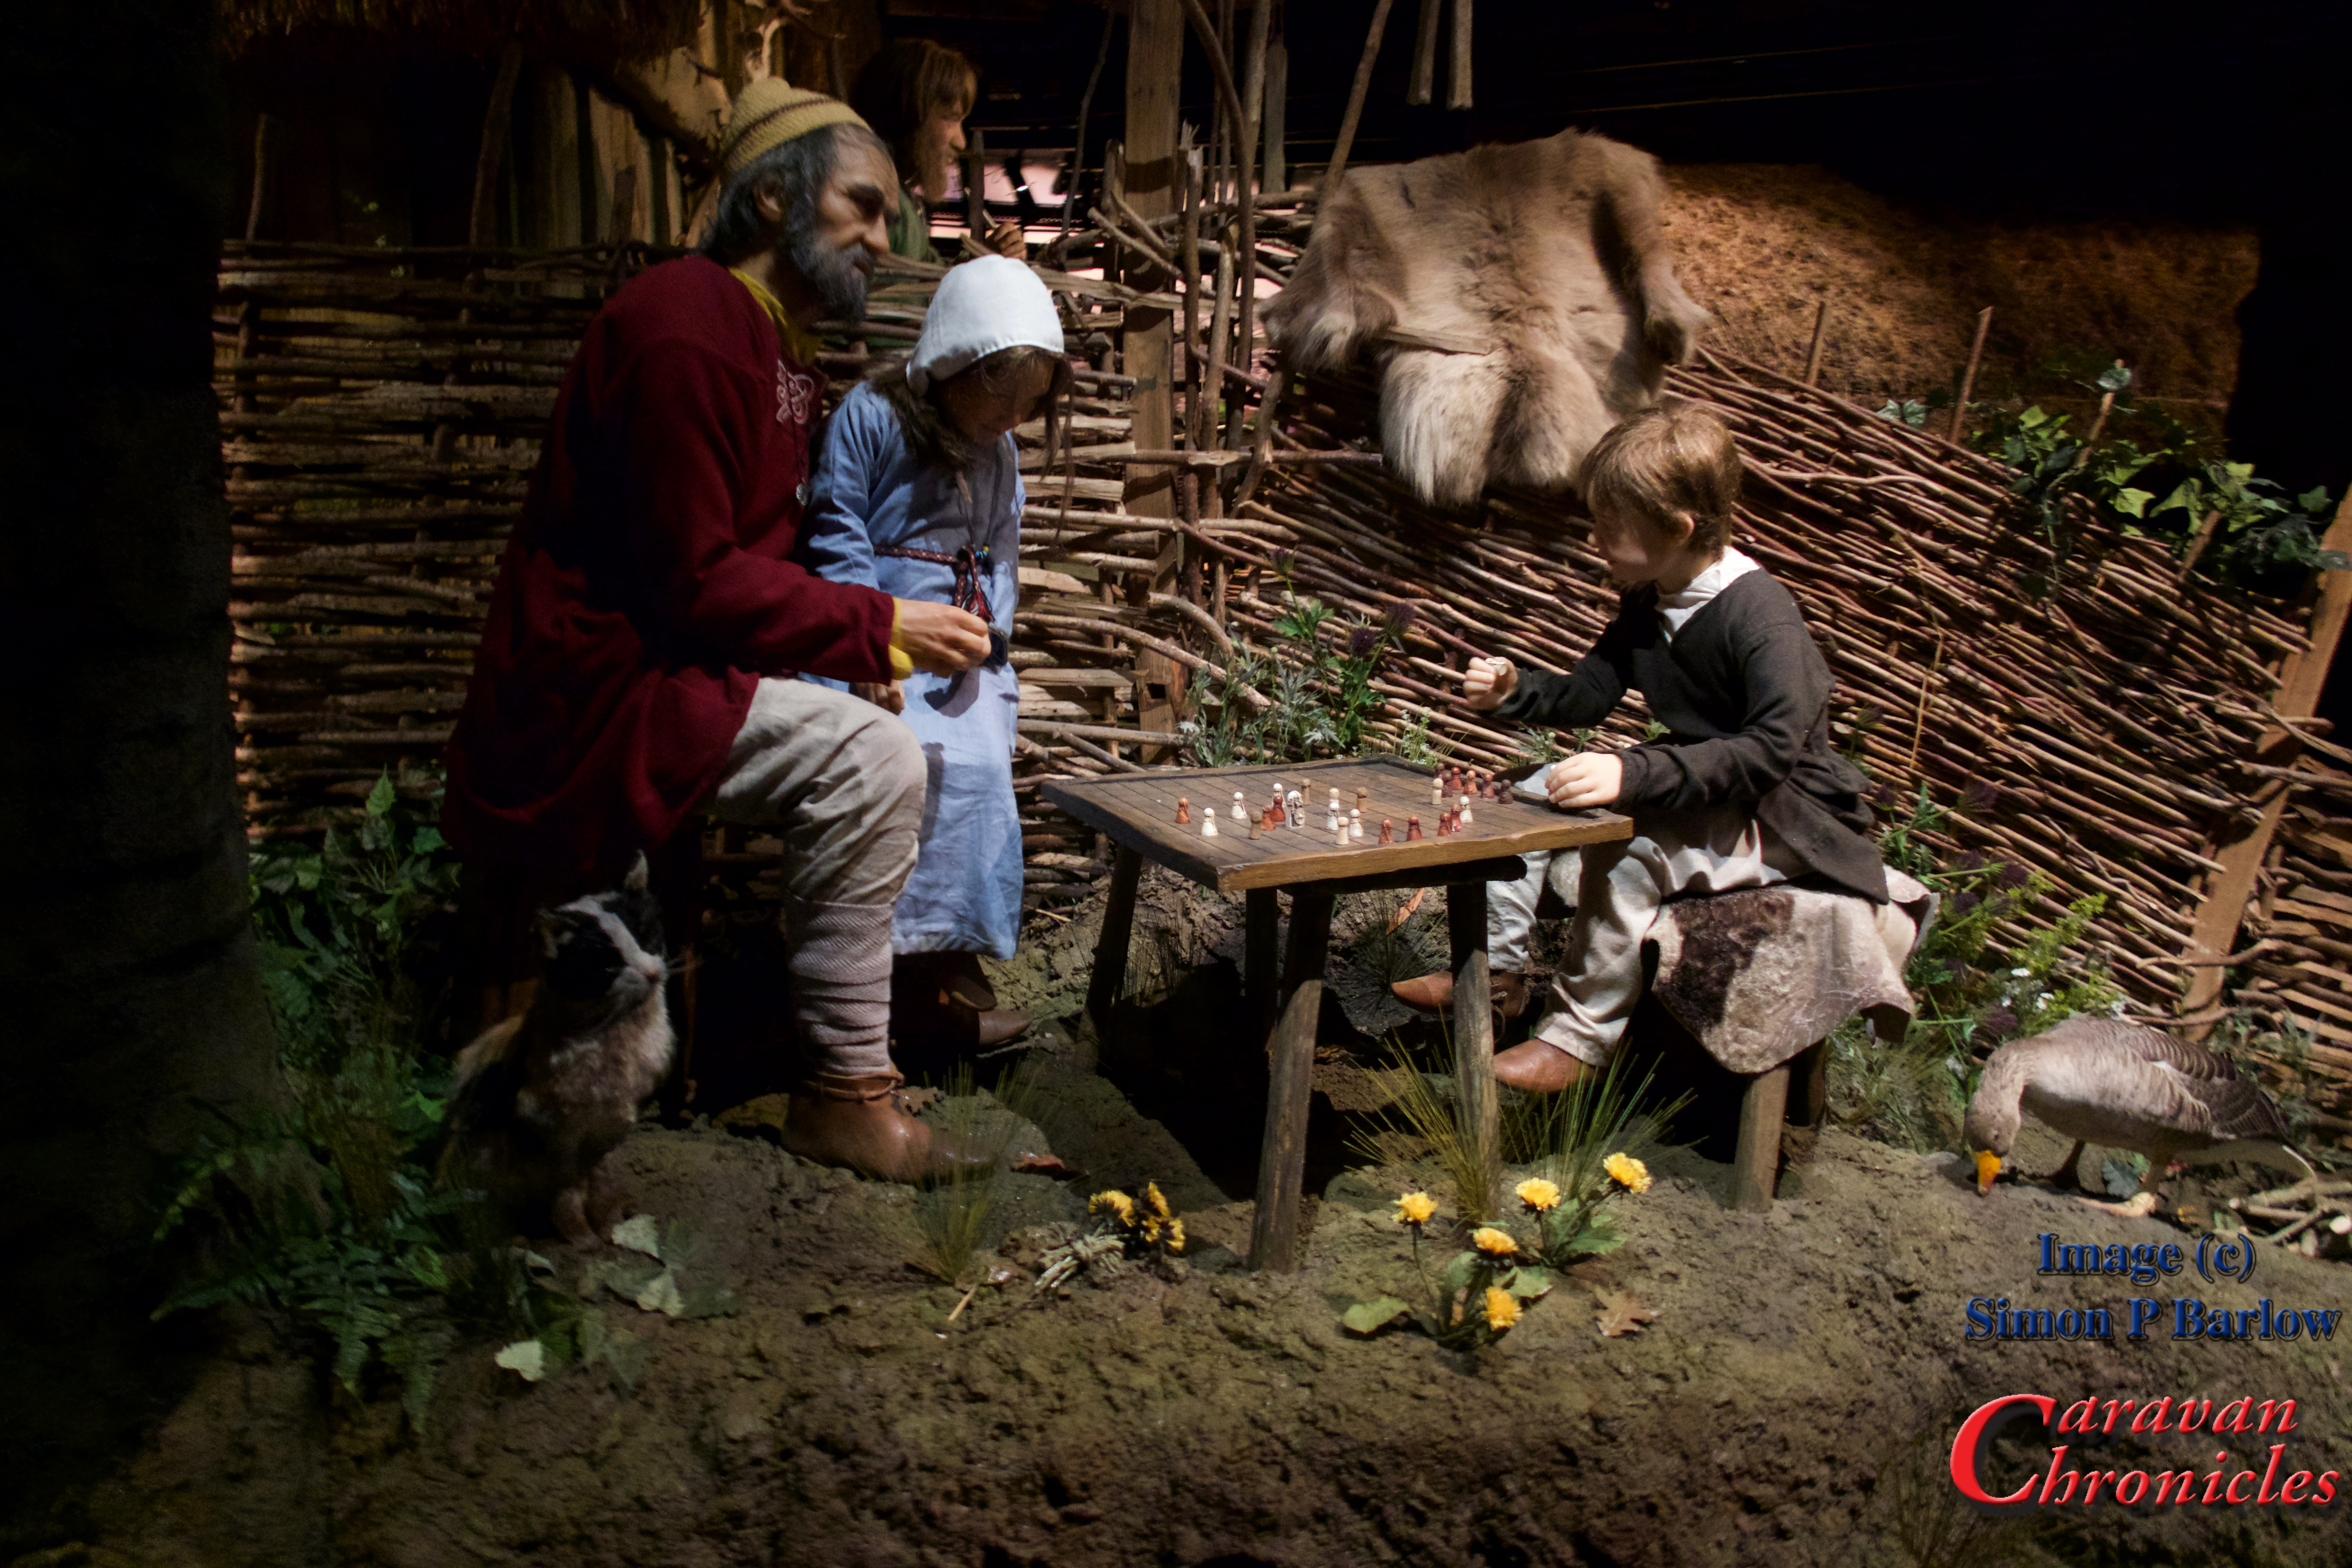
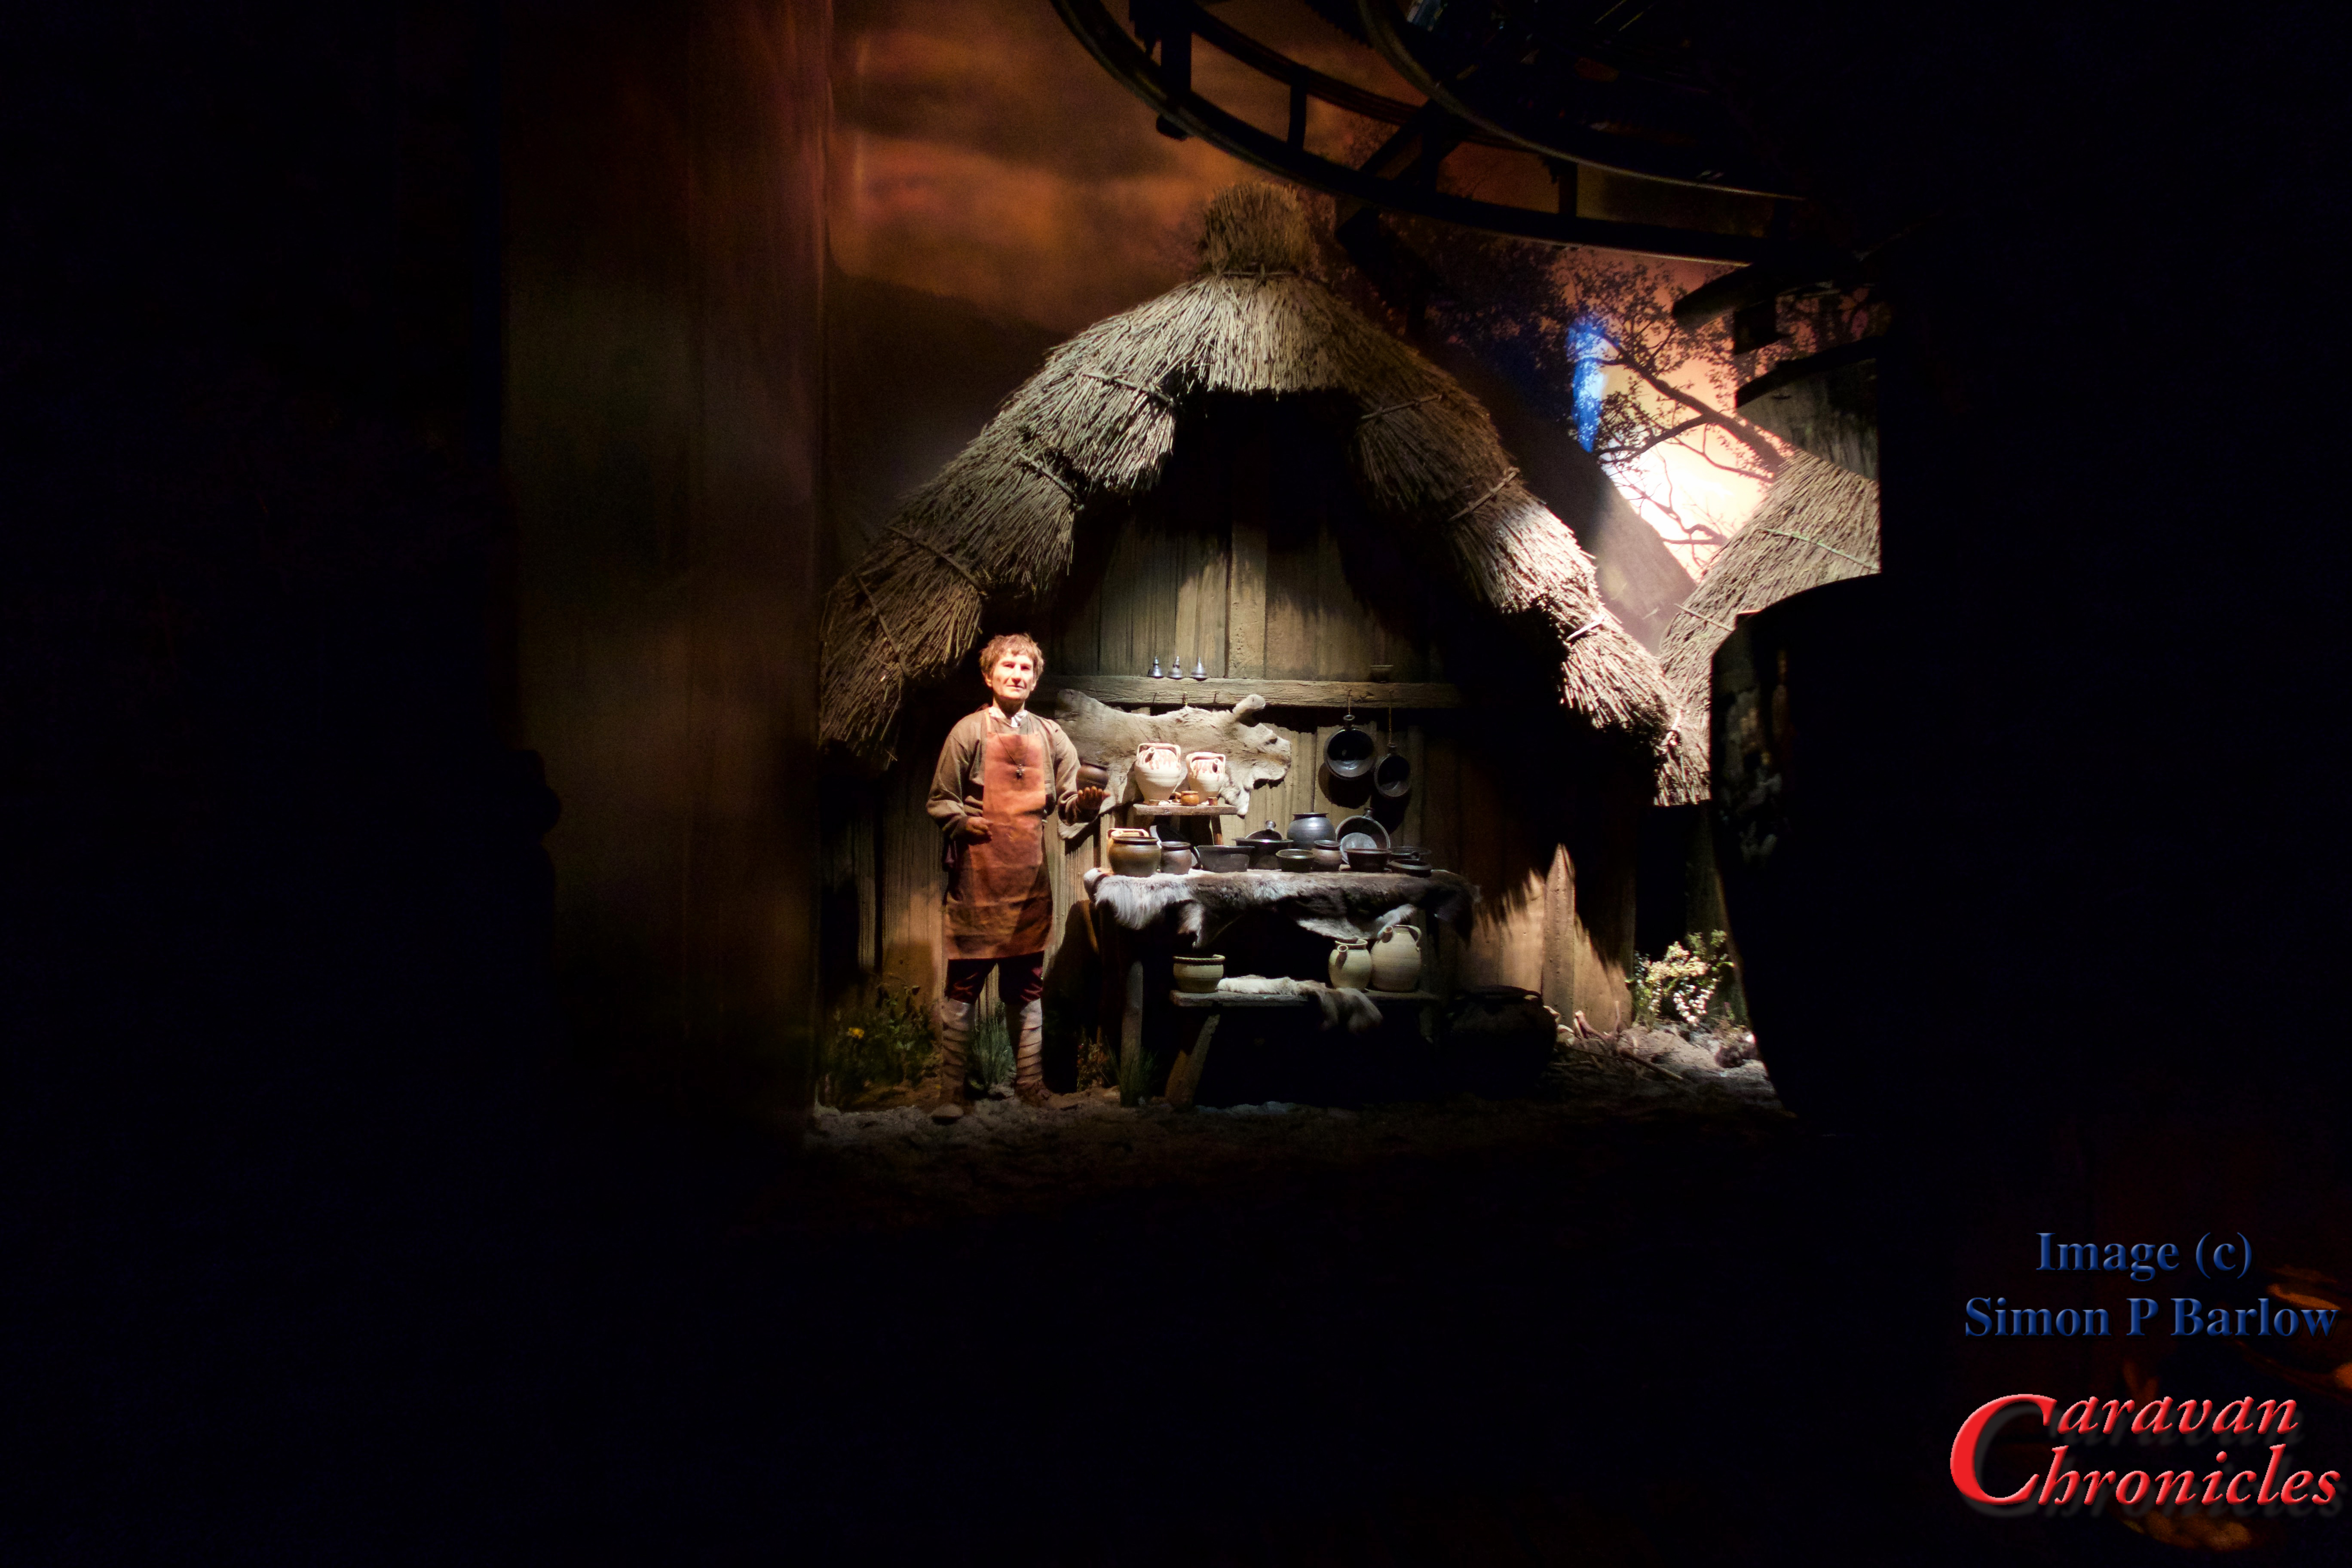
We really enjoyed Jorvik and it seemed bigger than we remembered it… which I don’t think it was unless they dug a bit more up. Unusually I didn’t see a restriction on taking photos… so I managed to sneak a few… without flash of course (just in case… and I hope I’m not in breach of copyright!).
While mooching round the shops we came across The Cat Gallery (45 Low Petergate) and couldn’t resist a visit…. emerging with a rather fitting mug for Sue “…everything tastes better with cat hair in it”. We headed back towards the station to catch the bus back to the site. As it was Sue’s birthday today, a bit of a tradition to mark the start of our Christmas is the annual viewing of National Lampoon’s Christmas Vacation. Nothing better than sitting in a toasty caravan with frost forming outside, a satisfied fullness from an enjoyable meal and a couple of drinks watching a favourite movie.
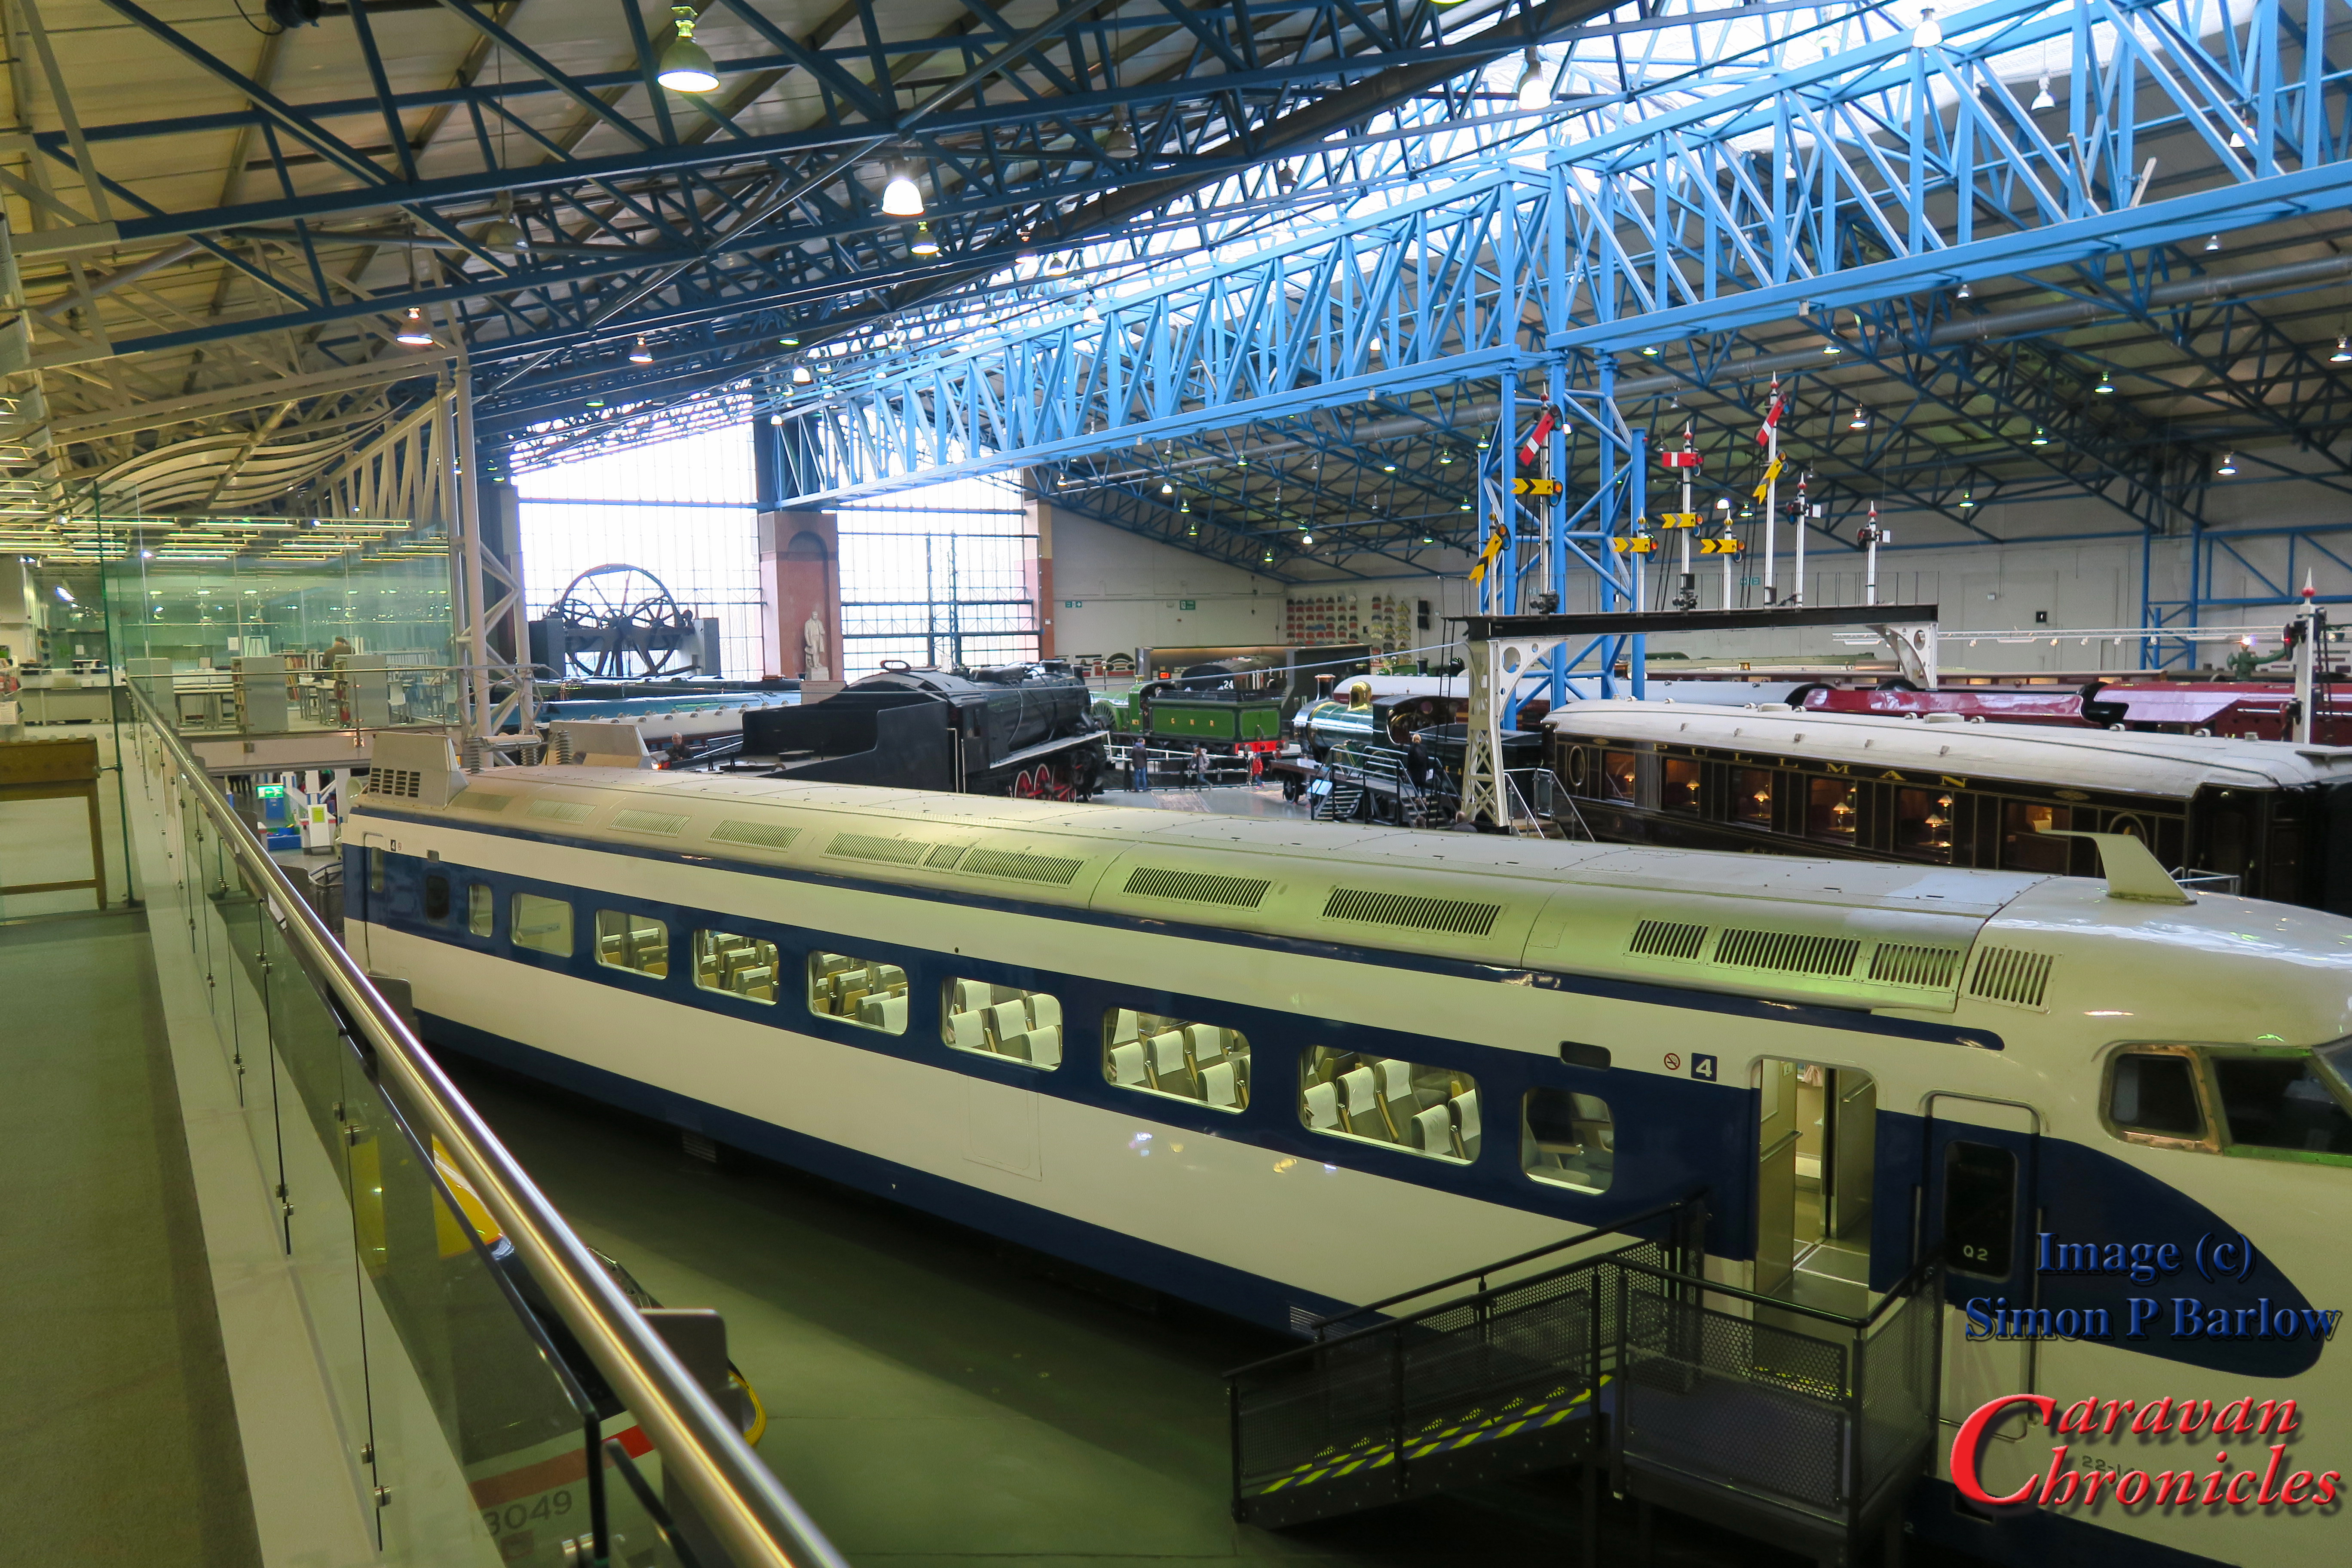
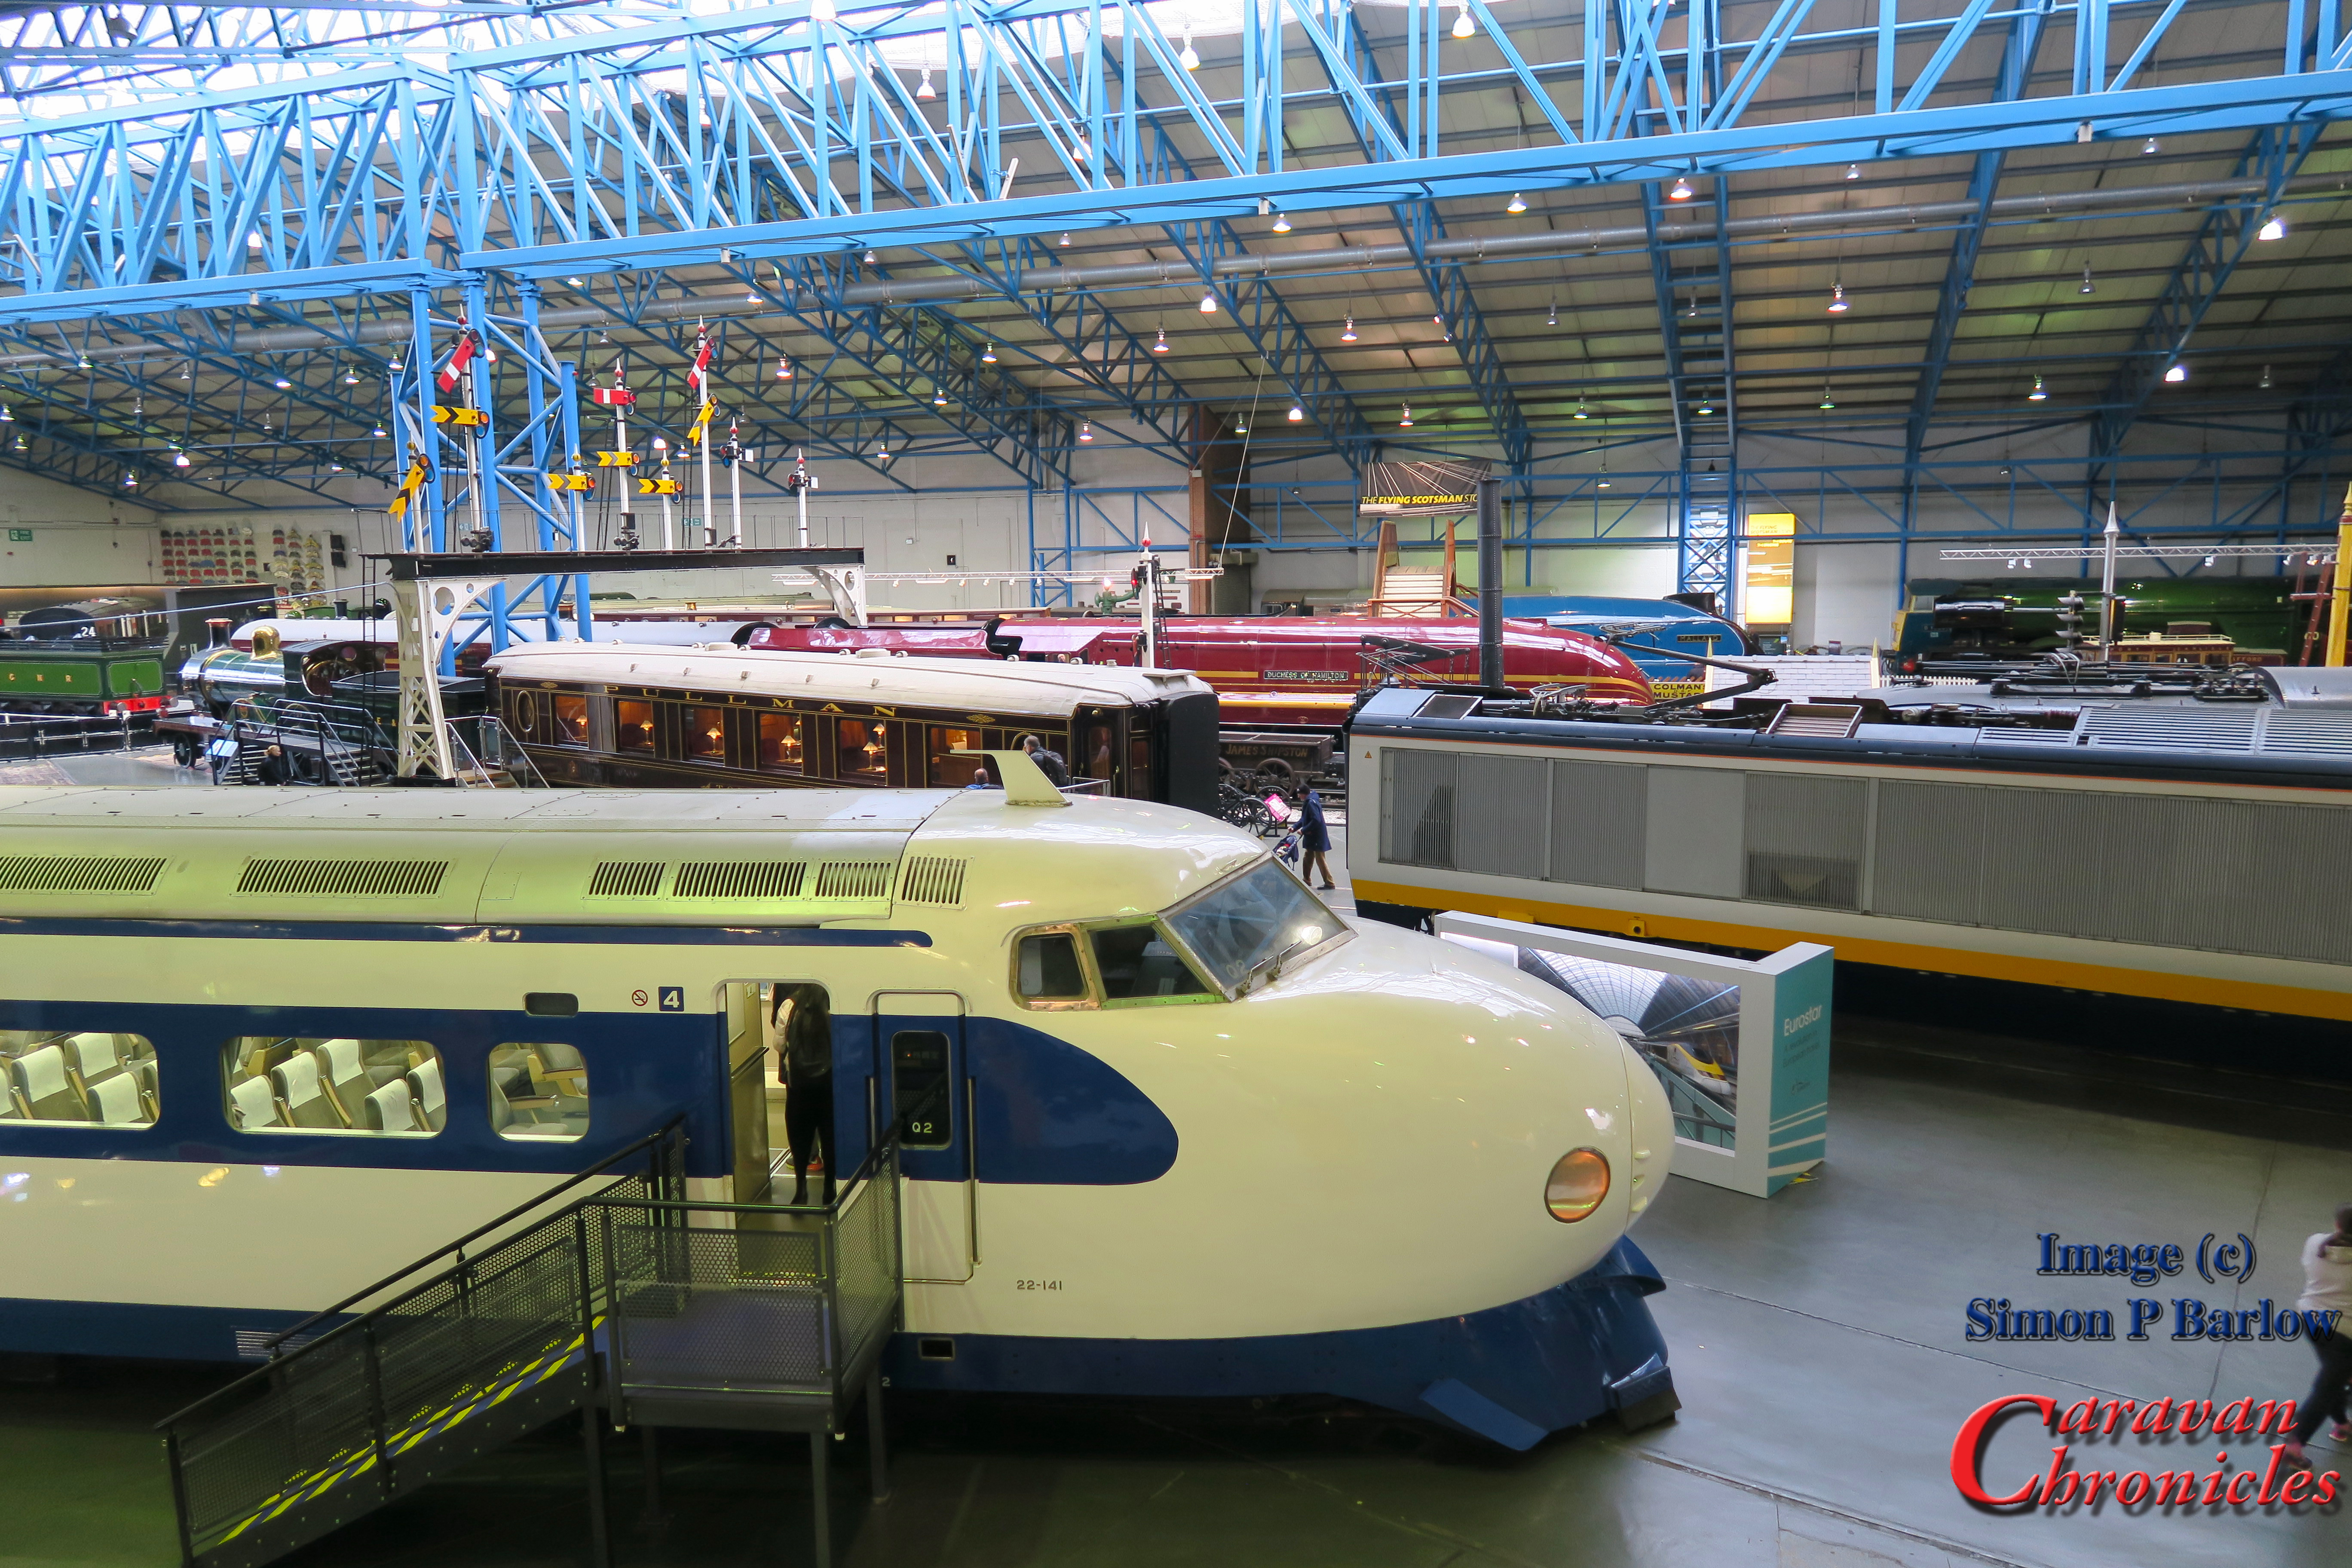
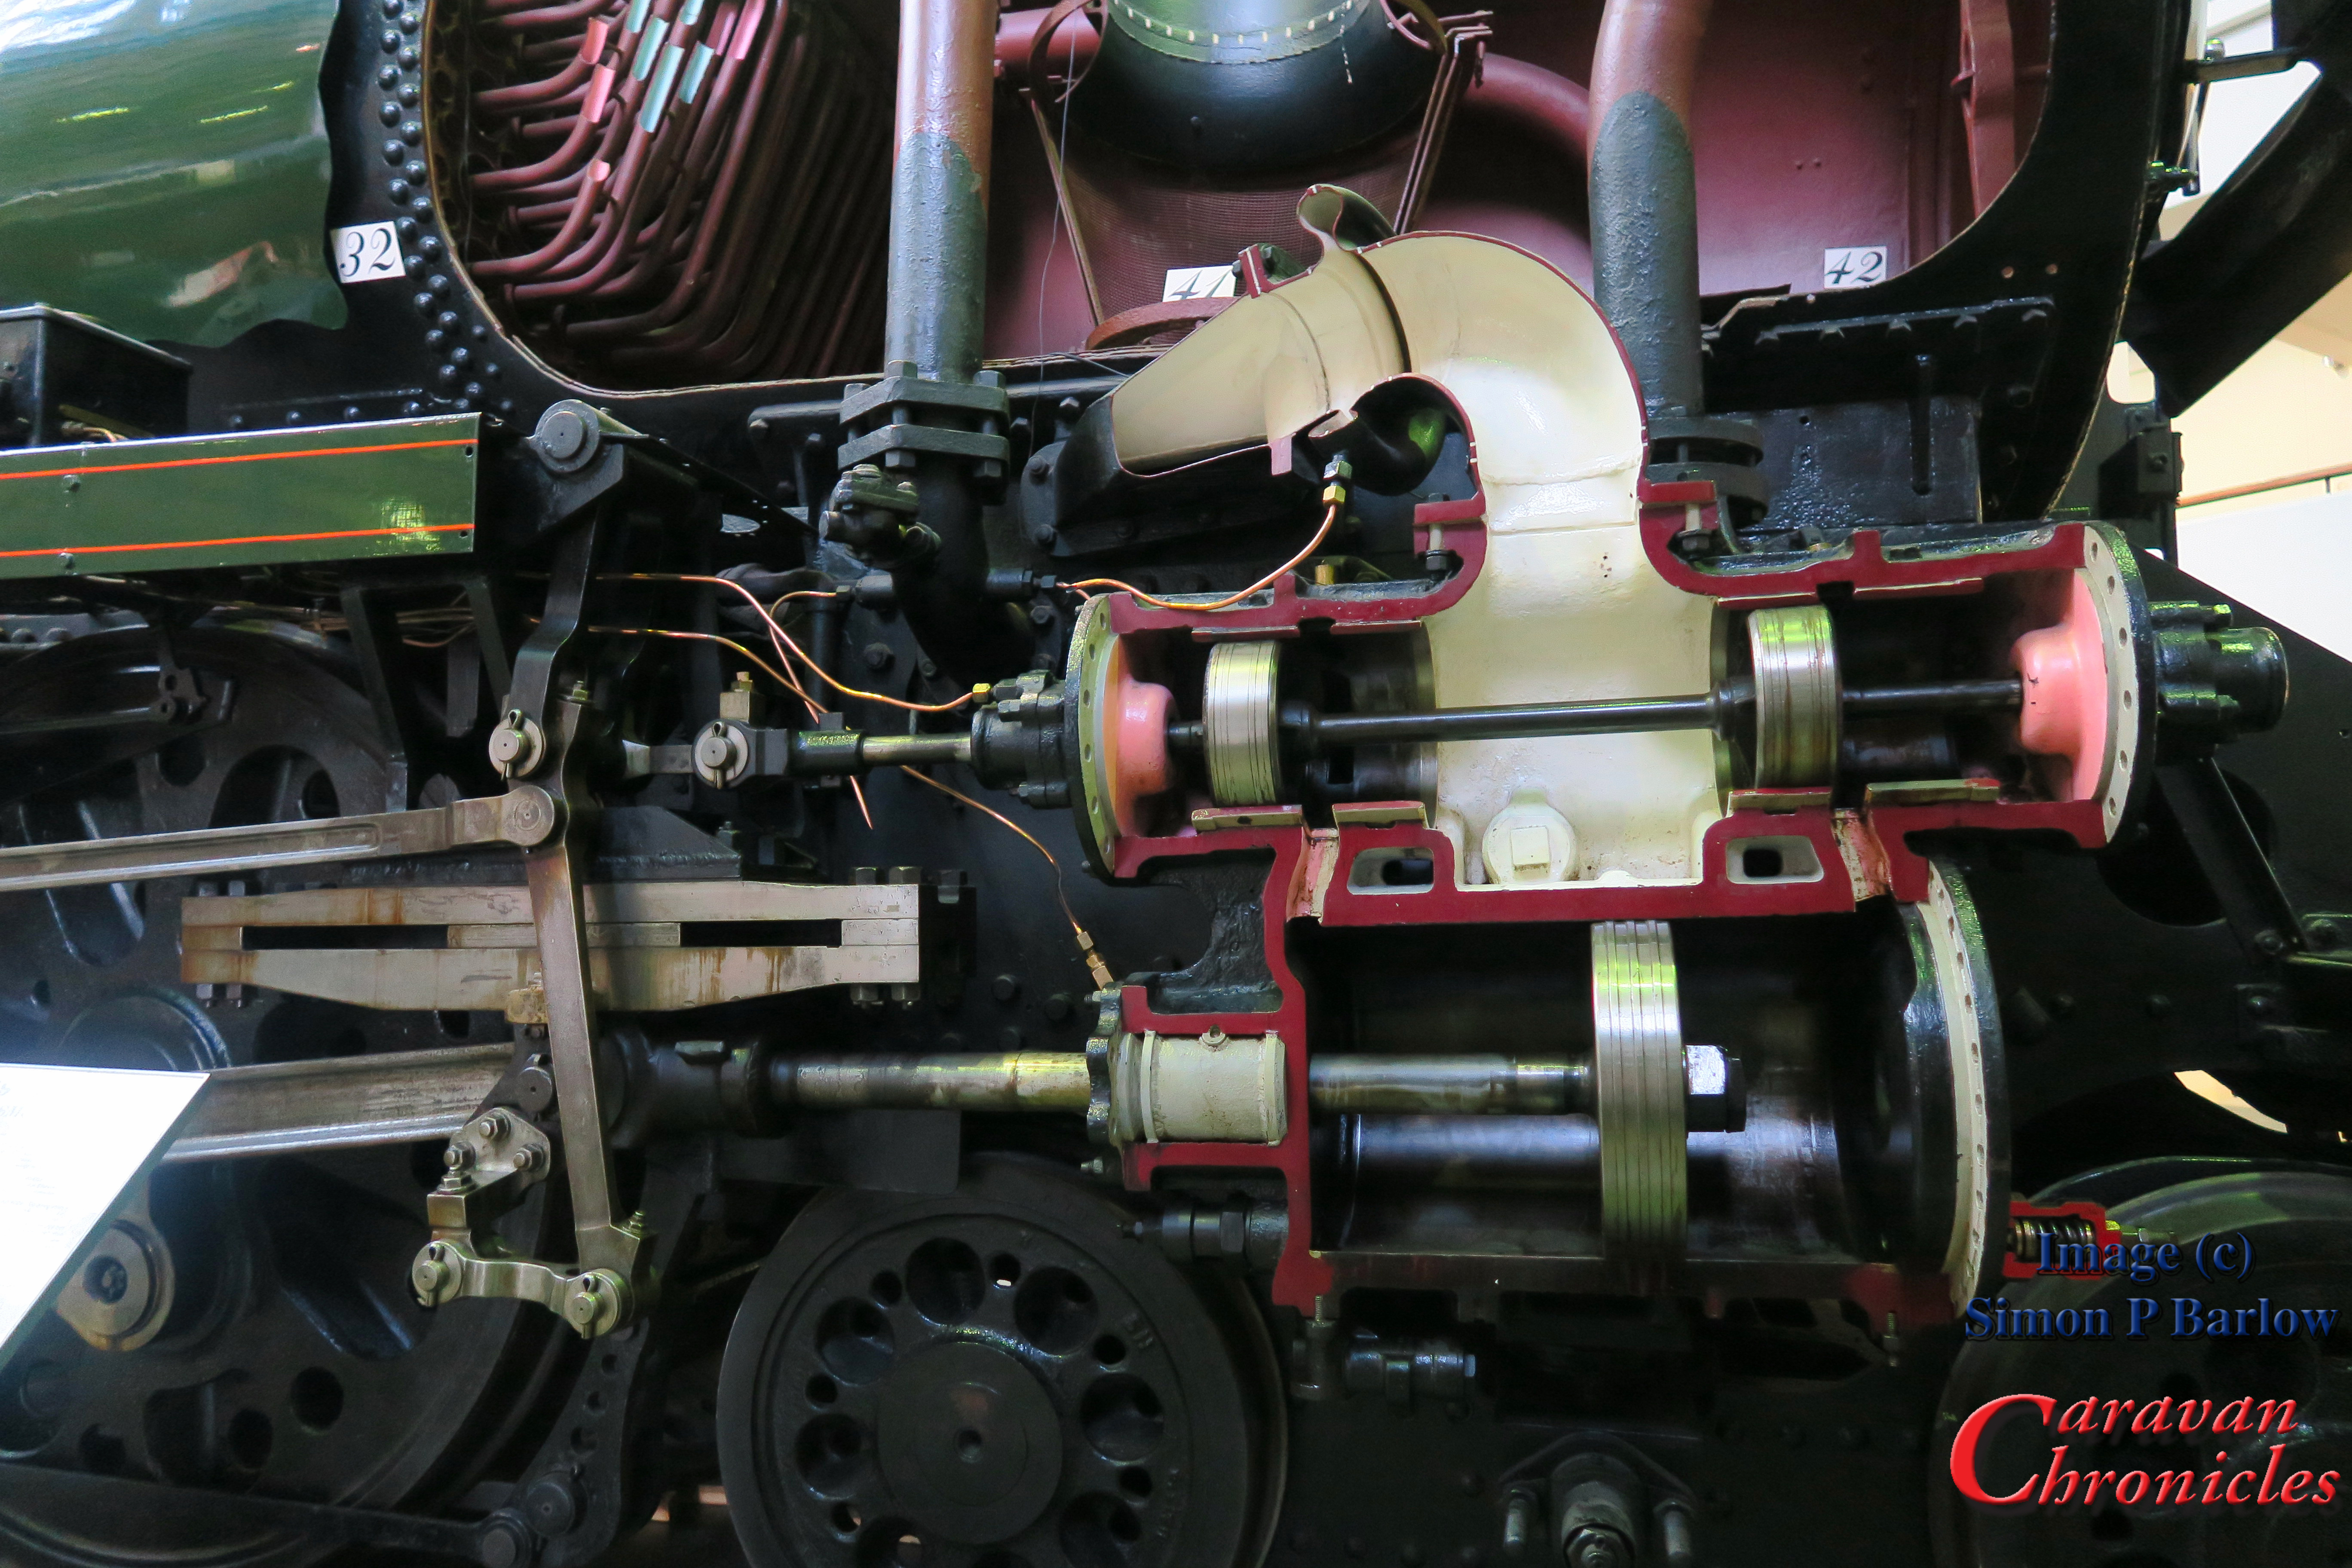
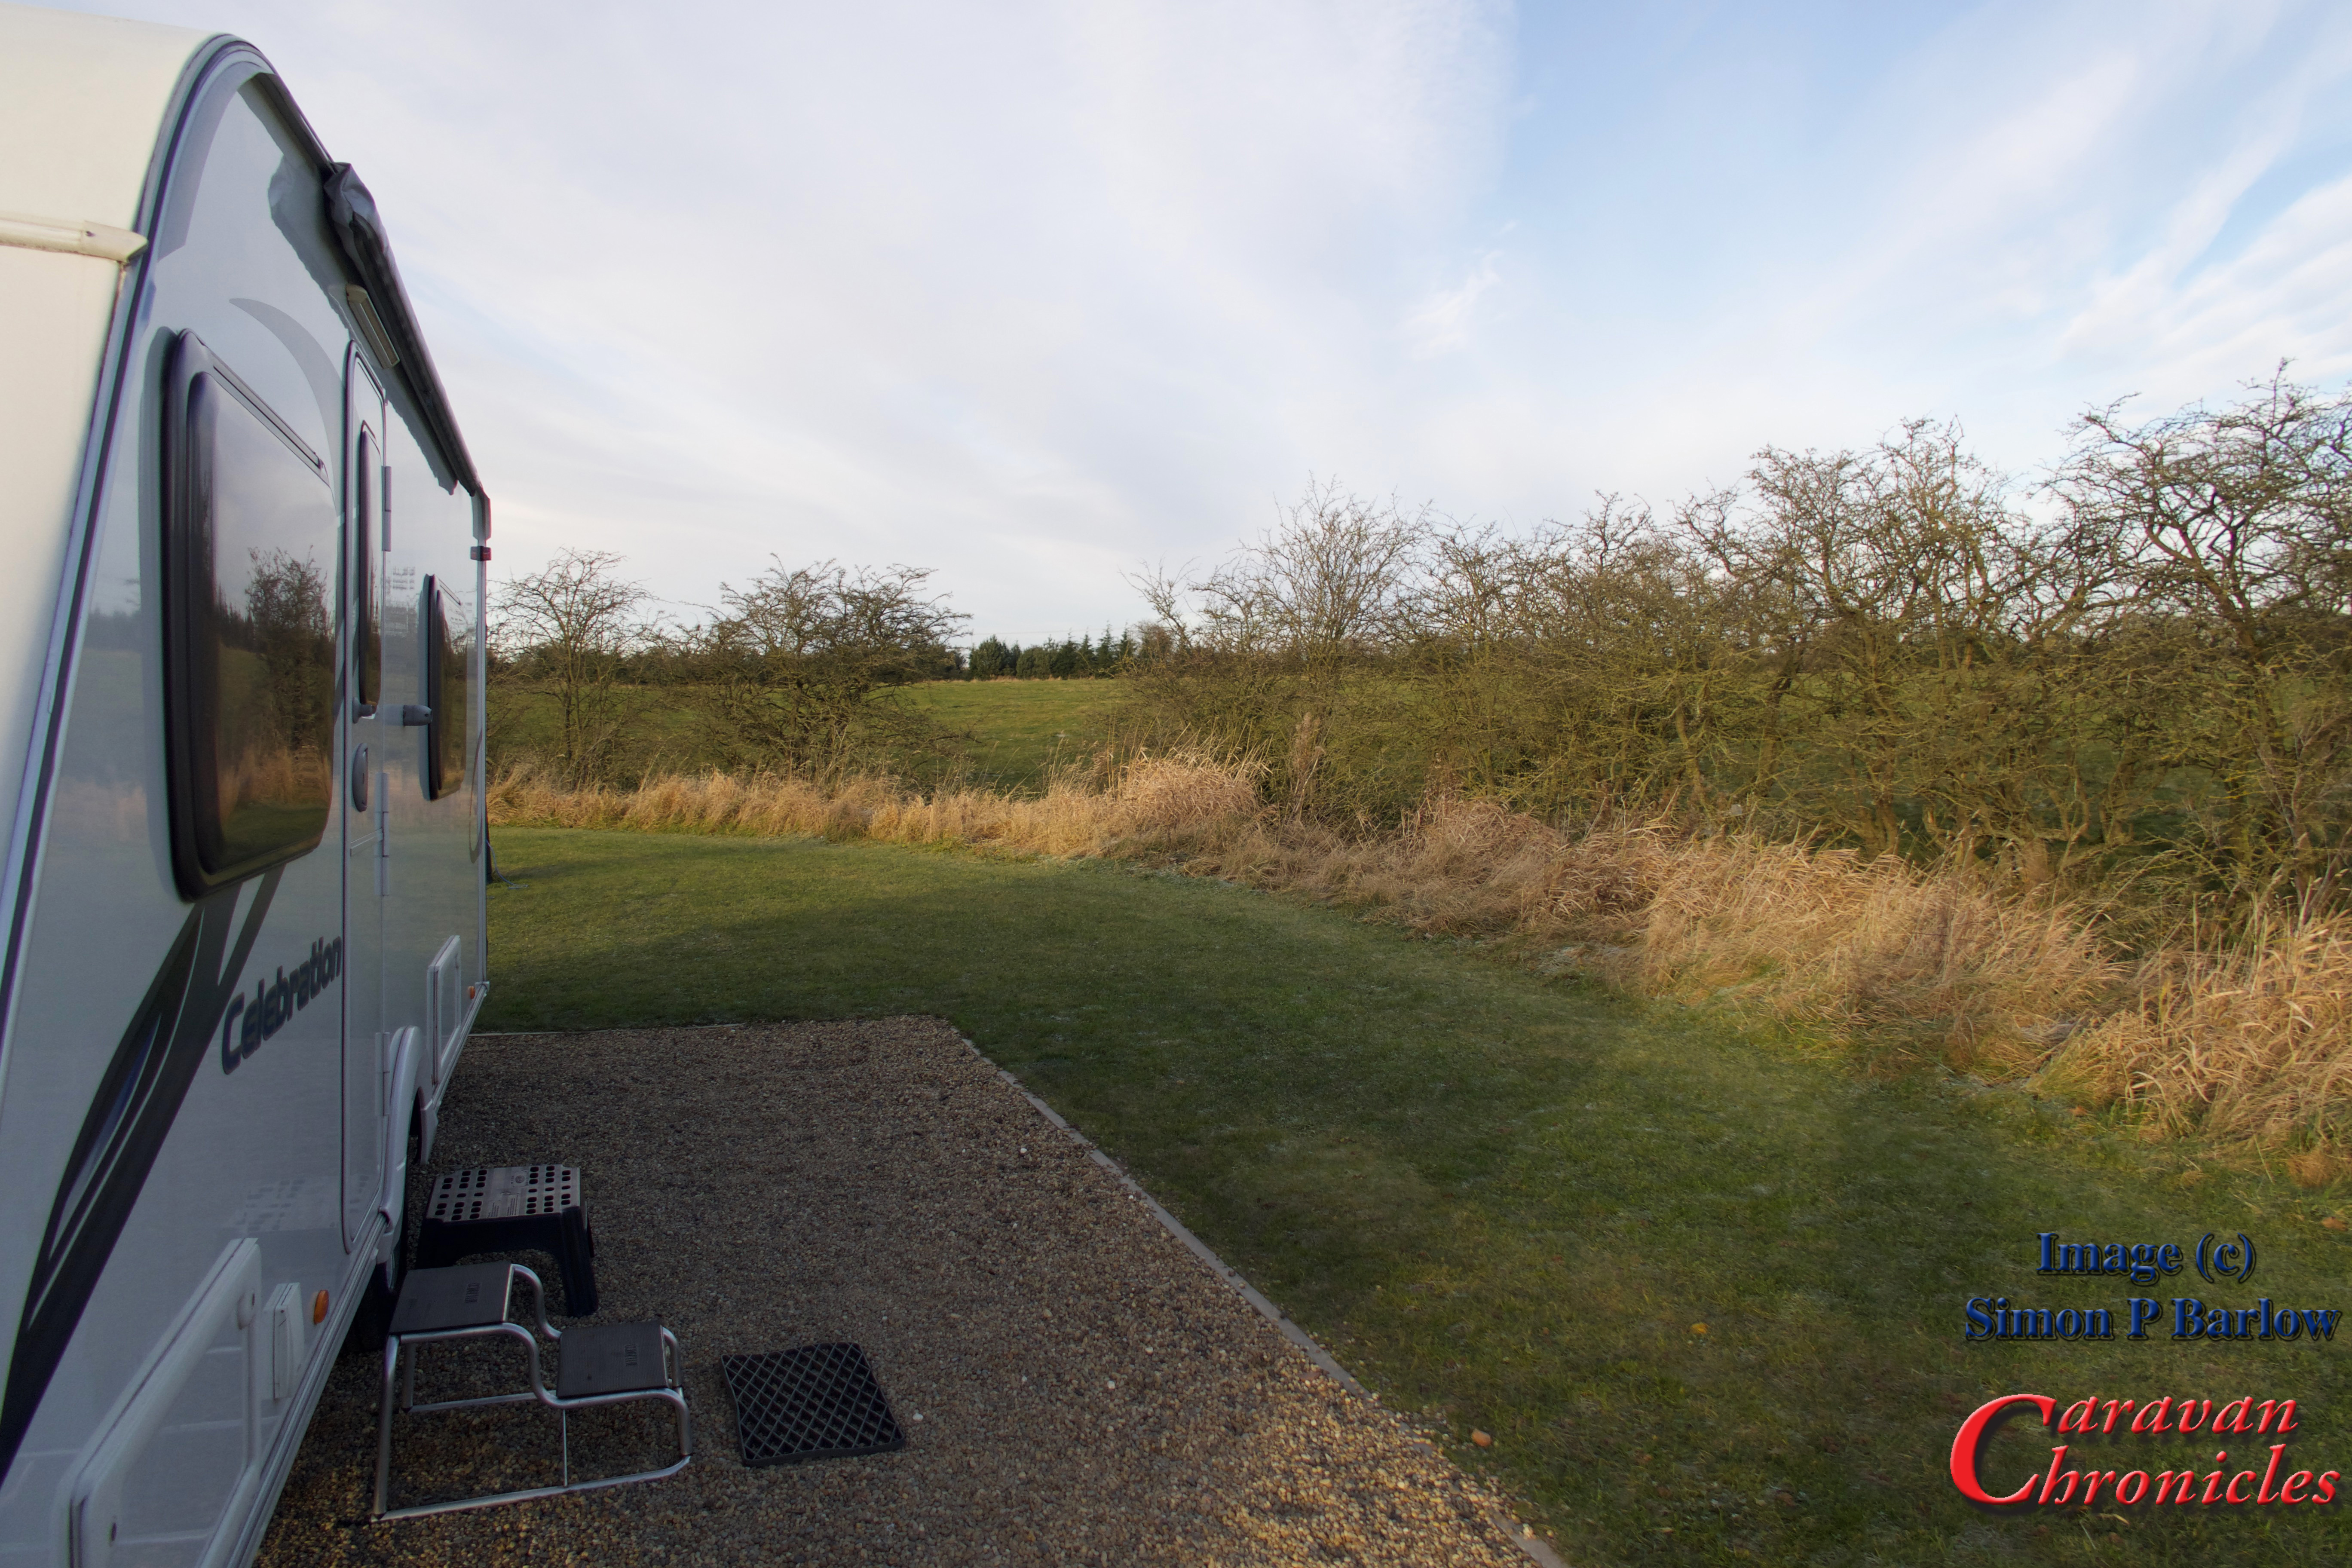
National Railway Museum…
A visit to York cannot be called complete without a visit to the NRM. The cold weather had now really arrived and far to our west in the Pennine hills snow was forecast. We however had a cloudy but bright frosty morning.
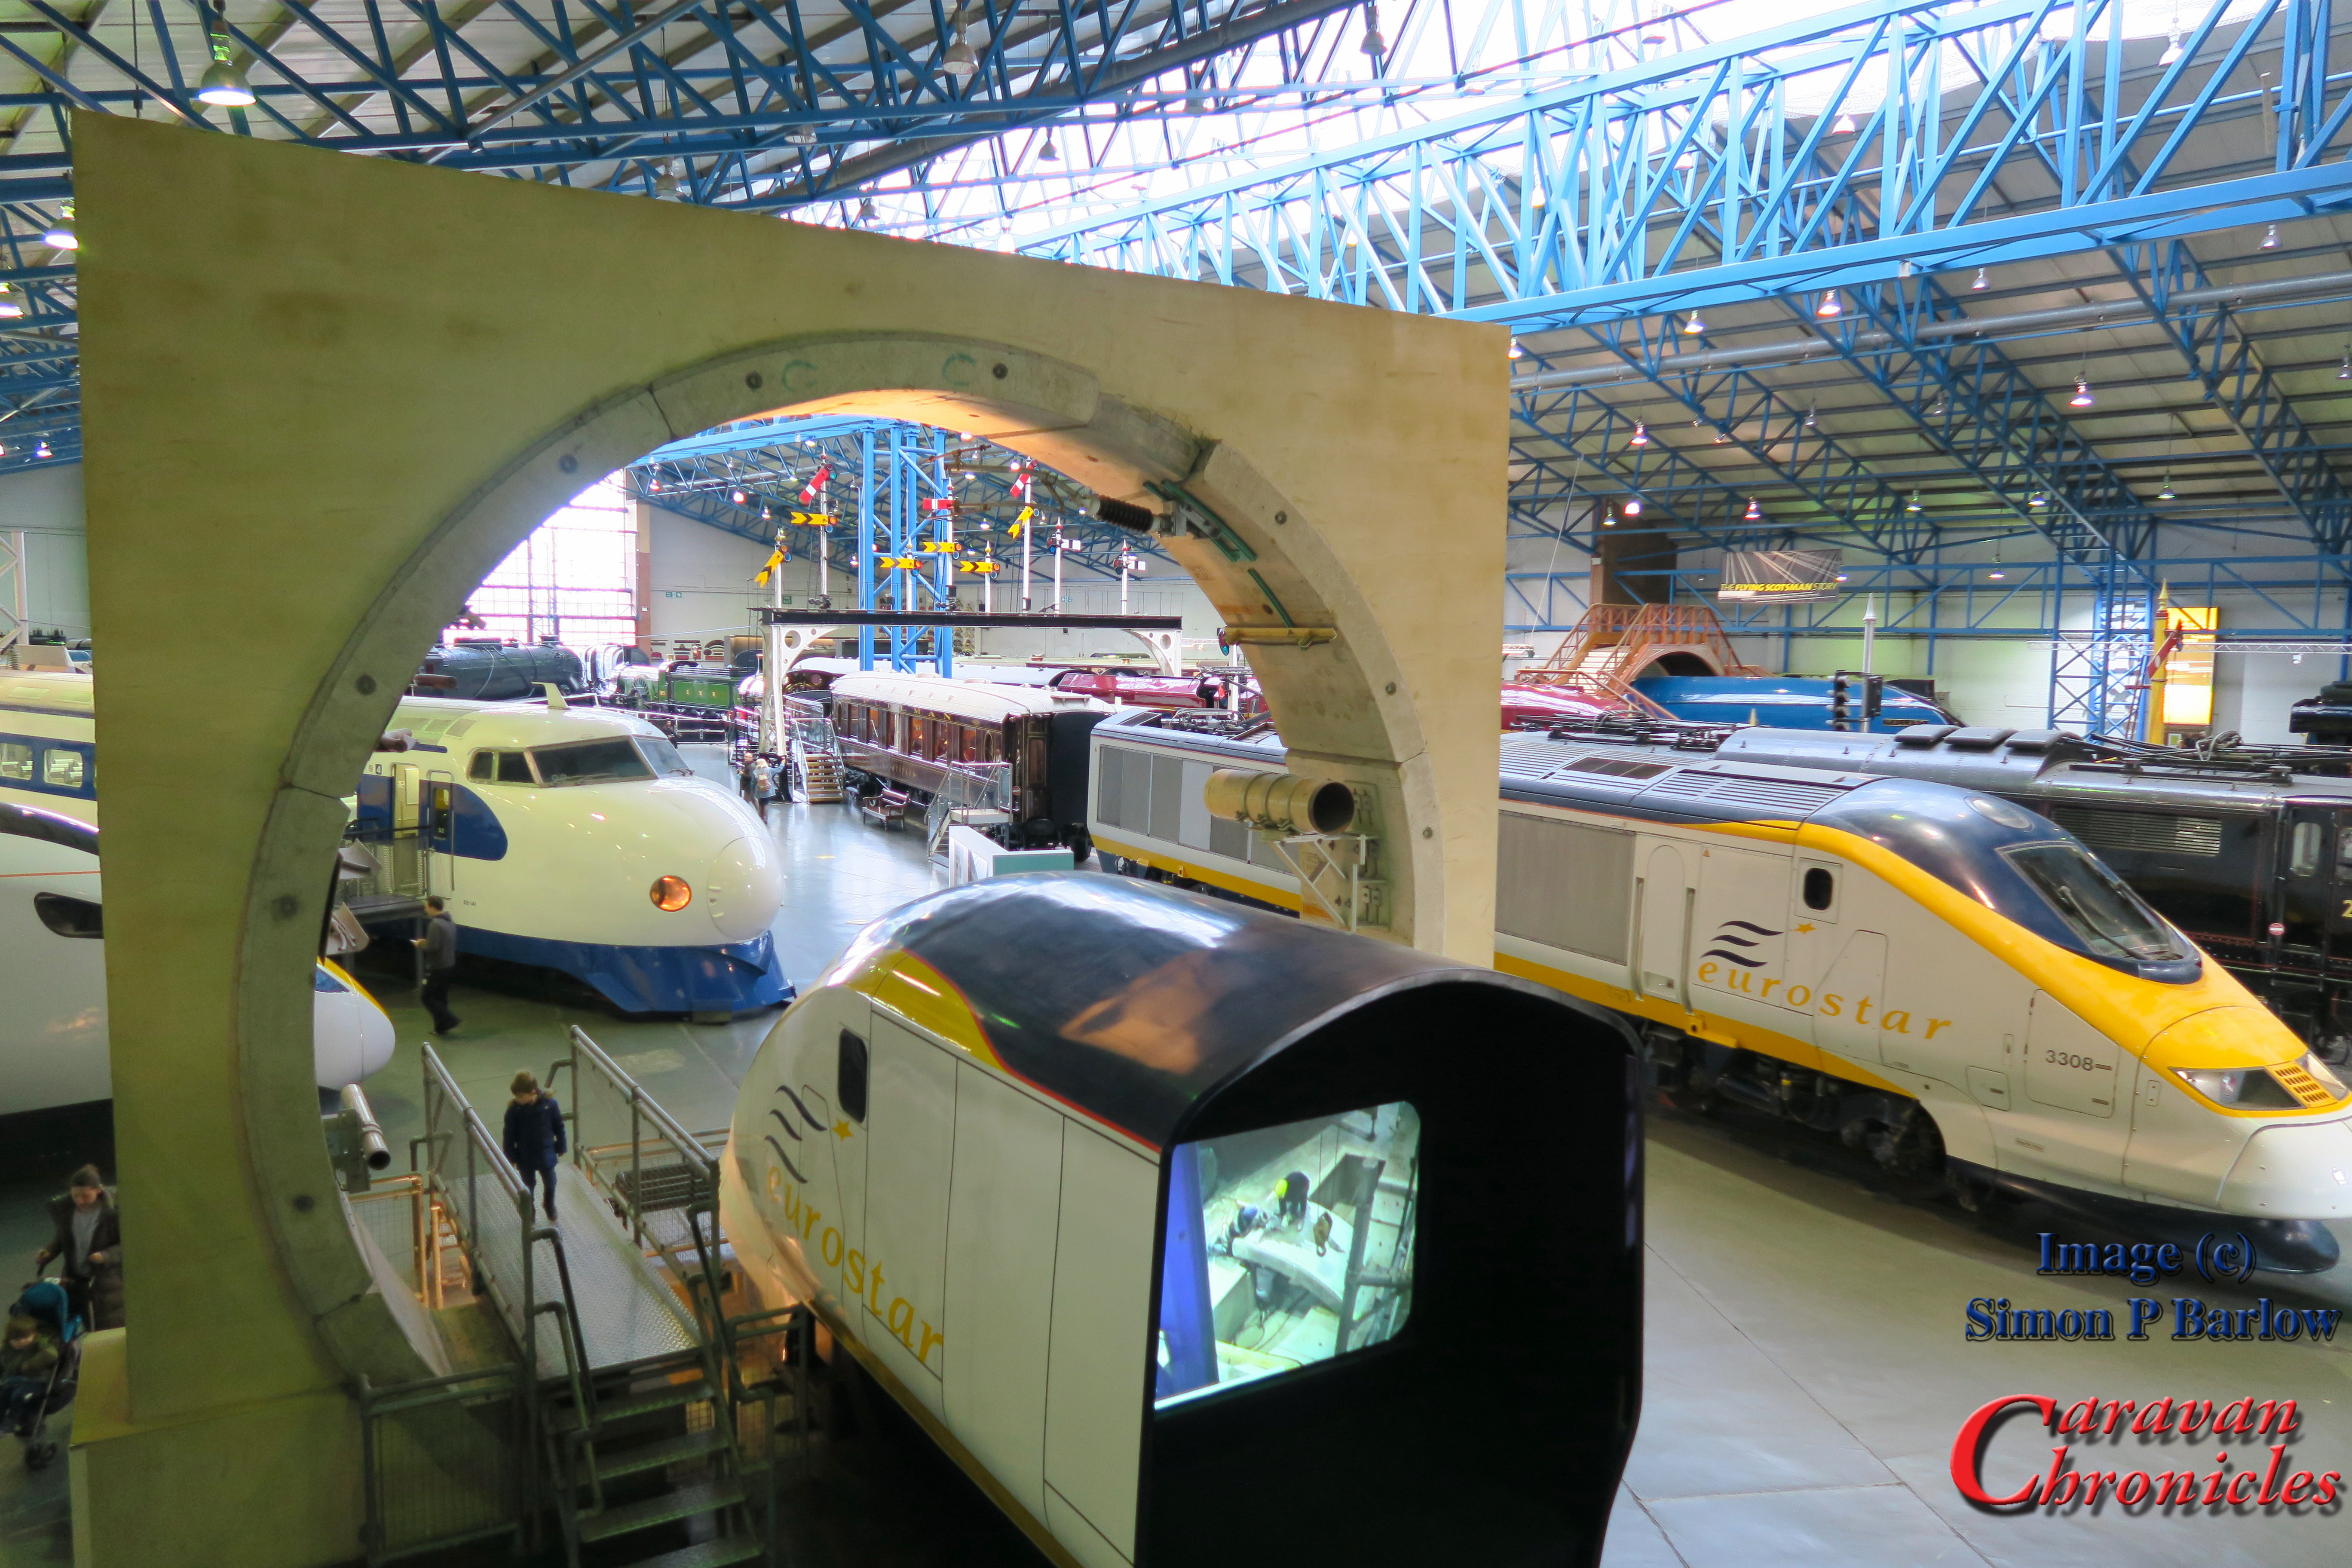
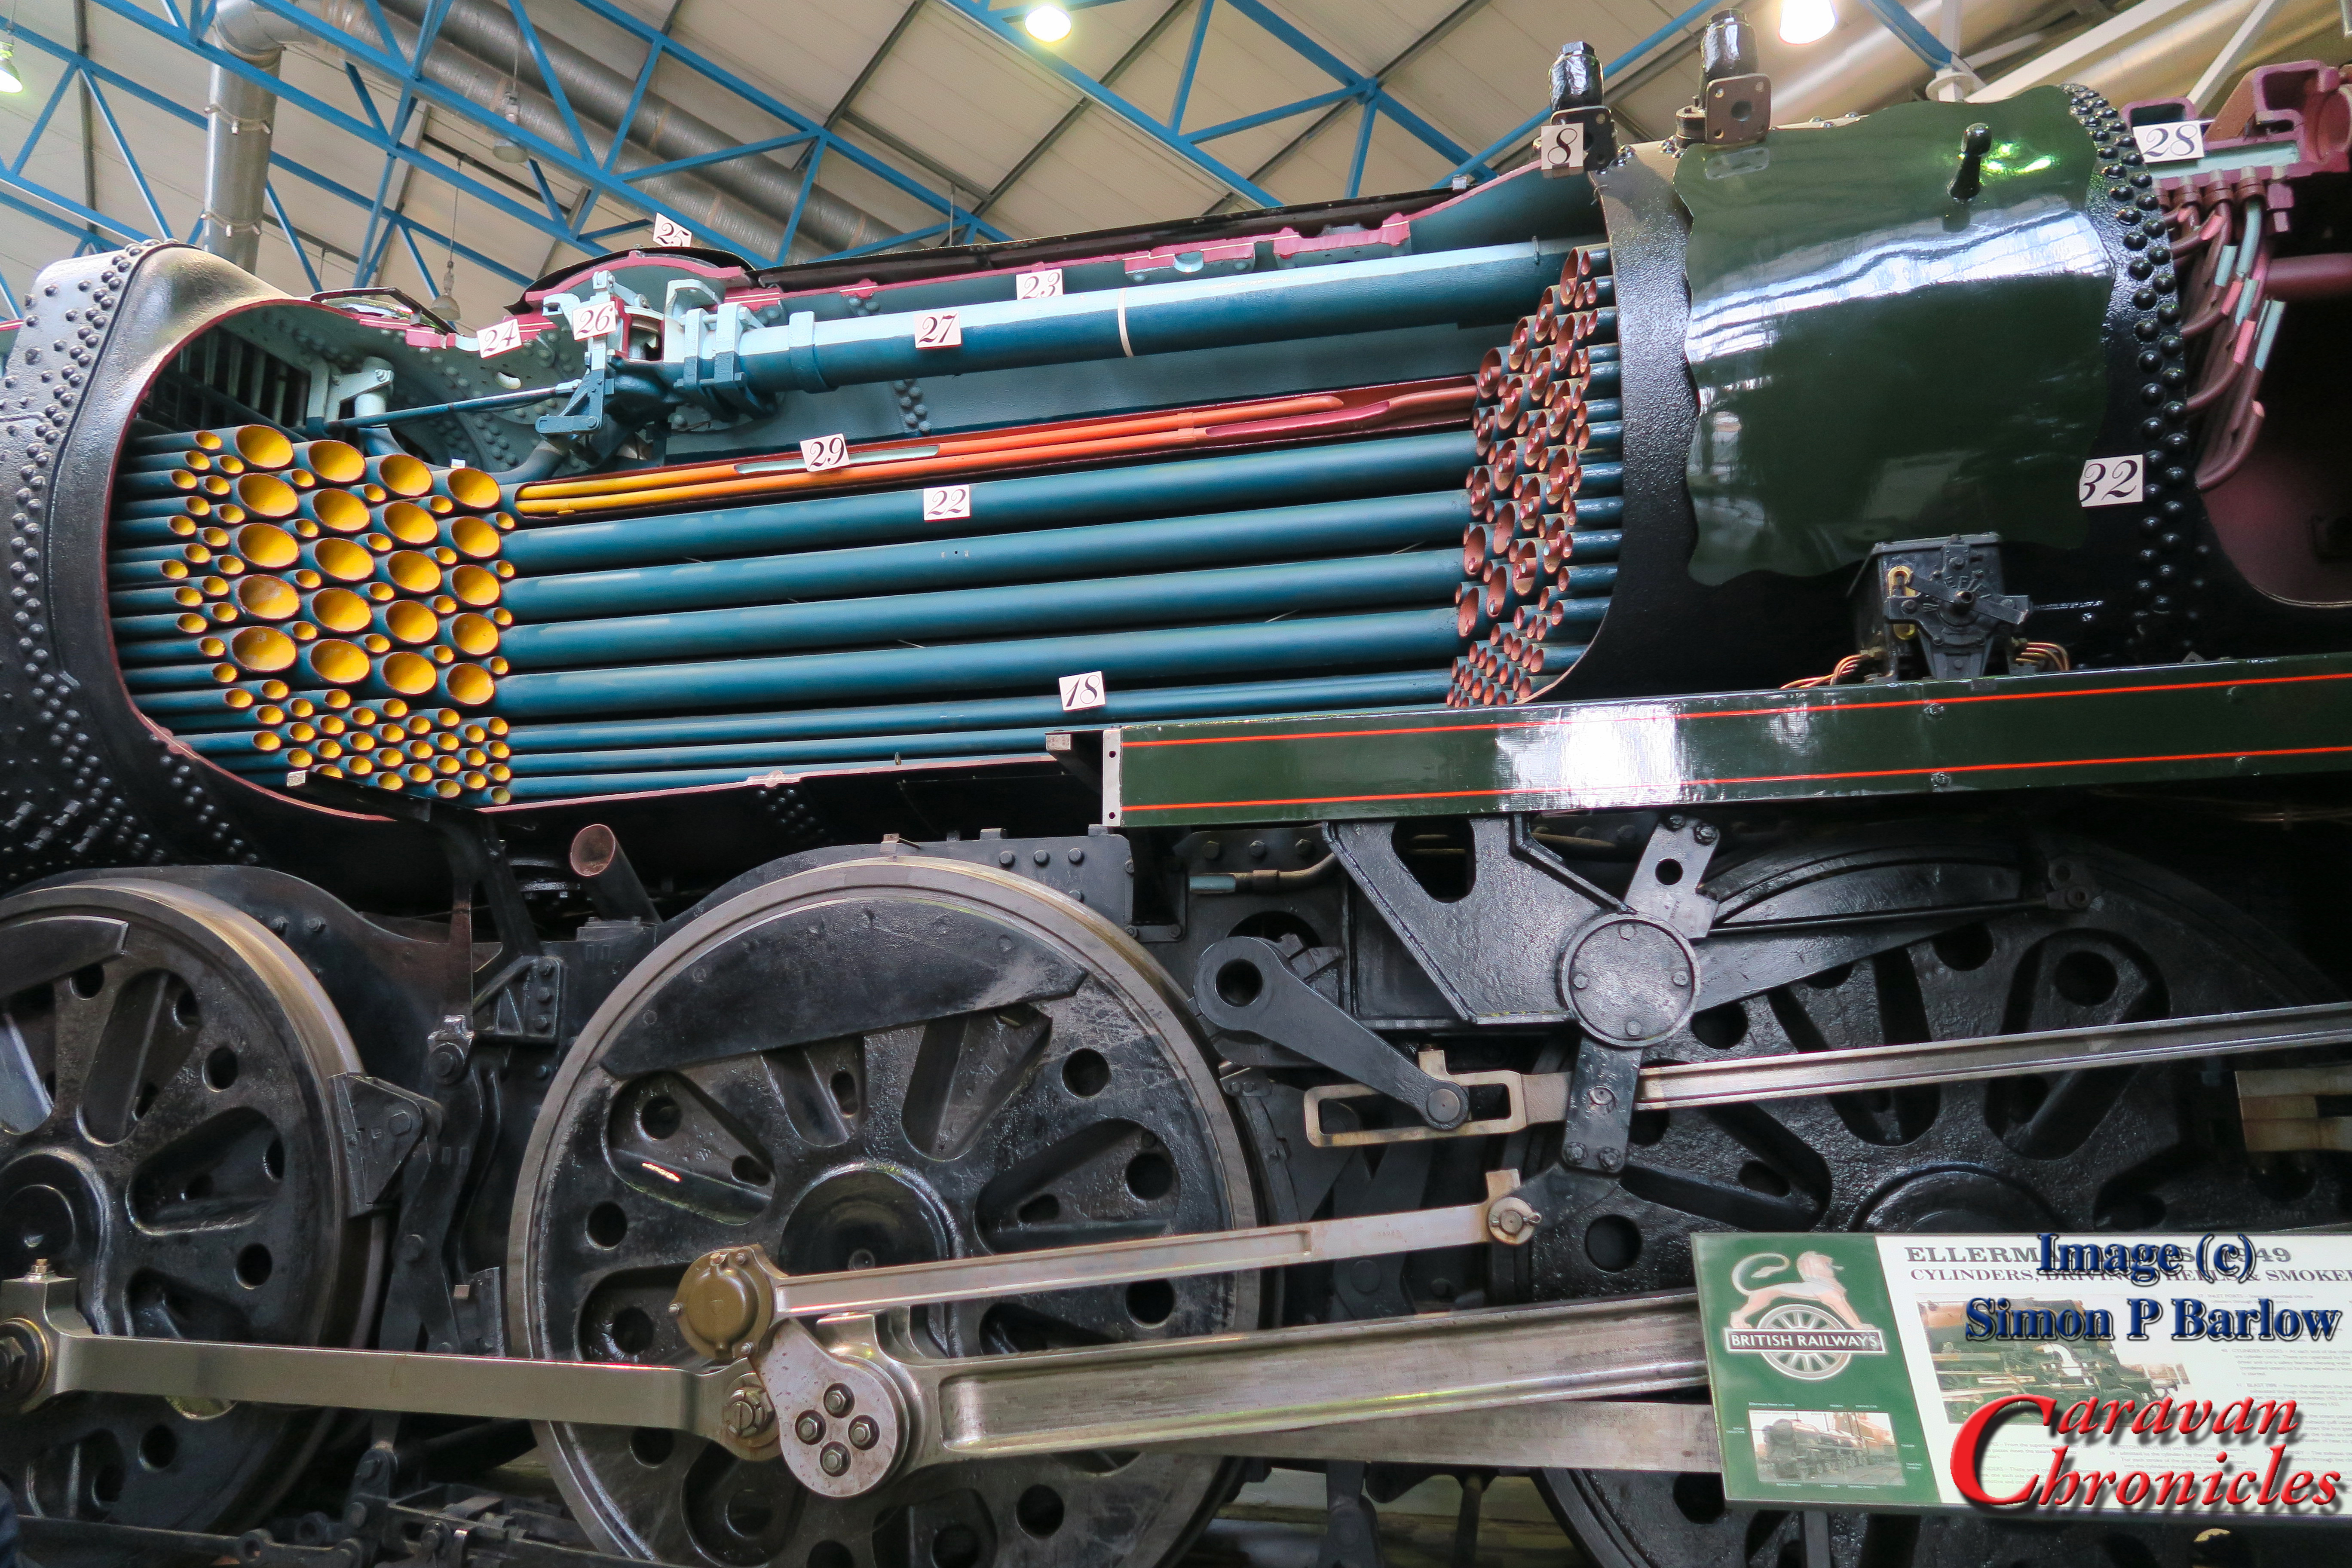
We caught the bus again and this time stayed on all the way to the railway station. You can cut through the station over the foot bridge to the railway museum.. which if it’s raining can be handy. Over the past few years we have done quite a few railway trips on heritage lines and visited a few of the museums but the last time we were here was 32 years ago. A lot of the exhibits had changed of course and the site has expanded.
By mid morning we were part way round it was time of a coffee and we stopped by The Dining Car Restaurant and Sue tried out one of their speciality teas with a sausage sandwich and I can say their coffee was up-to-standard and so was their bacon sandwich. A huge improvement on the old BR offerings!
One of the things that I personally think is a “must see” at the museum if you have any interest in railways is hidden round the back of the Flying Scotsman in the store-room. The museum has opened up its stores so you can wander the shelves and see some of their collection that they haven’t got room to put on display and in here you will find the layout used to train signalmen. Each day (check timings) a number of retired signalmen put on a live demonstration on the layout of how signaling works and that is followed up by what can only be described as a re-enactment of a rail disaster. The one we watched saw 7 signalmen going through the sequence of events and demonstrating on the layout with running trains what happened. Very thought-provoking. It’s a must see but please check the timings so you don’t miss it.
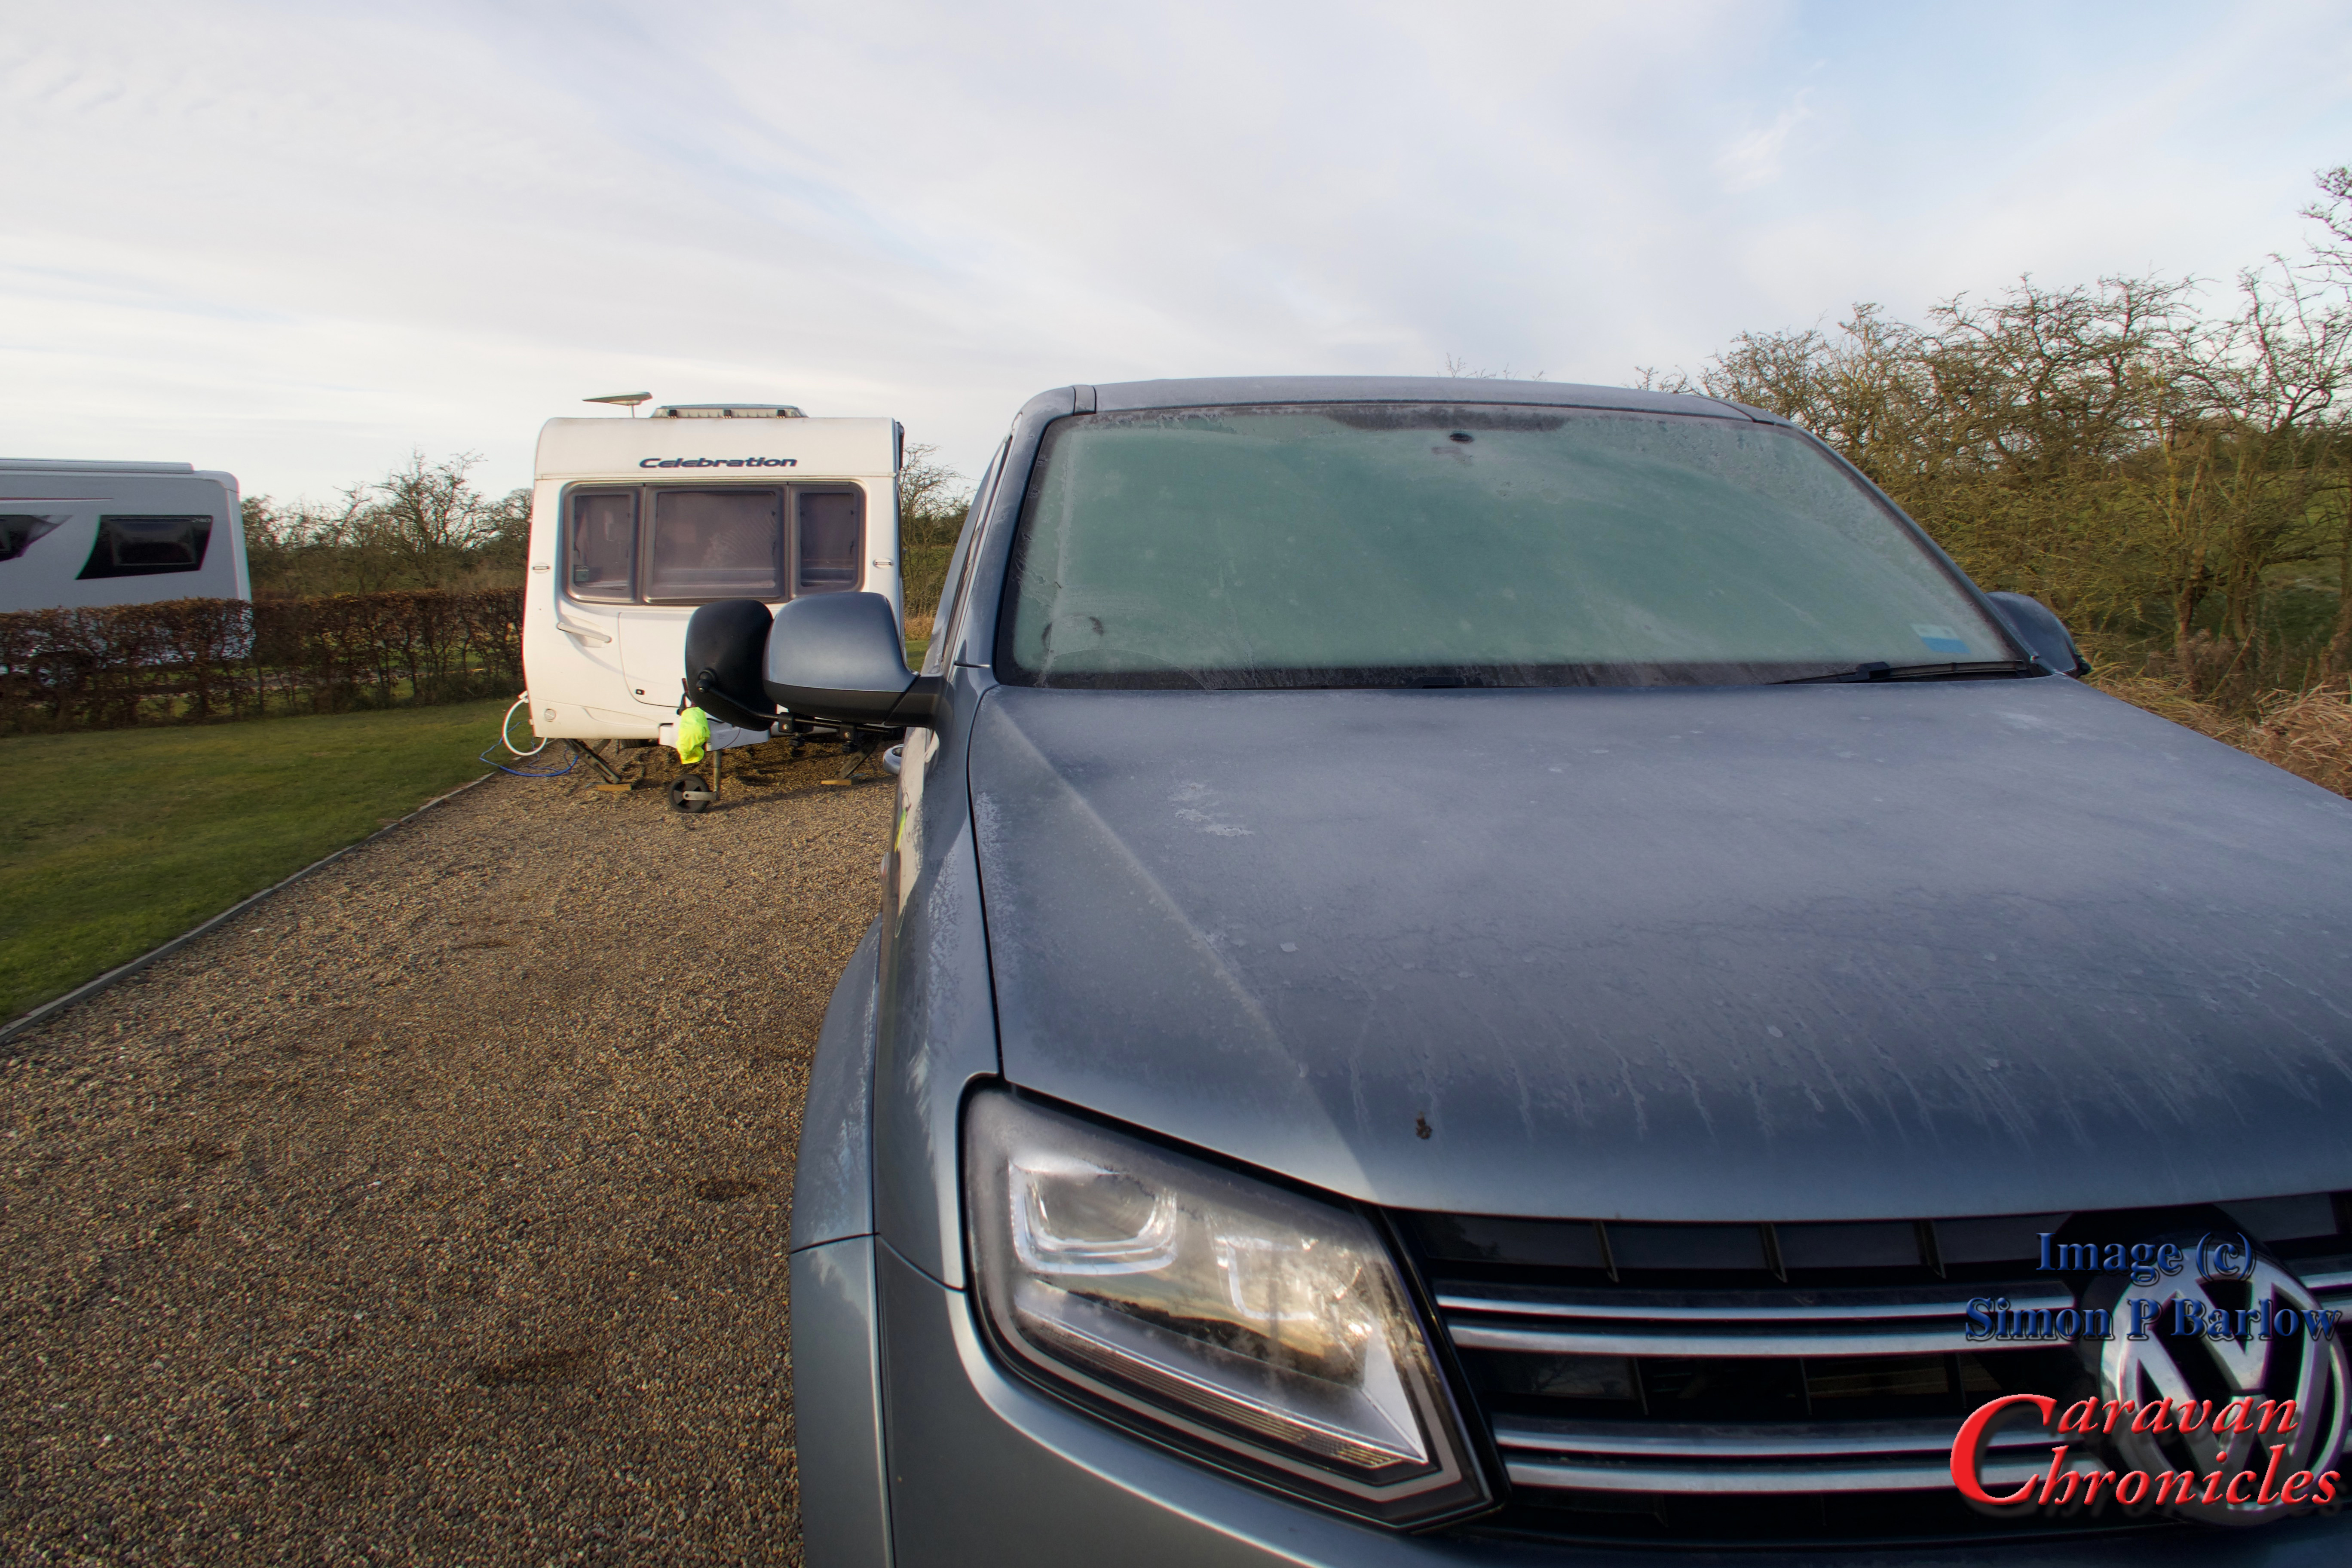
It seems that these breaks are over all too soon. The temperature was hovering around one degree and the water hose had frozen overnight as we started to pack up. Snow was forecast later that day and the Pennines had already had an inch or two of snow and it was falling over the M62 west of the Pennines for the run back to Manchester. Thankfully towing our caravan with the Amarok is quite easy and we have a towing ratio of about 65% which really makes things easy and stress free in difficult weather conditions.
The snow wasn’t too bad and not as much as was forecast and we arrived back at the storage facility at the time the sat nav predicted when setting off. Last trip of 2017 done and planning for 2018 can commence.
Some other bits…
As I write this Caravan Chronicles this year has had over 7.8 million page hits – around 14.5 million since I started the blog (I’m still amazed!). This year has basically doubled the number of the previous years total. A lot of this is due in part to links from other blogs and forums, to some of the technical pages. I did look at some of the links into the site and saw that how to connect batteries for example were linked to off grid housing forums, boating, canal boat, sailing, RV, eco and everything in-between. I now find that I receive emails containing questions from all over the world about all sorts of subjects. How many emails?…. well this year it’s been over a thousand that I’ve answered. As a consequence it now takes me a bit longer to respond.
I have found out though that folks that follow links to Caravan Chronicles from some forum or other that they don’t really know about Caravan Chronicles and simply assume that there is a highly paid team in the background answering questions and have a specialised knowledge of their particular field of enquiry and get quite upset when I tell them I haven’t a clue about the house batteries on a Fairhaven 32 foot motor launch and how they are connected (totally made up question of course).
I remember the late (and great) John Wickersham once telling me “Once you have answered a question in print that will be your life”.
The other question that pops up now and again are about ‘merch’ as the Americans refer to it. Do I have a shop with stickers, mugs branded paraphernalia etc. Nope, nada. So far I have resisted the temptation to commercialise, product place or have adverts on the blog. I don’t really want to go that route.
I do however do the occasional review of products that manufacturers send me and try to attempt to be as honest as I can with what I write. I do also work with a couple of manufacturers on products that they are developing or ideas that they have but these don’t get written about.
What’s happening in Caravan Chronicles in 2018…
Well there will be some trips of course and we will be visiting our “local” caravan show at Event City in January.
We are in two minds whether to get a new caravan… we would like a twin axle, twin bed, mid bathroom layout, but we keep thinking there is nothing wrong with the one we have… decision decisions!
There are a few things that are going to be changing on the blog. I have been procrastinating on starting a searchable Q & A page. I’m not sure if this is possible in a WordPress blog and it might mean having to change how the site is hosted. I also want to link up to an interactive travel map. I’m still researching this one though. I’ve also been thinking about the blog’s style and look…. it’s over five years old now and does it need an update?
Towing covers….
OK, so now I have a question for you….. I’m a bit undecided about getting a towing cover. They seem to be gaining popularity and after our trip, the front of the caravan could have done with some protection from all the road salt and grime thrown up. As we have never had a cover of any sorts, I’m looking for a bit of feedback on features to look out for and things to avoid. I’d be grateful for any pointers.
Sue and I hope you have a very Happy New Year and safe travels in 2018.
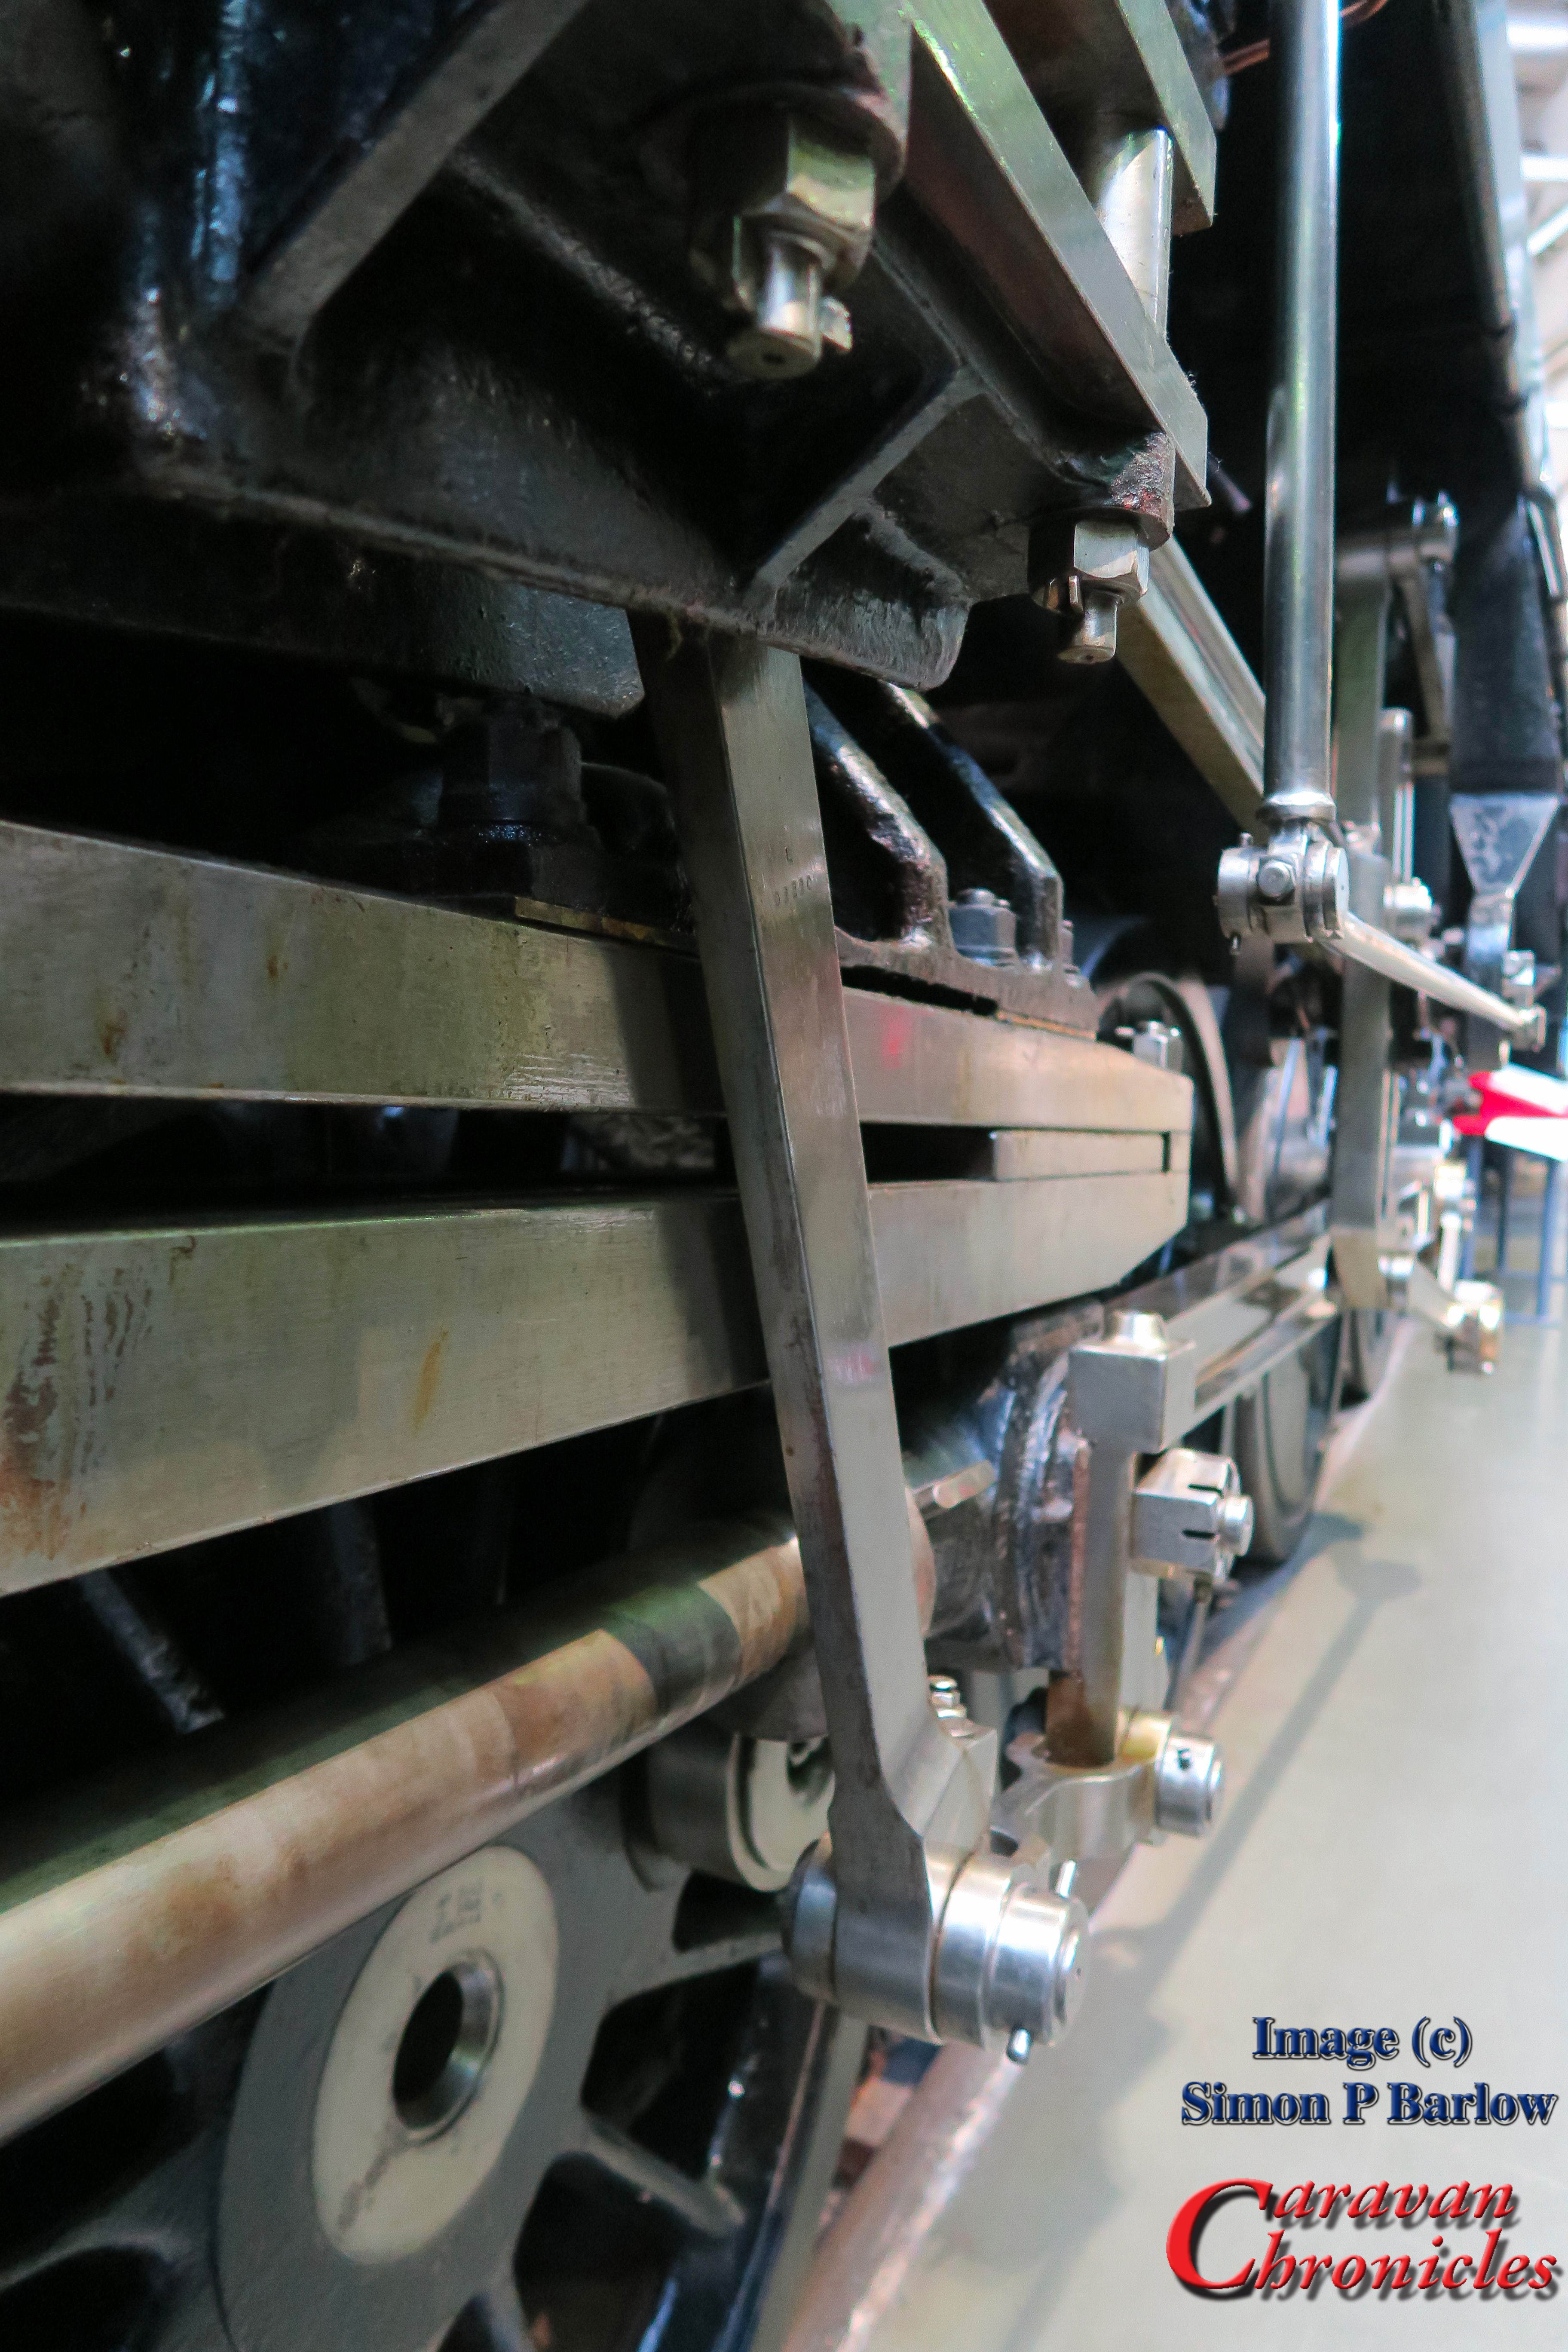
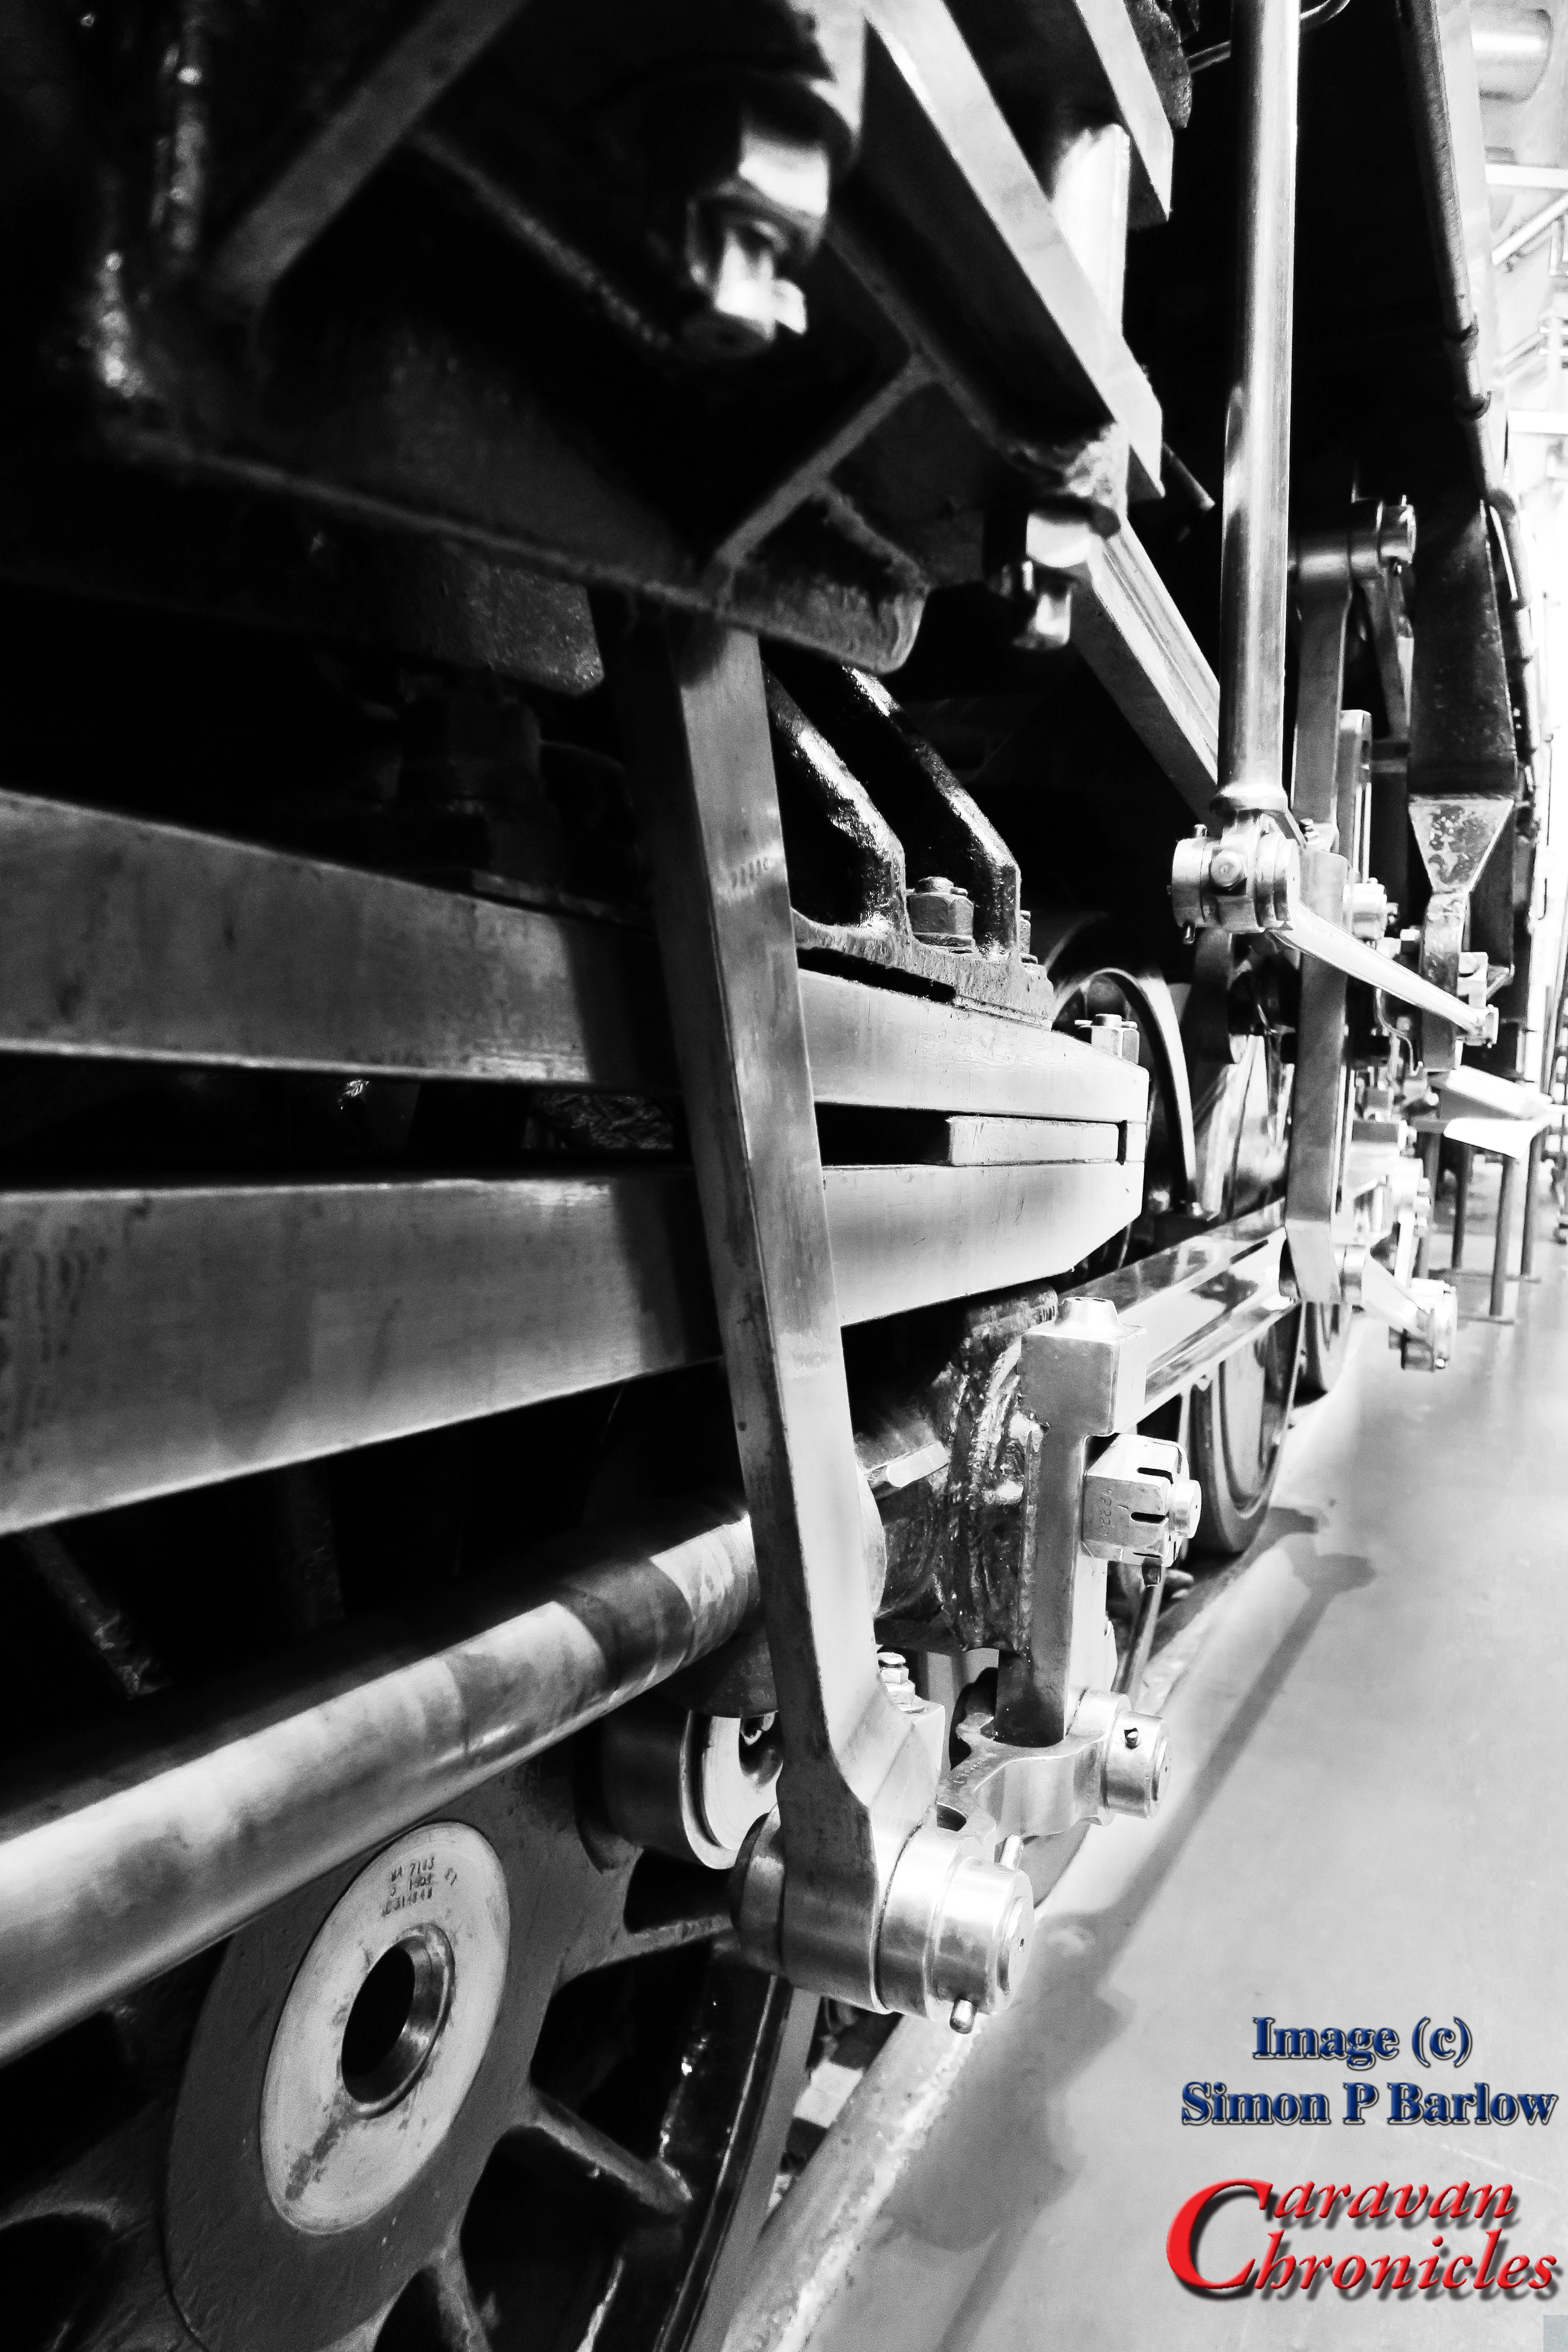
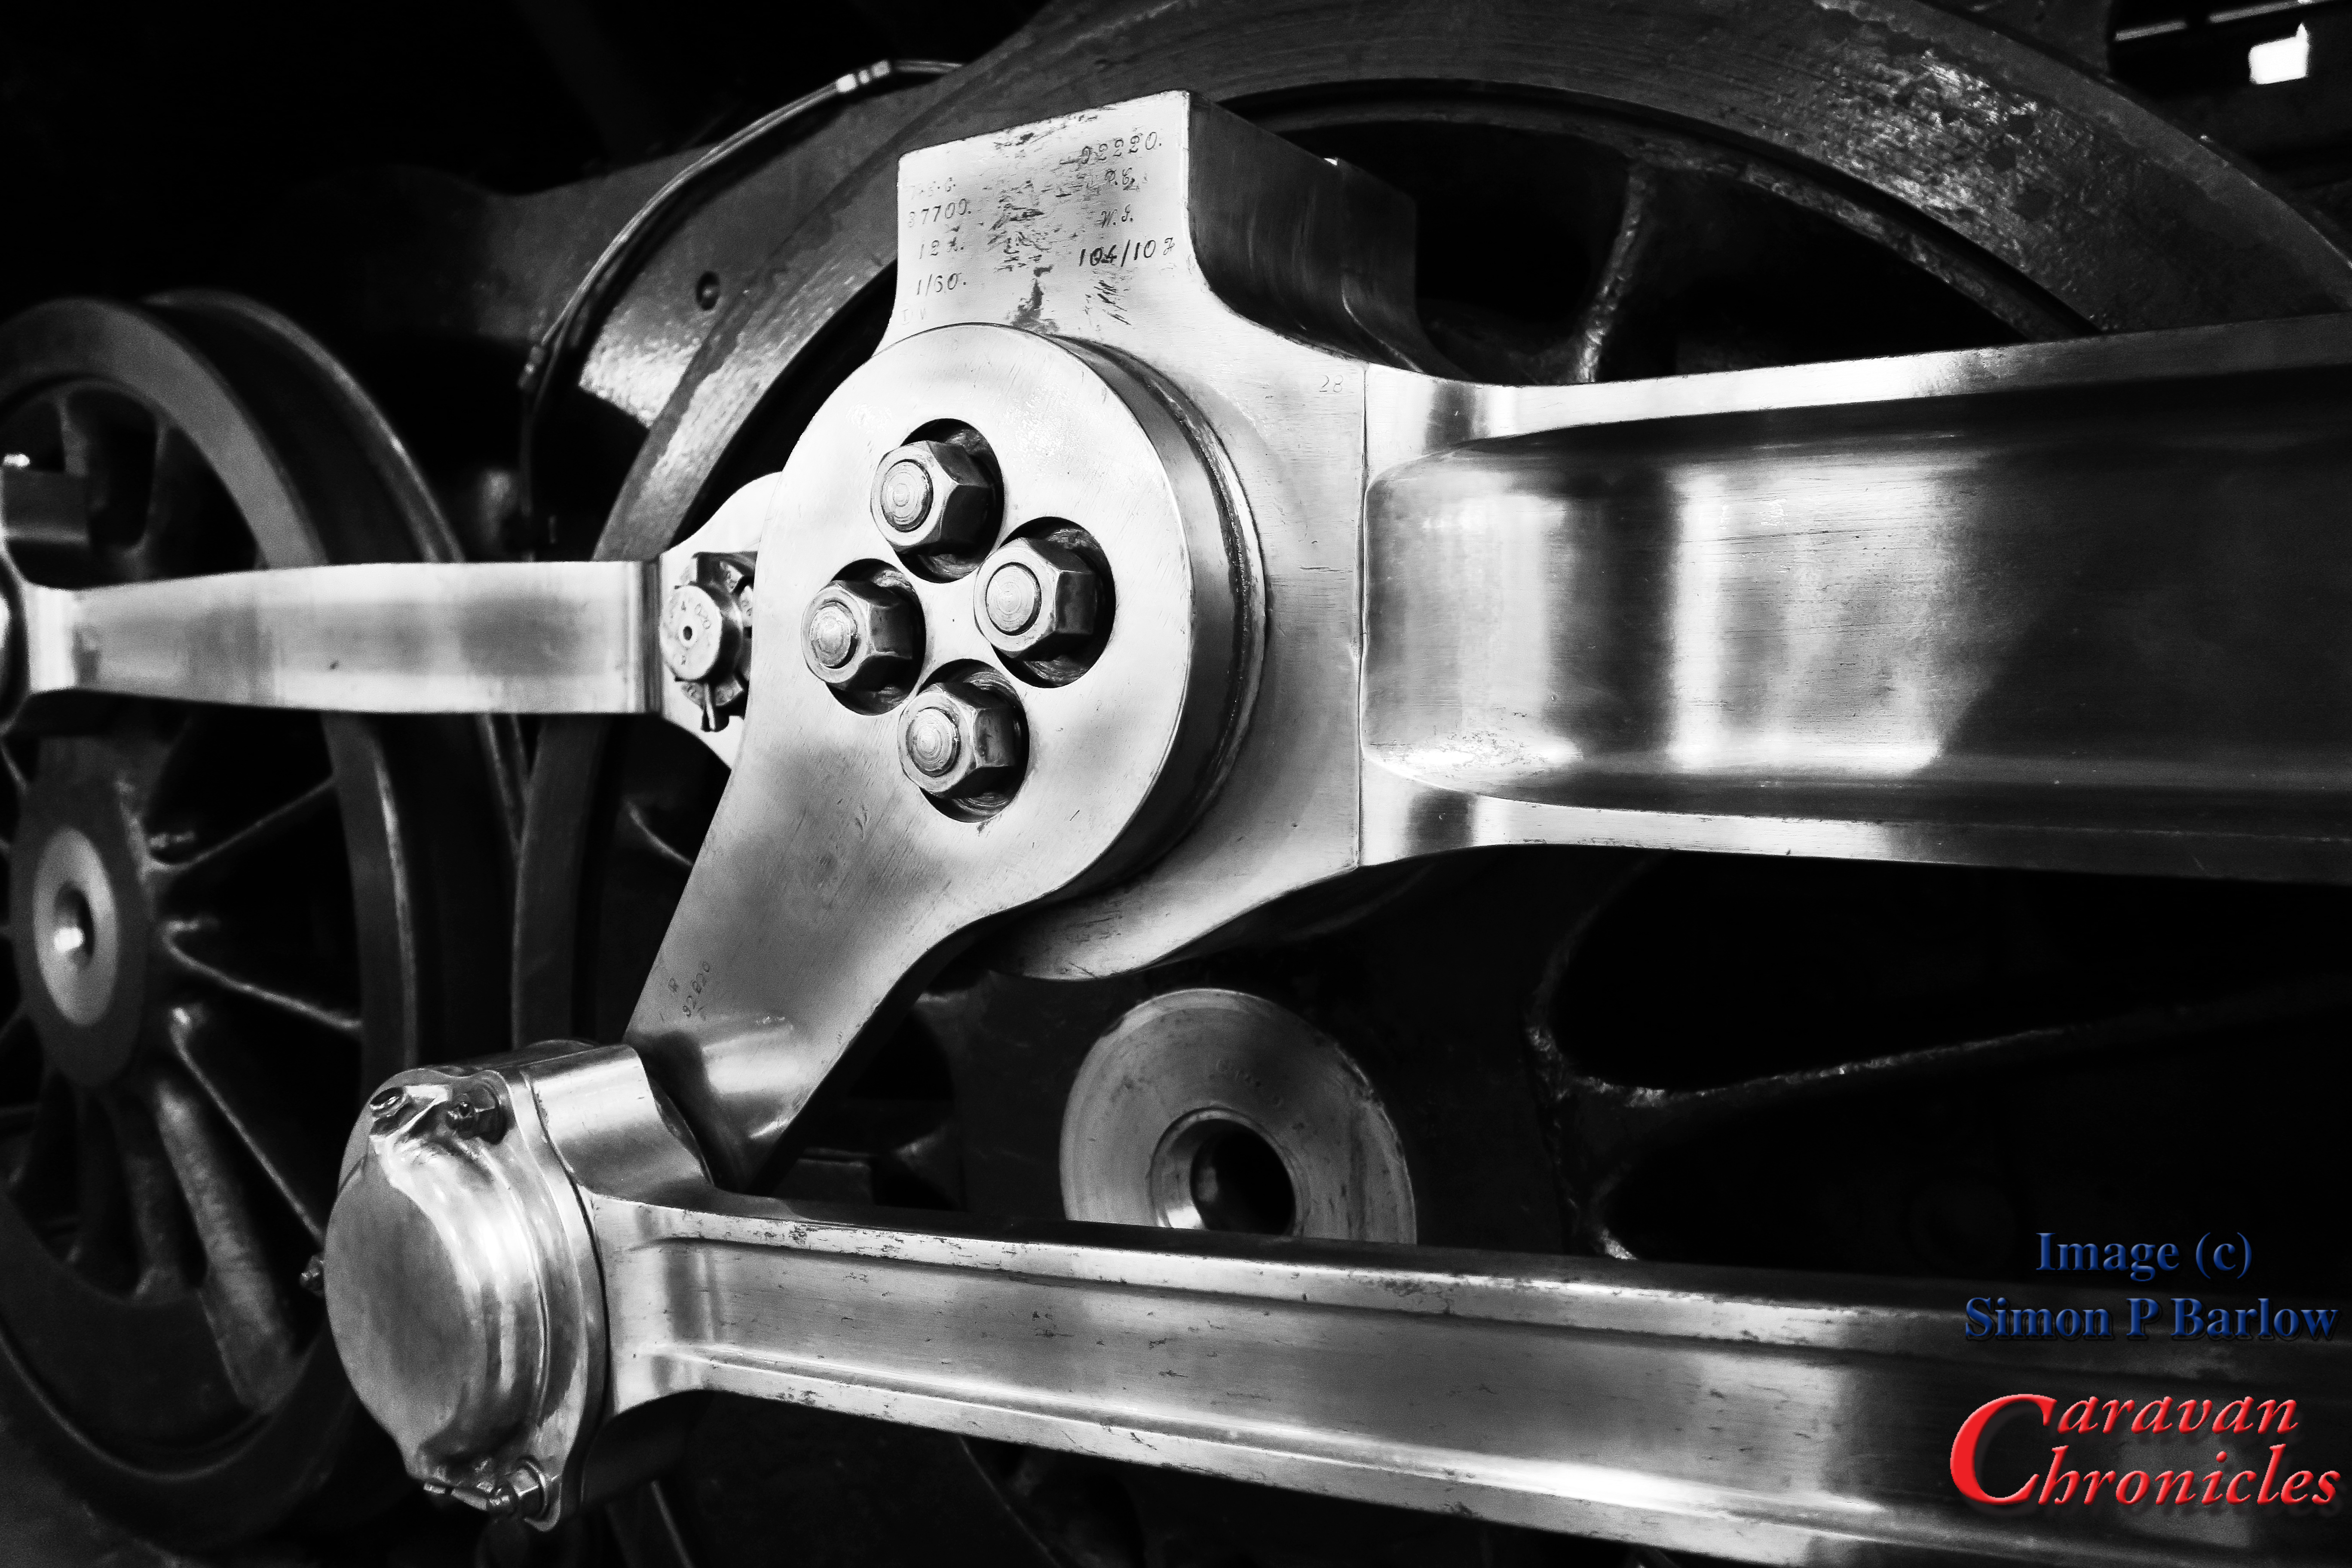
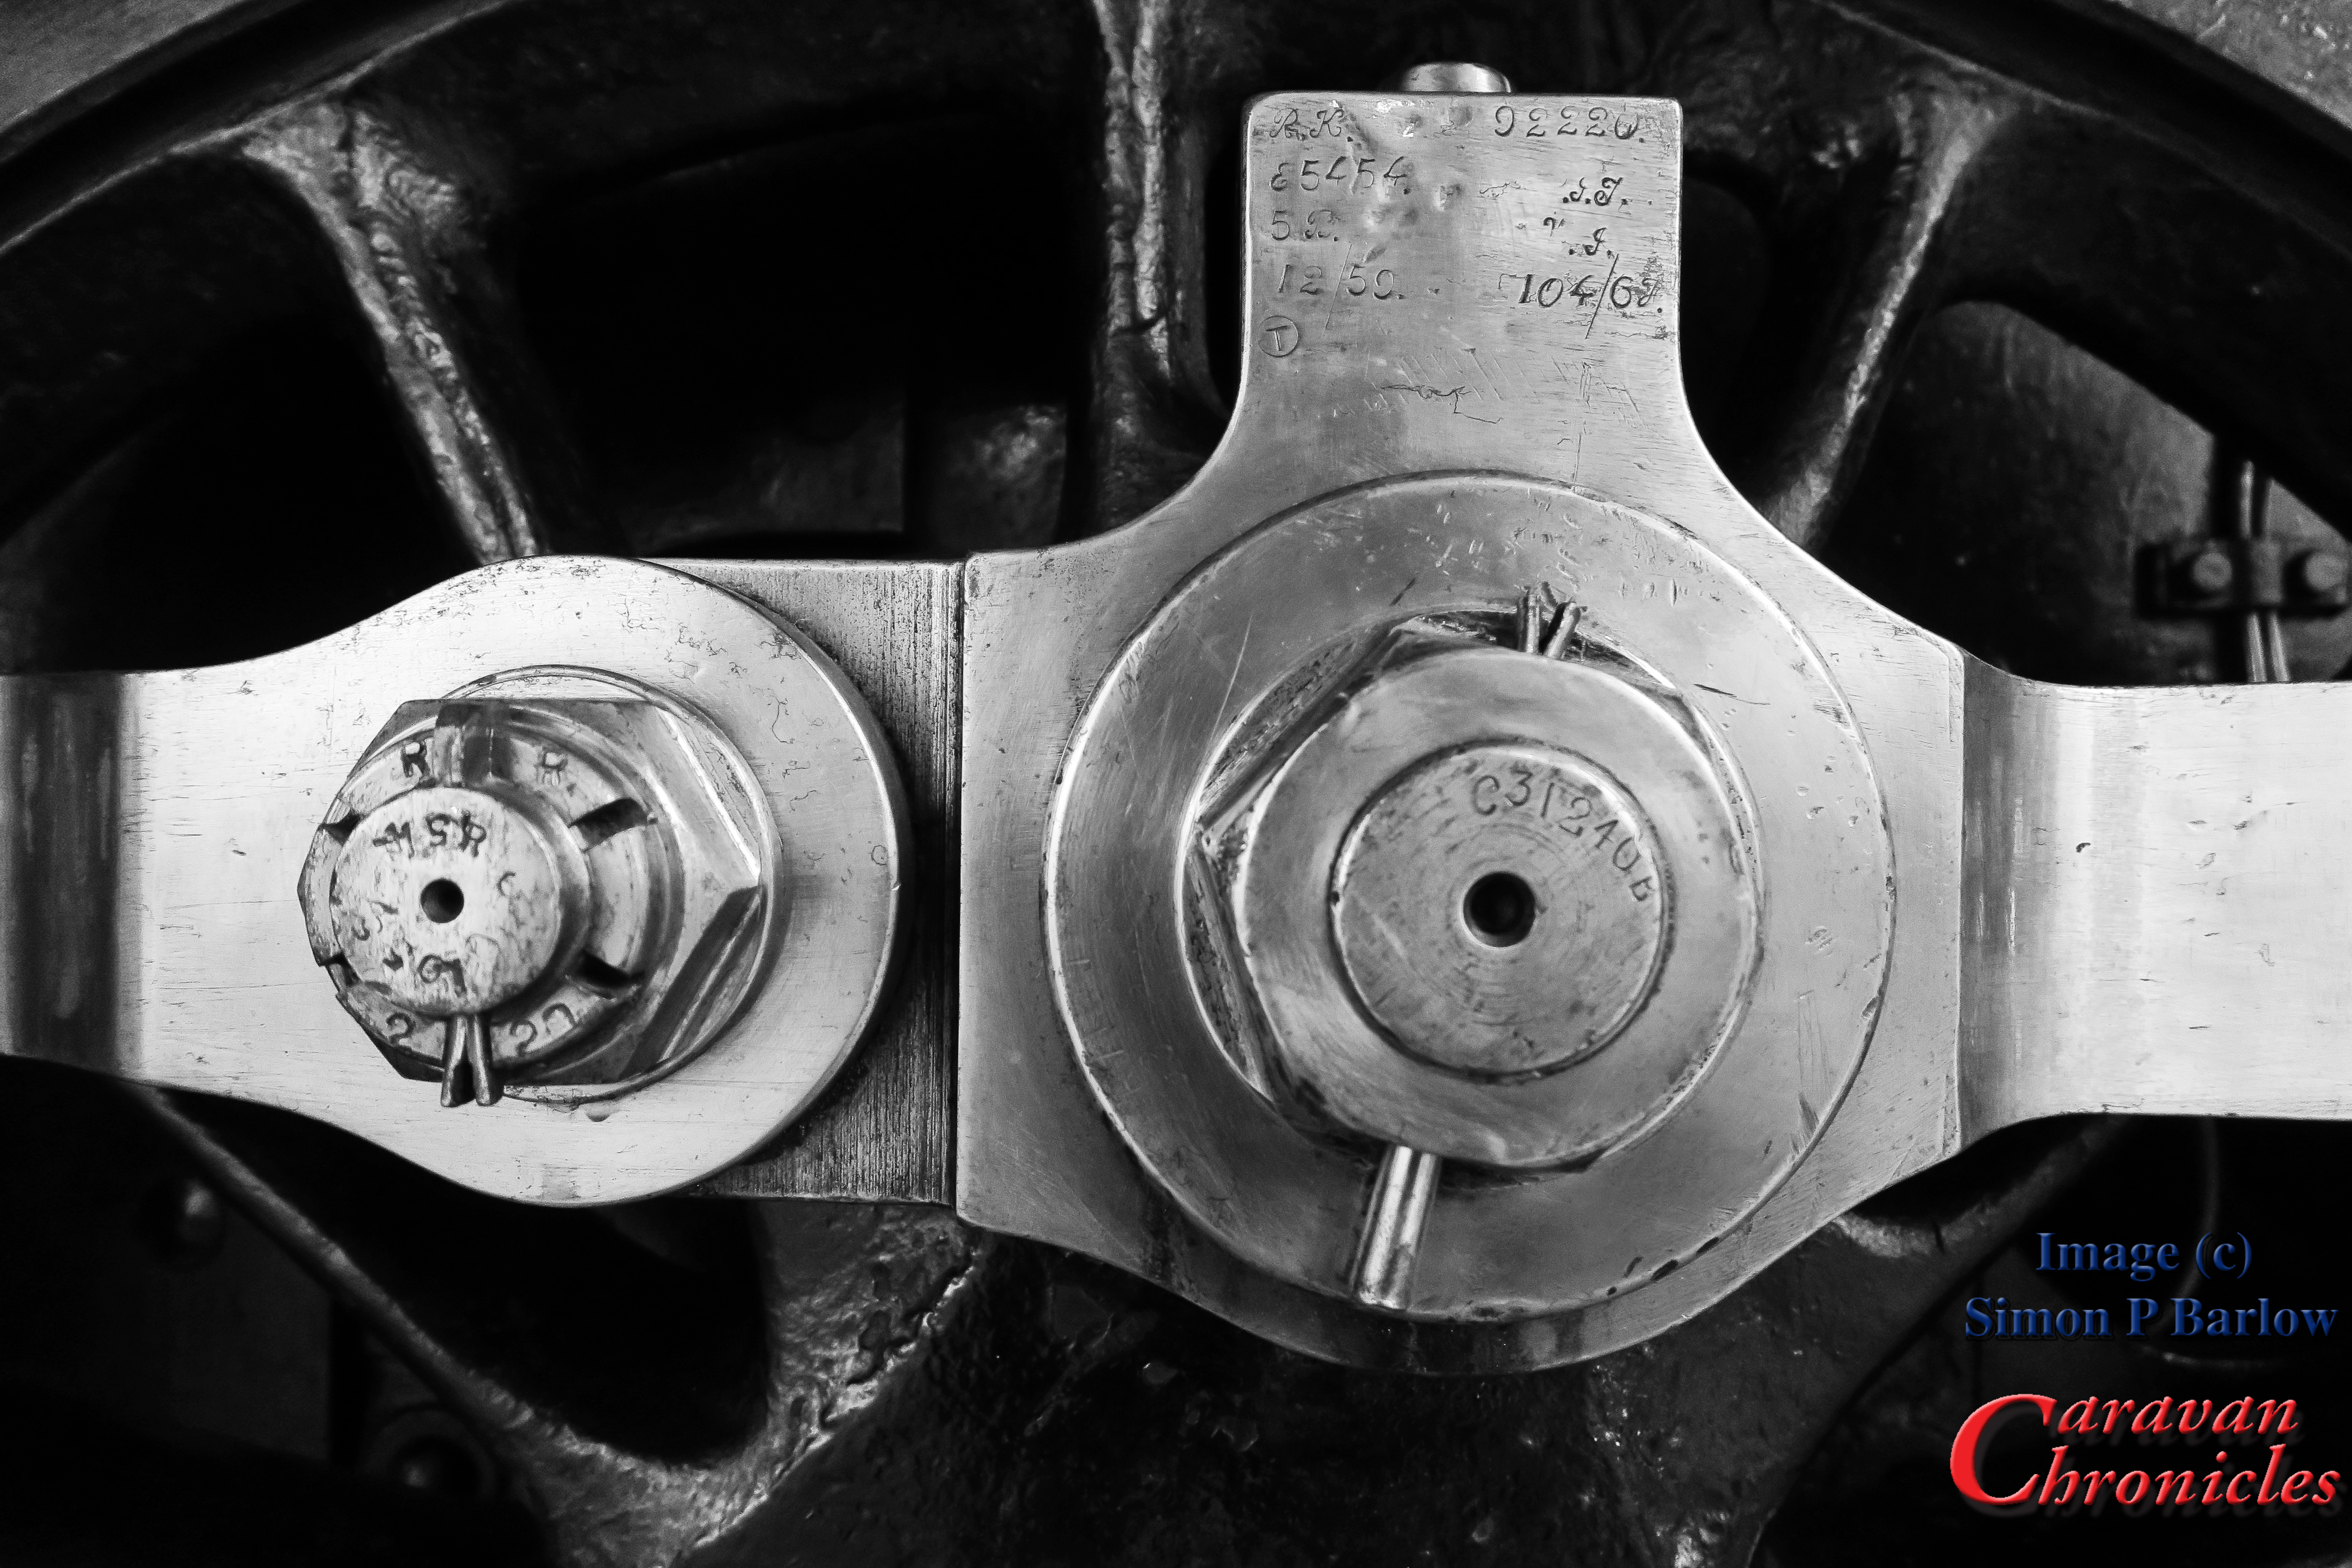
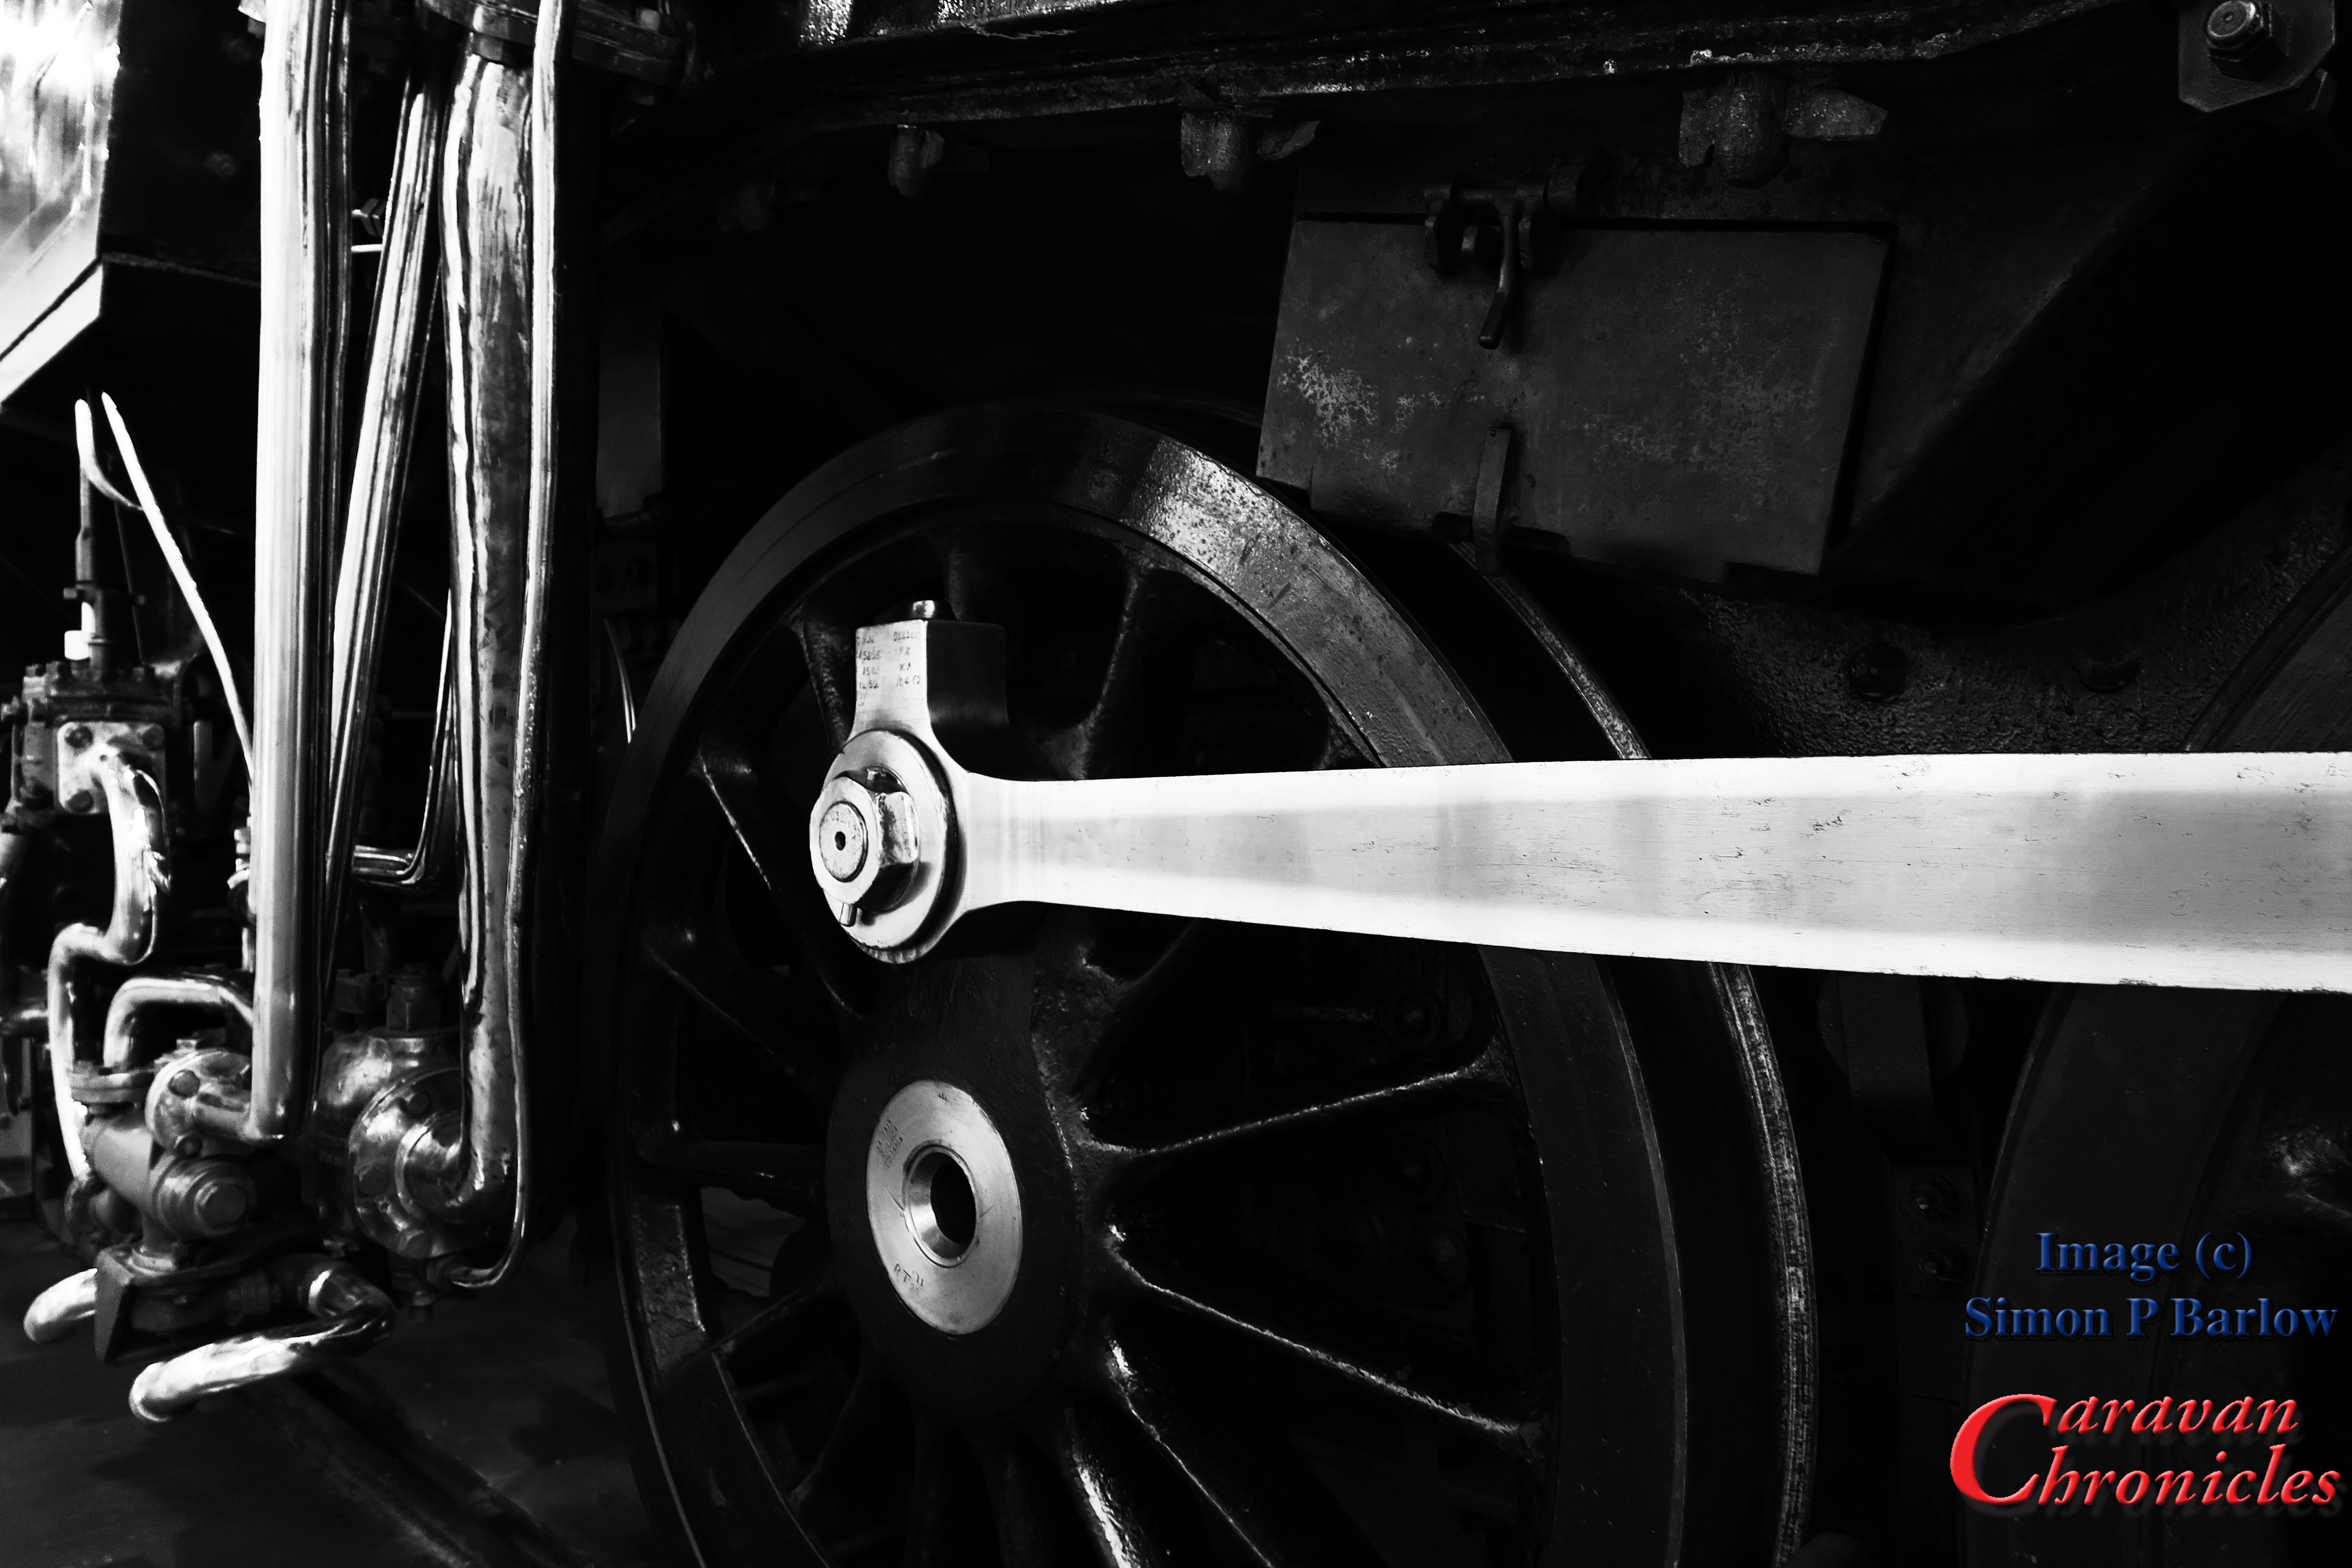
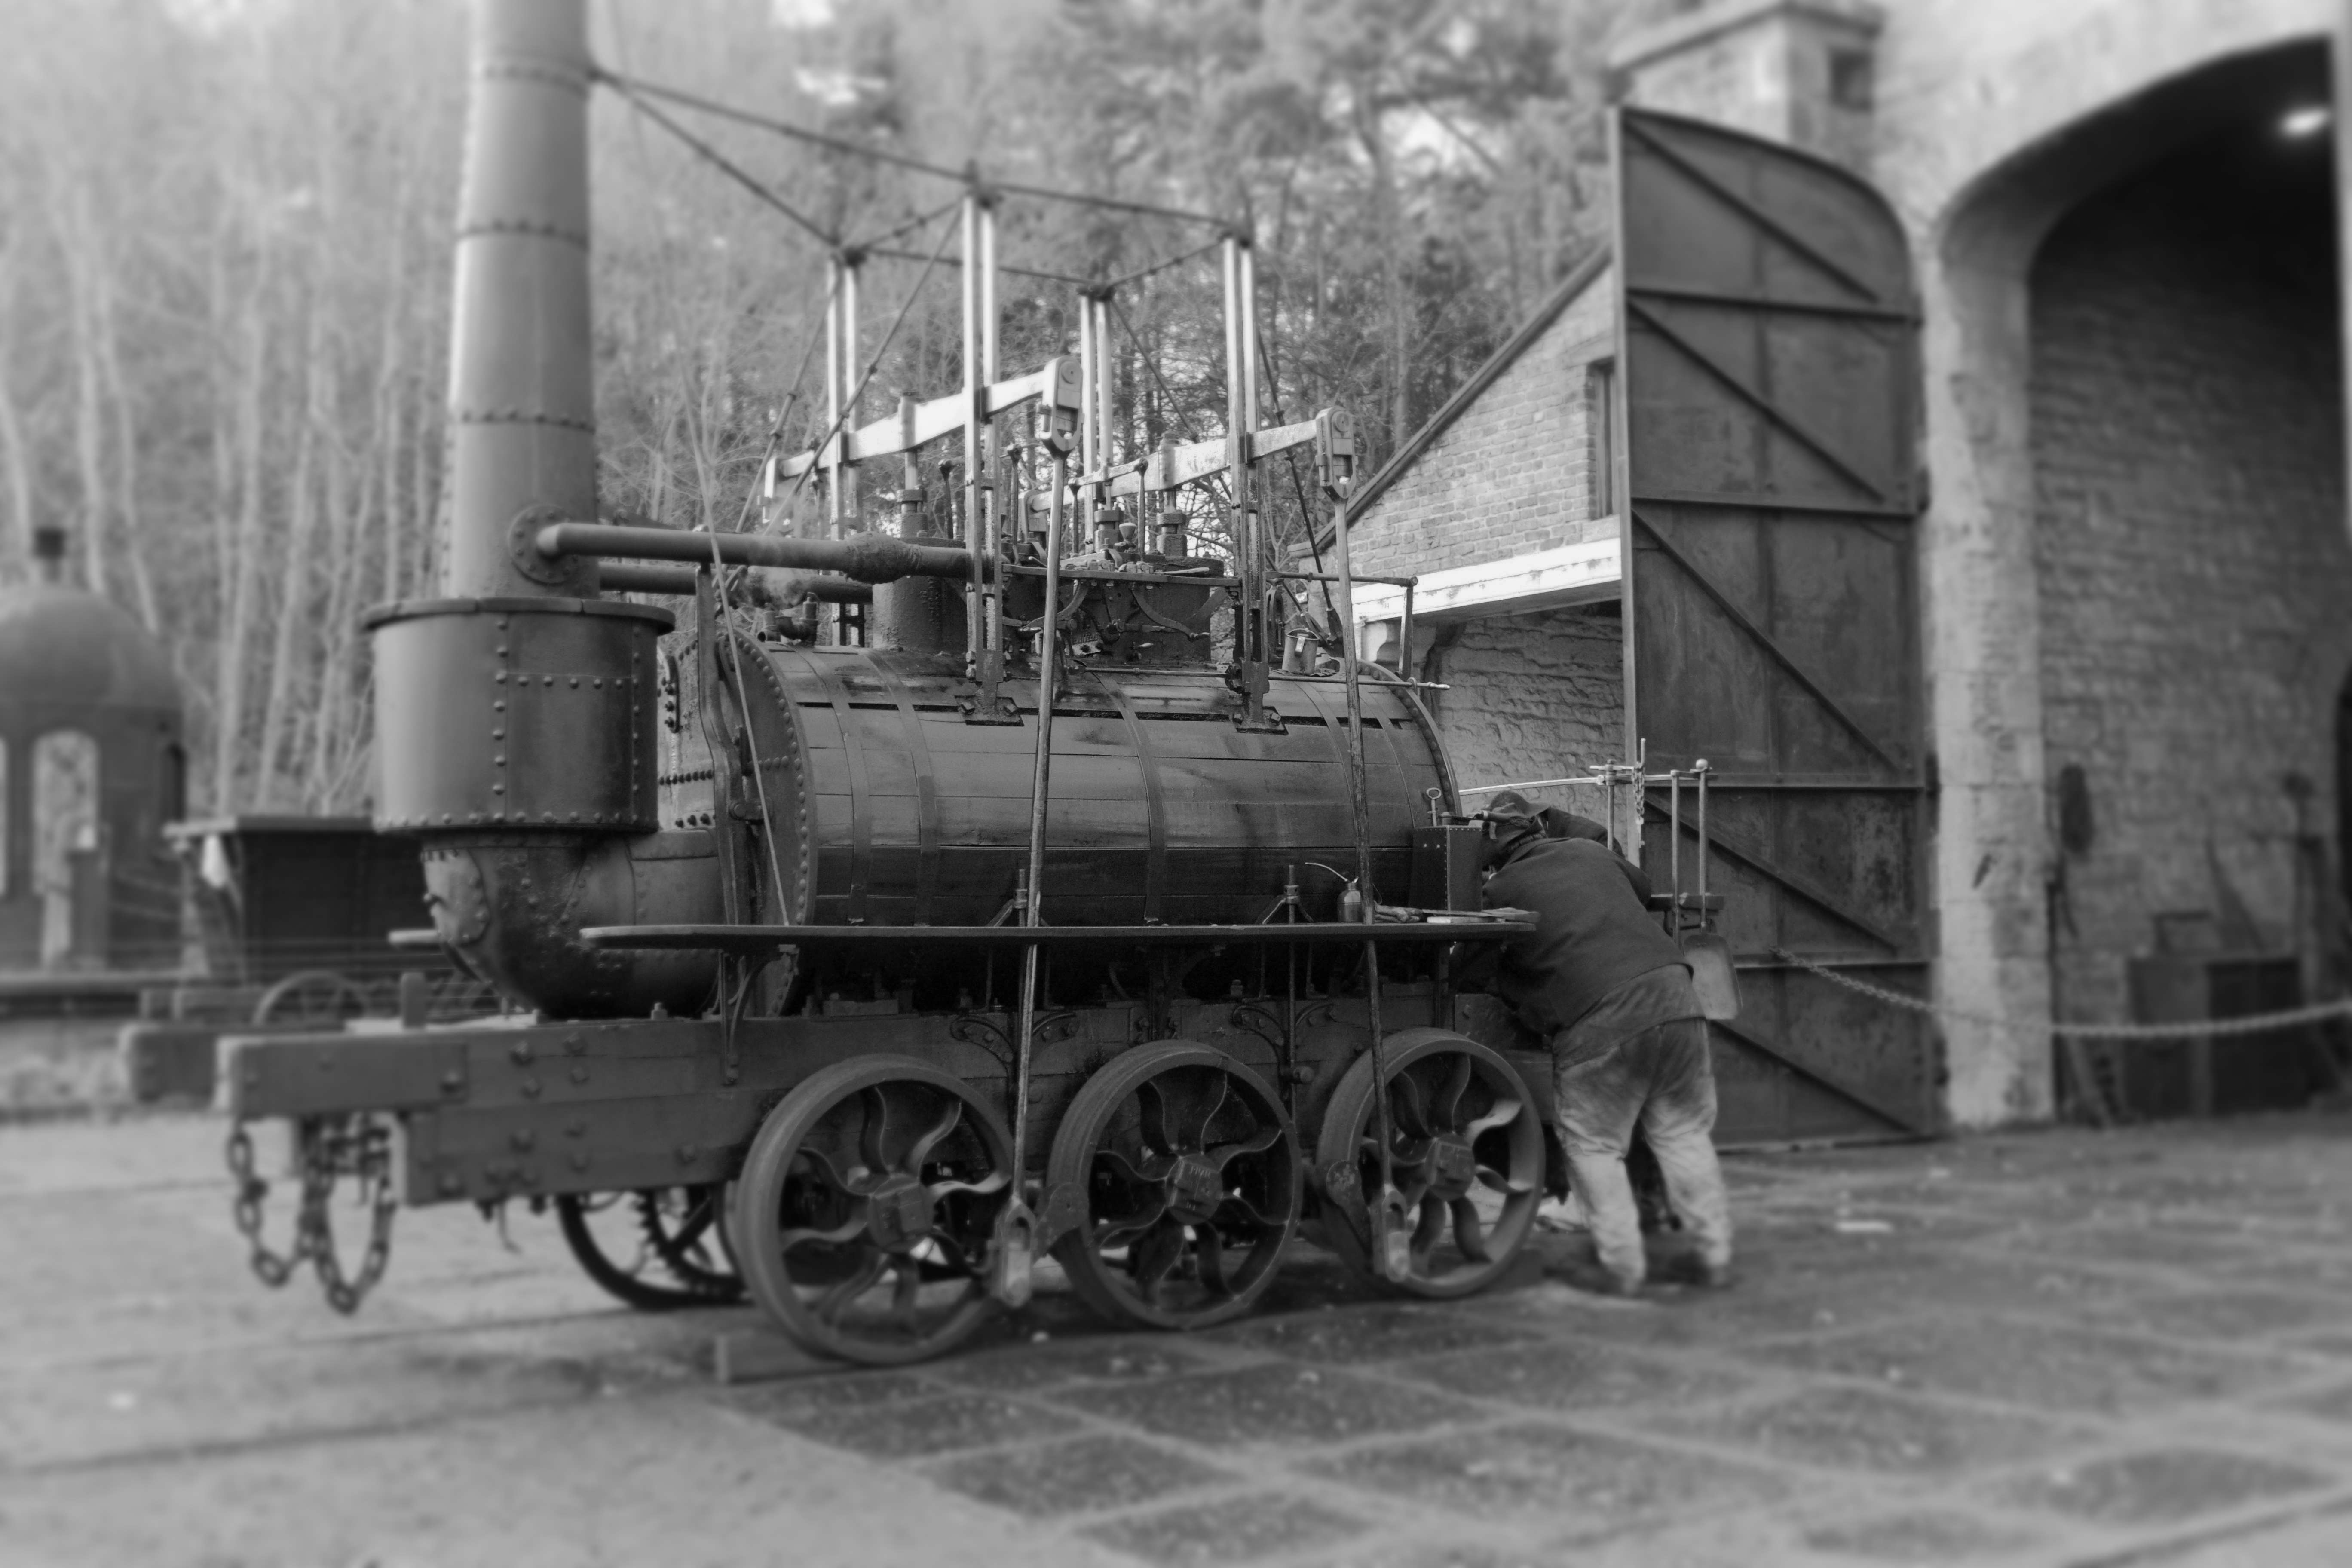
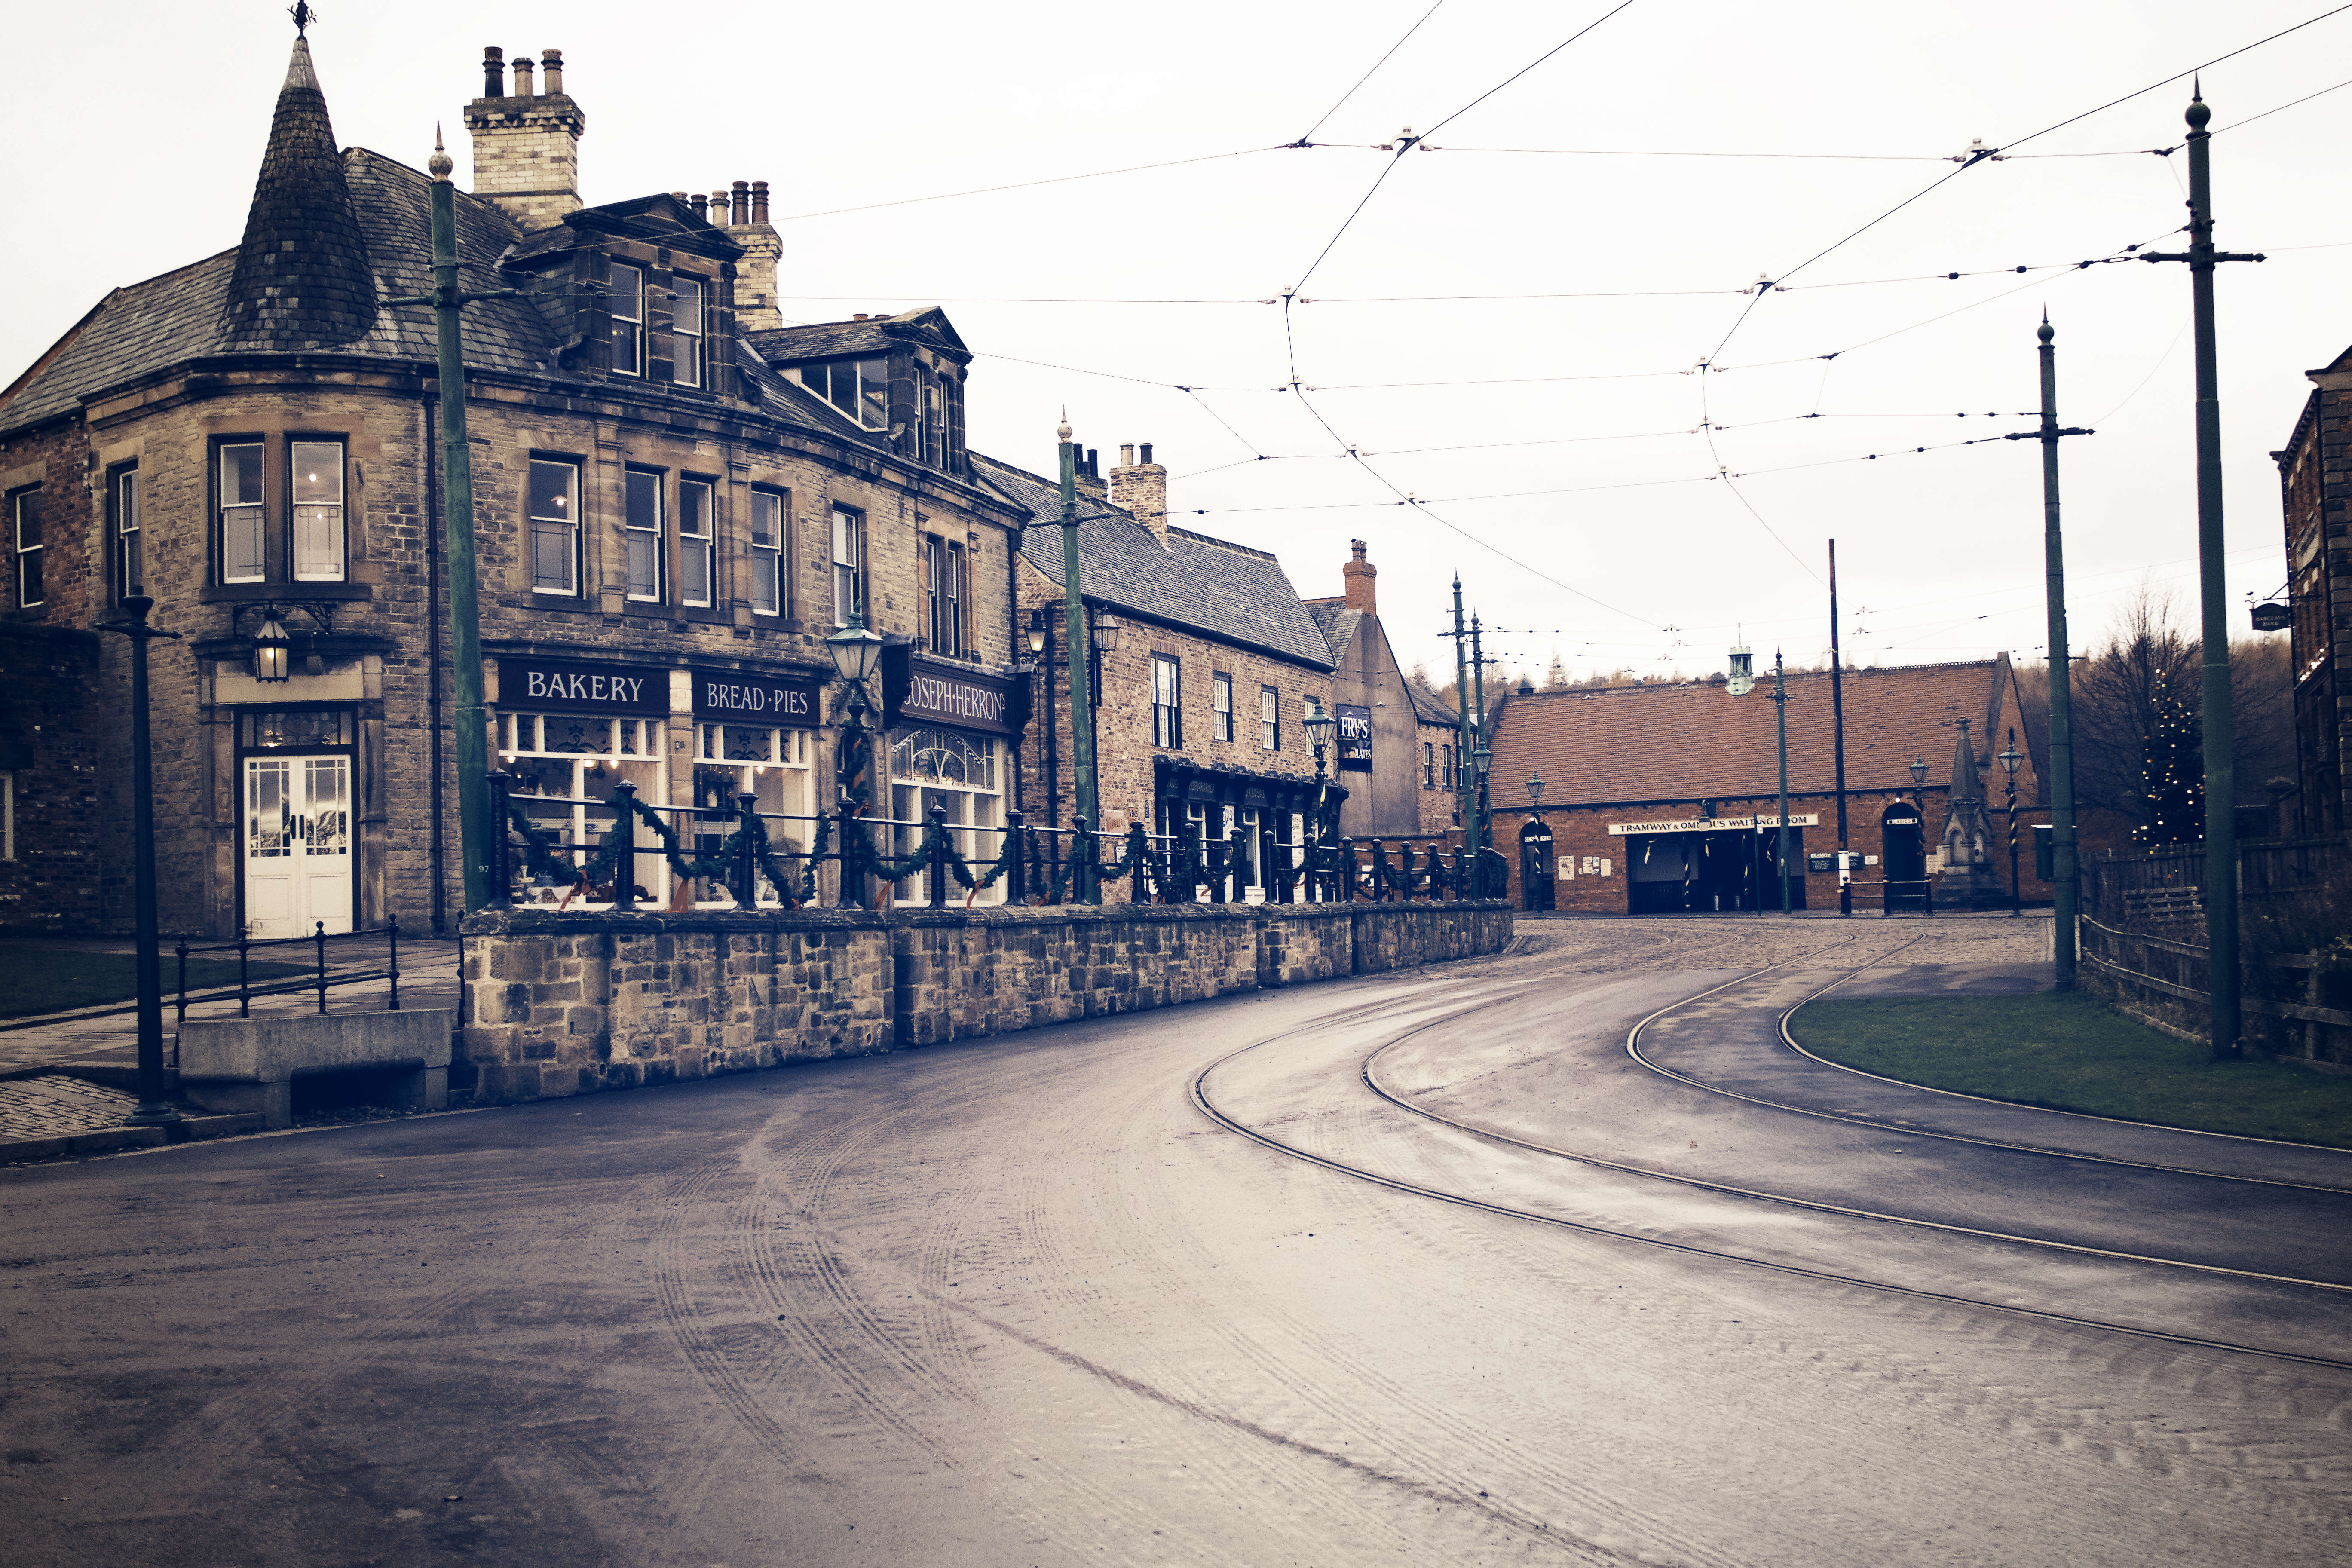
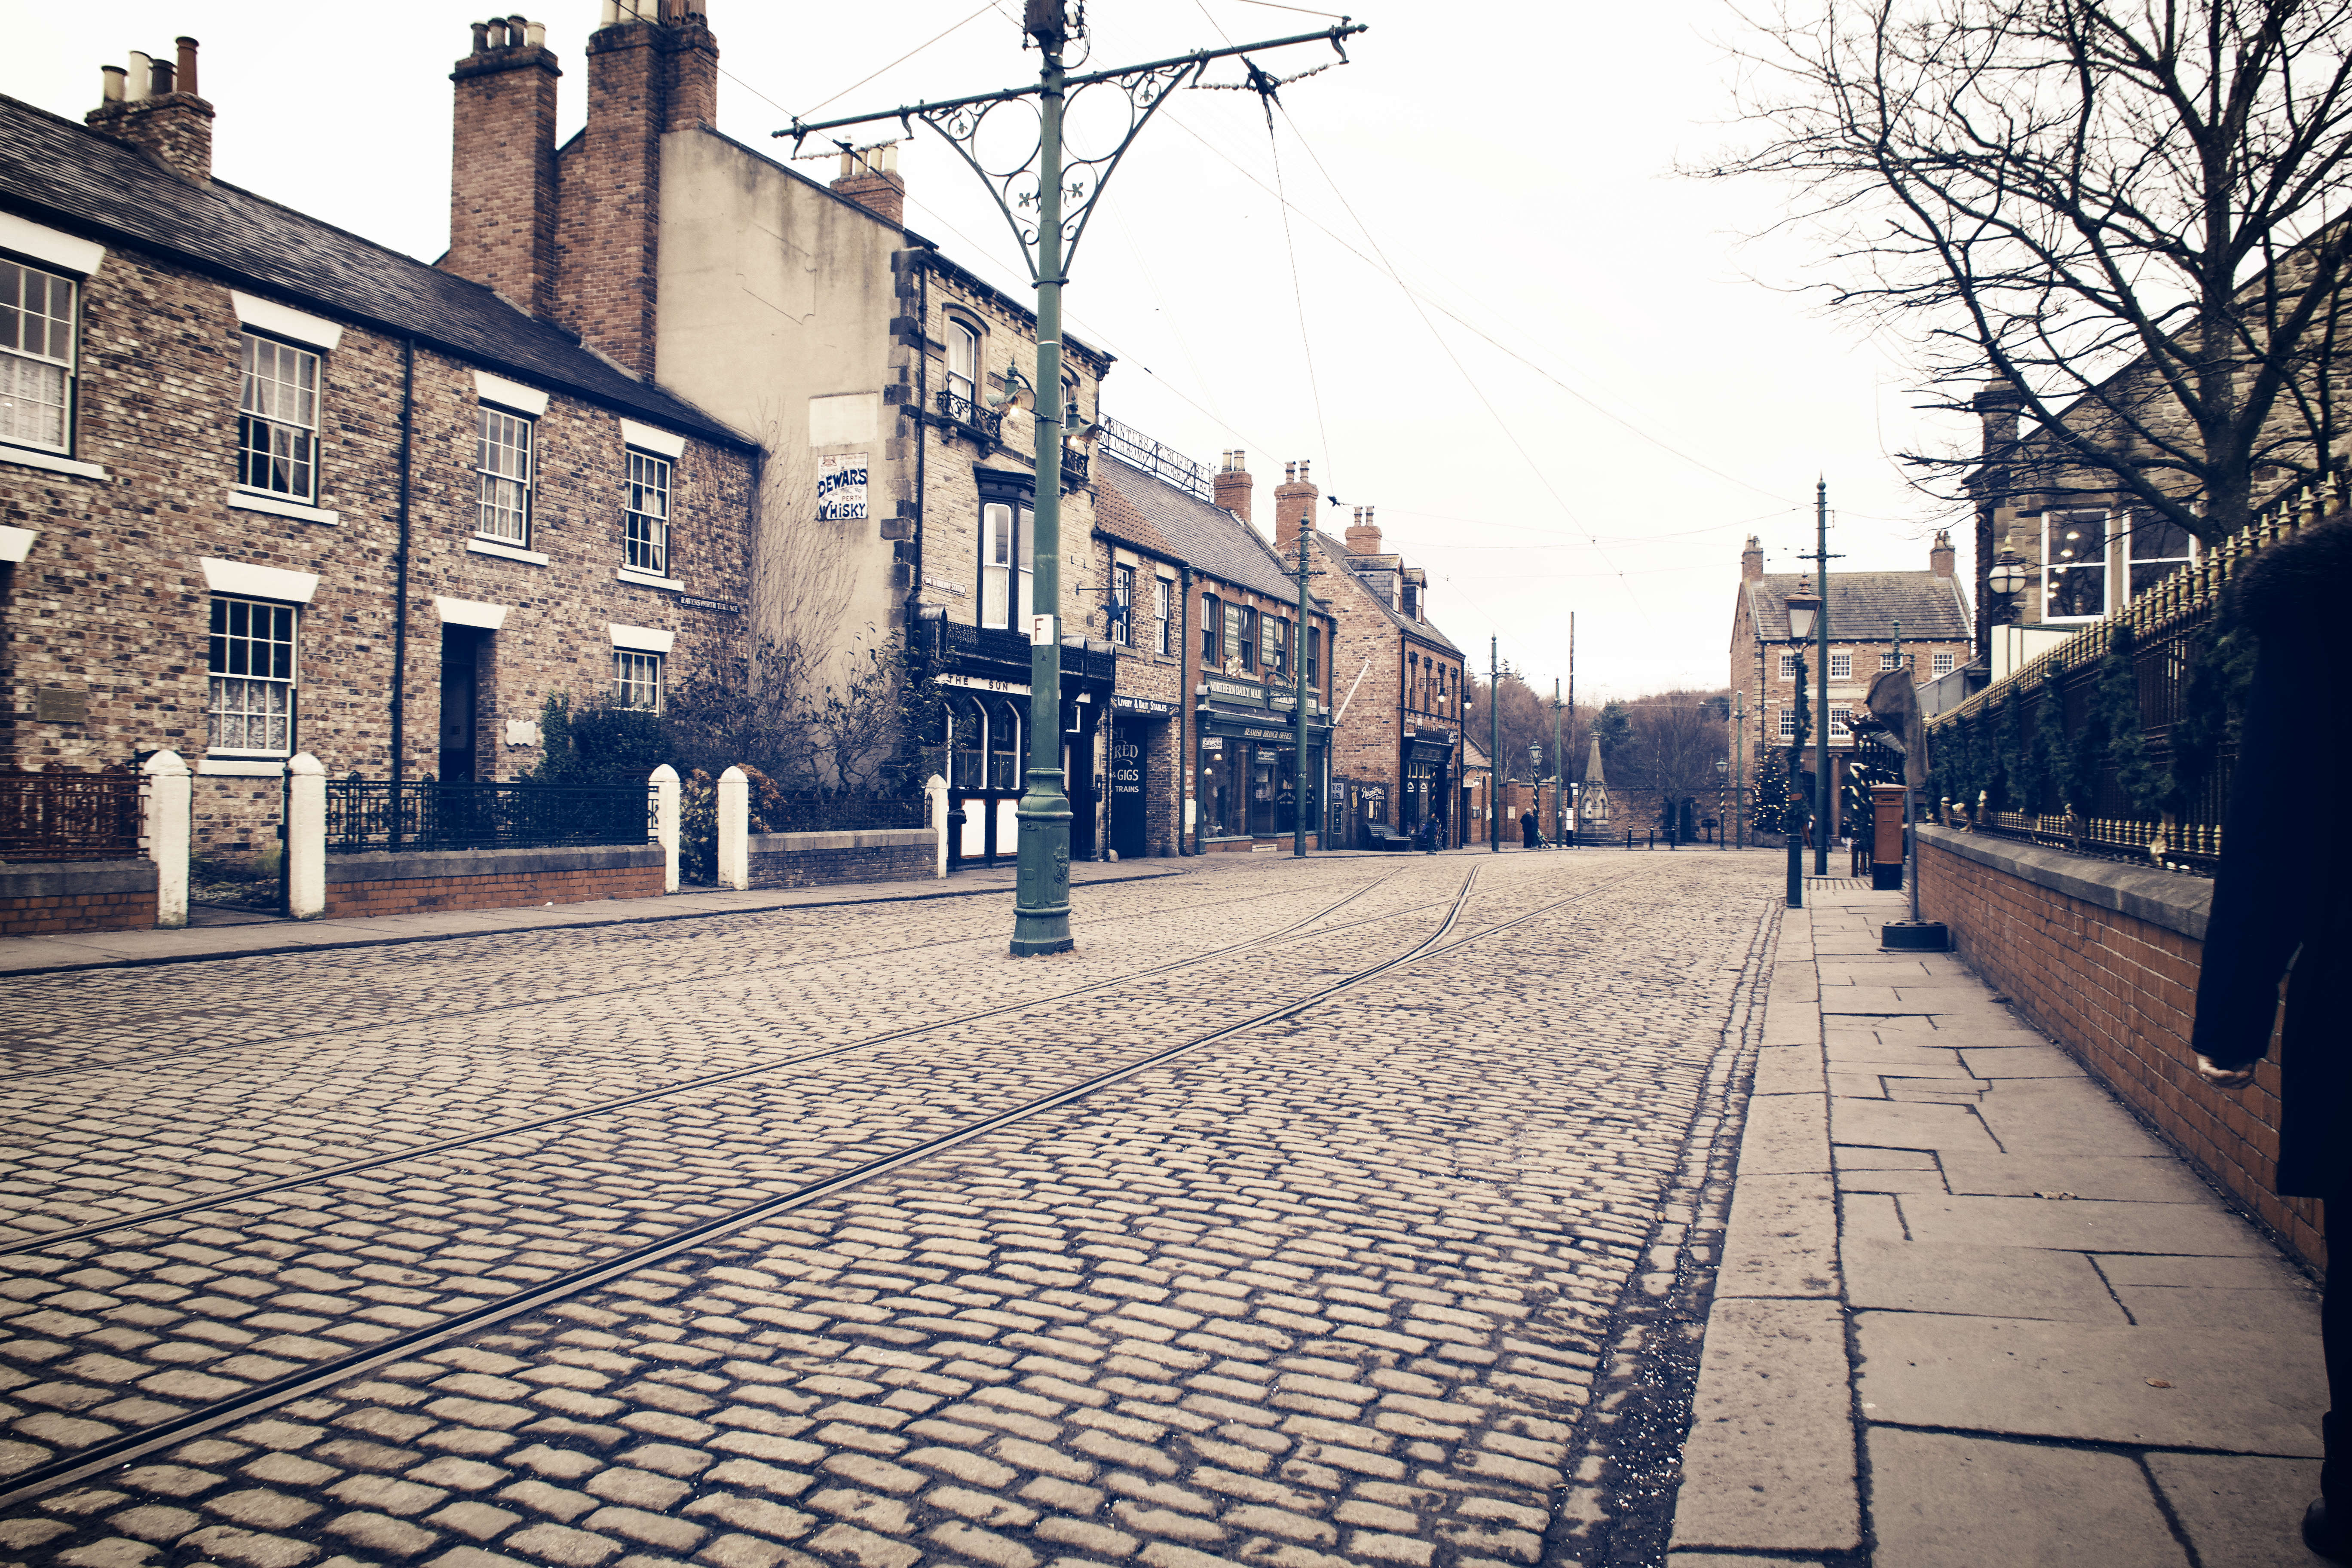
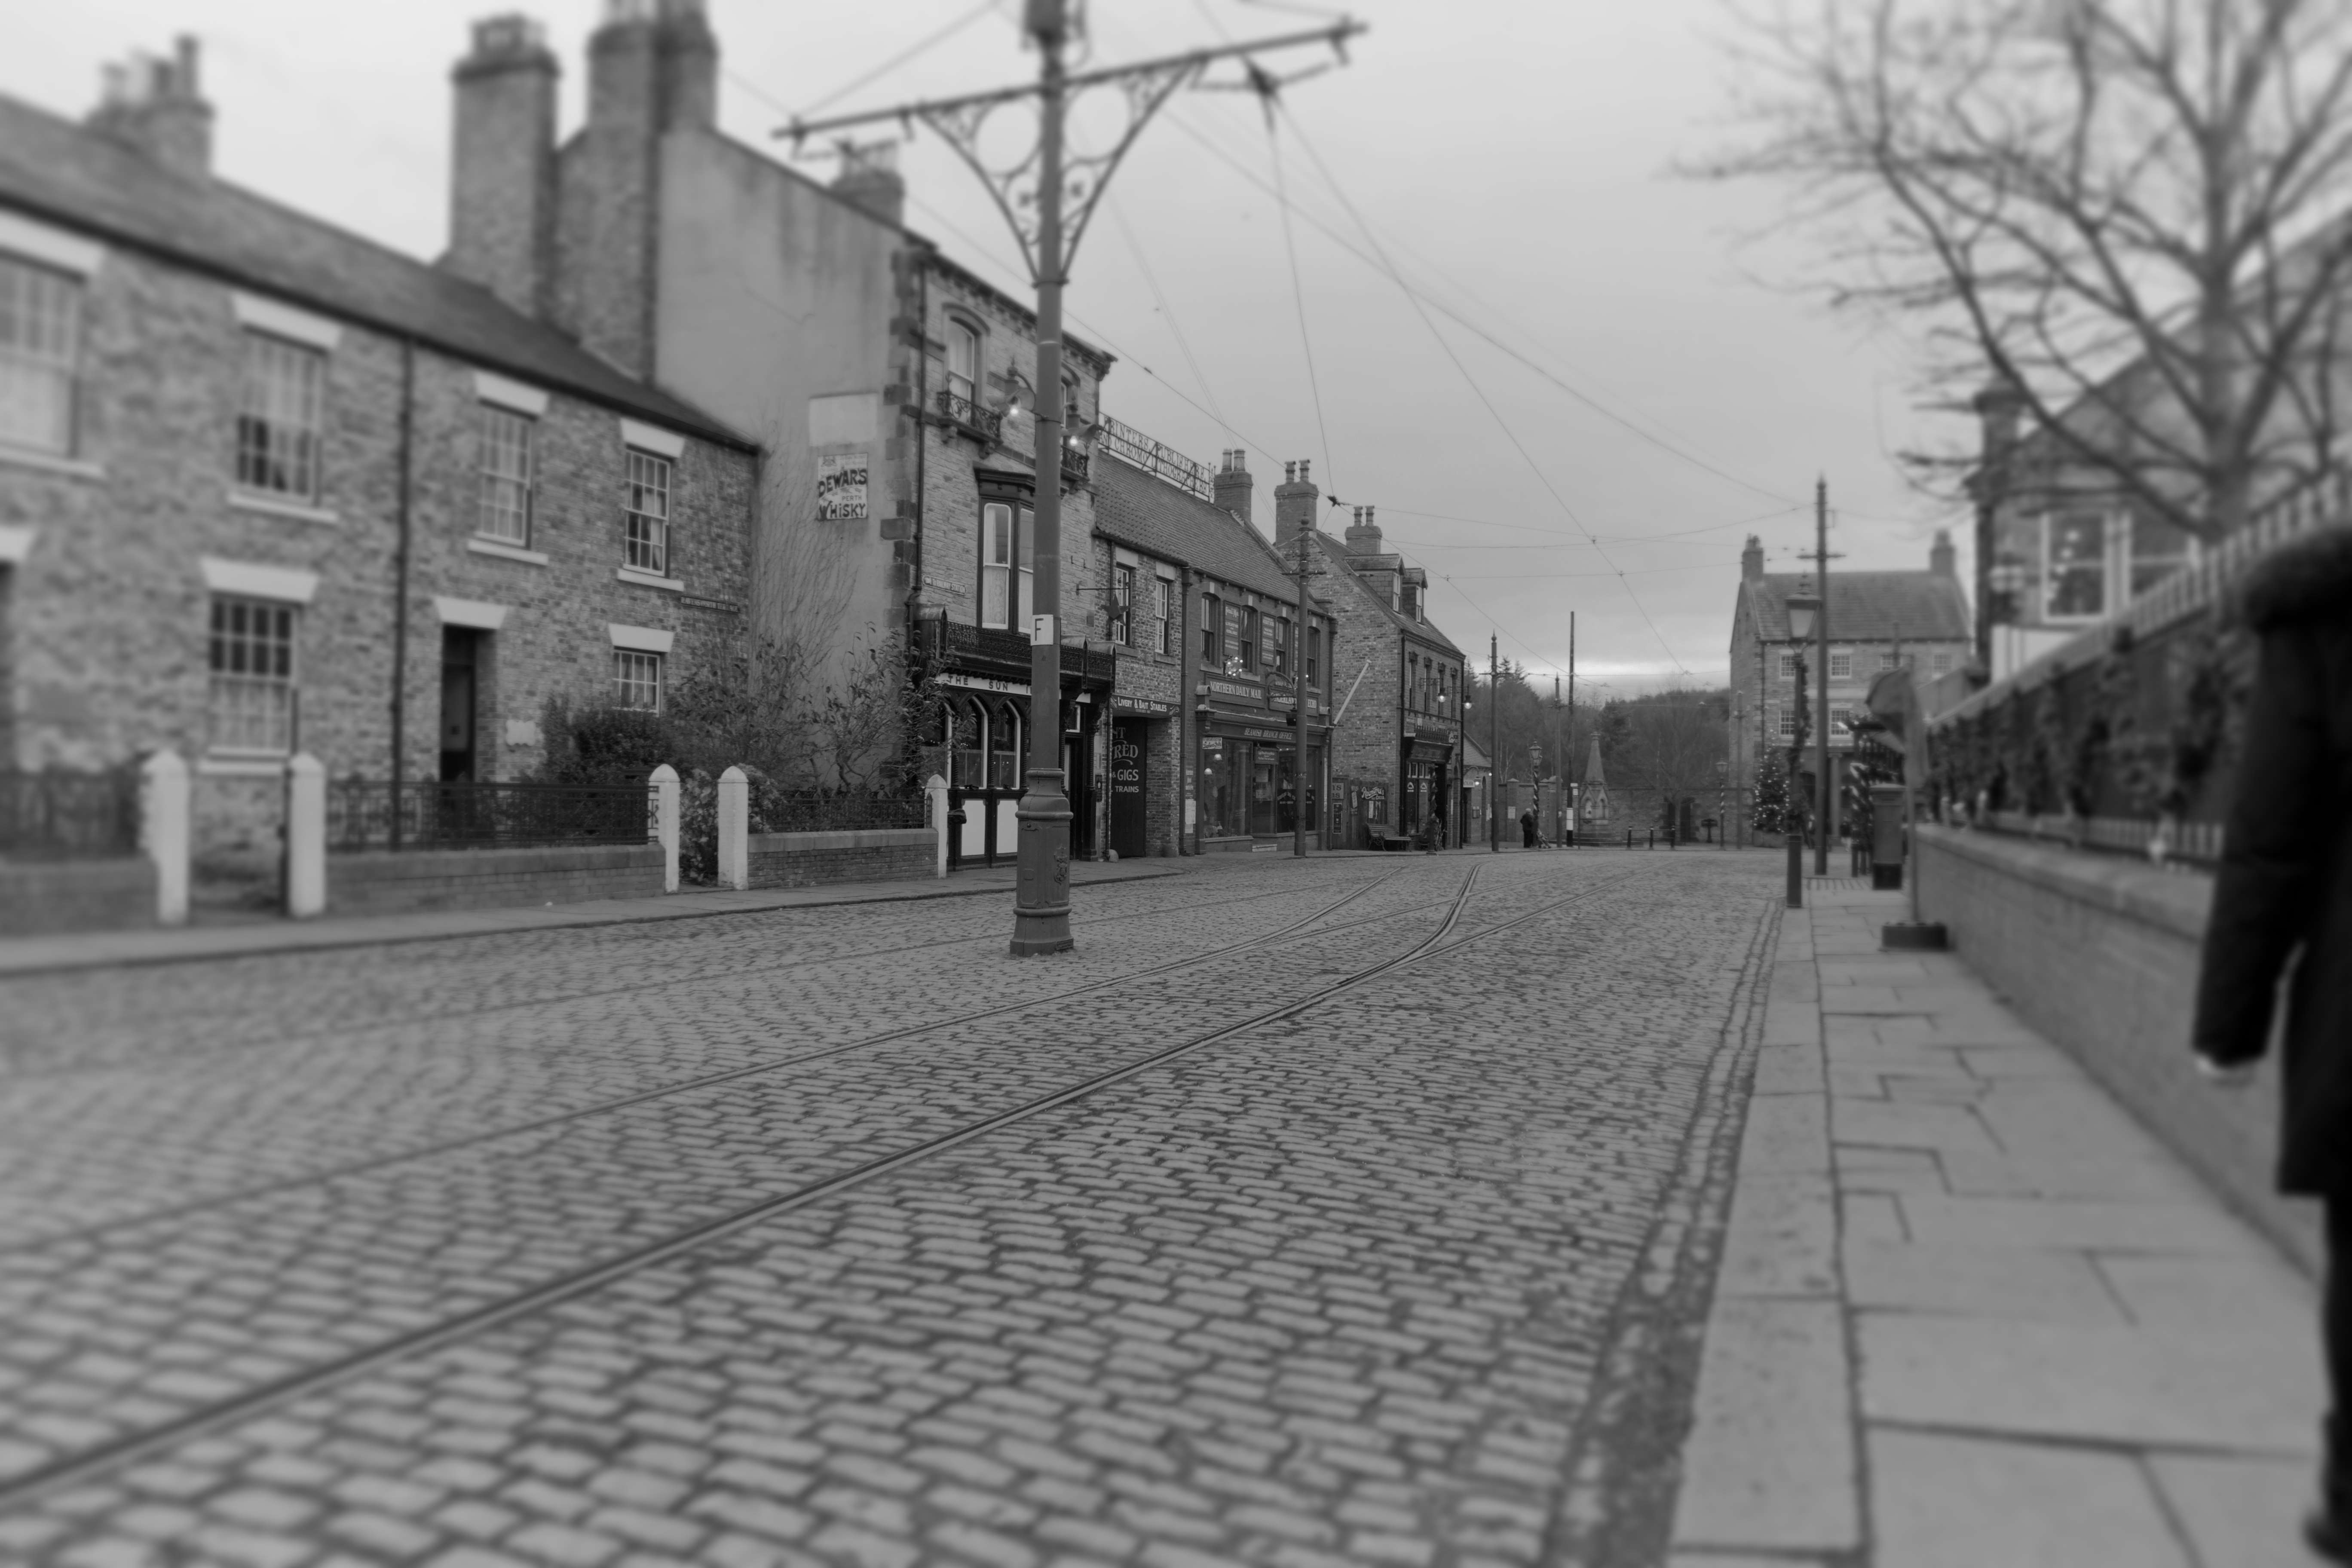
PS… as I sometimes do, a few arty photos…. (proper engineering in monochrome!)
About 12 months ago I ditched using Adobe Photoshop which had been my go-to photo editor for over 10 years in favour of the free Polarr Photo Editor… which I do like for it’s speed and ease of use. I’ve been playing about trying to reproduce the varoius classic postcard looks from the turn of the 19th centtury and mid 20th century…
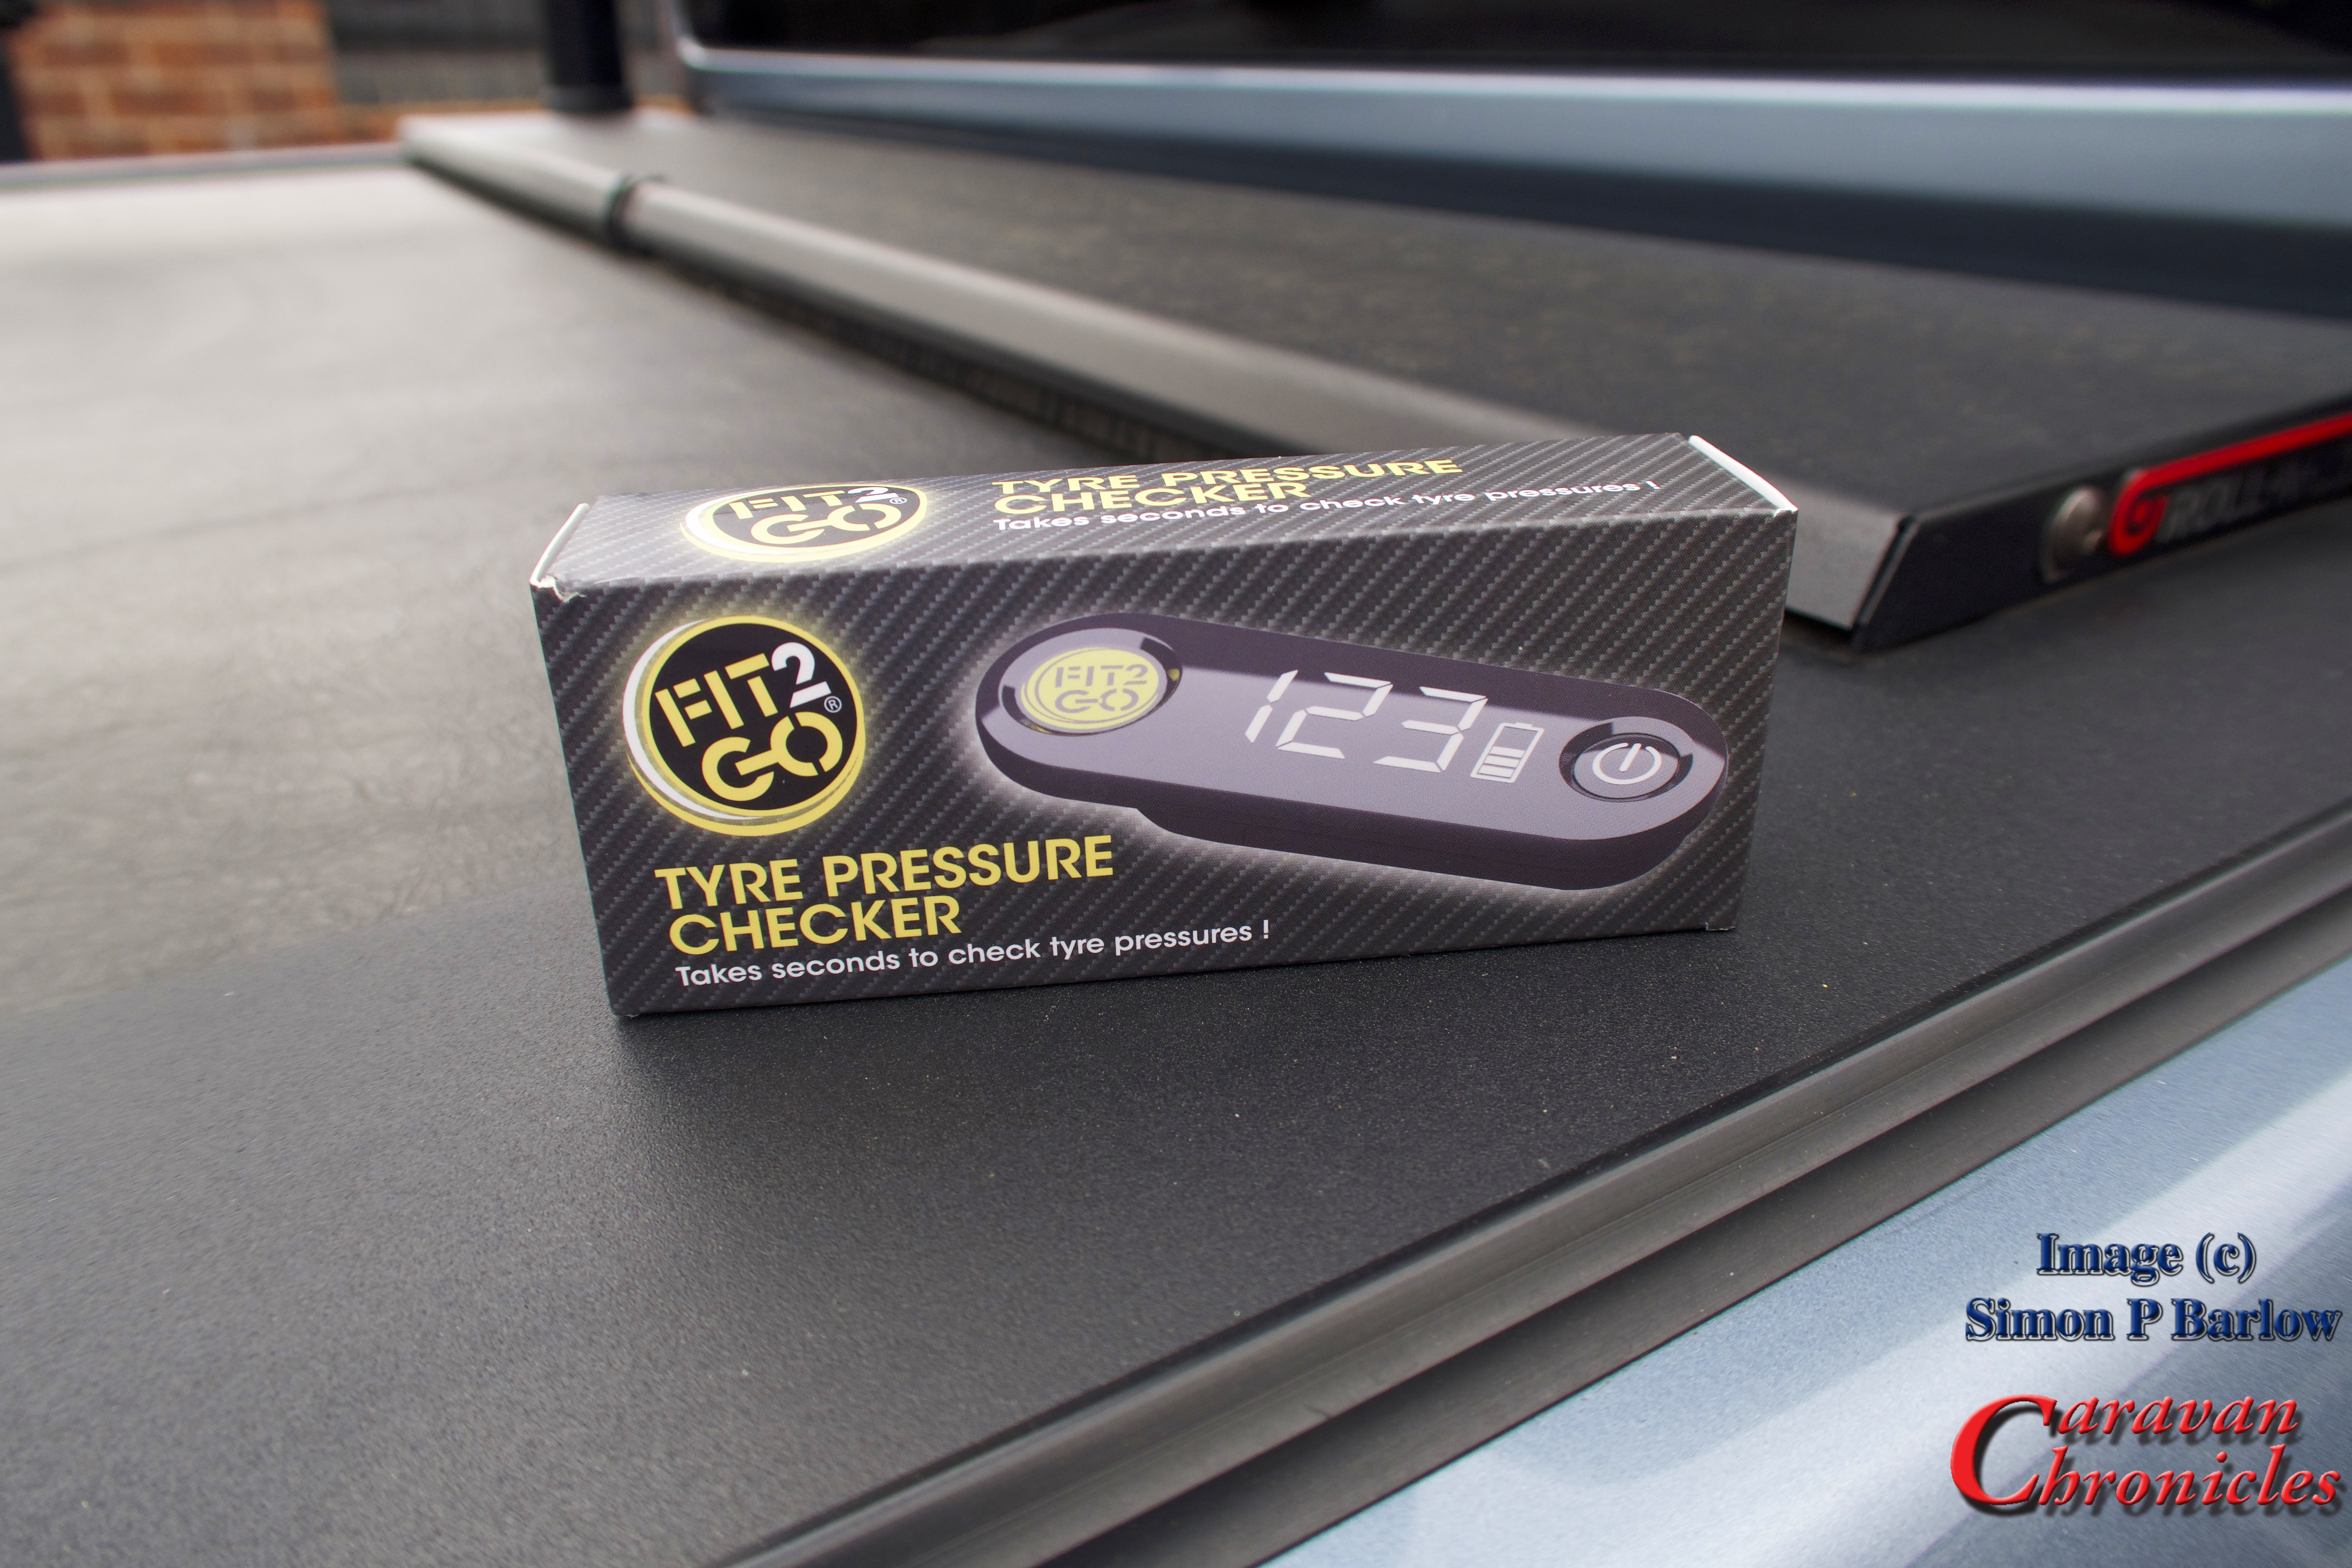
Back in December last year I did a write up and little video with Andy Harris from RoadPro about the Fit2Go tyre pressure monitoring system. In the video he promised to send me one of the new Fit2Go Tyre Pressure Checker units as soon as they were released. Well Andy kept his word and yesterday I received a little package from Road Pro.
I had seen a sneak preview of one of the first early production units available at the NEC show in February and managed to have a quick run through of it very simple operation.
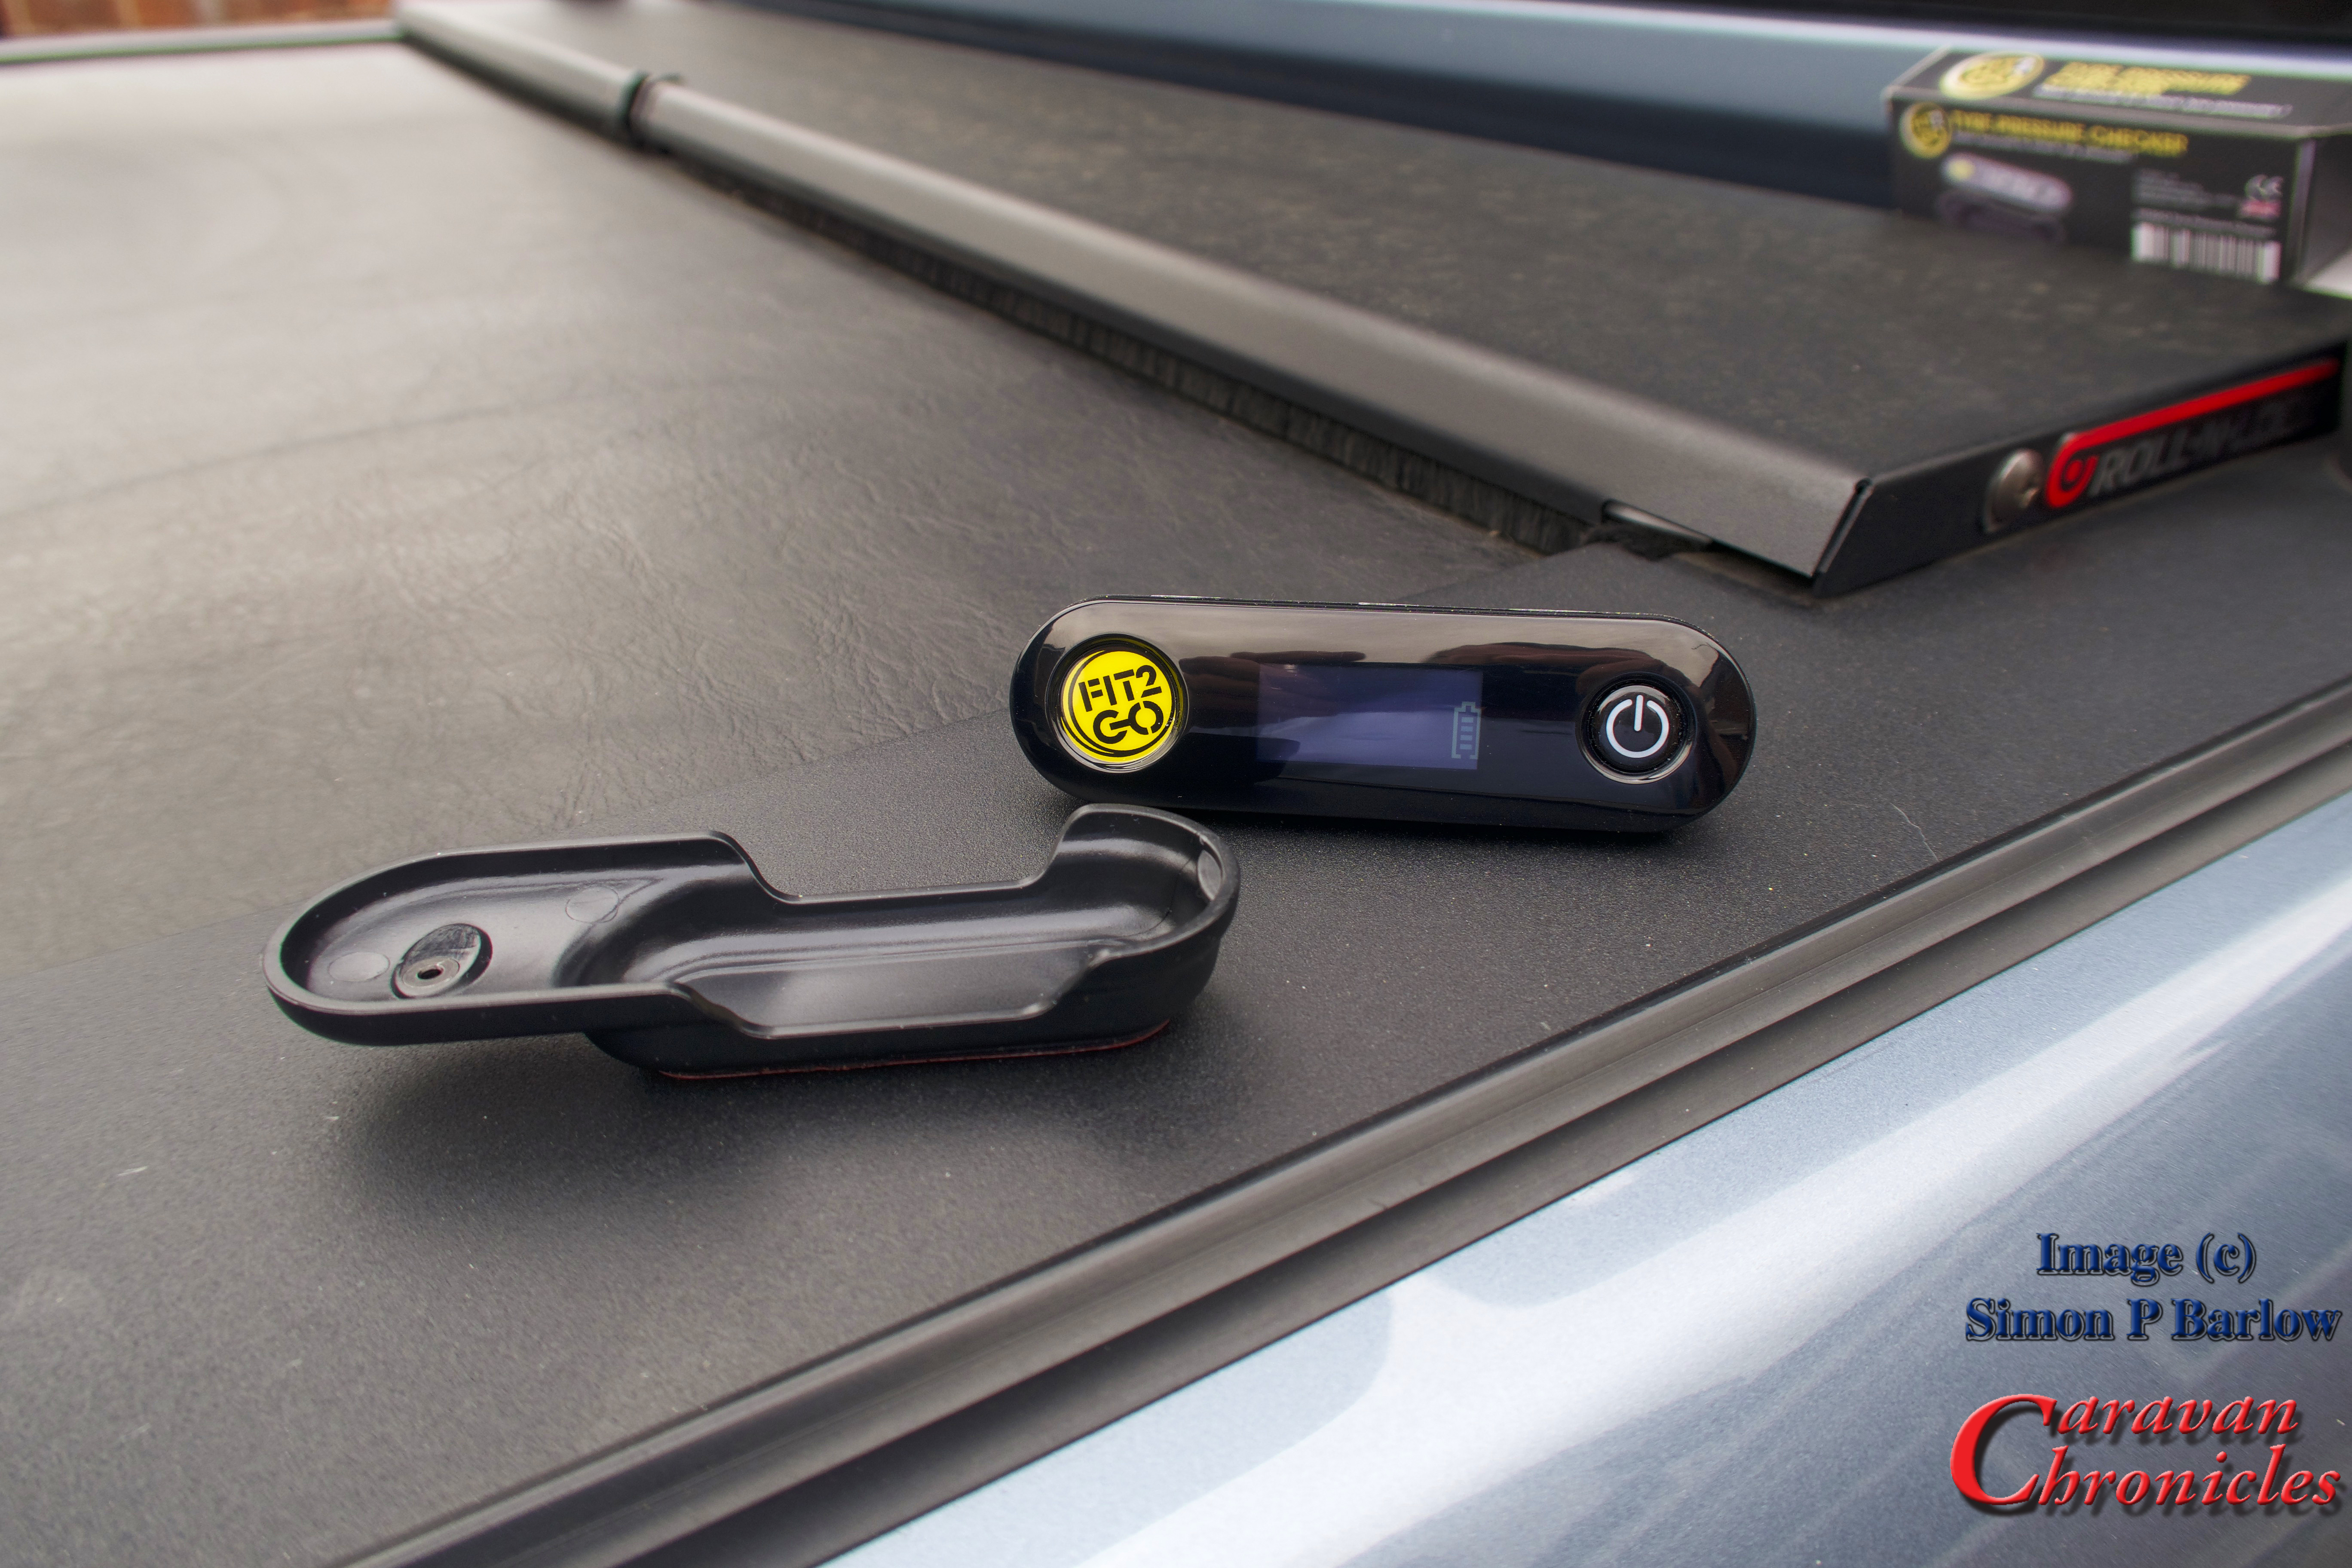
The unit comes neatly packaged and isn’t contained on one of those damn near impossible to open blister packs thankfully. It arrive complete with a set of AAA size batteries, a holder which has a pad of 3M VHB tape to allow it to be attached and stowed securely inside the vehicle. VHB if you don’t know stands for Very High Bond, so choose your storage location wisely… it might be a bit of a do-dah to move!
Operation is really simple. Press and hold the on button for five seconds and the unit will power up and display the status of the units own batteries.
To obtain a pressure reading, simply place the unit’s logo over the tyre pressure sensor and you will feel a slight pull as the internal magnet pulls it towards the sensor, it’s this magnet that ‘wakes up’ the sensor.
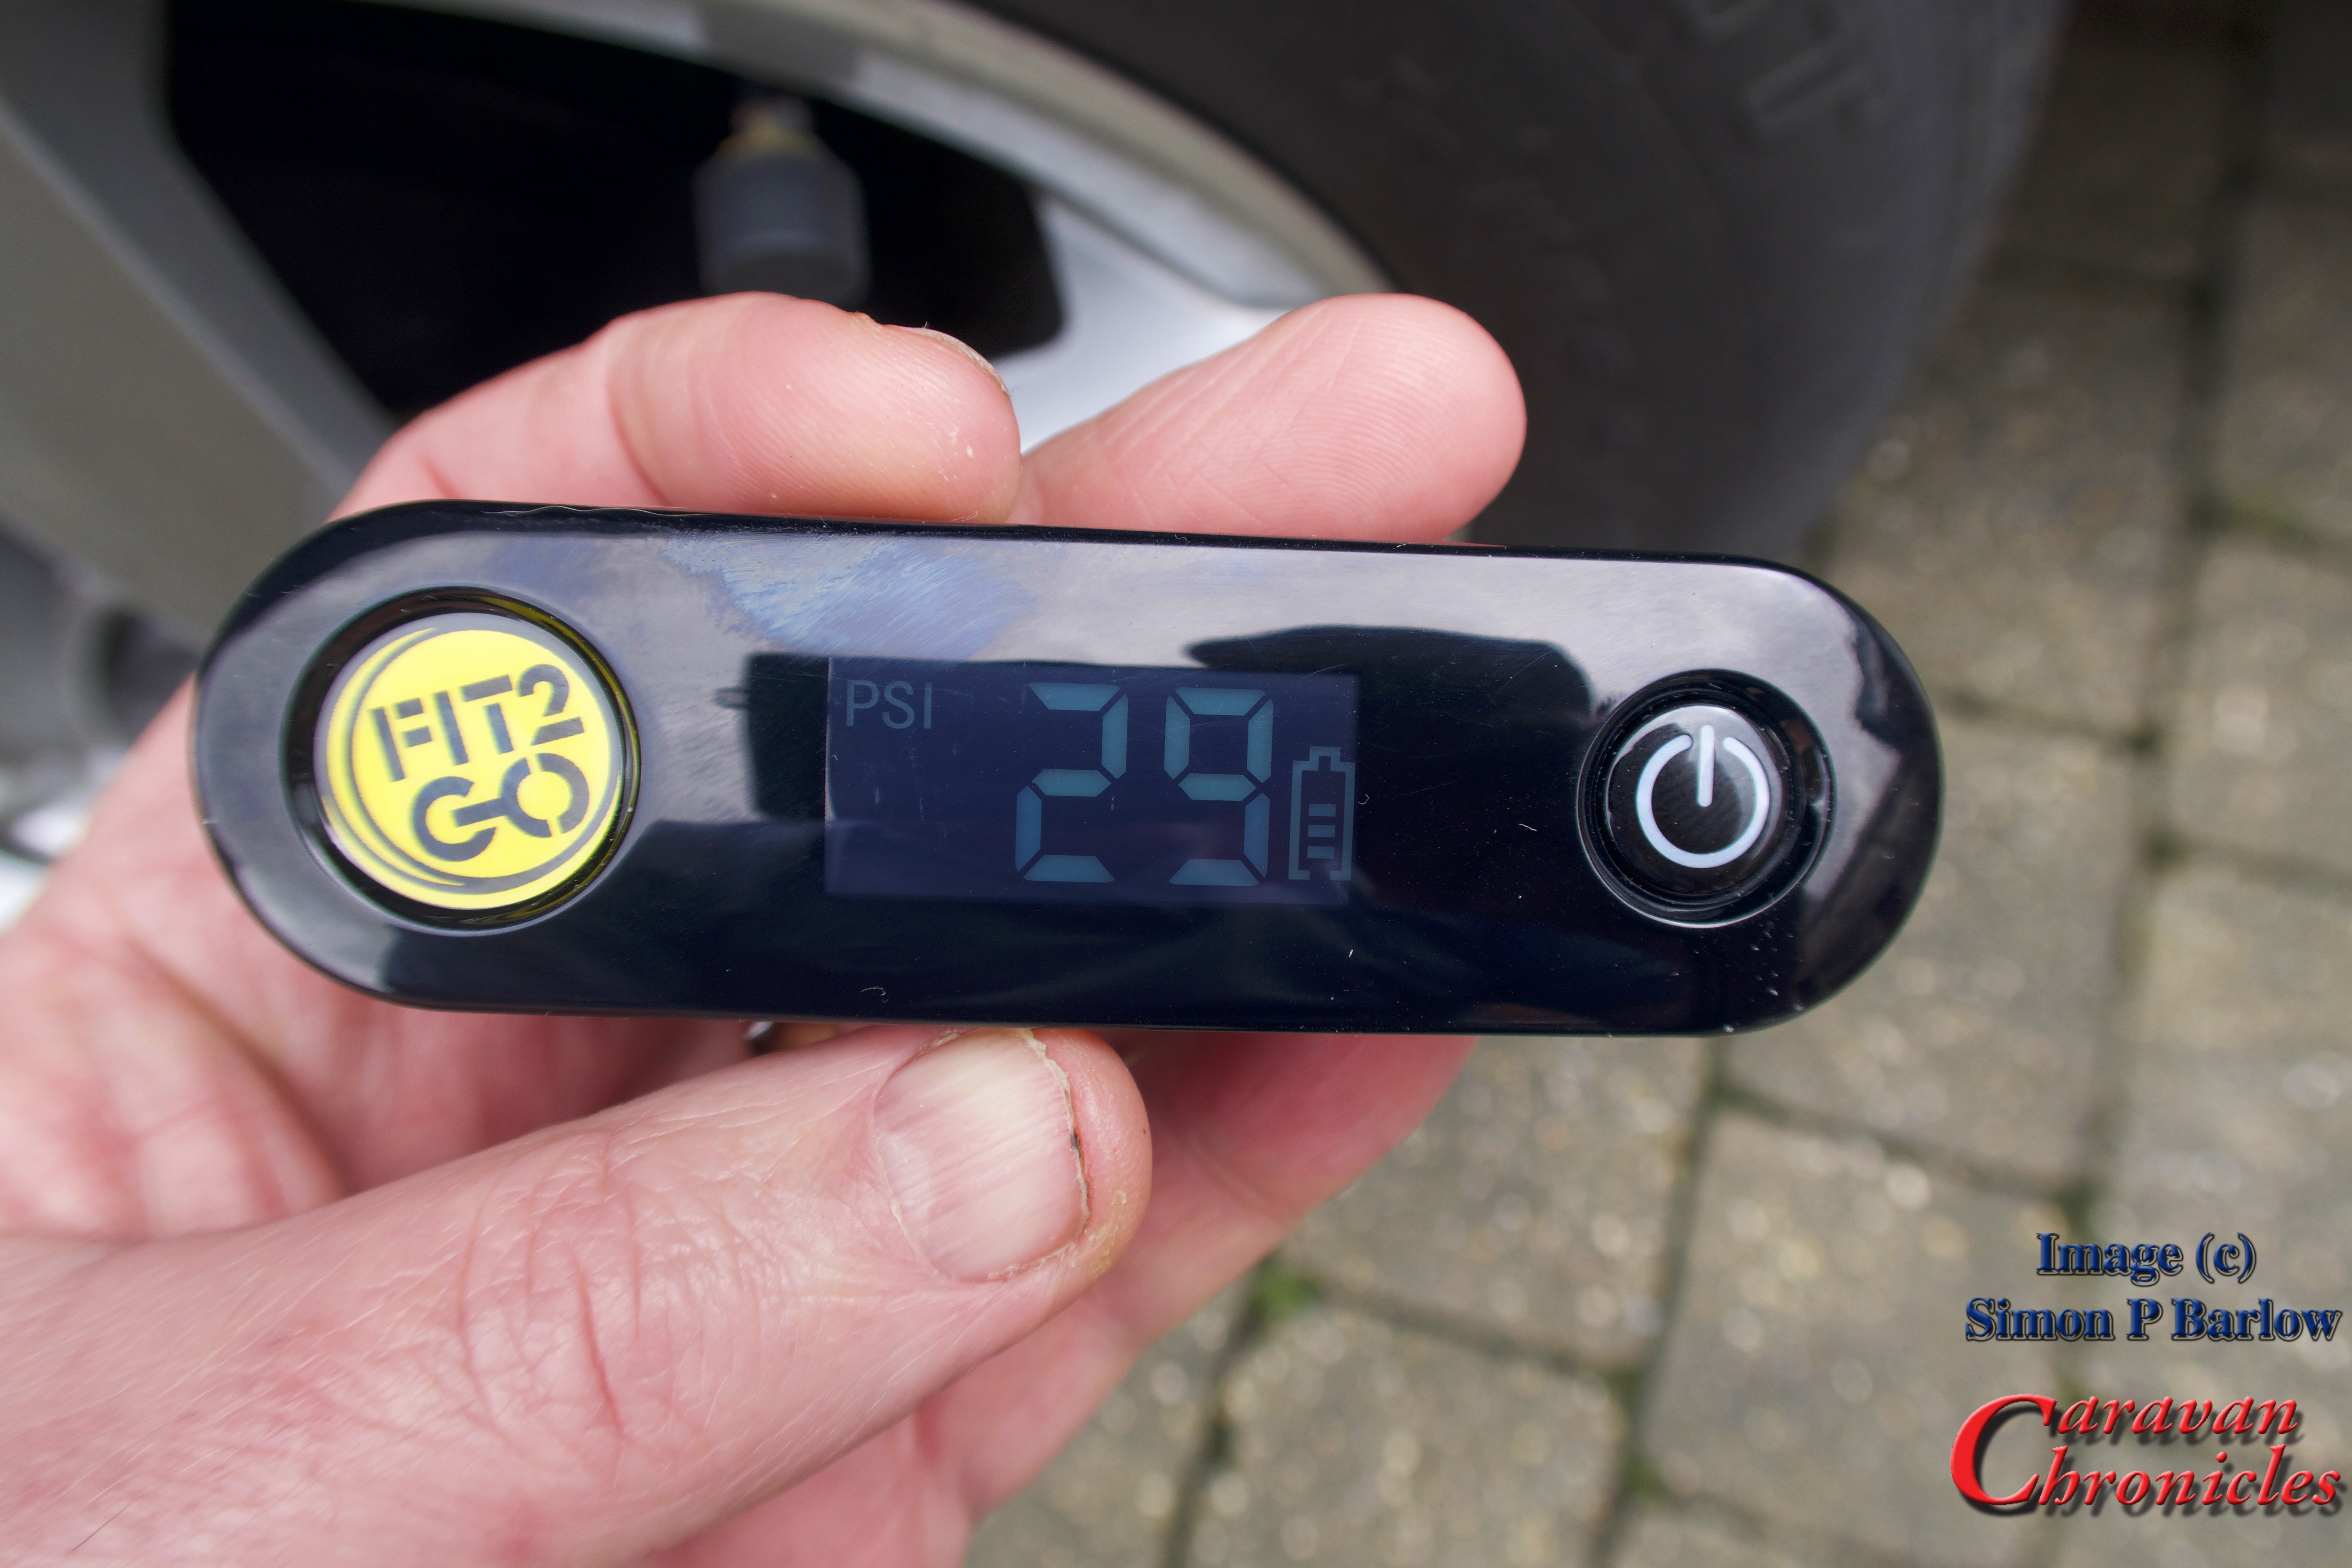
29 PSI is correct for the Amarok running light, and this sensor is showing 3 battery bars.
After a few seconds the Pressure Checker will beep and you can read the pressure for that wheel… and cleverly, you can also check on the battery level in the sensor. The display is in good old PSI, however if you don’t work in PSI and much prefer BAR, while the Pressure Checker is turned on, simply press the on/off button five times in quick succession and it will beep and the reading will now be in BAR. To change it back, simply do the same again to revert to PSI. To turn the Pressure Checker off, simply hold down the power button for 3 seconds and it will beep and turn off.
That is about as complicated as it gets.. really. The only real challenge is to find a spot to stick the holder!
I have tried a few different TPMS ‘solutions’ over the past couple of years and all have plus points and minus points. As I am one of these people who likes to do walk rounds before setting off (throw back to my flying days I guess) I really didn’t want Formula 1 type information thrown at me all the time. I wanted a simple warning system and a simple way to check the pressure without having to remove any sensors. Fit2Go ticks these boxes.
If I did have a negative point about the Fit2Go system it would be the fact that the batteries in the sensors are not user replaceable. At least I do have a way to check the status of them now. The sensors are not too expensive when they need replacing, but will be more expensive that replacing just a battery. Part of my brain is shouting “recycling” at me… and I do wonder why the manufacturer hasn’t come up with a recycling scheme… exchange your old sensors for new for a few pounds less than buying new and we will recycle them. Or maybe a discount voucher scheme when you recycle?
The Fit2Go Tyre Pressure Checker is available from RoadProfor just under £40 (exc shipping) or you can always find it on Amazon.
It’s time to wrap up the bike rack install. I had to wait a few days for the final rack to arrive. Although I had ordered a twin pack of the Thule FreeRide 532 from Holdcrofts via Amazon and they had shipped out a twin pack, it would seem that their courier had ‘lost’ one and to Holdcrofts credit as soon as I emailed them they dispatched another… which the courier took four days to deliver.
OK, so now to fit the actual bike carriers onto the rack I had previously installed a couple of days ago.
We had opted for the Thule FreeRide 532 over the ProRide version. What put me off the ProRide were a couple of videos on YouTube showing just how easy it was to remove a bike supposedly locked on to the rack. The FreeRide 532 has two arms supporting the bike and offered an option for additional security…. which I’m not going to go into for obvious reasons!
I had ordered a twin pack of the FreeRide 532, unfortunately I only received one. It seems the other was lost in transit somewhere according to my enquiries with the supplier. The other thing I found out was they (or it) didn’t come with the “T” track fixings. OK so a quick trip down to my nearest Thule dealer Northwest Towbars to pick up the elusive fixings. They would remain elusive… Northwest Towbars didn’t have any in stock. Not to be out manoeuvred I’d make my own.
To the bat cave again…
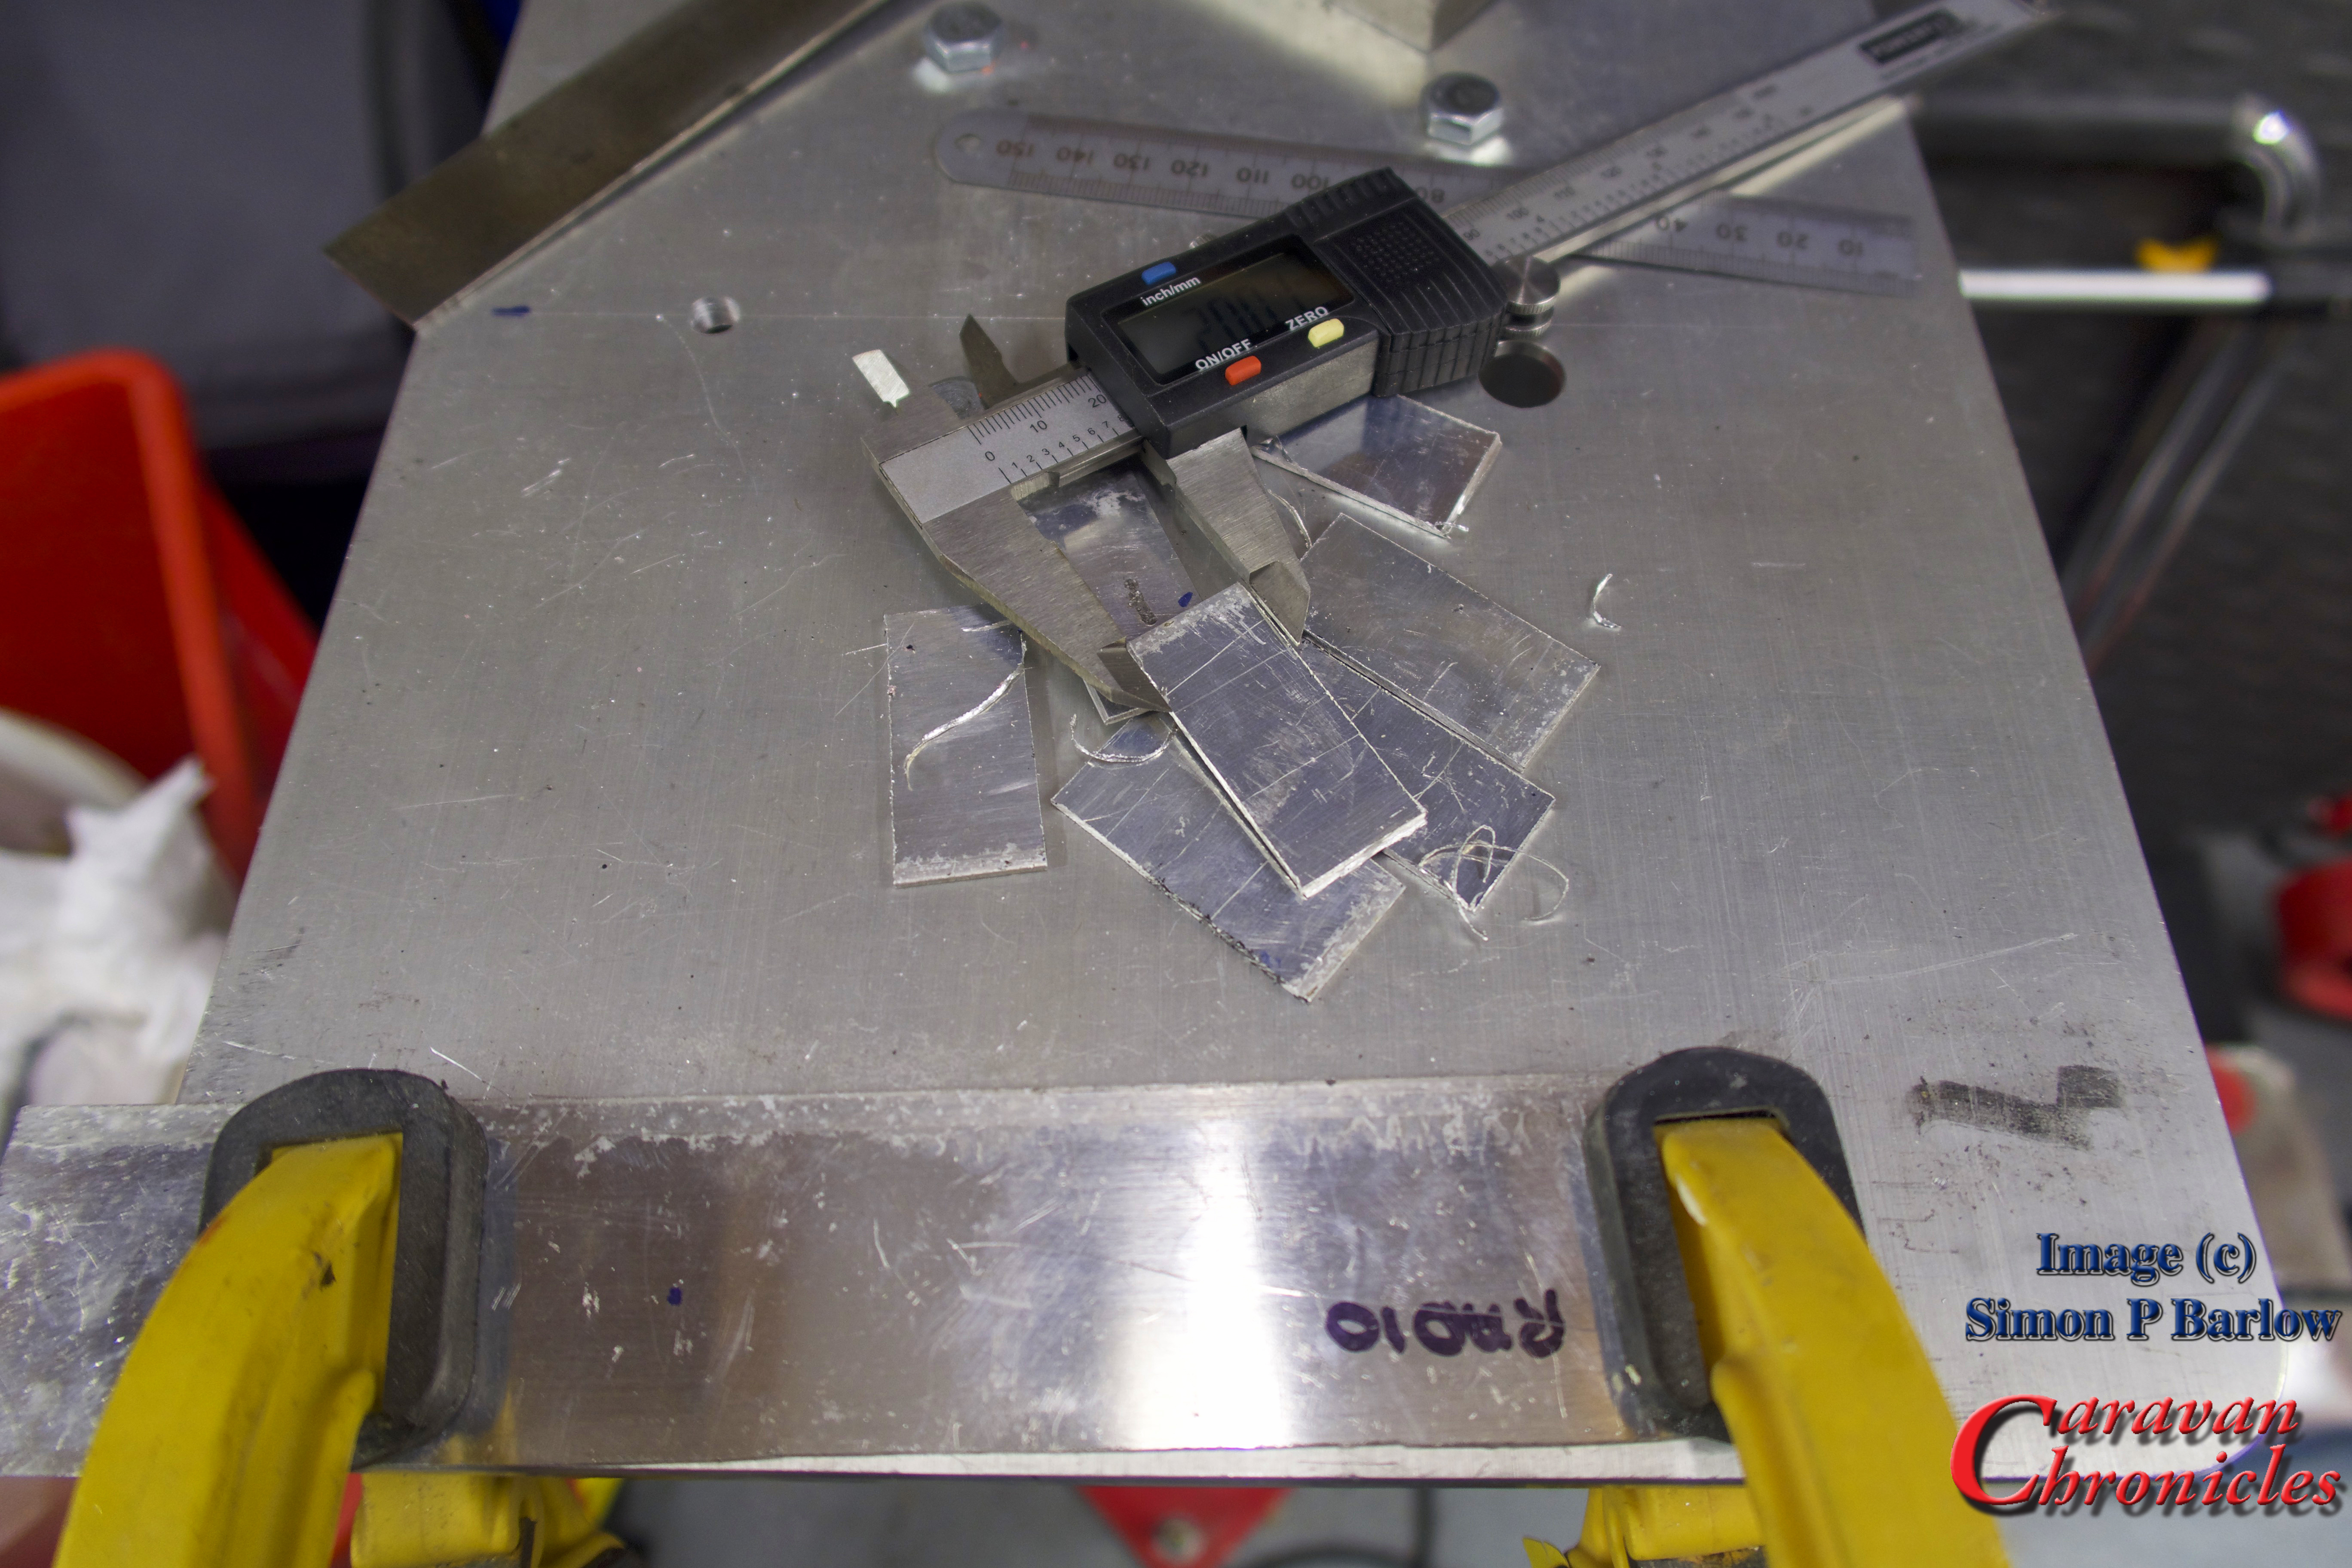
I just happened to have some 2mm aircraft grade aluminium handy and cut eight 21mm x 45mm pieces. The FreeRide 532 normally has three mounting locations, but as there was an additional hole that lined up with the “T” track it would be rude not to use it! So I made four for each rack.
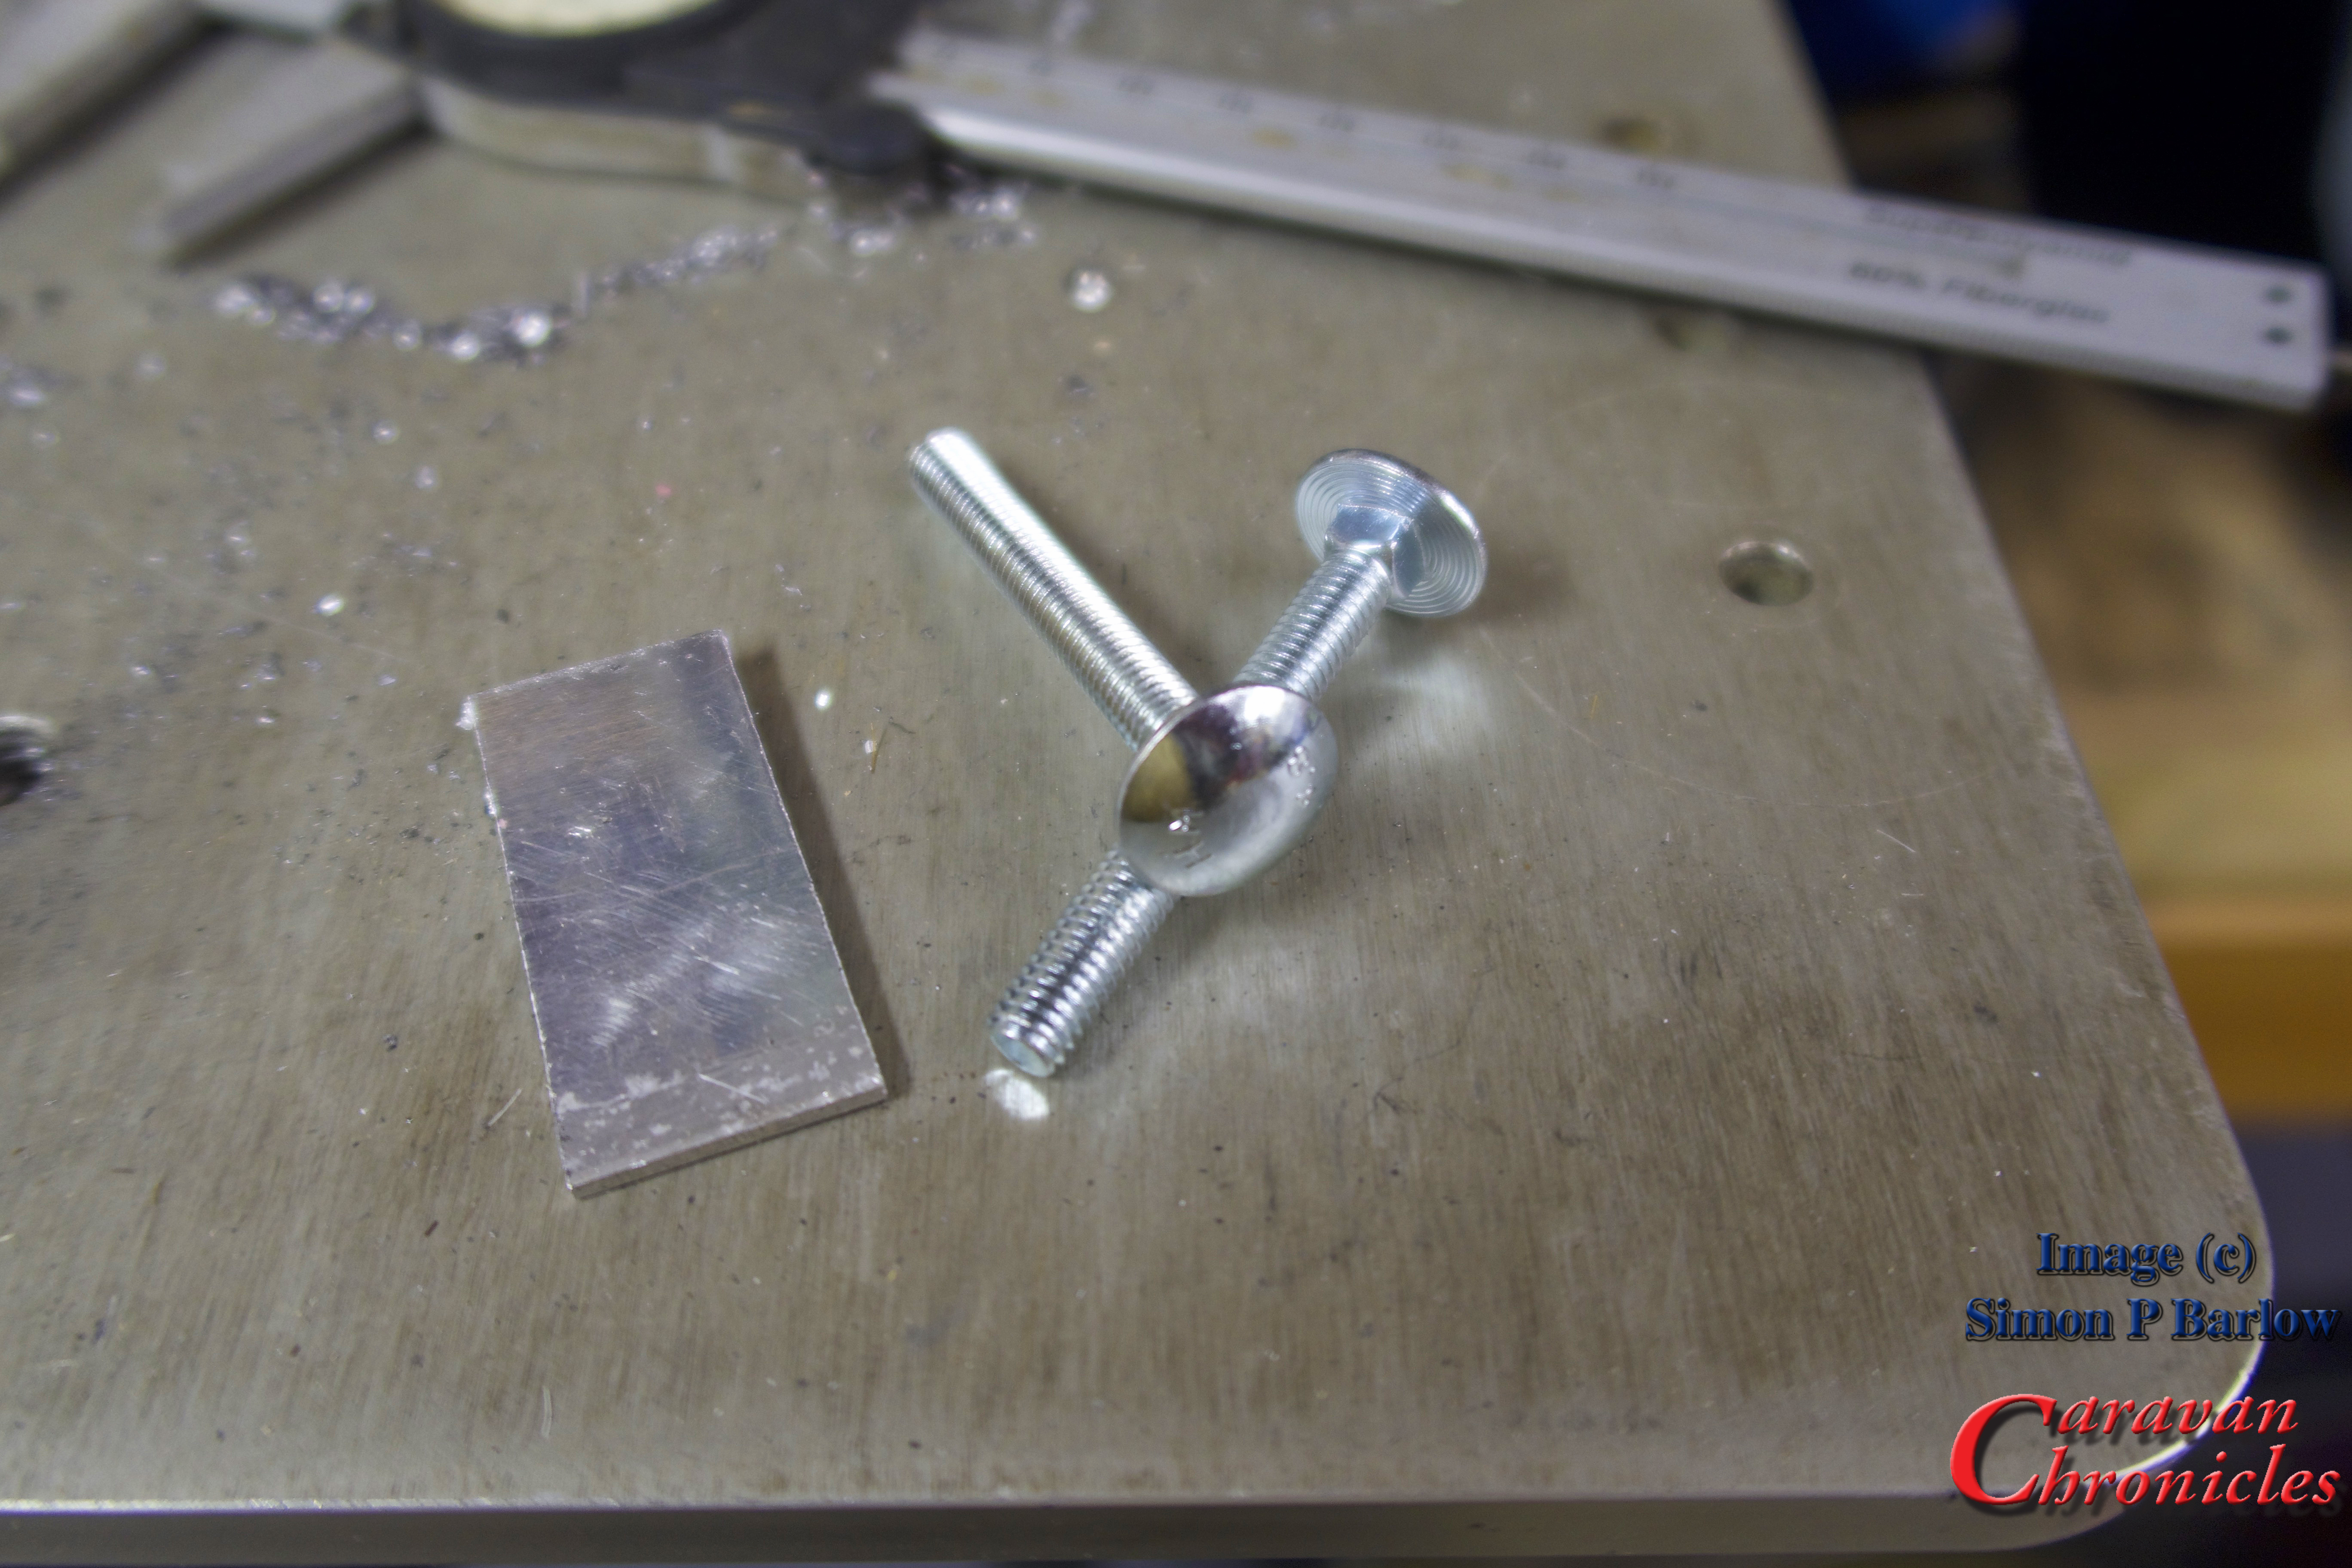
For the threaded bolt I had some dome head bolts handy. The width of the dome head was wide enough so it would not pull through the slot on its own so I was not relying on a 2mm think aluminium plate entirly. To hold the bolts in place I drilled a slightly undersized hole in the aluminium…
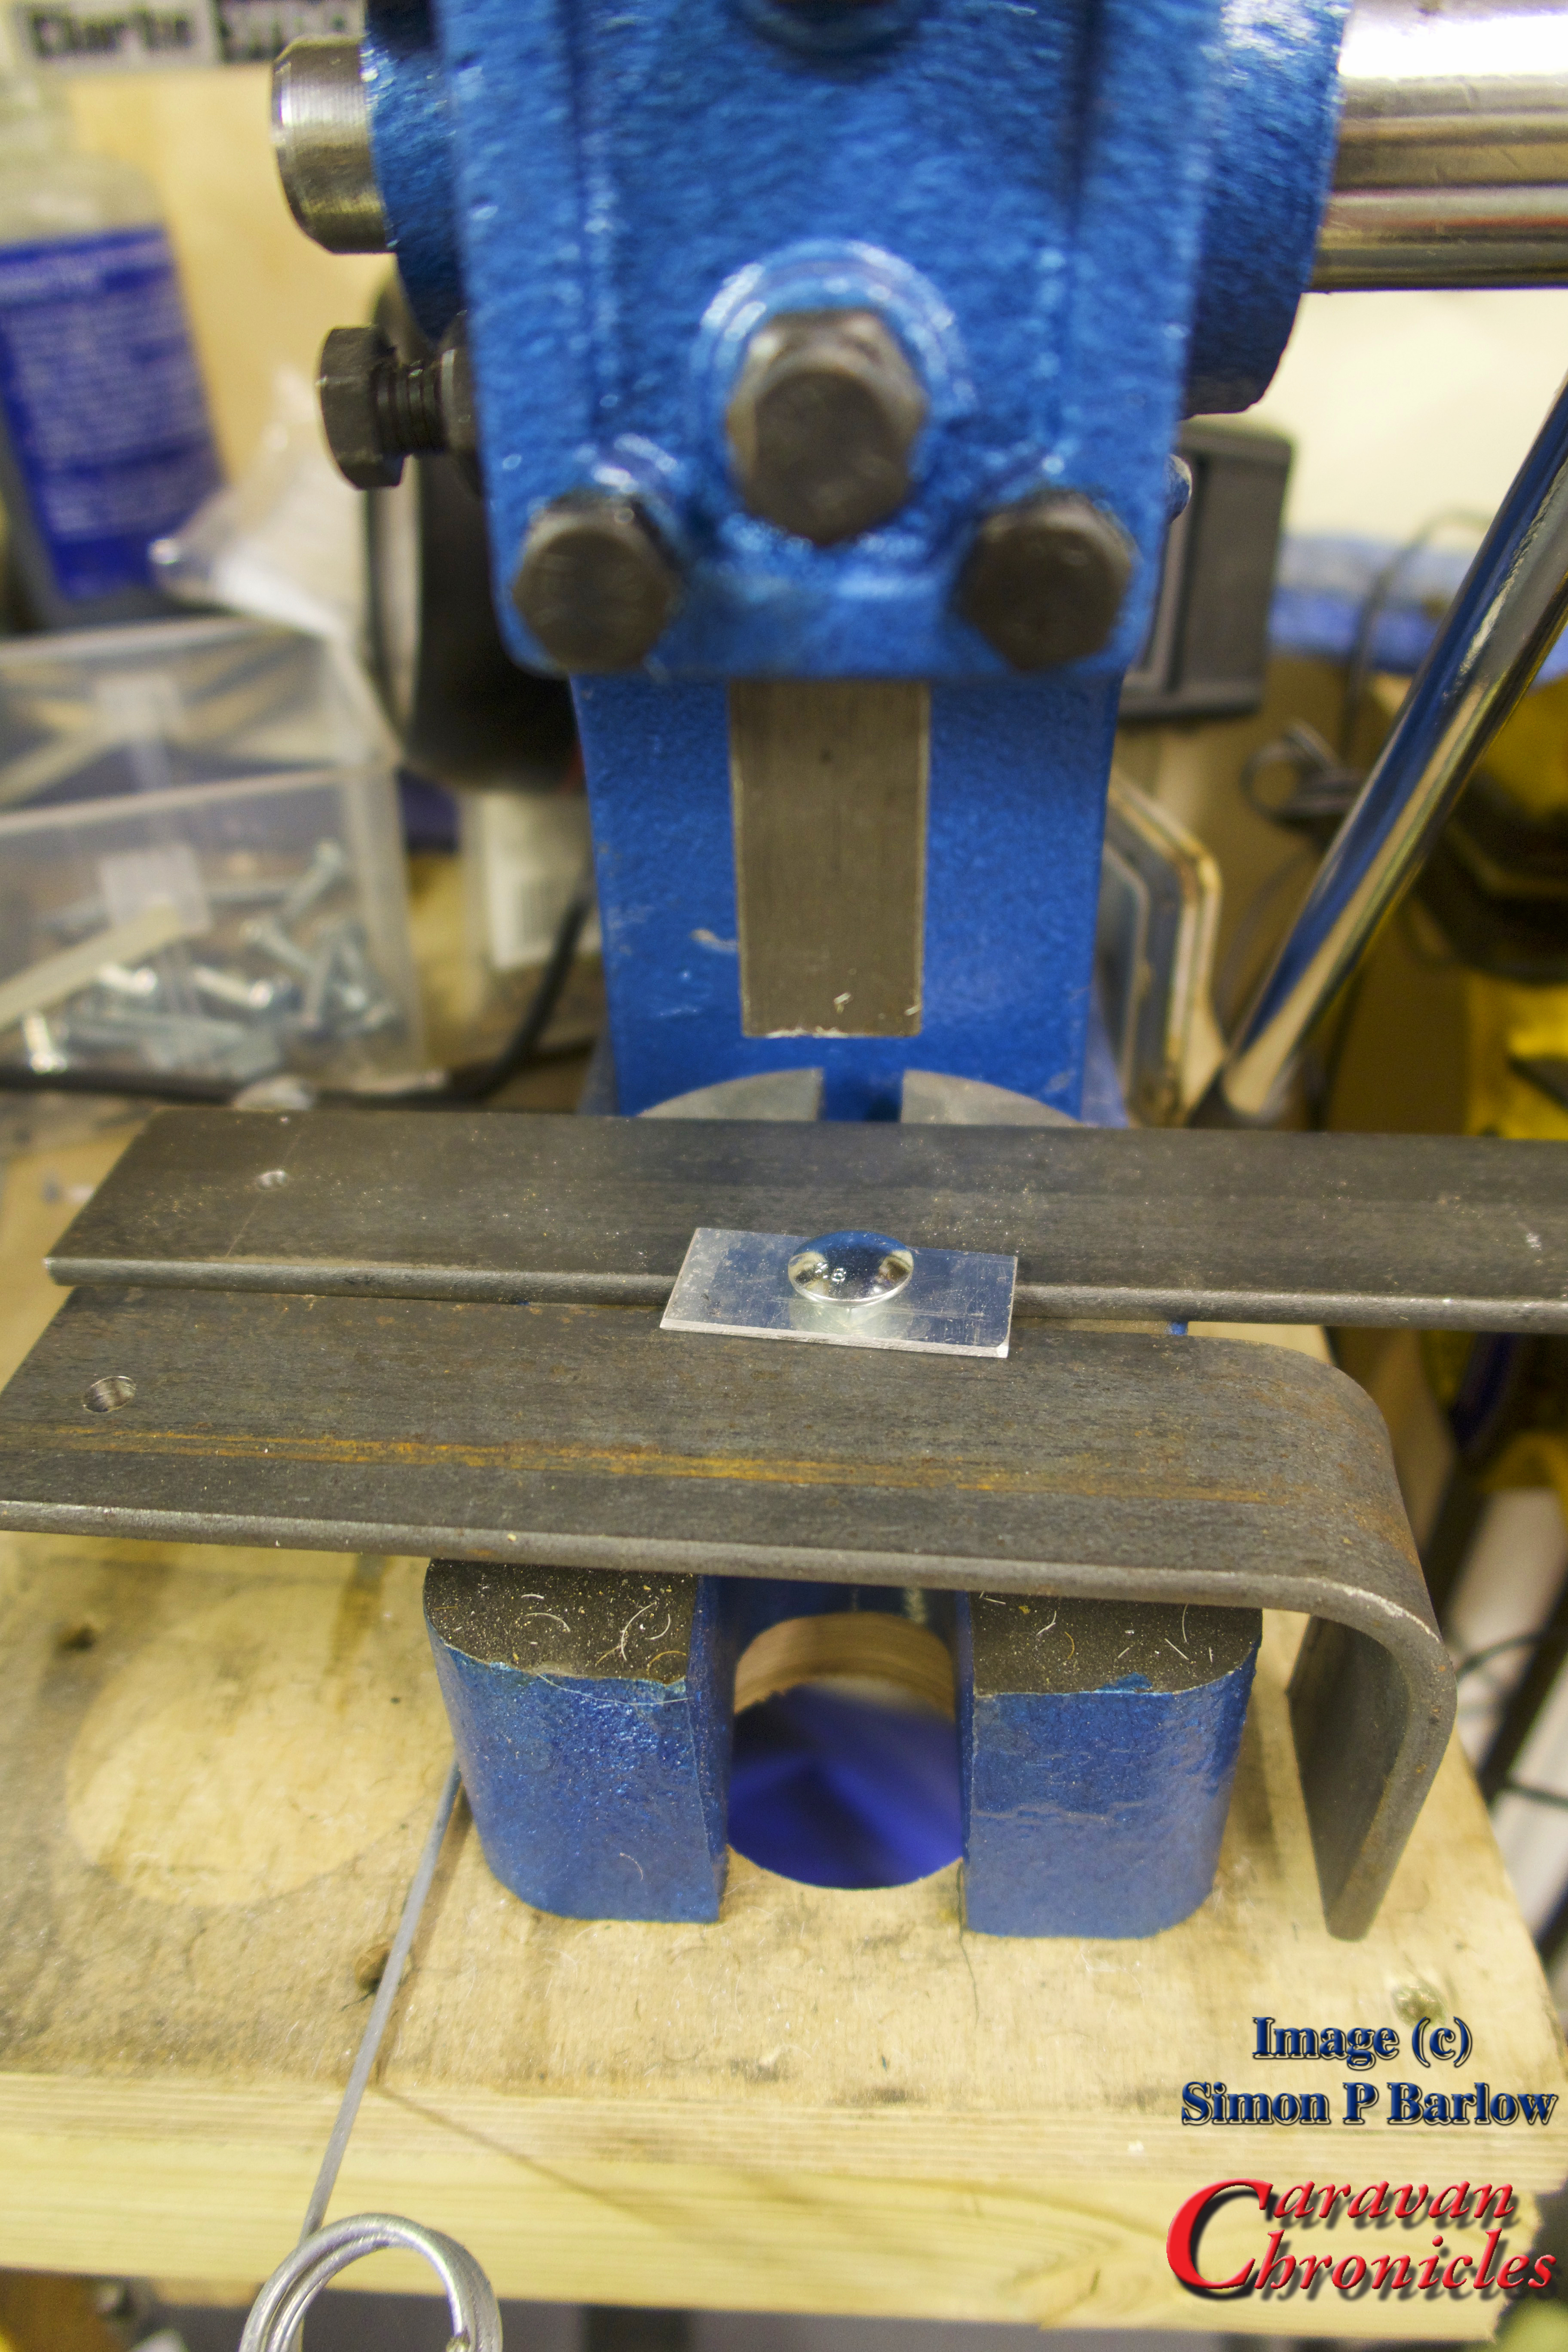
…and used my small press to force the square shoulders of the bolt through the aluminium plate to hold it in place.
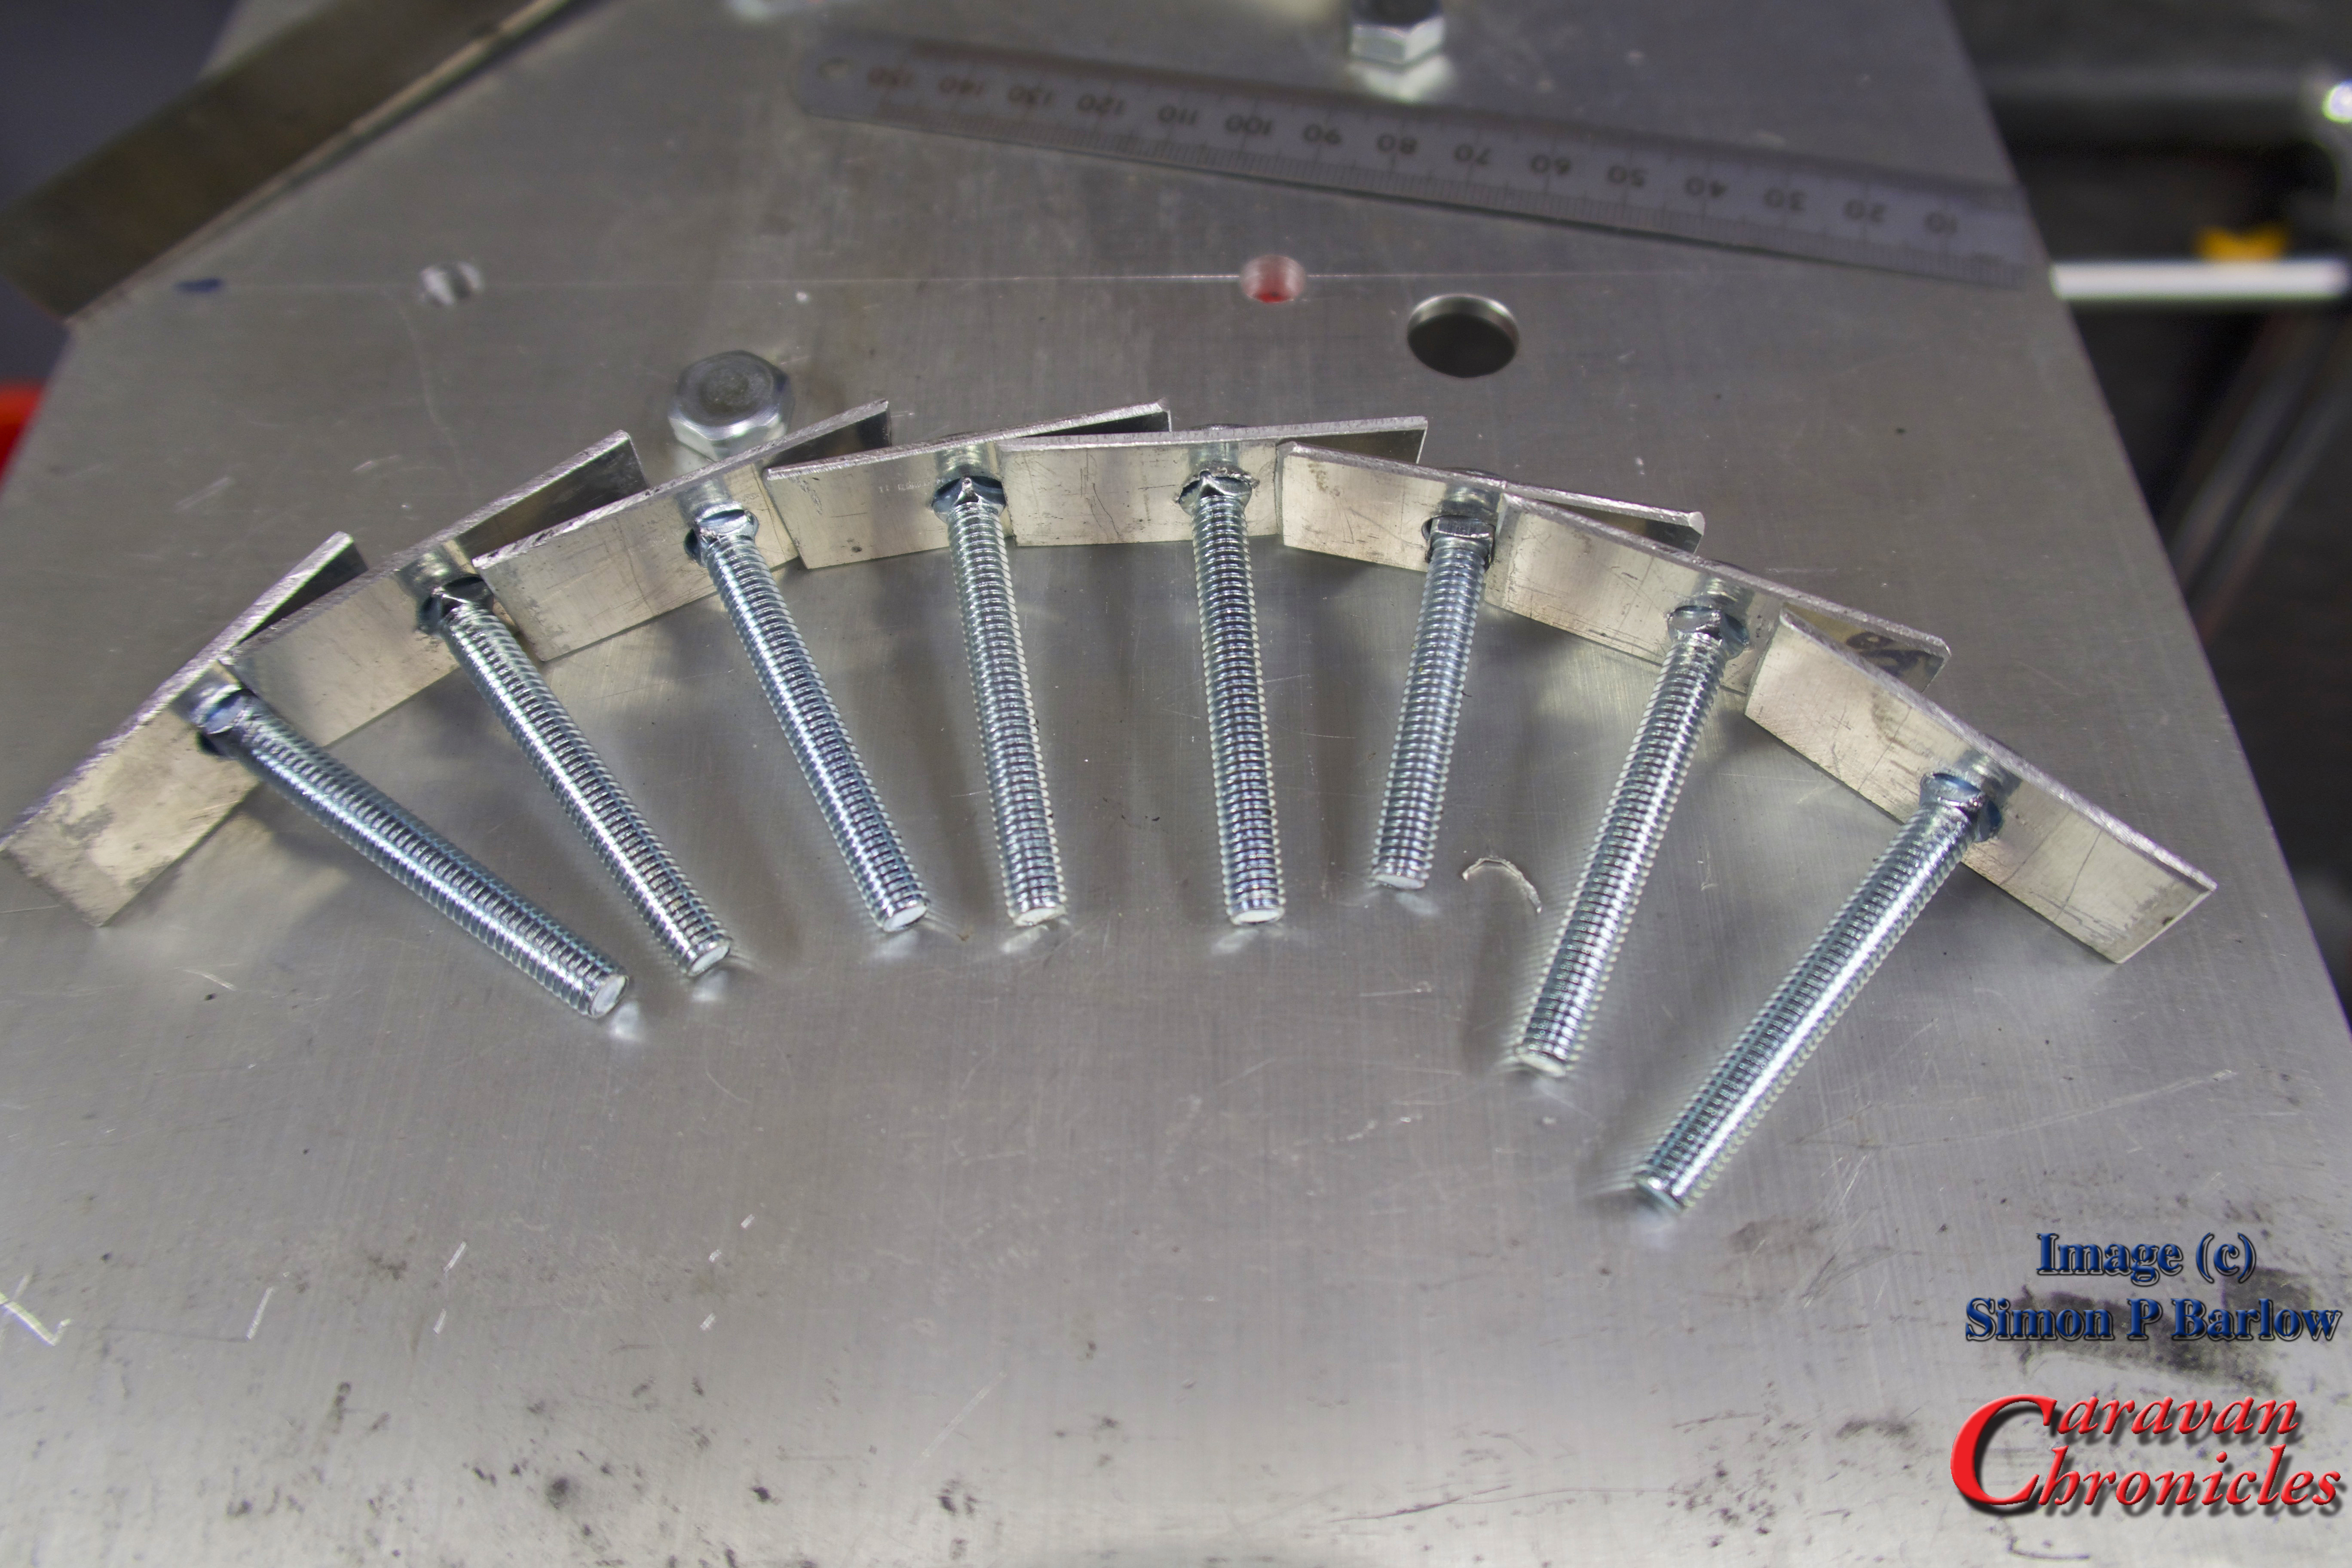
The result was eight “T” track bolts. A quick dressing up on the sanding belt and fine grinding wheel to remove any rough edges finished them off.
The excess length of the bolt would be trimmed later.
Fitting the FreeRide 532 Racks
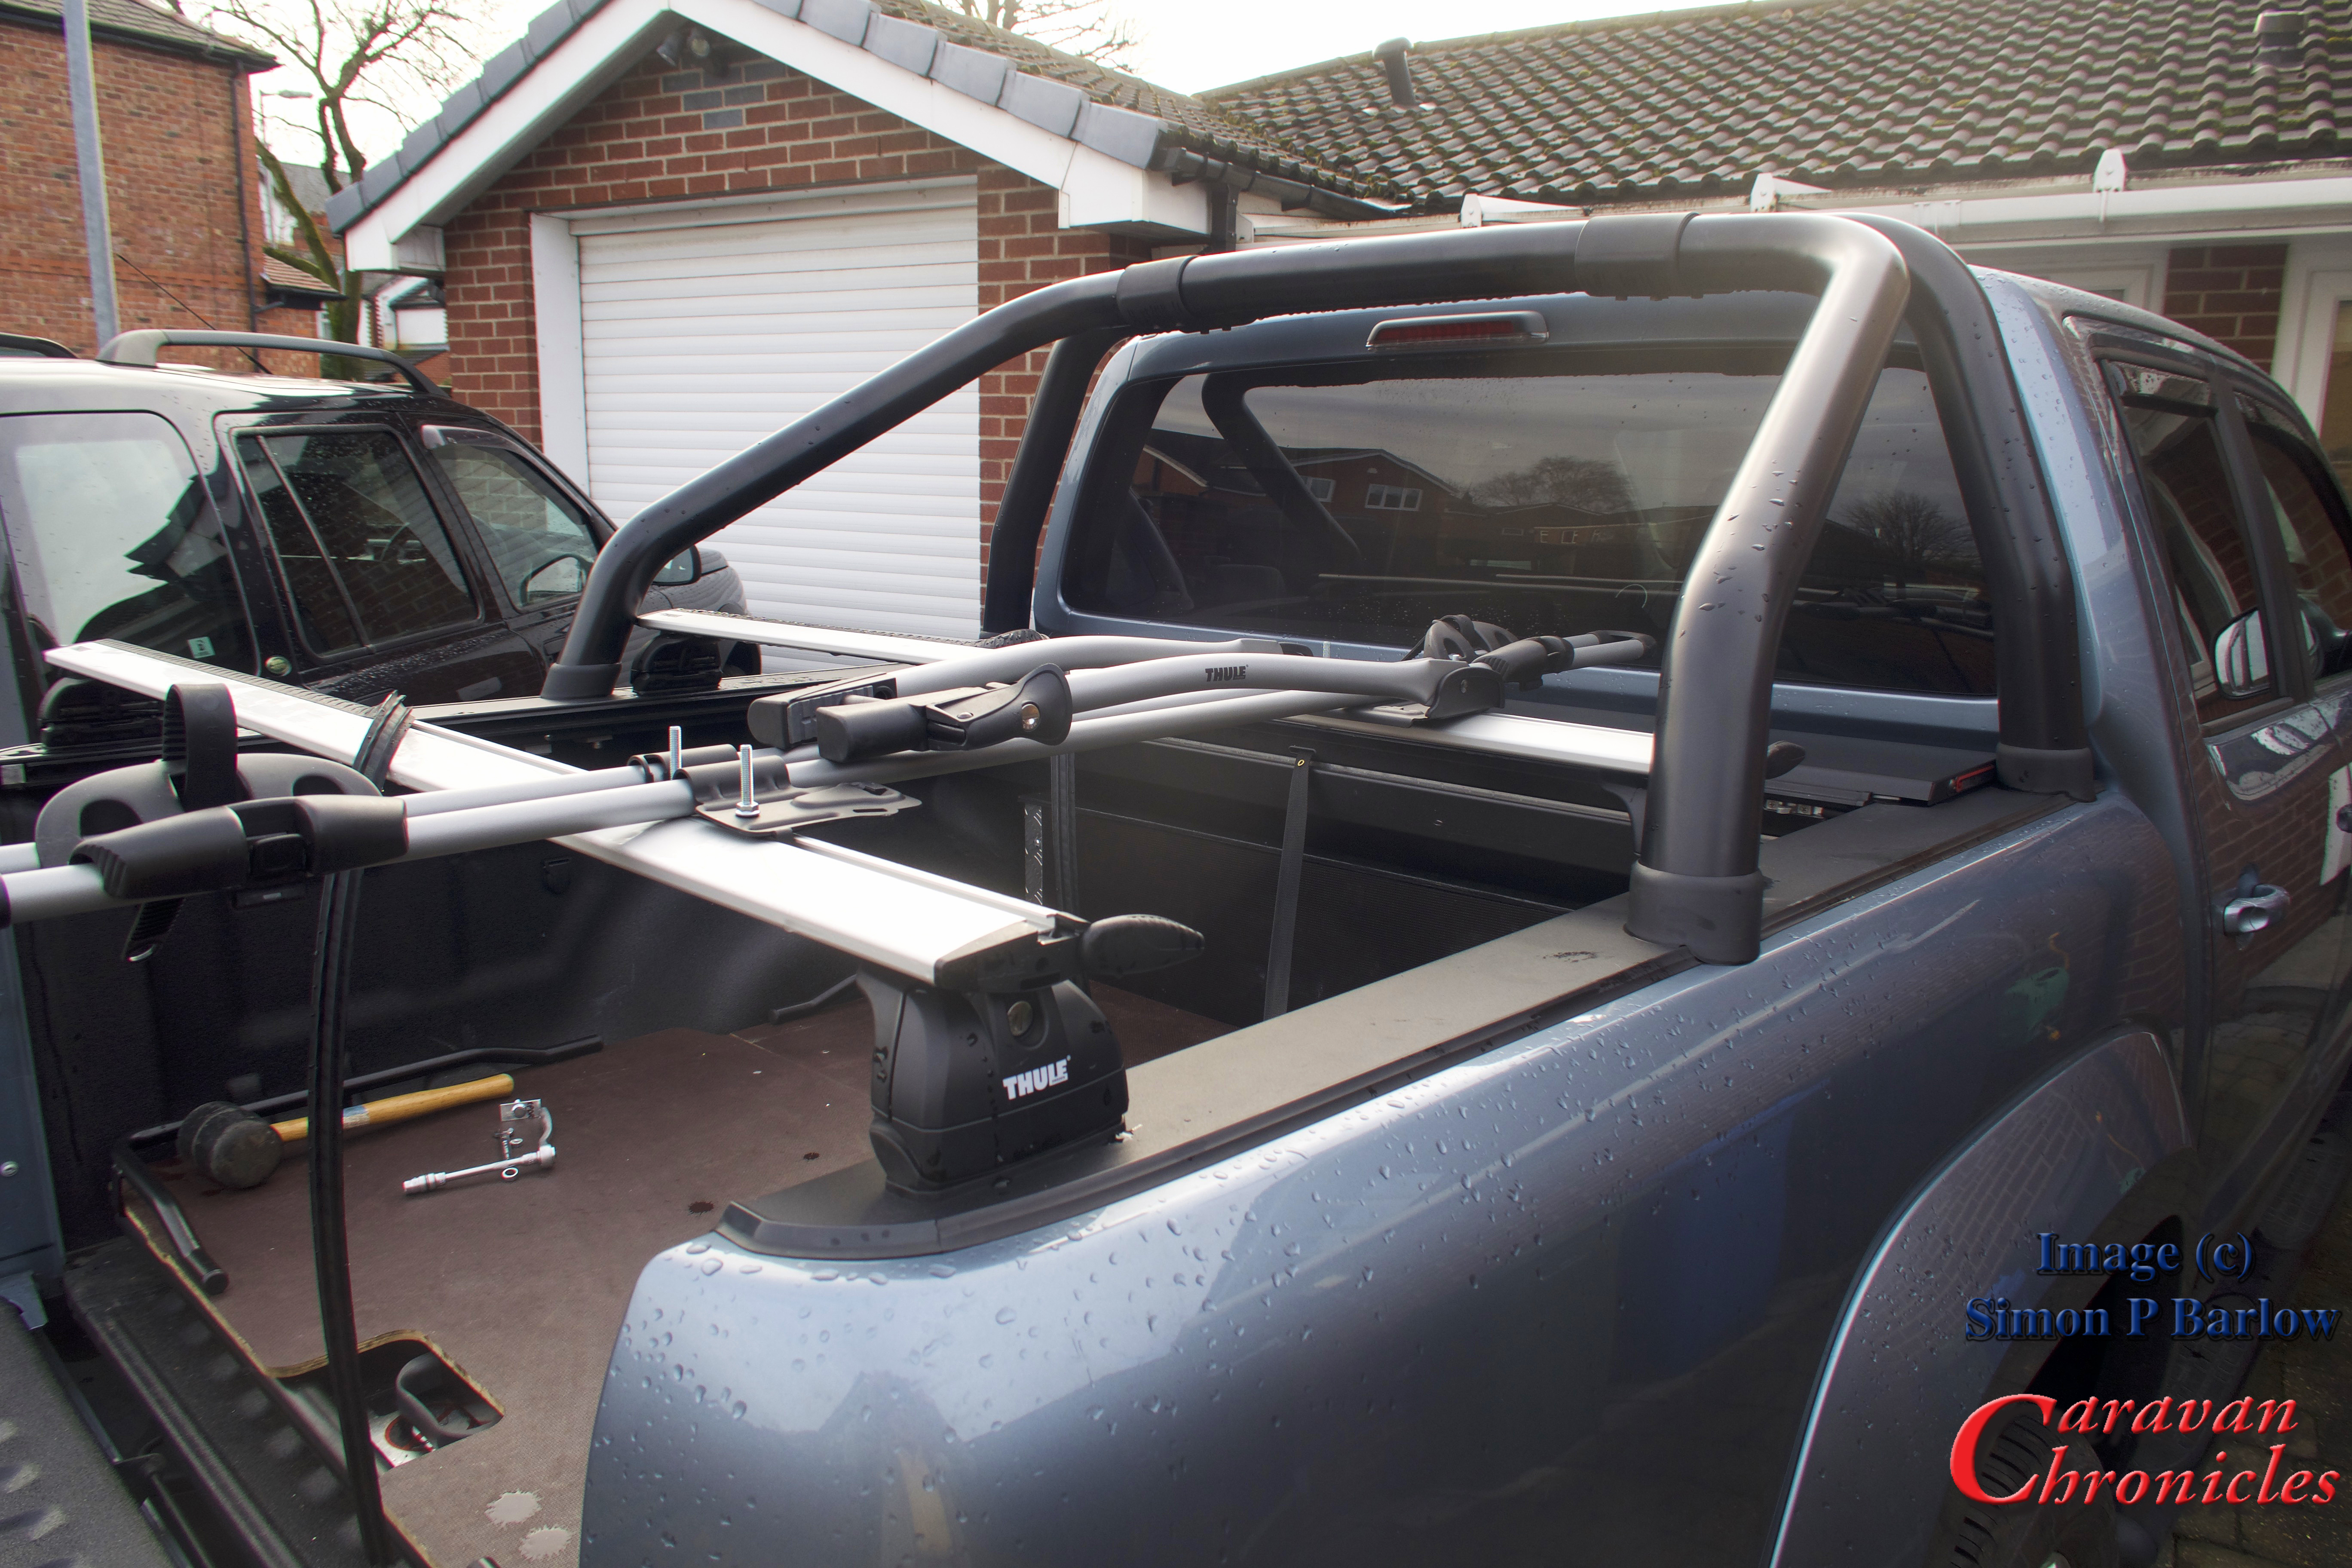
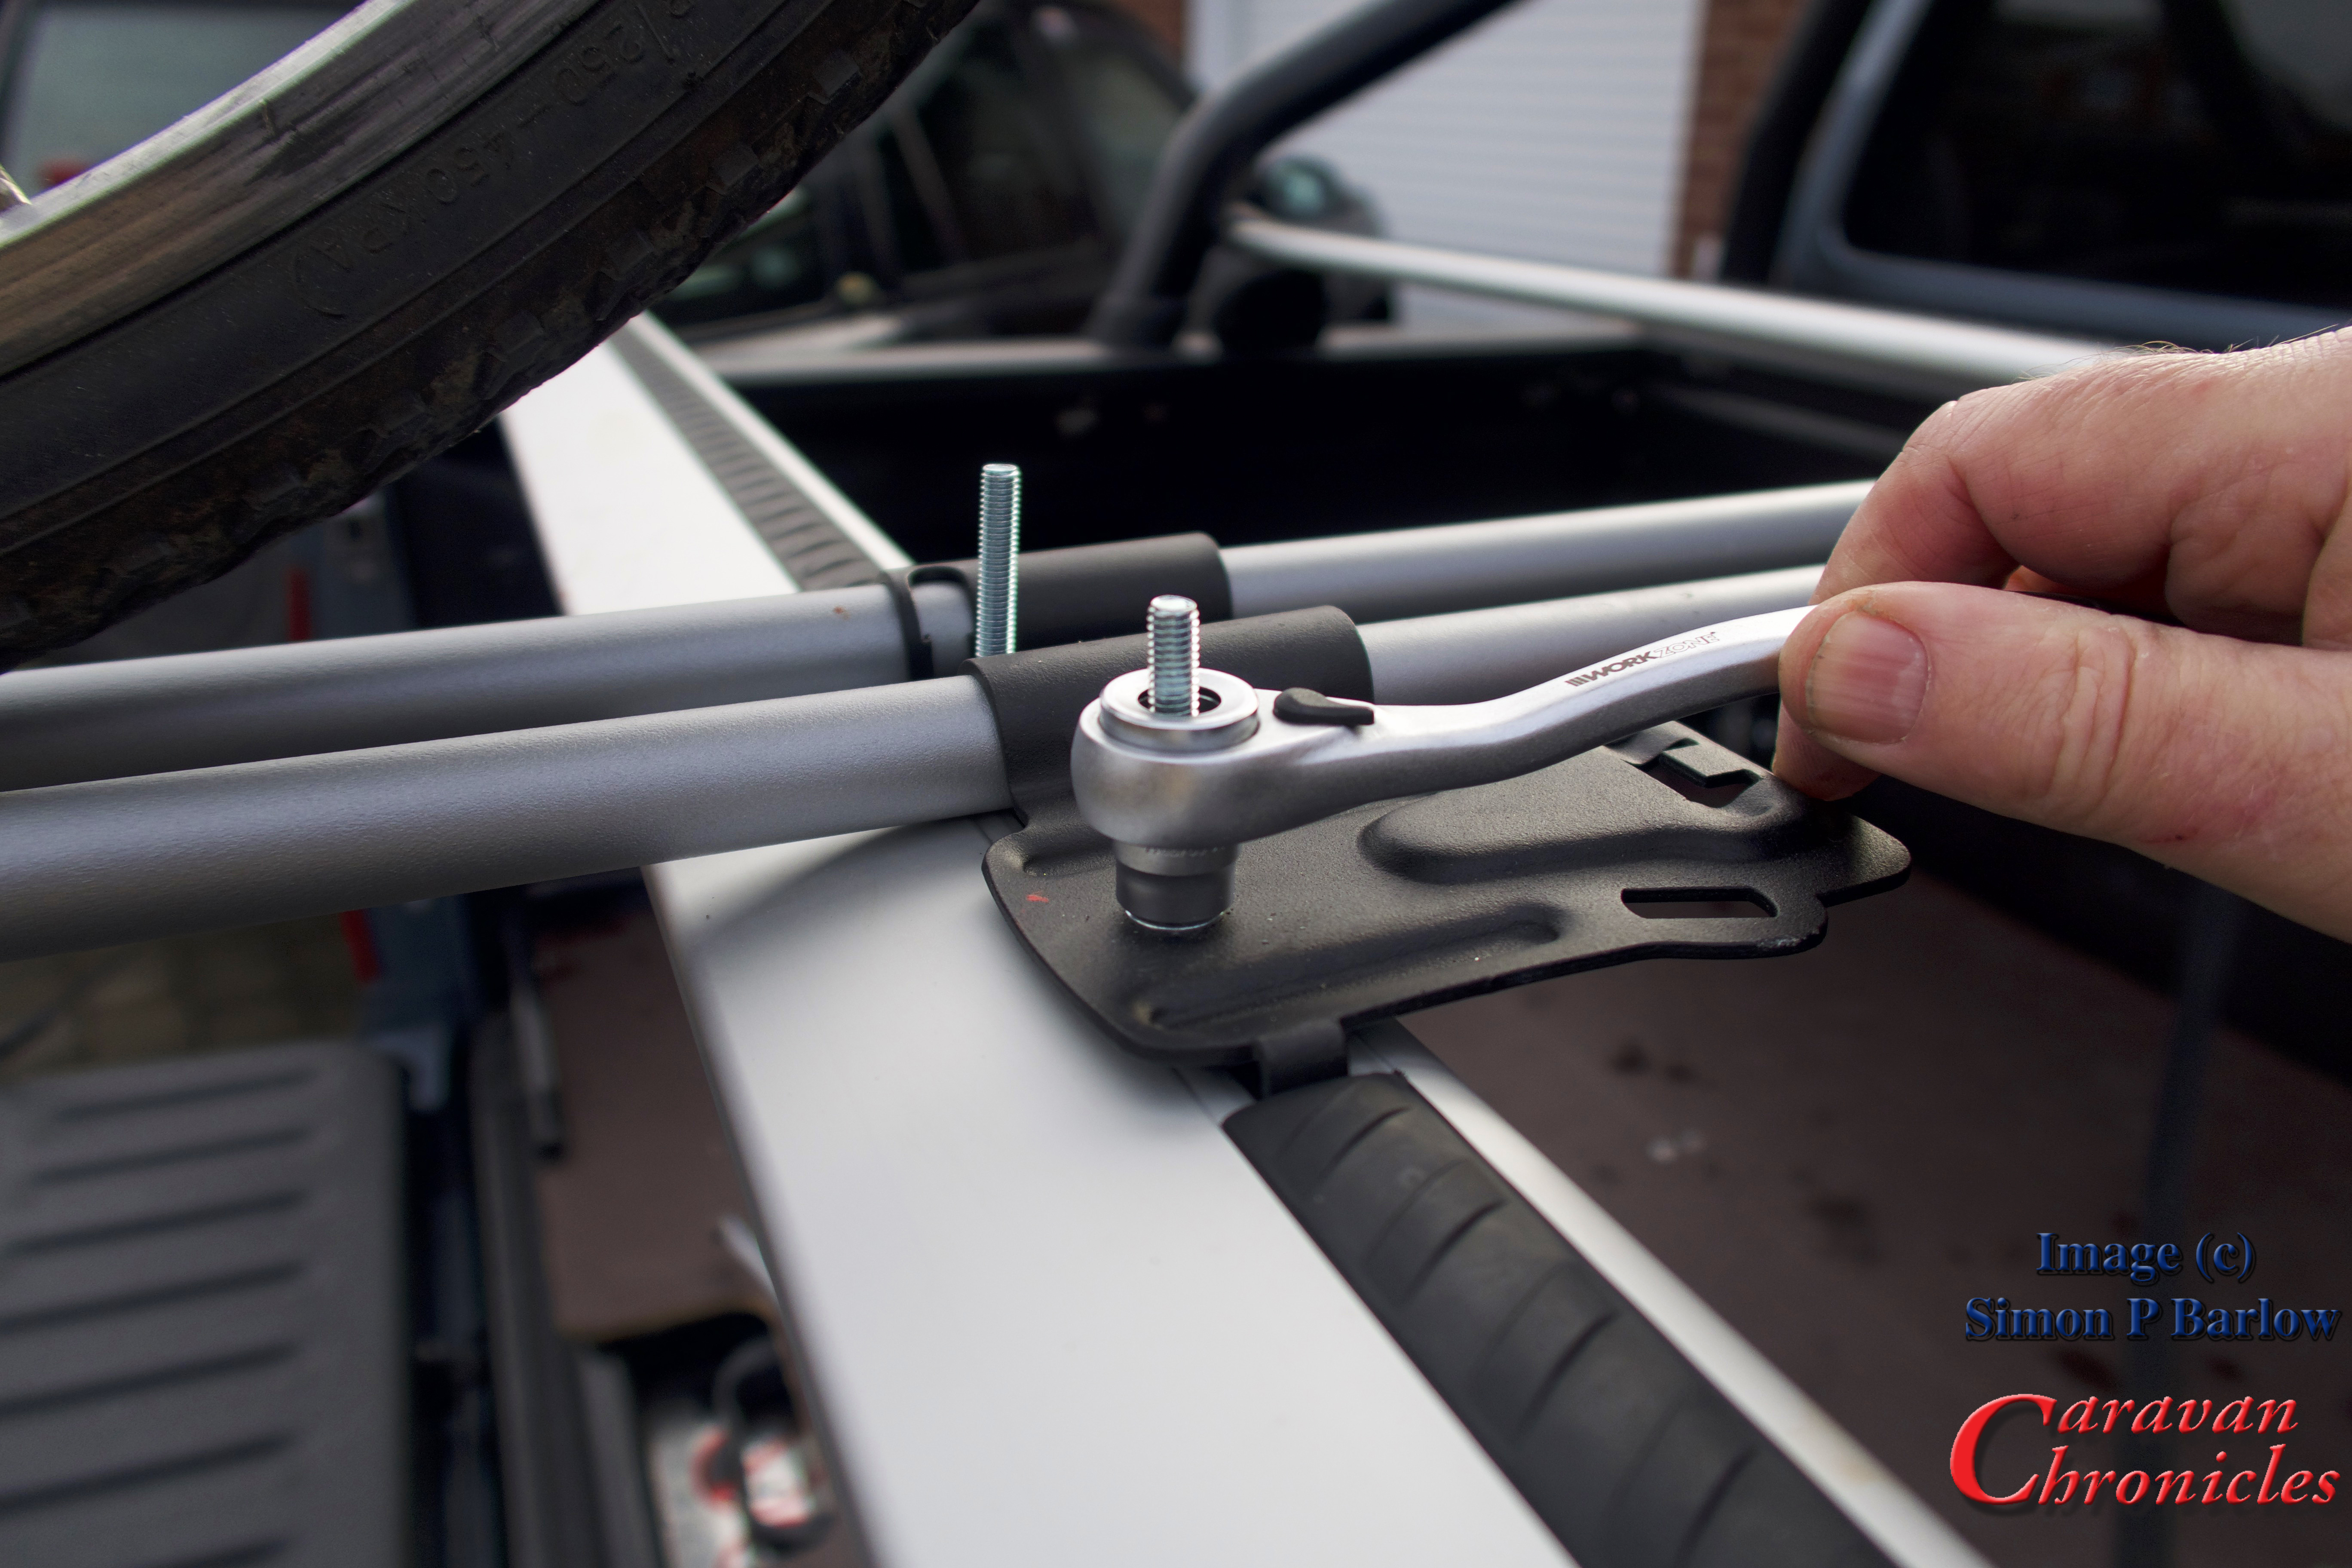
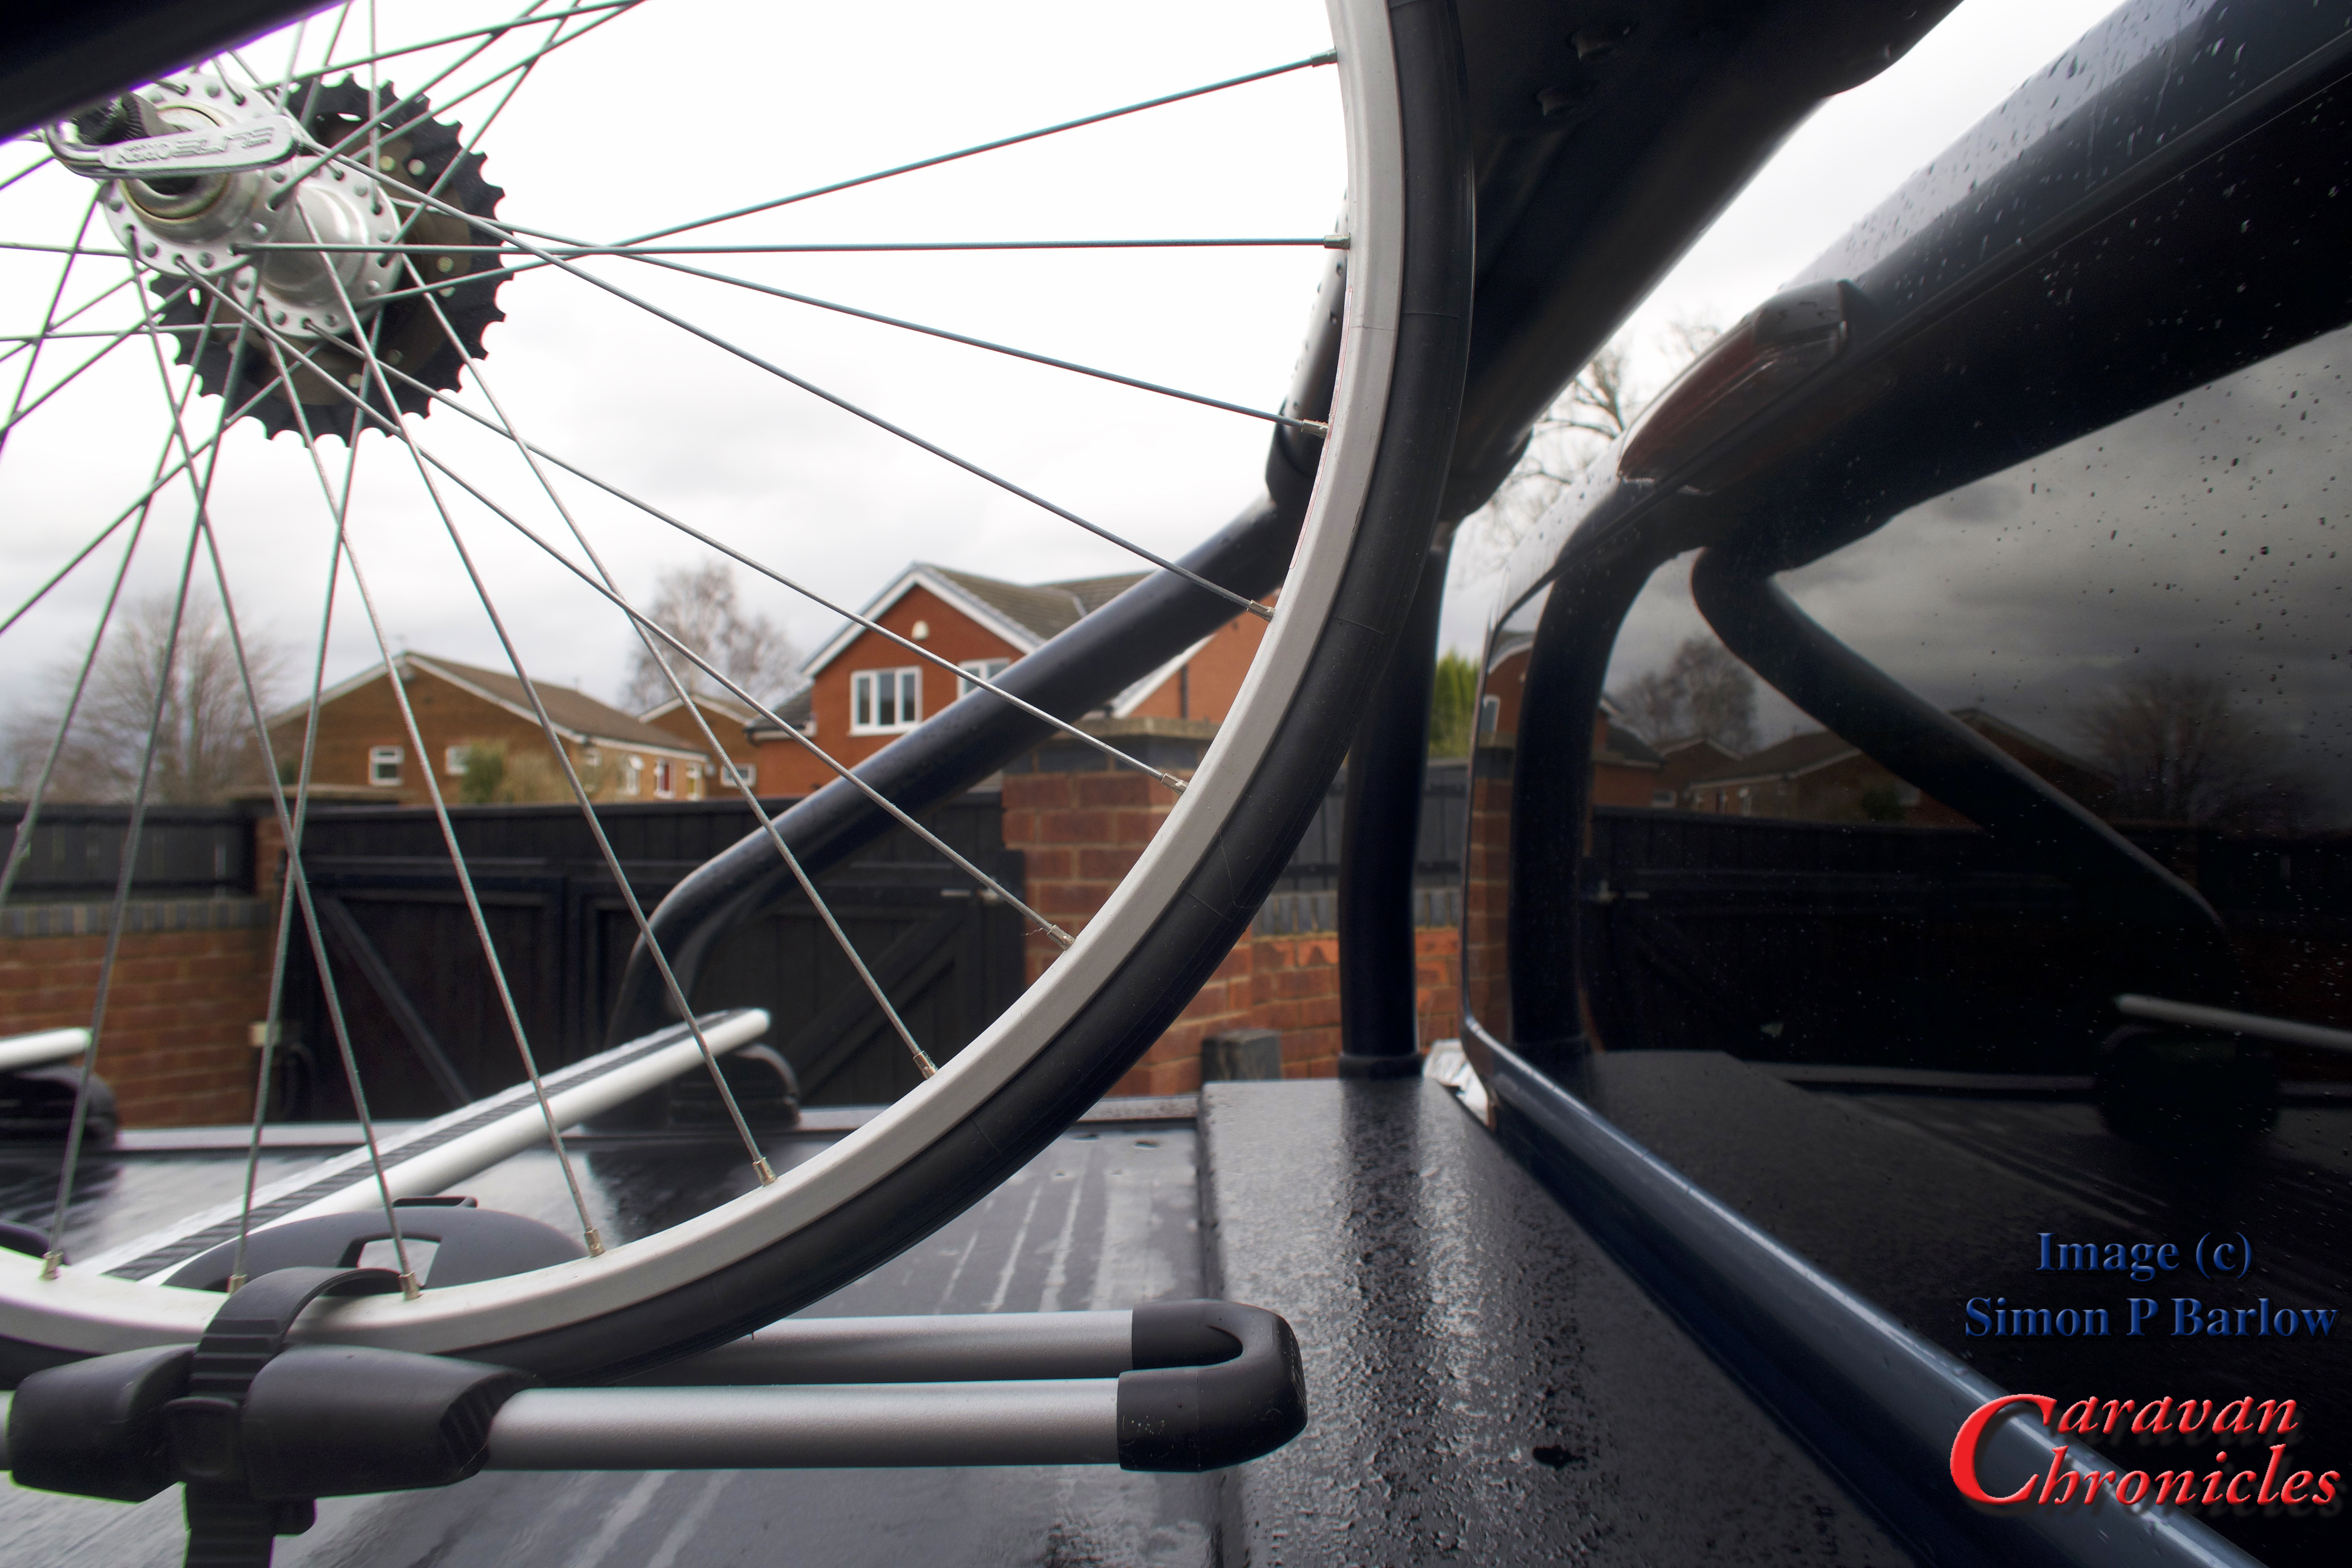
Sliding four of the newly made “T” track bolts in to the WingBars I could place the FreeRide 532 on to the bars.
I used a couple of nuts to hold the rack in place while I test fitted one of the bikes. It was a bit too tight. The swing up frame section that clamps on to the bike only partially engaged on the bike frame. The whole rack needed moving rearwards by about 10 to 15 mm.
Not a problem, as the WingBar mounting is off set laterally compared to the “T” track, reversing the bar so it faced the other way would solve this and effectively move the “T” track slot rearwards by about 20mm.
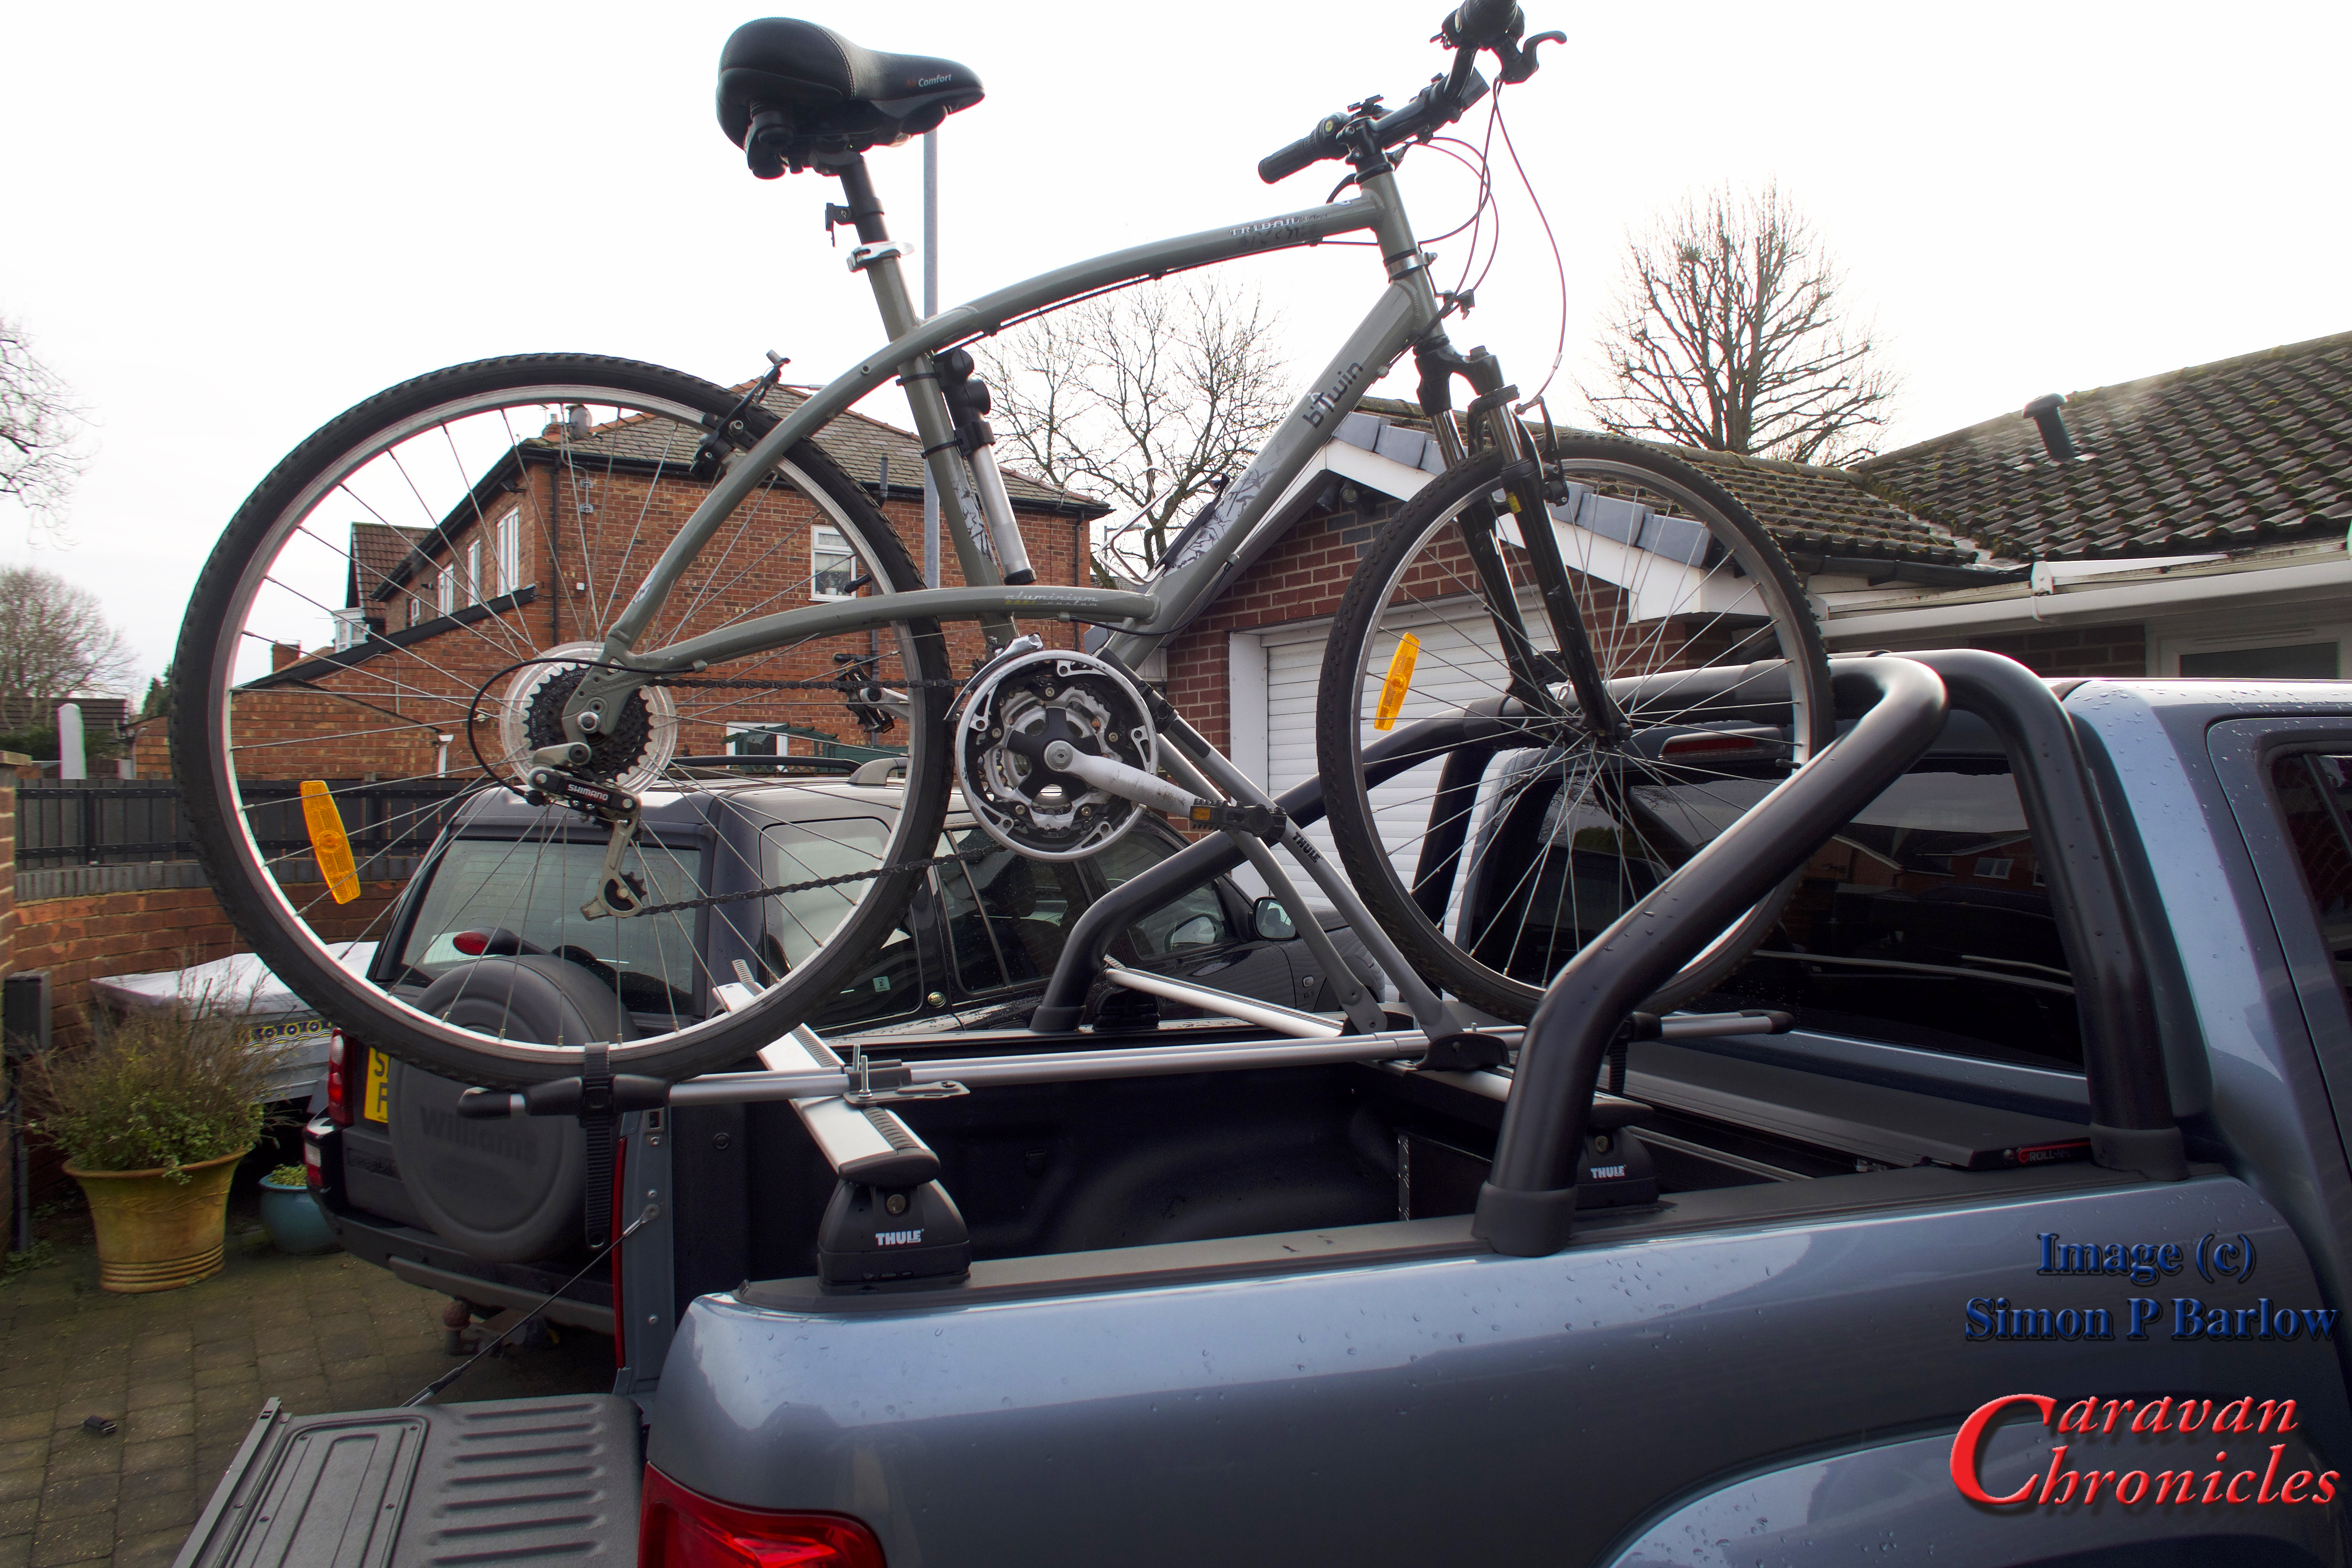
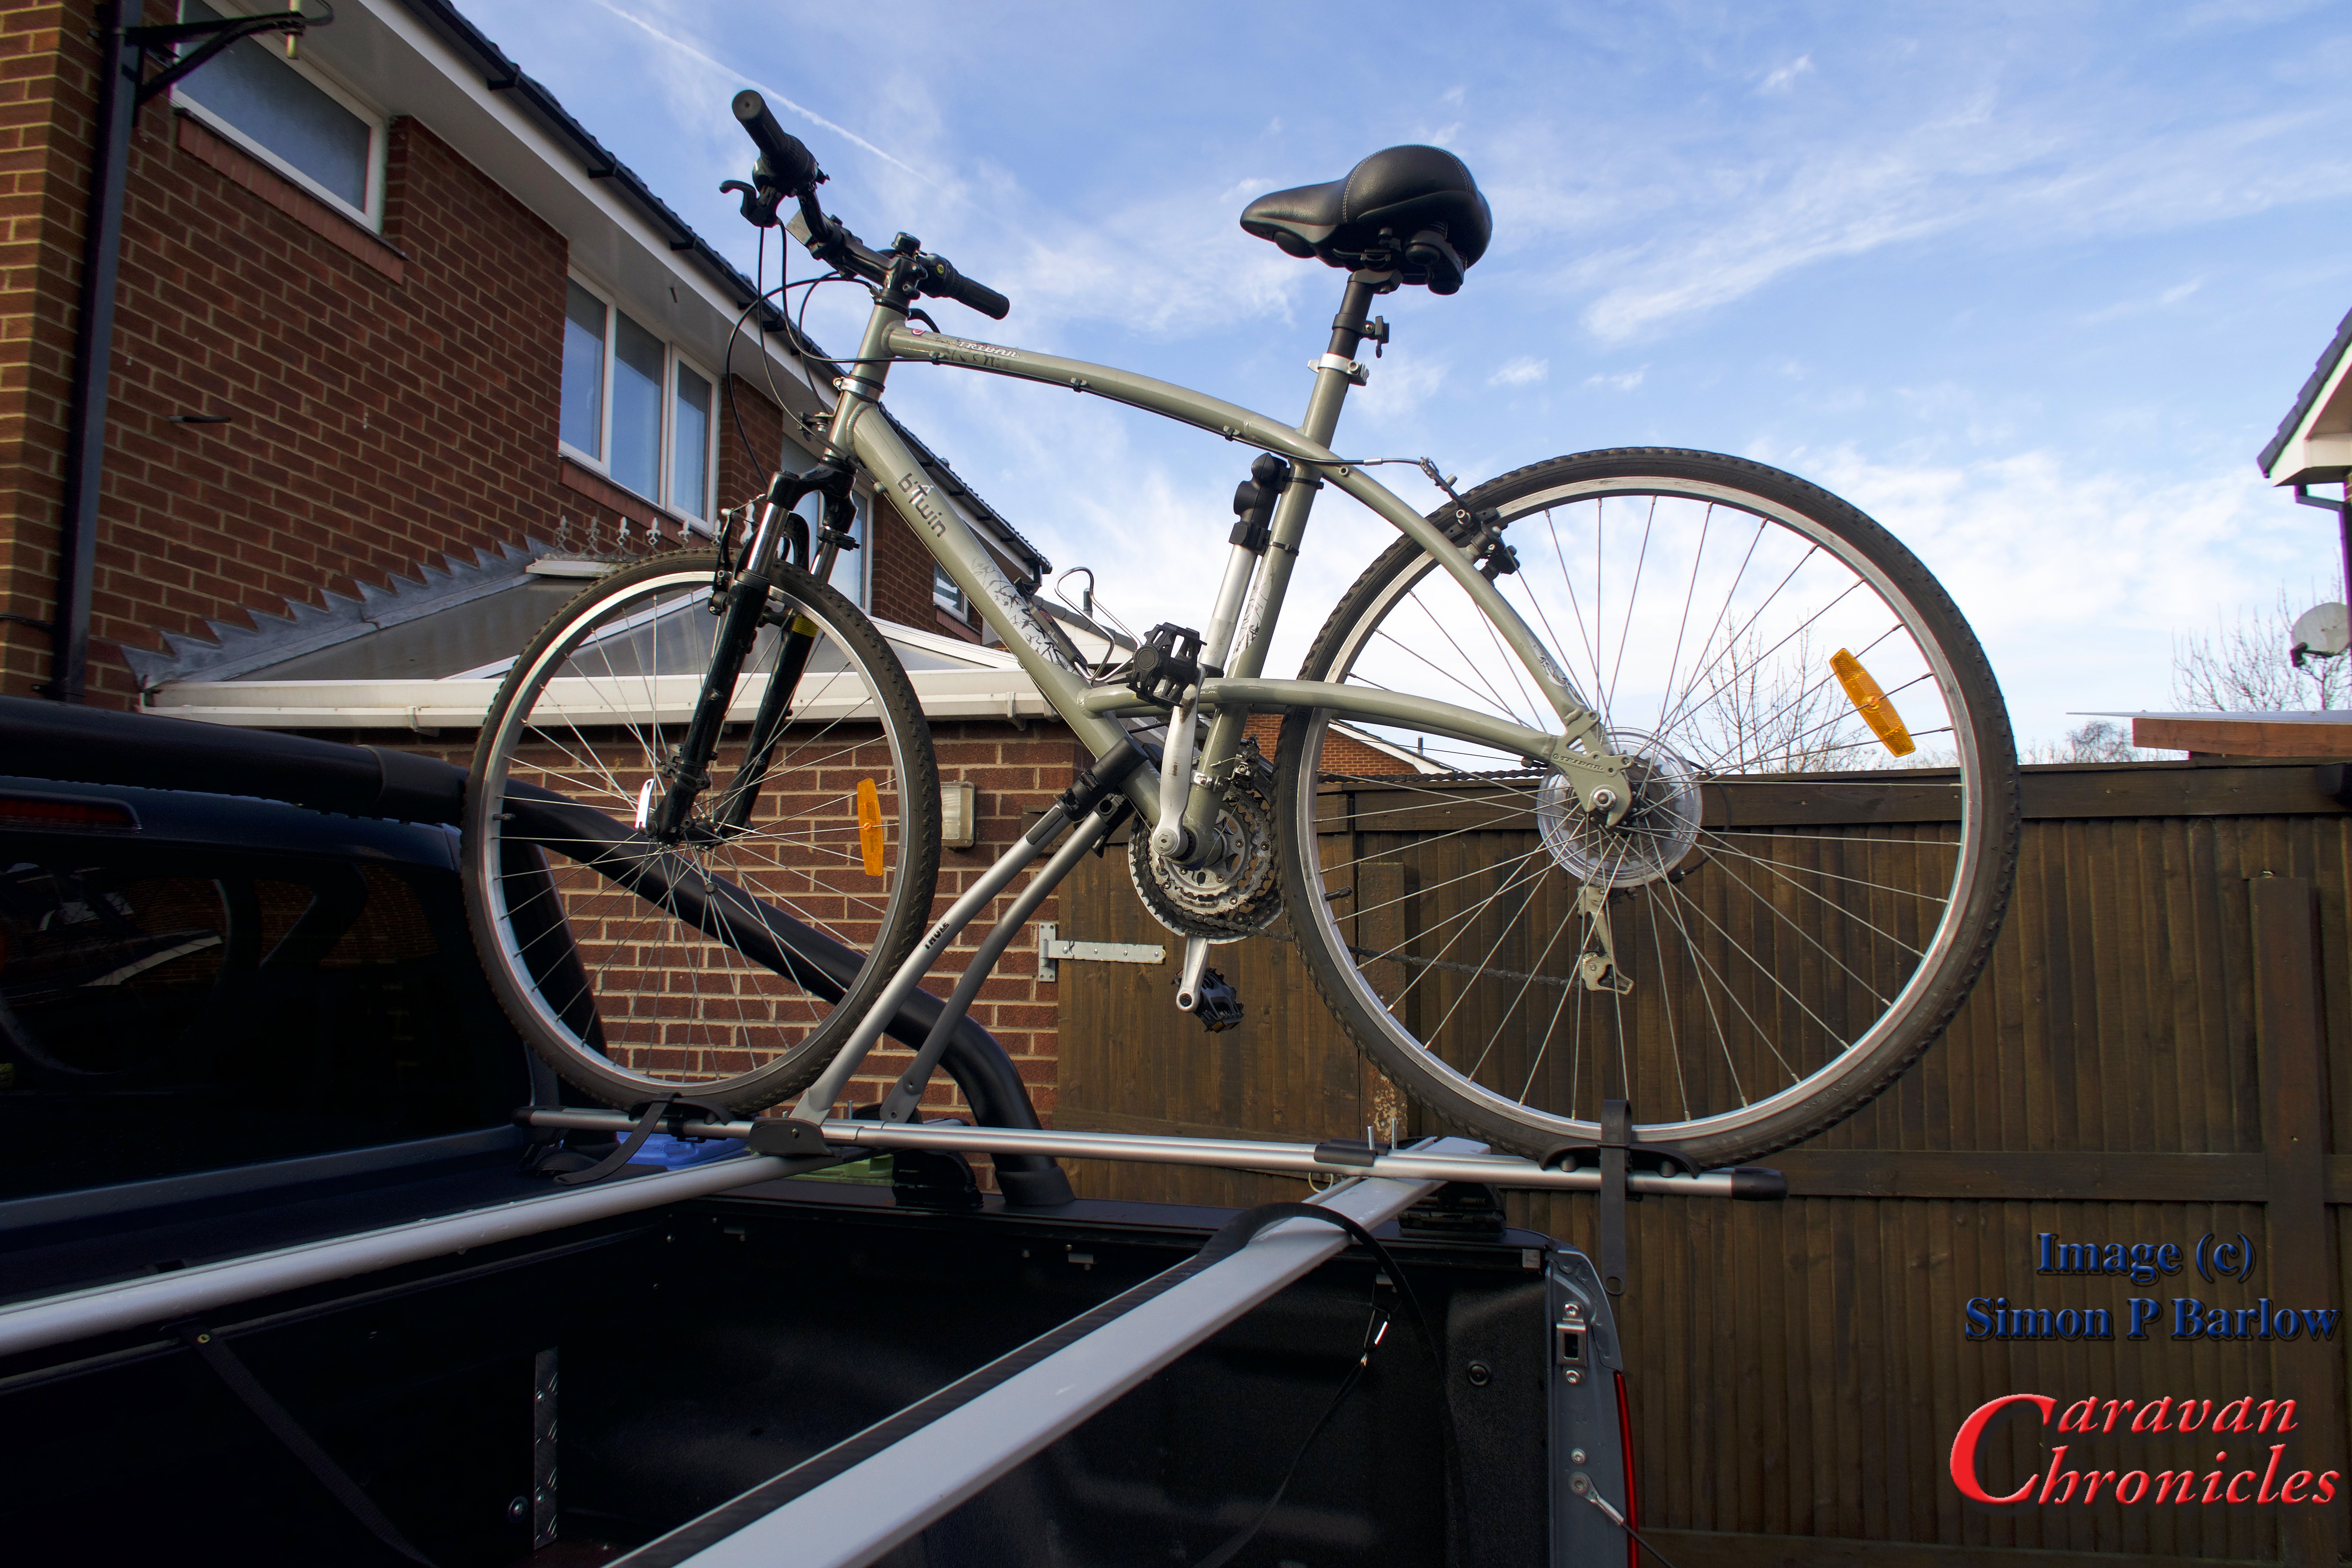
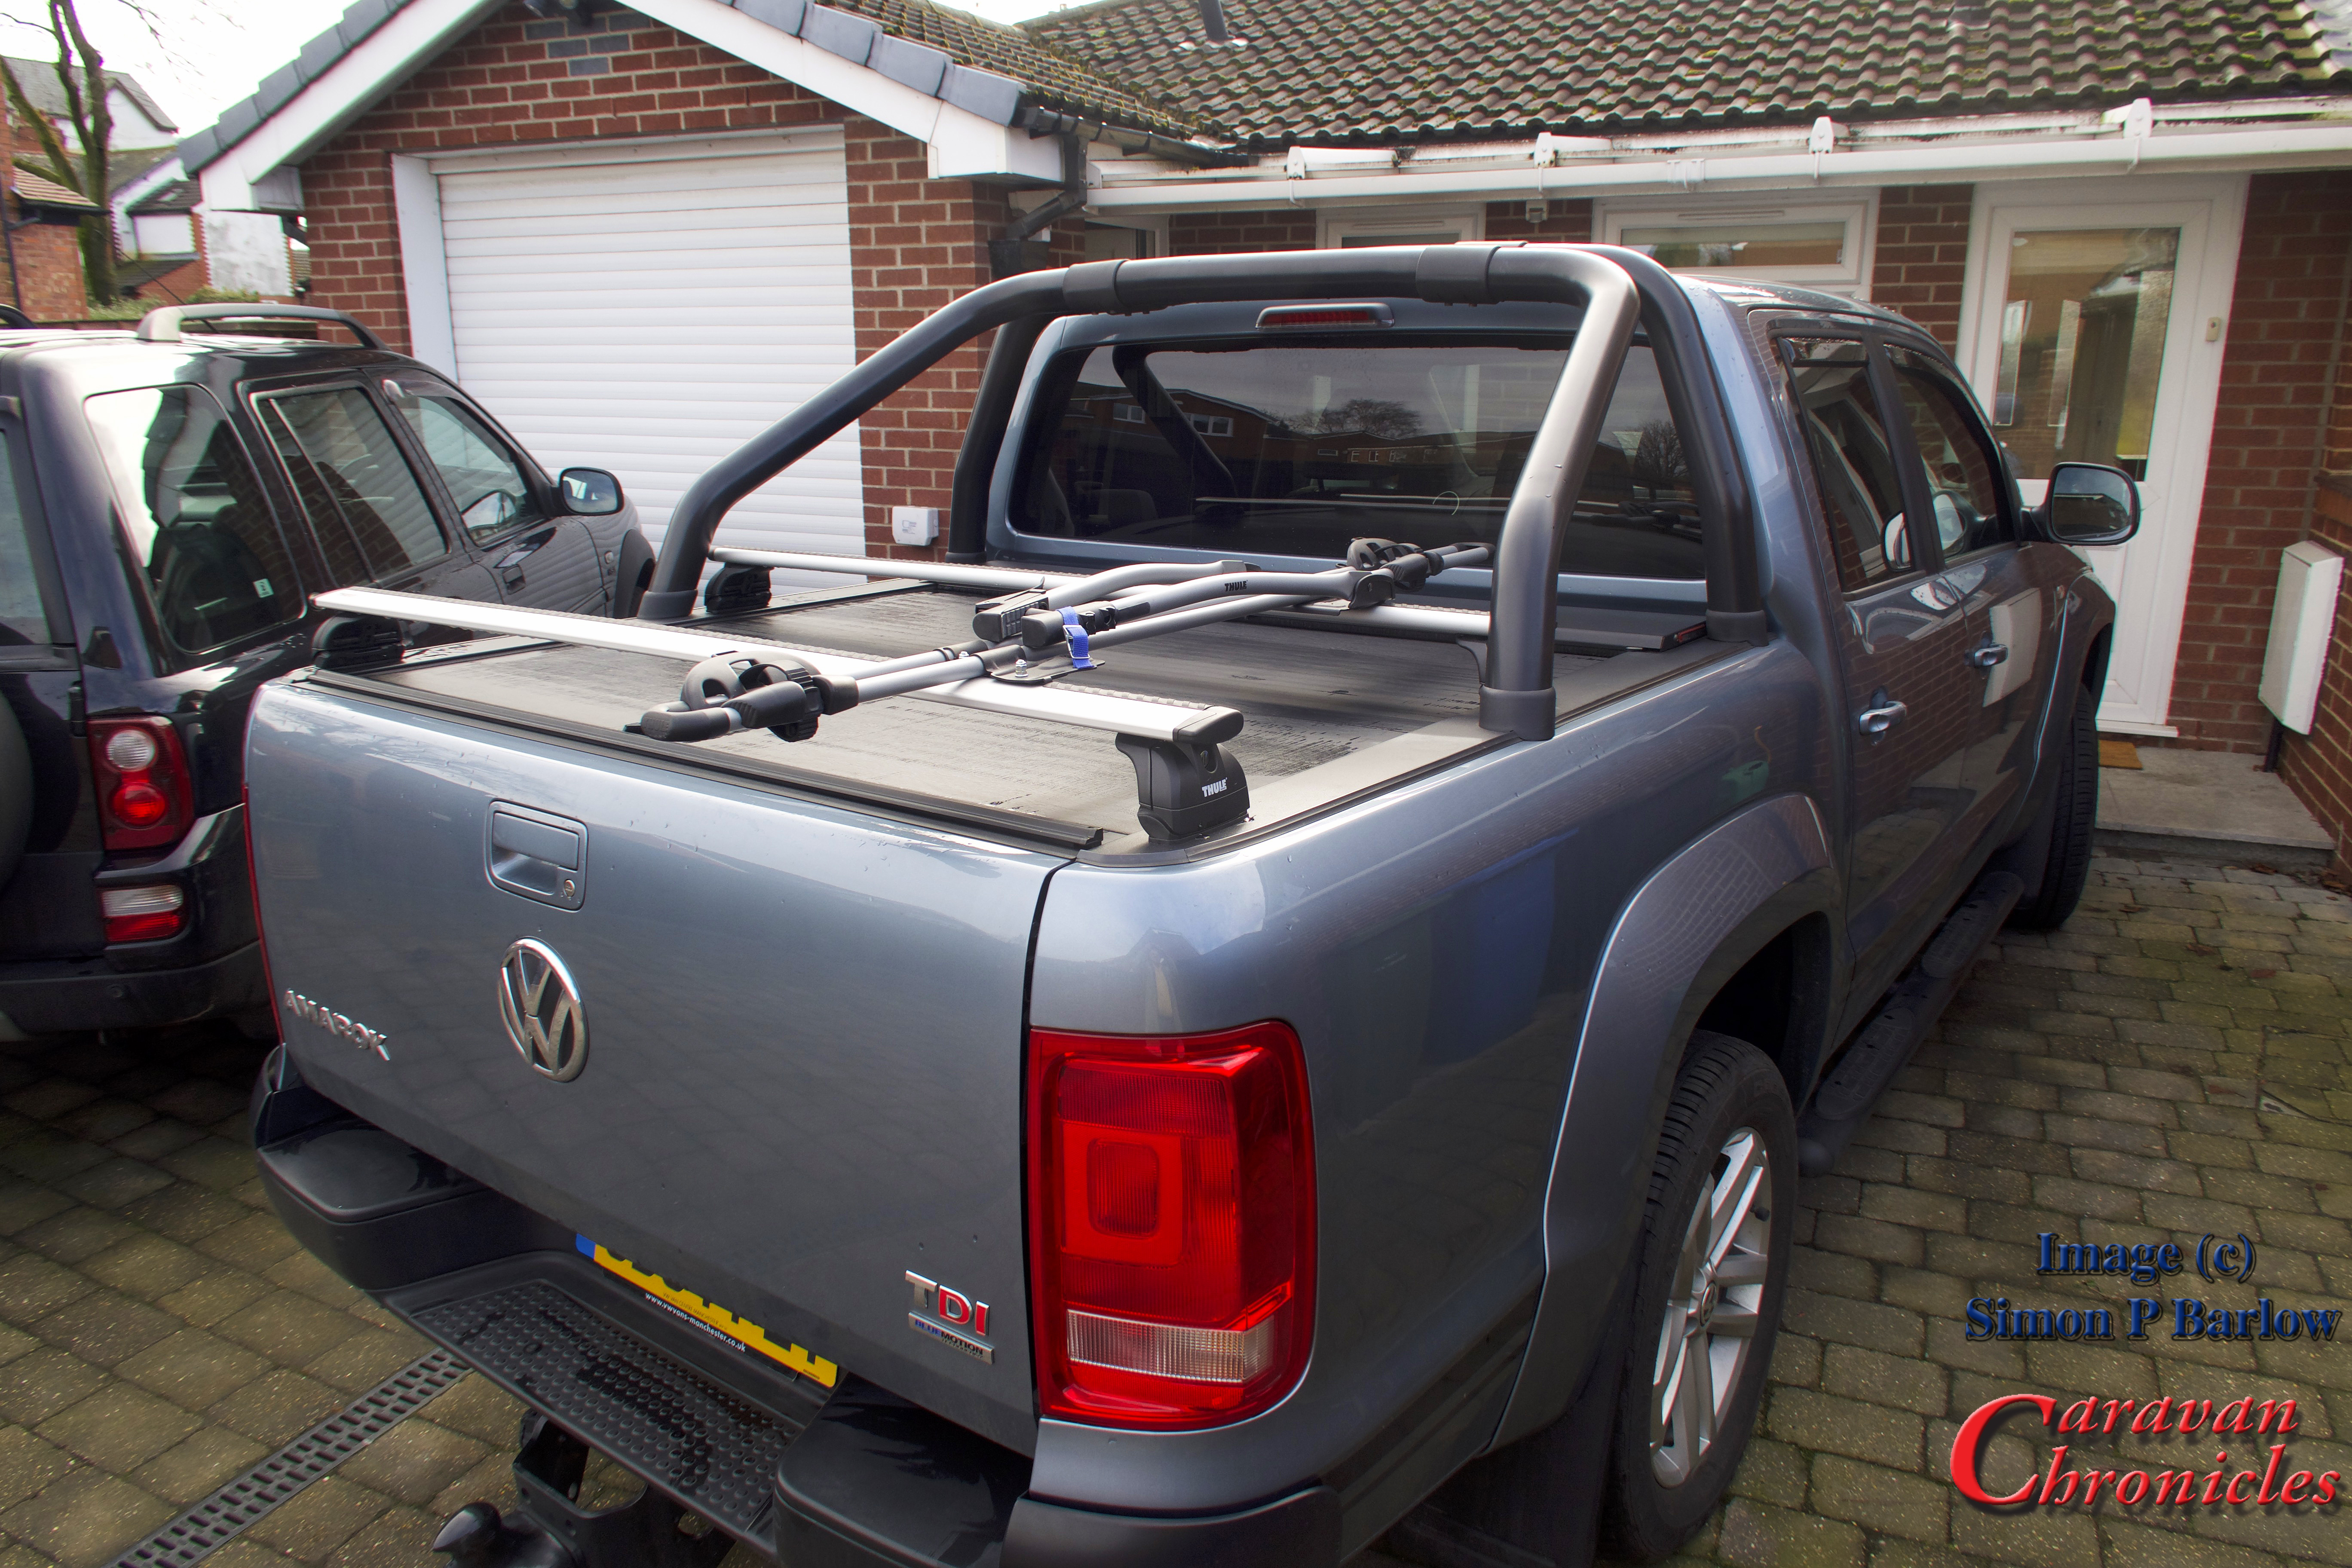
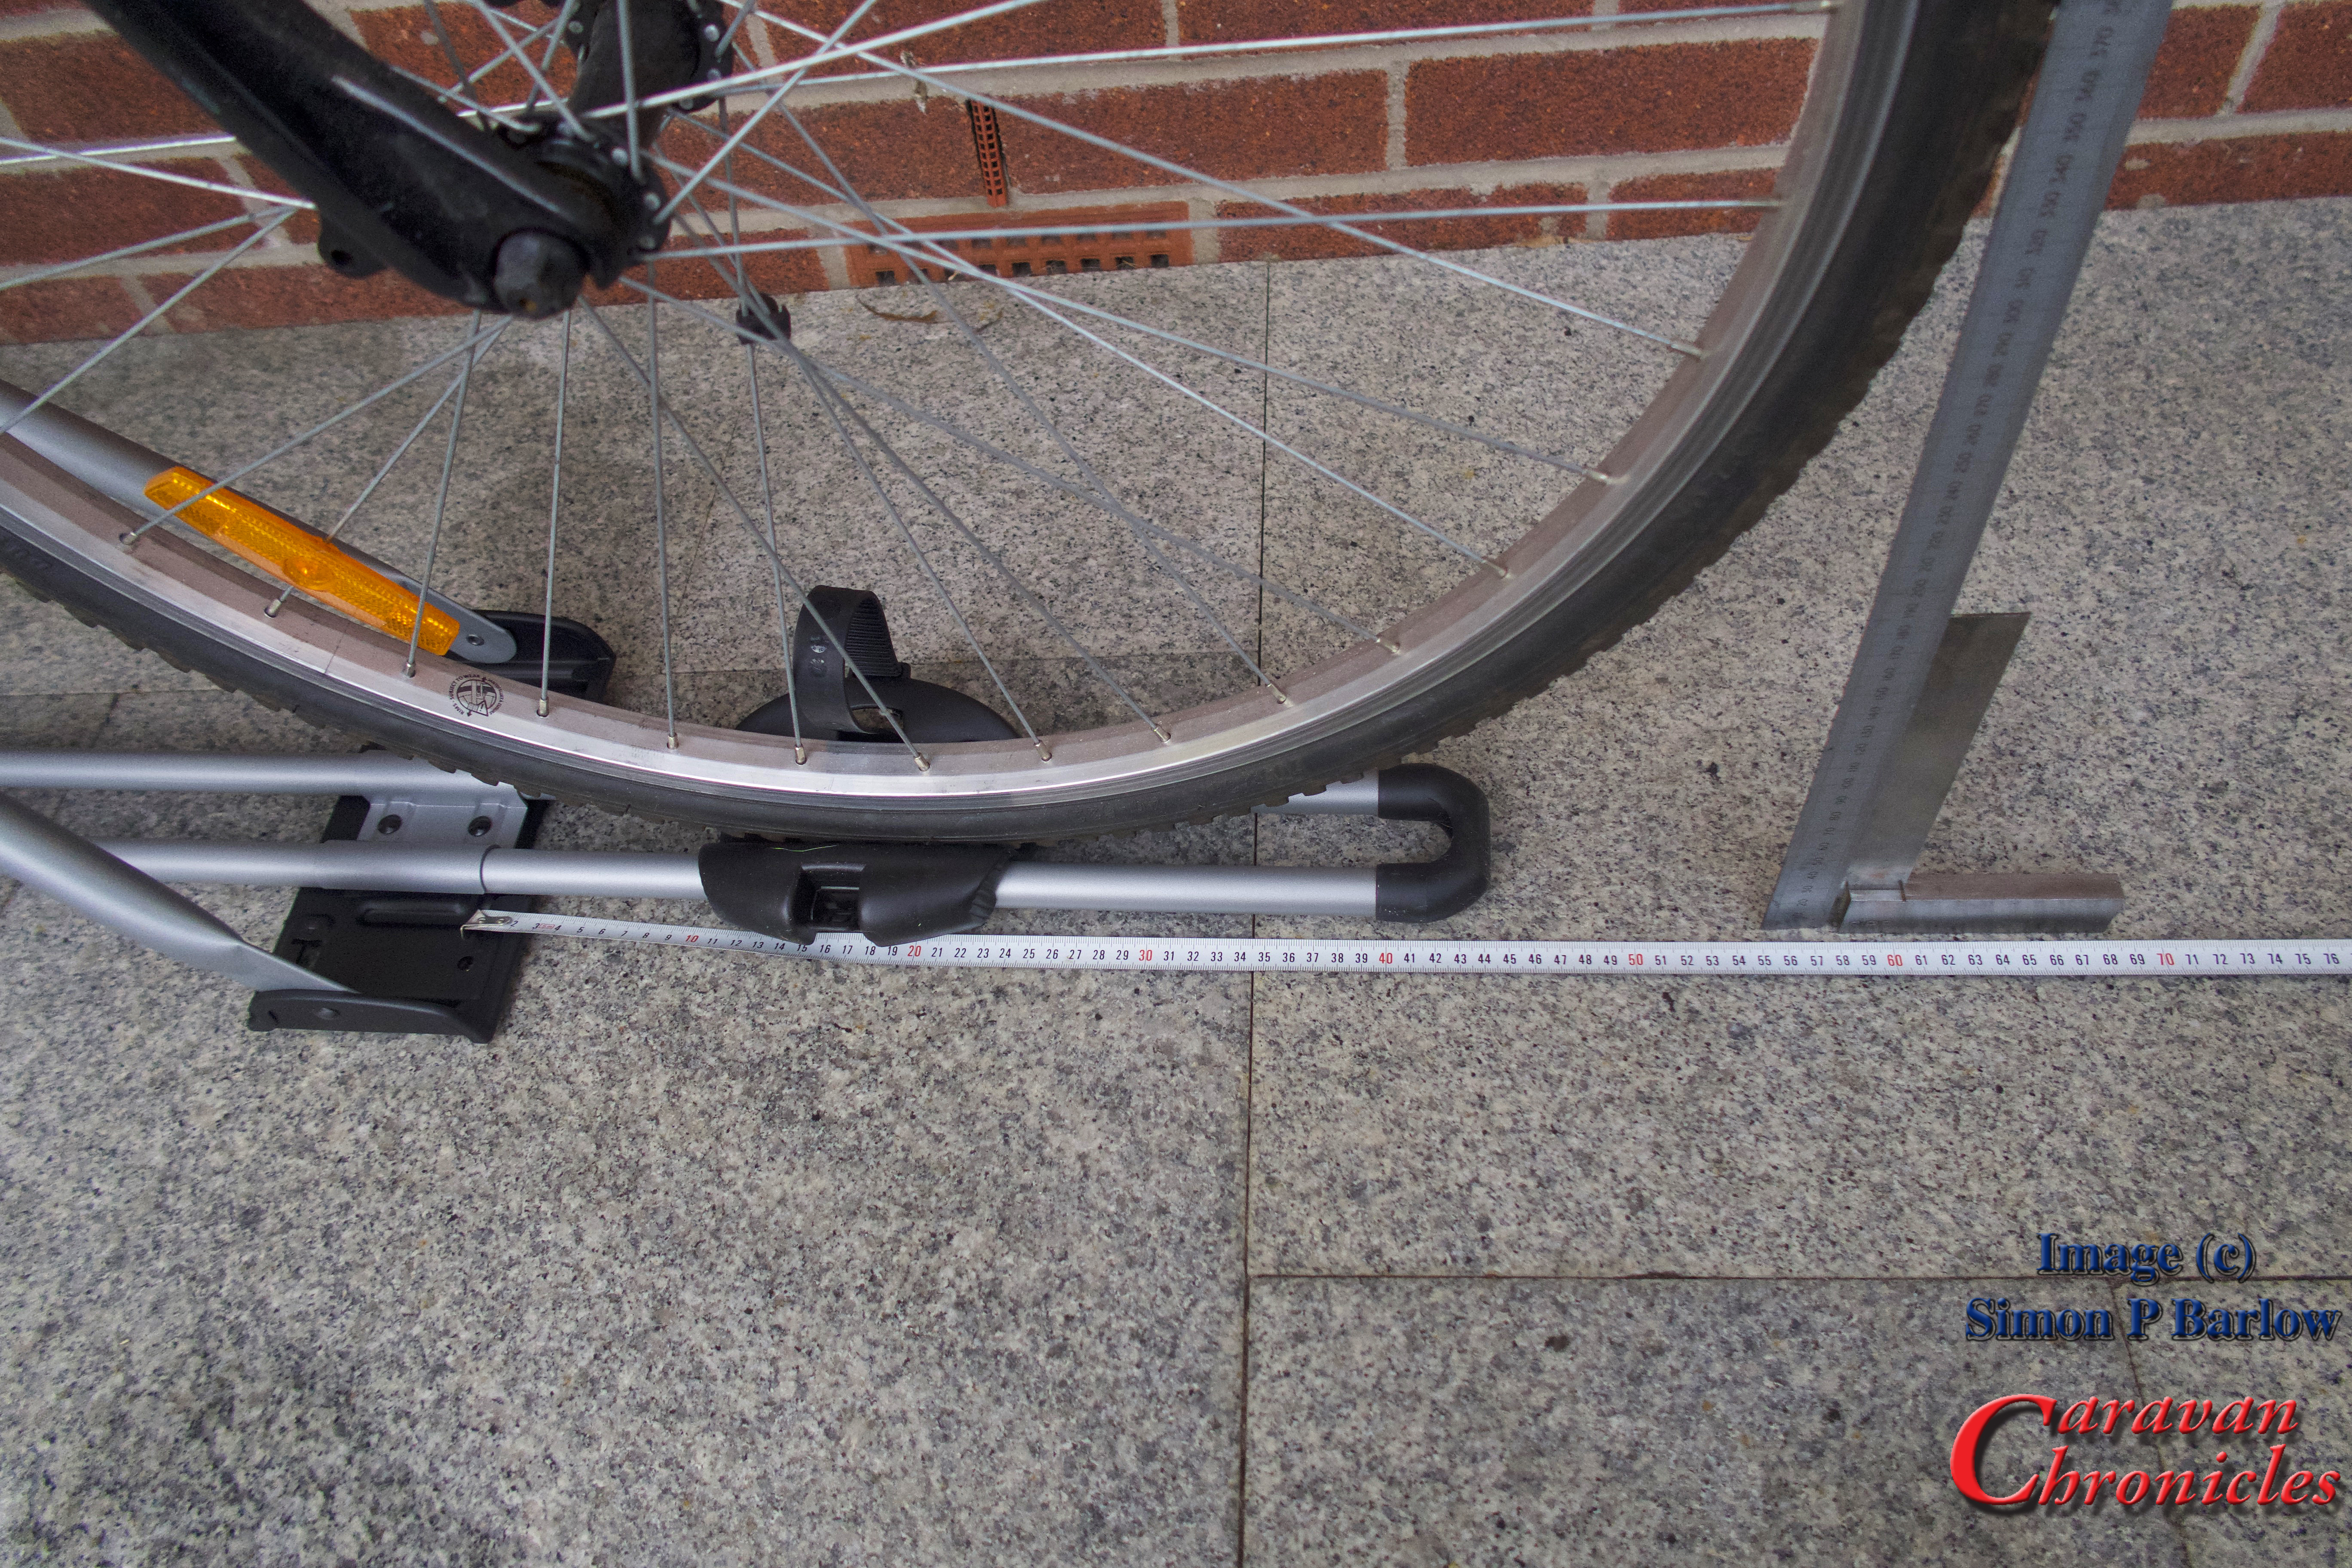
With the WingBar mounted in the other direction the bike was a perfect fit. Also it made it easier opening the end caps of the WingBar as configured the correct way round they were a bit tight against the roll bar.The next thing to address was the overhang. I still had around 50 to 60 mm of adjustment I could make to the rails of the FreeRide rack. Removing everything again and a bit of ‘adjusticating’ with a small rubber mallet soon saw the rails in the correct position. I had not been able to get the rear of the mount flush with the pickup tailgate as was my original hope, but checking with a plumb bob…
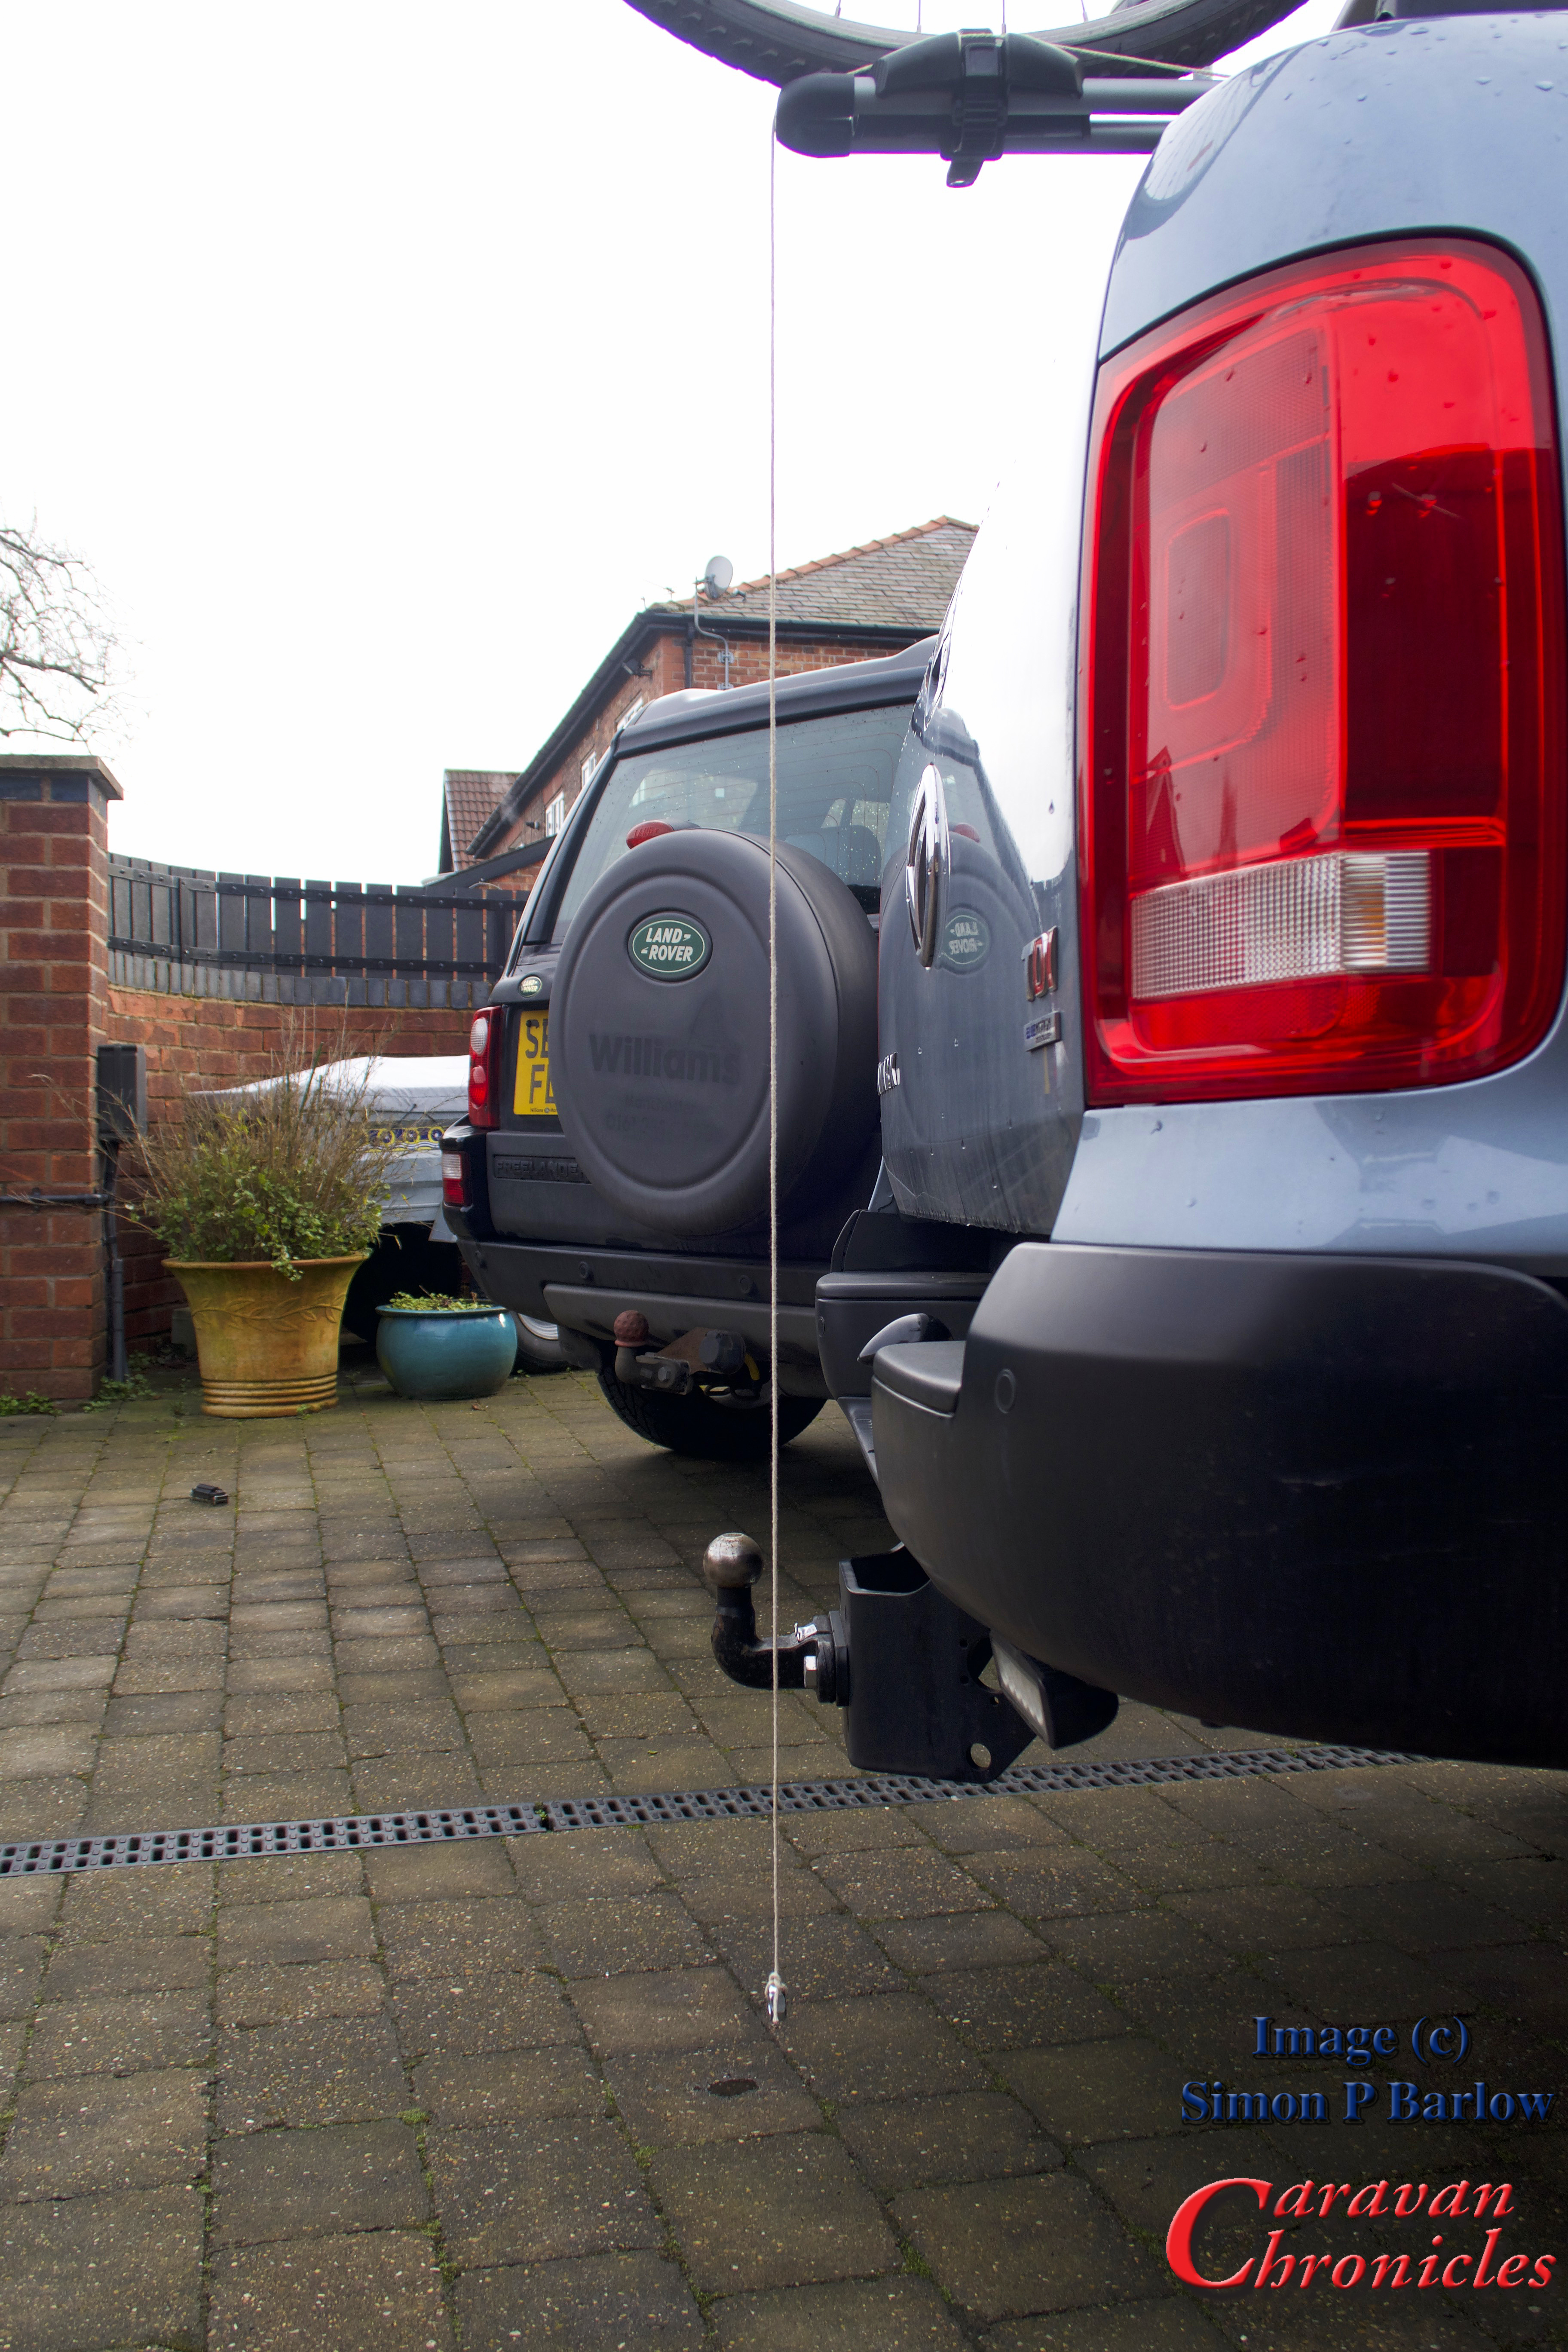
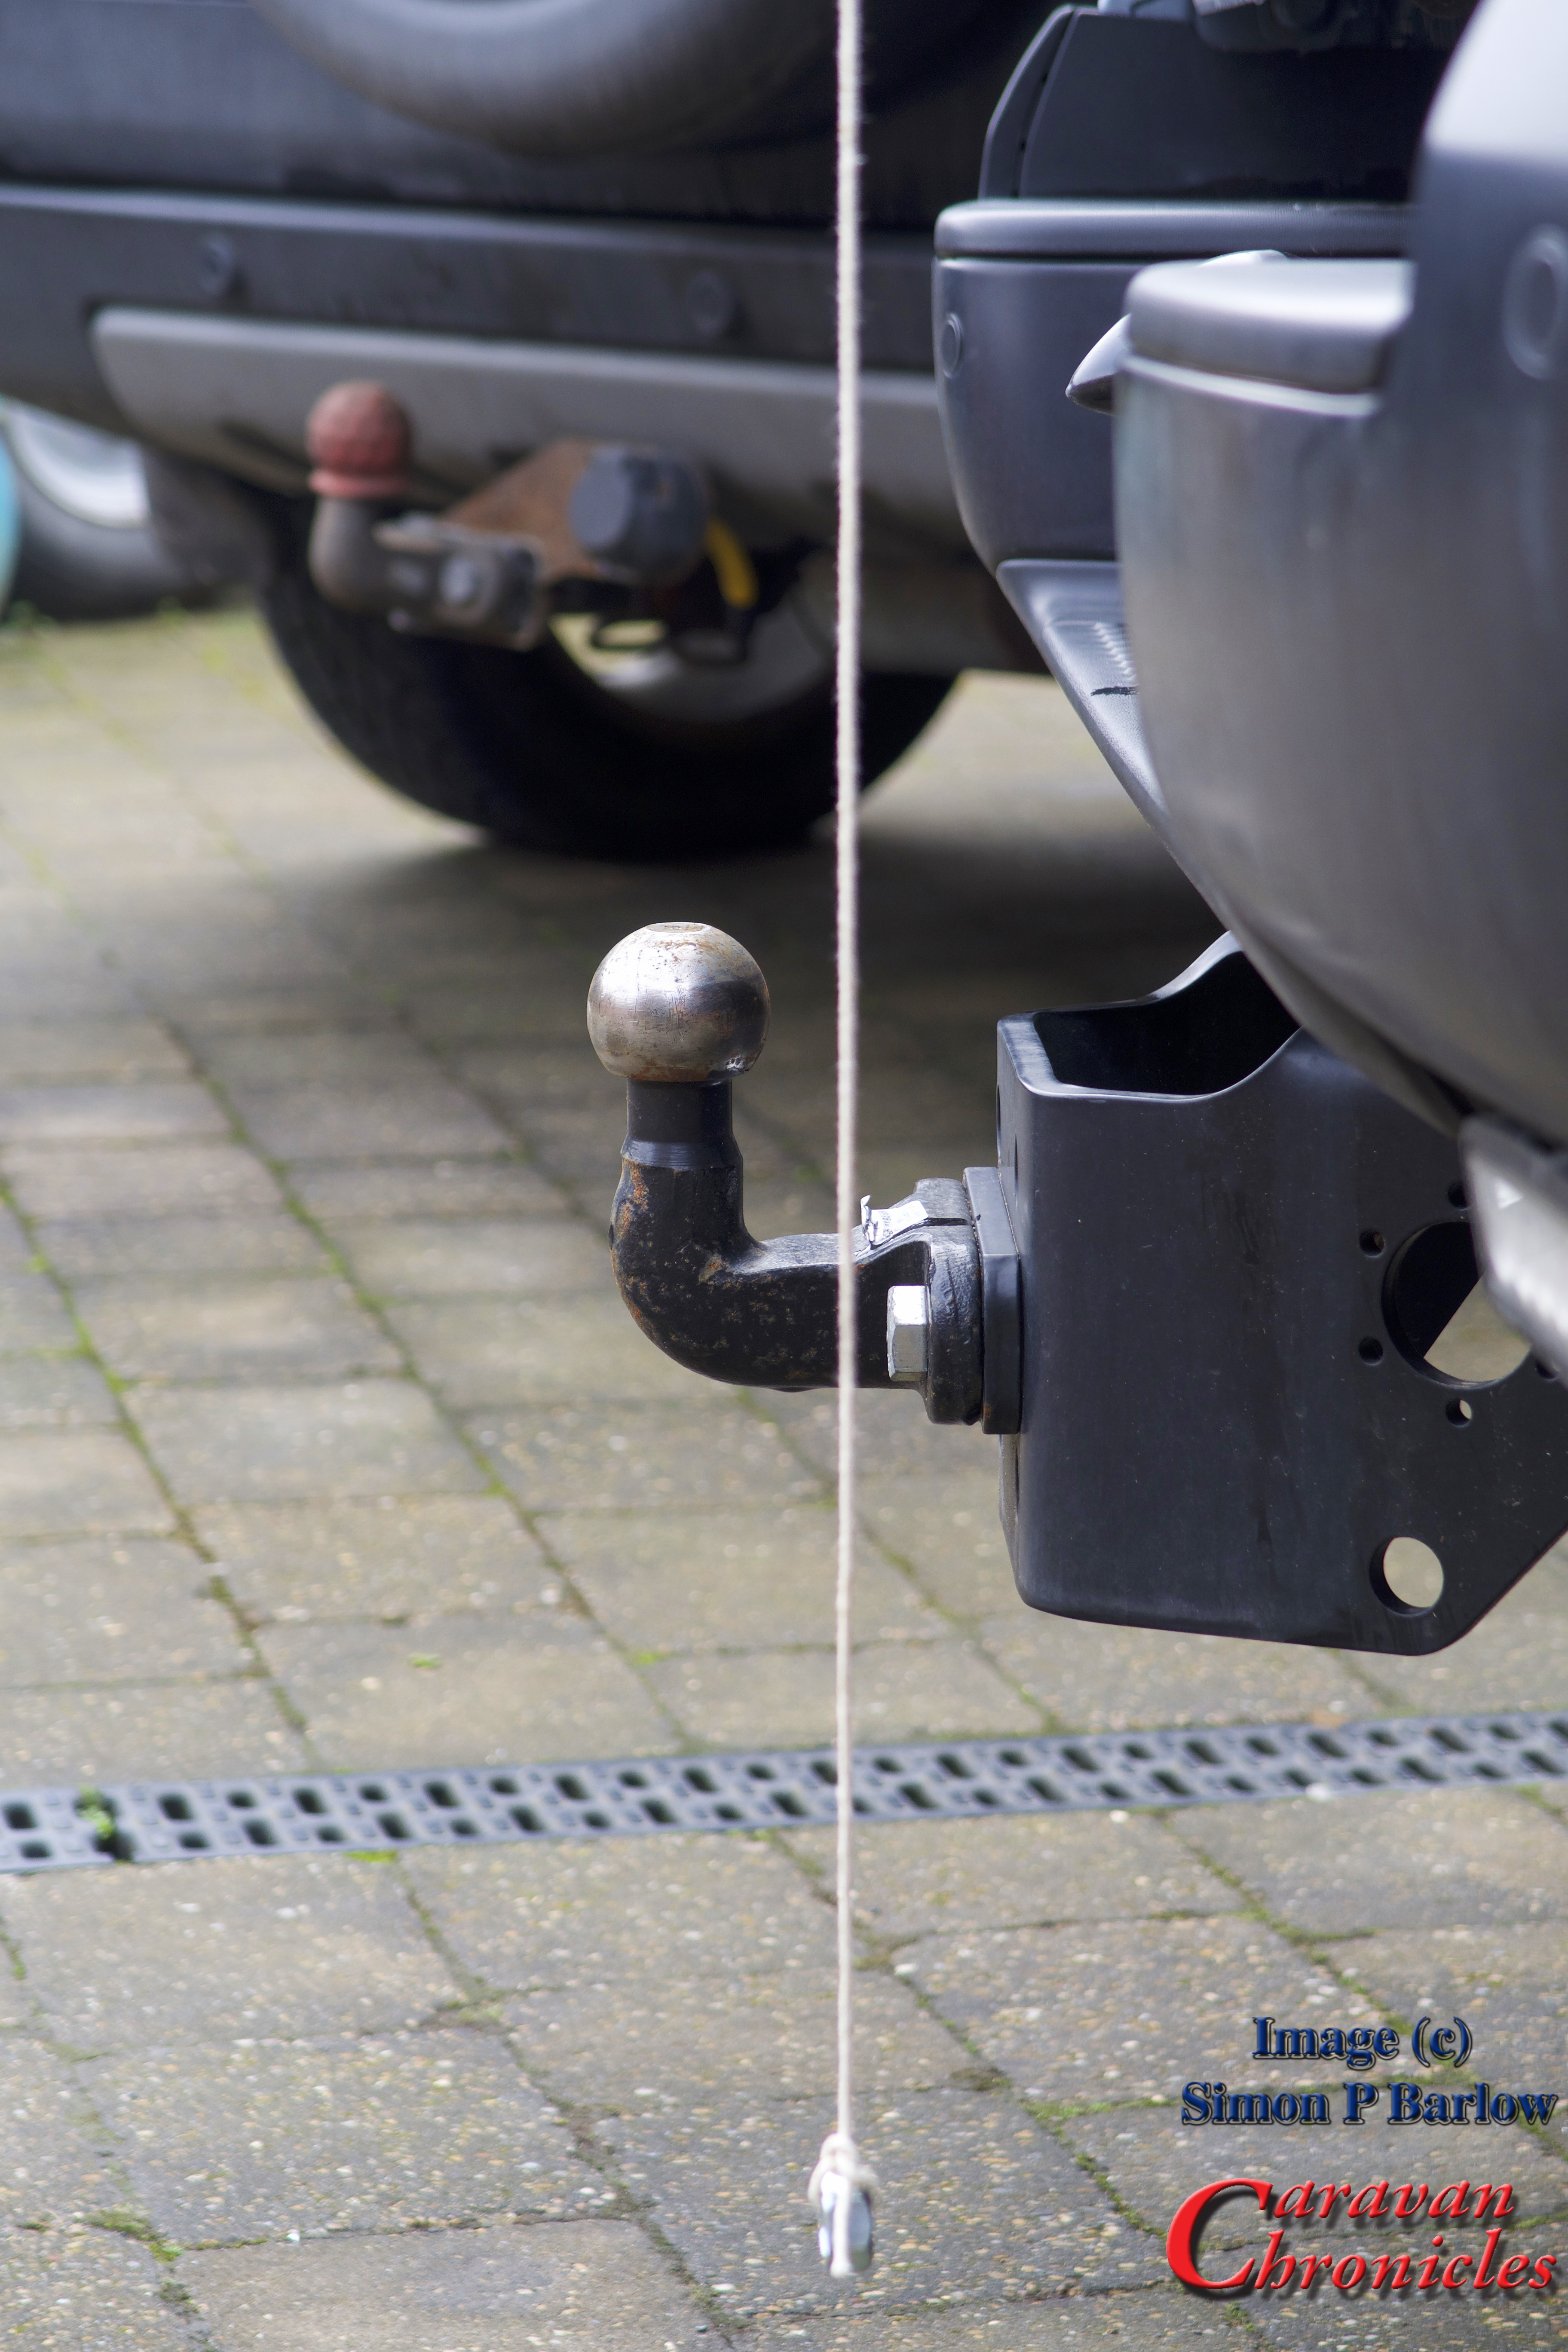
… It was still shorter than the tow ball and only about 40mm longer than the rear bumper. So the overhang wasn’t anything to worry about. Even with a bike on the rack it would be clear of the caravan in the tightest of turns. Next it was just a matter of squaring things up and tightening everything down.
I ended up locating the rack more to the side than I first planned. This was for two reasons. Firstly, once the second rack is in place it leaves me with nearly 800 mm between the two racks which will allow for the option in the the future of having the ability to install a mesh tray, ski rack, surfboard rack (we don’t ski or surf… ho hum) or slimline roof box if we ever run out of storage in the Amarok. The second reason is it will give the rear view dash cam a relatively unobscured view rearward even with two bikes on the back.
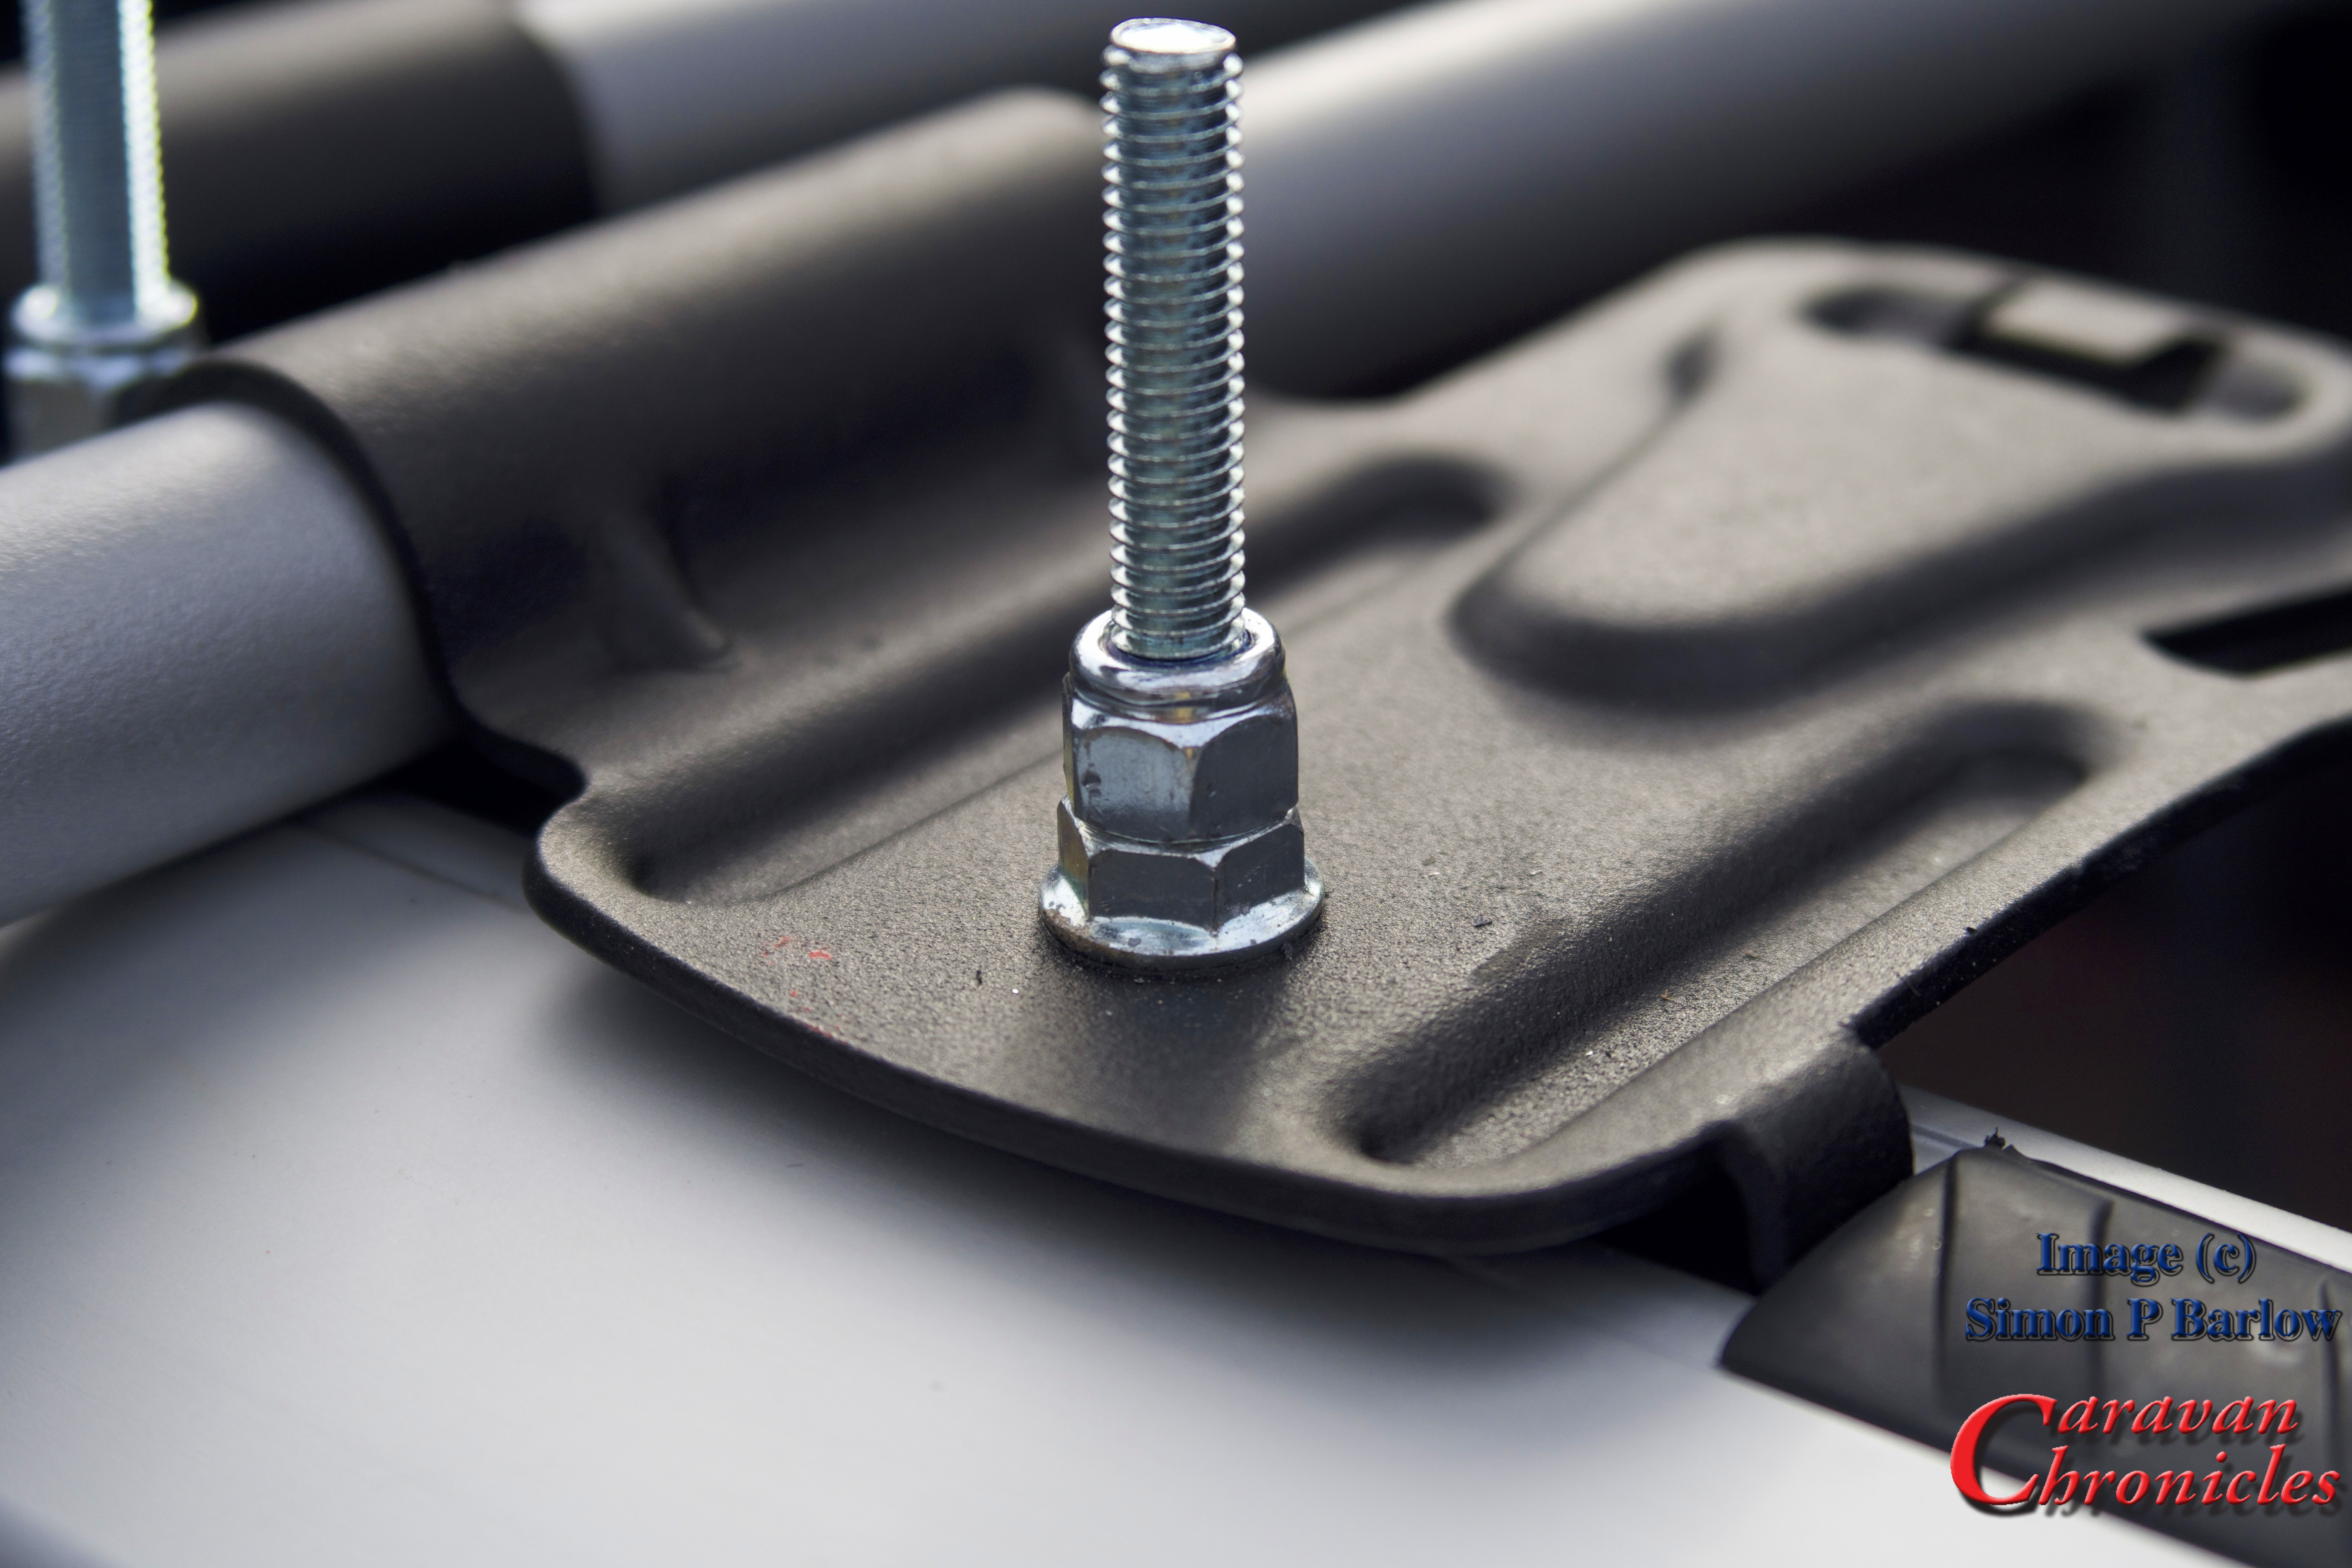
Everything torqued to the correct settings, I topped off the nuts with an additional nylon lock nut to make sure they could not vibrate loose…
… and using a Dremmel I cut off the excess thread and ground off any sharp edges. I need to find a suitable plastic or rubber push on cover for these then I can give them a quick coat of preserving grease.
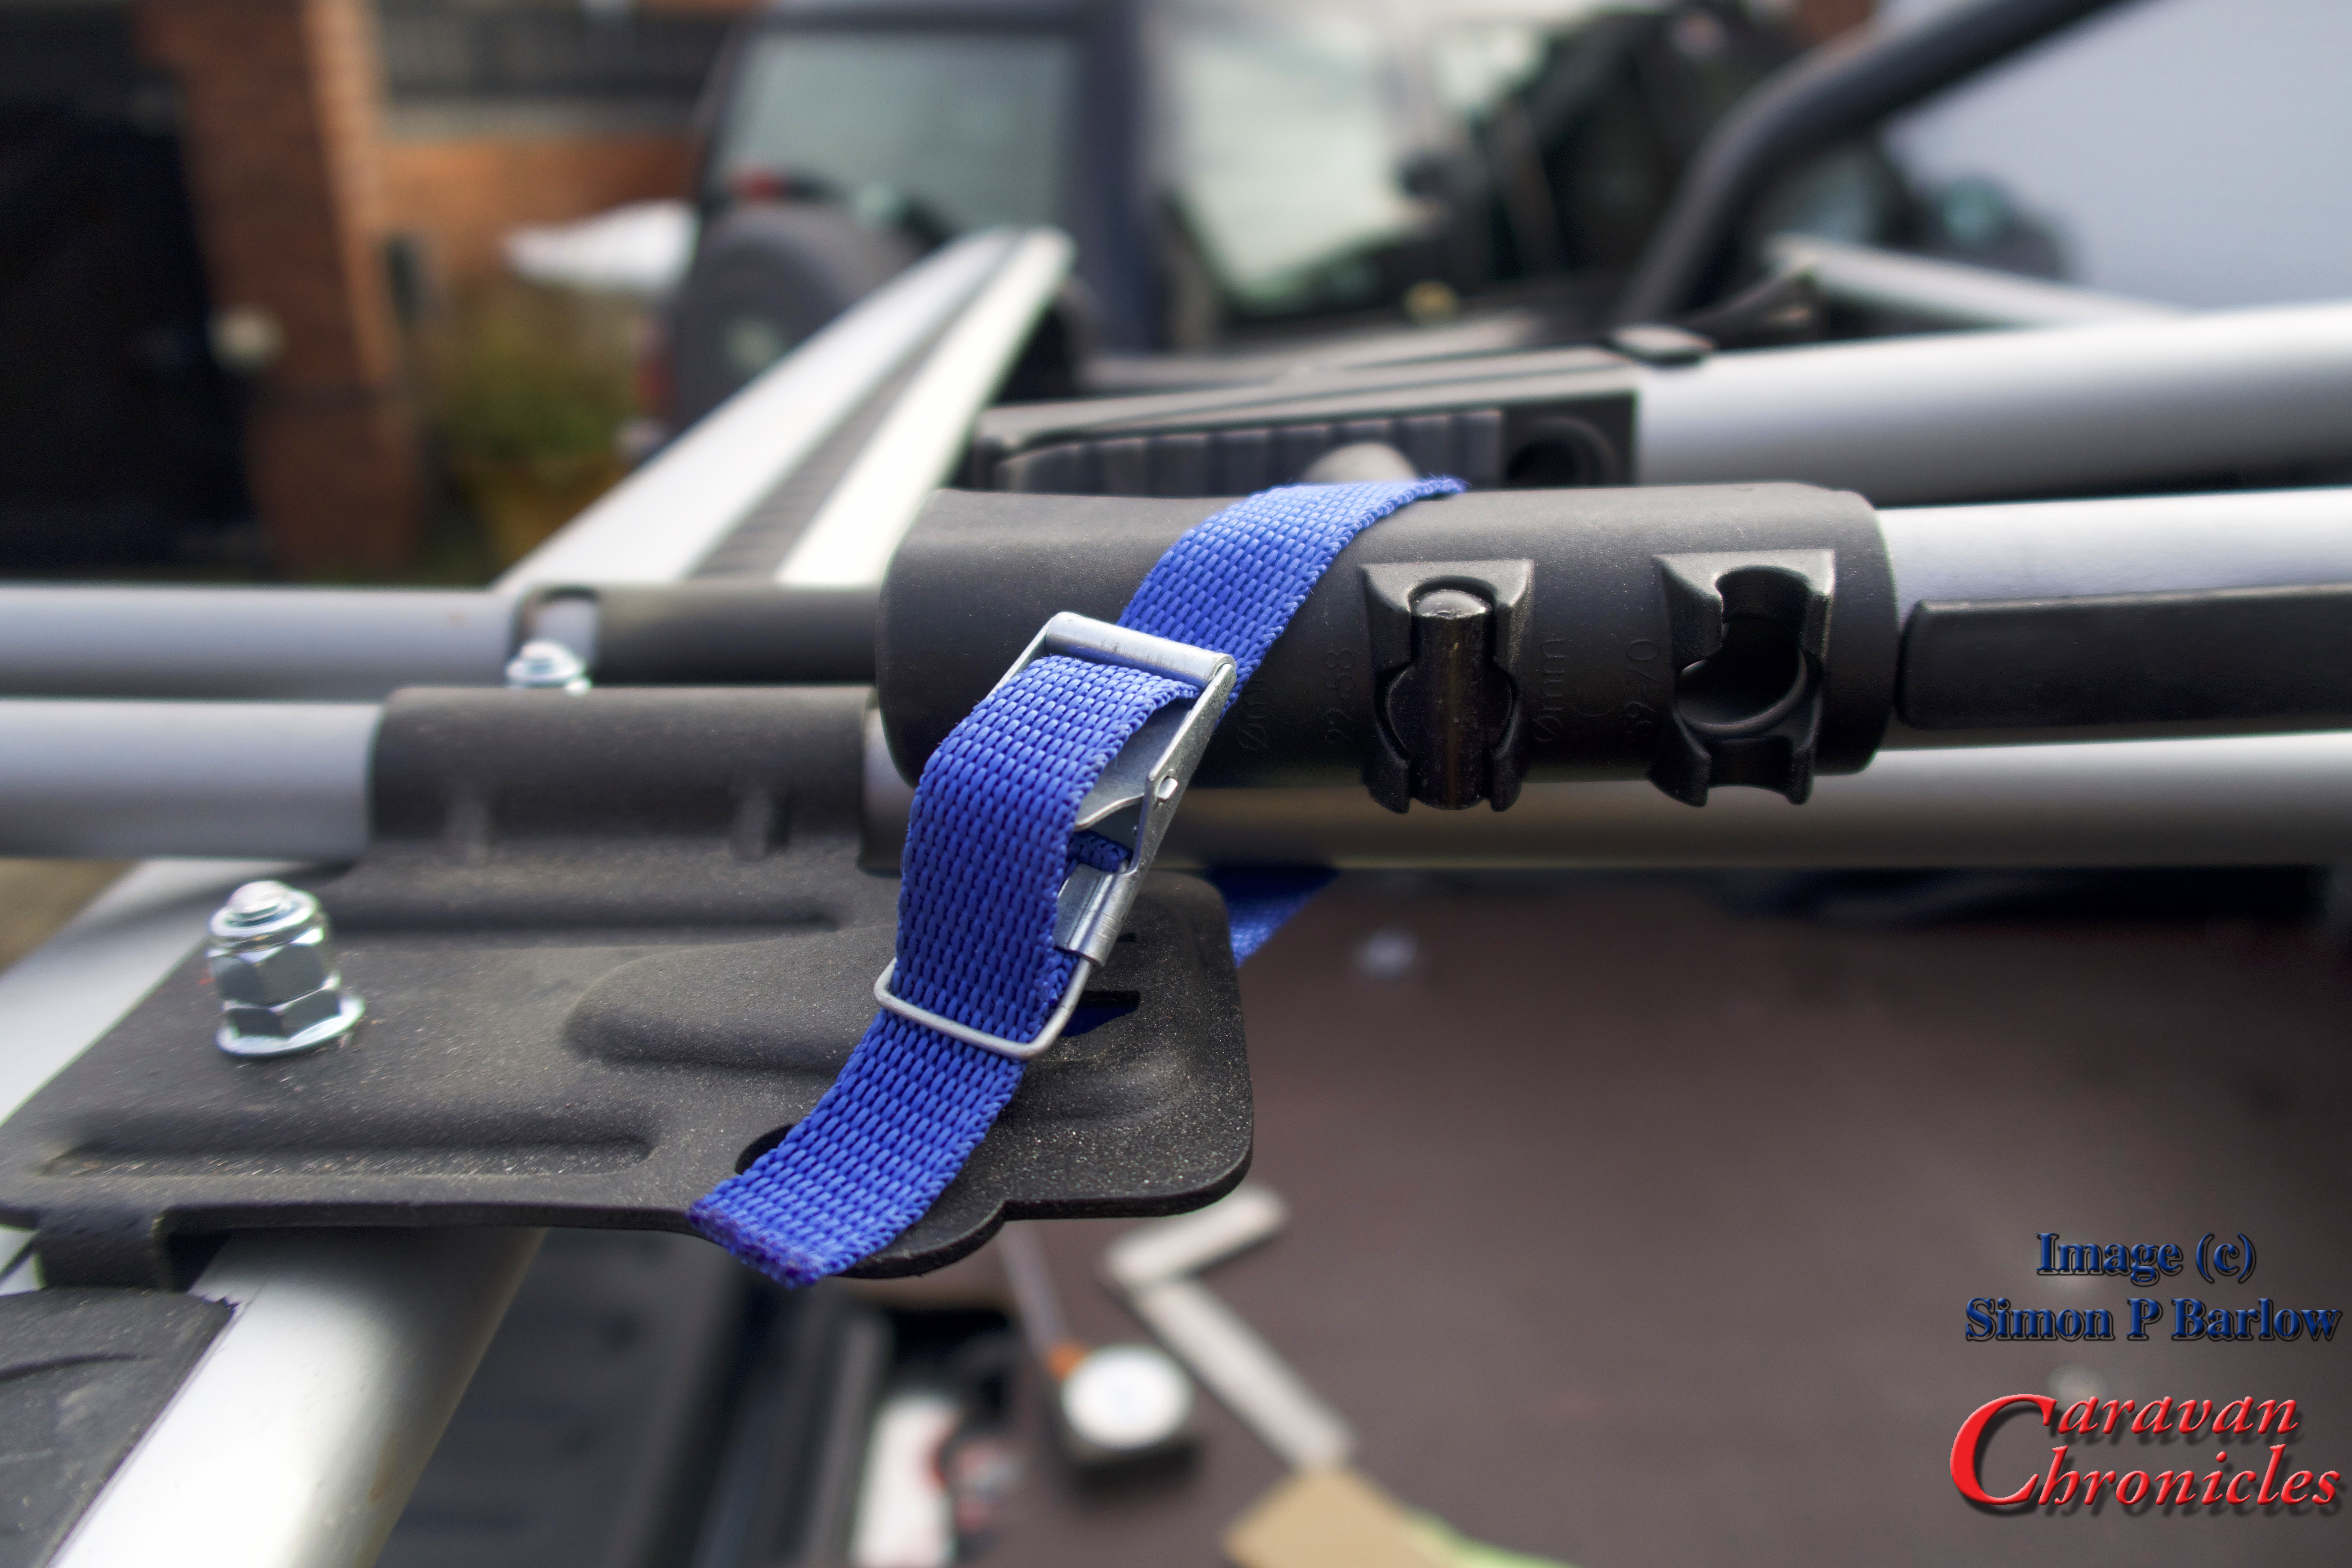
One thing that I did think about was the prospect of the swing arms bouncing up and down when bikes were not on the rack. A quick rummage in my straps box produced a few of these little blue straps and a handy slot on the mounting plate seemed ideal…
… problem solved. A simple solution to something that may or may not be a problem.
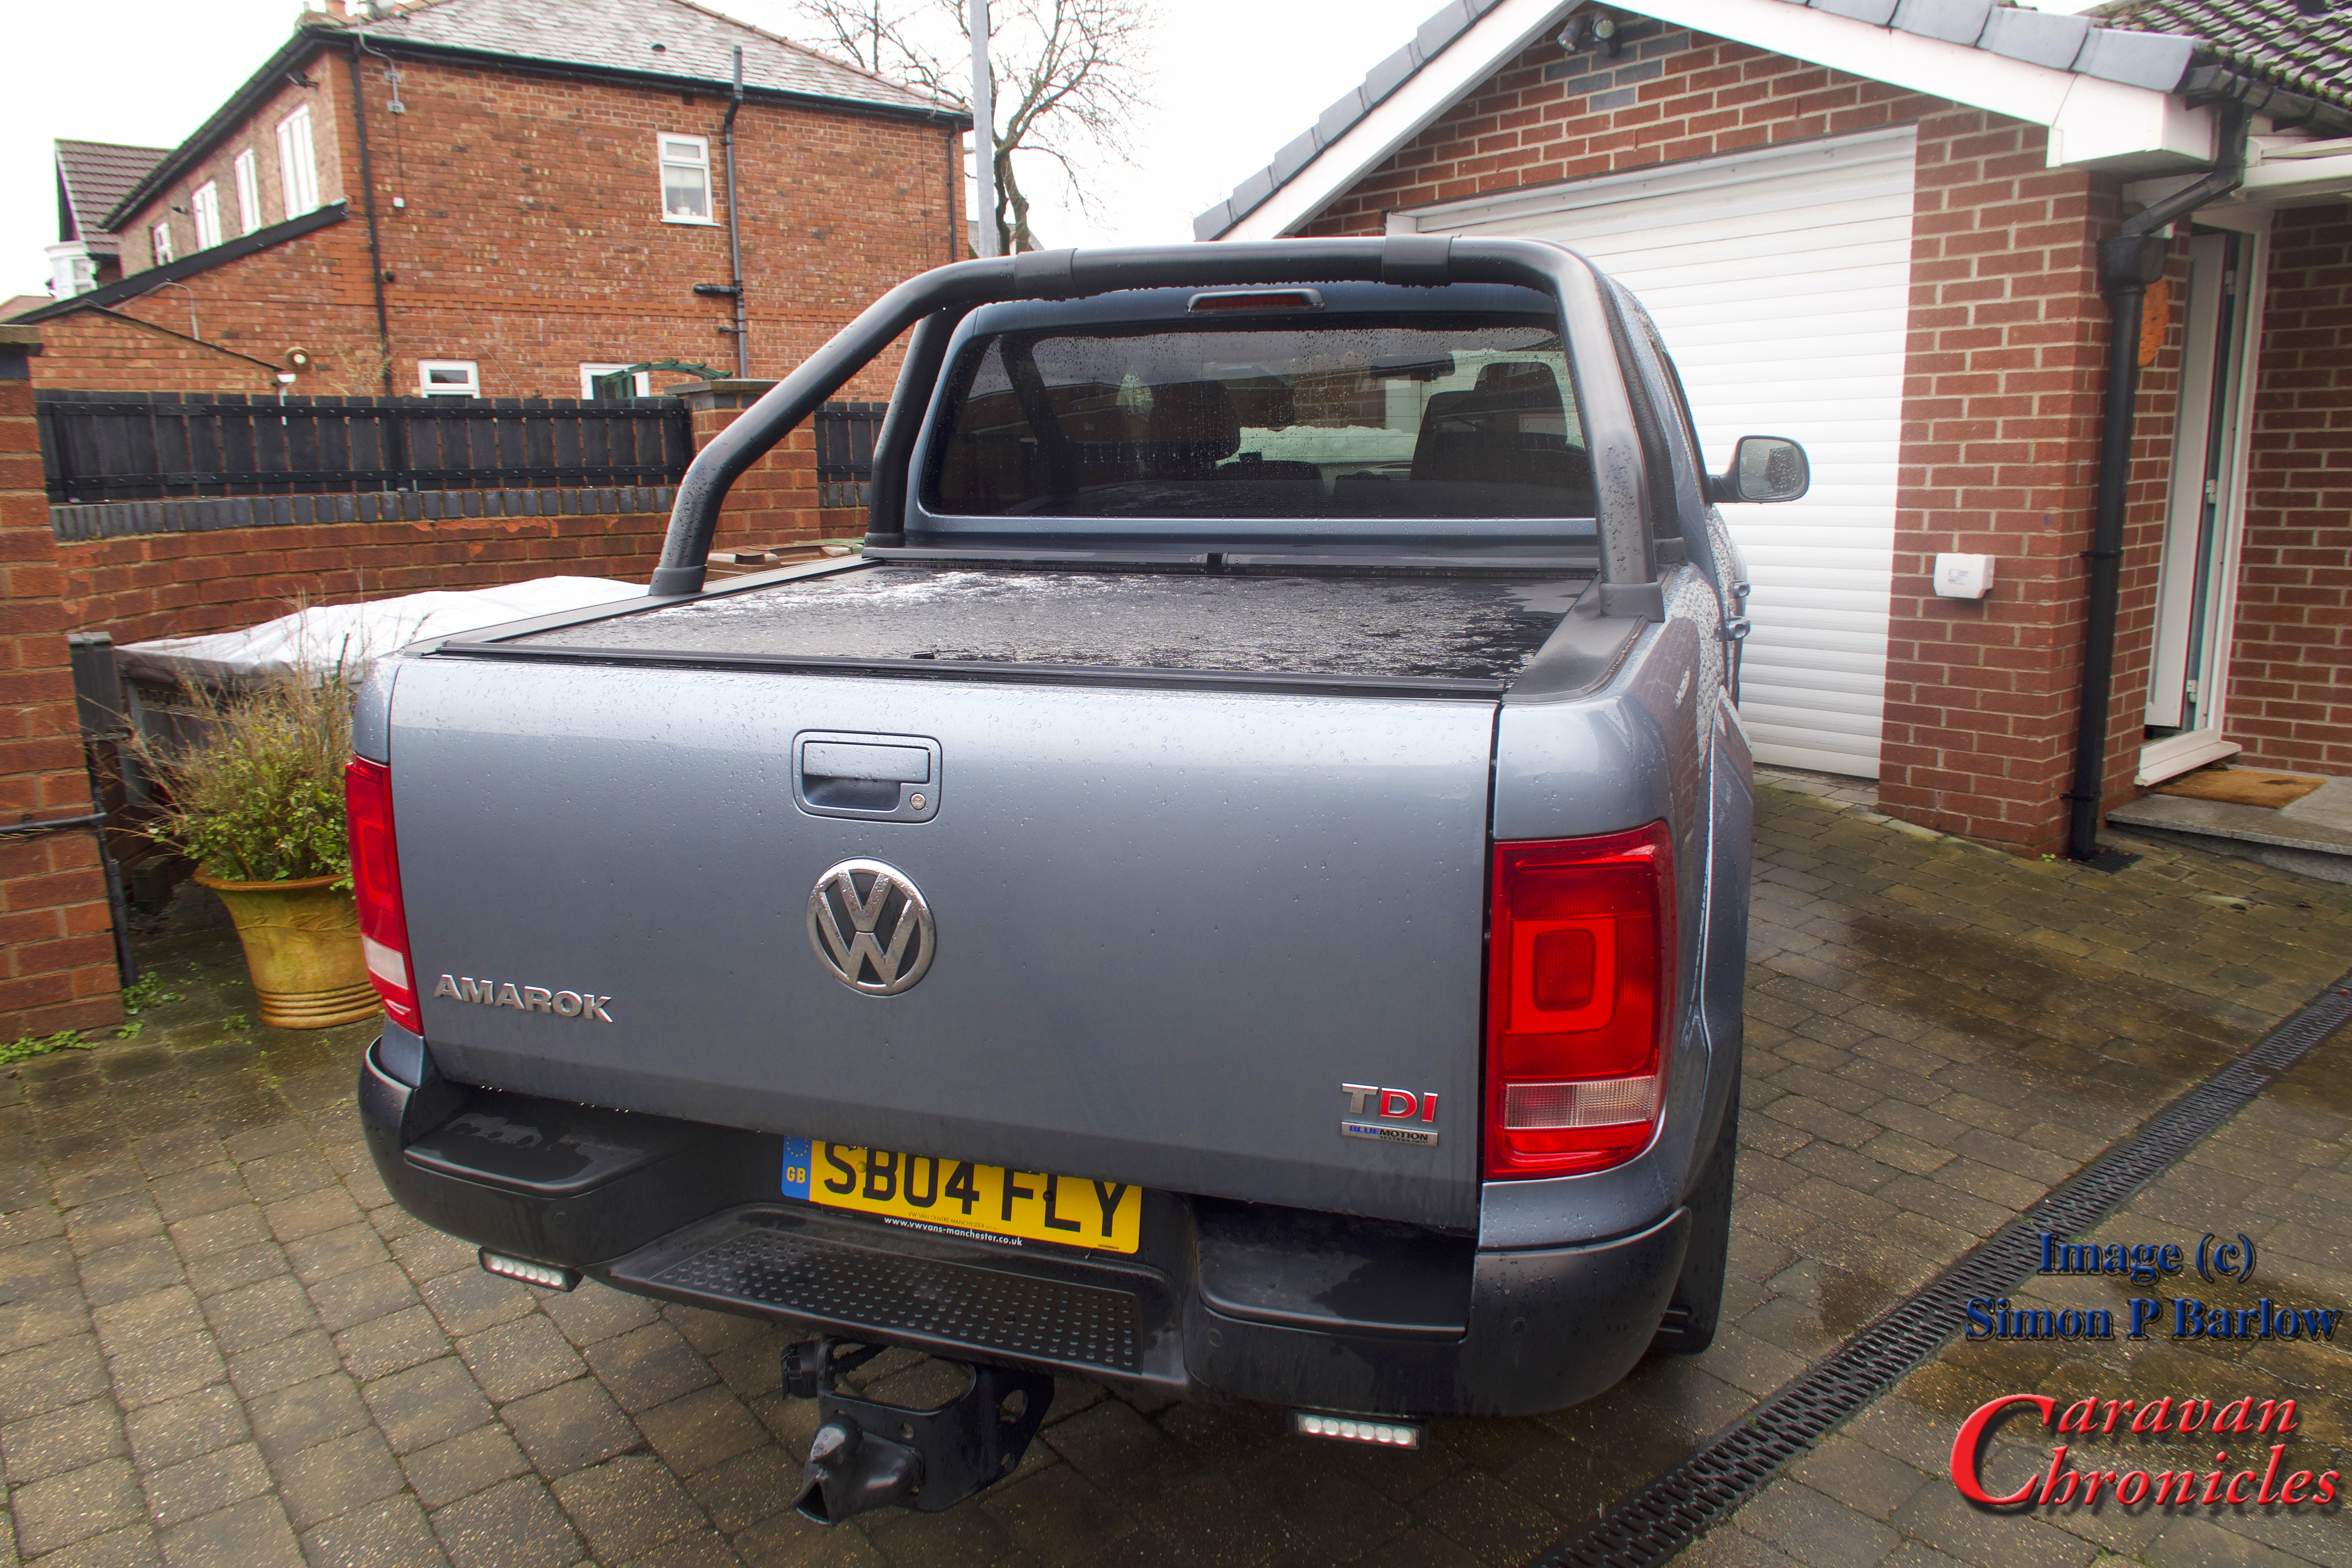
So one rack fitted, all that is left is to repeat for the other side, when it arrives!
It’s been a few months since we bought our VW Amarok and I hadn’t originally intended it to take this long to install a bike rack or carrier. What slowed us down was sorting out the bits needed for mounting a bike carrier above the bed of the Amarok. In the USA, pickups are plentiful and there are various companies that make carrier systems and mounts for pickups. My initial thoughts it would be fairly easy and started perusing the Thule website. Unfortunately they did not sell the correct mounting hardware for where I wanted to mount the rack.. on the side rails for the Roll-N-Lock cover.
Searching the internet found plenty of results for the type of mounting I wanted… all in America and the most promising system was produced by Yakimar.
However, trying to find a retailer that would ship to the UK was a bit of a problem as most would only ship to the US and Canada. I did eventually find a company in California that would. The next hurdle was the cost. To buy everything and get it shipped over here would ring up a massive £2180 bill at the checkout. This was not worth it. I out the bike rack on the back burner for a while… and the pound against the dollar slipped in the meantime.
I started looking around again at the start of this year and returned to Thule and Fiamma. Could I make up my own “kit of parts” to do the job? Fiamma while having a great selection of racks and bits didn’t provide anything in the way of a roof bar so back to Thule again. While mooching about their website I accidentally got on to the American area of their site and while looking for mounting feet came across one specifically designed for mounting on to flat roofs. The part was intended for a Fibreglass canopy on a Jeep Wrangler but pictures showed them being used on a number of vehicles and camping trailers. This was exactly the part I needed.
I checked with a number of Thule retailers to see if they had Kit 3113 which was used to mount Rapid Podium Foot Pack 460R on flat surfaces. No one had it, so a quick email to Thule asking if it was obtainable in the UK or Europe was fired off. The answer was a bit surprising. It was an American part produced by the American Division and was not obtainable in Europe.
OK, back to my contact at Worldwide Cyclery in California… did they stock it and could they ship it? It arrived within six days. I also ordered the Foot Pack 460R as it was over £60 cheaper even after paying import duty than buying it in the UK on-line. I now had the means to mount the WingBars(Aeroblade). I just needed to check the size and order these and two FreeRide 232 bike mounts. Before I ordered, I checked the width I’d need. Next problem, The WingBars in the UK were 1500mm wide and in the US being manufactured in English sizes were slightly wider by about an inch. They arrived a few days later from the US!
OK, so now I had all the parts… to the bat cave!
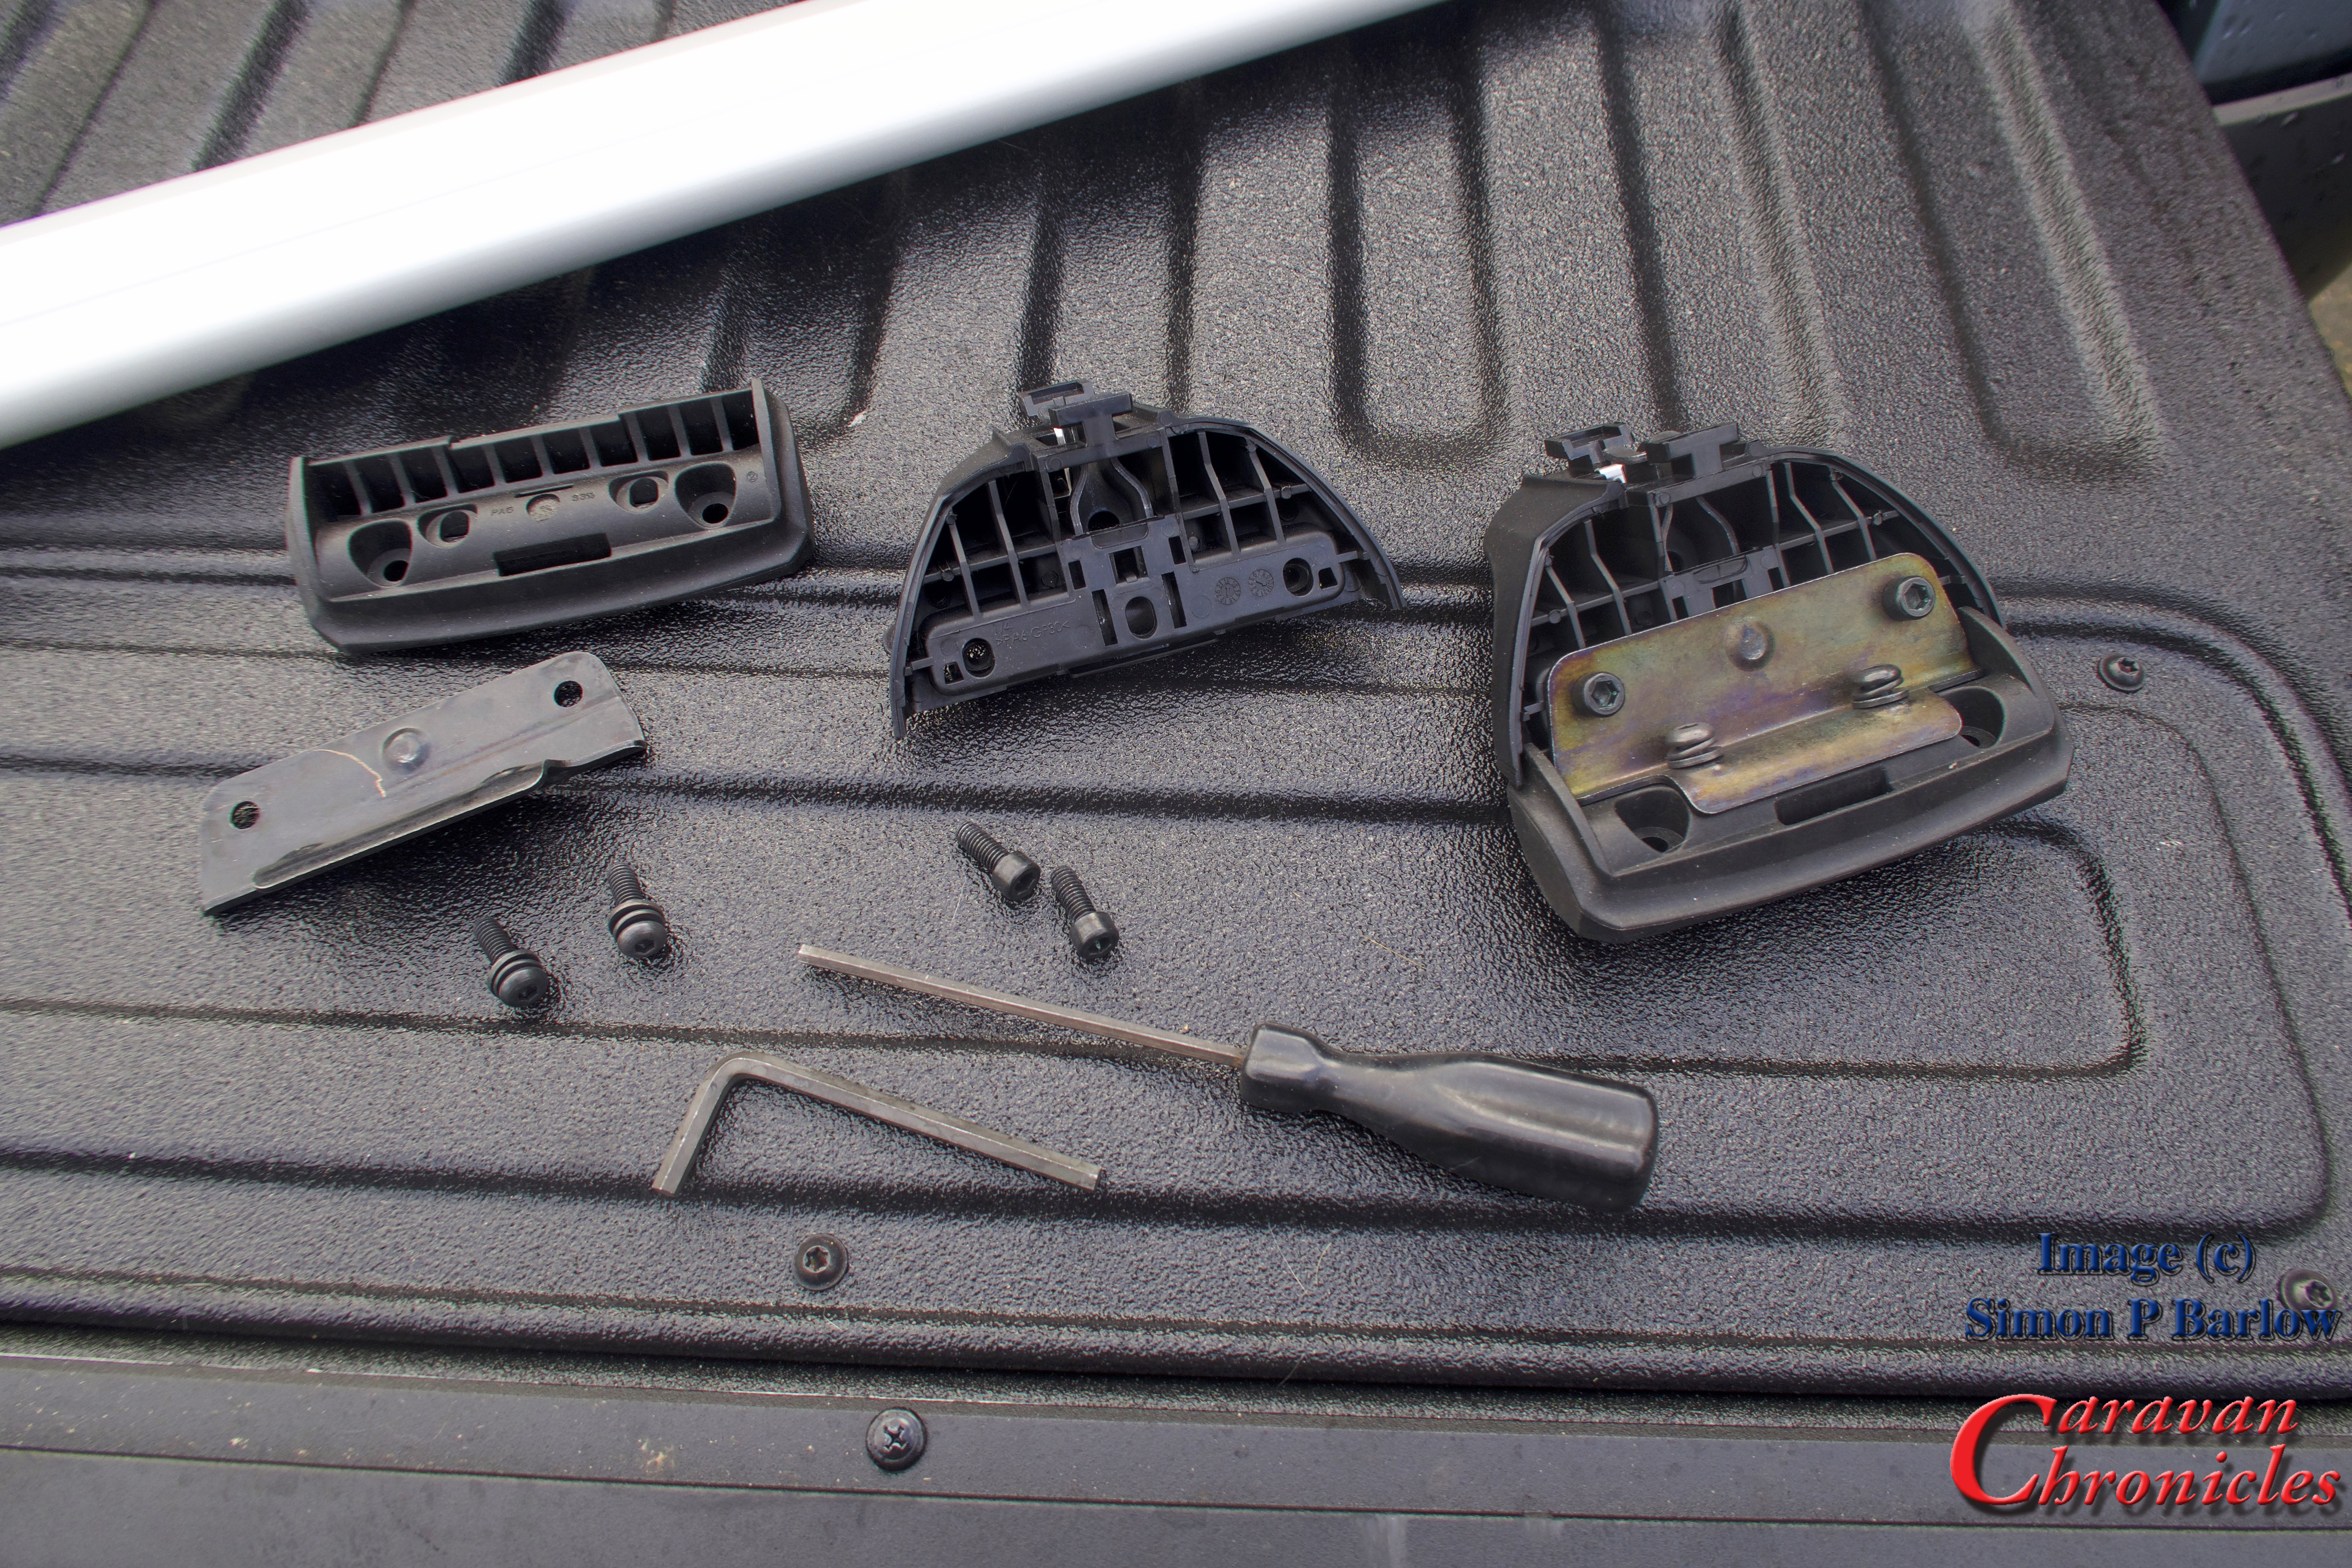
Assembling the 3113 mounting plates
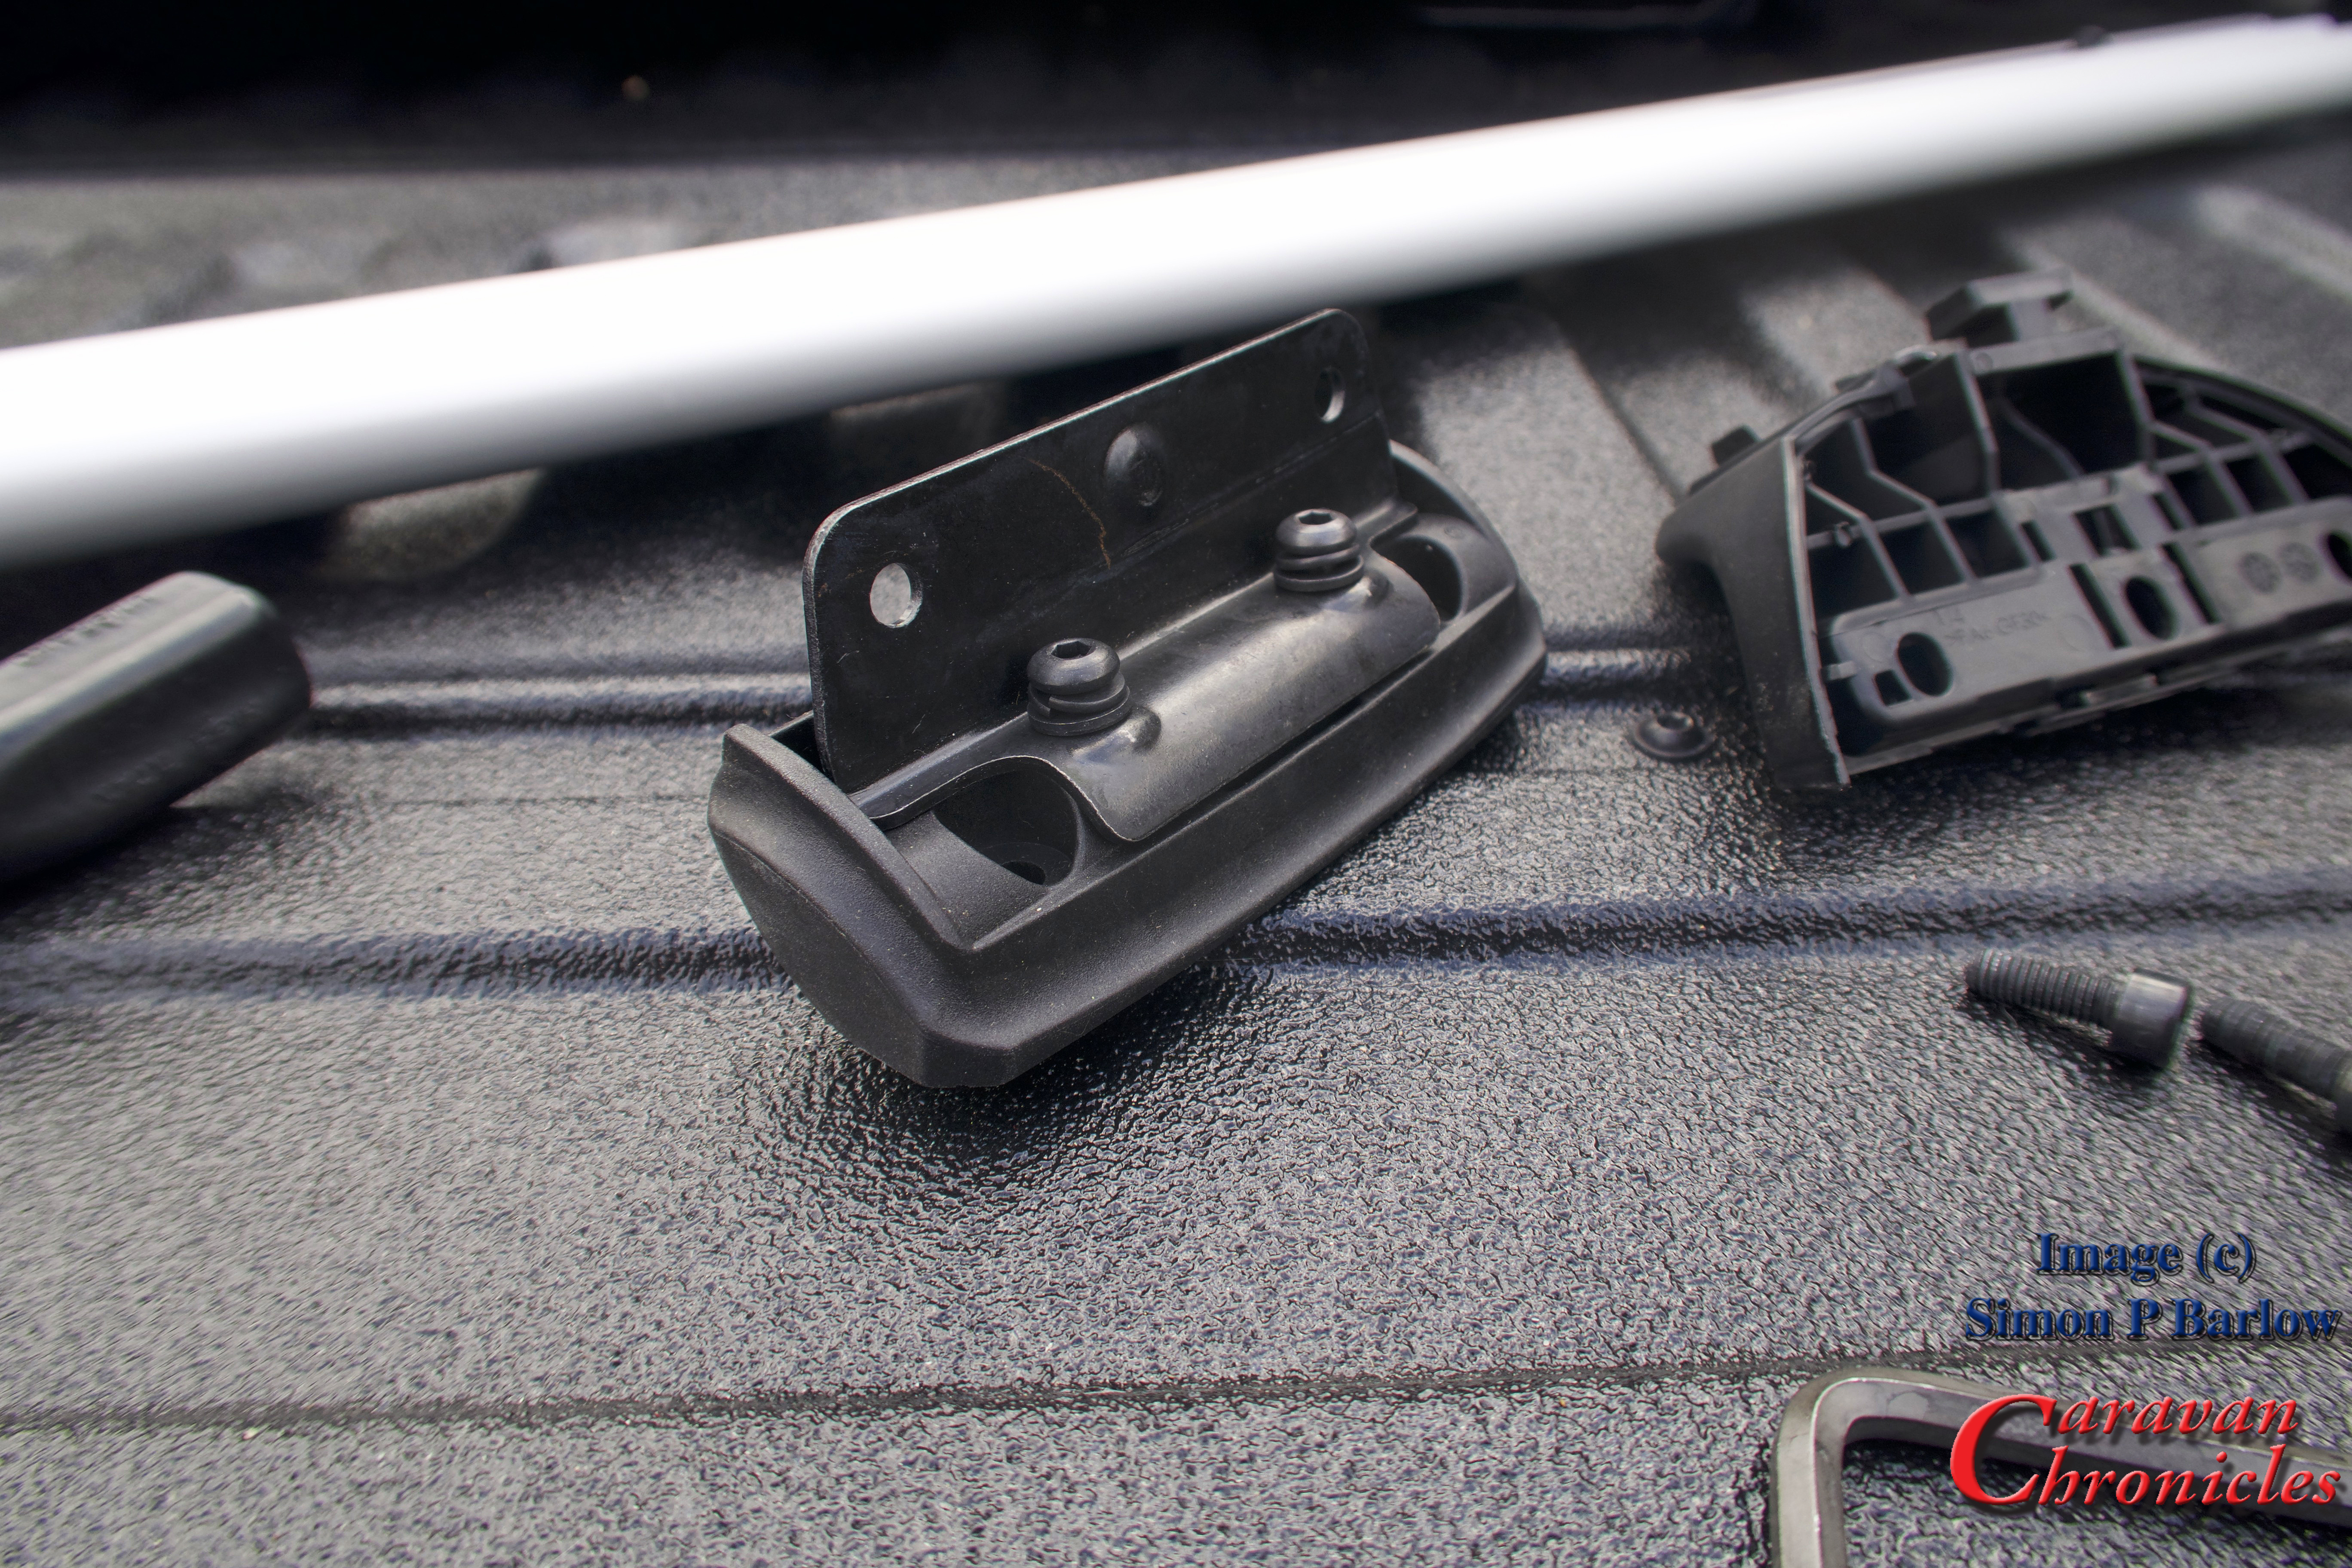
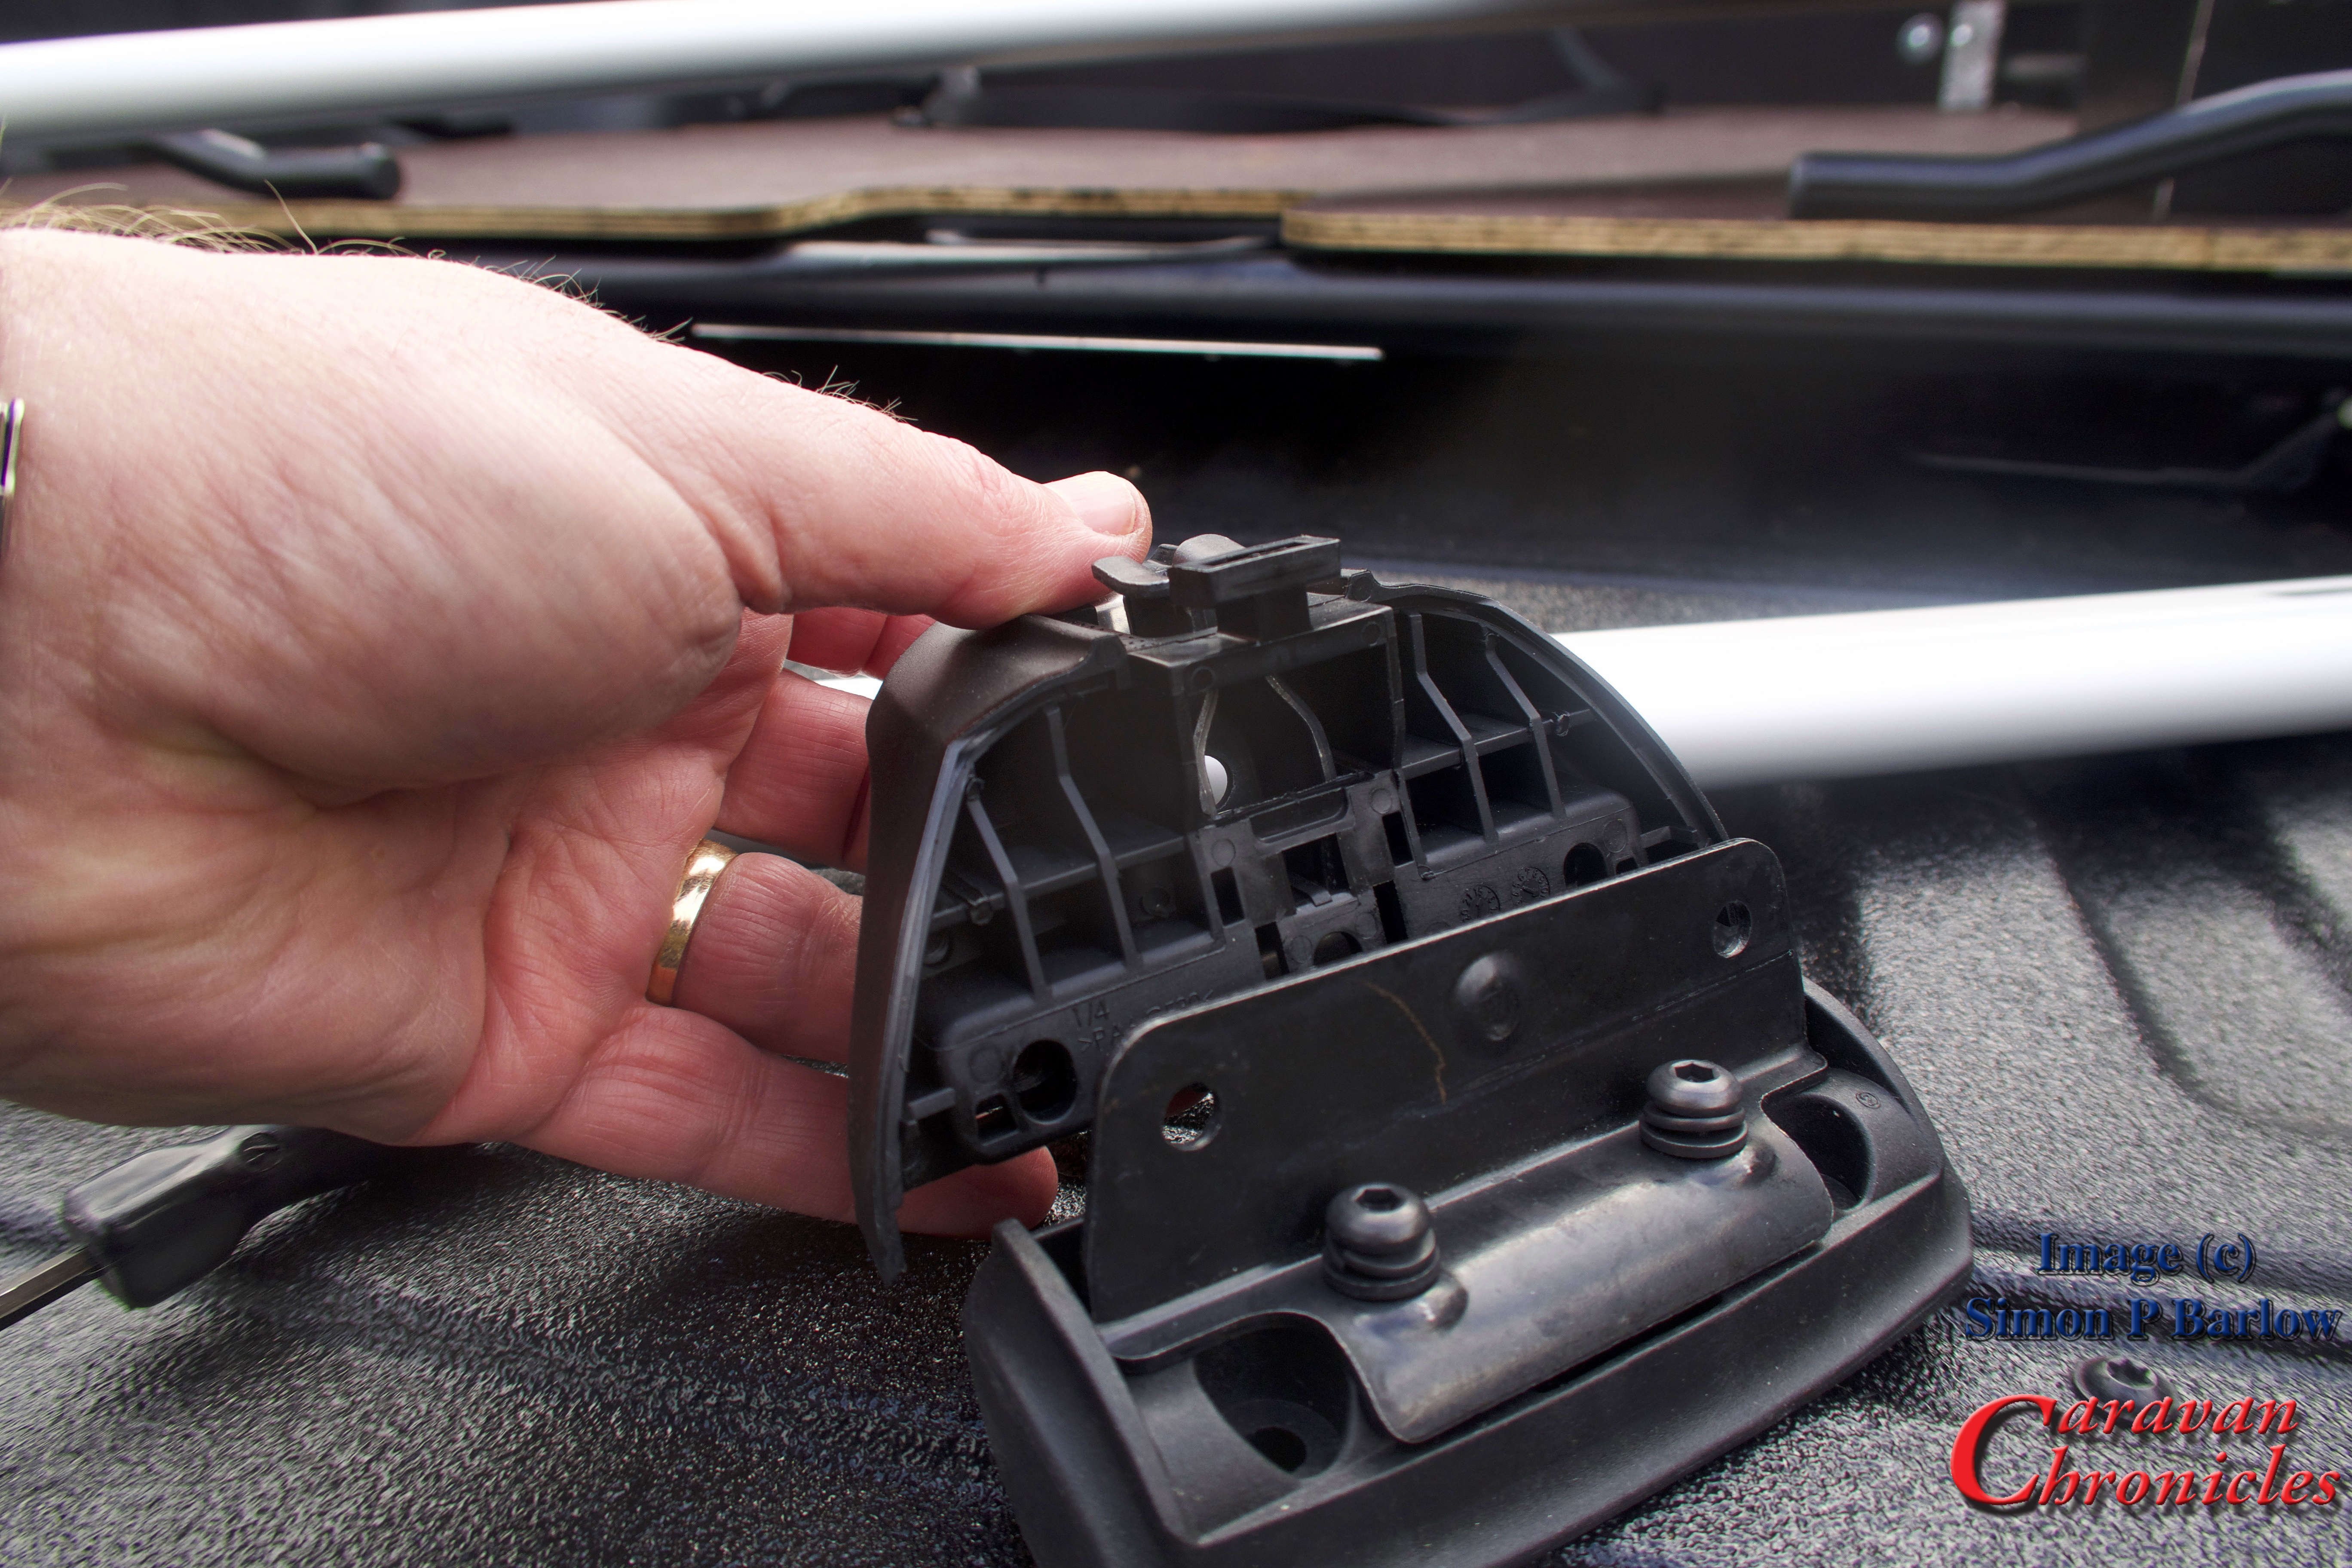
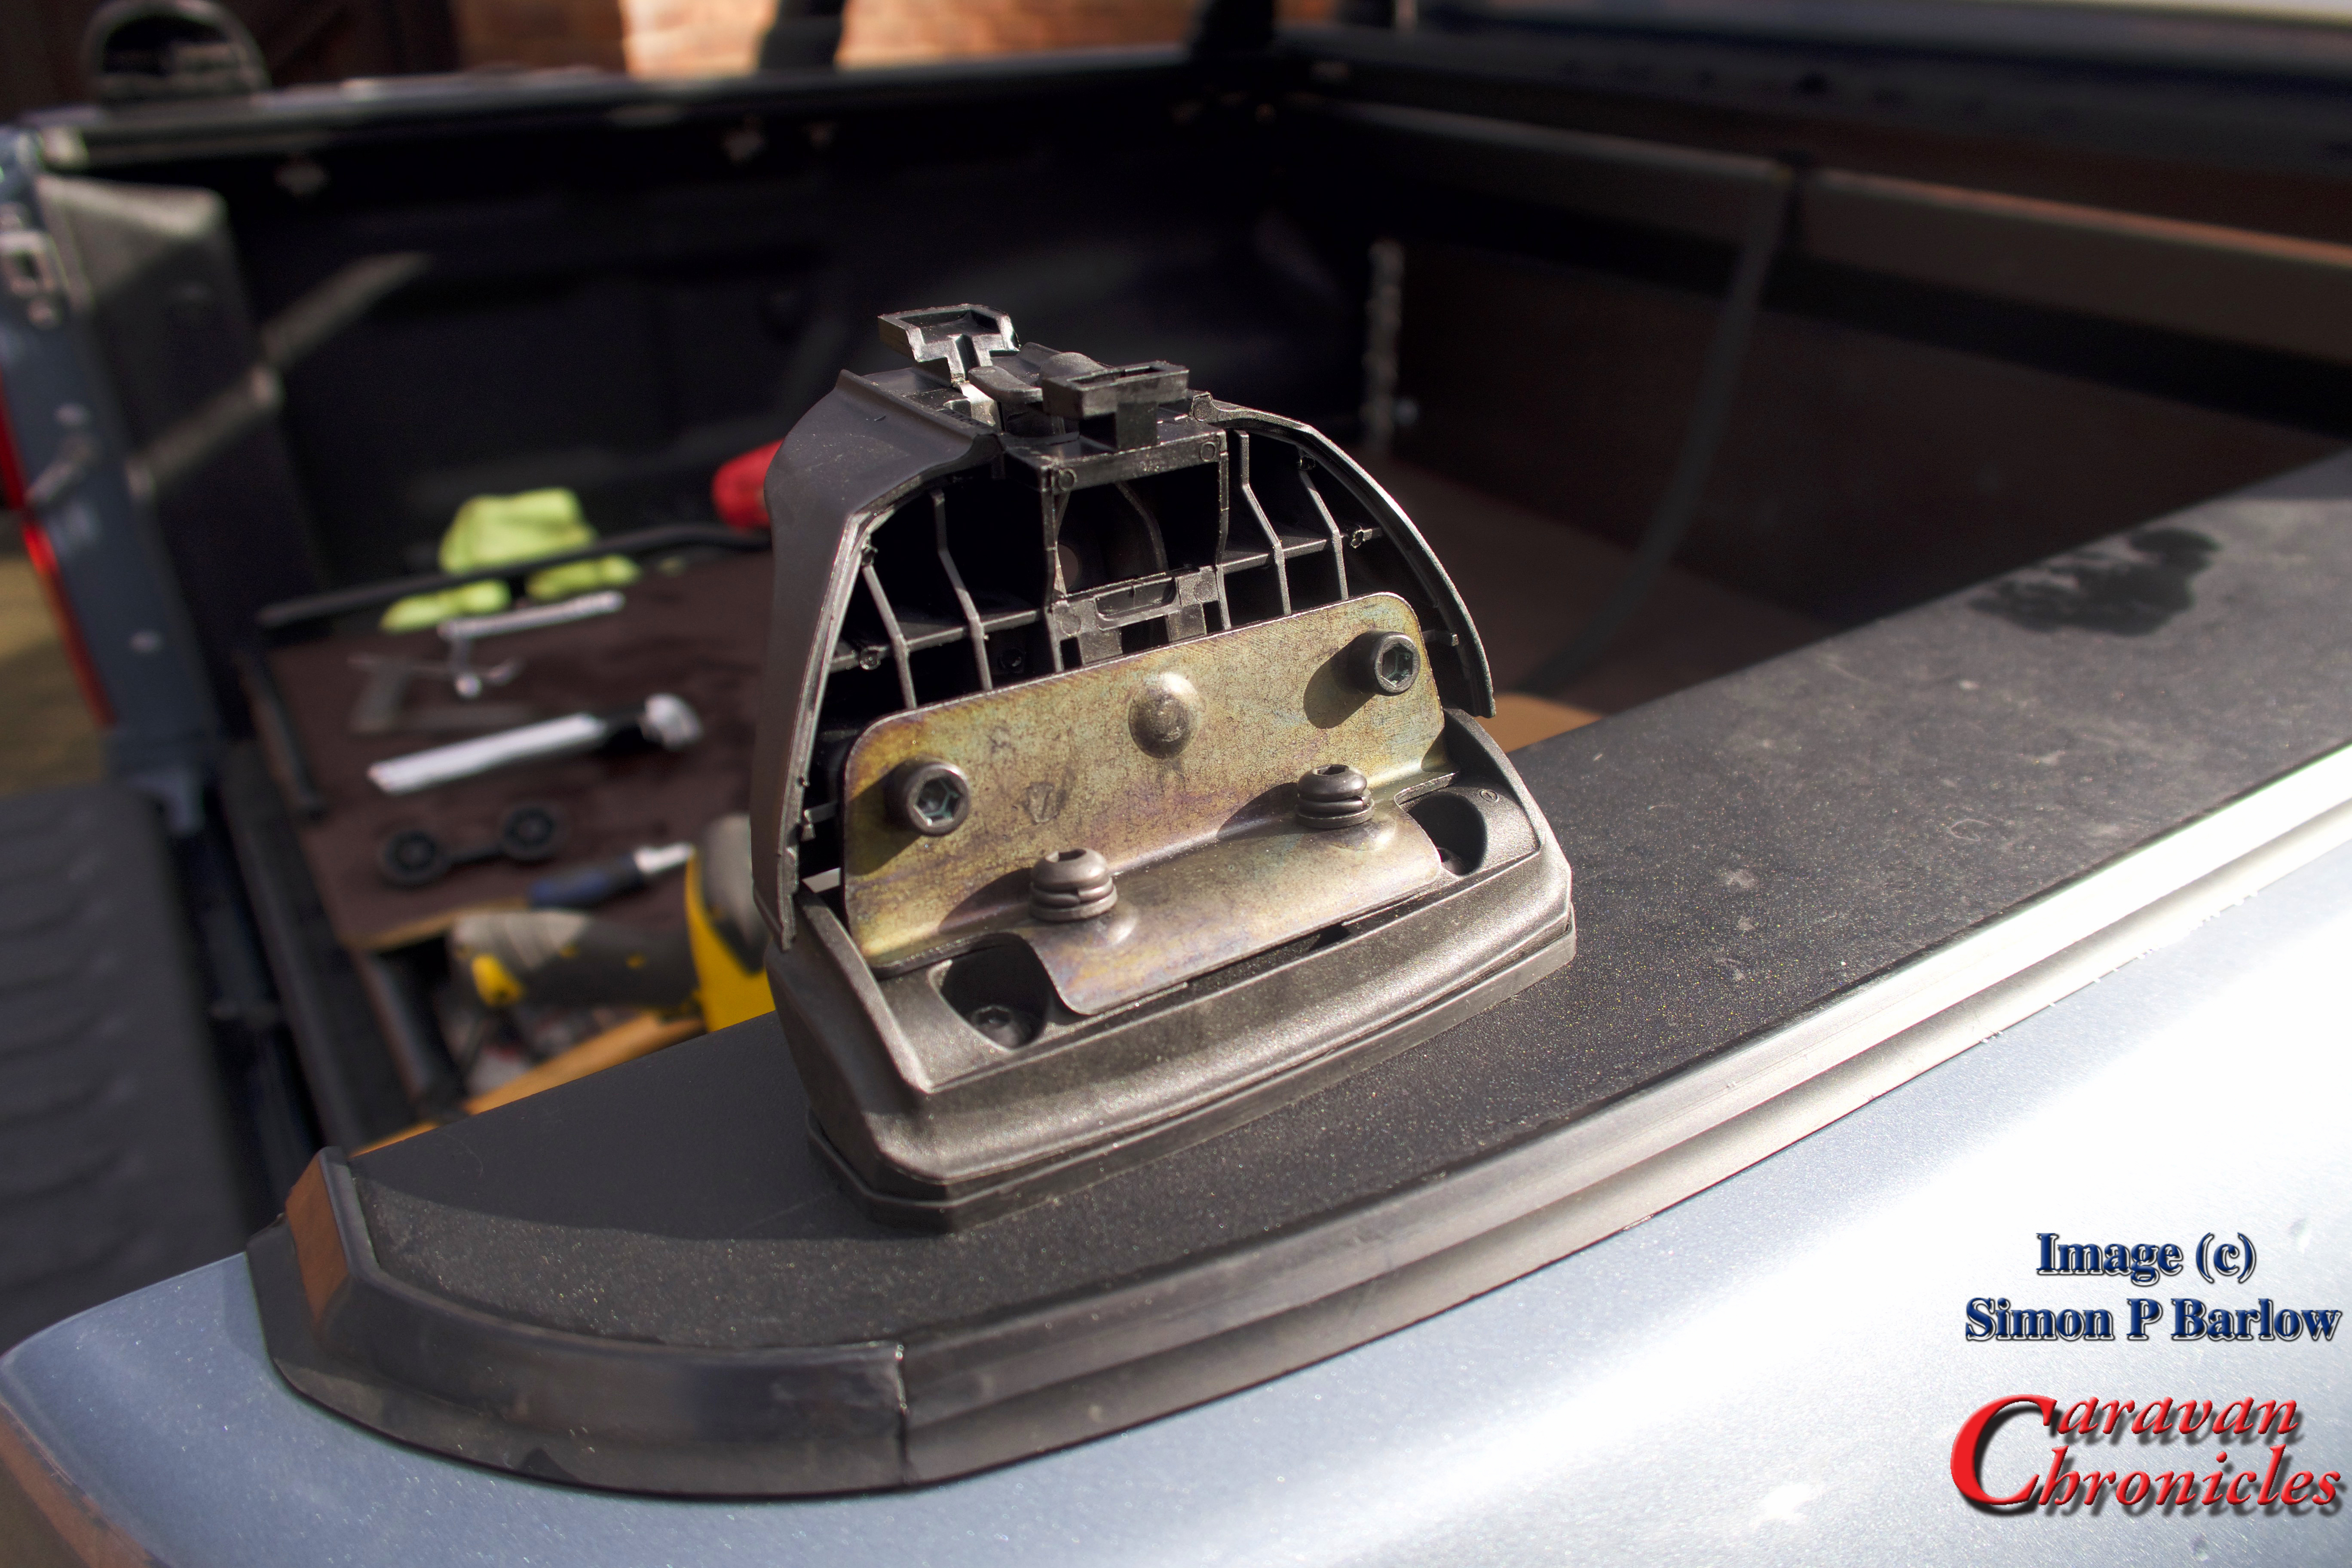
The first task was to assemble everything so I could to a test fit of the whole caboodle on the back of the Amarok before drilling anything… always a good idea! The four Kit 3113’s were assembled first and the four 406R feet were mounted on to them.
Assembling the 460R on to one of the 3113 mounting plates.
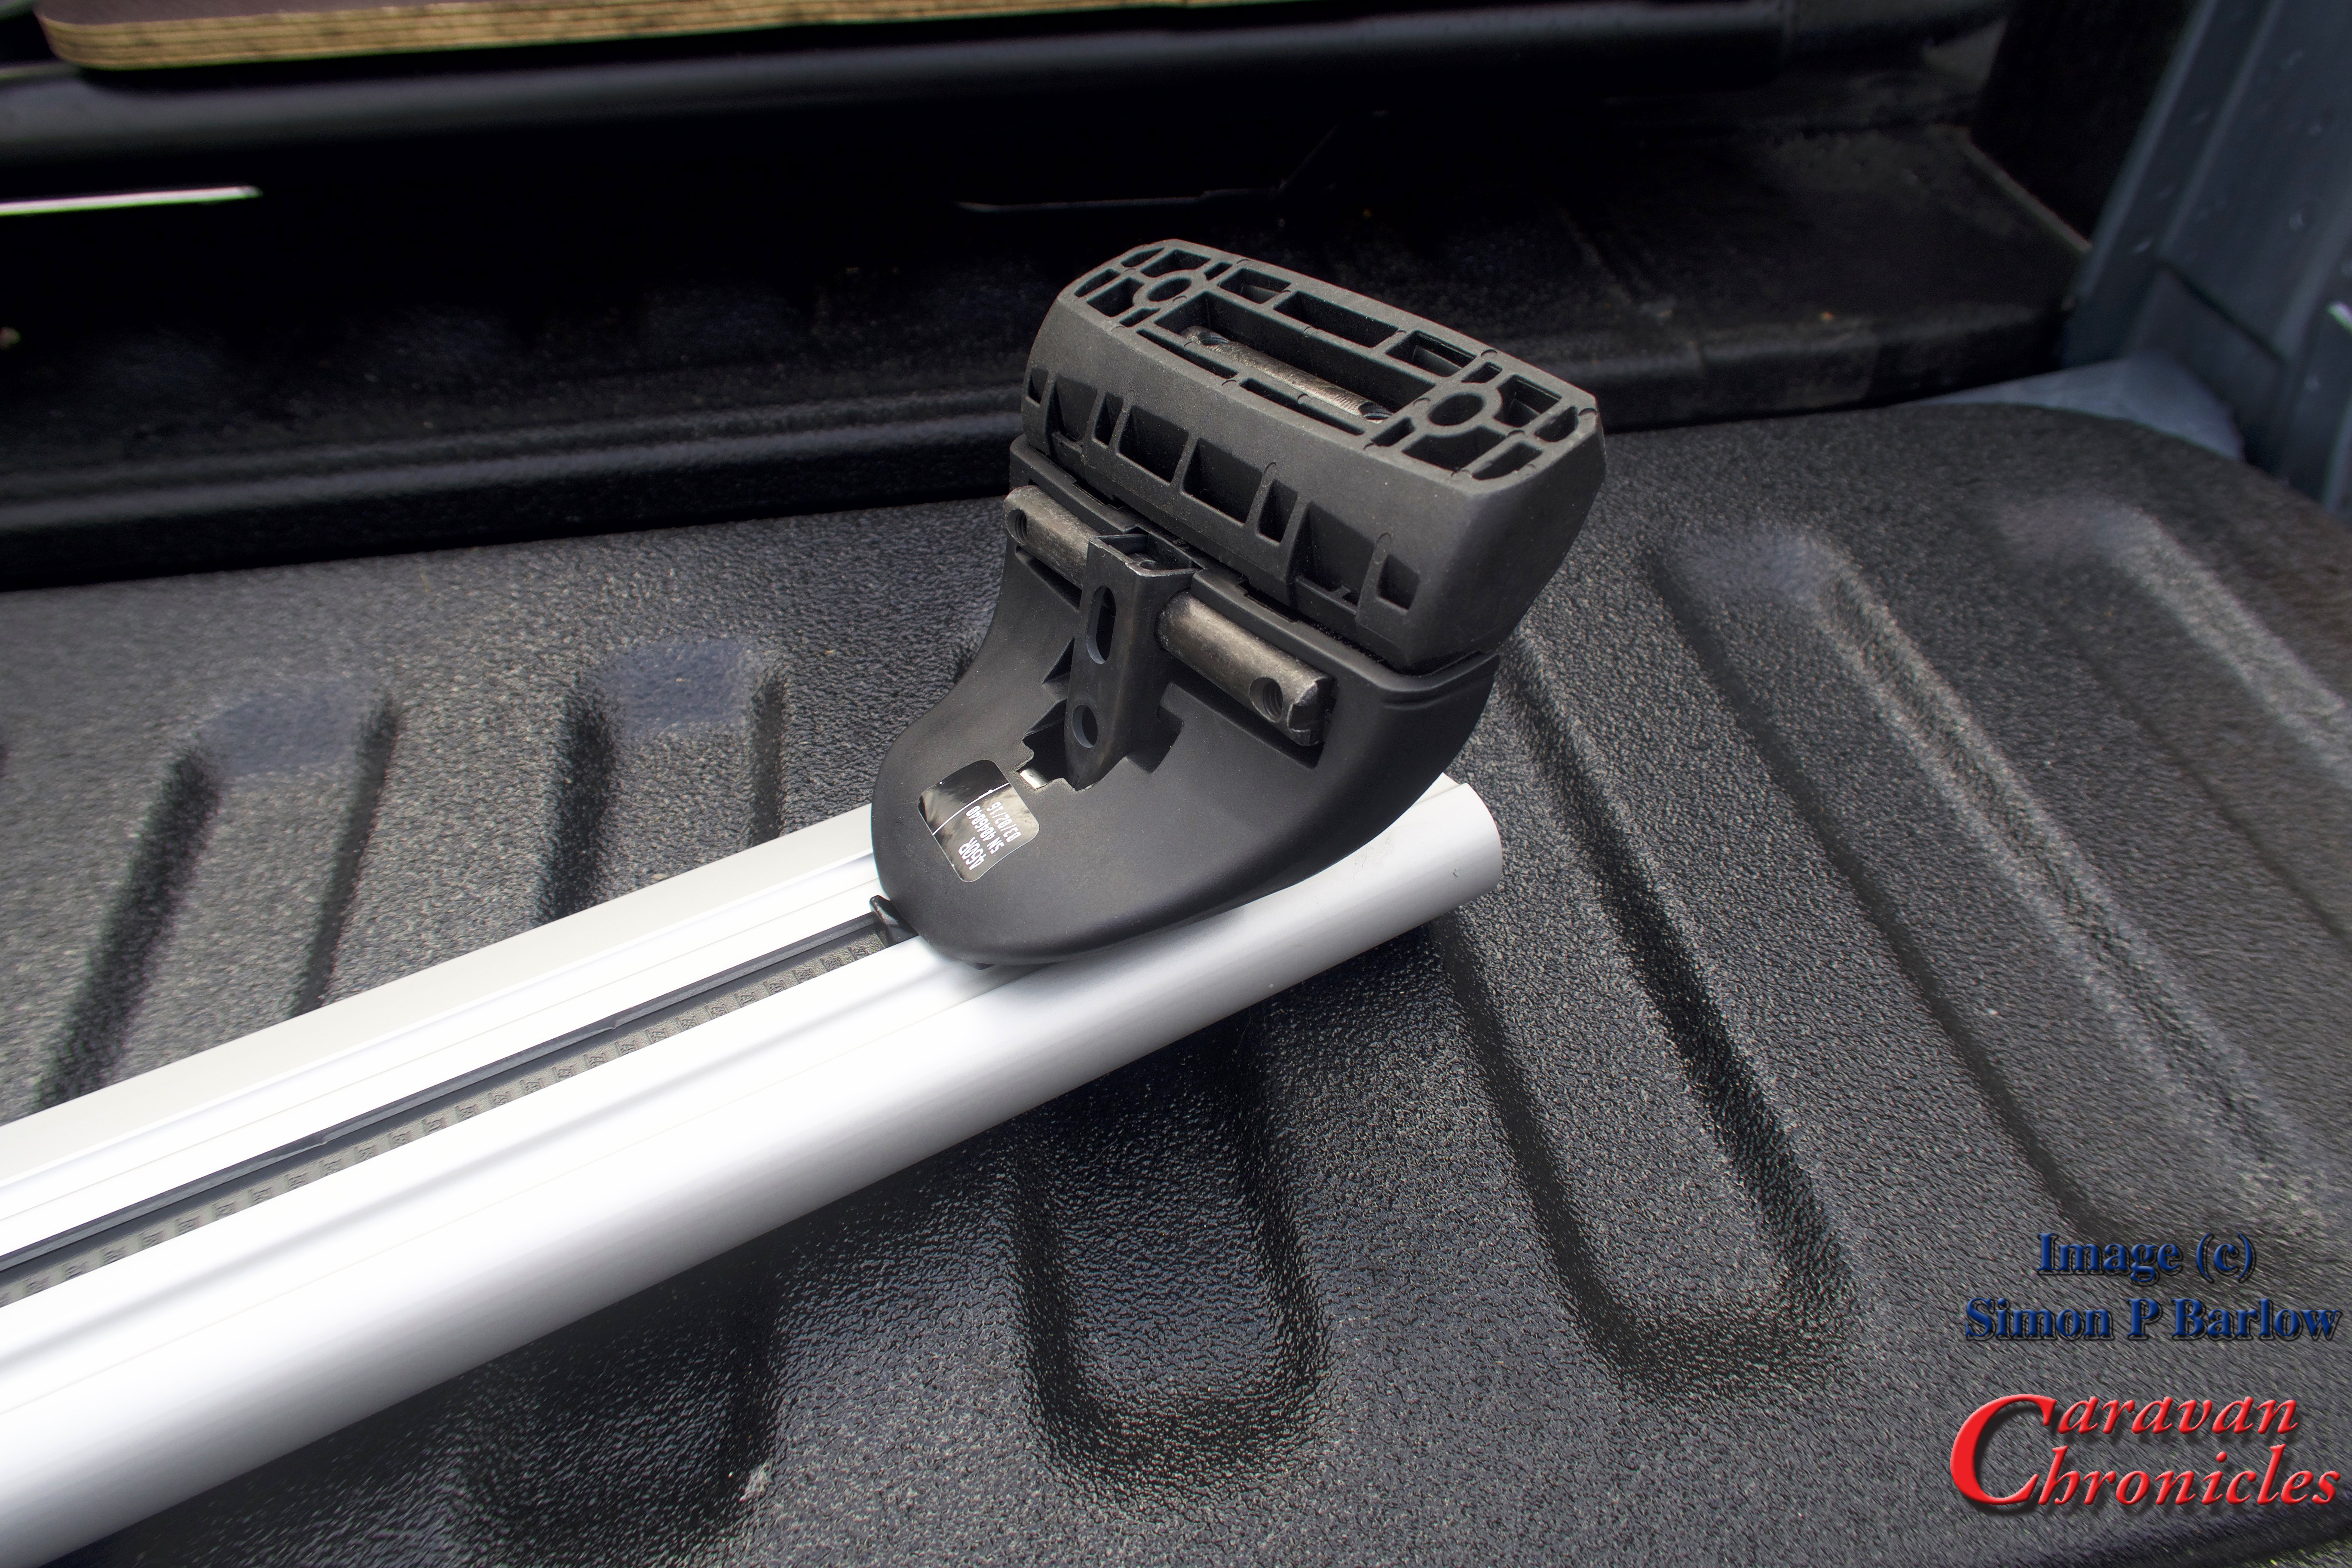
Once this was done, the sub assemblies were slid on to the ends of the WingBars.
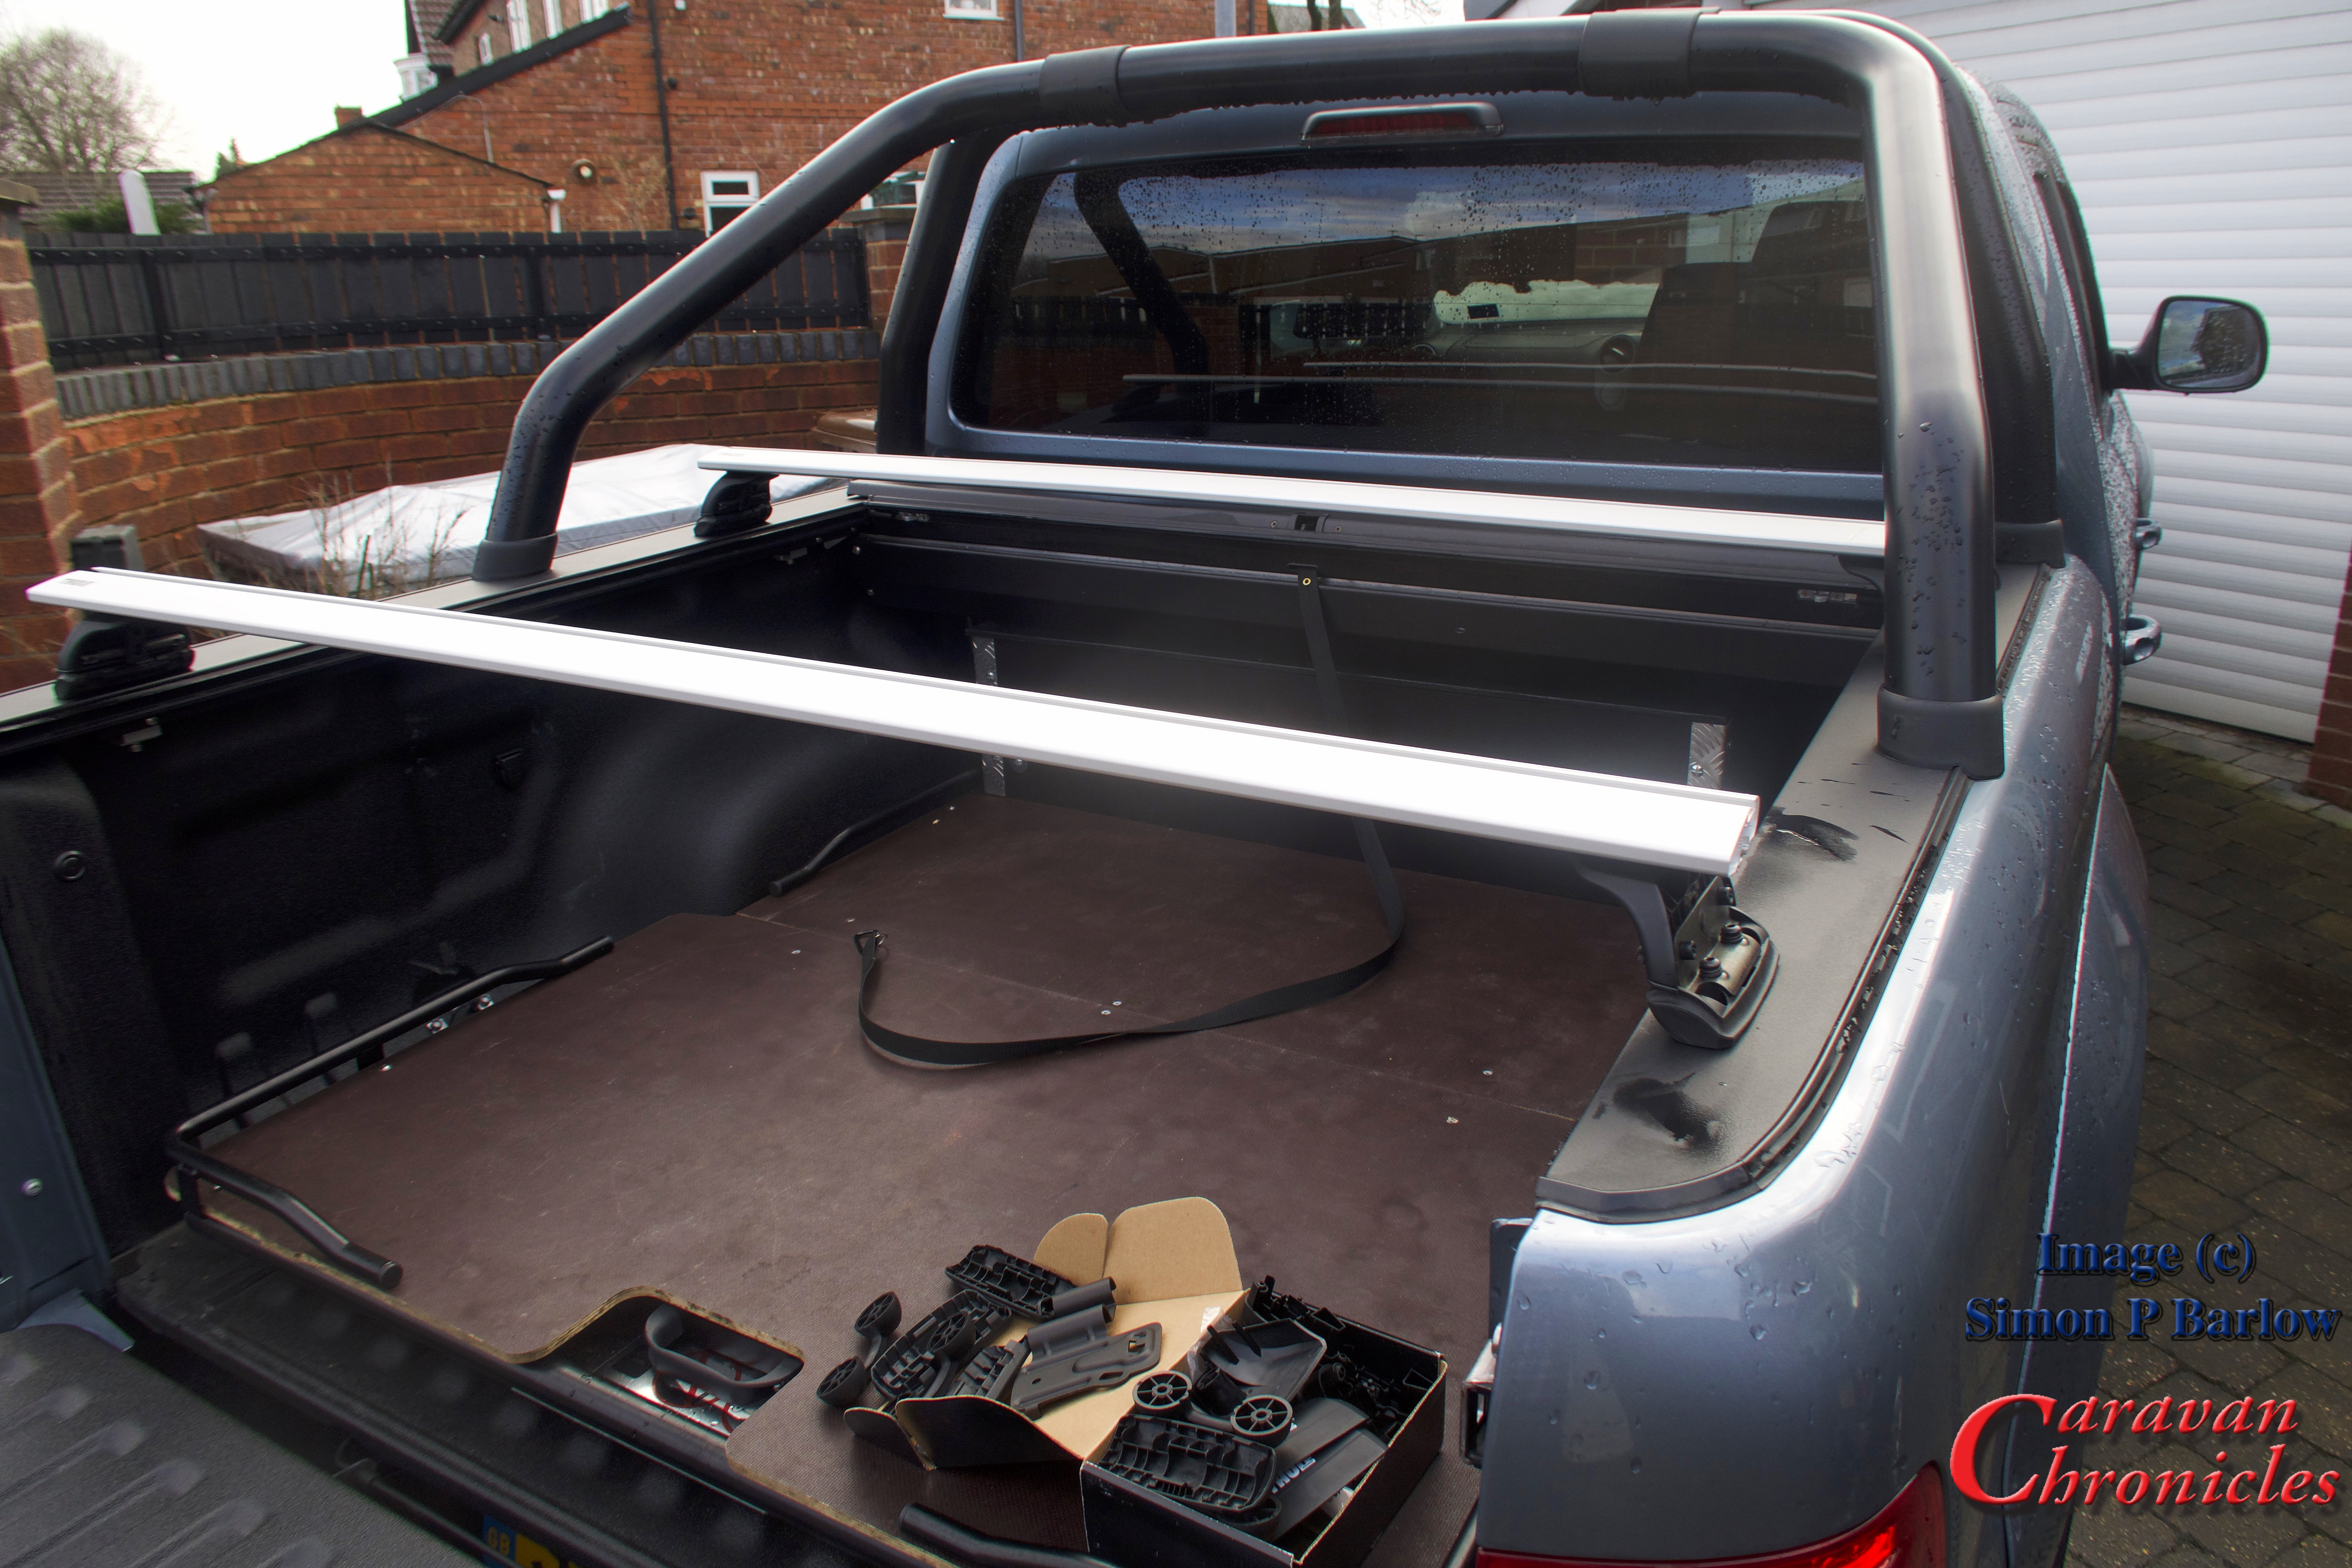
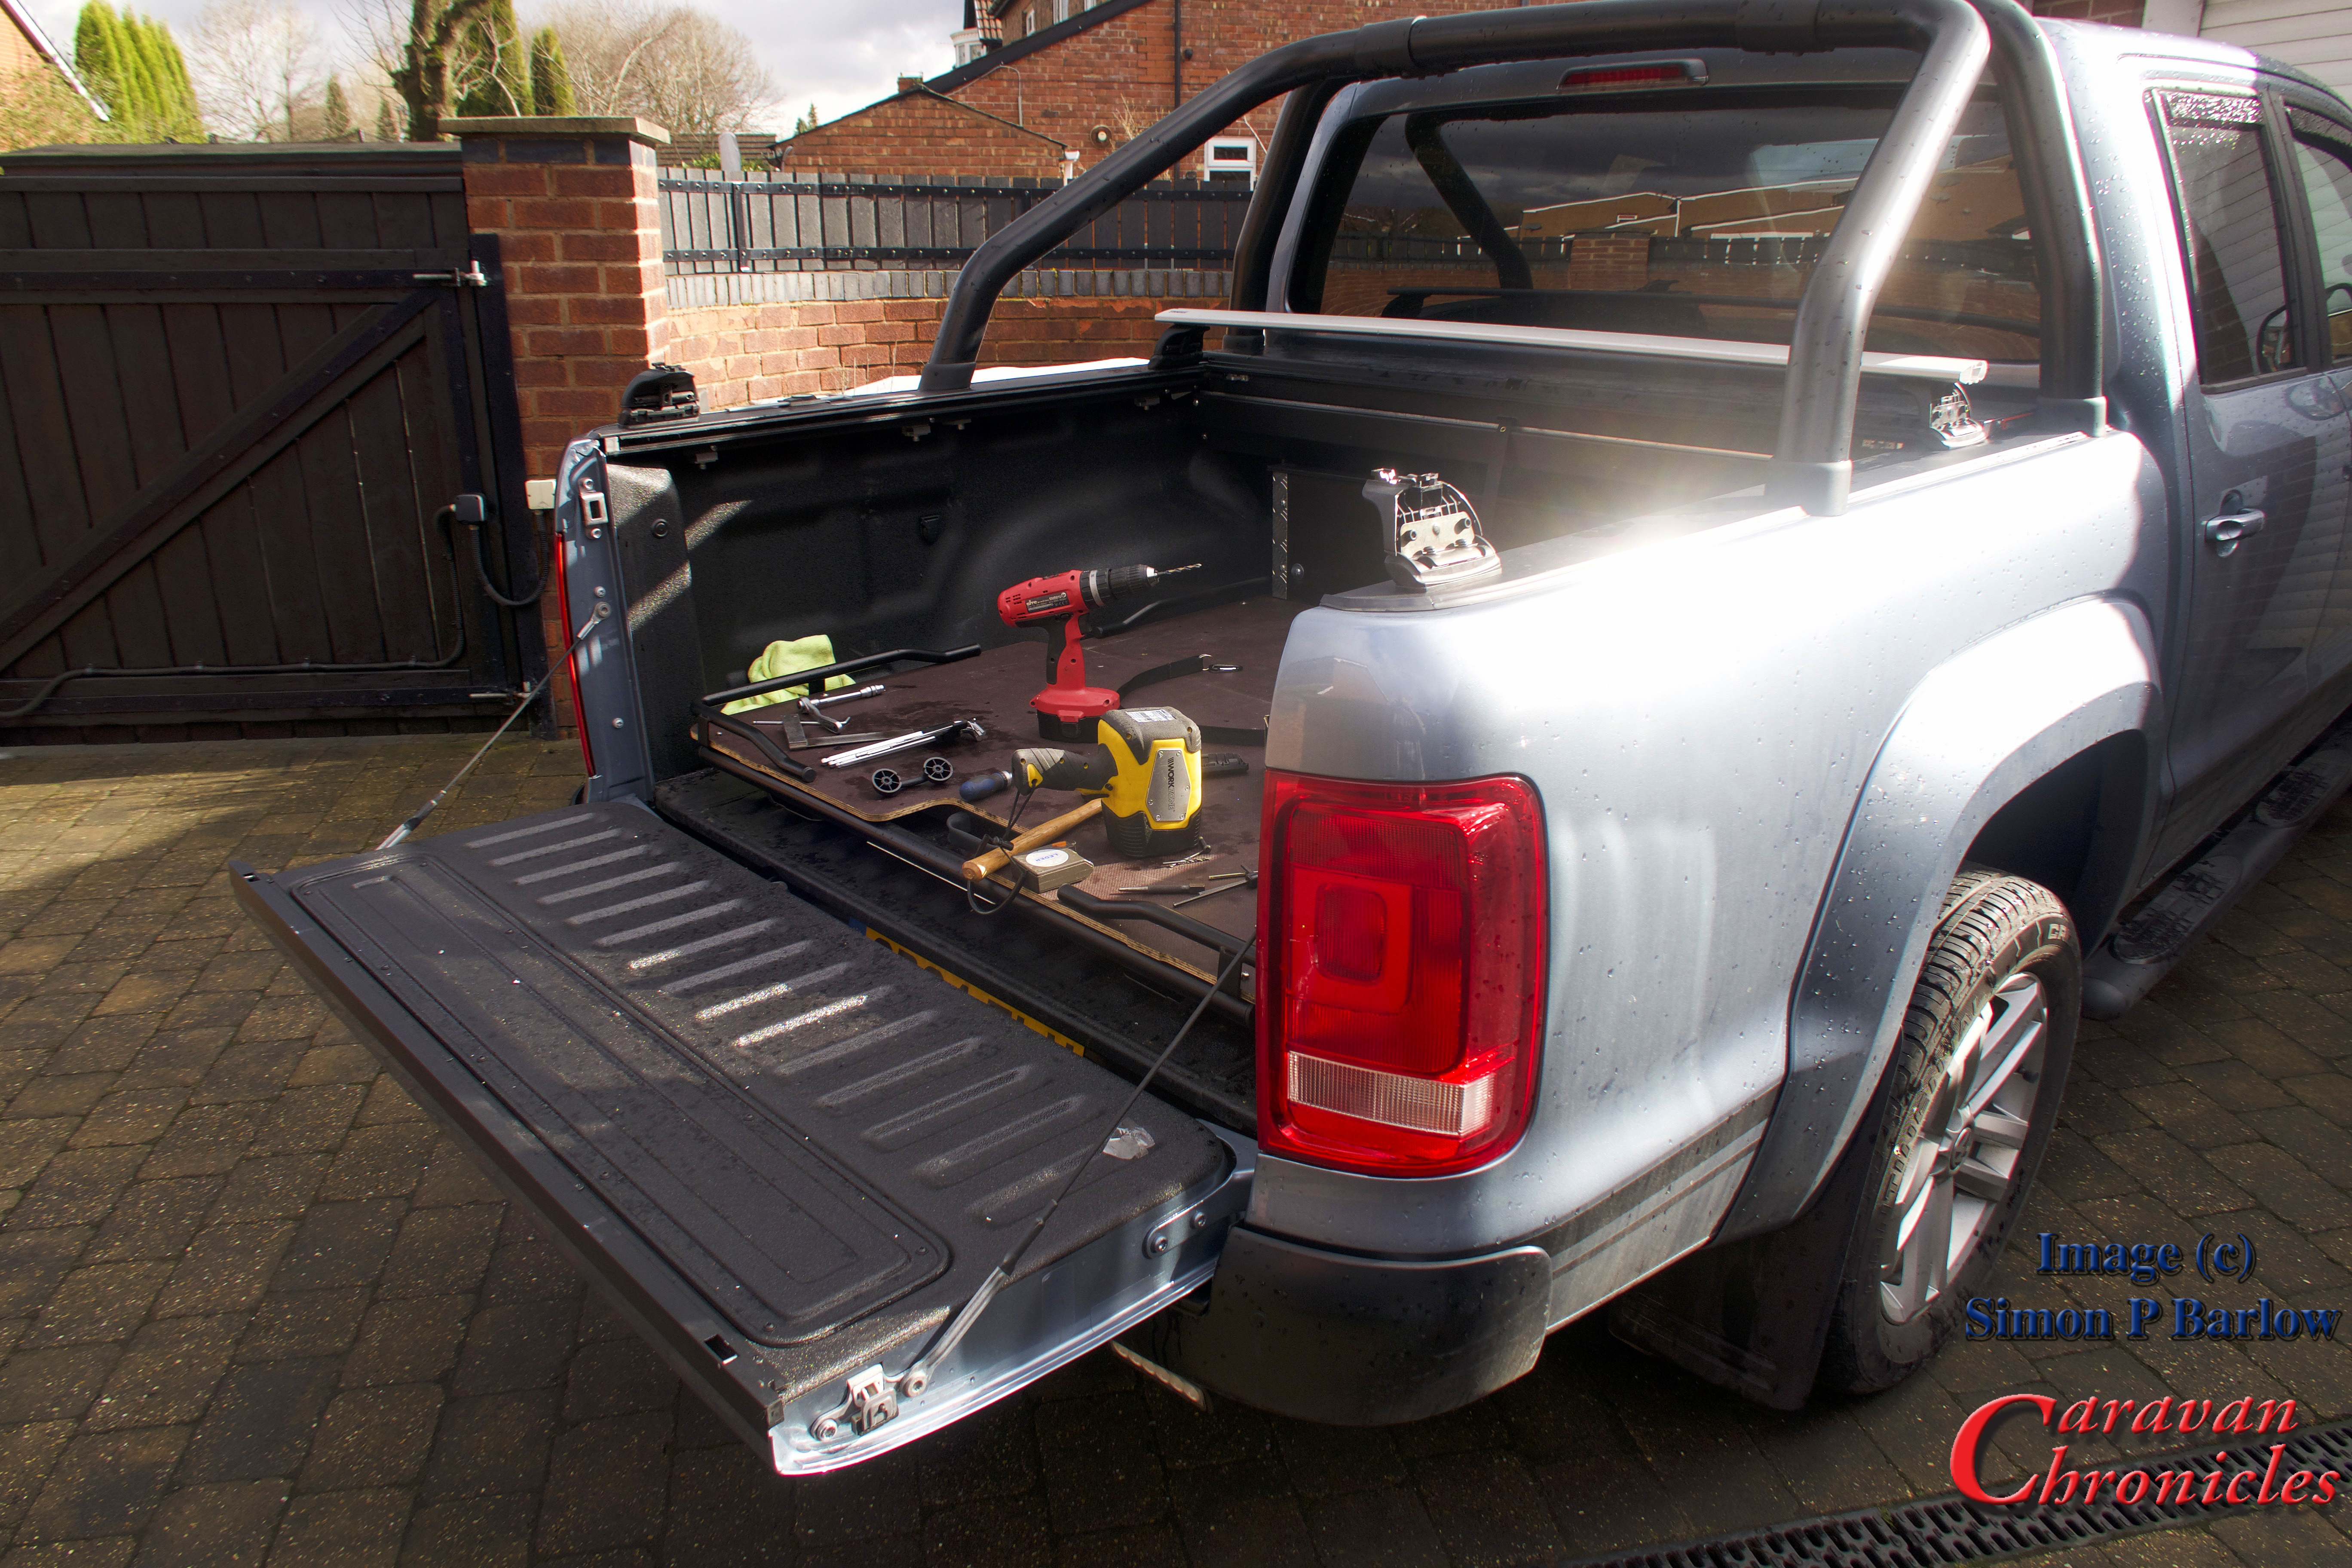
Once this was done, I could roughly position the two partially completed WingBars across the bed of the Amarok.
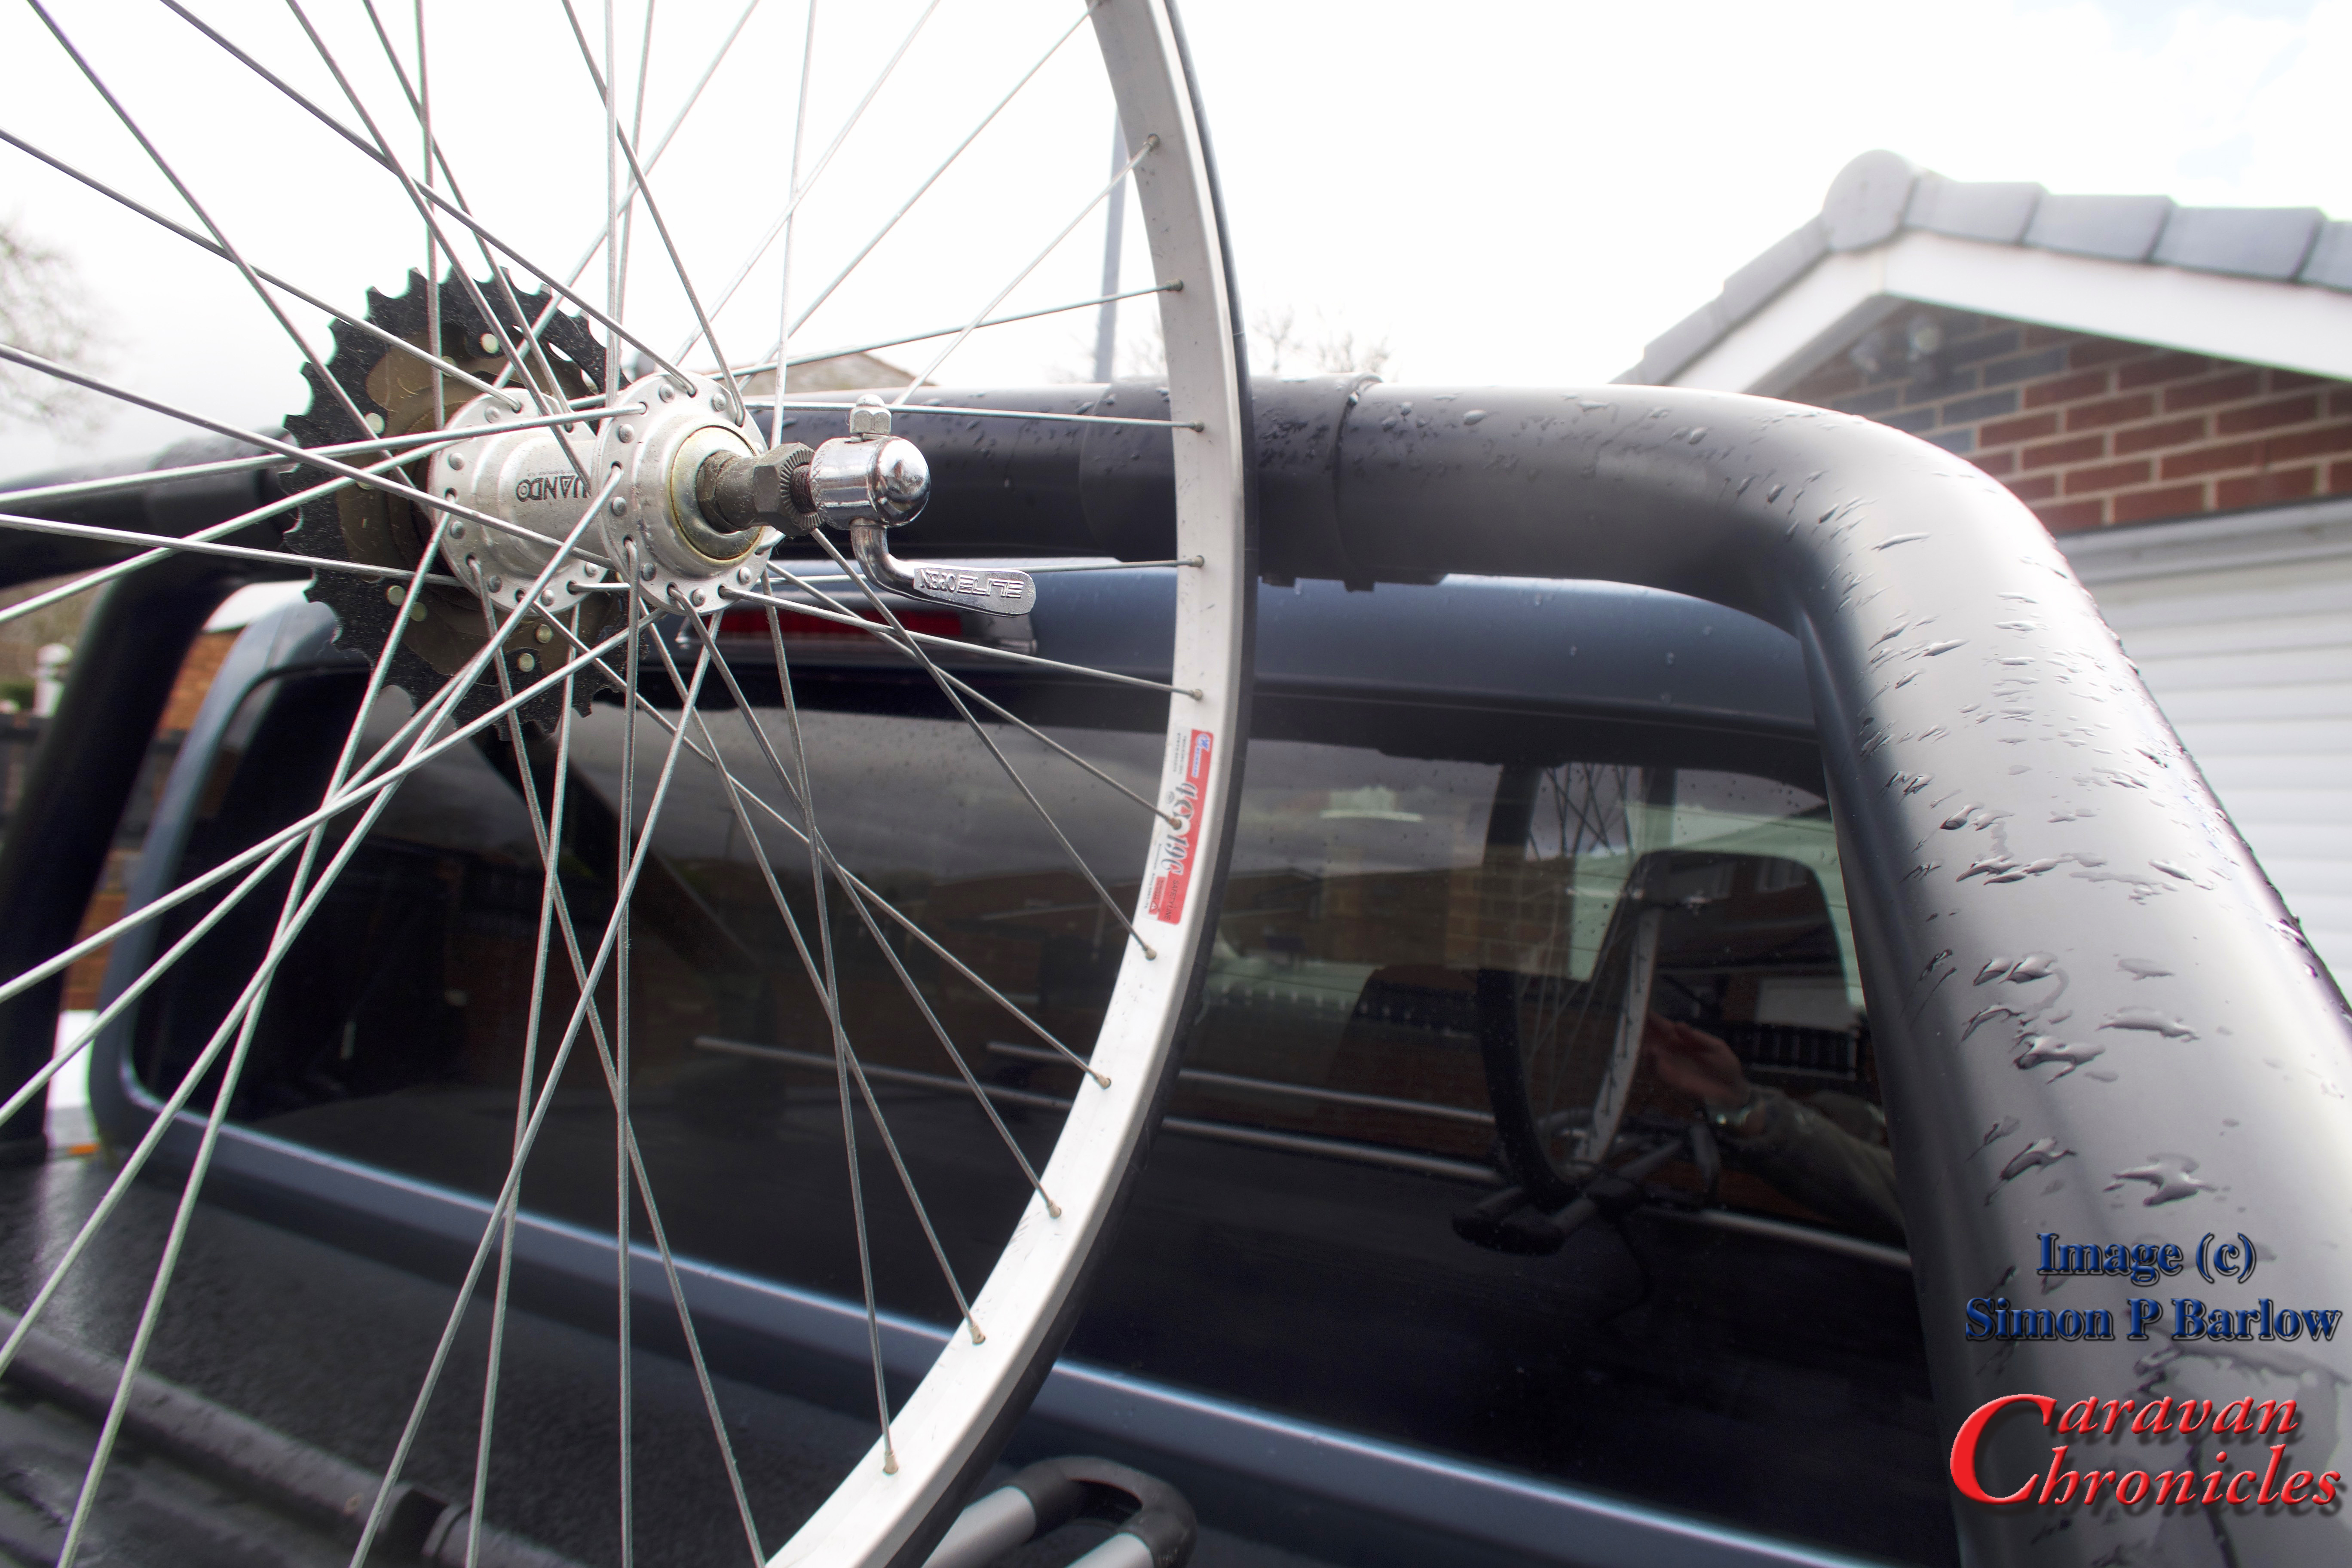
I now needed to check the position of the bike on the FreeRide 532 so that would in turn give me the position I needed to mount the WingBars. From the centre line of the mounting plate the front edge of the front wheel is about 550 mm, so the front WingBar needs to be at least 550mm back from the rear of the cab.
However, the Amarok’s sport bars have to be taken into consideration as these stop the front wheel of the bike going too far forward and will help protect the cab.
This presented a problem. The rear of the FreeRide232 protruded back and hung over the rear tailgate by about 350mm and if possible I wanted everything flush. Not a problem, the two bike wheel mounts can be slid forward and backwards to accommodate various size bike frames and the main mounting point… with a little assistance from a rubber mallet and be slid backwards. So in effect I nudged the two main bars forward so they didn’t protrude over the tailgate and the bike still fitted. You can see my mark as I started to move the main mounting plate on the picture below:
While doing the test fitting and adjusting the position of the mountings, I discovered I had a bit of luck. On the Amarok sport bar there are two ABS plastic mouldings that fit round the bars that are designed for mounting spot lights or work lights that just happen to line up and can be used as ‘rub strips’ to stop the front wheels contacting the coated stainless steel sports bars.
I could now measure where I wanted the WingBars to be located and marked out the positions. I wanted the rear cross-bar to be as far to the rear as possible (something planned for the future) and worked out the distance from the front bar which had to be located so the bike rack fitted with the front wheel tucked against the roll bar.
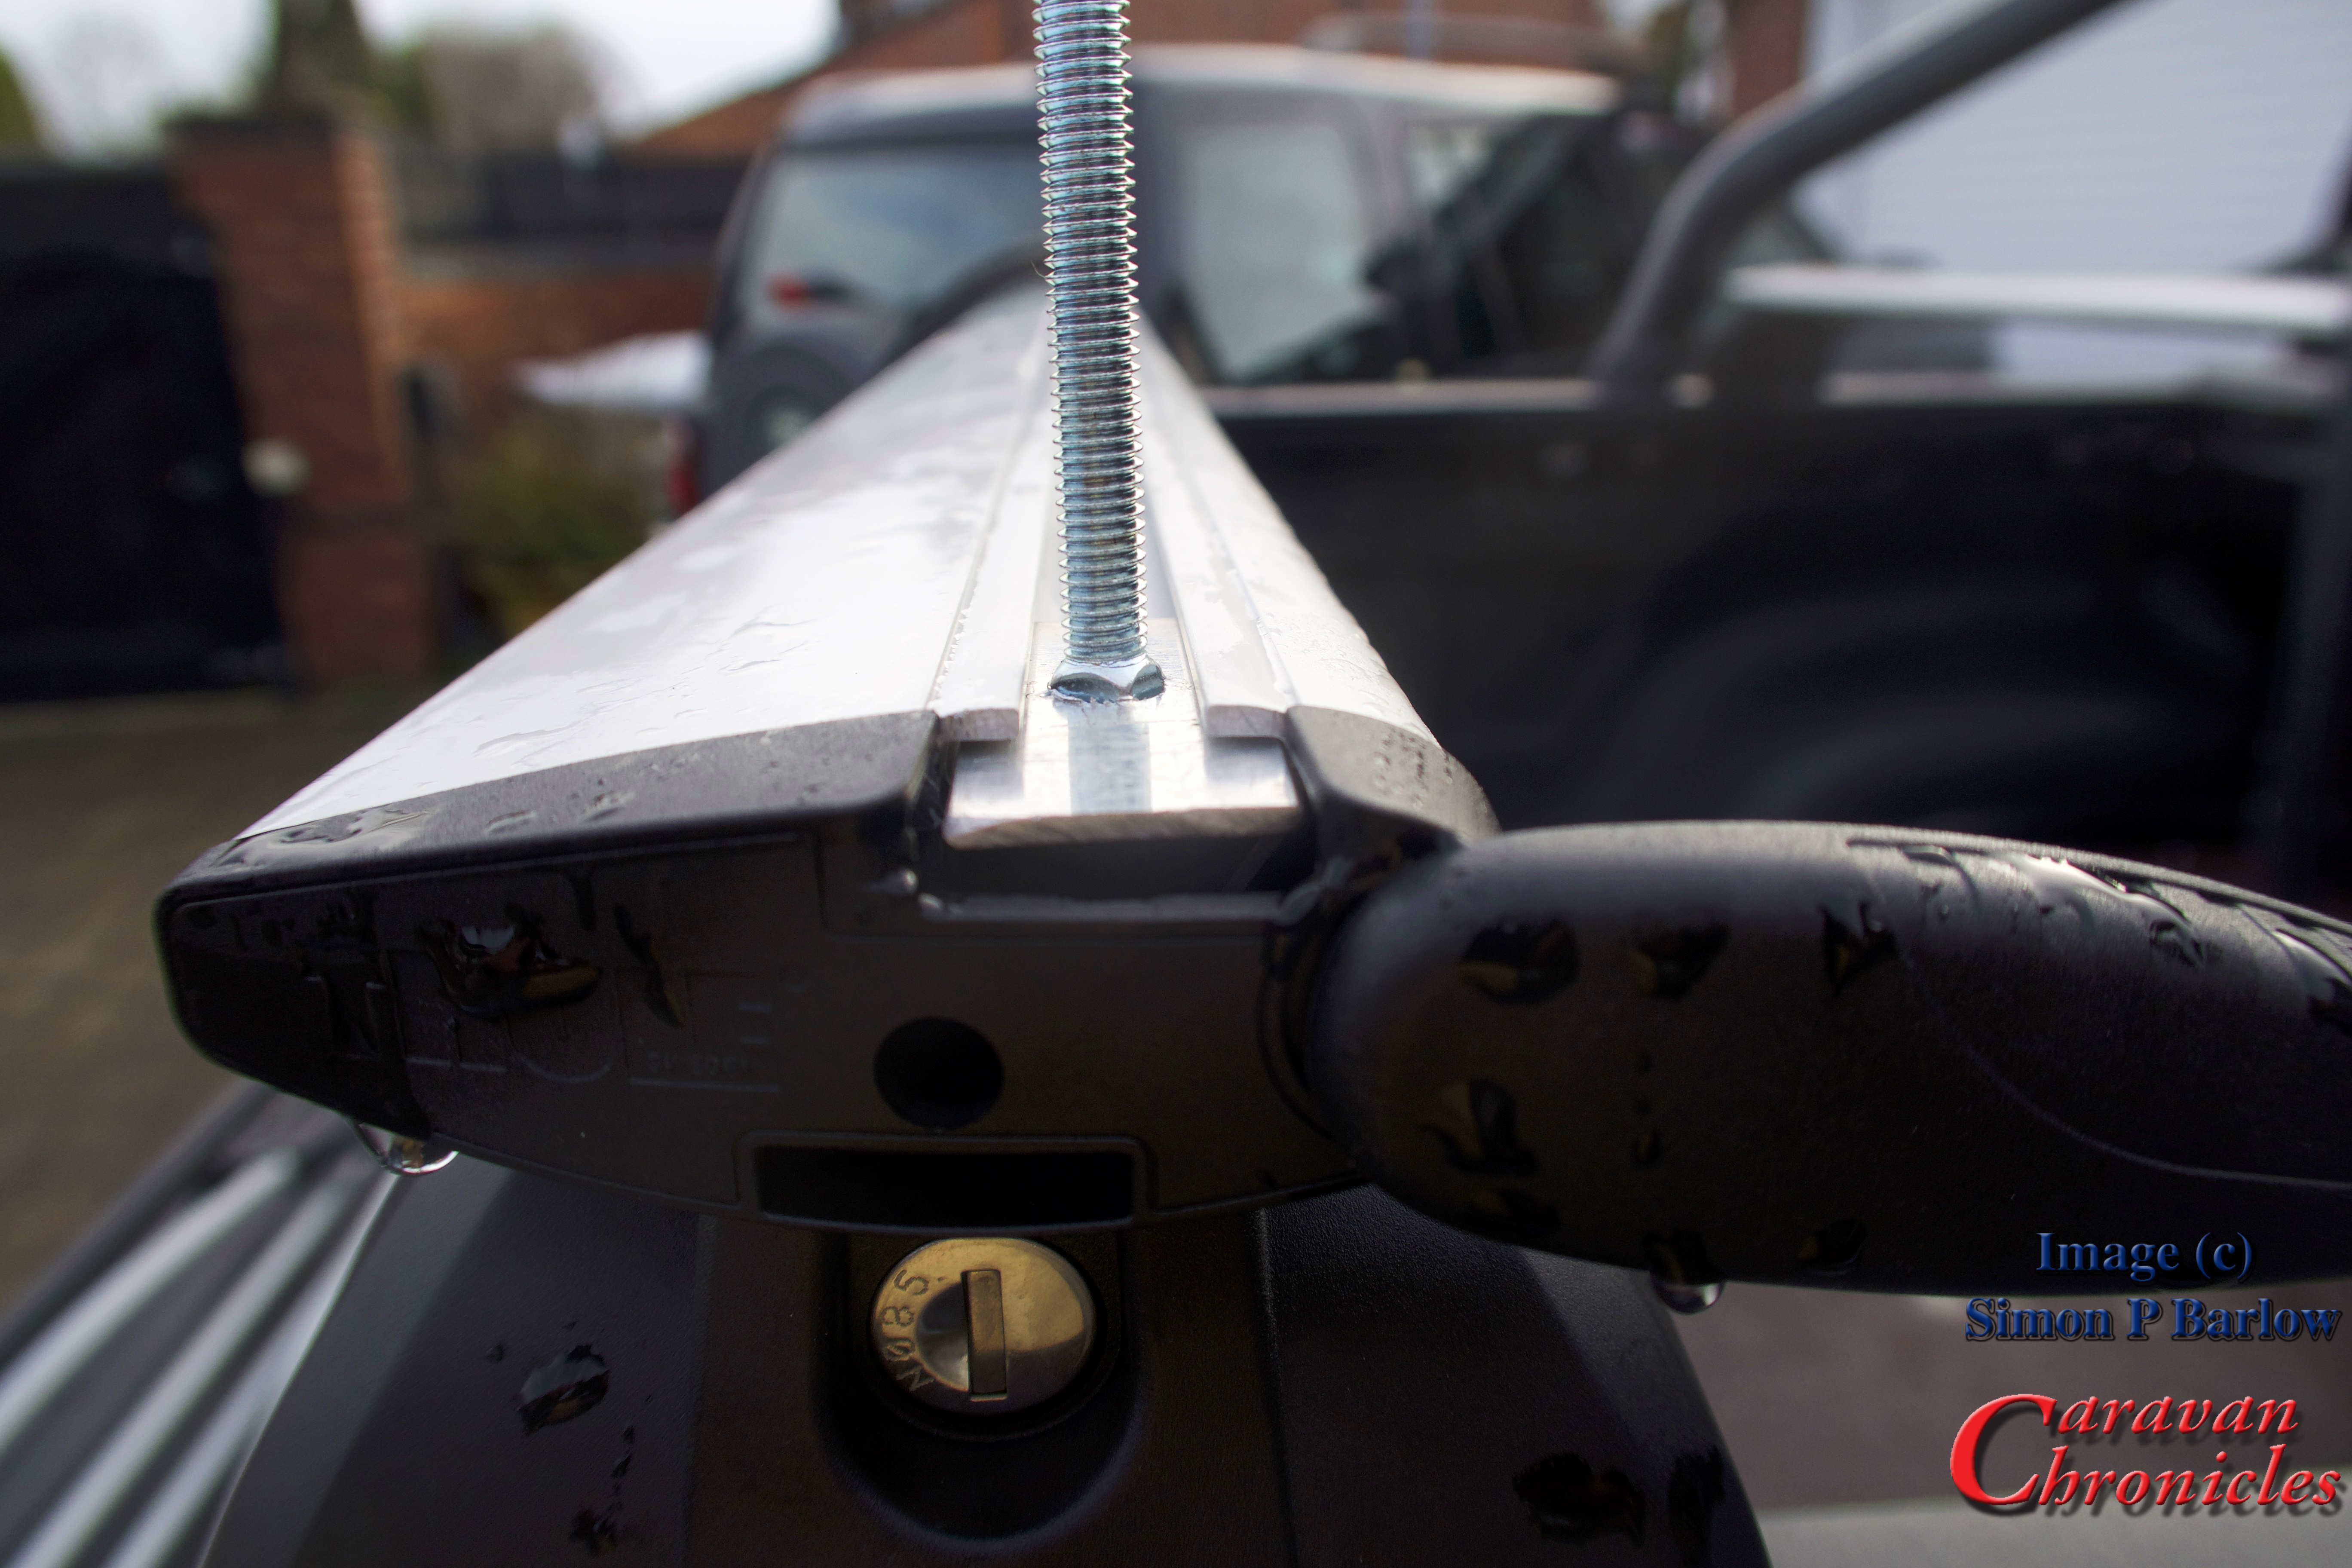
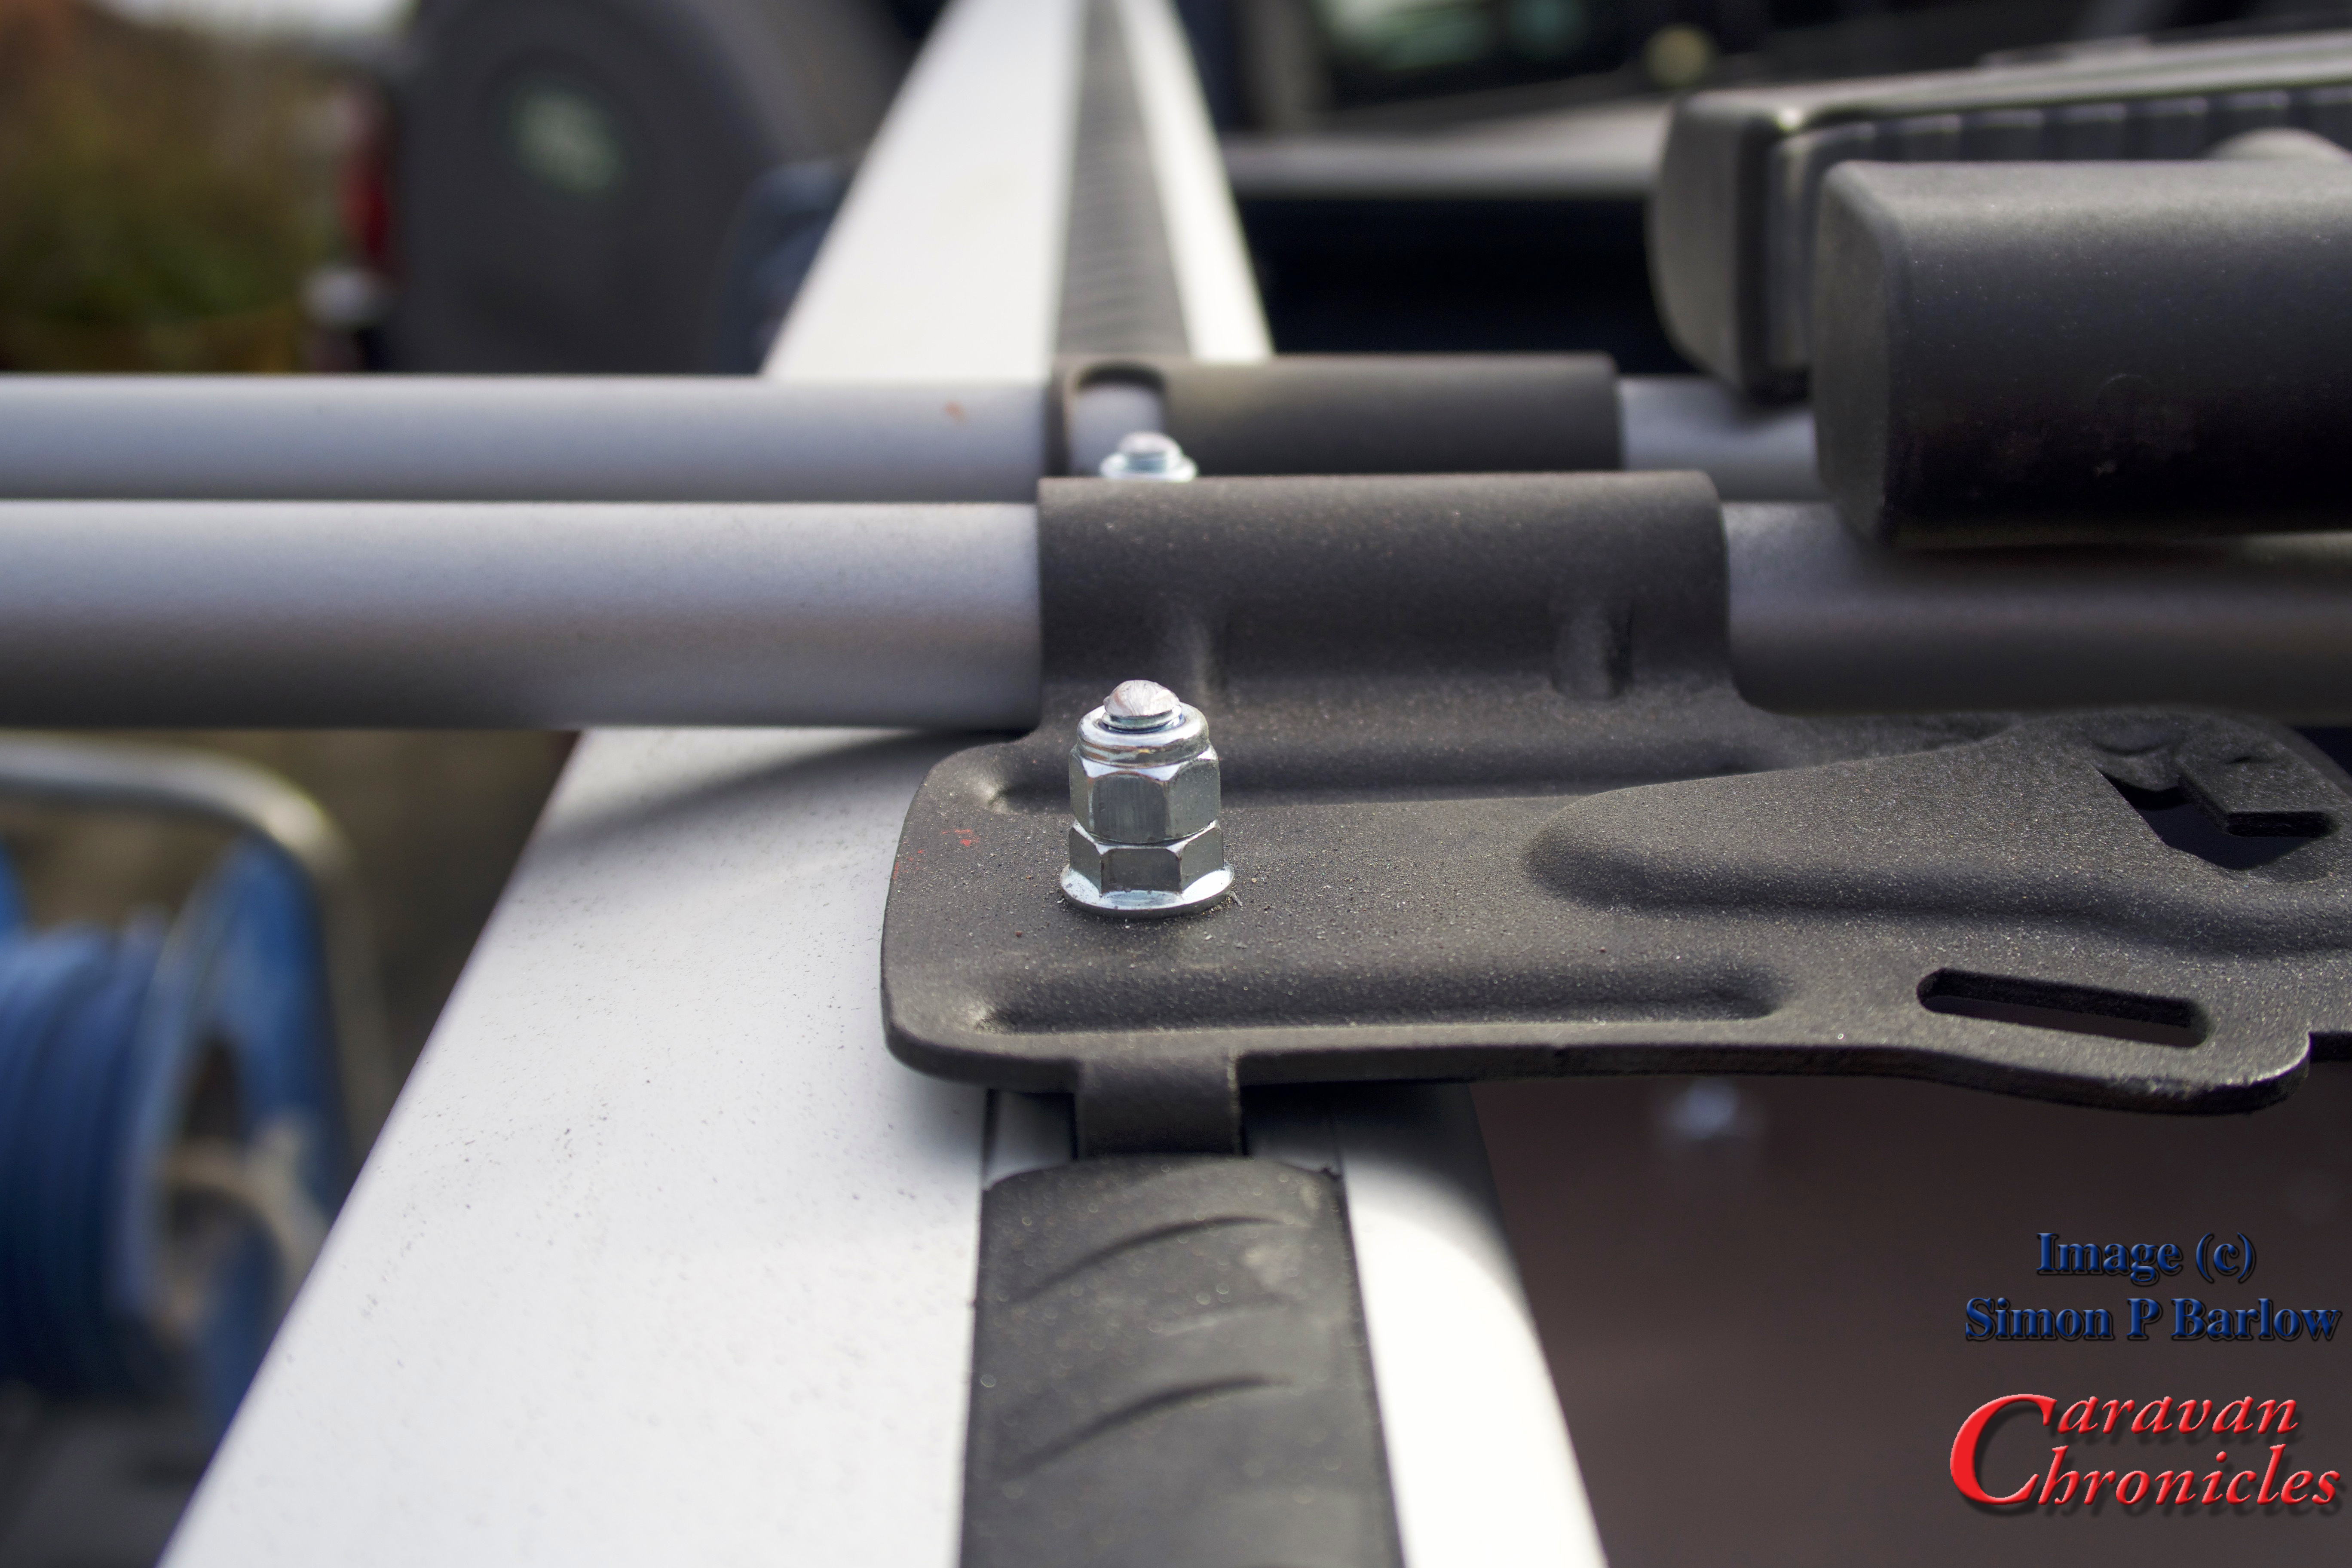
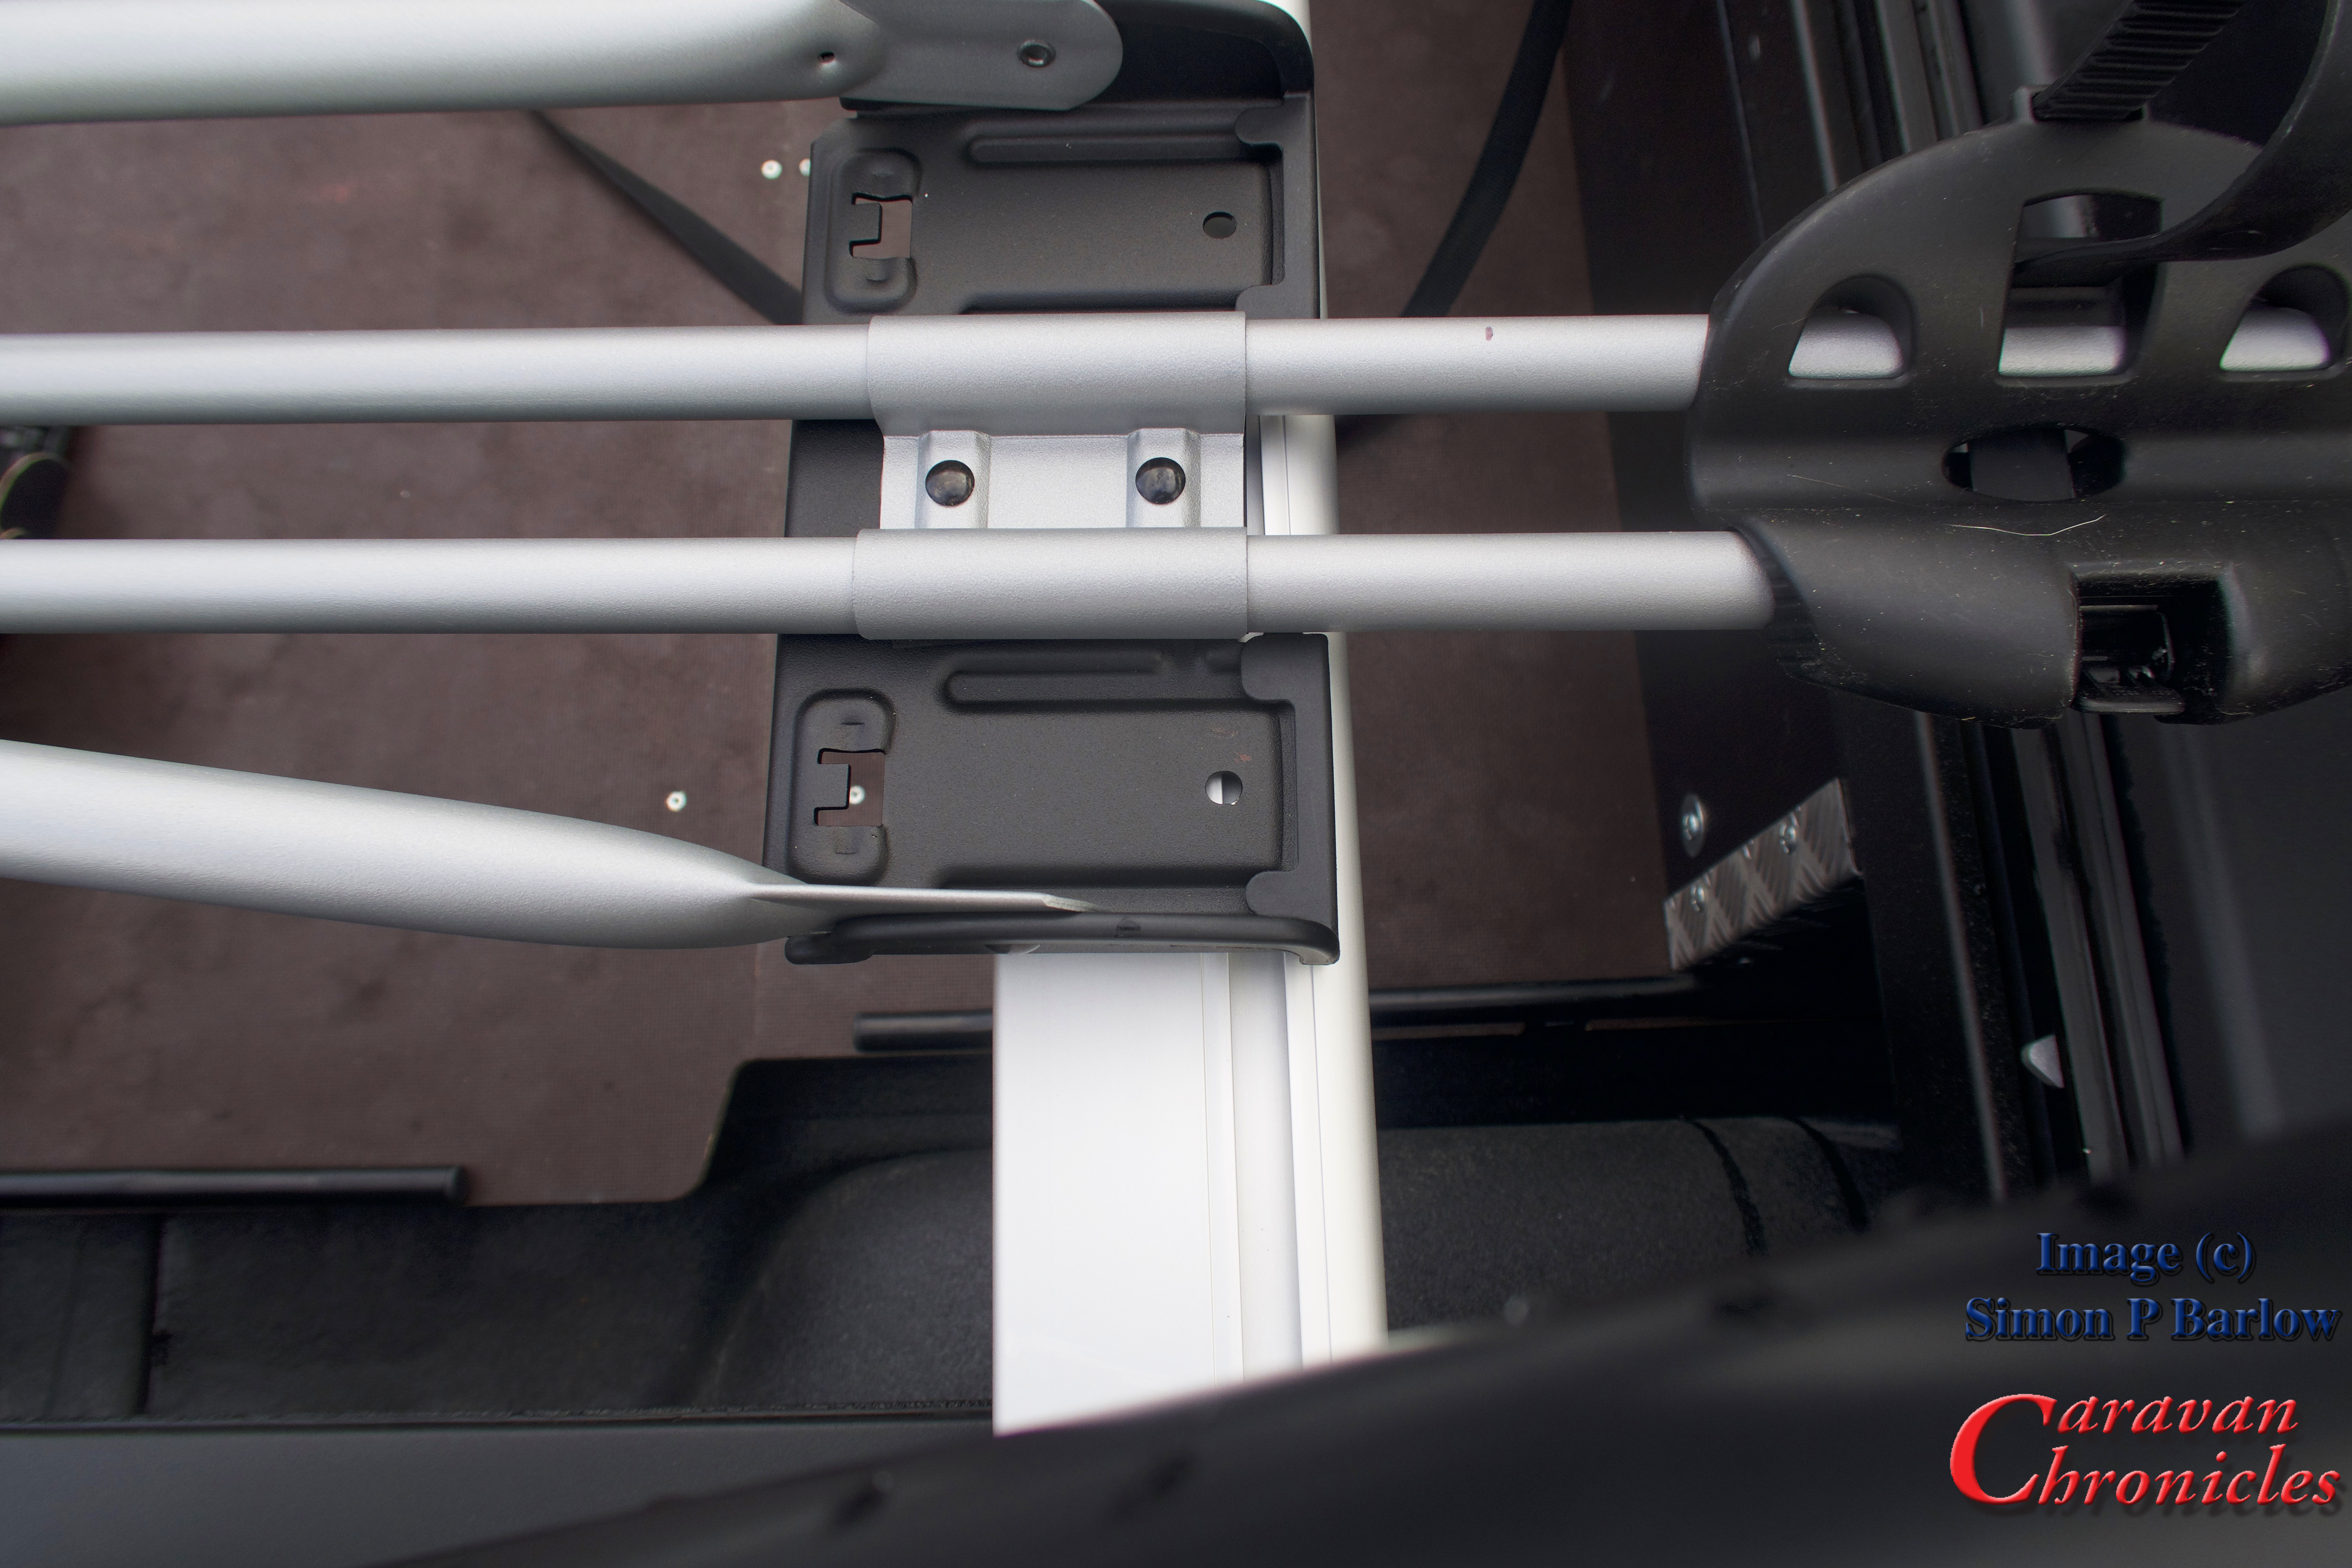
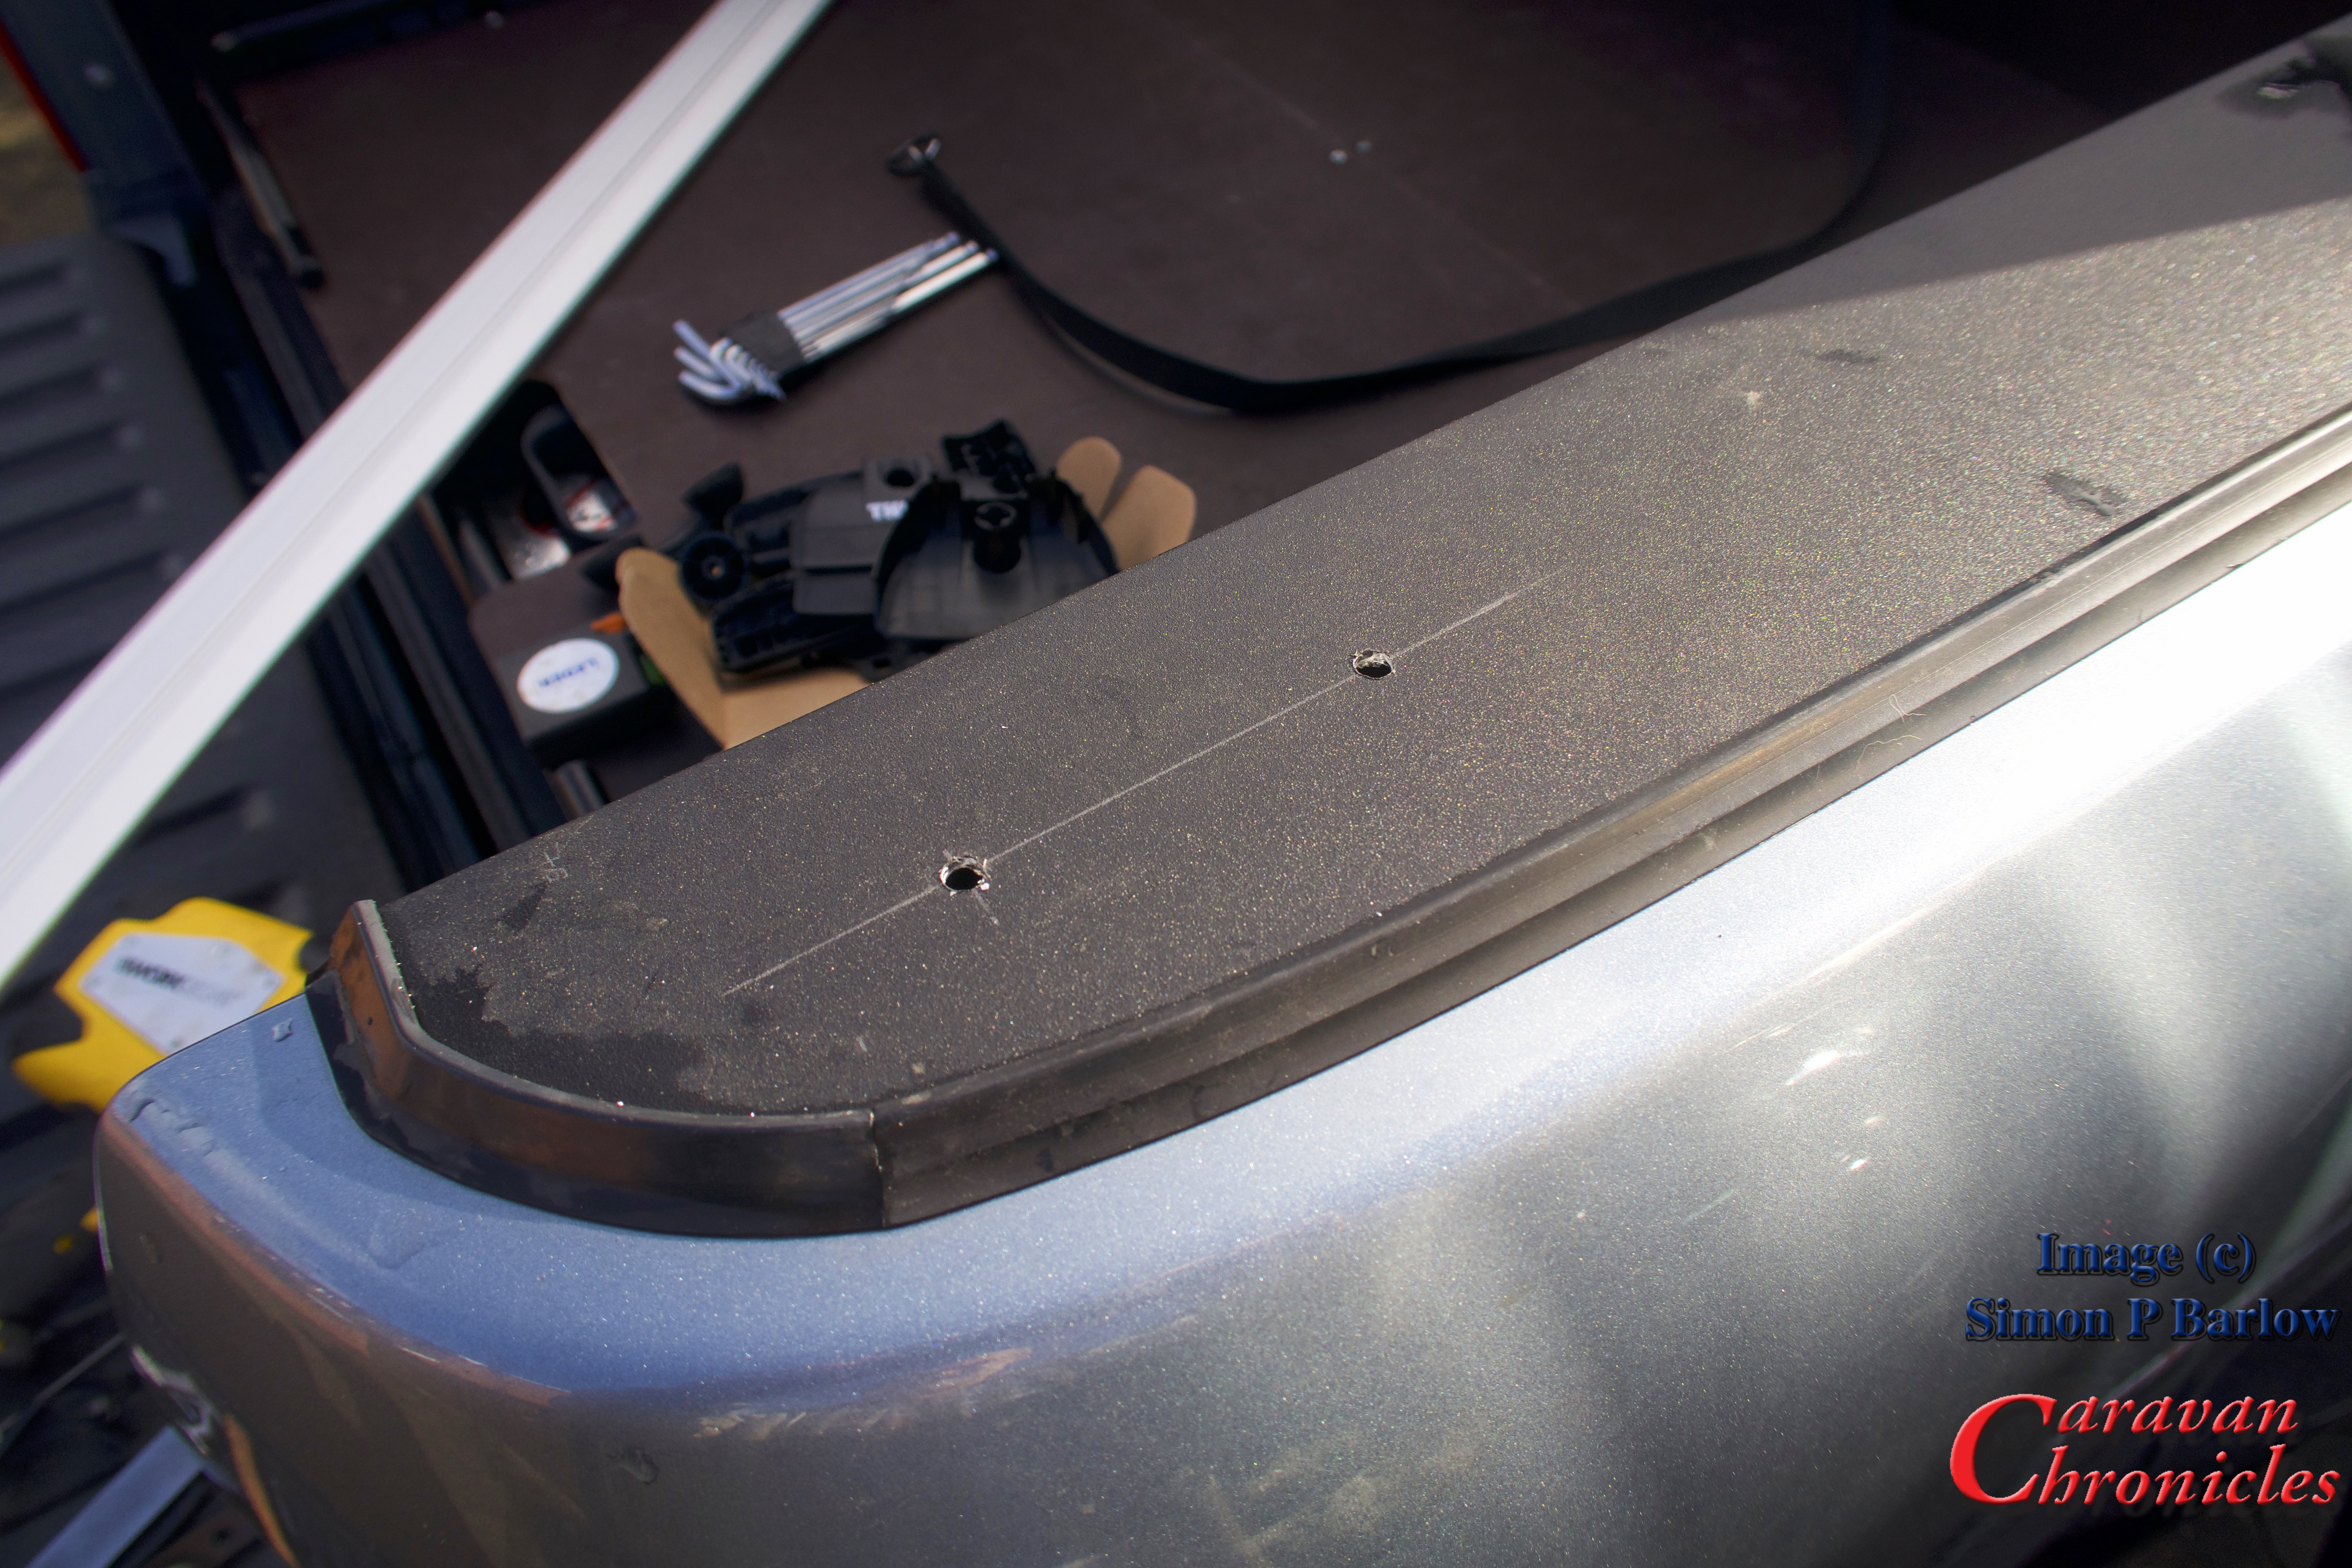
As the sides of the Roll-N-Lock cover had a slot underneath, I’d previously machined 4 pieces of steel to fit in them and pre drilled and tapped the holes. All I needed to do was drill the sides of the Roll-N-Lock cover.
The (supplied) hex bolts passed through and screwed into the steel plates I’d machined. I also added a spreader nut and lock nut underneath… just to be sure! The lock nut wasn’t tightened up to the spreader nut, so if someone tries to undo the hex bolts, they will simply back off a little then spin round.
OK, first one done time to do the other side…
Other side complete a quick test fit of the WingBar…
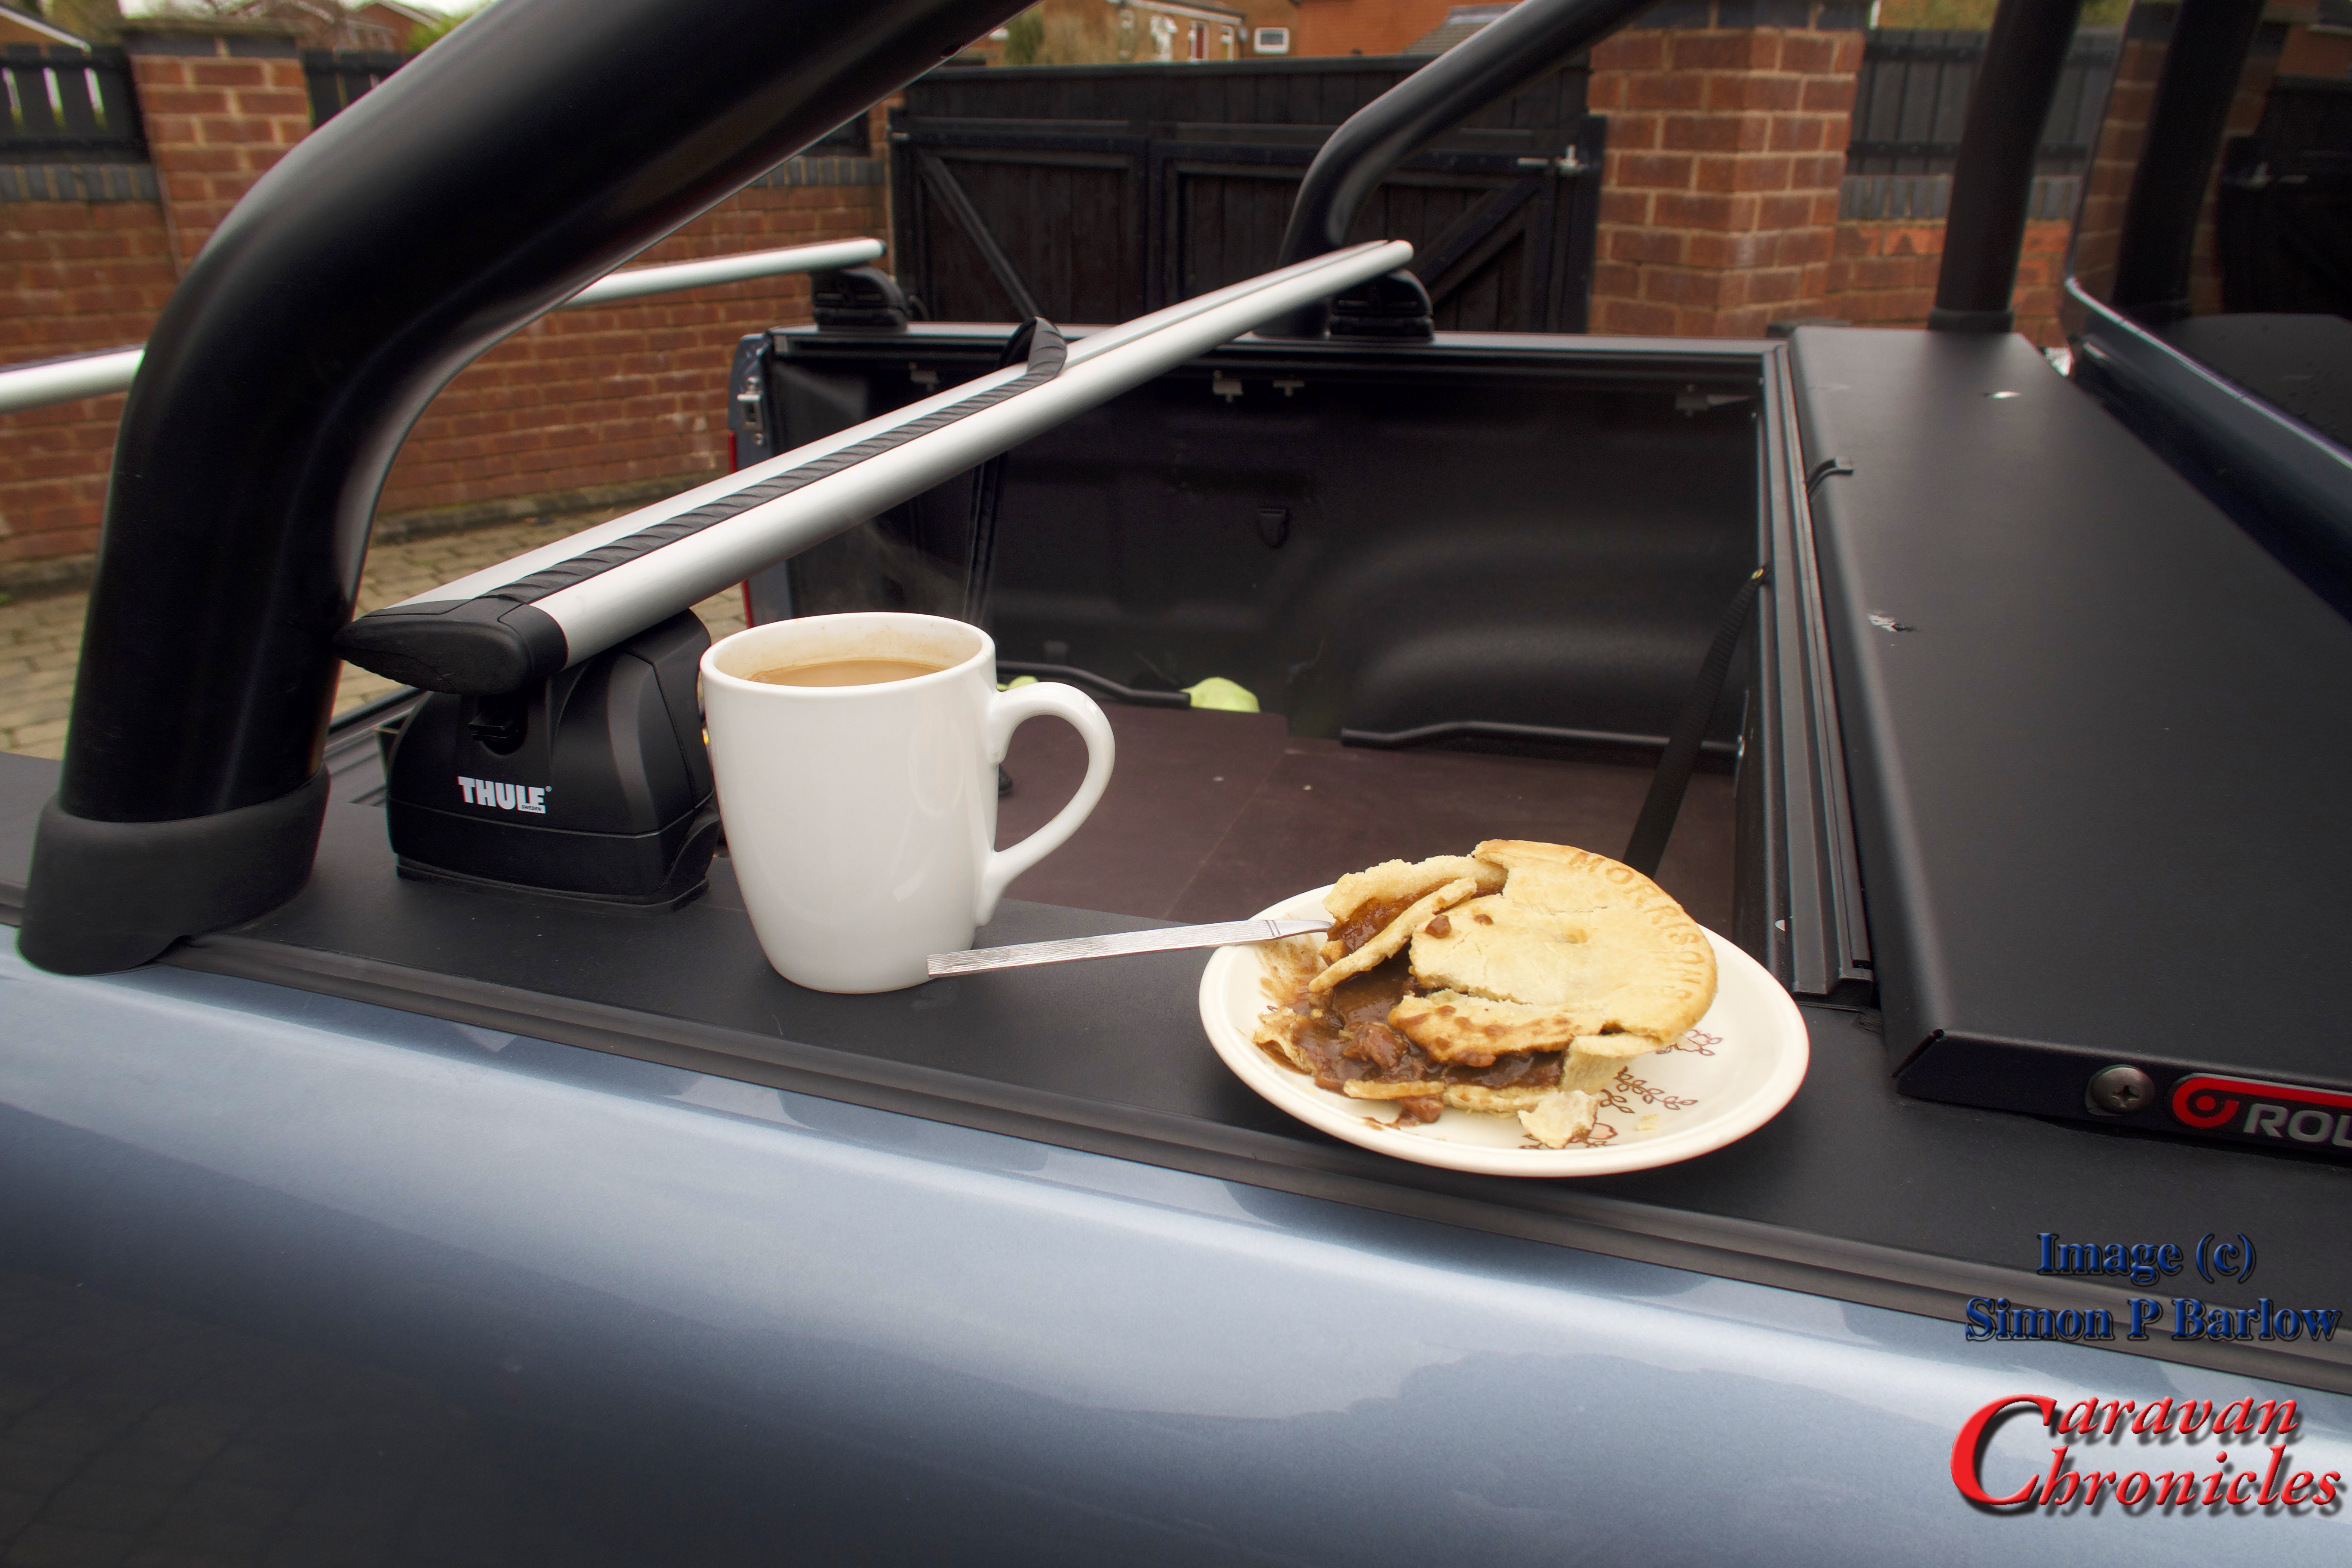
While pre-positioning the front bar ready for marking out, I was interrupted by Sue… a welcome coffee and hot pie break!
Both rails fitted, it was time to add the covers and rubber strips…
A final position check of one of the racks and time to call it a day as the rain set in again.
The spacing of the bars will give us lots of options for the future to add a top box, ski mounts – these will allow ski’s to be carried angled upwards over the cab (have to learn to ski first though!) or a mesh tray.
I’ll post part two soon showing the bike carrier mounting and go into some of the little pitfalls I have come across.


 Operation is really simple. Press and hold the on button for five seconds and the unit will power up and display the status of the units own batteries.
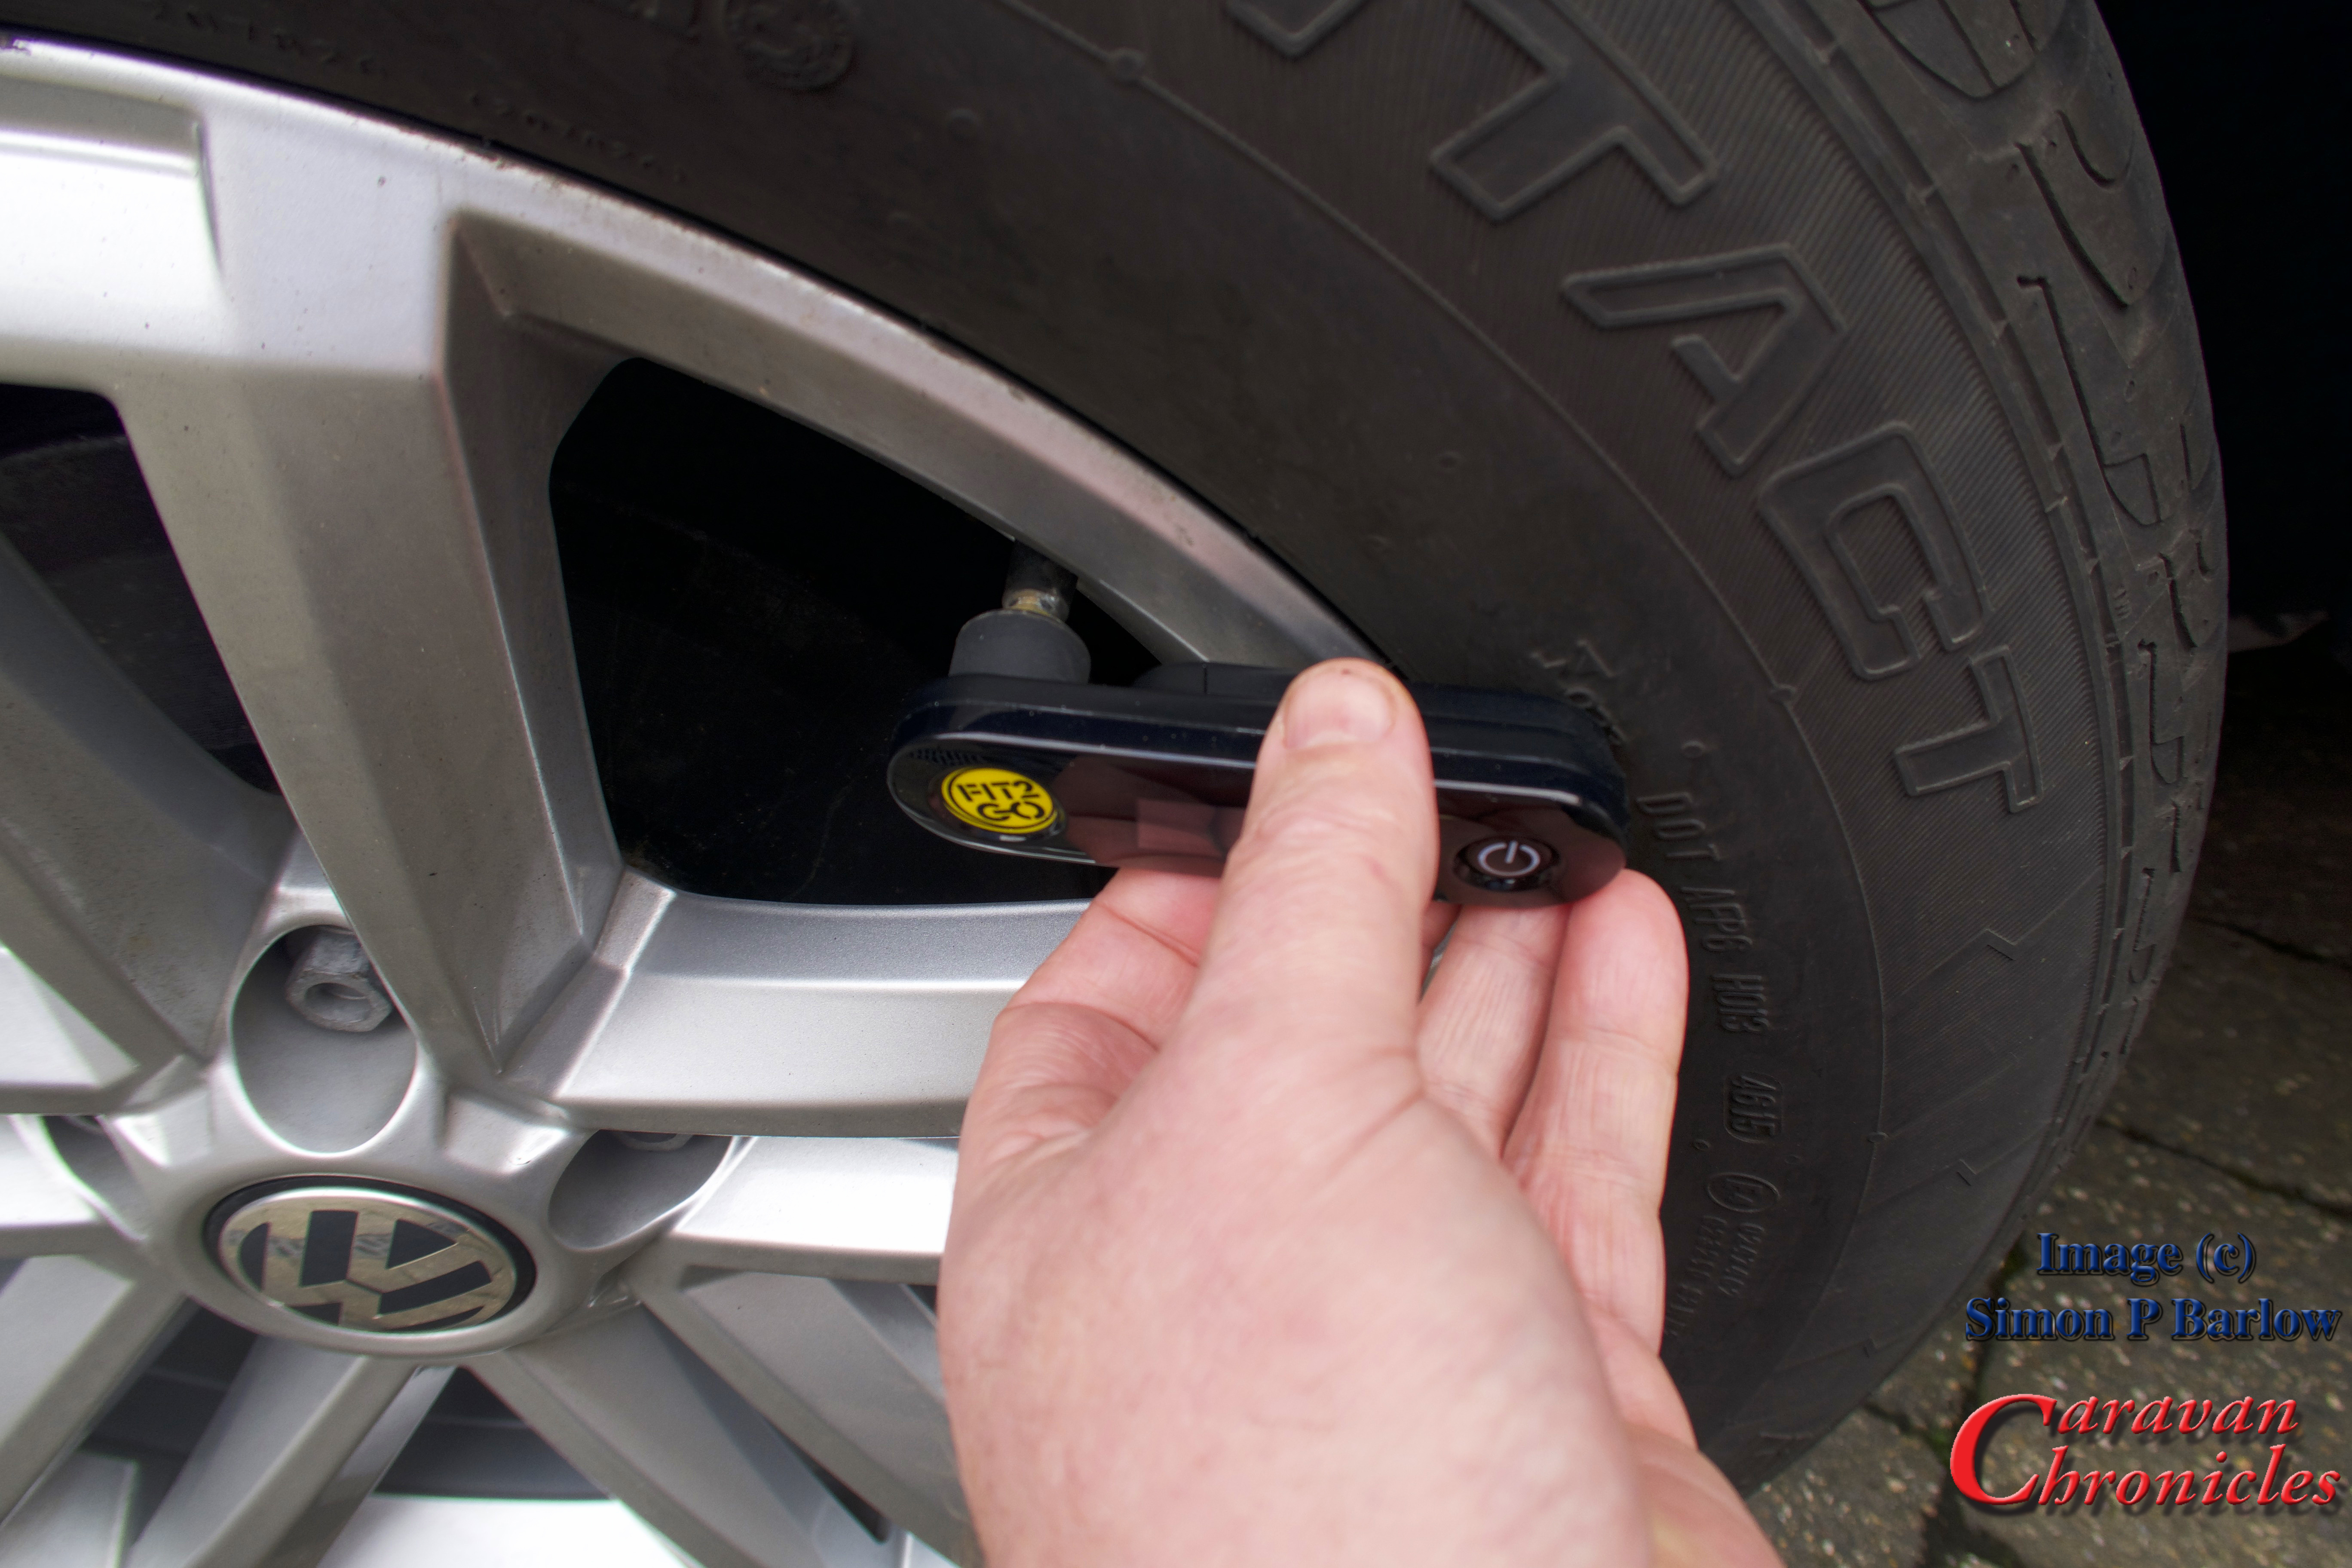
 I have tried a few different TPMS ‘solutions’ over the past couple of years and all have plus points and minus points. As I am one of these people who likes to do walk rounds before setting off (throw back to my flying days I guess) I really didn’t want Formula 1 type information thrown at me all the time. I wanted a simple warning system and a simple way to check the pressure without having to remove any sensors. Fit2Go ticks these boxes.