
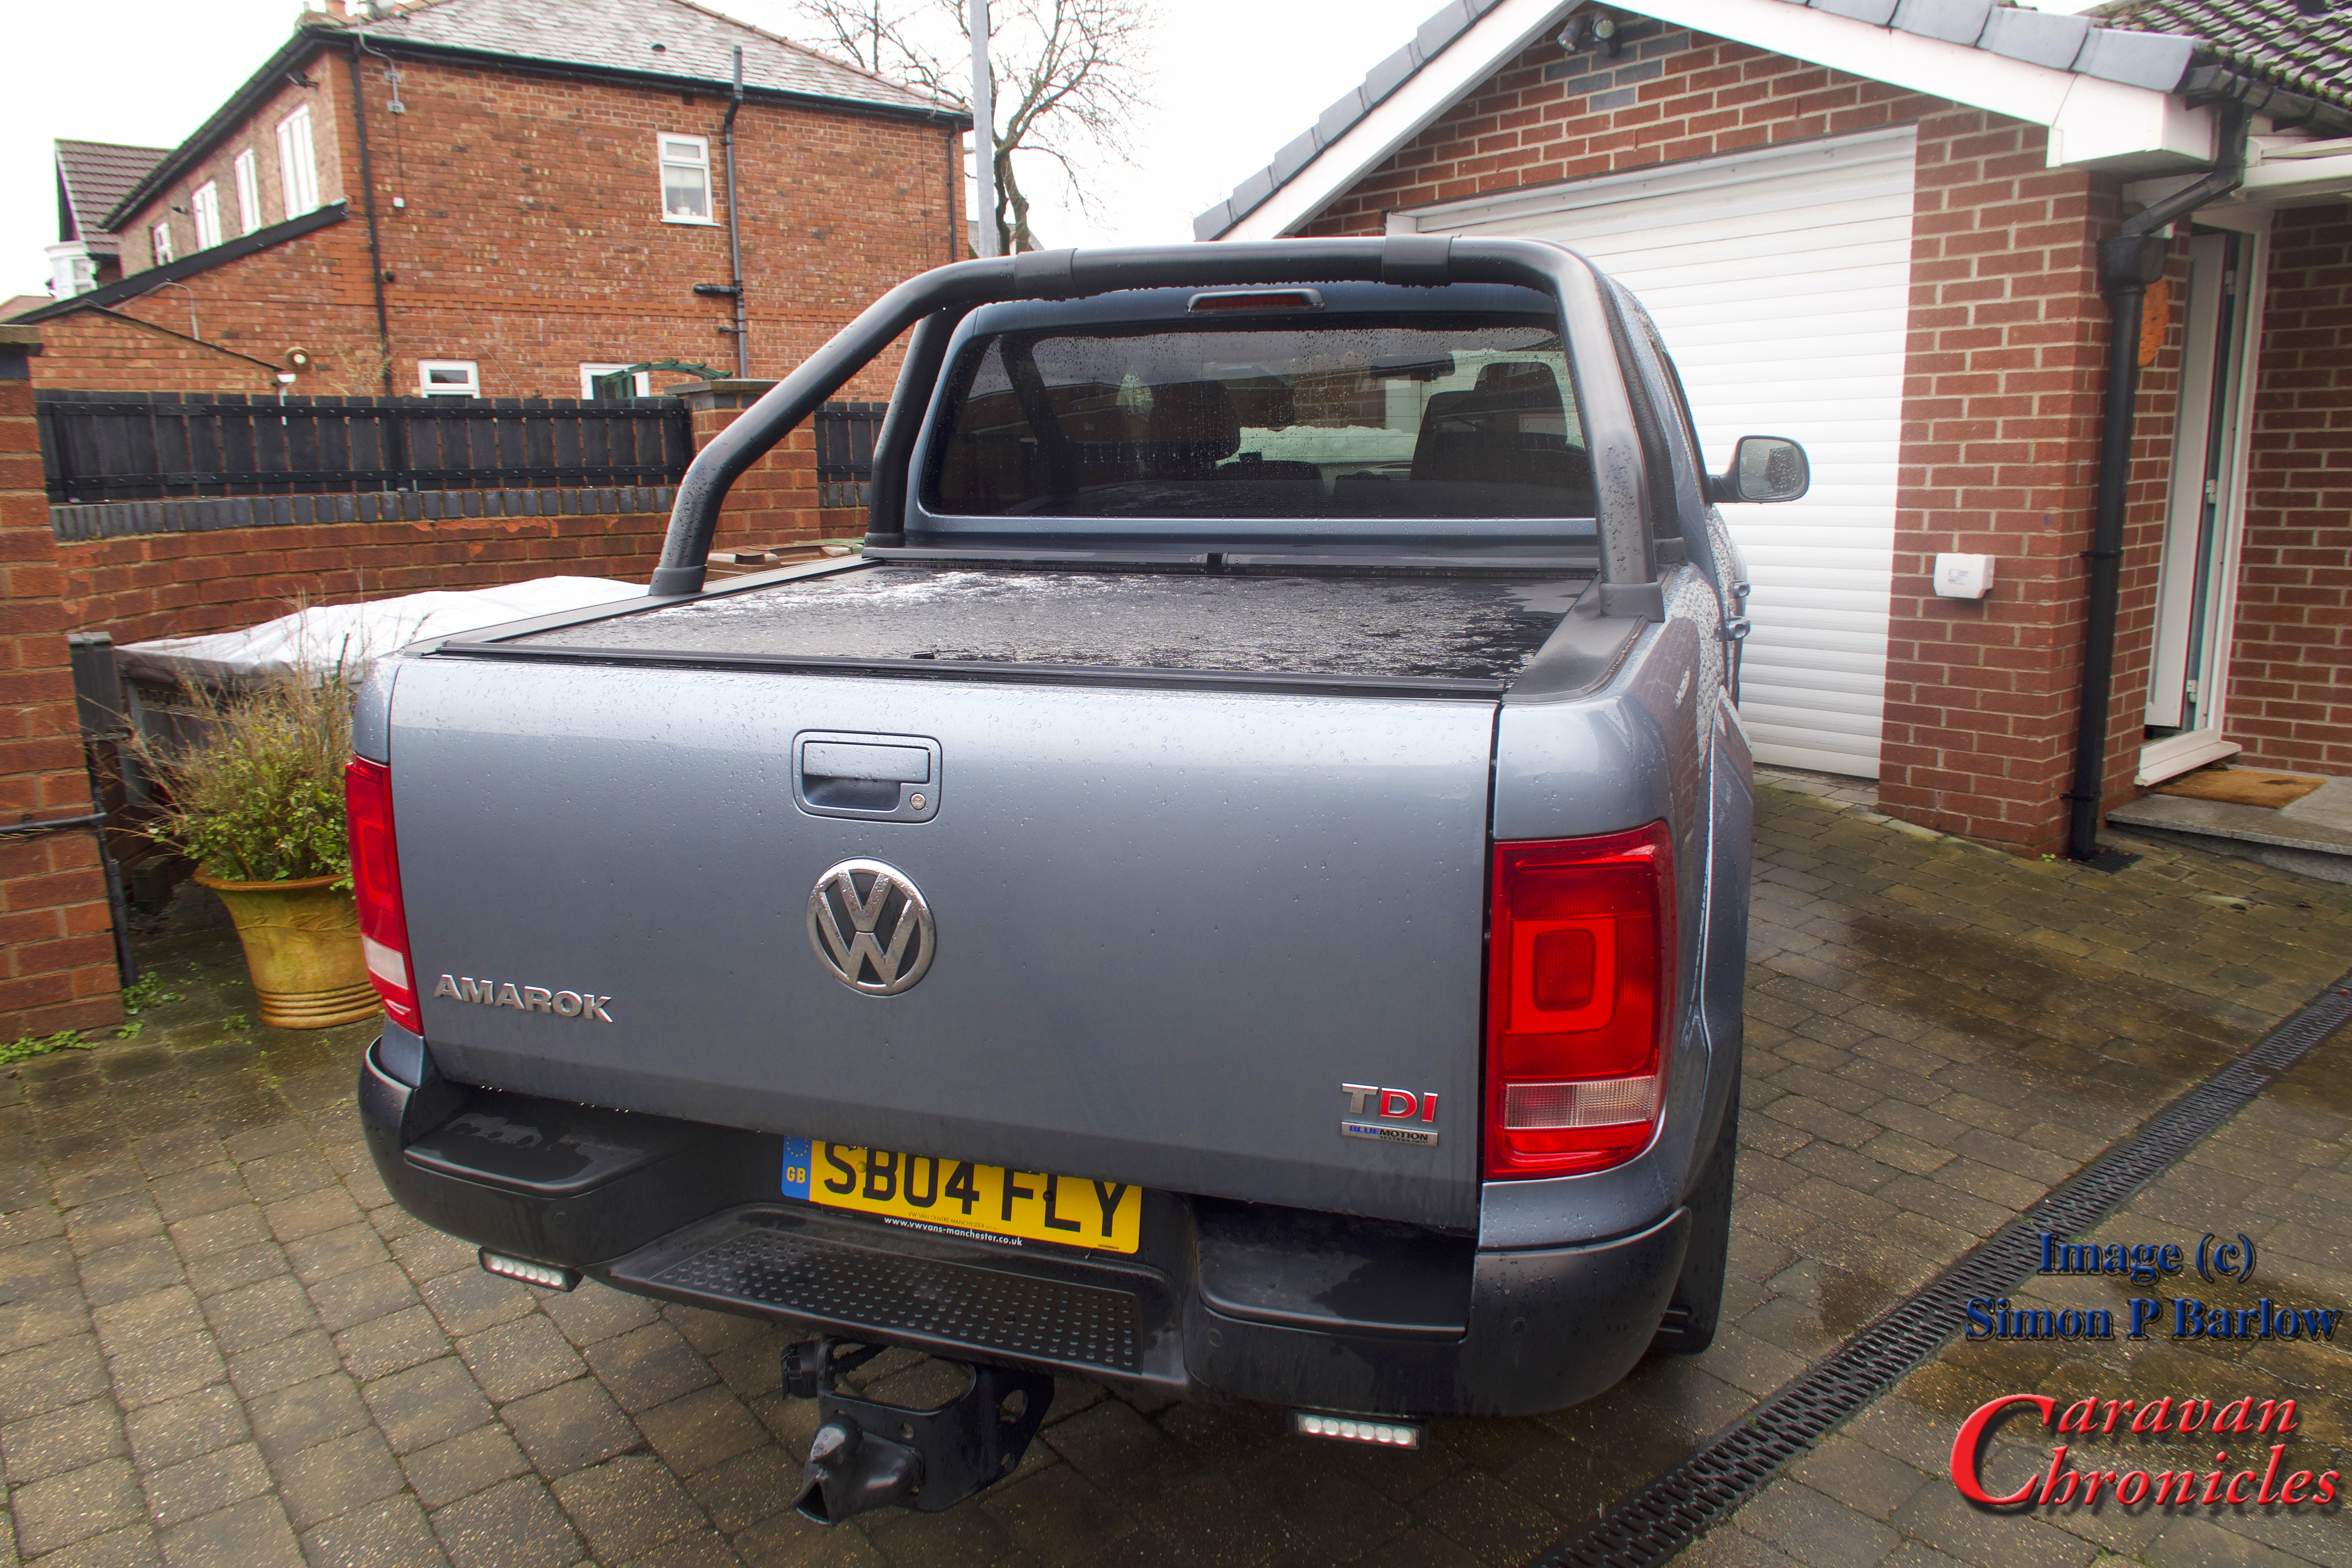
Tags
It’s been a few months since we bought our VW Amarok and I hadn’t originally intended it to take this long to install a bike rack or carrier. What slowed us down was sorting out the bits needed for mounting a bike carrier above the bed of the Amarok. In the USA, pickups are plentiful and there are various companies that make carrier systems and mounts for pickups. My initial thoughts it would be fairly easy and started perusing the Thule website. Unfortunately they did not sell the correct mounting hardware for where I wanted to mount the rack.. on the side rails for the Roll-N-Lock cover.
Searching the internet found plenty of results for the type of mounting I wanted… all in America and the most promising system was produced by Yakimar.
However, trying to find a retailer that would ship to the UK was a bit of a problem as most would only ship to the US and Canada. I did eventually find a company in California that would. The next hurdle was the cost. To buy everything and get it shipped over here would ring up a massive £2180 bill at the checkout. This was not worth it. I out the bike rack on the back burner for a while… and the pound against the dollar slipped in the meantime.
I started looking around again at the start of this year and returned to Thule and Fiamma. Could I make up my own “kit of parts” to do the job? Fiamma while having a great selection of racks and bits didn’t provide anything in the way of a roof bar so back to Thule again. While mooching about their website I accidentally got on to the American area of their site and while looking for mounting feet came across one specifically designed for mounting on to flat roofs. The part was intended for a Fibreglass canopy on a Jeep Wrangler but pictures showed them being used on a number of vehicles and camping trailers. This was exactly the part I needed.
I checked with a number of Thule retailers to see if they had Kit 3113 which was used to mount Rapid Podium Foot Pack 460R on flat surfaces. No one had it, so a quick email to Thule asking if it was obtainable in the UK or Europe was fired off. The answer was a bit surprising. It was an American part produced by the American Division and was not obtainable in Europe.
OK, back to my contact at Worldwide Cyclery in California… did they stock it and could they ship it? It arrived within six days. I also ordered the Foot Pack 460R as it was over £60 cheaper even after paying import duty than buying it in the UK on-line. I now had the means to mount the WingBars(Aeroblade). I just needed to check the size and order these and two FreeRide 232 bike mounts. Before I ordered, I checked the width I’d need. Next problem, The WingBars in the UK were 1500mm wide and in the US being manufactured in English sizes were slightly wider by about an inch. They arrived a few days later from the US!
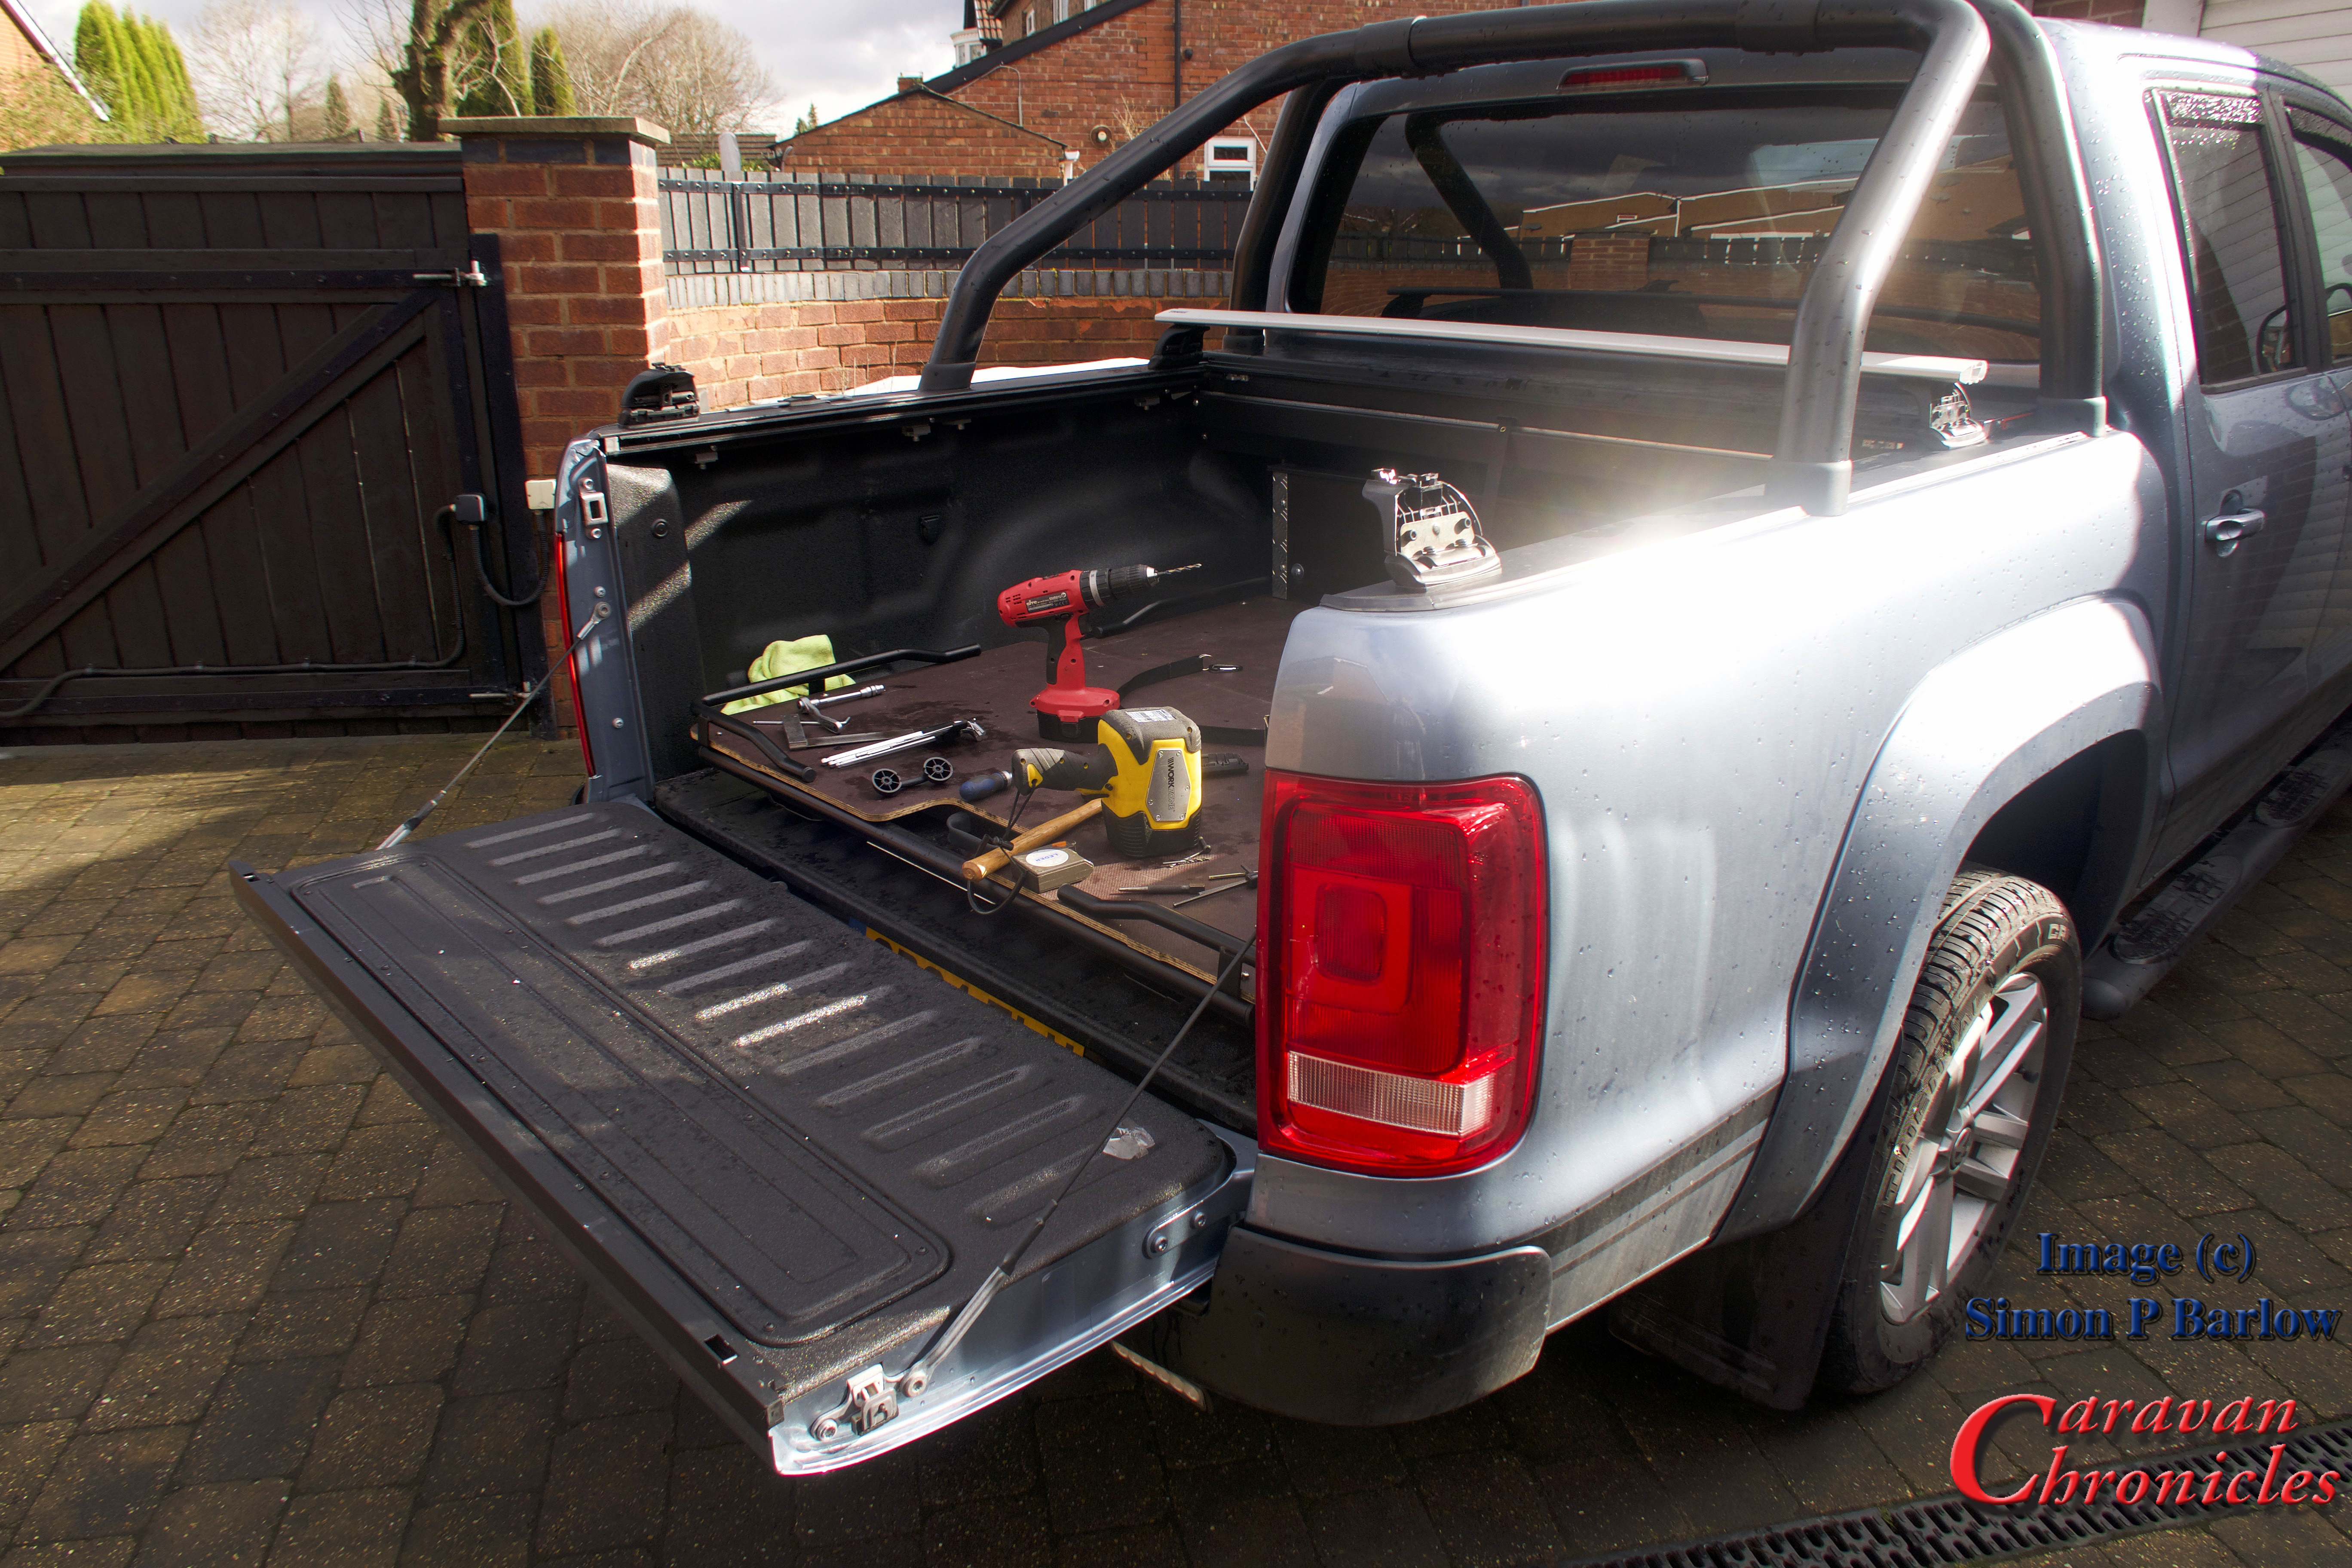
OK, so now I had all the parts… to the bat cave!
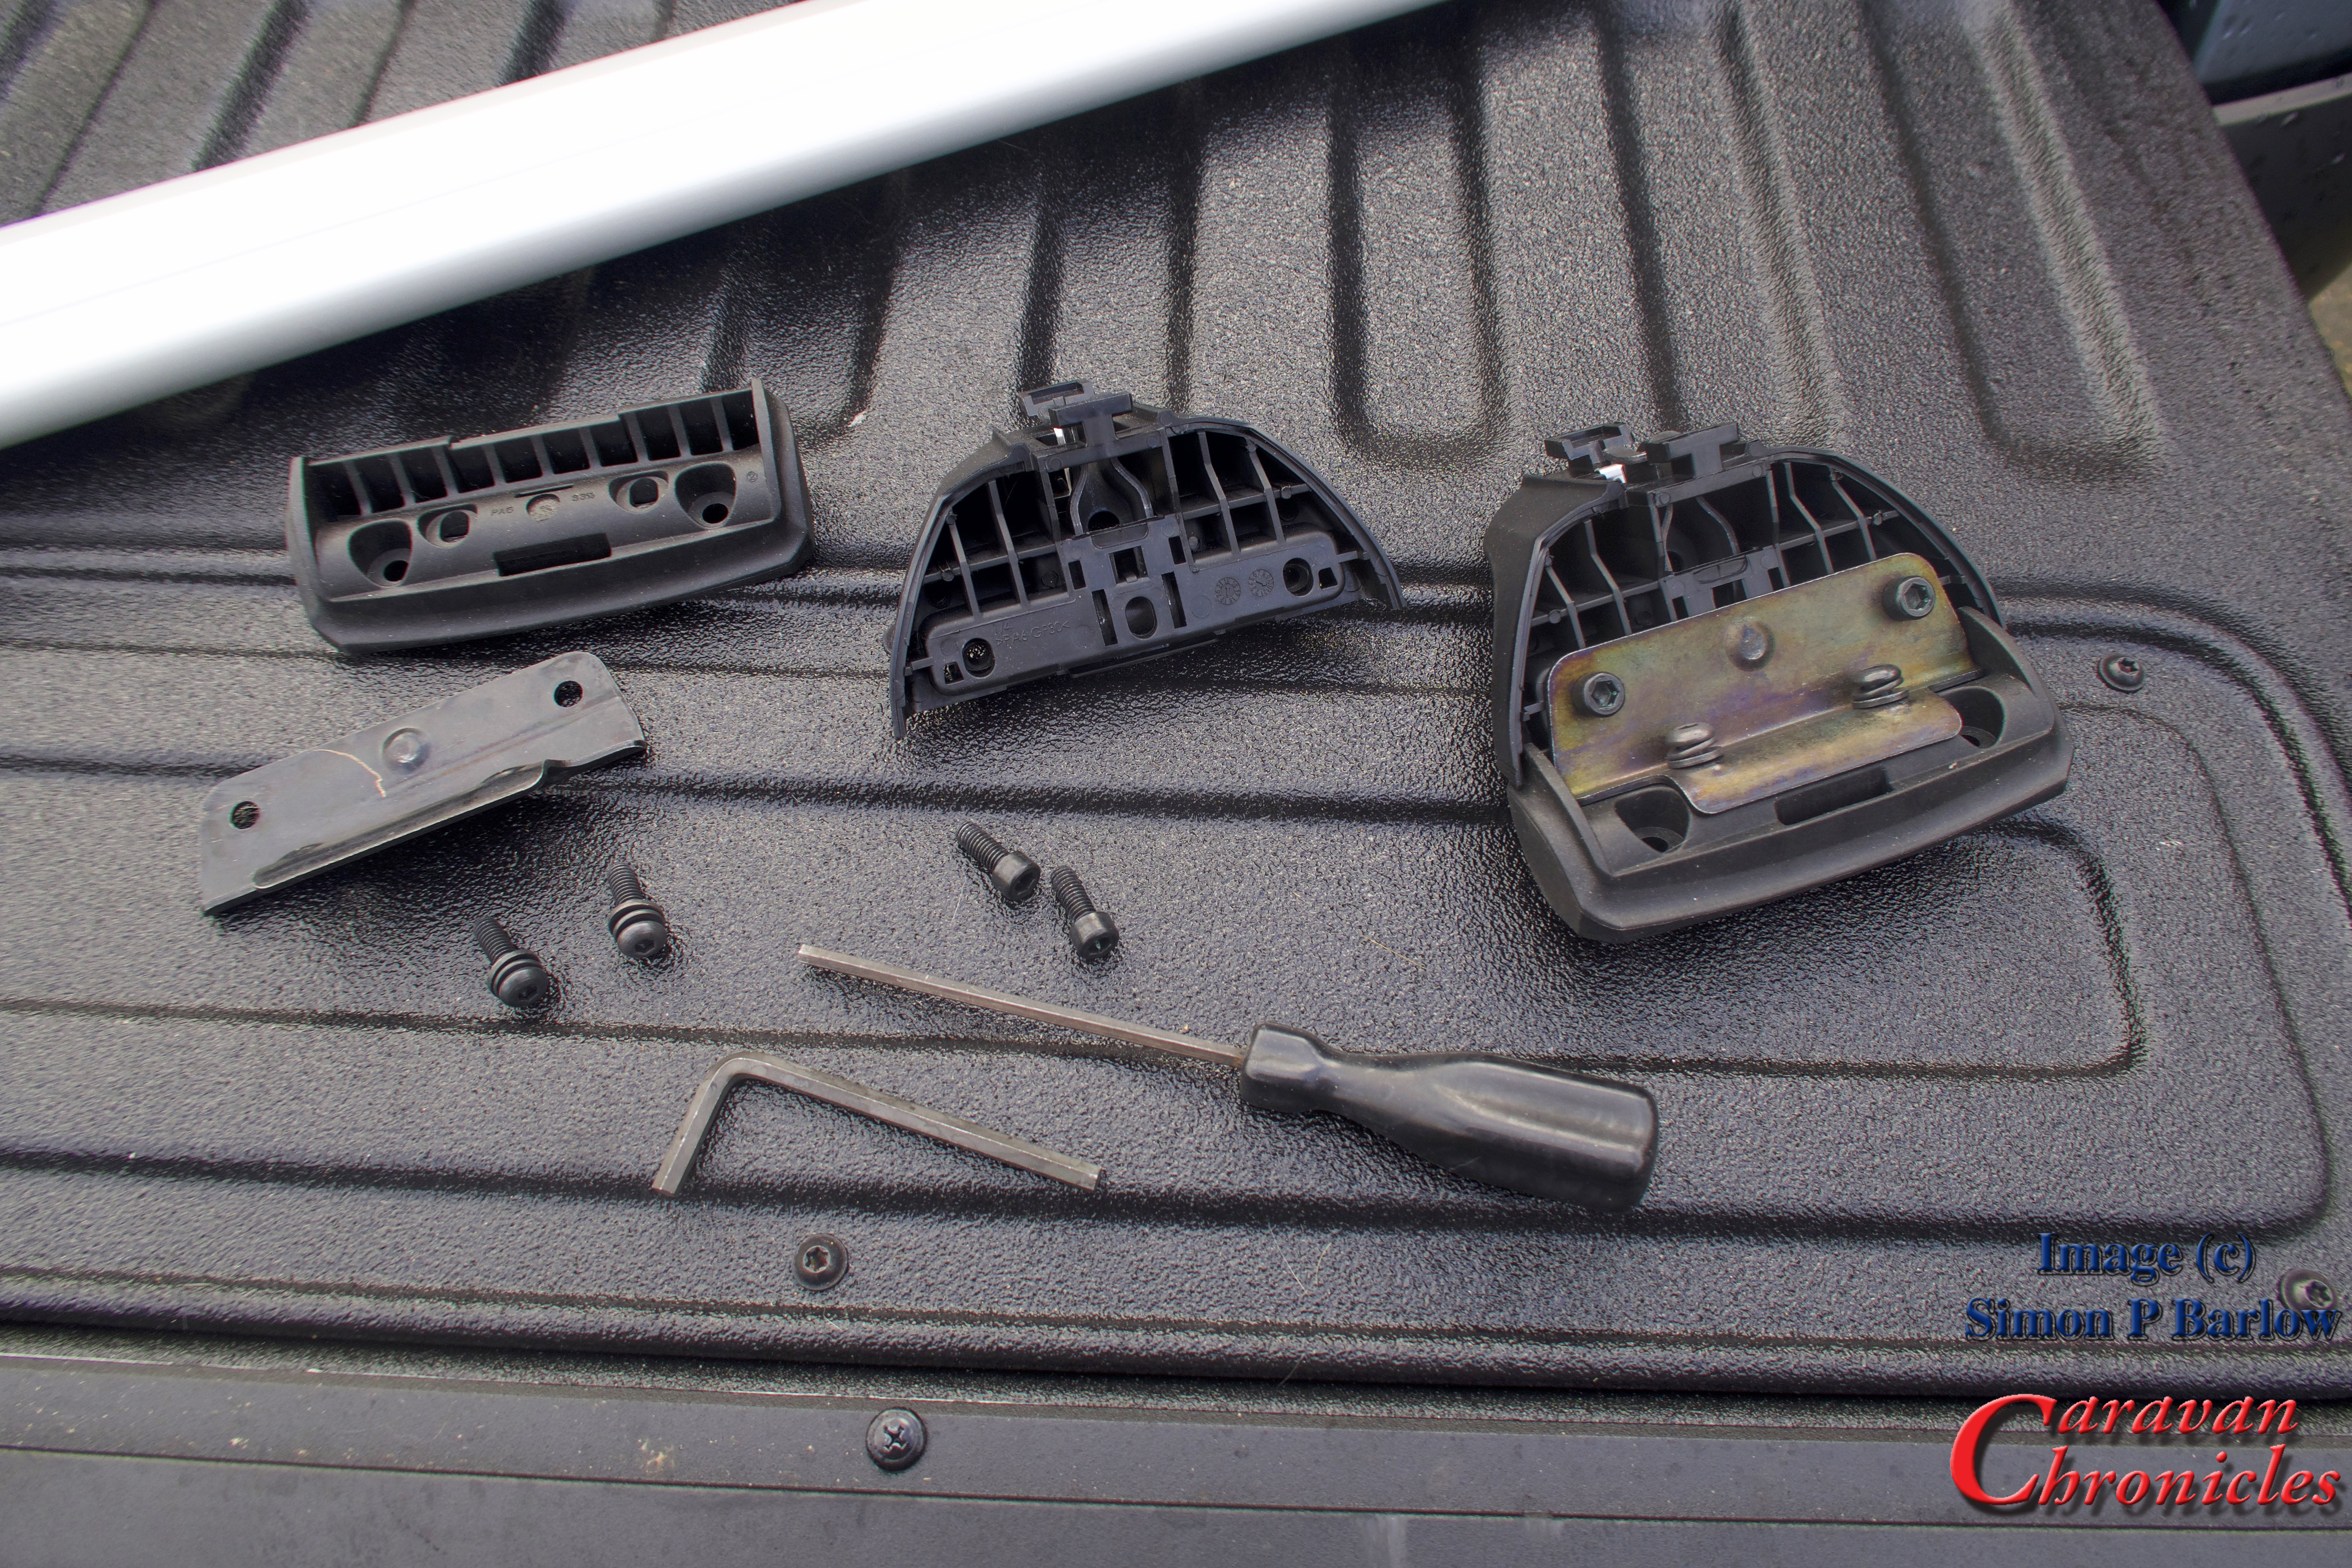
Assembling the 3113 mounting plates
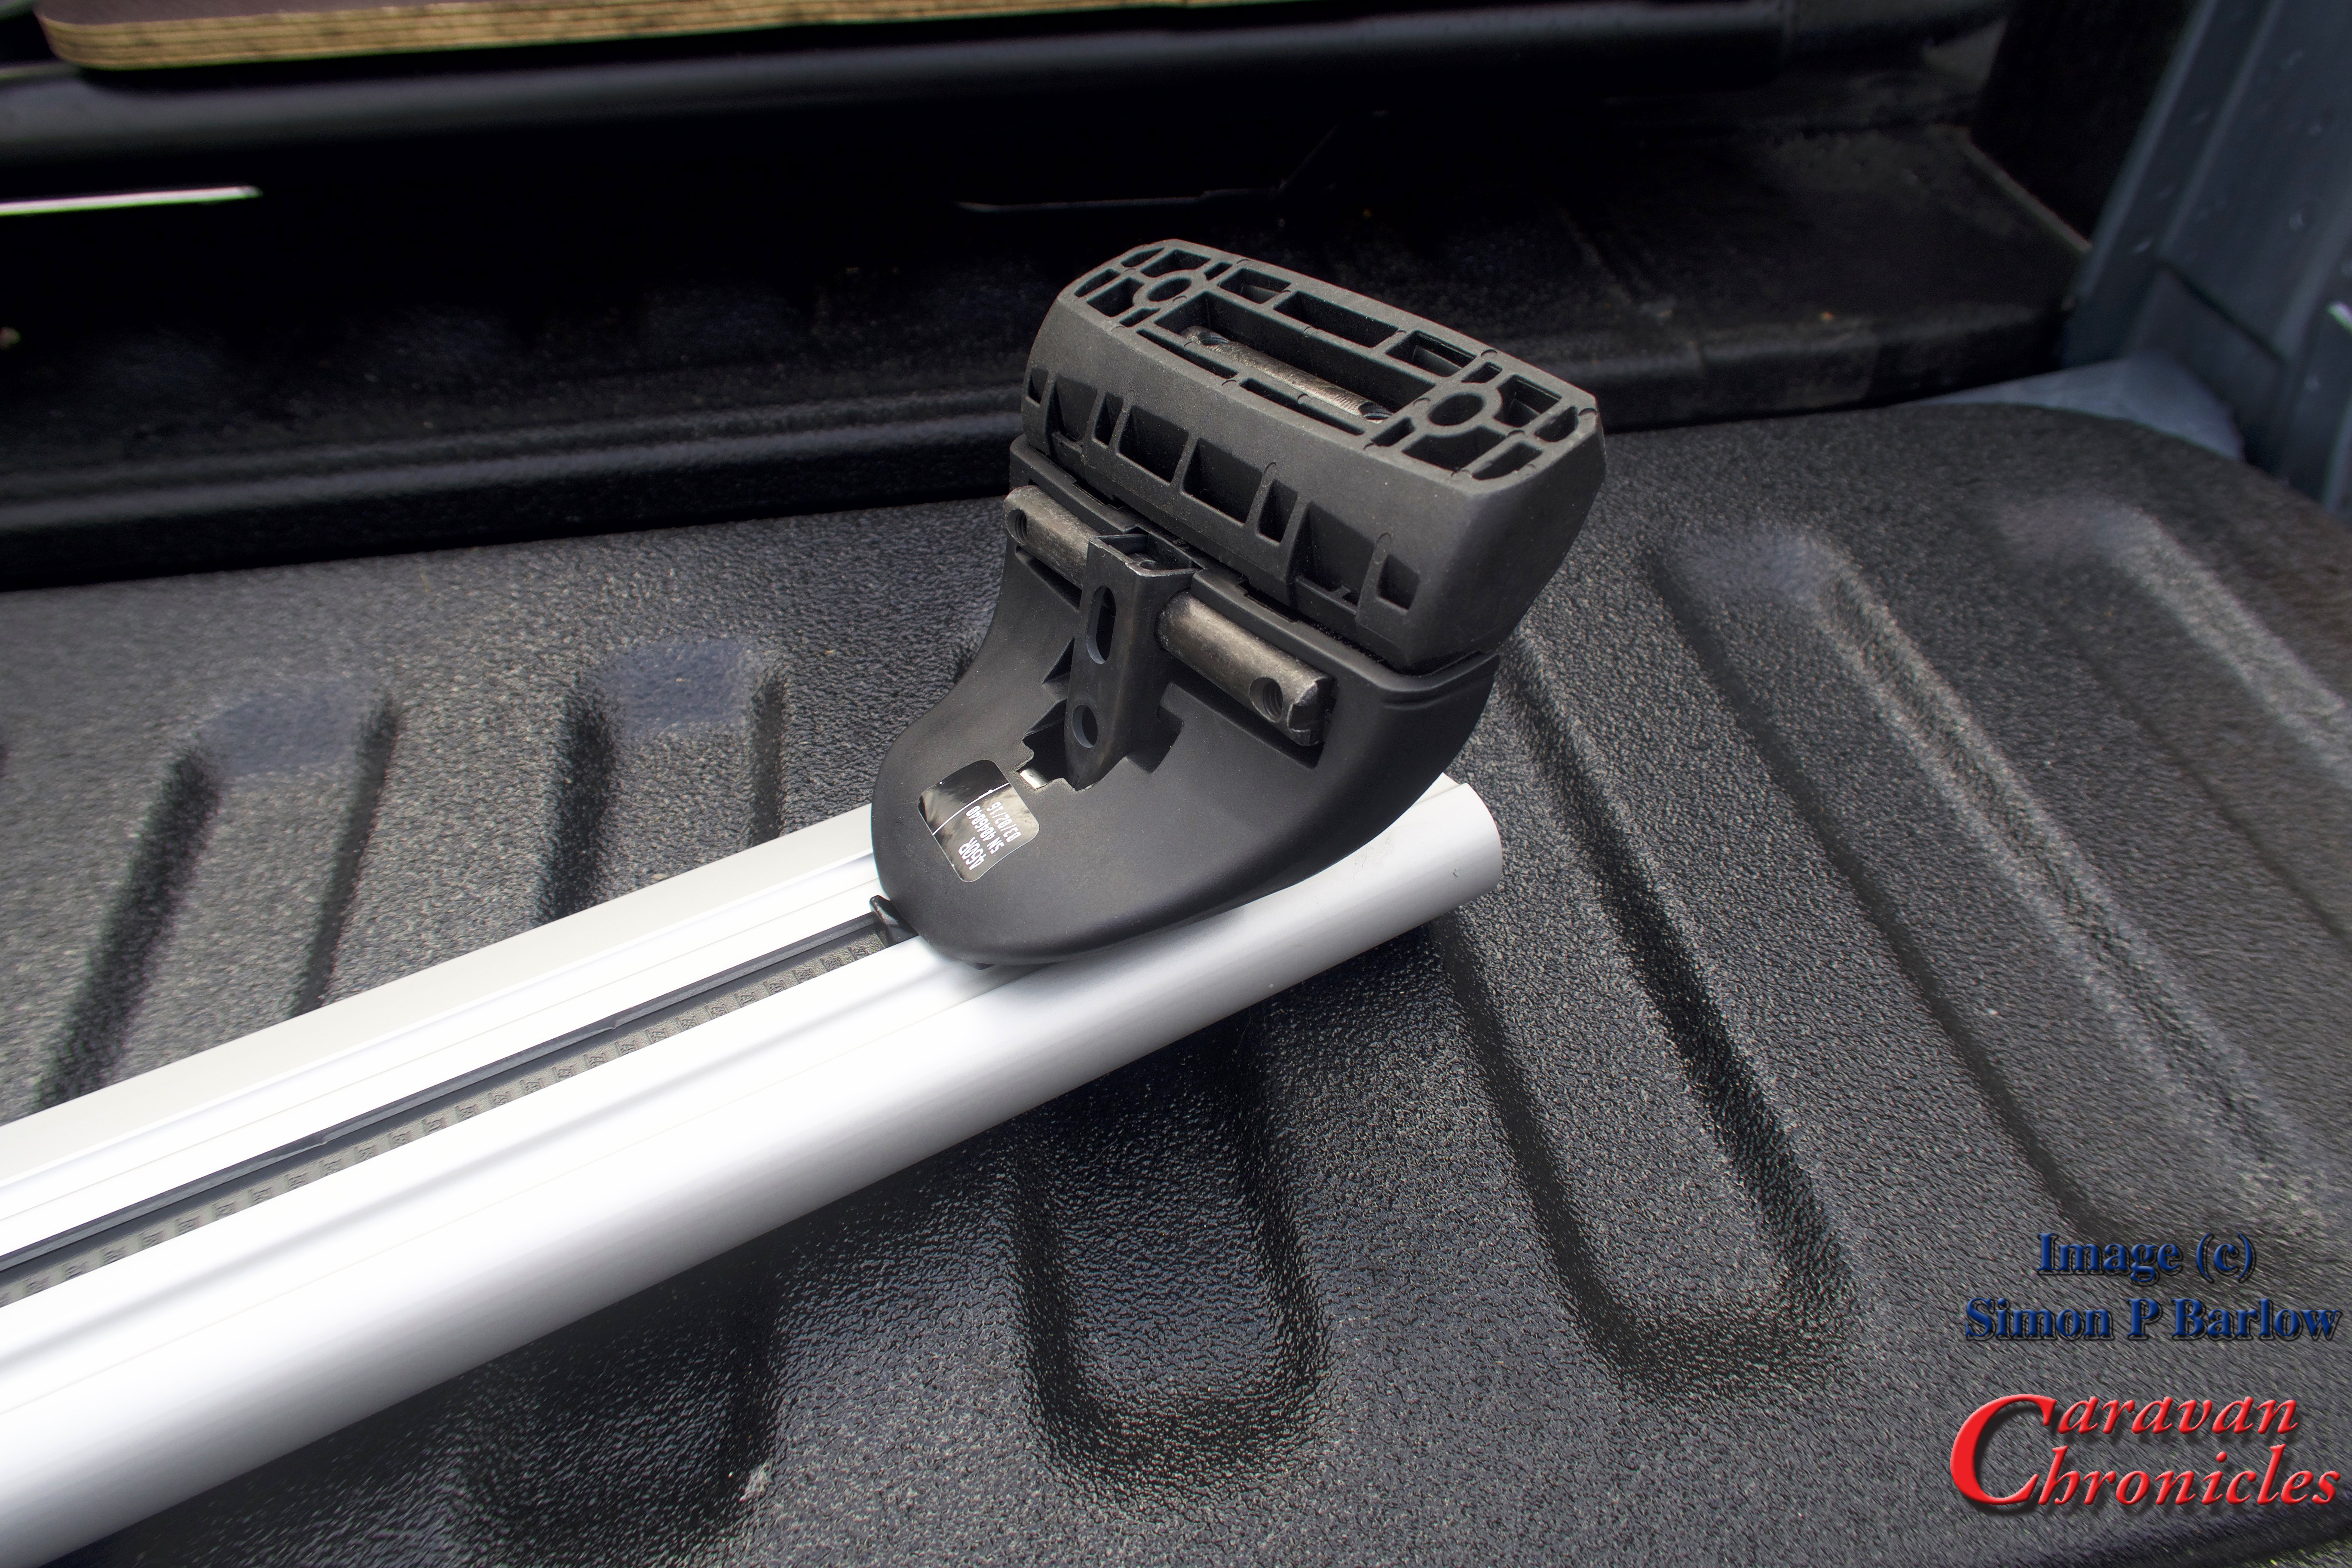
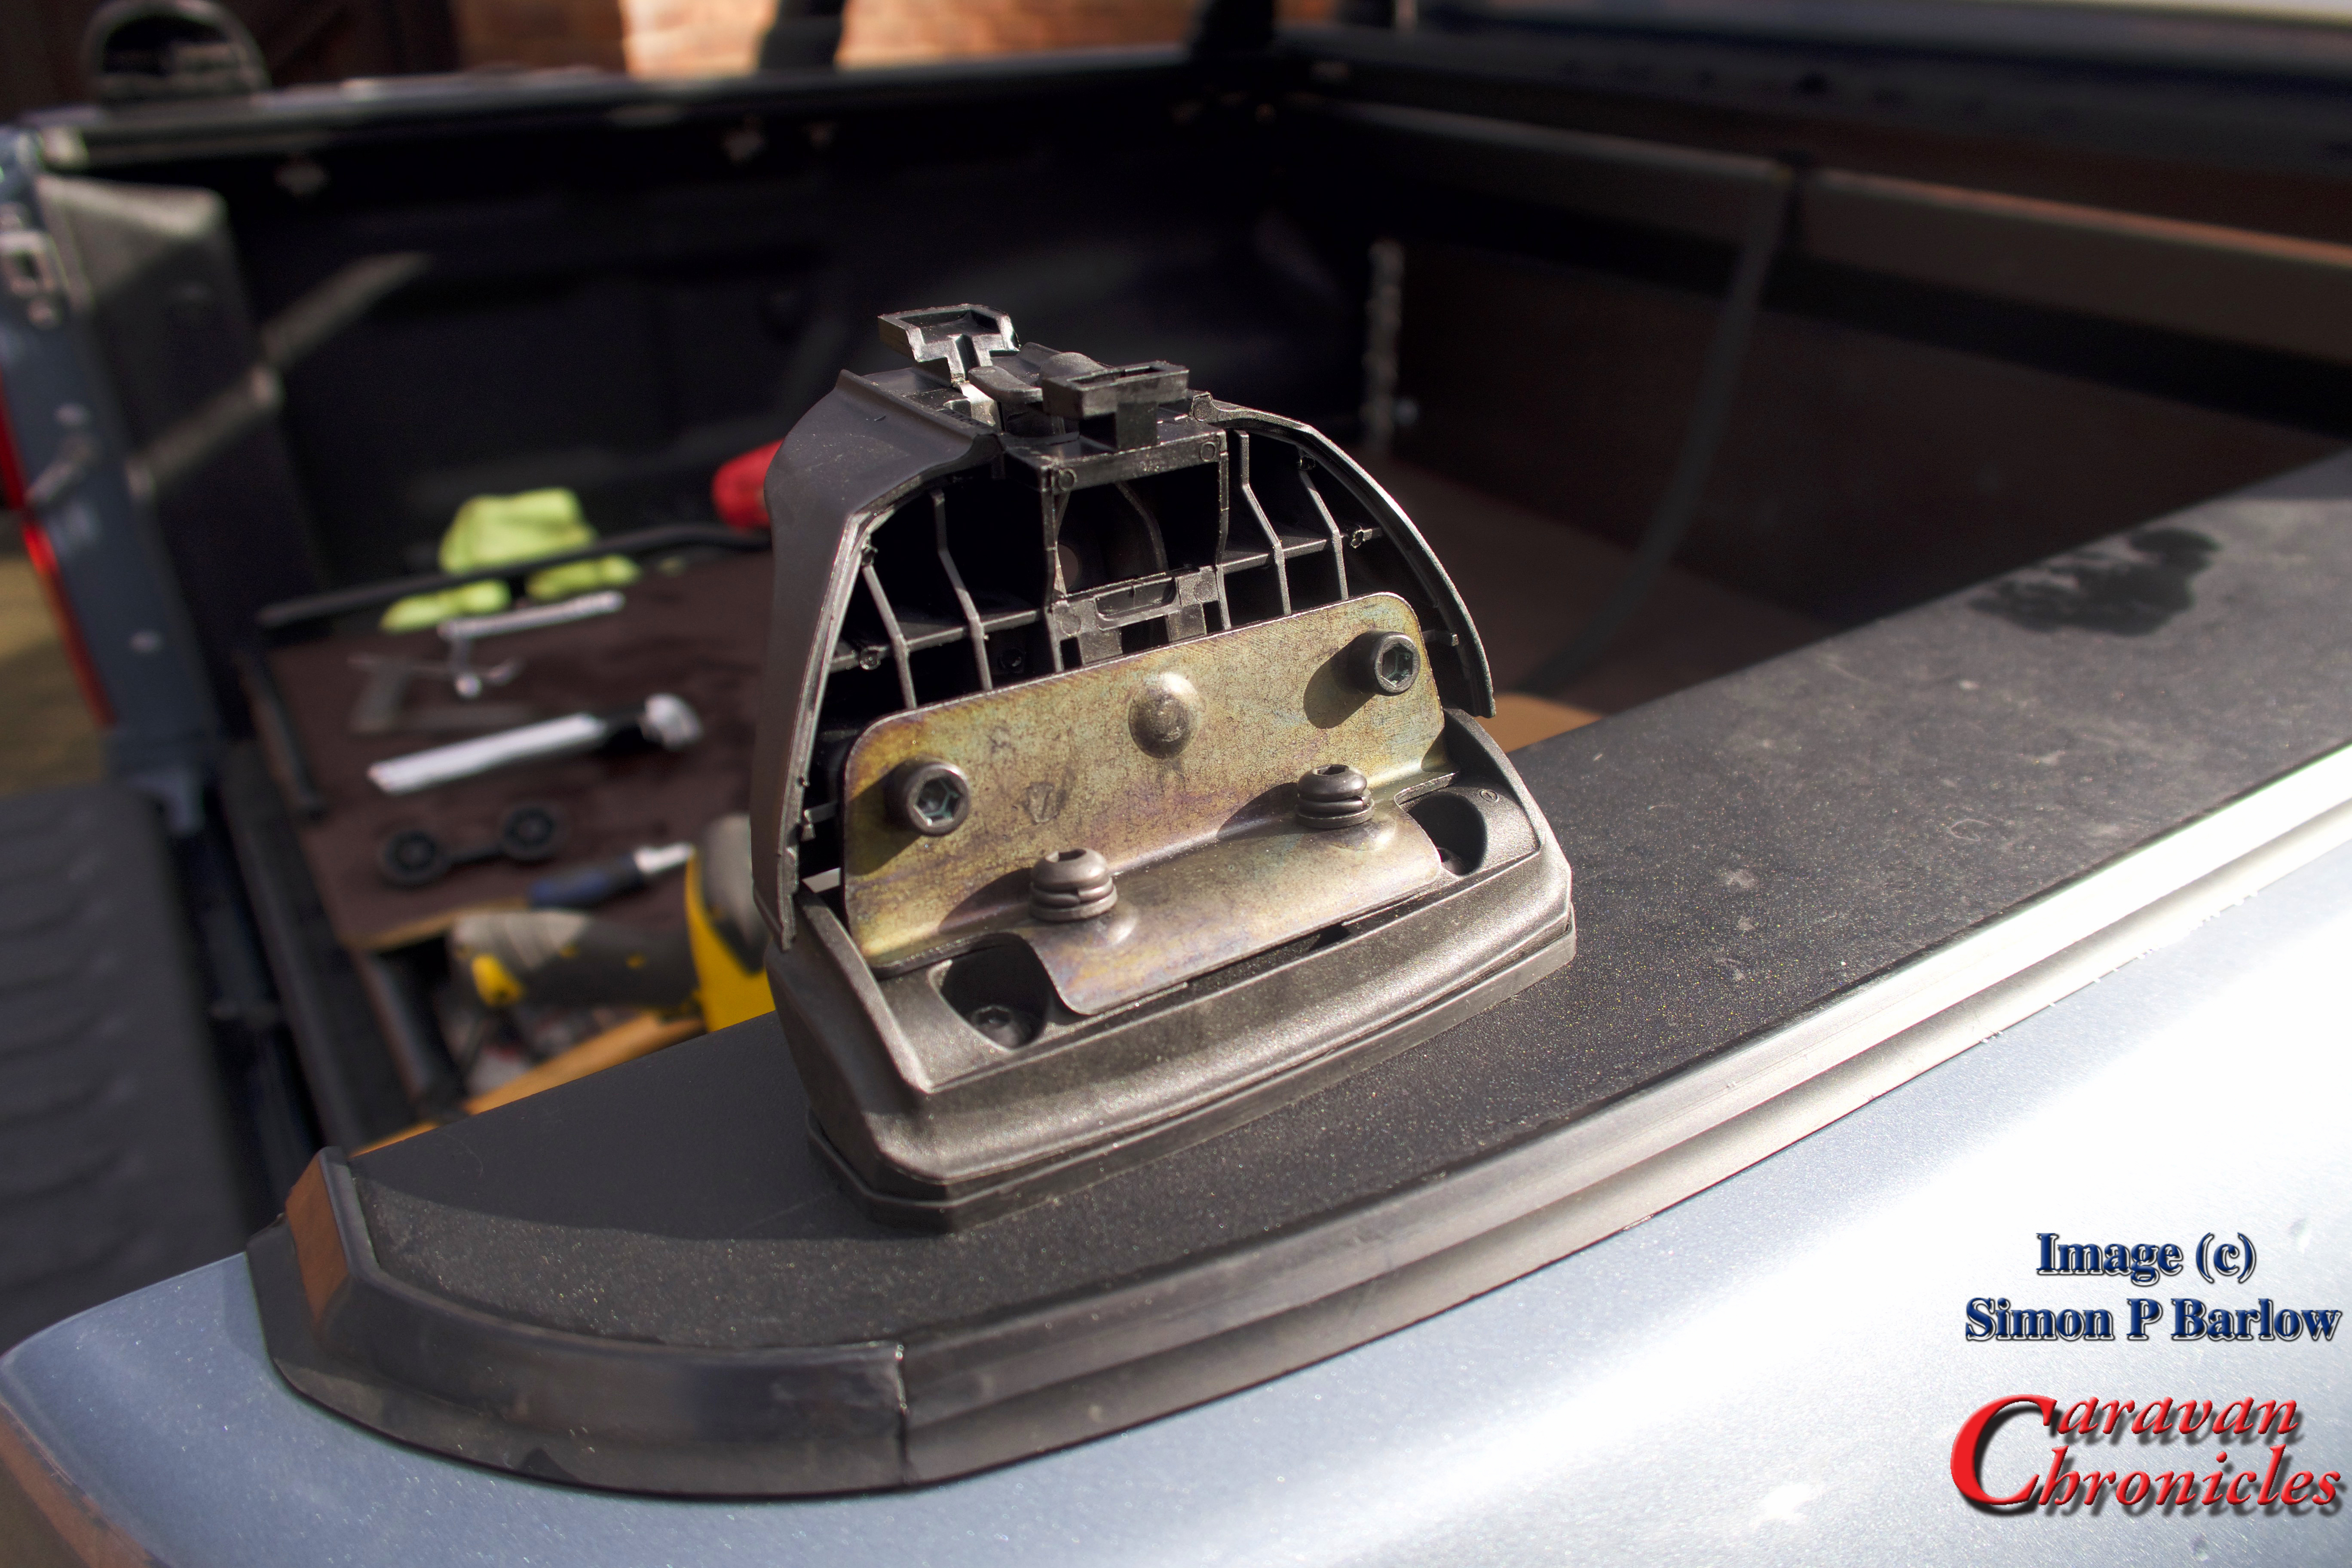
The first task was to assemble everything so I could to a test fit of the whole caboodle on the back of the Amarok before drilling anything… always a good idea! The four Kit 3113’s were assembled first and the four 406R feet were mounted on to them.
Assembling the 460R on to one of the 3113 mounting plates.
Once this was done, the sub assemblies were slid on to the ends of the WingBars.
Once this was done, I could roughly position the two partially completed WingBars across the bed of the Amarok.
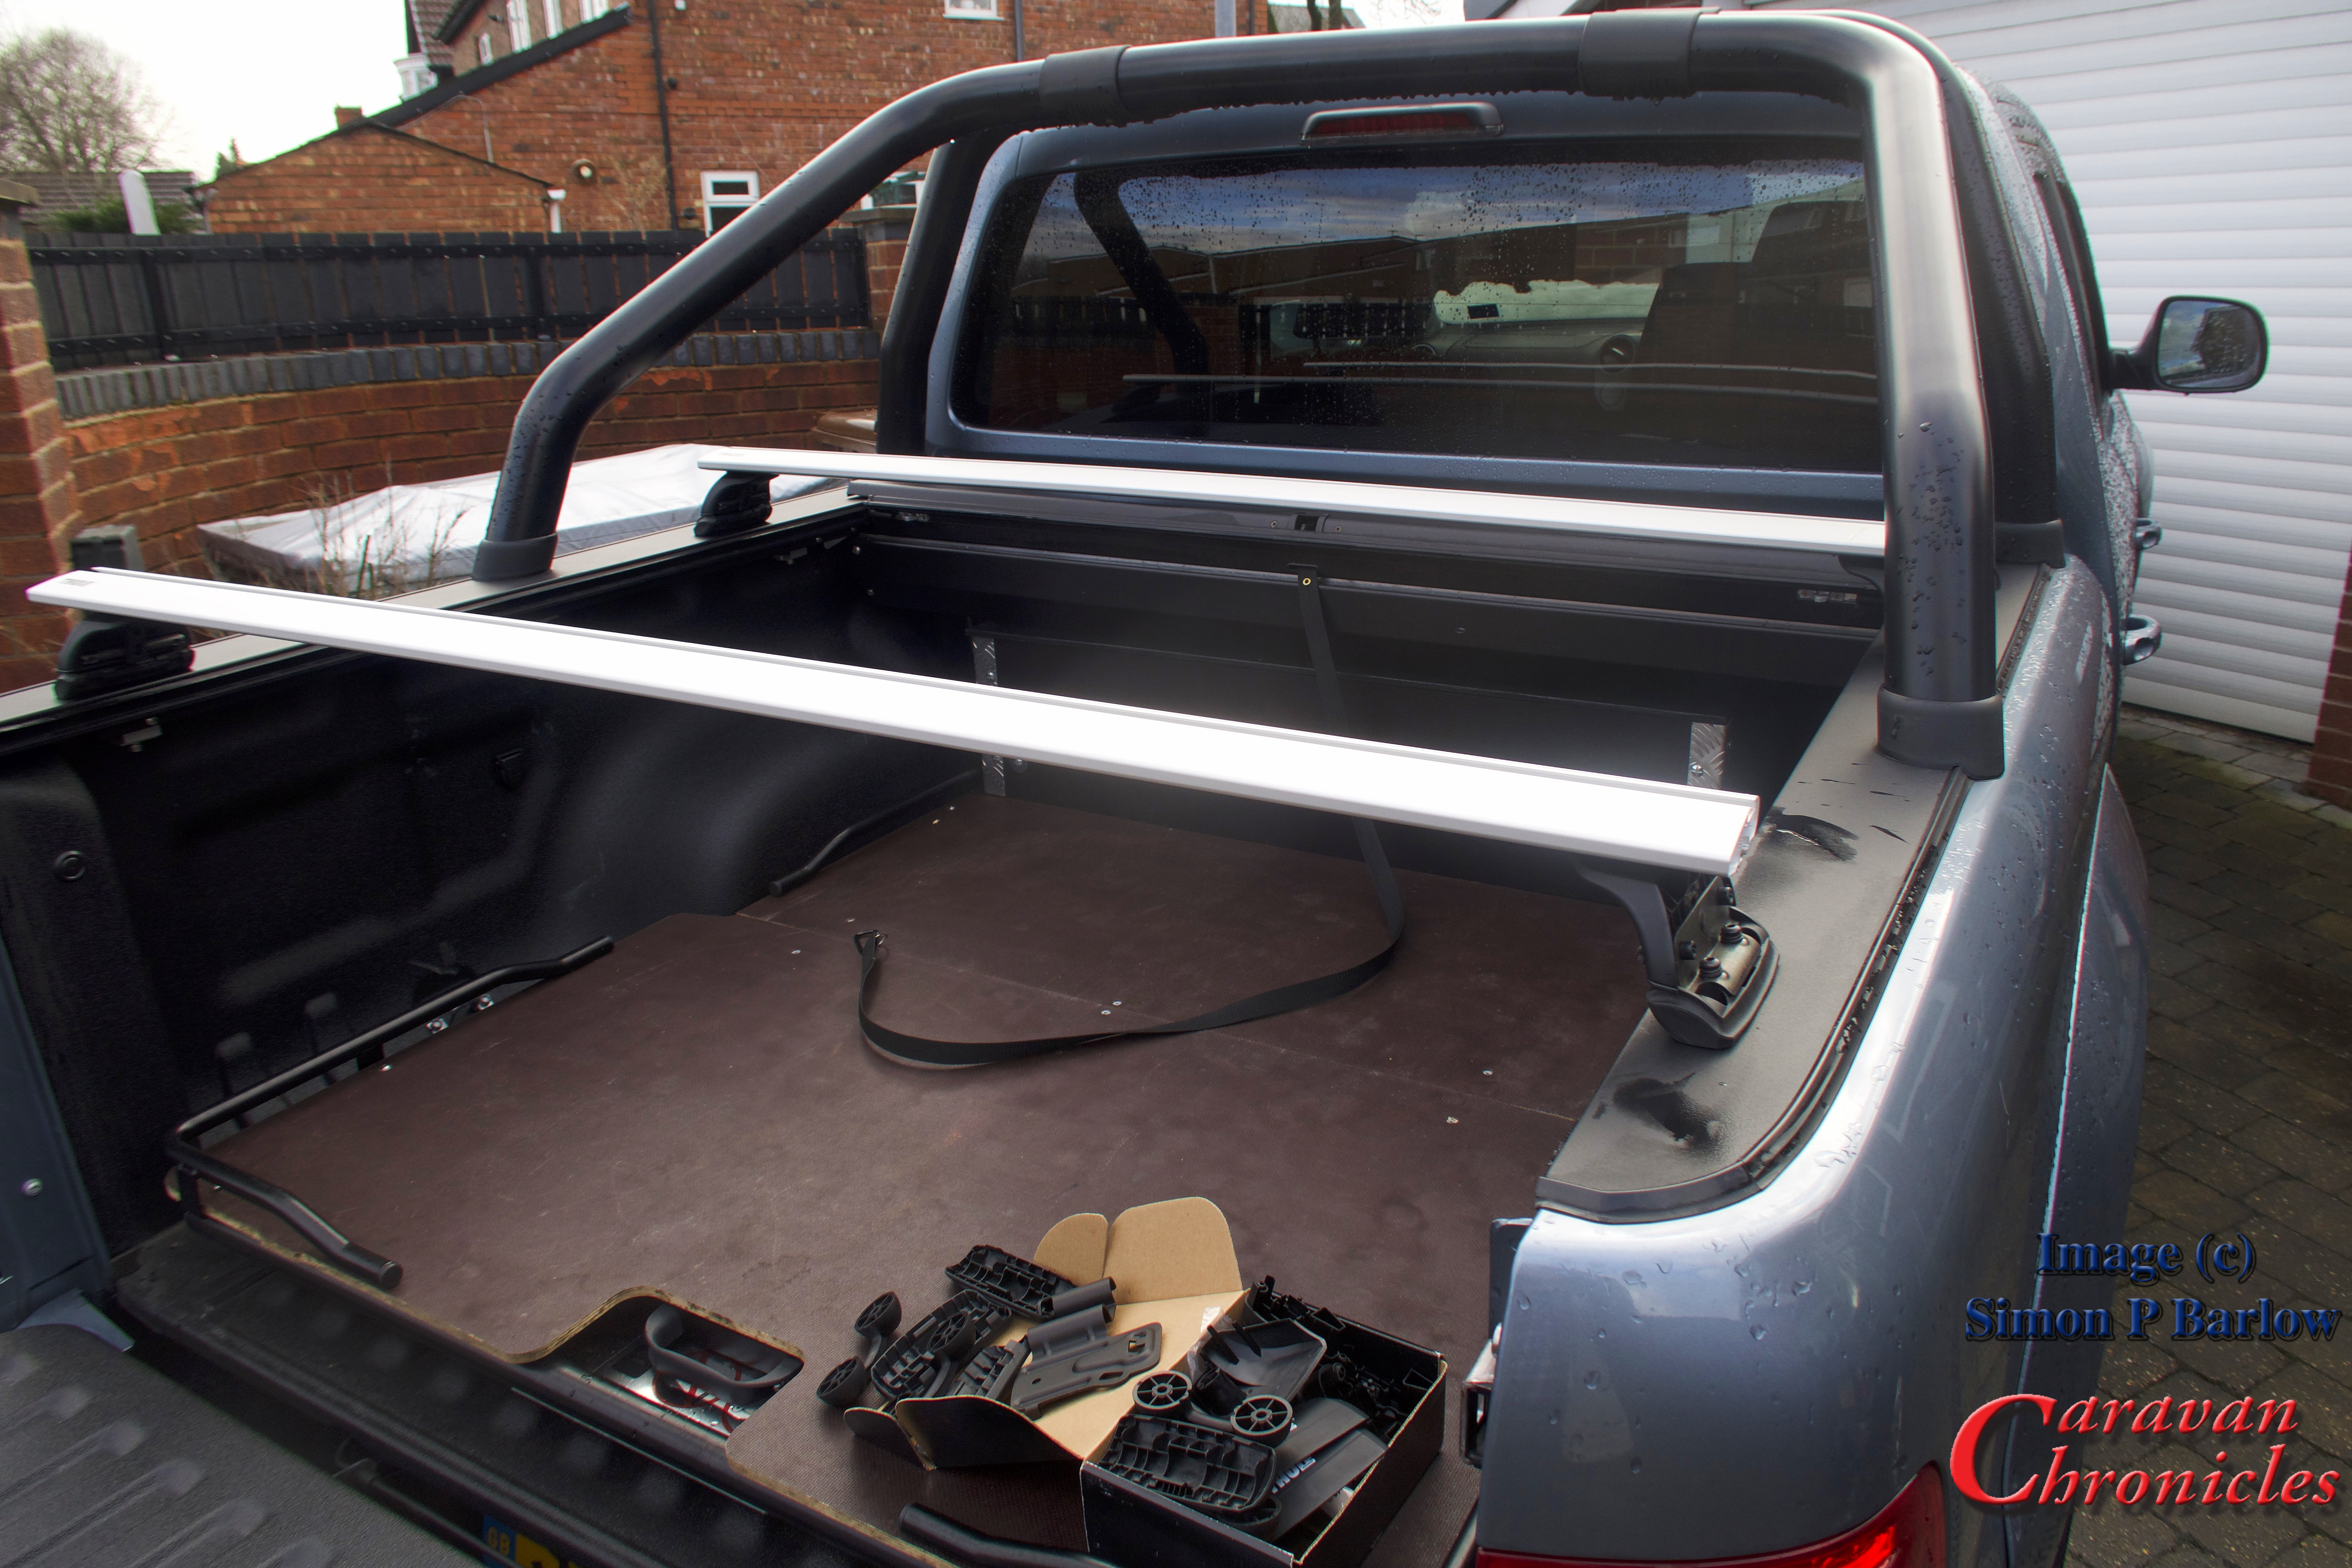
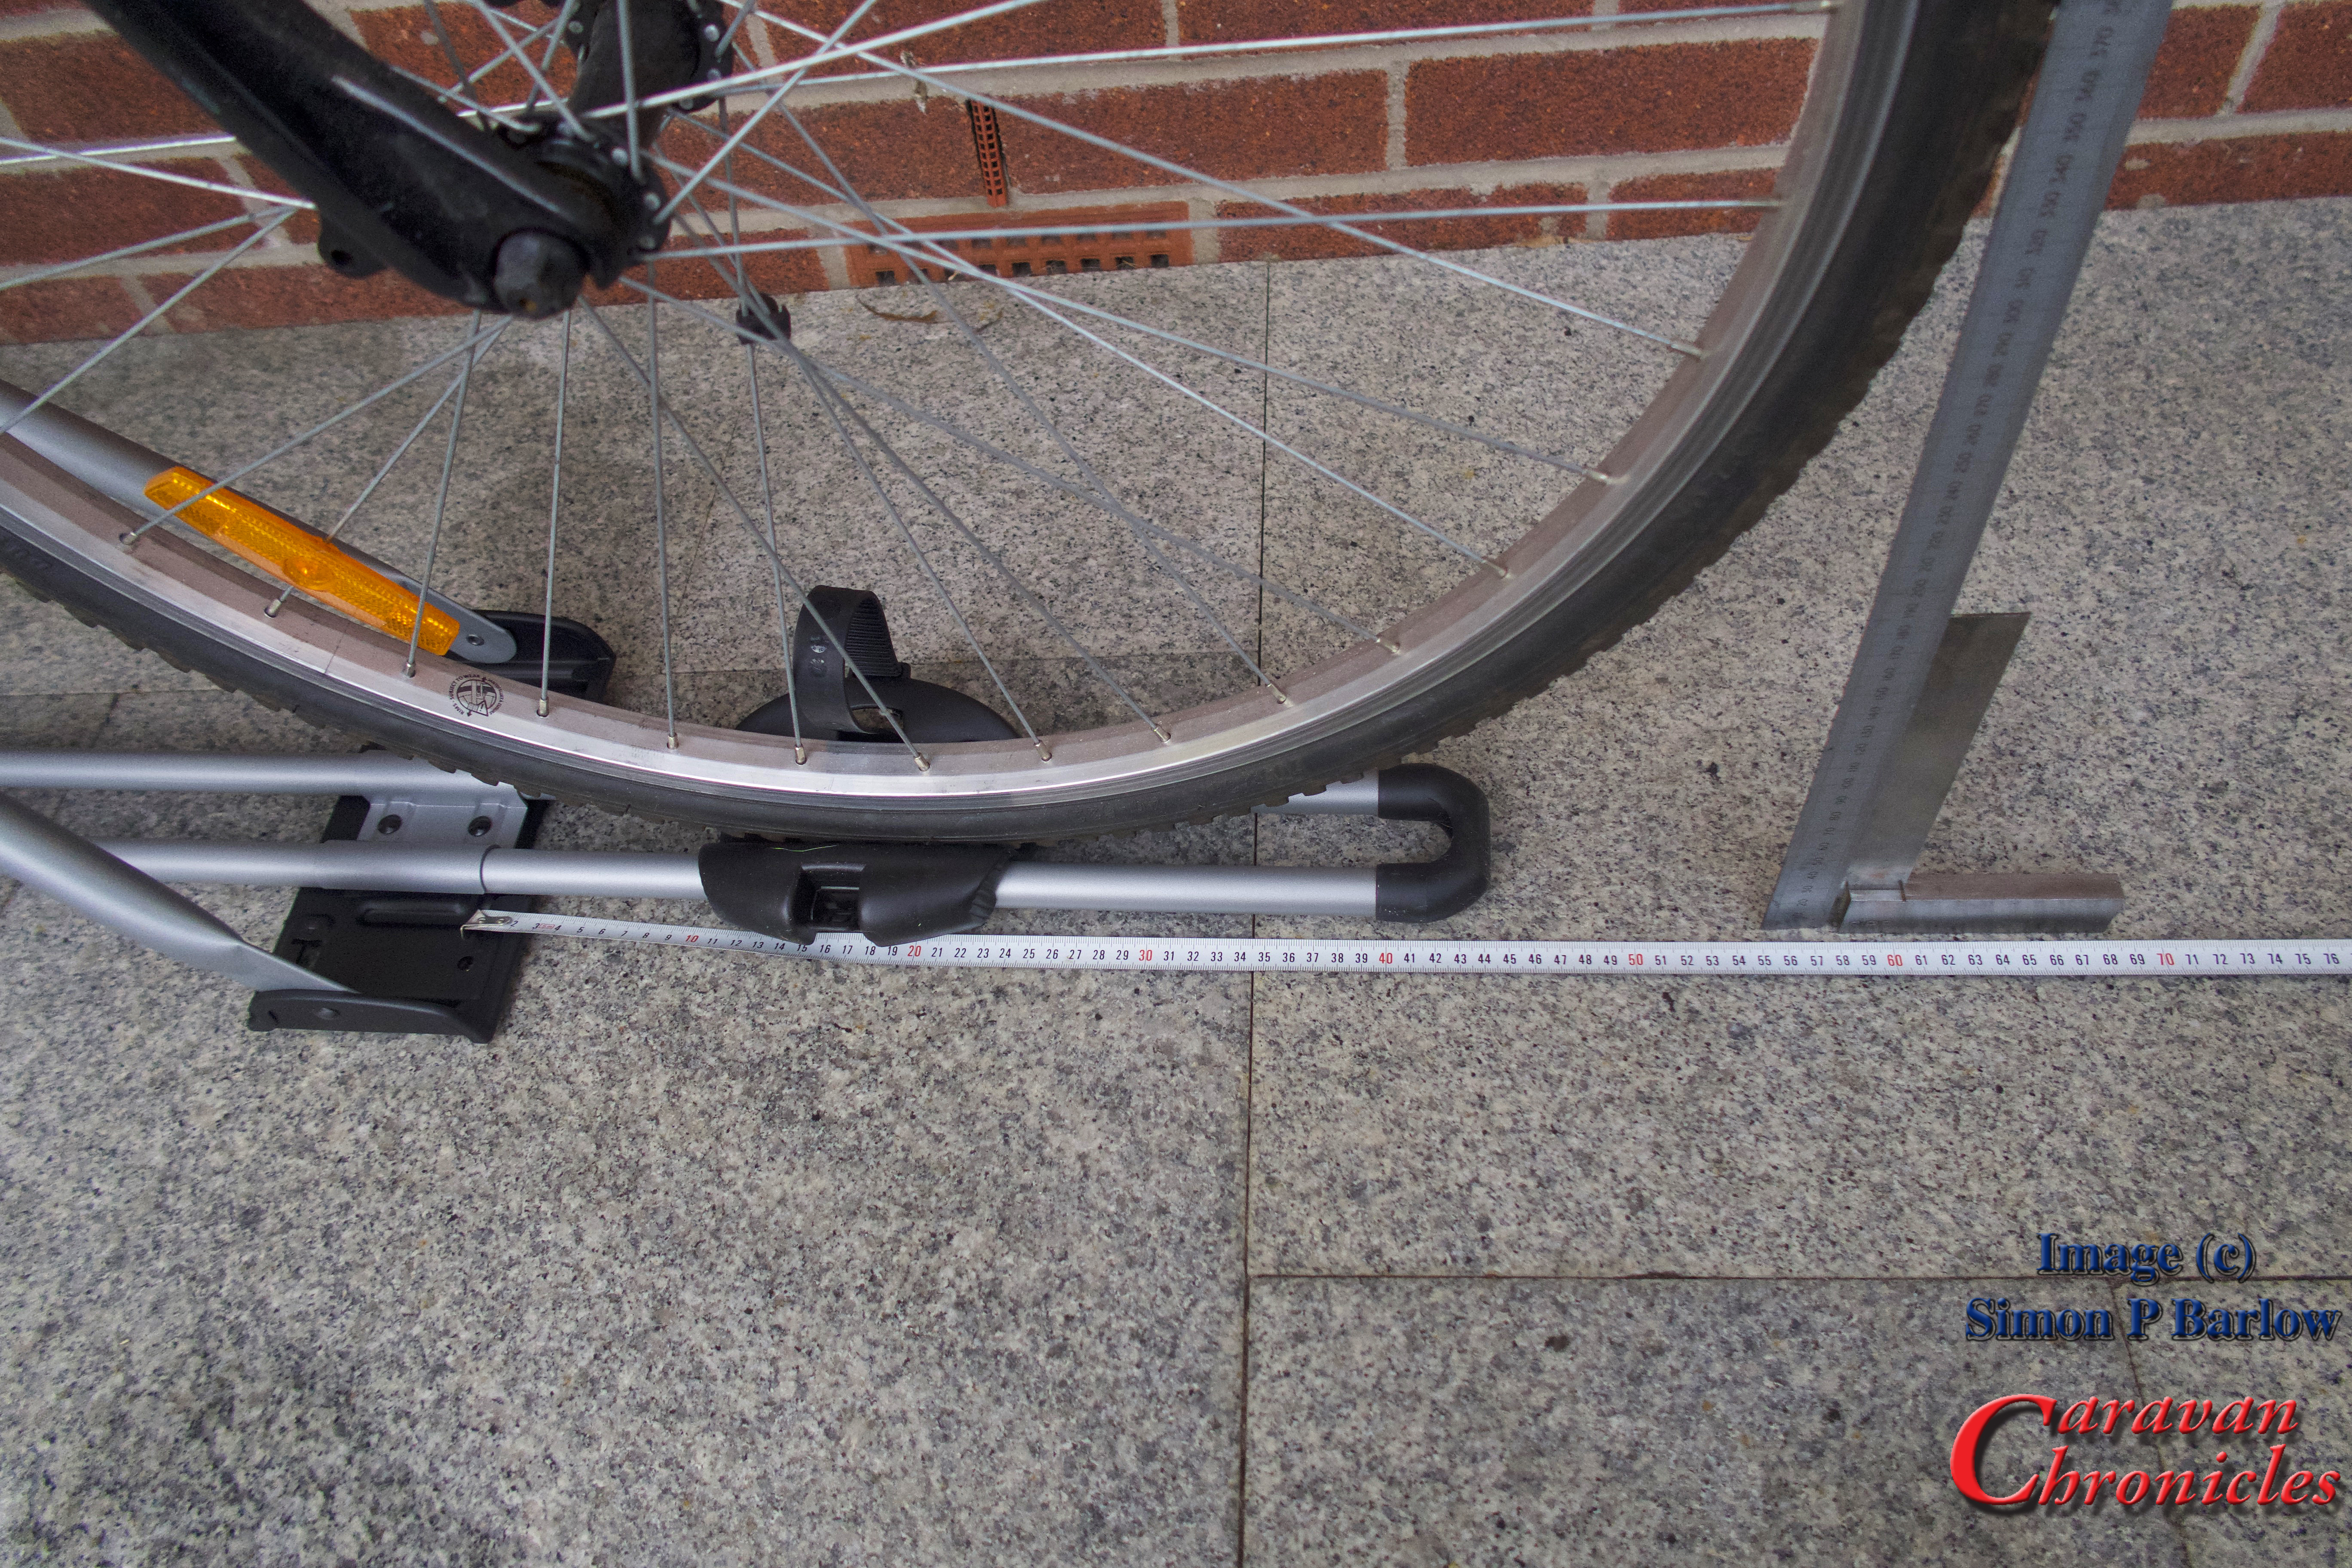
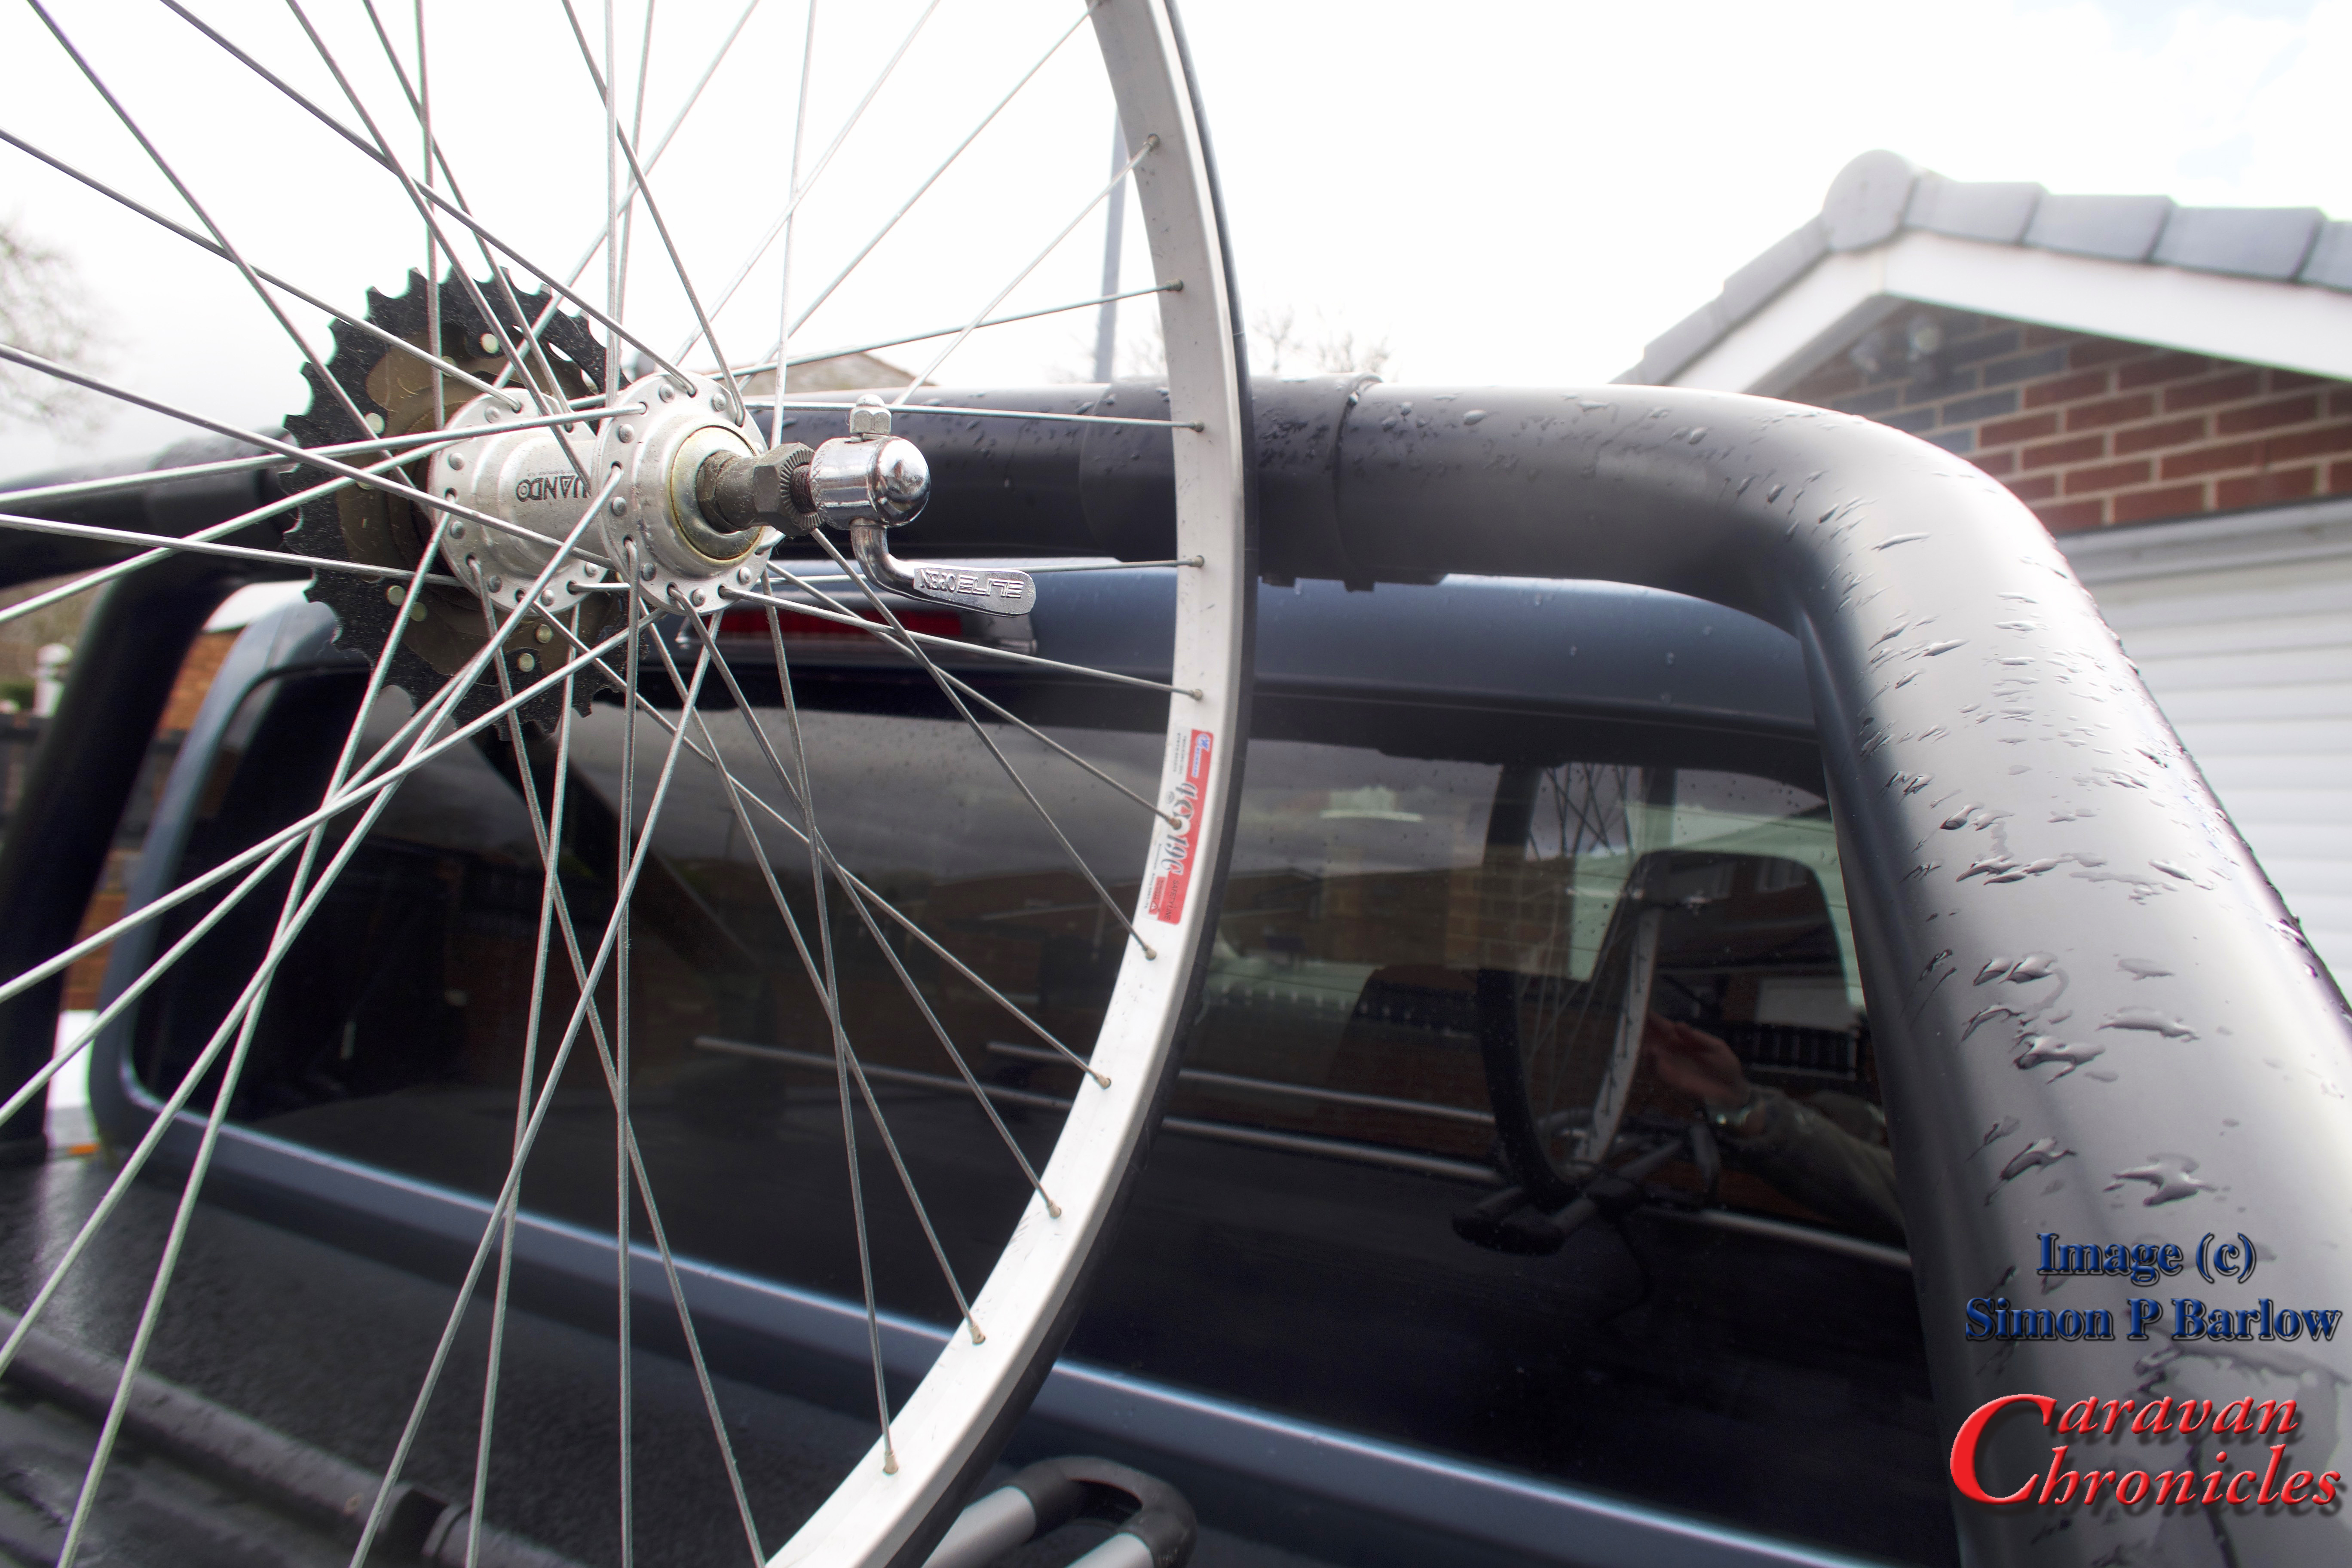
I now needed to check the position of the bike on the FreeRide 532 so that would in turn give me the position I needed to mount the WingBars. From the centre line of the mounting plate the front edge of the front wheel is about 550 mm, so the front WingBar needs to be at least 550mm back from the rear of the cab.
However, the Amarok’s sport bars have to be taken into consideration as these stop the front wheel of the bike going too far forward and will help protect the cab.
This presented a problem. The rear of the FreeRide232 protruded back and hung over the rear tailgate by about 350mm and if possible I wanted everything flush. Not a problem, the two bike wheel mounts can be slid forward and backwards to accommodate various size bike frames and the main mounting point… with a little assistance from a rubber mallet and be slid backwards. So in effect I nudged the two main bars forward so they didn’t protrude over the tailgate and the bike still fitted. You can see my mark as I started to move the main mounting plate on the picture below:
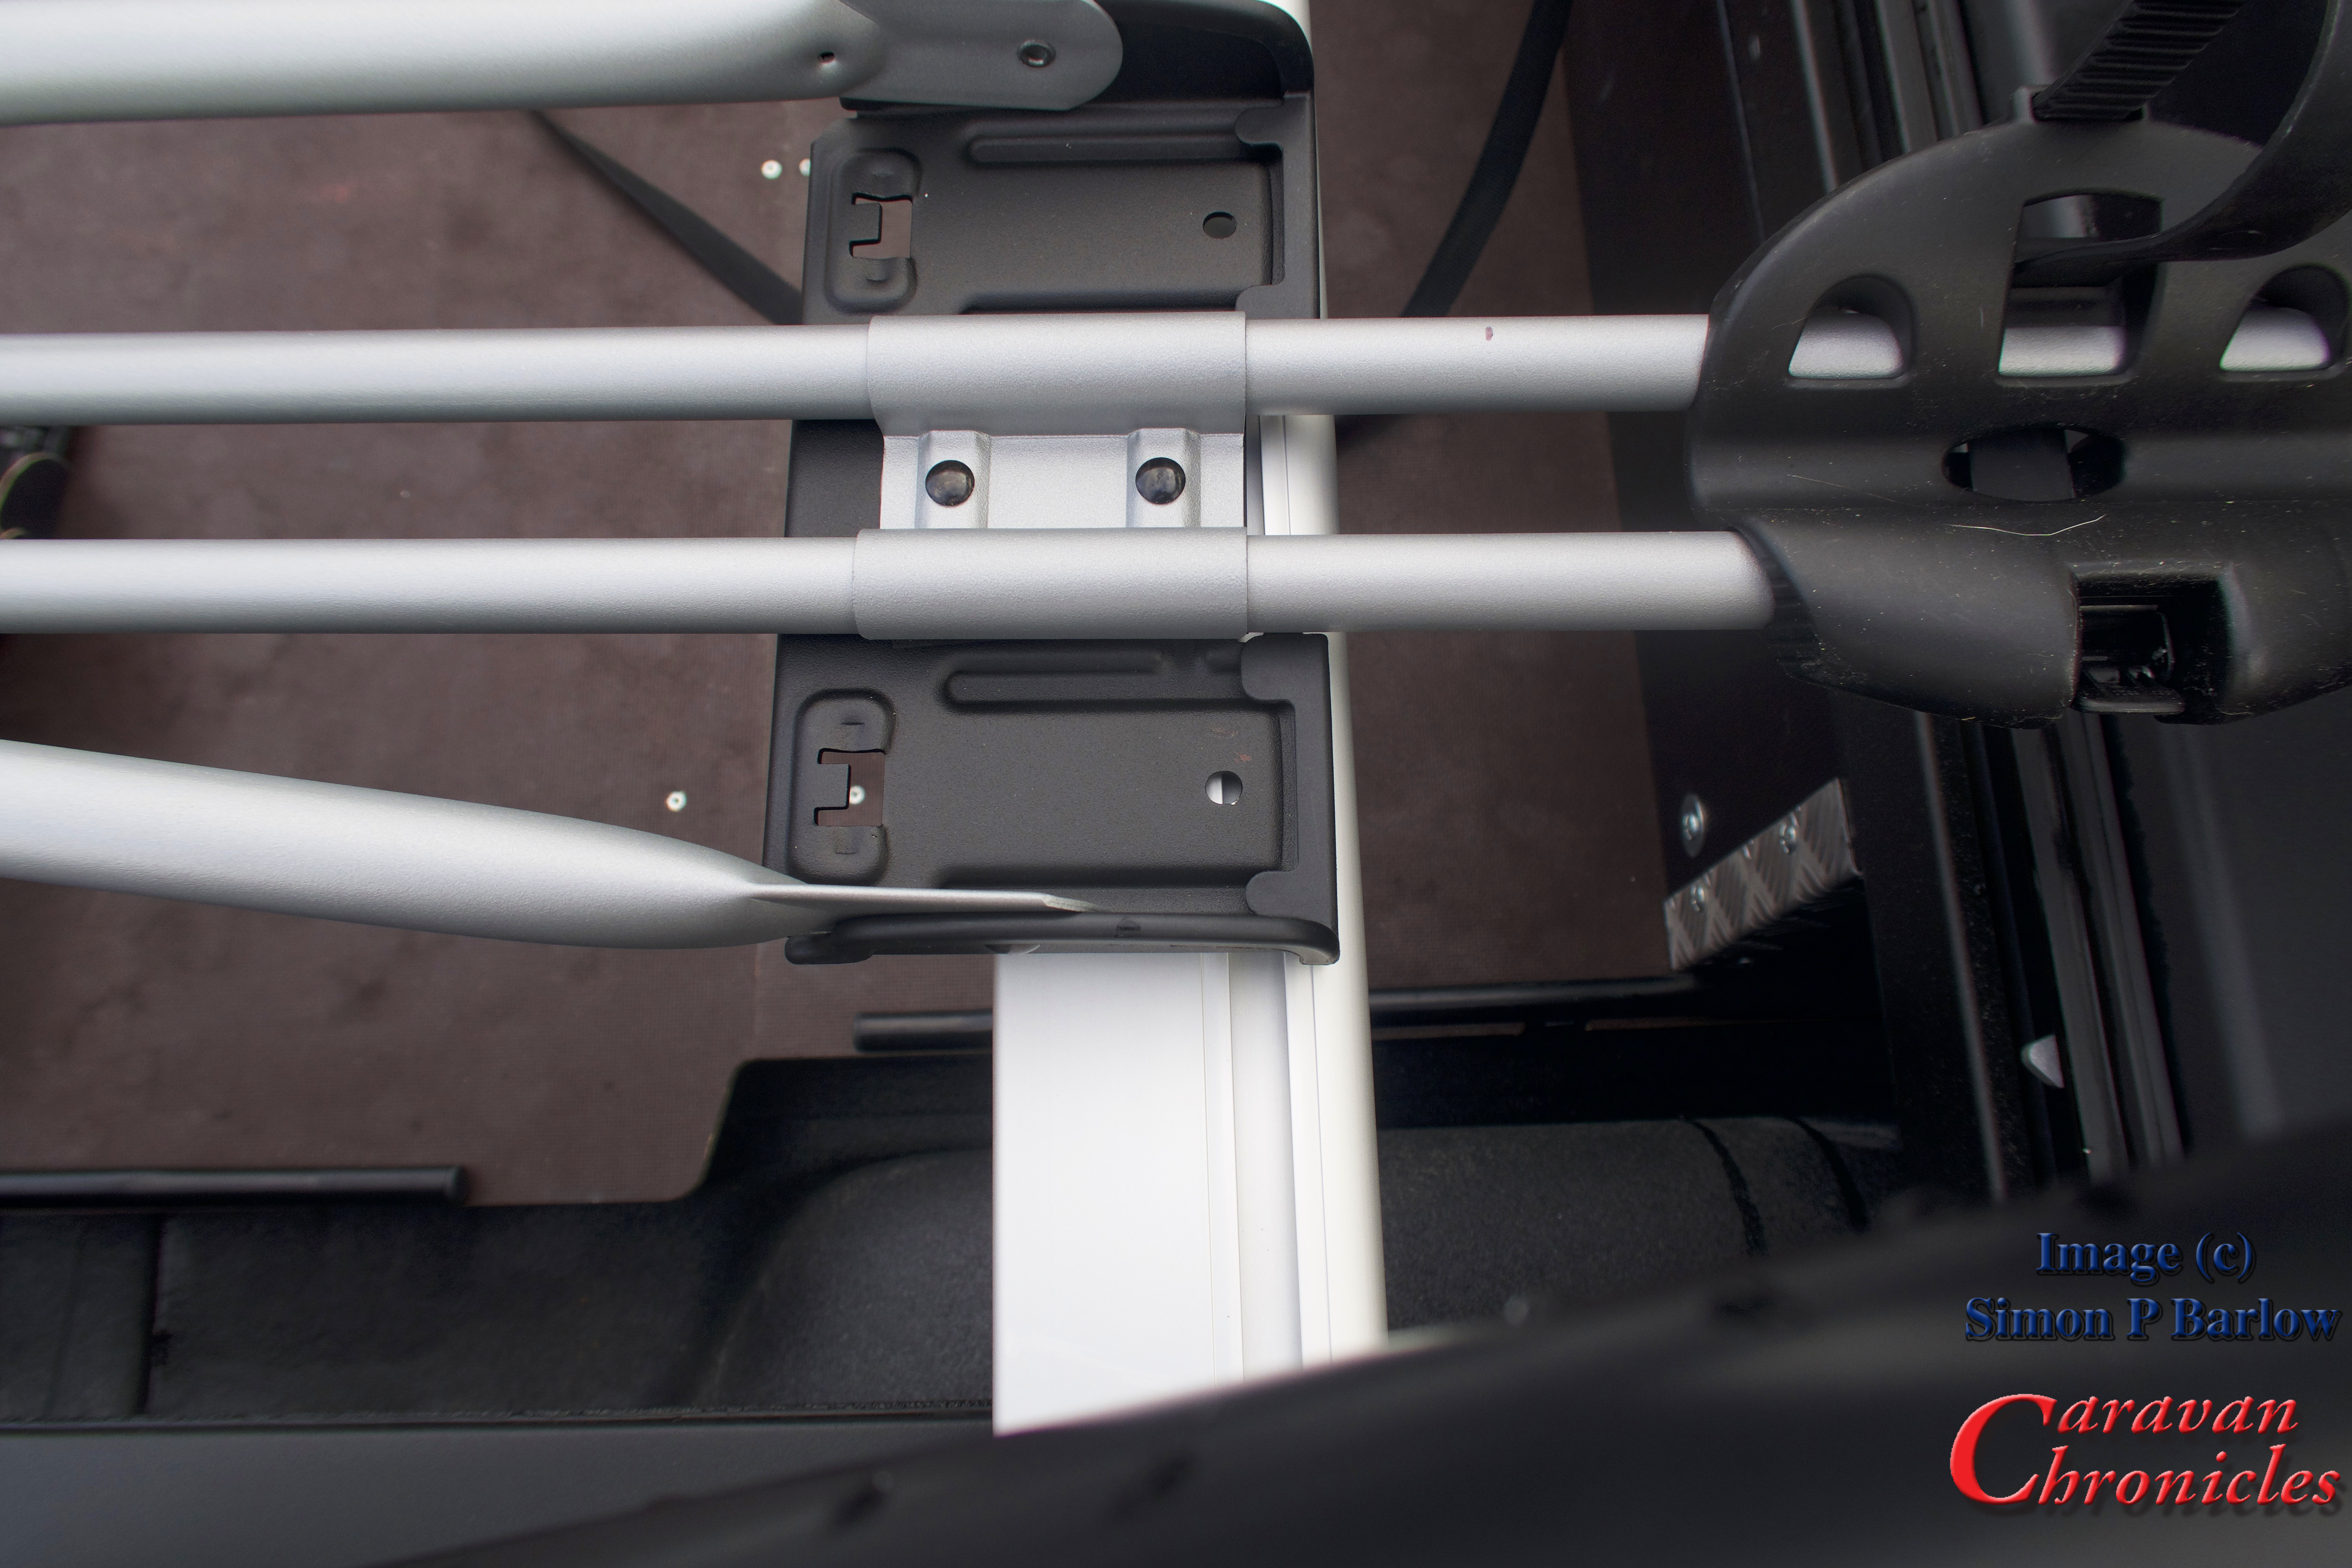
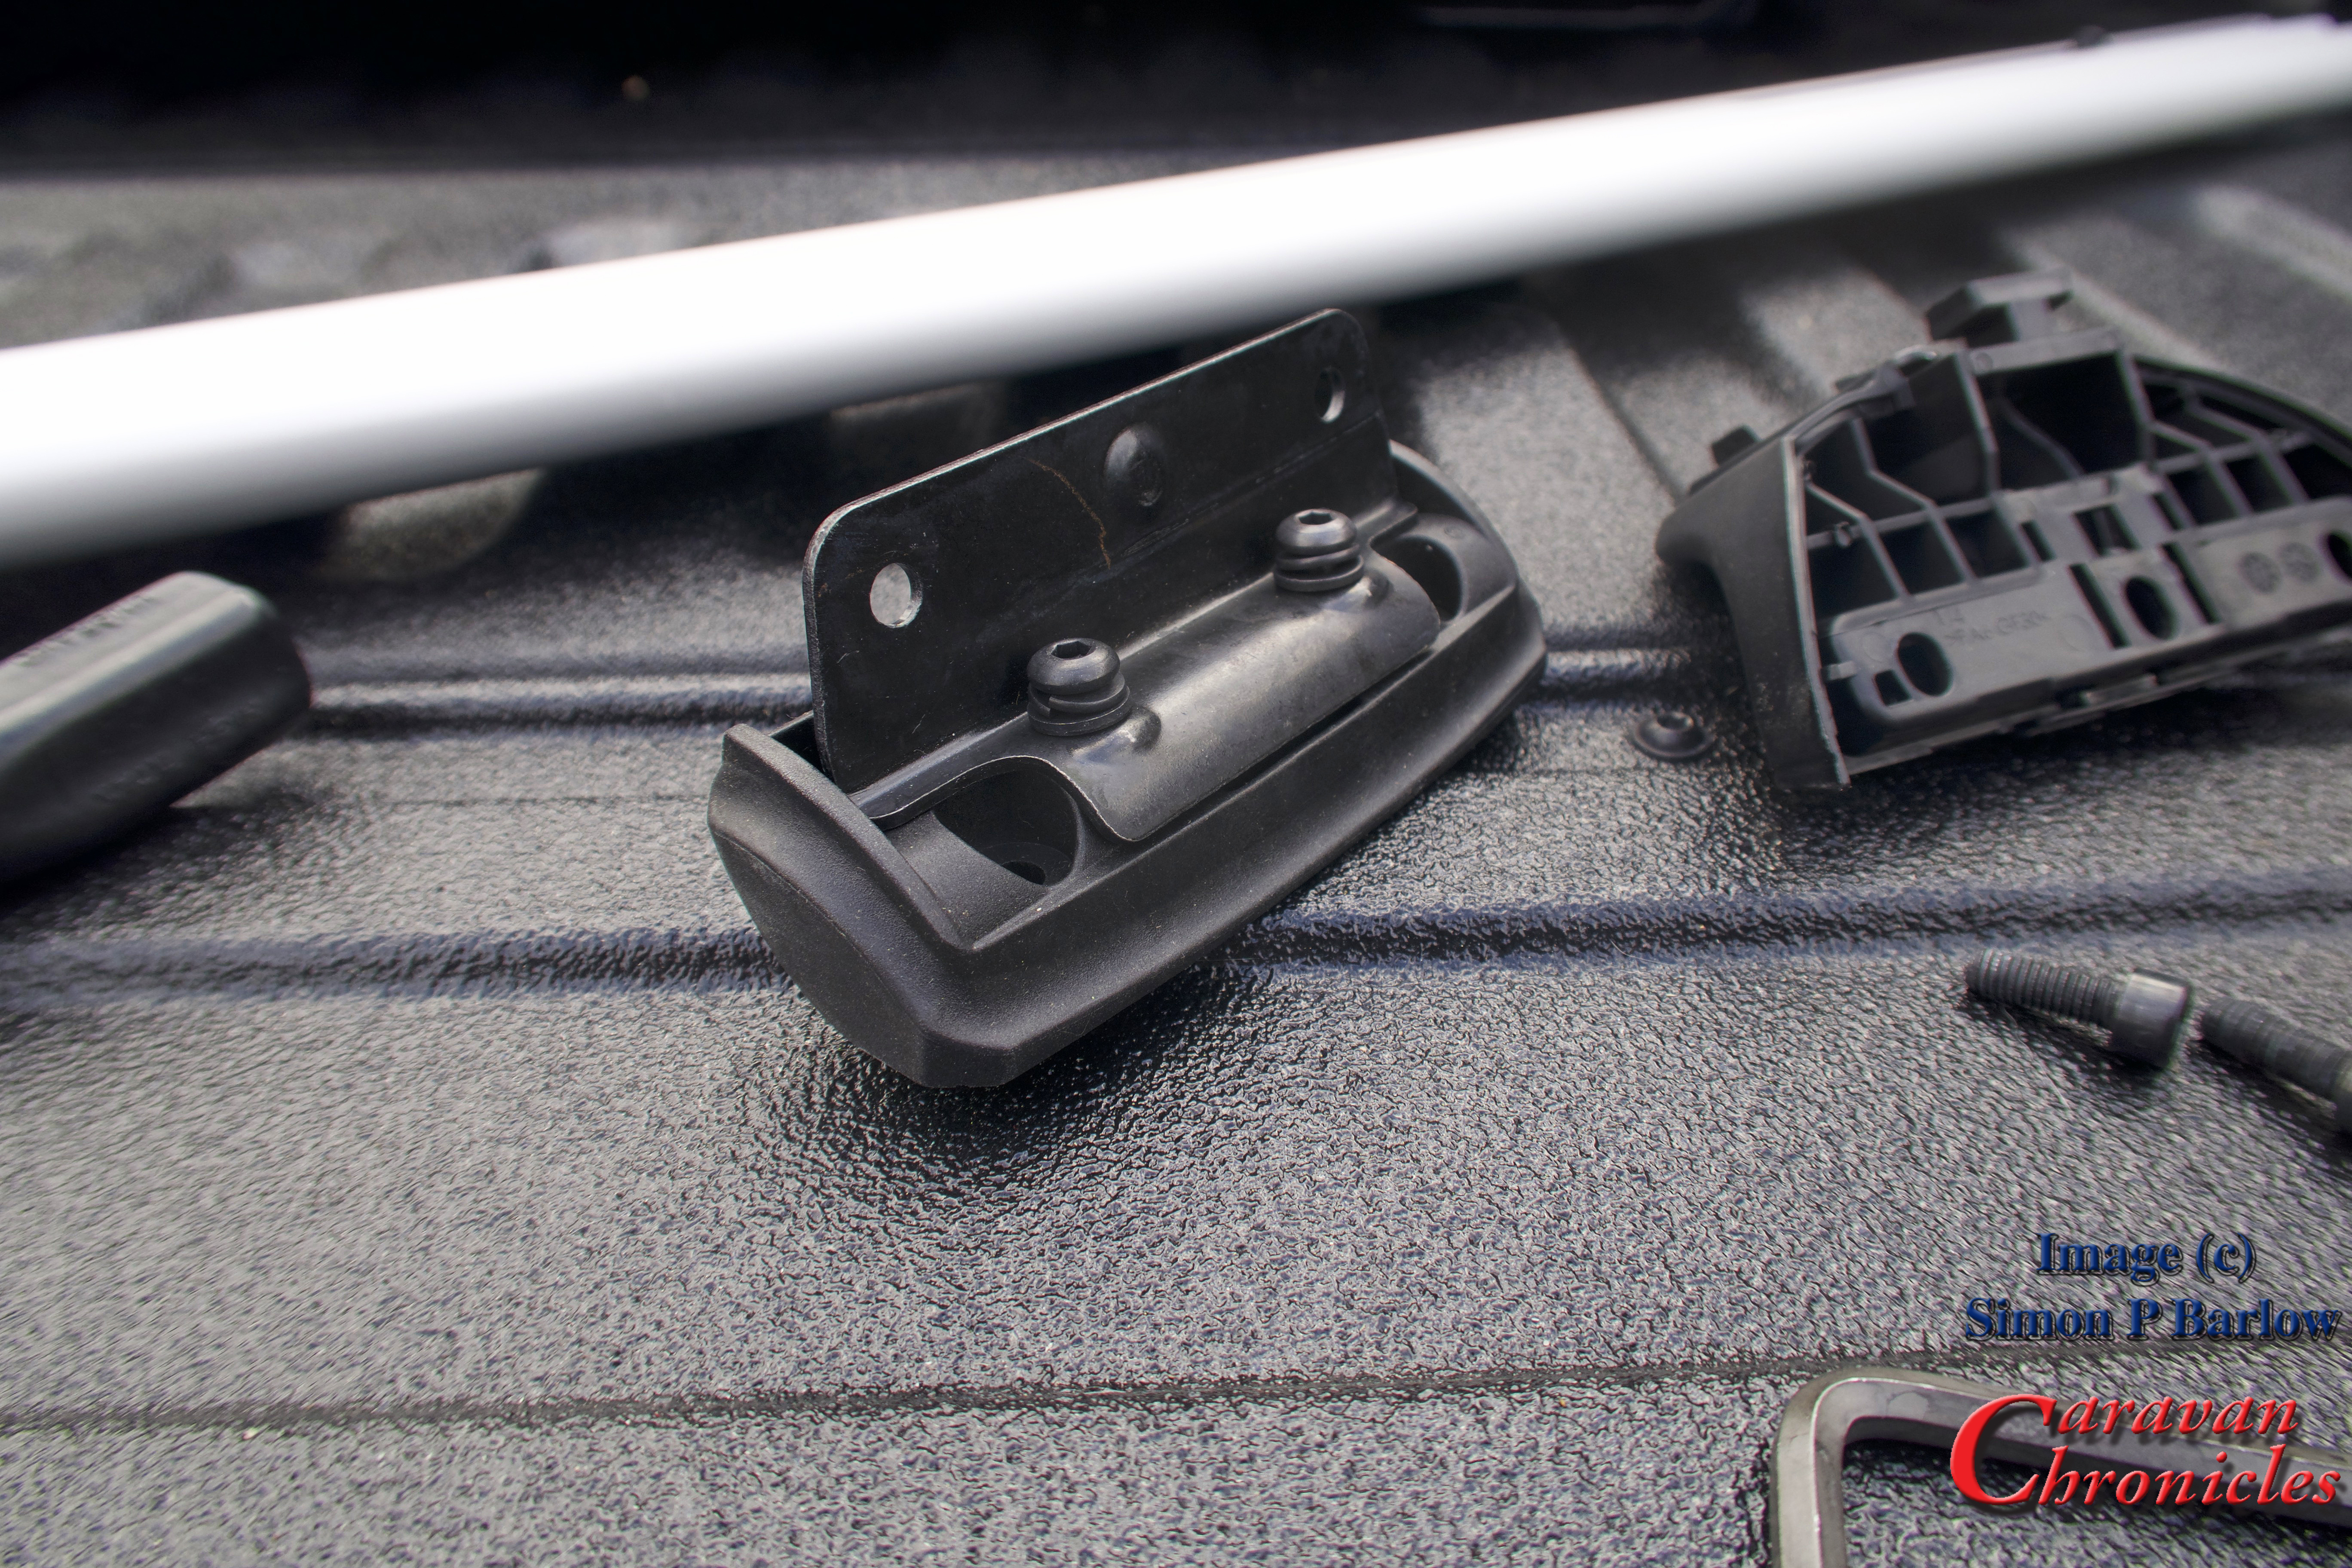
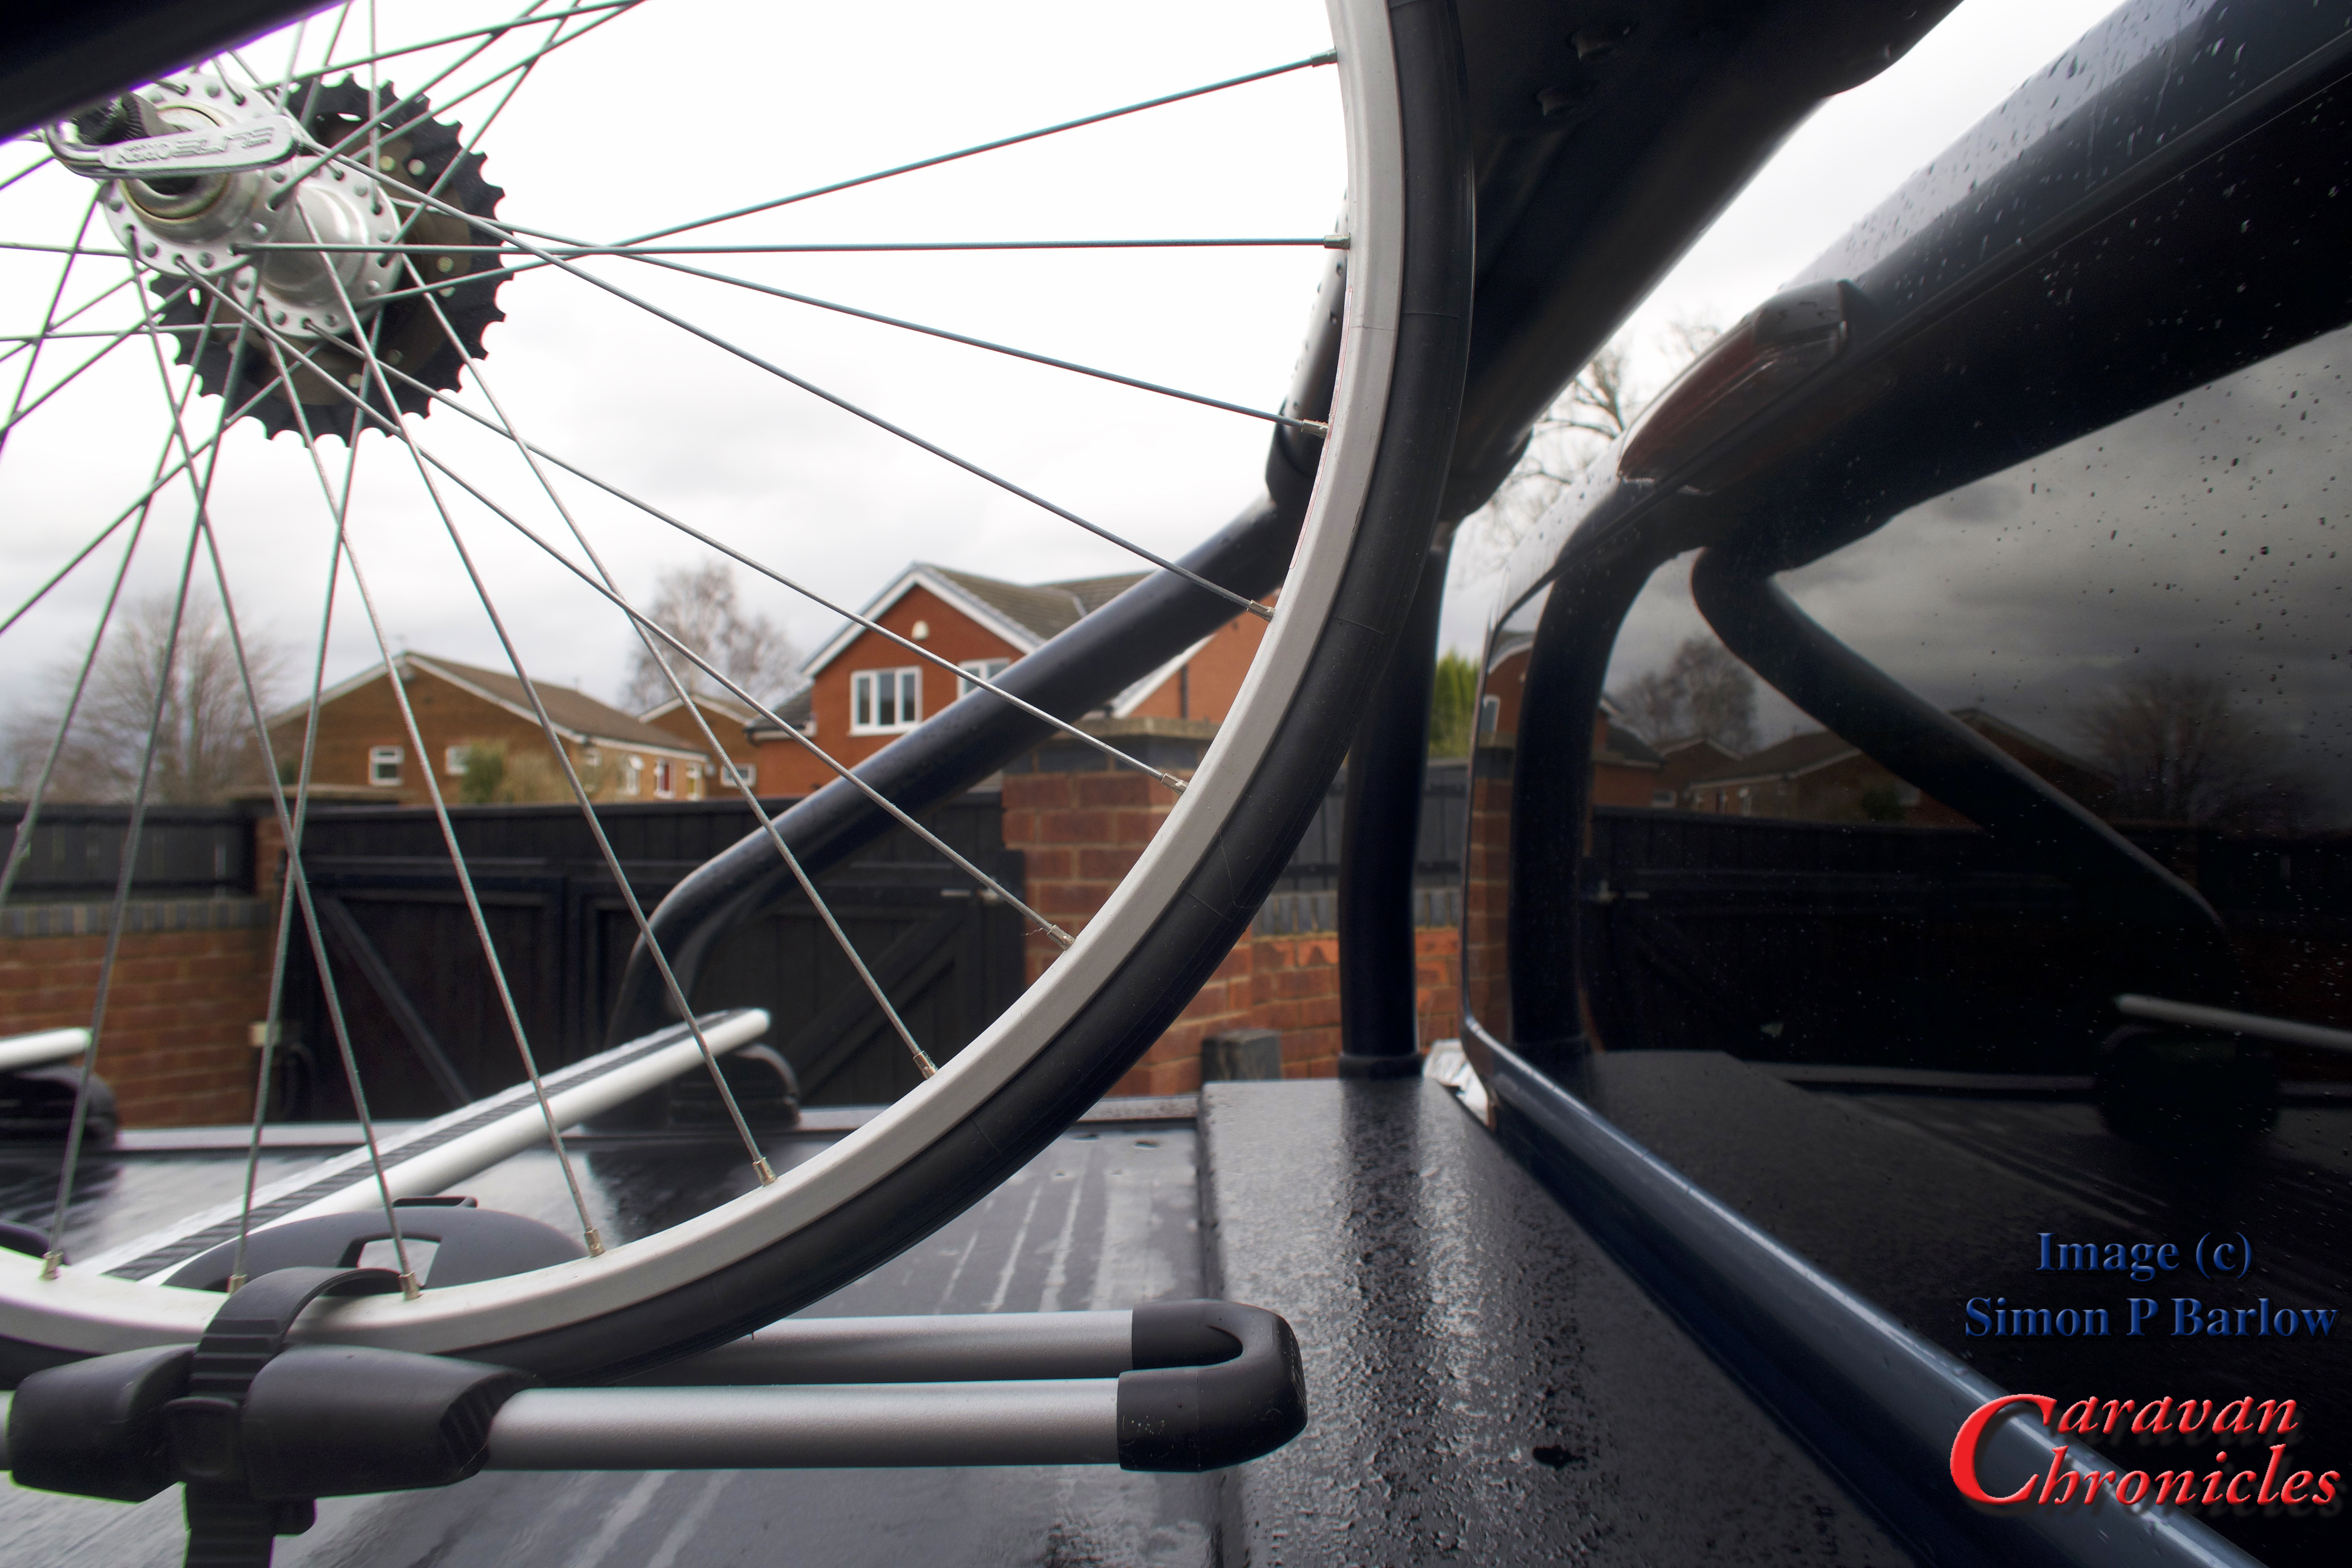
While doing the test fitting and adjusting the position of the mountings, I discovered I had a bit of luck. On the Amarok sport bar there are two ABS plastic mouldings that fit round the bars that are designed for mounting spot lights or work lights that just happen to line up and can be used as ‘rub strips’ to stop the front wheels contacting the coated stainless steel sports bars.
I could now measure where I wanted the WingBars to be located and marked out the positions. I wanted the rear cross-bar to be as far to the rear as possible (something planned for the future) and worked out the distance from the front bar which had to be located so the bike rack fitted with the front wheel tucked against the roll bar.
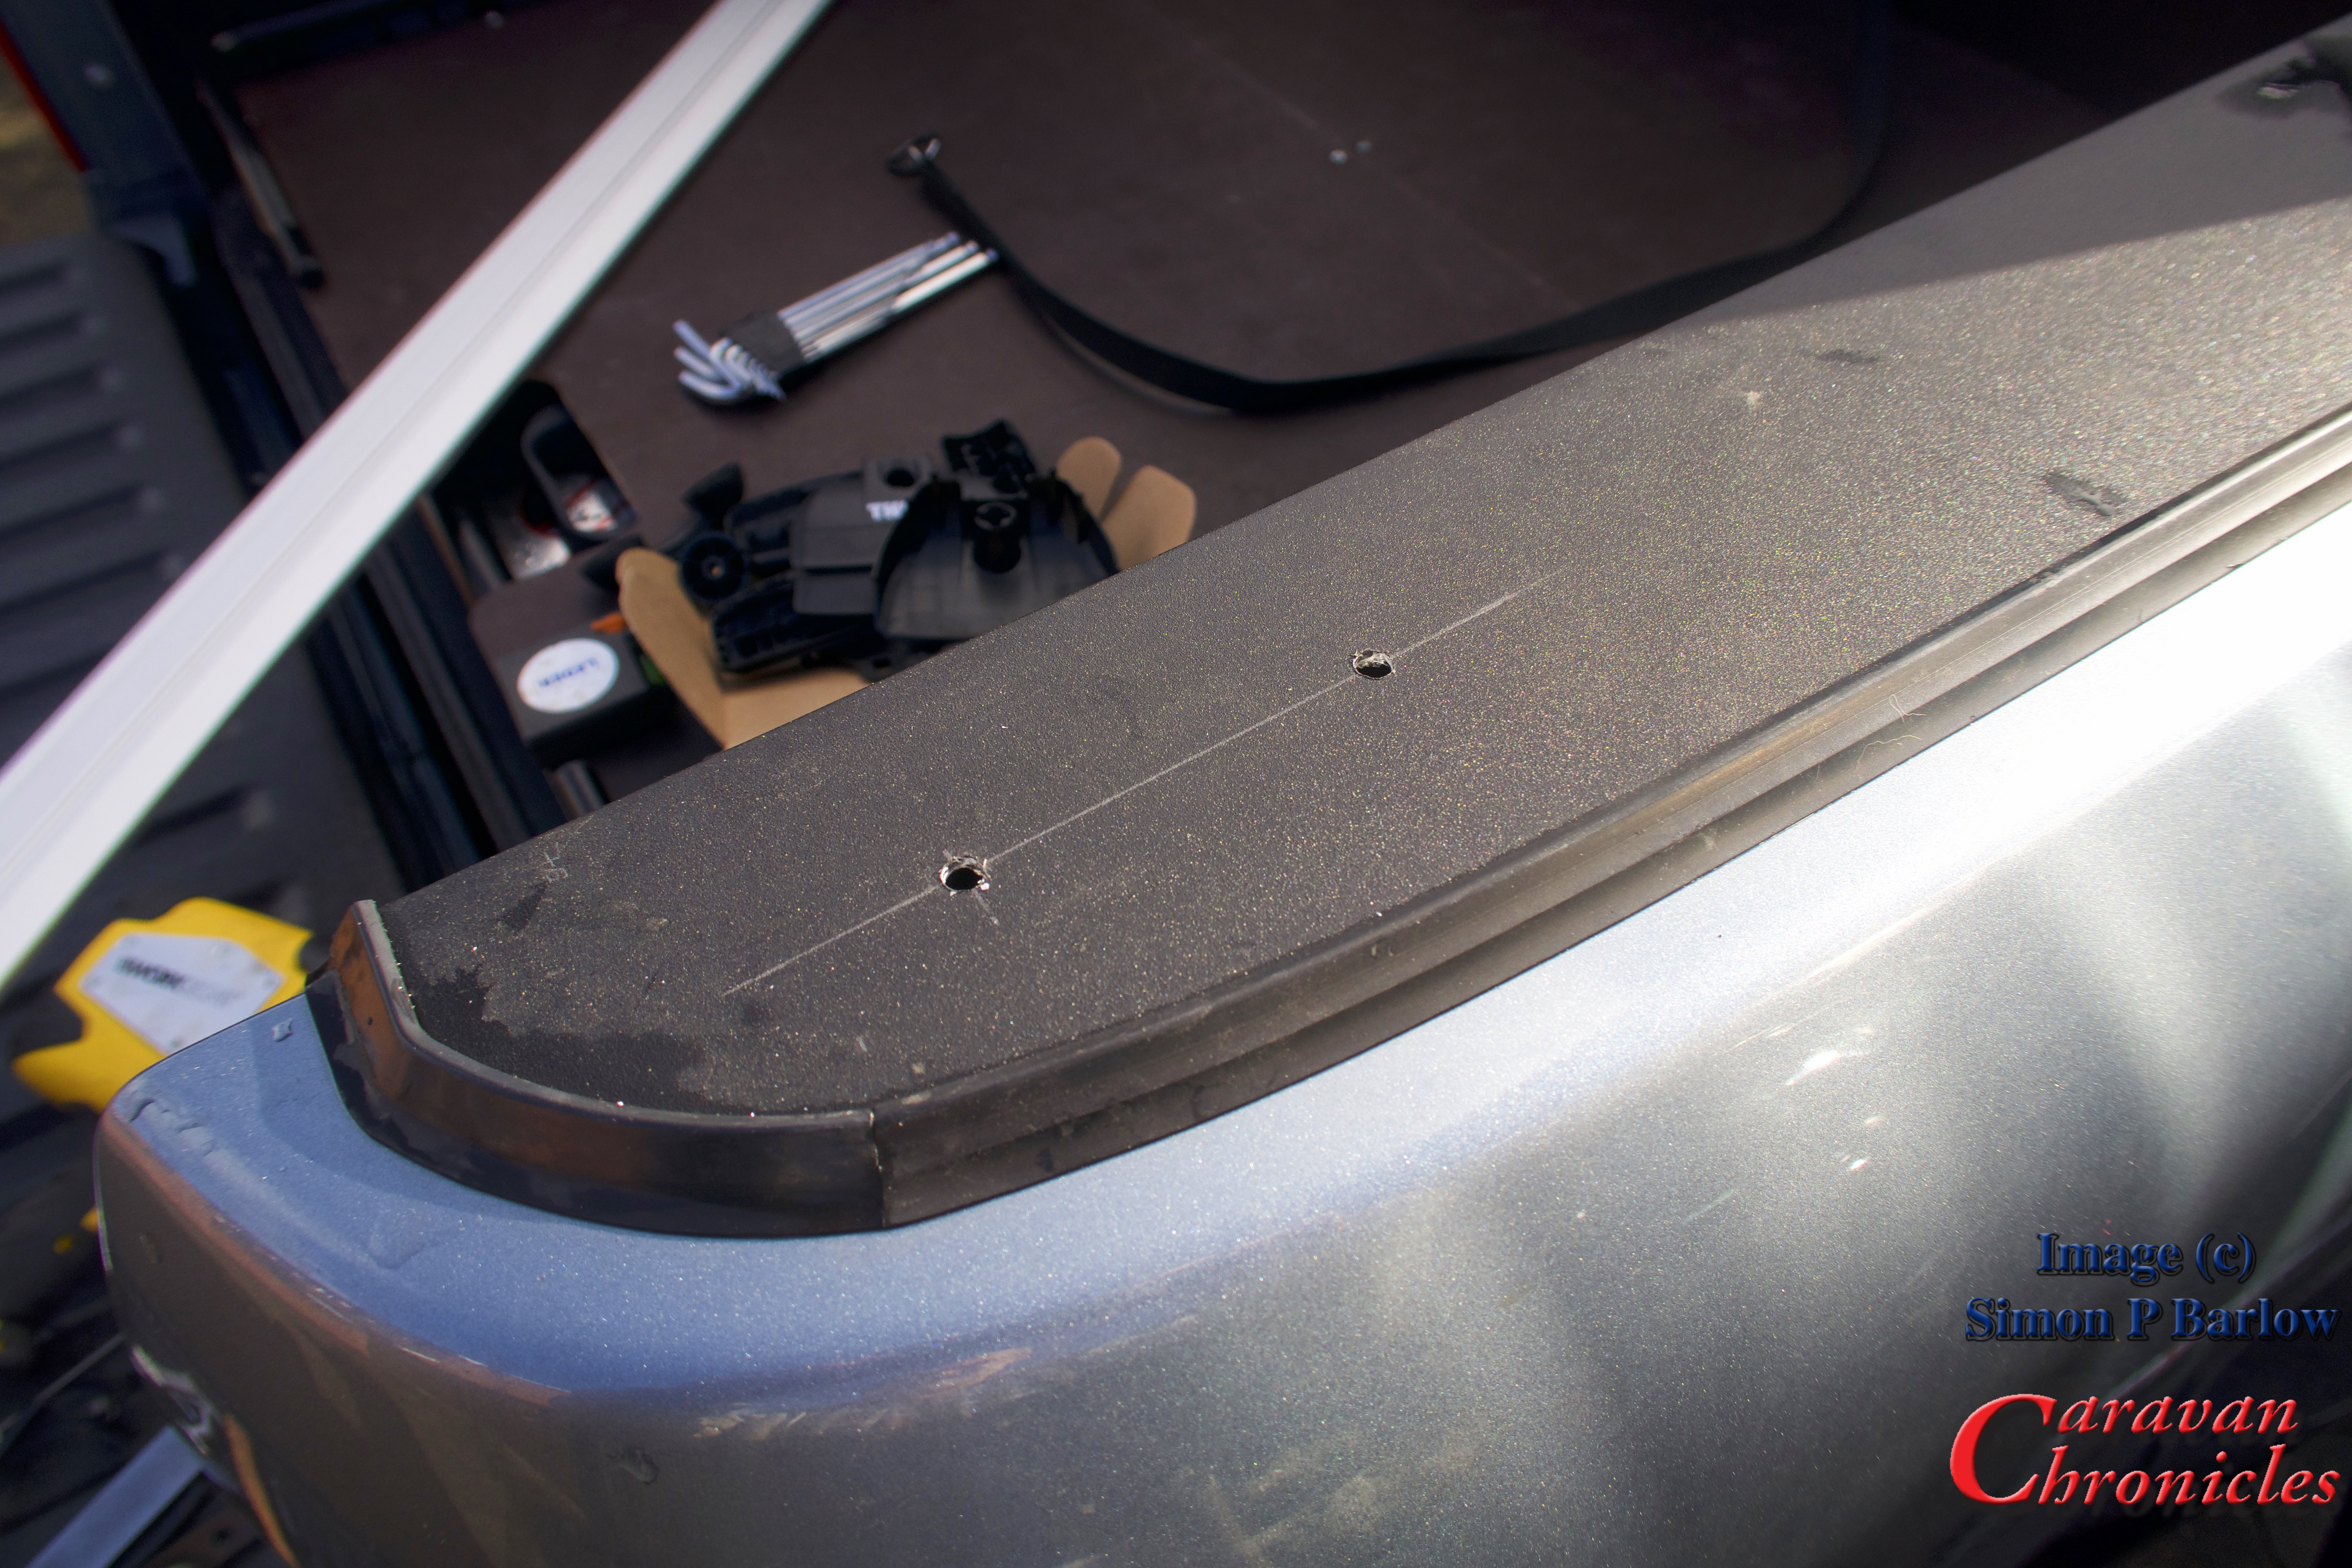
As the sides of the Roll-N-Lock cover had a slot underneath, I’d previously machined 4 pieces of steel to fit in them and pre drilled and tapped the holes. All I needed to do was drill the sides of the Roll-N-Lock cover.
The (supplied) hex bolts passed through and screwed into the steel plates I’d machined. I also added a spreader nut and lock nut underneath… just to be sure! The lock nut wasn’t tightened up to the spreader nut, so if someone tries to undo the hex bolts, they will simply back off a little then spin round.
OK, first one done time to do the other side…
Other side complete a quick test fit of the WingBar…

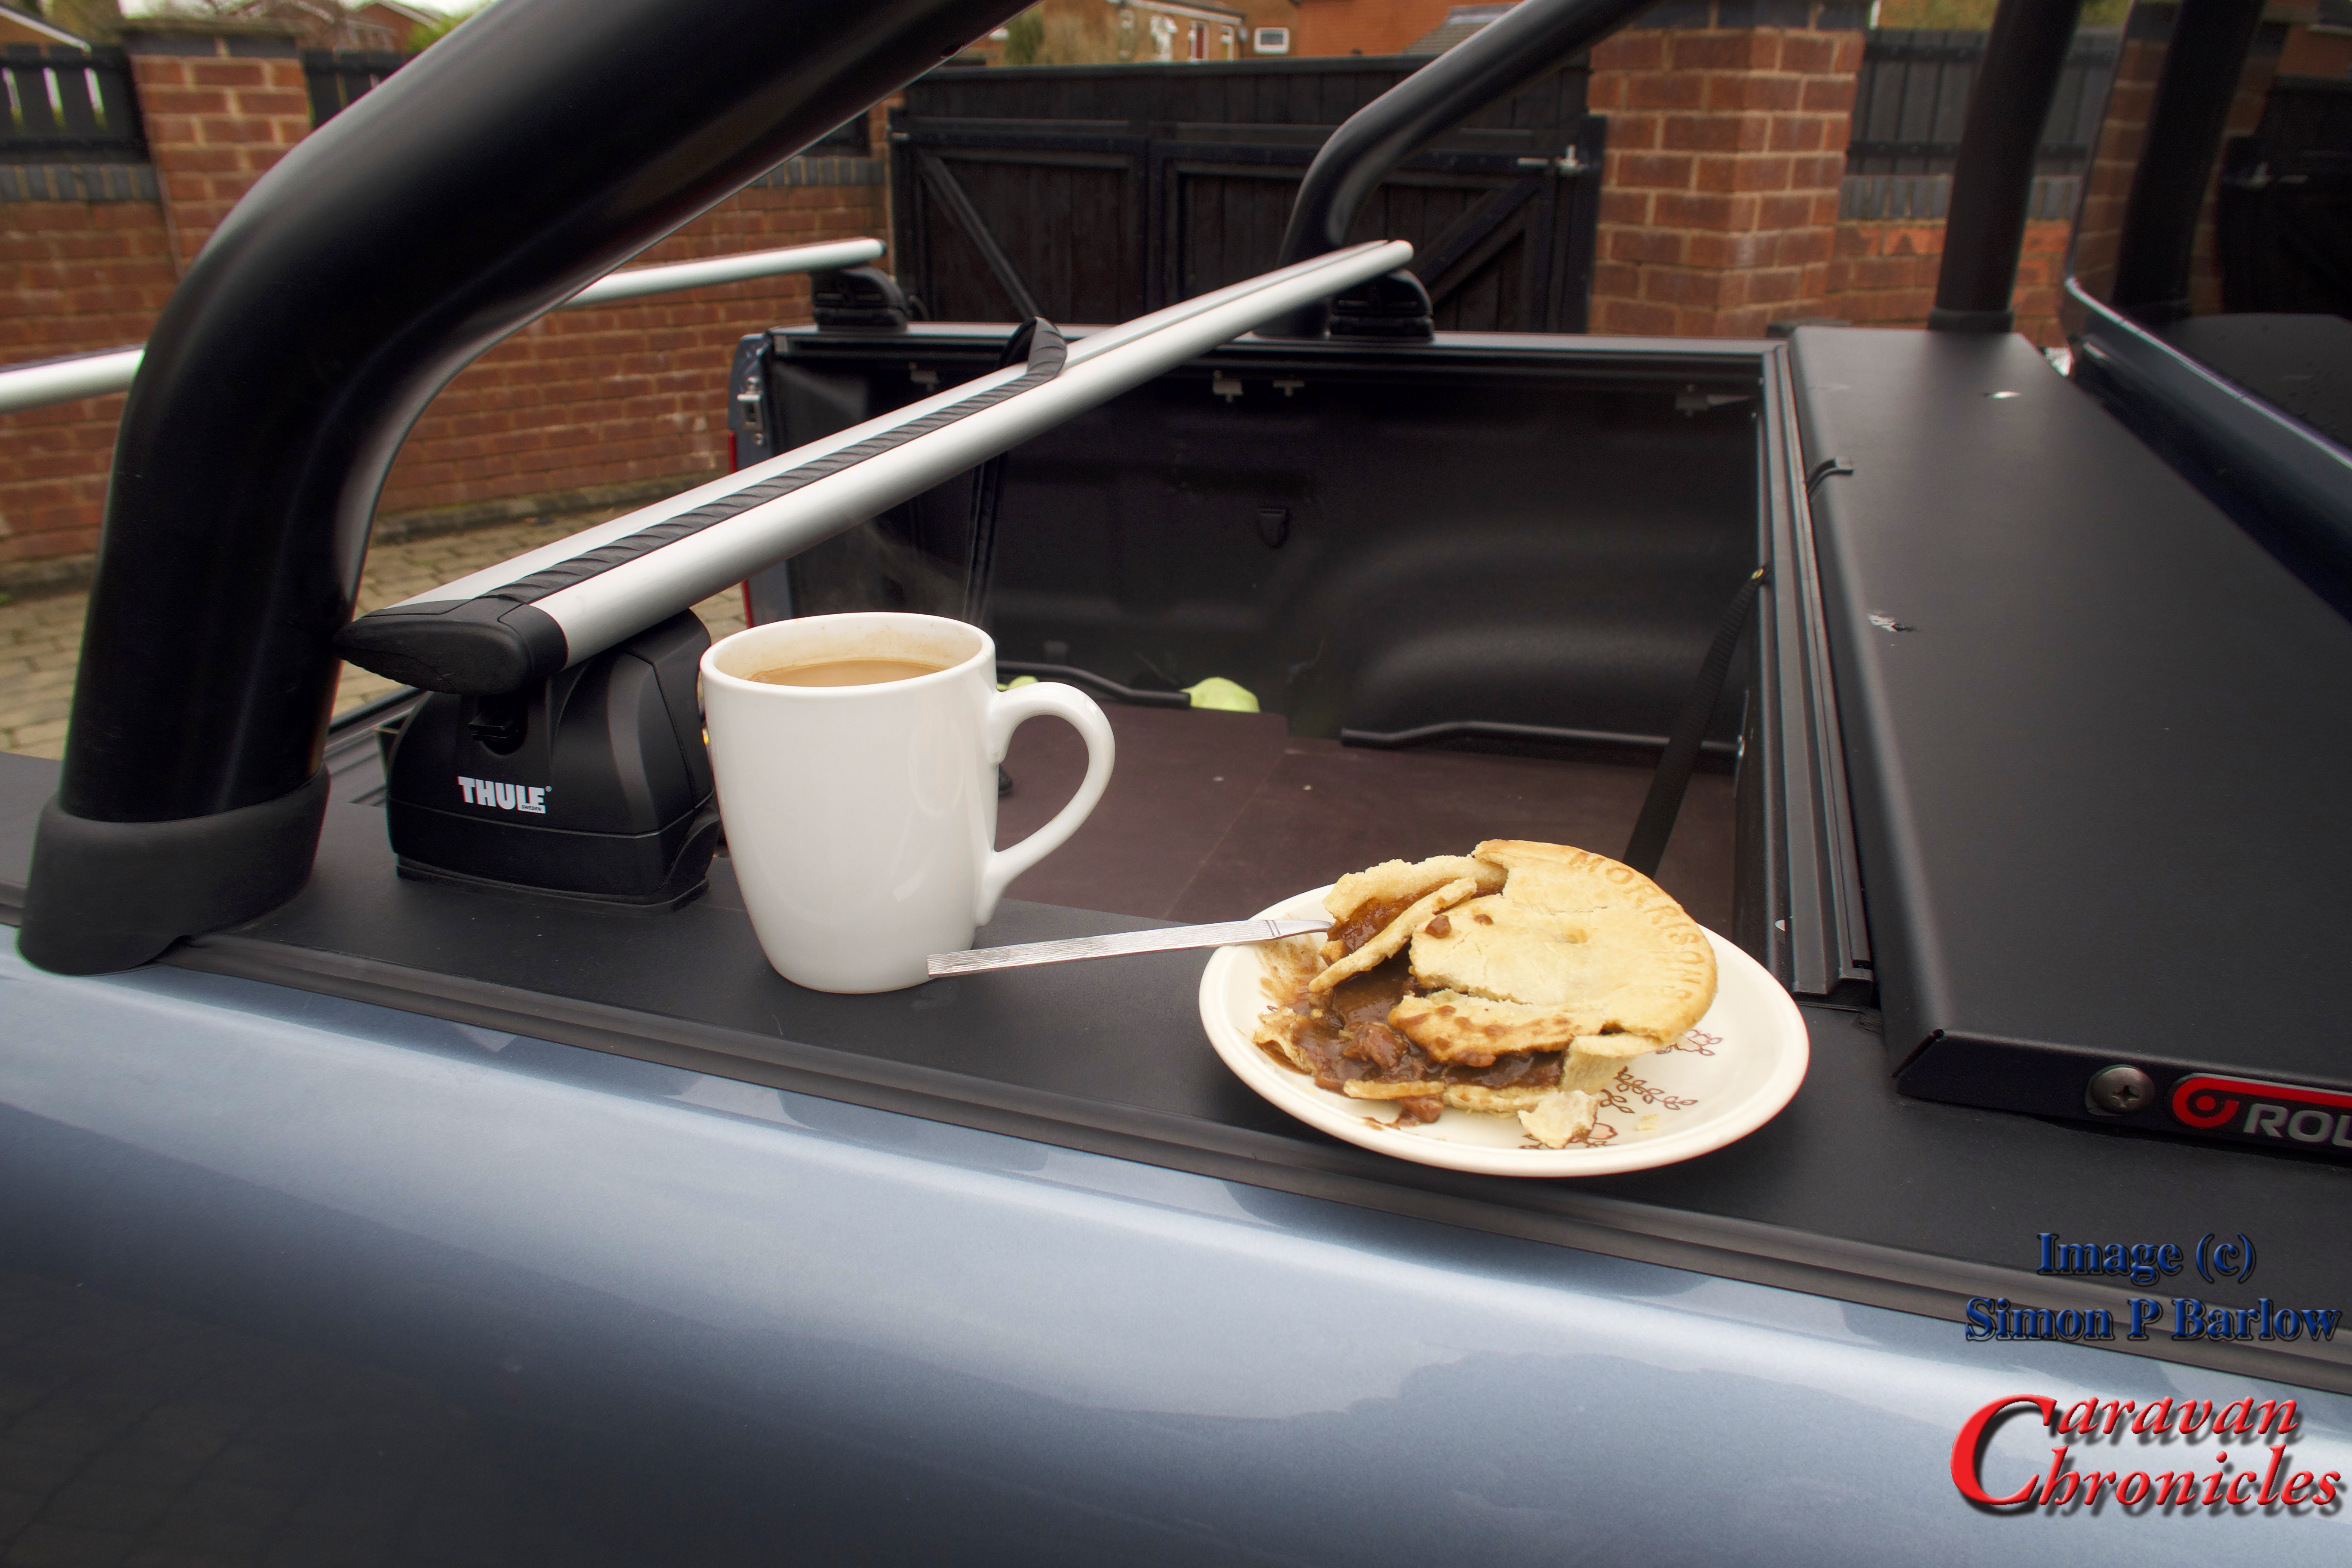
While pre-positioning the front bar ready for marking out, I was interrupted by Sue… a welcome coffee and hot pie break!
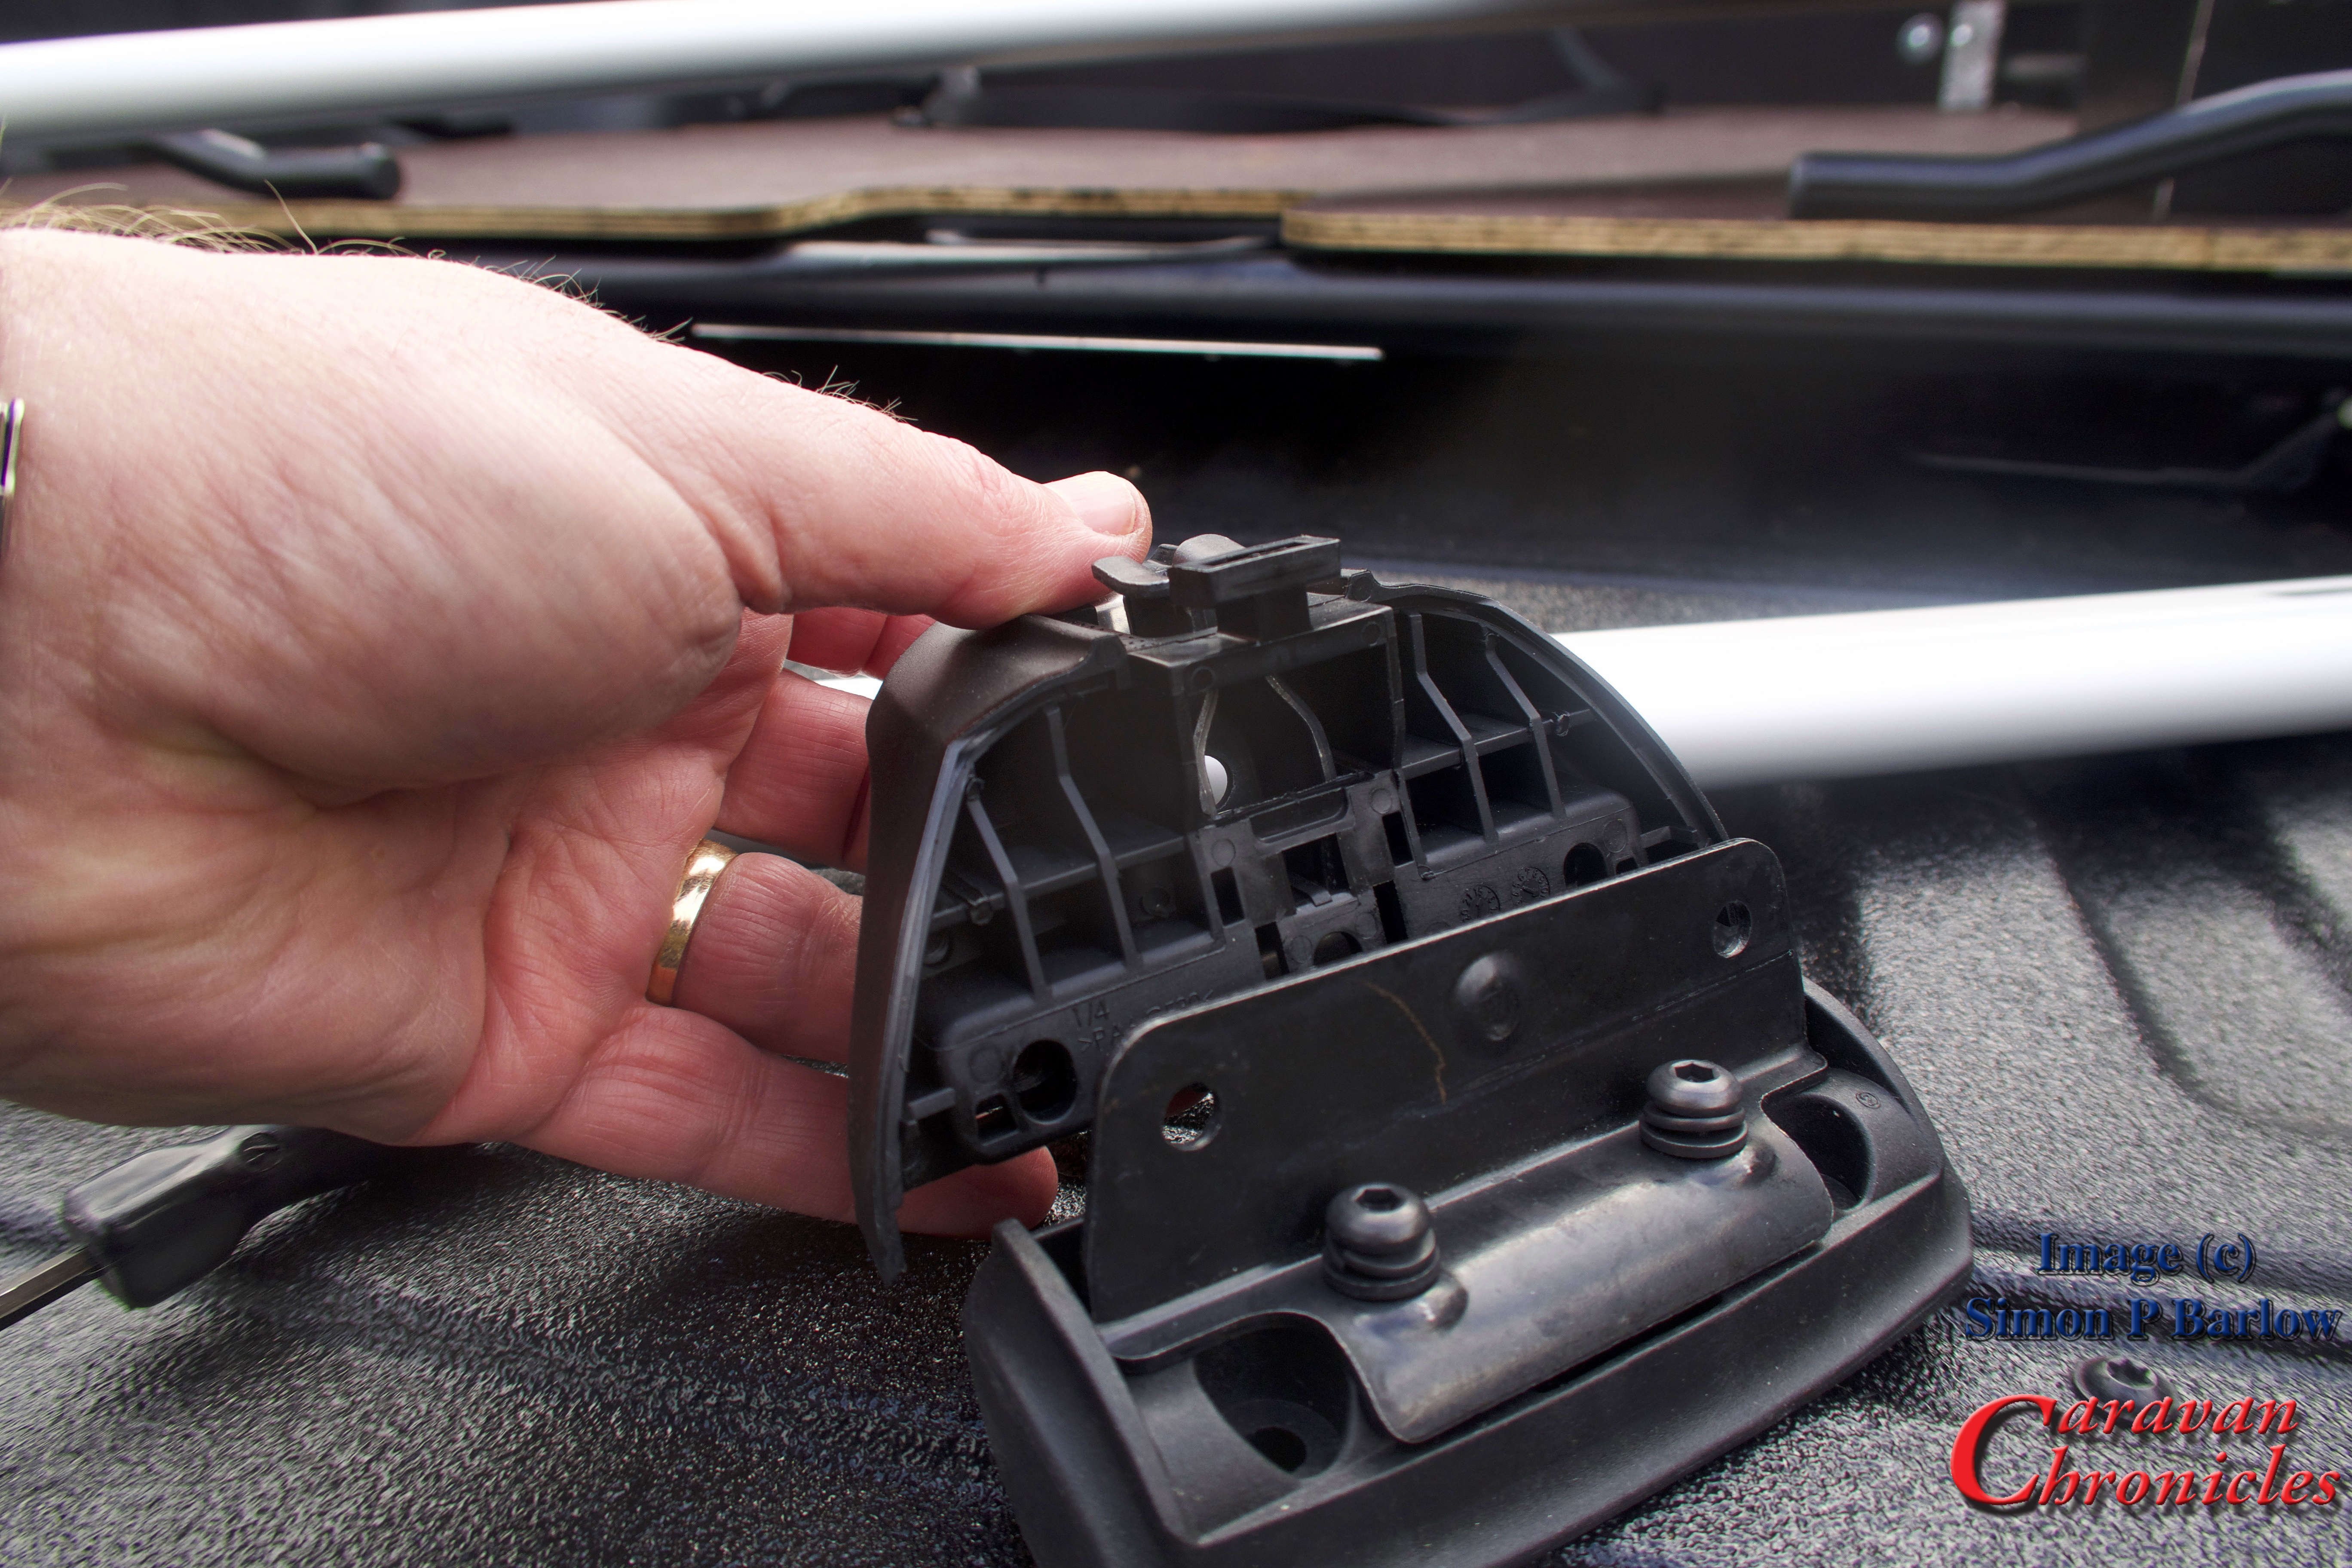
Both rails fitted, it was time to add the covers and rubber strips…

A final position check of one of the racks and time to call it a day as the rain set in again.

The spacing of the bars will give us lots of options for the future to add a top box, ski mounts – these will allow ski’s to be carried angled upwards over the cab (have to learn to ski first though!) or a mesh tray.
I’ll post part two soon showing the bike carrier mounting and go into some of the little pitfalls I have come across.

Hi. Great post. We are also looking for something similar for our Amarok. We have the Roll-n-Rock cover at the back. Which roll cover do you have and would you think the Thule would fit with us well? Your cover looks pretty similar to the one we have.
Hi We have the same cover and the Thule kit we fitted works really well for us. Even after nearly 4 years being installed still looks new despite bing in all the weather.
Thanks very much for this 😊
Awesome stuff.
I’ve been looking at how to mount bars across my Rangers roll n lock cover and this is is the answer…hopefully 😉
That’s awesome mate. Would you be able to show a photo of your spreader plate underneath where the bolts go to. Did you have to drill into the top rails of the cab or is it just through the sides of the rollnlock? Is the material of the sides of the rollnlock sufficient to carry the load? Thanks!
Hi Mark
The spreader plate was a piece of steel about 160mm long 24mm wide and 10mm thick. I made it out of 10mm thick flat bar. I drilled two holes to match the Thule feet and tapped them to match the Thule supplied bolts (M8 x 1.5 from memory) One the bolts were installed, I did finish them off by adding a Nyloc nut as well.
The Roll-N-Lock sides are not flat underneath they are shaped to add strength and the spreader plate fitted inside a 24mm wide section of the profile which is just inside the lip of the truck bead. This meant I didn’t drill into the truck bed, so if the Roll-N-Lock cover is removed the Amarok won’t have any holes in the bodywork.
The positioning of the wing bars worked out quite well as it ended up the spreader bars were next to the clamps that hold the sides of the Roll-N-Lock to the truck bed and if anything I’d say that after installation the slight amount of flex in the sides that was present when shutting the cover disappeared.
I don’t have any worries about the rack being able to take the weight of a couple of bikes. In fact I sat on one of the cross bars towards the edge (I’m over 100Kg’s) to check for flex with a straight edge across the truck bed with no noticeable flexing of the side rails.
The Thule feet are that broad if you were to look at it in cross section part of the foot is actually above the truck bed edge, so any downward load is mostly directly above the bodywork of the vehicle, the bolts holding the feet are 12mm inboard of the edge.
To be honest, I can’t understand why Roll-N-Lock don’t offer a bike rack mounting solution. I originally thought it was going to be a bit of an engineering masterclass to achieve a suitable result, but it turned out to be a whole lot easier than I expected.
Thanks for your reply. I think you’ve inspired me to get a Roll-N-Lock and attempt the same integration of the wingbars for the bike racks. I’m very impressed as it looks great. It’s a much better concept than a hard lid with the bikes on top as you can still use the tray to it’s full potential without having to remove the cover. All you have to do is roll it back!
Keep up the good work!
Cheers
Hi Mark
I really think that it’s a neat solution. There is no way I was going to lift bikes on to the roof of anything but lifting them up when stood on the tailgate and loading them is fairly easy.
I’m just now looking at option for a retractable step so that getting onto the tailgate is somewhat easier (age is catching up!) Plenty of manufactures produce them for American pickups but not many for Amarok’s in the UK. I have found them available in Australia (BIG Fedex bill!) and I might have a lead on them in Germany.