Tags
Ash Dhir, Caravan, Caravans, Flojet Water Pump, Jonic Bedding, Maintenance, Modifications, One Hairy Caravanner, Swift Talk, Travel Trailer, Travel Trailers
As promised in my previous post, here’s an update on the recent lighting upgrade and details of a problem we had with our Flojet water pump while away.
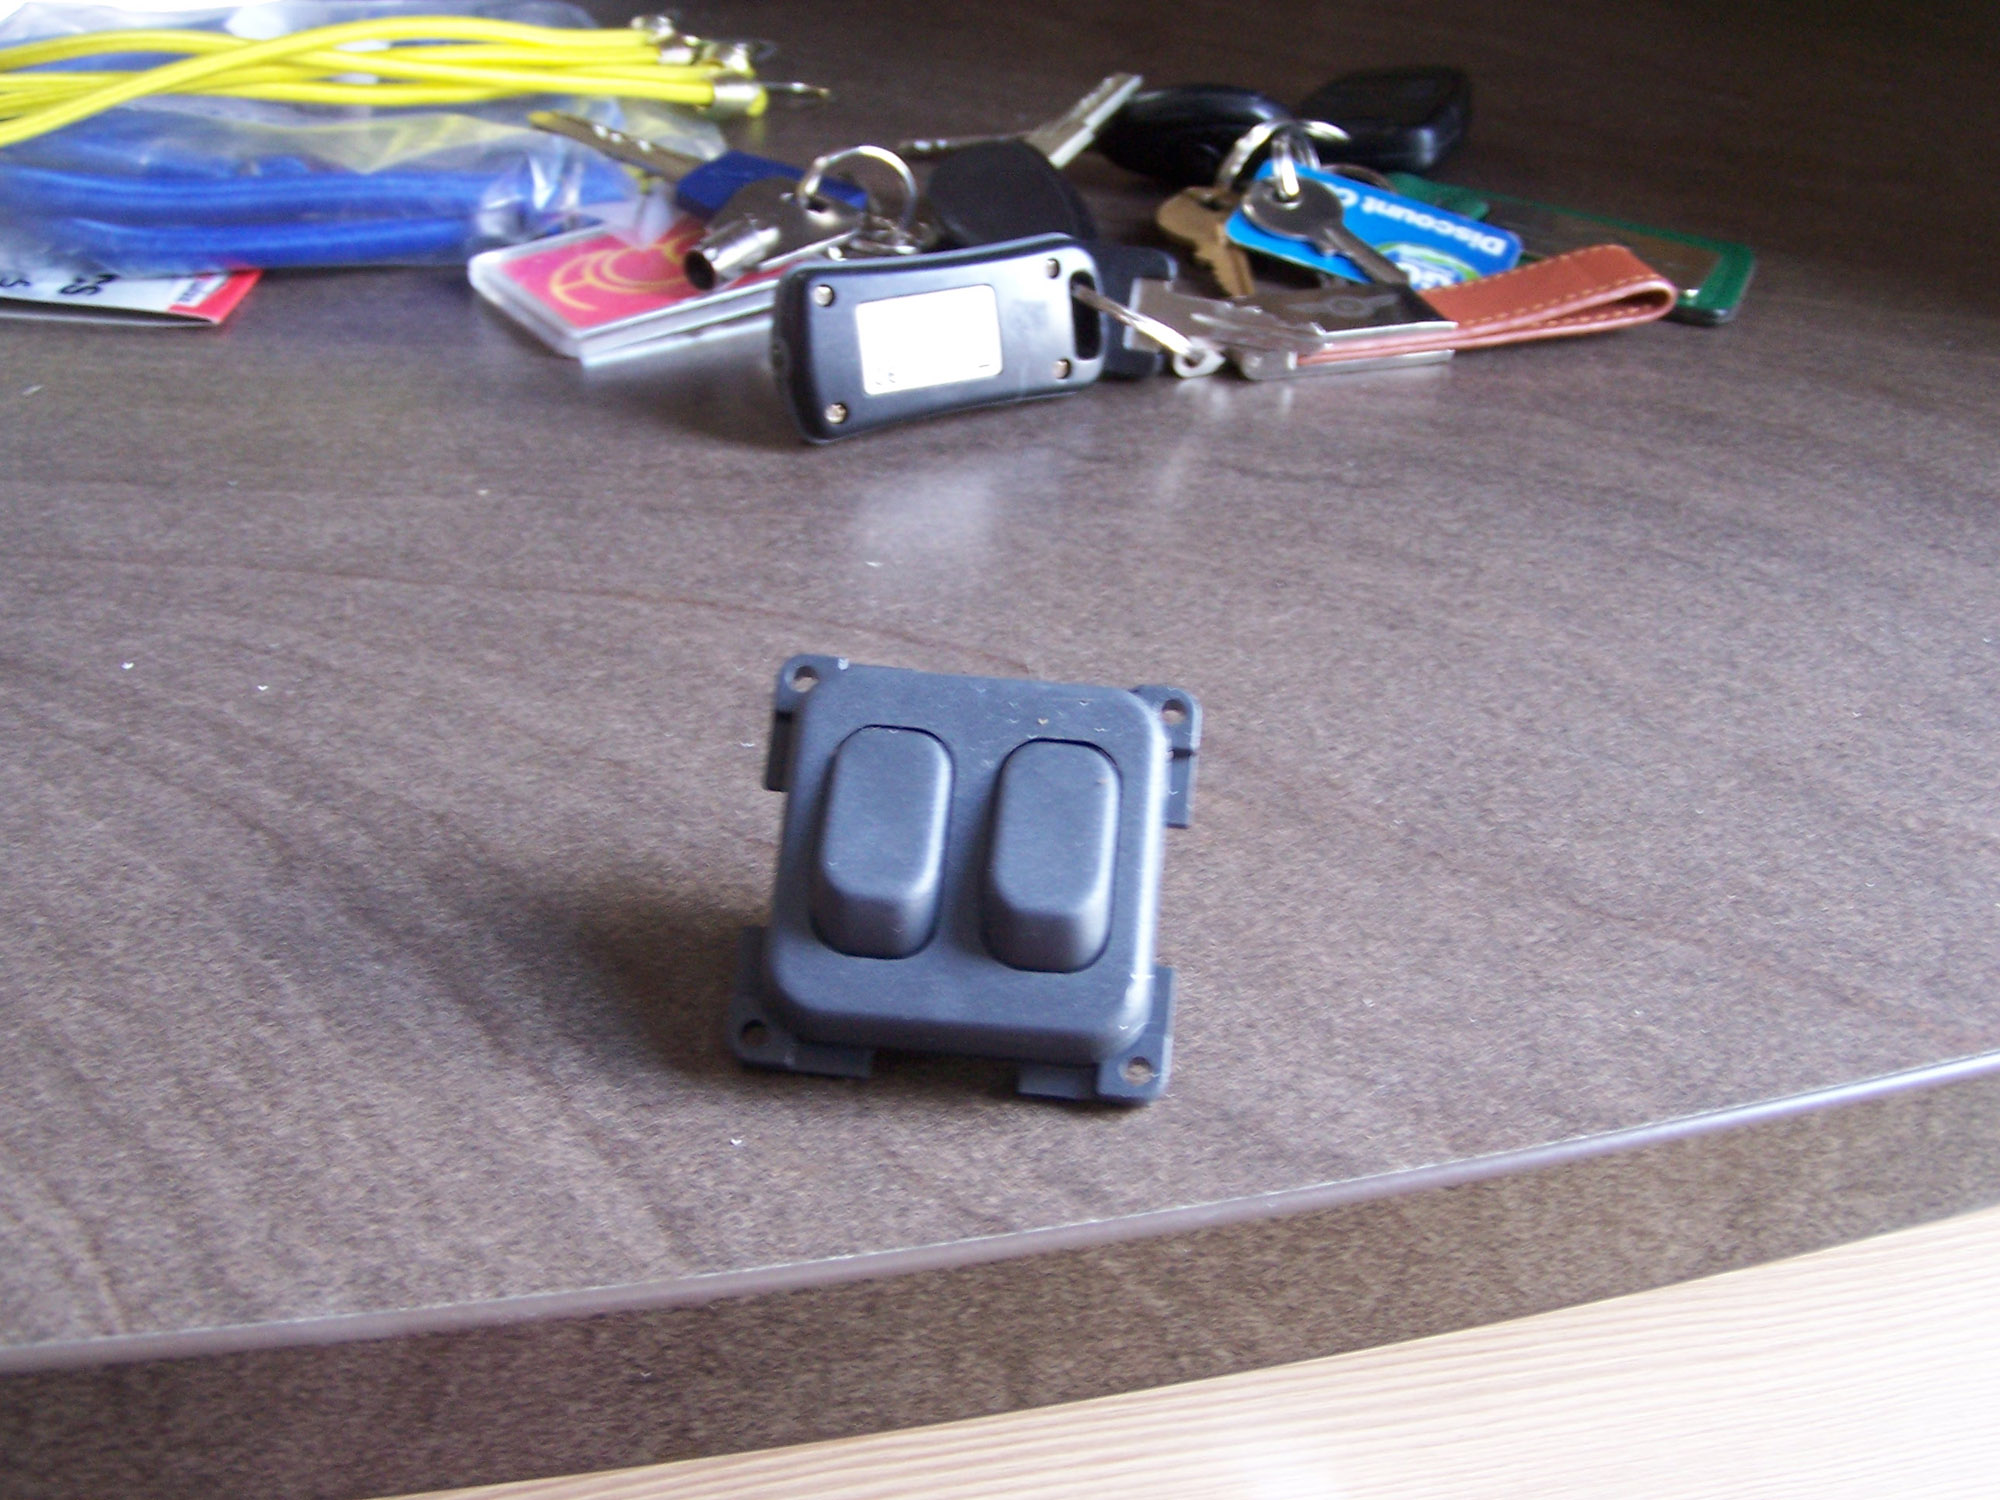
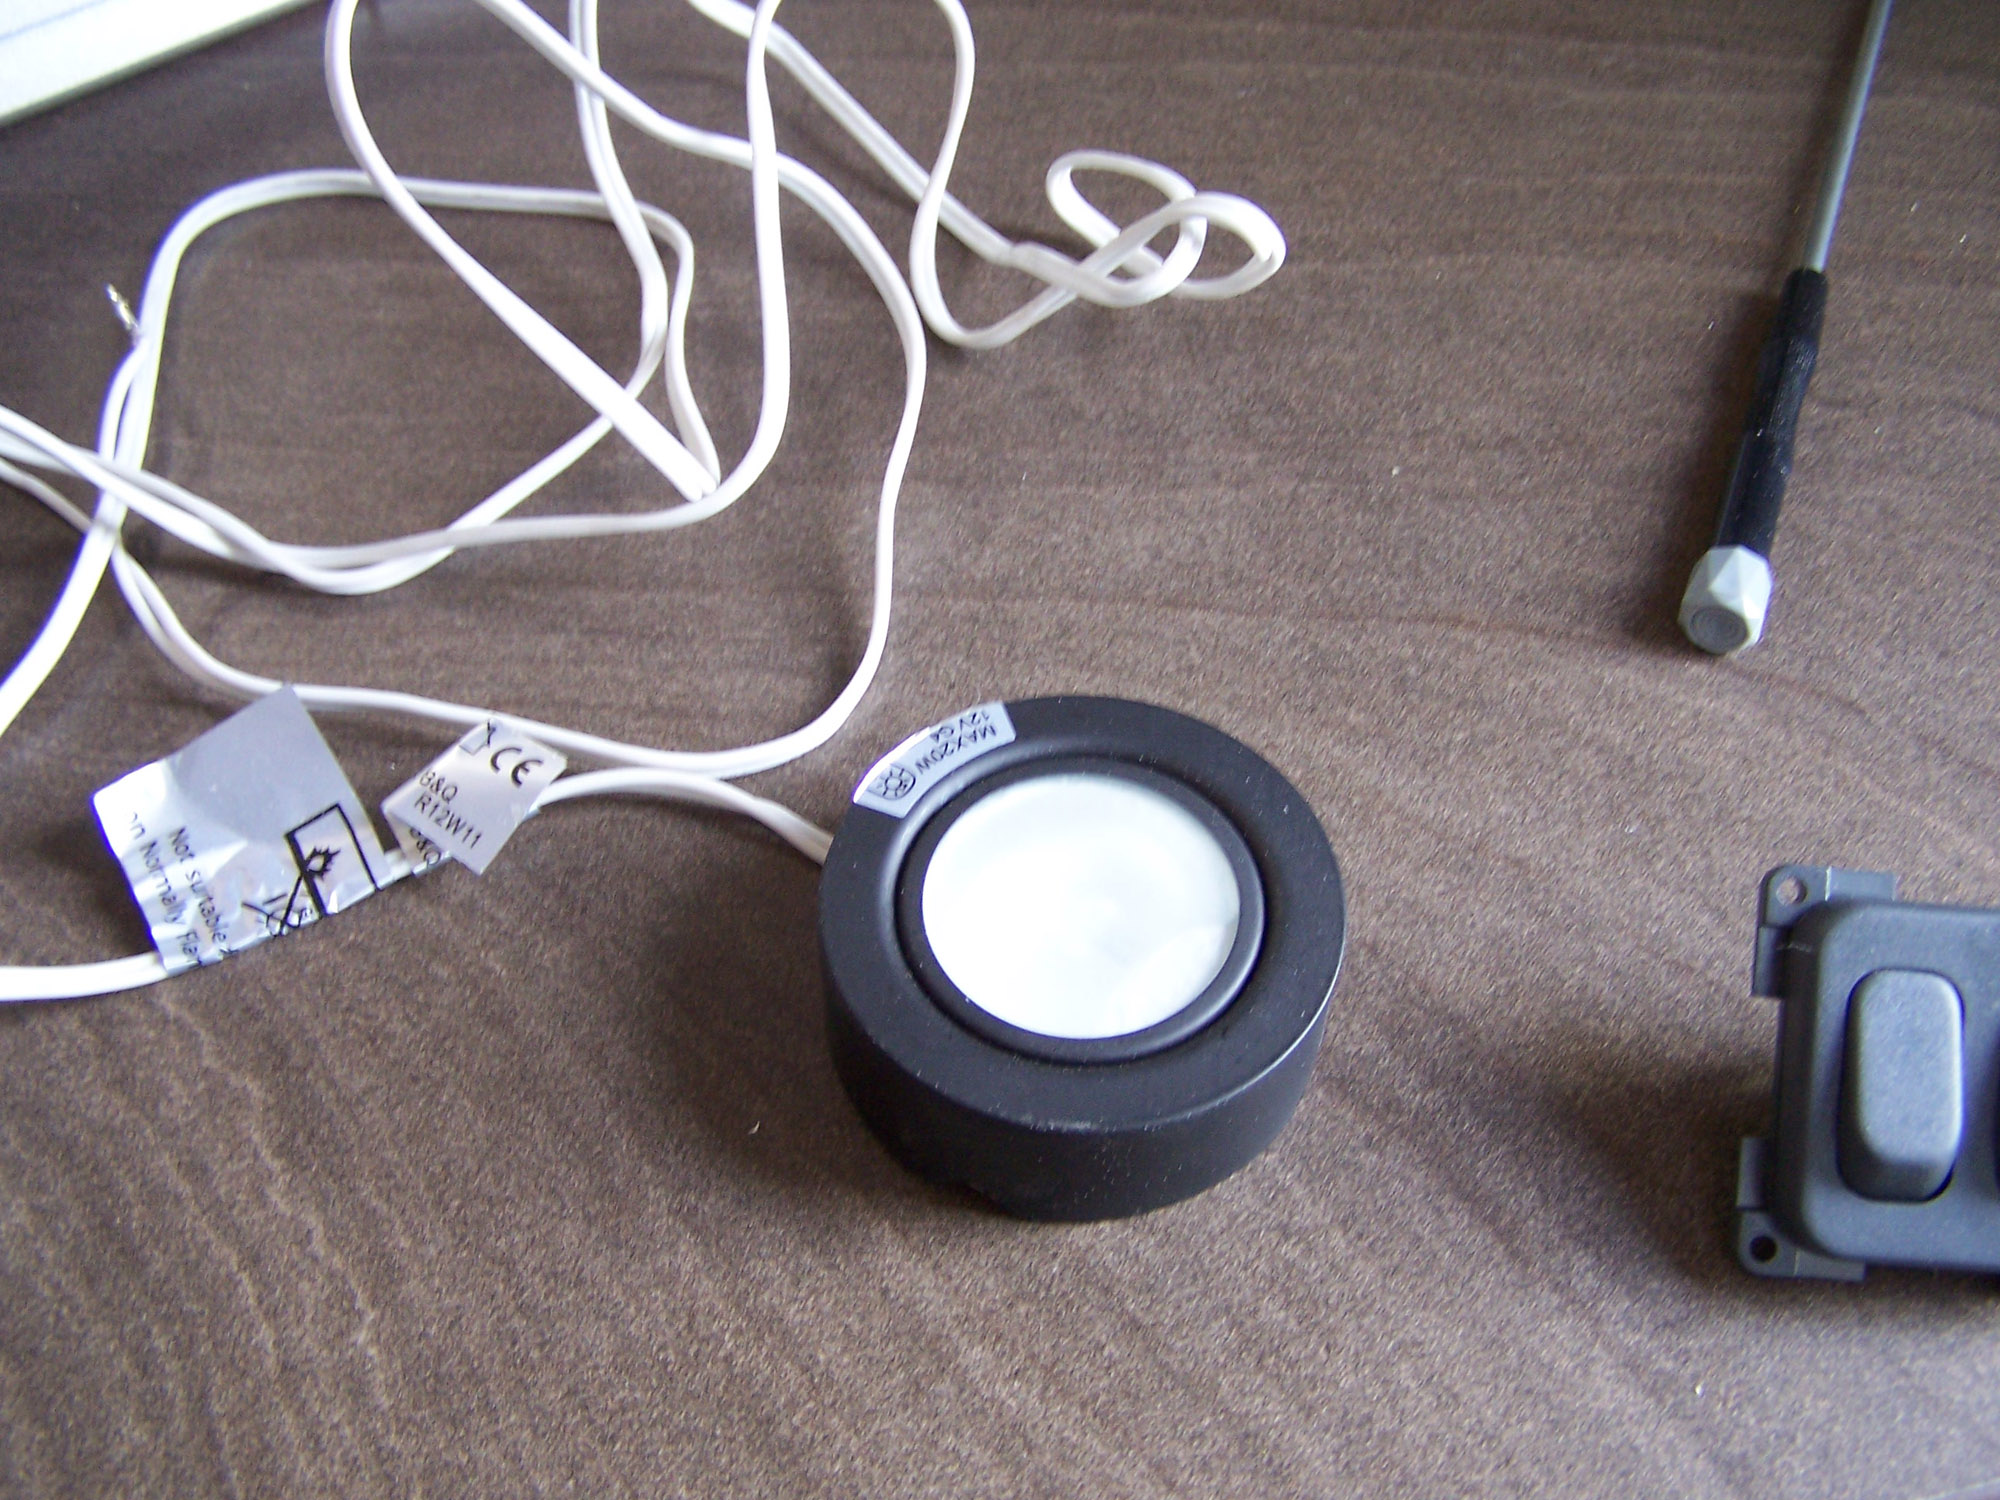
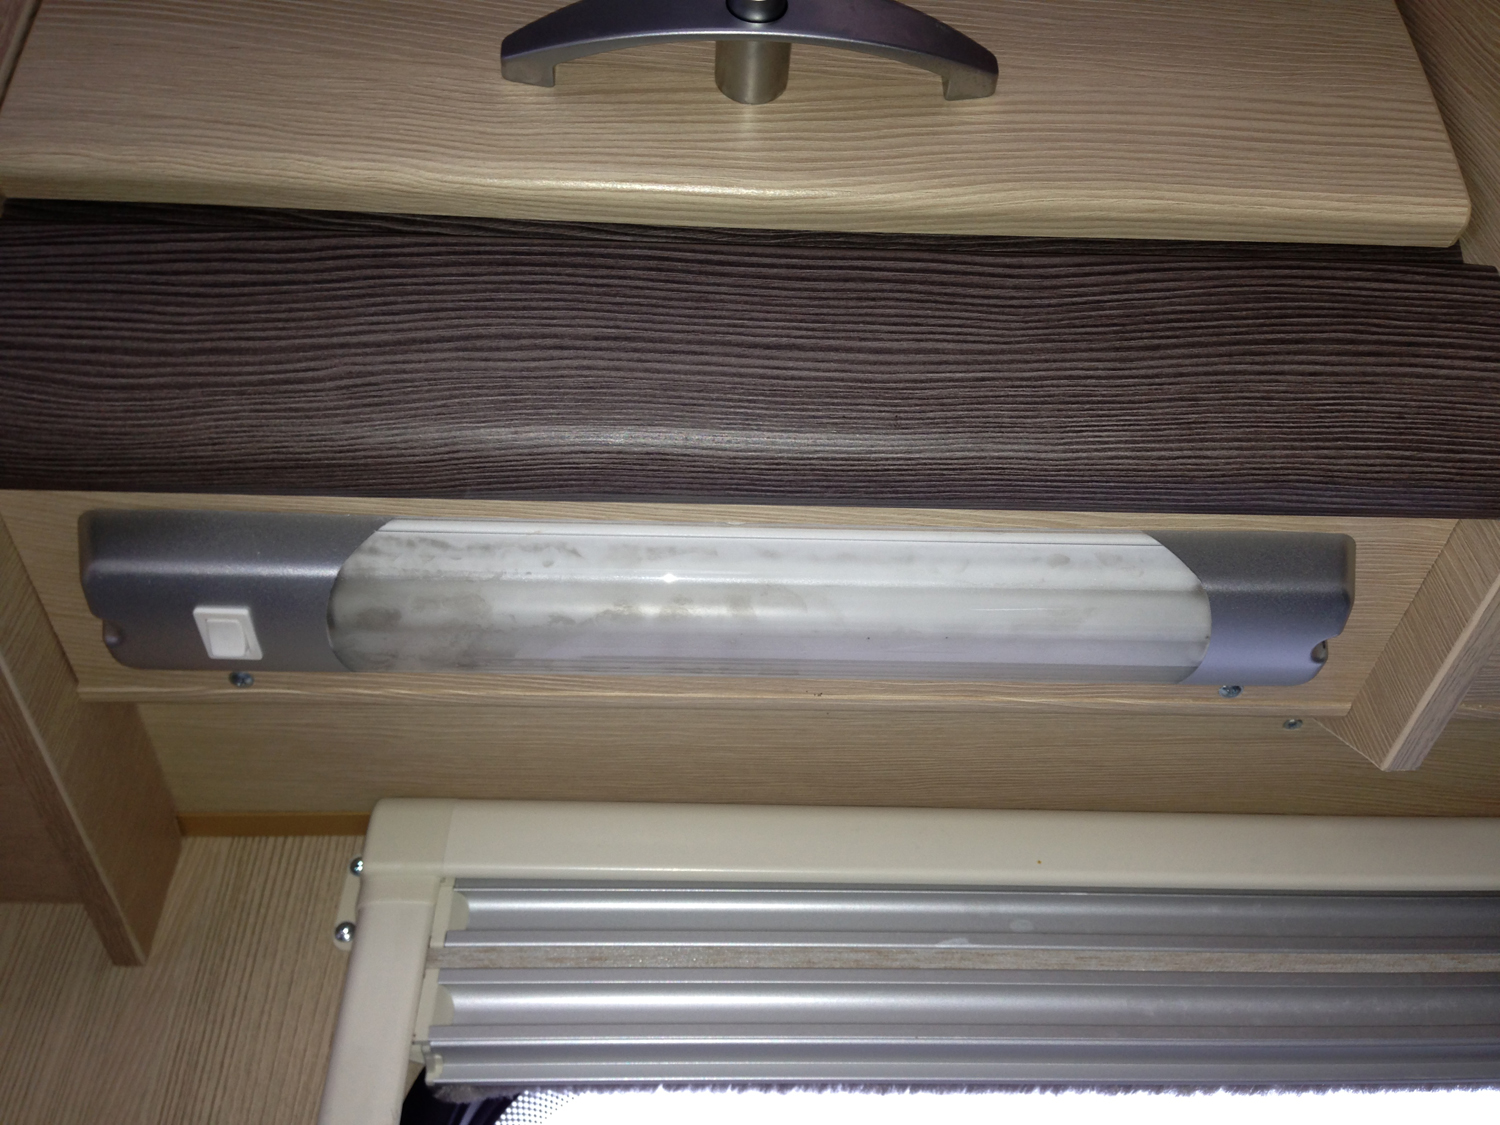
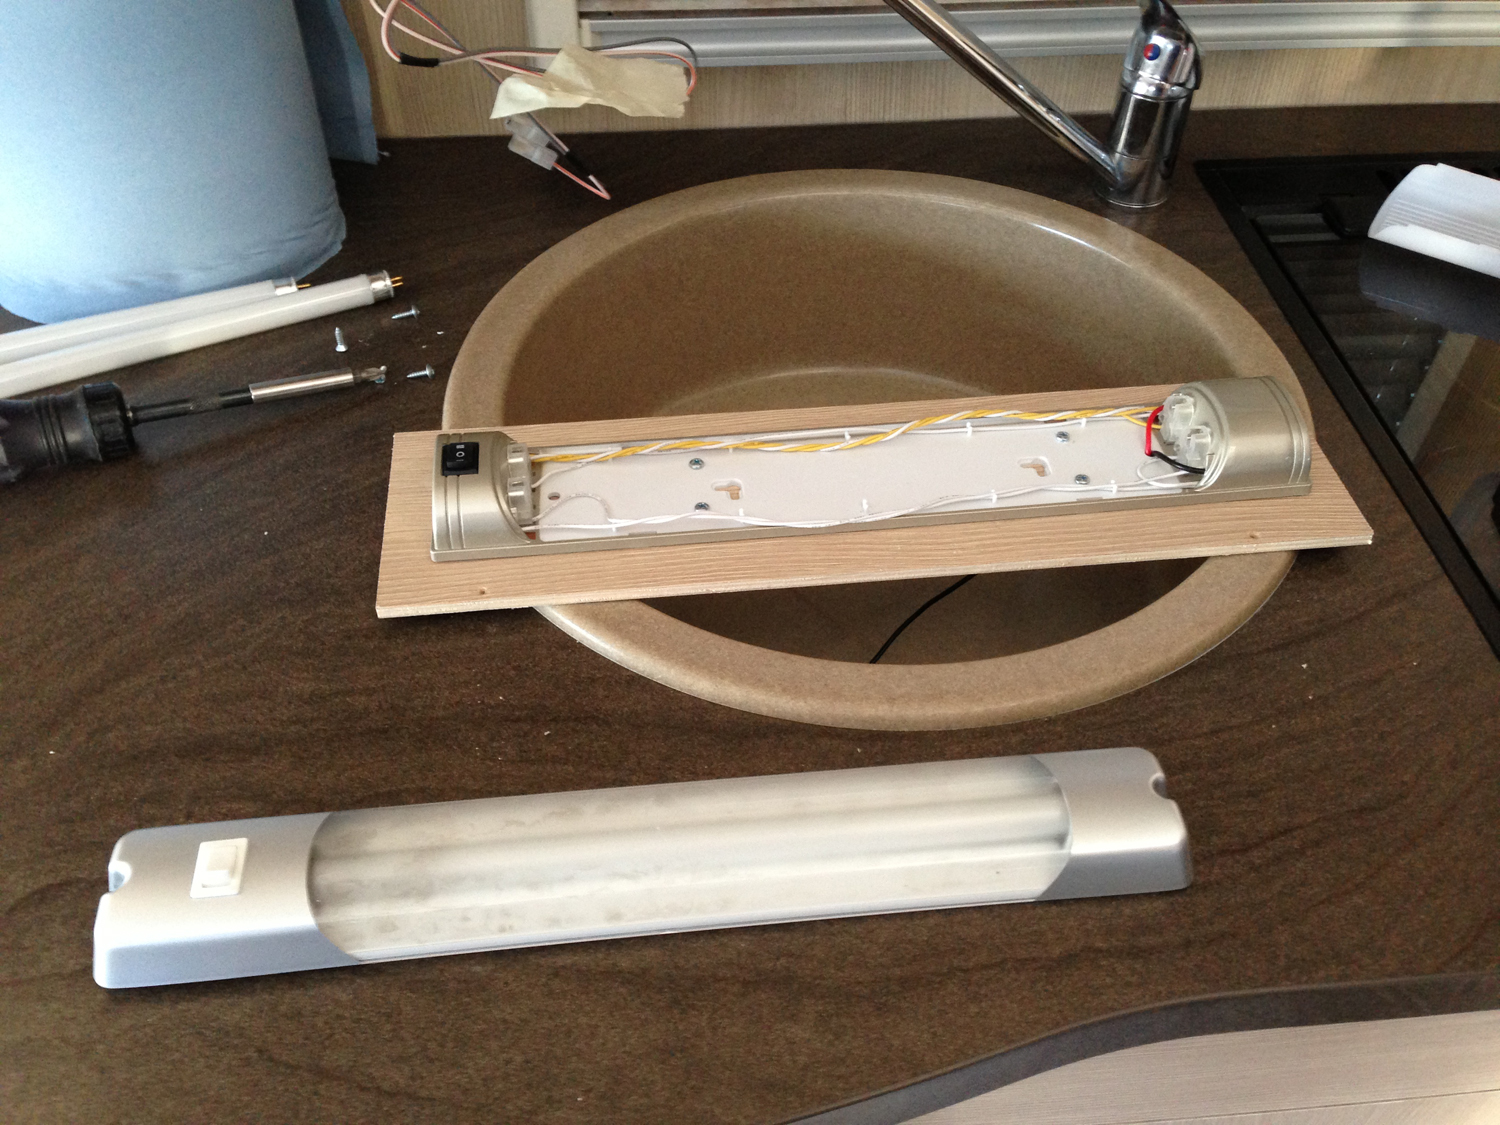
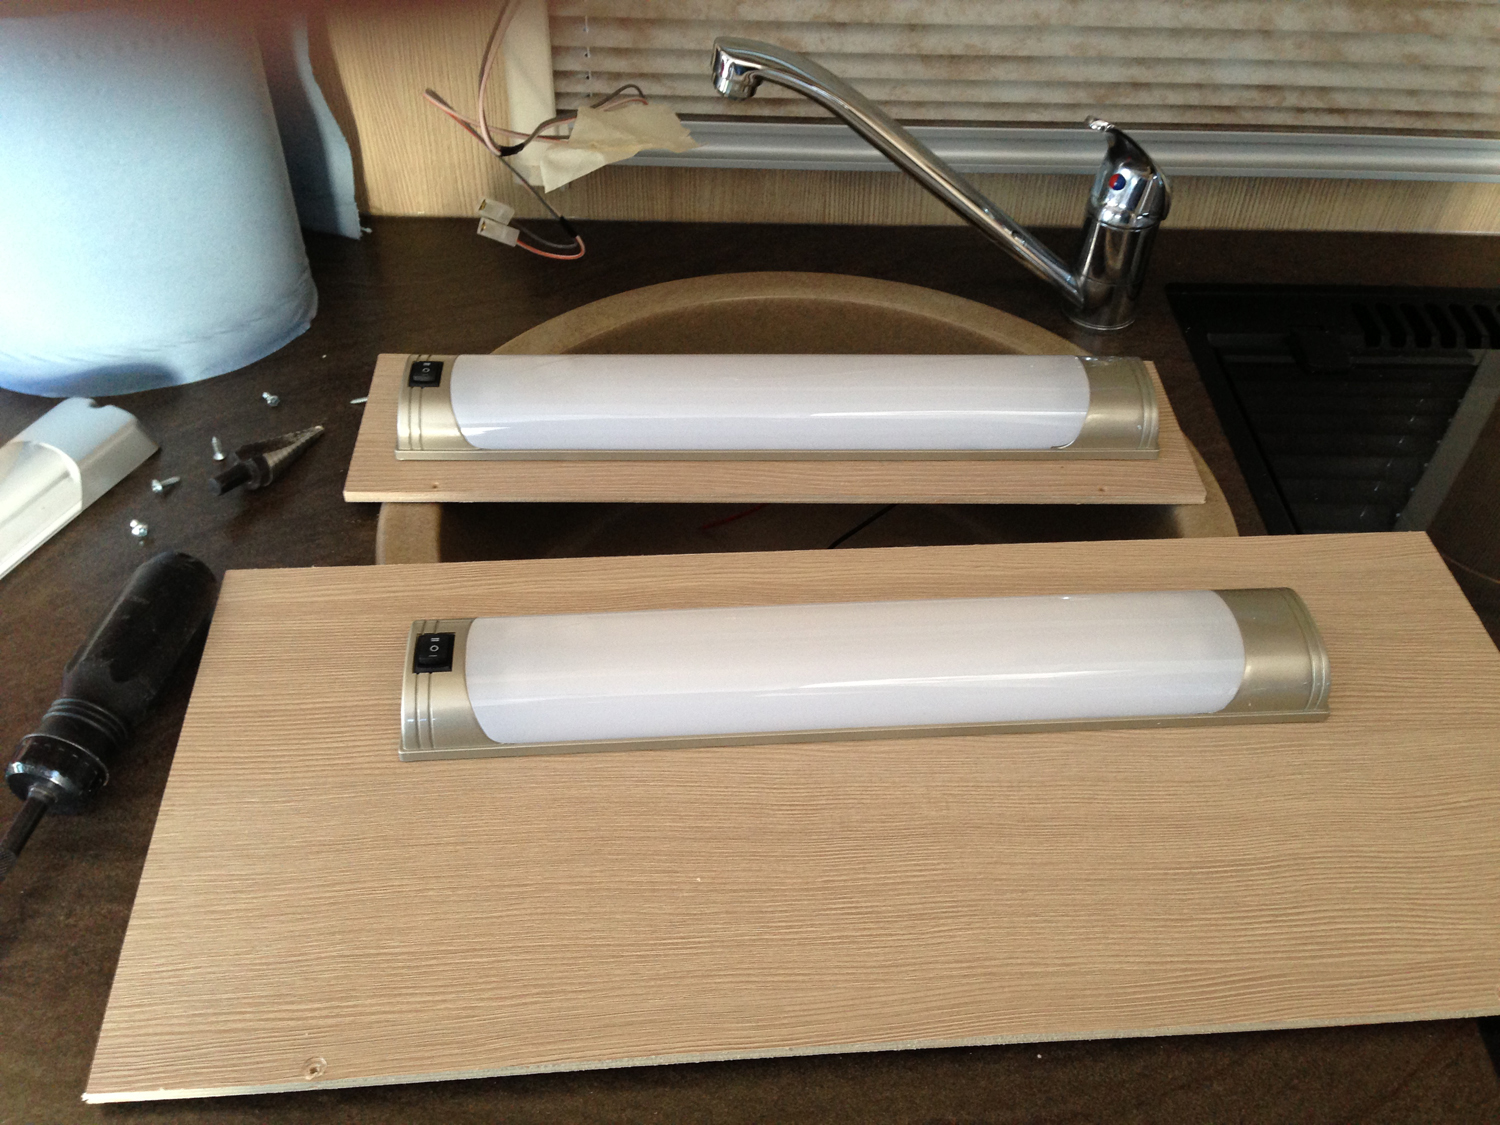
First the lighting upgrades. You may remember in my “Let there be light… or at least a little more light…” post I wanted to improve the light above the cooker area as it was a bit dark peering into the bottom of saucepans on the hob. I swopped out the single 12 volt 8 watt fluorescent unit for a double 8 watt fitting and installed an identical one above the hob area.

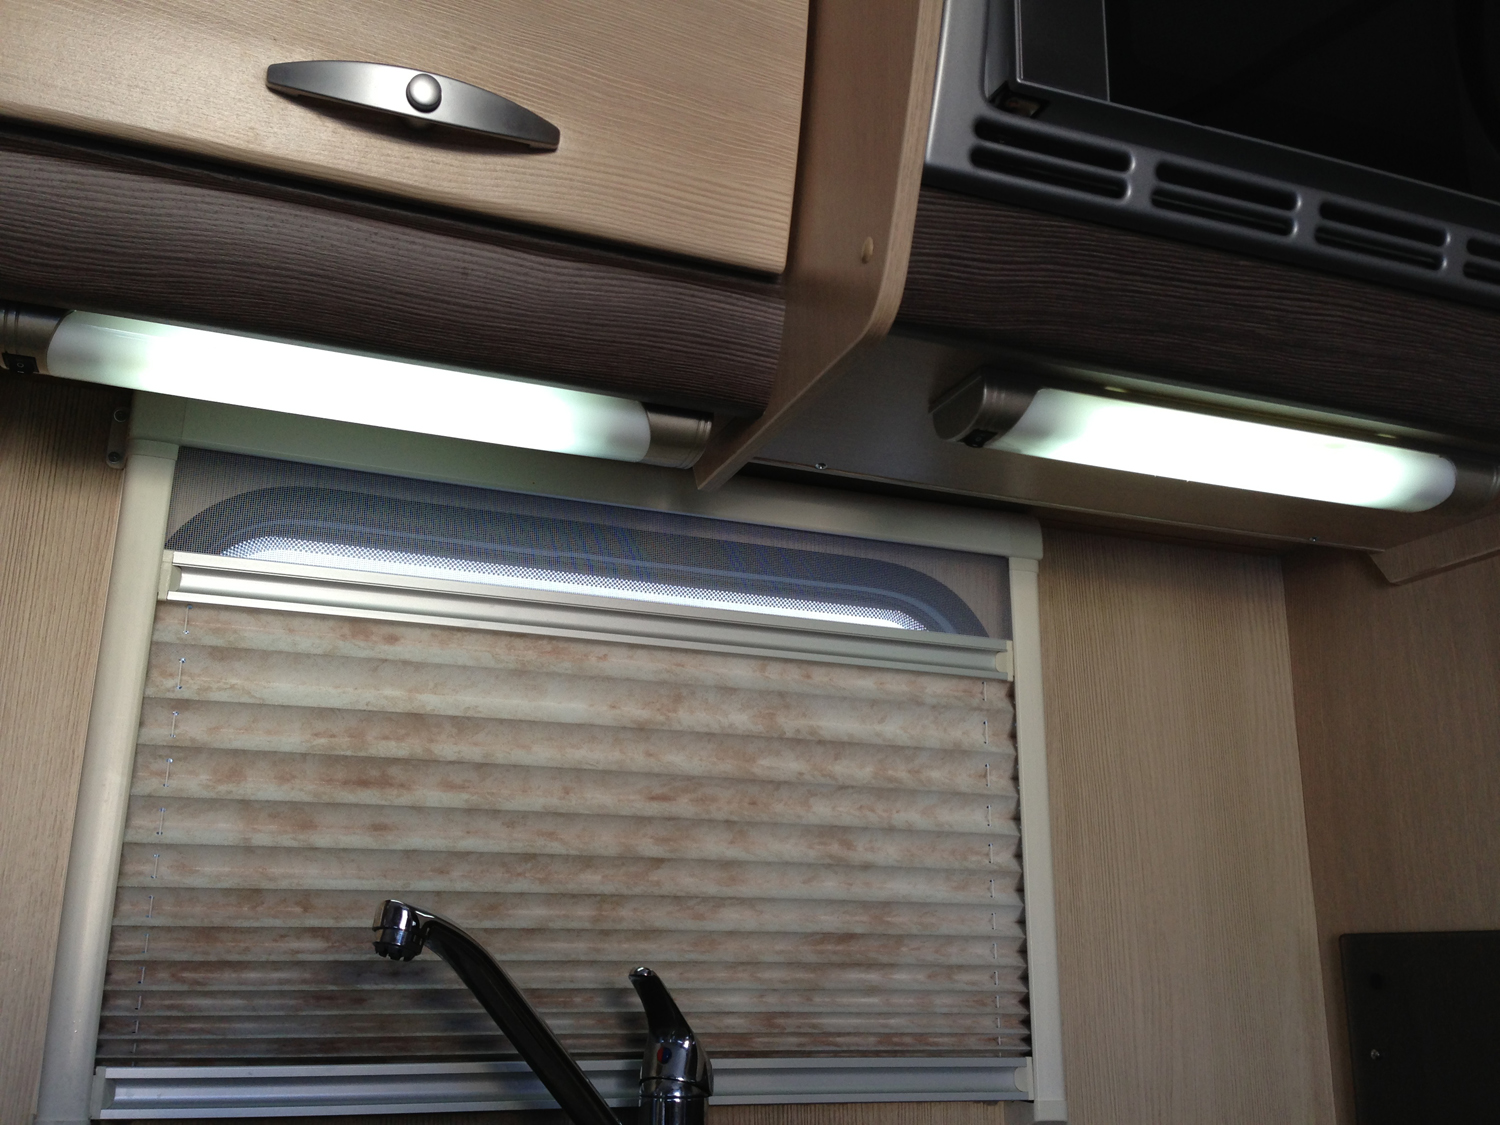
Good even bright light over the sink/prep area and the cooktop
Well it was a great success! My alter ego “One Hairy Caravanner” does not have any excuses for not being able to see right into the bottom of every pan! Having the advantage of being able to switch between one or two tubes above the sink/prep area and the hob area is great too.
The light output from the two fittings was even and well diffused although the colour temperature was a little cool, which is fine for task lighting in the kitchen. Once the prep is done, it’s easy to just switch from two tubes to one therefore reducing the power being consumed which is important if you are running on battery alone. All in all, for us a simple little project well worth doing.

No more cooking in the darkness! Again bright diffused task lighting right above the cooking area. (That’s OHC’s Spicy Tuna Pasta cooking by the way)
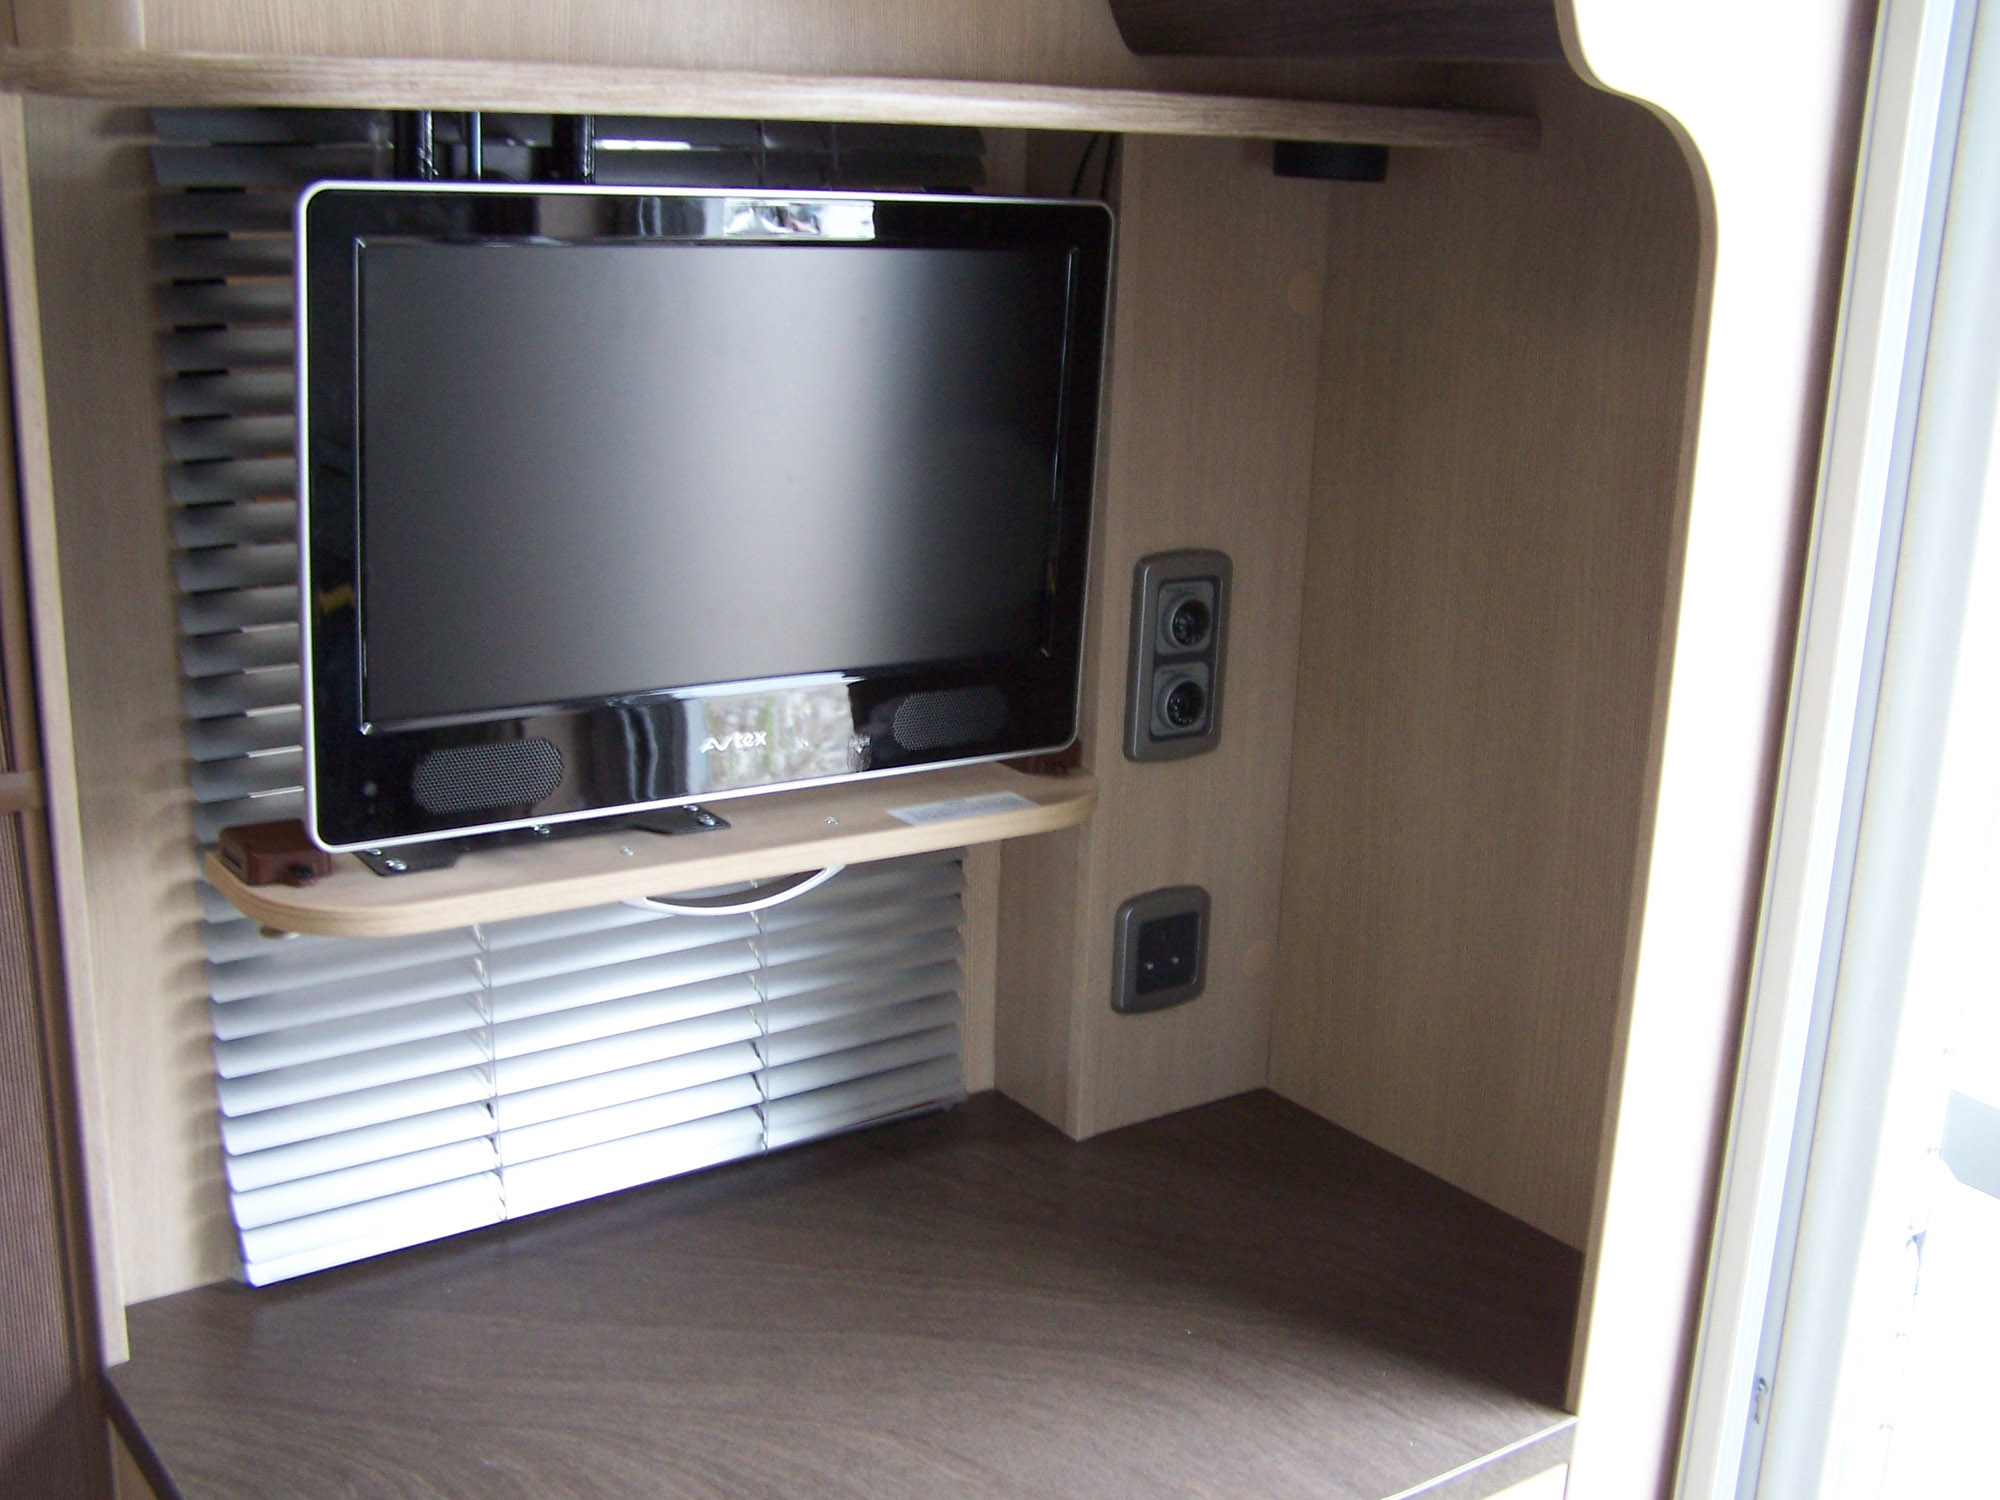
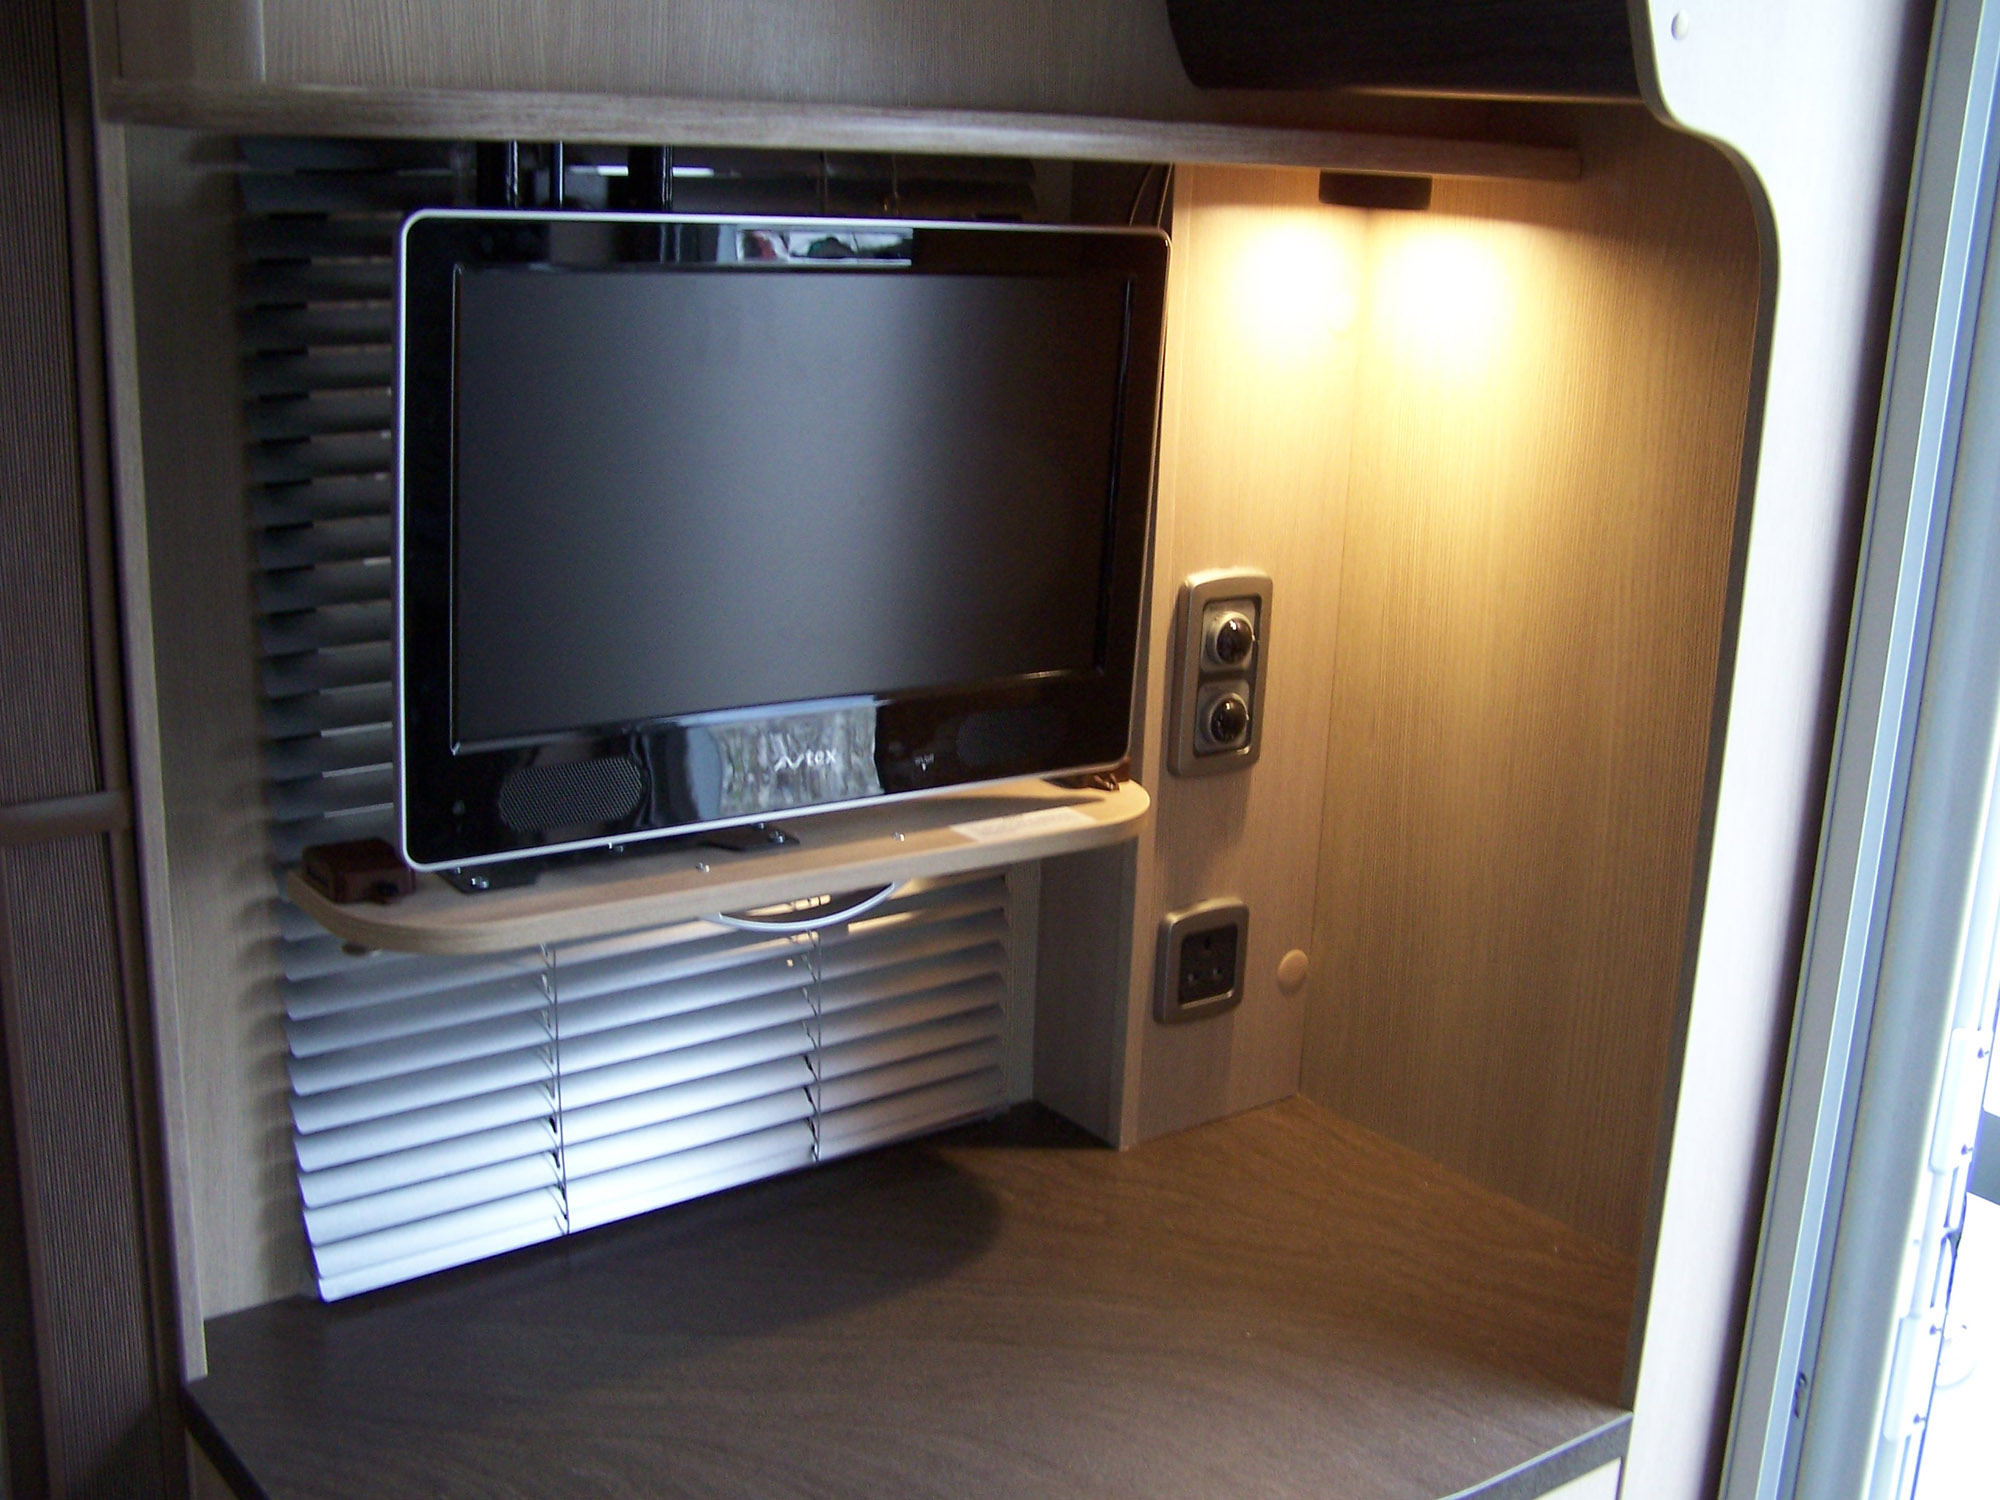
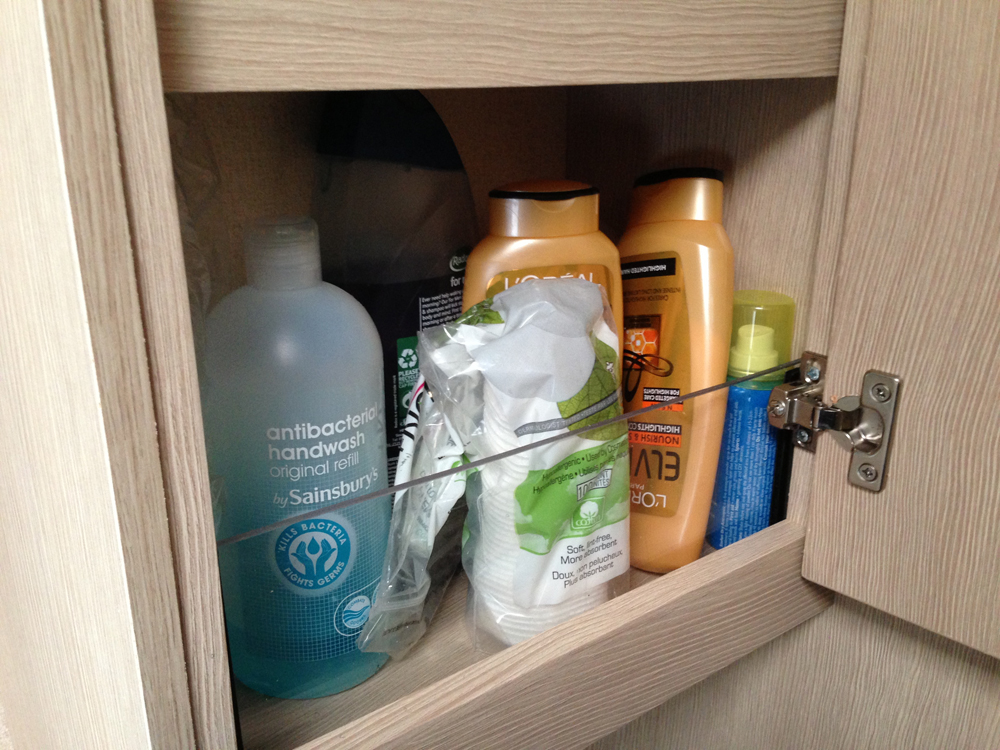
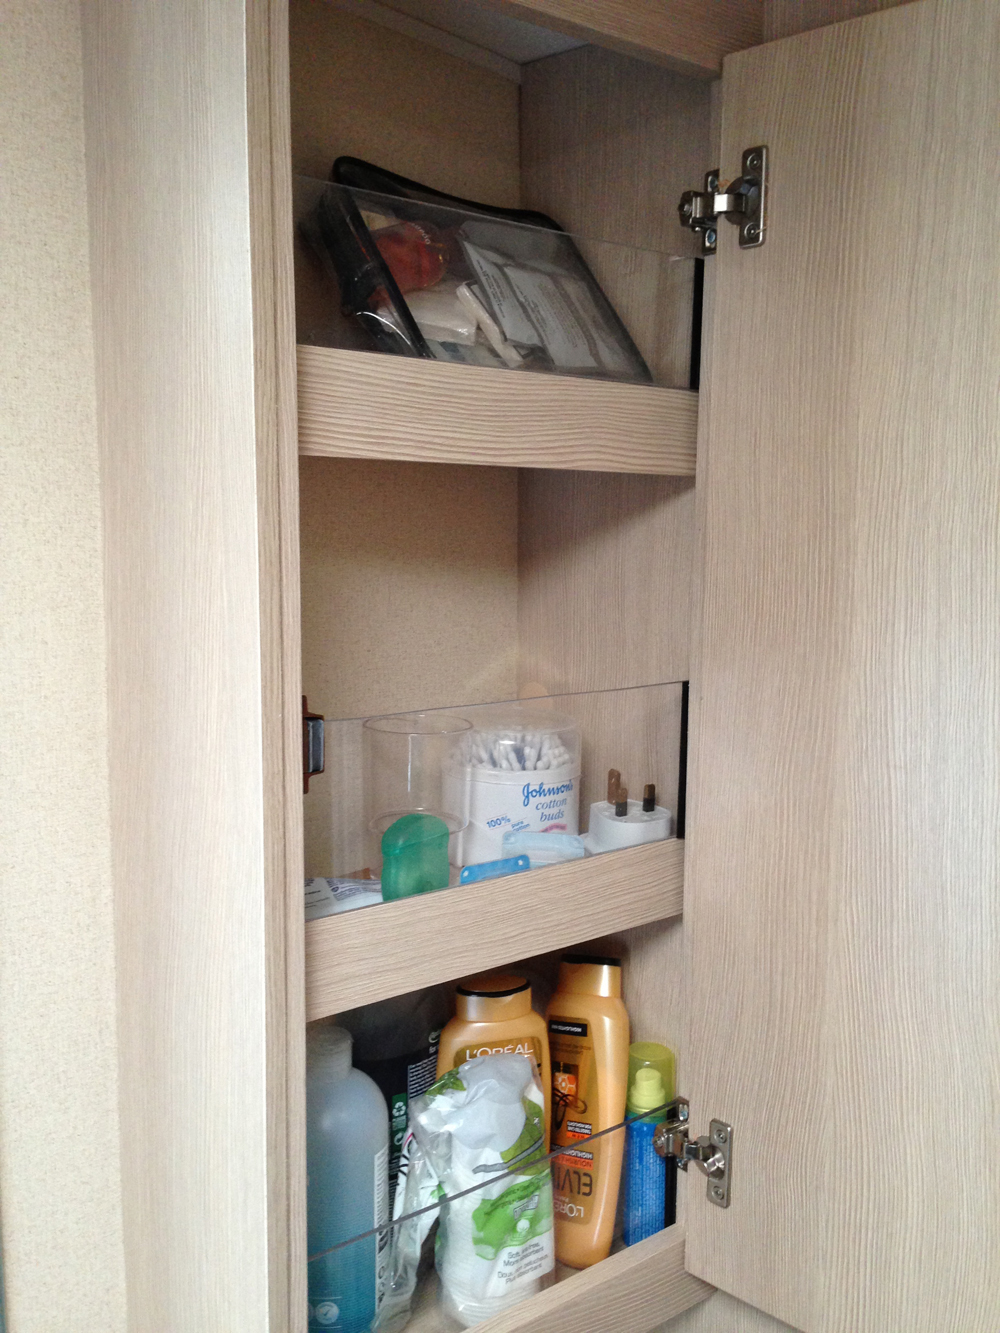
The other light I installed just above the heating and water heater controls works well too (“Let there be light… part two”). It was now so much easier just to flip a switch to clearly see the controls and as we store the drinks bottles in the recess… we could check on the contents so much more easily! It’s also handy when coming back to the caravan in the dark. Switching on the light from the doorway provides adequate illumination to enter the caravan to turn the main lights on.
Something else we need to update you on as well is our recent purchase of Jonic bedding. After our initial problem (“Things that make you go Hmm…”) we received a replacement mattress cover and two replacement bottom sheets. Not wanting to wash the sheets first in case we needed to return them, we took one of the sheets with us to check to see if it would fit. We compared the corner seam on the Jonic sheet we had fitted against one of the replacement sheets. There was an obvious difference. The replacement sheet corner seam was about three inches longer which ment the fitted sheet would wrap nicely under the mattress. So a huge 10/10 for Jonic’s customer service! We also have to report that the 10+5 duvet, even though light in weight, kept us warm even when the outside temp was down to 1 or 2 degrees at night.
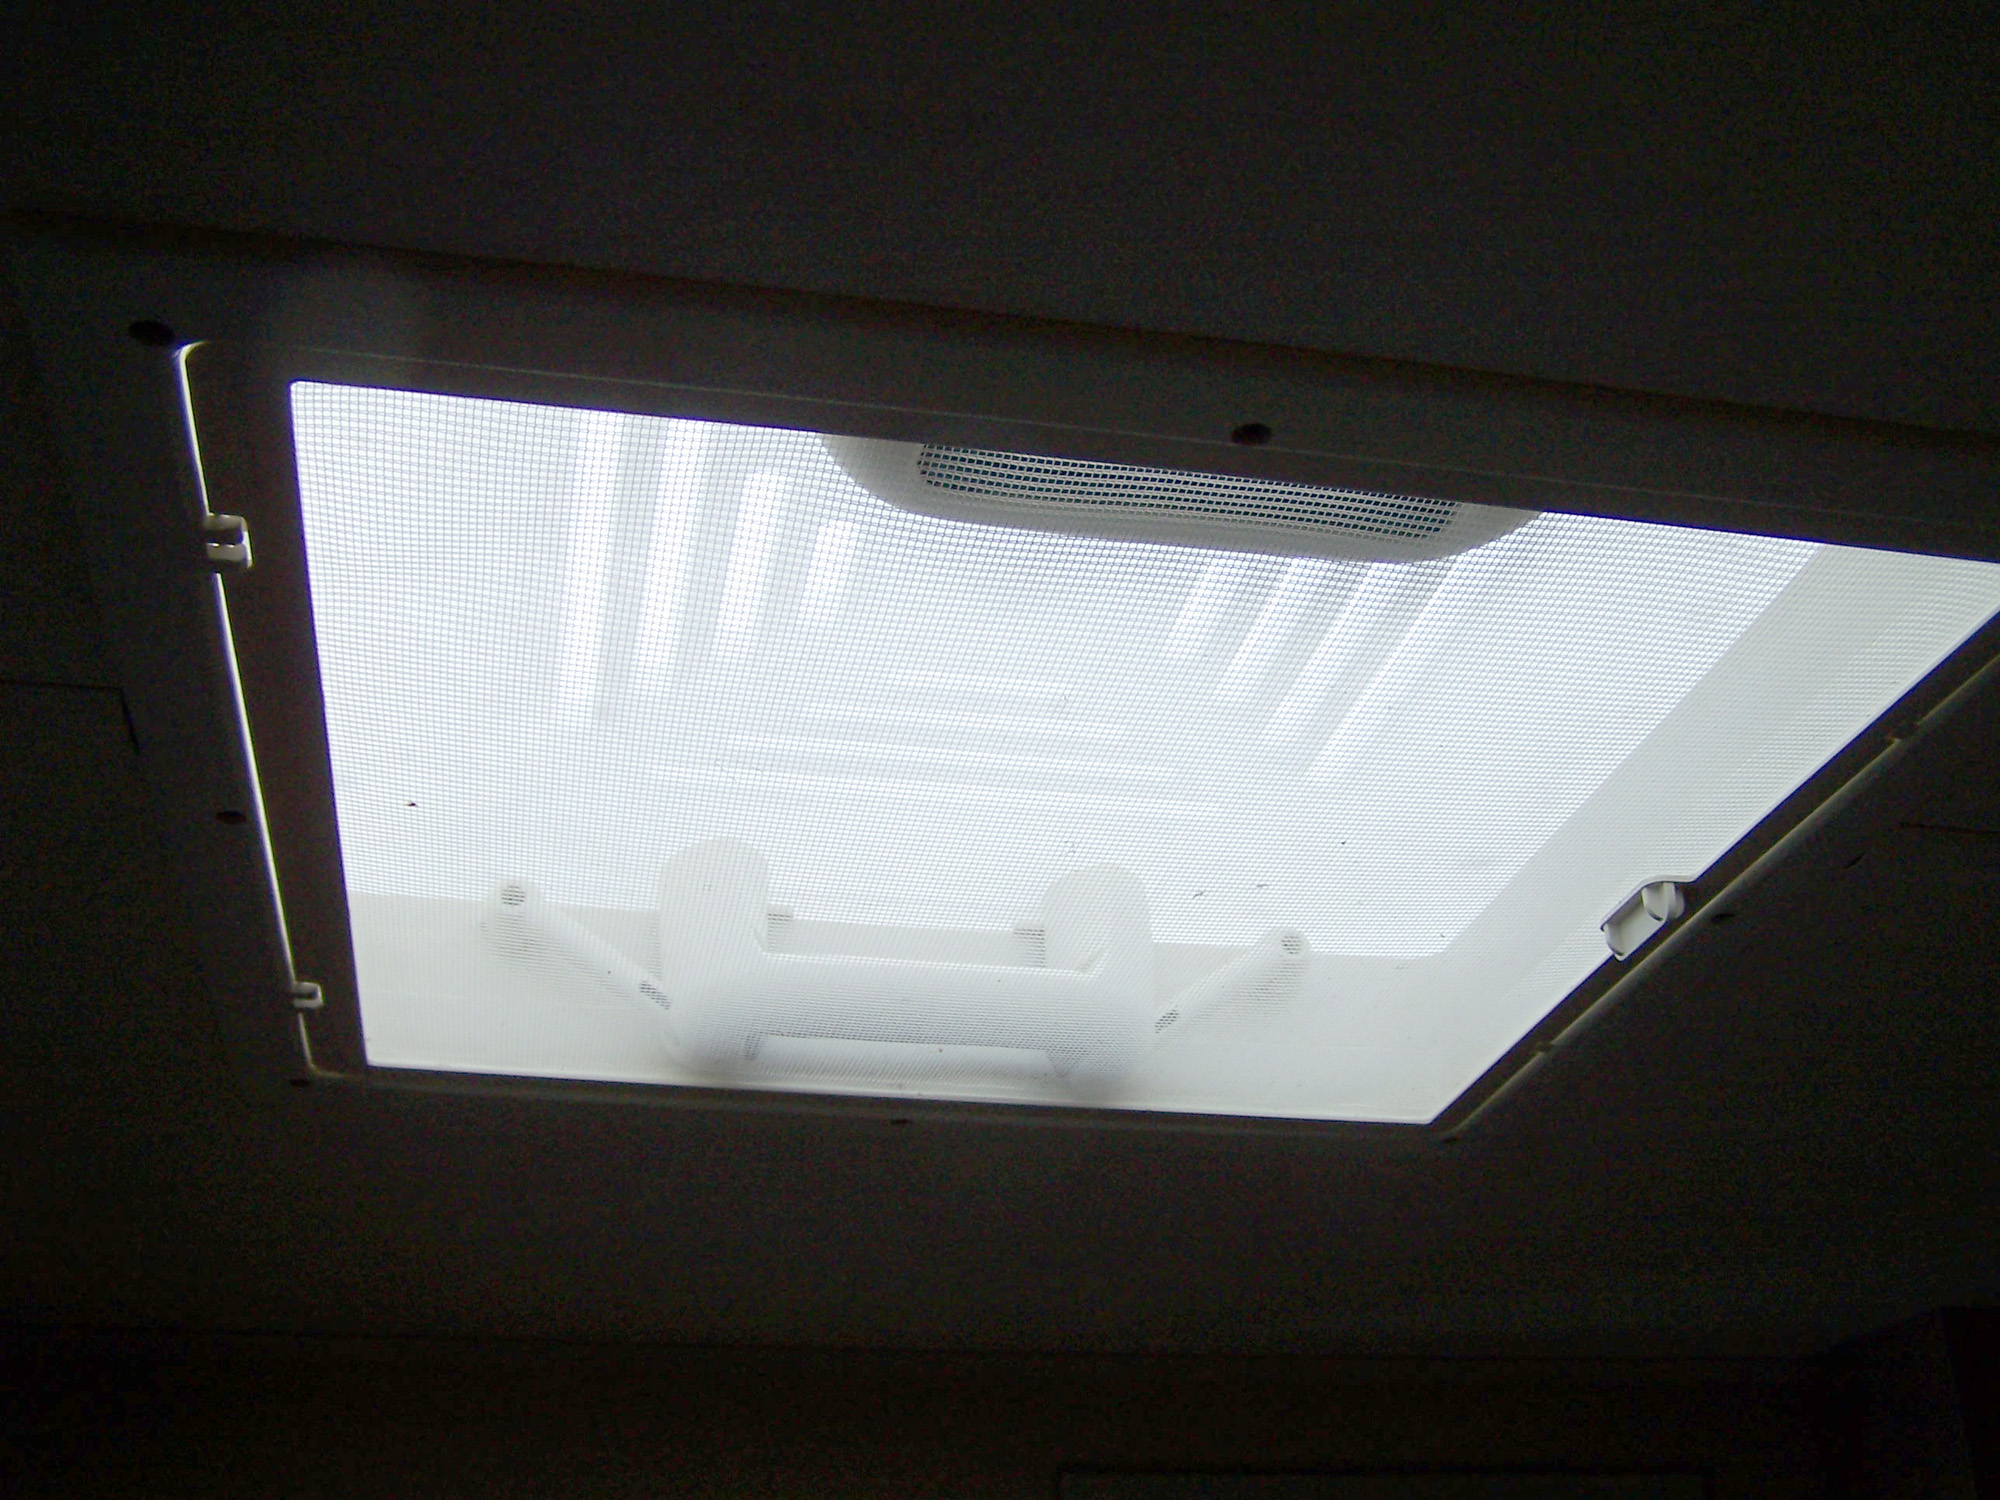
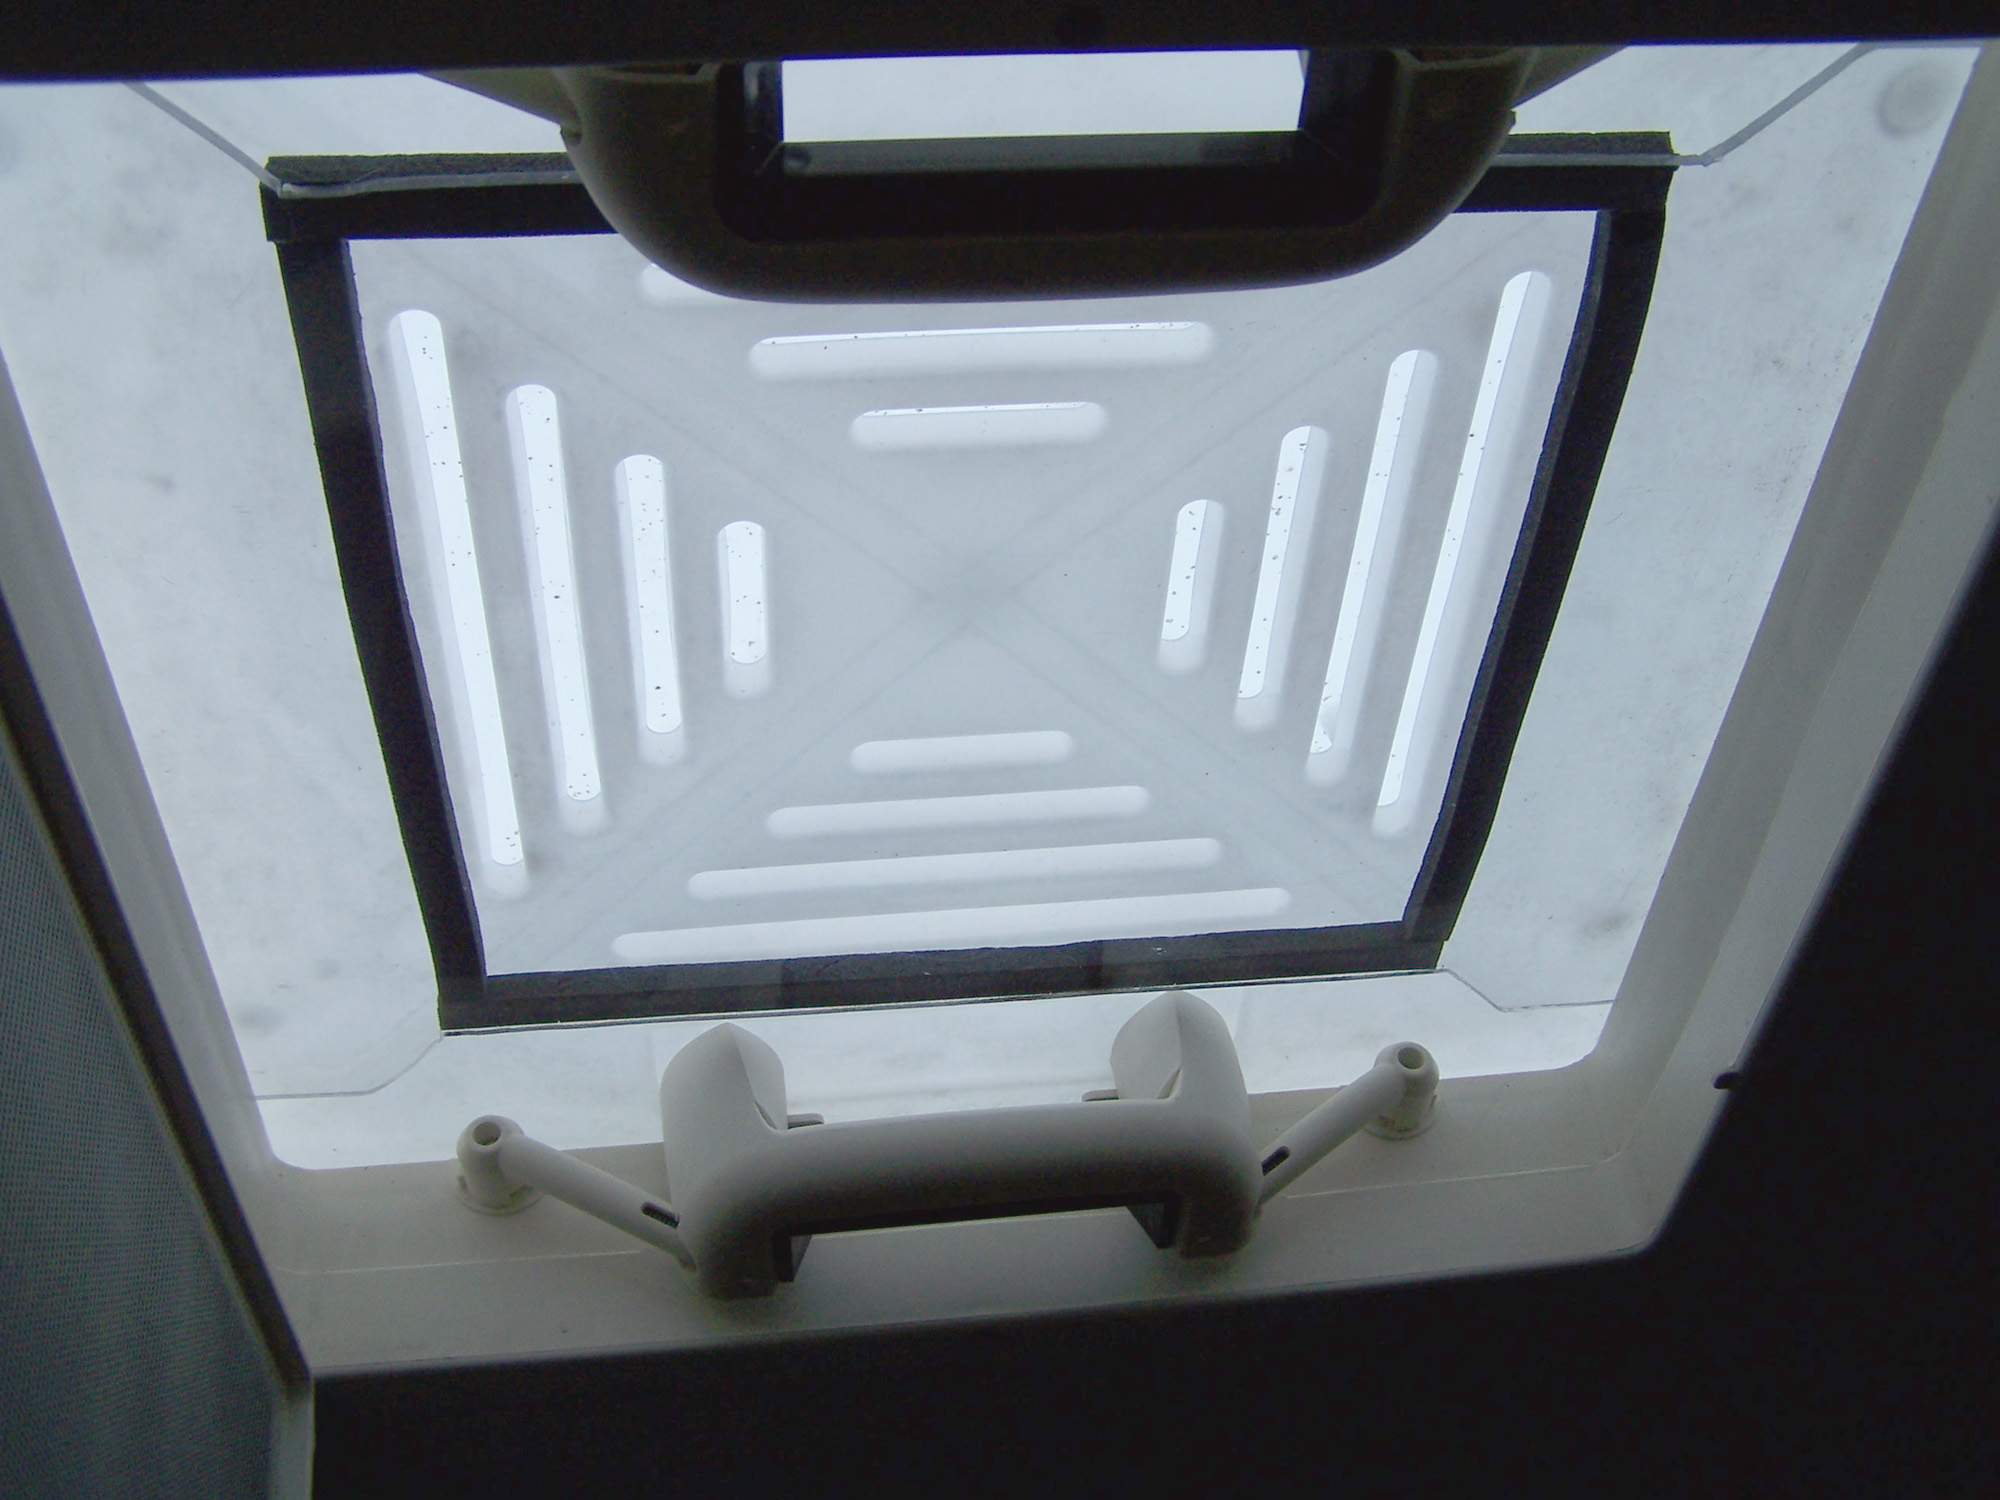
The only other update was about the little device I made in “A little winter warmer…” the inside cover for the bathroom roof vent. Well I am happy to report that too was a success. We were only using the electric towel rail to maintain the temp bathroom once we had used the blown heating system in conjunction with the electric towel rail to get the bathroom to a comfortable temperature despite the outside temperature being only 1 or 2 degrees at night.
OK… now to the problem!
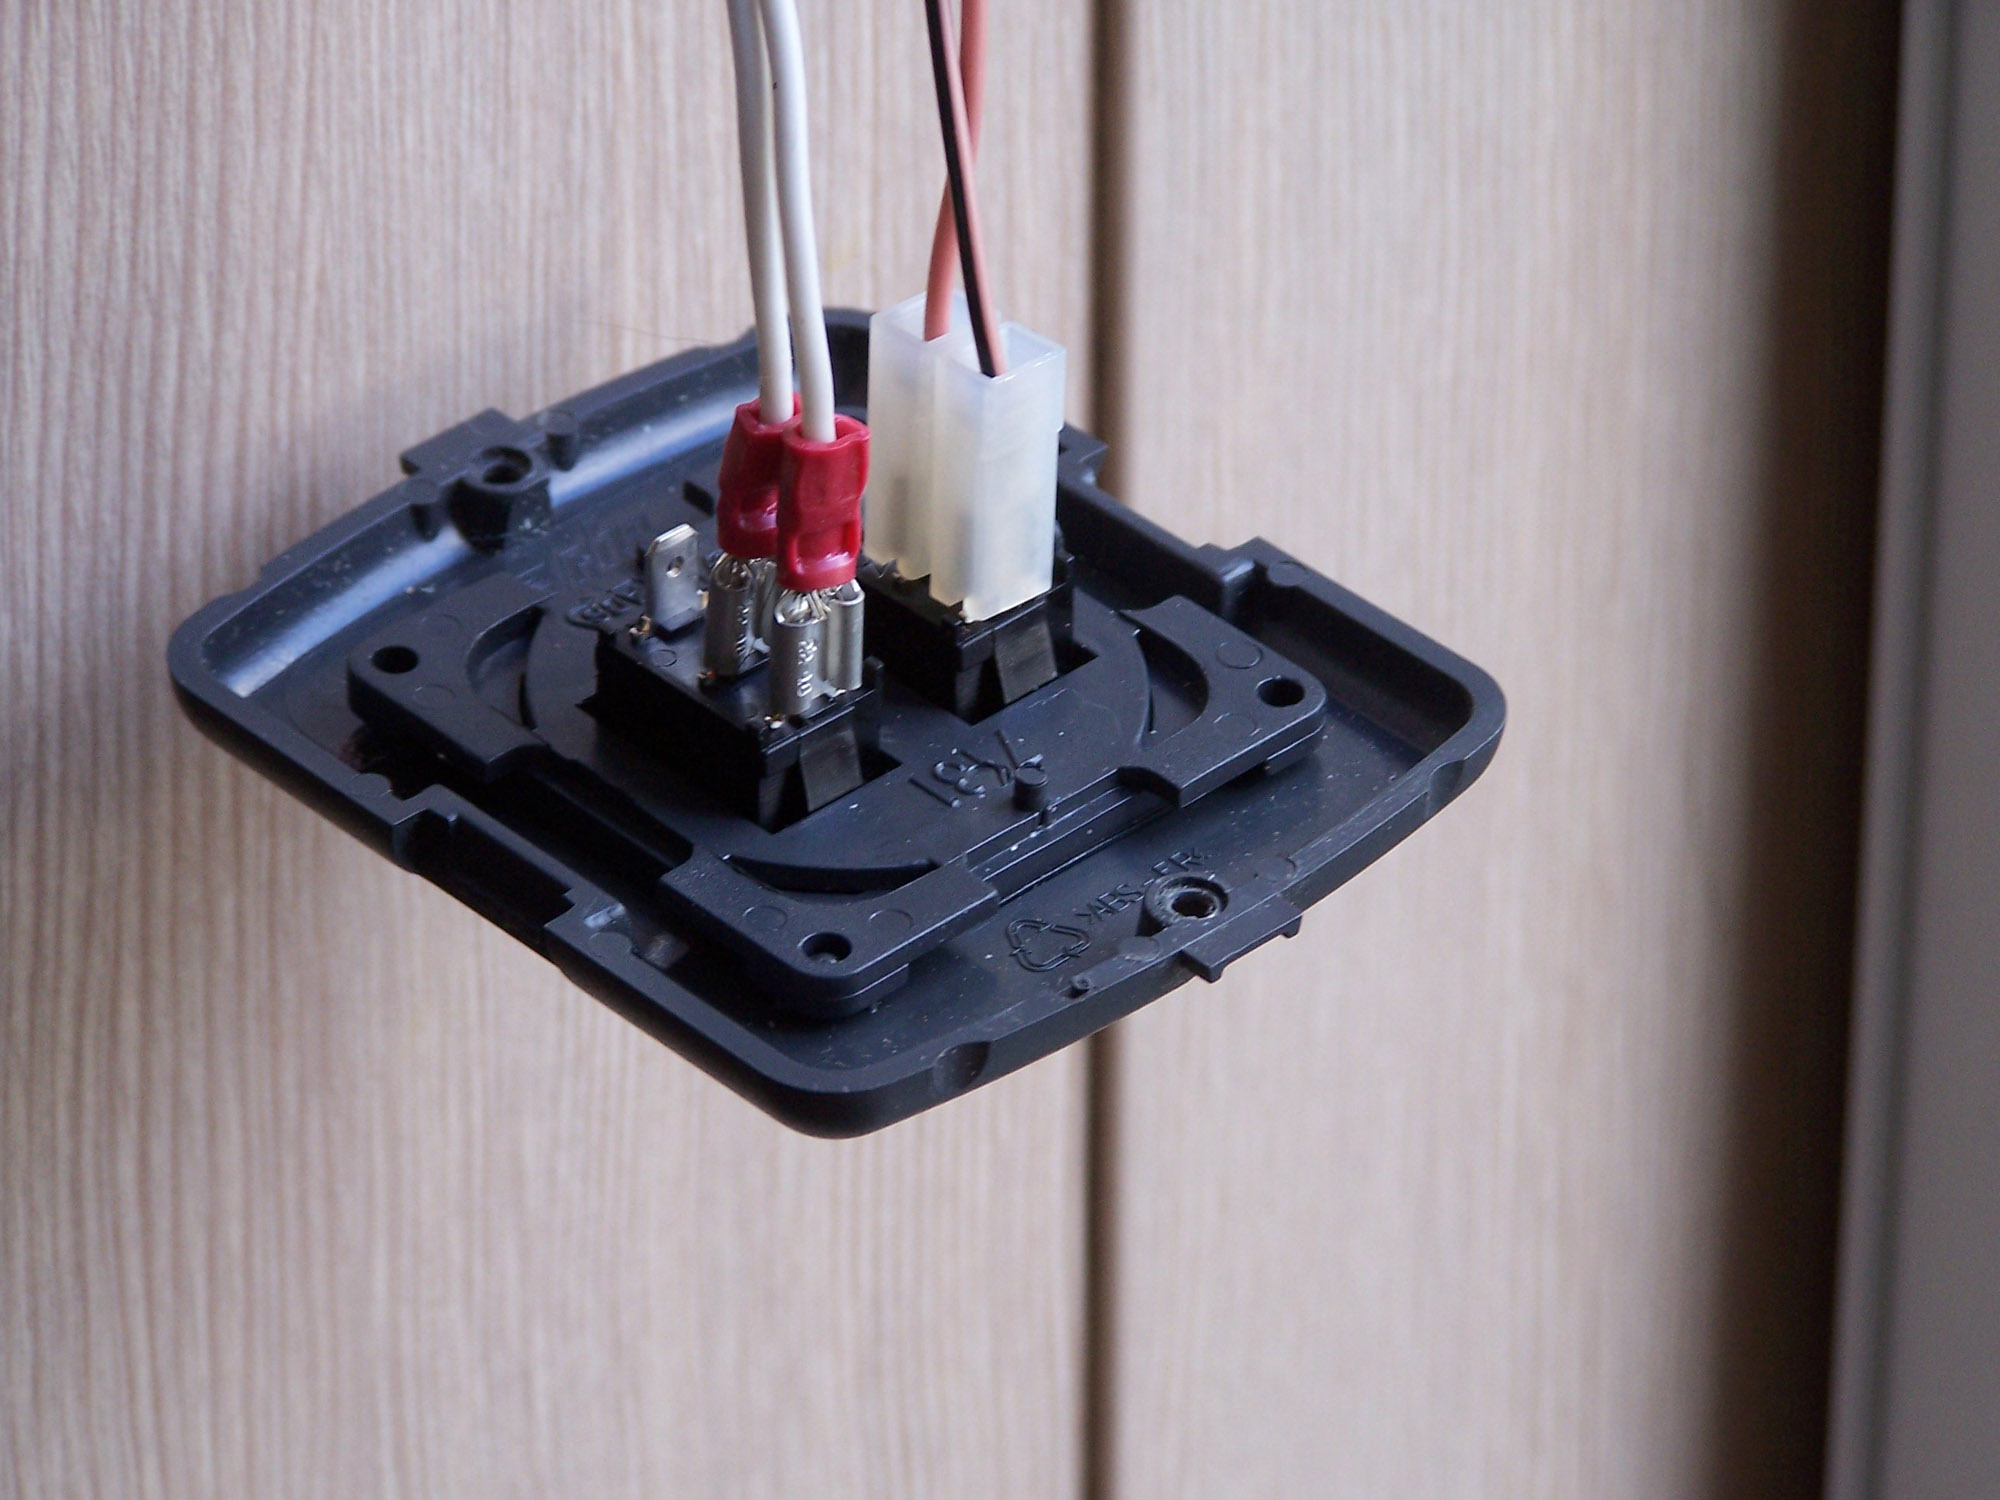
The problem we had on the last trip was to do with the Flojet water pump. When we turned any of the taps on, there was a delay in the pump kicking in.
How it should work
As it is a pressure water system, the pump should run to pressurise all the water in the pipes. Once a certain pressure is reached, the pump switches off. Now turn a tap on and as the water starts to flow through the tap, the pressure in the pipes drops and this drop should trigger the pressure switch to turn on the water pump, maintaining an even flow until the tap is turned off again, when the pump will continue to run until its pre set pressure is reached and it shuts off.
What was actually happening
When we turned a tap on, initially water would flow then reduce to a tiny trickle and stop within a couple of seconds. It would then take 15 or 20 seconds for the pump to start and water would flow again. Turn the tap off and the pump would continue to run until the system was back up to pressure and the pressure switch shut the pump down.
I suspected that the pressure switch was at fault, but not having the paperwork with me for the pump and it still being inside the two-year warranty period, I didn’t want to go poking around while on site. When we returned, a quick posting on “Swift Talk” forum soon got a reply from Swift’s Ash Dhir who posted a link to a page that gave me the info to solve the problem. A couple of other people also posted that they had similar problems and Ash’s info worked for them… and someone else also provided a helpful bit of advice regarding the pressure release valve on the water heater. If you want to know more… sign up to Swift Talk!
So now I have the fix, I’ll be toddling off to the van in the next day or so to do a spot of screw turning. I’ll let you know how I got on.
S