
One of the annoying things about caravans is shelves can be marginally worse than overhead lockers on aircraft that have just flown through a thunderstorm. That is to say things fall out when you open the door. The cupboard in our bathroom is one such ‘disaster waiting to happen’ locker.
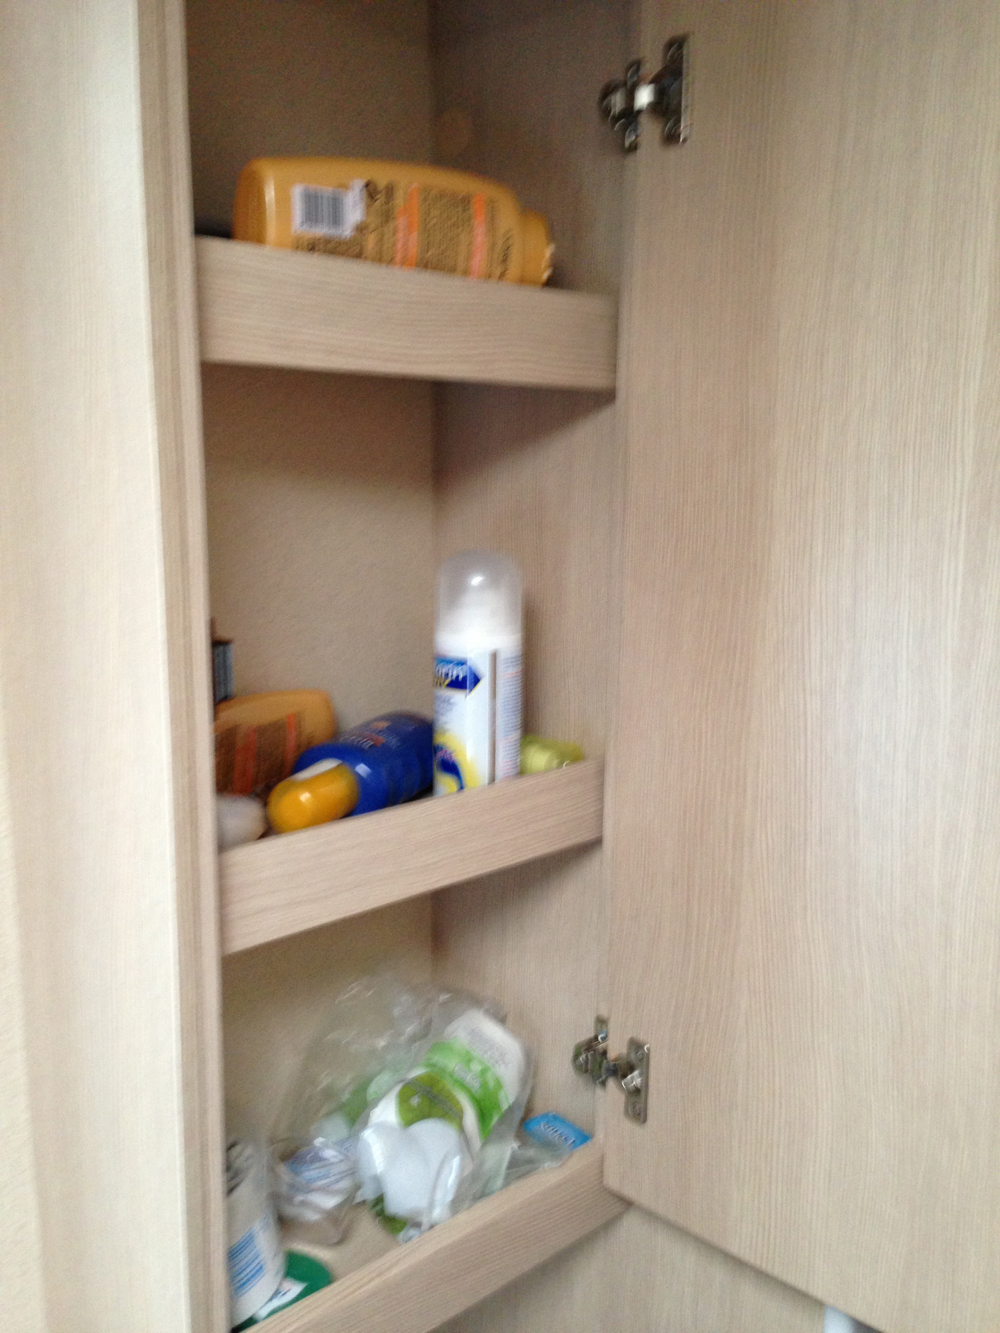
“Caution – contents may have moved” (note – blurry picture to simulate turbulence!)
In an effort to reduce the carnage, Sue had resorted to lying most of the containers down – with the inherent leak risk for some items. This also had the effect of reducing the storage capacity of the shelves, not that we had mahoosive amounts to store as this was right at the back of the caravan on the rear wall.
After a bit of pondering, the solution was clear… clear 5mm thick lexan actually. I cut three pieces, two 315mm x 100mm and one 315mm x 75mm and slightly rounded the edges over using a file and finishing with a fine emery before flaming the edges.
To attach the lexan I used self adhesive velcro strips so that if we needed to remove the fronts at any point for cleaning they would simply pull away. Installing them was a simple matter of removing the velcro backing sheet and sliding the lexan pieces into the cupboard, lining them up and pulling them forward to stick the velcro to the inside of the cupboard fronts. A picture is worth a thousand words…..
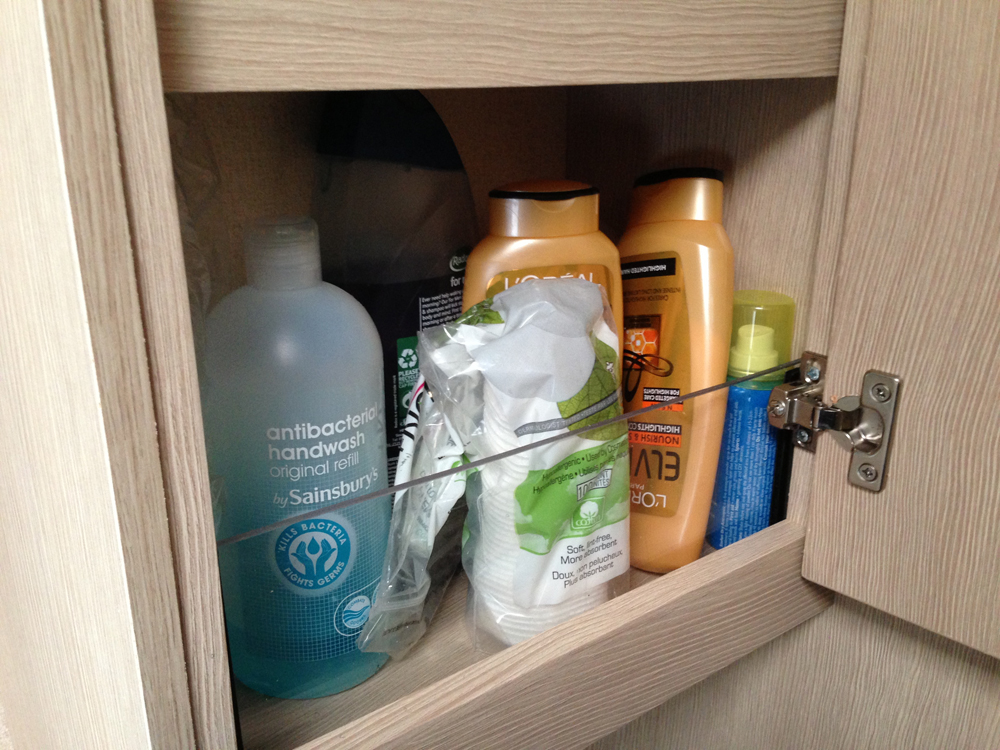
The lexan panel in place and the entire contents of the cupboard now on one shelf.
So hopefully now there won’t be any chance of things falling when we open the door or anything leaking because it’s fallen on its side. I had the lexan sheet left over from a previous project and it took about 30 minutes in the workshop to cut and edge the sheets and around five minutes to install in the cupboard. A worth while Sunday morning job methinks.
S
PS… here’s the other shelves finished….
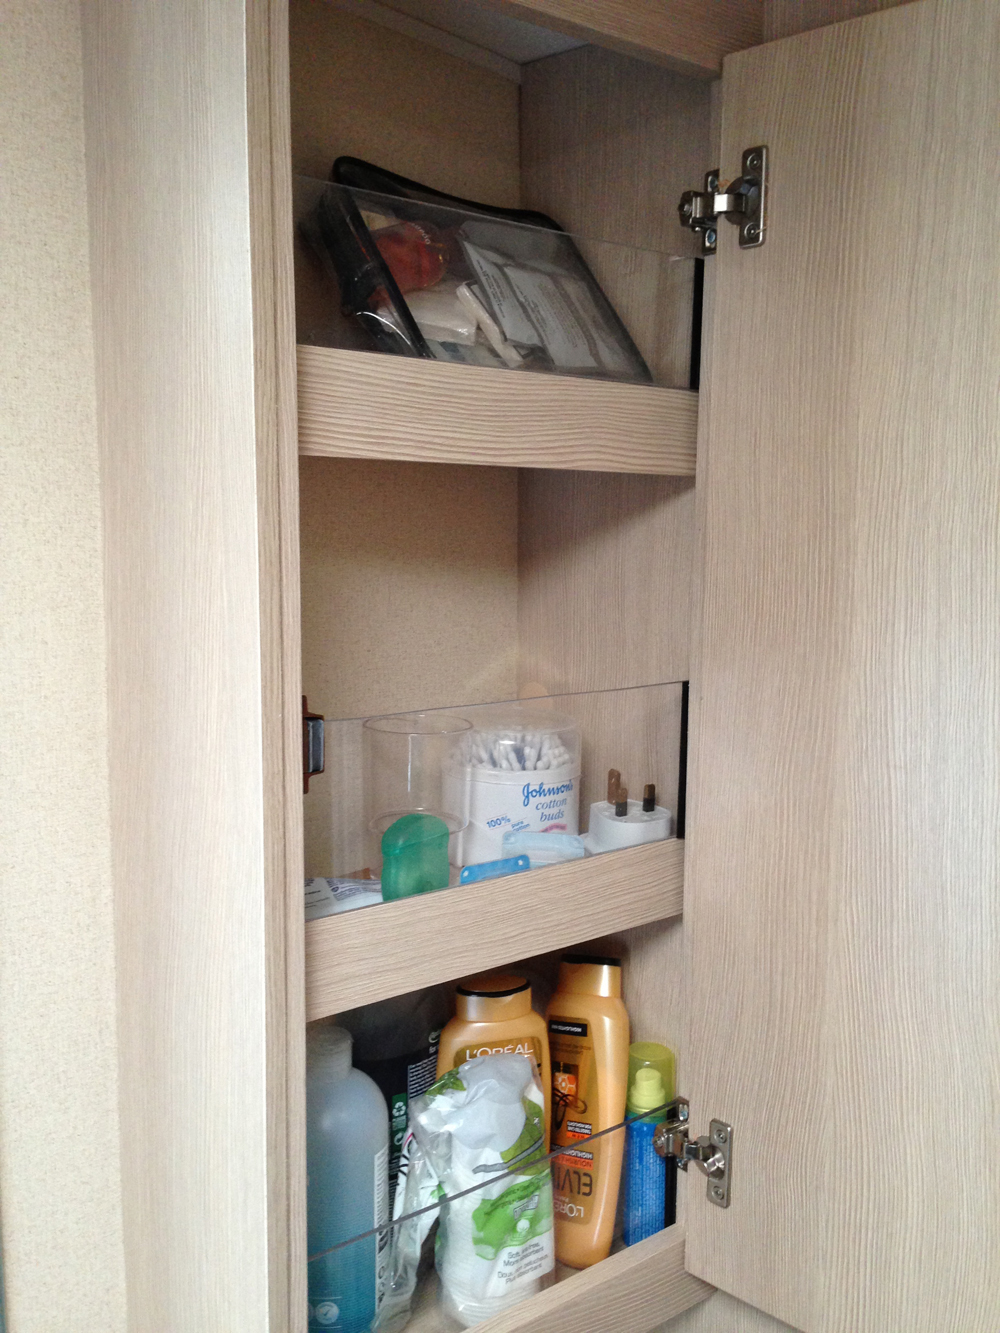
All three shelves done.

Pingback: A little winter warmer… « Caravan Chronicles
Could you explain “and finishing with a fine emery before flaming the edges.” please
Hi Rod
To get the perfect finished edge on Lexan, Acrylic Sheet, Perspex or Makrolon the correct way is to use a fine file to smooth of the cut edge then I wrap the file with a piece of very fine finishing ‘wet & dry’. Once the edge is perfectly smooth, you ‘flame’ the edge. It’s easy to do but takes a few practice runs to get the technique. All you do is use a small blow torch and play the flame gently back and forth along the edge. As the material heats up it fuses and you will see it change from opaque (due to the very fine scratches left by the wet & dry) to clear.
This has a couple of benefits – any tiny micro cracks are sealed and so the chances of cracks propagating in the future are diminished. Not so important in the application I used it granted (but having made aircraft screens in the past it is very important) and secondly it leaves a professional smooth finish to the edge of the material.
Cheers
S
PS… I think if you Google “Flame Polishing” there are a few videos showing how to do it
Thanks, I have worked around Makrolon and Perspex and never realised there was an ‘easy’ way to get a good finish!