
Tags
Caravan, Caravan Electrics, Caravanning, Caravans, Maintenance, Project, Travel Trailer, Travel Trailers

A bit of a dark corner
Illuminated with success installing the additional light above the cooker (see Let there be light…. or at least a bit more light!) there was another area that needed some light shed upon it. The corner adjacent to the main door of the caravan, where the drop down TV resides is, as we in the north of England call it “a bit dimpsey” ( a bit dark) This is evident when you have to get a torch out at night to see to adjust the controls for the water heater and blown air heating system. It would also be handy to be able to switch on a bit of light when entering the caravan in pitch blackness. I suspect that caravan designers don’t work at night therefore only ever see the requirement for illumination when ‘accent lights’ are needed to show off their latest feature. However, handily they had installed a light switch for the awning right next to the door so upgrading this to a twin switch would allow us to switch on the new light from outside and at least partially light the doorway while we got inside and turned on the other lighting.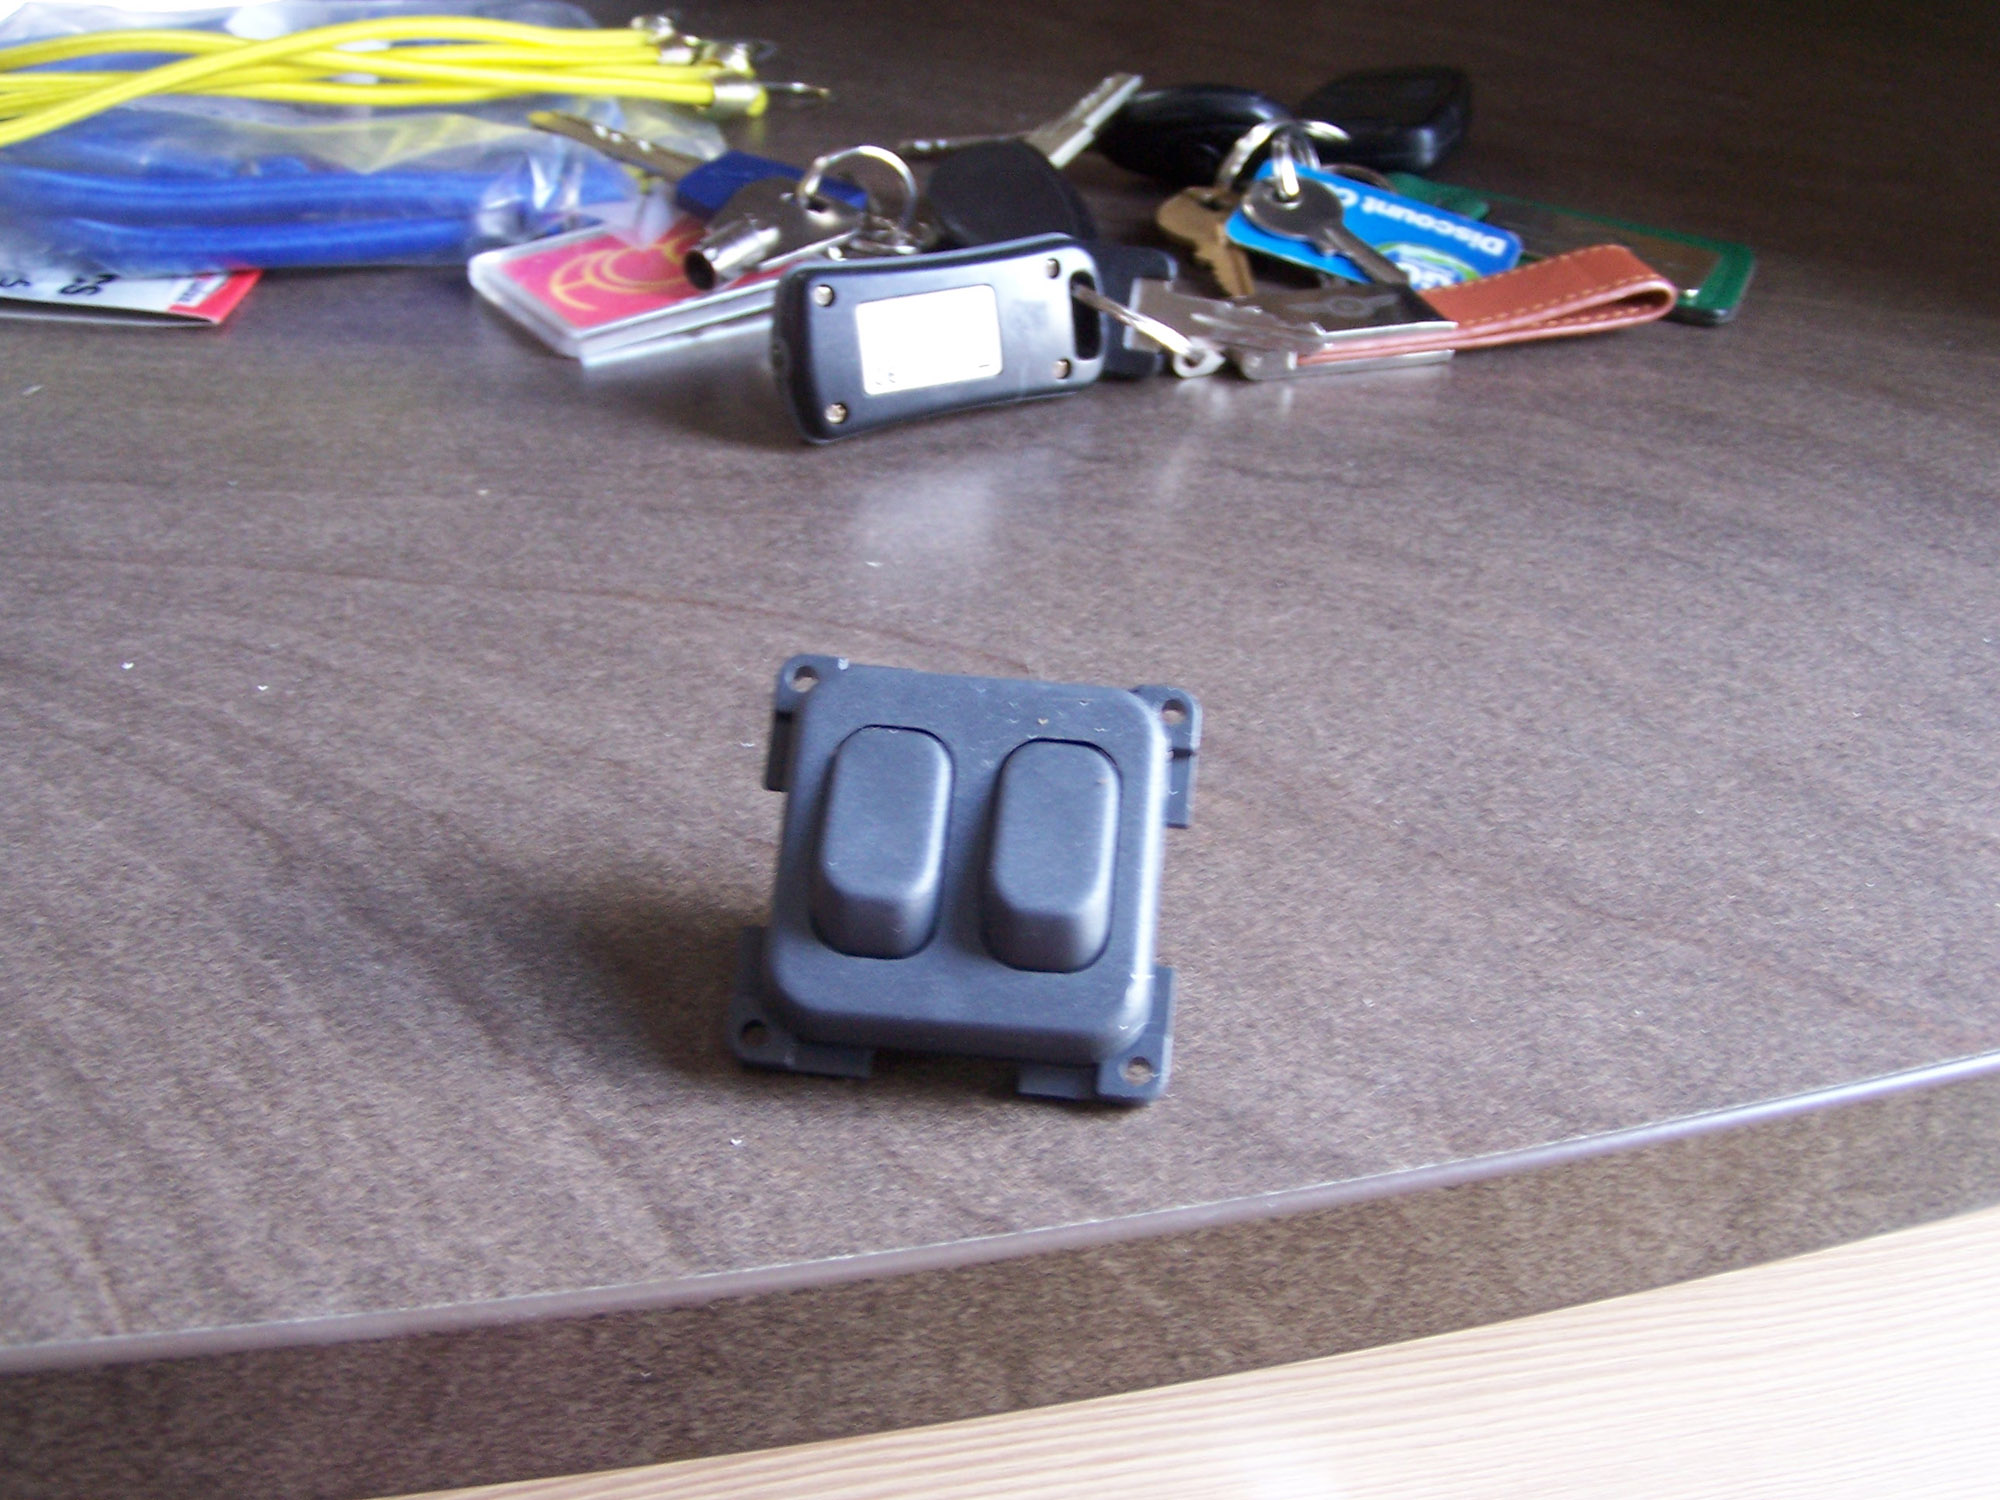 A bit of swift keyboard action soon had a twin switch ordered from Leisure Shop Direct soon had a replacement CBE twin switch on its way to us.
I sourced a suitable 12 volt 10 watt light from B & Q…. it’s intend to be a cabinet light run off a small transformer. The first step was to remove the existing switch from the fitting. CBE fittings are great in the fact they are so adaptable and easy to work on. A small flat blade screwdriver to pop off the front trim and remove two screws soon had the switch free to work on.
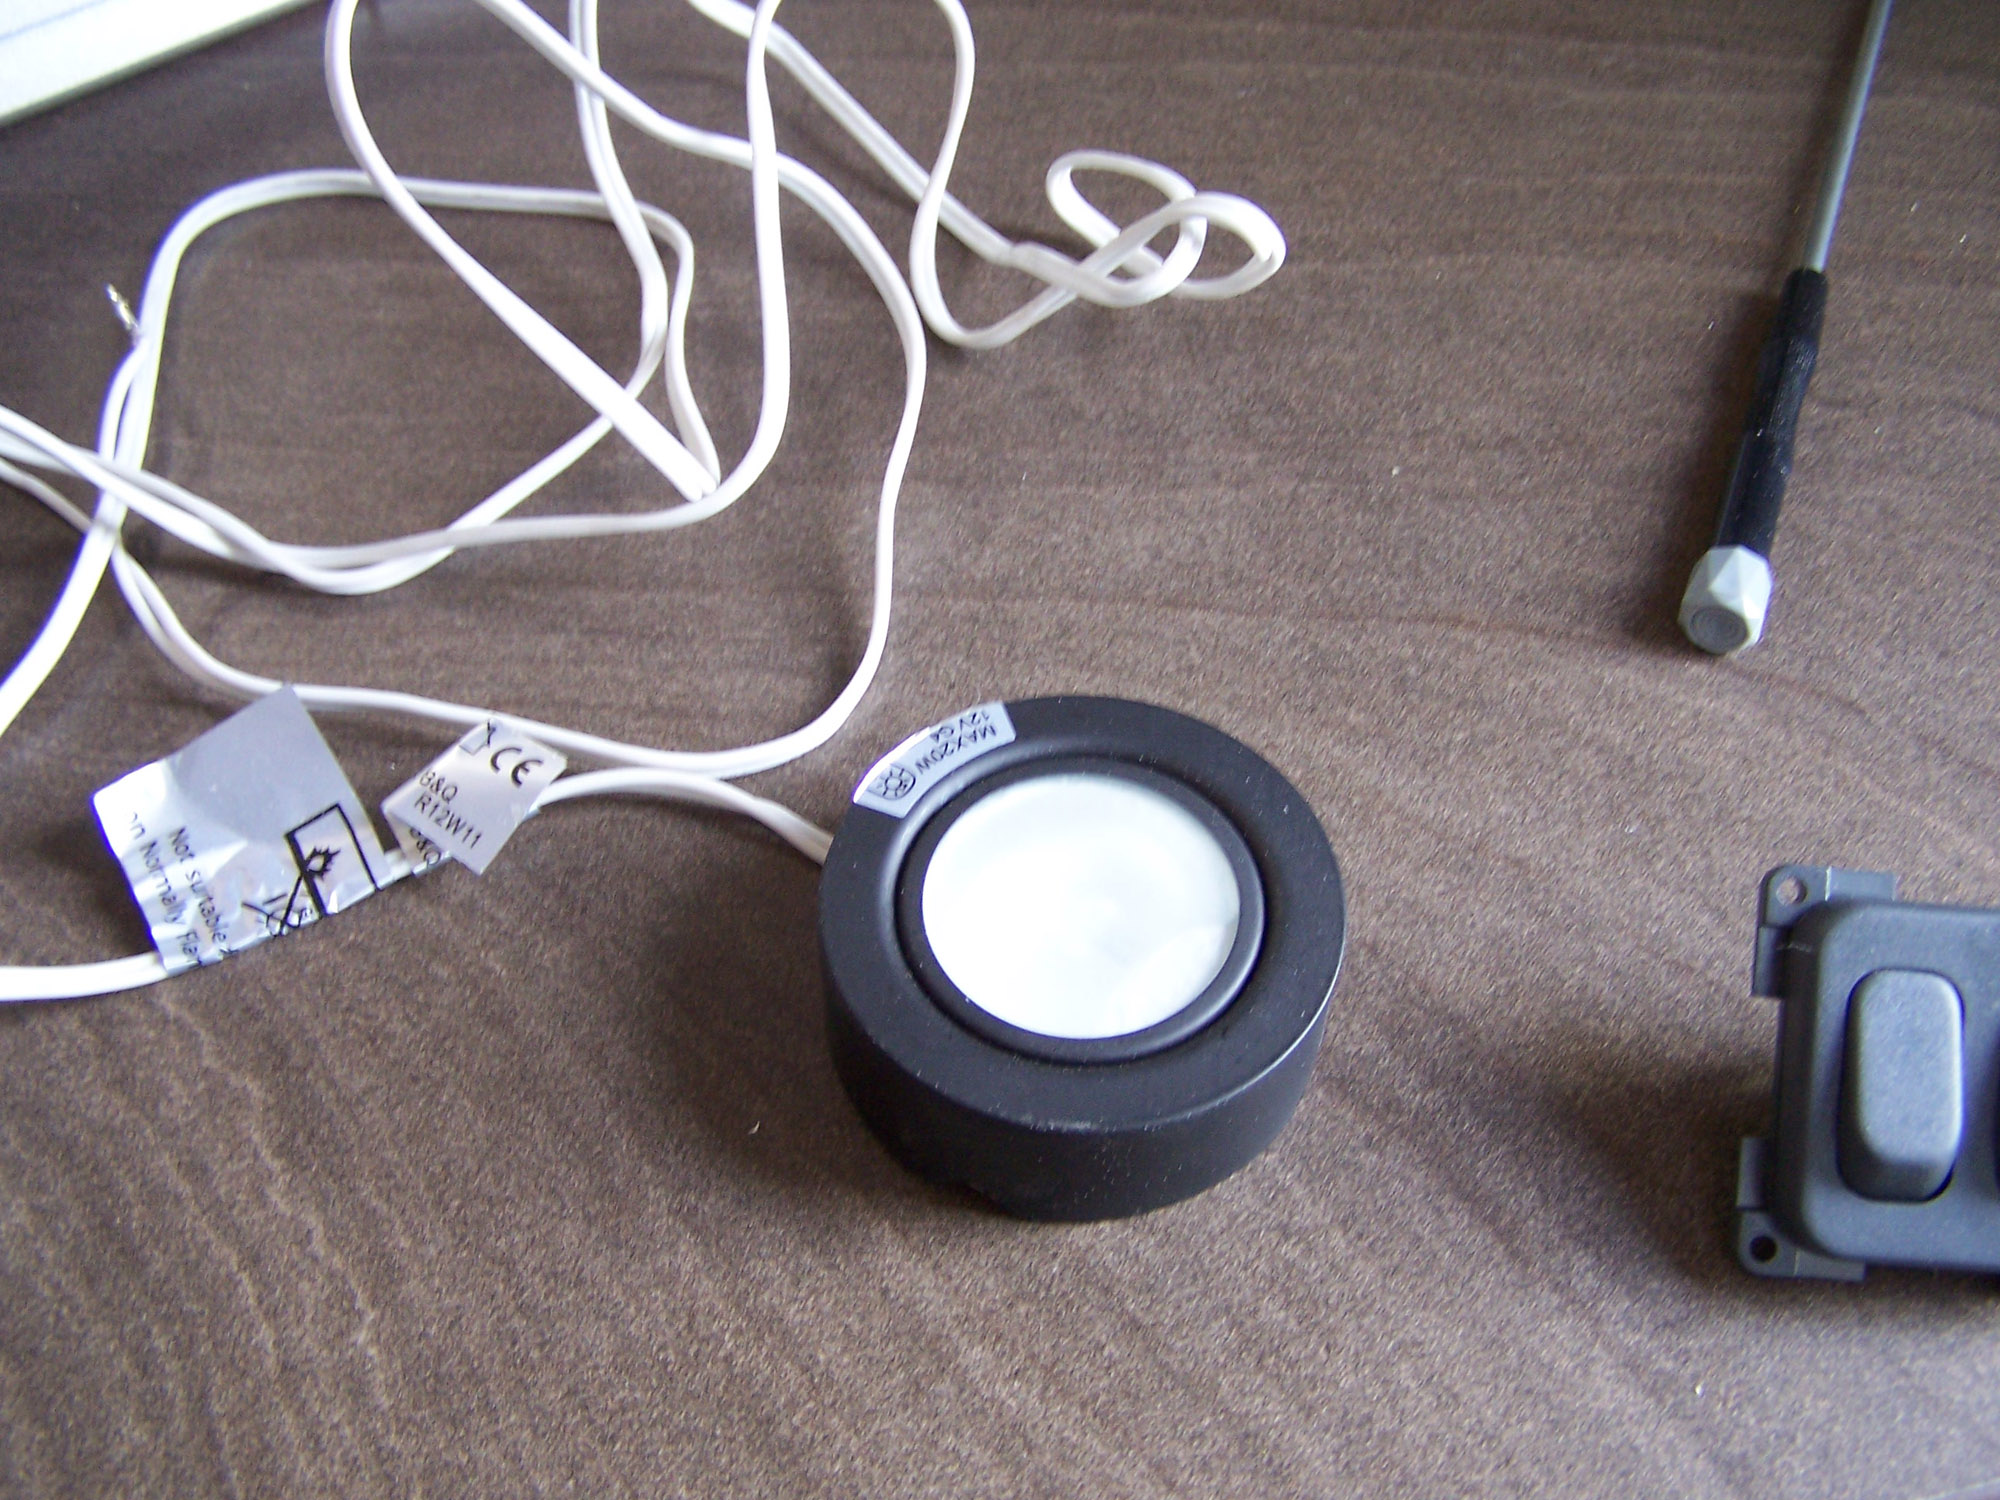
Cabinet light from B & Q
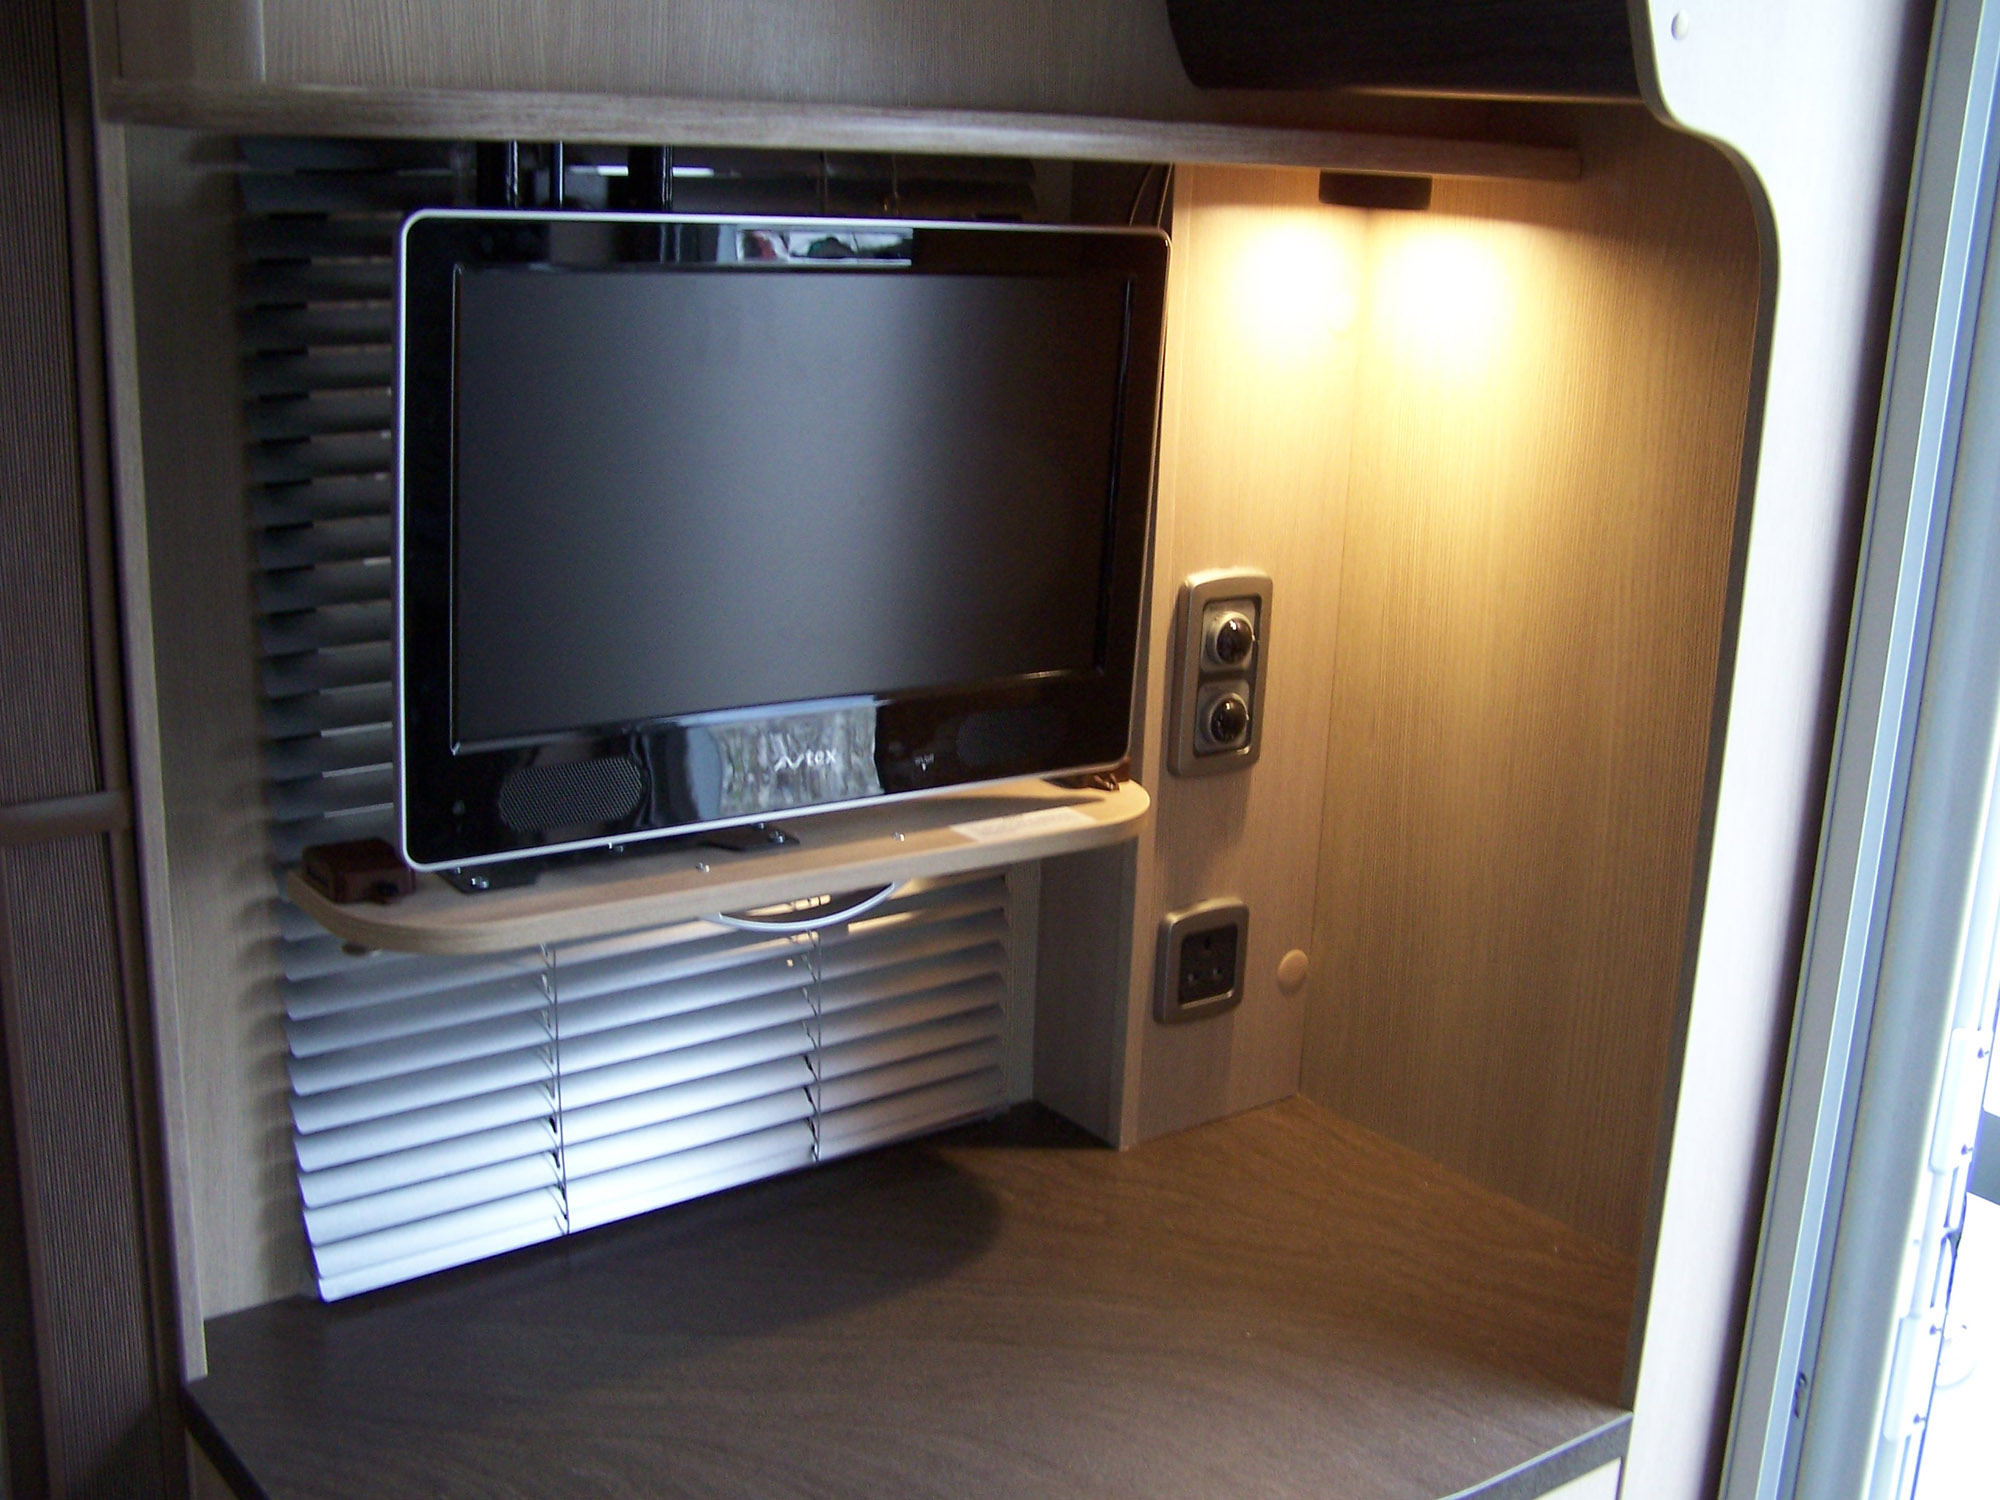
The next step was to install the light. This involved drilling a small hole for the cable to pass through into the space above the light where the cable could then be routed behind the 12 volt TV socket and Mains socket in the cupboard above. I needed to remove the existing 12 volt socket and aerial connections to get access to the duct that runs down to the cabinet that houses the heater. There are already a number of cables running down this route, so I guessed that there would be an easy way through. A large nut tied to a length of fine cord and lowered down easily found its way through and I could pull it through the switch opening. Tying the other end of the cord on to the wire from the light allowed me to pull the end of the cable through the switch opening.
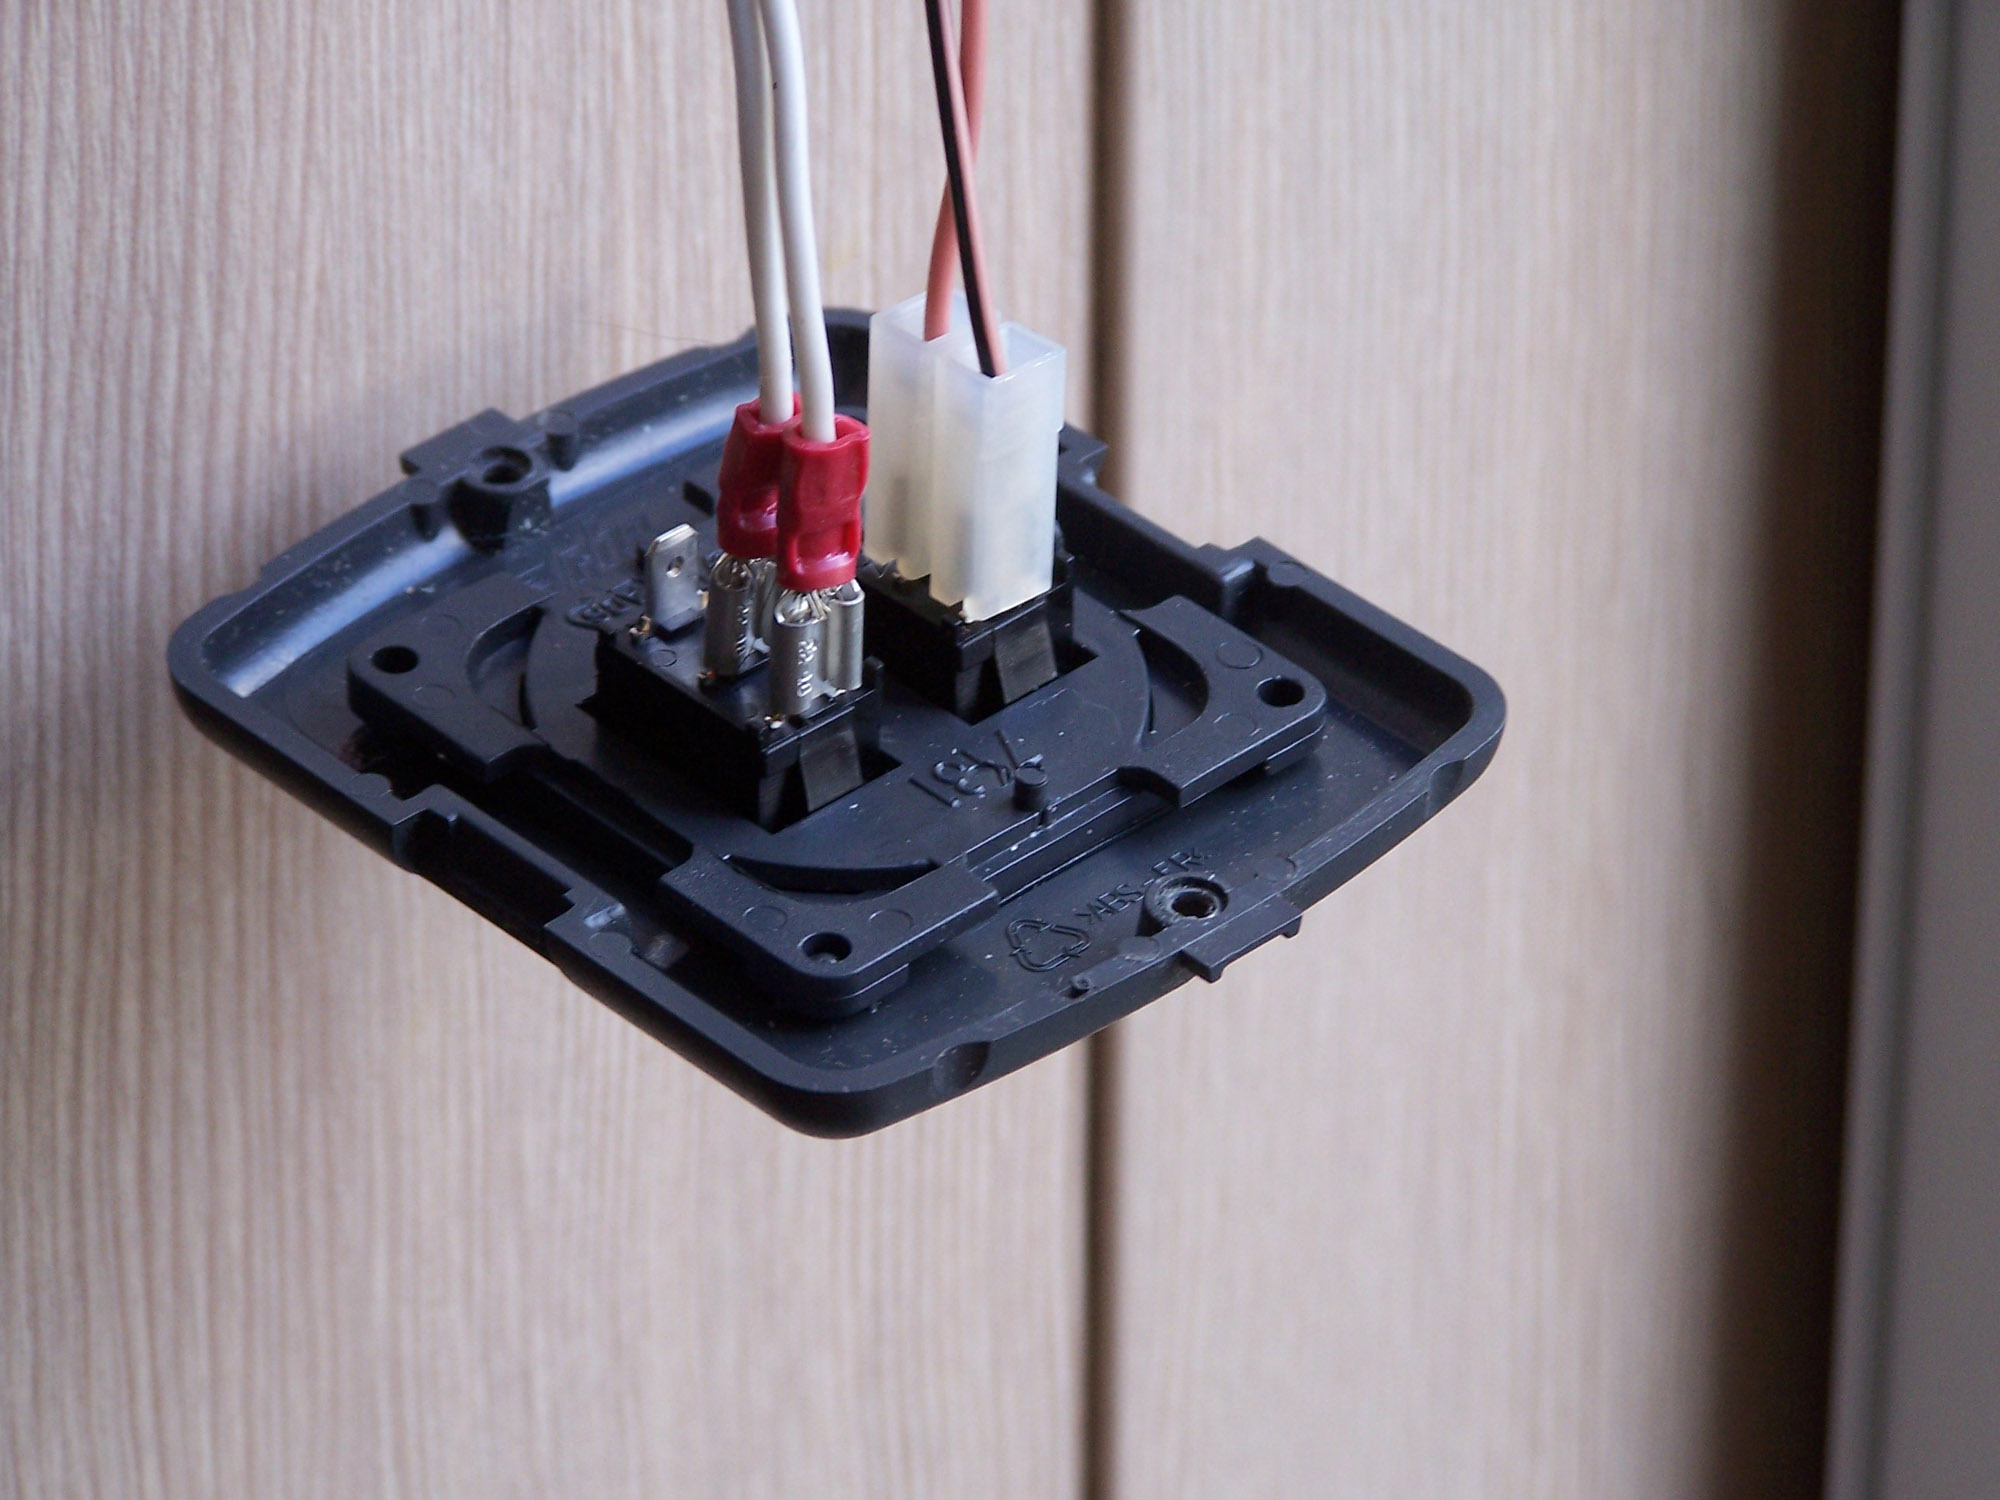
The new twin switch with the awning cables and the new light cables installed
It was a simple matter now to remove the old single switch from the mounting plate and pop in the new twin switch. I transferred the awning light wires over to the new switch. Next I crimped two spade terminals on to the wire and pushed these on the the connectors on the back of the second switch. I slid some heat shrink tube over the terminals of the new light to finish off with (not shown in photo).
Next, I now needed to pick up a 12 volt supply. As I’d just pulled the cable straight through from the light to the switch, I could break into the cable anywhere to supply power. The best place would be in the top cupboard and take a feed off the 12 volt TV socket. I used a couple of ‘piggy back’ spade connectors to make the connection and included an automotive ‘in line’ blade fuse holder with a 2 amp fuse on the positive lead. As the light was only 10 watts, the current would only be 0.8 to 0.9 amps, so a 2 amp fuse would be fine. The cable that came with the light fitting was rated at 5 amp so I don’t anticipate any safety issues. The only downside is it’s a bit of a fiddle to get to the fuse holder as you have to remove the 12 volt socket. Last job was to check everything with a multimeter before turning on the power.
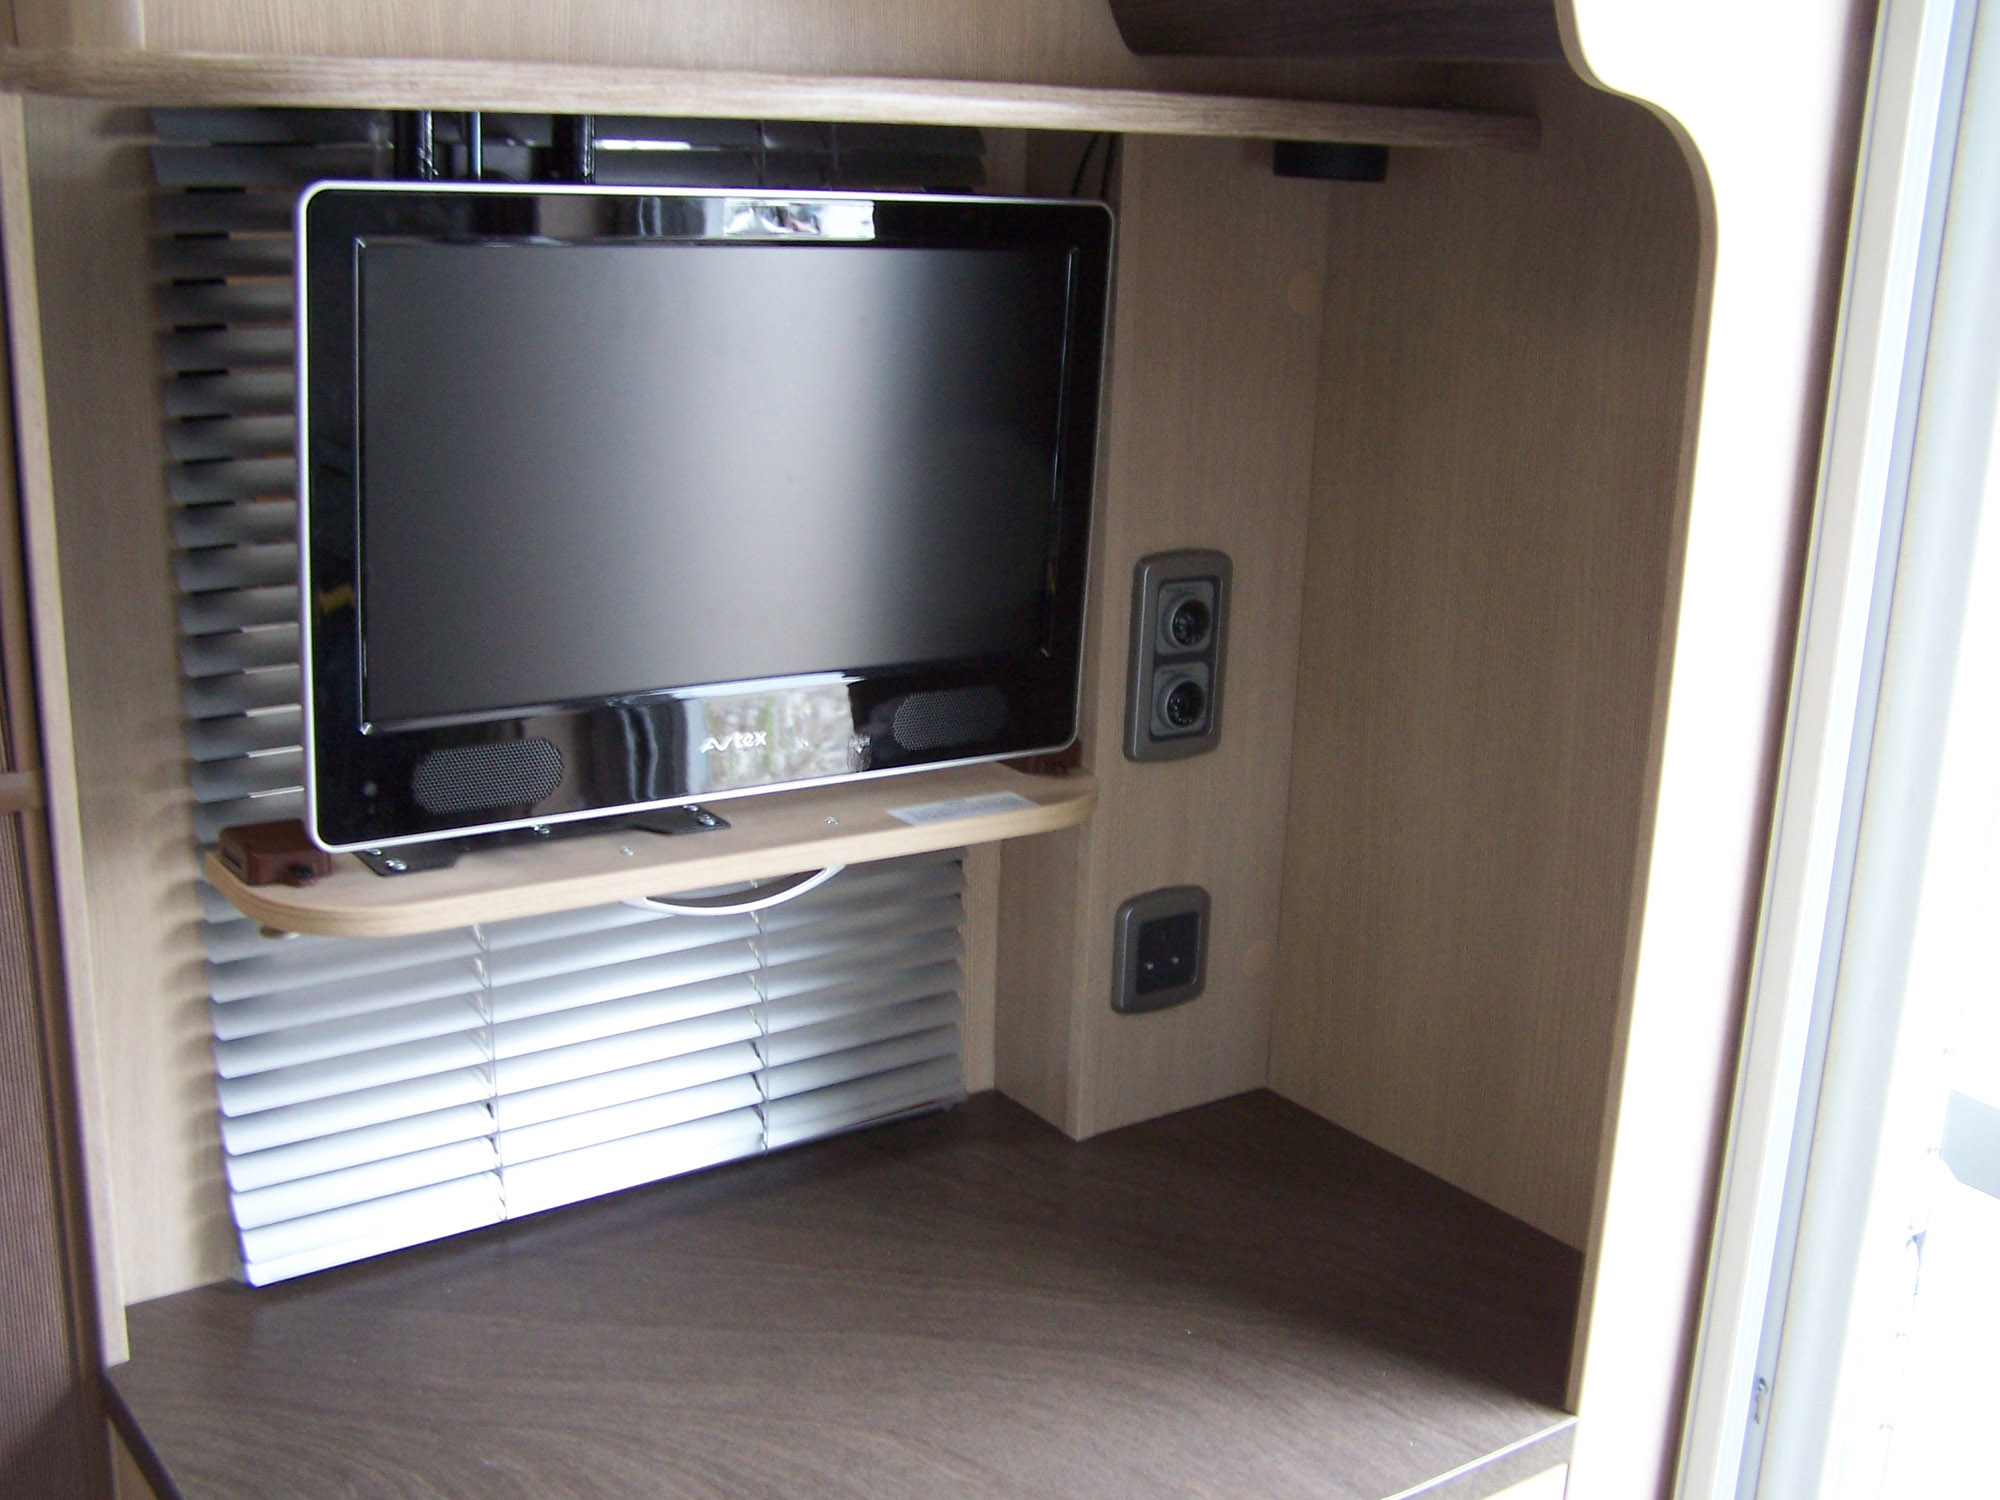
Before….
After….
To complete everything only took around 45 minutes and the whole project cost under £15. So now when we come back to the caravan in the dark, we can easily turn on the awning light and an interior light before entering the caravan…. and when in the middle of the night I am prompted by an elbow in the ribs to increase or decrease the heating I can simply turn on the light without dazzling.
When I first thought of this little project, I did start looking at LED fittings to save power for when we are just running on battery. As the light is only for occasional use, the power issue is not critical. The cost of a similar LED fitting would have been around £20 to £25 (at the time of writing) however, as this fitting uses a standard “G” type bulb. I can buy a replacement LED bulb for around £6, so in the near future, it will be a simple task to replace the bulb with a LED unit and it will still be less than a similar LED fitting. My friend Peter ( “Bailey Oklahoma” for those that follow the caravanning forums) has good contacts for LED replacement ‘bulbs’ for use in caravans.
Cheers
S

Pingback: A couple of updates and a problem… | Caravan Chronicles