Tags
Blue Planet Aquarium, Caravan, Caravanning, Lady Heyes, The York Roast Co, Towing, Travel Trailer, Travel Trailers
We have just returned from 4 days at Lady Heyes touring caravan park near Frodsham in Cheshire. For us, this is where our caravanning adventures began as it was the first site we went to with our shiny brand new van back in July 2011, which now seems so long ago. (You can read about it in “Our First Trip…”)
What had changed… well back then we had only towed the caravan from the dealers, so it was all a new learning curve. This time we had over 4700 miles of towing under our wheels… so still a learning curve but not quite as steep, and this time Lady Heyes had won an award… Caravan Talk Touring Park of the Year 2012.
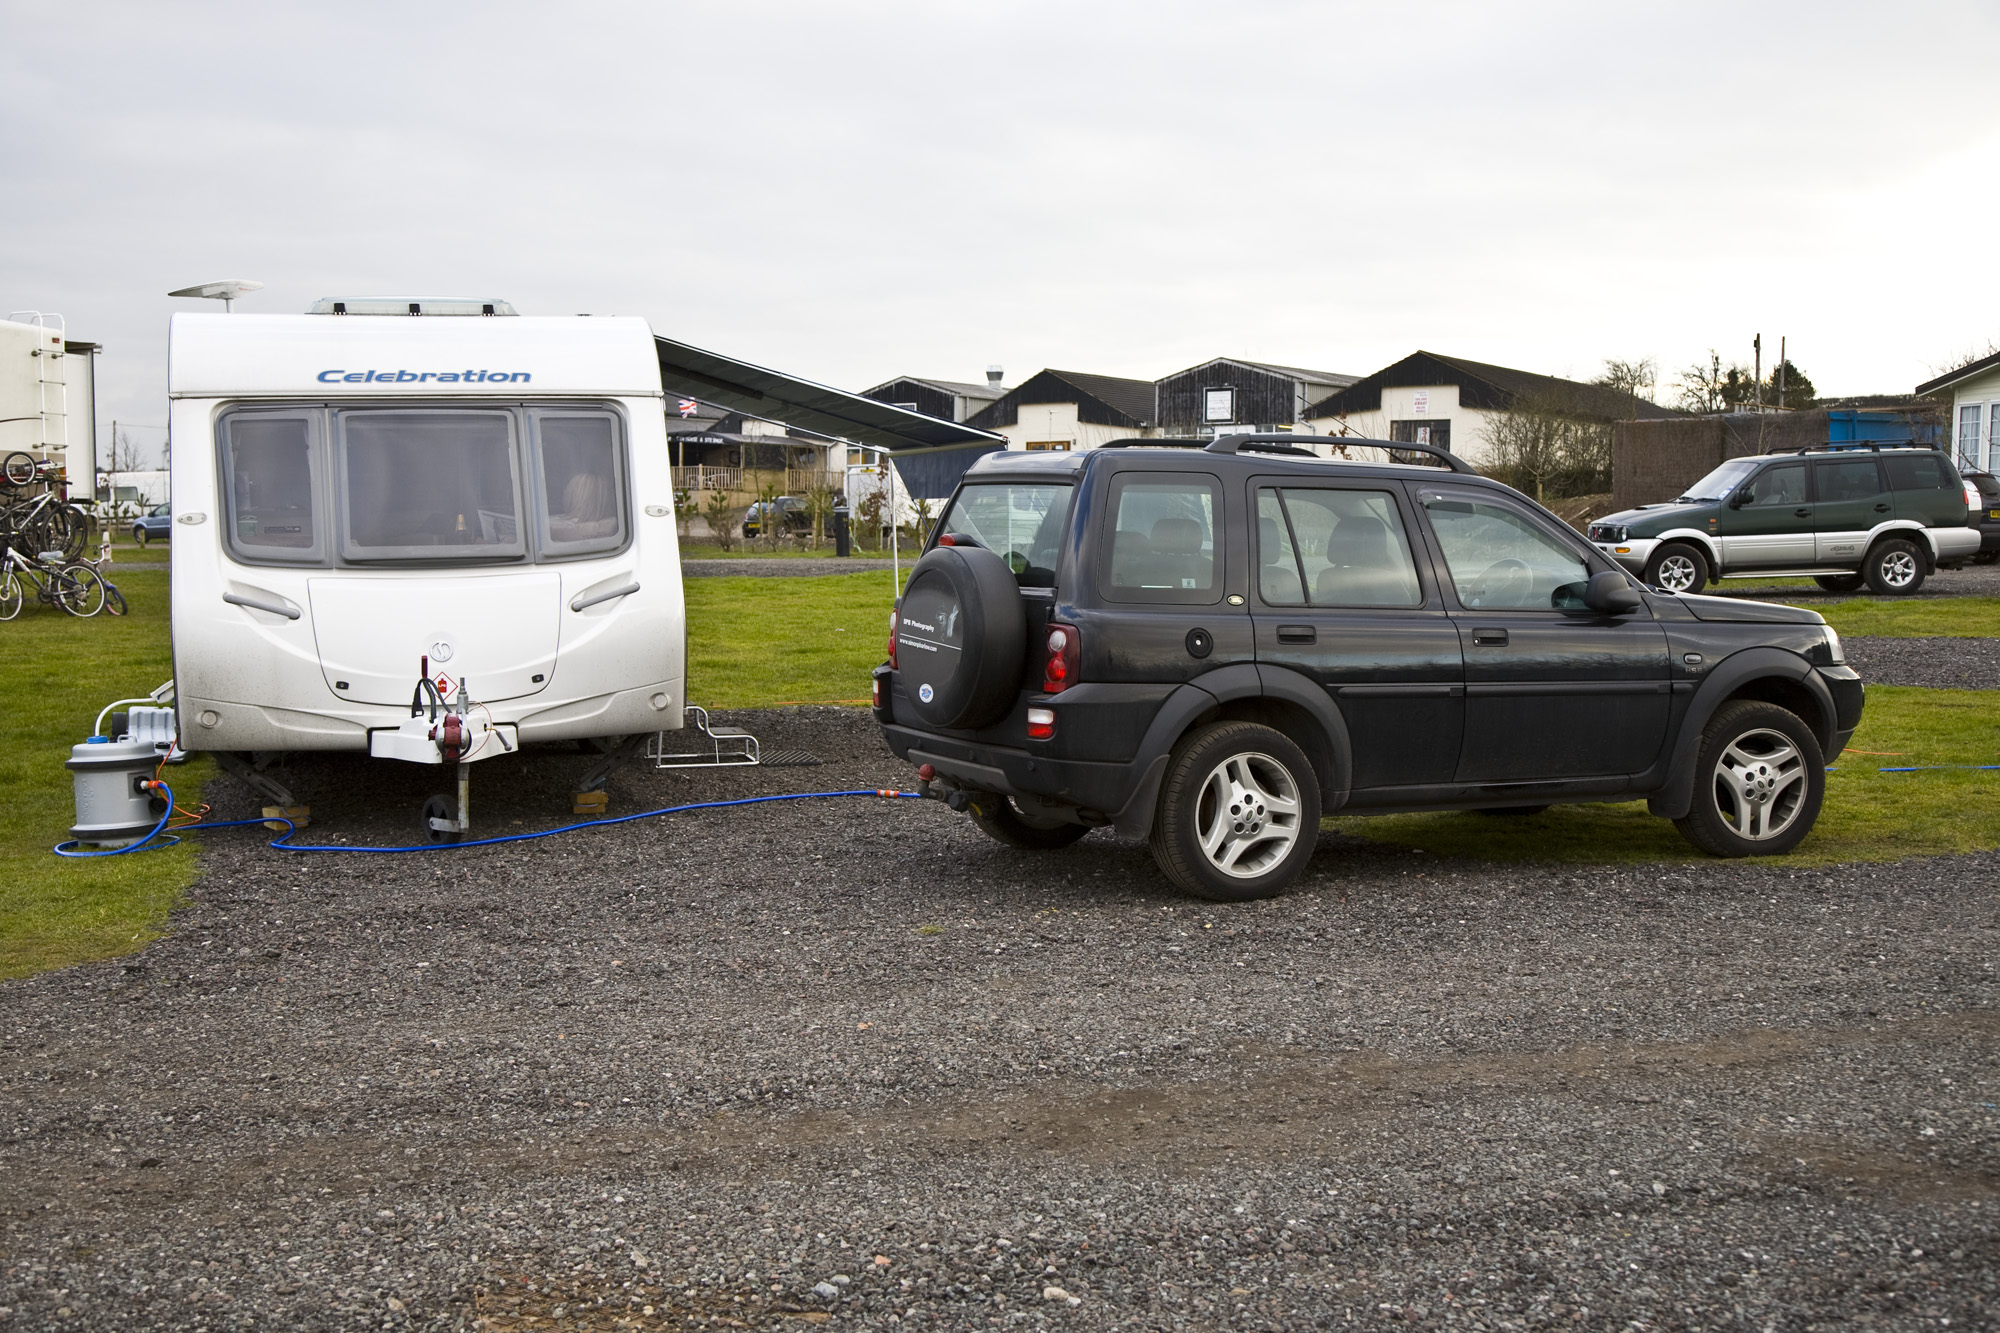
We arrived at Lady Hayes just after 12 and checked in. On our first visit, we had been on pitch 5 and parked nose in, which put the EHU & water bollard on the ‘wrong’ side of the caravan, so this time I chose pitch 6 so that it would be on the ‘correct’ side… however when I asked if we could park ‘nose in’ I was told that due to fire regulations all vans now had to be reversed in to the pitches, so this would put the hook up bollard on the ‘wrong’ side again. Bugger. At least we had enough kit to be able to hook up to water and power if not drainage.
Pitched… heater and kettle on!
As we swung round to our pitch it started to snow… well that’s a first. We have set up in torrential rain and gales and everything in-between but never when it has been snowing. Thankfully it was only a few flakes blowing about. Something I said back in my original post – “Our First Trip… was that the pitches seemed close and as it was the last weekend of the school holidays the site was full and a bit tight getting on the pitch… which meant that reversing on in one 90 degree turn was not possible and involved a shunt forward between two caravans opposite. Once on the pitch we were soon set up with the power and water on and the heating set on ‘blast furnace’ to get the caravan warmed up.
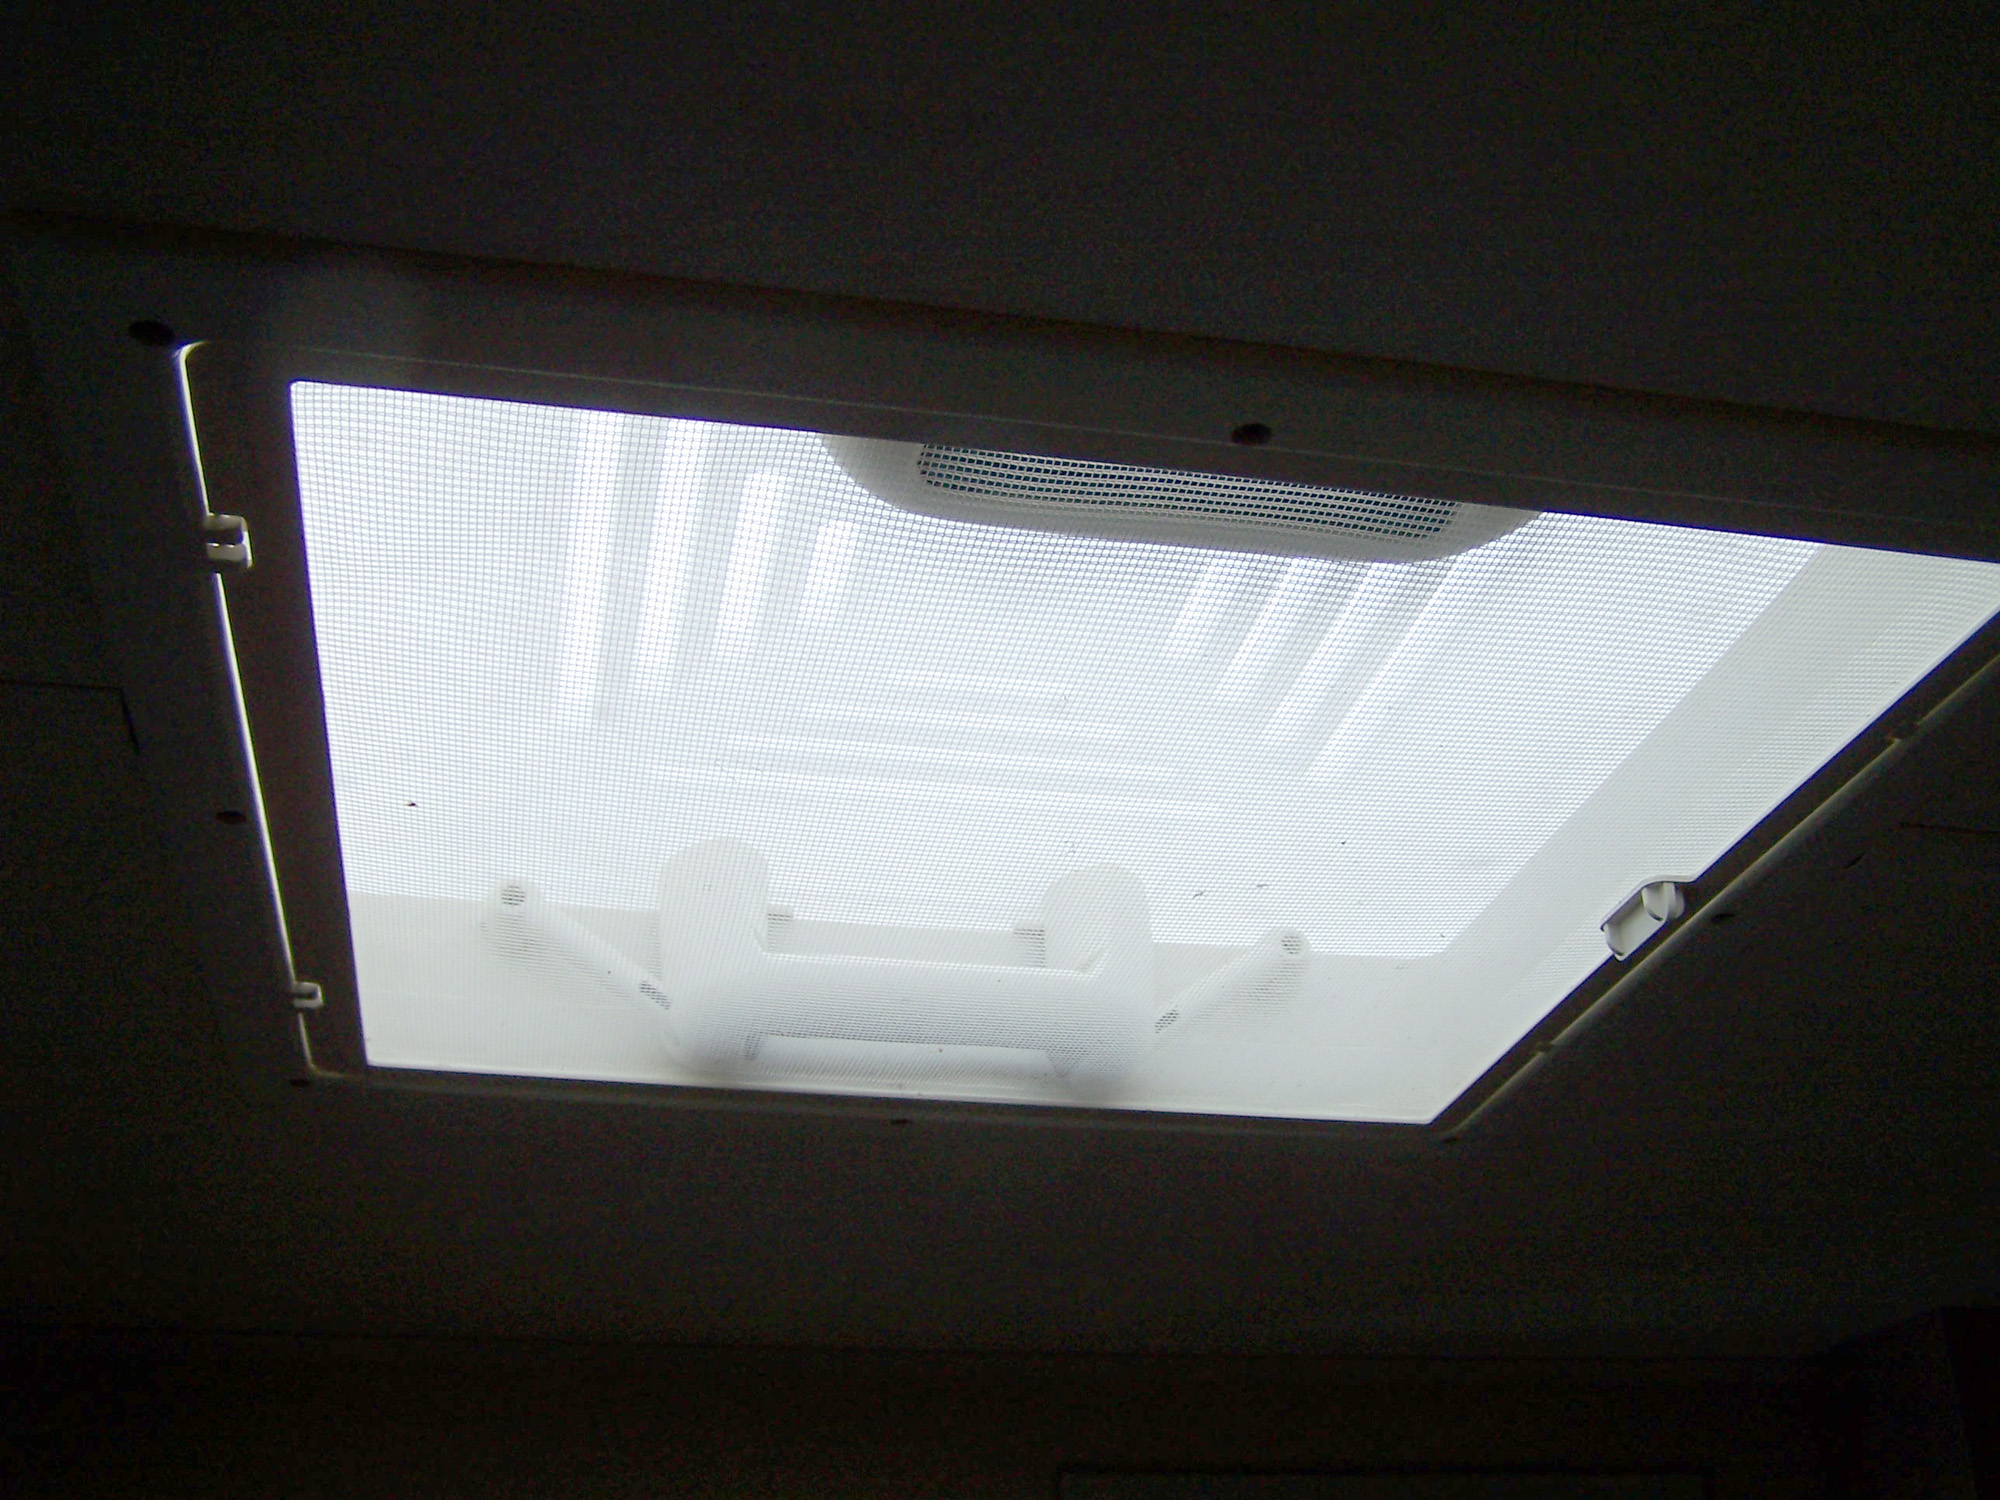
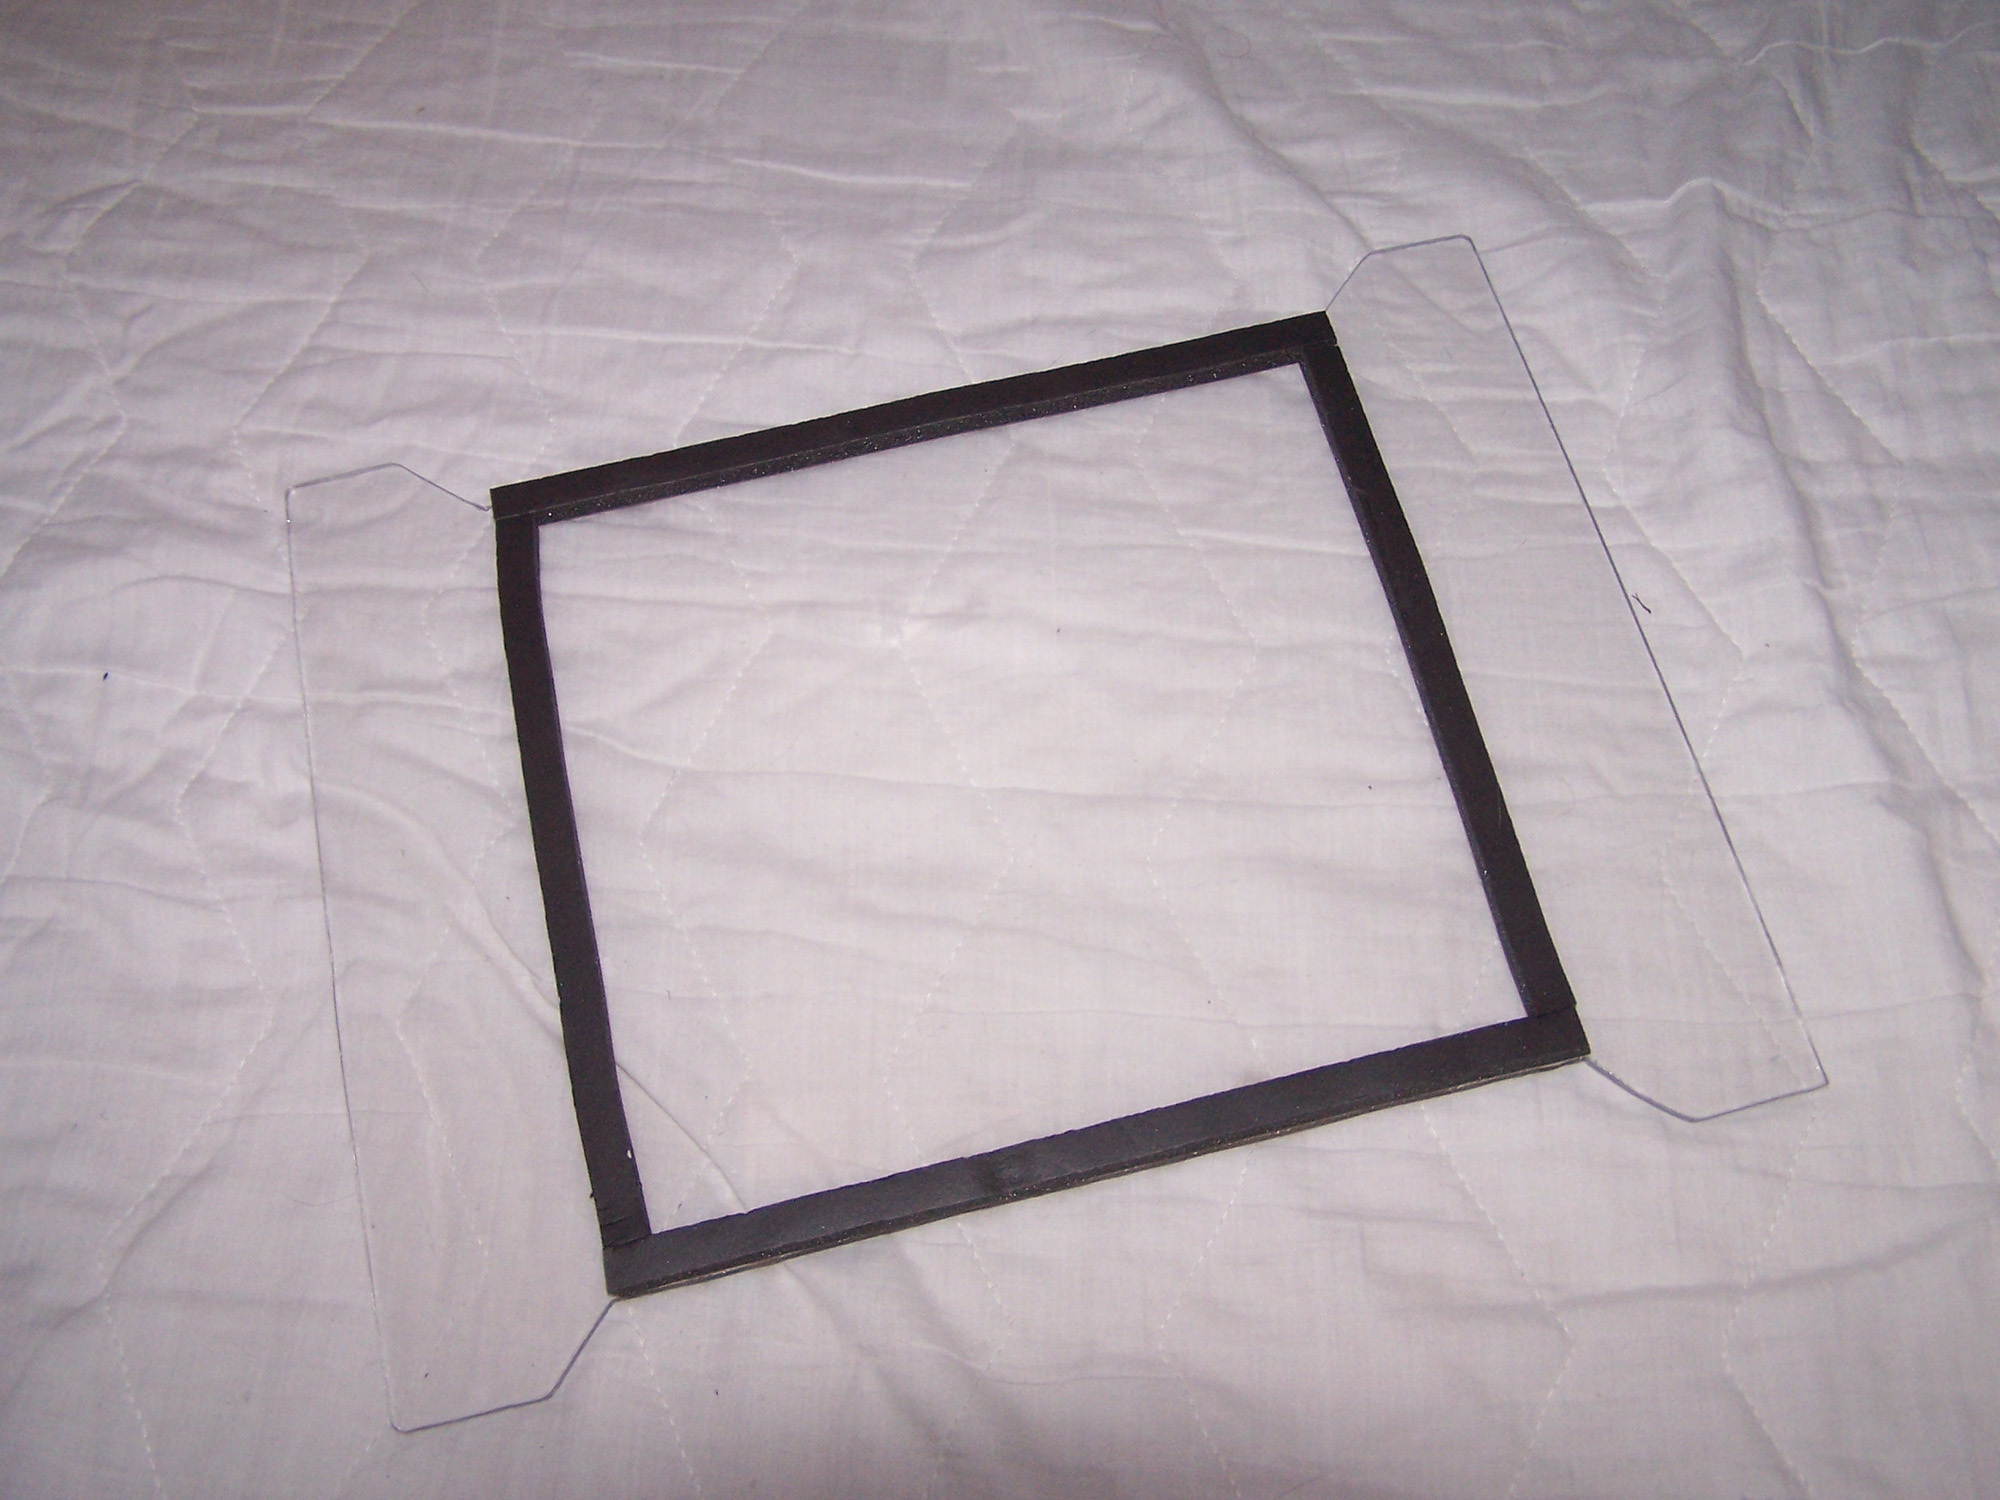
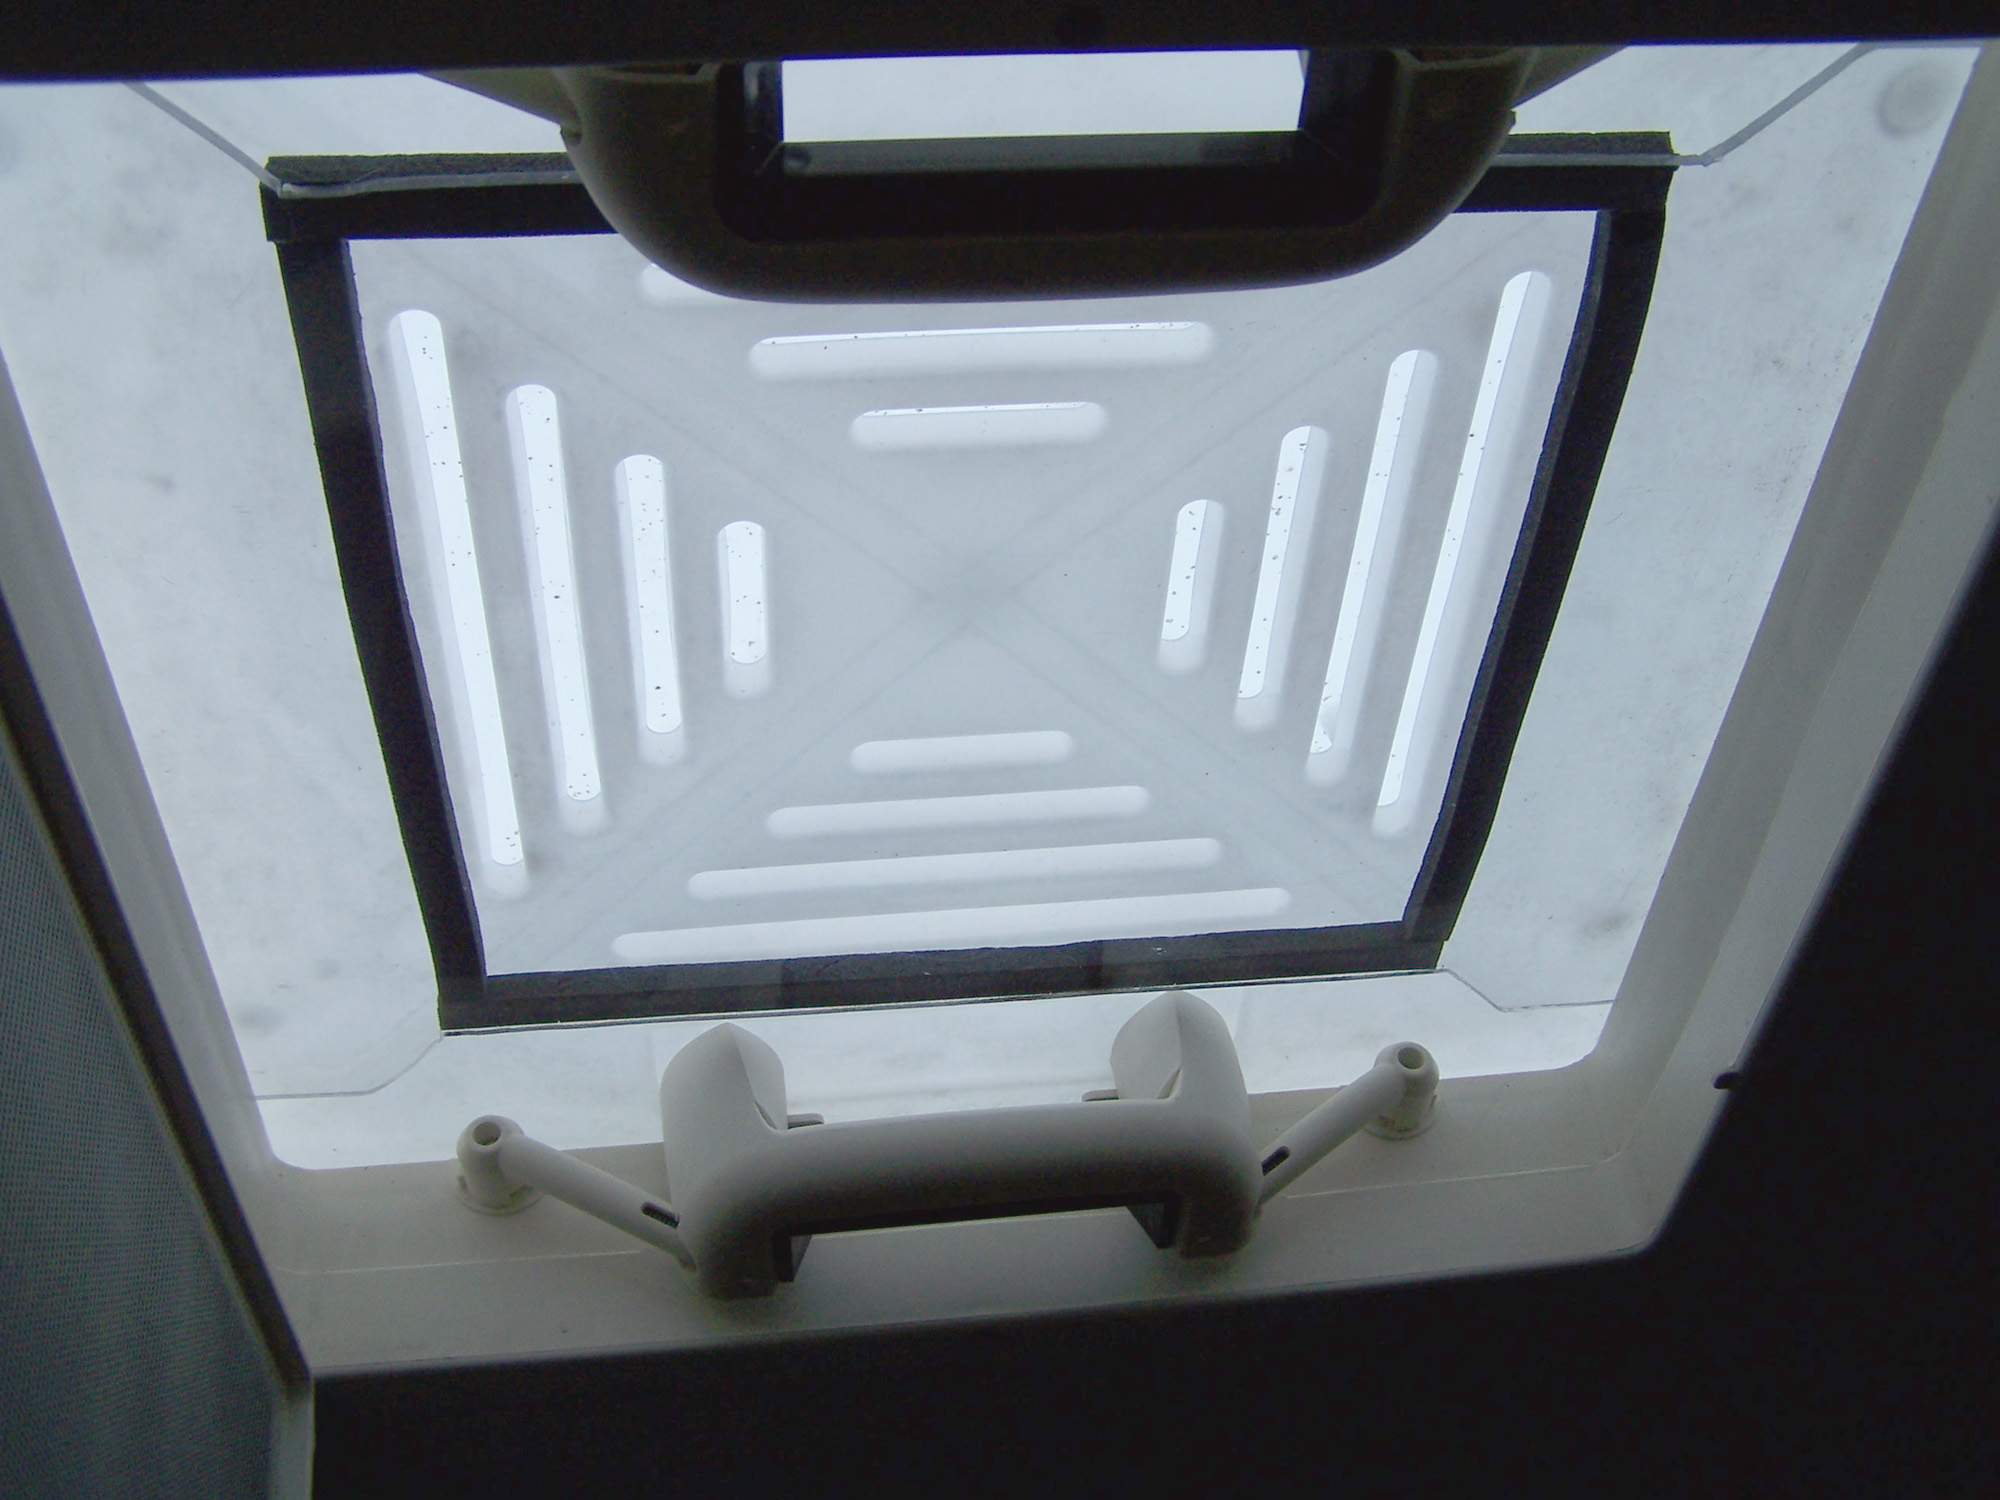
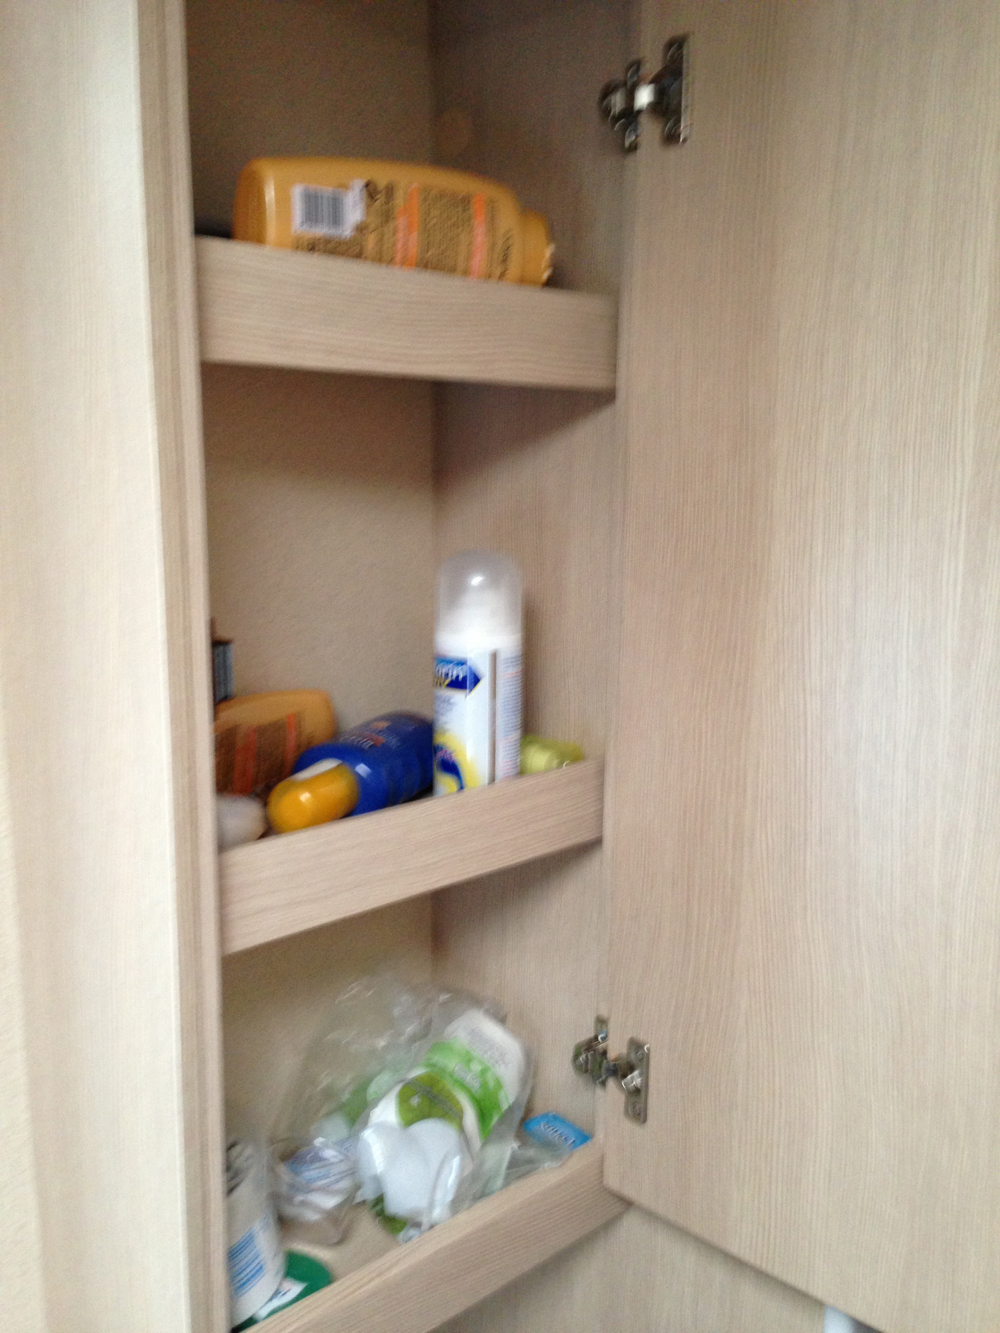
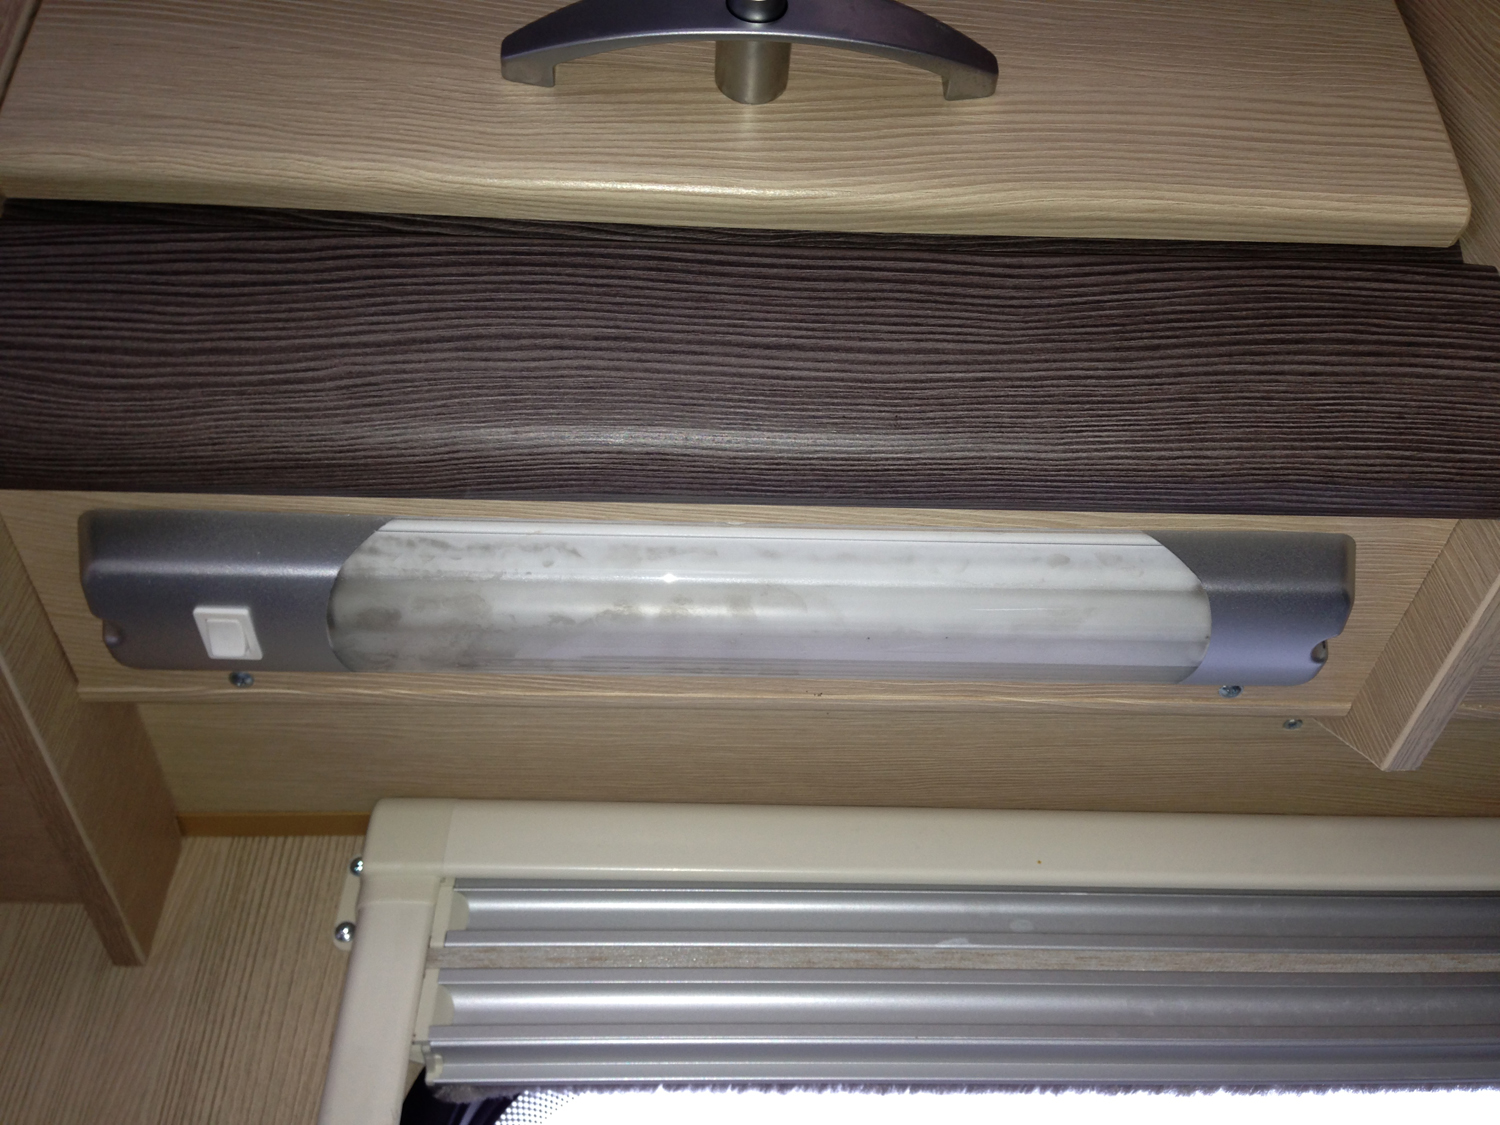
It didn’t take long for the caravan to warm up and the plastic vent insert I made a couple of weeks ago (A Little winter warmer…) made a big difference in the rear bathroom. Once up to temp, the blown air duct could be shut off and the heated towel rail kept the room at temperature.
Sunday 24th
Sunday morning there was a flurry of activity. We guessed that as it was the last day of half term so all the parents and grandparents would be packing up… and they were. By 11:00 the site was emptying fast.
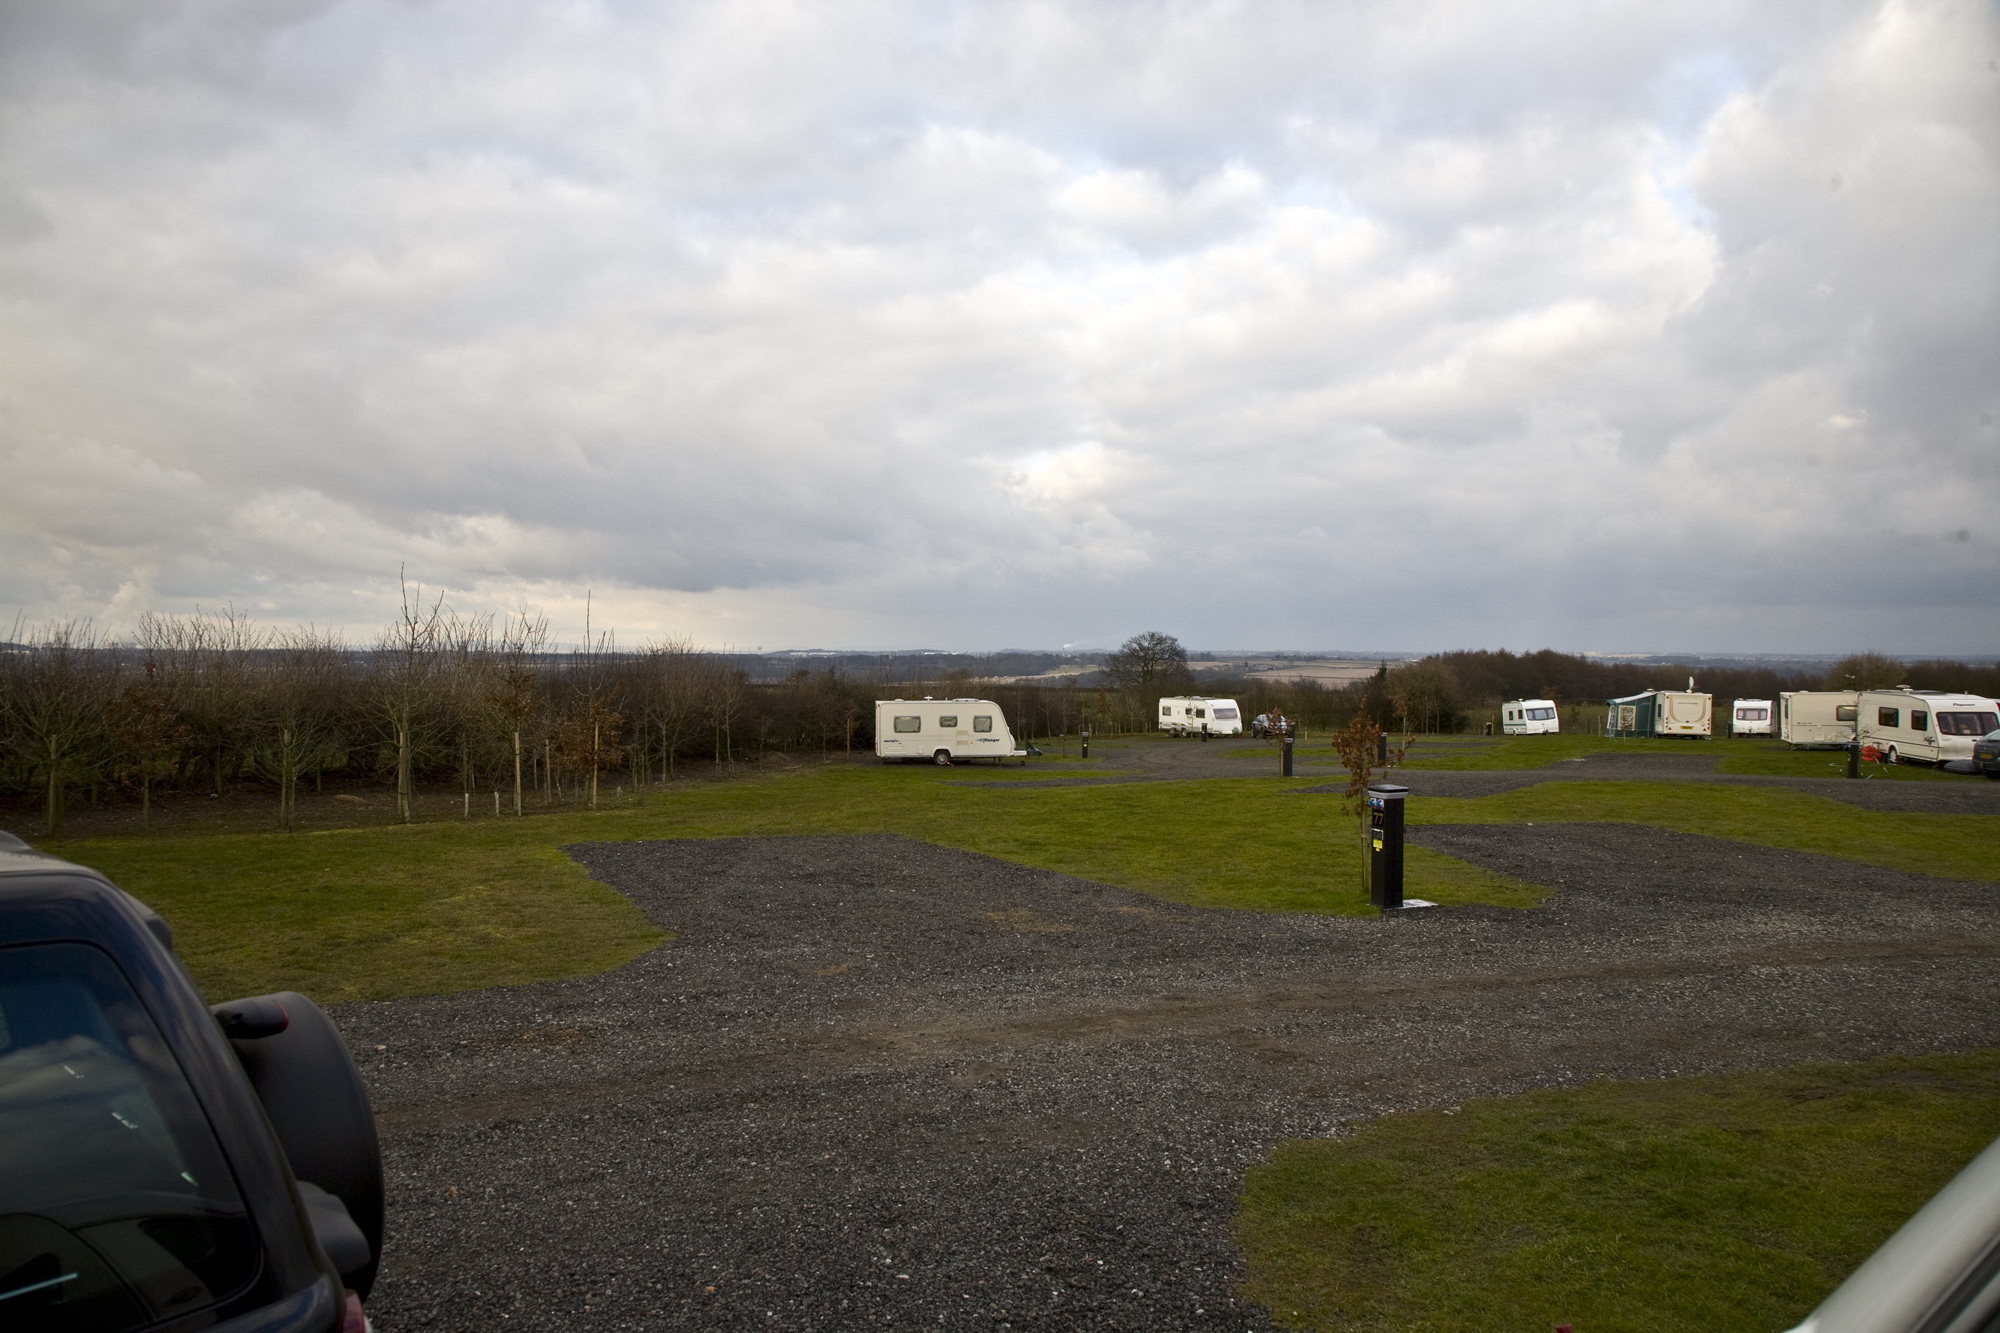
Looking towards the North East from out pitch…. the site was rapidly emptying as parents and grandparents headed back on the last day of half term.
Sue and I had always wanted to visit the Blue Planet Aquarium… one of our favourite haunts in Boston (Mass) is the New England Aquarium where they have one of the worlds biggest ocean tanks. We wanted to walk through the clear tunnel under the tank at Blue Planet Aquarium after seeing it advertised somewhere and it didn’t disappoint. Watching the sharks glide a few inches over your head and swim past you at eye level was amazing. It was as close to being in the water with them as you can get without getting wet. We can both thoroughly recommend spending time wandering through the tunnel.
We spent a couple of hours in the aquarium which for the ticket price of £15.50 each (plus car parking) seems like a lot for the time we spent there. The hi-light for me however was being just in time to see the feeding of the otters. My affection with otters goes back several years to Combe Martin Wildlife park when an otter came up to the fence and laid on its back and seemed to thoroughly enjoy me tickling its tummy… I’m sure it was smiling. You haven’t lived until you have tickled an otters tummy!. Visiting the aquarium was one of those things you have to do and I guess it dropped down the list as it was so close to home as we have in the past tried to visit attractions further afield.
After leaving the aquarium we headed across to the outlet village and decided on a leisurely late lunch at Frankie & Benny’s followed by the 20 minute drive on the back roads across country back to the caravan park. By the time we returned, the site was almost deserted except for a big A Class american outfit and two other occupied caravans…. and of course all the seasonal vans that were deserted dotted around the perimeter.
As a footnote to our visit to the Blue Planet Aquarium, while part way through the clear tunnel there is an area that has other smaller tanks. Here there is a large display telling you that the perspex for the tunnel was made in Germany and it was then sent all the way to New Zealand to be bent before being shipped back to the UK to be assembled in to the tunnel which you have just walked through. Now is it me or does that seem at odds with the whole idea of the aquarium promoting sea life and conservation that the material for the tunnel traveled half way round the world and back…. just how big is that carbon footprint?
Monday 25th
As the schools were now back in session we decided to drive into Chester. Parking in the multistory car park on Pepper Street (opposite Newgate St) put us right in the centre of the town. The wind had a cutting edge to it and despite being wrapped up it was cold. We wandered through one of the shopping malls and ended up on Eastgate St. We wandered down Eastgate and Watergate St doing a bit of window shopping and calling in at an ATM to top up the funds. By now the cold had got to me and we started looking round for somewhere to have lunch and to get out of the wind. Walking across the end of Bridge St came a wondrous smell of roasting….
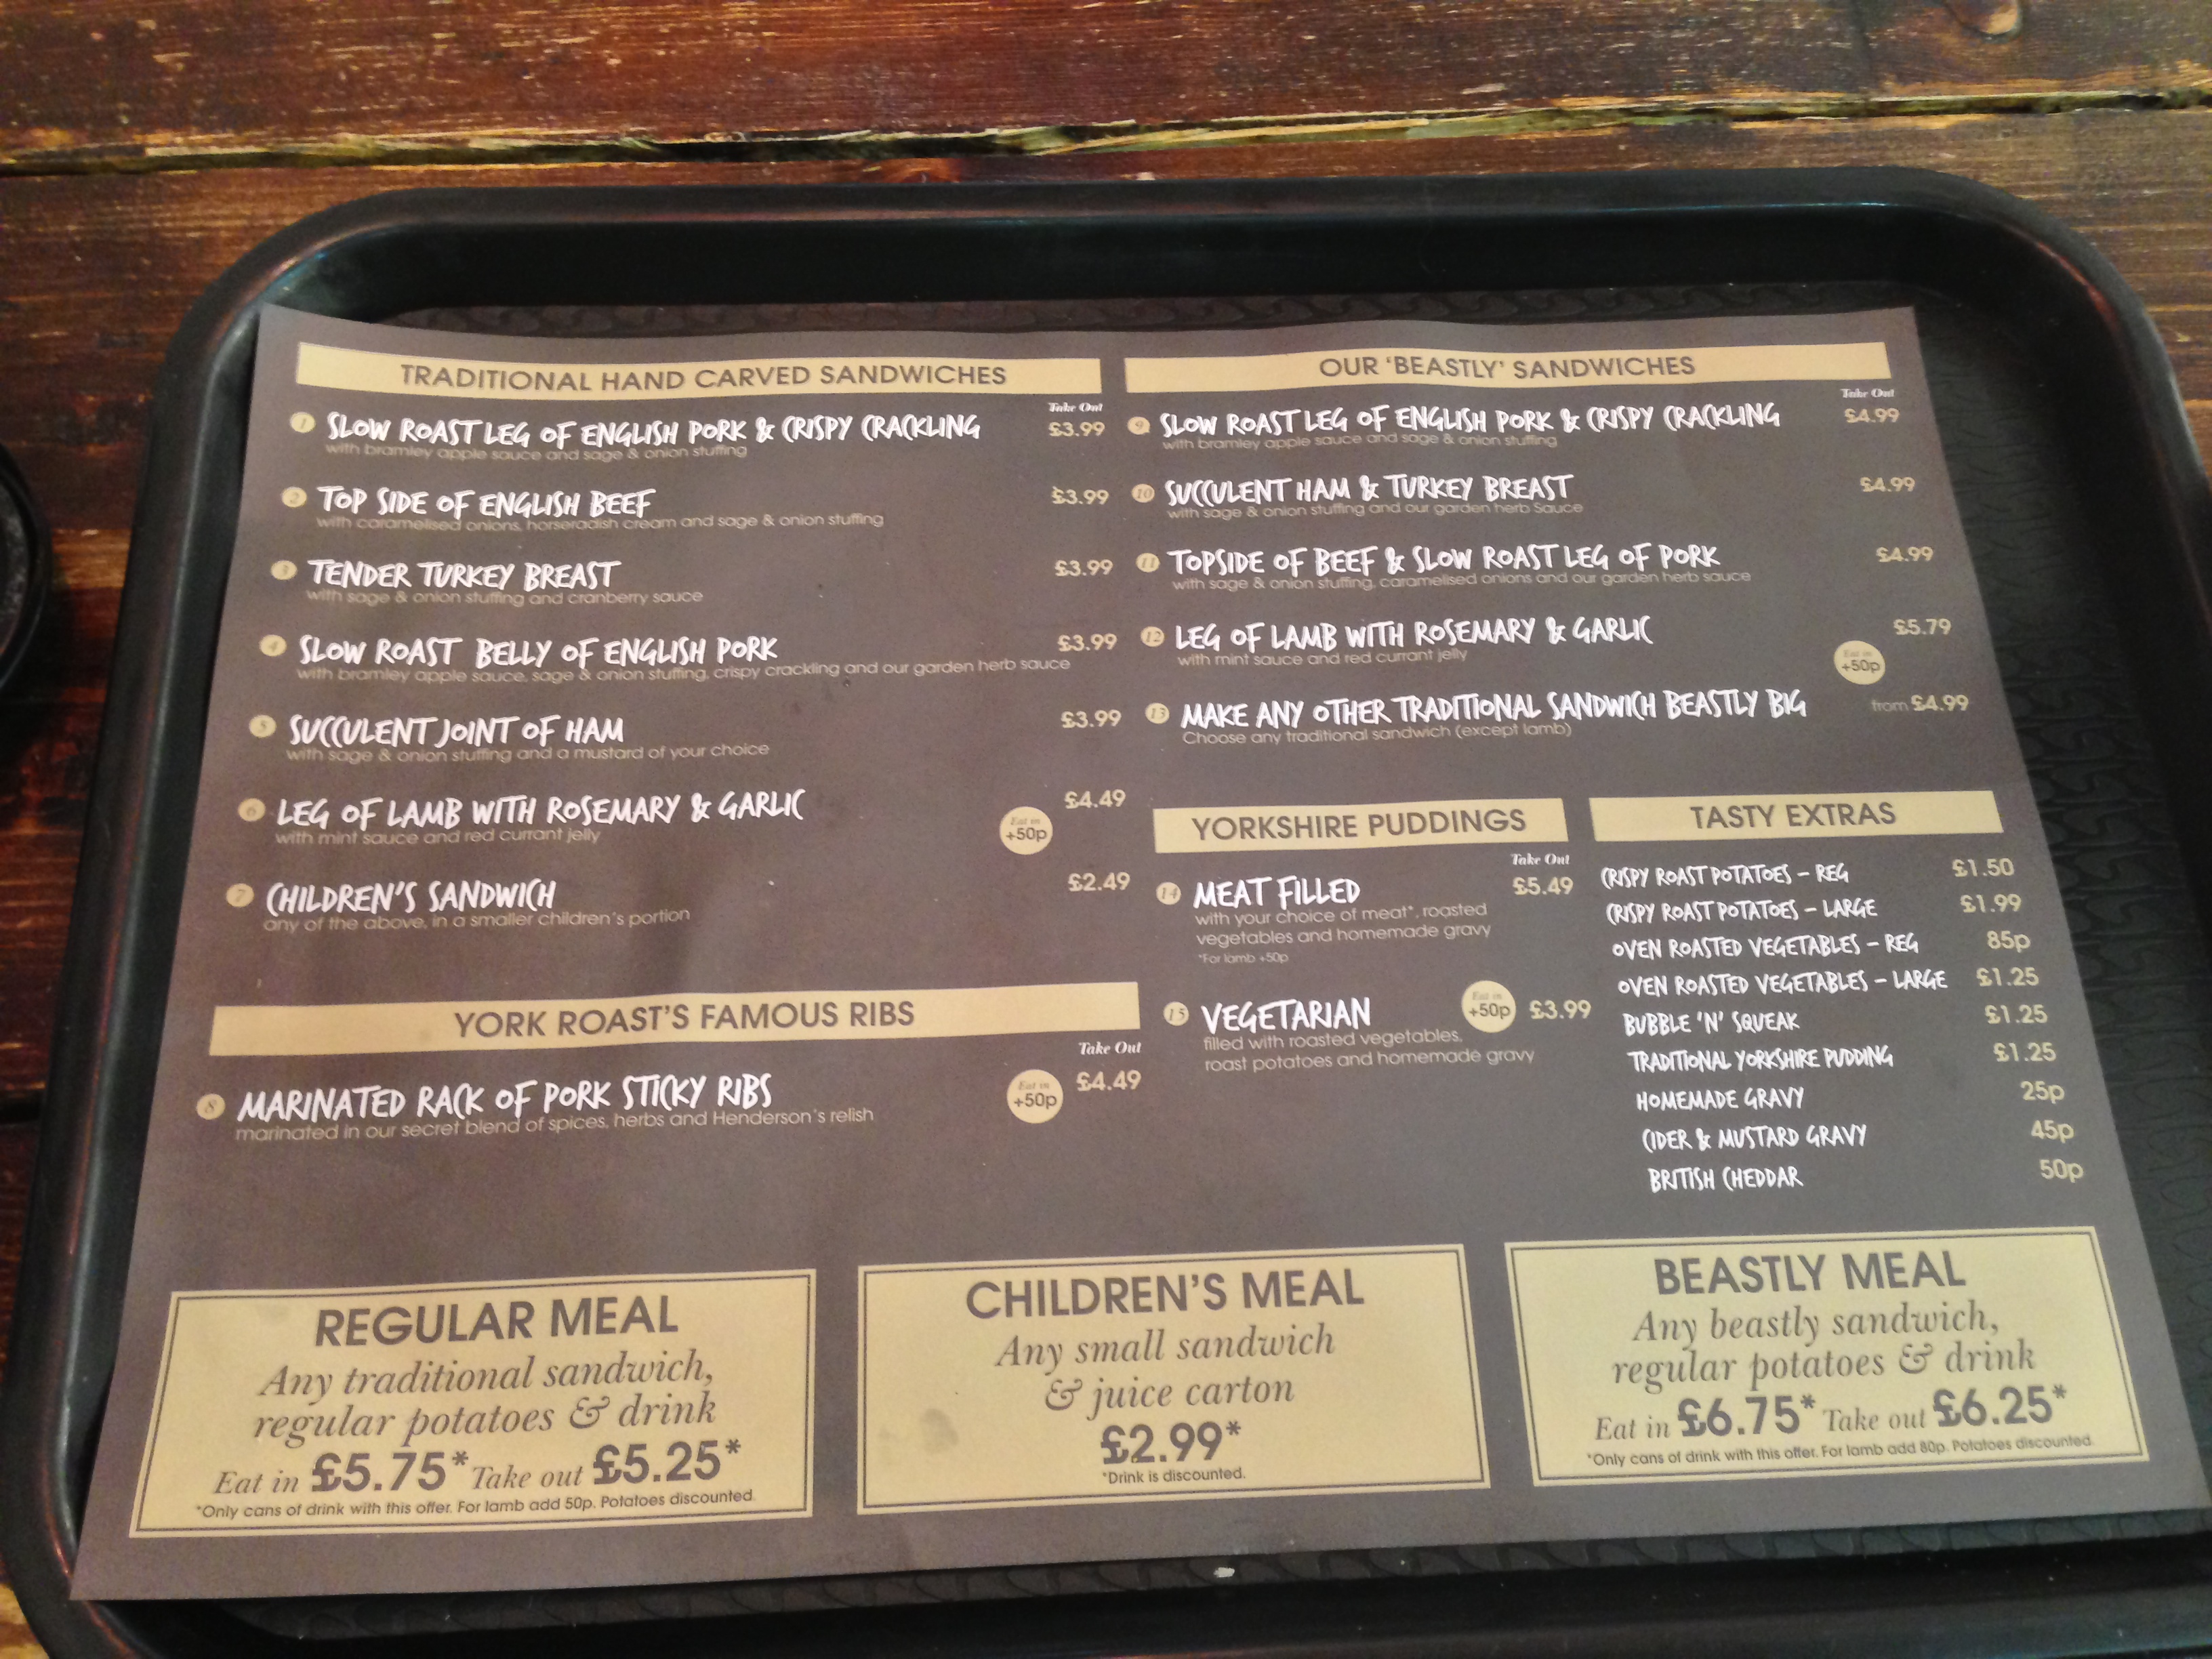
The menu from The York Roast Co
We followed the smell and stood outside the The York Roast Co. Peering through the window, the small seating area was full and the queue was out the door so we walked further down Bridge St looking for alternatives. However… the smell of all the roasts got to us and we soon turned round and set off back.
The seating area in the shop had emptied a little and the queue at the counter was shorter. We entered the shop and joined the queue. I ordered a “beastly” Slow Roast Leg of English Pork & Crispy Crackling sandwich with stuffing and Sue opted for a “Beastly” Top Side of Beef…. with a portion of crispy roast potatoes to share and two latte’s. It’s not cheap… our order came to just over £19… the prices on the printed menu are for take out, so be warned. We took our order and descended further into the cafe’s small seating area.
The sandwiches were good although not hot as we had both expected and maybe a little light on the filling for the price! Sue thought that the beef looked a little dry when she watched the chap carve off some slices for her sandwich but that was not the case. All the time we were sat there was a constant flow of customers for the take out service and maybe then it becomes reasonable value. If you find your self in Chester and you want to give it a try go for the take out option and find somewhere to sit outside to get best value for money. There are a few mixed reviews here on Trip Advisor and here on QYPE
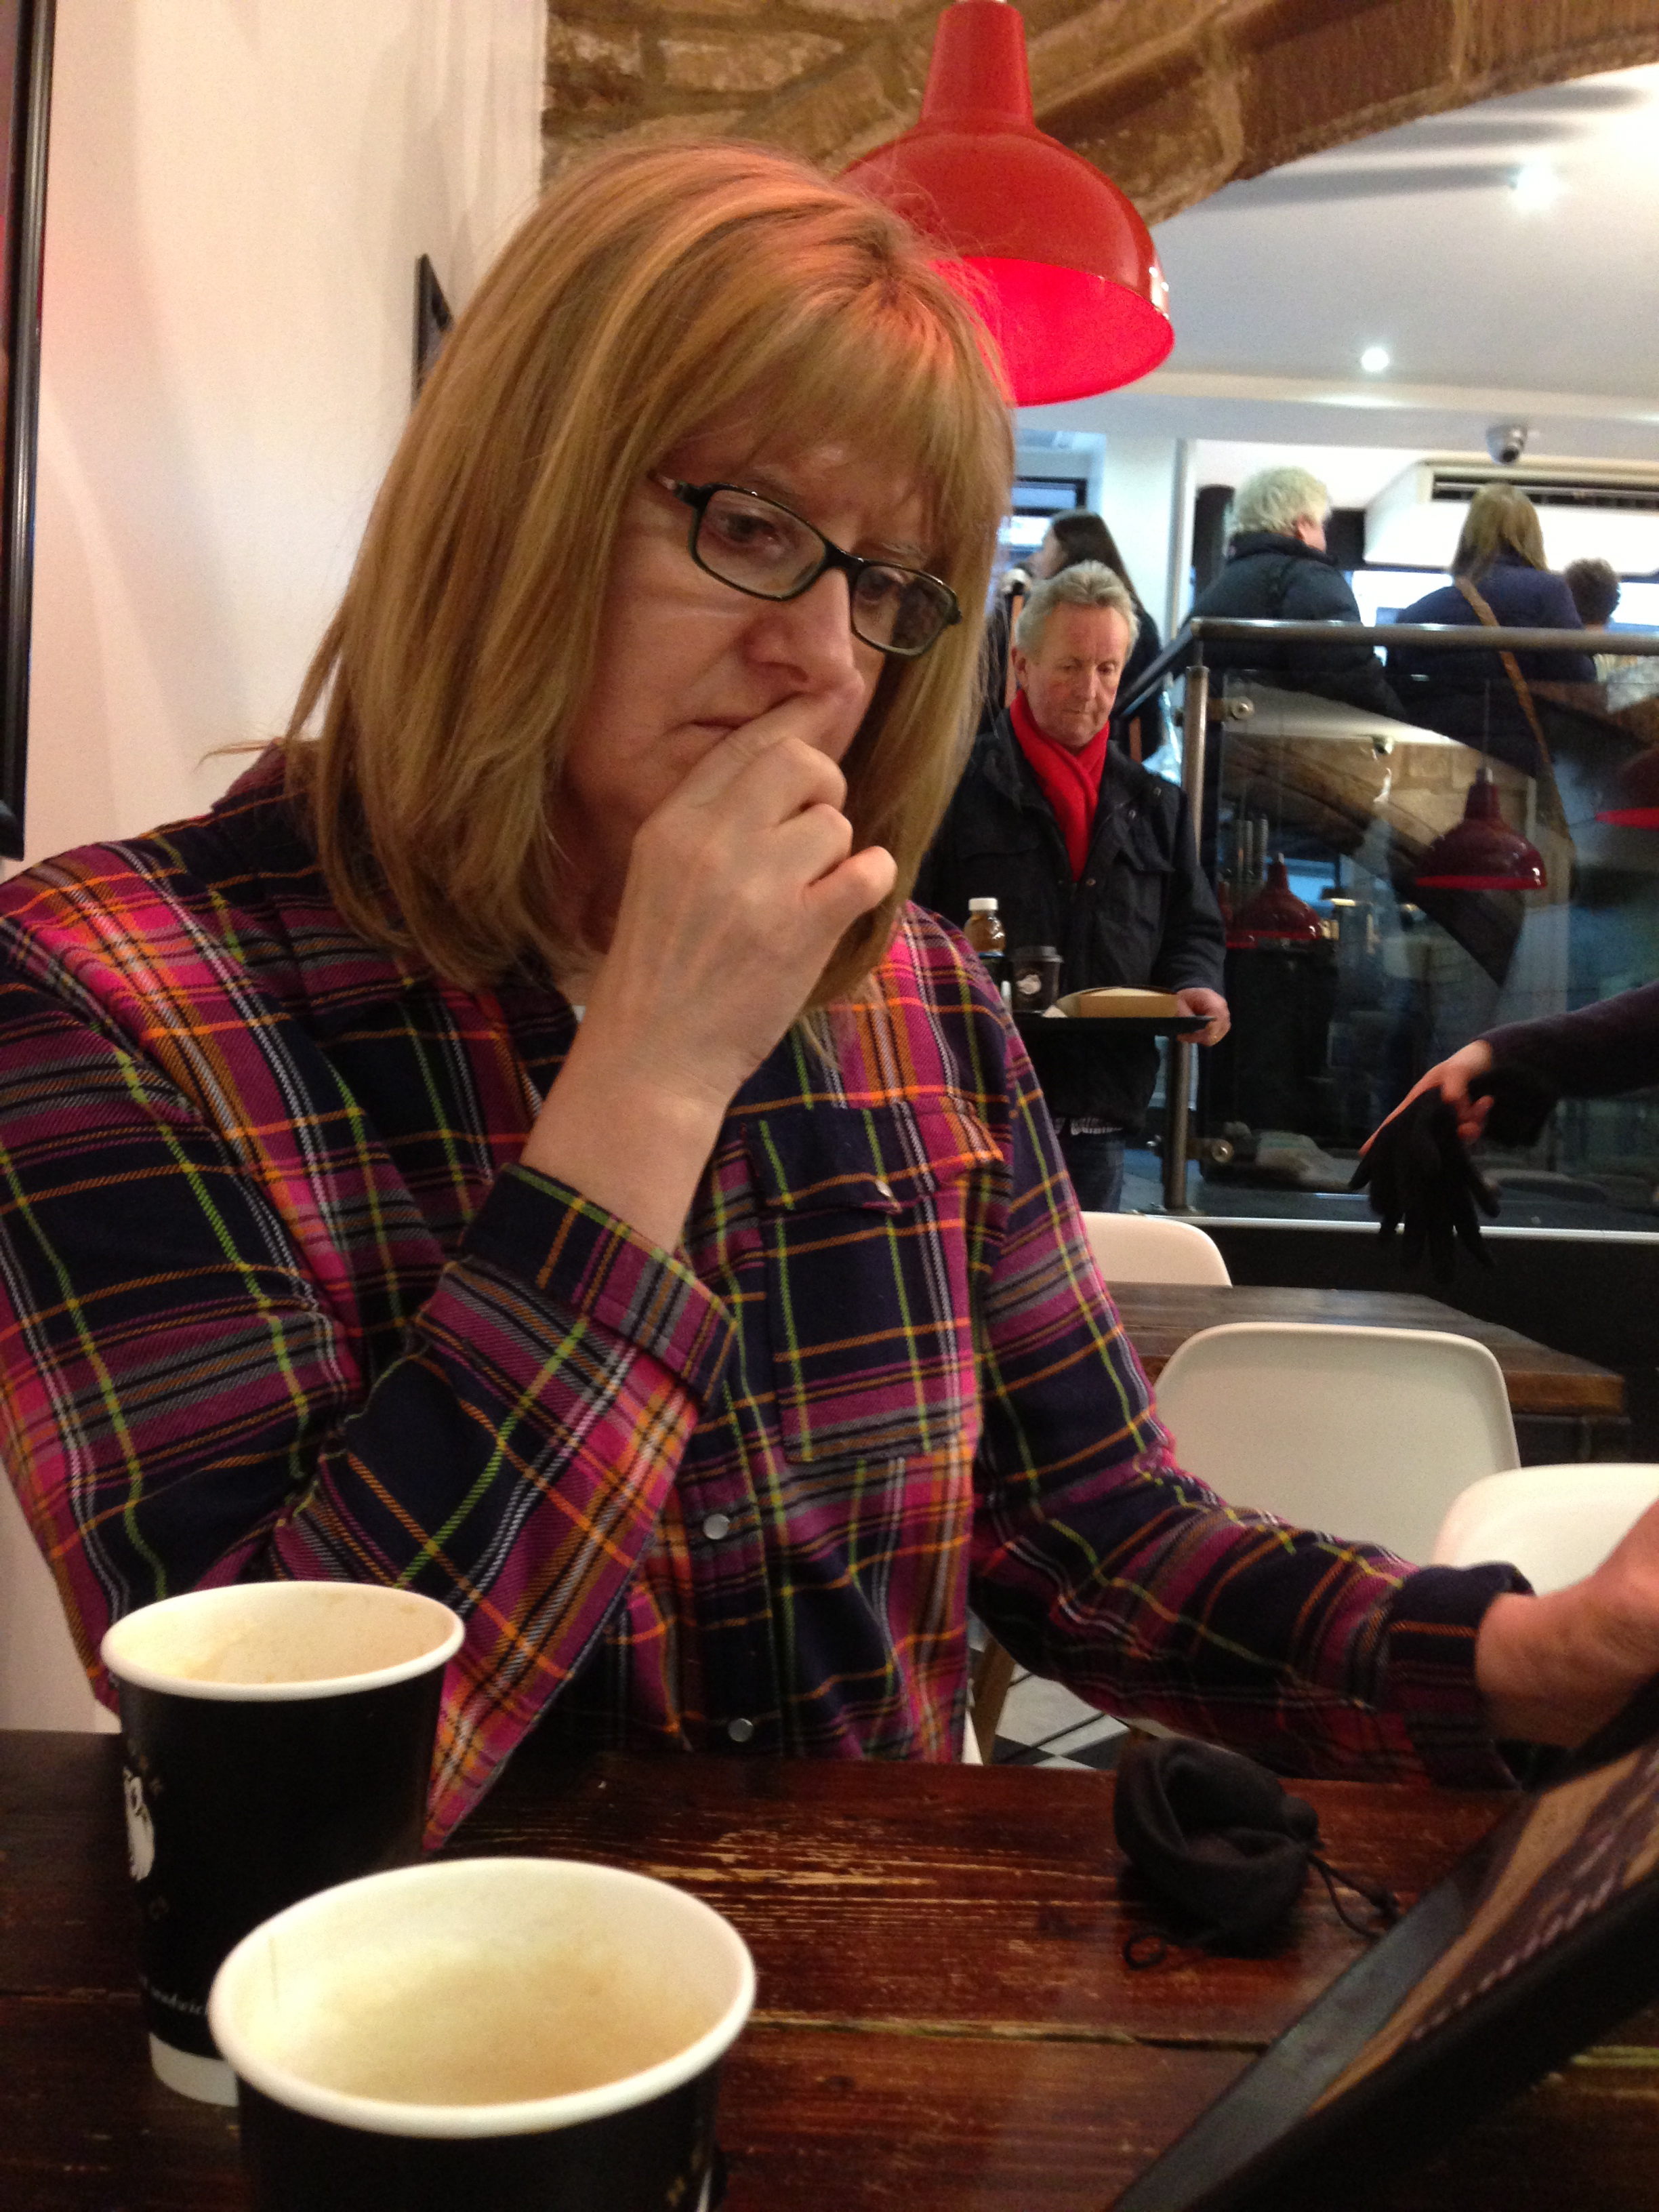
Sue just checking the menu to see if she missed anything!
We started our wander back to the car, through the indoor market and back through one of the shopping malls. We walked back to the car park. I put the ticket in the machine… “Please Contact The Cashier” flashed up on the small screen. We wandered round looking for the cashiers office. There were no signs pointing the way and after exploring three floors of the car park we headed back to the car to drive down to the exit. Some inconsiderate numpty had parked so close I could only just manage to get back into the car. We drove down the ramp to the exit and there it was.. the cashiers office. There was a space to pull in off the ramp.
“Ah…” he said “We have had a few of these today”
That did not help me much.”
“One of the ticket machines has been dating the ticket’s 1970 so they have been rejected as the parking fee would be thousands of pounds“
I paid him our parking fee and he opened the barrier for us. We turned on the sat nav and punched in the campsite and headed off back out of Chester. It was nice to return to our toasty warm caravan.
Tuesday morning soon arrived and we set about our packing up ritual once again. By 12:00 we were back home. Another three nights away in the caravan to add to our tally. Never mind… only 10 days before we set off again for more adventures.
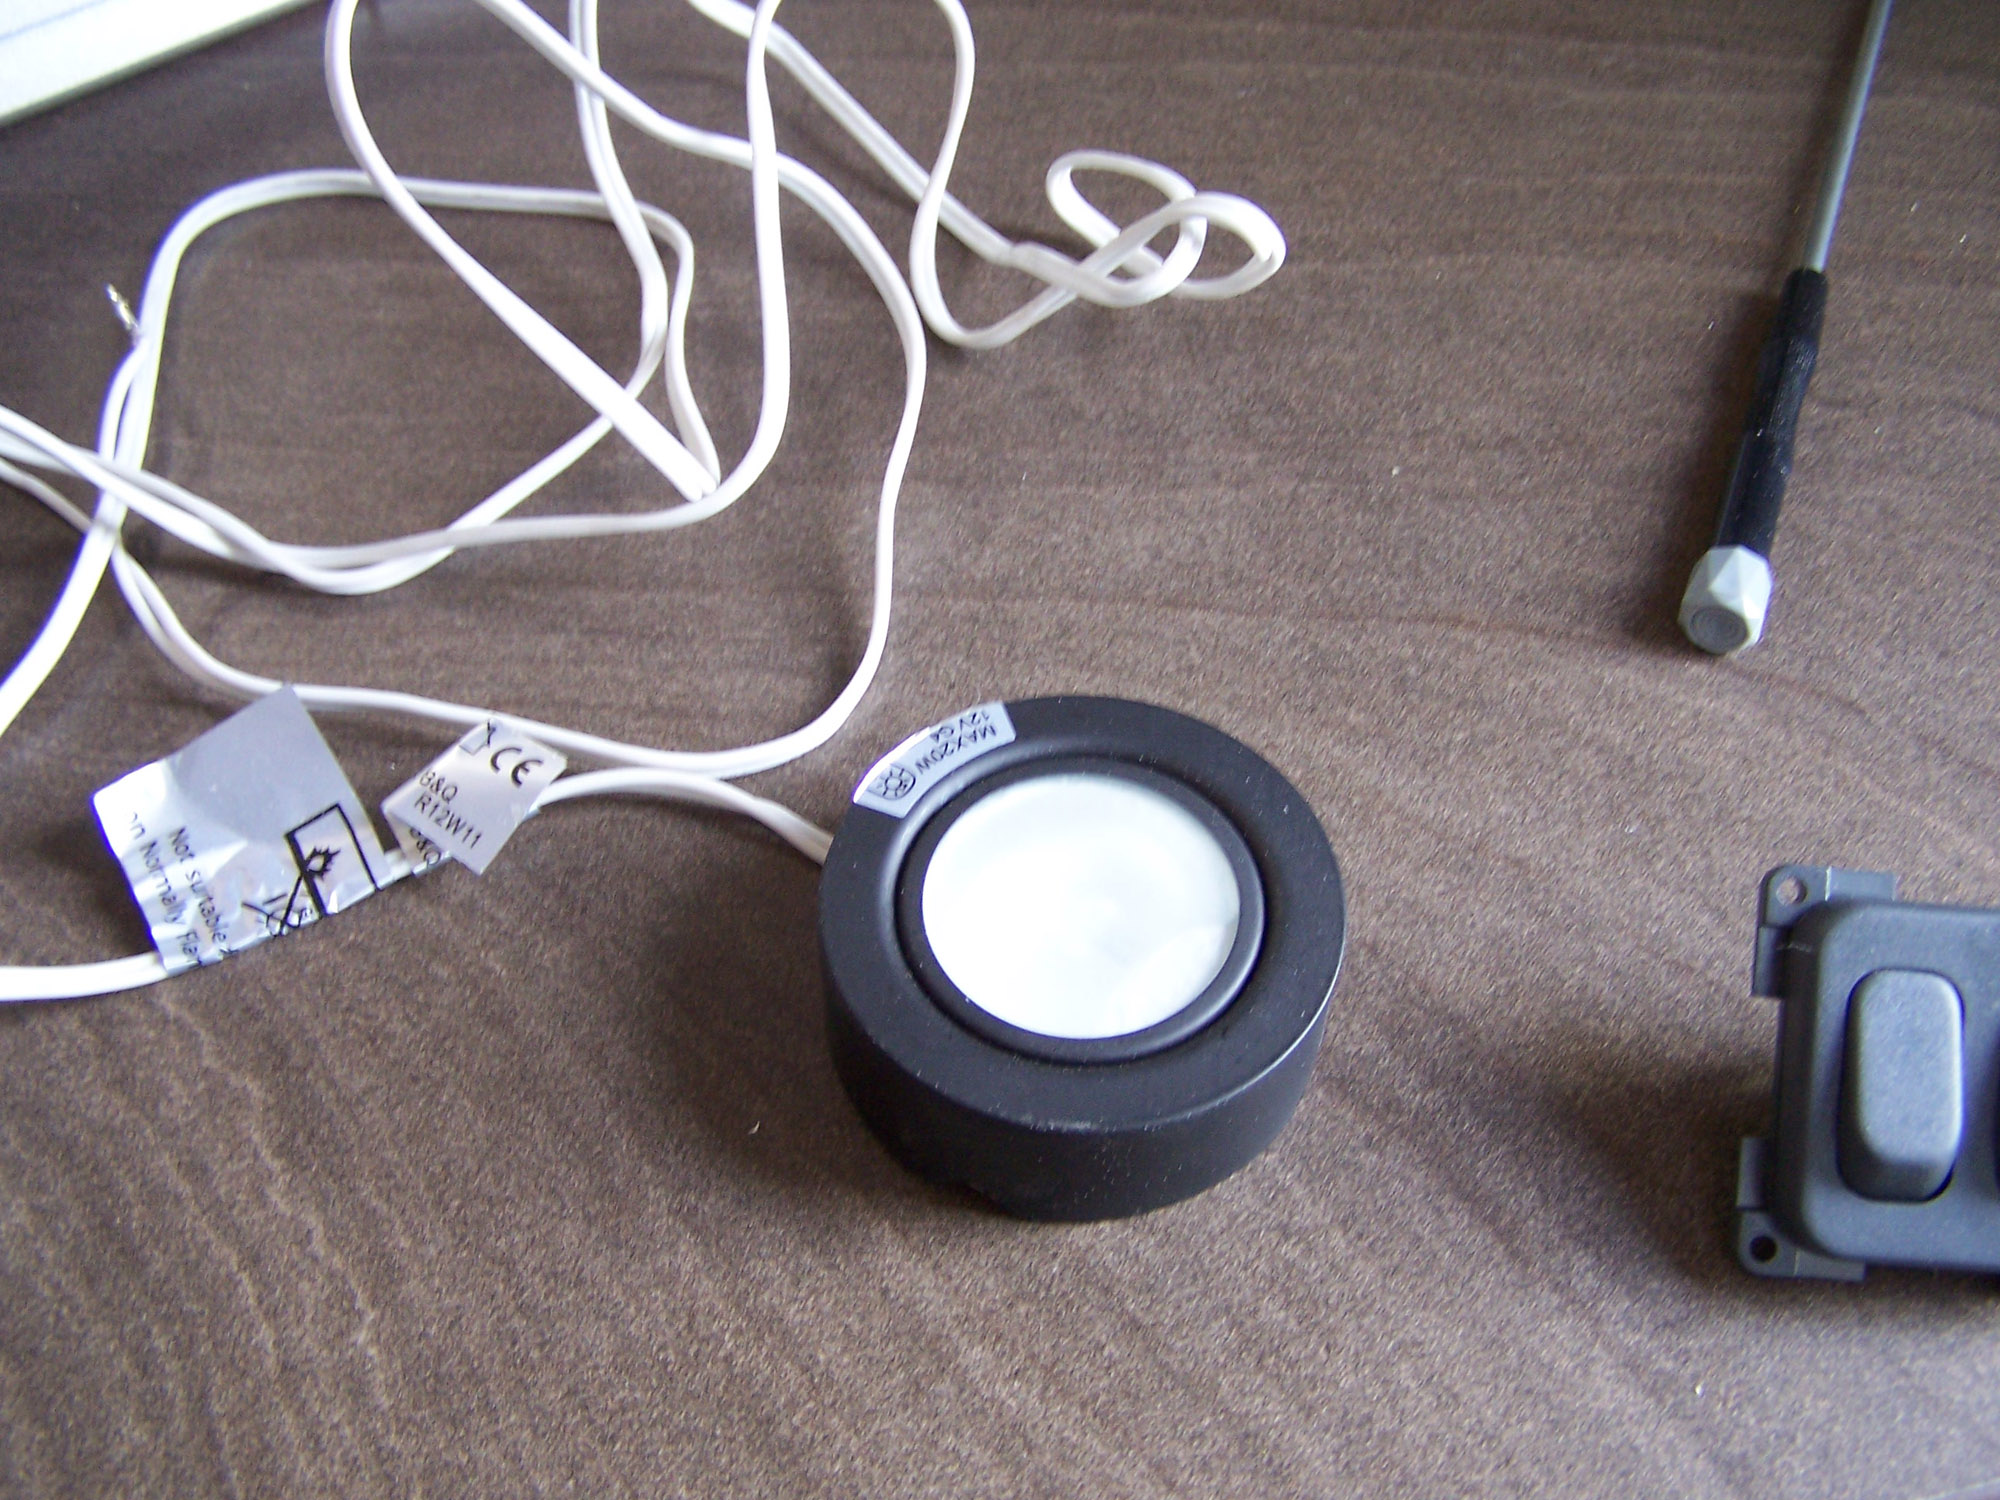
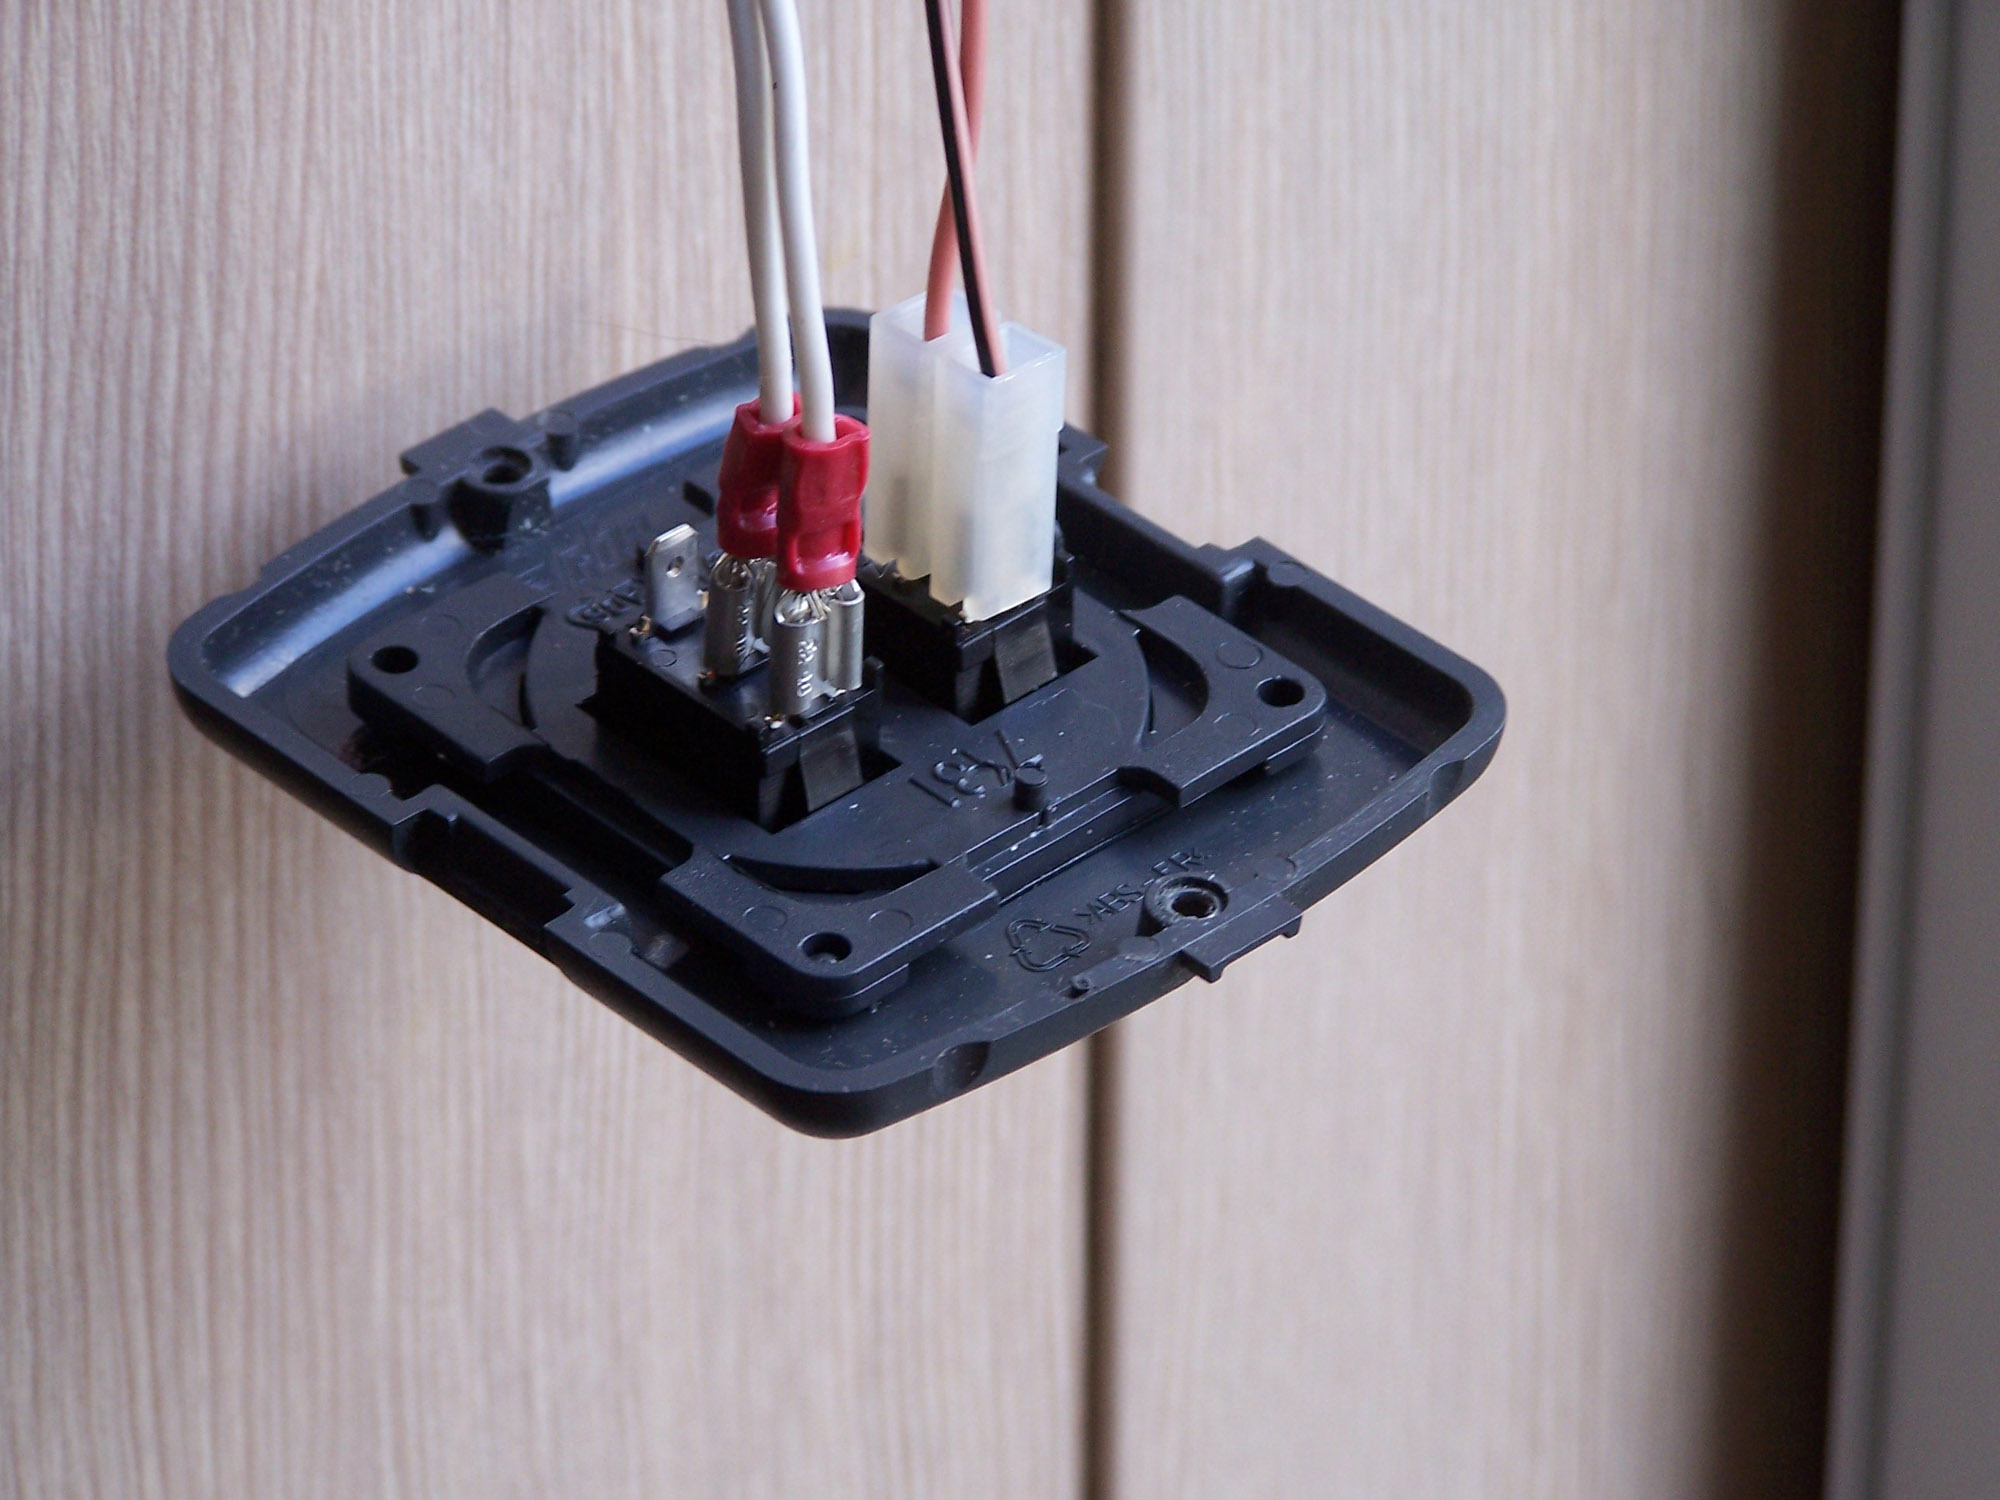
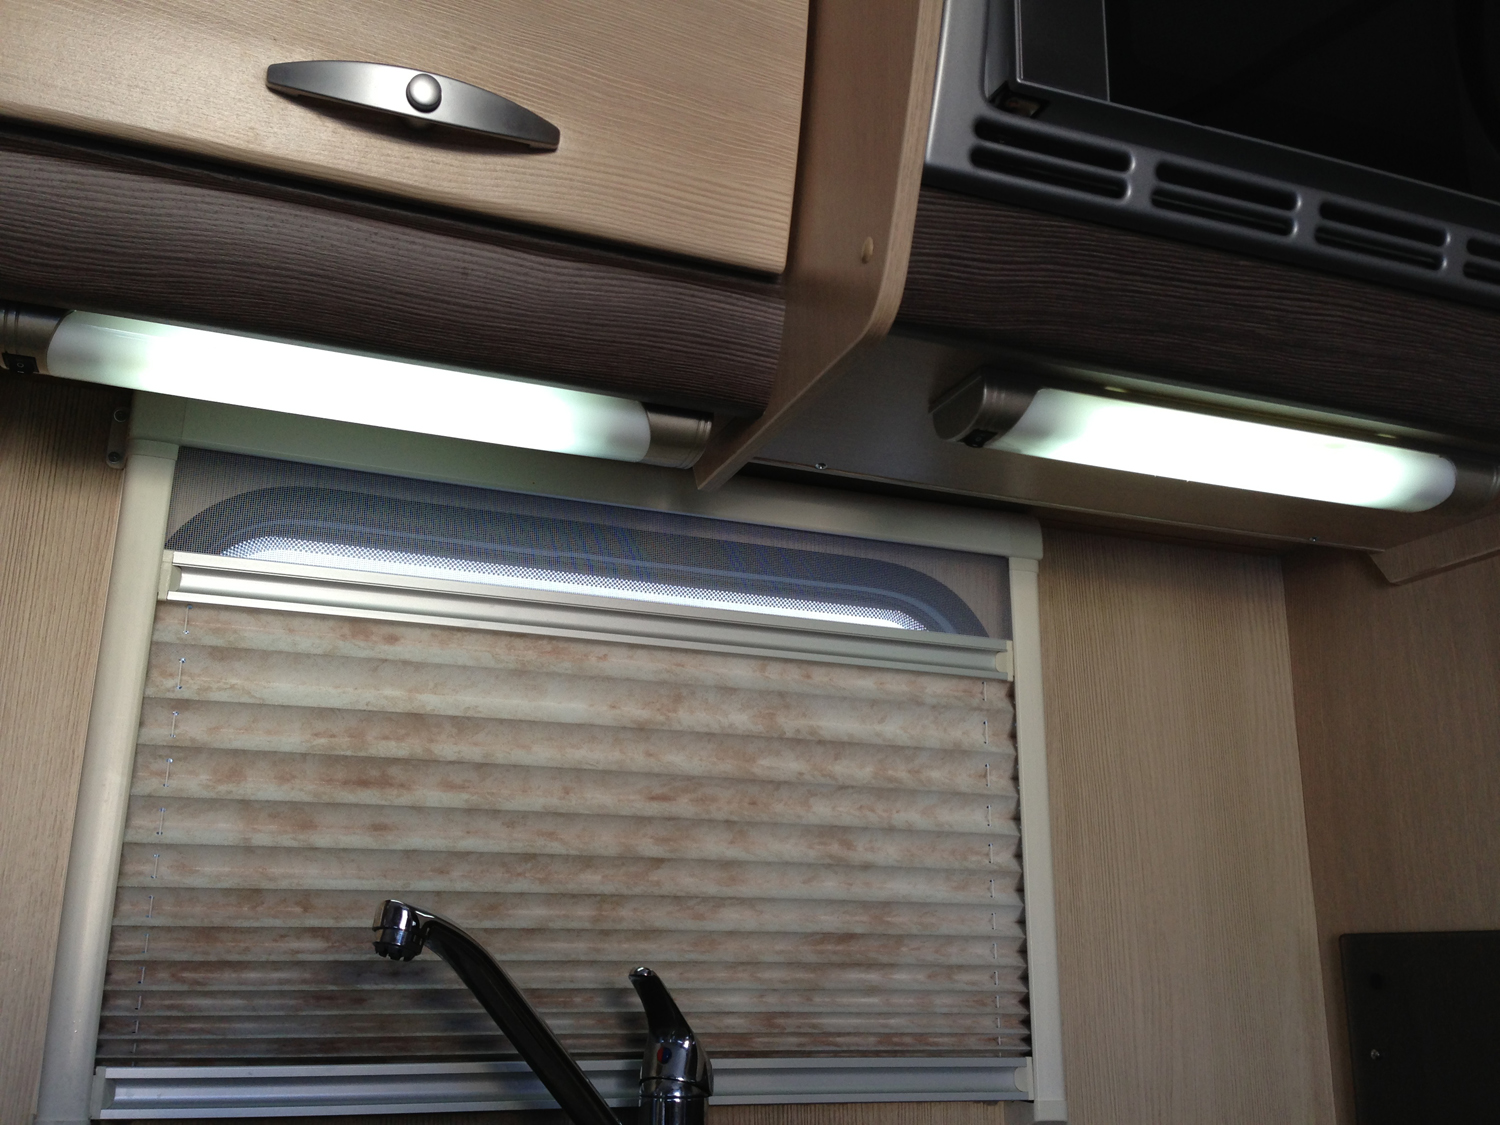
While away we had an issue with our water pump, so in the next post I’ll update you on that and let you know how my recent light modifications fared.
S