• Home
  • Help Guides
    • Storage Sites
    • Equipment Reviews
  • Document Library
    • Electrical Drawings
  • Photo Gallery
    • Caravan Log
    • MPG
  • Trip Map
  • Shop
  • About Caravan Chronicles…
  • Contact
  • Links

Caravan Chronicles

~ not just another caravan blog

Caravan Chronicles

Category Archives: General

Southport bound…

08 Wednesday Jun 2016

Posted by Simon Barlow in General, Mini Break, Travelling in the UK, Trips

≈ 2 Comments

Tags

Caravan Club, Caravanning, Caravans, Southport, Touring

Managing to get three days off recently, and not wanting to spend too long getting there, we headed off for a short break at the seaside…

Monday 23rd May

As it was going to be a quick break, we hadn’t pre-loaded the caravan as usual. So Monday morning saw us packing up the Freelander with everything ready for our mini break. We have wanted to visit Southport for a while. It was one of those destinations that although being so close to home (Manchester), for some reason we had only ever been for the flower show, and that was a fair few years ago. The only other time I’ve been to Southport was for my spin and stall training many years ago when I was learning to fly, and to be honest I wasn’t taking much notice from 3000 feet back then.

The Caravan Club Southport reception

The Caravan Club Southport reception

Every time we kept looking on the Caravan Club web site it was fully booked for the dates we wanted. However the site has expanded with a new section and facilities block and a quick check showed they had the three days we wanted on a super pitch.  We hitched up around 11:15 and headed out for the 53 mile 1 hour 30 min drive. The traffic Gods were being kind and all the motorways were flowing freely… well at least in our direction.

Checking in was the usual Caravan Club efficient process and we were given the usual site plan with our pitch marked up.

IMG_0522We had decided to take the bikes with us and after setting up, I off loaded the two bikes from the back of the Freelander and we geared up. One of the great things about the site is the easy fairly traffic free access to the seafront, handy if you have younger members of the family and you want to go cycling. In the information centre there are also a number of leaflets with themed cycle routes that are all suitable for beginners and range from a 3 mile to a 7 mile ride. The Caravan Club also on it’s website has an easy route that you can download.

IMG_0508We joined the seafront near the site and cycled north along the beach. The cycle way is separate from the path used by pedestrians, unlike Blackpool where you always seem to be avoiding the small dog on the extendable lead thirty feet away from it’s owner.

IMG_0510

Cycle lanes on the left, pedestrians on the right

 We rode north, past the amusement park… which was closed, and on under the pier. We reached the Ribble Estuary National Nature Reserve and rather than turning inland we headed back south looking for somewhere to have a late lunch.

IMG_0540

As we got back to the pier we spotted this place “The Guelder Rose” which had tables outside so we could wheel the bikes up to the table and lean them on the wall. They did have a bike shelter in the car park but it didn’t look too secure. While I sat outside Sue went in and got a couple of menus.

IMG_0511The view from the table was OK, and the antics of drivers on the roundabout kept us entertained. Unusually it was warm enough to be out cycling in short sleeves but sat on the corner outside, the wind still had that late spring chill about it. Suitably refreshed Sue went in and paid the bill and we walked the bikes over the road and continued south under the pier and back towards the site.

IMG_0519When you reach the shoal of fish, you know you are nearly back. We crossed over the road and headed towards Southport Eco Centre (which never seemed to have the wind turbine operating) which is on the quiet road that leads back to the site.

Tuesday 24th May

Lord Street in Southport is famous for it’s shopping and the last time I can remember being there was as a child in the late 60’s being dragged up and down by my parents. I suspect a lot has changed since then. It’s about a 6 or 7 minute walk from the site past Morrisons. Lord Street is about a mile long, with a roundabout marking each end. It was mainly built in the 19th Century and a lot of the shops still retain the glazed canopies that protected the early shoppers from the vagaries of the weather.

IMG_0527Walking north along Lord Street one of the first buildings you pass is Southport Lord Street Railway Station which opened in 1884 and served the Southport and Cheshire Lines. The station closed in 1952 and is now a hotel. On the opposite side to the shops Lord Street has a mixture of residential and business property and the street is flanked by lines of trees. In 1846 the future Napoleon III lived in lodgings just off Lord Street and it’s said that the covered walkways and tree lined street was the model for the boulevards of Paris when he ordered the reconstruction of the French capital in the late 1850’s through to the mid 1870’s. However… it was morning coffee time.

IMG_0529

Sat outside one of the numerous establishments that served morning coffee, it was hard to imagine you’re sat in a tree lined boulevard in Paris… despite the blue skies and sun. Sue’s phone was dinging away with text messages from the hospital. Whenever she’s away it always seems like there is some pending meltdown and the department is going to grind to a halt. Suitably stocked up on caffeine we set off again window shopping and exploring some of the little side malls.

IMG_0531

IMG_0533One mall caught my attention. It is the grade II listed building now known as Wayfarers Arcade.

The Arcade first opened in 1898 and the design of the building is typically Victorian, with a domed glass roof, supported by decorative iron work, with some stained glass windows and mahogany shop fronts that have been virtually unaltered since the day the arcade opened. The 13m span, barrel vaulted glazed roof is one of the largest in the UK.

IMG_0532Having ‘done’ Lord Street and the 60’s architecture influenced parallel Chapel Street we walked back towards the seafront thorough King’s Gardens and towards the Pier.

IMG_0534

IMG_0536

IMG_0537

Kings gardens was constructed on land reclaimed along the former sea front as the sea receded almost three miles over the course of several decades and is now popular for all sorts of activities, including sailing. As Sue had never been along the pier we continued throughout the gardens.

IMG_0539

The pier is a grade II listed building and at 1112 meters is the second longest pier in the UK (The longest is Southend). In June 2015, the Southport Pier tram service was scrapped due to rising maintenance costs and council cost-cutting measures, but you can still see the old tram lines. It has since been replaced by one of those small land trains that you can see running round the streets of various resorts.

At the end of the pier is the new pavilion opened in 2002 which houses a collection of old penny arcade machines and a cafe… that serves beer. Result!

Sue watching the tide come in... well we think it was coming in it was so far away!

Sue watching the tide come in… well we think it was coming in, it was so far away!

IMG_0545

Looking from the end of the pier towards  the Ribble Estuary and my former workplace BAE Warton.

IMG_0544

…and just to prove we did walk the 1112 metres to the end, oh yes… the tide was coming in!

It was time to head off to find somewhere for a late lunch again and eventually wander back to the caravan. It had been a great two days beside the sea in Southport. The weather was better than we hoped for and we managed to get some cycling in too.

The Caravan Club Site

It’s a busy site… busy in terms of getting a booking as it’s so popular and we can see why. Its hidden away even though its not far from the centre. We could not hear any road noise and sitting outside in the evening was really peaceful. If you want to book the site for some of Southport’s big events like the flower show, air show or jazz festival, (there is lots more, check out what’s on and when here) I guess you have to be quick off the mark at the start of the season. The new section of the site felt open and a little less claustrophobic that the original site and the new facilities block was easily up to standard. The staff were friendly and welcoming. Would we visit again… we only touched the surface of things to do and see in and around Southport, so yes, as soon as we can find a free couple of days when they have spare pitches we will be back.

Share this:

  • Share on X (Opens in new window) X
  • Share on Facebook (Opens in new window) Facebook
  • Share on Tumblr (Opens in new window) Tumblr
  • Share on Pocket (Opens in new window) Pocket
  • Share on Pinterest (Opens in new window) Pinterest
  • Share on Reddit (Opens in new window) Reddit
Like Loading...

Pressure Relief…

01 Wednesday Jun 2016

Posted by Simon Barlow in Accessories, General, Modifications, Projects, Water & Plumbing

≈ 23 Comments

Tags

Caravan, Maintenance, Modifications, Plumbing, Travel Trailer, Water Supply

A lot of new caravans now have the ability on a ‘super pitch’ to be able to attach a mains water feed directly to the caravan without having to have an Aquarol as a water reservoir, and this seems like a good idea. I started looking at the options available and was surprised at the cost of the only suitable system for our caravan. I also wasn’t keen on the plastic regulator. This got me thinking, maybe it was time for a little Caravan Chronicles DIY project.

I wanted to come up with some sort of contrivance that was assembled from stock components that were easily available anywhere. After a brief search on Amazon I came up with my shopping list and ordered everything (see links below).

IMG_0525

The result was a simple to use commercial pressure regulator that I could use our existing blue water hose that originally connected to the Aquarol and standard hose fittings that allow me all the options for connecting up.

IMG_0526As a temporary mount I used a couple of the small plastic hangars that Fiamma sell that slide into awning rails allowing you to hang things from. In this case a couple of cable ties held it in position. I’m currently in the bat cave folding a small aluminium plate to mount the regulator on that slides into the rail and has a foam padded back to protect the caravan. I opted to use brass fittings for the hose connections rather than plastic just for durability.

So how did it work out?

Well on a recent trip to Southport Caravan Club site (where the photos were taken) it worked extremely well. The initial set up was easy and to start with I reduced the pressure using the small screw on top of the unit to about 0.5 bar (7 PSI) to ensure I didn’t over-pressure the caravan plumbing. I increased this to about 1.5 bar and this gave an excellent flow rate with the added feature of not having to run the internal water pump.

Something that was in the back of my mind however was what if the regulator failed and full mains pressure was allowed through to the caravan’s internal plumbing? As I’d used a commercial unit, hopefully the chances of this would be very slim to non-existent as these units are designed to be permanently installed in commercial and domestic plumbing installations however I also added another little handy gadget at the tap end…

IMG_0547This ‘Y’ fitting has two small ball valves, one of each outlet. So when we go out, I simply turn off the appropriate ball valve. Having a ‘Y’ adaptor also allowed us to fill up our Brita filter jug or draw water off without having to turn the tap off and disconnect the caravan hose. All in all everything worked out perfect. (note I have since changed the blue hose adaptors shown for brass ones for durability).

One last thing…

If you are at all worried about water quality in your caravan, connecting up this way will allow you to thoroughly flush out your caravans water system and give you clean water from your caravan’s taps, (especially In summer too, when the sun has been warming up the water in your Aquarol all day) all you need to do is just run the tap for a minute or so to get cold fresh mains water.

Caravan Chronicles Shopping...

I am often asked where to buy some of the products we use. Here are the links to the products. If you click on the links and purchase any of the items, a few pennies will go to helping the cost of running CaravanChronicles.com

Caravan Ultraflow Inlet Hose Assembly (I bought one of these so I could keep my existing one intact. You will need the correct model for your caravan water inlet).
15mm Adjustable Pressure Reducing Valve Including Gauge 1-6 Bar Reliance Water Controls The pressure regulator comes complete with a pressure gauge.
Brass Bush 1/2“ BSP Female x 3/4″ Male Reducing Bush “Converter (these were used to adapt the size of the fitting on the pressure regulator so I could fit the female quick release adaptors.
Garden Mile® Solid Brass 2-Way Double Outside Garden Tap Adaptor & Hose Connectors 3/4″ With 2 Quick Release Female Adaptors. An option, but very handy.
Silverline 598438 Tap Connector Brass I bought two of these for the regulator.

Share this:

  • Share on X (Opens in new window) X
  • Share on Facebook (Opens in new window) Facebook
  • Share on Tumblr (Opens in new window) Tumblr
  • Share on Pocket (Opens in new window) Pocket
  • Share on Pinterest (Opens in new window) Pinterest
  • Share on Reddit (Opens in new window) Reddit
Like Loading...

Getting Ready for the Season…

15 Tuesday Mar 2016

Posted by Simon Barlow in Cleaning, De-scaling, General, Maintenance

≈ 11 Comments

Tags

Caravan, Maintenance

It’s that time of year again… the mornings are getting lighter, the evenings longer and planning for the first trip of the year is well under way. But, what about your caravan or motorhome? It’s time for the de-winterising and annual deep clean. The easiest way  we find to do it is to first create a list of the jobs to be done and make sure you have all the bits and pieces you need for the tasks. Our “go-to” shop for cleaning supplies is  OLPRO, it’s easy to order everything for the season for both cleaning stuff and loo stuff. We have been using them for at least a couple of years now and haven’t come across any problems and have genuinely been satisfied with their products.

SPB_5D_096499s

Arriving at the storage site with a trailer full of water and cleaning supplies!

OK, so where to start…

Continue reading →

Share this:

  • Share on X (Opens in new window) X
  • Share on Facebook (Opens in new window) Facebook
  • Share on Tumblr (Opens in new window) Tumblr
  • Share on Pocket (Opens in new window) Pocket
  • Share on Pinterest (Opens in new window) Pinterest
  • Share on Reddit (Opens in new window) Reddit
Like Loading...

Once In A While…

22 Monday Feb 2016

Posted by Simon Barlow in Accessories, General, Product Review, Reviews, Travelling In Europe, Travelling in the UK

≈ 3 Comments

Tags

Bundle Bed, Caravan, Caravanning, Caravans, Touring

Once in a while something comes along and makes you think…. ‘what a good idea’. I was contacted by James Clark and asked If I’d like to take a sneak peek at something he and his friend, Lucy Bartlett have been working on.

bed Continue reading →

Share this:

  • Share on X (Opens in new window) X
  • Share on Facebook (Opens in new window) Facebook
  • Share on Tumblr (Opens in new window) Tumblr
  • Share on Pocket (Opens in new window) Pocket
  • Share on Pinterest (Opens in new window) Pinterest
  • Share on Reddit (Opens in new window) Reddit
Like Loading...

Caravan Chronicles Shopping…

21 Thursday Jan 2016

Posted by Simon Barlow in Accessories, Blog updates, Caravan Chronicles Shopping, Caravan Electrics, Help Guides, Projects, Technical

≈ 1 Comment

Tags

Caravan, Caravan Electrics, Caravanning, Maintenance, Modifications

I receive a lot of emails asking where people can buy some of the tools – especially some of the crimp tools and terminations I use in my posts and articles. In the past I have just emailed people back with the details and maybe links. However my last post about cable termination brought on a rather large amount of requests. So I have decided that I will include links to the products on Amazon. So from now on you will see a section at the bottom of any posts called….

Caravan Chronicles Shopping...

Any specific items used will be listed, and by clicking on the link to the item you will be taken to the Amazon store page. If you do decide to purchase anything, it will be from Amazon (or their associates) and delivered by them. It’s just like buying from Amazon directly.

The price you pay is exactly the same as it would be by going directly to Amazon. All I receive is a few pennies from each sale that will help towards keeping the wheels of Caravan Chronicles turning.

I have also created a shopping page that lists the products under a link to the original article. There aren’t any photos, just descriptions to keep the page neat and quick to load. If you want to go back to the article, just click on its title.

I hope you don’t mind me doing this, but it will save you having to email me asking where to get things from and save me a bit of time in replying to everyone.

Cheers

Simon

Share this:

  • Share on X (Opens in new window) X
  • Share on Facebook (Opens in new window) Facebook
  • Share on Tumblr (Opens in new window) Tumblr
  • Share on Pocket (Opens in new window) Pocket
  • Share on Pinterest (Opens in new window) Pinterest
  • Share on Reddit (Opens in new window) Reddit
Like Loading...

Cable Termination 101…

03 Sunday Jan 2016

Posted by Simon Barlow in Caravan Electrical Fault Finding, Caravan Electrics, Electrical, Help Guides, Maintenance, Modifications, Technical, Tips

≈ 10 Comments

Tags

Cable Termination, Caravan Electrics, Caravanning, Maintenance

As it’s now the ‘off season’ for a lot of caravaners and thoughts turn to sorting out those problems that we put up with on the last couple off trips, I thought I’d look at cable terminations. One of the problems that I’m asked about revolves around cable termination in trailer sockets and plugs. Like most things there is a right way and a wrong way of doing it and there is also the compromise.

So what’s the problem?

Well the problem is terminating a cable to a solid metal part. You will most likely see cables that are striped down to the copper conductors and the individual strands twisted together then inserted in a hole with a screw tightened down to hold the conductors. So whats the problem with this? When you tighten the screw it’s turning obviously and the end of the screw twists down on to the strands of cable, often breaking a few off and pushing quite a few out-of-the-way, usually in an average termination about a quarter of the strands are not held under the screw tip. The 2.5mm square cable you thought would reduce volt drop for the battery charging circuit is now reduced to something less and its current carrying capacity is reduced. Is there a solution?

The obvious one would be to solder the ends of the cable to stop this happening and it’s a great solution, but is does have drawbacks. When you solder the end of a flexible cable the point where the solder stops becomes a weak point and is susceptible to vibration and flexing stress and the thin copper strands transition from being flexible to a solid mass. This is why in aviation, marine and military applications soldering is not usually permitted.

The correct way that flexible conductors should be terminated is by crimping on a “boot lace ferrule”. These are simple brass tubes, sometimes nickel-plated that are slid over the untwisted strands of the conductor and crimped tightly. Some ferrules are just small tubes or ‘U’ shaped section machine crimped and some have a plastic insulator to help isolate the conductor when several are installed in close proximity.

Here’s a simple step by step guide to crimping and terminating a 13 pin trailer socket. It could equally apply to a trailer plug.

For the photos I used a spare socket and short length of standard multi core cable. I have links to all the items, including tools used in the article in “Caravan Chronicles Shopping” at the end.

SPB_5D_098392

The tools required are a sharp knife, cable strippers, screw driver, ferrule crimps and the ferrules. (tip: make sure your screw driver is a ‘terminal driver’ with flat parallel faces and if fits snugly into the screw head. As the screws are brass, it’s easy to damage the head using the wrong screwdriver)

SPB_5D_098398

The first step is to trip back the outer cover for the cable. Strip back enough so that the individual cables are long enough to trim to length:

SPB_5D_098399

The next thing to check is have you got the right end of the cable? The cable manufacturers lay the individual conductors in a specific pattern so that when stripped, the pattern of colours is in the right order for the end you are terminating. If you have the incorrect end of the cable you will have to cross all the colours over each other to install them correctly in the plug (or socket) As you can see, this is the wrong end for a socket:

SPB_5D_098401

Ok, I’ve stripped the other end and you can see the colours are in the right ‘order’ for terminating a socket:

SPB_5D_098402

Next we need to measure the difference in termination length between the four centre line and the 9 outer pins… here it’s about 8 mm:

SPB_5D_098404

Measuring the back waterproofing cover I know the outer jacket needs to be a maximum of 45 mm from the 9 outer pins and the 4 inner pins need to be trimmed back to 37mm:

SPB_5D_098405

Now the cable is cut to the right length so there should be no short or long cables causing problems when assembling the socket:

SPB_5D_098406

Strip back the individual cables so the exposed conductors are the same length as the ferrules:

SPB_5D_098408

Slide the correct diameter ferrule on to the exposed conductors:

SPB_5D_098410
SPB_5D_098413

Crimp into place:

SPB_5D_098411

The crimp tool is set so that it will only apply the correct pressure to compress the exposed conductors the required amount. Squeeze the handles and the four jaws close on the ferrule and compress it, continue squeezing and once the jaws have attained the right pressure the ratchet mechanism in the handle releases.

If you look at the picture below you will also see that the crimp tool also presses several ridges into the tube, this is to increase the mechanical grip on the conductors and help stop the tube distorting under the pressure of the terminal screw tip:

SPB_5D_098416

Continue until you have all the cables completed:

SPB_5D_098418

One last check… look for stray strands and anything that doesn’t look as though its crimped correctly… give them the ‘tug’ test if in doubt.

SPB_5D_098423

I always like to back off the screws so the ends are just visible in the holes:

SPB_5D_098424

The next thing you might need to do is correct the length of the ferrule. I have used standard length ferrules and as the holes in the socket terminals are not as deep, I had to trim off the excess. The ridges pressed into the ferrule body help gauge how much to trim off. In this case I only had to snip off to the first indent:

SPB_5D_098431

Once trimmed to length, it’s a simple matter of following the colour coding and inserting each cable and tightening the screw. I always start with the four pins in the middle:

SPB_5D_098429
SPB_5D_098425

Once all the cables are terminated, have a good look to see if all the screws are tight, and of course check the colours are in the right place!

SPB_5D_098435

Because the cable was trimmed to the right length before we started there are no loops, so the cover can slide on neatly:

SPB_5D_098436

There we go, a finished socket all ready to mount onto the bracket:

SPB_5D_098437
SPB_5D_098438

To terminate the socket  from start to finish and while Sue (thanks `Sue) took all the photos took no more than 25 minutes. Ok it was on a bench and doing outside at the back of a vehicle will take a bit longer, but it’s not that difficult to get a professional result.

The ‘Compromise’

Right back at the start I said there was a compromise – soldering. It’s not difficult to do and achieve and end up with a professional result.

Practice makes perfect and its worth having a go on a scrap length of cable first.

Here’s a few of my tips for successful soldering:

Don’t apply too much heat to cause the insulation to melt (turning down the temperature of the soldering iron or reducing the contact time between the soldering iron and cable helps)

SPB_5D_098440

Don’t try to melt solder onto the tip of the iron and run it in to the cable you will burn off the flux too fast… instead touch the solder onto the hot strands of the conductor. Capillary action will pull solder into the strand bundle.

Don’t allow too much solder to be drawn in. You are looking for just enough to still be able to make the outlines of the strands of cable, not a big ‘blob’ of solder on the end.

SPB_5D_098443

The solder should look shiny not dull. If it’s dull, the solder cooled too soon as the conductors were not hot enough, this is commonly known as a ‘dry joint’ the solder sits on the surface of the copper.

SPB_5D_098442

Avoid breathing in the fumes given off from the flux and the solder. Solder is an alloy of tin and lead… and the flux is pretty nasty too. ( I have an old computer cooling fan that I use to blow the fumes away if I’m doing a lot of soldering).

If you have made the soldered cables too long, you can always trim them back to the correct length. Soldering all the conductors in a caravan cable like this usually takes me no more than five minutes from start to finish.

A few practice runs will soon get you producing good results.

Finally to finish off, I usually give the finished connections a spray of ‘liquid plastic’. It comes in an aerosol can and when sprayed on form a thin plastic coating over everything. You can usually find it in motorbike and automotive shops for waterproofing electrics and HT leads.

It easy to get a good professional result, and I still can’t understand why some tow bar fitting companies don’t either crimp or solder their connections. They usually do when it comes to connecting the other end of the cable to the vehicle. The cynic in me wonders if they are hoping for repeat custom when sockets or plugs start to have problems in the future.

Caravan Chronicles Shopping...

I have been asked where you can purchase some of the products featured above. Here are the links to the products in the Amazon store. If you click on the links and purchase the items, a few pennies will go to helping the cost of running CaravanChronicles.com

Crimp Tool : Hsc8 6-4 Self-adjustable Ratcheting Square Ferrule Crimping Plier for 0.25-6.0mm² Wire Terminal

Wire Ferrules : 750x AWG18 AWG16 Wire Crimp Insulated Ferrule Pin Cord End Terminal

Soldering Iron : 50w Variable Temperature Adjustable Controlled Solder Station Iron Gun Soldering Kit Set

Solder : Solder with Cored Flux 100g 60/40 Tin Lead Resin 0.7mm

13 Pin Milenco Socket : MILENCO 13 Pin Socket Black Caravan / Motorhome / Trailer

13 Pin Milenco Plug : Milenco 13 Pin Plug

13 Core Cable (8 x 1.5mm + 5 x 2.5mm) ISO Approved : 13 Core Caravan Cable Sold per metre

Share this:

  • Share on X (Opens in new window) X
  • Share on Facebook (Opens in new window) Facebook
  • Share on Tumblr (Opens in new window) Tumblr
  • Share on Pocket (Opens in new window) Pocket
  • Share on Pinterest (Opens in new window) Pinterest
  • Share on Reddit (Opens in new window) Reddit
Like Loading...

2015 in review

01 Friday Jan 2016

Posted by Simon Barlow in Uncategorized, Year In Review

≈ 2 Comments

The WordPress.com stats helper monkeys prepared a 2015 annual report for Caravan Chronicles.

Here’s an excerpt:

The Louvre Museum has 8.5 million visitors per year. This blog was viewed over 1,200,000 times in 2015. If it were an exhibit at the Louvre Museum, it would take about 52 days for that many people to see it.

Click here to see the complete report.

Share this:

  • Share on X (Opens in new window) X
  • Share on Facebook (Opens in new window) Facebook
  • Share on Tumblr (Opens in new window) Tumblr
  • Share on Pocket (Opens in new window) Pocket
  • Share on Pinterest (Opens in new window) Pinterest
  • Share on Reddit (Opens in new window) Reddit
Like Loading...

Is it humid in here?…

28 Monday Dec 2015

Posted by Simon Barlow in Accessories, Gadgets, Modifications, Product Review, Reviews, Uncategorized

≈ 1 Comment

Tags

Camping Accessories, Caravanning, Caravans, De-humidifier, Maintenance

WedFeb6130934UTC2013
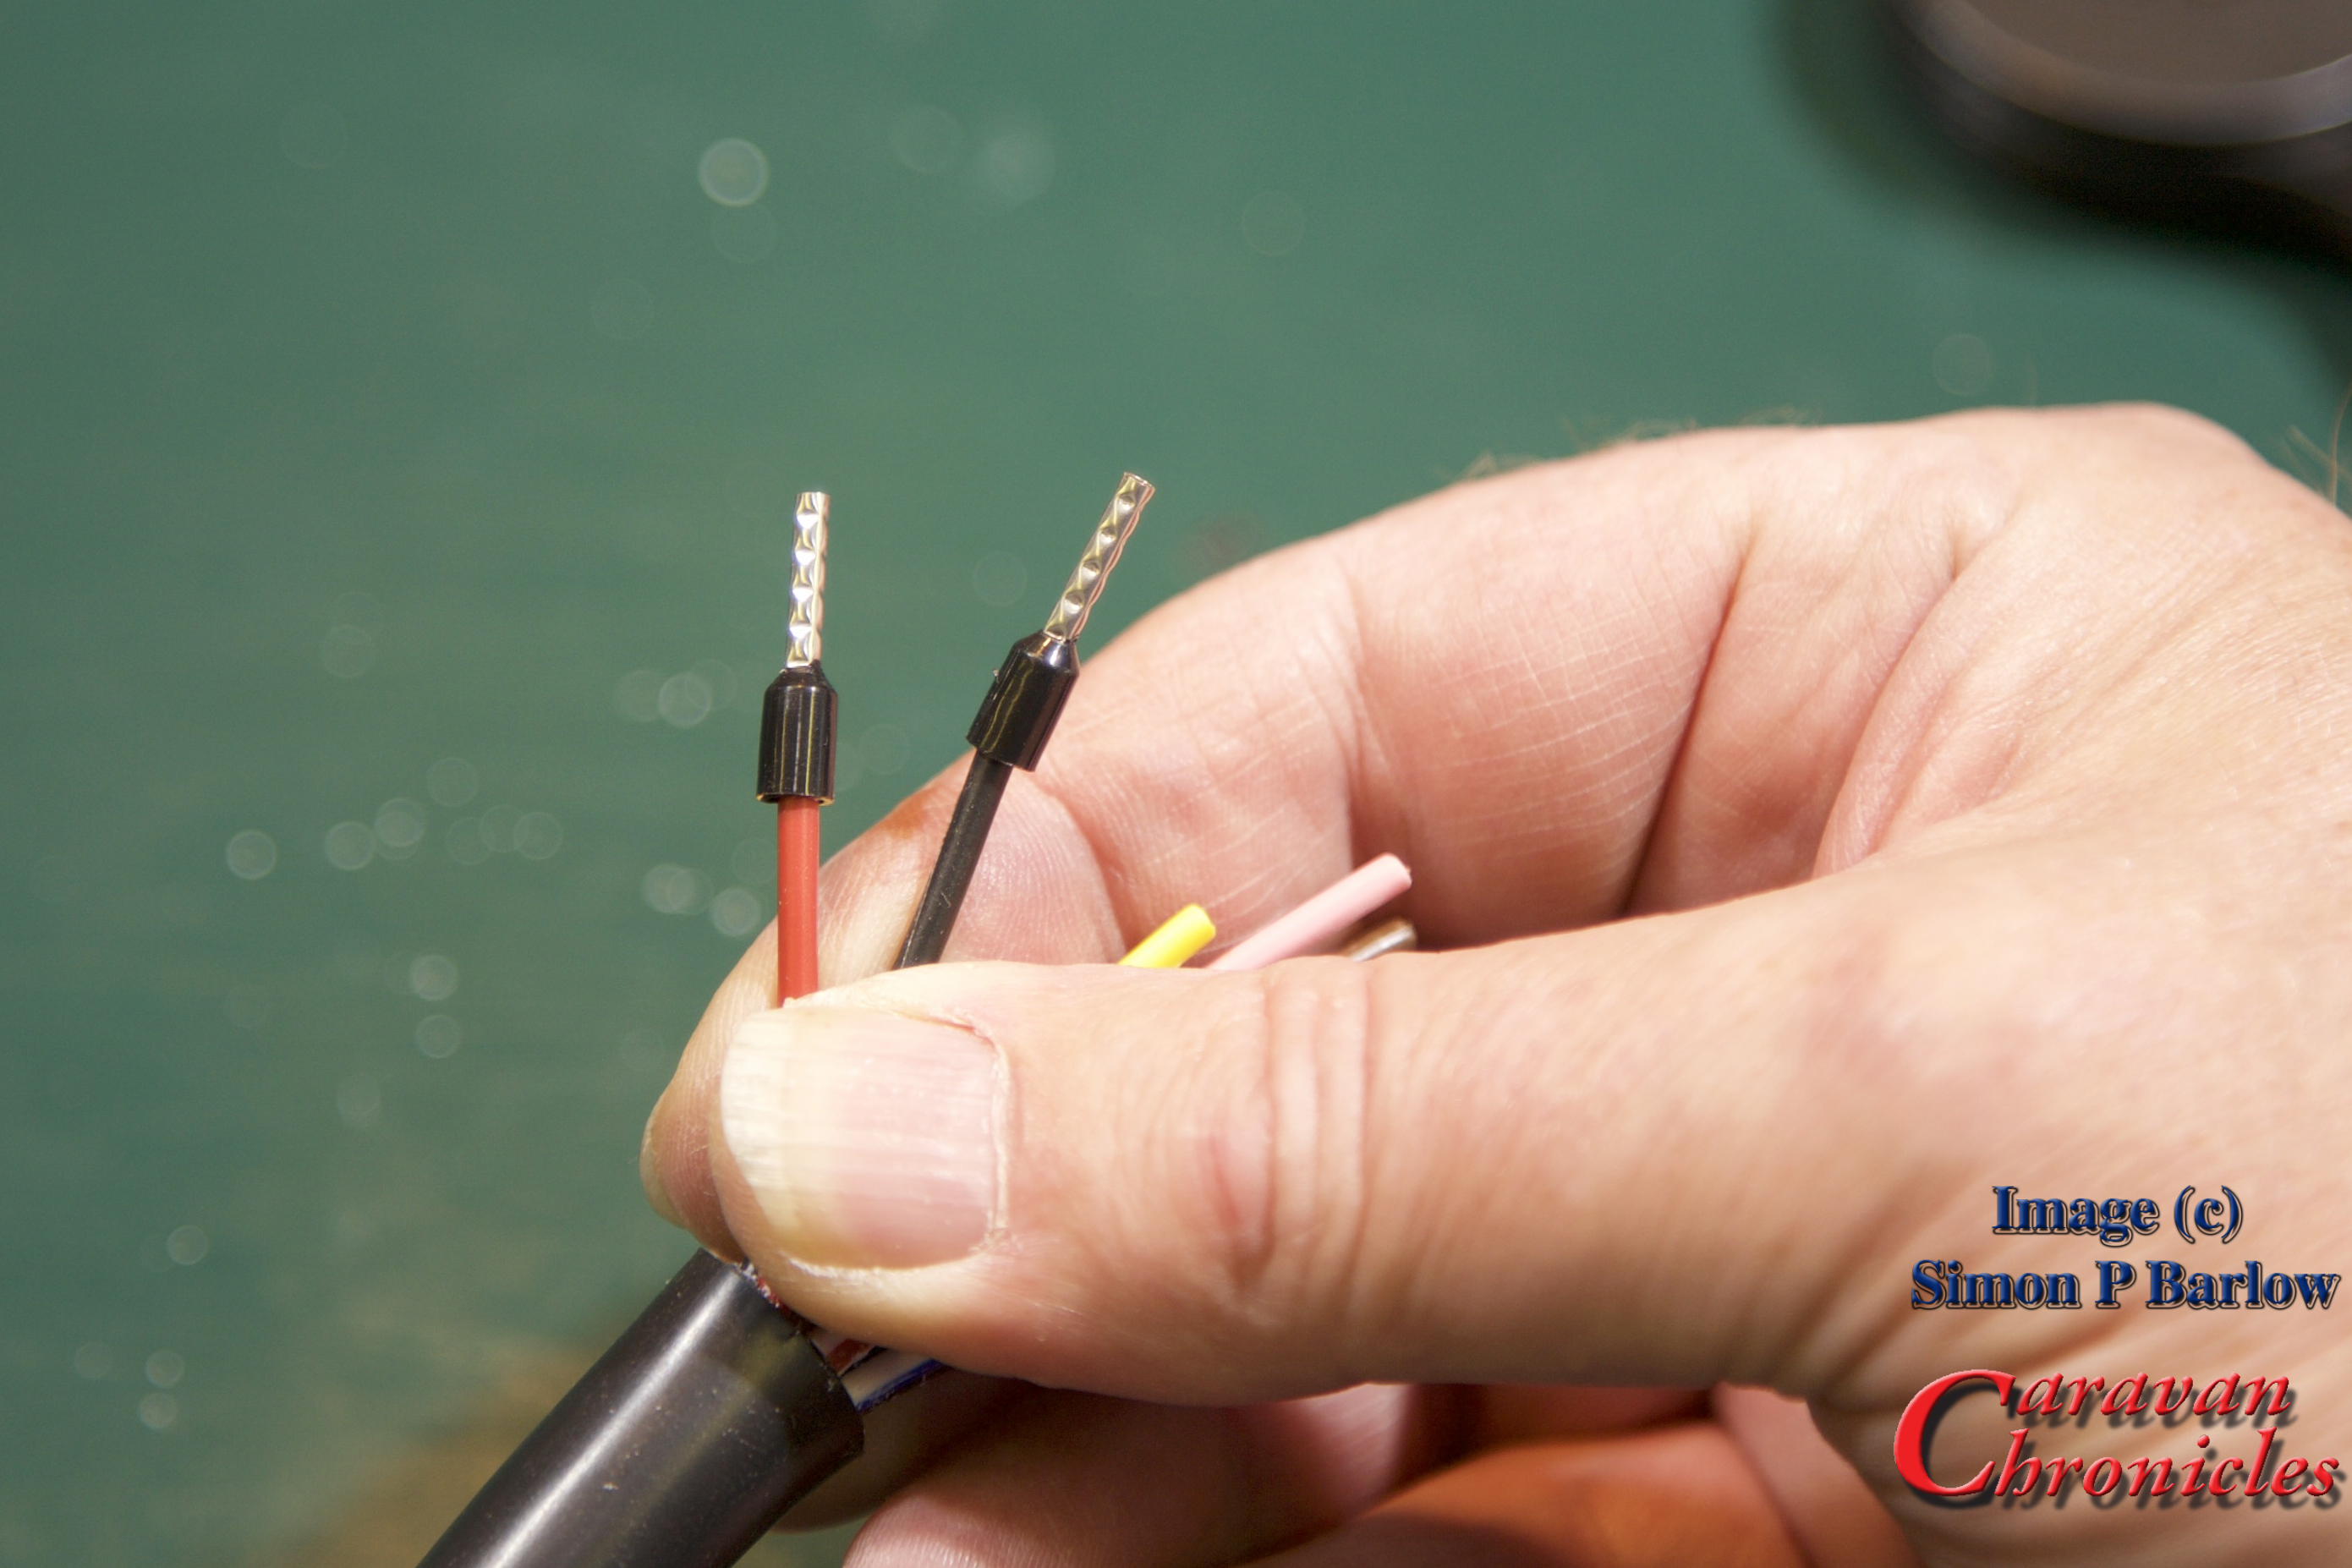
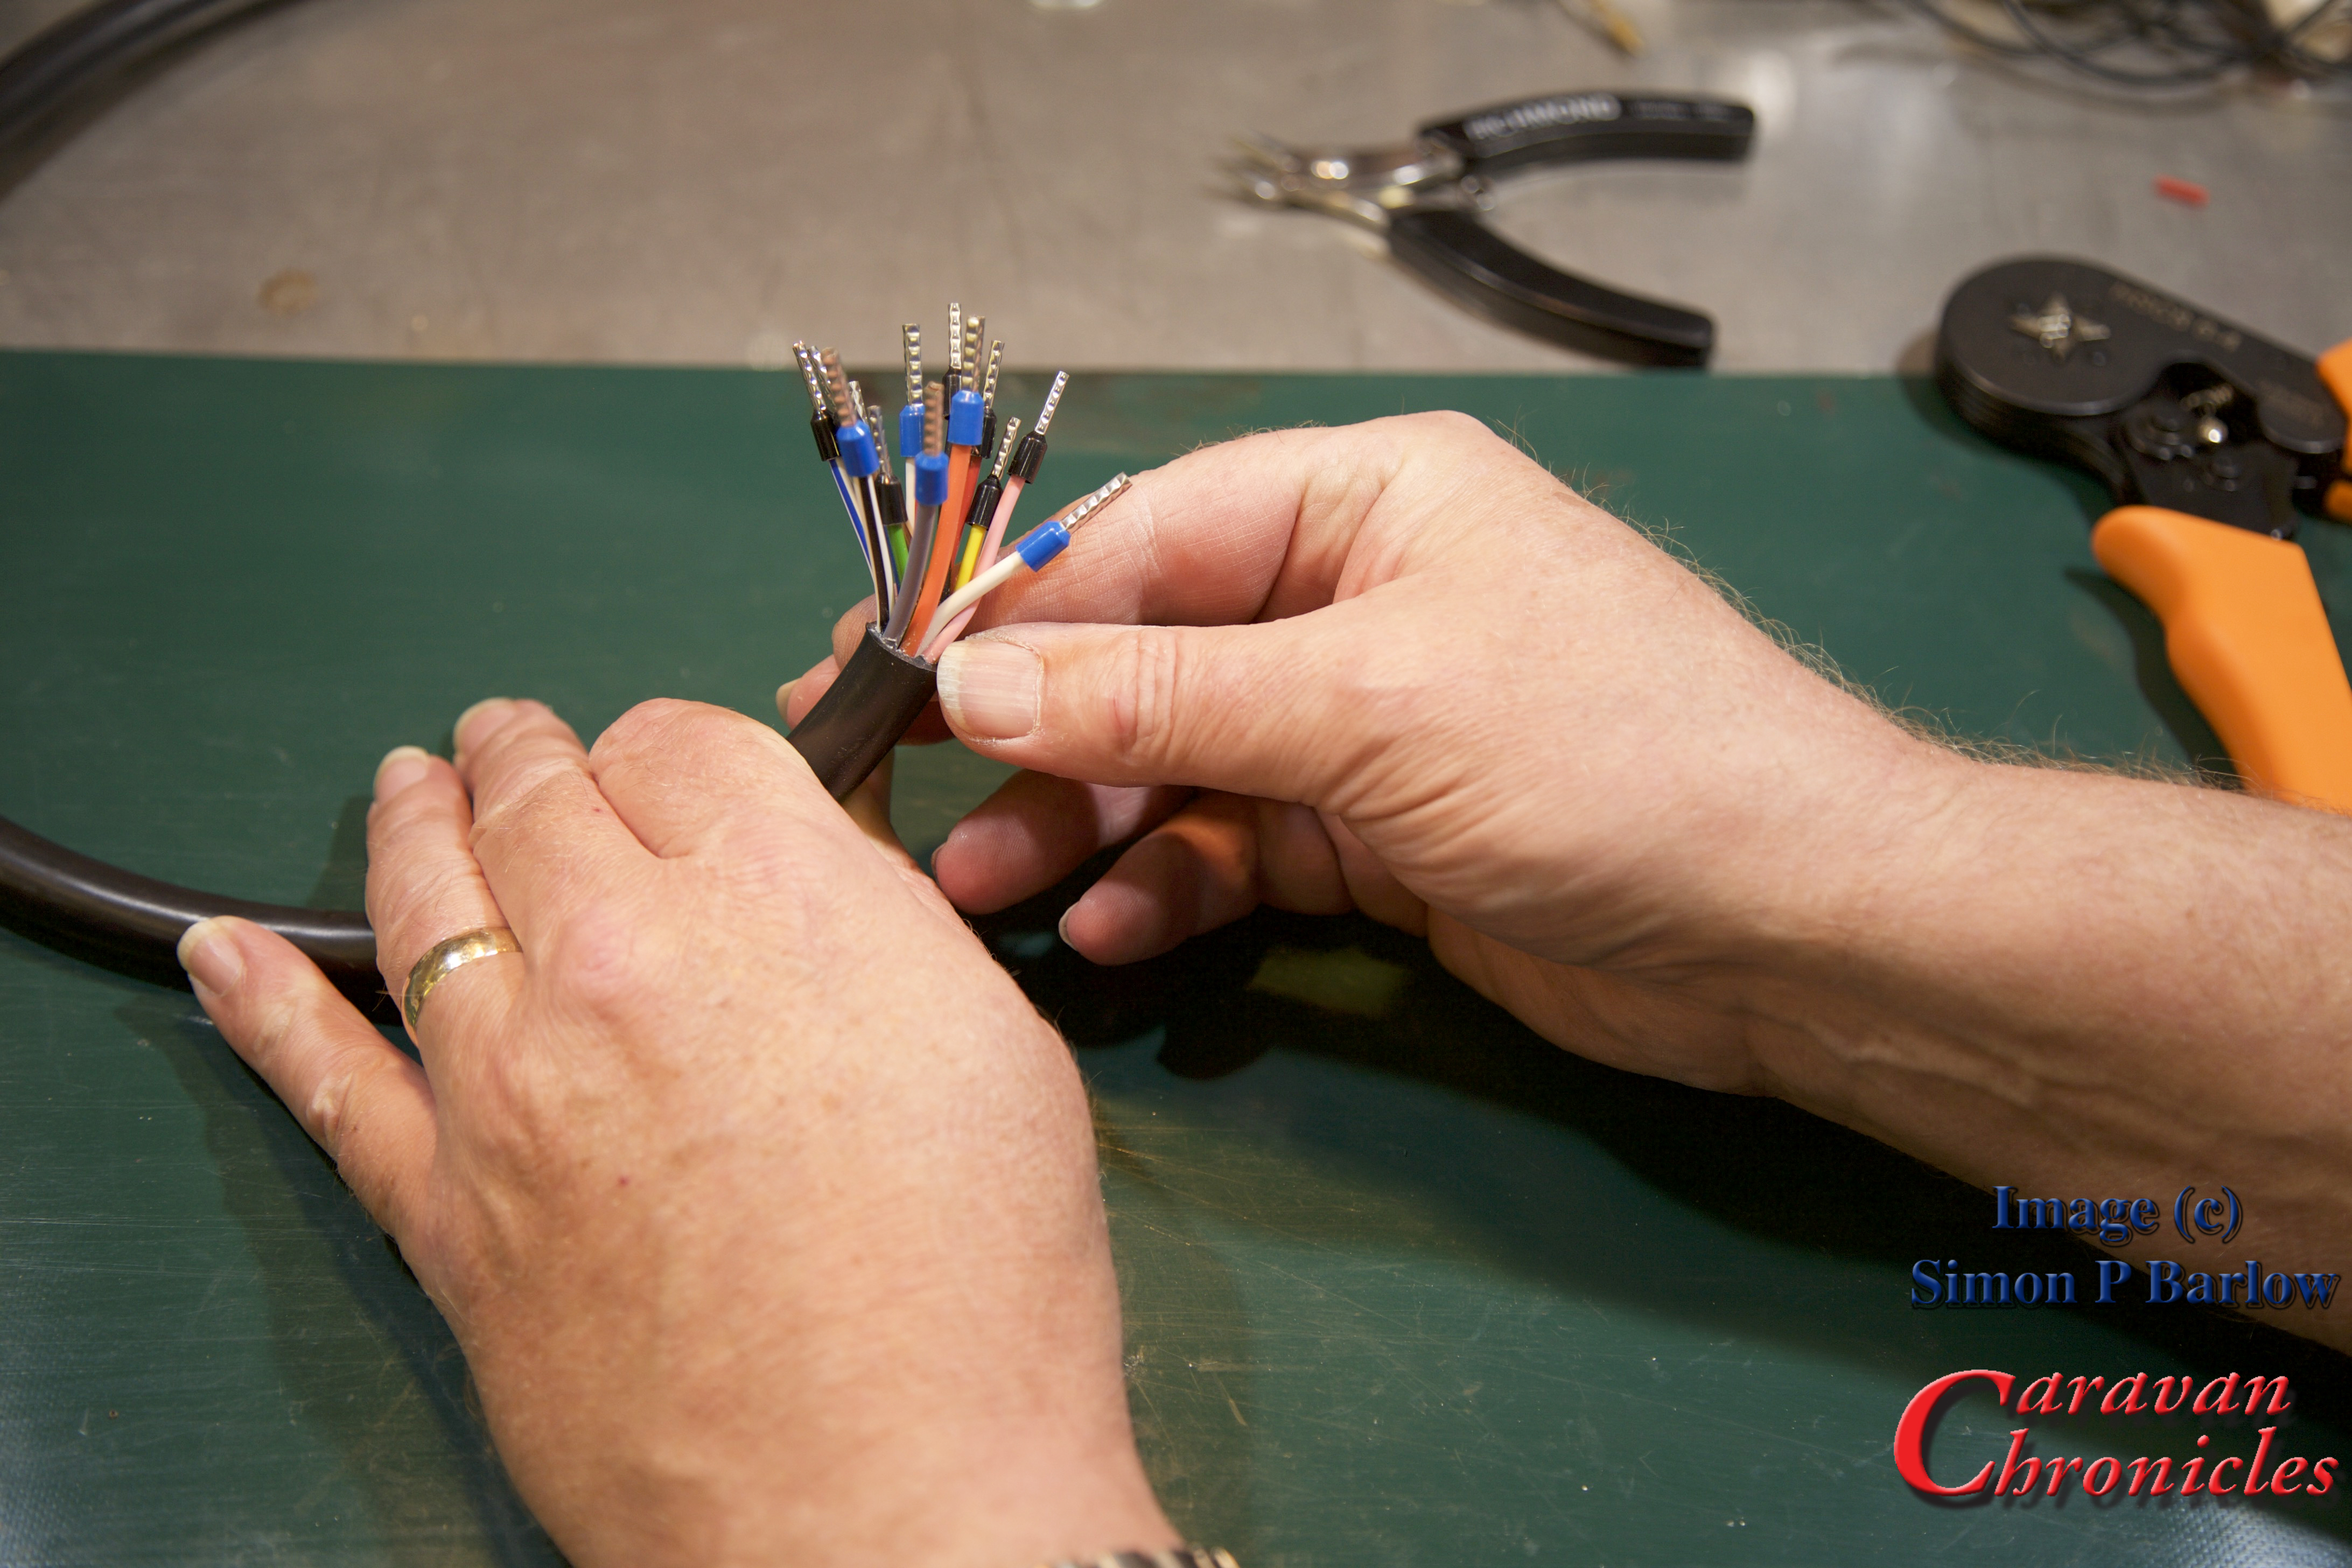
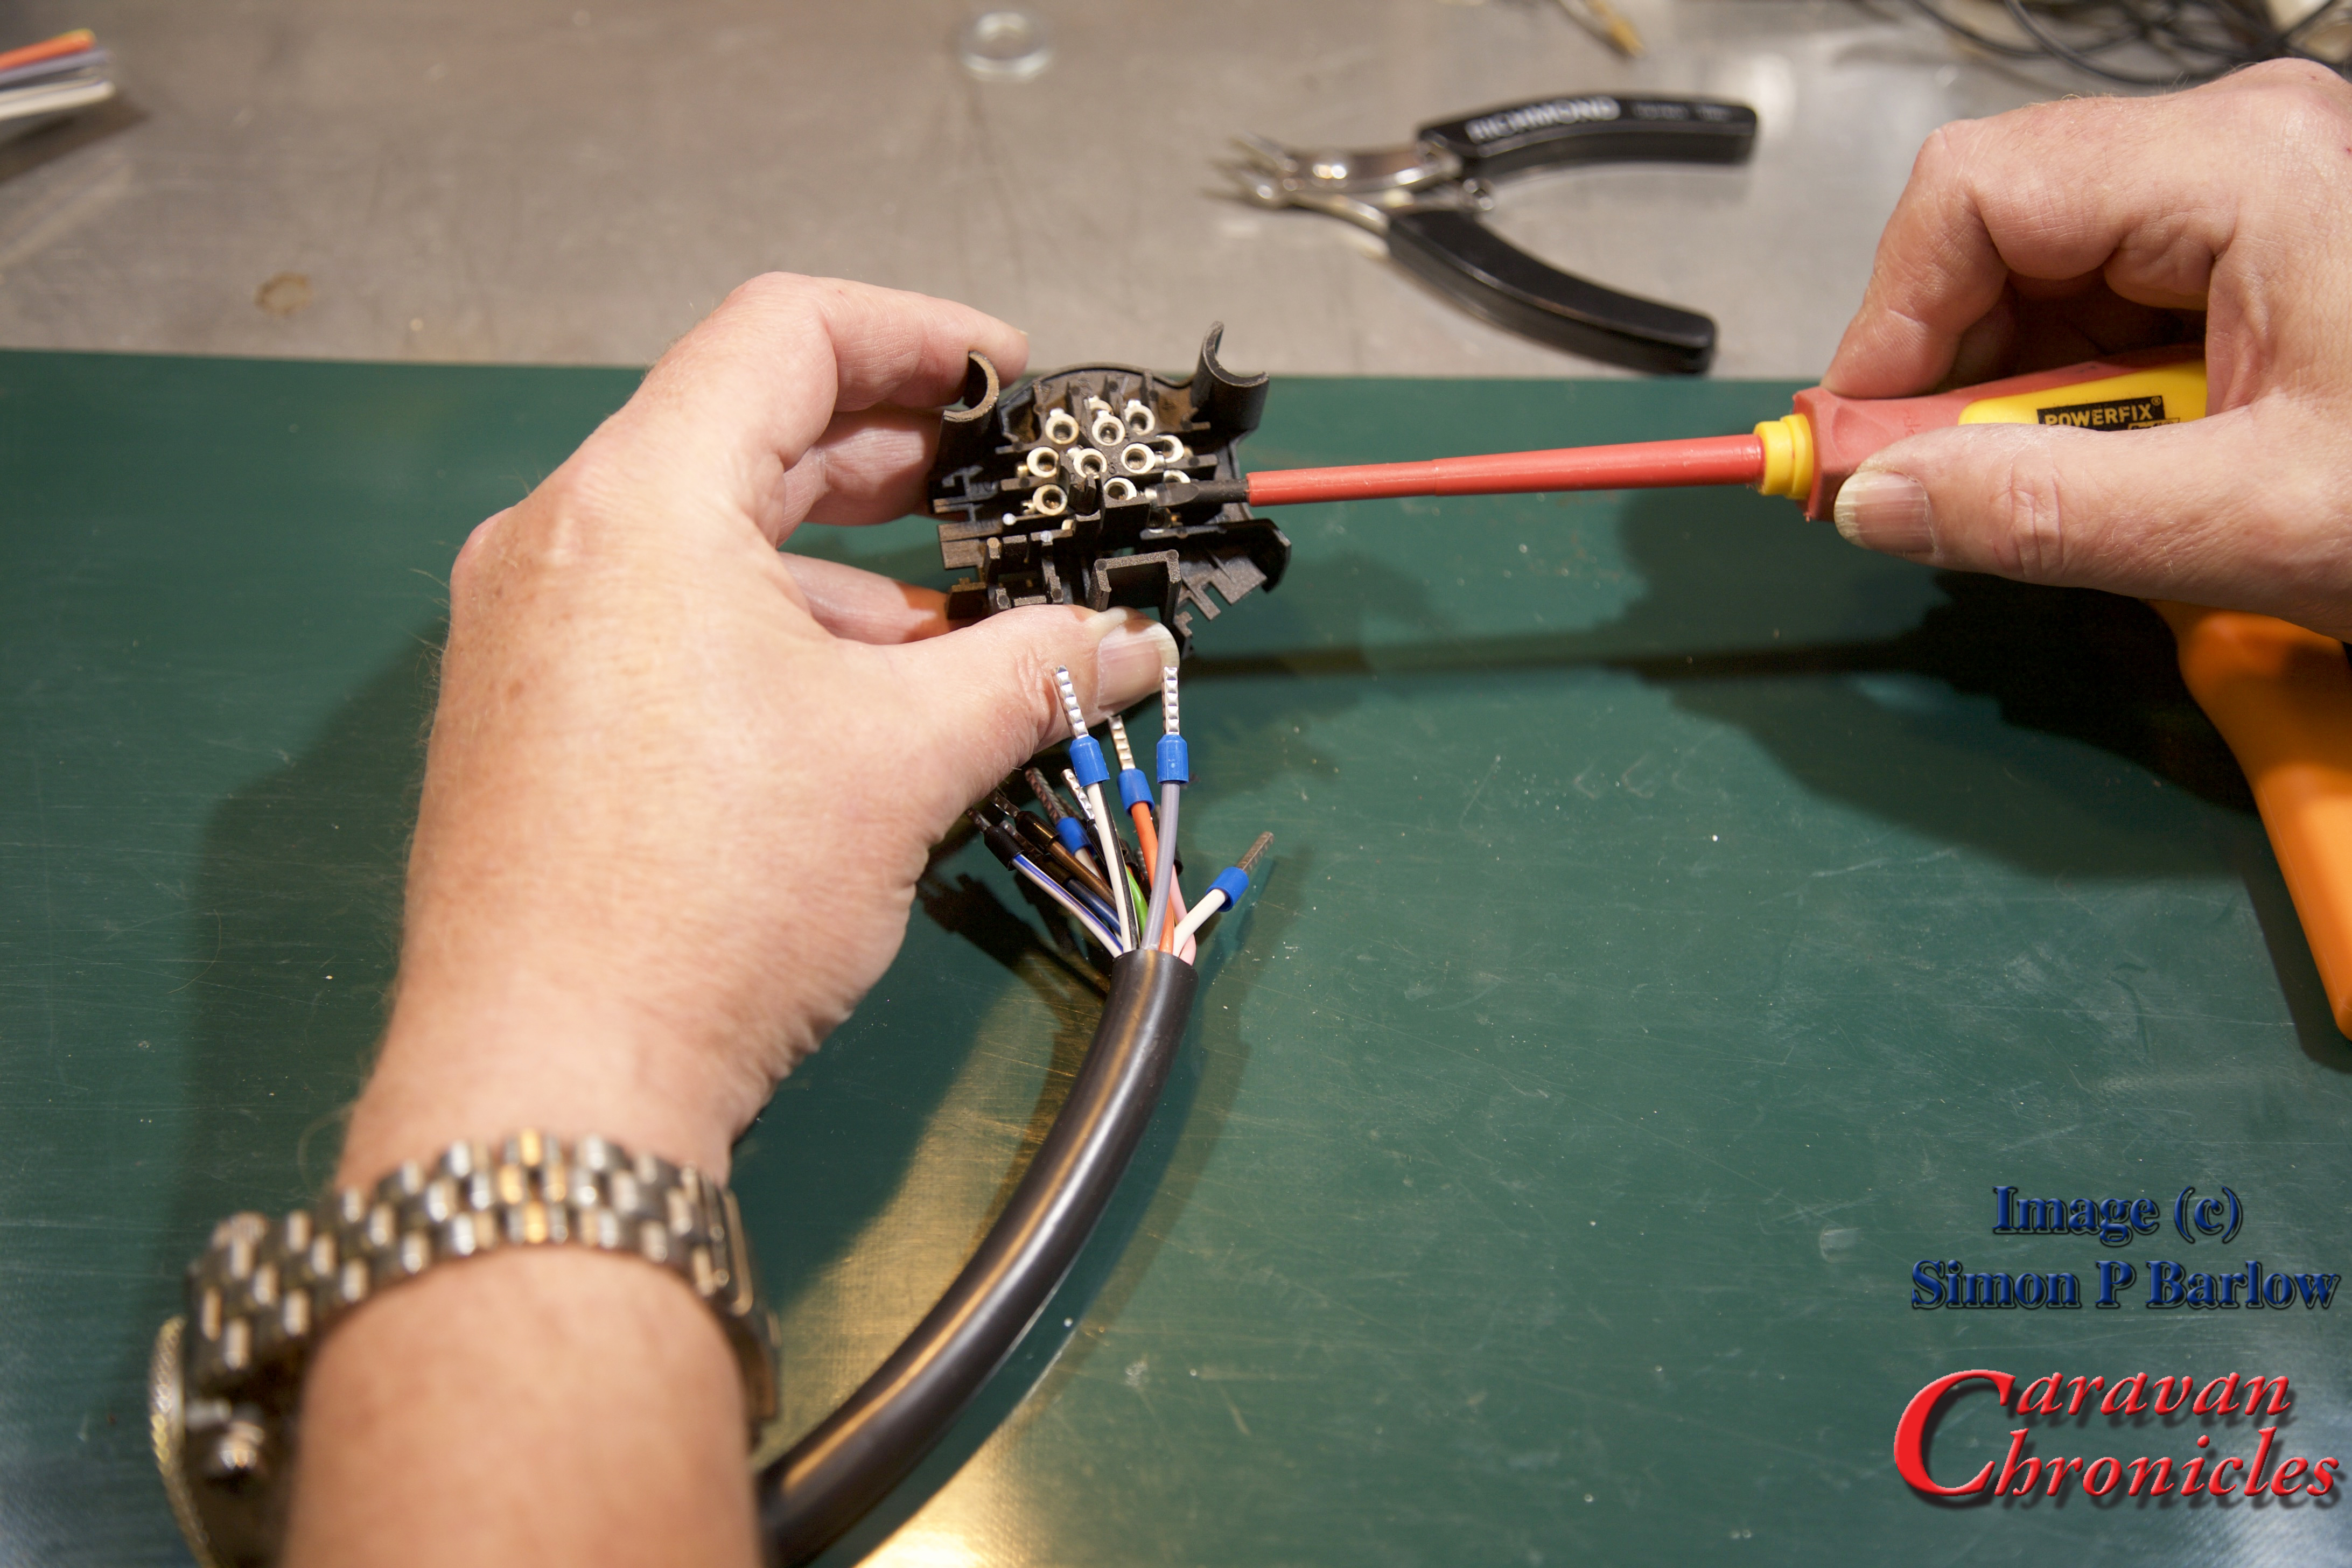
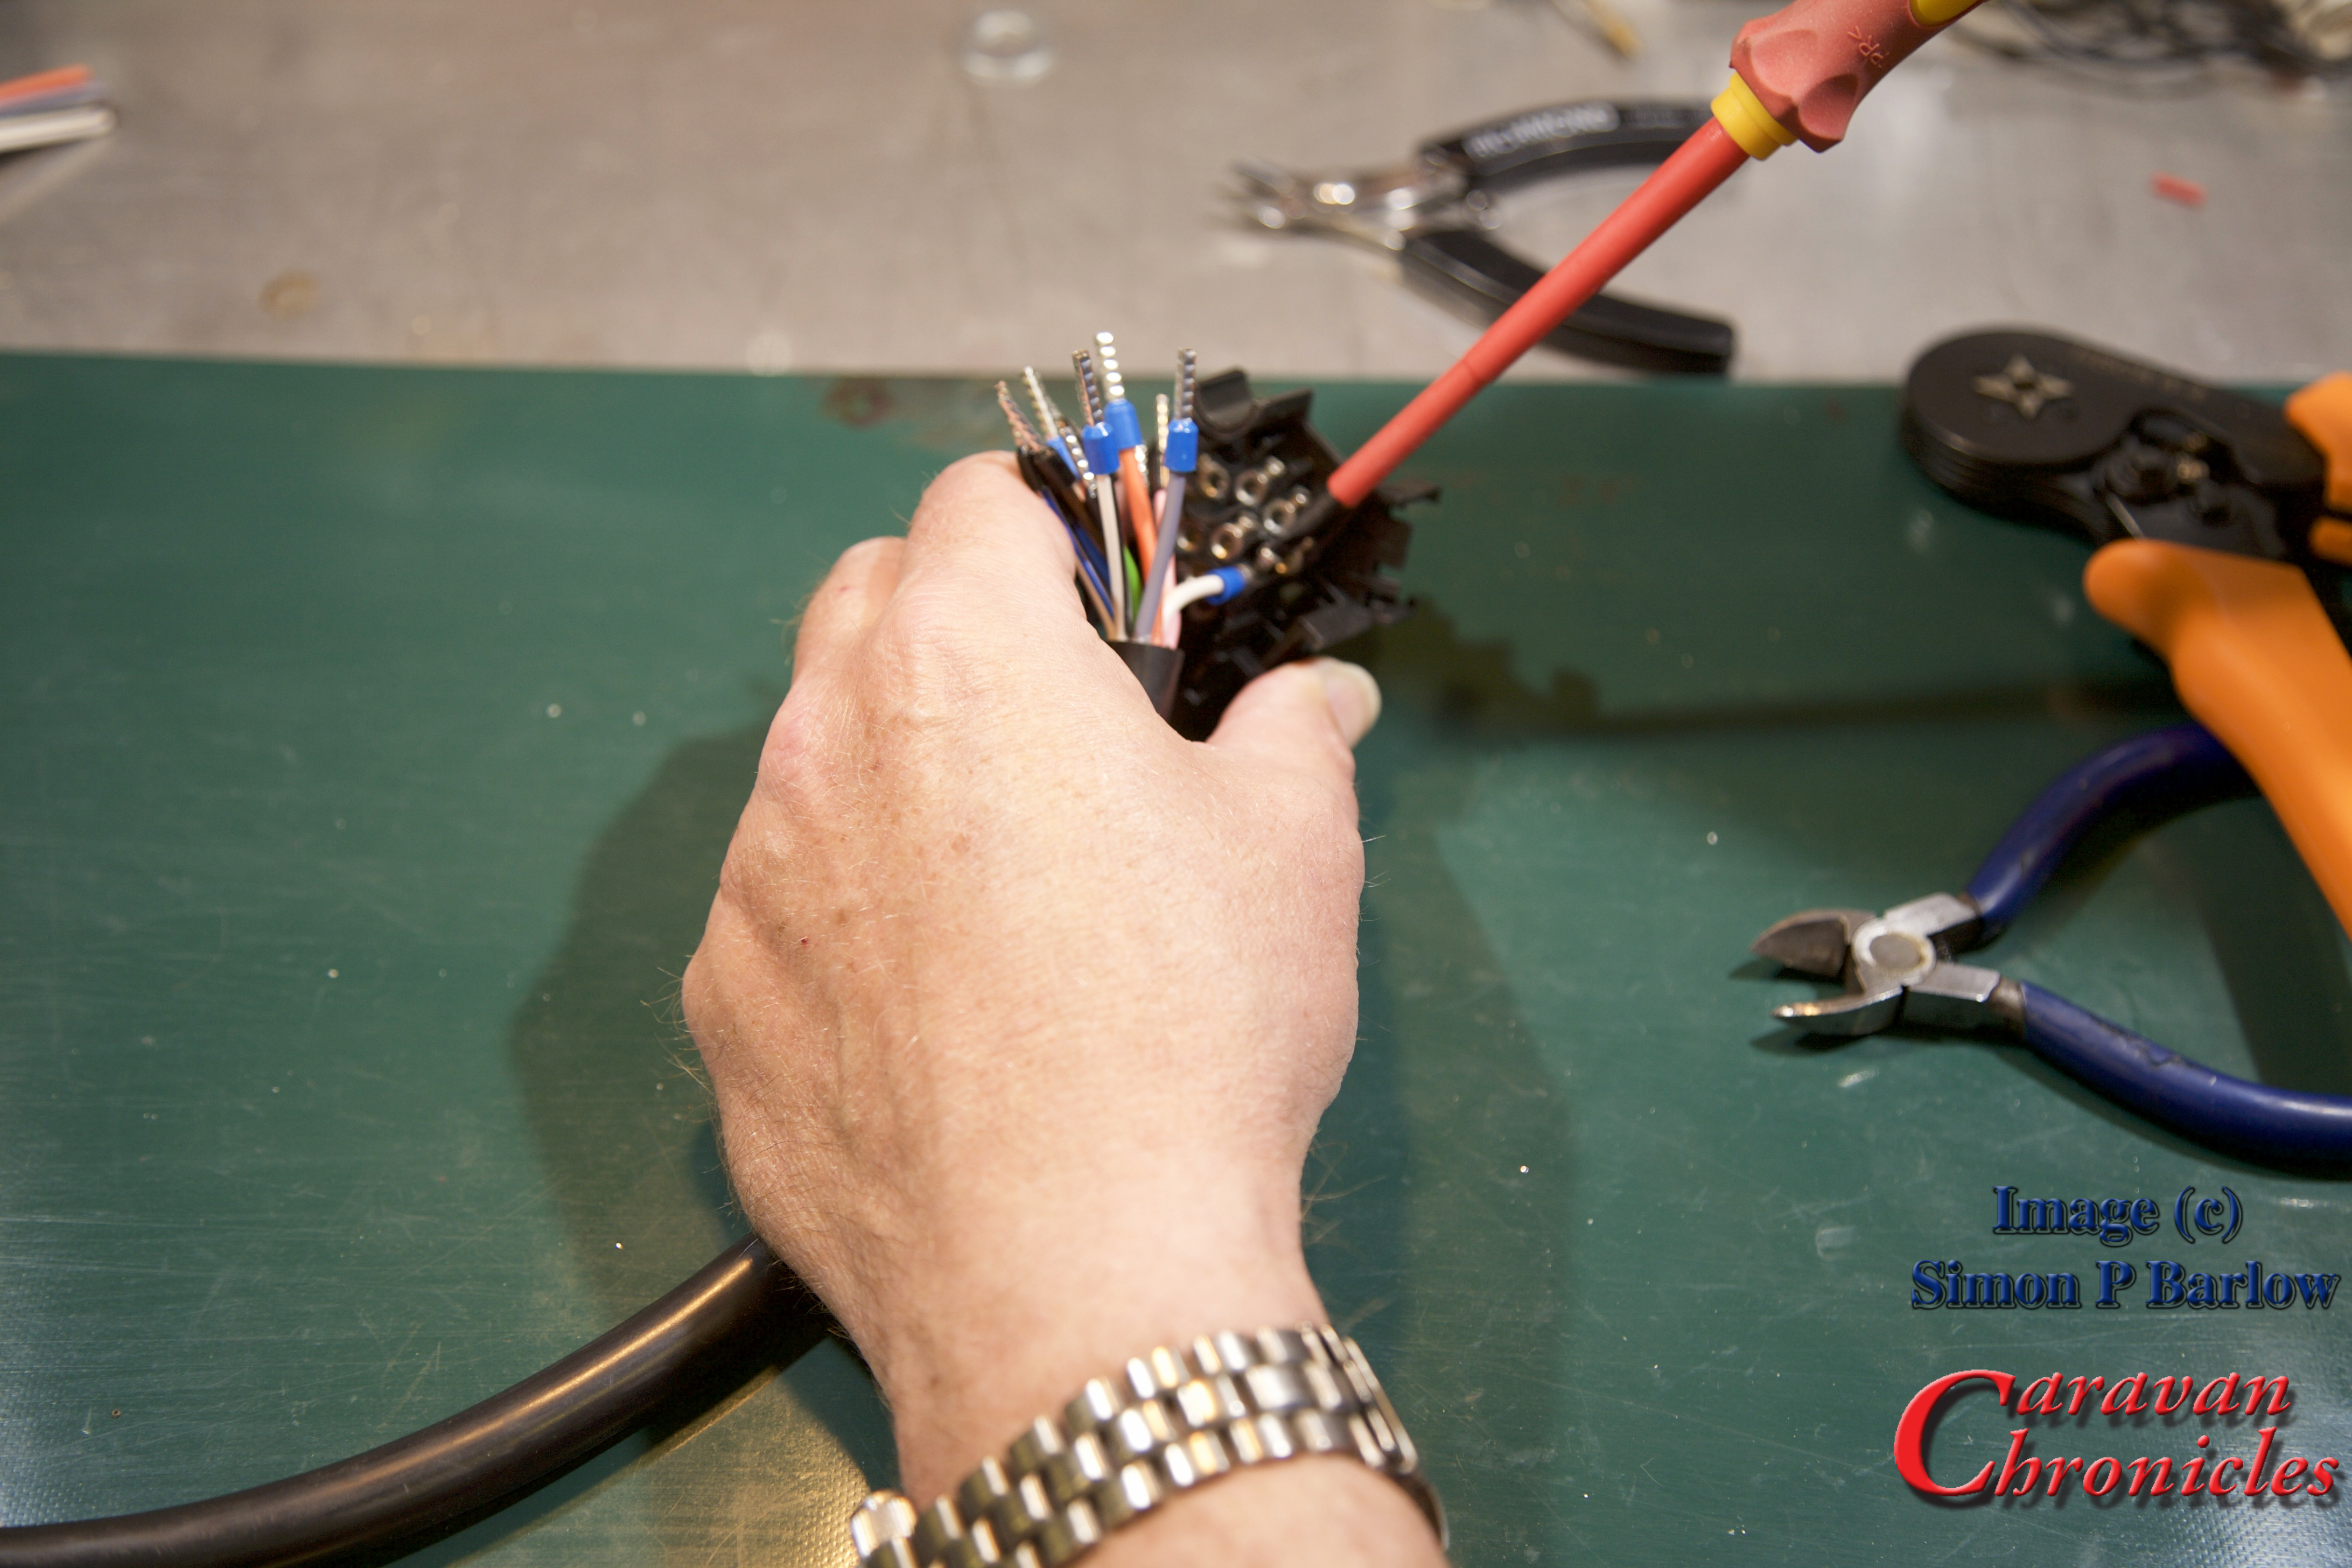
Just finding time to catch up on a few things that I haven’t had time to write about over the past few months.

One of the things we bought a while ago – sometime last year I think, was a cheap de-humidifier from ALDI. I was a little sceptical about the performance of such a small and low priced device initially but it seems to work as advertised. We haven’t been leaving it plugged 24 hours a day  but just using it when we are out for the day and in the evening. Usually we just plug it in when we get up are and leave it running stood on in the bedroom area on a low shelf near the bathroom door and in the evening move it into the bathroom and put it on the floor. We don’t leave it running overnight.

Each day it averages just over two cups of water. Now that doesn’t seem much, but that water was in the air and it has to go somewhere, usually in the form of condensation. One thing we have noticed is that in the morning when we open the blinds, even when it’s down to a few degrees above freezing outside there isn’t any condensation on the lower edge of the windows or window frame. In the colder months usually we put the towels used from showering over the heated towel rail in the bathroom to dry and I’ve always worried about condensation forming in the caravan, but I think this little unit might have eased my concerns somewhat. I don’t think a de-humidifier is worth running 24 x 7 in a caravan as there are so many vents, but taking the moisture out of the ‘van from day to day living can’t be a bad thing!

Share this:

  • Share on X (Opens in new window) X
  • Share on Facebook (Opens in new window) Facebook
  • Share on Tumblr (Opens in new window) Tumblr
  • Share on Pocket (Opens in new window) Pocket
  • Share on Pinterest (Opens in new window) Pinterest
  • Share on Reddit (Opens in new window) Reddit
Like Loading...

I’ve been thinking about this for a while…

27 Sunday Dec 2015

Posted by Simon Barlow in Gadgets, General, Modifications, Projects, Uncategorized

≈ 9 Comments

Tags

Caravan, Caravans, Modifications, Towing

I’m sure that anyone that is a four season caravanner will recognise this… in winter you arrive on site around six in the evening in the dark, in the pouring rain. You get to your pitch and it’s a tight reverse manoeuvre on to it. Your partner gets out with a torch to guide you back. In the rain it’s hard to see out of the side windows and mirrors and you partner disappears into the blackness with only a point of light from their torch to give you any idea where they are. You put the vehicle into reverse and the reversing lights on the rear of the tow vehicle light up the front of the caravan like a National Trust stately home but not much else. You now struggle to see the corners and edge of the pitch in the contrast of the brightness of the floodlight front of the caravan. The darkness down each side caravan and the illumination from the reversing lights of the caravan just seem so far away the little orange side marker lights are not much help in lighting up the area around the van.

This has happened a few times to us and I’ve been pondering over it for a while. What I’d like is not only the normal LED awning light but one on the off side of the caravan and on the rear too with the ability to be able to switch on all three to give a general illumination around the caravan when manoeuvring at night. The LED awning light on our Swift caravan is quite effective at providing enough illumination on one side so what about two more being fitted? Or giving the side marker lights the option to be changed from orange to bright white? They could be controlled from just inside the main door and a simple electronic circuit to turn them off after a few minutes or when the caravan is disconnected from the tow vehicle could be incorporated or even off the key fob remote so you could turn them on when returning back to the caravan in the dark.

Off side and rear illumination would be handy too when it comes to the late night “Oh God it needs emptying/filling” moment just as the full moon disappears behind a cloud and the batteries are a bit run down in your torch (or flashlight for our American cousins) and you just happen to be next to the EHU bollard that the light doesn’t work.

Now while we are on the subject….un-hitching or hitching in the dark is also a bit of a black hole, pun intended. Hitching or un-hitching using a torch becomes a bit of a pain and if you wear vari-focal or bi-focal glasses, using a head torch means constantly adjusting it to get it in the right focus area to see. So, while the additional awning lights are being installed, what about a similar light above the front locker that can be turned on to light up the hitch head allowing easier coupling and un-coupling?

It doesn’t have to be standard on all caravans, but what about an “All Seasons Touring” option pack that could include the above and other things… like mud flaps on the caravan? I’m sure you can think of other things as well. So manufacturers….It’s too late for 2016 caravans but what about considering it for the 2017 range?

I think I can feel a couple of projects coming on…

S

Share this:

  • Share on X (Opens in new window) X
  • Share on Facebook (Opens in new window) Facebook
  • Share on Tumblr (Opens in new window) Tumblr
  • Share on Pocket (Opens in new window) Pocket
  • Share on Pinterest (Opens in new window) Pinterest
  • Share on Reddit (Opens in new window) Reddit
Like Loading...
← Older posts
Newer posts →
Buy Me A Coffee

Blog Stats

  • 45,906,445 hits
Follow Caravan Chronicles on WordPress.com

Follow Caravan Chronicles and receive notifications of new posts by email.

Some previous posts you may like...

My last post….

Many thanks to all my friends. As I write this I’m in the Christi hospital hoping to go home in a few days. I was told about a week ago that I had about 3 months to live and should start preparing my affairs. Which Sue and I are trying to do. I have some…

A Bit Of A Tour…

Well not really a tour, only two locations. The first leg was down from Manchester to Glastonbury and a stay at The Old Oaks. We first went there in 2012 and had five or six more visits in the next four years. So it had been quite a while really. We were located in the…

What’s The Question I Get Asked a Lot?

“What’s in your toolbox when travelling?” Tricky one… I don’t have a tool box anymore. I recently started mooching around the internet for a smaller tool box… or rather a tool bag. I used to use up until a few months ago a Stanley Tool Bag. It was lighter than a tool box, I could…

#Tourfest North West

Tourfest North west was our first time attending anything like a gathering of bloggers, vloggers and the generally like minded. It was organised by The Caravan Addys with a little help from others I’m sure as it must be a time consuming task and hard work to bring everything together. We opted to arrive at…

More Jobs Ticked Off…

OK we are still working on a few bits and pieces but the weather on Friday and Saturday was ideal for cleaning the outside of the 5th Wheel. So while Sue made a start on the cleaning of the nose cap, I finished the first stage of the water pump relocation project and upgraded the…

A Few More Jobs Ticked Off The List…

Like any project, ticking the small stuff off a list is the way to move forward even if it seems like sometimes you have ground to a halt. A bit lacking on photos…. I’m temporarily unsure of their location… pilot speak for I’ve lost them! I’ll correct that in due course. I built a new…

A Few Little Jobs Done…

It seems such a long time since I posted anything. Last time out with the Dreamseeker I noticed that the charging voltage when we were hooked up to the truck was only about 12.1 to 12.3 volts as measured in the Dreamseeker battery box. I know that the VW Amarok puts out 14.6 to 14.8…

Happy New Year…

Happy New Year to everyone, I hope you have a great touring year ahead. I’d like to take this opportunity to give you a bit of an update on my personal circumstances and a look forward to a couple of projects I’m planning to kick off our year. First… … A HUGE thank-you yo everyone…

Sutton-on-Sea In September

Just like to say a huge thank you to so many people that have commented or emailed me over my last post. It has cheered me up no end…. it really has. Enough to rattle this post off! We recently went back to Cherry Tree Springs at Sutton on Sea for an 7 day break.…

This Might Be My Last Post…

Not clickbait…. Three weeks ago Sue and I were cycling between 8 and 10 miles each morning to get a morning coffee. Arrived back home and…. well time stopped. I had received notice that my test sample for Bowel Cancer screening had come back positive. Two days later I underwent a colonoscopy procedure which didn’t…

Something went wrong. Please refresh the page and/or try again.

  1. Dave Hart's avatar
    Dave Hart on How to: Connect two batteries in parallelAugust 27, 2024

    brilliant and so well explained! Thank you, love your work!!

  2. Simon Barlow's avatar
    Simon Barlow on Caravan Road Lights – Basic Fault FindingAugust 25, 2024

    Please look at my very last post on the blog

  3. Martin's avatar
    Martin on Caravan Road Lights – Basic Fault FindingAugust 25, 2024

    martin here caravan lights worked fine for two stop overs I had then hooking up again for my third trip…

  4. Emmy’s Camper Travels's avatar
    Emmy’s Camper Travels on My last post….August 25, 2024

    I’m so sorry. My sincerest sympathies go to you and your wife Sue. Your ideas and advice have been so…

  5. Steve Walsh-Jones's avatar
    Steve Walsh-Jones on My last post….August 22, 2024

    very sorry to hear this. Your posts have been very informative and enlightening providing an in depth view on different…

  6. thetwinaxletouringscouser's avatar
    thetwinaxletouringscouser on My last post….August 22, 2024

    Good heavens above Simon I am ever sorry to hear of such devastating news for both you yourself and Sue.…

  7. Eileen's avatar
    Eileen on My last post….August 22, 2024

    Simon and Sue, thank you both for sharing your passion for caravans with us. The news is extremely sad, our…

  8. Philip Parkes's avatar
    Philip Parkes on My last post….August 22, 2024

    Simon. So sad to read you last post today. Our thoughts are with you and Sue at this time. Whilst…

  9. Philip Parkes's avatar
    Philip Parkes on My last post….August 22, 2024

    Simon. So sad reading your post today. Our thoughts are with you and Sue at this time.

  10. Philip Parkes's avatar
    Philip Parkes on My last post….August 22, 2024

    Simon our thoughts are with you and Sue.

  11. Luke Tarrant's avatar
    Luke Tarrant on My last post….August 22, 2024

    Very sorry to read this and my thoughts are with you both at this time.

  12. Alan Smith's avatar
    Alan Smith on My last post….August 22, 2024

    Dearest Simon. I have never met you, but I feel as though I have some (limited) knowledge of you and…

CaravanChronicles.com Tag’s…

5th Wheel Caravan 13 Pin Plug Accessories AL-KO Avtex Bear Extender Bike Rack Blackpool Blackpool Illuminations blogging Cadac Camping & Caravanning Club Canterbury Caravan Caravan Blog Caravan Club Caravan Electrical Caravan Electrics Caravanning Caravans Caravan Show Caravan Talk Cheltenham Chirk Christmas Market Christmas markets Cleaning design Event City Factory Visit Fiamma France Freelander Glastonbury Glossop Caravans Humor Insync Jonic Bedding Lady Heyes La Tournerie Ferme Leisure Battery Leisure Battery Charging LPG Refilling Maintenance Manchester Caravan & Motorhome Modifications NEC North Western Caravans Ltd OLPRO One Hairy Caravanner Oswestry Oxford Product Review Project Review Safefill Sat Nav Sterling Caravans Sterling Power Wildside Swift Factory Swift Group Swift Talk Technical The Old Oaks Touring Towing Tow Vehicle Trafford Centre travel Travel Trailer Travel Trailers vacation VW Amarok Warwick Racecourse WiFI

Website Powered by WordPress.com.

  • Subscribe Subscribed
    • Caravan Chronicles
    • Join 672 other subscribers
    • Already have a WordPress.com account? Log in now.
    • Caravan Chronicles
    • Subscribe Subscribed
    • Sign up
    • Log in
    • Report this content
    • View site in Reader
    • Manage subscriptions
    • Collapse this bar
 

Loading Comments...
 

    %d