• Home
  • Help Guides
    • Storage Sites
    • Equipment Reviews
  • Document Library
    • Electrical Drawings
  • Photo Gallery
    • Caravan Log
    • MPG
  • Trip Map
  • Shop
  • About Caravan Chronicles…
  • Contact
  • Links

Caravan Chronicles

~ not just another caravan blog

Caravan Chronicles

Category Archives: General

10 Days, Two Awesome Sites and Breaking News… Pt 2

11 Sunday Jun 2023

Posted by Simon Barlow in General, Hanworth Country Park, Lincoln

≈ 6 Comments

Tags

Caravanning, Lincoln, Touring, travel

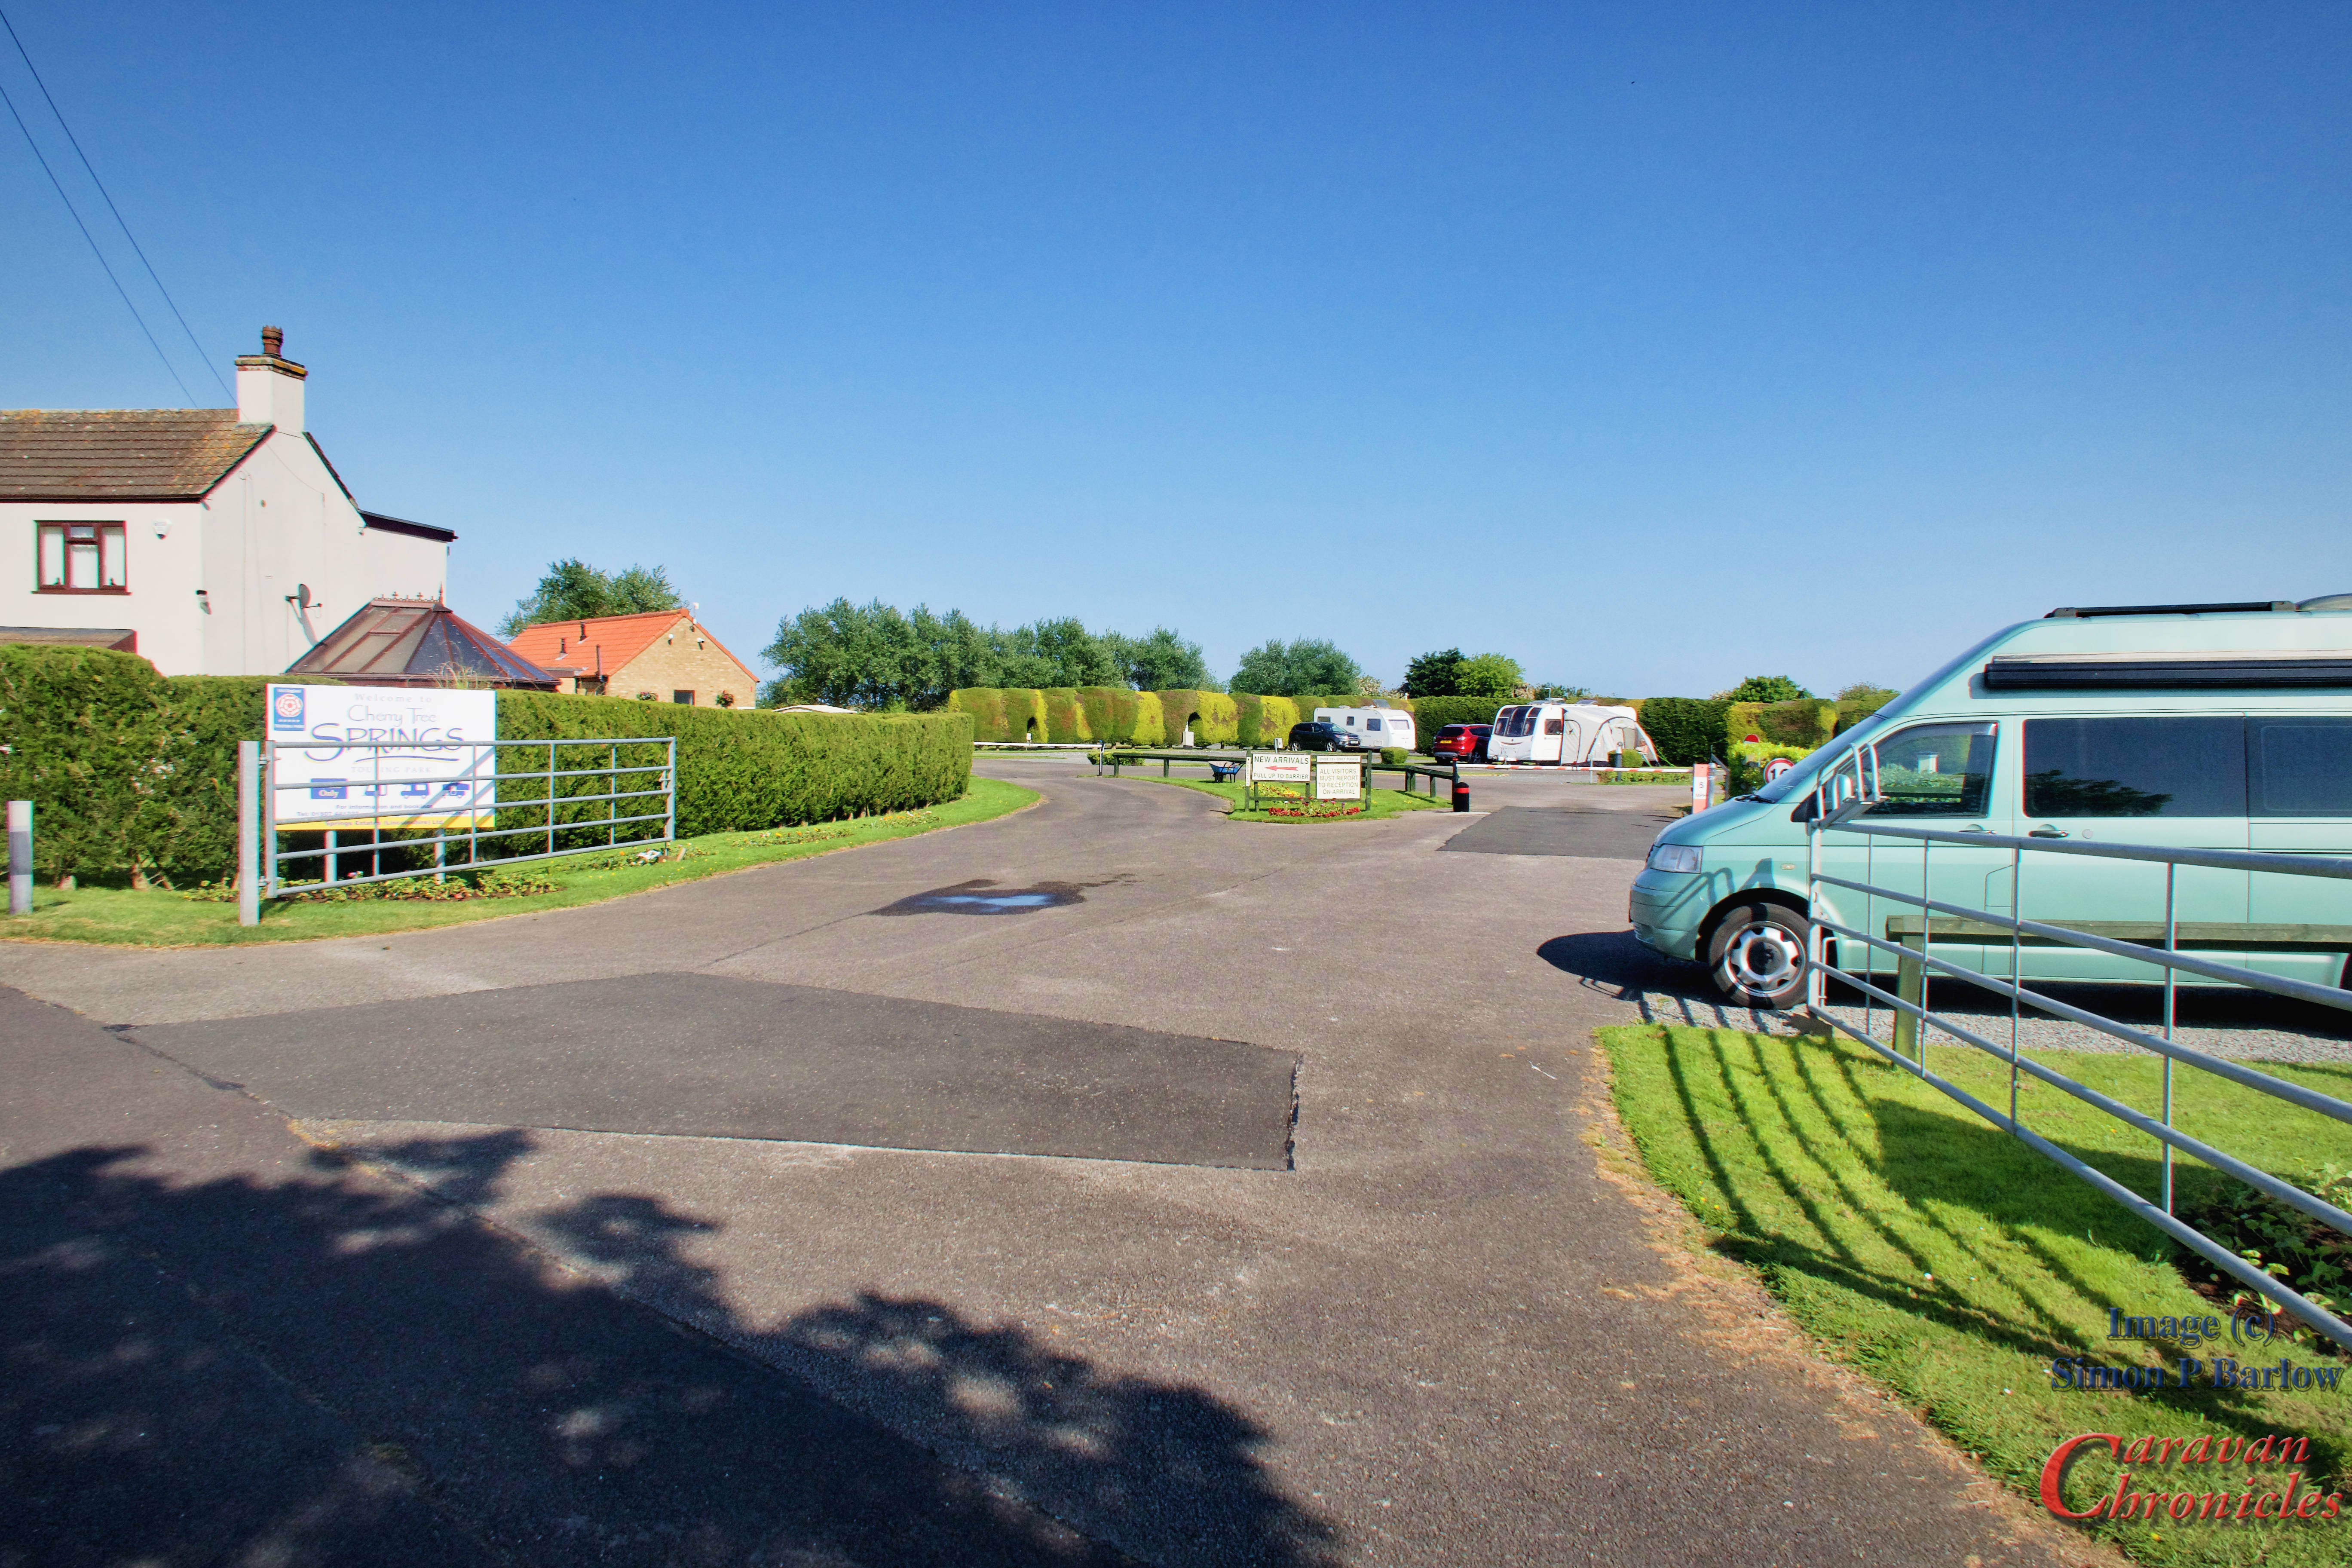
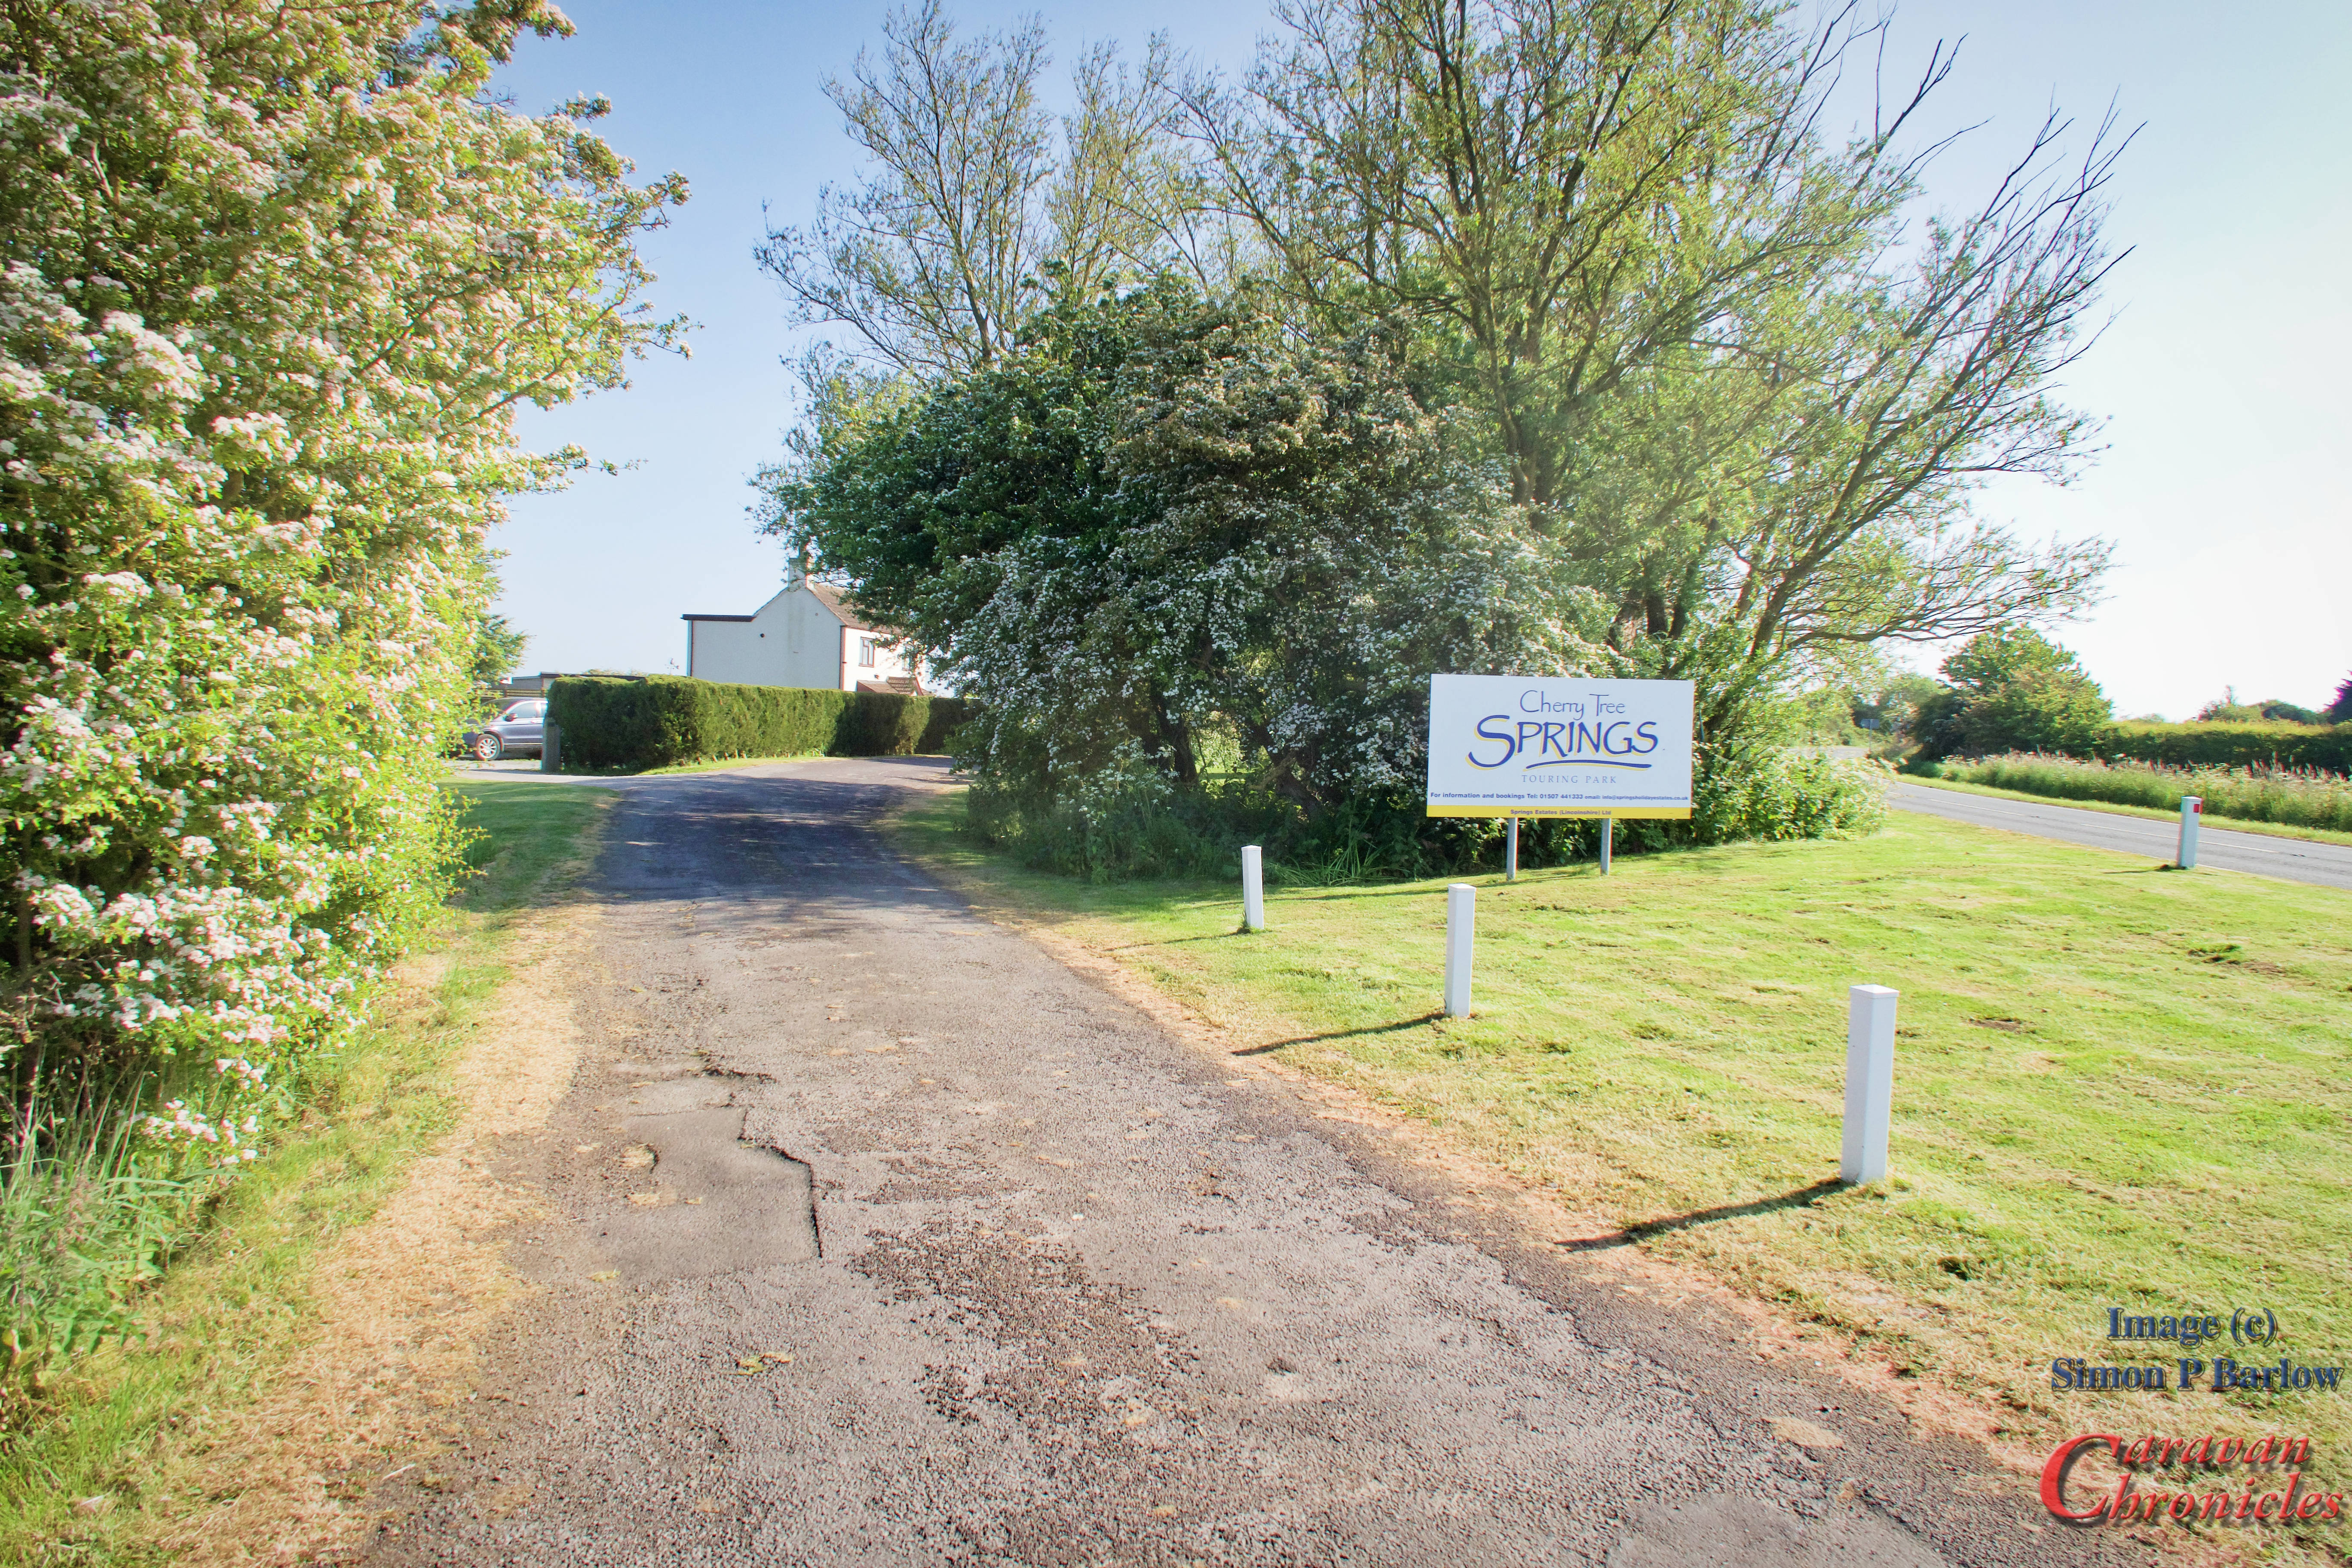
On Sunday we left Cherry Tree Springs as close to the departure time as we could as the GPS gave us a travelling time of about an hour… which would have put us arriving before the arrival time at Hanworth Country Park. We headed west towards Lincoln following the GPS. I’d flown over Lincolnshire many times in the past… one glorious sunny Saturday actually flying over most of the old WW2 airfields, or where they once were trying to spot the outlines of now long forgotten runways. I’d never driven much around Lincolnshire, except for a stint while working on the AWACS project, Alpha Dispersal at RAF Waddington or “Waddo” back in the late 90’s.

The weather was good, traffic light and apart from me missing a turn after a late call from the GPS a great drive. We got to see some really lovely parts of Lincolnshire. I do really like trips where you have two or more stops as you drive through parts of the country you would normally mis in a ‘home to site and back’ trip. (keep this in mind for later!)

Hanworth Country Park

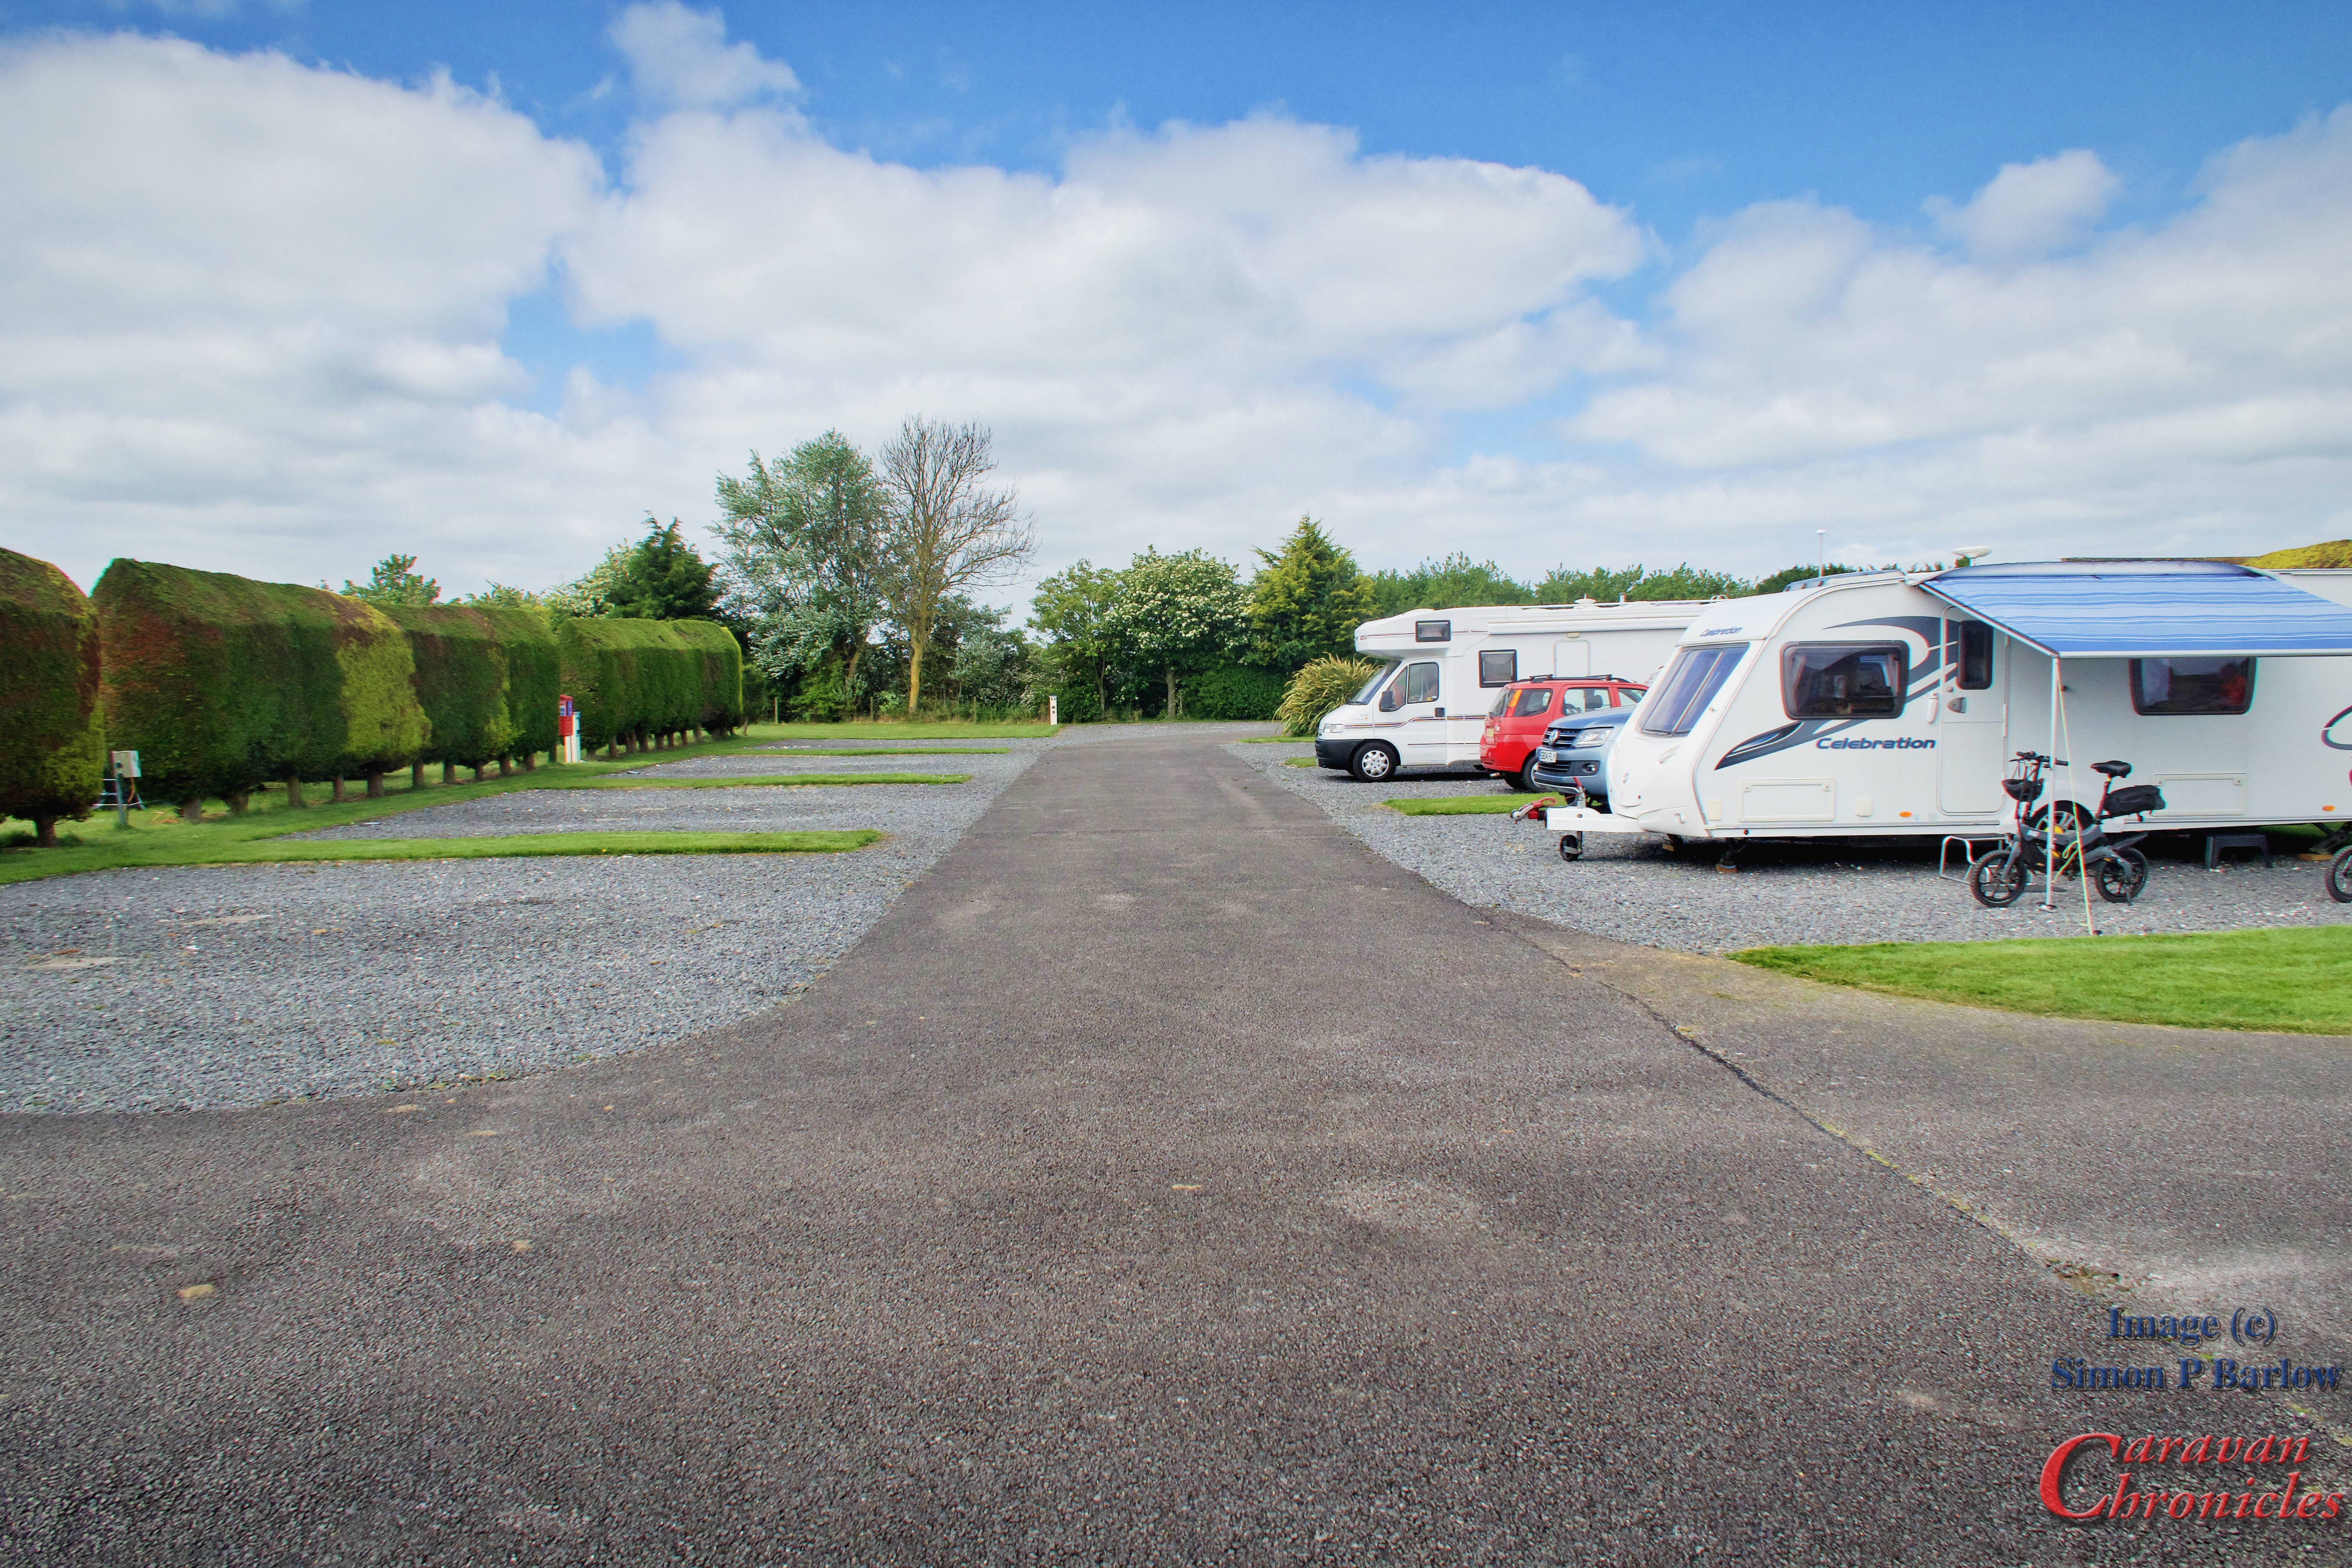
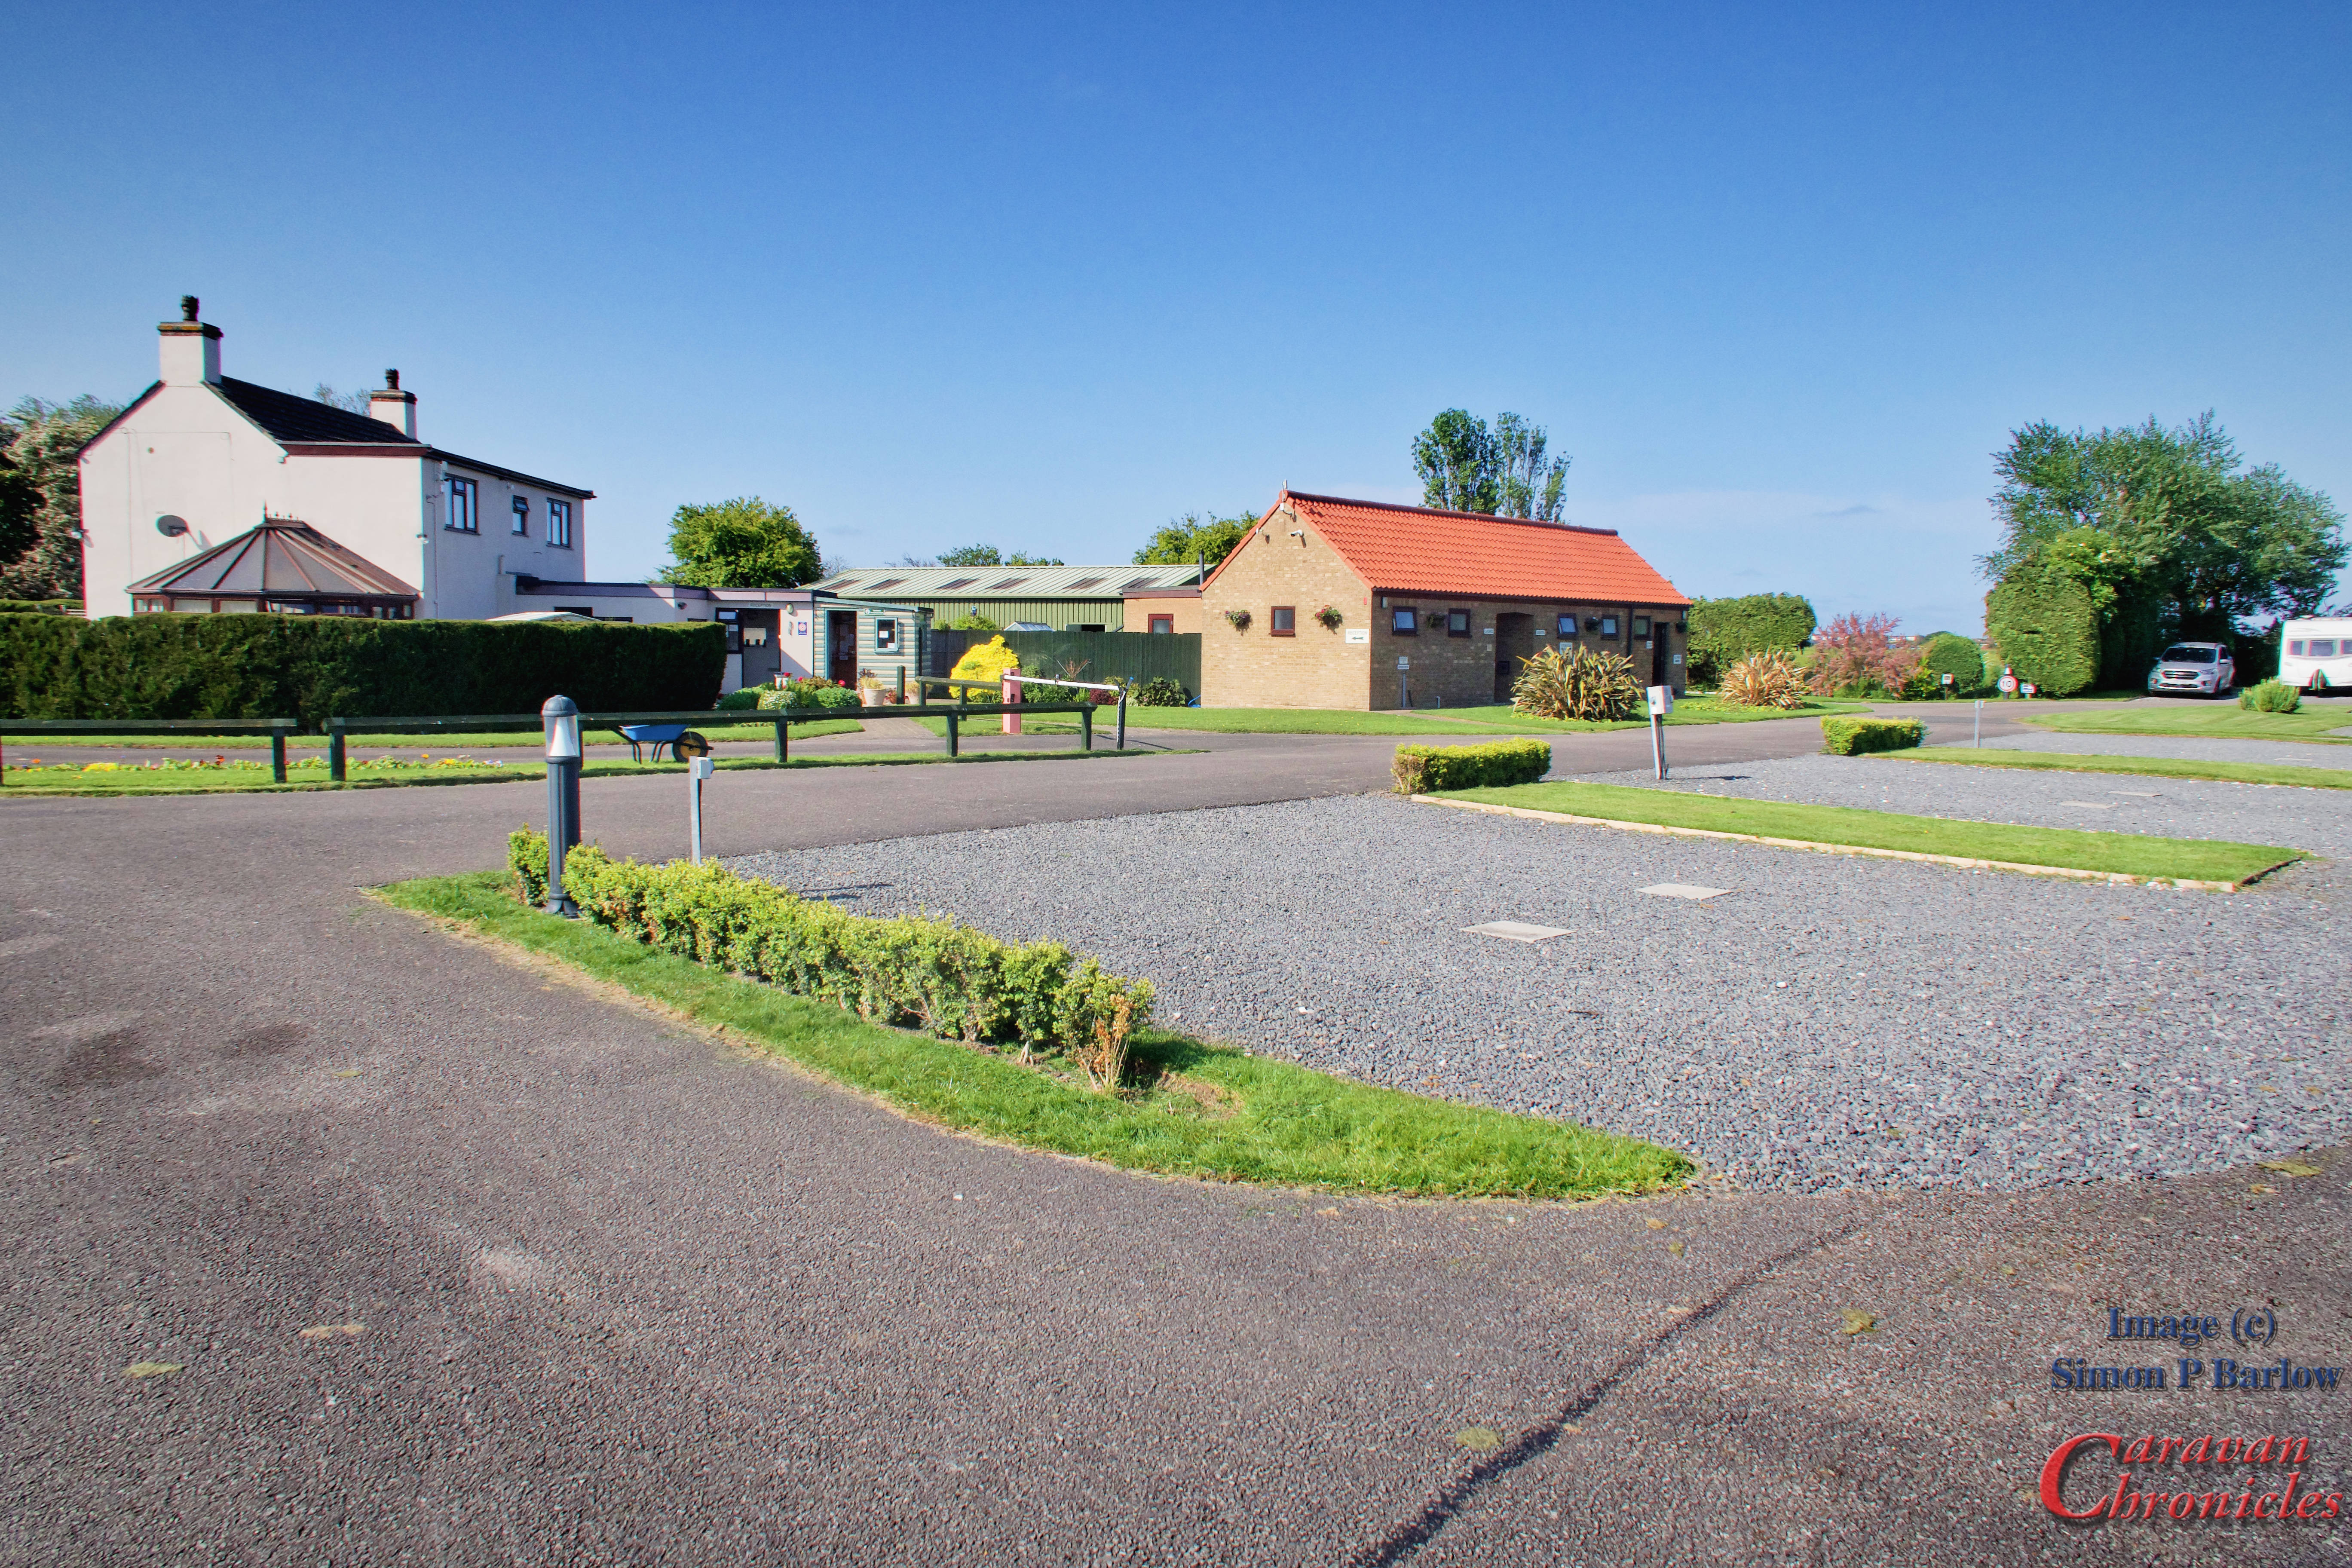
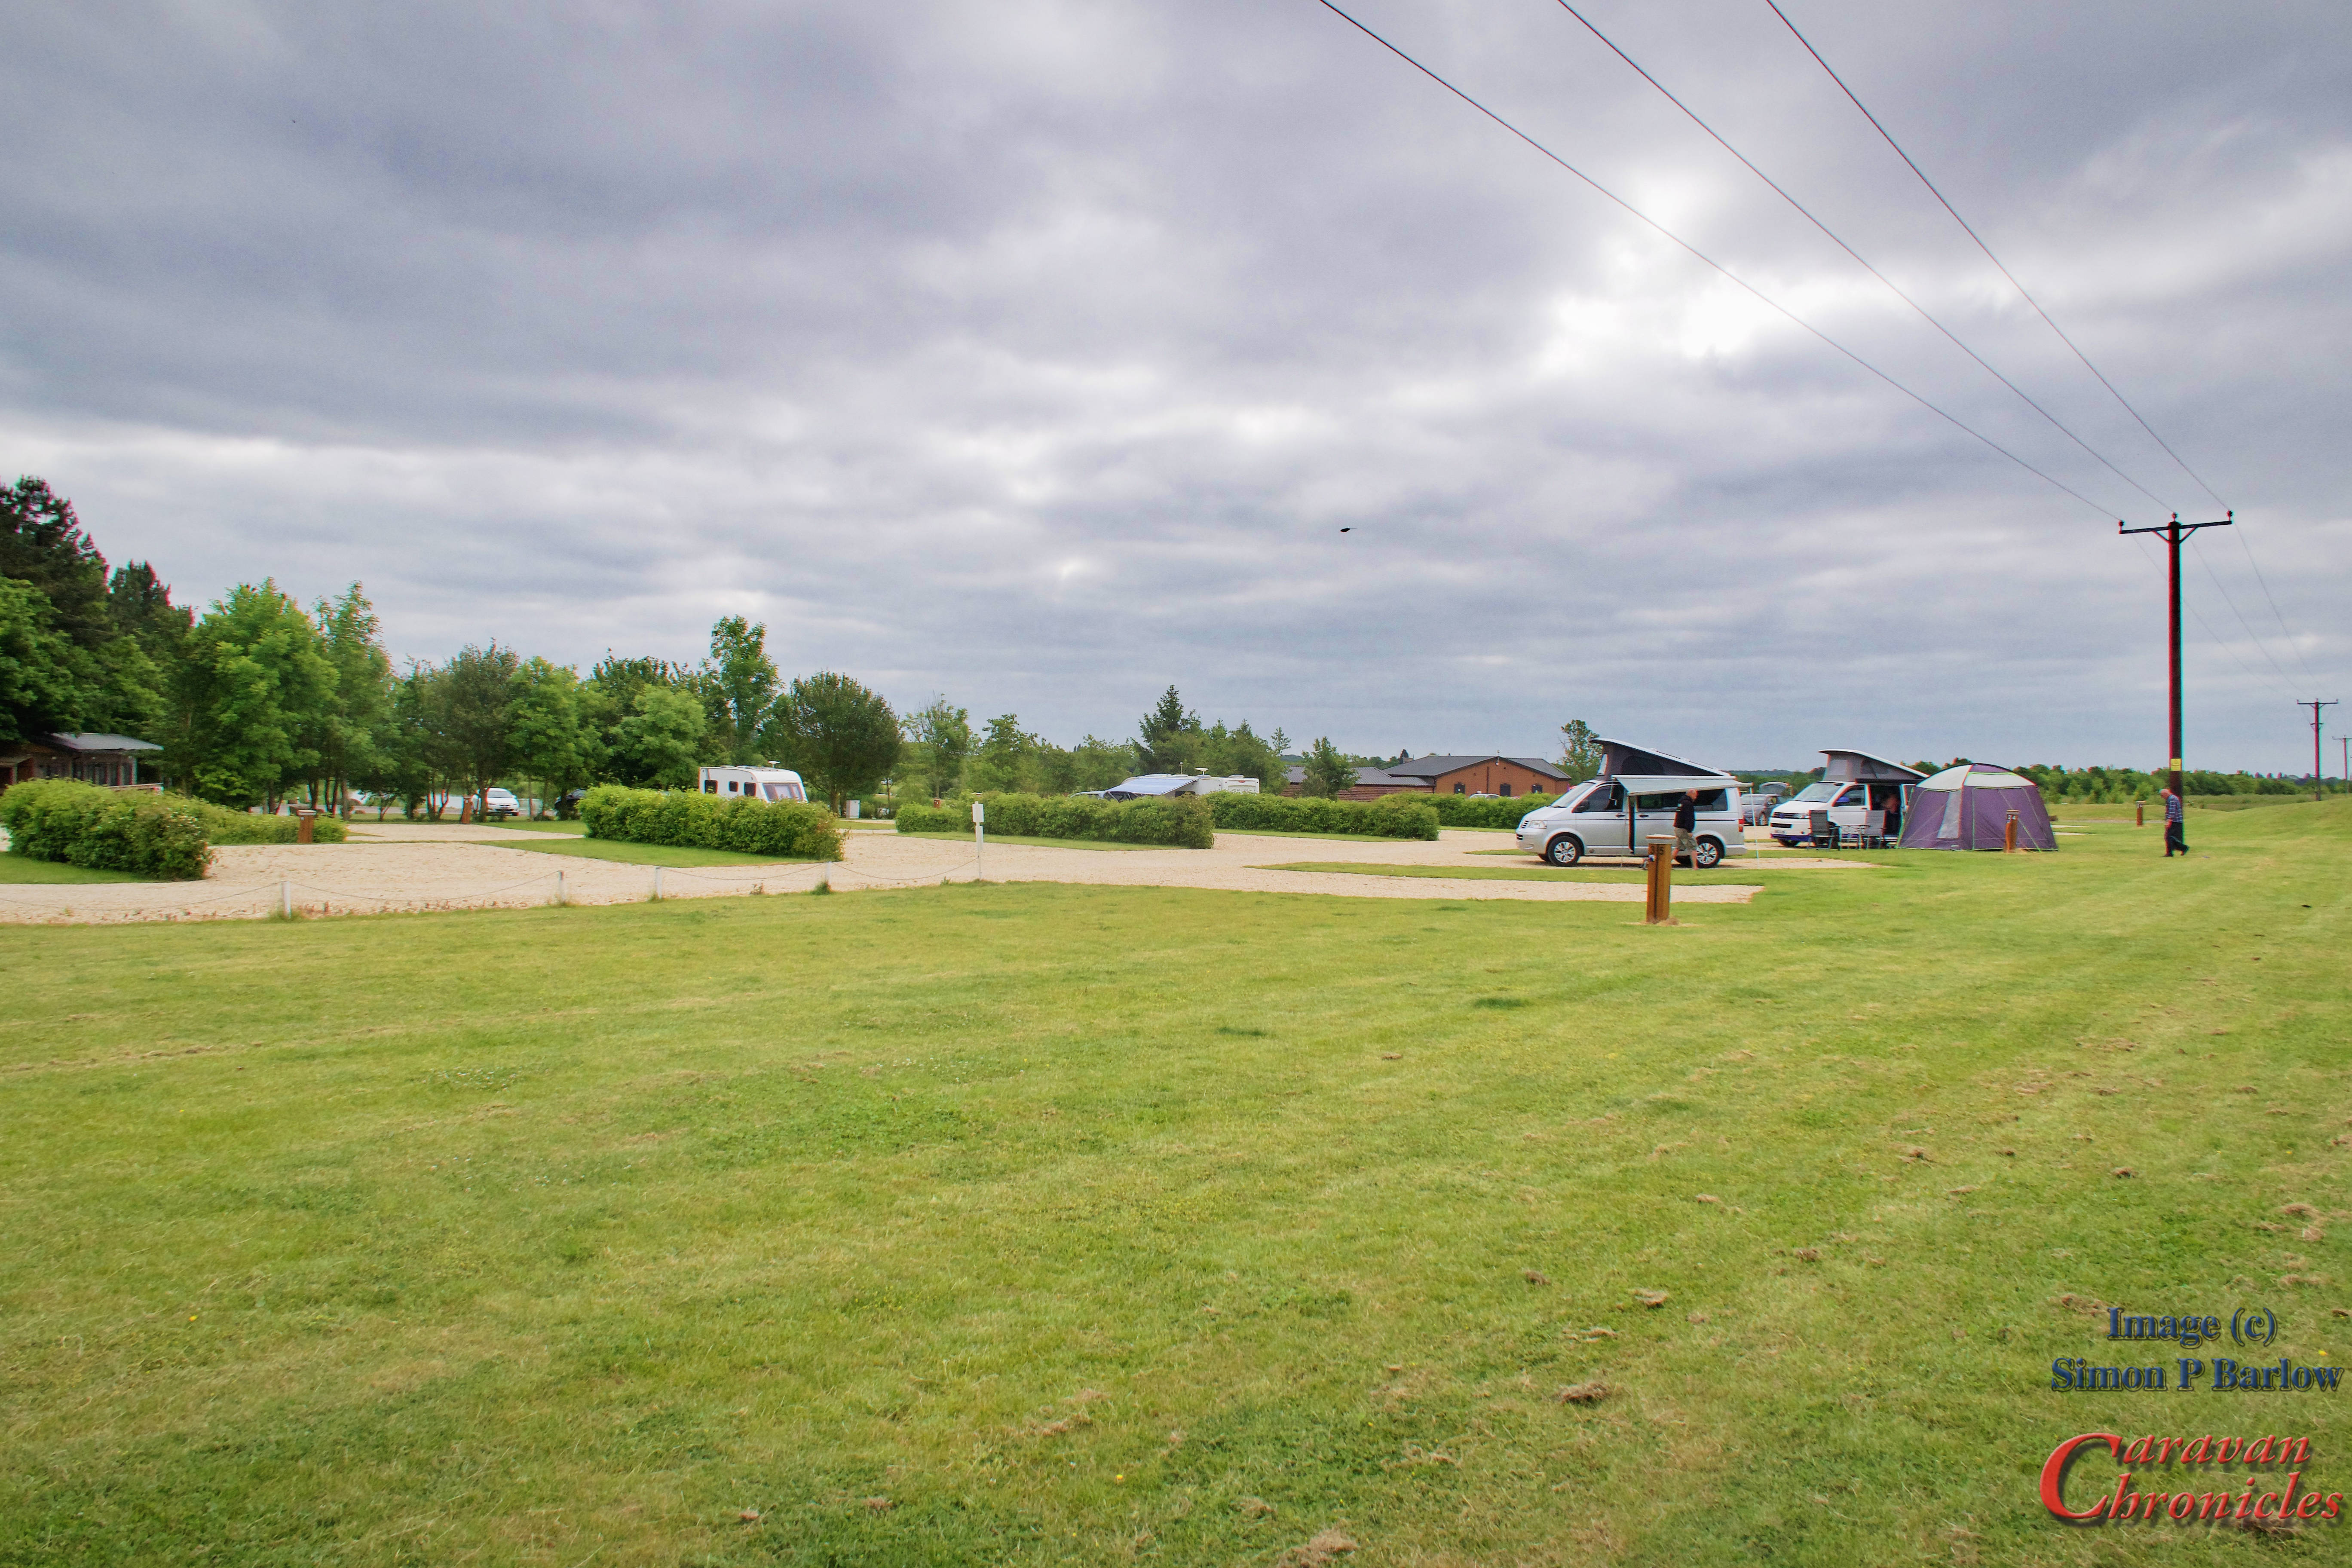
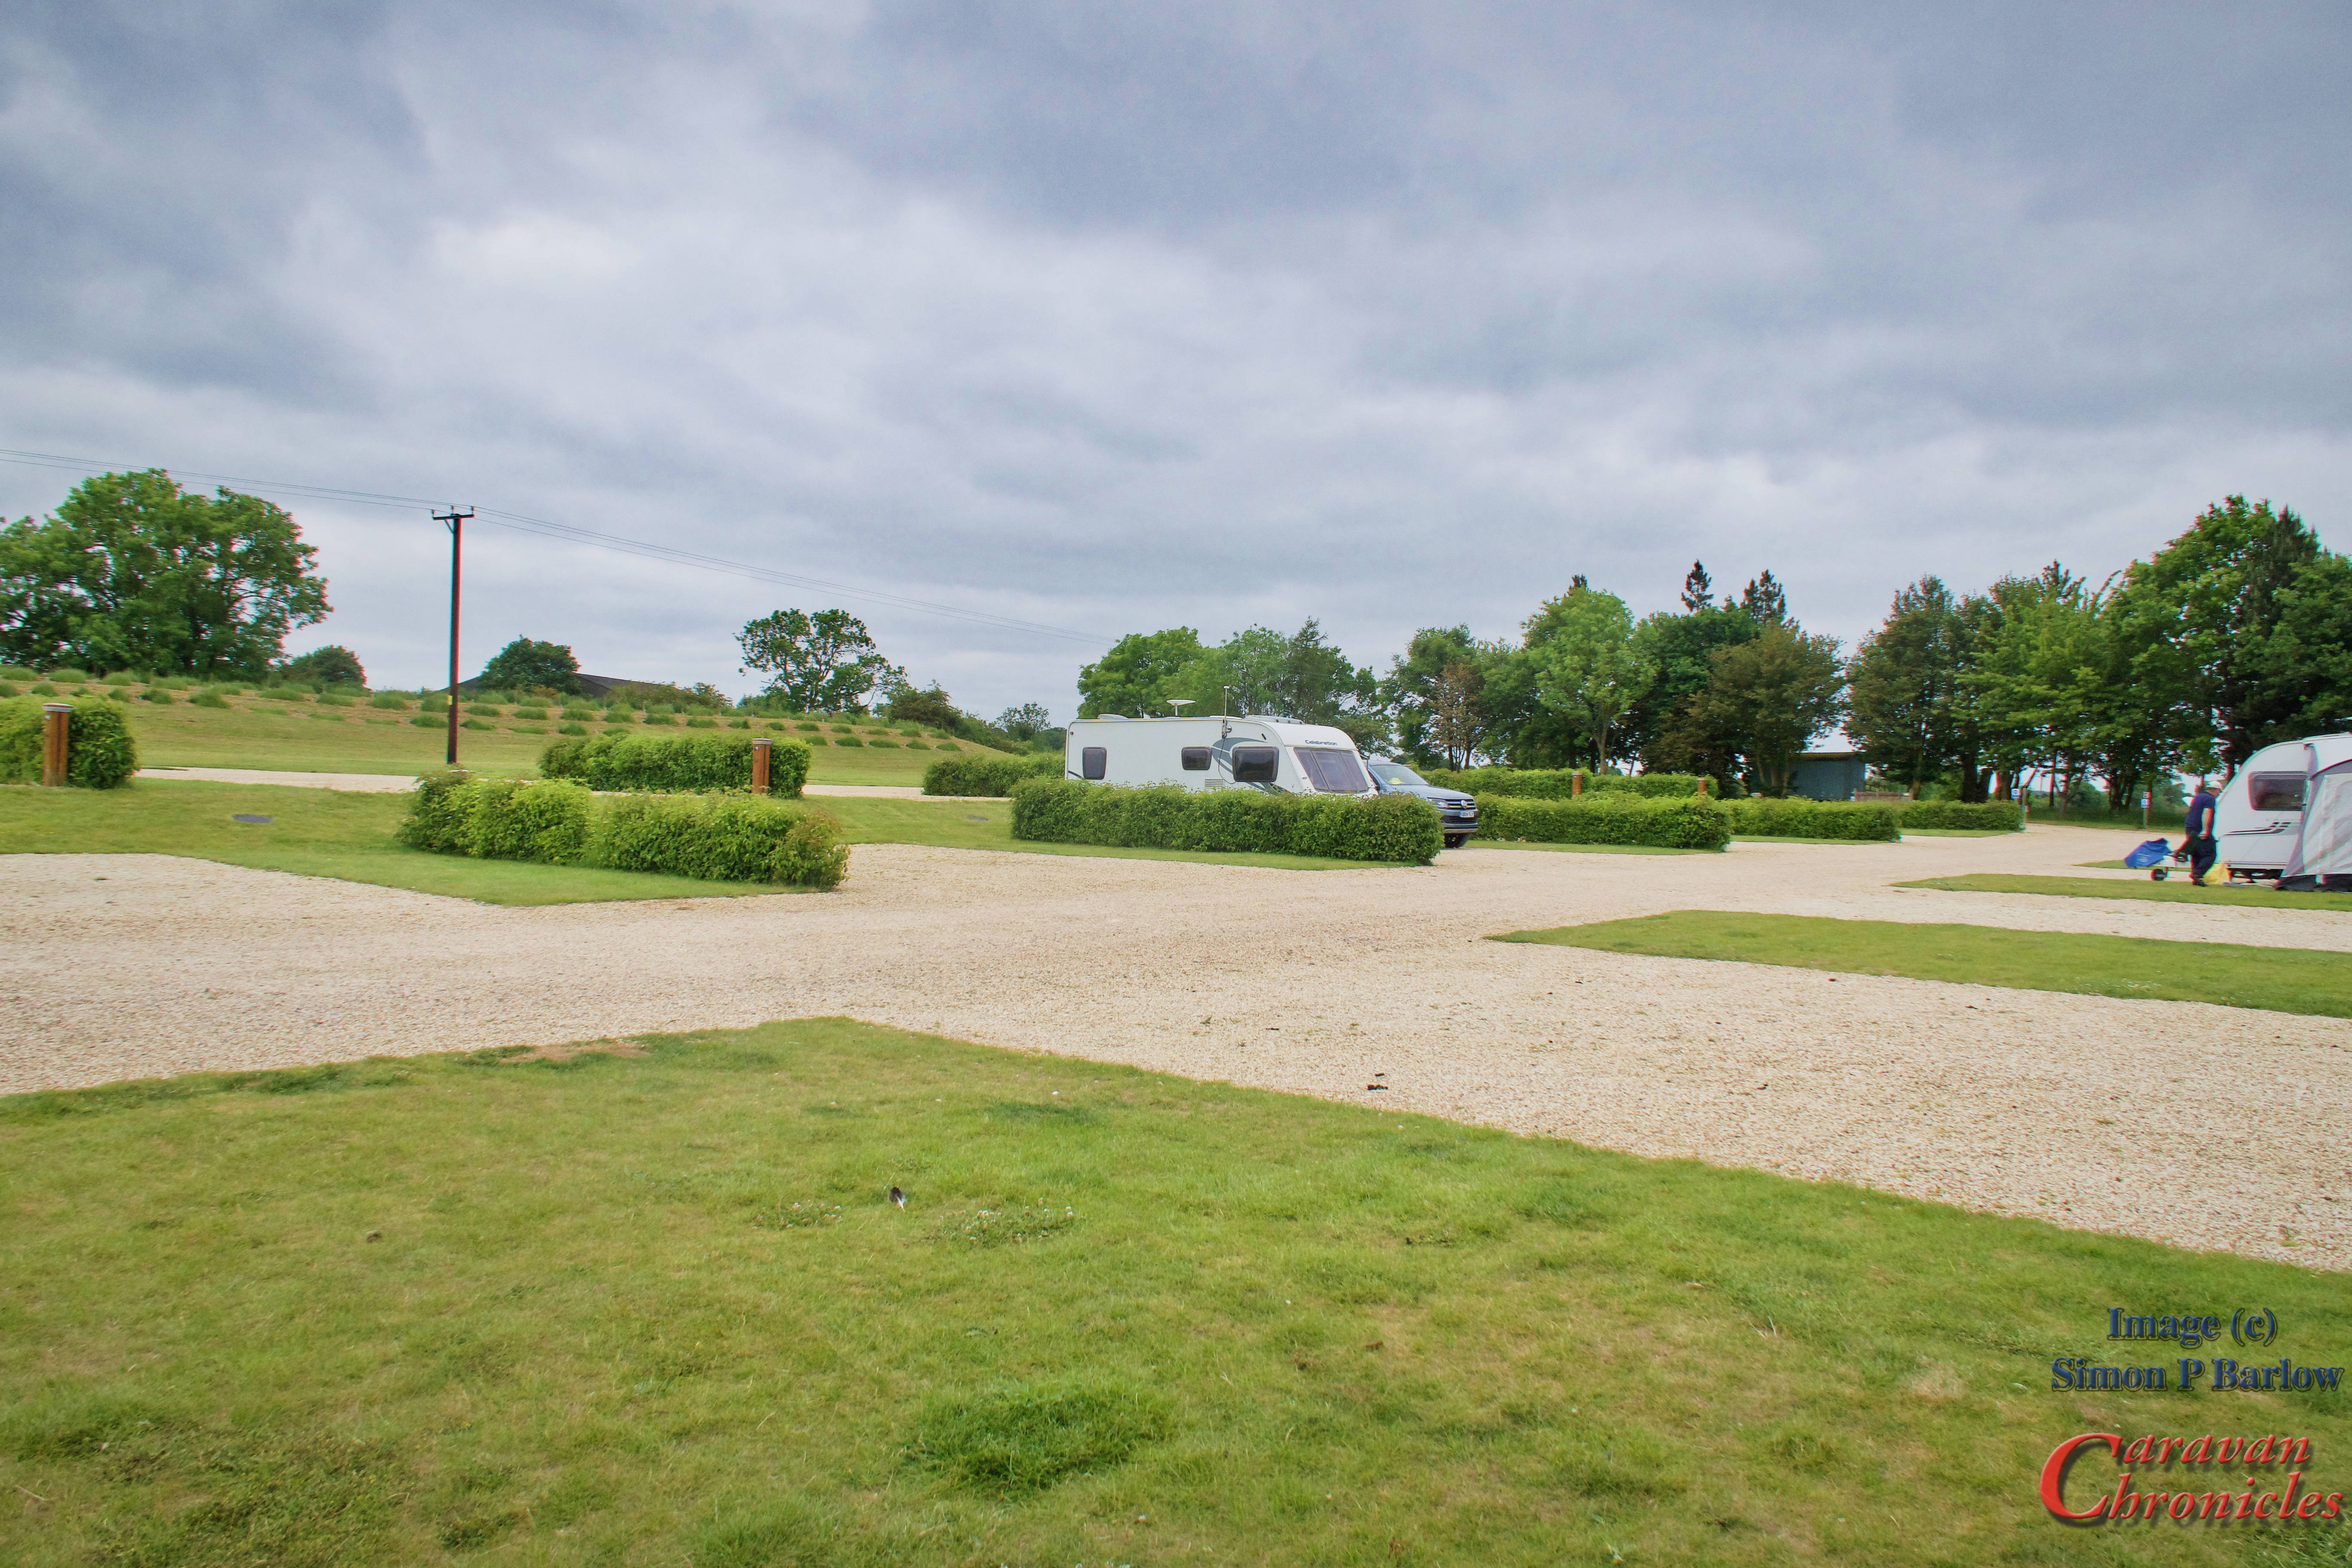
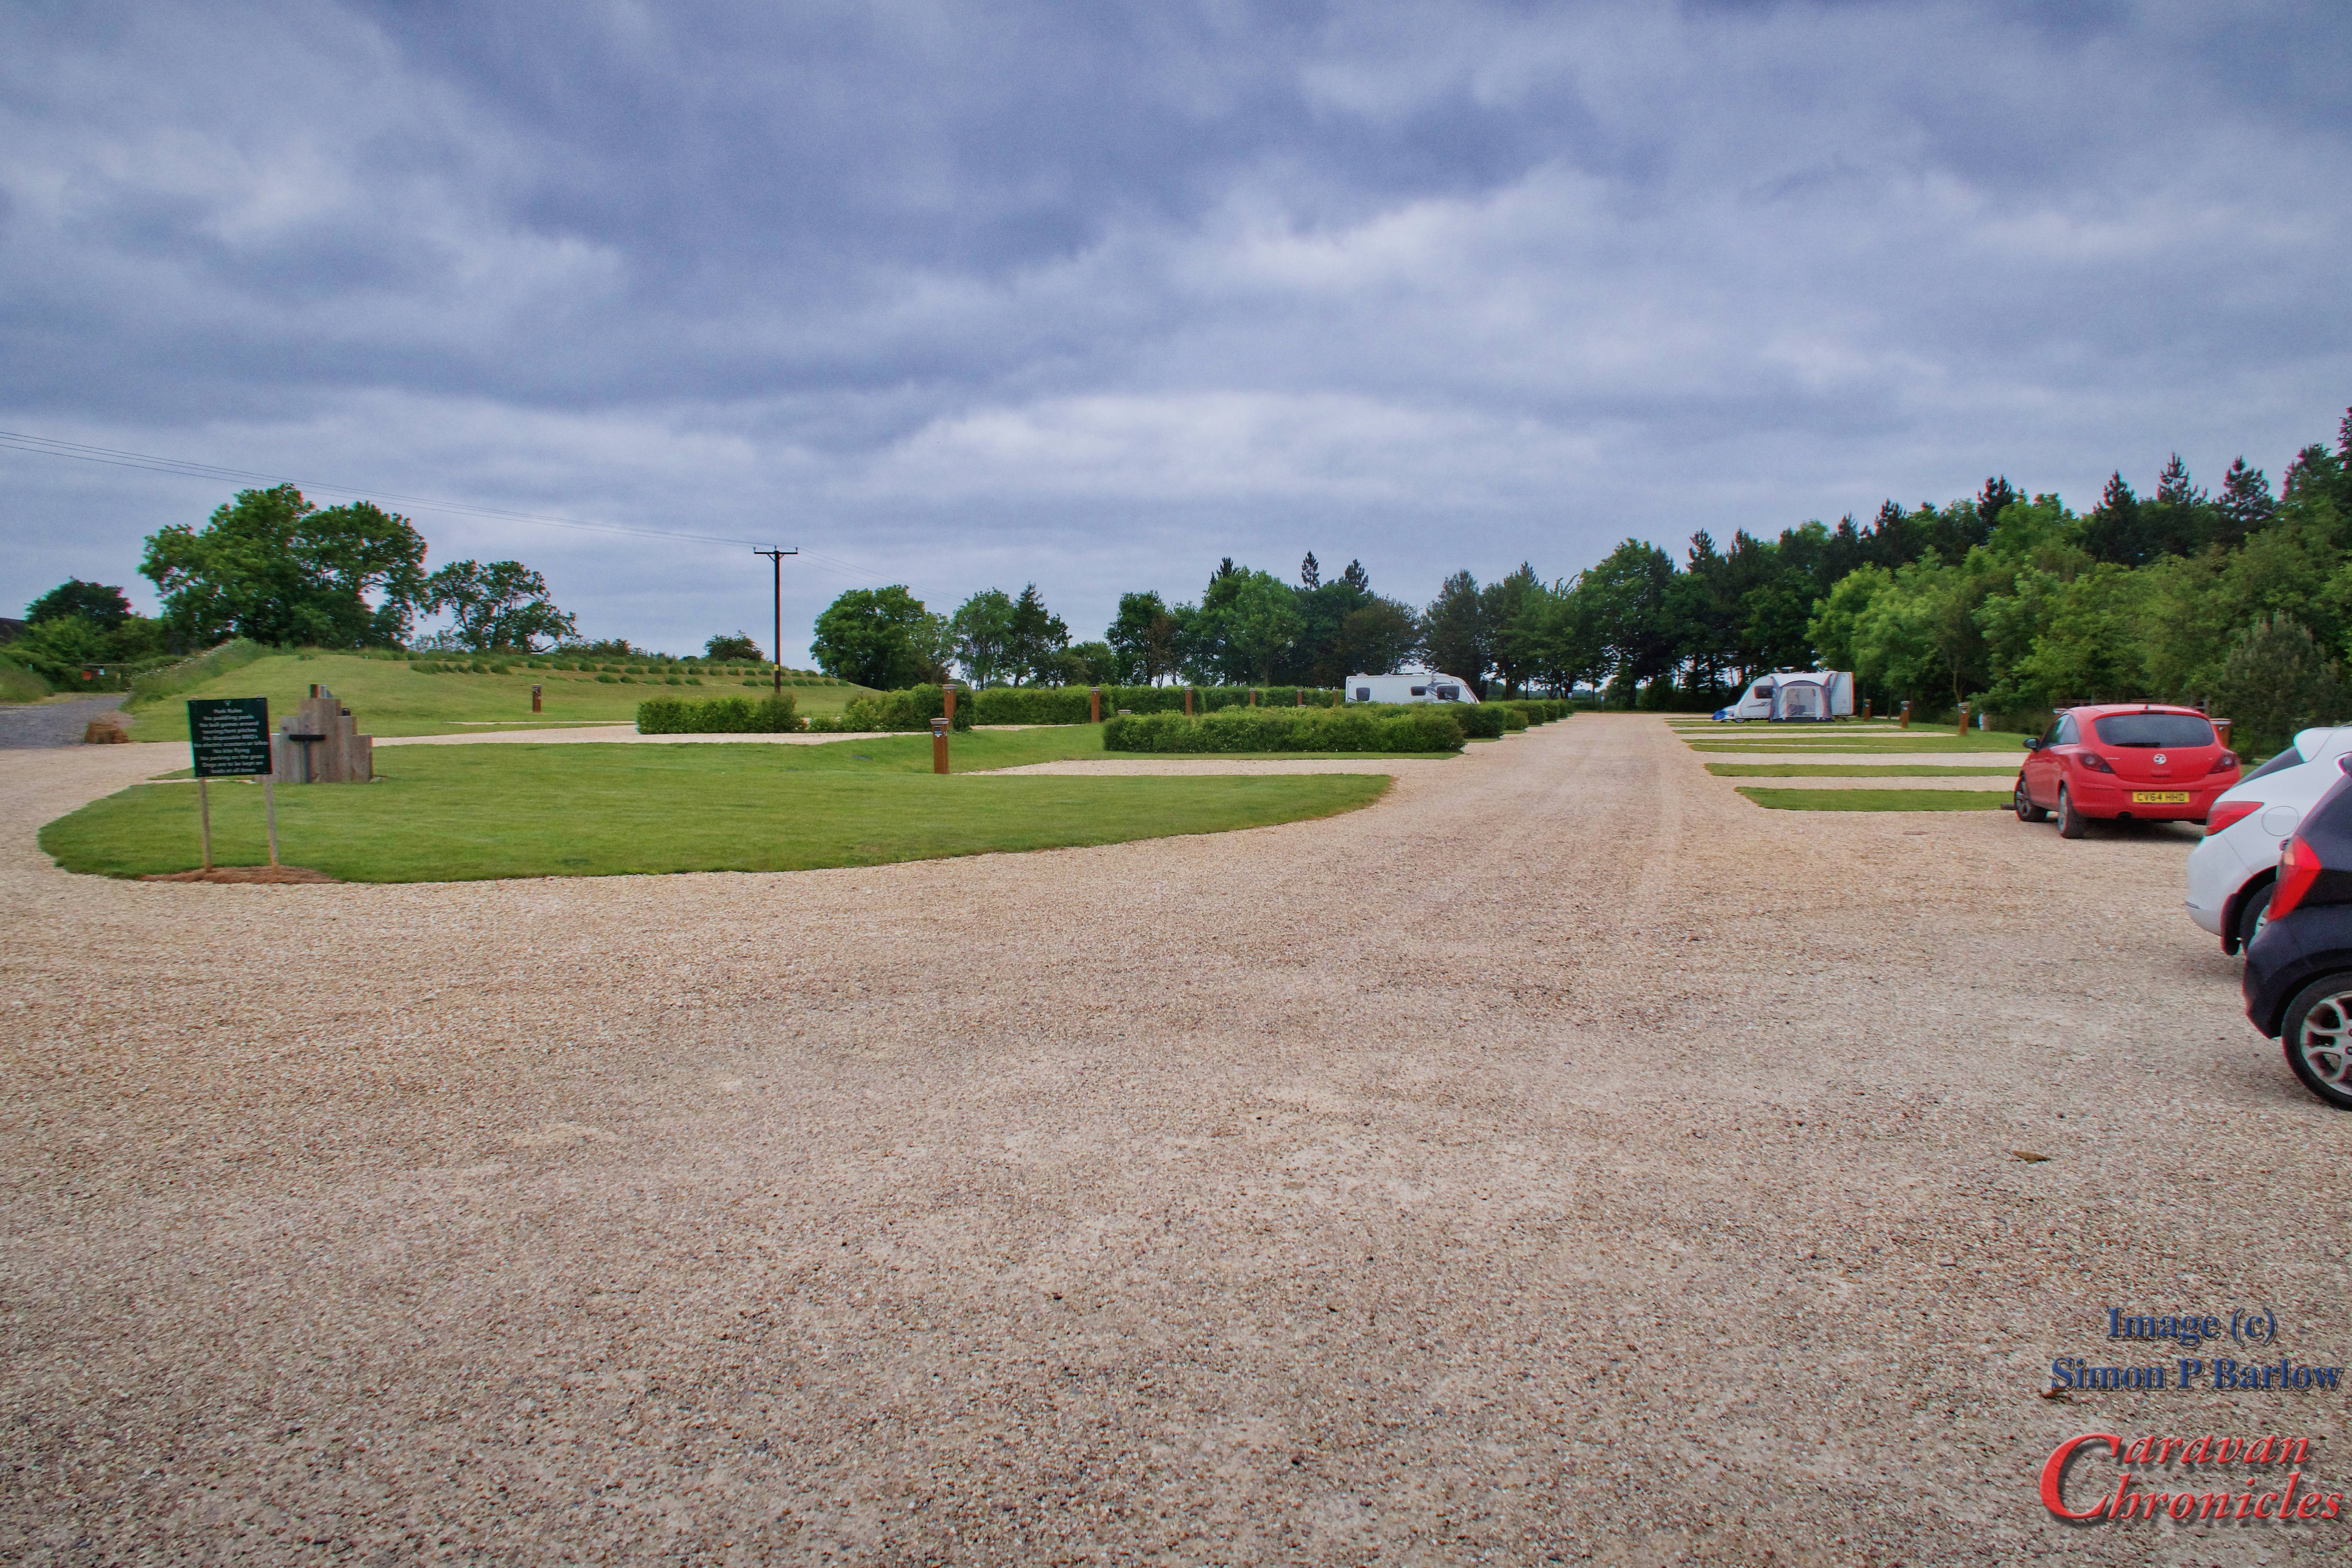
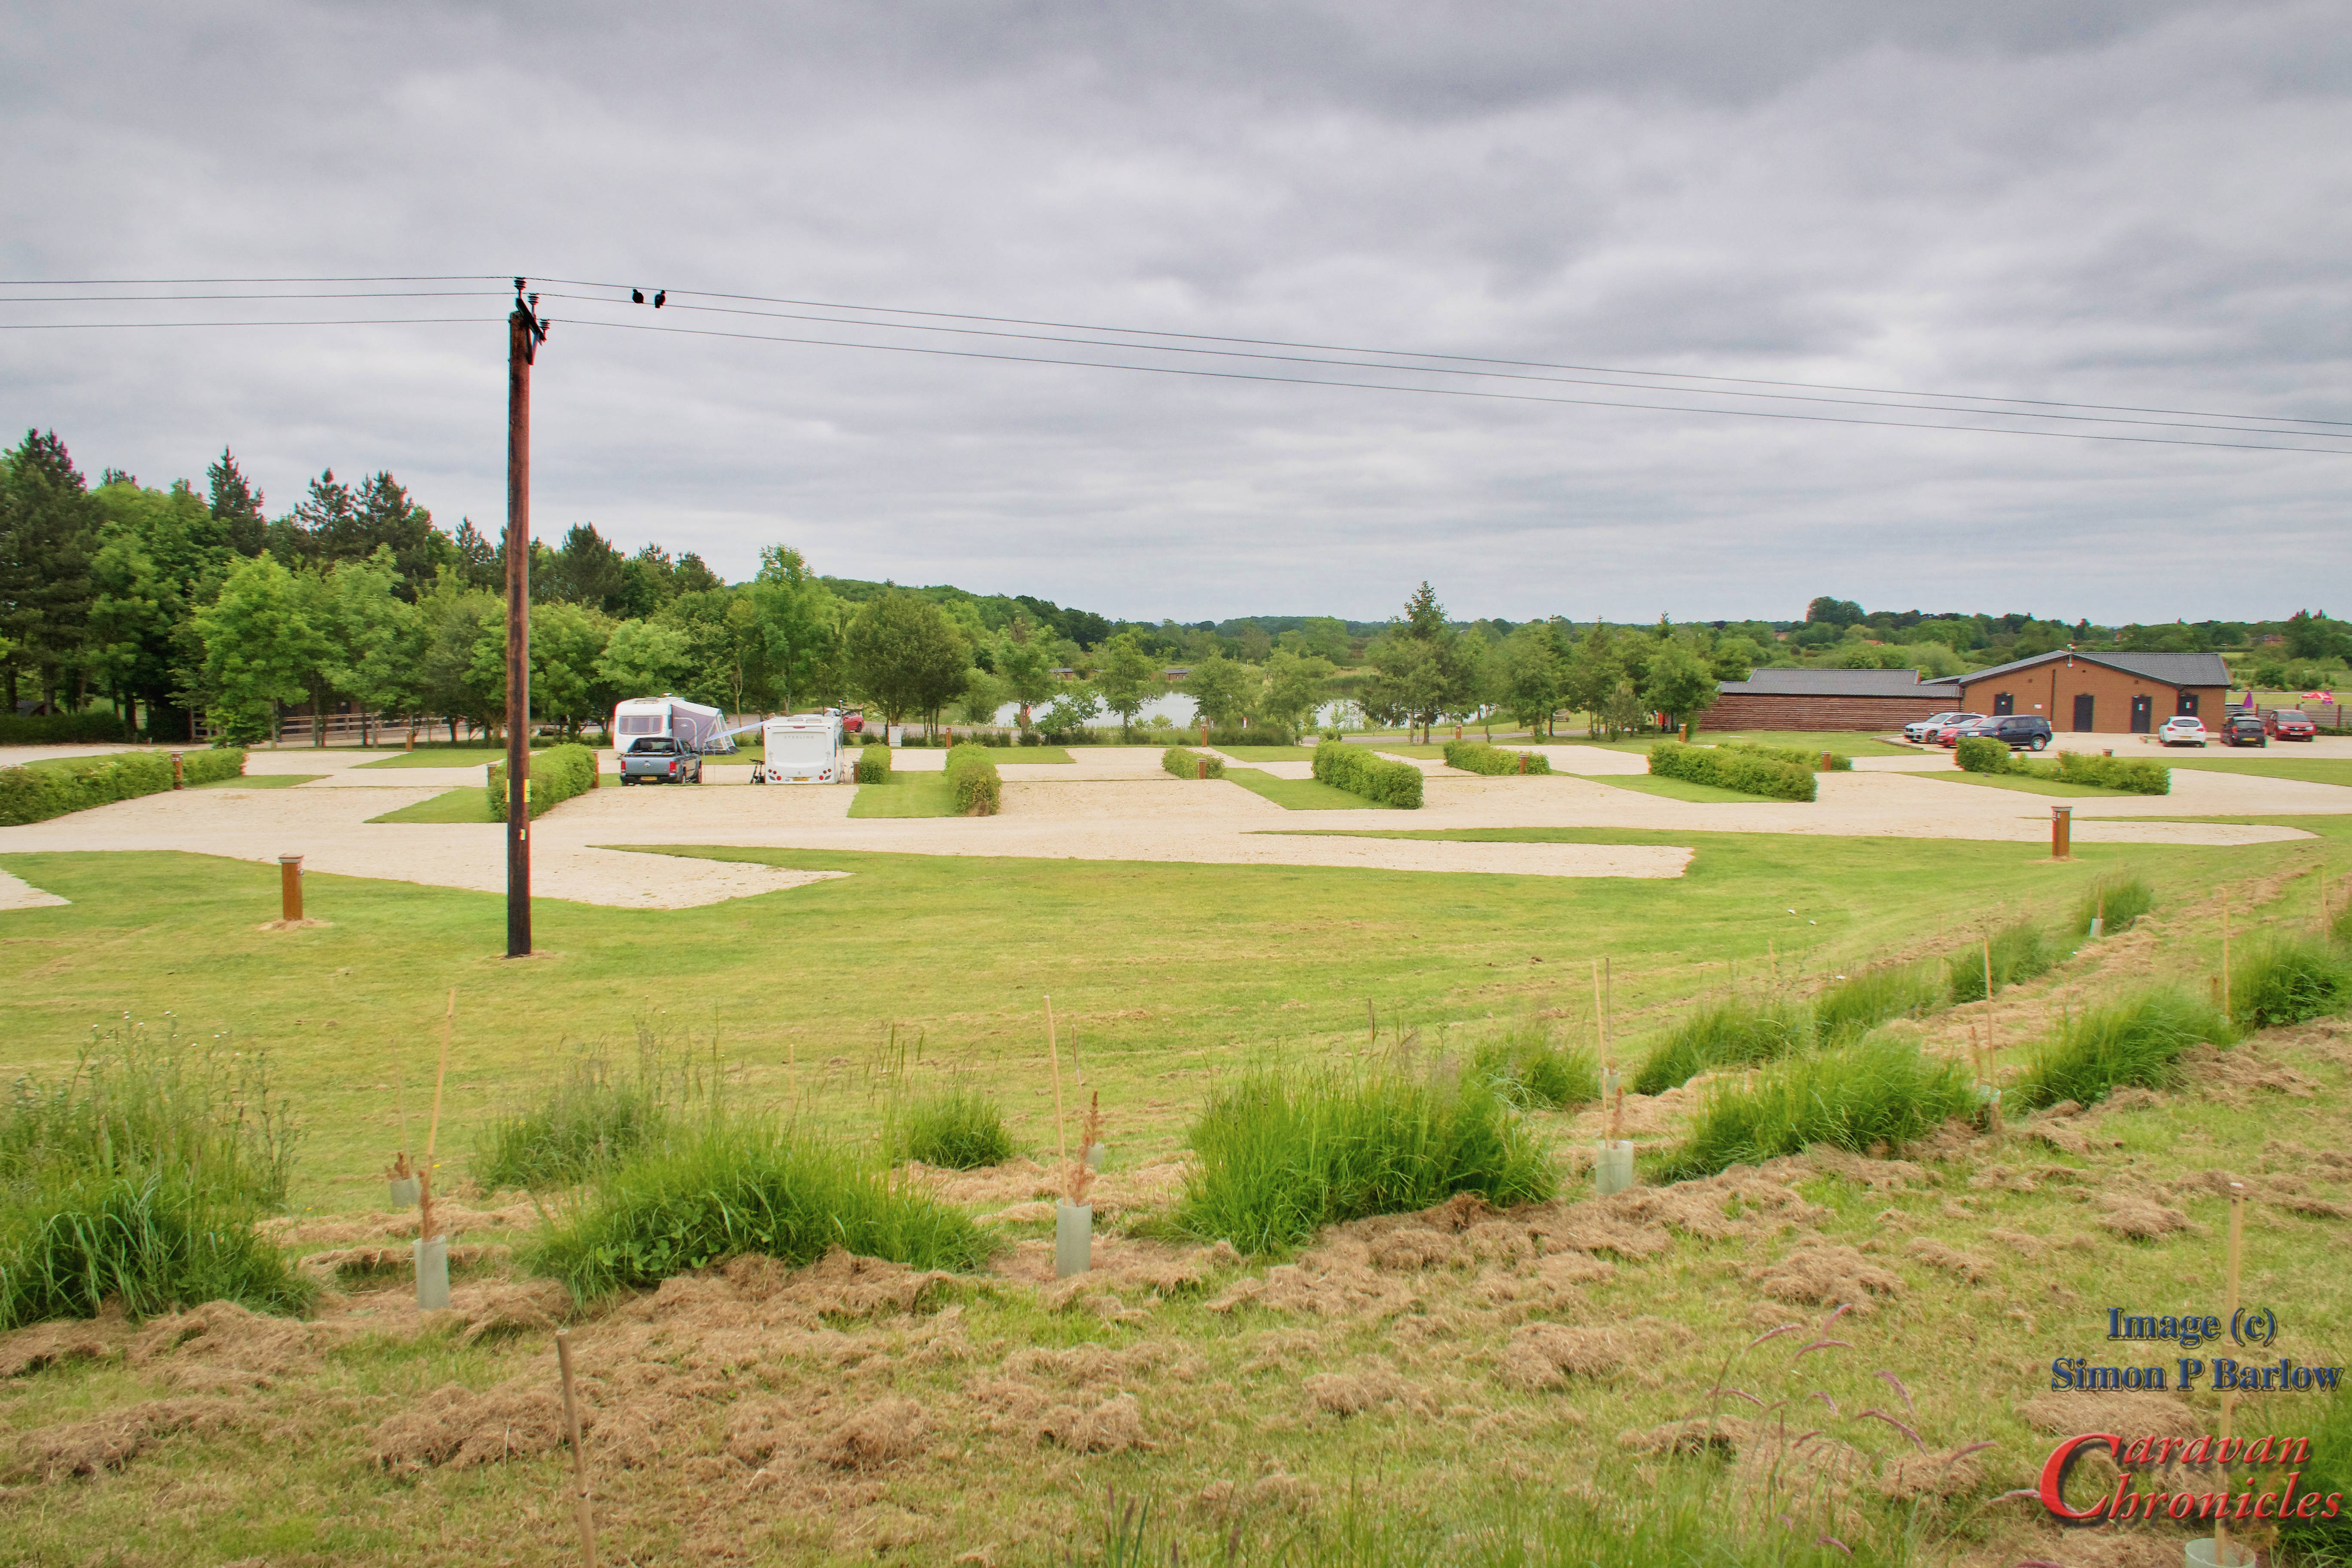
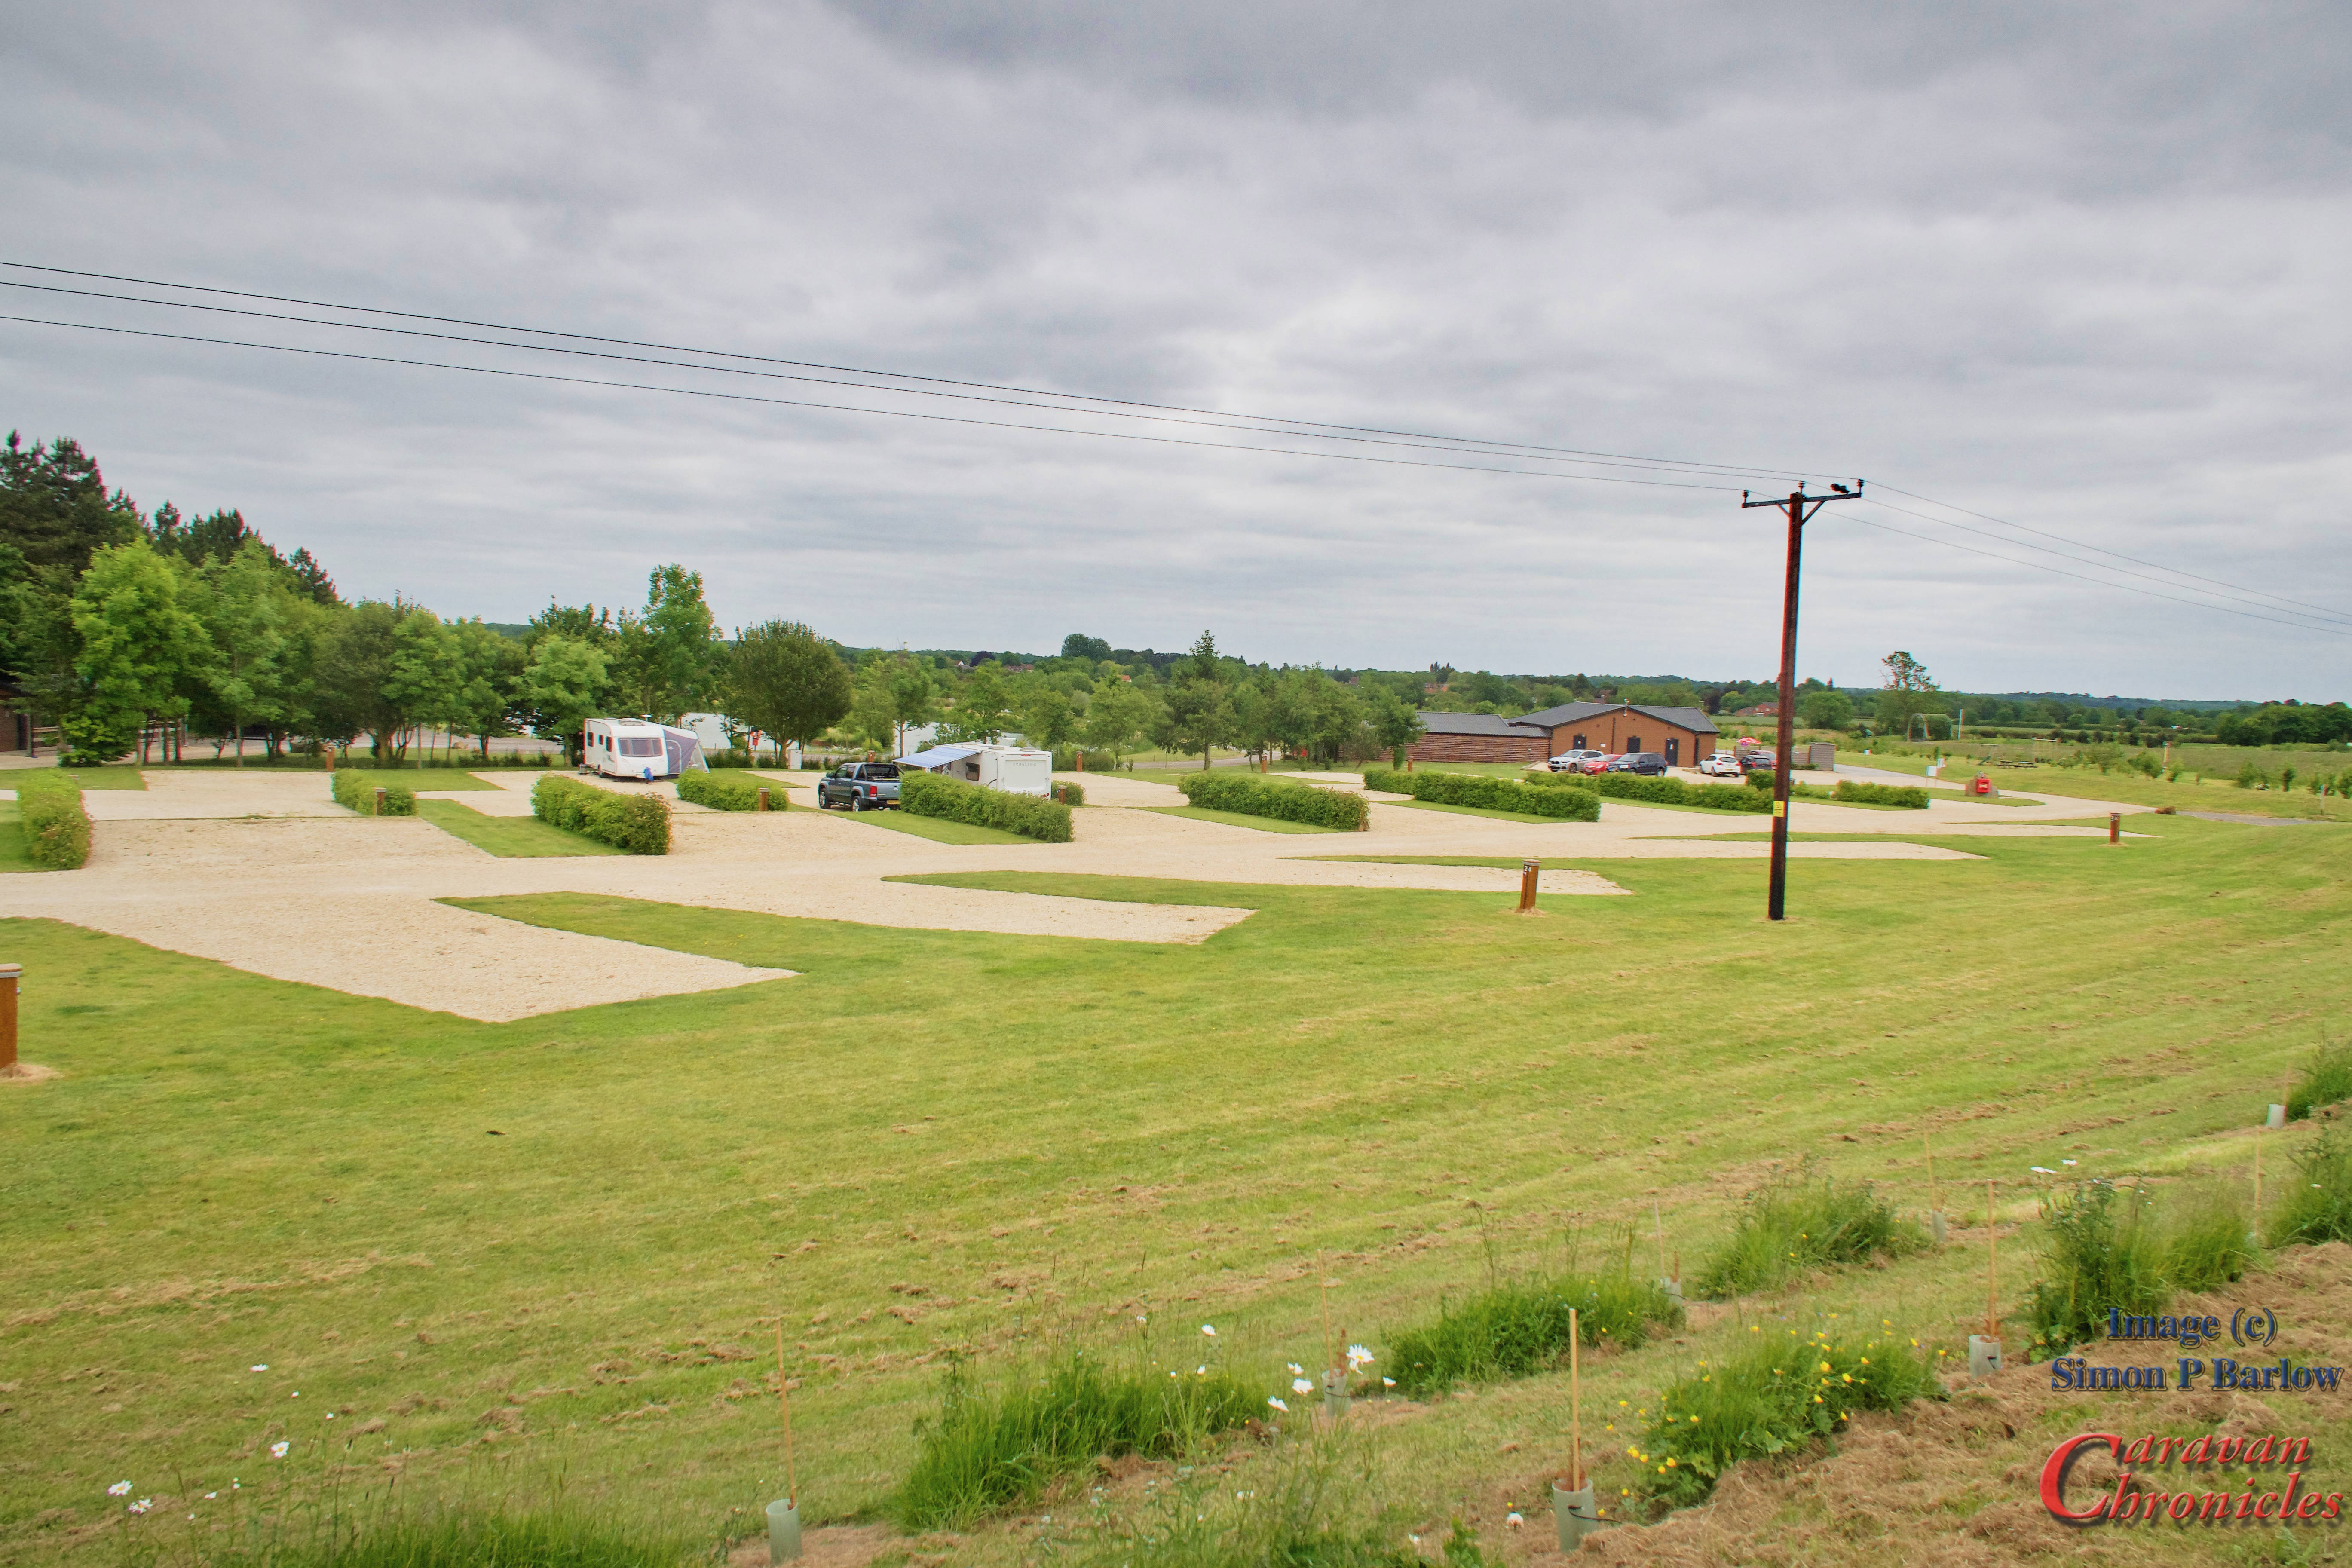
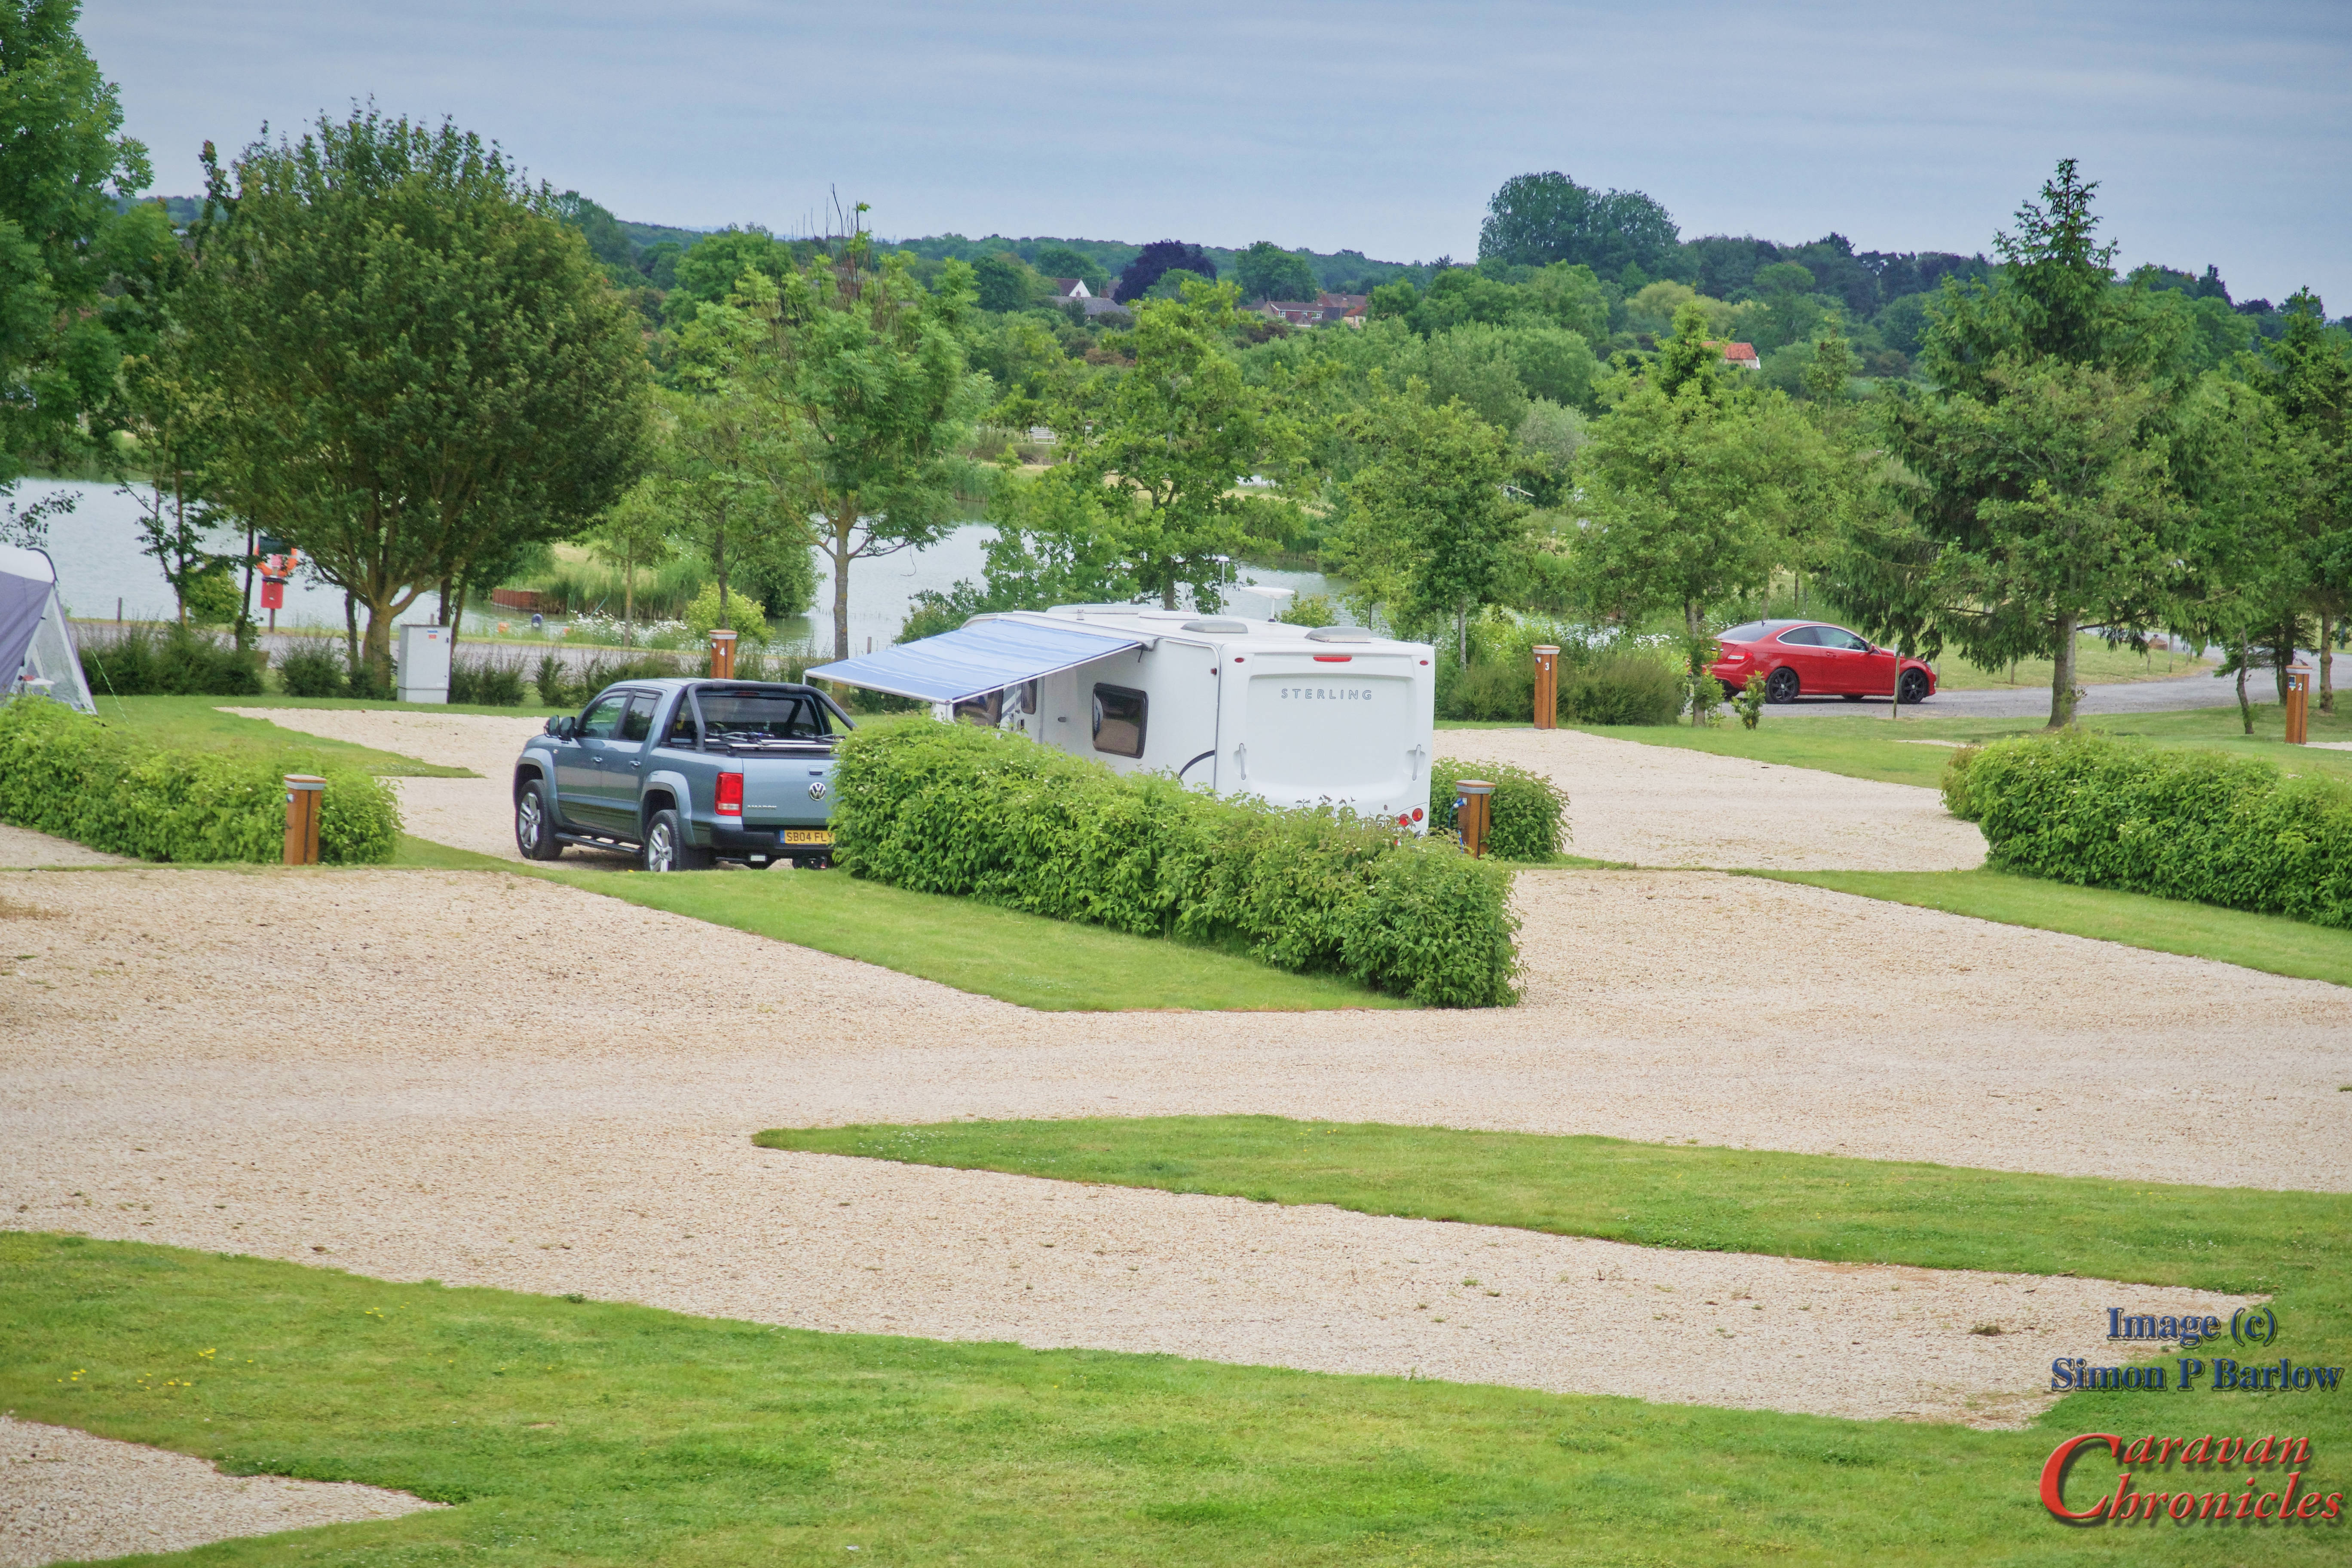
Hanworth Country Park in Potterhanworth is a bit more than just a park. Created by two chaps, one a farmer who’s family had owned the farm since 1931 and the other a builder who shared the vision of what Hanworth Country Park could become set about transforming the land and are still at it today. It’s not just park with caravan pitches… it has glamping pods, luxury lodges, leisure lodges, shepards huts and lakes… lots of lakes… it has to be on any fisherman’s list of places to fish. (I don’t fish… so may be talking out of my Bass)

It’s also got a rather fine cafe. Well when I say cafe…. “Brewers” is a bit more than just a cafe you would expect to find at a country park…. in fact it seems to be a go-to place for locals too!

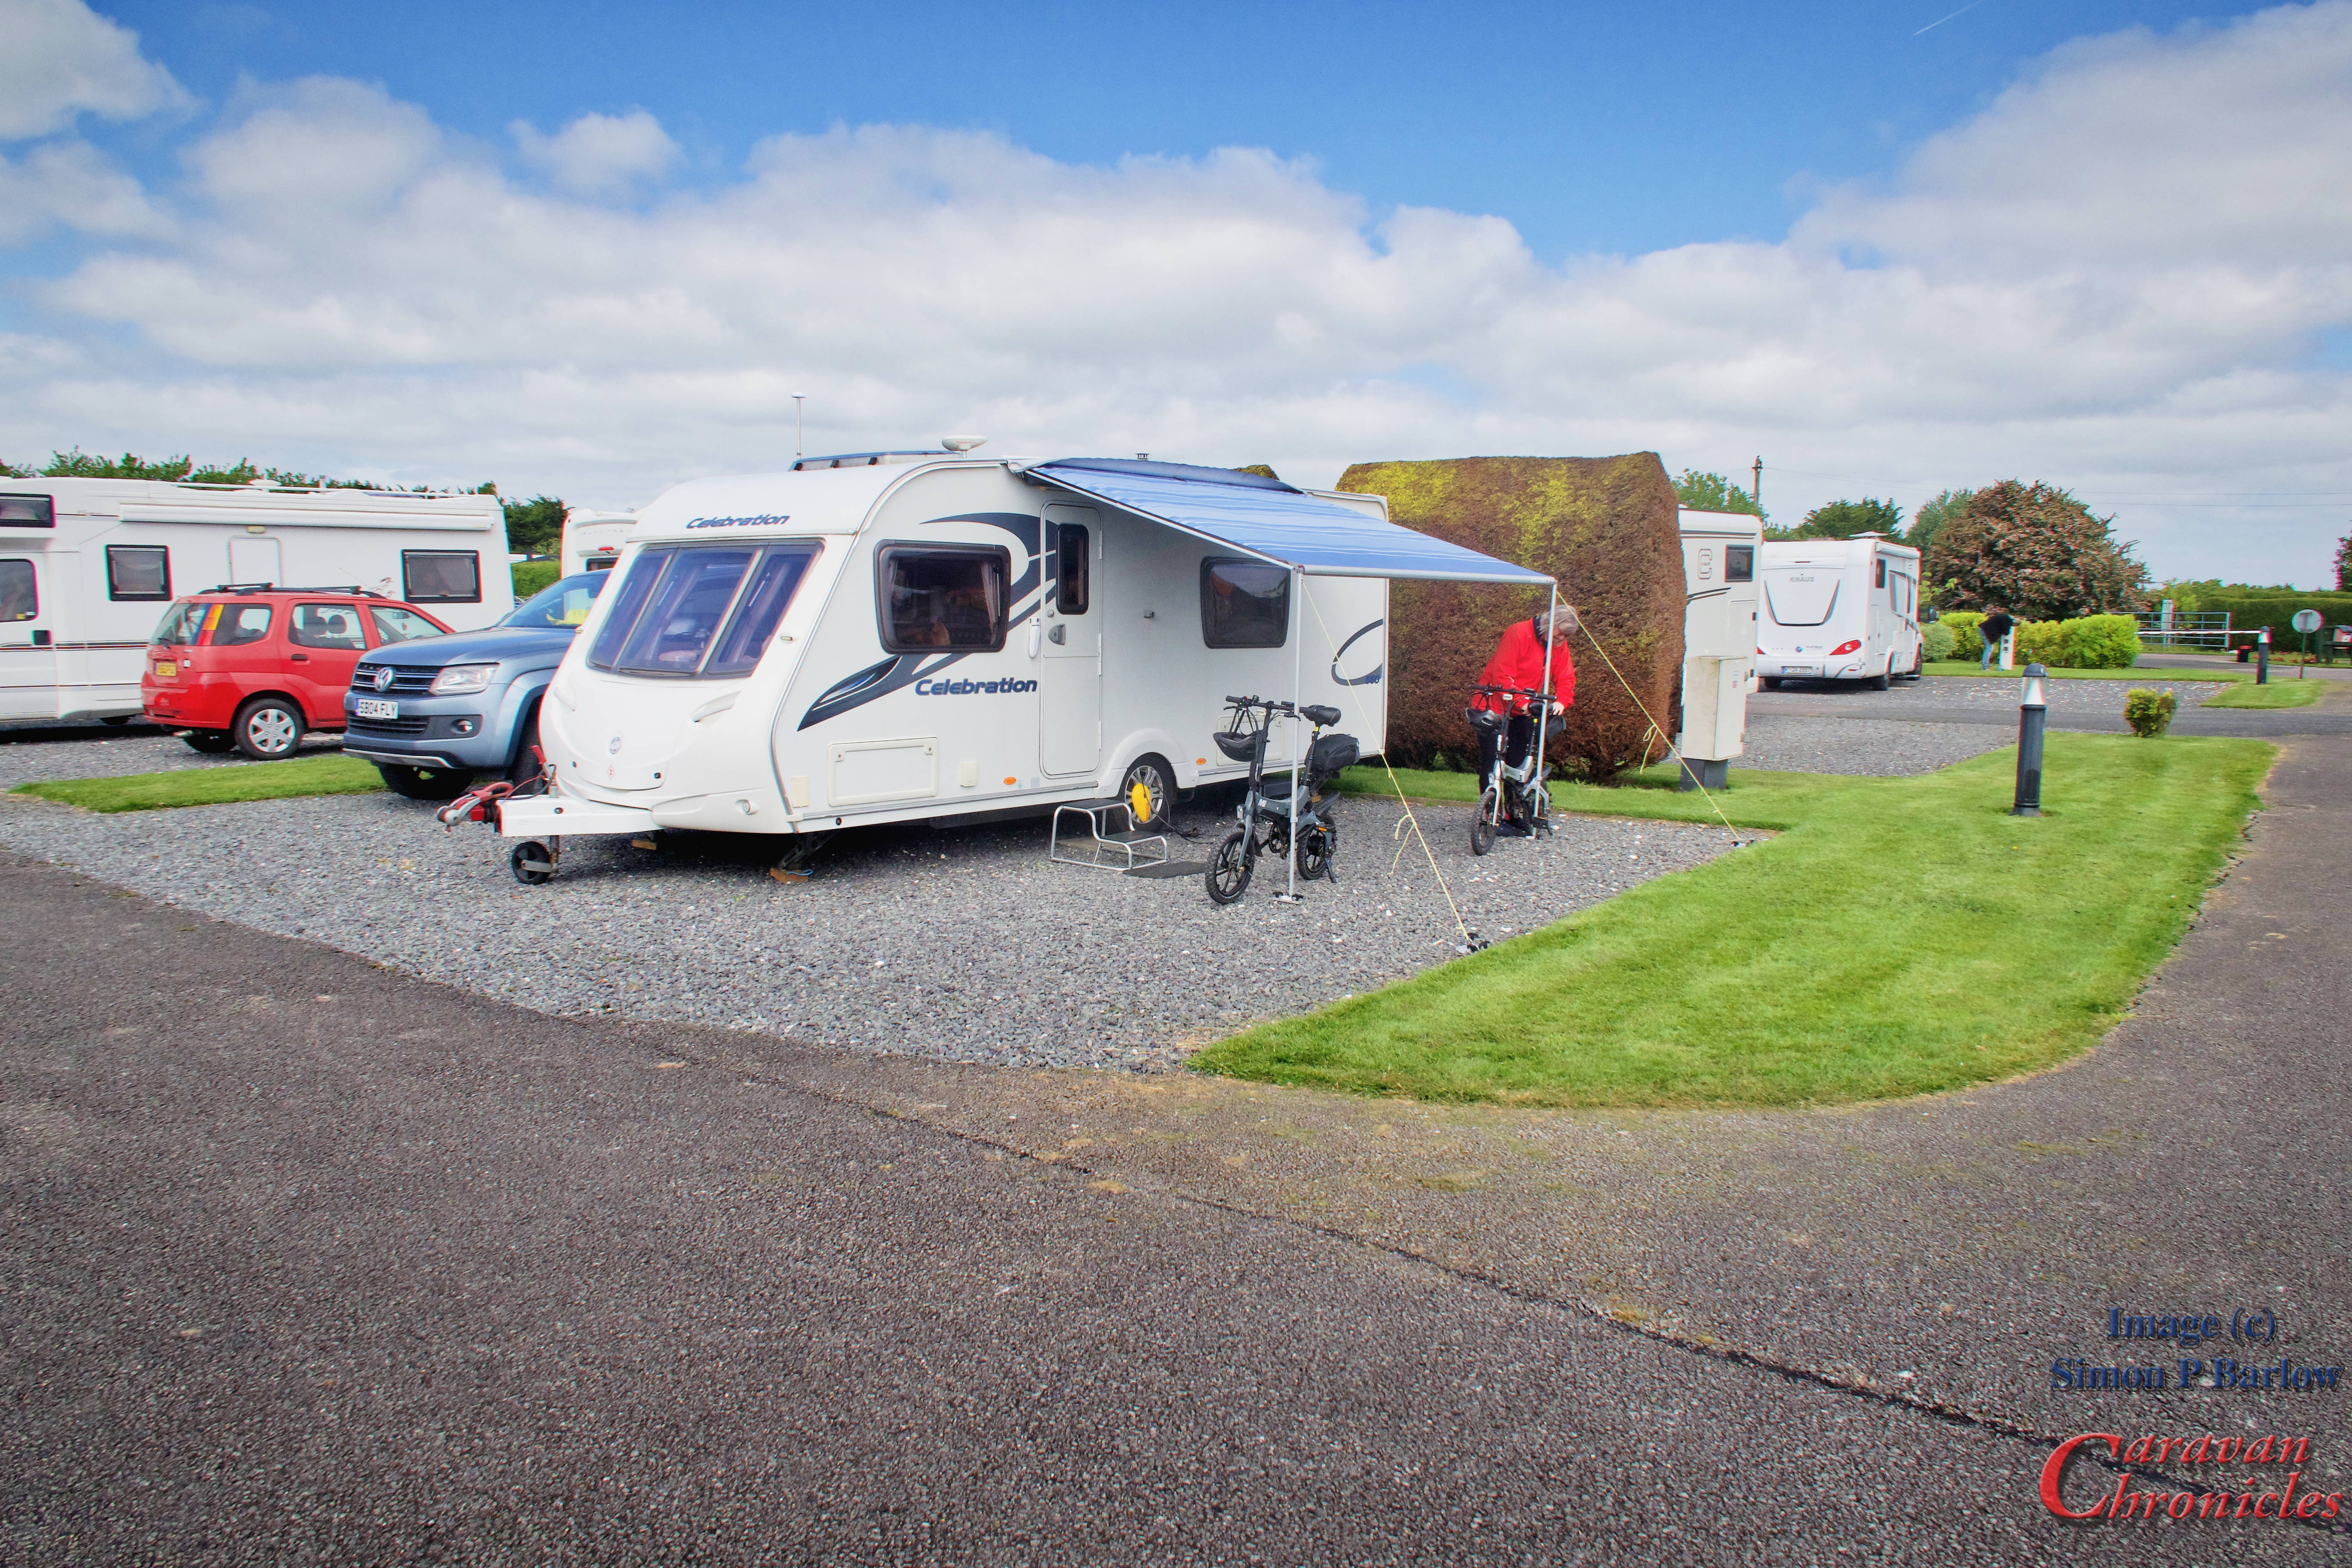
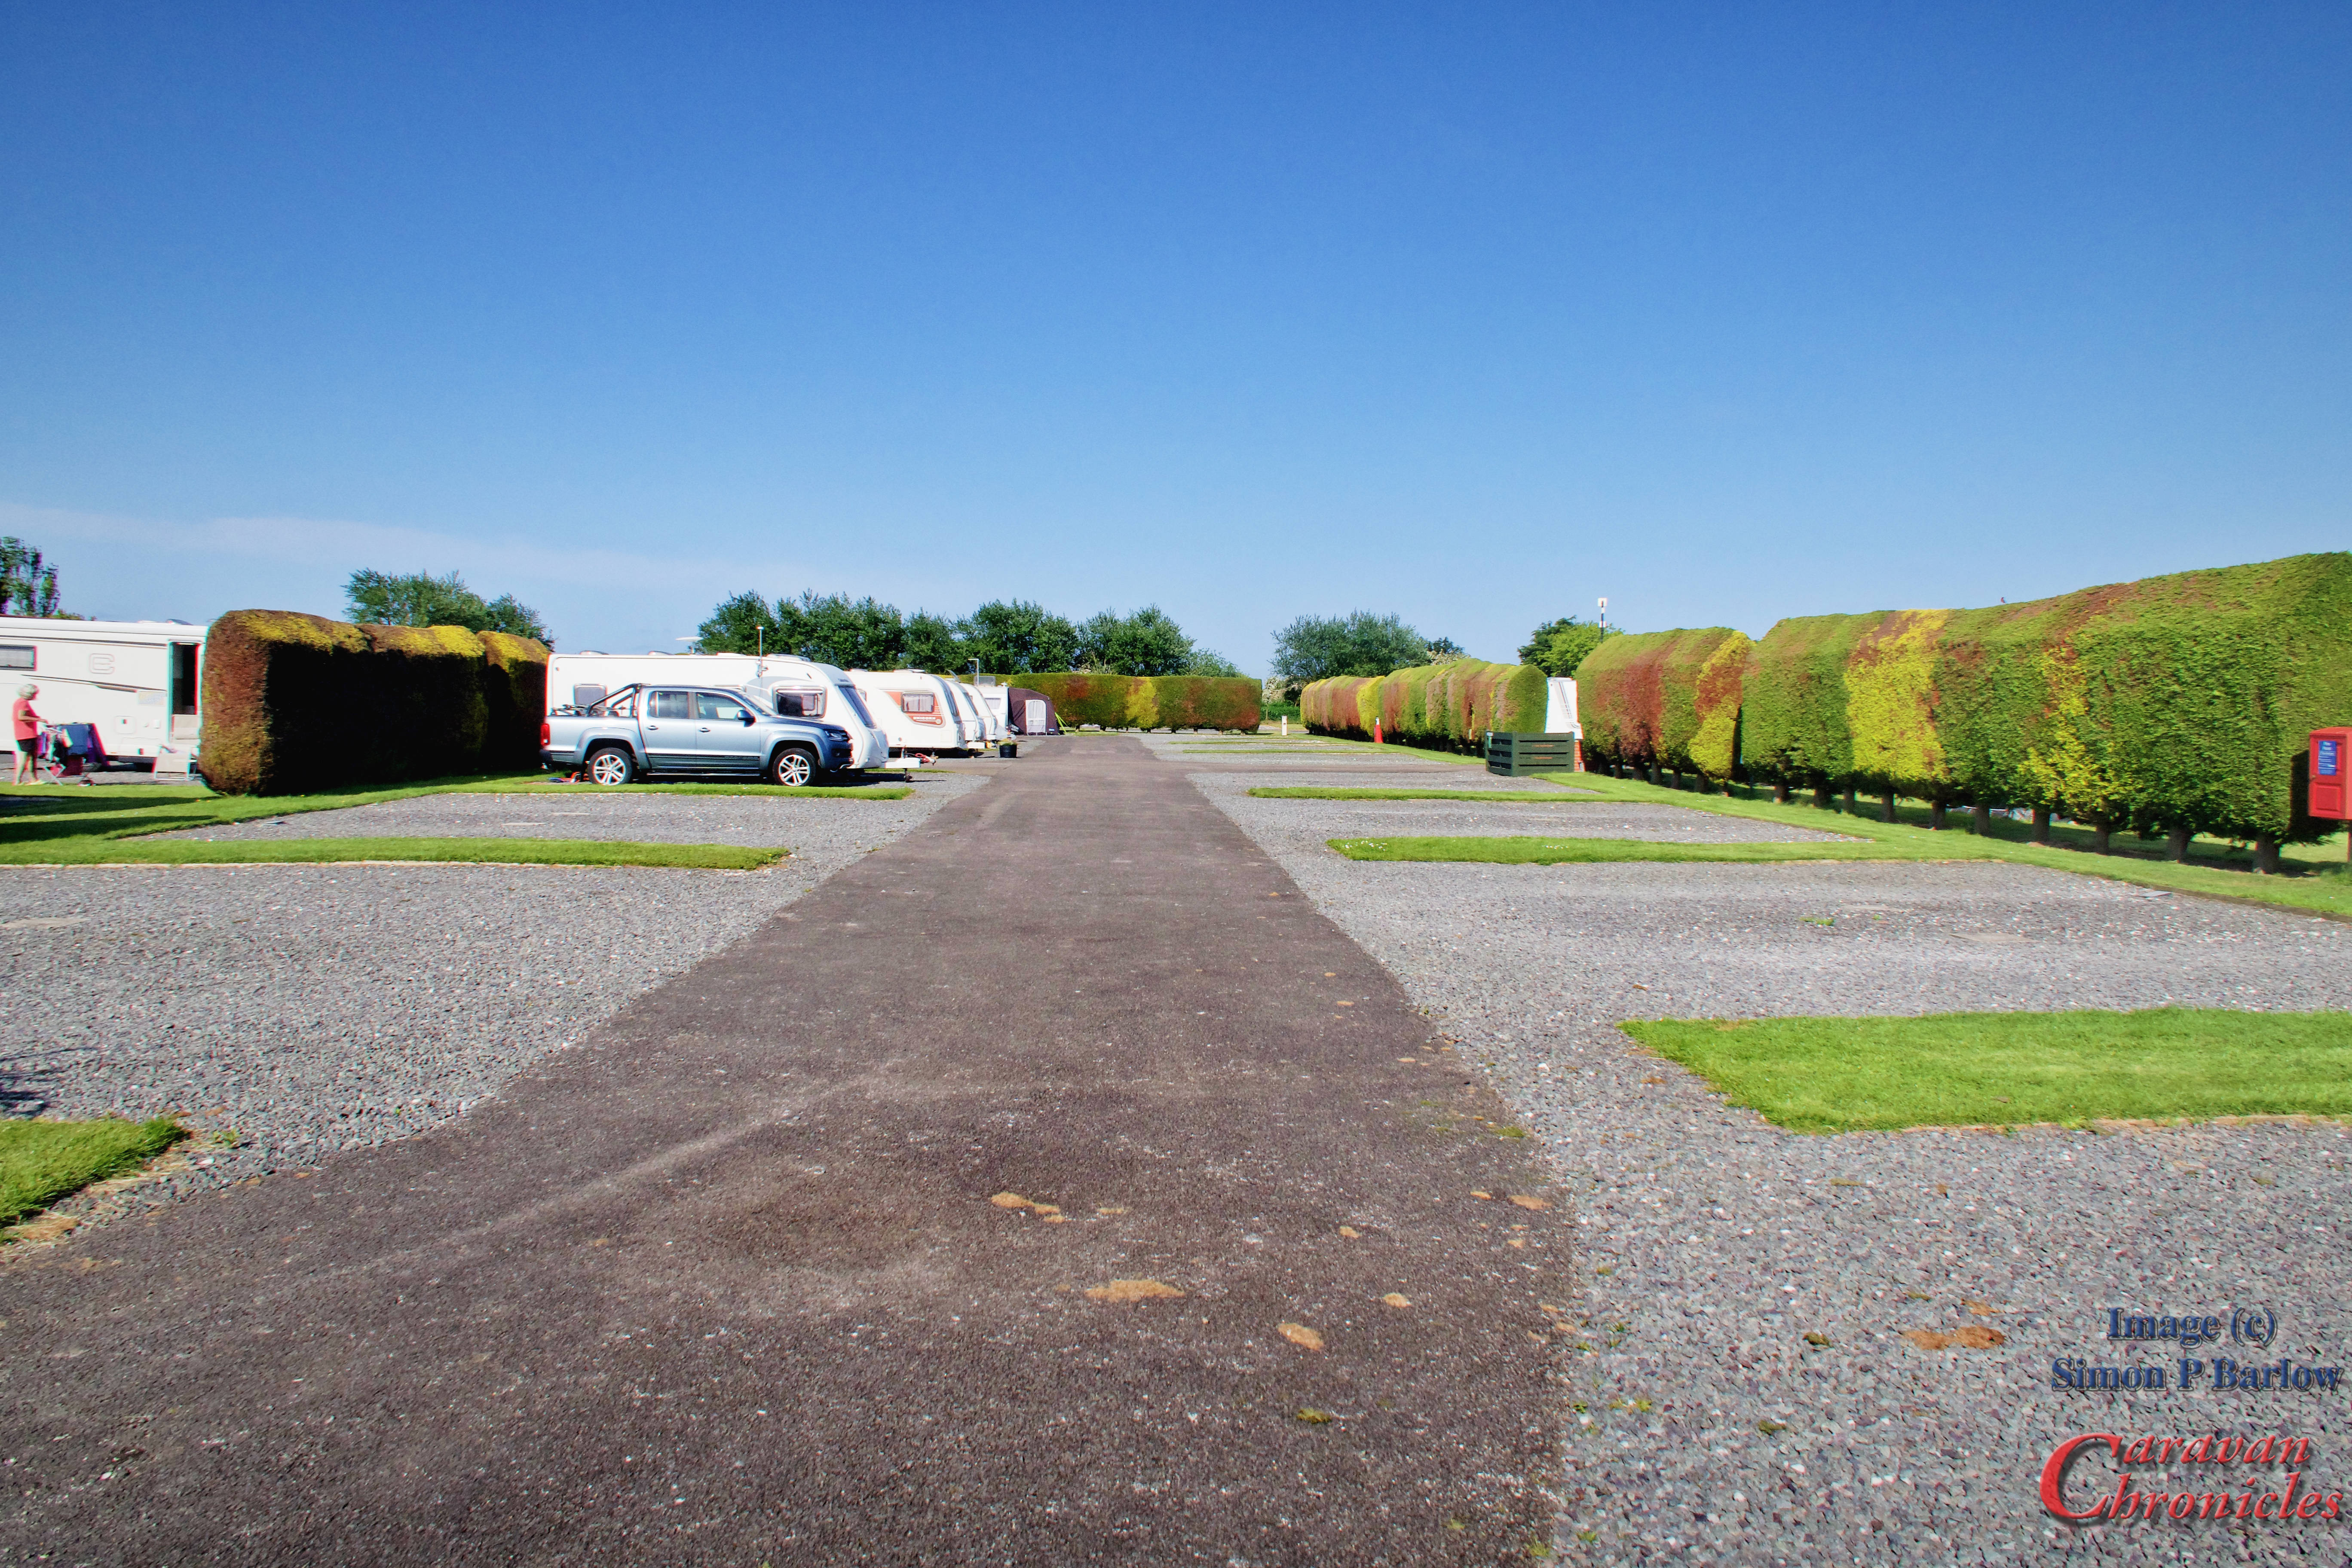
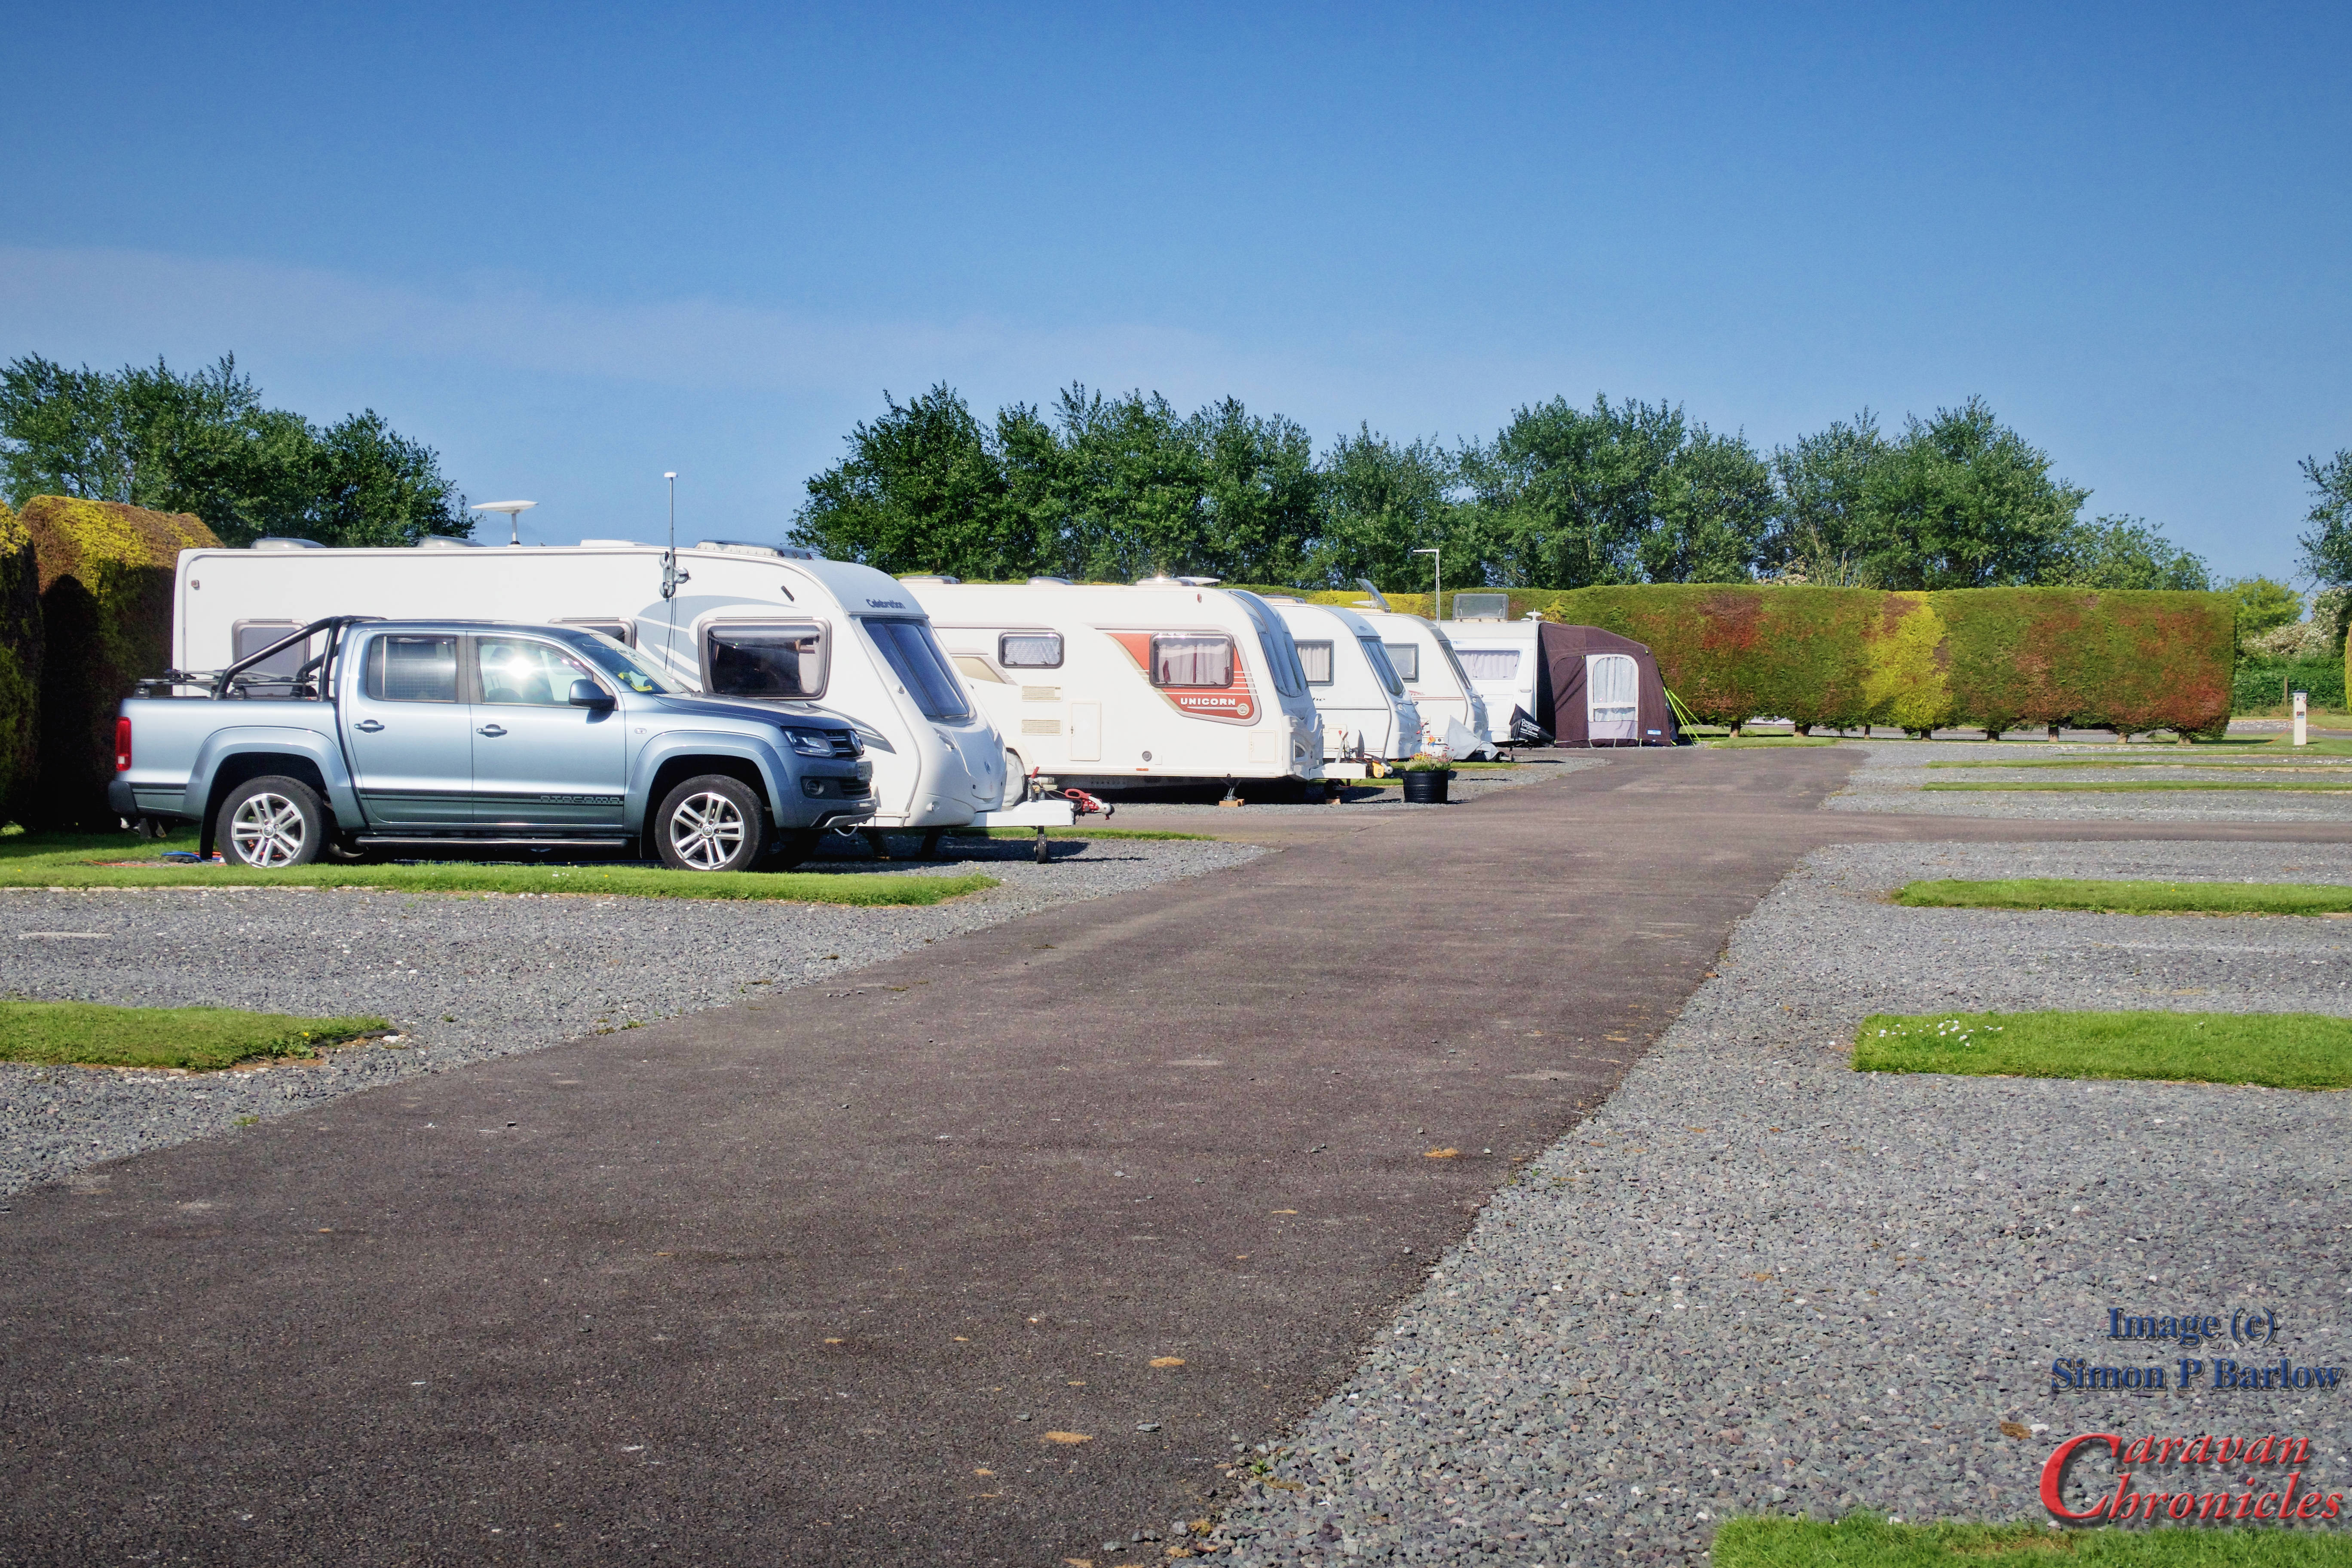
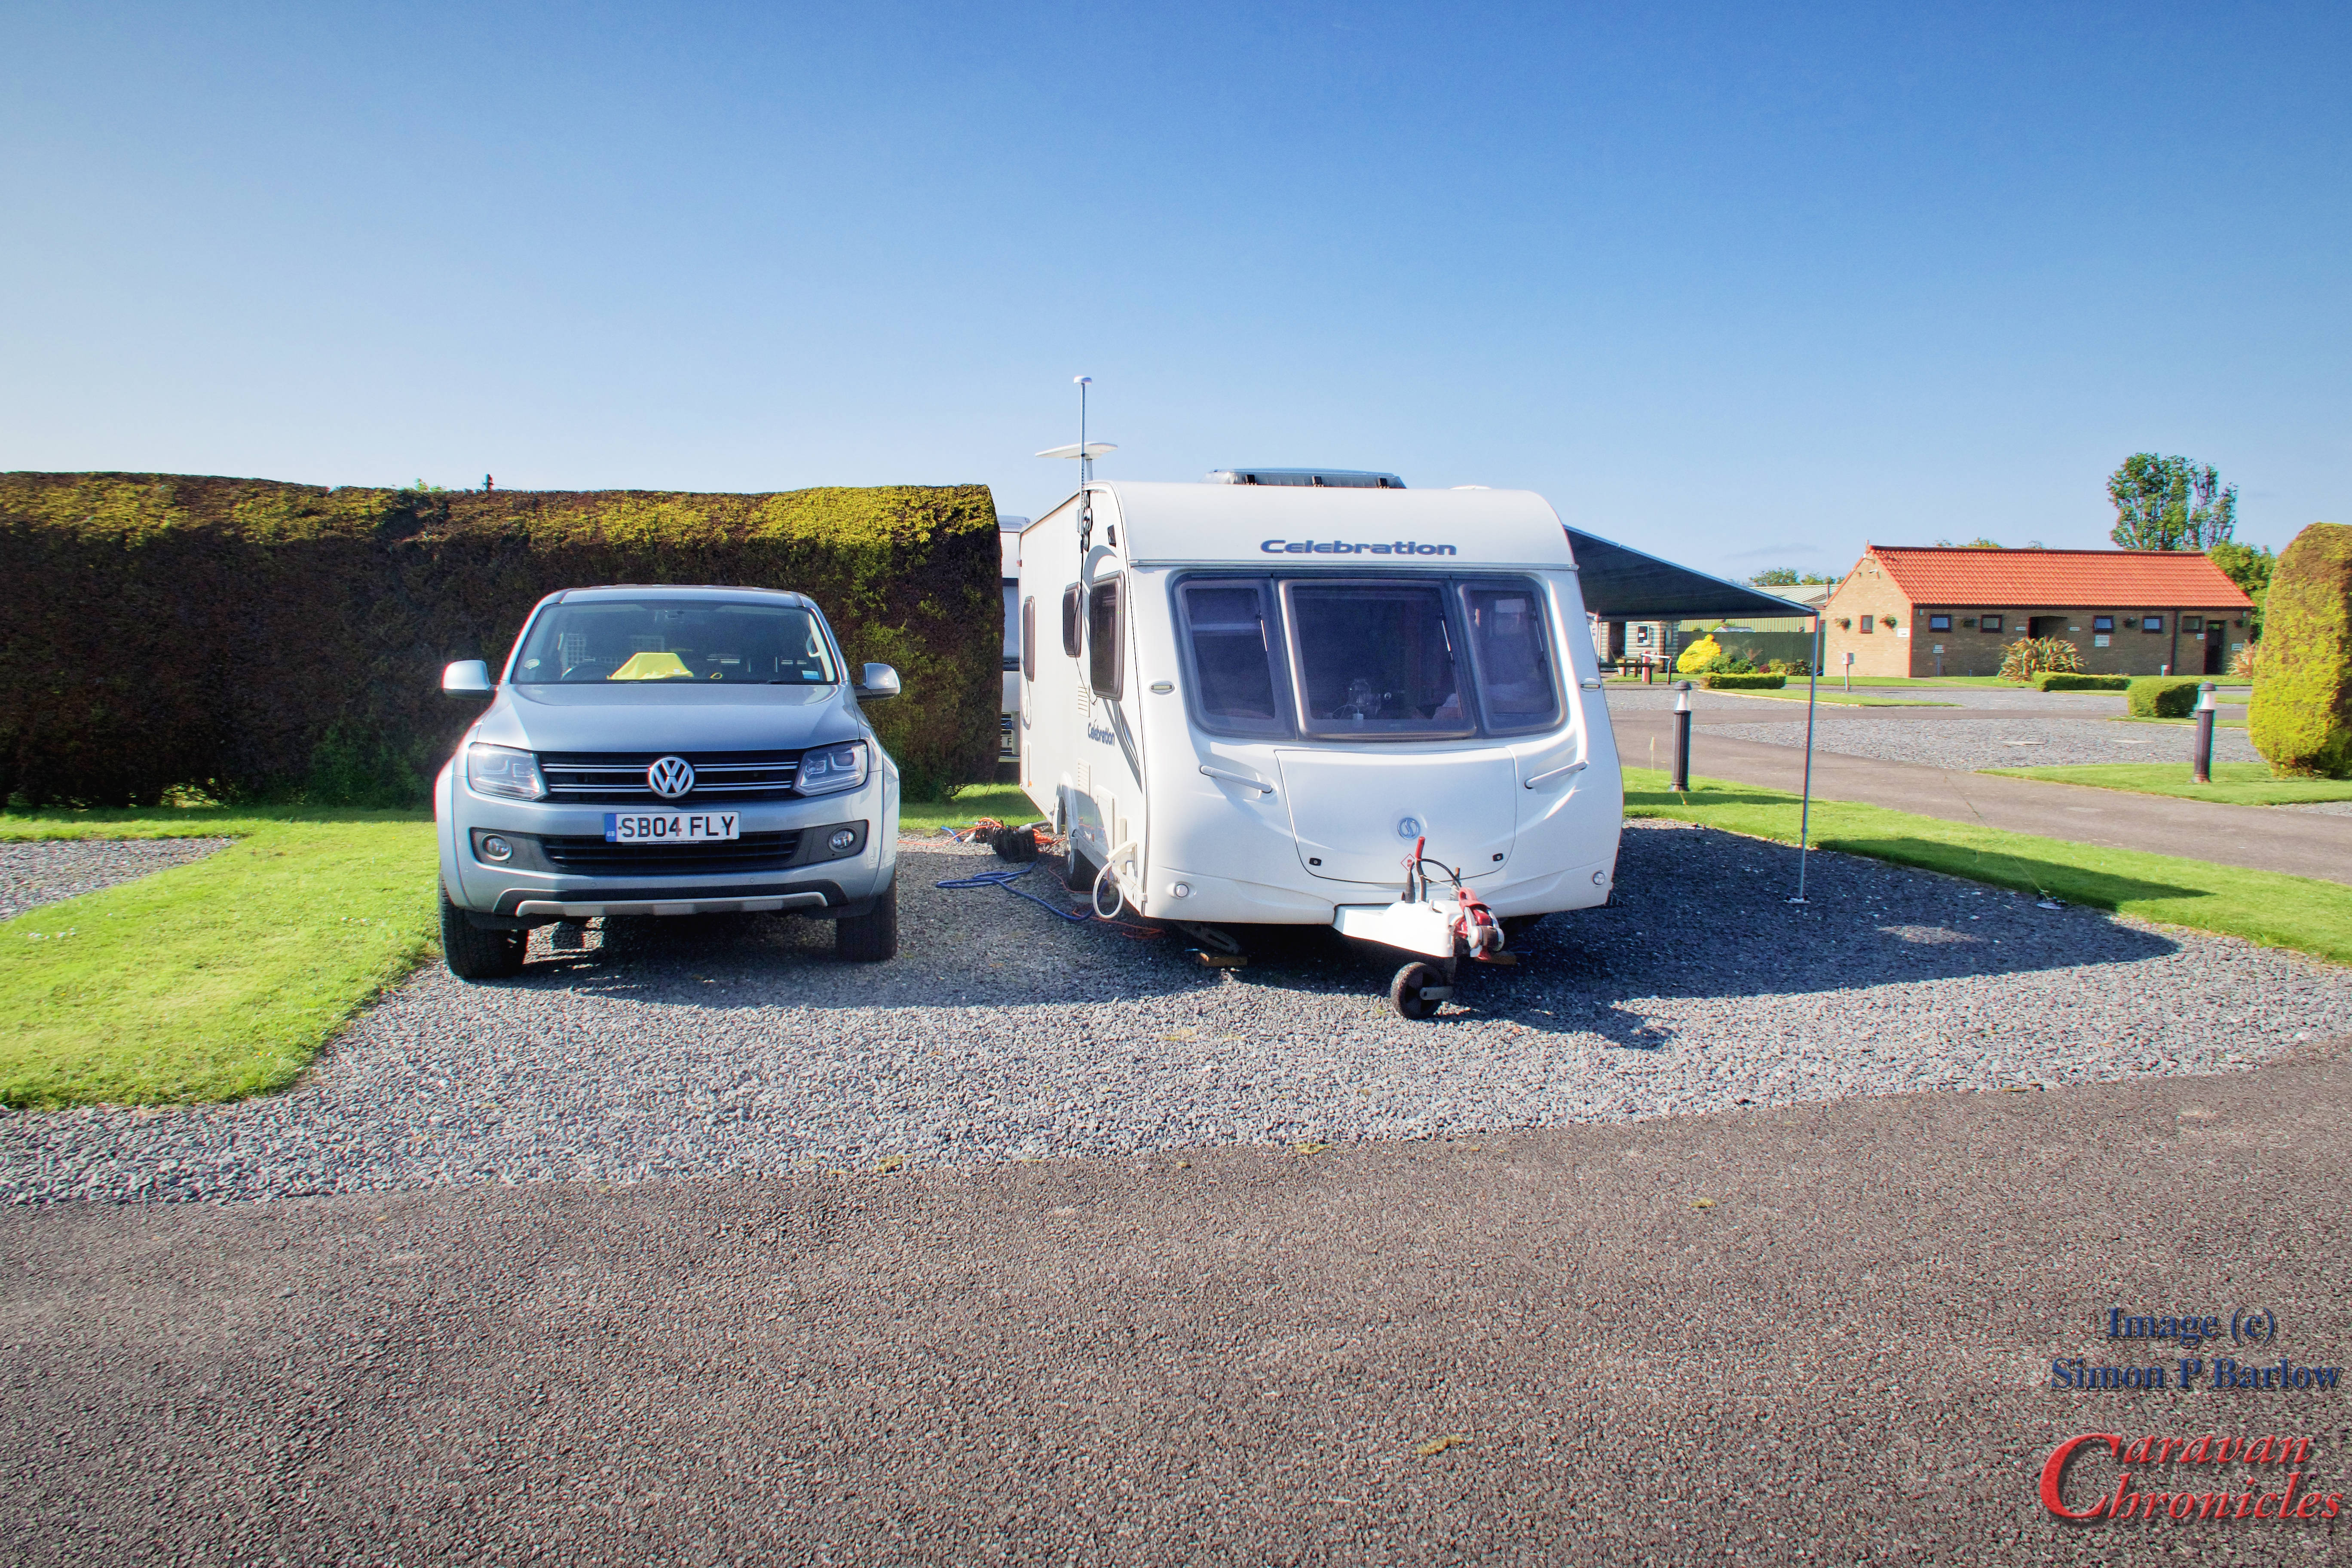
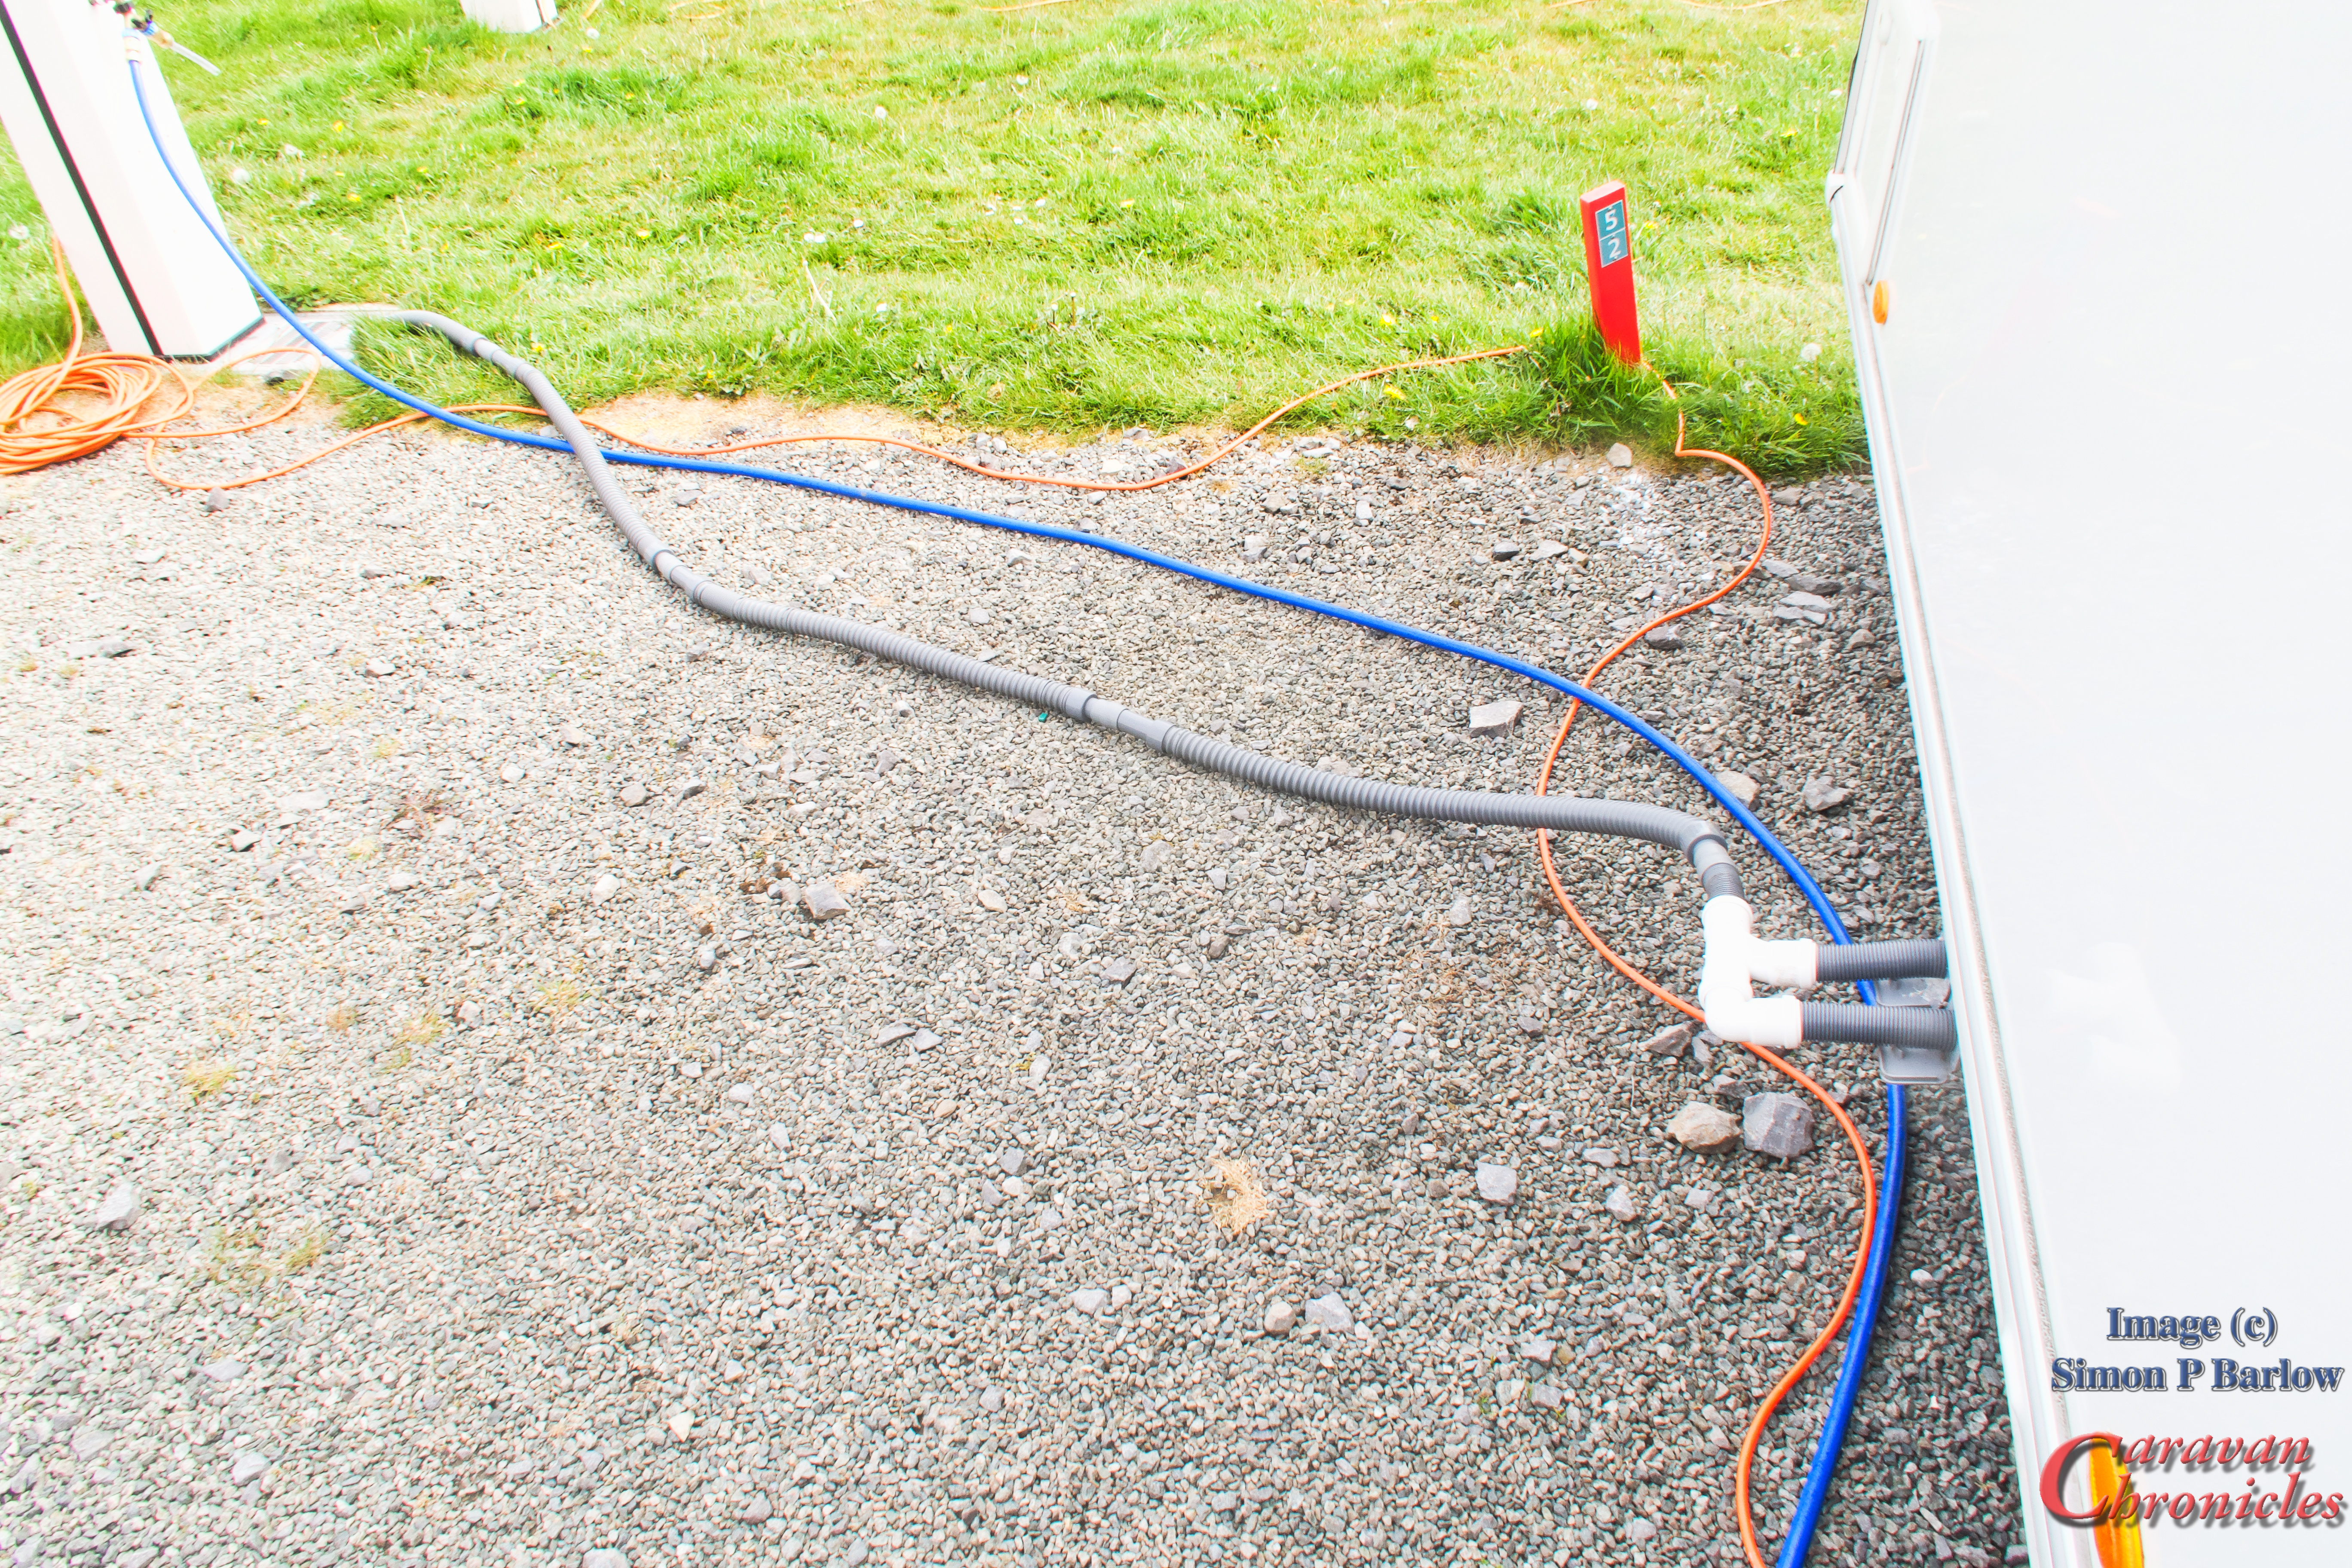
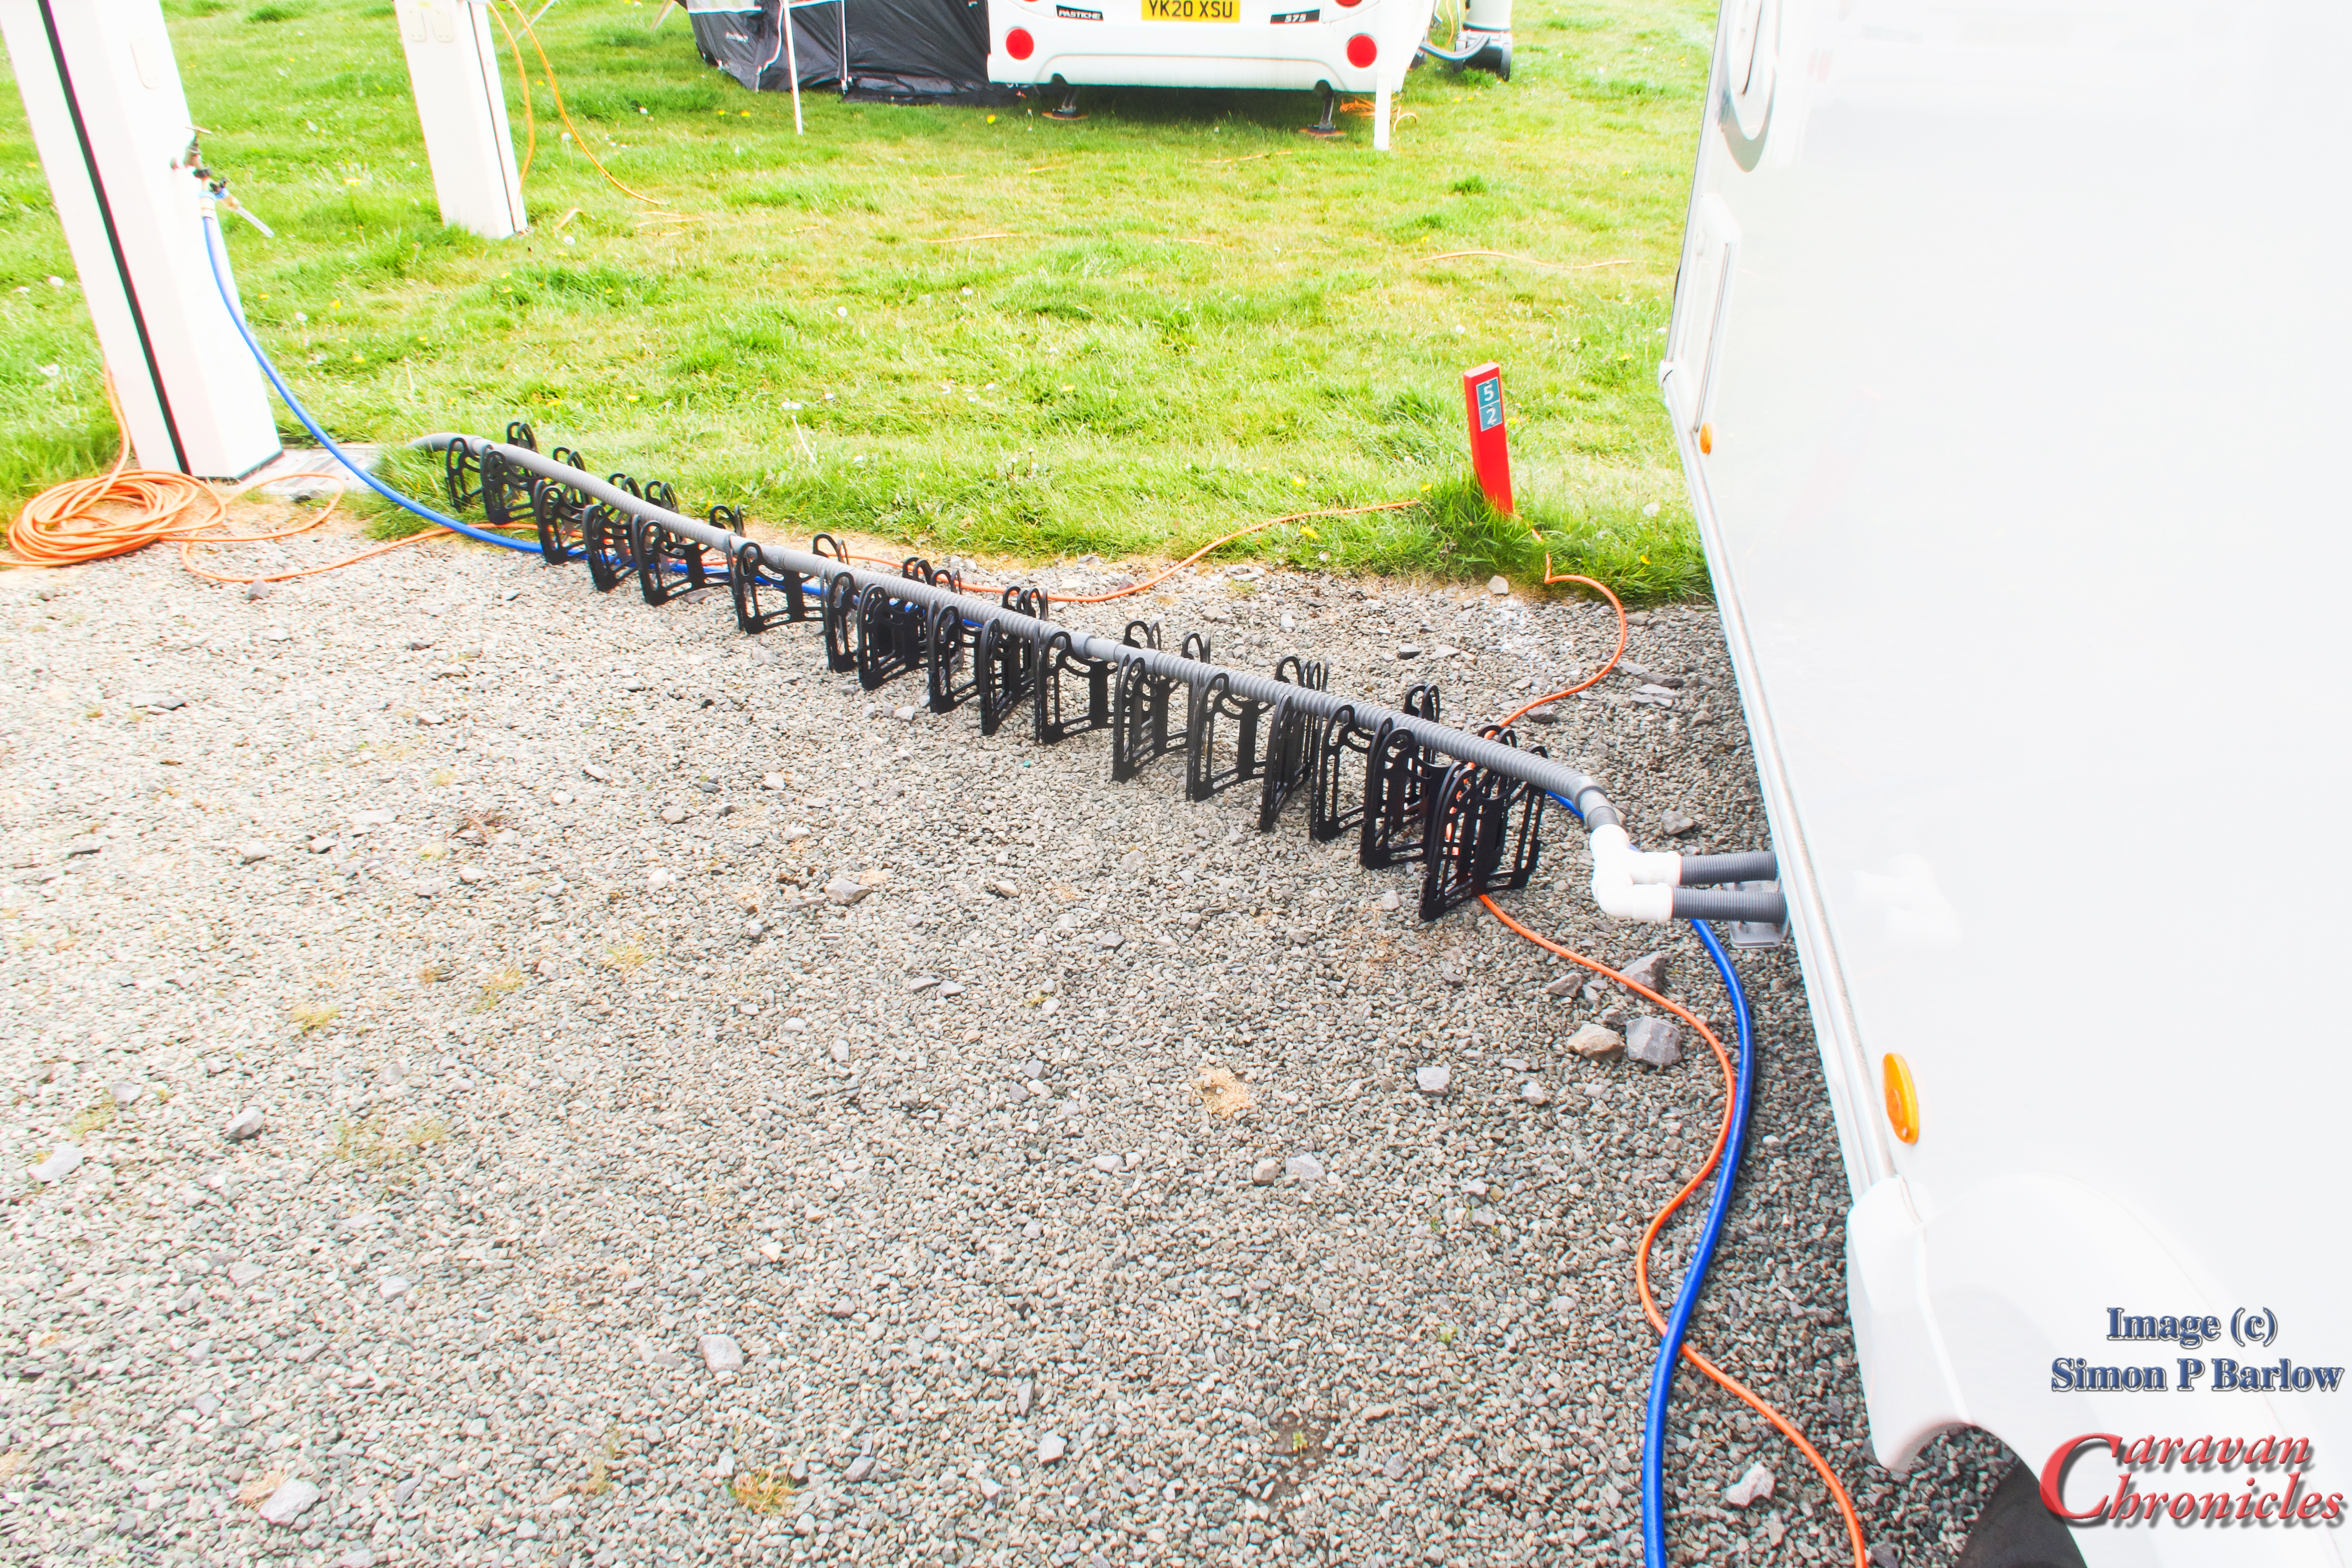
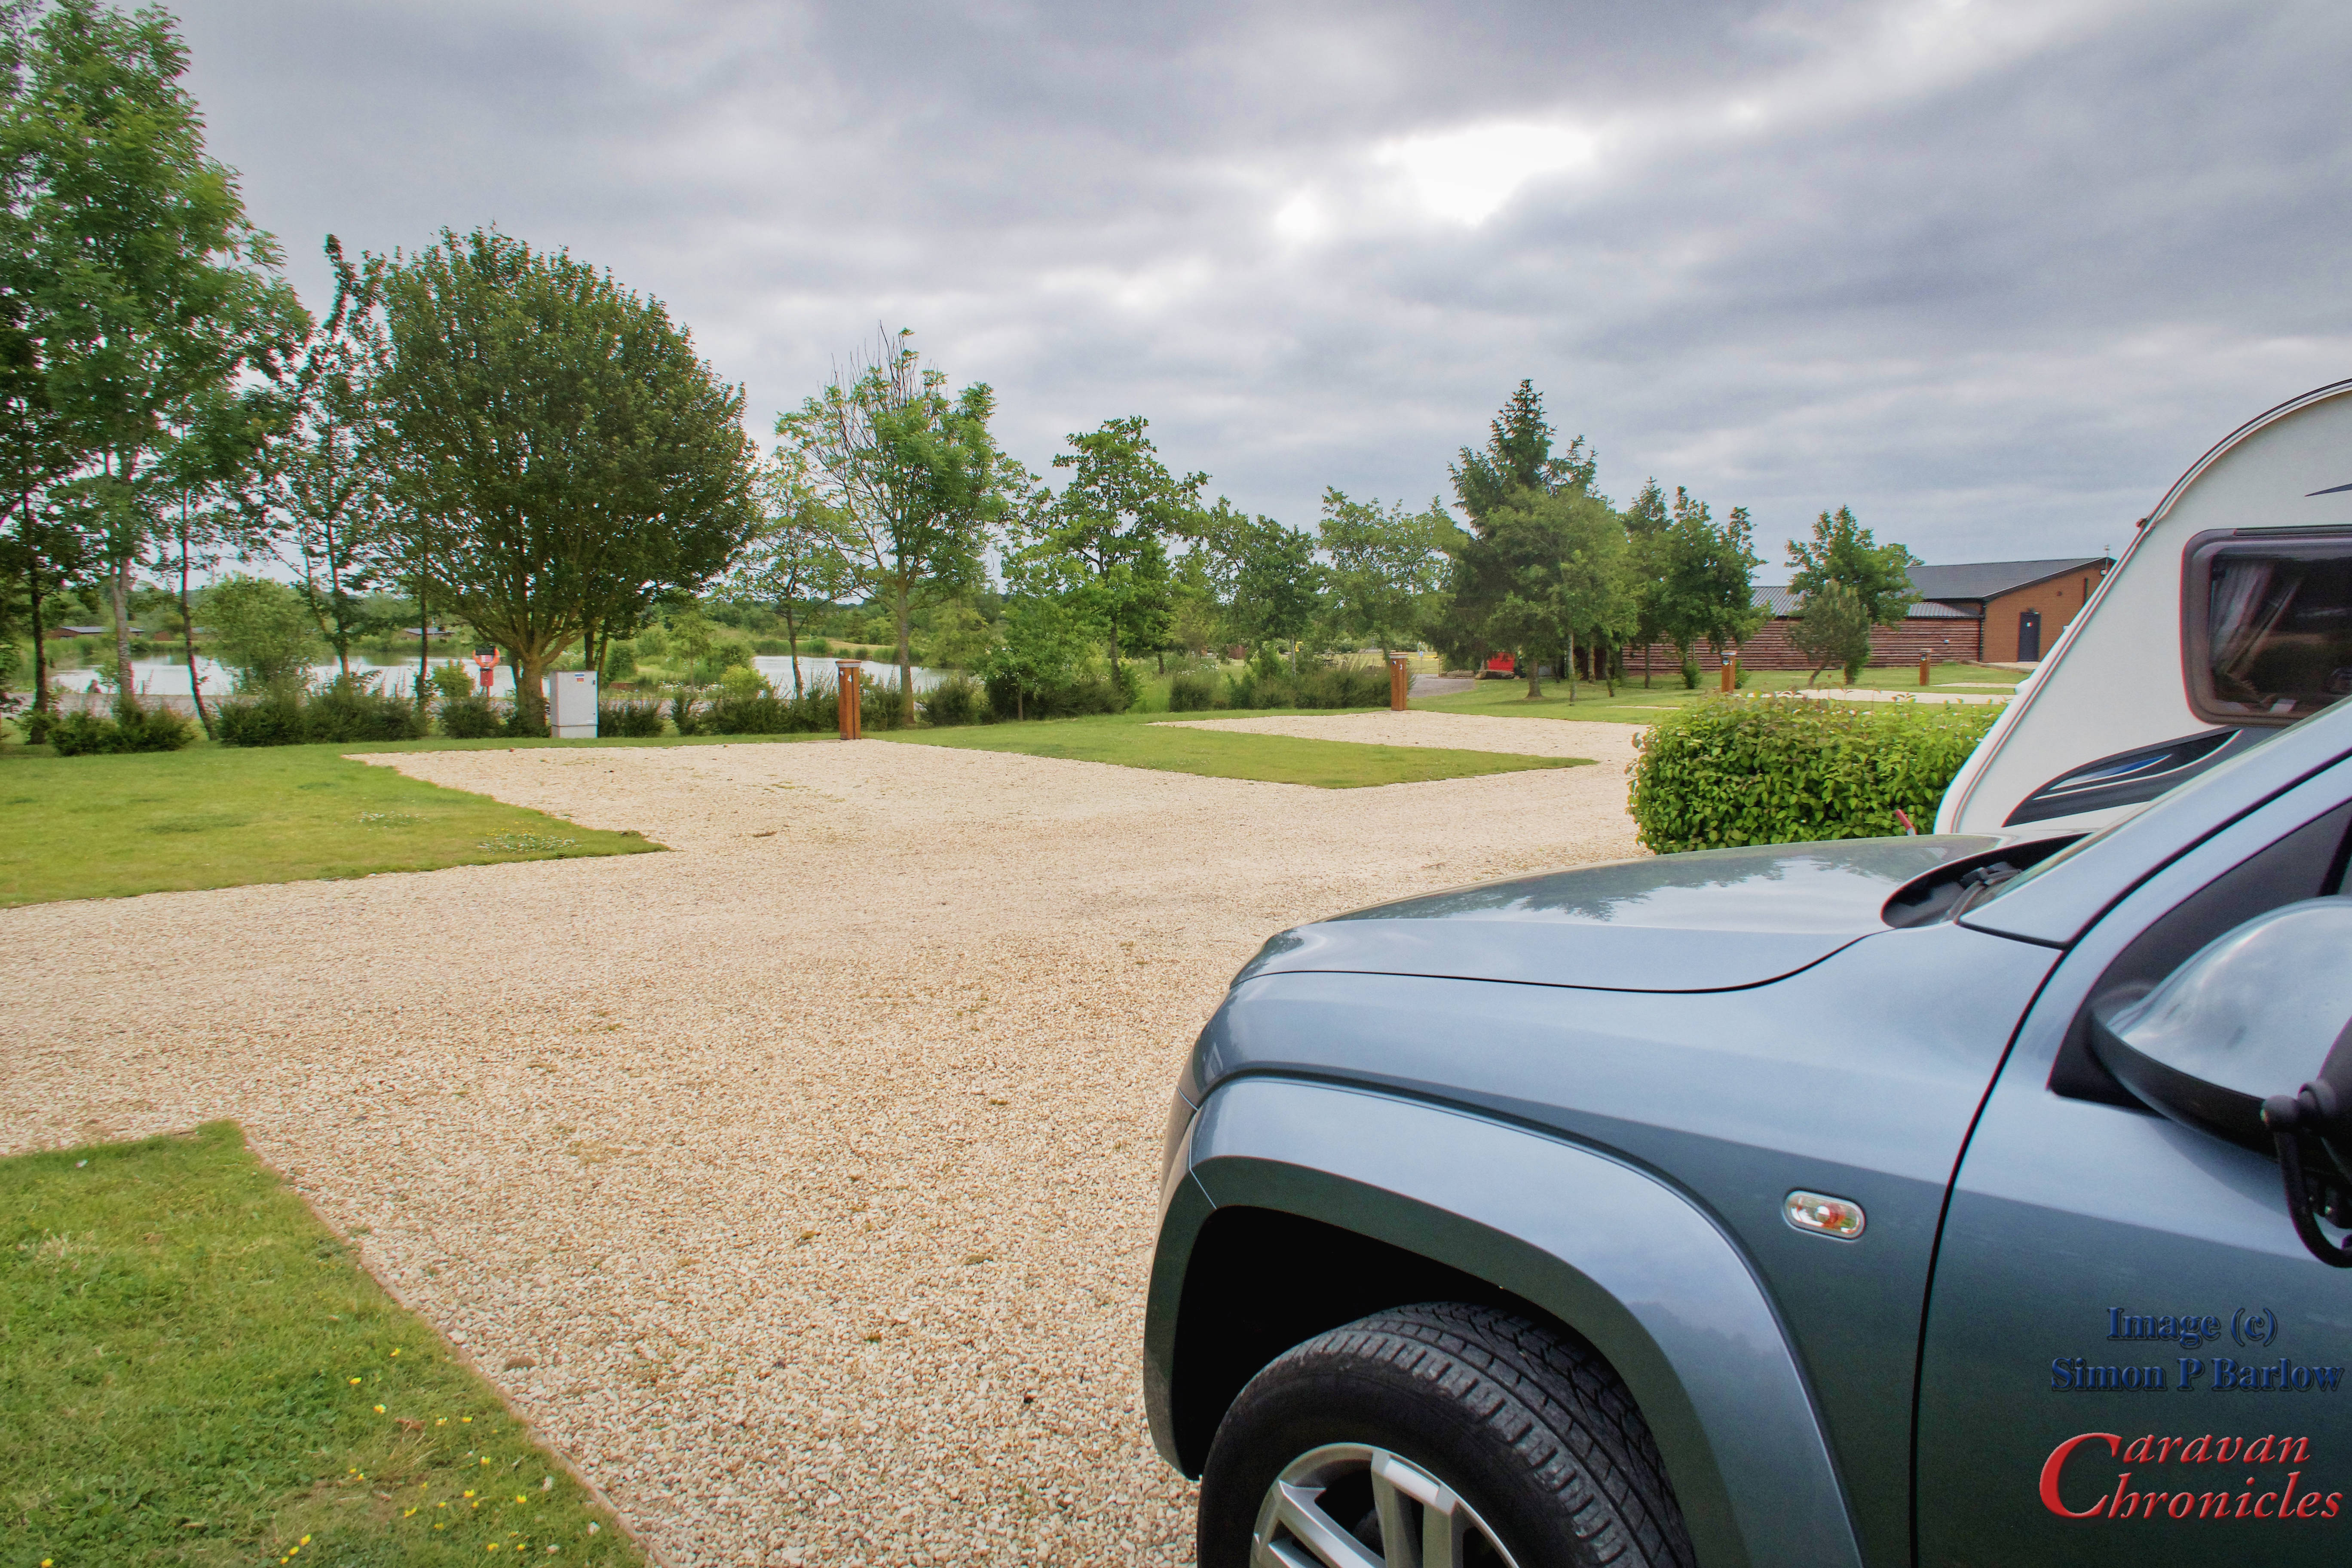
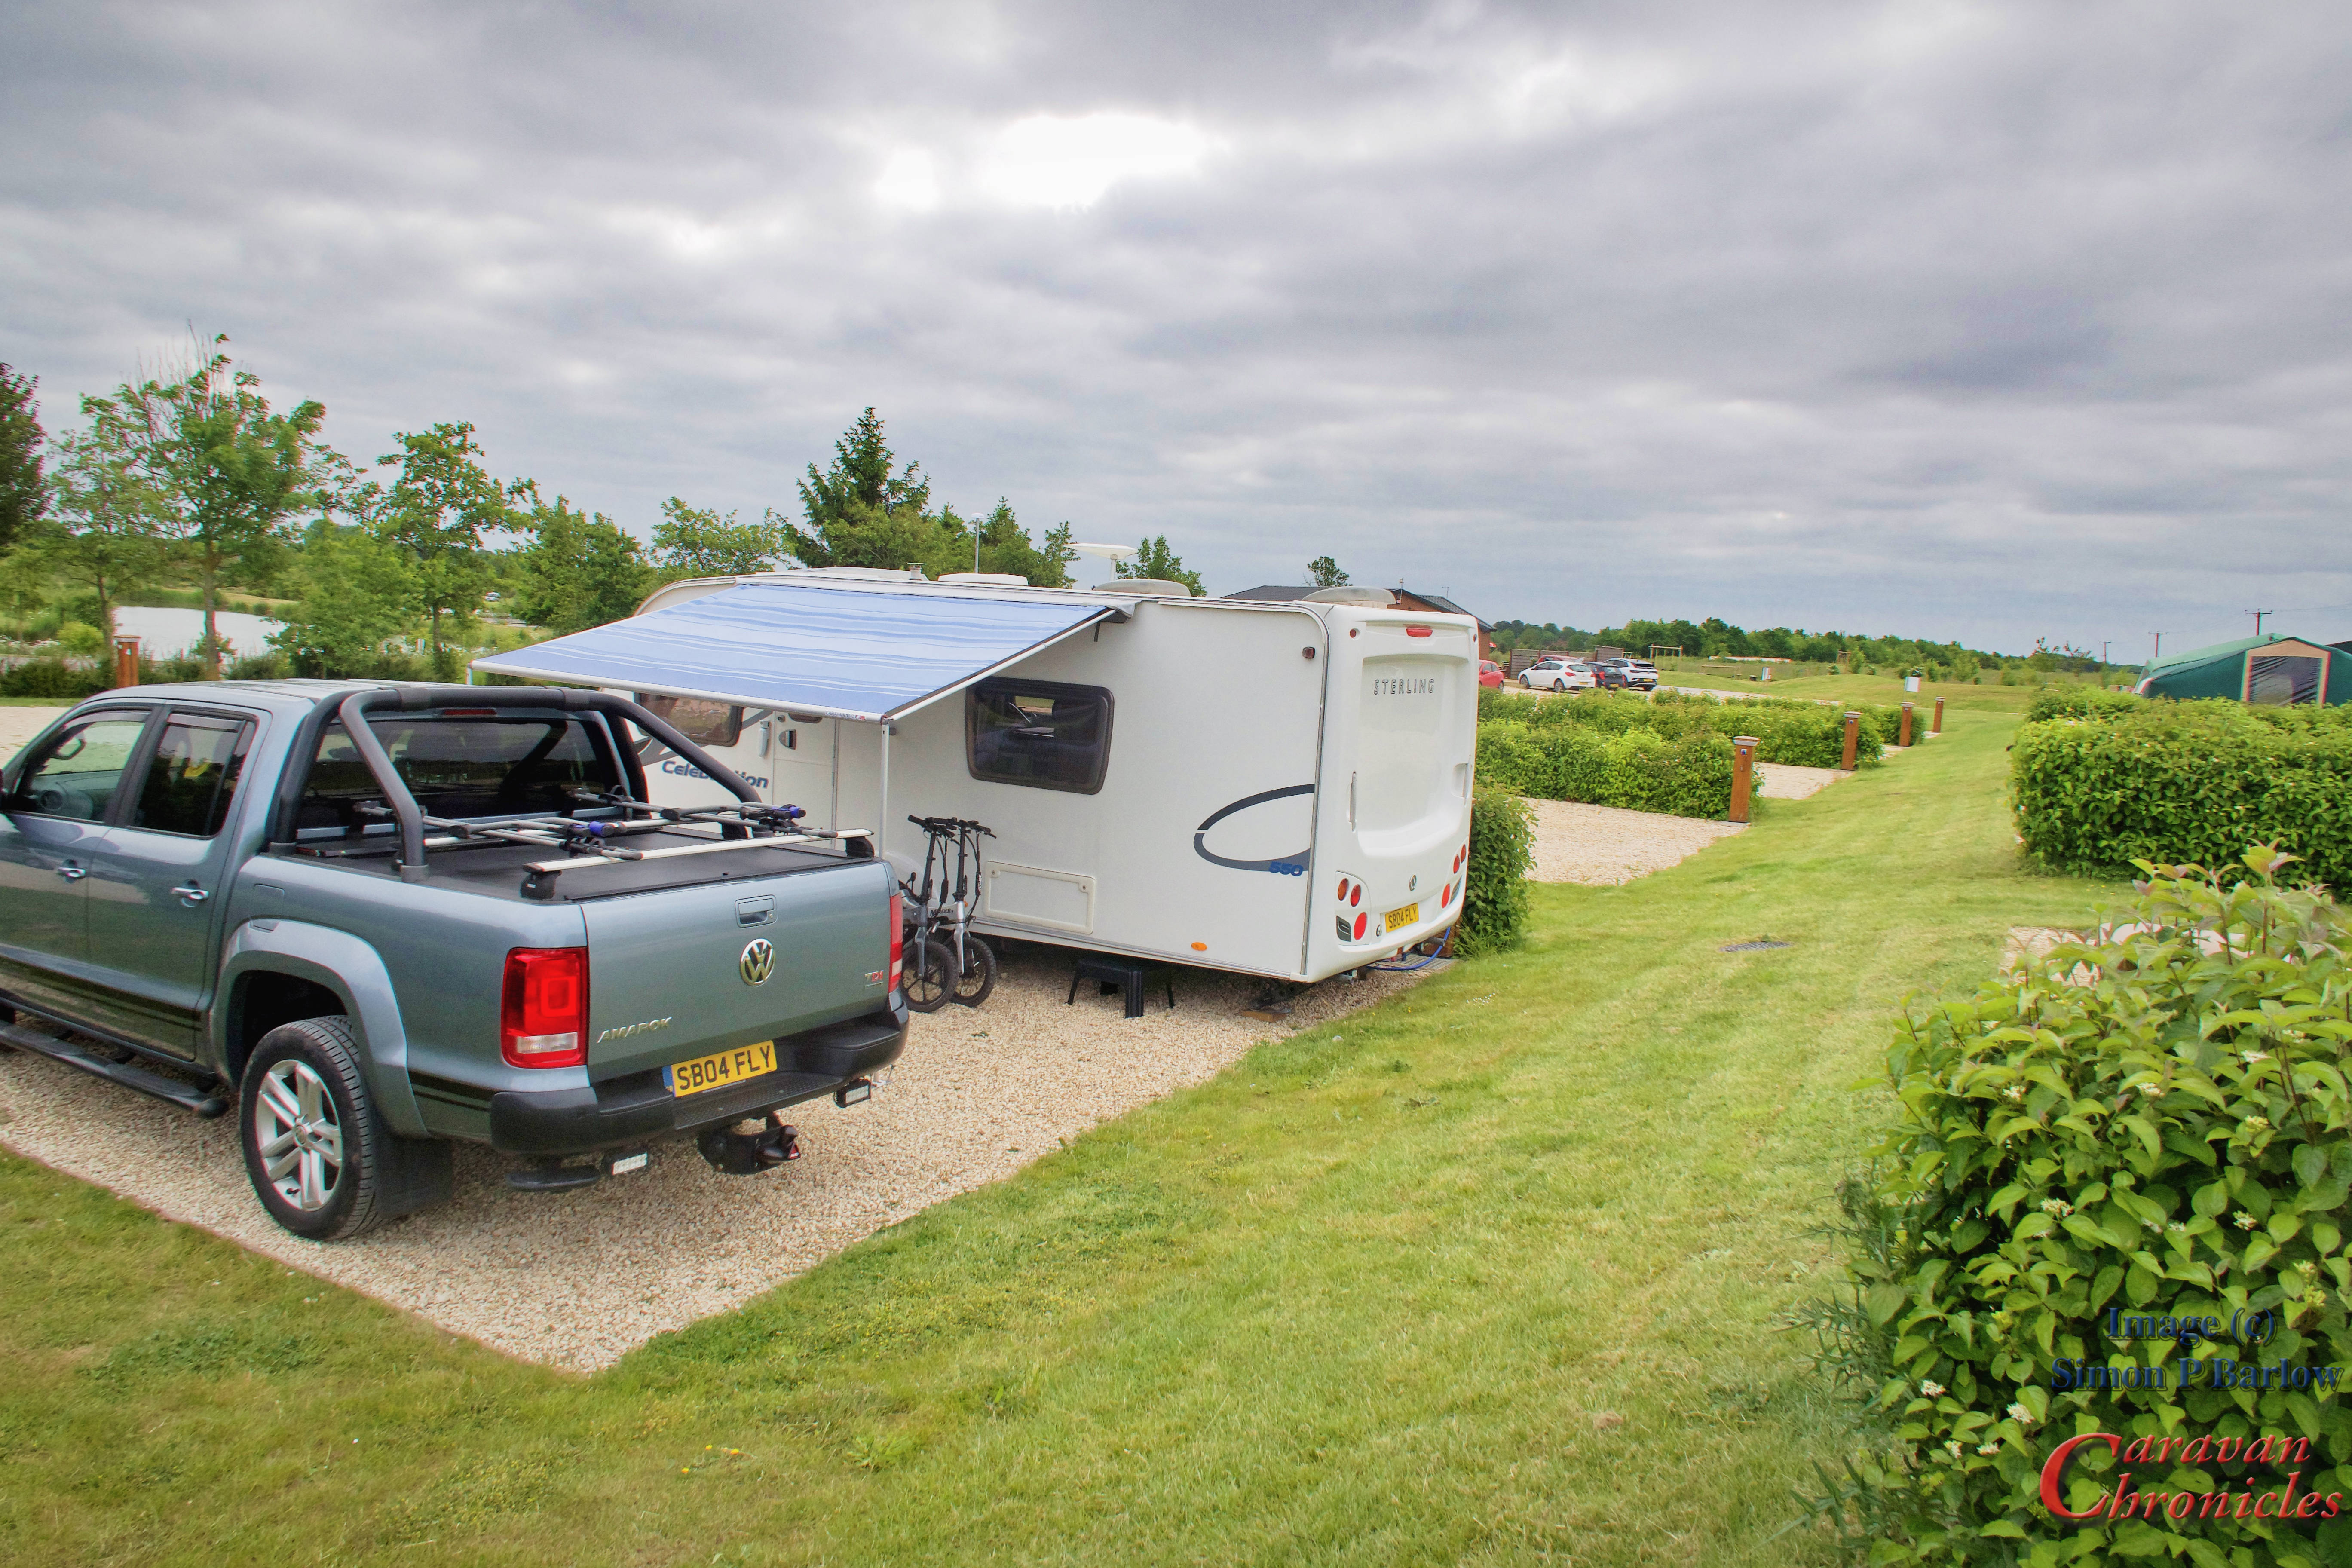
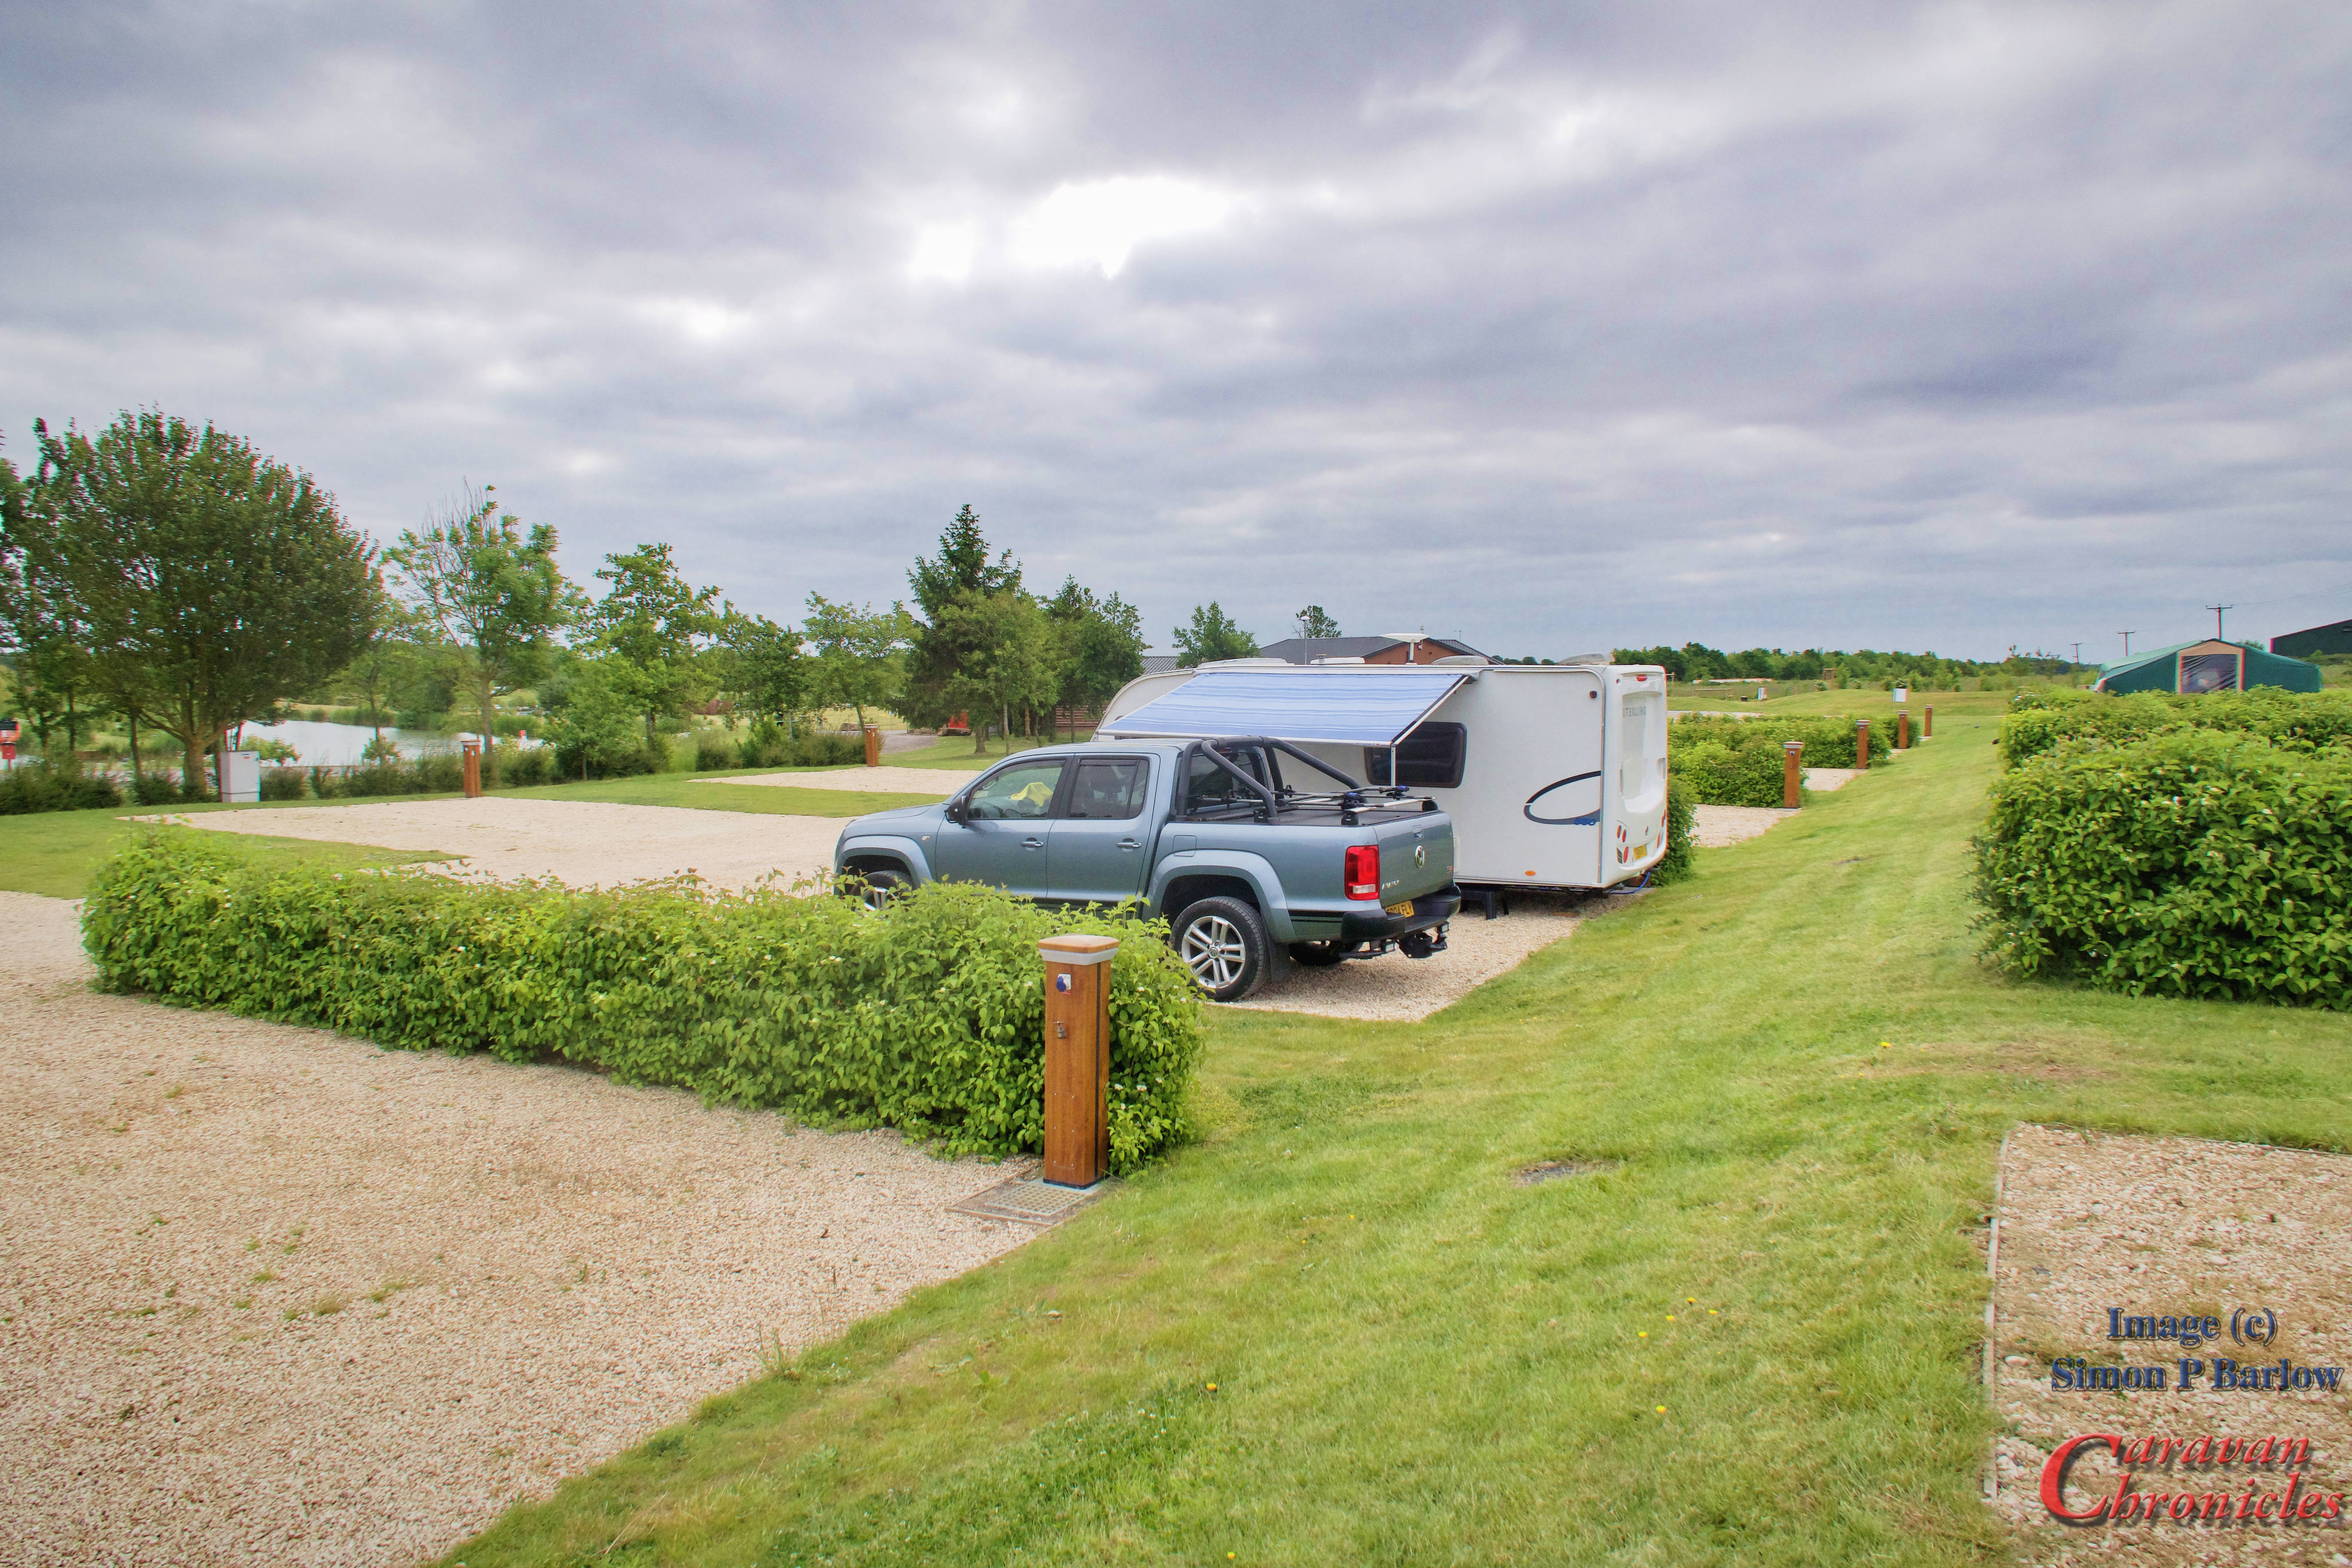
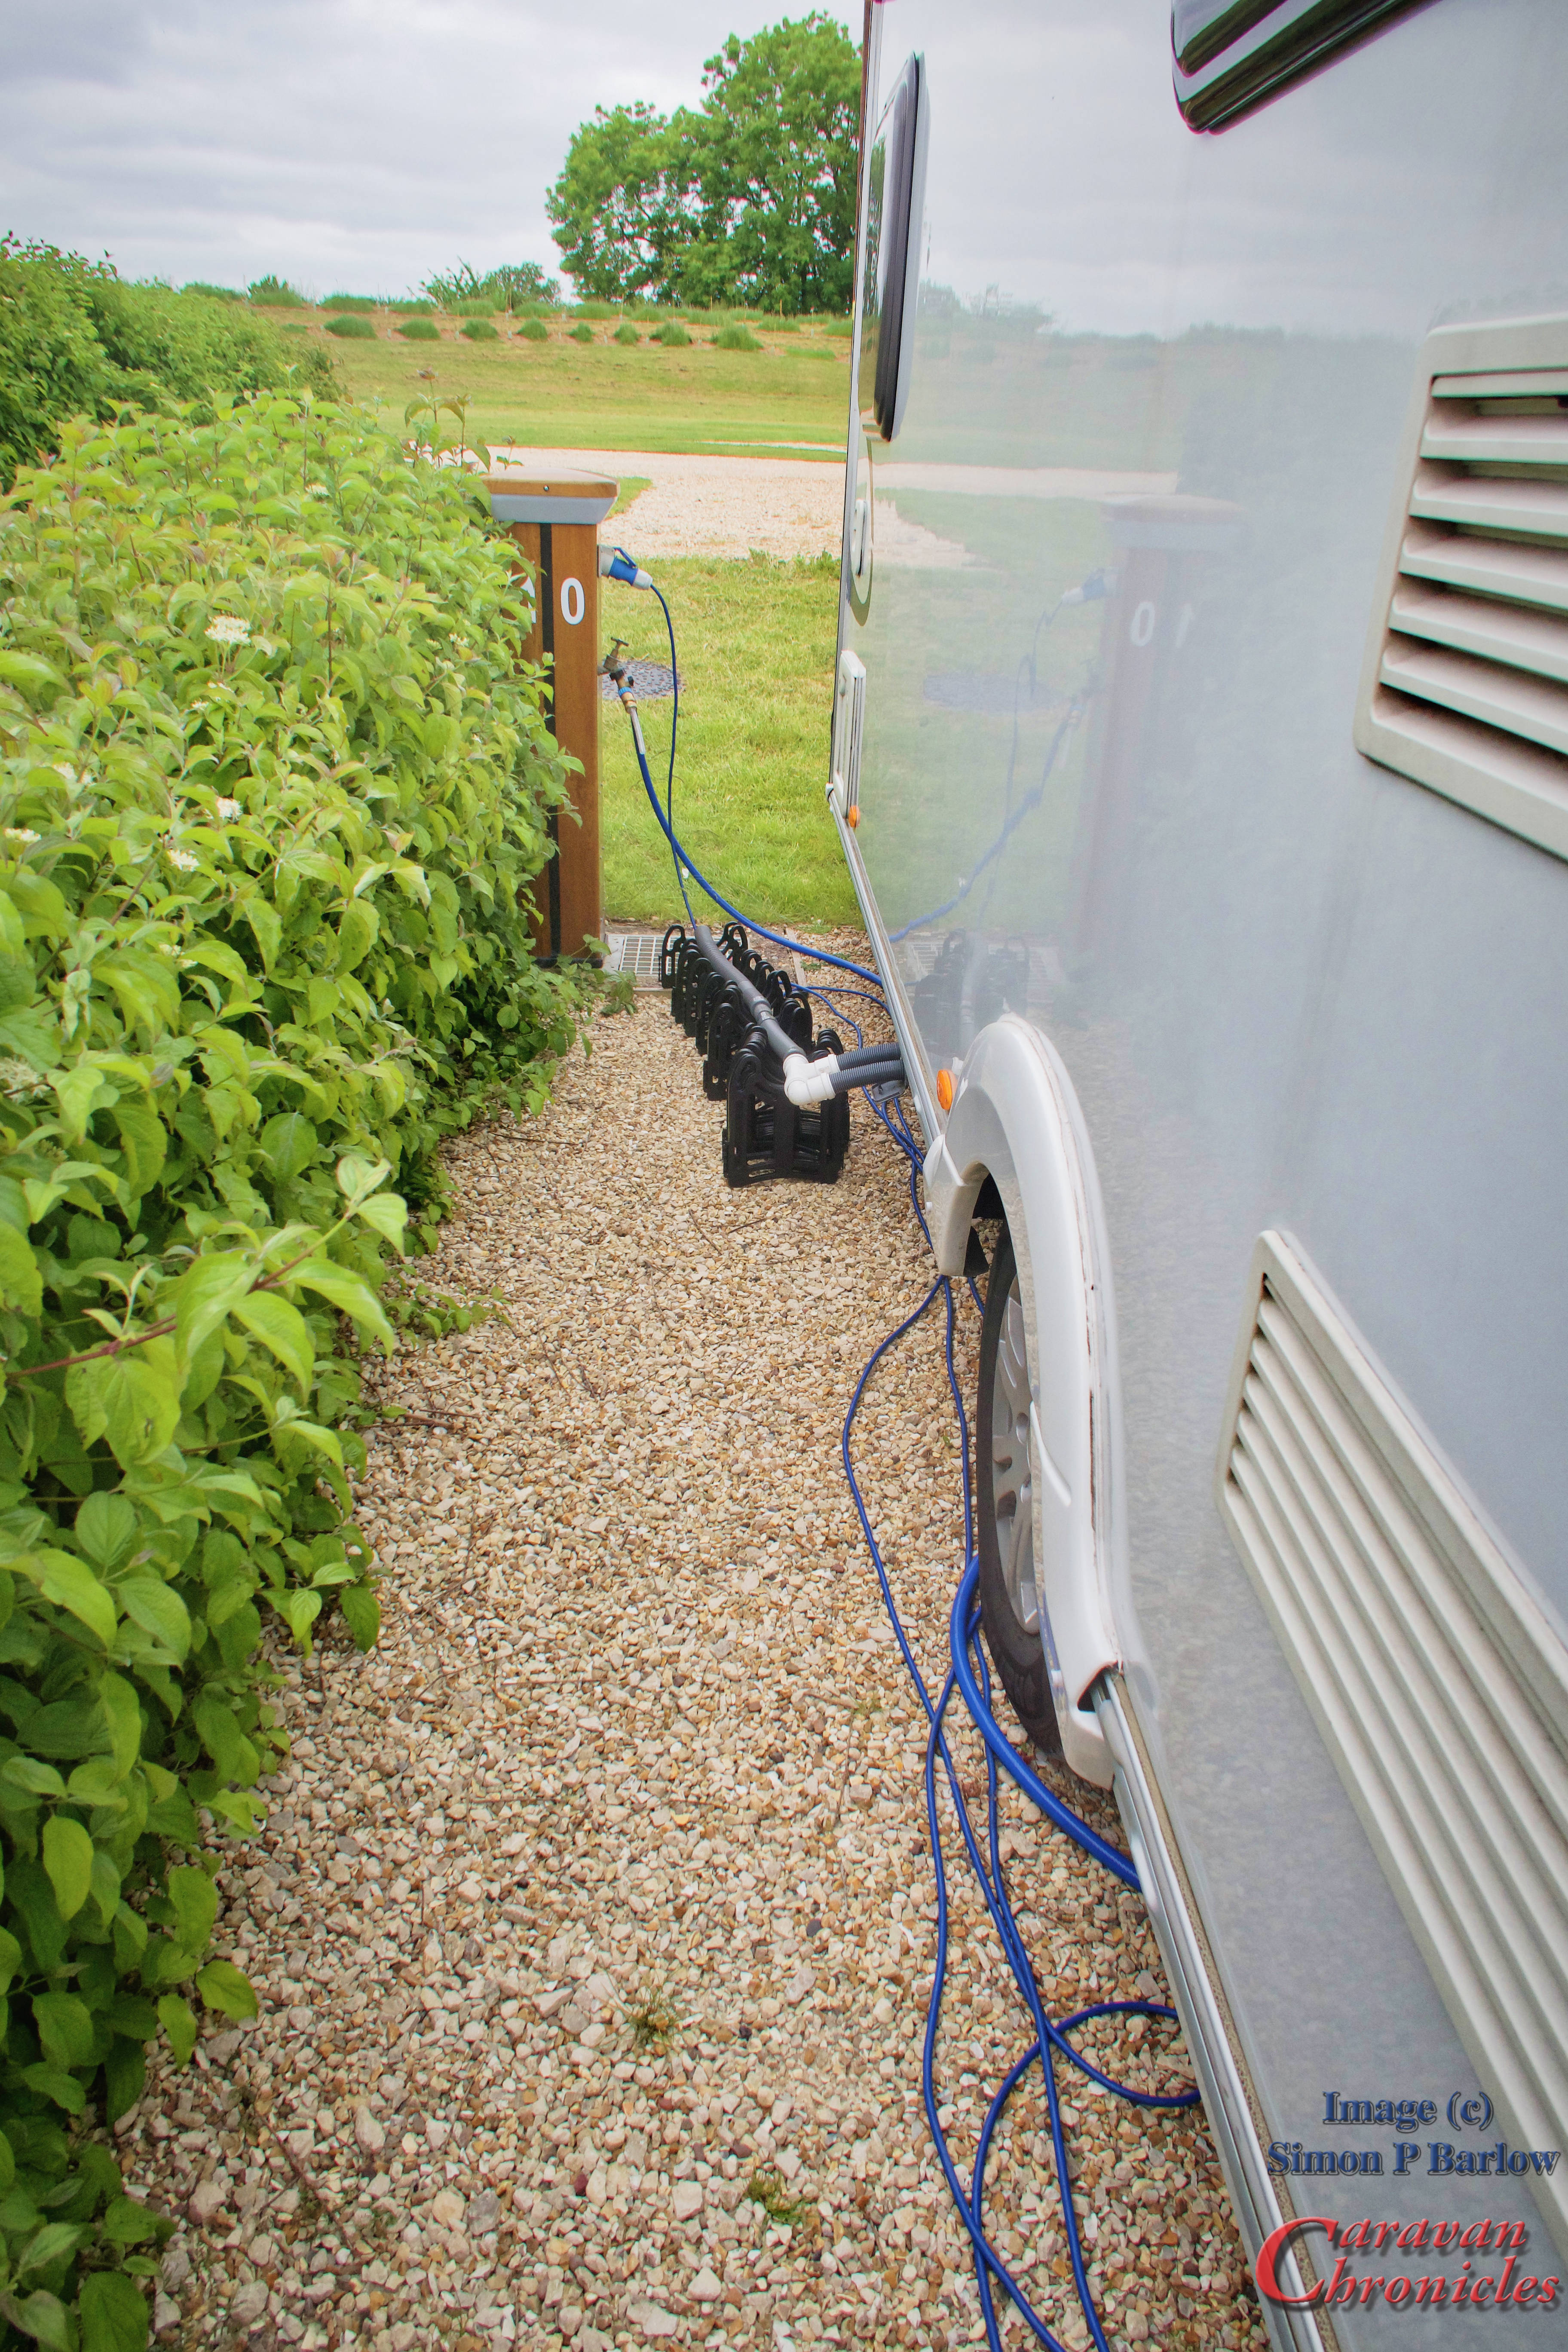
Check-in at reception was quick, easy and the staff were welcoming. You get all the information you need in an arrival pack. We booked a full service pitch, which was firm… very firm… I had to use rock pegs to secure the sun shade. Phone signal on O2 was a tad weak, I had to tweak our router to only connect at G3…. but it was fast enough for internet and tv streaming of iPlayer and Netflix.

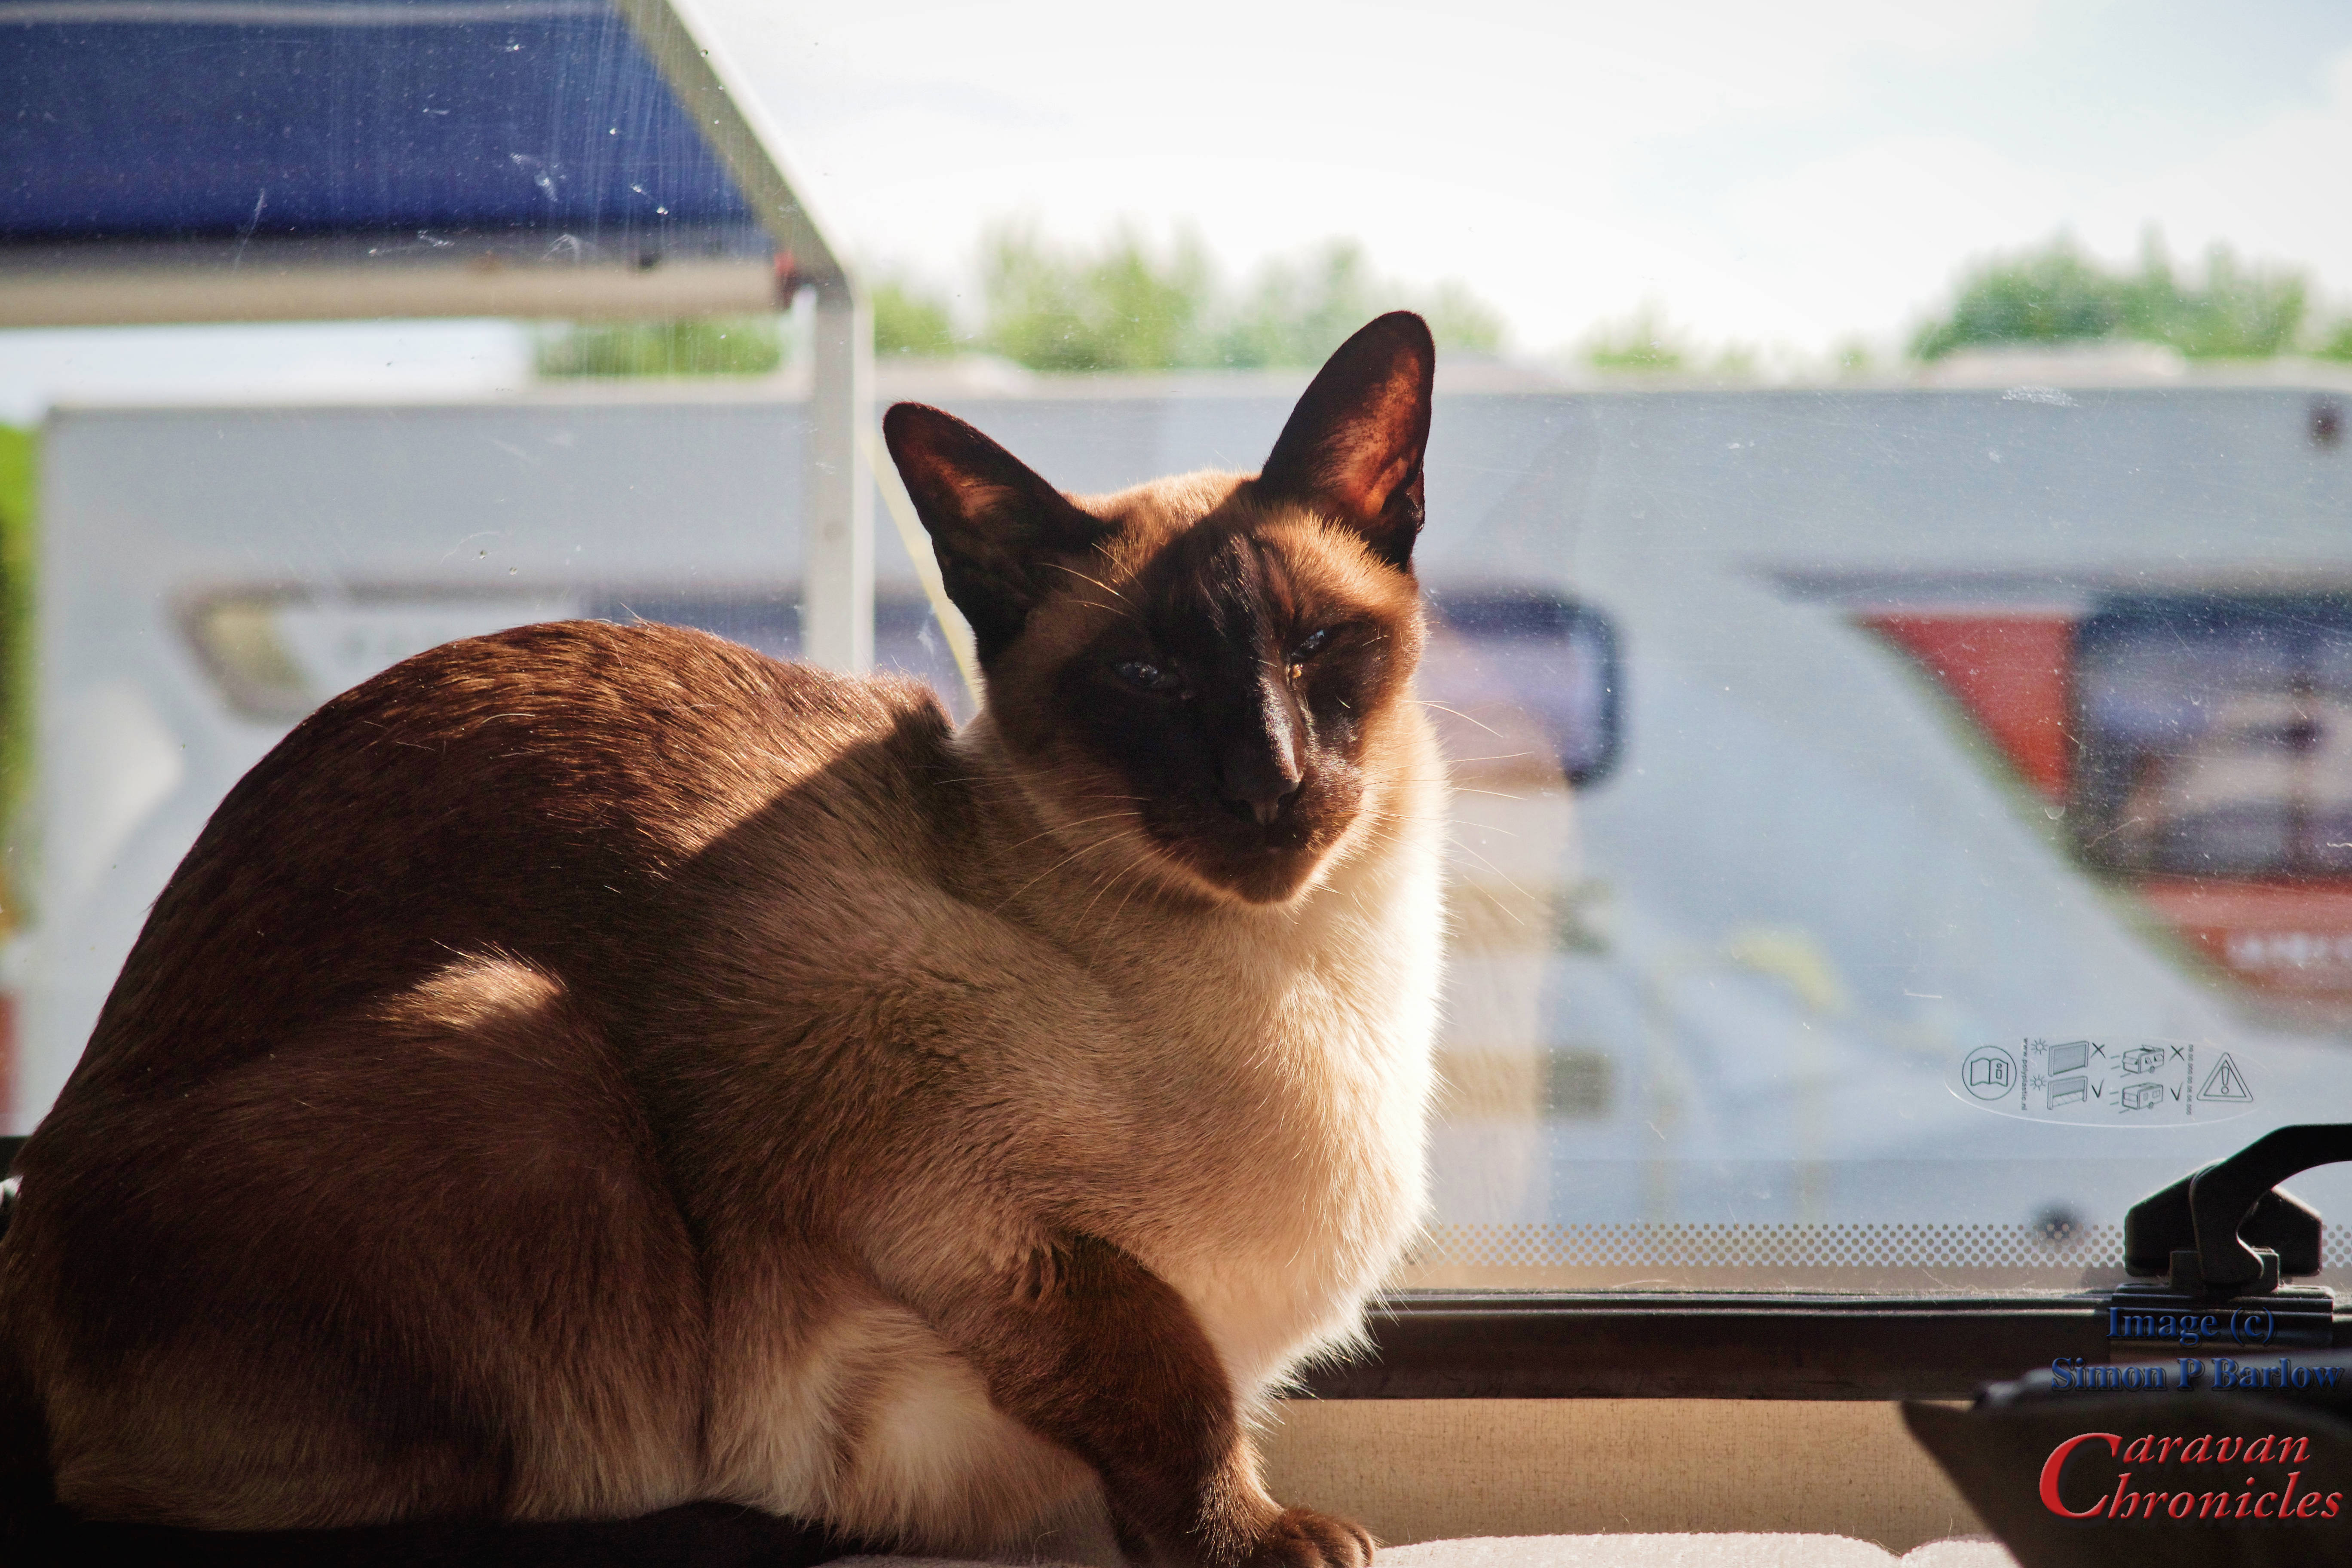
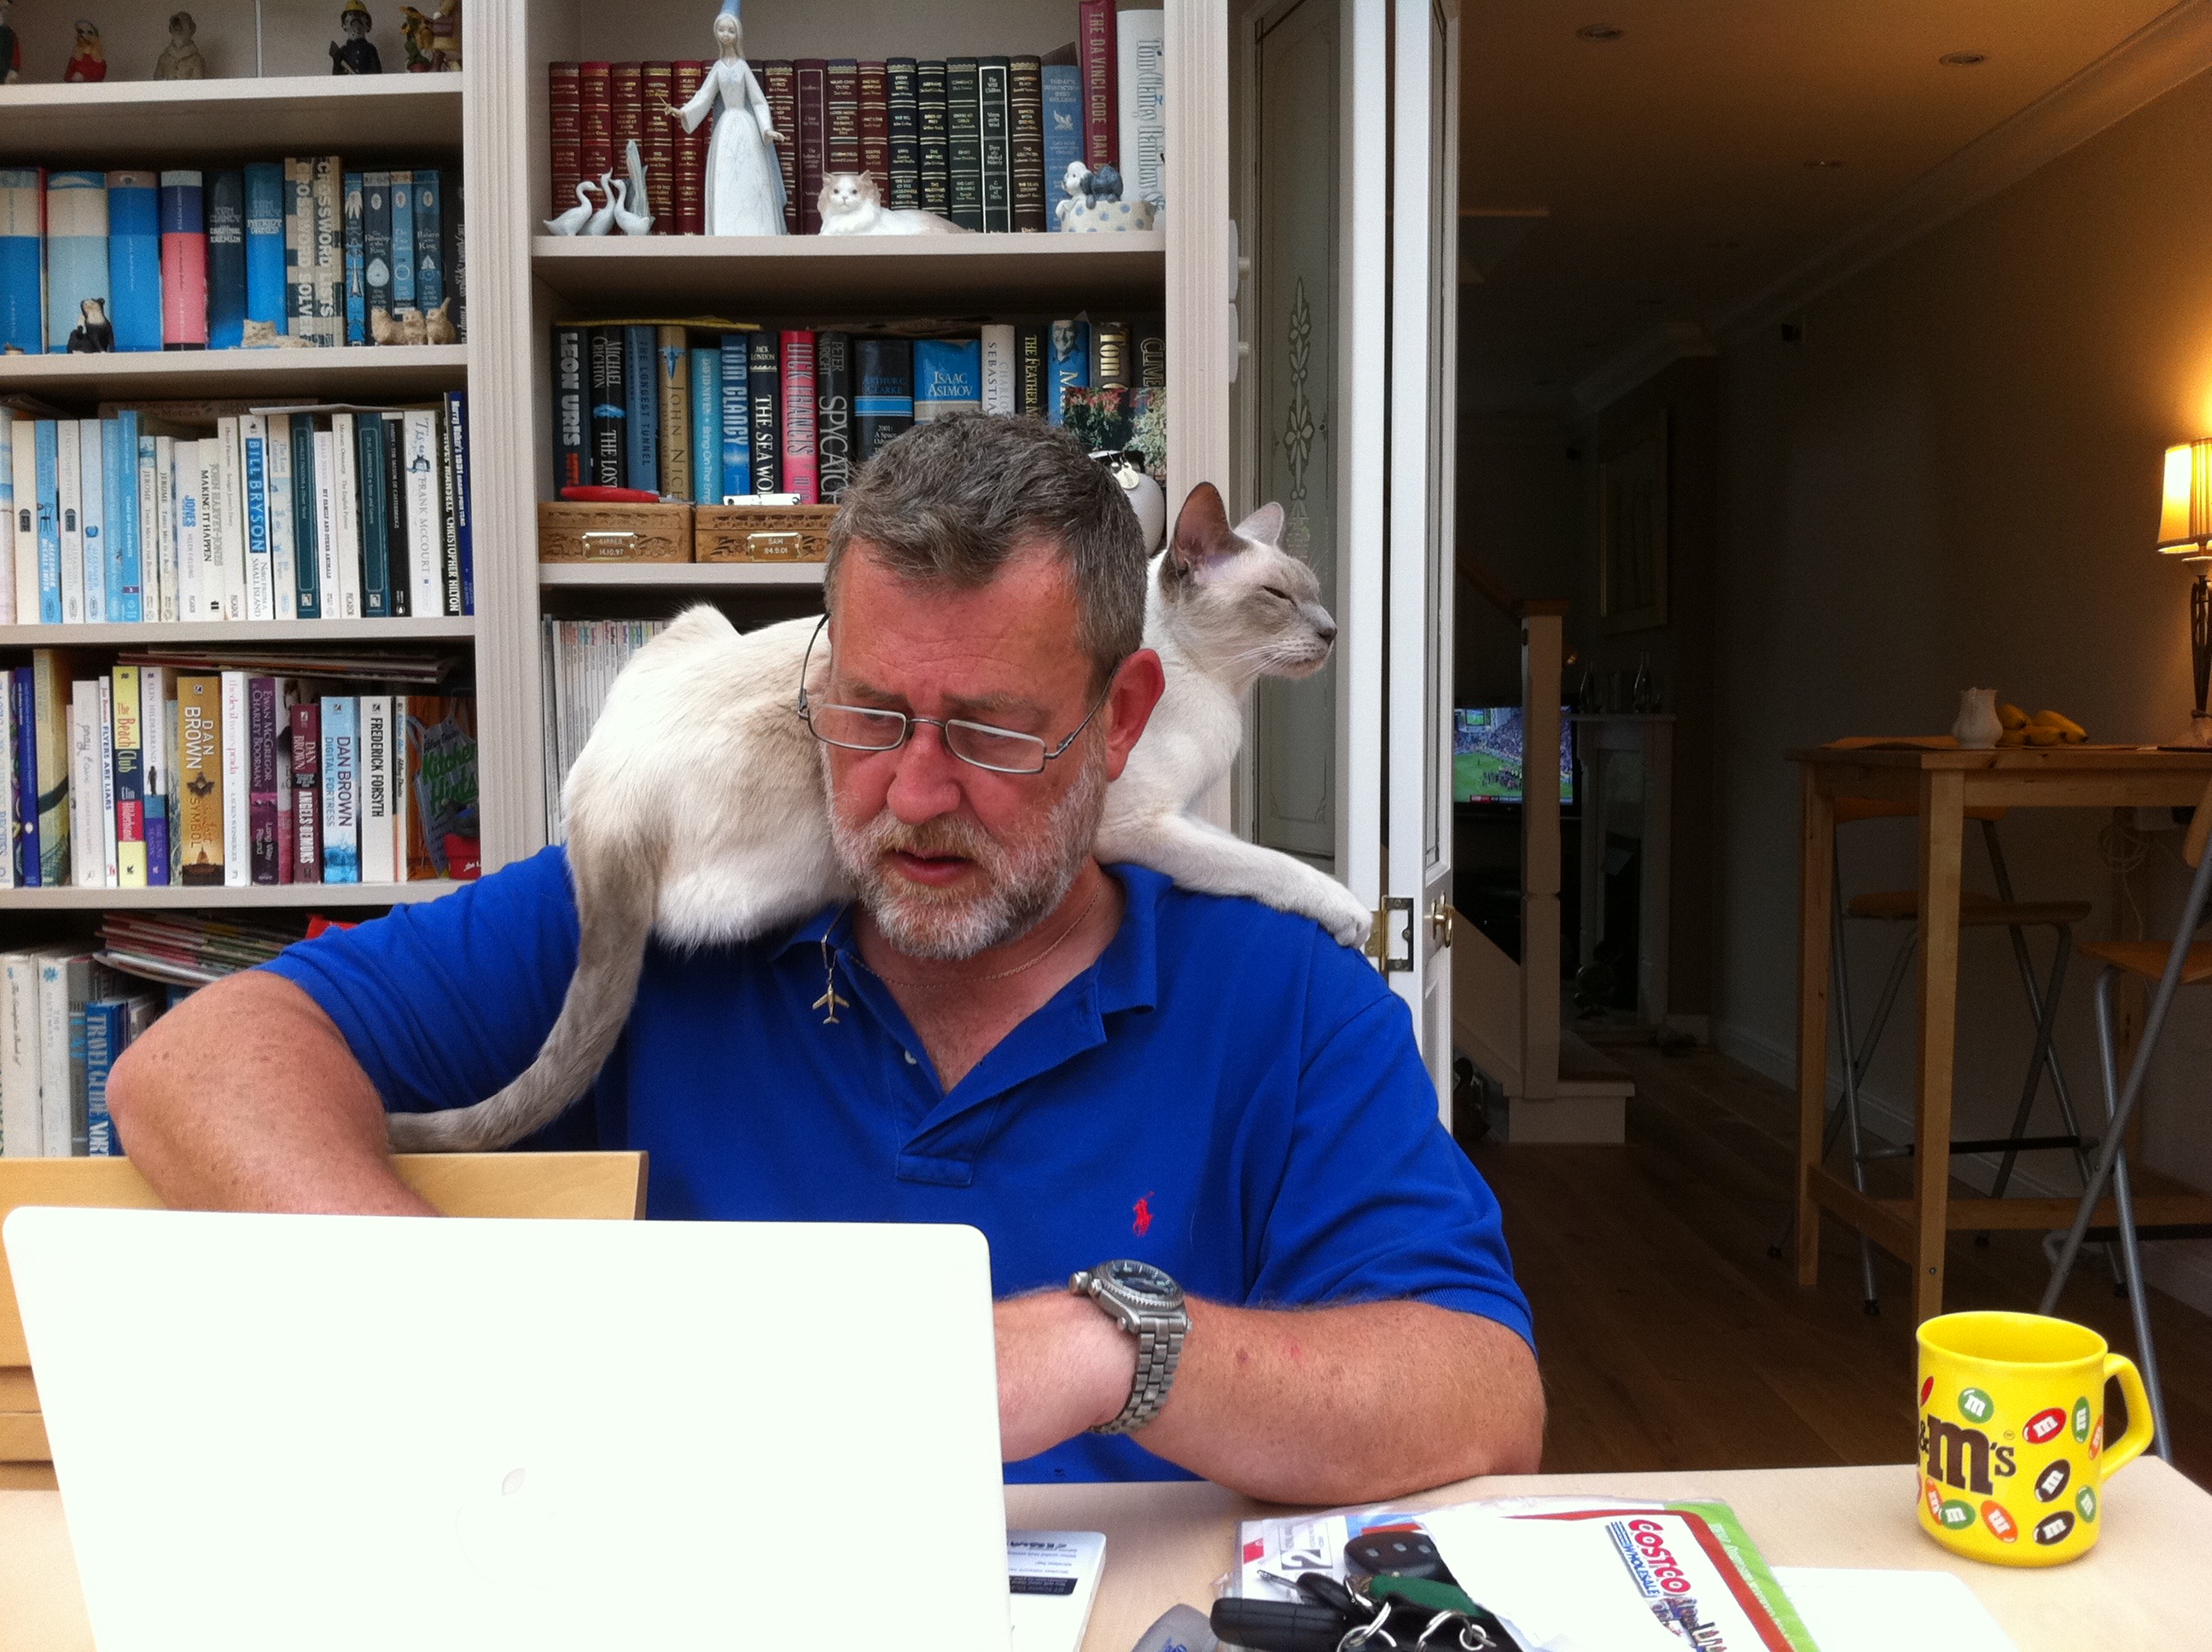
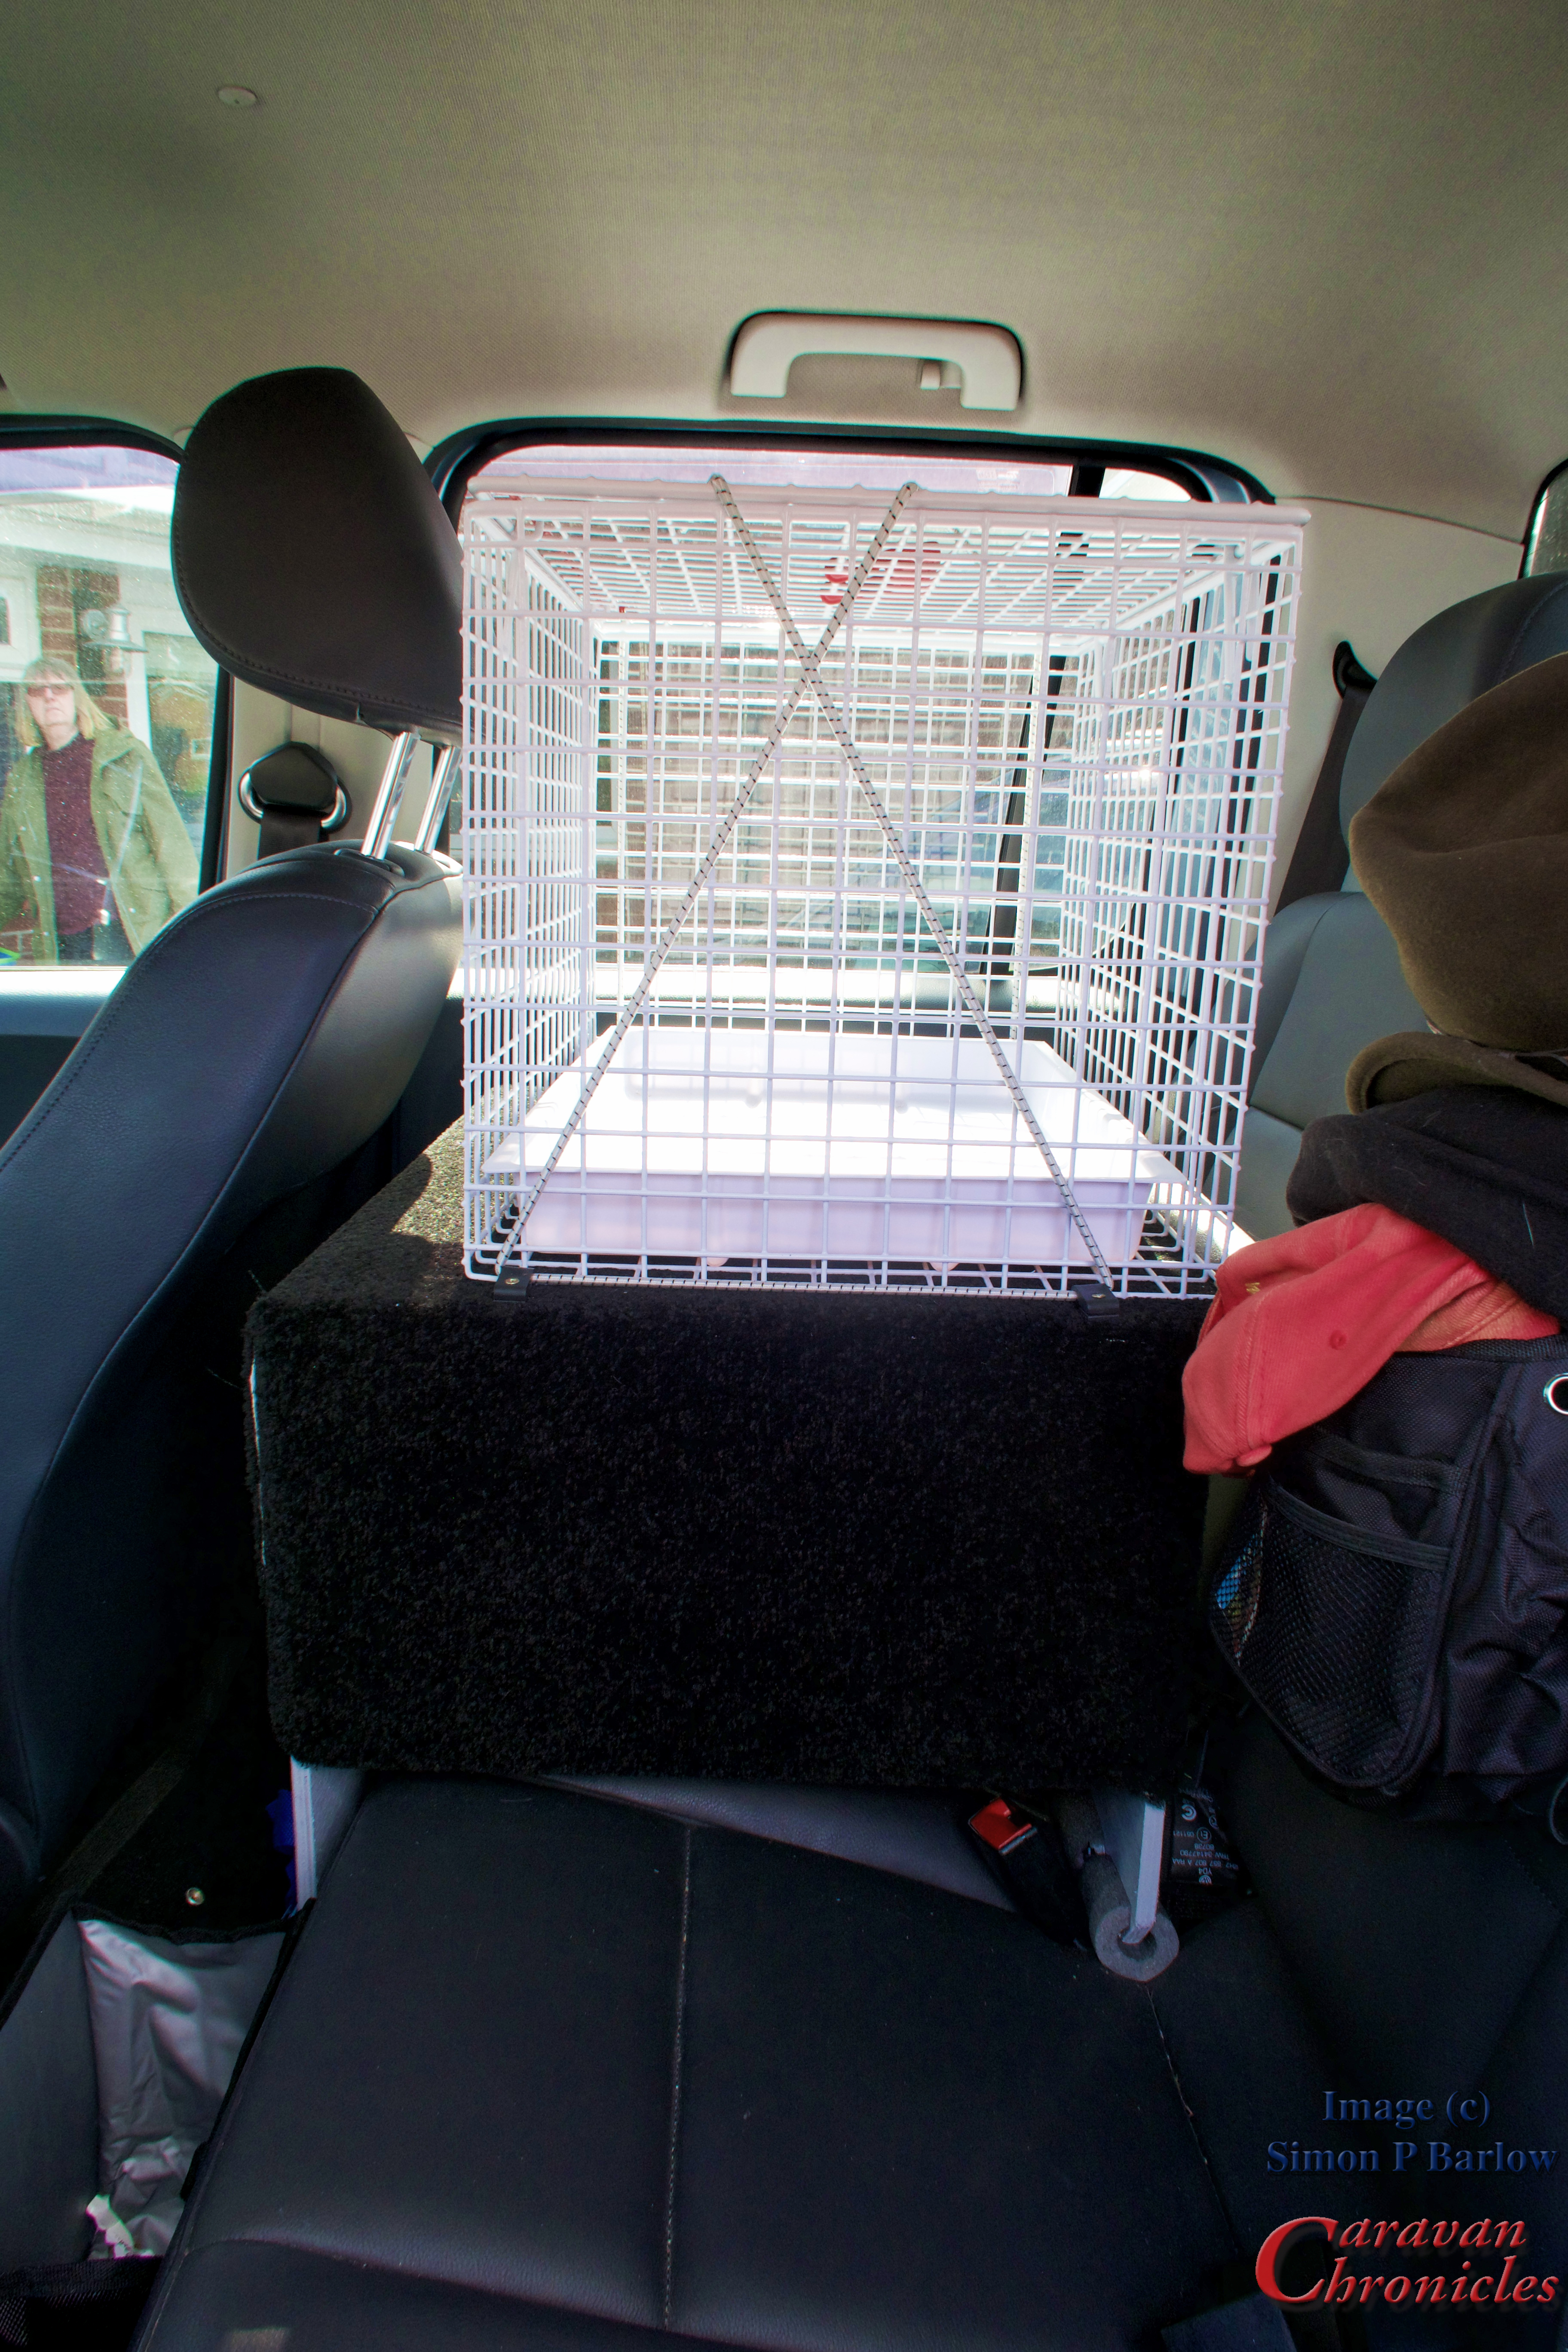
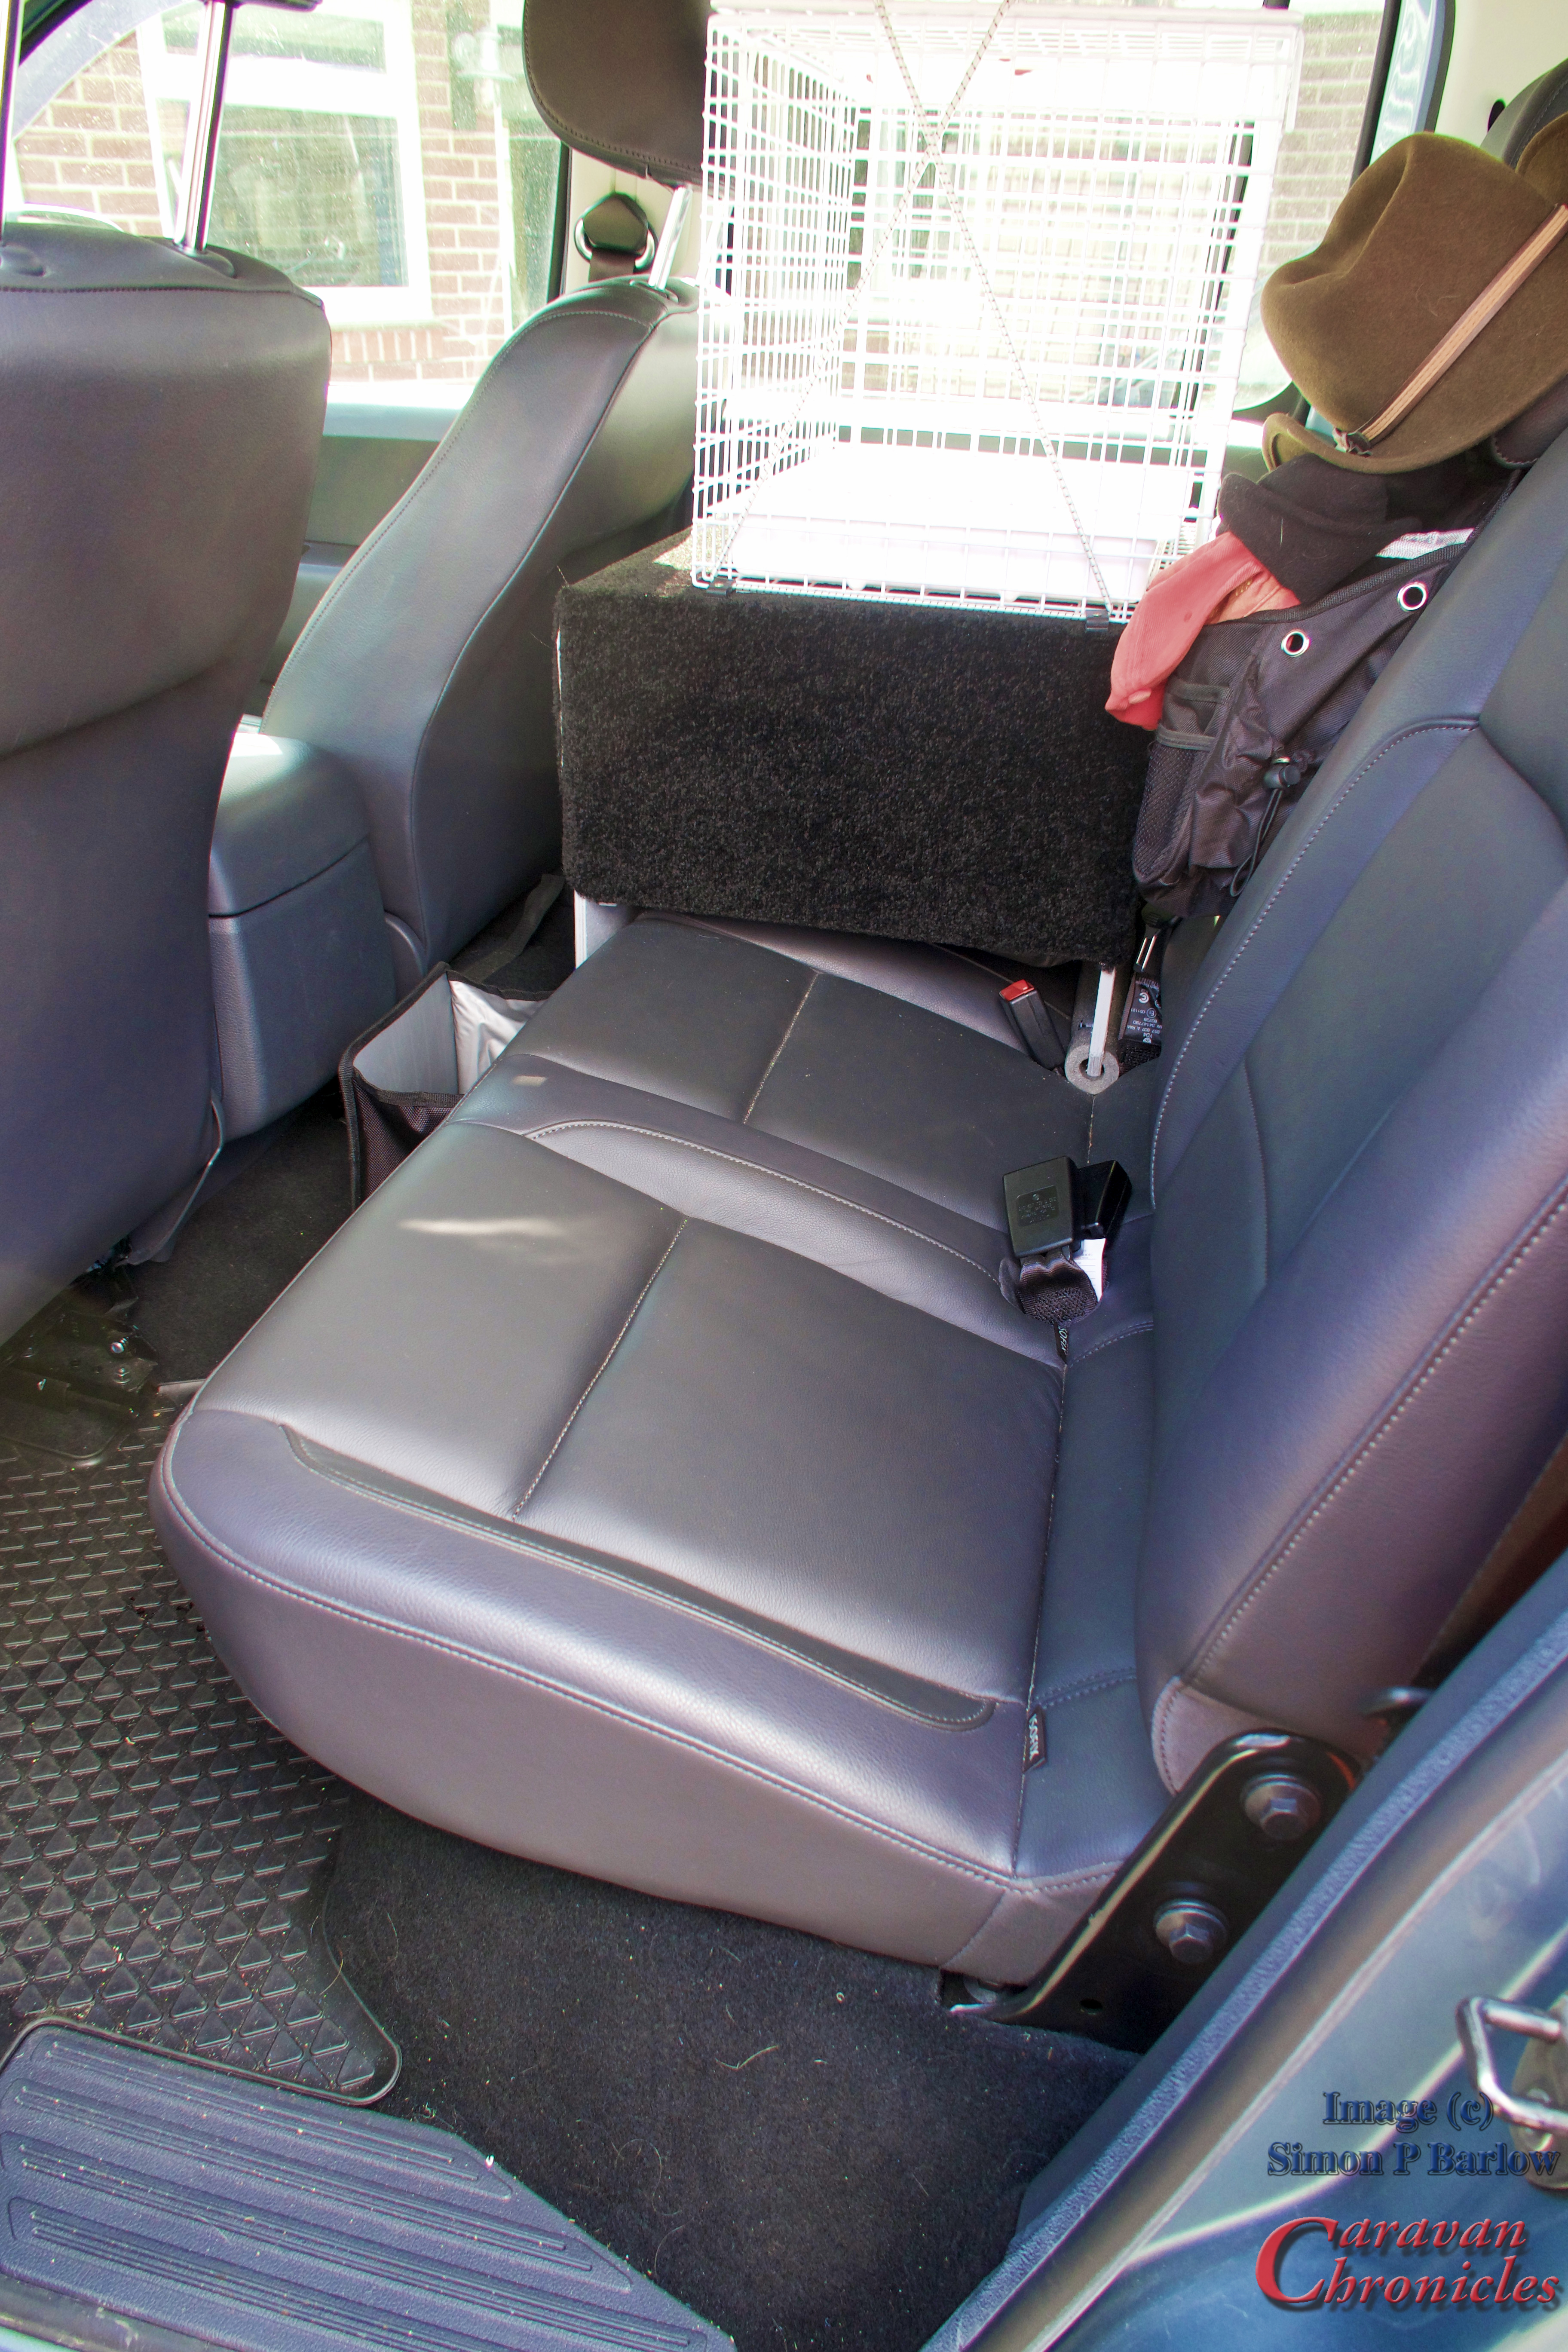
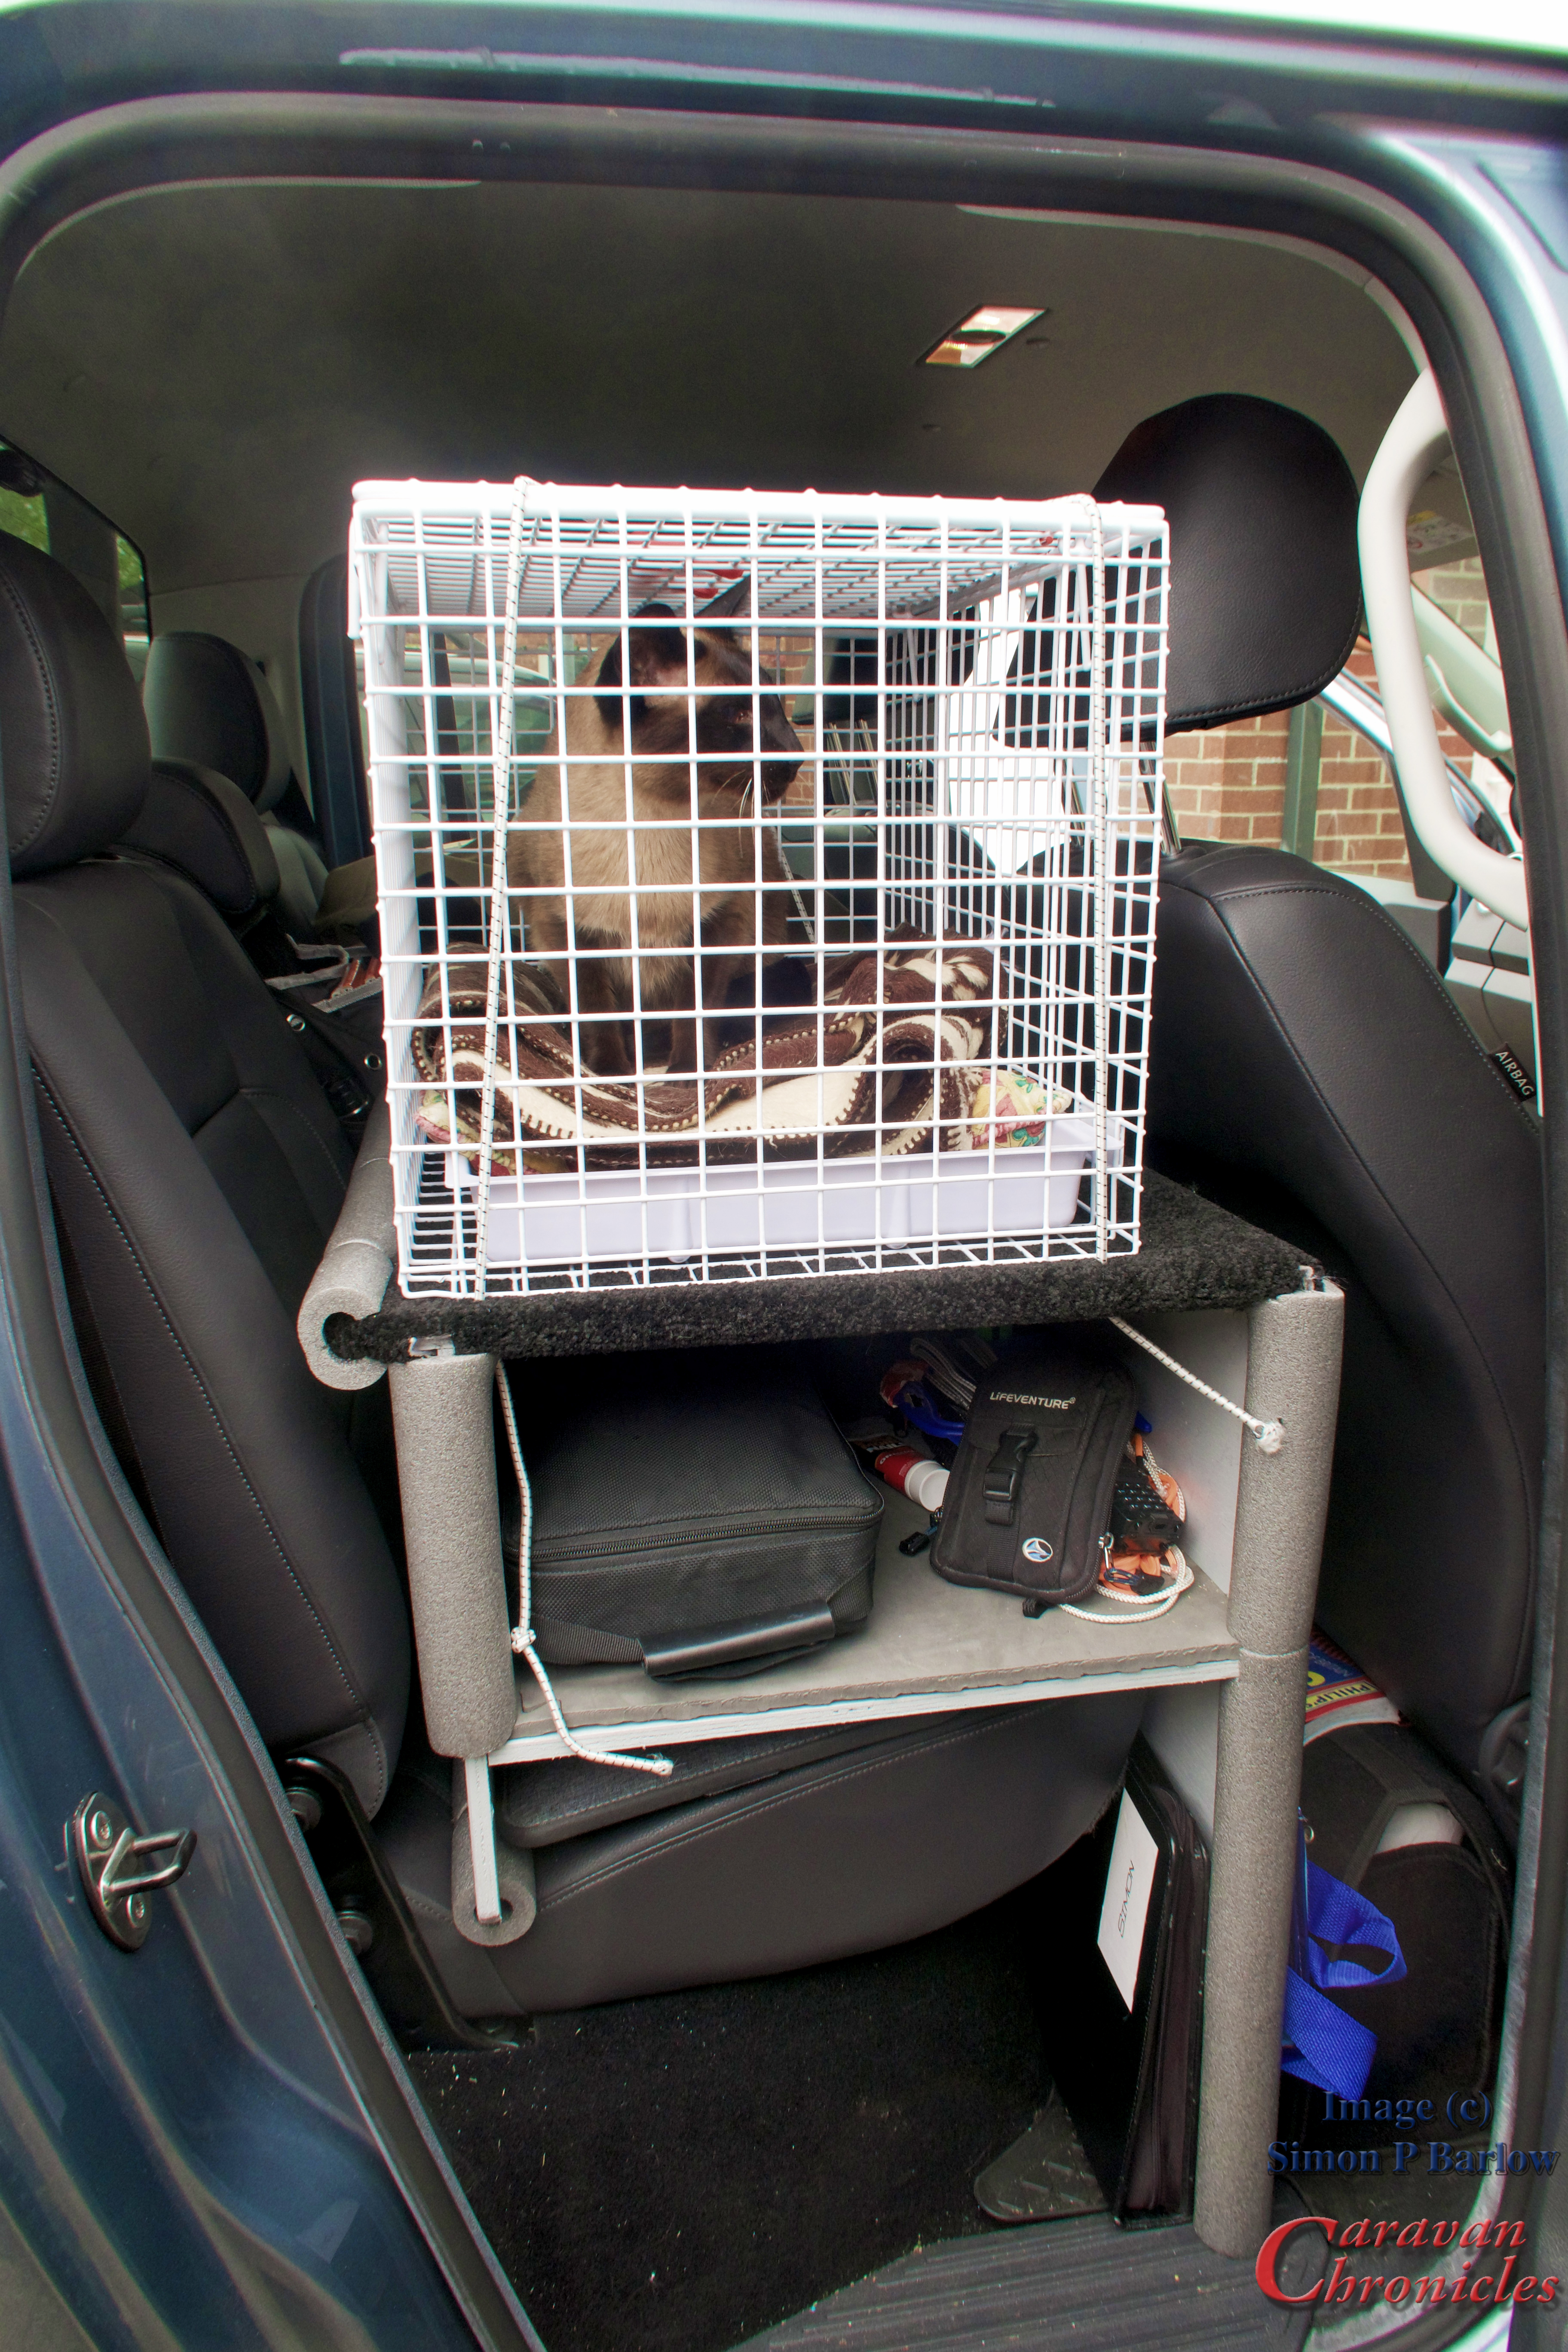
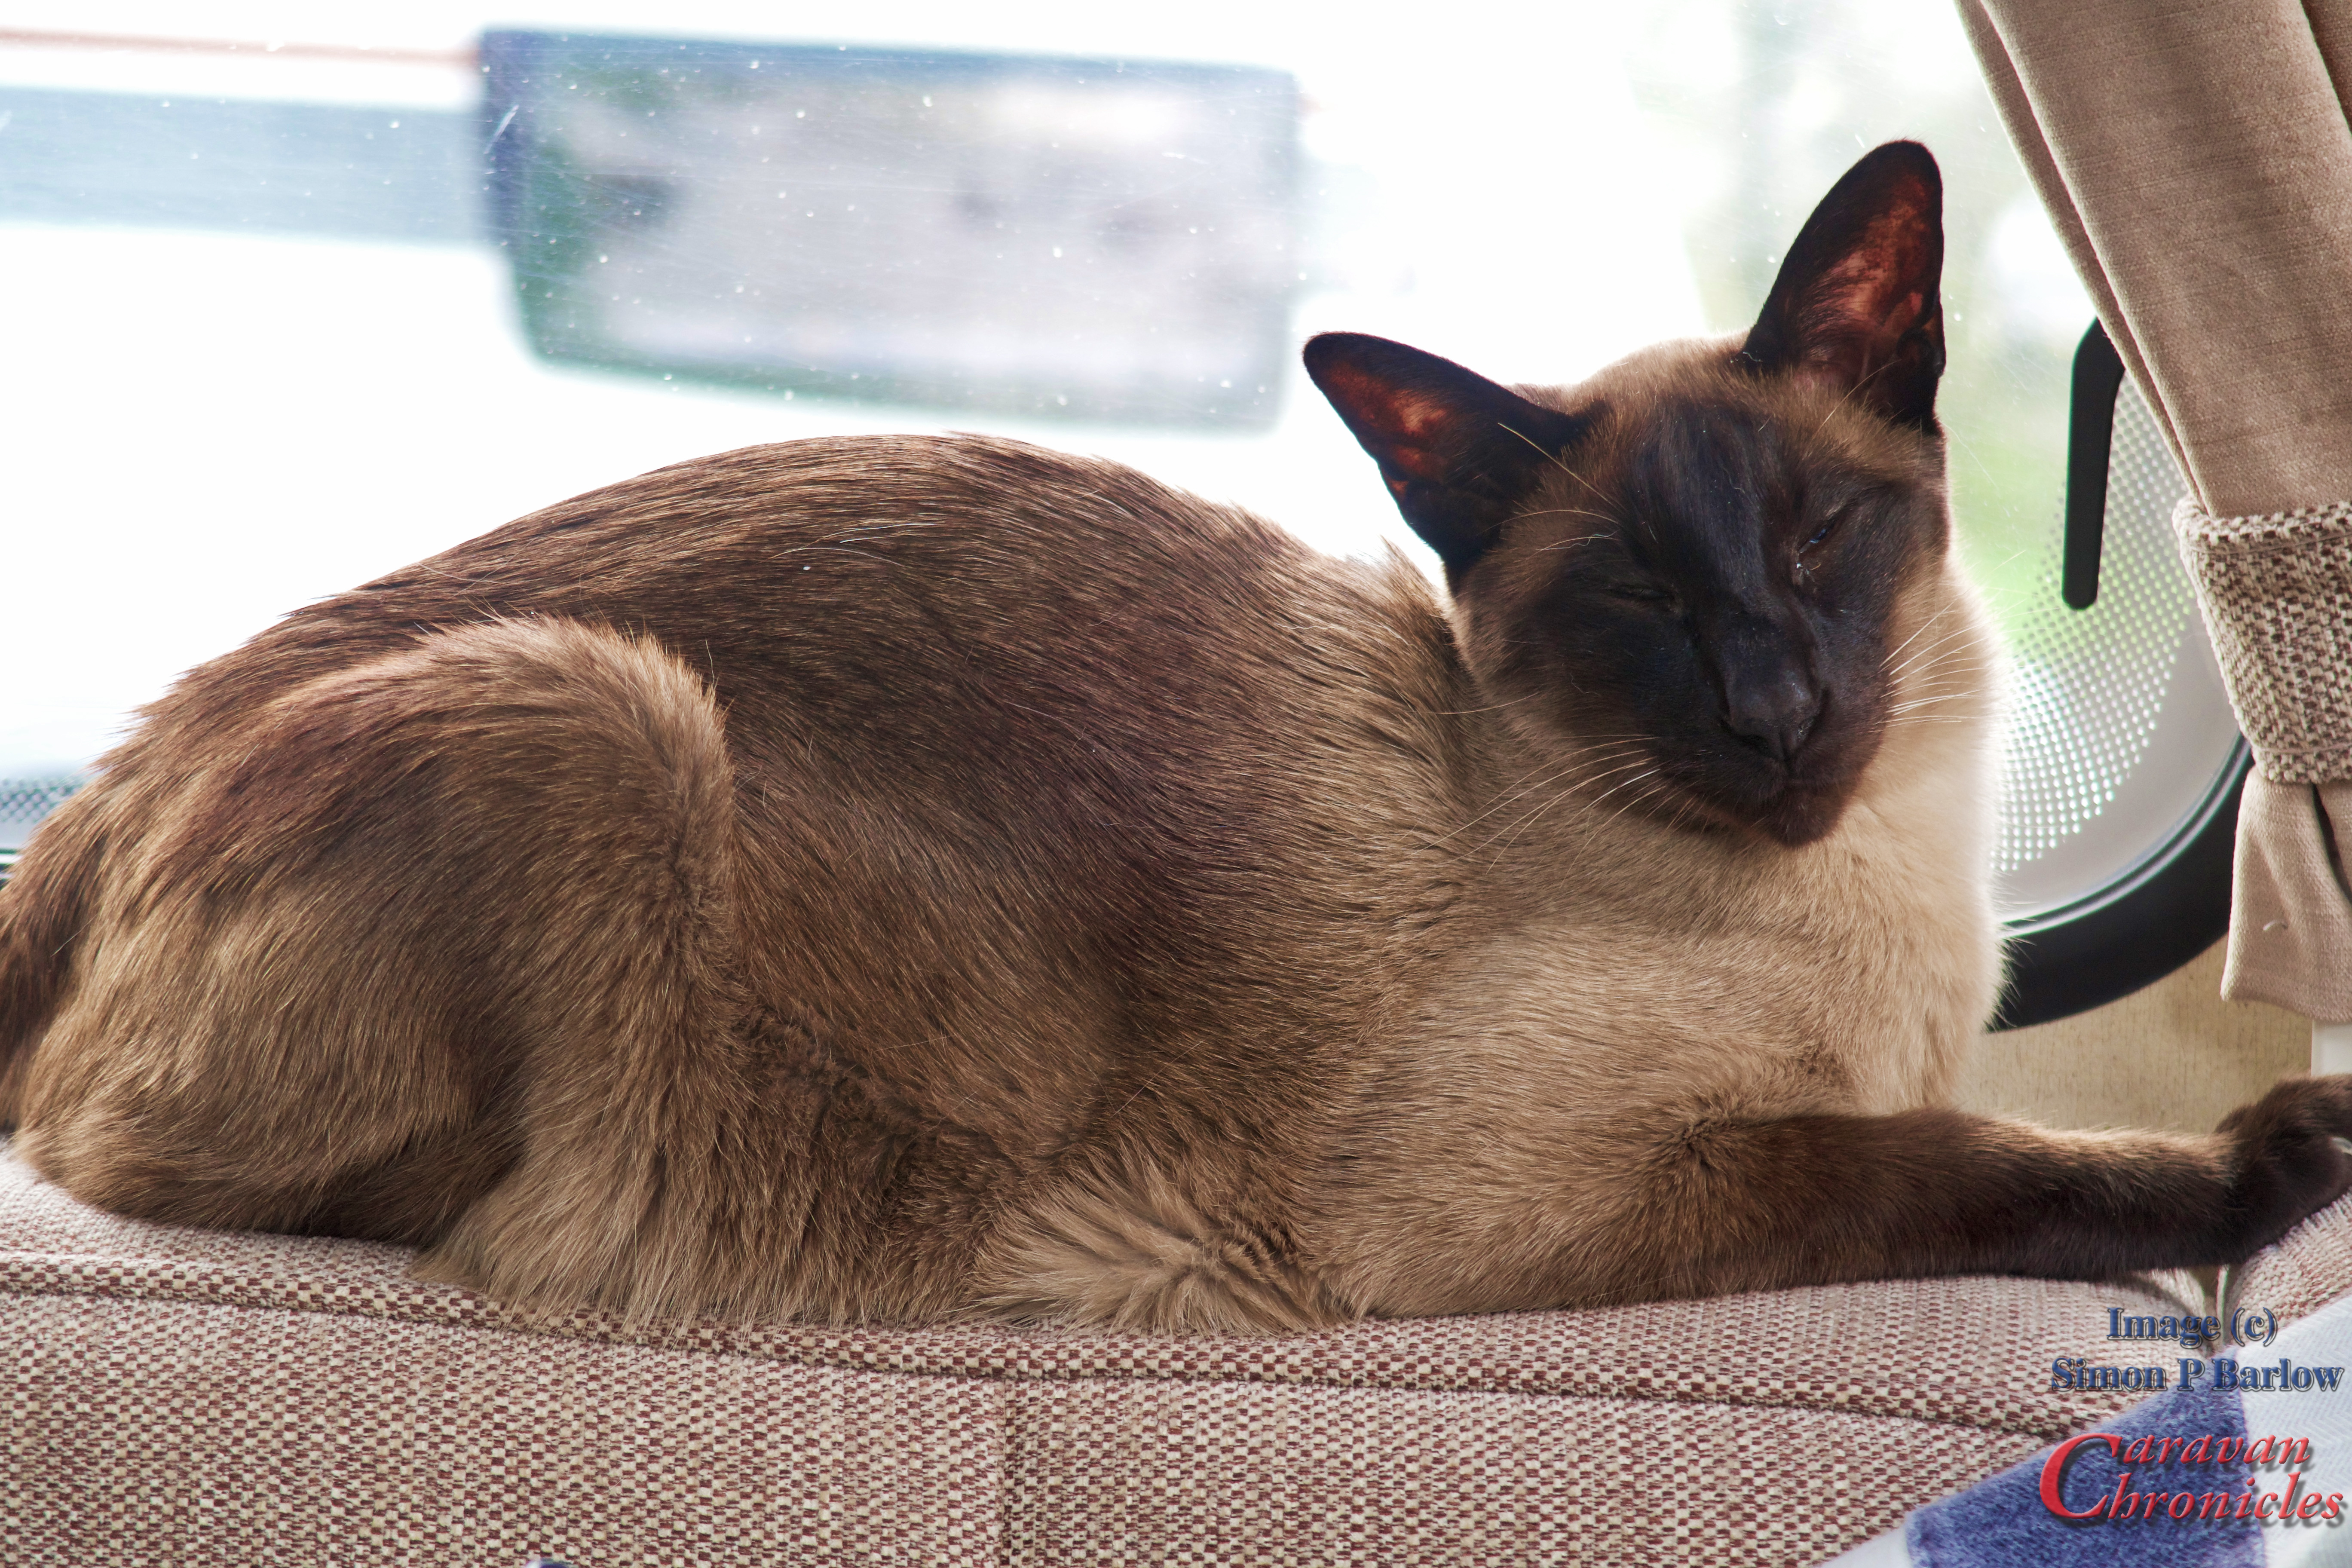
Monday we did a few odd jobs and caught up on things while our friends that we had arranged to meet up with traveled down from Edinburgh. We got the text message they had arrived at the Petwood Hotel where they were staying. So we set off to drive over and spend the evening with them. Henry wasn’t best pleased as I think he was expecting an evening curled up on Sue’s lap receiving belly rubs… Henry is our cat by the way!

Petwood Hotel

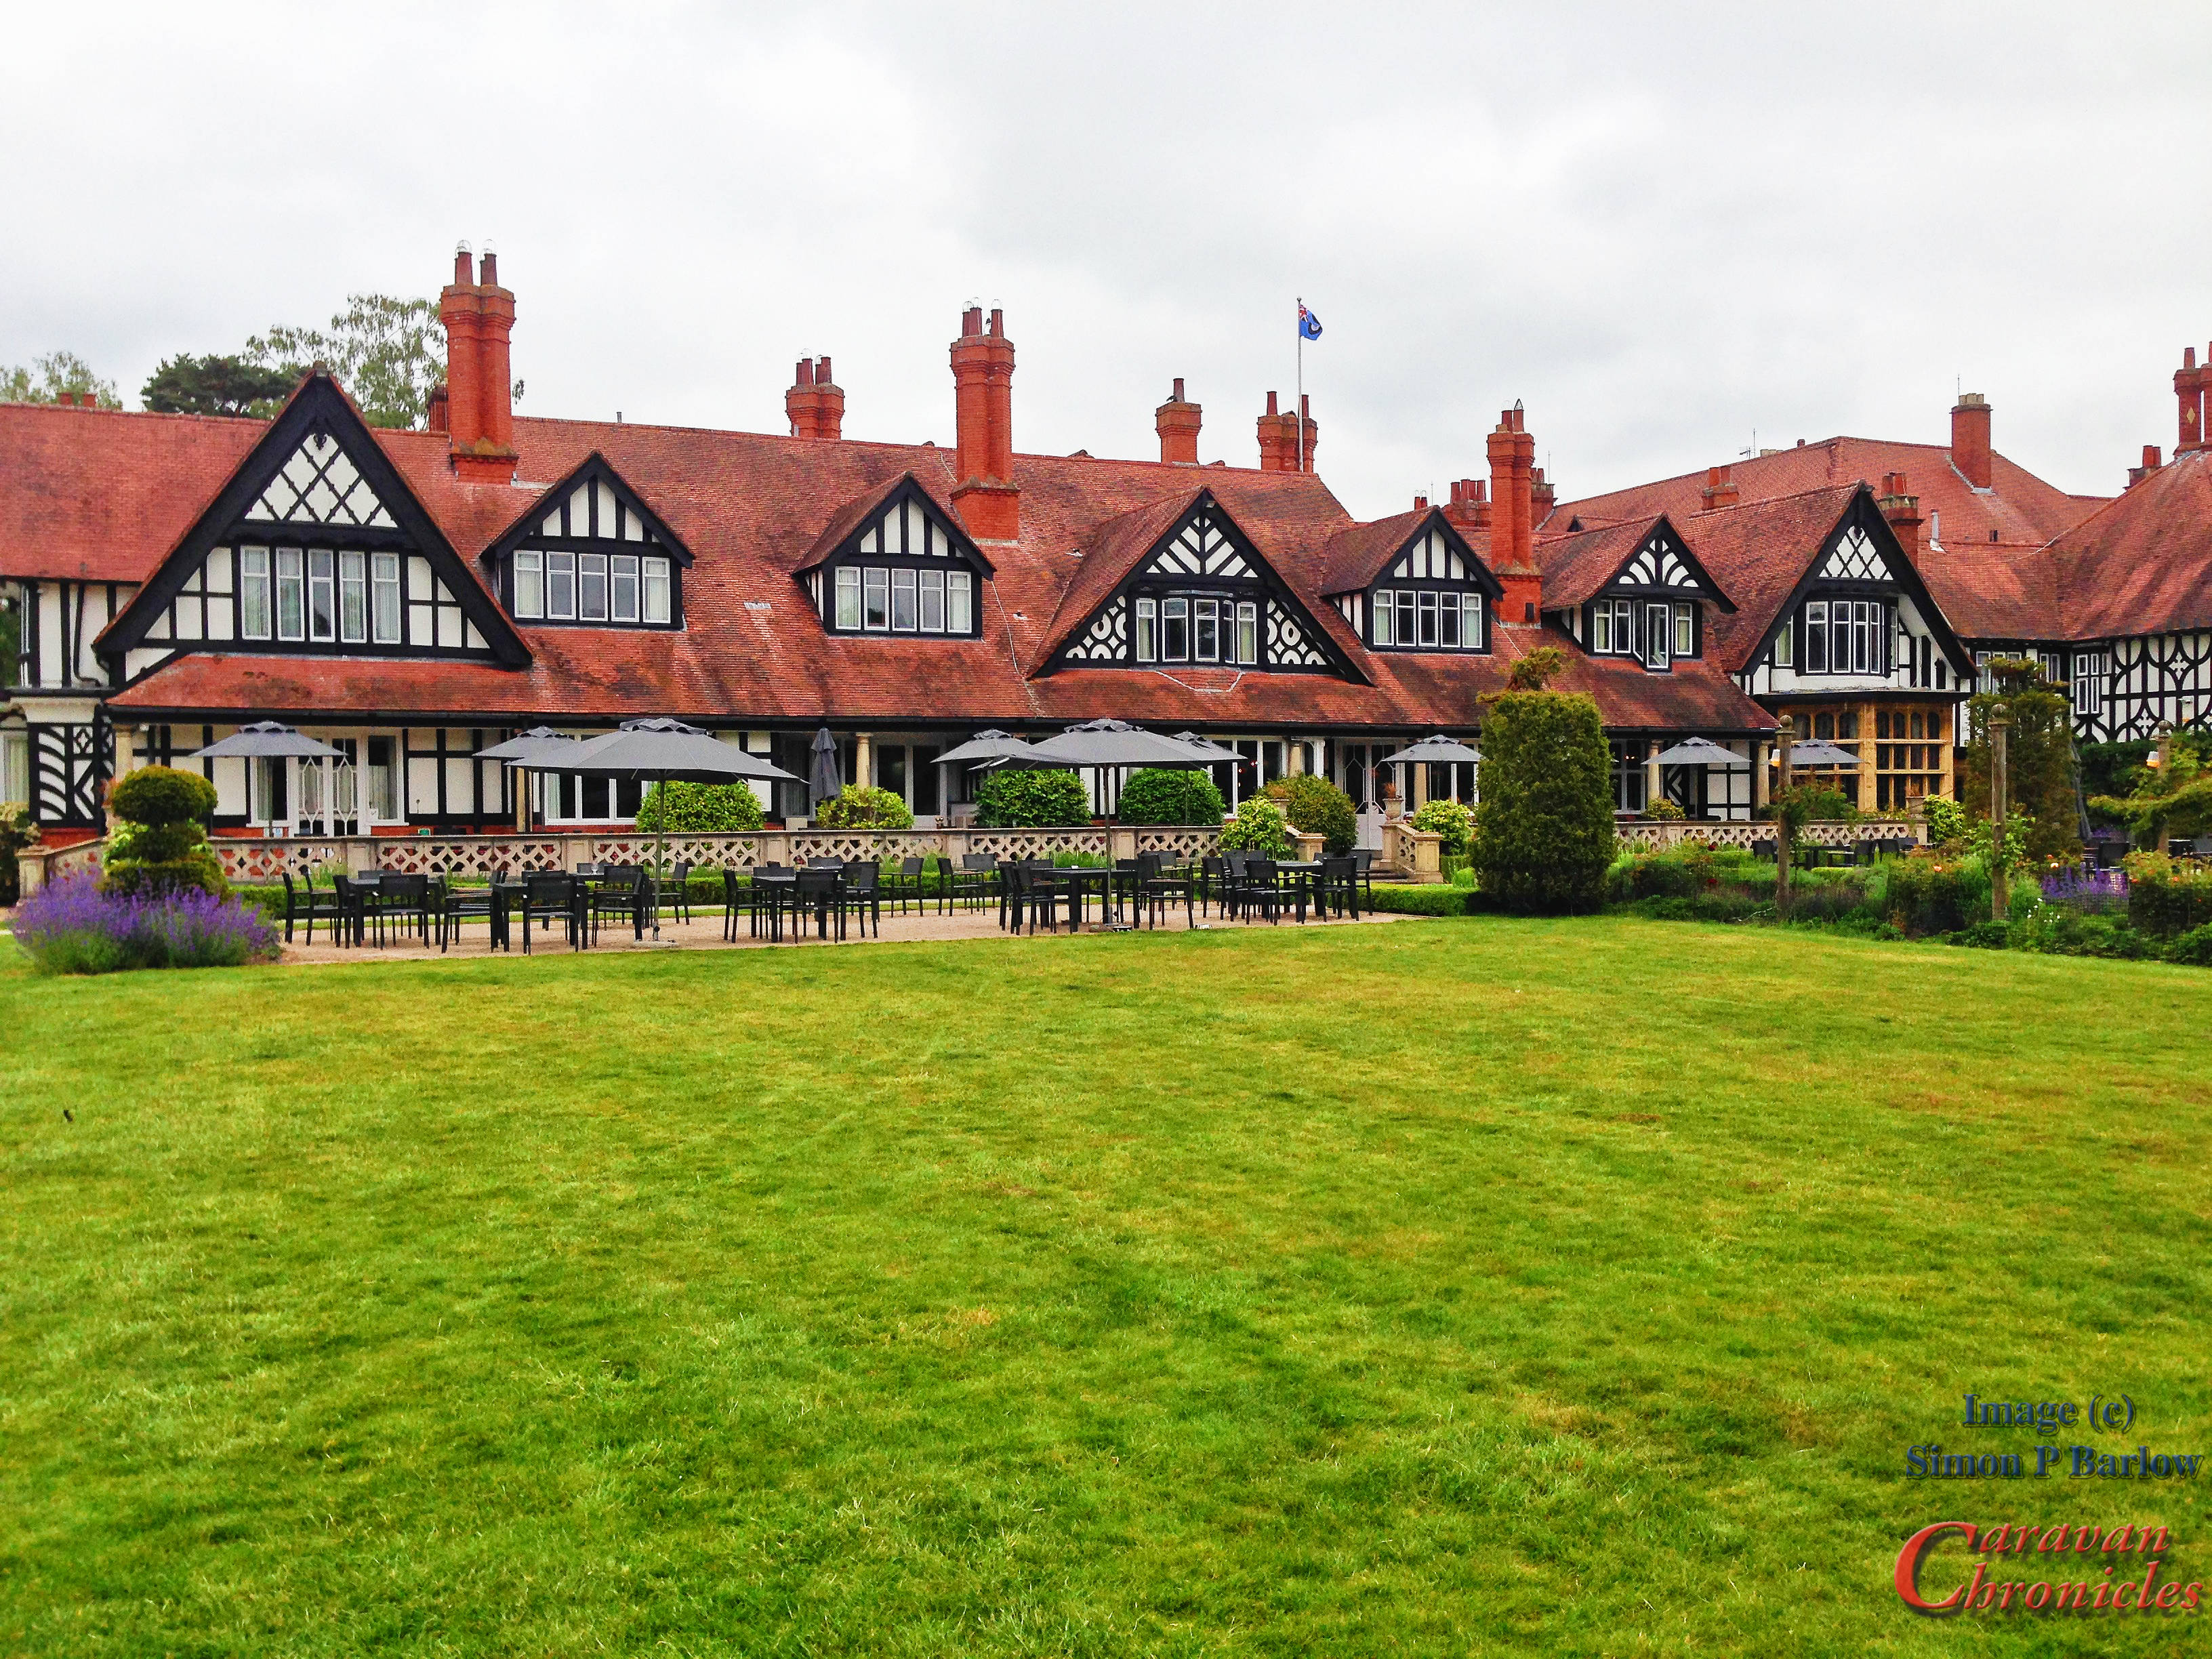
Petwood Hotel is rather a special place for any one with a remote interest in aviation. During WW2 it was the officers mess for 617 Sqdn, probably better known as “The Dambusters” . It’s amazing to think that Wing Commander Guy Gibson VC DSO DFC may have thrown a ball across this lawn for his dog (who I’m not allowed to call by name) to fetch while having a pint with his fellow officers.

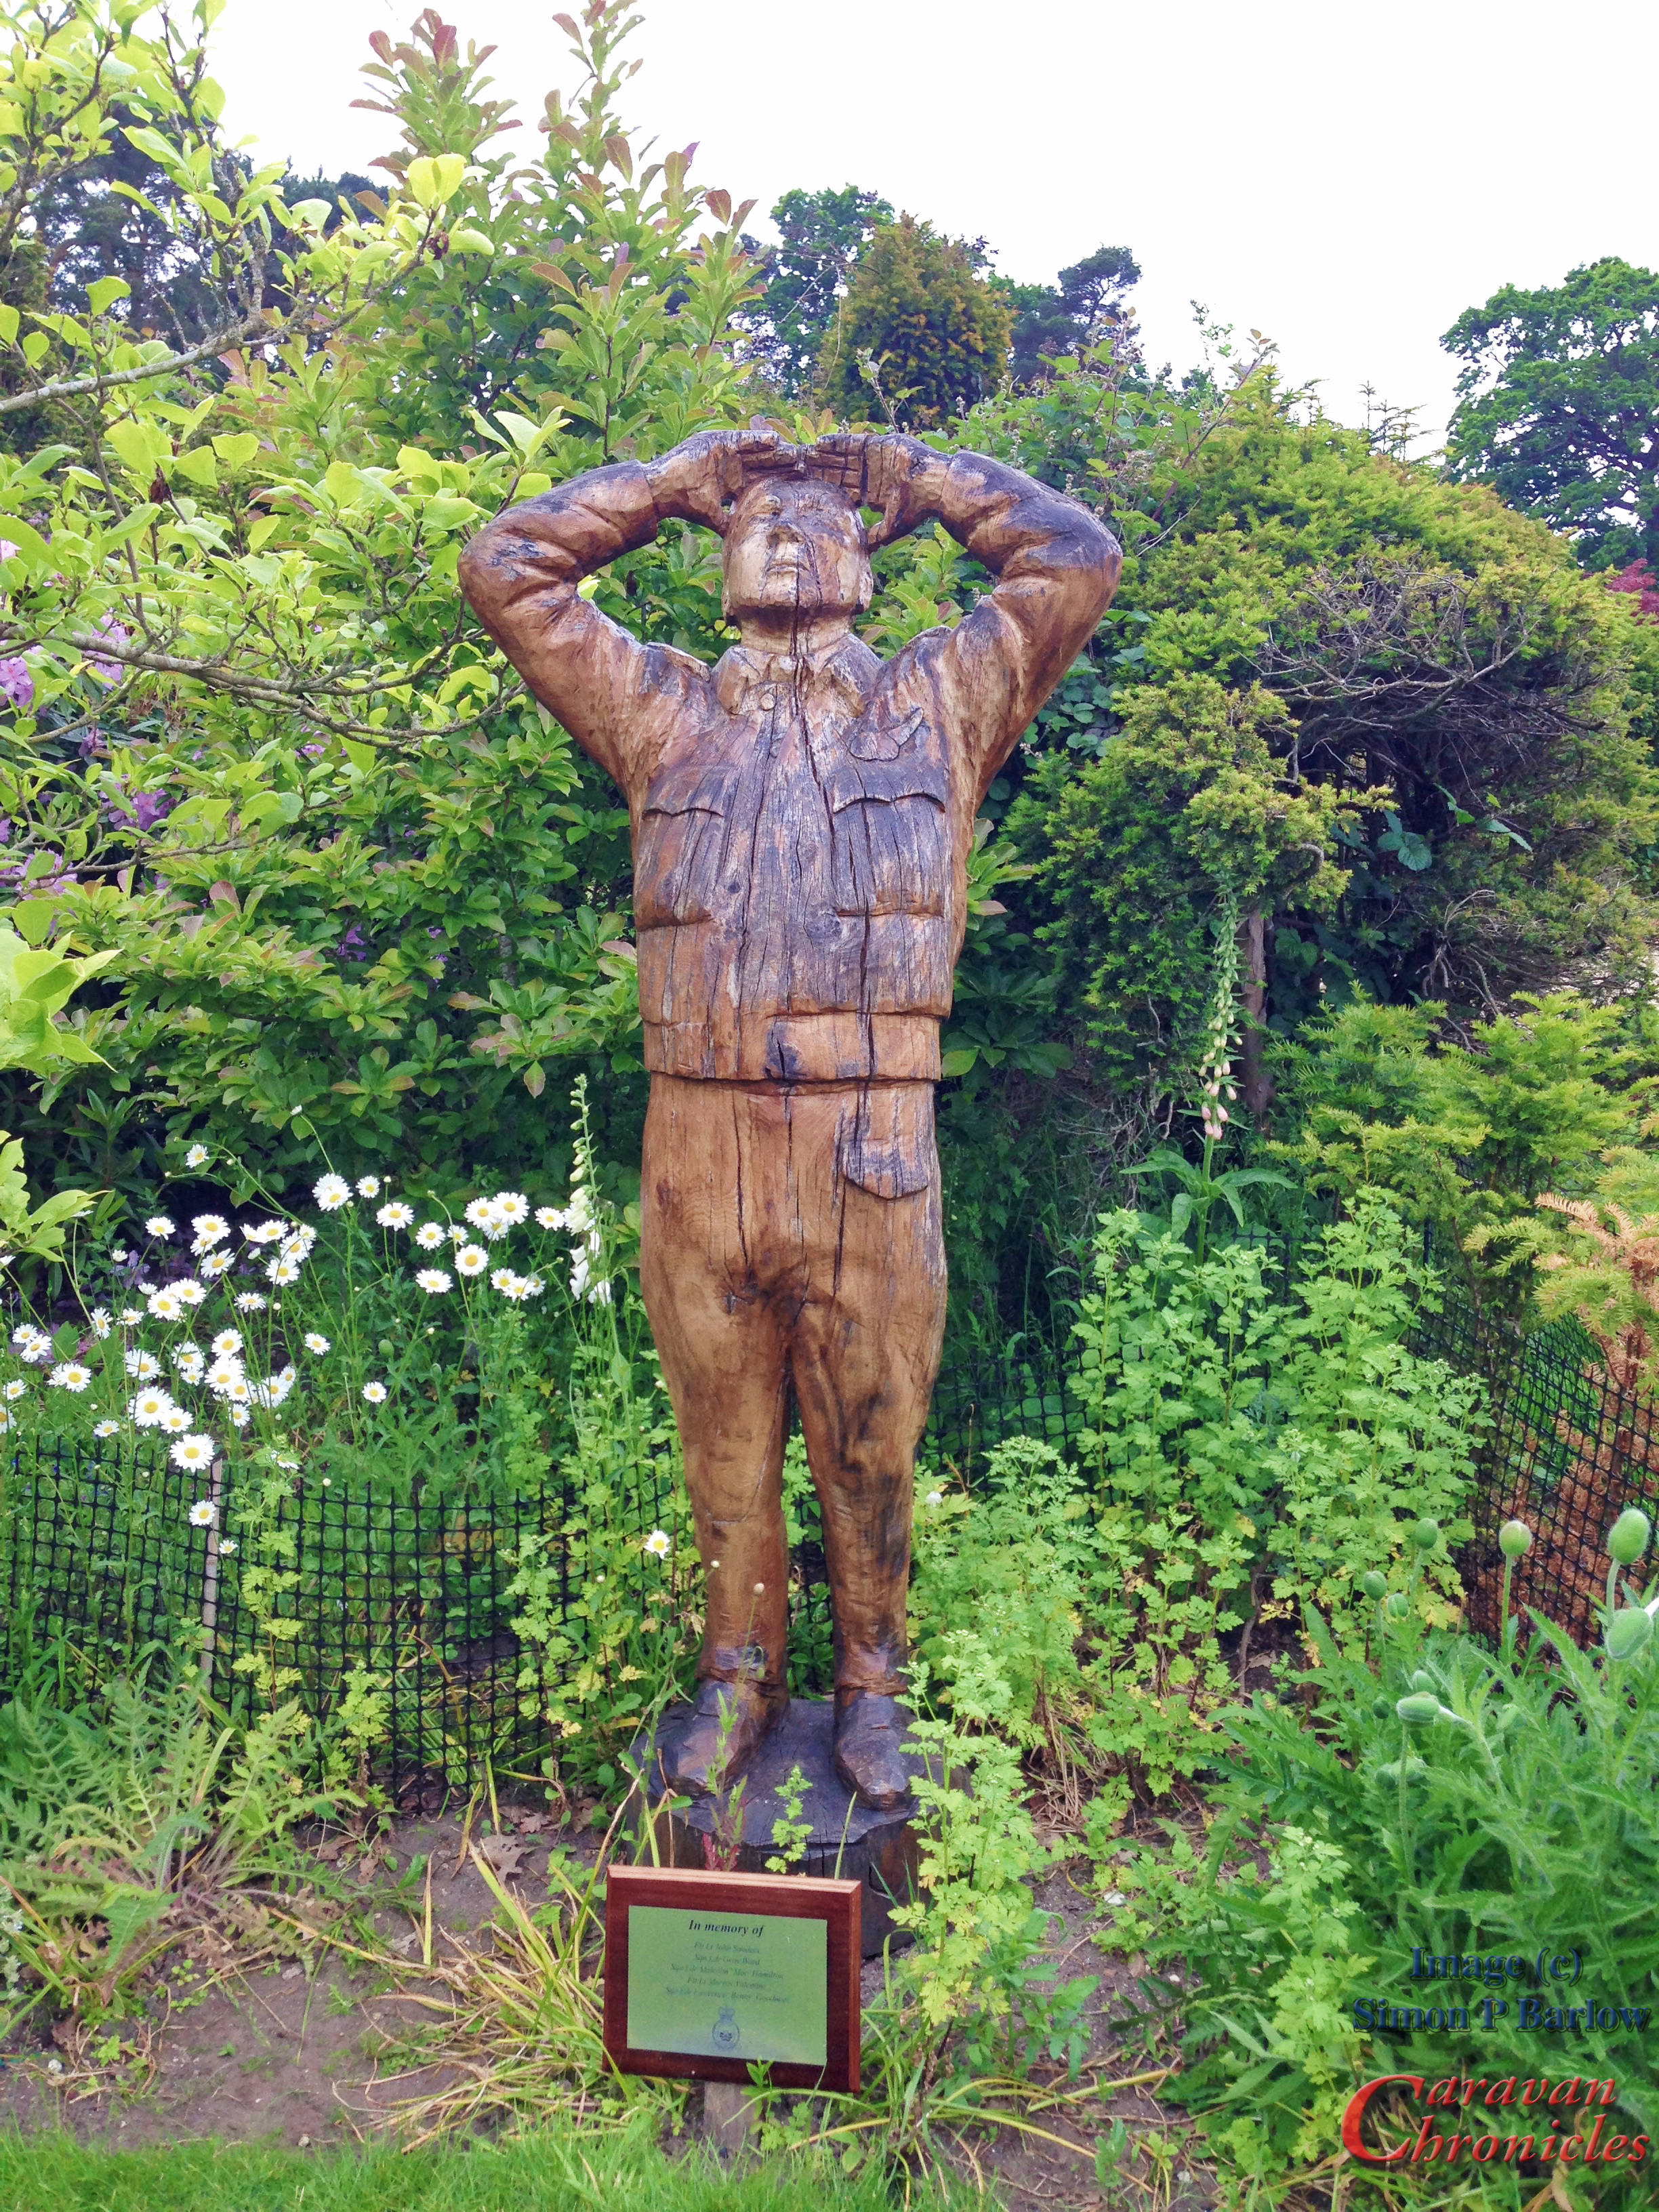
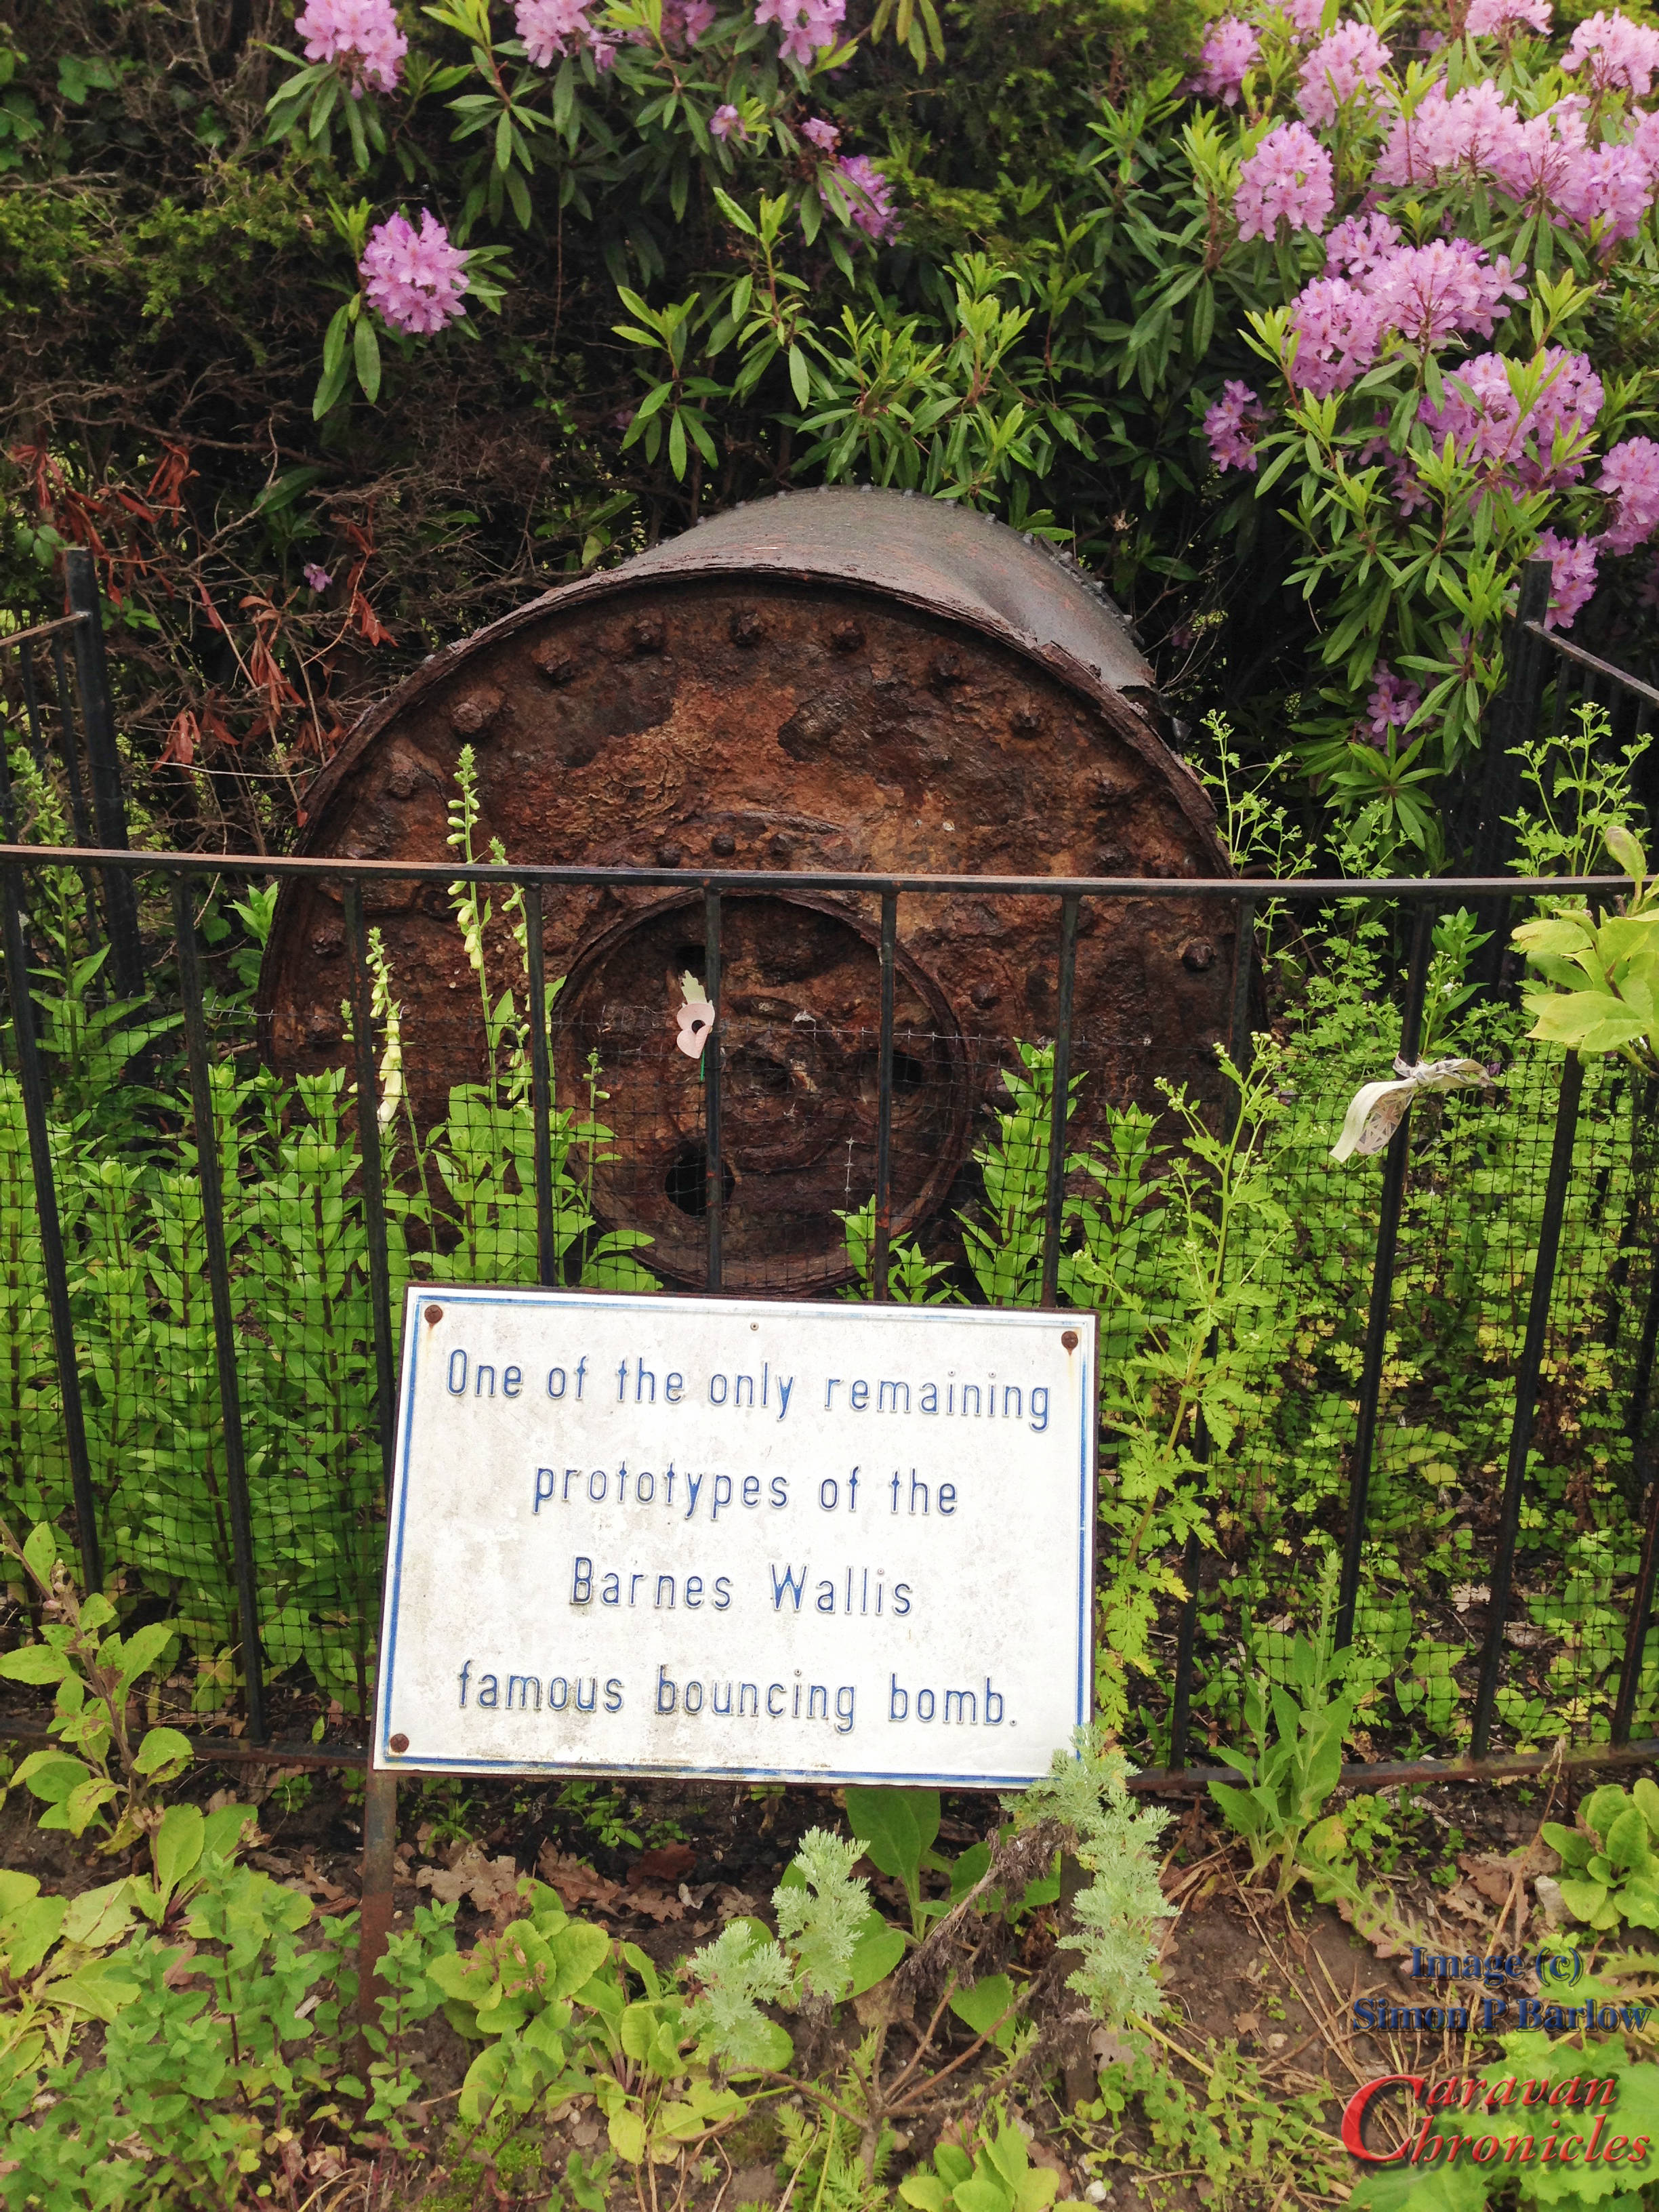
Wandering around the hotel there is an amazing collection of photos and historical items from that period. I did take photos of many of them, but not wanting to breach copyright, they will remain for my own collection.

A splendid evening with friends was had along with an excellent meal and a great catchup as it has been over 12 months since we last saw them.

Tuesday…. we take on Lincoln

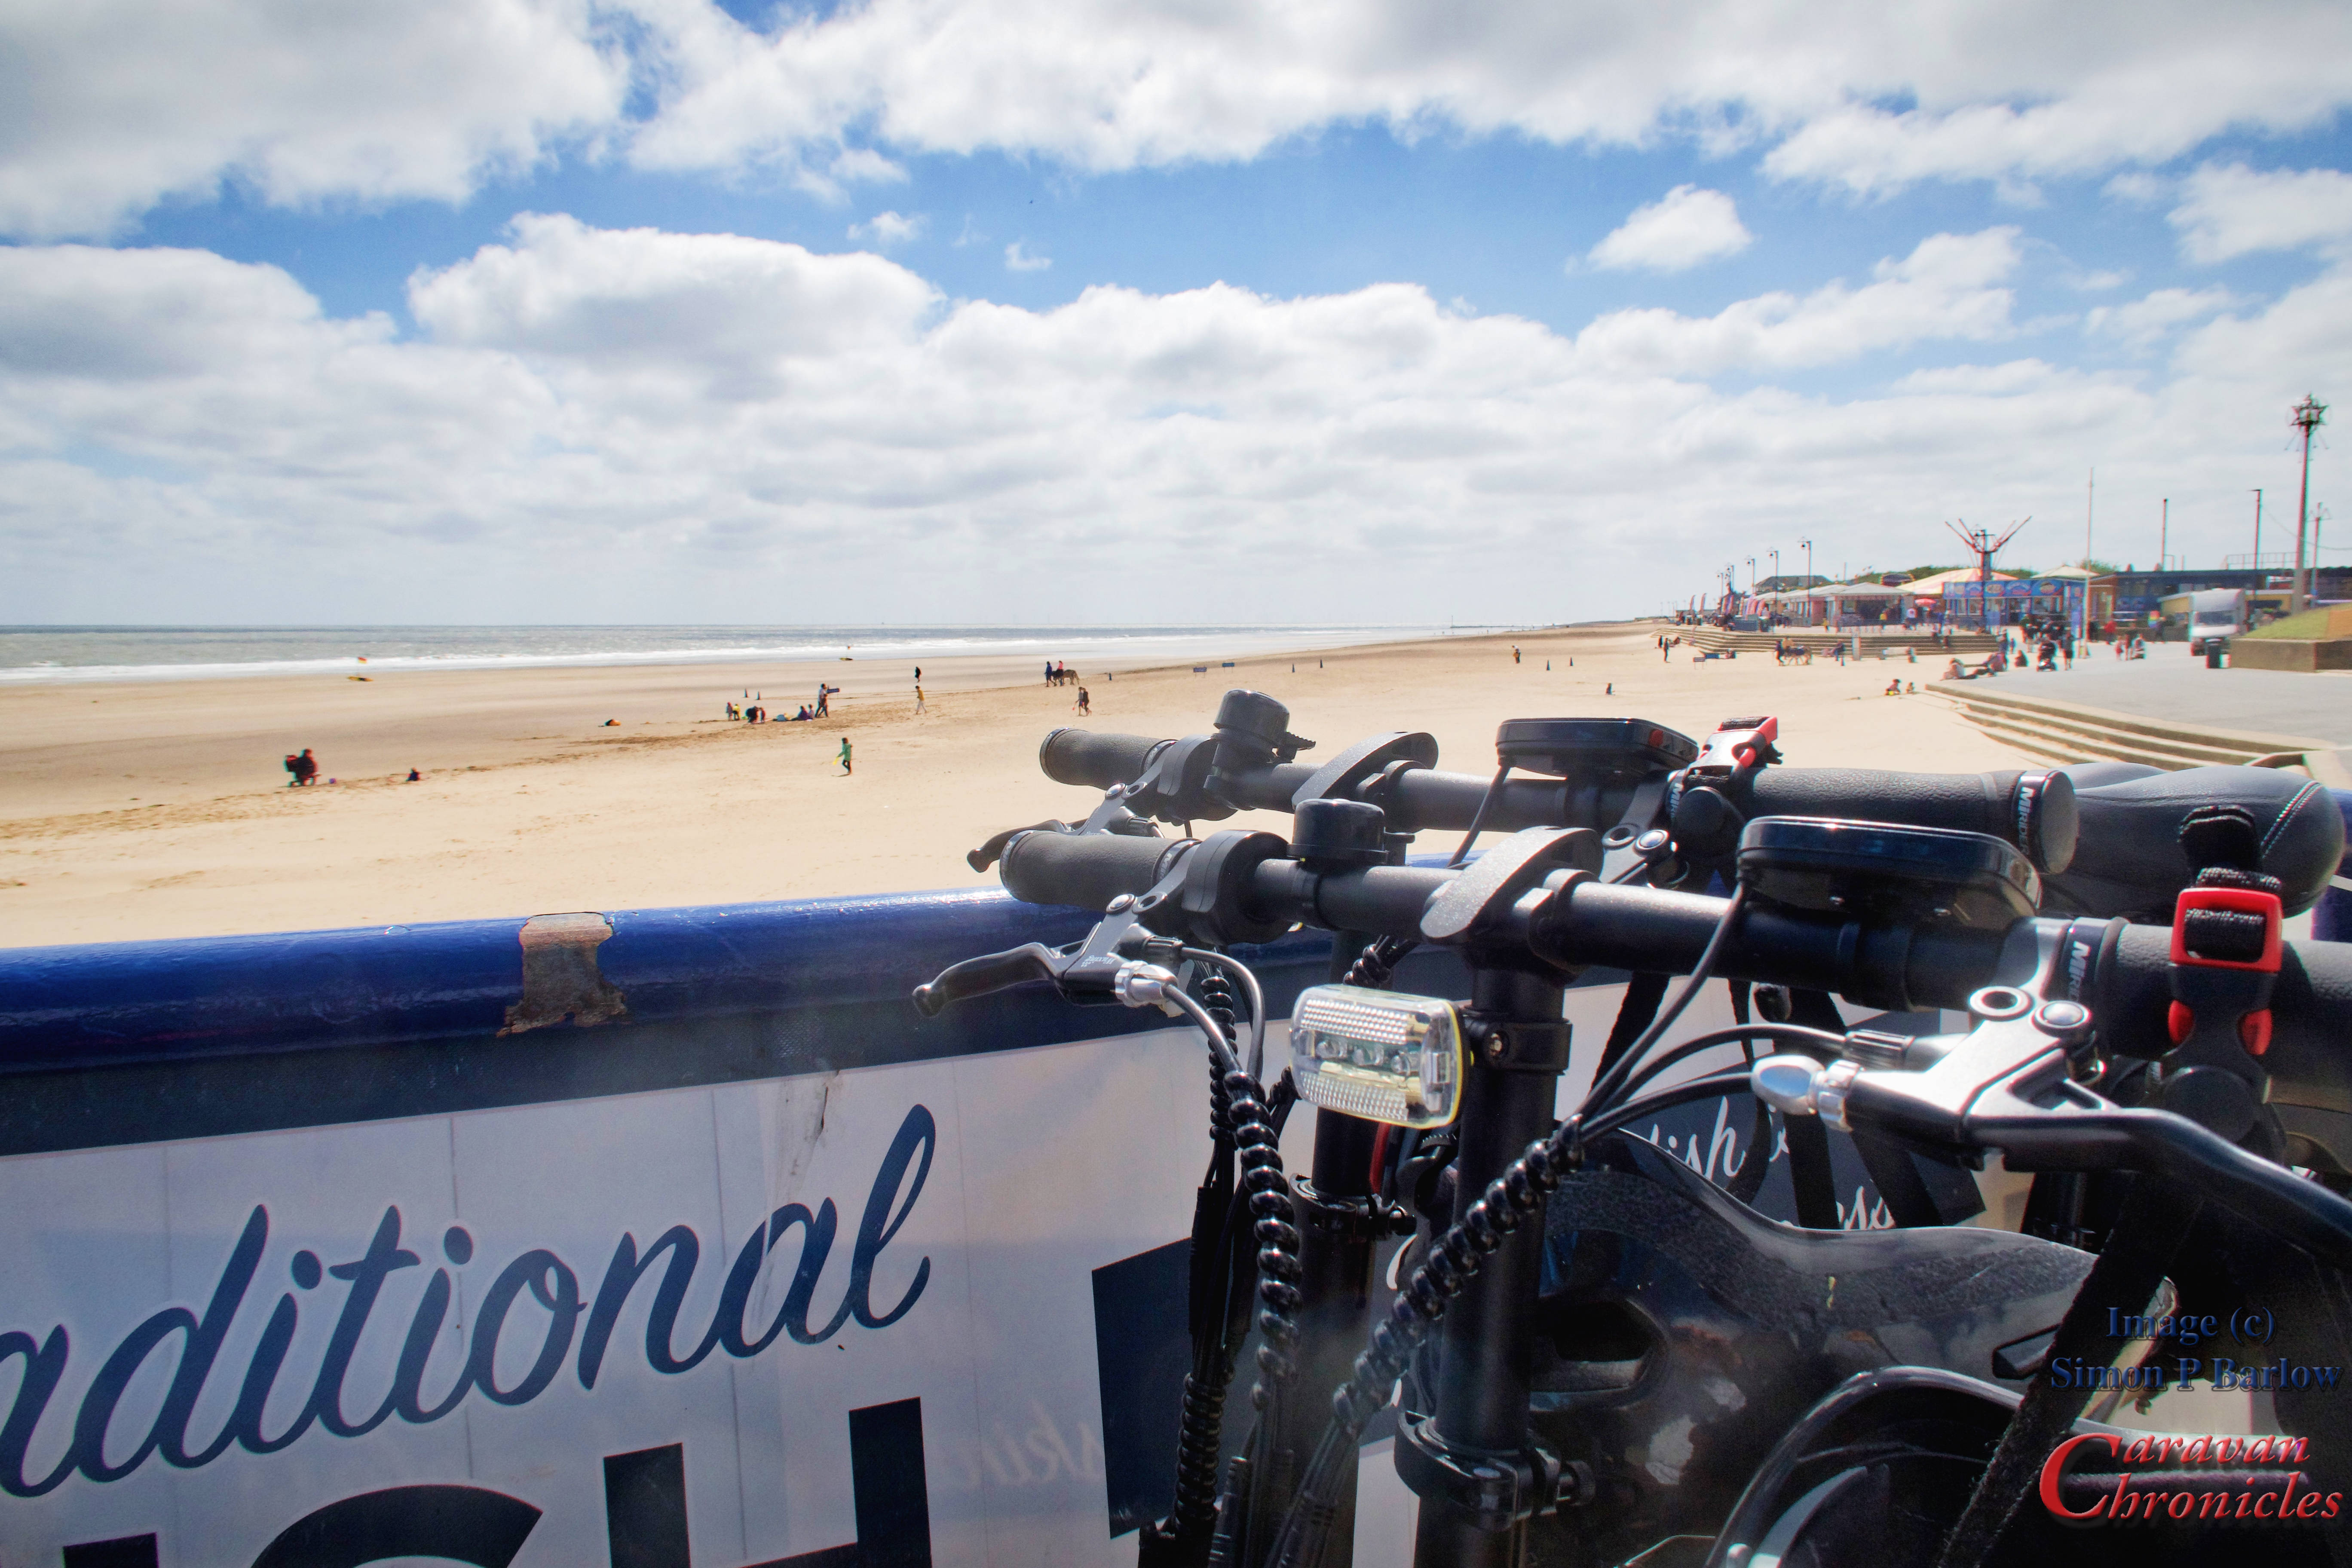
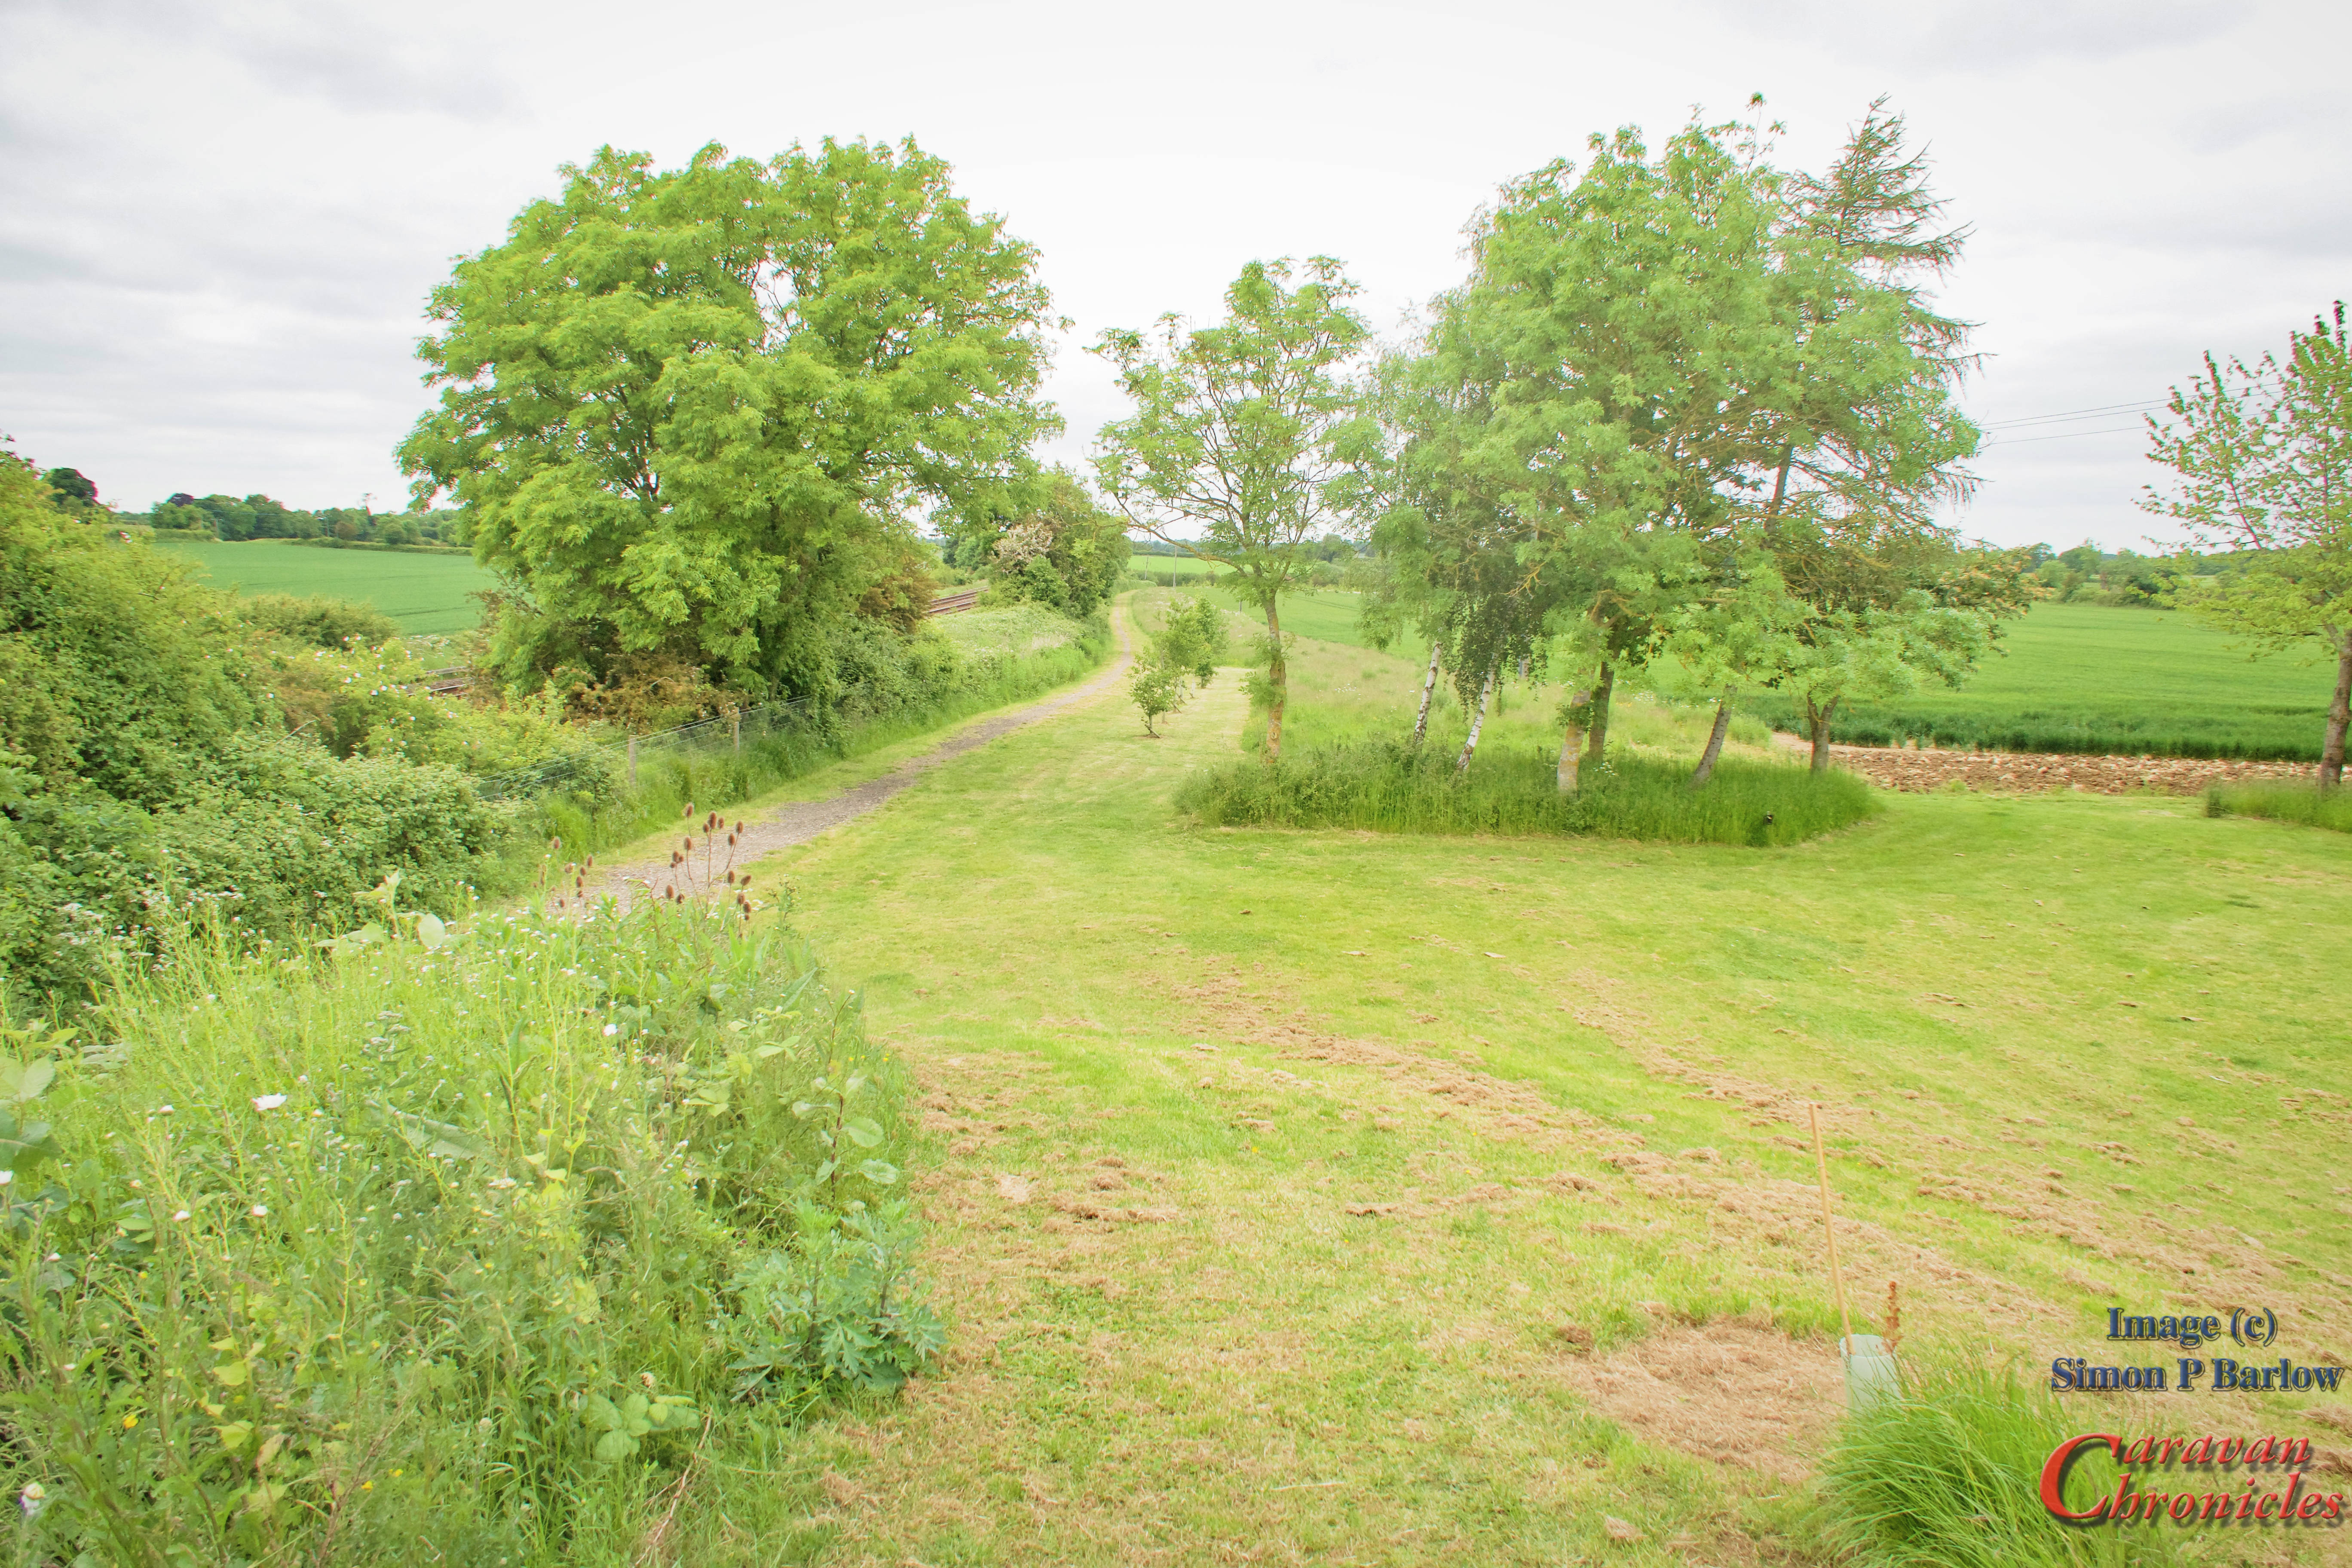
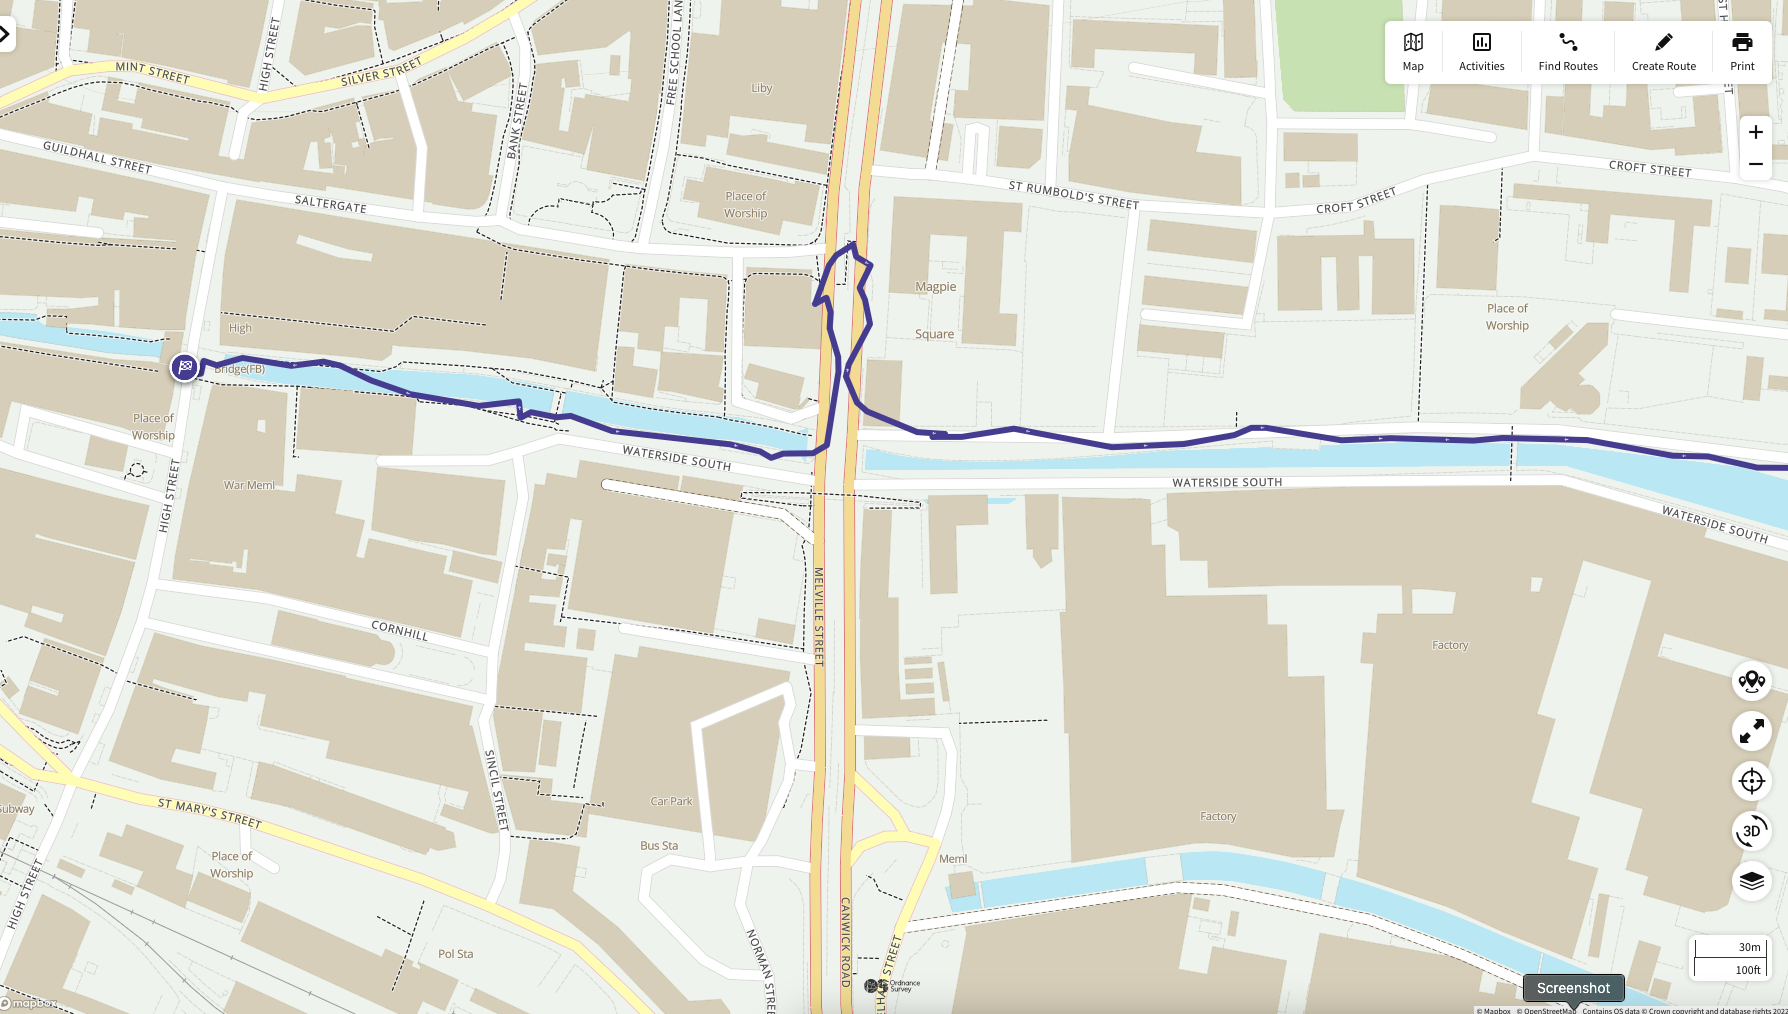
There is a great resource in Lincolnshire called the Water Rail Way. It’s the route of the original Lincoln to Boston rail line that has been turned into a cycle way. From the site you have to navigate to “5 Mile Bridge” which unsurprisingly is 5 miles from Lincoln.

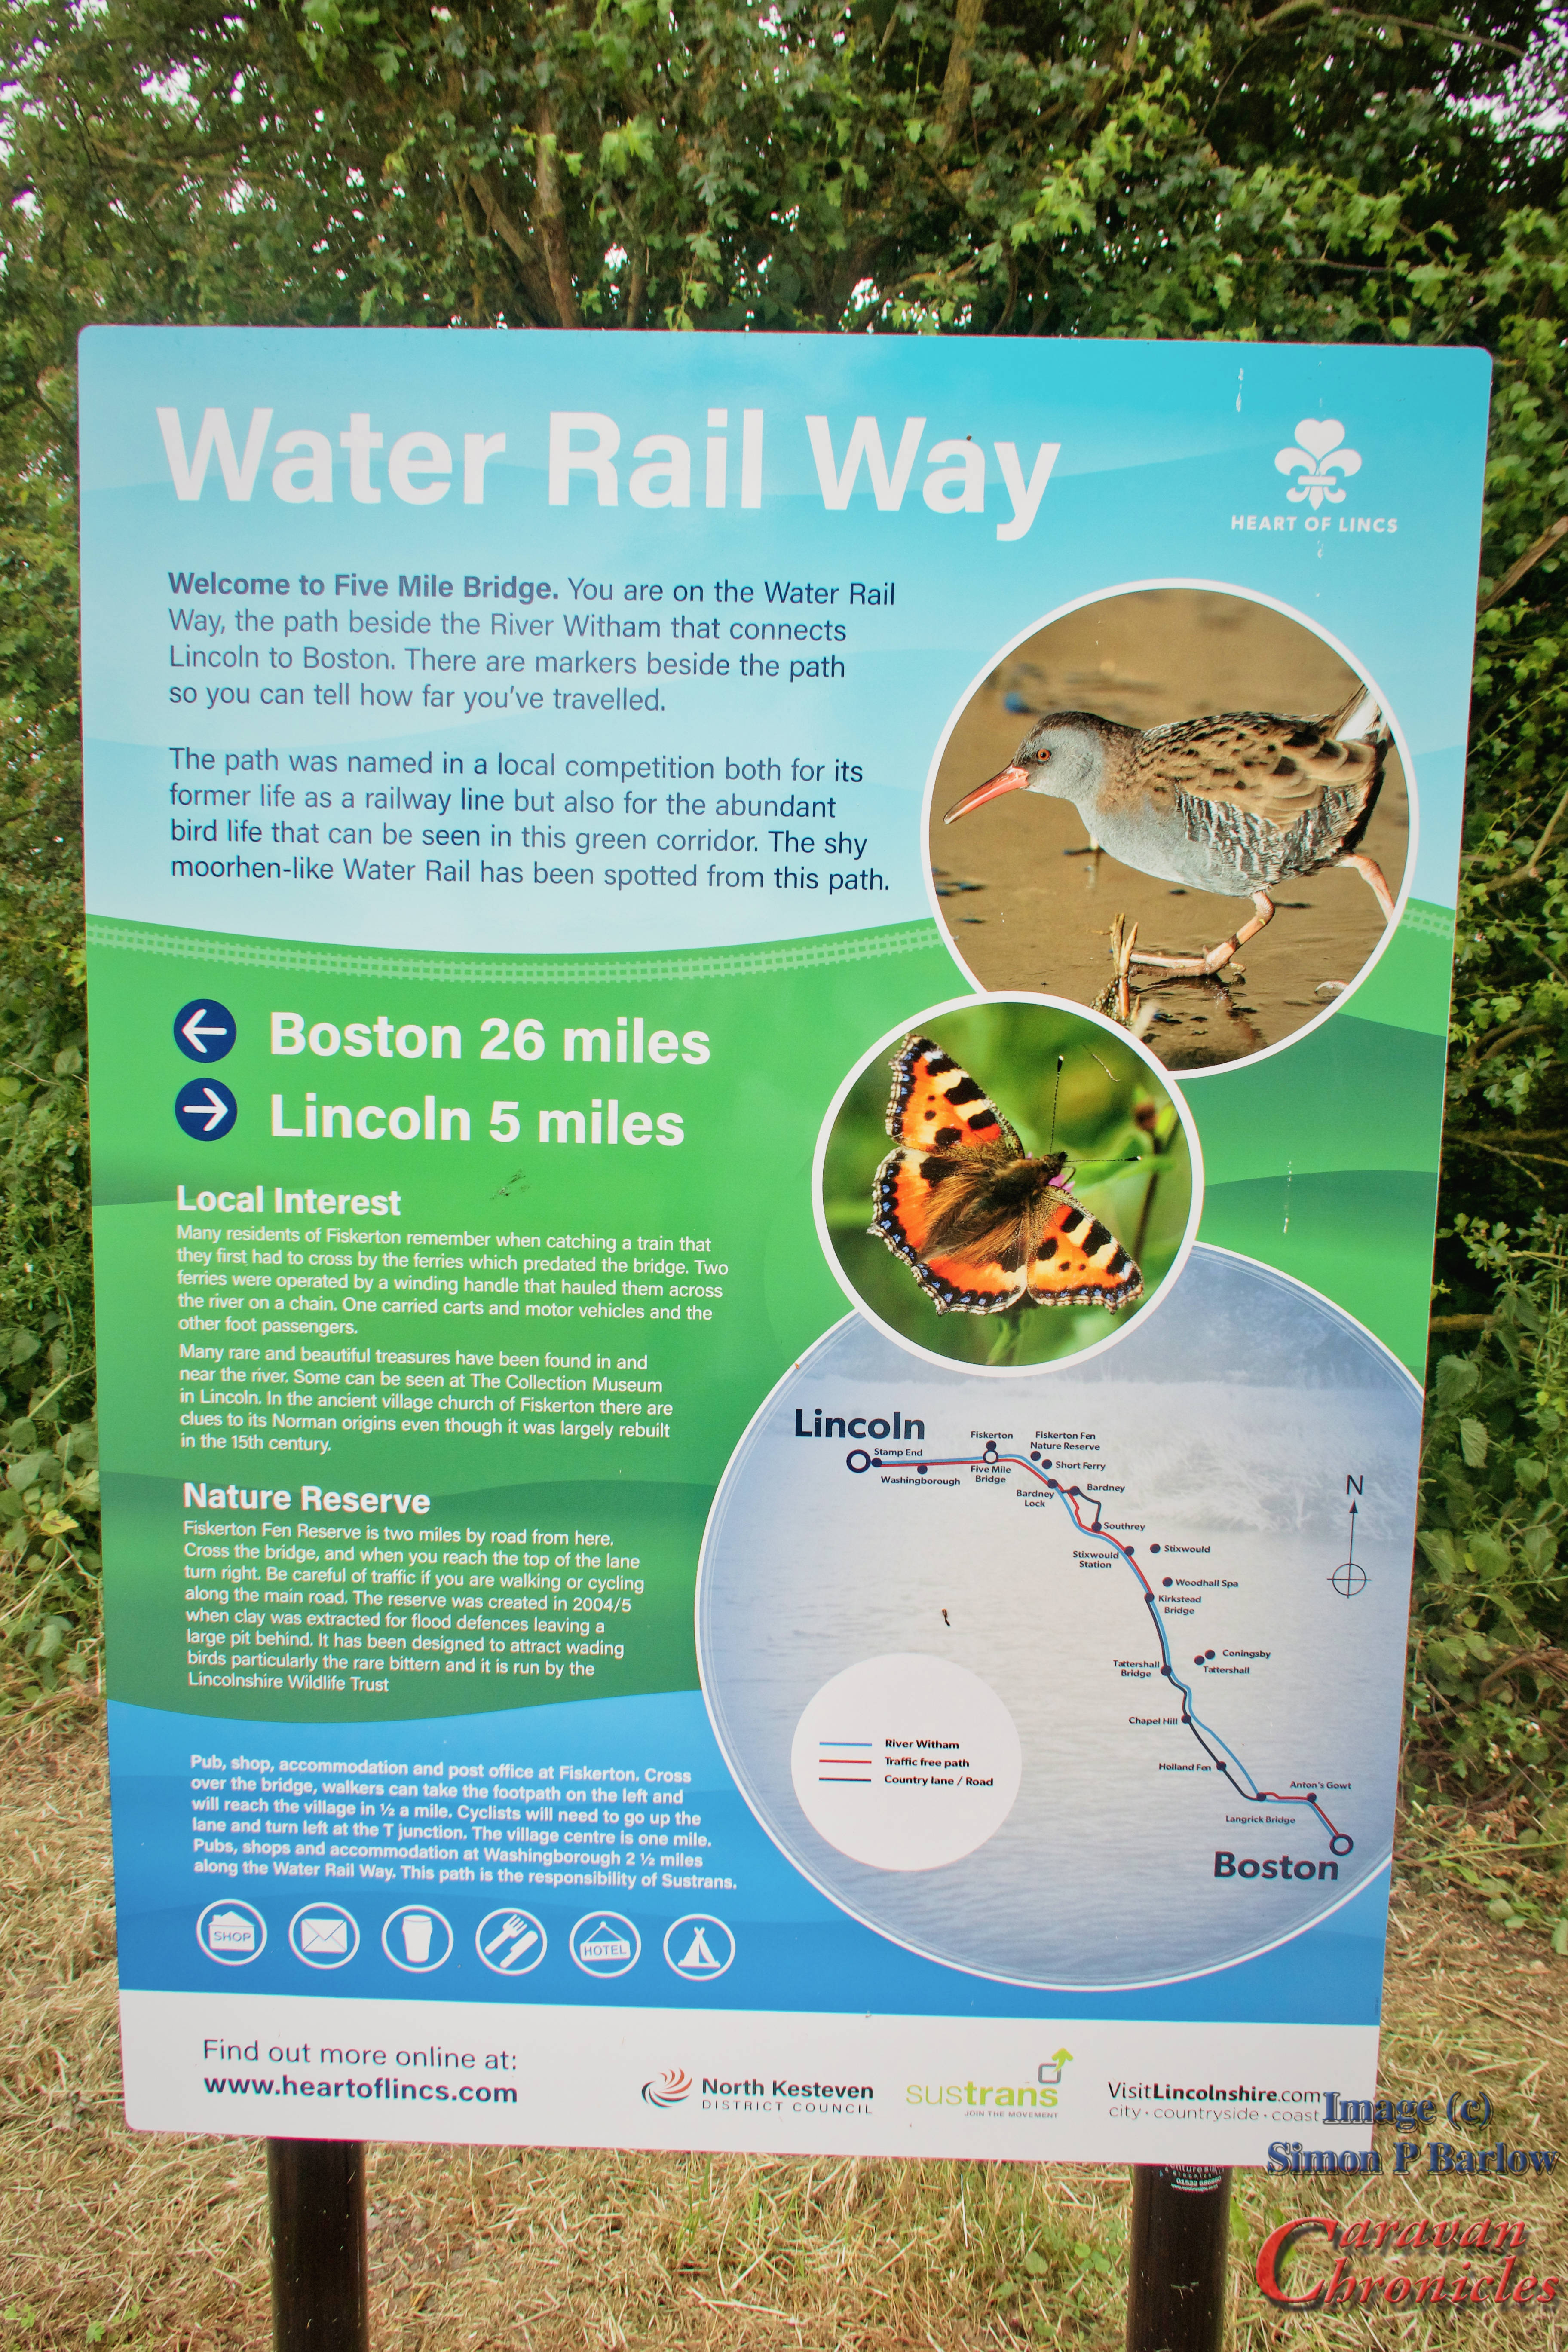
The route however from the site to 5 Mile Bridge is a little wiggly….

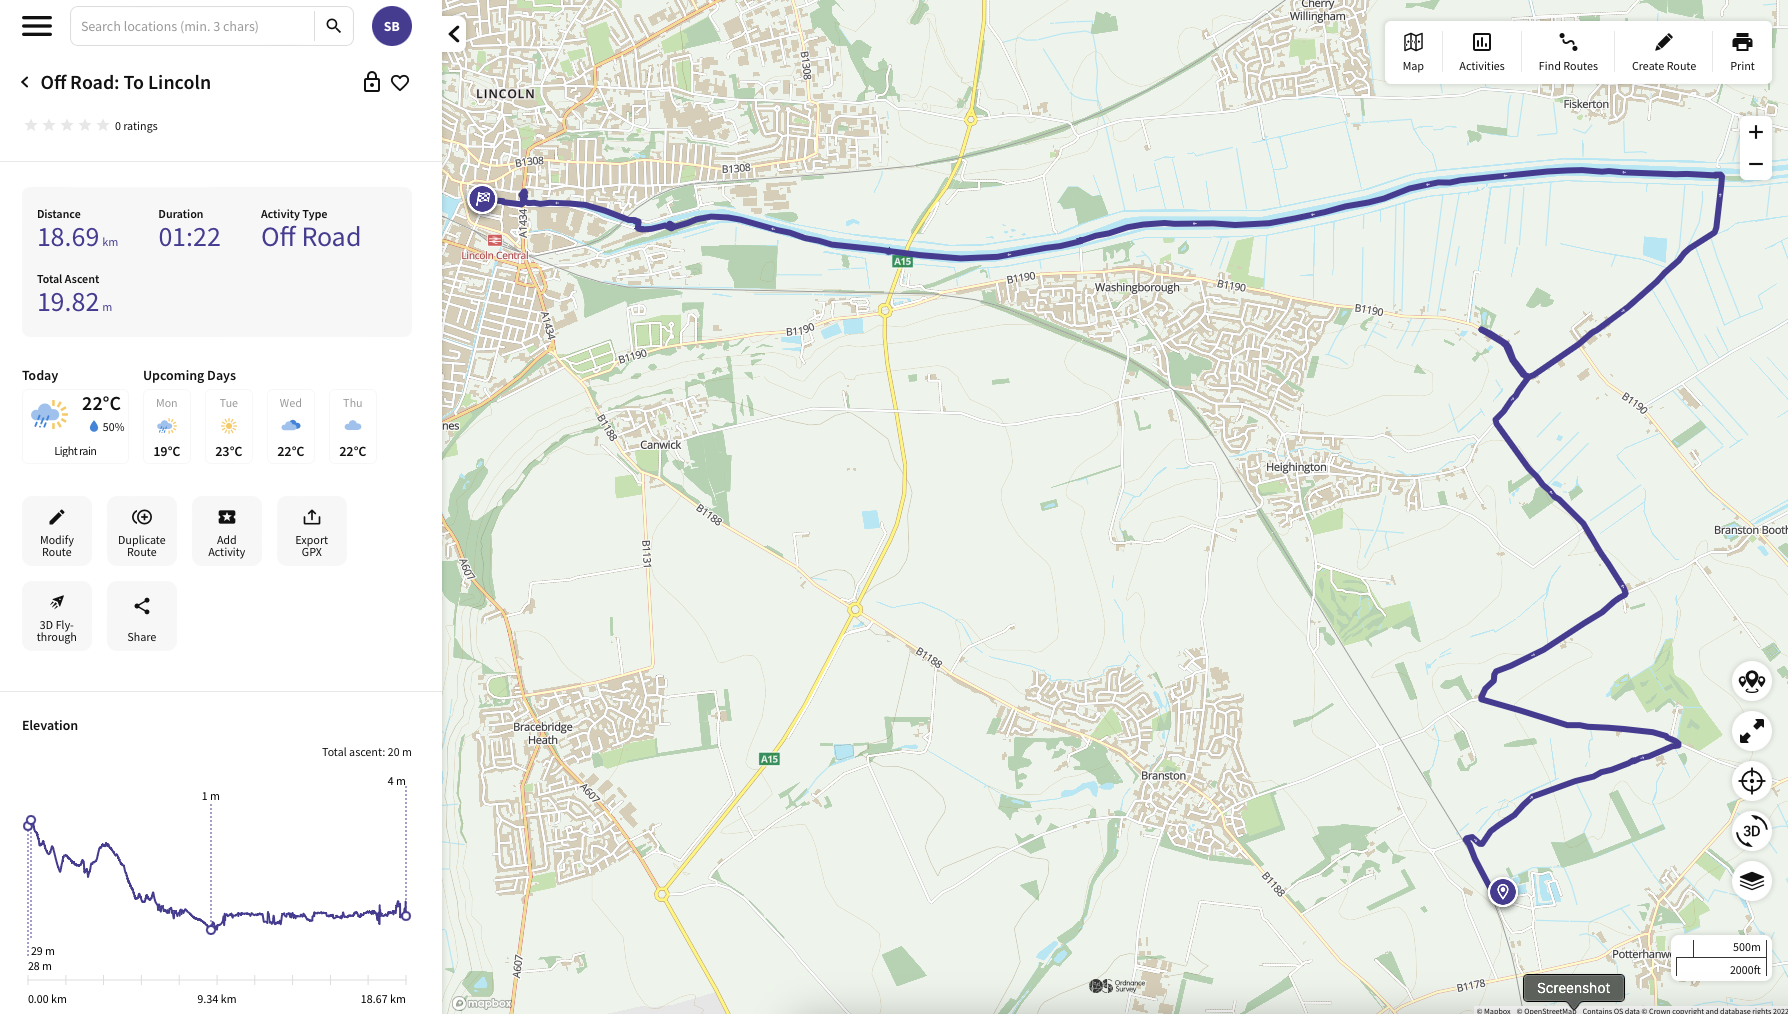
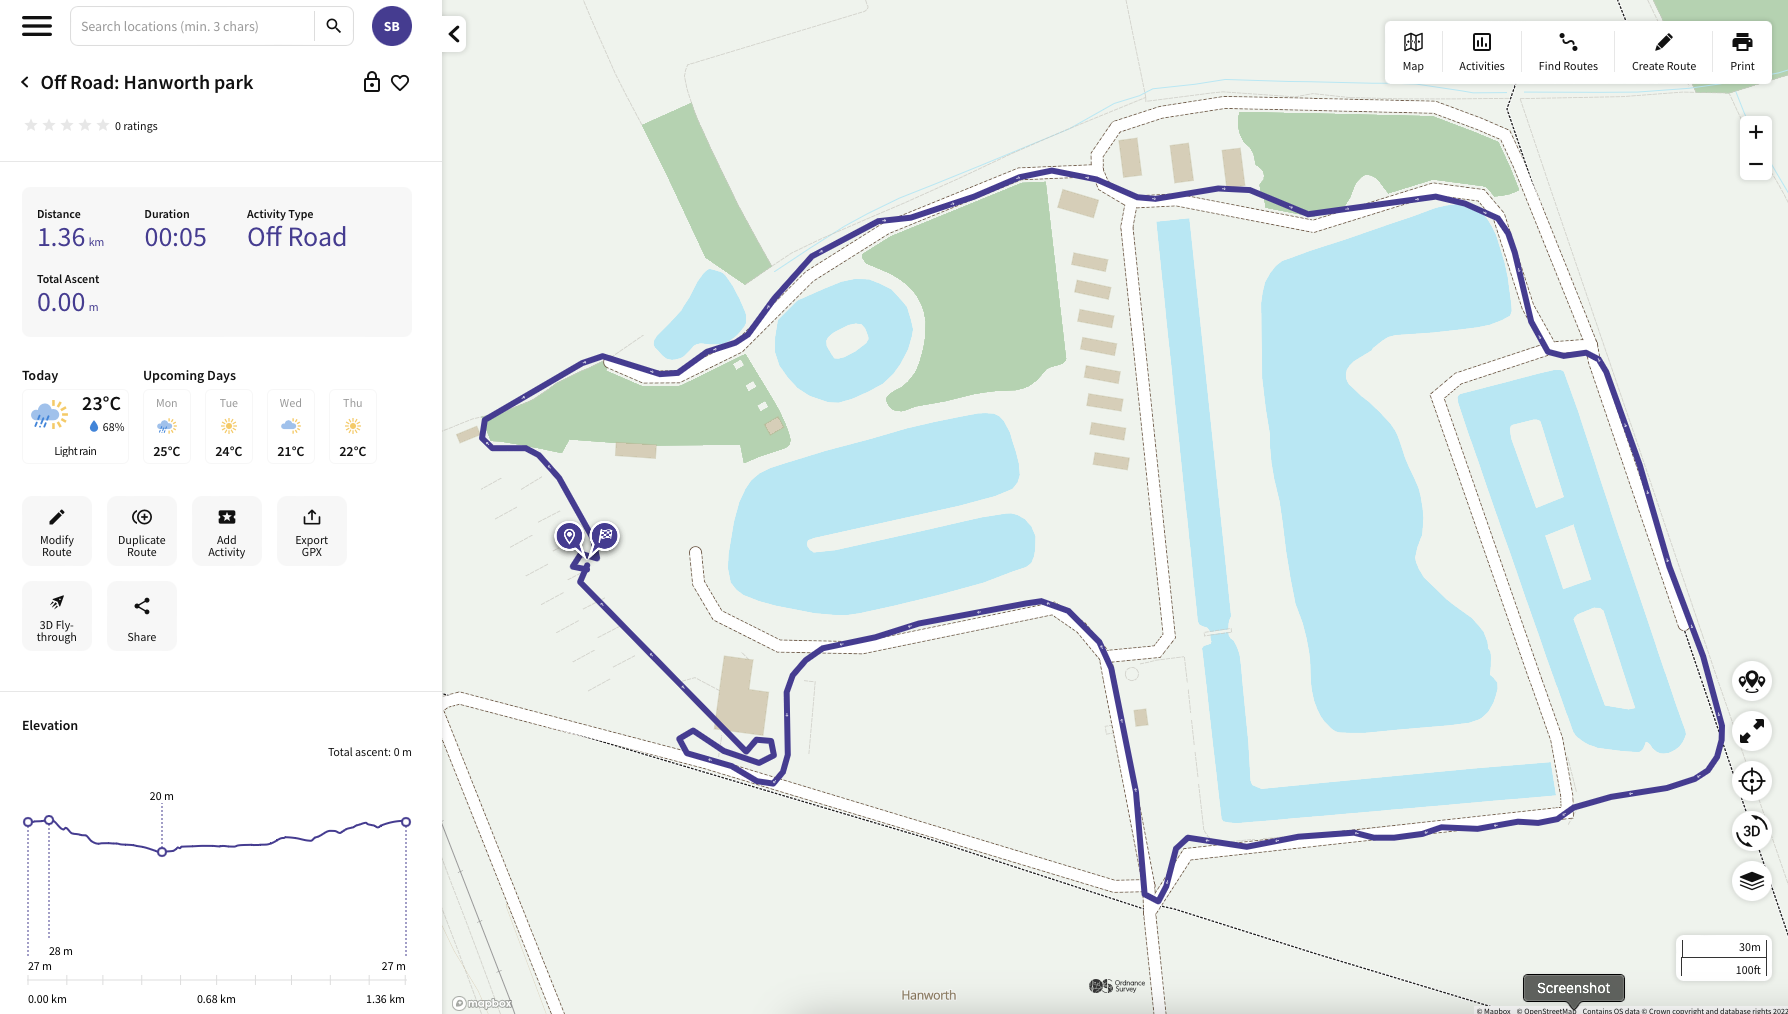
The distance we cycled was around 18.7km and took us 1h 22m… but that did include a couple of stops to check directions and a bit of a back track when I got it wrong. We eventually got to 5 Mile Bridge…

The MiRider bikes are really outstanding bits of kit!

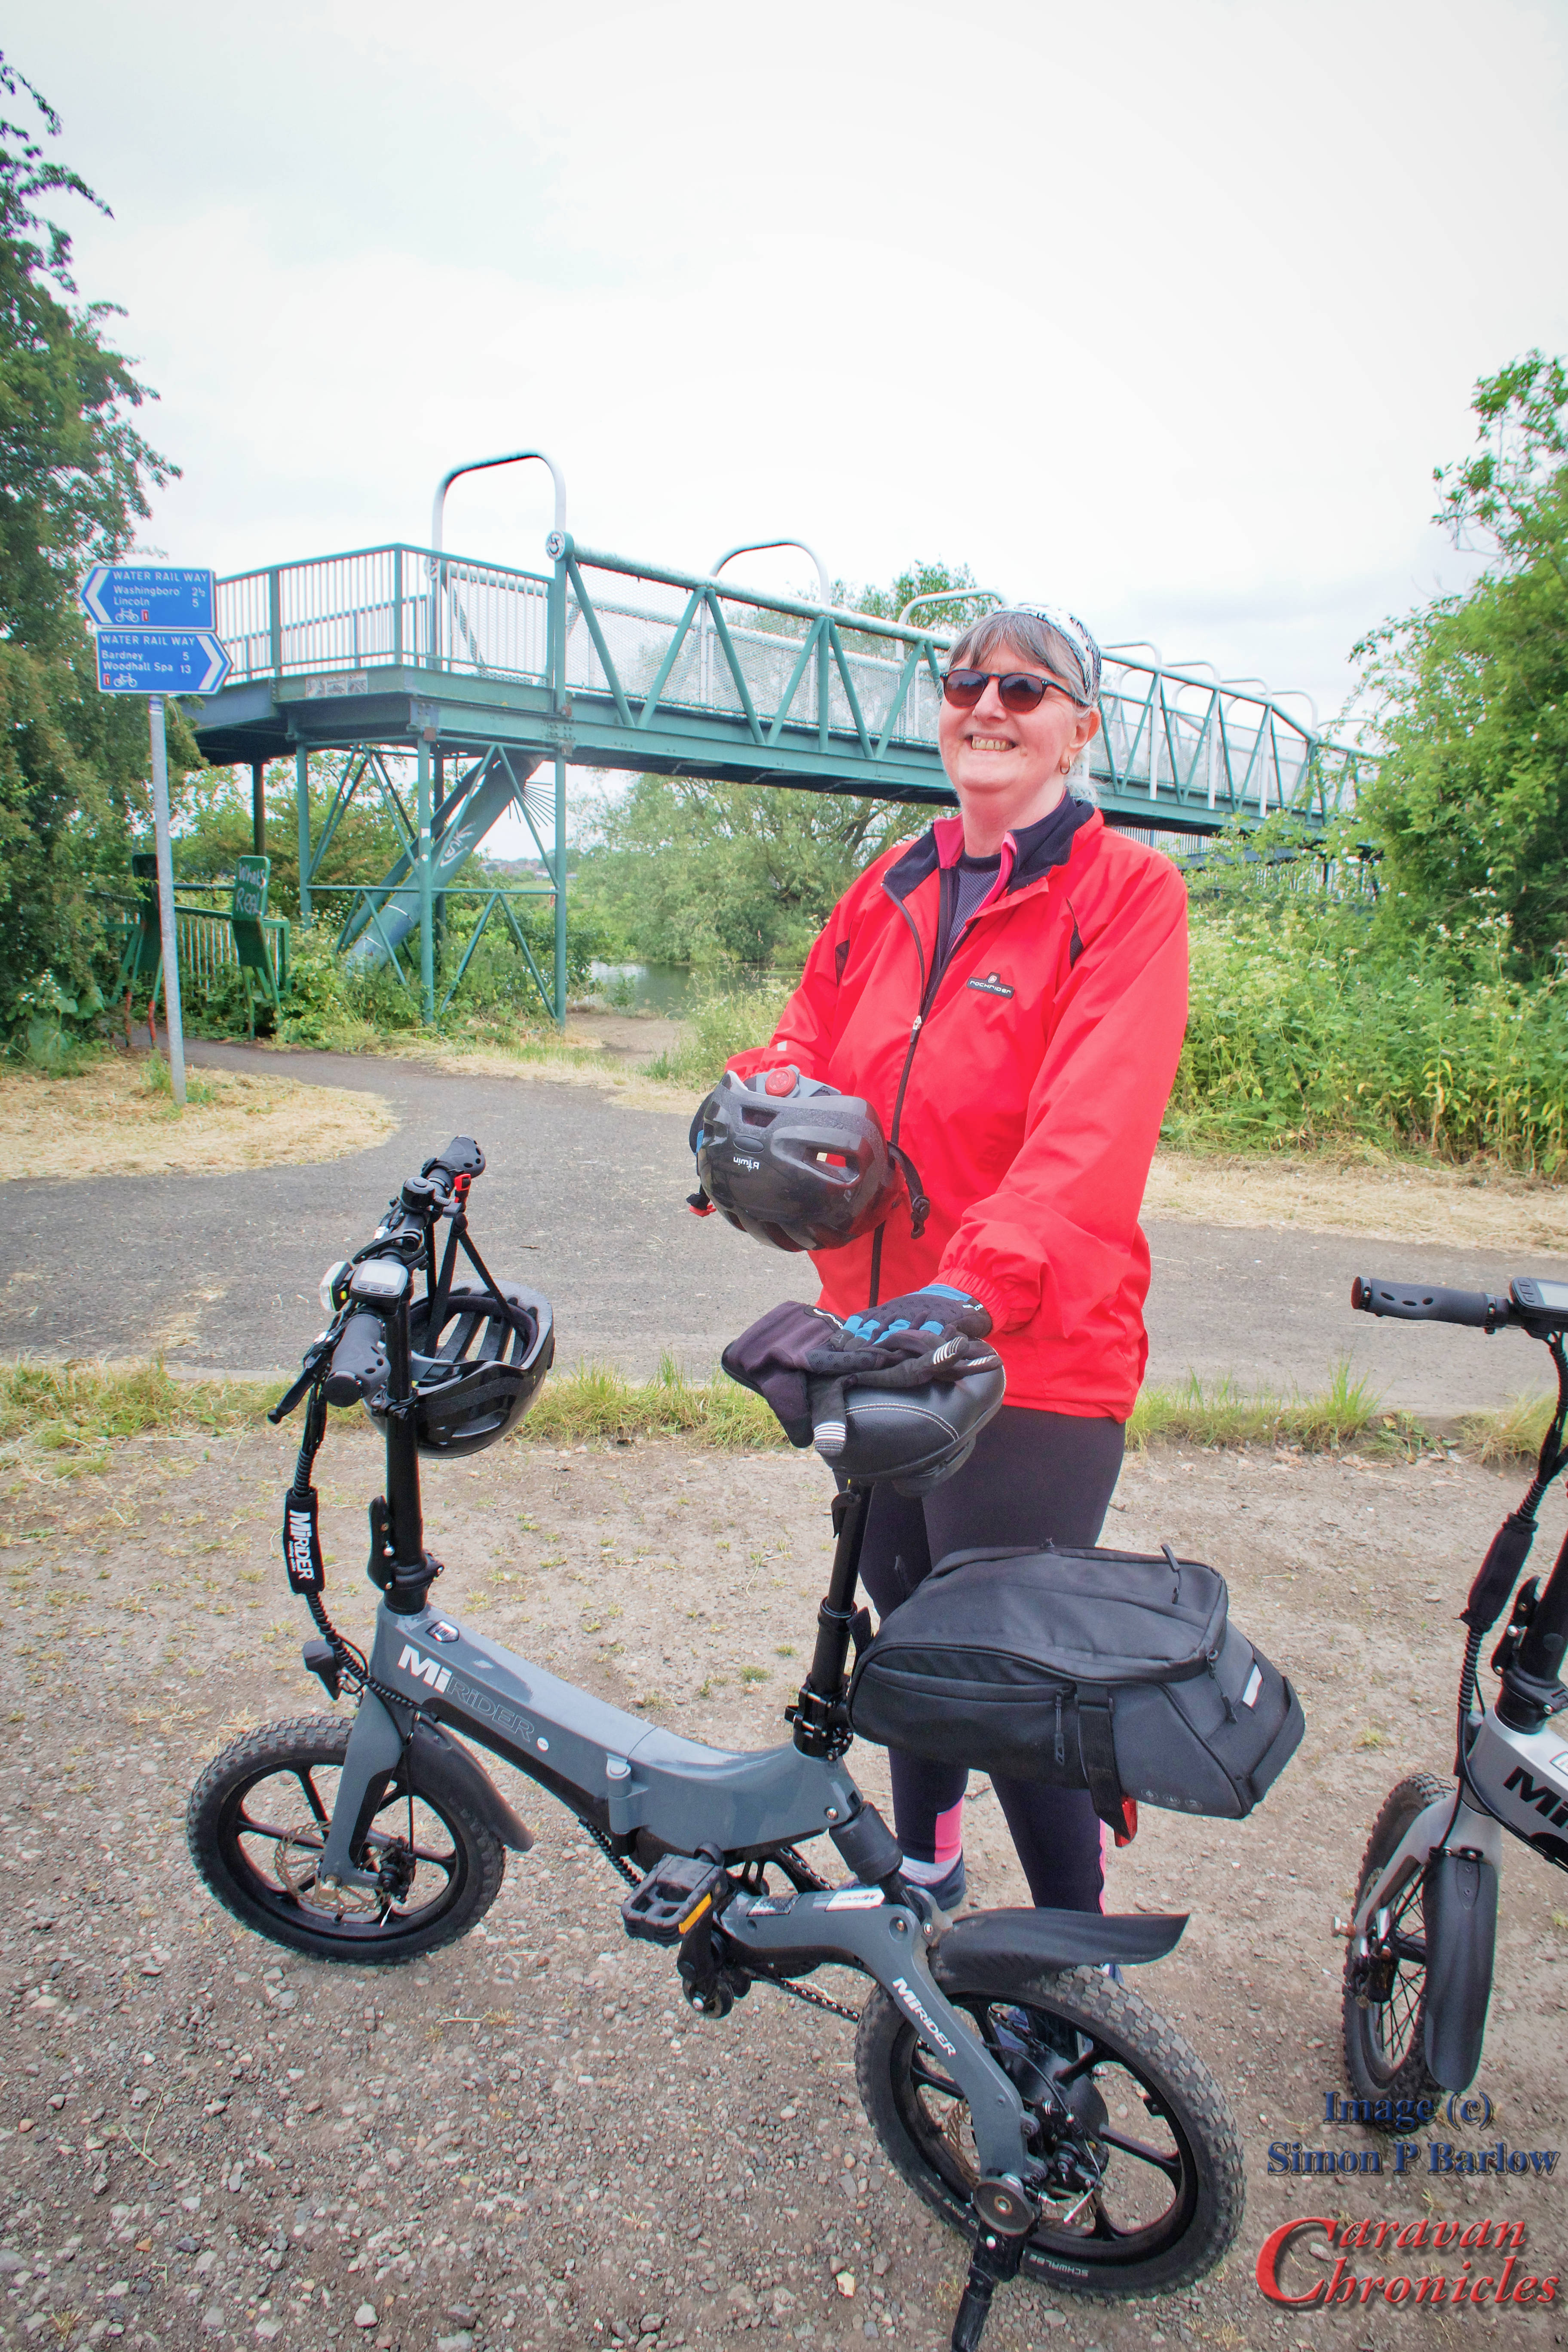
… and turned left to cycle the remaining 5 miles into Lincoln. Sue was rather pleased with her performance as it was the first long ride since being diagnosed with a heart condition. The Water Rail Way was a wide tarmac track that generally was in a good state of repair and easy to ride. The total climb for the trips was only around 20 metres. On the stretch into Lincoln however, there is no where to stop for refreshments…. so pack water, and if it is a hot day make sure you have enough for the whole trip.

Hmm… that’s not Blackpool Tower…

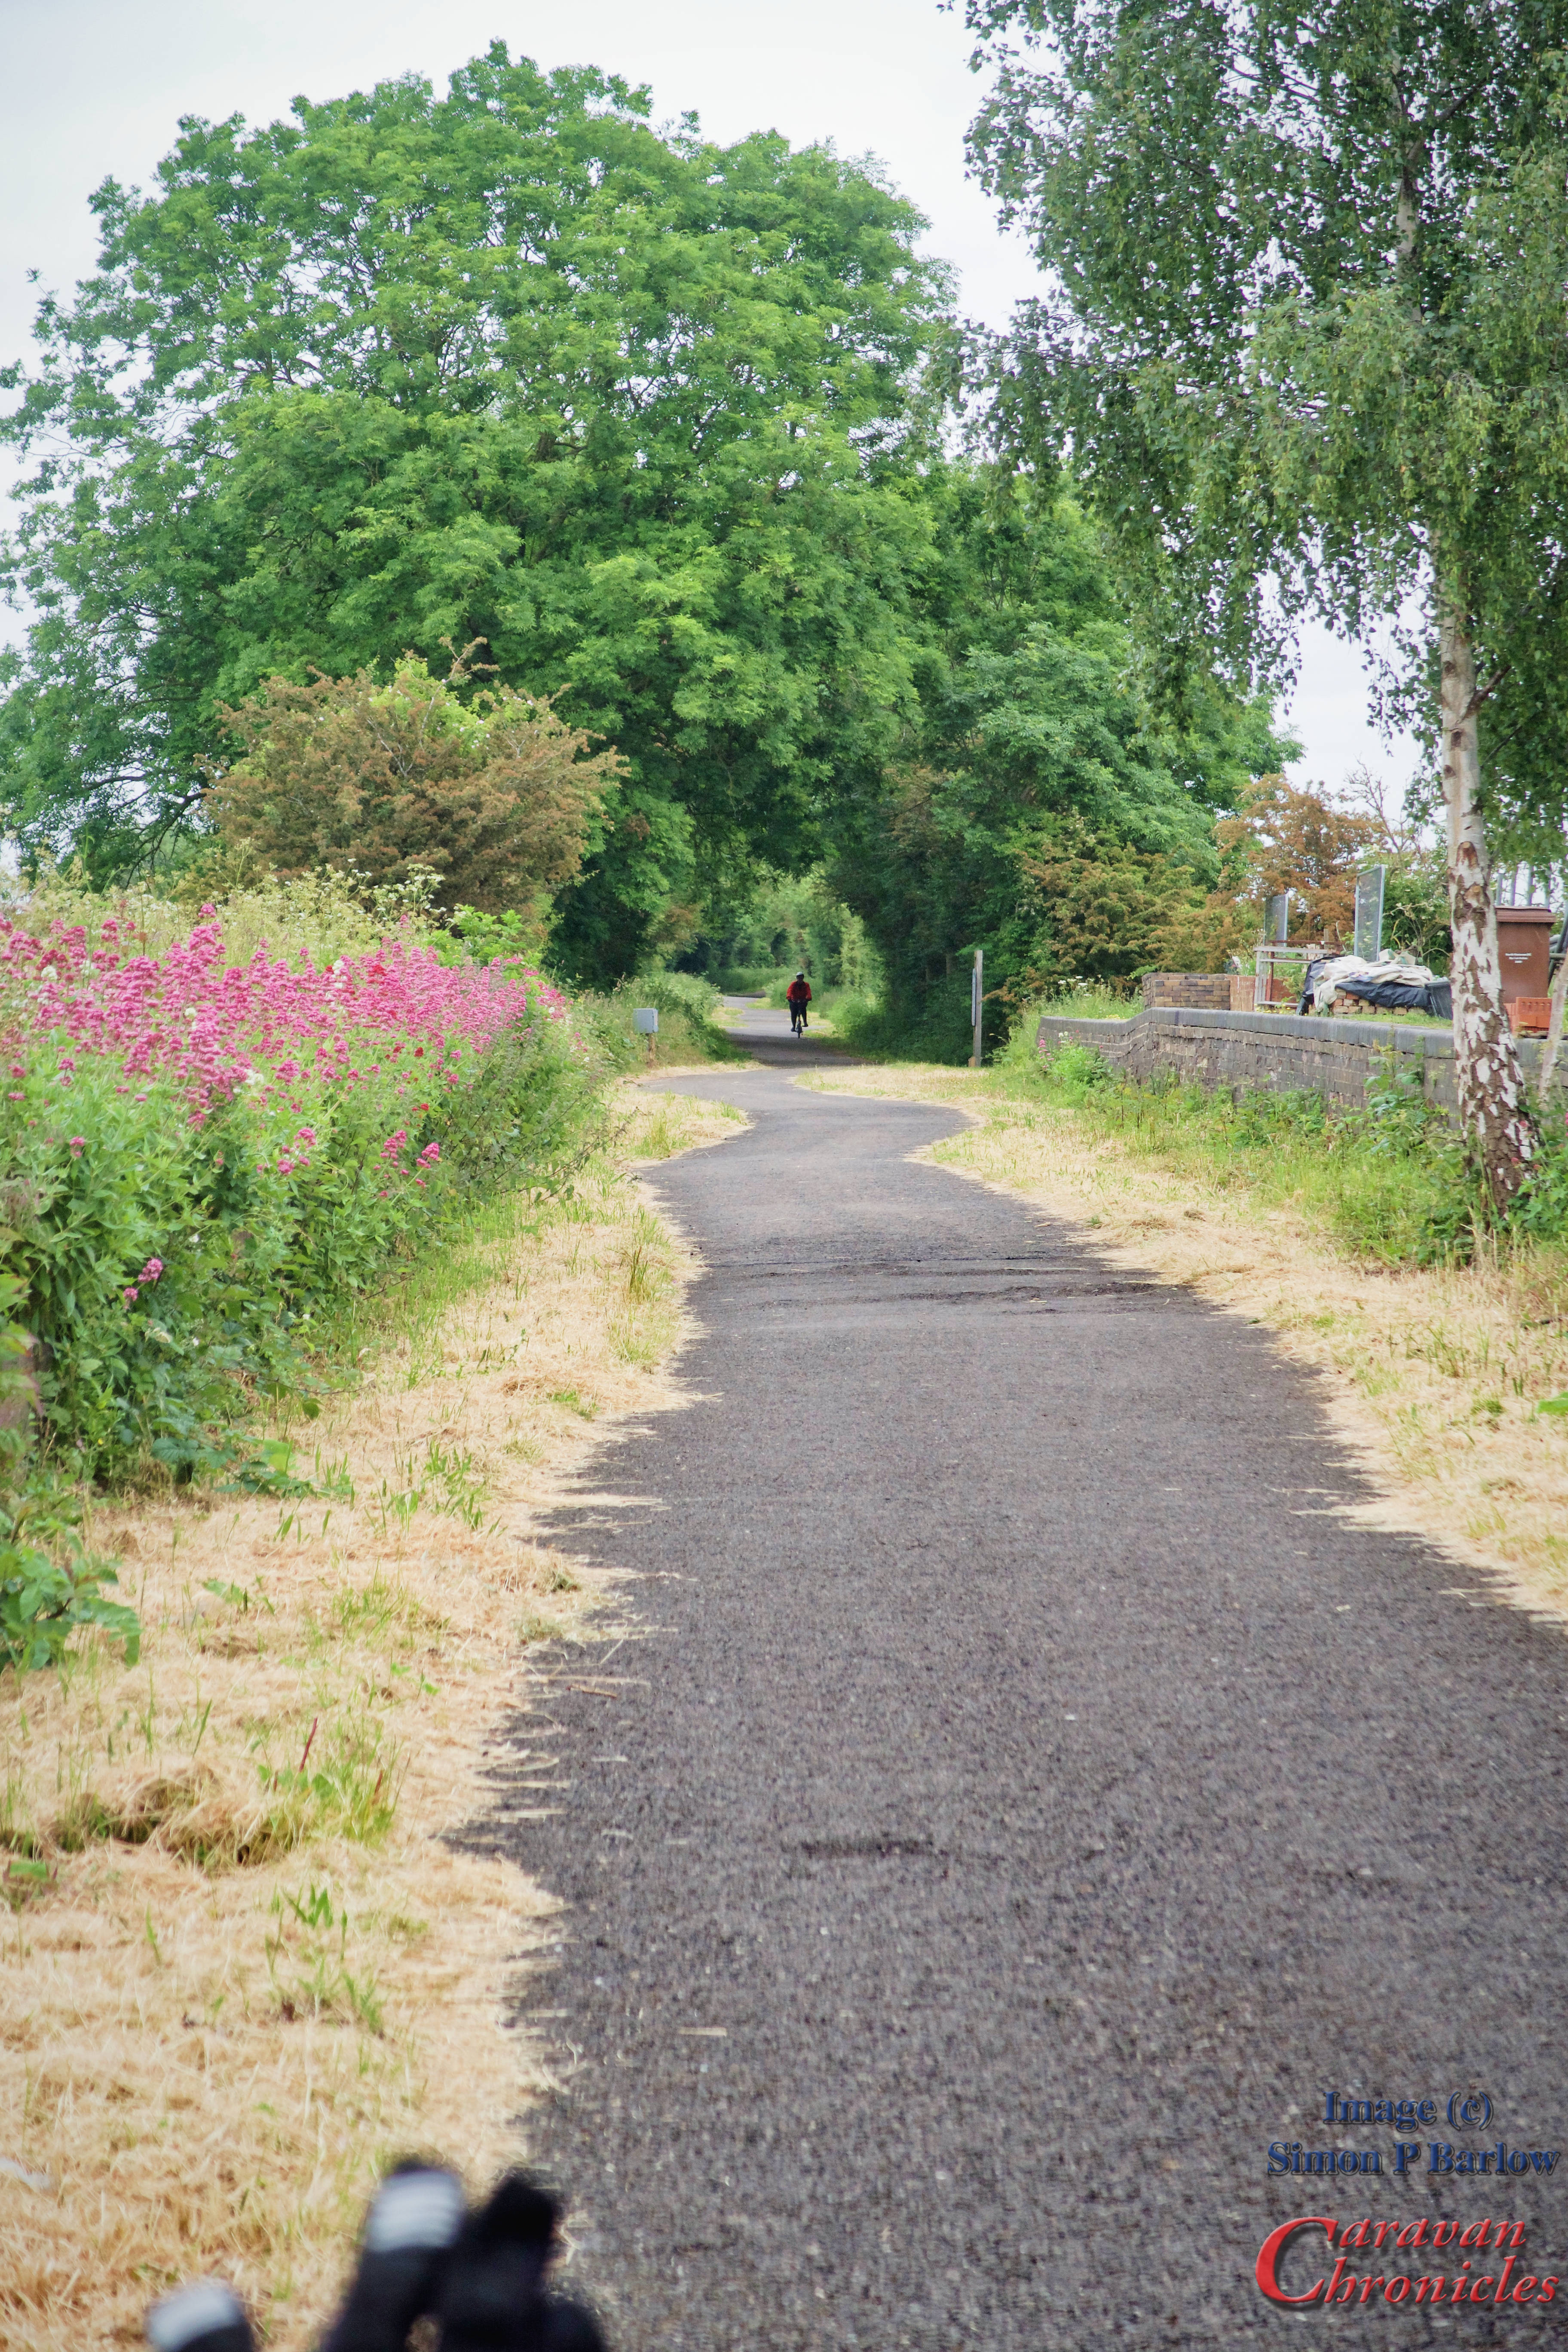
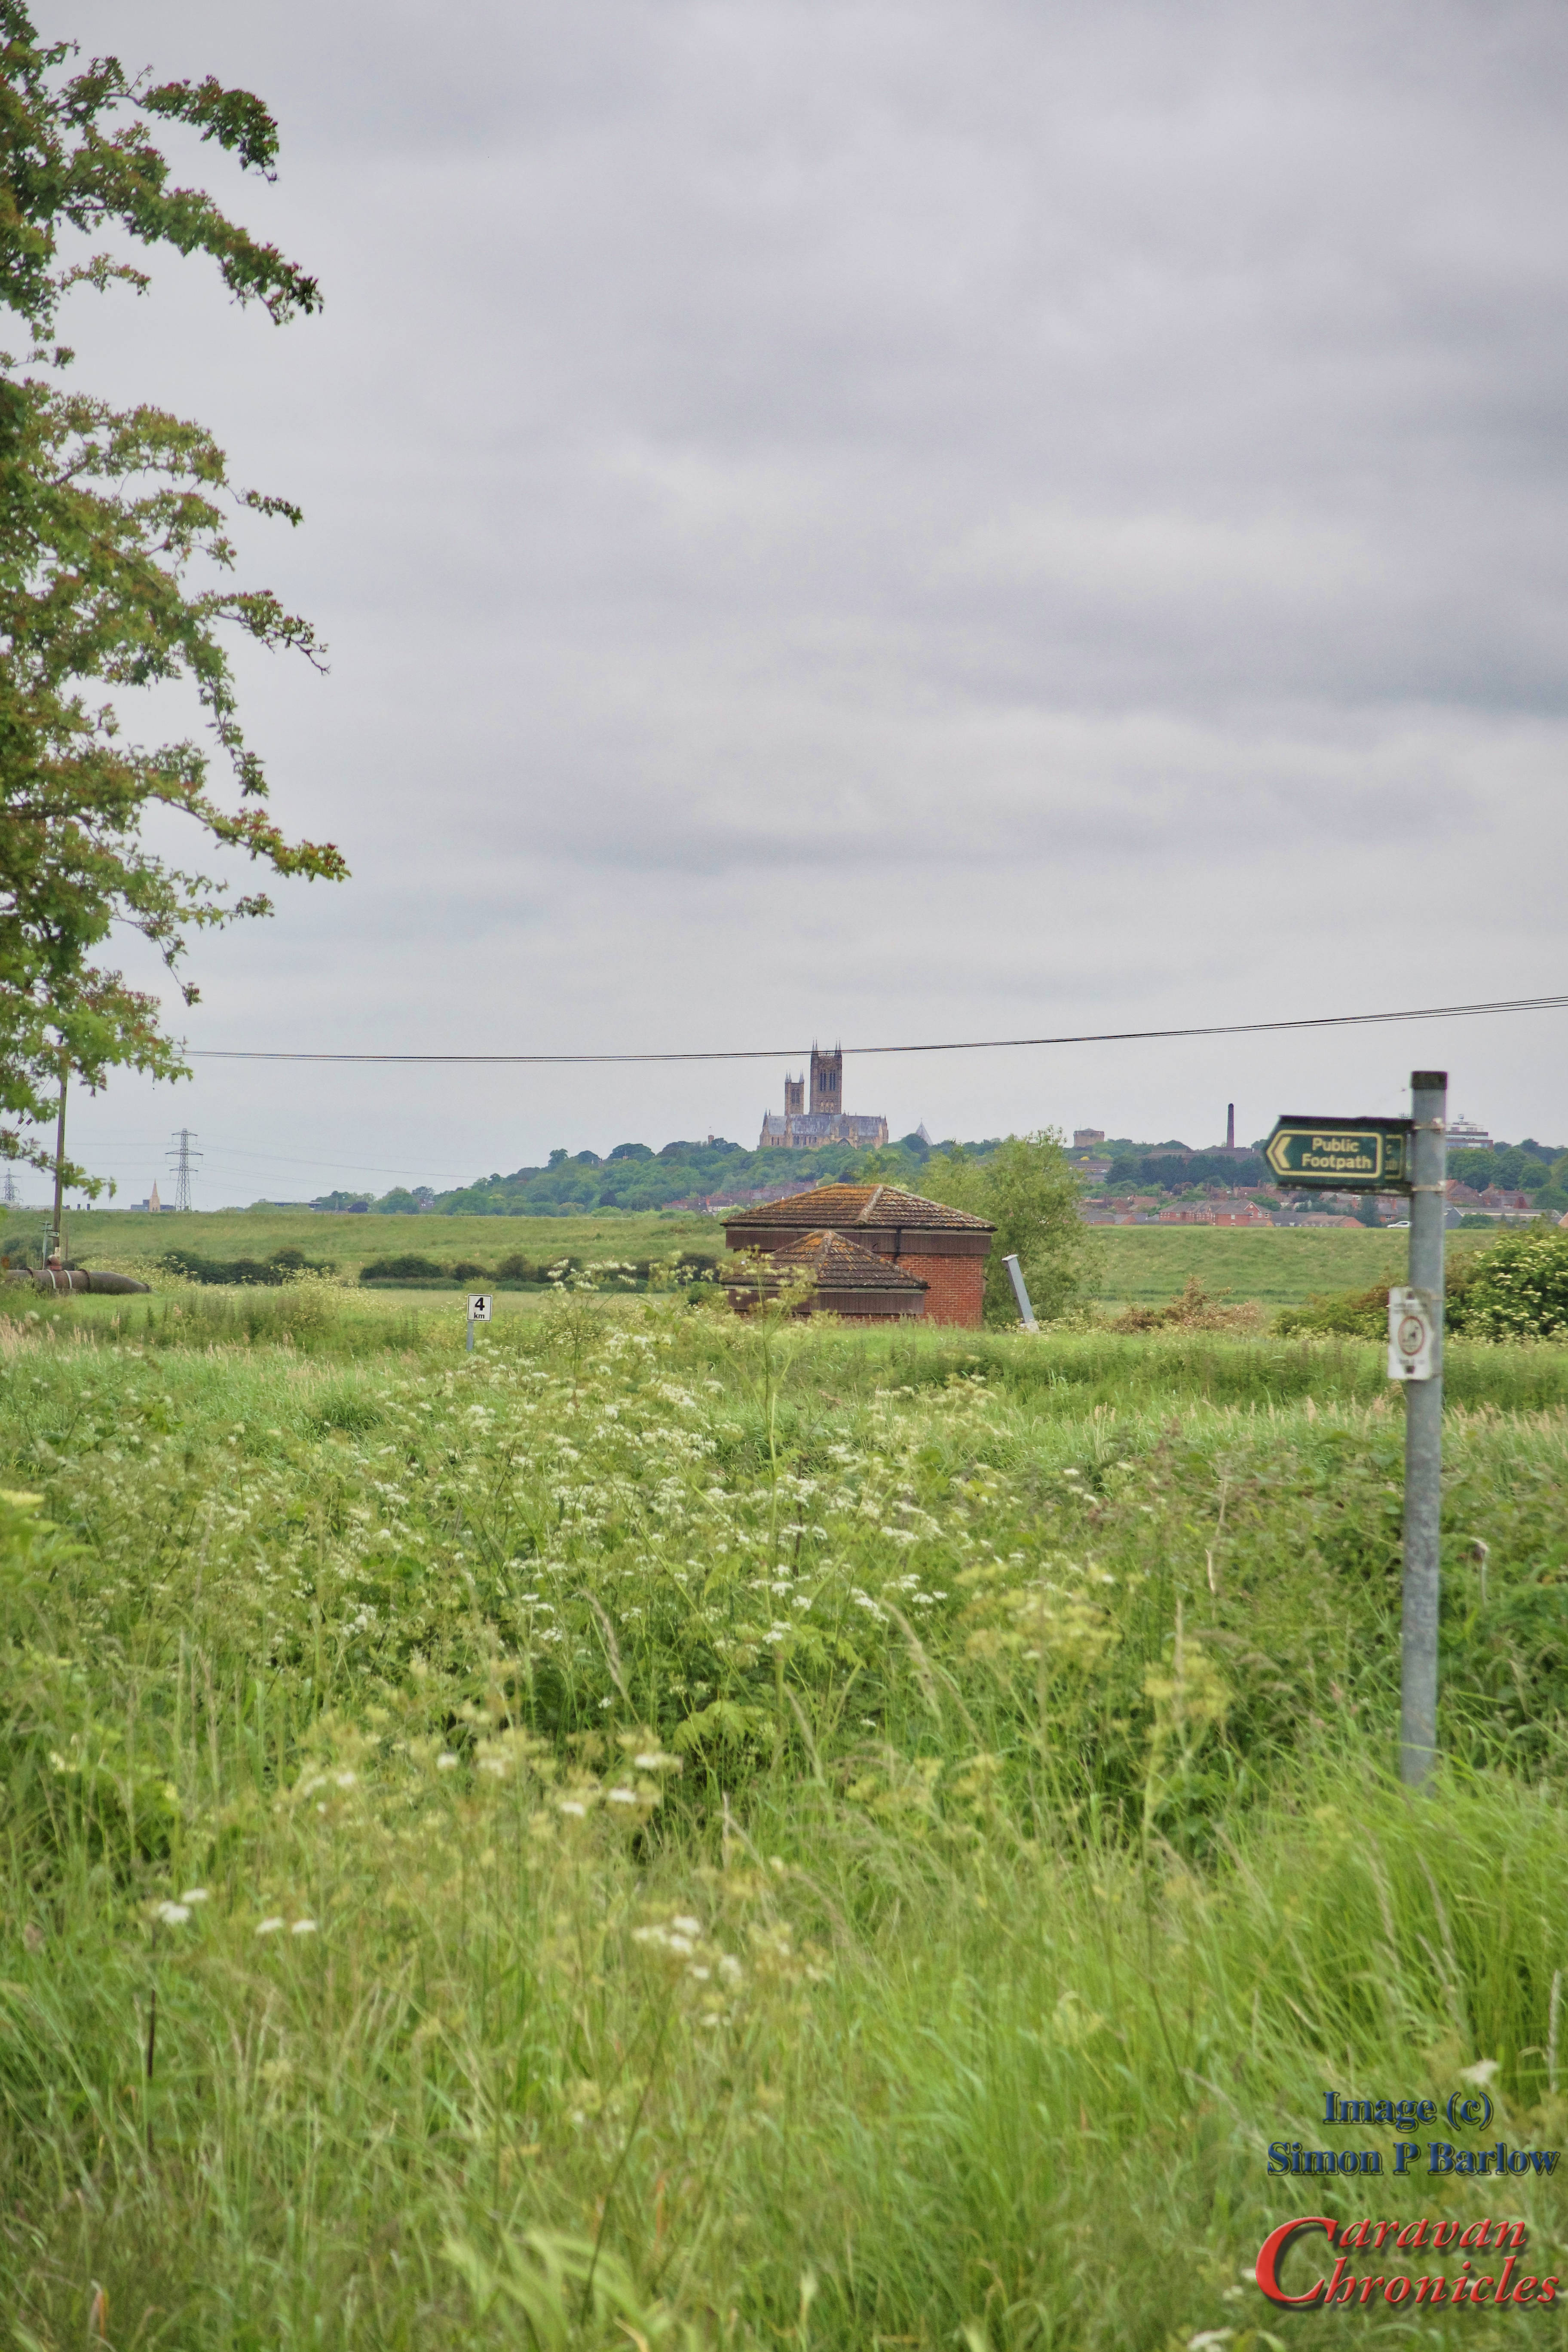
The section into Lincoln gats a bit confusing as you approach and it’s handy if you have had a look at the map and got a bit of an idea where to go as it involves going through a car park and crossing over a rather humpy bridge…. well it does the way we went.

We found somewhere to sit outside and have coffee and as a treat, squishes before heading back. No, we didn’t tackle “Steep Hill” (I challenge anyone to tackle Steep Hill and not say part way up “Bloody Hell this is steep”) on this trip, however we decided we will be back and I think I have found an easier cycling route from the site to the Water Rail Way that reduces the distance by about 7km in each direction. The total cycling for the day was 36.1 km or 22.4 miles.

Wednesday was a bit of a relax (read: a bit tender) so we only managed a cycle round the grounds of Hanworth Country Park and a strawberry cornetto from the cafe…

Told you there were a lot of lakes….

We Interrupt You Scheduled Programming with some Breaking News…

I know you have only been reading down to this point to find out what the breaking news is…. so here goes….

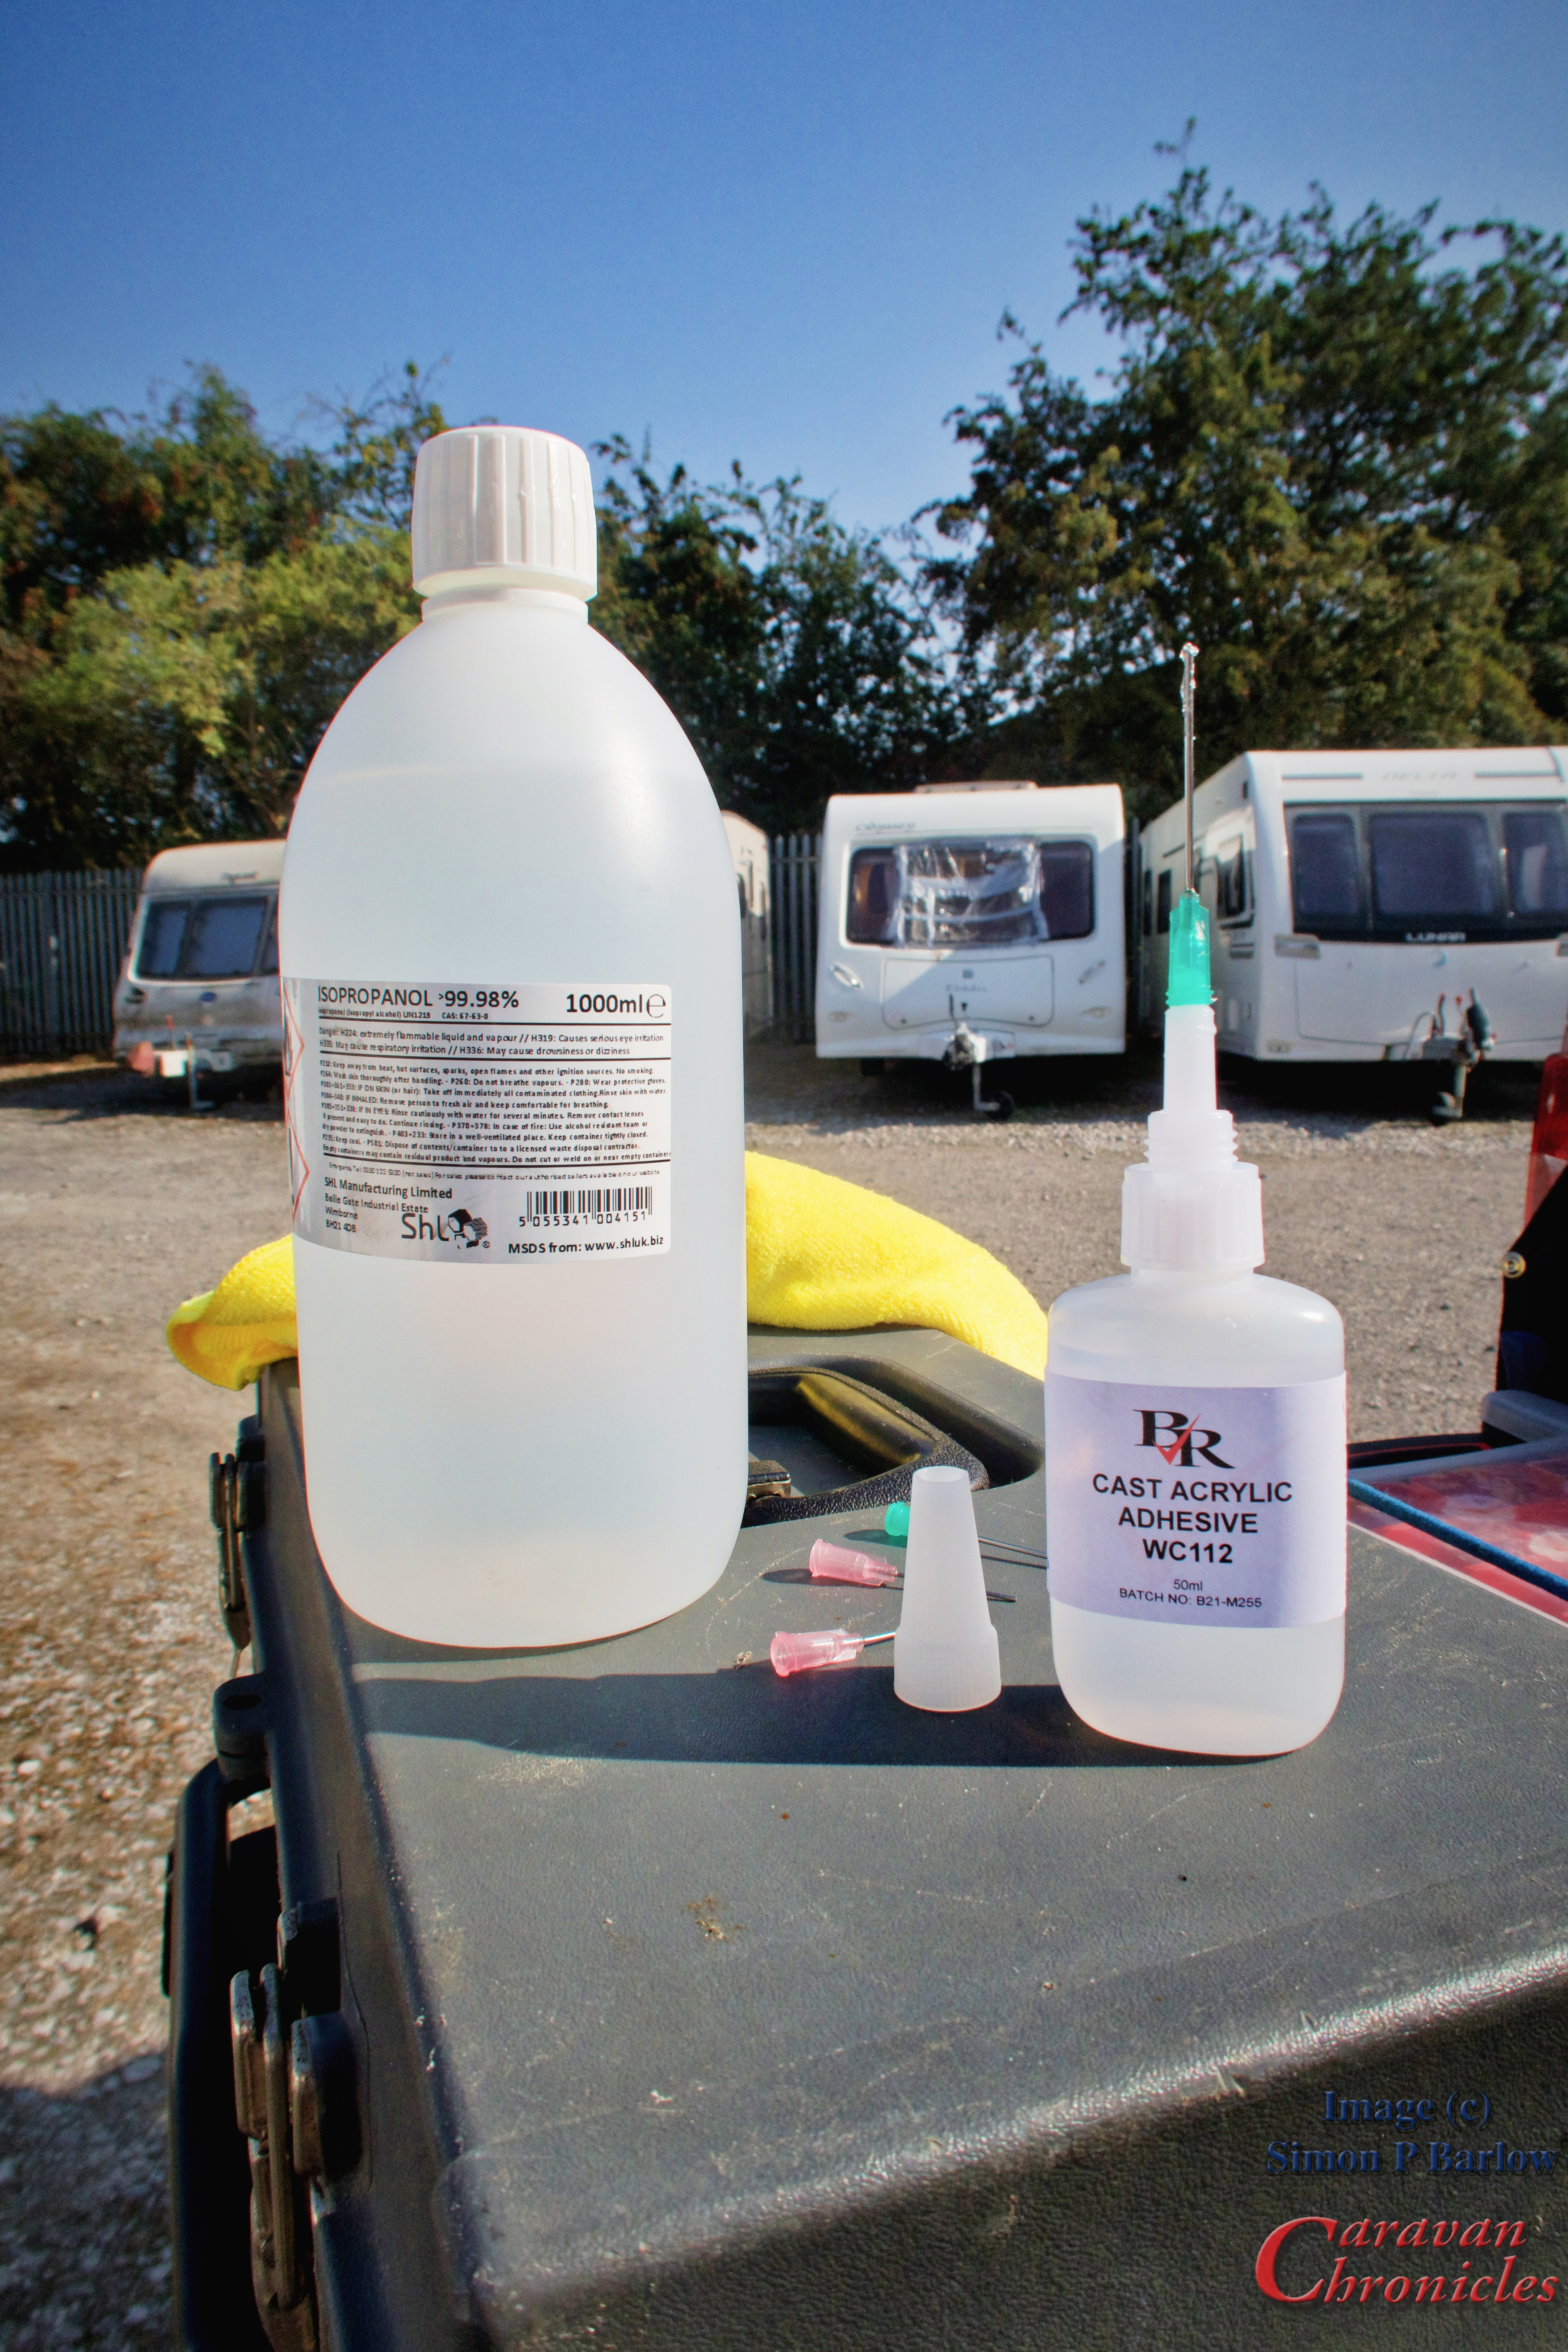
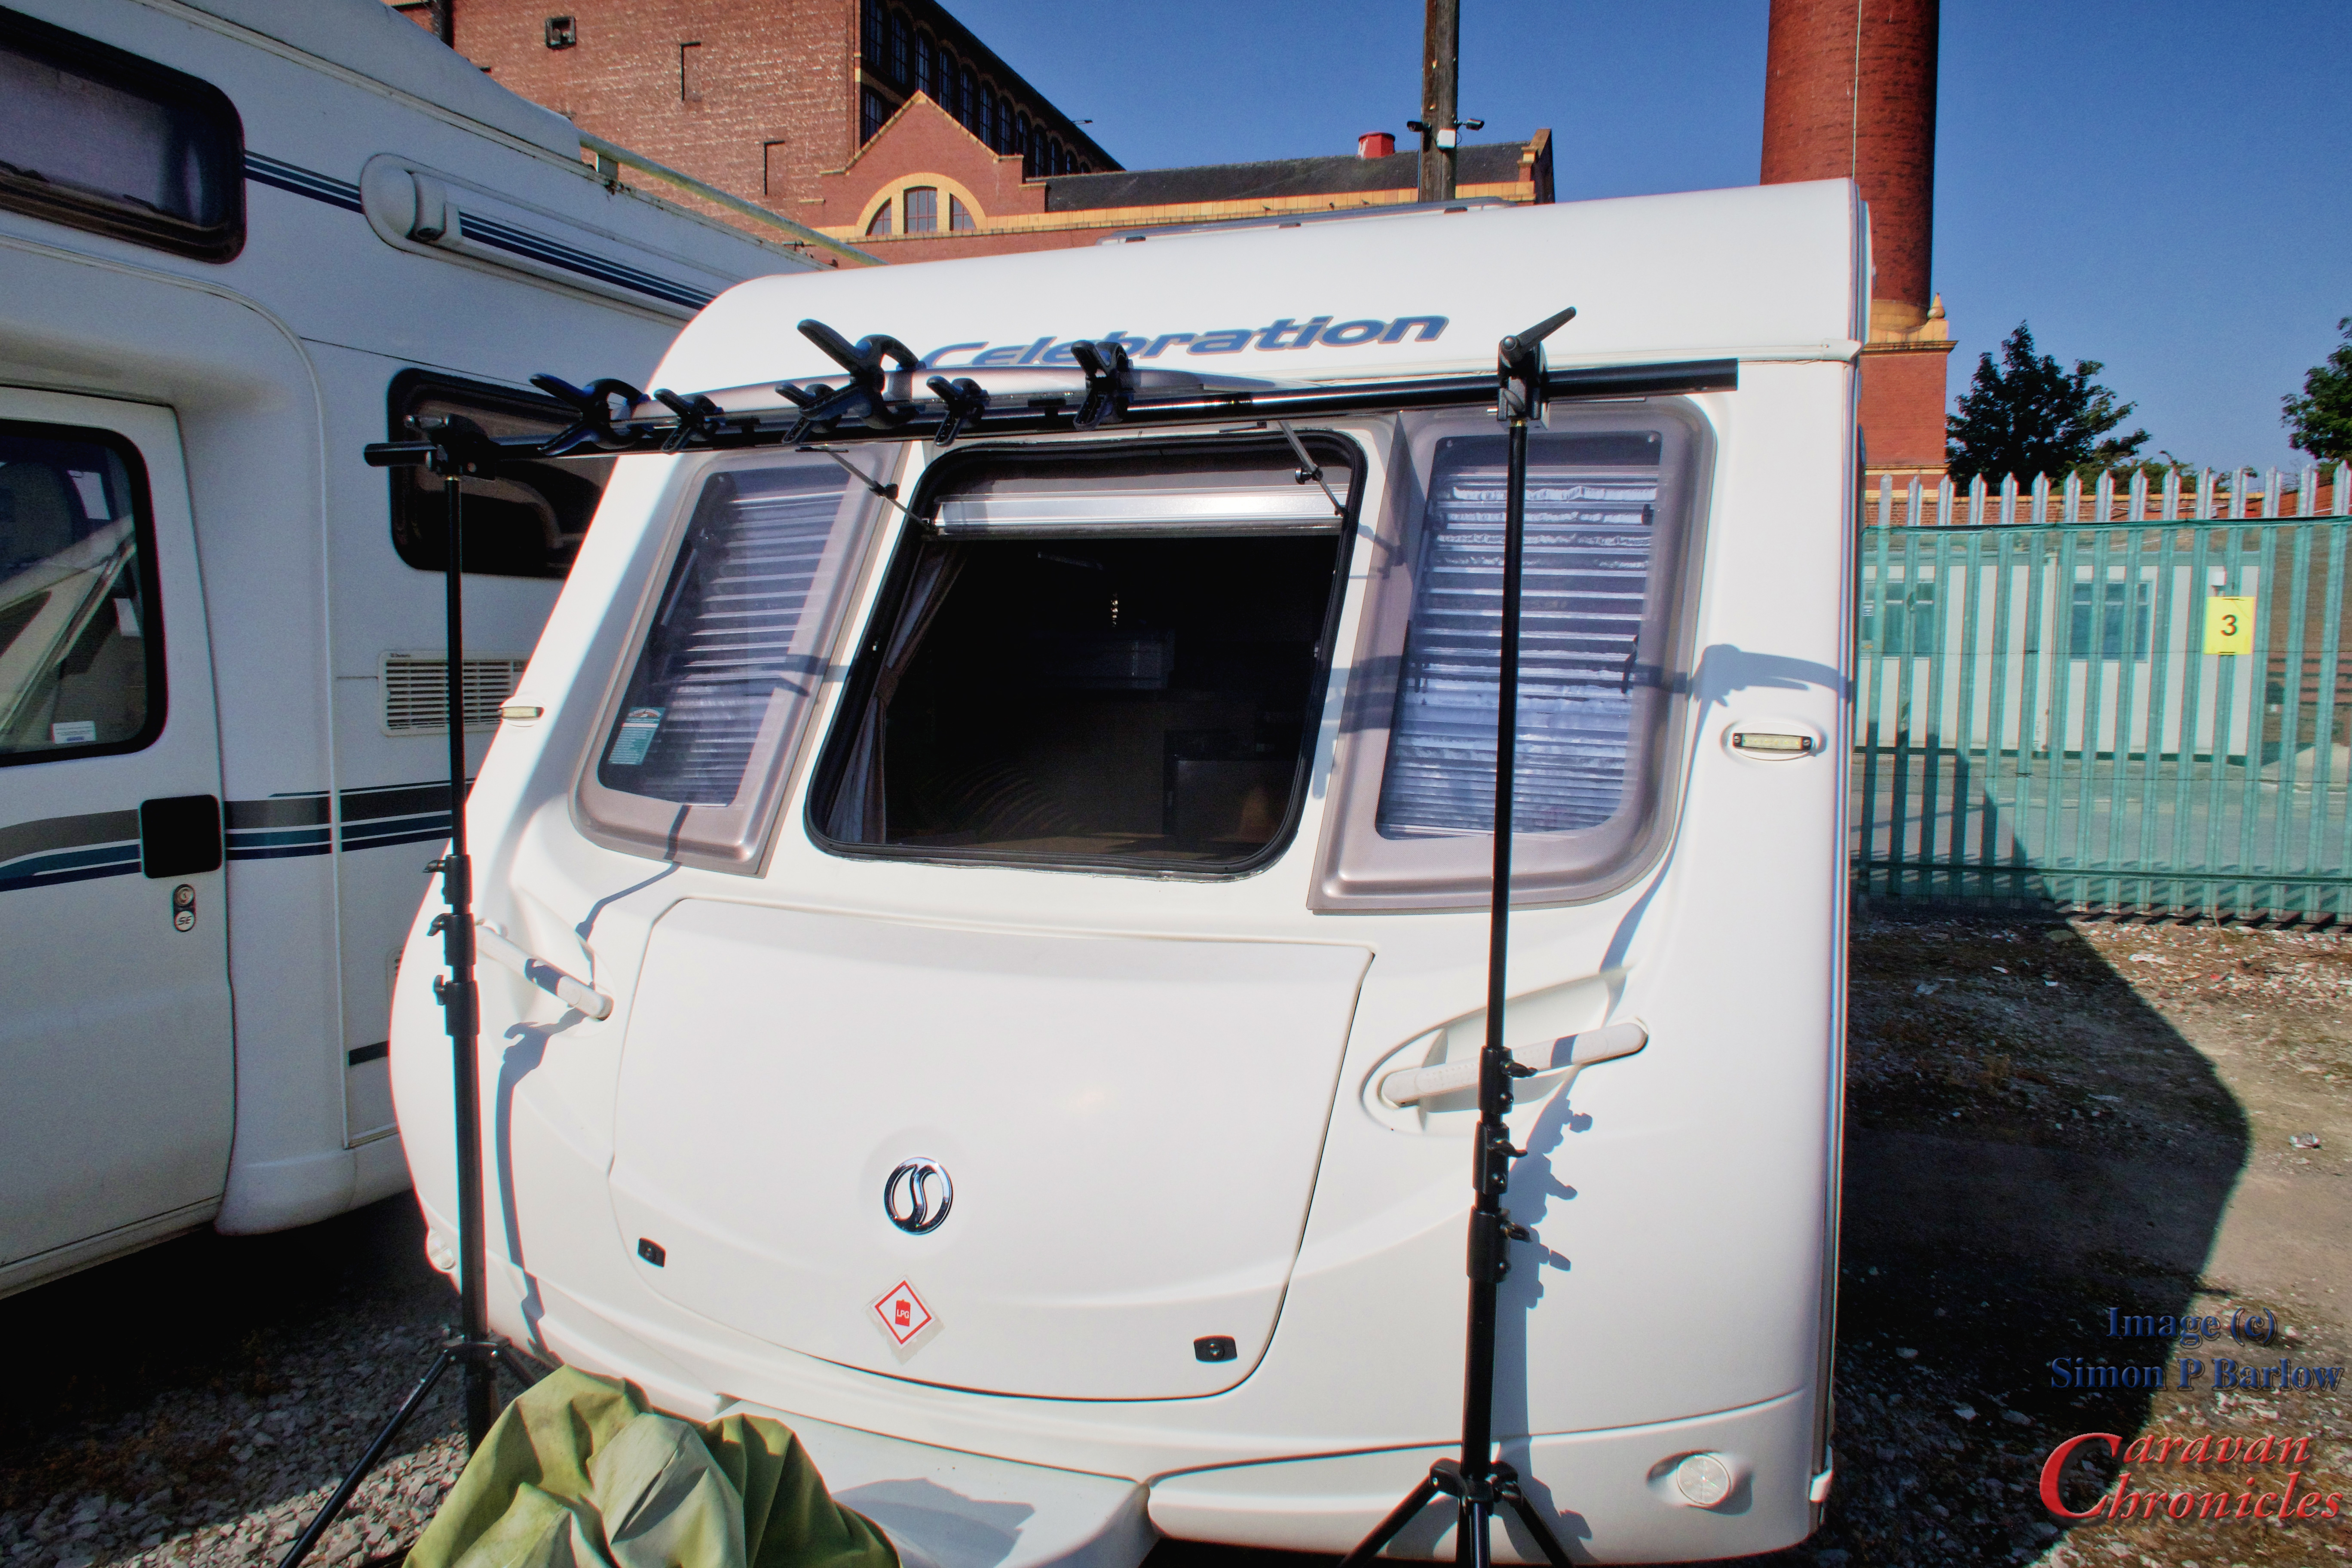
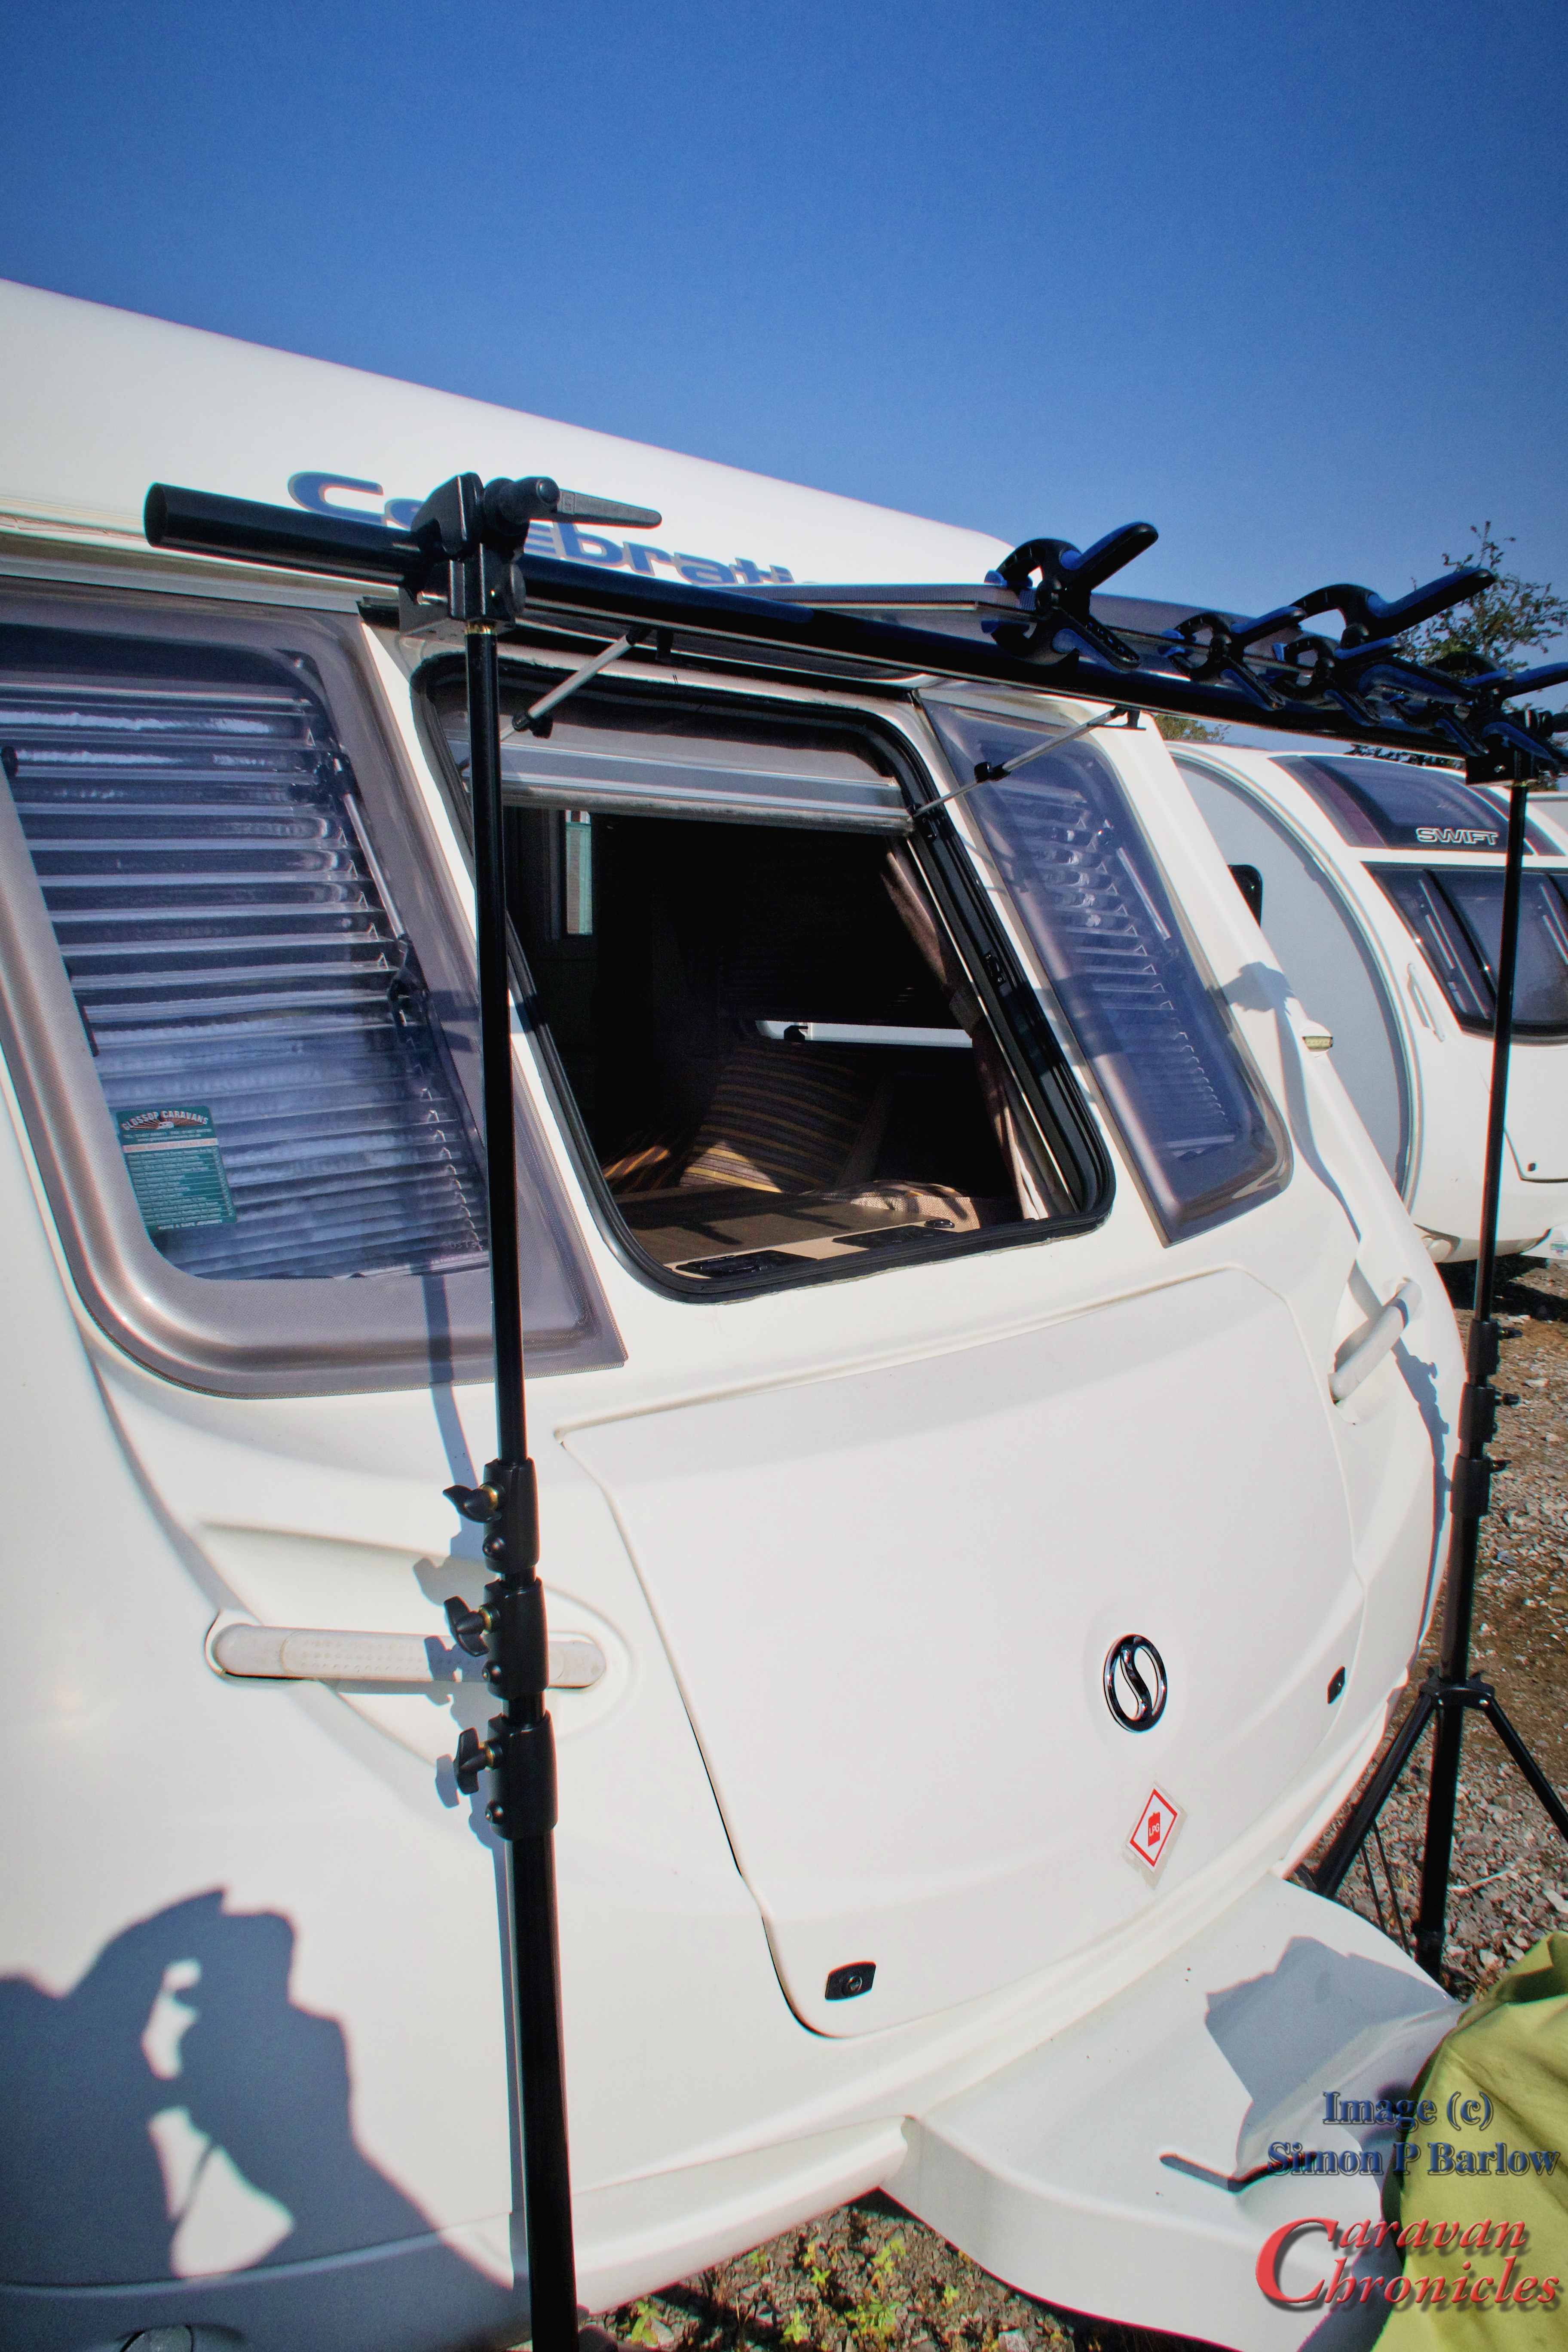
We are selling our caravan! Yep it’s as good as sold all bar the paperwork… is that someone cheering I can hear….. Graham is that you… the Caravan Vlogger…. I guessed as much.

Yep soon it will be off to a new owner to hopefully allow them to enjoy caravanning as much as we have done over the last 12 years. Are we giving up caravanning… ah that is the question. Lets just say the day after we came back from Hanworth Country Park we headed over to North Wales…. to Rhuallt to be exact to see George and Simon….. and see the next stage in our adventures.

That’s it for now.

Bet you can’t wait for the next blog post.

Or are you going to have a guess in the comments?

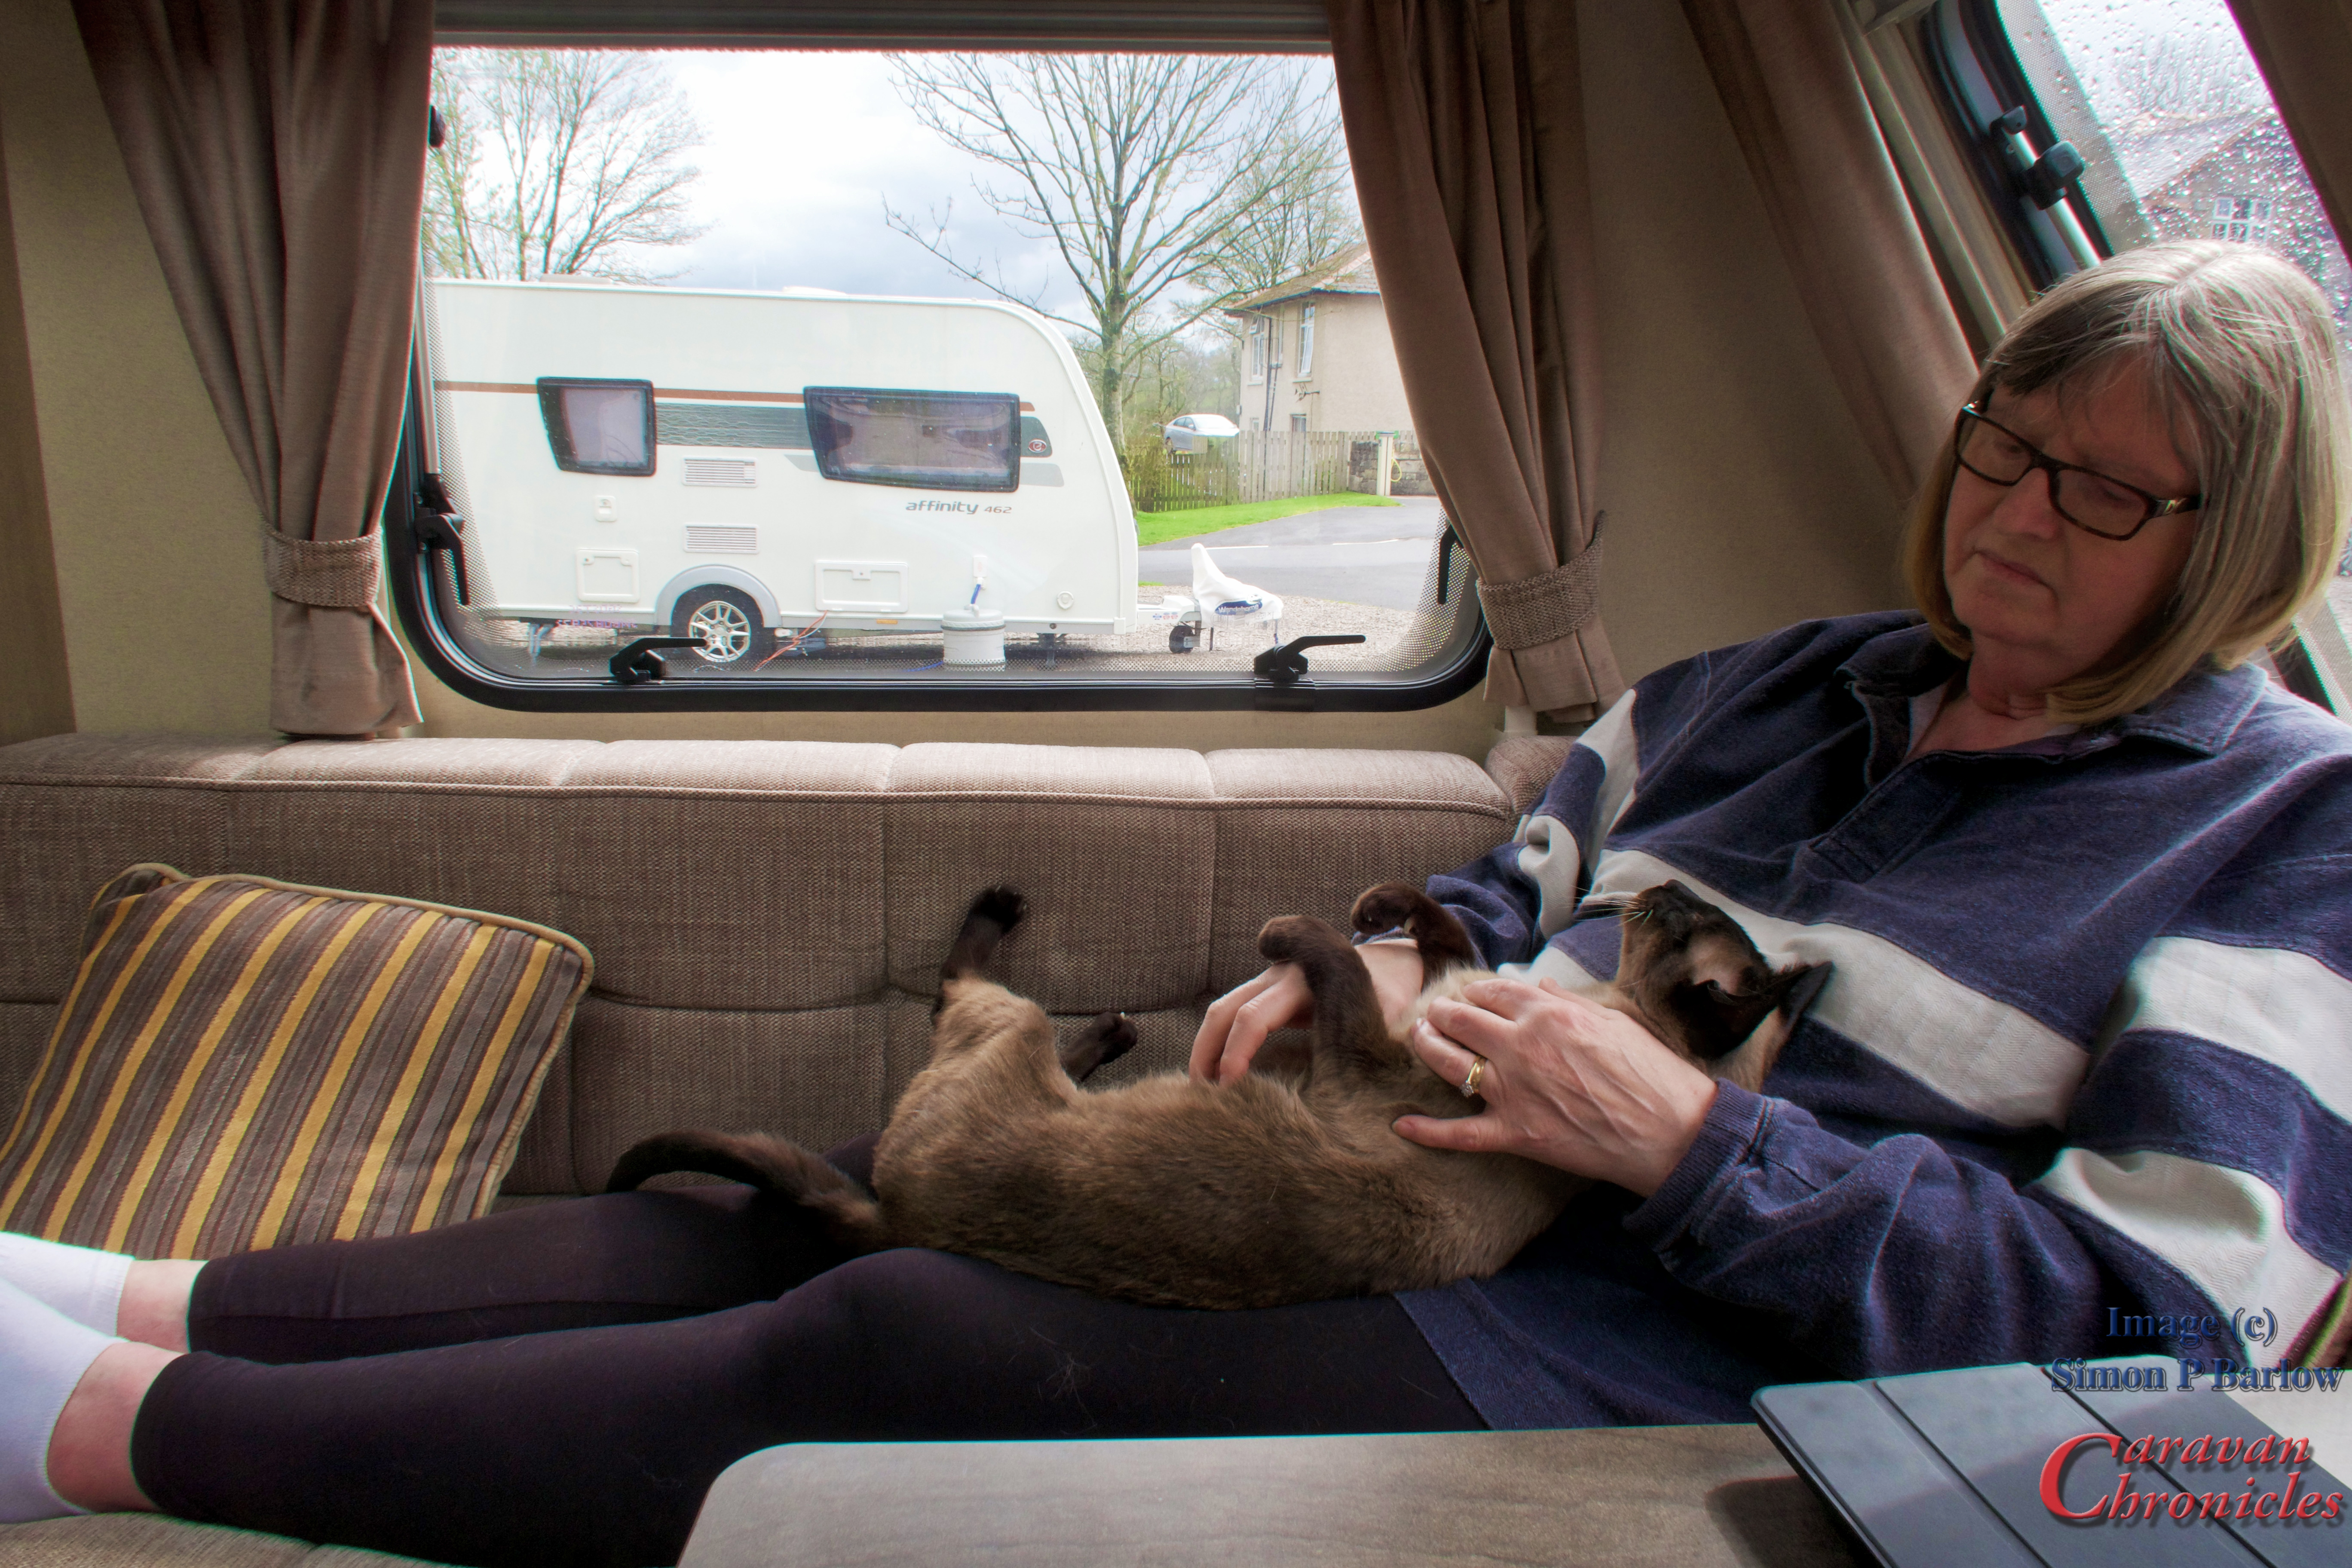
PS…. someone asked for more Henry….

Share this:

  • Click to share on X (Opens in new window) X
  • Click to share on Facebook (Opens in new window) Facebook
  • Click to share on Tumblr (Opens in new window) Tumblr
  • Click to share on Pocket (Opens in new window) Pocket
  • Click to share on Pinterest (Opens in new window) Pinterest
  • Click to share on Reddit (Opens in new window) Reddit
Like Loading...

10 Days, Two Awesome Sites and Breaking News…

10 Saturday Jun 2023

Posted by Simon Barlow in Cherry Tree Springs, General, Lincoln, Locations, MiRider, Sutton-on-Sea

≈ Leave a comment

Tags

Cherry Tree Springs, Sutton-on-Sea

We have just got back from a ten day trip to two awesome sites. The first part of our ten day outing was back to Sutton-on-Sea on the east coast, located half way between Mablethorpe and Skegness. The weather on the east coast was not playing ball and we had some grey skies while the west enjoyed some glorious sunshine. Coming from Manchester it’s always a bit of a downer when the weather is better at home than where you are.

Sutton-on-Sea

After looking at prices for the C & M club site for serviced pitches…30th May to 3 June it came in at a whopping £231.00 ! So a quick search via the usual web sites came up with Cherry Tree Springs, for the same period on a serviced pitch came in at £147.50 a big saving of £83.50.

Cherry Tree Springs is a quiet site, only about half a mile from the C & M club site and Sutton-on-Sea is just as easily accessible. The staff are super friendly and the grounds people were always happy to stop for a brief chat and help out with local questions and advice on best places.

The facilities block was spotless and cleaning was at a sensible time too (yep been caught out on leaving day… just when the block was closed for cleaning!) The pitches were good firm hard standing and level. Th access roads were a tad narrow but we have been on a lot narrower sites.

I think that Cherry Tree Springs is one of those sites you don’t really want to tell people about when you discover it… you want to keep it all for yourself… so please don’t tell anyone else. We don’t want it booked up when we go back in autumn.

There is also a great dog walk that is off road and takes you right down to the beach in about 15 minutes. Ask at reception for a map.

We cycled up to Mablethorpe for morning coffee each day it was a round trip of about an hour on our MiRider e-bikes and really didn’t need any battery assist… apart from one day when it was a good 20 knot headwind heading into Mablethorp. A couple of times we had a cycle round either Sutton or Mablethorpe for an explore.

I’ve zoomed in a bit so you can see the route we took out of Cherry Tree Springs to get to the beach front. If you head right out of the site onto Huttoft Road, you are only on it for about 300 yards, then right turn into Bluestone Way follow that to the end on you will see a passage between two houses that takes you through to Walkington Way and some immaculate bungalows. At the end turn left onto Roman Bank and another 200 yards you will see a steep ramp curving round up to your right. Ride up this and you are on the “prom” with all the beach huts. Keep peddling north for Sutton and Mablethorpe

MiRiders in Mablethorpe

Saturday Night…. Film and Pizza Night!

Our Saturday nights are always film and pizza nights and have been for quite a few years. After having a mooch on line for a suitable purveyor of round Italian delight, we came up blank. Well there were quite a few but the reviews were… well we wouldn’t be ordering.

Helpful staff to the rescue… I asked in reception if they could recommend anywhere for pizza… (up to this point it looked like I would be driving to Pizza Hut in Skegness) The young lady came up trumps and gave a local company called “Pizza Square” (21 Hight Street, Sutton-on-Sea) a huge recommendation. I’d seen the reviews for a company at the same address that were really bad, however there had been a change of ownership and a new name and a growing reputation for providing excellent pizzas.

Square Pizzas…. best thing since sliced bread!

OK, here is the thing… pizzas are round, yep everyone agrees with that. BUT you are missing the four corners which if you think about it a 12 inch round pizza is actually missing a lot of real estate when you cut the corners off over a 12 inch square pizza. We ordered two 12 inch pizzas…. and we had slices left for the following day… and a couple the day after as well. Just glad we didn’t order a garlic bread (yep 12 inch square again) to go with it. It was delivered within 25 min right to the site and the friendly driver even had change which is unusual as in Manchester like many other cities, they don’t carry cash anymore.

Of course, pizza… or any food really is only as good as the last person to order it thinks. I would however say, check with the staff where ever you are staying and if they say it’s OK, then all you can do is give it a try. If it’s not up to scratch, let the staff know where you are staying and maybe the next person to ask them for recommendations might be directed somewhere else. For us though, Square Pizza gets our thumbs up. Ask in reception… they have some menus!

Sunday arrived and it was time to move on. Just before we left some friends who live in the Isle of Wight were actually up in Edinburgh and travelling back home via Lincoln as they were attending an IFFR (International Fellowship of Flying Rotarians) get-together and staying at the Petwood Hotel, which was 617 Dambusters Officers Mess during the war. We arranged to meet up with them while they were there and found a great site nearby… Hanworth Country Park located between Lincoln and Woodhall Spa.

But I guess that is for part two… along with the breaking news!

Share this:

  • Click to share on X (Opens in new window) X
  • Click to share on Facebook (Opens in new window) Facebook
  • Click to share on Tumblr (Opens in new window) Tumblr
  • Click to share on Pocket (Opens in new window) Pocket
  • Click to share on Pinterest (Opens in new window) Pinterest
  • Click to share on Reddit (Opens in new window) Reddit
Like Loading...

Lighting Up The Scene…

25 Saturday Mar 2023

Posted by Simon Barlow in Accessories, Car Trailer, Caravan Electrics, Caravan Road Lights, Electrical, Gadgets, Maintenance, Modifications, Projects, Technical, Tow Vehicle, Towing, Vehicle Wiring Projects

≈ 7 Comments

Tags

Caravan, Caravanning, Caravans, Maintenance, Modifications, Reversing lights, Scene Lights, Towing, Trailer Electrical projects, Travel Trailer, Travel Trailers, Work lights

A while ago I upgraded the lights on our caravan by changing the functions round and added two new LED reversing lights which I can’t understand why I hadn’t done this years ago. In daylight they are bright… and at night they are really bright… retina burning bright according to reports. Reversing into a dark pitch is a lot easier and safety wise having an additional set of tail and brake lights with two large bright rear fog lights instead of the single factory 21 watt light mounted almost as low as you can get on the rear of the caravan is a vast improvement in my mind. You can read about my changes here… “Put Yer Lights On Mate…“

Following that article I had lots of people contact me letting me know they liked what I had done and considering upgrading themselves. Not a clue if anyone did, but that’s how these things go. I did have another email from a gentleman which was a bit different. Now I’ve edited it a bit as it was originally two emails and included a company name and some specific details which I’m sure they would not wish me to publish to the world…. here’s the gist of it though:

“Hi Simon, been reading your blog for a while and I read your post about upgrading your caravan lights. I was wondering if you might be able to help with something we would like to do with our trailers or could put us in touch with someone who can? We have around eight trailers that are used on various locations separately or as a group and are towed by a variety of vehicles, mostly our own but occasionally by contractors. Most of our trailers have additional side lighting powered off the trailers own batteries which are charged from the vehicle or while on site from generators. A lot of our set up and tear down is done at night and we have had issues at dark locations where the vehicles reversing lights don’t really help. Is there any way we could get the side work lighting to come on when the vehicle reverses but could be controlled from the vehicle without any additional switches or alterations to the vehicles but could be turned on and off as reversing on a public road with them on might not be legal”

From an exchange of emails, I do know what the company does and some of the sorts of places it works. They don’t always have access to mains power when setting up or tearing down and would like something that can easily be installed in a trailer without too much alteration to the electrical services. Nothing could be installed in any of the tow vehicles as the vehicles were not always their own and I first suggested a cheap(ish) remote switch that could be used by the driver to turn them on and off as required. I was told this was not an option as the remote switches would likely get lost/damaged or need batteries or be with the wrong crew, some sites they could not use any radio equipment.

Time to put my thinking cat on…

Polo…. always a great thinking cat, sadly no longer with us.

I had a bit of an idea forming. Something I’d seen on a Class A American RV (Prevost I think) was a set of spotlights set in the side panel of the RV pointing backwards and located near the front wheel. These lit up down the side of the RV and the ground to the side when reversing…. I’d thought about adding a couple of simple cheap LED lights to the underside of the caravan between the wheel and front of the caravan angled outwards by about 60 degrees mounted under the floor… so when I reversed they lit up the caravan wheel and the ground it was going over so I could see it clearly at night in my mirrors. I had pondered how to switch this on and off using the Amarok but not add any more wiring between the caravan and vehicle. So I’d already come up with a solution.

Here is what I came up with…

It’s a simple two relay set up. The two triggers for this to work are the vehicle reversing lights and the rear fog lights. The top relay in the box is activated by the vehicle being in reverse with the reversing lights on. The lower relay is activated by turning the vehicles rear fog lights on. Only when these two conditions are met, is there a circuit across the two relays switches made thus activating the work lights on the trailer.

Quite simply when reversing to turn on the work light simply turn on the rear fog lights and the work lights will come on.

Cables 1, 2 & 3 connect to the road lights. Cables 4 & 5 are for the switched load. The cost was around £15 for the components for each unit and that included Bosch relays & sockets, the die-cast box and fuse holder. I guess putting it in a plastic case and using cheaper eBay sourced relays could halve that cost.

I did also think that as an upgrade or option the relay operated by the reversing lights could be a timer relay. Set it to say 15 seconds, then when reversing you turn on the work lights and they will remain on of 15 seconds after reversing as long as the rear fog lights are on. This would give you time to reverse, pull forward and reverse again. Each time you select reverse the timer would reset and as soon as you disengaged reverse the timer would start its countdown again.

High level work lights could be a boon to reversing into dark pitches or storage sites. Image take from the internet, copyright not mine.

It was as simple as I could get it using existing signals from the vehicle that already pass through to the trailer. I guess it could be used to turn anything on using any combination of lights operating from the vehicle.

The wiring between the road lights and work lights is kept separate as I wasn’t 100% sure how the trailers power system worked and how it was connected to the road lights (if at all) The two relays were installed in a die cast box with a grommet for the 5 cables. All the trailers were fitted with one of these and apparently they have all been working fine for several months.

Why did I opt for reversing lights and fog lights?

I wanted something that would not be used generally through the day so reversing on a public road during daylight or even at night the work lights would not illuminate. Running during the day with lights on and your fog lights will not operate the working lights… and if you are running in weather that requires headlights and rear fog light… then I guess having the working lights come on while you reverse in those inclement weather conditions just makes you more visible to everyone around. So apart from that I don’t think that you will cause a danger on the road with this set-up.

So…. I think I might just have to install one of these on my caravan…. just in case!

Low level scene lights down the side of the trailer can be just as effective as high level work lights. Image taken from the internet, copyright not mine.

Its a fairly simple DIY job to build a box and install it without too much messing about with the original wiring. Now someone asked me about getting the orange side marker lights to flash in time with the indicators…. and remain as side markers when the indicators weren’t being used. Is this something I need to put my thinking cat on for? Let me know in the comments.

Share this:

  • Click to share on X (Opens in new window) X
  • Click to share on Facebook (Opens in new window) Facebook
  • Click to share on Tumblr (Opens in new window) Tumblr
  • Click to share on Pocket (Opens in new window) Pocket
  • Click to share on Pinterest (Opens in new window) Pinterest
  • Click to share on Reddit (Opens in new window) Reddit
Like Loading...

Adapting Our Bike Rack for e-Bikes

31 Tuesday May 2022

Posted by Simon Barlow in Accessories, Amarok, Bike Carrier, Bike Rack, e-bikes, MiRider, Modifications, VW Amarok

≈ 4 Comments

Tags

Bike Rack, e-Bike, MiRider, Modifications

Getting to that certain age brings on some restrictions…. My left knee is a bit suspect and Sue’s hip is not as ‘hop’ as it was anymore, This meant of we haven’t been using our bikes as much and as Sue has now officially retired and Henry has settled in to caravanning we are getting out and about more in the caravan.

We had been mulling over e-bikes for a while and after being influenced by John & Mandy who used to live in the next “village” to us, watching Neil and Emma from Urban Vanlife and having a long conversation with a gentleman who was also staying at Wirral Country Park who had bought two MiRider One bikes for himself and his wife lead us to paying a visit to the MiRider factory in Wigan.

We had a try… and liked them almost immediately. One big question for me was would they mount OK on our existing rack above the bed of the Amarok. The guys there were great and allowed me to fit one of their test bikes and take some photos. It only needed a few tweaks here and there to accept the MiRider bikes without any issues.

Two days later we went back to pick our new bikes up. In the realities of todays internet, full disclosure – we paid full price for these two bikes, no discount, no “freebie’s” etc. so what I will say about them when it comes to a review will be honest comments.

The bikes fitted onto the racks easily, however I did want to move them forward as the existing setup was for two full size cross bikes which required some rear overhang. Moving to the MiRider e-bikes gave me the opportunity to move the bike mounts forward.

You can see the rear overhang in the photo above and the available space at the front. Sliding the rails forward and relocating the wheel mounts allowed the bikes to easily position forward of the rear tail gate.

The thing that now had me thinking was the weight distribution. The rear wheel is obviously heavier than the front, as it contains the electric motor and the battery is held in the frame forward of the pedal crank so weight across the two wheels is pretty much even. However, the overhang of the mounting rails meant the front wheel was well forward of the main cross bar.

This really could do with a support. So after putting my thinking cat on…. nope Henry wasn’t;t very helpful… In the best Baldrick fashion I came up with a cunning plan. The front of the pickup bed frame is quite strong and the strength was increased by the aluminium box that the Roll-N-Lok cover fits into.

I cut two pieces of 1.5mm steel sheet and bent them so as to fit under the lip of the Roll-N-Lok cover resting on the frame of the pickup bed and bent them to form a support under the bike mount rails. I made a couple of stop blocks out of recycled plastic to hold the supports to the mount rails.

The design means I can still remove the cover for the Roll-N-Lok to service it and I don’t need to use any tools to remove the brackets if I want to remove the whole thing from the pickup bed… just the 4 Thule key locks to release the whole bike rack from he mounting pads.

I gave the two brackets three coats of spray-on truck bed liner and let them harden for a couple of days before installing. Hopefully this should be enough.

All in, I think it looks OK and the functionality of everything still works. The bikes are secure with no flexing in the mount. We still have room for a narrow roof box or mesh cargo tray between the two bikes if we need more room. I always have the option of moving the bikes to one side and mounting a standard Thule roof box if we really get pushed for space.

Another little thing we can do is plug the bikes in to charge while travelling. I’m not sure how handy this will be, but its there just in case.

I hope this gives you some ideas for e-bike mounting options of your own. For us, it’s next stop Bridlington for a few days to do a bit of testing.

Share this:

  • Click to share on X (Opens in new window) X
  • Click to share on Facebook (Opens in new window) Facebook
  • Click to share on Tumblr (Opens in new window) Tumblr
  • Click to share on Pocket (Opens in new window) Pocket
  • Click to share on Pinterest (Opens in new window) Pinterest
  • Click to share on Reddit (Opens in new window) Reddit
Like Loading...

Has Bailey Built Our Perfect Caravan?…

11 Wednesday May 2022

Posted by Simon Barlow in Bailey of Bristol, Caravan Designs, Caravan Review, General, Reviews

≈ 14 Comments

Tags

Alicanto Grande Porto, Bailey of Bristol, Caravan Review

You know by now I don’t do caravan reviews. I leave it to people far better at it than myself. I have however over the years written a few articles about caravan design ( Never admit to being a caravan designer ) and waffled on as we looked around pondering the merits of changing our caravan. We kept ticking boxes…. but never enough boxes to actually go for it and buy a new caravan. Well a few months ago I received the marketing info from Bailey about it’s 2022 caravans and to be honest I only gave them a cursory look through. While we were away recently I started looking at what they’d sent out. I also had a link to a video done by the excellent Lee Davey (Twitter: @TinTent ) Bailey’s brand ambassador about the Bailey Alicanto Grande Porto

A full link to the Bailey of Bristol website with details is here: https://www.baileyofbristol.co.uk/touring-caravans/alicanto-grande/alicanto-grande-porto/

A few things that tick our boxes straight away are the centre wash room and larger bed (more room for our cat!) and the generous wardrobe space. One of our (Err… Sue’s) comparisons is always how much hanging rail space has a caravan got when compared to our current Swift caravan… and the Alicanto Grande Porto has three wardrobes which add up to slightly more rail space we currently enjoy.

Image (c) Bailey of Bristol

A key box ticker for me though is the great through locker at the rear of the caravan. There are very few caravans that offer external lockers on the off side, which is really where you need your ‘stuff’… be it mains hook up lead, waste water pipe, waste hog, fresh water hook up kit etc.etc. When setting up I find I’m always having to walk between the off side and front gas locker or near side lockers to get all my bits out. I can see that with the Alicante Grande range being able to store all that stuff in a locker on the off side will be a great feature. The only thing that you would have to be careful of is putting too much stuff in at the rear of the caravan, but Bailey have you covered to a large extent by having the gas locker close to the axle centre line and not at the front which always requires some counterbalancing by the designers you will have greater flexibility when loading.

So what else is ticking the boxes for me?

Well, you see the small lockers either side of the bed… Bailey show them with books in…

Image (c) Bailey of Bristol

Well to me these are shoe lockers… for some reason we always seem to have a collection of shoes by our caravan door and nowhere to store them without the usual routing through dozens (I may exaggerate here) of shoes that don’t belong to you to find one pair that is actually yours. That is a box ticker right there!

Another tick is where the powered roof vent is installed…

Image (c) Bailey of Bristol

….right above the stove top and above the microwave. It would have been ascetically pleasing I guess to install it on the centre line of the caravan, but for efficiency as close to above where all the steam and smells are created is as good as it gets (an extracting cooker hood would have earned a gold star not a tick… but they are getting close!)

Oh… here’s another one…

Our current caravan has the usual three gas and one electric ring… the only problem is that the electric ring is lower than the supports for the pans on the gas ring. This severely limits the size of pan you can use on the electric ring. Hurrah… The cooker has been redesigned, OK I know it’s not Bailey that have done this… but someone somewhere had a lightbulb moment and the electric ring is now raised up and you can use a larger pan. Small things I know, but it’s the small things ticking boxes that turn something from being good to being great.

While we are in the kitchen… finally a microwave that doesn’t have the spinning plate of doom. I always have the vision of our microwave plate sliding out and landing edge on to the glass cover of the hob breaking it each time we open the microwave door after travelling.

A quick visit to the bathroom…

Most mid bathroom caravans take advantage of the ability to close off the area from the rest of the caravan by having a door that is dual function… closing off the living area or the bathroom. Not unique I know but Bailey seems to have created a huge sink and toilet area even with the door closed and a massive area when the door is used to close off the living area. Enough room to swing a cat…. not that I would ever swing our cat Henry round! With the pocket door to the bedroom closed, it makes a great changing area with plenty of ‘elbow’ room without having to close window blinds each time.

I know it’s not a ‘first’… but top marks too for installing a roof vent in the shower cubicle… an easy way to vent all the steam when using the shower. Something lacking on our current van.

So what have they missed out on for me?

As most caravans are used on pitches which are designed with EHU bollards, water taps and waste outlets to the rear of the pitch… I still think that you could save punching holes in the sides of caravans to install water and EHU connections. With the Alicanto Grande Porto‘s design, you could install the electrical and water connections in the rear locker on the off side and have an access hole in the floor for your cable and water pipe. Rather than a 25 metre electrical cable you may be able to get away with only carrying a 10 metre cable. American RV’s and travel trailers have been doing this sort of thing for years. OK I know that for the electrics there are a couple of regulations that need to be catered for, but I’m sure they are not insurmountable and I’m also sure that not having to create holes to install and seal expensive “connection boxes” for power and water could be a cost saving.

The caravan comes with two (in the case of the Porto) ALKO wheel locks. I’d much prefer the Bailey Nemesis Wheel Lock to be supplied instead… or at least an option to choose between the two as a zero cost option when buying a new caravan.

Sue would really really like a hair/makeup mirror… one that can be articulated… maybe with lights…. and a perfect place would be for us on the TV mount in the bedroom. We don’t have a TV in the bedroom and maybe one of those useful accessories could be an optional illuminated mirror and mount to fit on the TV do-hicky…. I’m sure Sue wouldn’t mind if it had “Bailey” branding on it either!

Summing up…

I’m not going to go on about the onboard water tank, built in WiFi, it’s security features, Al-Ko ATC and flashy coloured lighting… I’ll just turn it into just another magazine style review if I’m not careful, but I just wanted to point out some of the things that have been ticking our boxes and made us take notice.

Thanks for reading all this… you get a tick in the box for that!

If you own a 2022 Bailey Alicanto Grande Porto, I’d love to hear what you think about it…. and if we see you on site… can we pop in and have a nosey round…. We’ve not been able to see one in the flesh yet!

Share this:

  • Click to share on X (Opens in new window) X
  • Click to share on Facebook (Opens in new window) Facebook
  • Click to share on Tumblr (Opens in new window) Tumblr
  • Click to share on Pocket (Opens in new window) Pocket
  • Click to share on Pinterest (Opens in new window) Pinterest
  • Click to share on Reddit (Opens in new window) Reddit
Like Loading...

Just a quick one…

08 Sunday May 2022

Posted by Simon Barlow in Accessories, Caravan Electrics, Electrical, Modifications, Off Grid, Projects, Technical

≈ 9 Comments

Tags

Caravan, Caravan Electrical, Caravanning, Caravans, Off Grid, Travel Trailers

Lithium Upgrade for a caravan

I’ve had quite a few people email me asking for more information about the Victron system for a caravan that I was planning mentioned in the previous post. As this seems to have generated a number of questions, rather than give detailed answers to each one I thought I’d post the drawings. For the moment it’s on hold but here are the drawings.

While Victron would seem the obvious choice, there are a number of recent new products from Sterling Power that have rekindled my interest in the project…. watch this space.

Share this:

  • Click to share on X (Opens in new window) X
  • Click to share on Facebook (Opens in new window) Facebook
  • Click to share on Tumblr (Opens in new window) Tumblr
  • Click to share on Pocket (Opens in new window) Pocket
  • Click to share on Pinterest (Opens in new window) Pinterest
  • Click to share on Reddit (Opens in new window) Reddit
Like Loading...

A Few Mods and Updates…

08 Sunday May 2022

Posted by Simon Barlow in Accessories, Gadgets, General, Maintenance, Reviews, Tips, Water & Plumbing

≈ 8 Comments

Tags

Caravan, Caravanning, Caravans, Modifications, Travel Trailer

After our recent trip to Meathop Fell it was time to say goodbye to an old friend. We have had our leisure battery since 2011 and for 11 years it has given us great service. For the last year or so I have thought hard about converting over to Lithium and drew up plans for a high capacity charging link between the tow vehicle and caravan and converting the caravan over to a Victron based system. However I think that for this caravan it would not be worth it.

We had bought a 120Ah Numax battery (left one above) from ABS and it had worked well, even now it still hold a charge and is sitting in my workshop on trickle charge waiting for a project to come along. I went back to Advanced Battery Supplies and opted to go for a 120Ah AGM. It wasn’t too expensive and hopefully it will give us years of service like it’s predecessor. I’ve used ABS for batteries a number of times over the past 12 or so years and can recommend them. I’m not sponsored by them and I paid for the battery but I have found that for me they give sensible advice and great service. That’s why I’m happy to mention them. You can call in personally or they do ship overnight ordering from their website – https://advancedbatterysupplies.co.uk

Battery taken care of now it was time to head into the workshop for a bit of construction….

Henry’s Conveyance Contrivance…

If you have read any of my posts over the last few years you will know that we have Siamese cats…. well sadly Oscar our health and safety officer passed away a while ago leaving us with just his brother Henry. Up to this point we have always had a cat sitter whenever we were away but June has now retired and honestly we could not face the thought of leaving Henry in a cattery or on his own with another cat sitter. So, a couple of exploratory trips up to the caravan for an hour just to let him sit in it and explore round lead us to a two night stay at Burrs Country Park…. only about thirty minutes away from home, that went well and so did the next trip to Meathop Fell. It was now time to build Henry a suitable transport platform for the vehicle.

Henry keeping an eye on the goings on at Meathop Fell

After a bit of head scratching I came up with this….

I built it out of 12mm Ply and painted it grey. I used an off cut of black car carpet to cover the top and sides and a couple of lengths of pipe insulation on the edges where it comes into contact with the car seat and door. To secure it I used the ISO FIX points and it takes less than 30 seconds to remove or install. Without Henrys carrying cage it’s a handy place to put things and the space underneath come in super handy for all my bits that I normally have rolling around on the floor behind the drivers seat. It’s high enough for Henry to be able to see out around in all directions and there is still enough space for two people to sit on the back seat and use the seatbelts if required.

We have used it for two trips now and Henry seems to like it. The rear windows are heavily tinted in our Amarok which will cut the heat from the sun and we can open the rear window for fresh air as required. We are looking round for one of the stick on baby sun screen thingy’s if we think the sun is going to be too strong. Of course we would never leave Henry in the vehicle unattended for more than a couple of minutes… the only time we have done this is while we were hitching up the caravan. If you know Siamese then you know they can be noisy talkative beings…. so far he’s not had anything to say about it. Is that a good sign?

Tempting Fate…

In the eleven years we have been at our storage site we have never had any break-ins but it’s aways in the back of your mind…. and couple that with us sometimes leaving Henry in the caravan while on site I decided a little security upgrade was required (there are others but I’m not going to tell you about them!) I’d looked at the various offerings of additional door locks and after some thinking… and several coffee’s decided to go for the Milenco Door Frame Lock Version 2 offering that allowed us to operate it from inside as well.

I ordered it via Amazon ( https://amzn.to/3sHywnd )and it arrived within two days. It was easy enough to install but I ‘upgraded’ the interior fitting with a custom stainless steel strengthening plate…

The stainless I used was 1.4mm tooled finish, cut to size and drilled using the template provided with the Milenco lock. After measuring the location, I bent the stainless on my sheet bender in the workshop. I chose the location as this was the strongest part of the door frame where the existing door lock was located and would help protect the original lock so a small extent. Ideally I would have liked the arm to have been a bit longer so it covered up the keyhole for the original lock. But I’m happy with it.

Down the drain…

Long time readers will remember that several years ago I wrote a post about how we solved our connection to the drain while on serviced pitches. After ten years of use It was time for an upgrade and I had seen the COLAPZ products and thought it was a rather nifty idea. Having a mooch round the web I ordered directly from the website https://colapz.co.uk/?ref=yjXJSsLdBkh5d and opted for the Flexi waste pipe kit – 8 pipes for £55.

The first use was great and easy to set up. No modification was needed to my original manifold that connects to the caravan and it seems to drain OK….

However you can alway improve on things…. and if you have ever watched any Youtube videos about American RV’s then you will know that for their ‘stinky slinky’s’ they have a few upgrades…. I ordered one from Amazon….

Camco 43041 15′ Sidewinder Plastic Sewer Hose Support – https://amzn.to/3Fp2elM it cost £44 and came all the way from the great state of New Jersey. It comes with a carrying handle and honestly is really easy to use. I just stretched it out and lifted the pipe on to it. It is designed for a 4 inch sewer pipe… but as I was using basically a 2 inch version it would allow the hose support to stretch even further… I bought the 15 feet version and I recon it would stretch to 20 feet without any problems.

When we were packing up, I ran all the remaining hot water down the sink to flush the pipework out… including the Colapz pipework and honestly when disconnecting everything it really wasn’t that dirty, but breaking it down into individual lengths makes it easy if it does need a brush through it (which you get by the way in the kit).

Again we are not sponsored by either of these two companies but the links above will earn us a few pennies that will help provide biscuits for Henry. You wouldn’t want Henry to mis out on biscuit treats would you….

After all he can’t survive on just belly rubs…. I know it’s blackmail but EVERYONE said you need a cute kitty to get more views!

Share this:

  • Click to share on X (Opens in new window) X
  • Click to share on Facebook (Opens in new window) Facebook
  • Click to share on Tumblr (Opens in new window) Tumblr
  • Click to share on Pocket (Opens in new window) Pocket
  • Click to share on Pinterest (Opens in new window) Pinterest
  • Click to share on Reddit (Opens in new window) Reddit
Like Loading...

Finishing Off A Few Jobs…

09 Thursday Sep 2021

Posted by Simon Barlow in Accessories, Caravan Electrics, Caravan Restoration, Caravan Servicing, Caravan Window Repair, Gadgets, General, Modifications, Technical

≈ 7 Comments

Tags

Caravans, LED Lights, Maintenance, Modifications, Window Repair

I’d got a few little jobs still outstanding from our big clean a week or so ago. The big one was to repair the front window. When we were cleaning the caravan I noticed that the bottom edge of the central window was starting to separate. After some lengthy procrastination I’d have preferred to replace it but given the hefty price tag and the “It will be January next year at the earliest before we can get you one” type answers from suppliers and removing the window and shipping to off to a company for repair would cost almost the same as a replacement.

It can’t be beyond a diy task to repair. I did a bit of searching for information relating to repairs and one name kept popping up as the manufacturer of the product used to bond the two sheets together…Bondrite Adhesives Ltd.

After reading through Bondrite Adhesives Ltd website a couple of times to work out exactly with adhesive I’d need I ordered their WC112 acrylic adhesive. The 50ml size was £12.10 plus shipping and VAT bringing the total to £20.52. It arrived within 24 hours of ordering, was really well packaged and came with a detailed technical sheet and guidance notes.

I’m not going to do a blow by blow account of how to repair a delaminated window… as I don’t know if this is even going to work, but my first step was to support the window as flat as I could. The standard recommendation is to remove the window lay it on a flat surface and go from there. I didn’t want to remove the window as all I had to repair was the lower edge.

Improvising I used two stands with a cross beam clamped between them to hold the window horizontal. This should take any flexing stress caused by the window stays out of the equation…. Hopefully!

To hold the gap between he two sheets I used three long needles from syringes… this allowed me just enough wiggle room to slide some blotting paper with a bit of isopropanol alcohol to clean out any contaminates. I’d already tested this to make sure it was safe and it does evaporate very quickly.

You are advised to lay down a 5mm bead of glue… as this was going to be difficult between the two sheets of partially bonded plastic I opted to use a wide bore syringe needle on the glue bottle which allowed me to squeeze glue into the gap… it was a bit fiddly but I managed to achieve what I thought would be the right amount. Sliding the three previous inserted needles out to allow the sheets to come together I used some fairly light clamps to hold the pieces together while they cured. Bondrite do caution about NOT using an excessive clamping force as it can lead to crazing of the sheets.

The data sheet advice is that handling strength is achieved after about 3 hours at 20 deg C. I covered up the glued area with microfibre cloths to protect it from the sun and had a sit down with an iced coffee and a sammich.

Next Job…

If you read my previous post “Put Your Lights On Mate…” then you might have picked up on my request at the end for any recommendations for a UK supplier of good quality replacement LED bulbs. Well Peter Farnham posted in the comments section and recommended Classic Car LEDS Ltd ( https://www.classiccarleds.co.uk ). A couple of days later I dropped them an email with a few questions and Duncan replied back with some details. A few more exchanges of emails ended up with me ordering replacement LED bulbs for the new fog lights, indicator lights and stop/tail lights. This is not a sponsored post and I paid the required number of beer tokens for these.

Not much to say on changing the bulbs over… what was noticeable was though they did have a bit heft to them… they seem really really well made. No flexing, solid and just had that feel about them that made me go “Mmmm” while nodding slowly…. almost in a Joey Tribbiani moment.

I did try to do before and after photos to compare the light output…. even tried a short video with one side changed over and the other side on conventional filament bulbs… all failed…. not as easy as it looks in strong sunlight even though the caravan rear was in shade. However the photo above is one side converted over. This is showing the indicator, tail light and fog light lit. The indicators are really bright. Having the LEDS the same colour as the lens works well. The tail light is a strong red and bright while the fog light looks washed out and white… it’s down to the fact that it is so bright its over exposed…. the exposure is correct for the indicator and tail light but the fog light is amazingly bright.. and red.

On the VW Amarok I haven’t had any canbus warnings… I even plugged in my reader to check… all good and no strobing or hyper flash.

To say I’m chuffed with these LED bulbs is a bit of an understatement… if you suffer from rear light envy as you follow one of those gloriously illuminated trucks down the motorway, drop Duncan an email at sales@classiccarleds.co.uk and tell him I sent you. Sort out your rear lights and never again have someone with four megawatts of light bars and spots flashing you and shouting “Put Your Lights On Mate” as they simulate a starship going into warp drive passing you.

Another small job next…

I’d had this gadget for a while and I can’t remember where I got it from. I think it was from a caravan shop at a dealer near York that we visited a while ago.

Simply it’s a security head bolt with a hardened shroud that replaces the normal jockey wheel clamp handle. When it’s installed it is flush with the A frame cover and pretty difficult to get to. It comes with a short handle and socket that fits the security bolt head. I did try with a couple of sockets but the shroud makes it almost impossible to even knock a socket on with a hammer. So if anyone want’s to nick the caravan they now also have to contend with the hassle of getting round my jockey wheel clamp. As I always leave the caravan nose high in storage you can’t even pick it up and drop it on to a tow ball. Hey if it makes them try elsewhere… it works for me.

Thinking about the next step…

This is going to be a big one. I’ve been planning this for a few weeks now and it involves two or three drawings… some detailed planning and I’ve been checking equipment specs in detail. The last stage was to sit and stare at the space available in the caravan and work out Tetris style how it is all physically going to fit in and how much of the existing kit will be removed. More to come soon!

Back to the window…

OK I bet you have been wondering how I got on. Well after nearly five hours of curing time I disassembled my contraption holding the window open and it seems to have worked OK. I can see that it has bonded all along the bottom edge. I could have put a bit more glue in at one spot and needs a light clean up all along the bottom edge to remove what has oozed out. I’ll leave that for at least another 48 hours before attempting to gently sand it off.

All in all I’m pleased with the result and hope to see that it will stand up to the test of time.

Share this:

  • Click to share on X (Opens in new window) X
  • Click to share on Facebook (Opens in new window) Facebook
  • Click to share on Tumblr (Opens in new window) Tumblr
  • Click to share on Pocket (Opens in new window) Pocket
  • Click to share on Pinterest (Opens in new window) Pinterest
  • Click to share on Reddit (Opens in new window) Reddit
Like Loading...

“Put your lights on mate…..”

28 Saturday Aug 2021

Posted by Simon Barlow in Accessories, Amarok, Caravan Electrics, Caravan Road Lights, General, Maintenance, Modifications, Projects, Technical

≈ 6 Comments

Tags

Caravan, Caravan Road Lights, Caravan Upgrade, Caravanning, Caravans, Maintenance, Modifications

How many of you have driven behind a vehicle in less than ideal conditions… going dark, raining or foggy… and uttered those immortal words “Put you lights on mate” in the vein hope it will do some good only to approach a bit closer to find that the lights are on and are less effective as a couple of Ikea tea lights in jam jars. That is the feeling I get with a lot of caravans. In my opinion a lot for rear lights are less than ideal. In this day and age some of the drivers out there need all the help they can get as they even struggle to notice a big white box in front of them in bright sunshine let alone in inclement weather or in the dark.

Our caravan like a lot of other Swift caravans looks great from the rear with nice big lights and reflectors. Reflectors are good if the following driver has turned his headlights on and not been too busy texting and simply relying on the DRL’s to light the way. The big reversing lights will surly let the driver and anyone else behind know you are reversing… but about as useless as the aforementioned Ikea tea light in a jam jar when reversing at an angle into a pitch at night. The rear fog light however deserves a special mention… the single rear fog light…. can you see it… the tiny Lego brick sized rear fog light… the red thing in the middle down low… difficult to spot on a stationary caravan in daylight let alone from a distance on a road in fog. Mind you when that bit of wire in the bulb warms up it will blind you… honestly it will…. eventually… when you get so close because you didn’t see it from ten metres away.

Its time for a change. An upgrade if you will… to allow me to shine a beacon of light towards all that follow. But… and here’s a the big thing… I have to keep it looking nice. Everyone likes a nice rear don’t they.

OK, I searched for all the replacement options. Swift don’t make it easy. The two panels that the lights are mounted in don’t come out, well not easily and I was cautioned about even attempting to remove them. Changing to smart round LED lights was out. Then it struck me… the reversing lights could become fog lights and I would install new reversing lights. I’d towed a trailer a while ago that had football stadium sized reversing lights and wow what a difference it made. One of the first things I did with the Amarok when we got it was to install LED work lights under the rear bumper as reversing lights and that was a huge improvement so I ordered another set from the same company as I’d fitted to the Amarok.

A bit more searching I found the exact lenses for the existing lights in red to turn the reversing lights into fog lights.. it was actually cheaper to order a pair of complete lights than it was to order two replacement red lenses… I’ll never work that one out.

Ok how was I going to wire this lot up. I made a couple of brackets that fitted under the caravan allowing me to mount the reversing lights up close just inboard of the rear steady jacks. This would offer a modicum of protection from road debris thrown up by the tyres. These could be wired to run off the old fog light which would now become a junction box and the reverse lights would become the fog lights, so simply switching the reverse light and fog light cables over at the road light fuse box in the front of the caravan would have everything working correctly.

I also angled the reversing lights out slightly. I wanted the centre of their light pool to be along an extended side line of the caravan so that looking through my mirrors down each side of the caravan would be the centre of the lit area. This hopefully would provide the best angle of illumination when reversing and performing a reversing turn onto a pitch.

“Hang on lads… I’ve got an idea”

Cue the music… no, no doors were blown off during this mod. Right what if the new rear fog lights could be my brake lights when they weren’t being used as fog lights?

A simple diode blocking bridge using two diodes could do this quite easily. Routing through my electronics spares I found a bag of 10 Amp diodes which would easily cope with the task.

For a quick solution I used two strips of terminal block and built a quick blocking bridge. What happens now is applying the brakes powers up the brake light circuit and the fog lights. The diode in the fog light circuit stops me back feeding current to the tow vehicle fog light circuit.

Turning on the fog lights powers up the fog lights and the diode in the bridge stops it powering the brake lights in either the caravan or back feeding to the tow vehicle. Really simple and when testing I didn’t have any canbus or other errors thrown up by the VW Amarok’s management system. The existing (and original) brake and tail lights work as normal.

I’ll have a look at coming up with a better solution than using two lengths of terminal strip and probably build something in a small electrical project box so it can be mounted securely.

As far as I can tell the changes I’ve made all fall in line with the lighting regs for trailers. While I’m 99% sure, there is always the possibility that I could be corrected and shown the error of my ways and point out I have missed something in my reading of the regs. I’ll let you know.

The next thing…

I’m trying to find some good quality bright LED replacement bulbs for all the rear road lights. I have some, but I suspect they are not correctly marked. If anyone has any recommendations for replacement 25W and 5/25W bulbs that they deem are good options to look at, especially if they are correctly marked, please let me know in the comments. If you are a company that sells LED replacement bulbs and think they are the good enough to pass the Caravan Chronicles testing department (we don’t actually have a testing department… its just me) then challenge me to break them!

Safe travels everyone… and “PUT YOUR LIGHTS ON MATE”

Share this:

  • Click to share on X (Opens in new window) X
  • Click to share on Facebook (Opens in new window) Facebook
  • Click to share on Tumblr (Opens in new window) Tumblr
  • Click to share on Pocket (Opens in new window) Pocket
  • Click to share on Pinterest (Opens in new window) Pinterest
  • Click to share on Reddit (Opens in new window) Reddit
Like Loading...
← Older posts
Newer posts →
Buy Me A Coffee

Blog Stats

  • 45,897,976 hits
Follow Caravan Chronicles on WordPress.com

Follow Caravan Chronicles and receive notifications of new posts by email.

Some previous posts you may like...

My last post….

Many thanks to all my friends. As I write this I’m in the Christi hospital hoping to go home in a few days. I was told about a week ago that I had about 3 months to live and should start preparing my affairs. Which Sue and I are trying to do. I have some…

A Bit Of A Tour…

Well not really a tour, only two locations. The first leg was down from Manchester to Glastonbury and a stay at The Old Oaks. We first went there in 2012 and had five or six more visits in the next four years. So it had been quite a while really. We were located in the…

What’s The Question I Get Asked a Lot?

“What’s in your toolbox when travelling?” Tricky one… I don’t have a tool box anymore. I recently started mooching around the internet for a smaller tool box… or rather a tool bag. I used to use up until a few months ago a Stanley Tool Bag. It was lighter than a tool box, I could…

#Tourfest North West

Tourfest North west was our first time attending anything like a gathering of bloggers, vloggers and the generally like minded. It was organised by The Caravan Addys with a little help from others I’m sure as it must be a time consuming task and hard work to bring everything together. We opted to arrive at…

More Jobs Ticked Off…

OK we are still working on a few bits and pieces but the weather on Friday and Saturday was ideal for cleaning the outside of the 5th Wheel. So while Sue made a start on the cleaning of the nose cap, I finished the first stage of the water pump relocation project and upgraded the…

A Few More Jobs Ticked Off The List…

Like any project, ticking the small stuff off a list is the way to move forward even if it seems like sometimes you have ground to a halt. A bit lacking on photos…. I’m temporarily unsure of their location… pilot speak for I’ve lost them! I’ll correct that in due course. I built a new…

A Few Little Jobs Done…

It seems such a long time since I posted anything. Last time out with the Dreamseeker I noticed that the charging voltage when we were hooked up to the truck was only about 12.1 to 12.3 volts as measured in the Dreamseeker battery box. I know that the VW Amarok puts out 14.6 to 14.8…

Happy New Year…

Happy New Year to everyone, I hope you have a great touring year ahead. I’d like to take this opportunity to give you a bit of an update on my personal circumstances and a look forward to a couple of projects I’m planning to kick off our year. First… … A HUGE thank-you yo everyone…

Sutton-on-Sea In September

Just like to say a huge thank you to so many people that have commented or emailed me over my last post. It has cheered me up no end…. it really has. Enough to rattle this post off! We recently went back to Cherry Tree Springs at Sutton on Sea for an 7 day break.…

This Might Be My Last Post…

Not clickbait…. Three weeks ago Sue and I were cycling between 8 and 10 miles each morning to get a morning coffee. Arrived back home and…. well time stopped. I had received notice that my test sample for Bowel Cancer screening had come back positive. Two days later I underwent a colonoscopy procedure which didn’t…

Something went wrong. Please refresh the page and/or try again.

  1. Dave Hart's avatar
    Dave Hart on How to: Connect two batteries in parallelAugust 27, 2024

    brilliant and so well explained! Thank you, love your work!!

  2. Simon Barlow's avatar
    Simon Barlow on Caravan Road Lights – Basic Fault FindingAugust 25, 2024

    Please look at my very last post on the blog

  3. Martin's avatar
    Martin on Caravan Road Lights – Basic Fault FindingAugust 25, 2024

    martin here caravan lights worked fine for two stop overs I had then hooking up again for my third trip…

  4. Emmy’s Camper Travels's avatar
    Emmy’s Camper Travels on My last post….August 25, 2024

    I’m so sorry. My sincerest sympathies go to you and your wife Sue. Your ideas and advice have been so…

  5. Steve Walsh-Jones's avatar
    Steve Walsh-Jones on My last post….August 22, 2024

    very sorry to hear this. Your posts have been very informative and enlightening providing an in depth view on different…

  6. thetwinaxletouringscouser's avatar
    thetwinaxletouringscouser on My last post….August 22, 2024

    Good heavens above Simon I am ever sorry to hear of such devastating news for both you yourself and Sue.…

  7. Eileen's avatar
    Eileen on My last post….August 22, 2024

    Simon and Sue, thank you both for sharing your passion for caravans with us. The news is extremely sad, our…

  8. Philip Parkes's avatar
    Philip Parkes on My last post….August 22, 2024

    Simon. So sad to read you last post today. Our thoughts are with you and Sue at this time. Whilst…

  9. Philip Parkes's avatar
    Philip Parkes on My last post….August 22, 2024

    Simon. So sad reading your post today. Our thoughts are with you and Sue at this time.

  10. Philip Parkes's avatar
    Philip Parkes on My last post….August 22, 2024

    Simon our thoughts are with you and Sue.

  11. Luke Tarrant's avatar
    Luke Tarrant on My last post….August 22, 2024

    Very sorry to read this and my thoughts are with you both at this time.

  12. Alan Smith's avatar
    Alan Smith on My last post….August 22, 2024

    Dearest Simon. I have never met you, but I feel as though I have some (limited) knowledge of you and…

CaravanChronicles.com Tag’s…

5th Wheel Caravan 13 Pin Plug Accessories AL-KO Avtex Bear Extender Bike Rack Blackpool Blackpool Illuminations blogging Cadac Camping & Caravanning Club Canterbury Caravan Caravan Blog Caravan Club Caravan Electrical Caravan Electrics Caravanning Caravans Caravan Show Caravan Talk Cheltenham Chirk Christmas Market Christmas markets Cleaning design Event City Factory Visit Fiamma France Freelander Glastonbury Glossop Caravans Humor Insync Jonic Bedding Lady Heyes La Tournerie Ferme Leisure Battery Leisure Battery Charging LPG Refilling Maintenance Manchester Caravan & Motorhome Modifications NEC North Western Caravans Ltd OLPRO One Hairy Caravanner Oswestry Oxford Product Review Project Review Safefill Sat Nav Sterling Caravans Sterling Power Wildside Swift Factory Swift Group Swift Talk Technical The Old Oaks Touring Towing Tow Vehicle Trafford Centre travel Travel Trailer Travel Trailers vacation VW Amarok Warwick Racecourse WiFI

Website Powered by WordPress.com.

  • Subscribe Subscribed
    • Caravan Chronicles
    • Join 672 other subscribers
    • Already have a WordPress.com account? Log in now.
    • Caravan Chronicles
    • Subscribe Subscribed
    • Sign up
    • Log in
    • Report this content
    • View site in Reader
    • Manage subscriptions
    • Collapse this bar
 

Loading Comments...
 

    %d