Right you didn’t hear this from me! I have just heard about a show offer. If you are going to the show this week at the NEC hi tail it over to Hall 1 and see Tamworth Camping. They and OLPRO have teamed up and will be selling the Bottom & Top and the more concentrated Bottom & Top Plus for your loo for a show stopping £5.99 so go and stock up for the season! All the other chemicals will be on offer too. If you have any questions one of the OLPRO guys will be on the Tamworth Camping stand as well, so ask him about the other stuff they do too!
S
PS… Make sure you stop by OLPRO’s main stand (5300, Hall 5) where you might just catch them all lounging about in their new natty pop up beach huts!
I do like things that do more than one job. I like multi tools for example and I especially like things that do more than one job well. I’m also into things that save space and weight in the caravan, and I have been looking round for ‘stuff’ that does both.
You know those days when you have a cup of coffee in one hand, mouse in the other and you are looking out of the office window at the rain wishing you were staring out of the caravan window instead? Thoughts turn to Googling and by one of those tricks that Google has of finding things you never knew you wanted and completely off the subject I was Googling in the first place found me reading about OLPRO. Continue reading →
Safefillare well known for their red 15 litre (7.56Kg of LPG) refillable gas cylinders and we have been using one these for around two years now. We have saved quite a bit of money when compared to using the rental/exchange cylinders that are available.
One of the biggest advantages is we can always set off camping with a full cylinder of gas and never have to worry about running out. We can easily check the contents through the semi transparent cylinder and if required, take the cylinder out of the caravan, put it in the car and re-fill at the nearest LPG station. There are a growing number of Morrisons petrol stations (over 50 at the time of writing) that have LPG pumps and we have never had any problems filling our cylinder in Morrisons.
Image (c) Safefill
However one of the things people always raise is ” it’s not big enough, we would need two cylinders” OK fair comment and to answer this Safefill have now introduced a new blue 20 litre cylinder… that holds 10.08Kg of gas (that is the equivalent of two and a half 3.9Kg Calor gas cylinders or over one and a half 6Kg Calor gas cylinders) and one of the best things is the price is exactly the same as the red cylinder – £149.99.
At an average LPG pump price of 80 pence per litre, that means it will cost around £16 to fill up from empty… how much would it cost to exchange two 3.9Kg Calor or one 6Kg Calor? (At the time of writing a 3.9Kg Calor is about £15.50 and a 6Kg Calor is around £20.00)
So if you use a lot of gas or are travelling in Europe (European filling adaptors are available) coupled with the weight saving that a refillable cylinder gives over steel cylinders (are you struggling with your nose weight?) and the advantages of being able to always set off with a full cylinder of gas what’s not to like!
To find LPG refilling sites have a look on the Links page or download the Safefill Refilling POI’s for your GPS from their web site.
Do you get dazzled by the reflection of you vehicles fog lights on the front of your caravan at night?
Someone emailed me about this problem. As he had a 4 x 4 and the fog lights were higher than some cars, when he turned the fog lights on, the front of the caravan was lit up bright red and a distraction. He asked me if I could come up with a simple way of turning the vehicle fog lights off, but leaving the caravan fog lights on…. but making sure it complied with the law.
A while ago a chap emailed me asking if I could come up with a way of wiring Daylight Running Lights on a caravan without having to change any wiring in the tow vehicle or making a new connection via the 13 pin plug. He also wanted them to work correctly, i.e when the vehicle lights were turned on, the DRL’s turned off automatically. His idea was to install a 300mm strip of super bright white LED’s up each front corner of his caravan to make the caravan more visible.
Was it possible to come up with a wiring solution?
Fully serviced pitches are becoming increasingly popular. With the facilities in caravans including showers that can actually be used as showers rather than just to hang wet clothes the only downside was the water supply and disposal.
The supply side is catered for quite easily and there are a number of commercially available kits on the market to adapt your caravan’s internal water system to either a direct feed via a pressure regulator or a controlled feed to top up your Aquarol. It’s easy to understand why commercial kits are available, all they have to do is connect from a tap to your caravan’s water system via a length – or multiple lengths of hose and 99% of the time this can be achieved.
However, a system for the drainage is a little different. The problem is water has an annoying habit of only wanting to flow down hill. Before deciding on how I was going to tackle the drainage for our caravan when on sites, I looked what other people were doing. Nearly all were using a length of the standard grey ribbed flexible hose to connect the Y piece to the drain. This seemed OK if the hose length was one or two metres, but after watching one fellow caravanner keep wrestling with what seemed like a 300 foot length of springy pipe which most of it was just coiled round and round on the ground and every time they did the washing up he had to come out and lift sections of it to drain…. that was the way I didn’t want to go. I would have thought cleaning it afterwards would be a bit of a chore as well.
I wanted to go with a rigid pipe and still have the ability to adjust the length without resorting to short lengths of pipe and adaptors. On a trip to the local Screwfix Direct store I checked out the plumbing section. I wanted to use cheap standard pipe and parts where possible. The choice of sink drainage pipe seemed the way to go. There are three colours generally available, Grey Black and White. The Grey and Black have UV stabilisers so that years of being clipped to the outside of houses doesn’t degrade them. The white however is designed only for interior use, but it did offer an advantage. White is easier to see on dimly lit caravan sites and for the amount of time it would be outside I don’t think the UV element will be a factor.
There are two diameters of pipe available and one slides neatly inside another. So using the smaller diameter ‘upstream’ I could effectively have a variable length of pipe. A few elbows and angles should allow me to easily adapt for most conditions.
They say a picture is worth a thousand words….
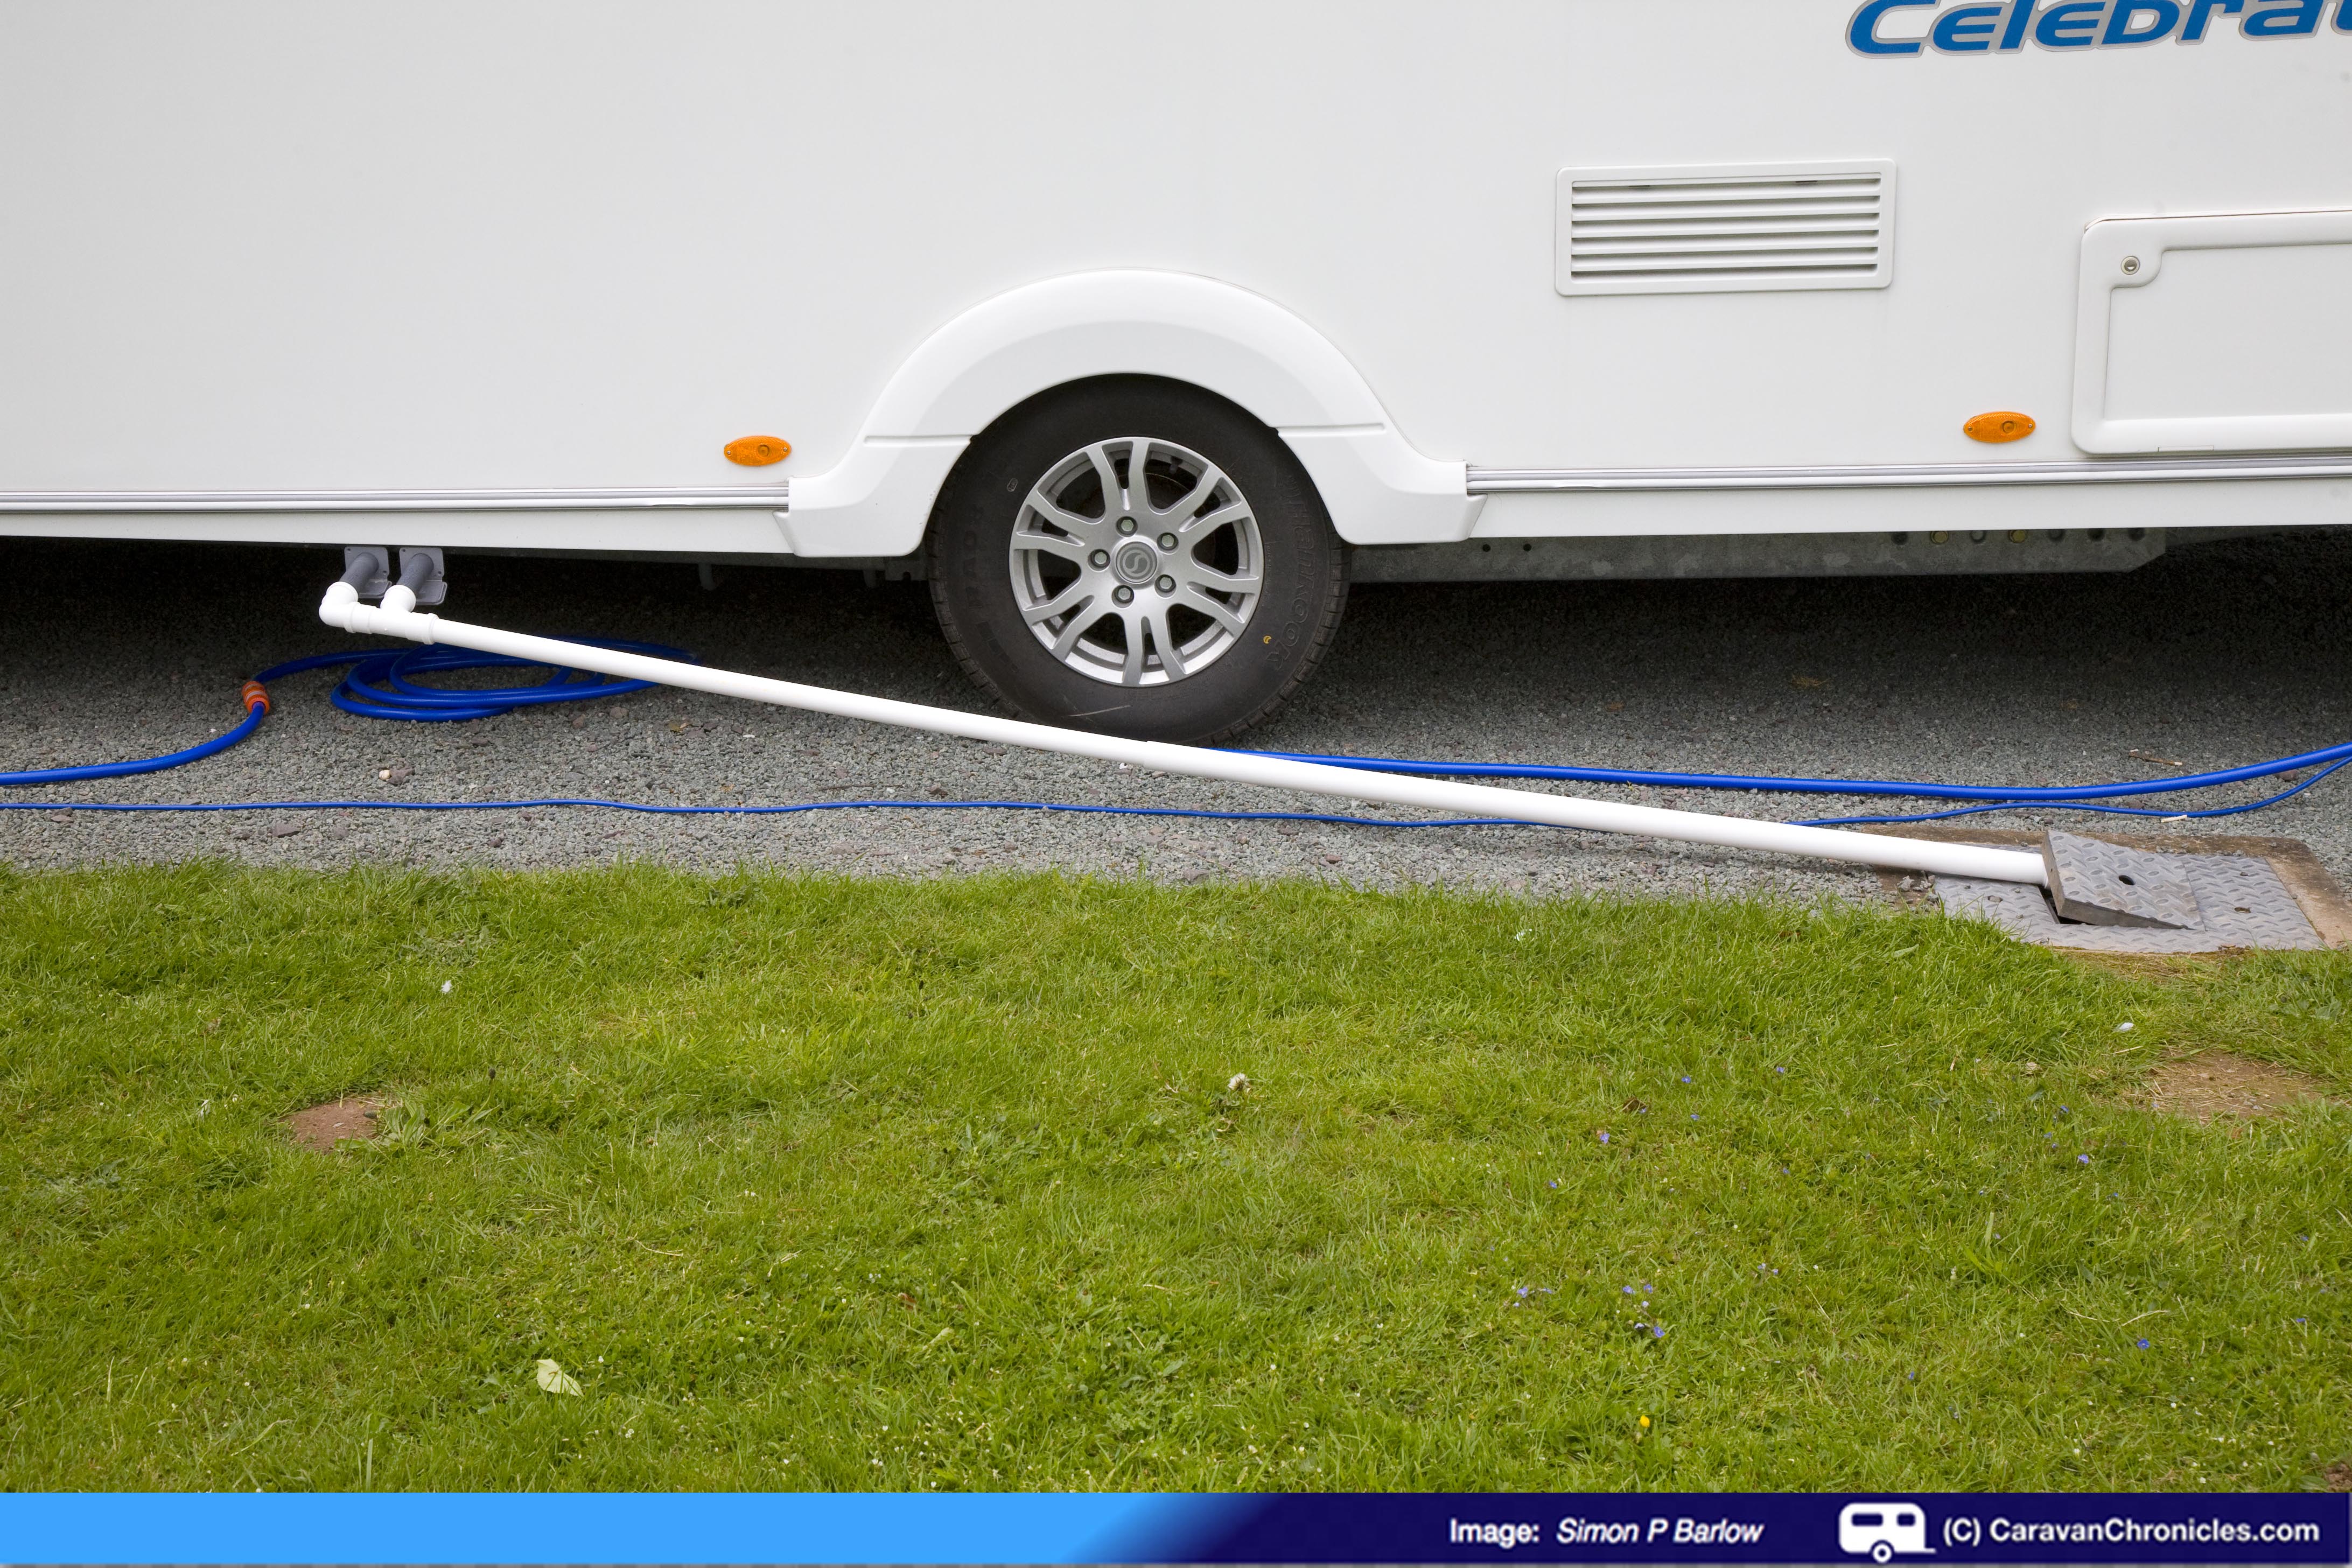
‘My’ drainages system being used at Stanmore Hall
I used the flexible pipes of the ‘Y’ adaptor that came with the caravan to connect up a manifold to join both caravan drain outlets. There is enough flexibility in these pipes to enable the outlet run to be skewed away from the van. I cut the two 3 metre lengths of pipe down so they could easily fit in the gas locker.
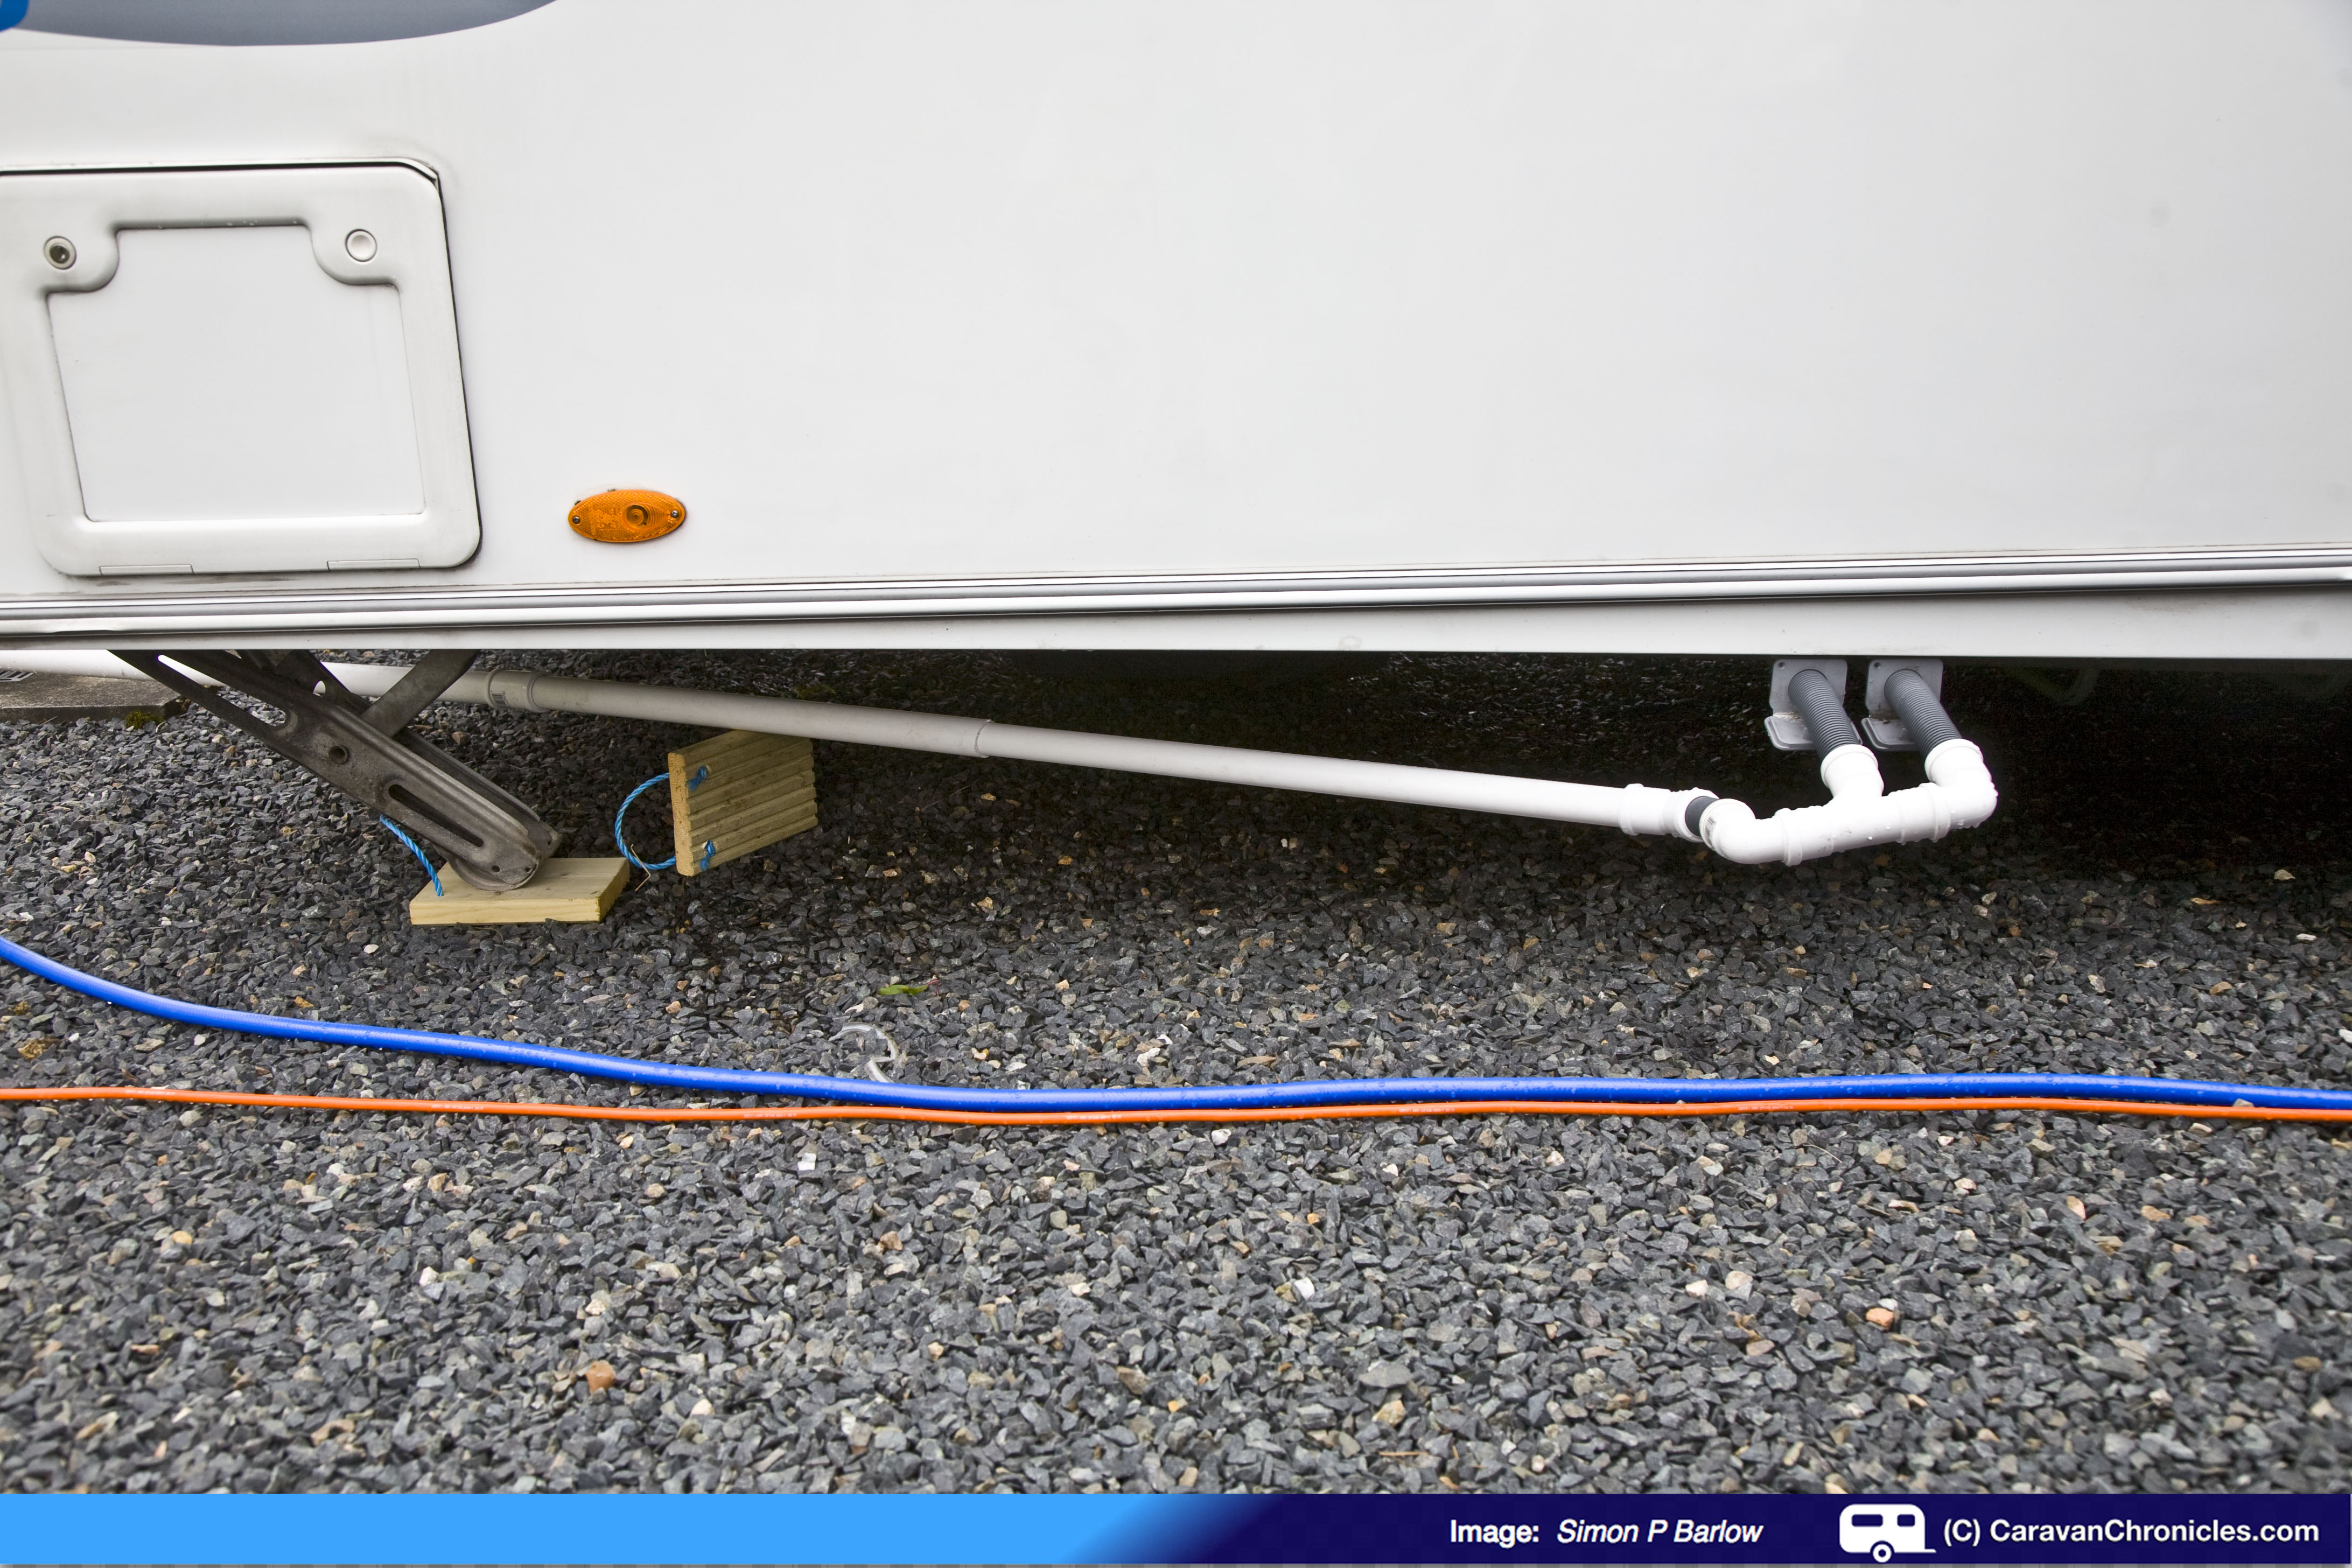
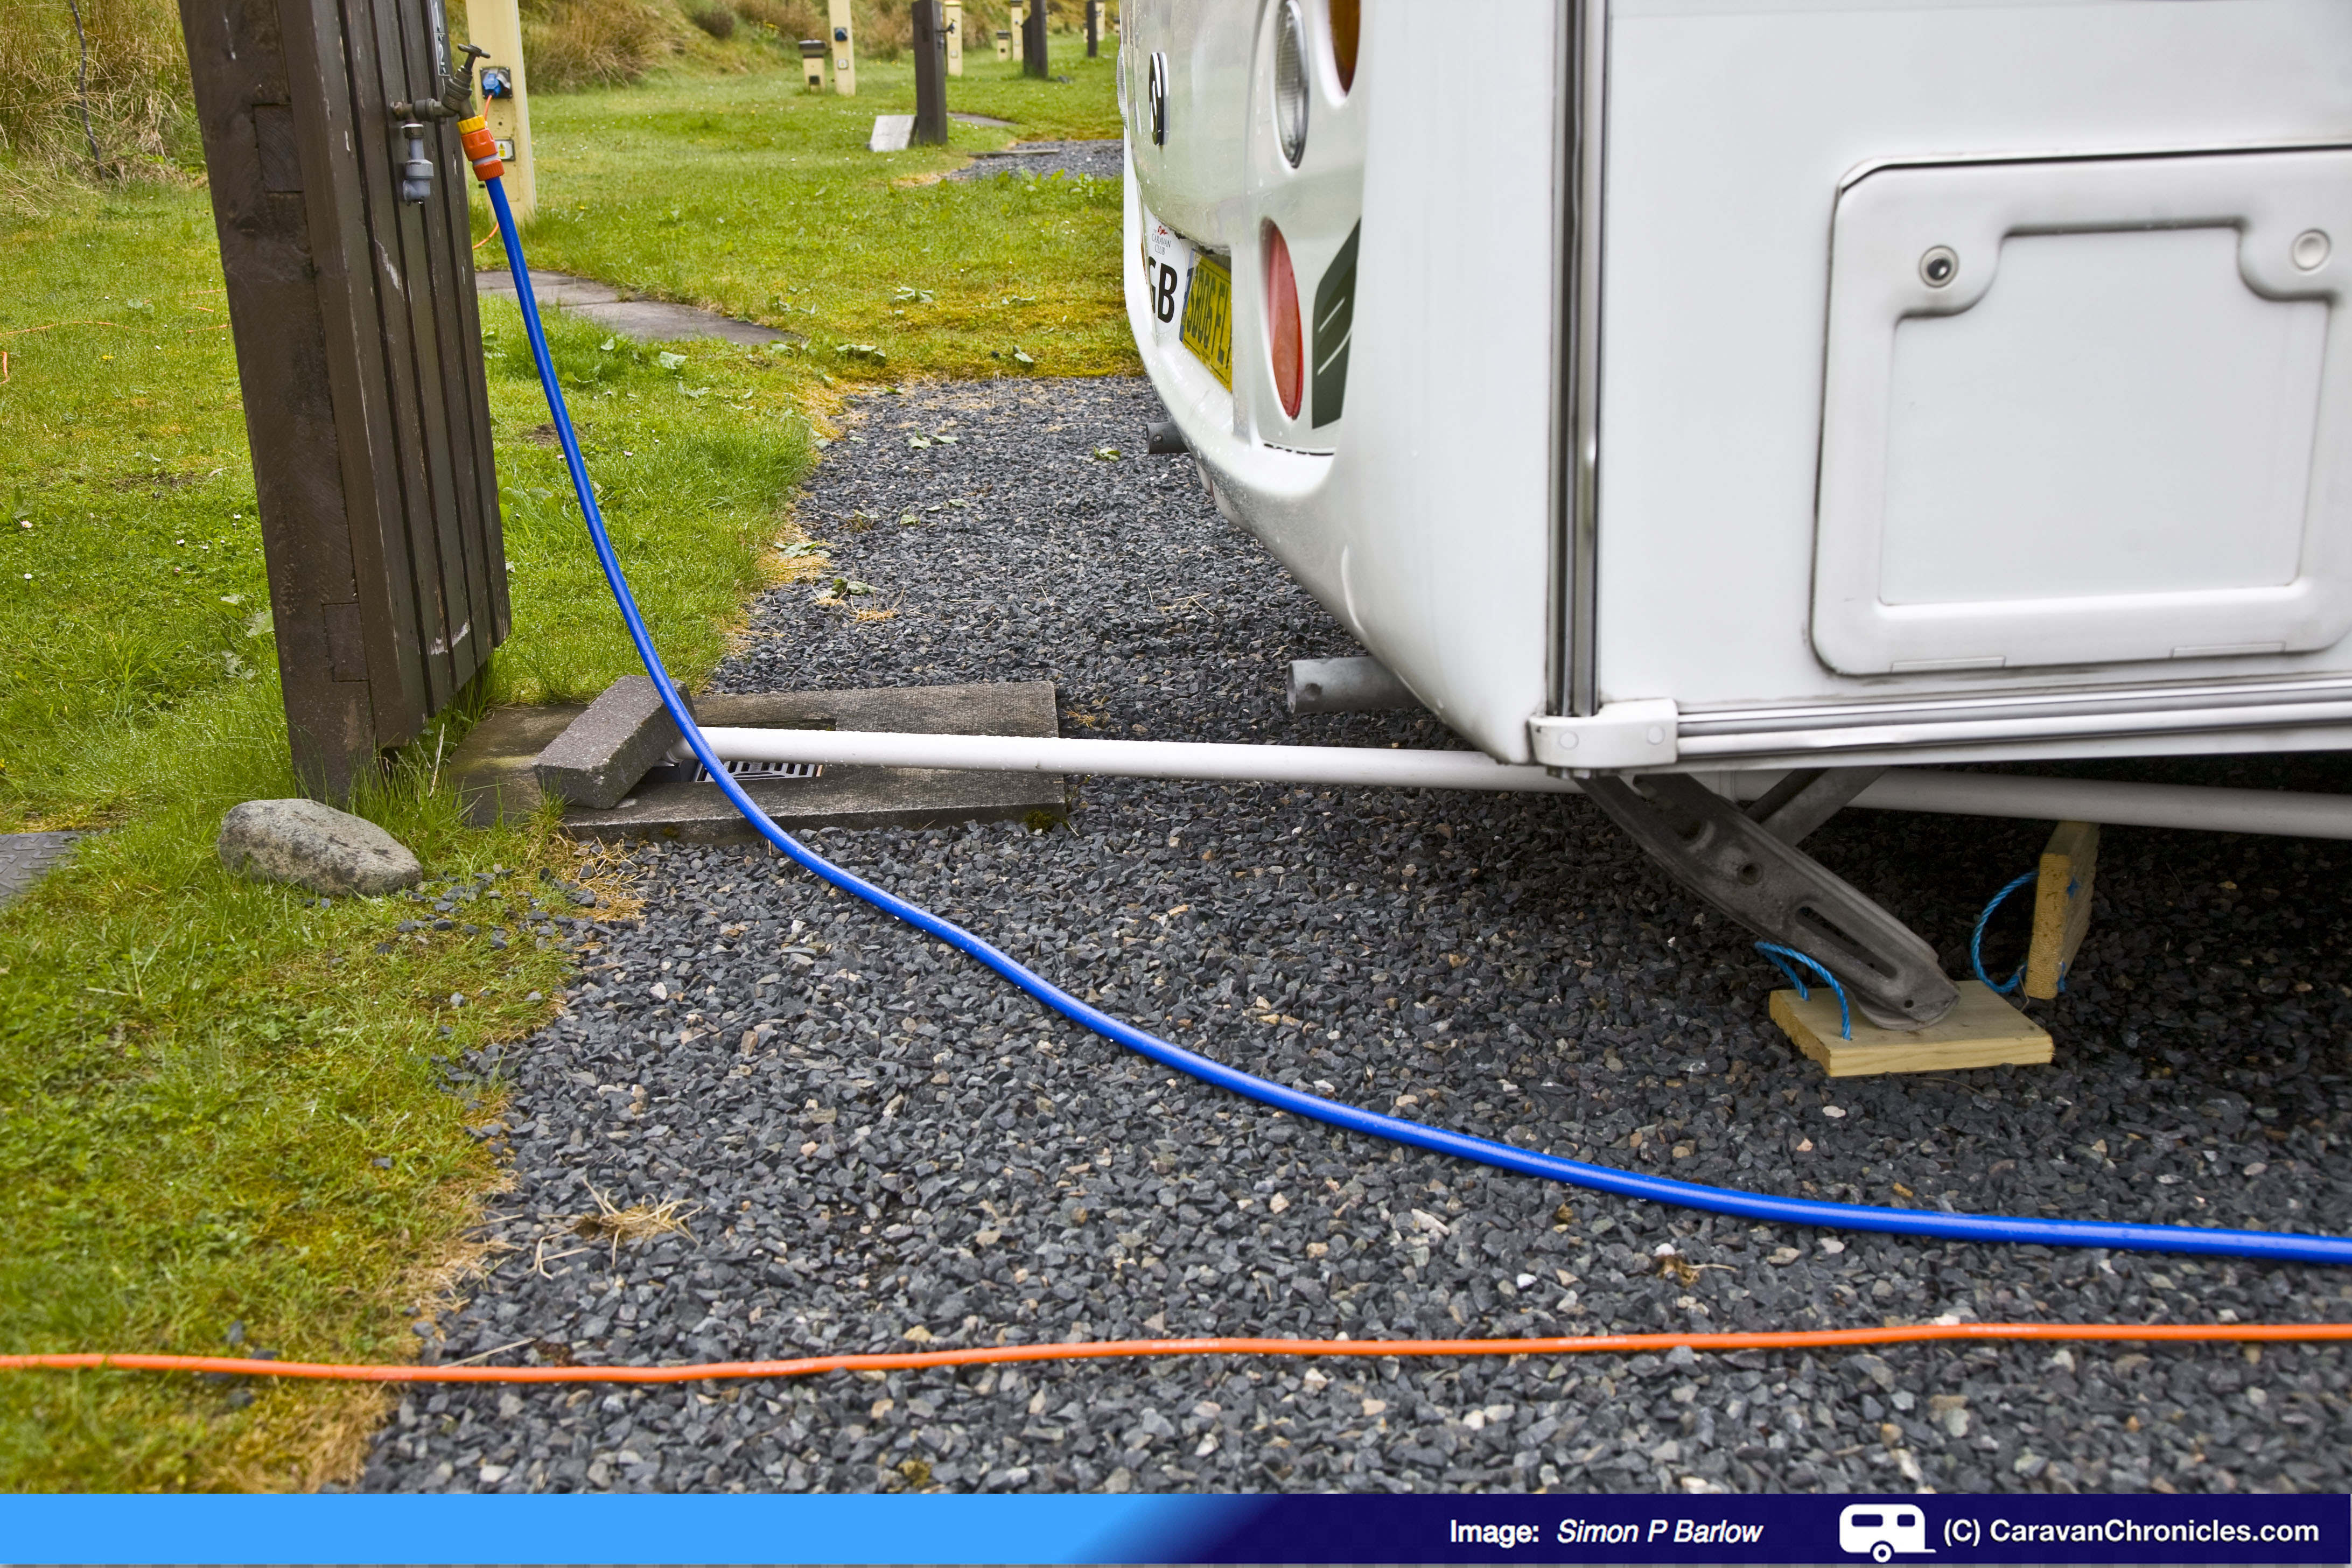
This is the set up used at Troutbeck Head CC site….
As the drain for the pitch was directly at the rear of the caravan, I used a length of flexible to add on a 45 degree bend so the pipe would run rearwards…..
I joined on a short length of pipe to my main “trombone’ sliding section with an adaptor and for good measure, I used a spare block of wood to support he extended length….
At the drain end, I use a 90 degree bend to point the flow down into the drain….. with a handy brick to keep it in place!
The original collection of fittings and lengths of pipe came to less than £12, and so far this system has allowed us to use all the serviced pitches we have been on, with one exception… Lady Heyes… for some reason the two pitches we have been on there, the EHU post and drain have been on the awning side of the van. Ho Hum…. you can’t win them all.
In use we haven’t had any problems and both the main sink, bathroom sink and shower drain easily. When we are breaking camp, the pipes are easily cleaned with running water and being white, its easy look down them to check they are clean. All the fittings are kept in a bag in the gas locker along with the two 2 metre and two 1 metre lengths of pipe. As the two sizes slide inside each other there is only really two lengths to deal with.
I hope it gives you some ideas on how you can connect up to a fully serviced pitch. If you have any ideas that would improve my system… let me know, anything to make things easier!
I already had a 2 into 1 adaptor supplied with the caravan that used the normal ribbed flexible pipe, so I used two of the three lengths of flexible pipe off this to make the connections between van and my system. I can always revert to the adaptor in the future if required. By using the flexible pipe as a connection to my ‘manifold’ it allows me to use it with the wastehog if required and I can just bend the manifold upward to remove the wastehog for emptying without having to disconnect anything.
The biggest advantage of using standard plumbing items is I can always go to a DIY store and add to the system if we find a pitch that I can’t connect too. I’m just looking now for something similar to a small awning pole bag that can take pipes at 2 metres length… or even the possibility of storing longer lengths along one of the caravan chassis rails.
Total price for this setup was £11.60. You can find everything here at Screwfix Direct
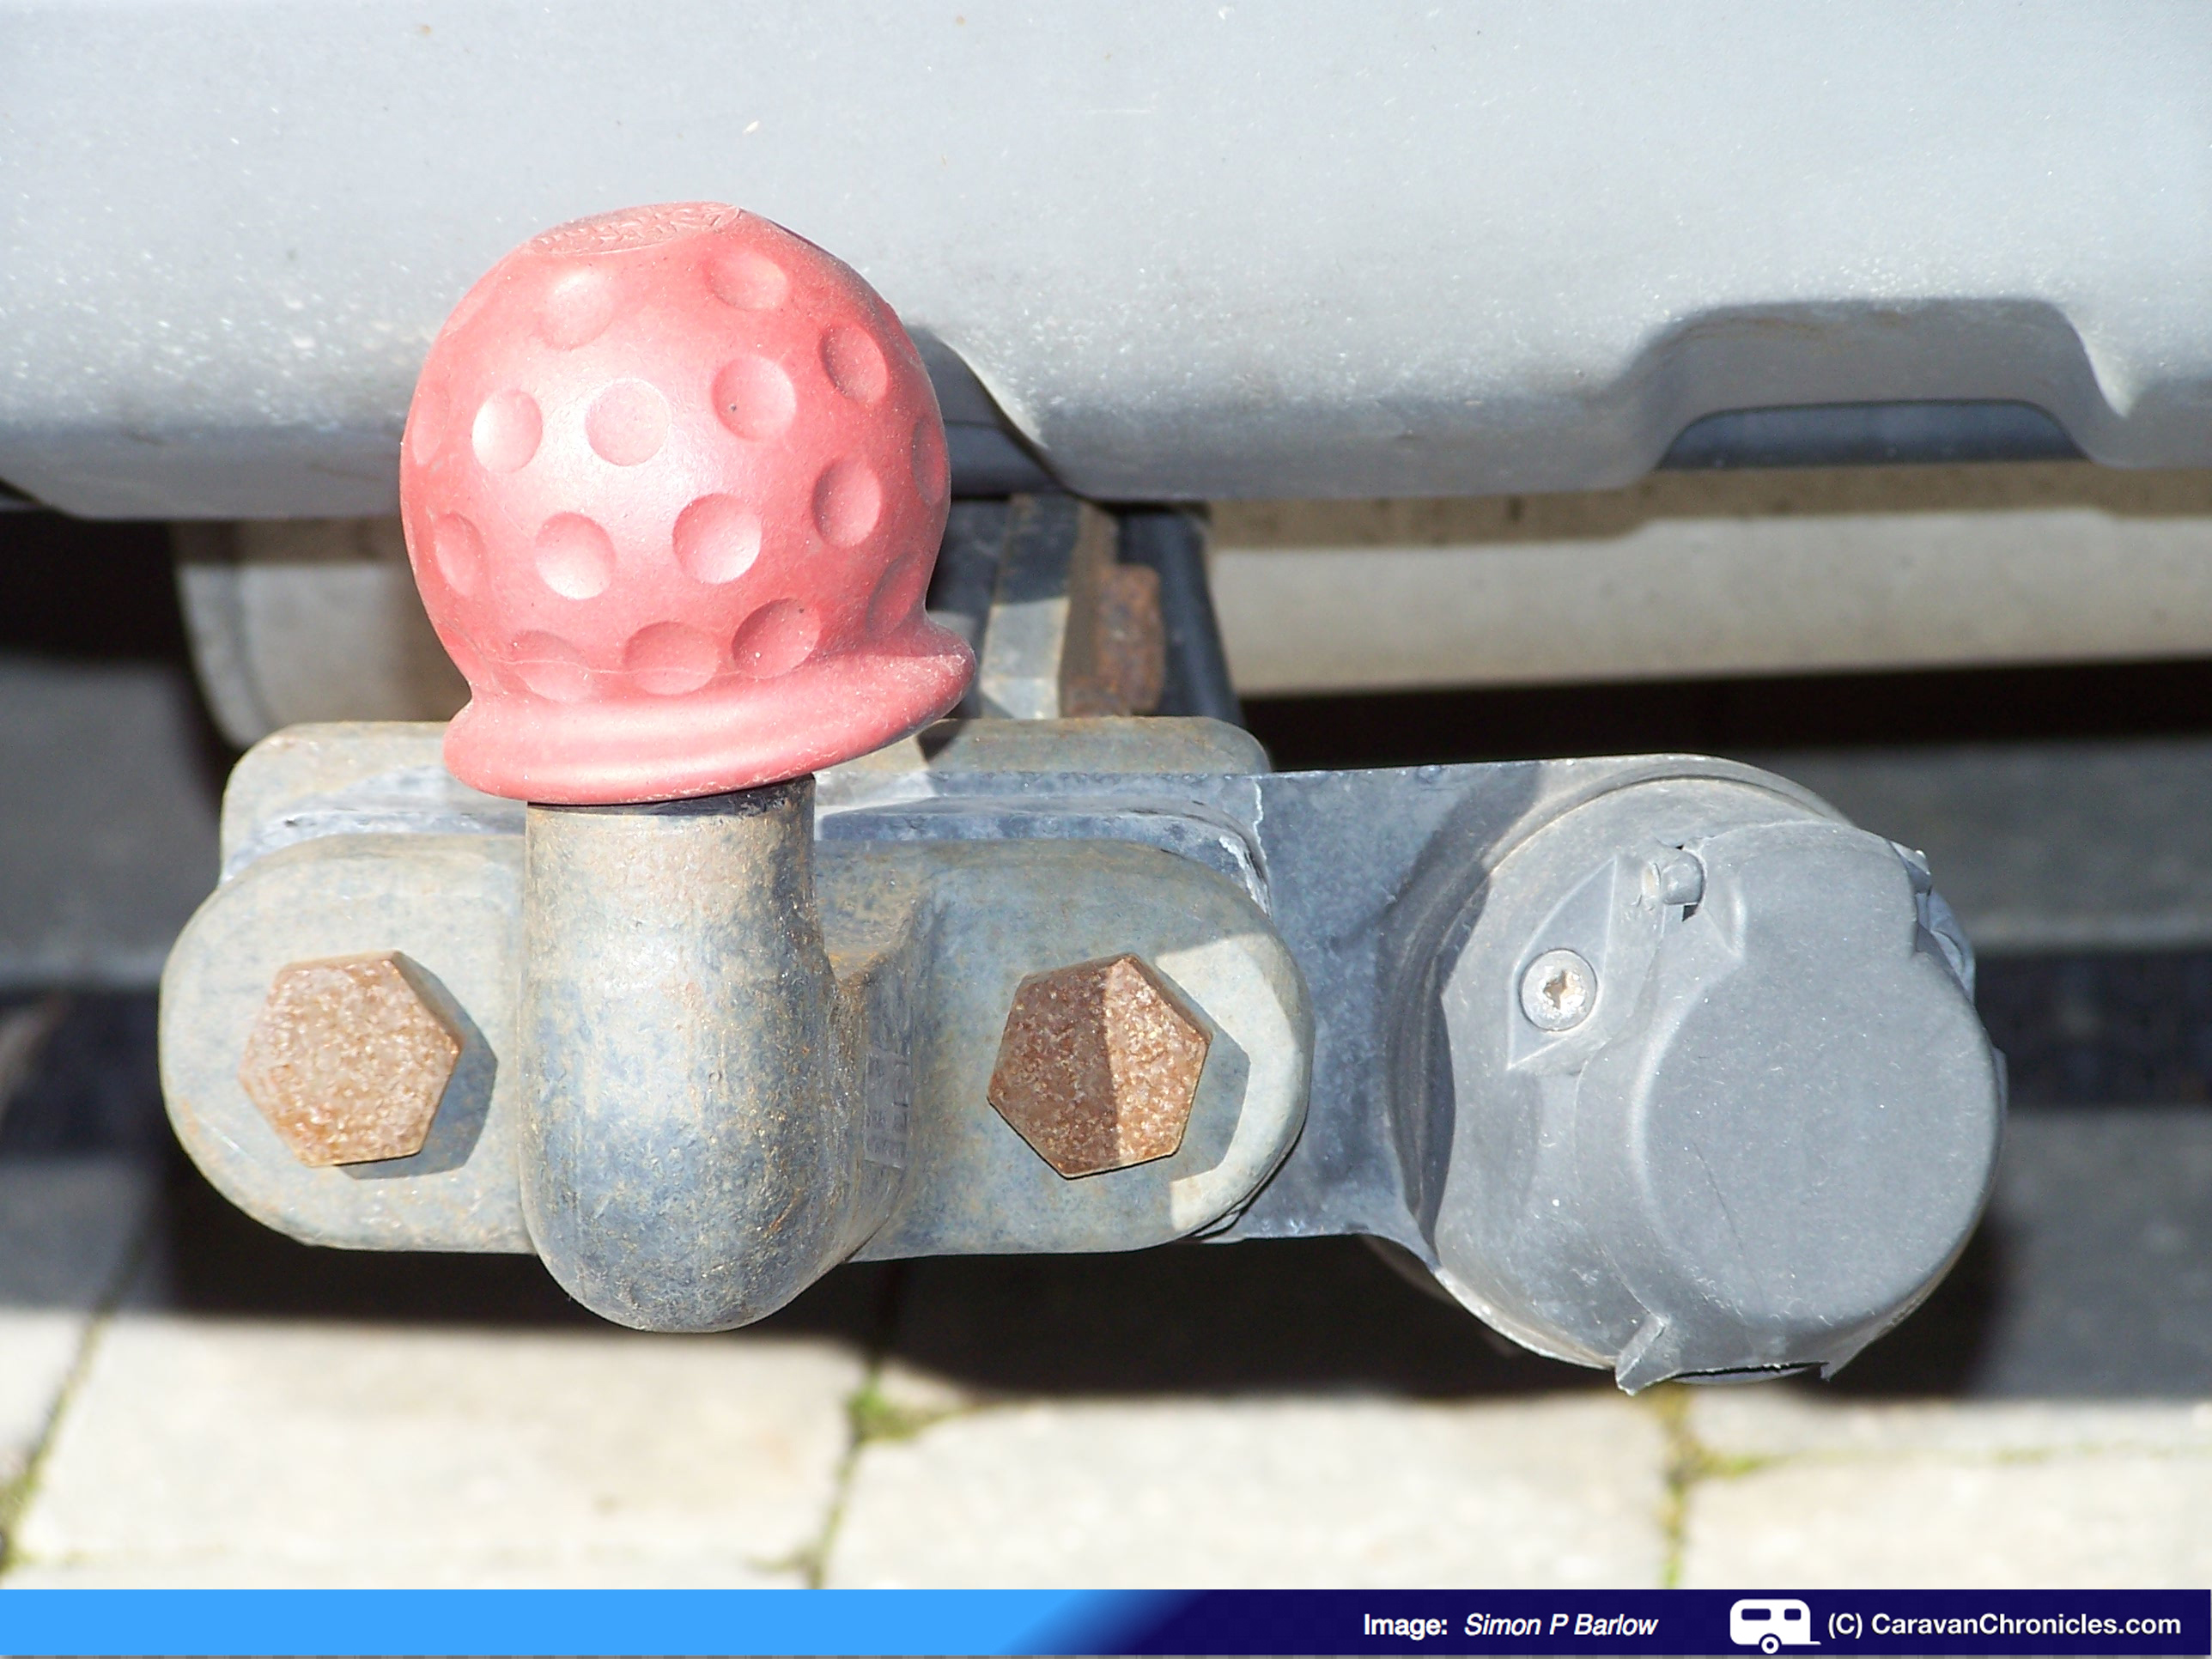
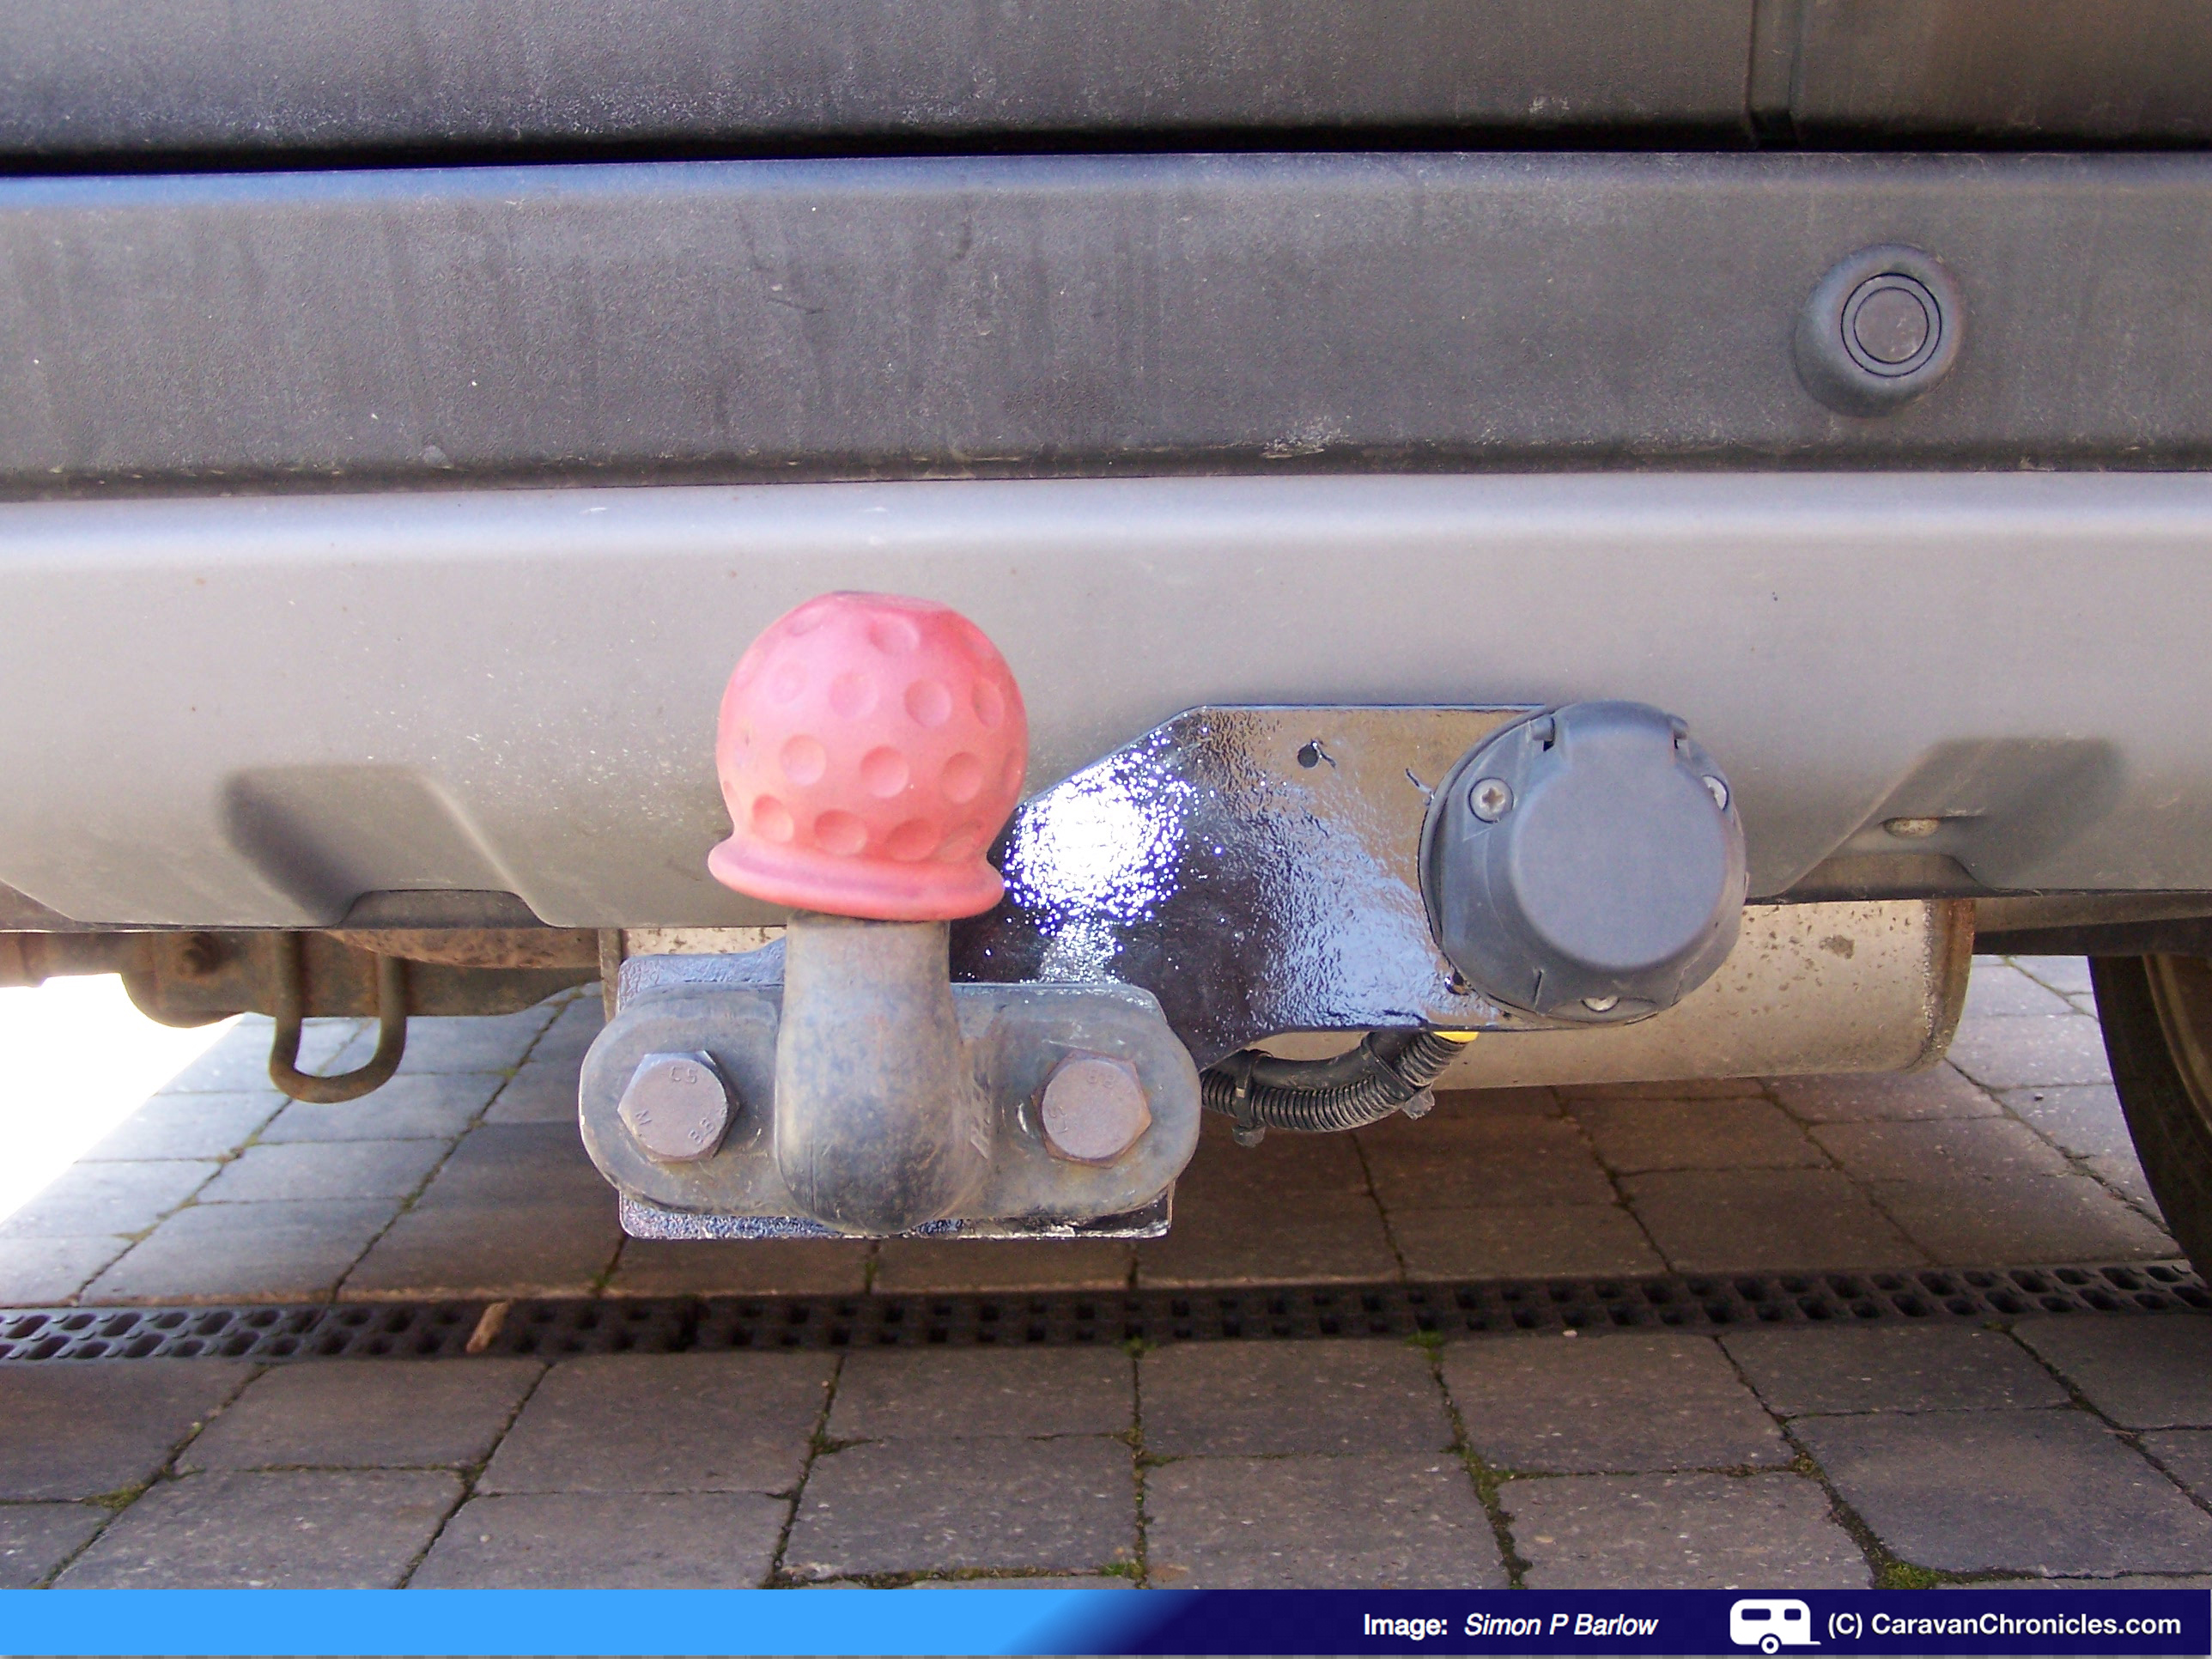
No, I don’t mean getting your departure instructions from ATC….! One of the little jobs on my list was to make a new bracket to hold the 13 pin socket to the tow bar. The existing one was slightly bent from having to reverse the Rotary Christmas Float into a tight space last Christmas and it was also a bit low. I didn’t want the bottom of the socket to be the first point of contact with the ground if travelling down a deep rutted track.
The old bracket was slightly bent and low
I wanted to move the socket up so it would be at least above the bolts for the tow ball and at the same time distance it from the tow ball so there was less chance of the 13 pin plug coming into contact with the A frame of the caravan (or Santa’s sleigh!) when manoeuvring.
The original bracket was pressed out of 1.3mm thick steel and I guess it was designed to have a bit of ‘give’ in it so it would bend rather than be rigid enough to cause damage to the plug and socket.
I needed something a bit more substantial due to the extended distance the socket was going to be from the main tow bracket mounting, but still retaining enough ‘give’ if required. I happened to have some pieces of 1.9mm thick steel that were originally cable entry plates for computer racks.
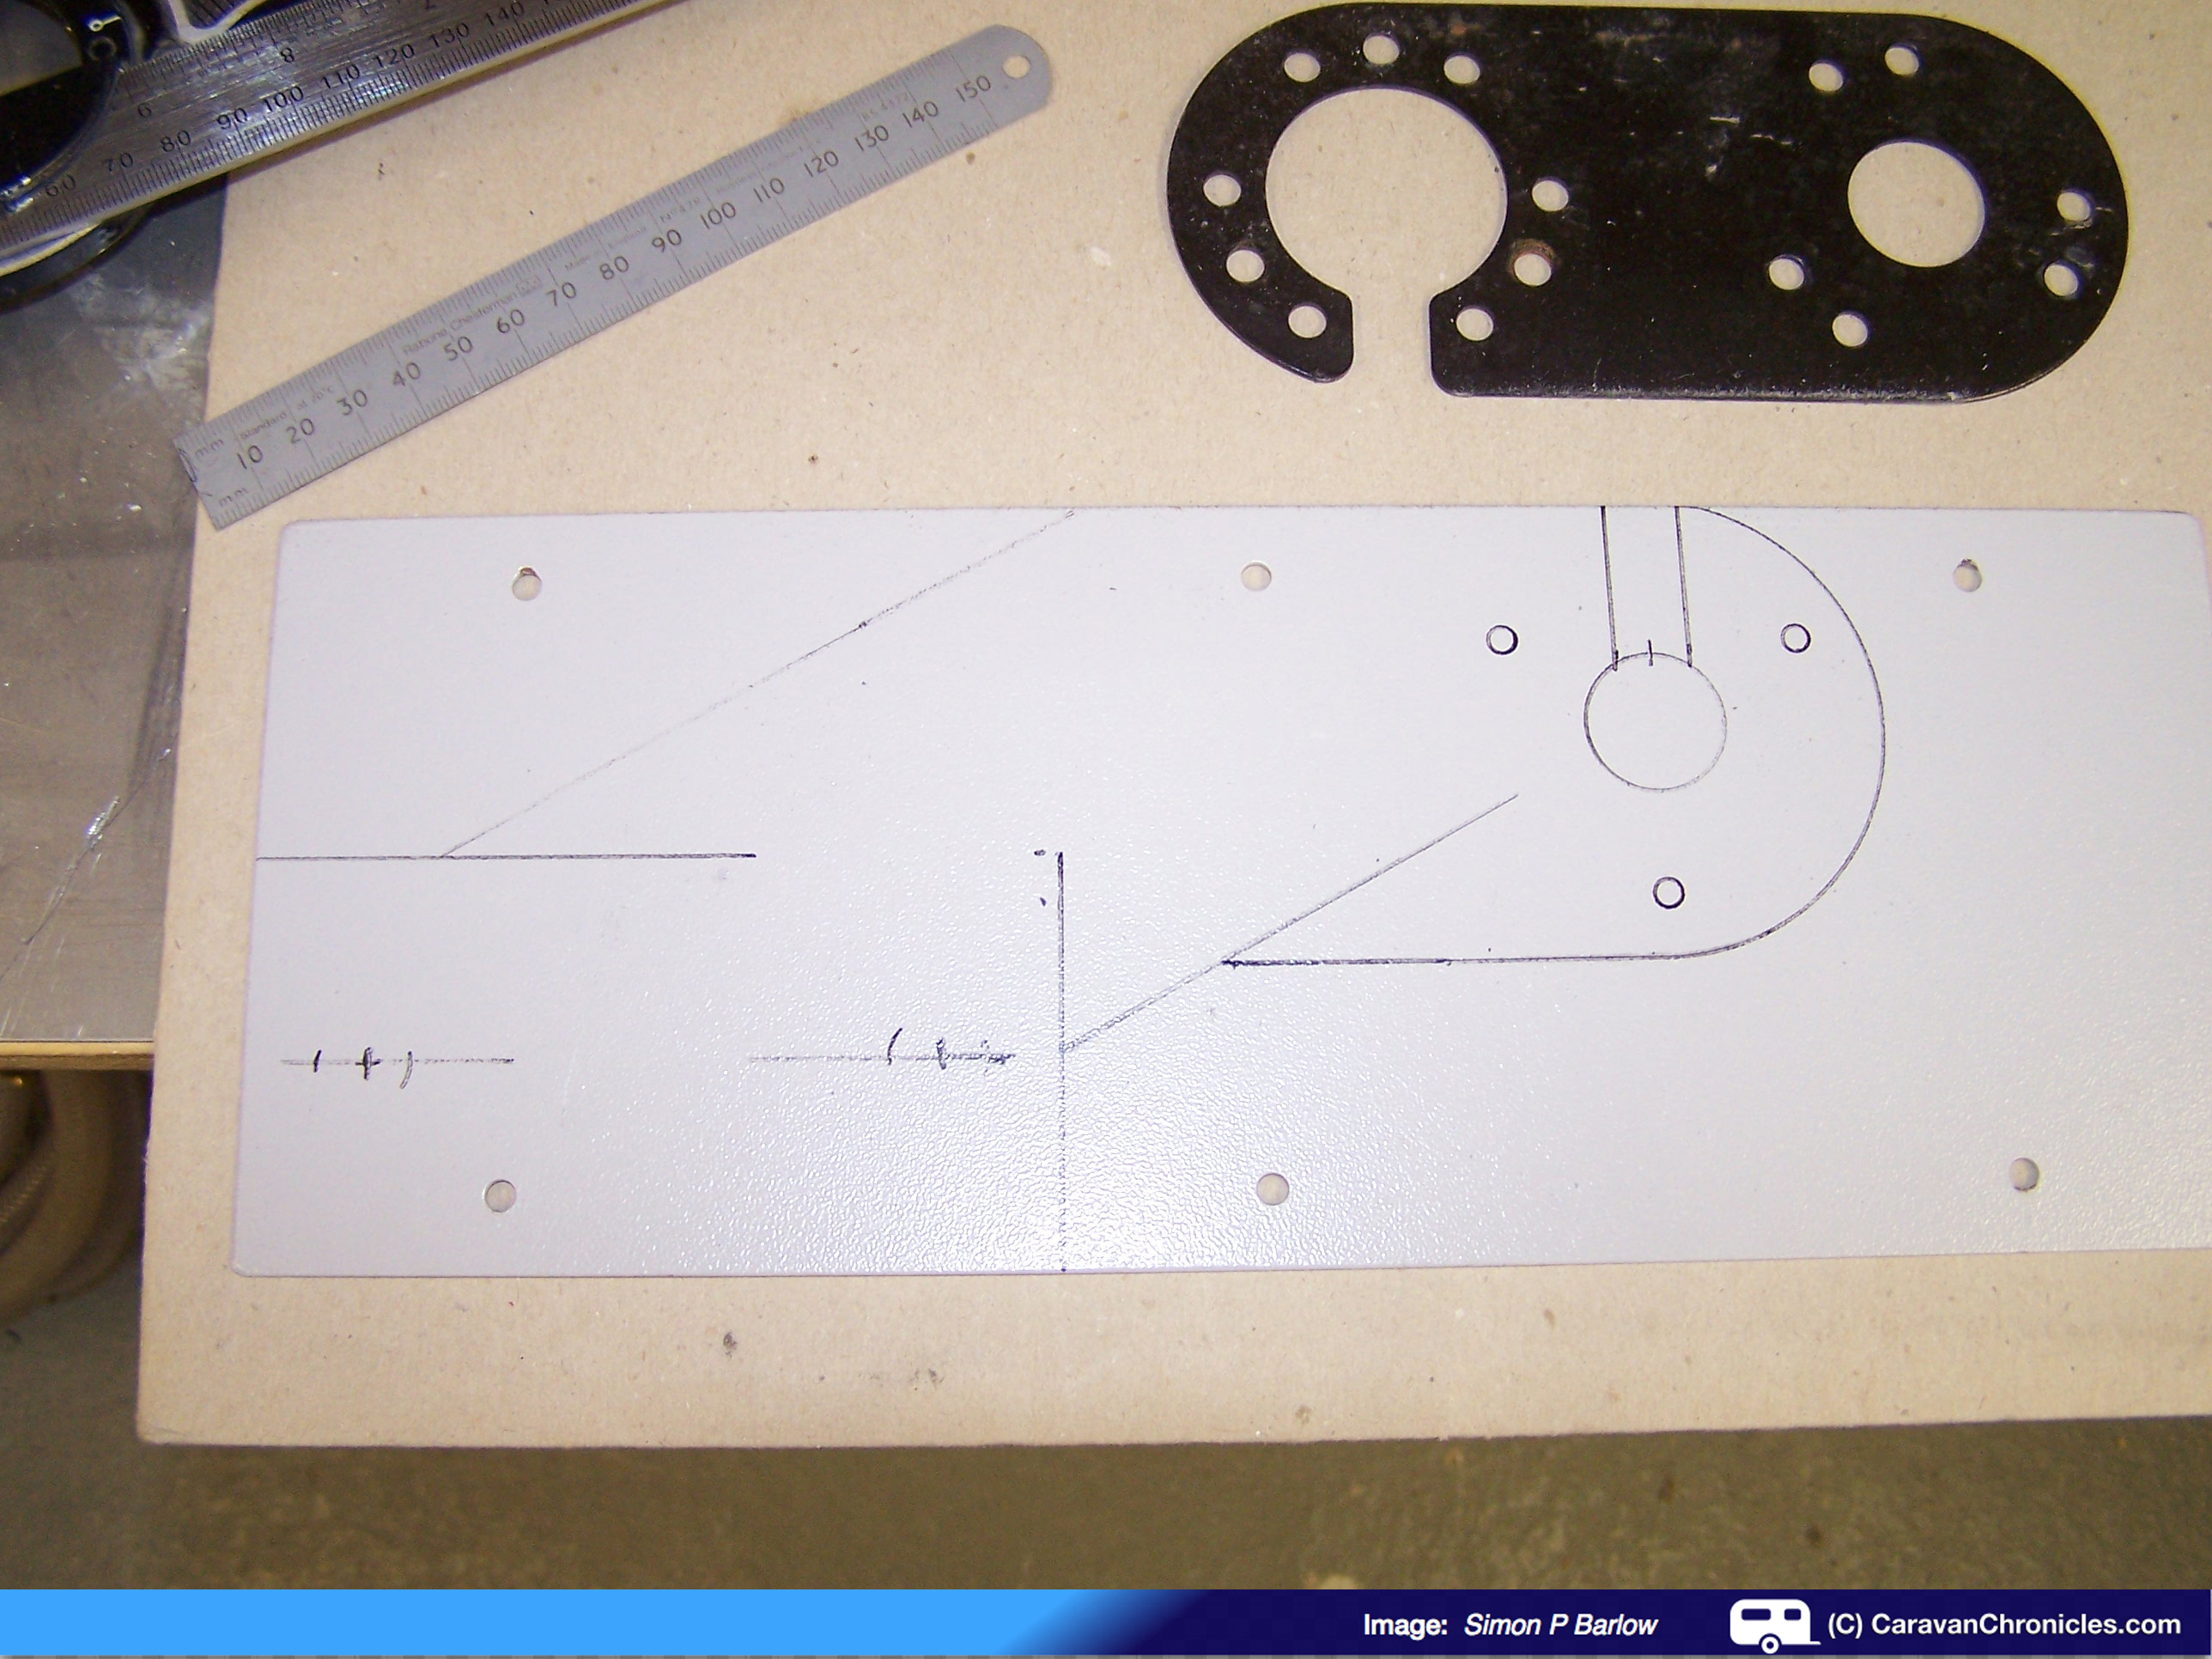
I measured the mounting plate that the tow ball fits onto, 65mm x 135mm, and using a plate that was originally for adding a 12S socket to an existing 12N fitting as a guide marked out the position of where I wanted the socket to be. Again using the extension plate as a guide for width, I marked two lines at 30 degrees… one up from the centre line of the tow ball mounting bolts and the other the same width as the plate. Fortunately the steel stock I had was just the right height! I also marked out the slot I would need to slide the cable through as I wanted to make it so it could be installed/removed without having to disconnect the 13 pin socket.
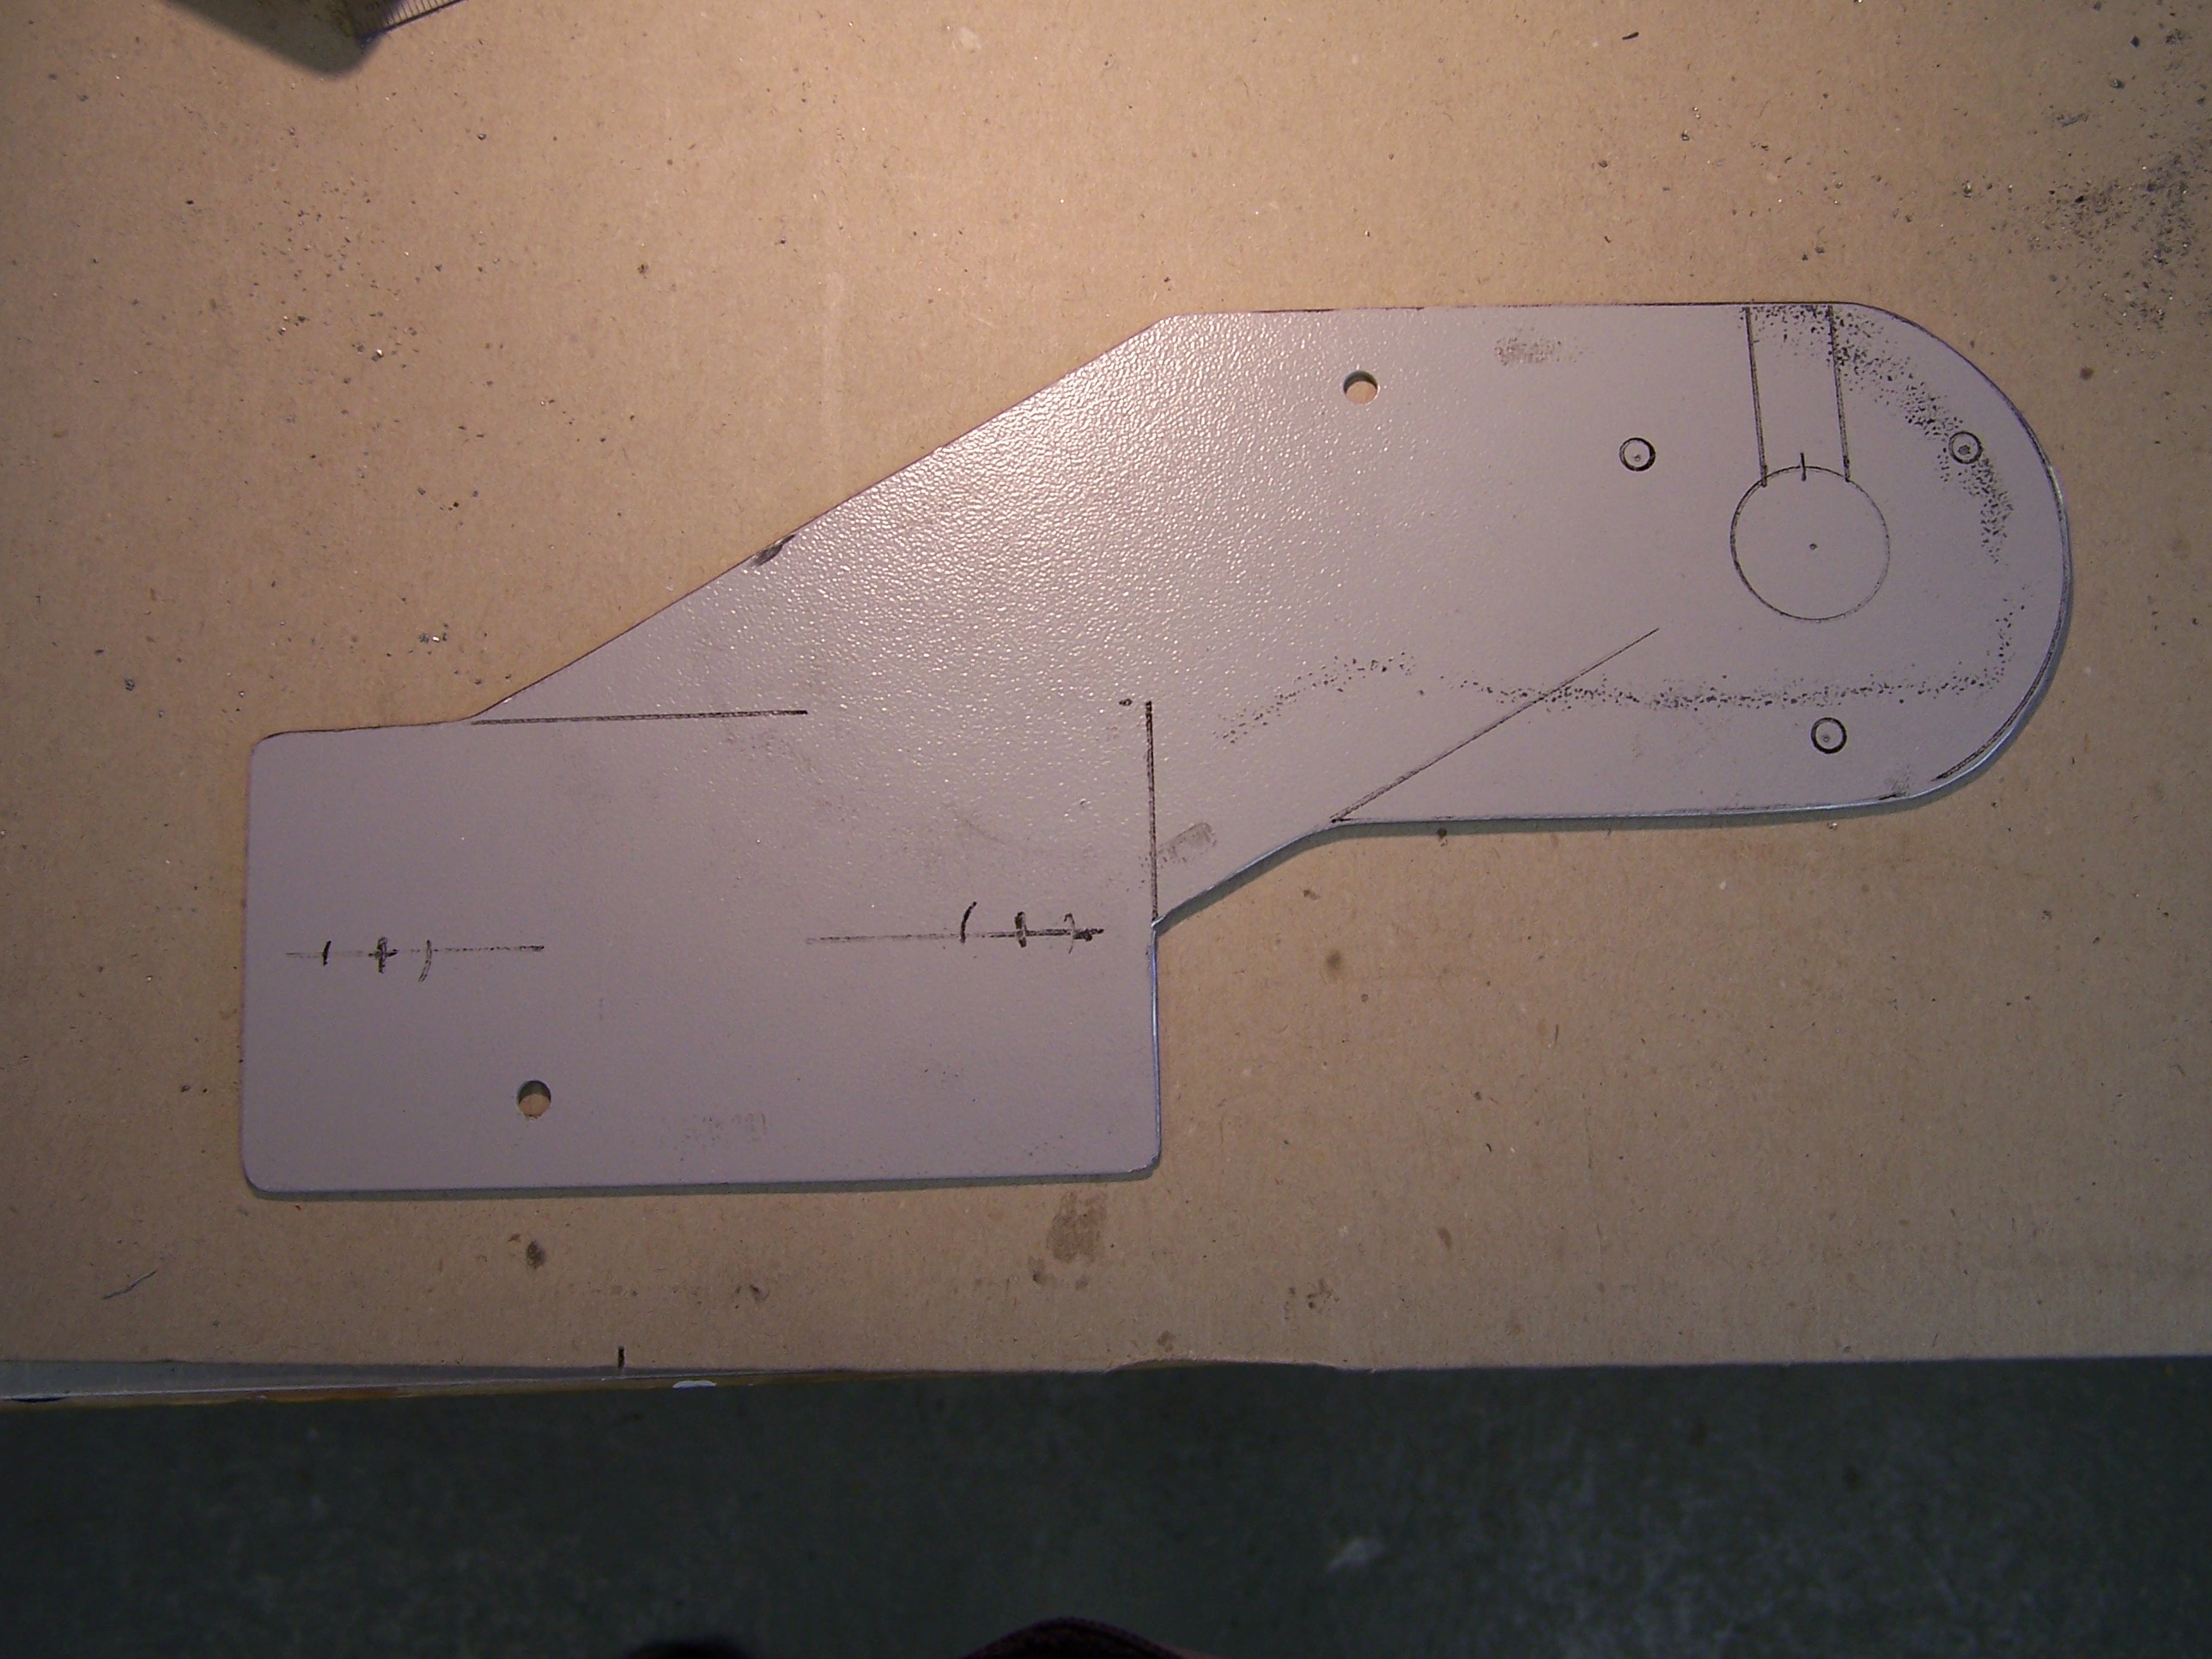
The next step was to cut out the plate. The easiest way would have been to use a plasma cutter…. unfortunately not a bit of kit I have in my workshop (Sue thinks I already have more kit than ‘International Rescue’) so it was a bit trimming with a band saw.
Once cut out, I could now mark on the locations of all the holes and centre punch them ready for drilling, and set about draw filing all the edges. Once all the edges were flat and rounded off it was over to the pillar drill to create some holes. I used a stepped taper drill as there was less chance of grabbing that a large diameter drill bit would do.
With the holes drilled, back to the band saw to cut out the slot and some more filling to smooth and round off the edges of the slot so it could not cause chafing on the cable.
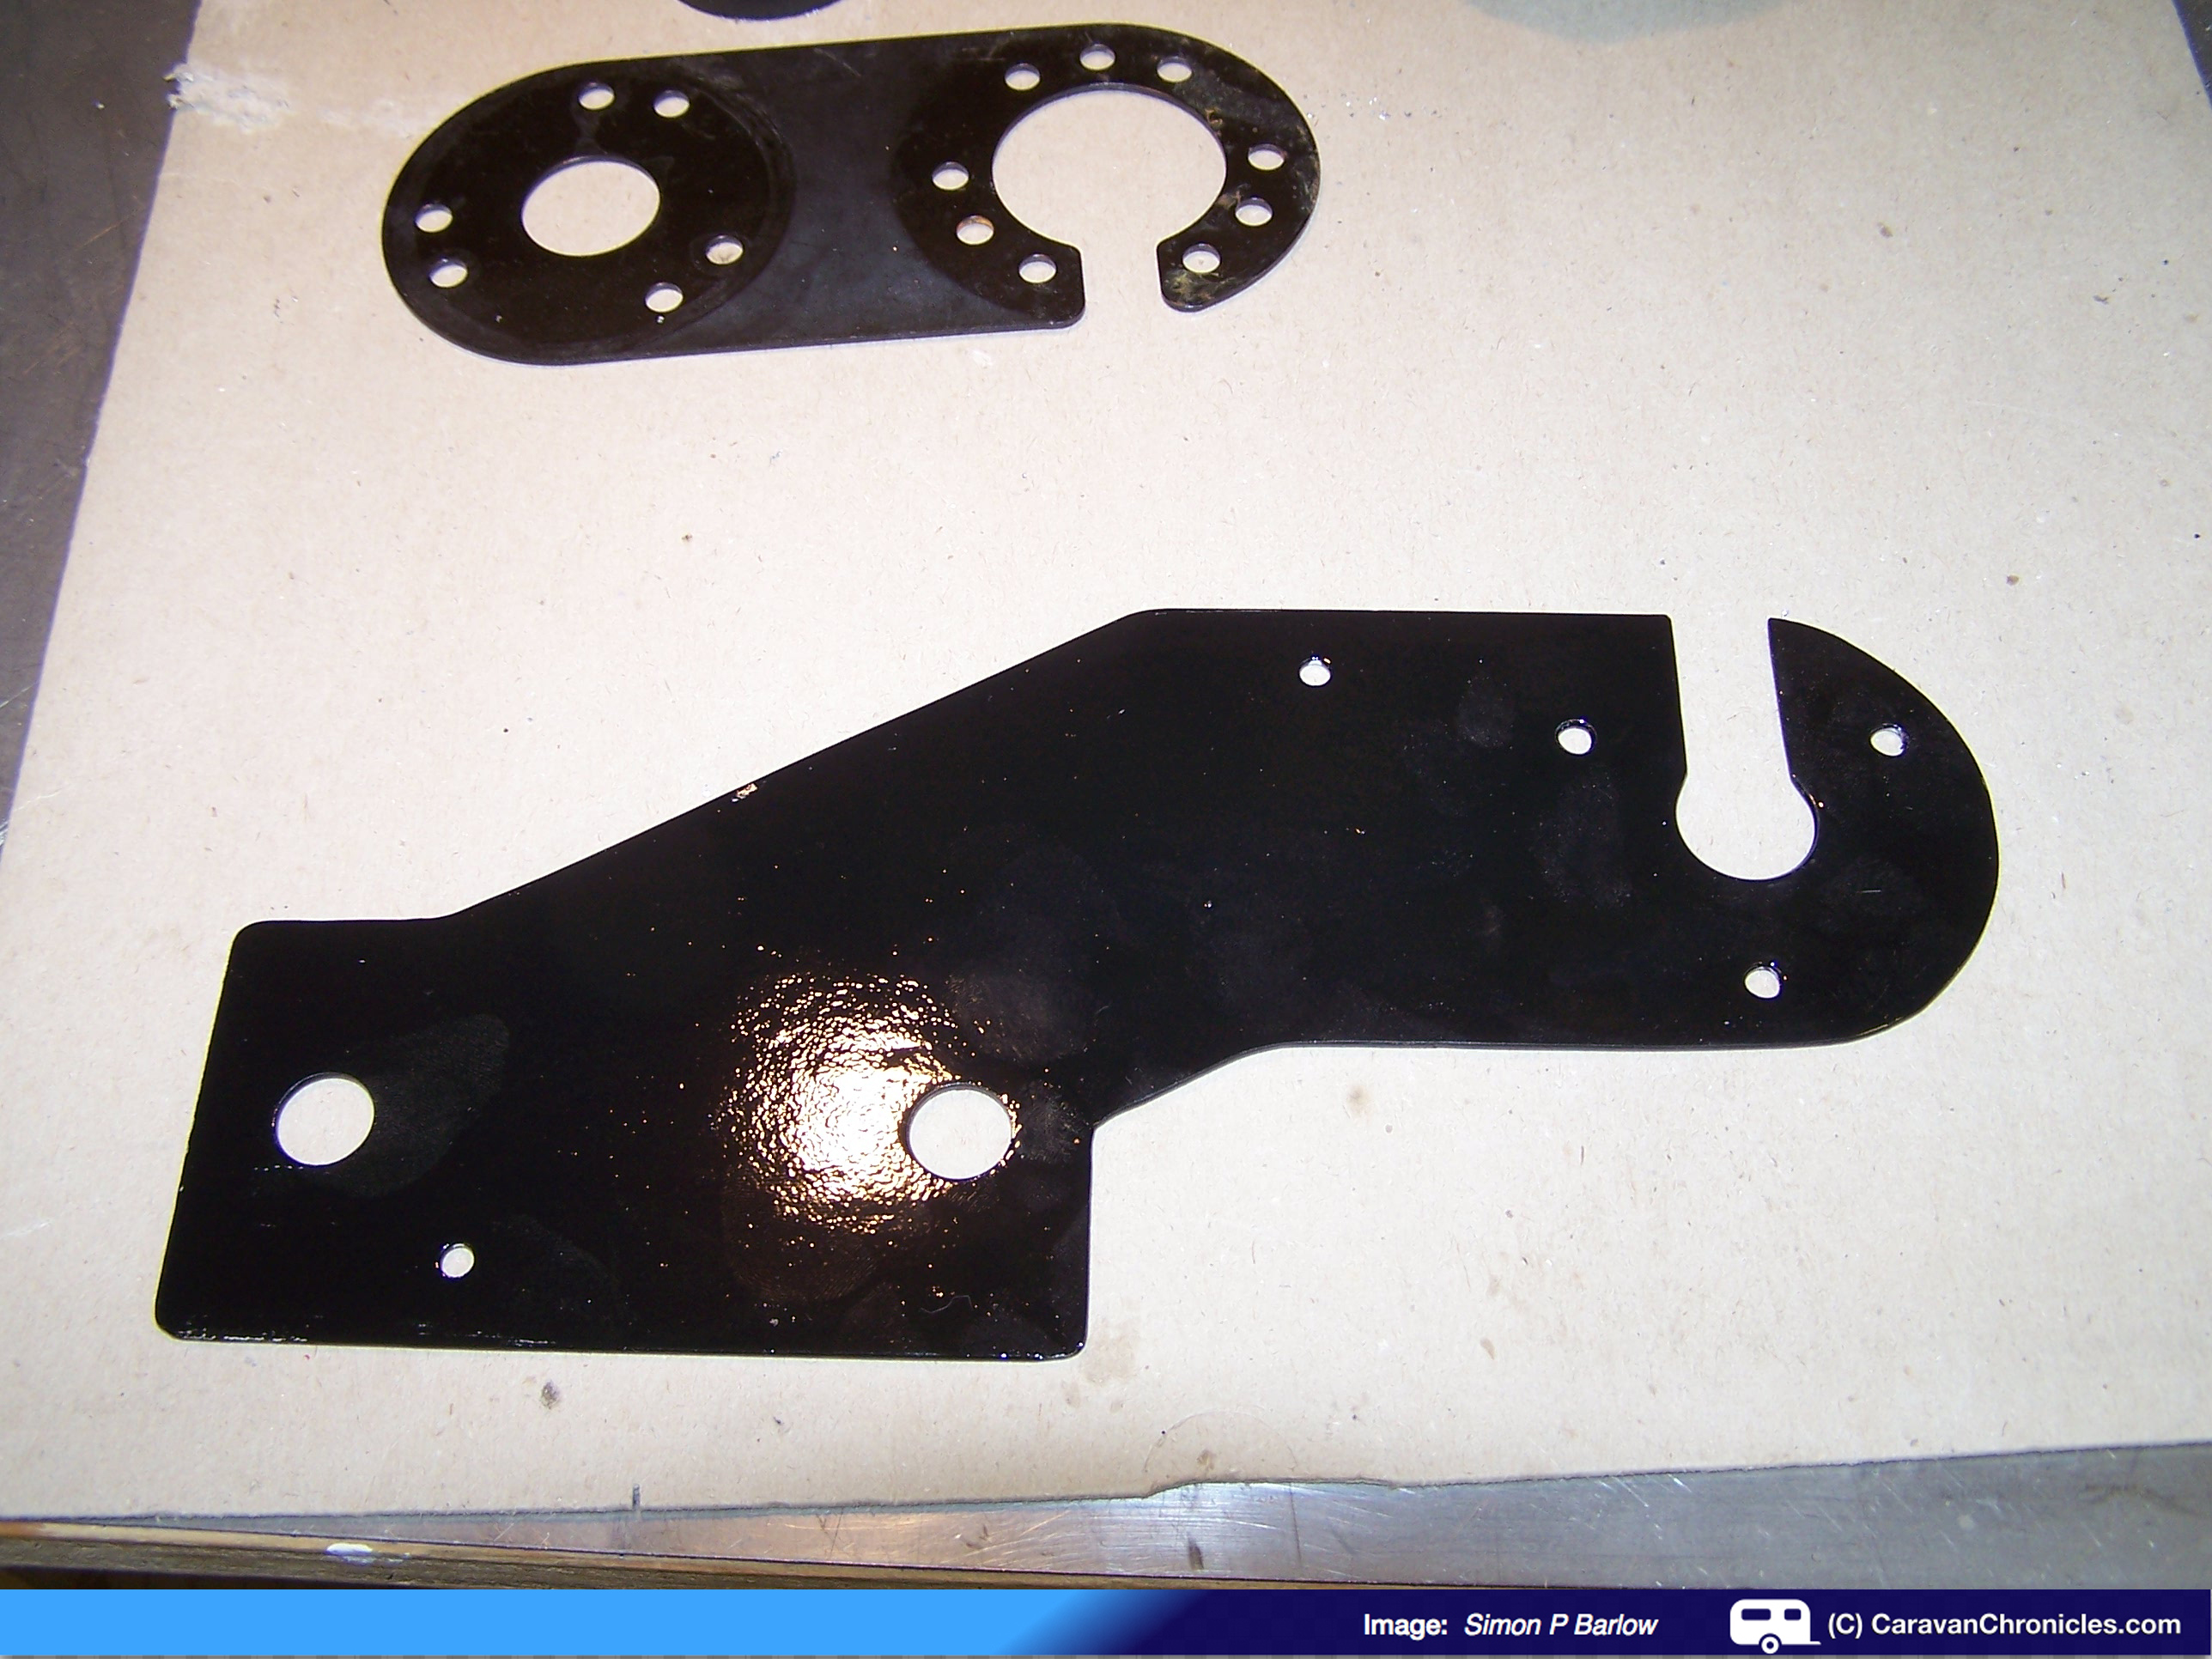
When assembled, there is a small plate that mounts on the back between the two top mounting bolts for the 13 pin socket. This effectively bridges the gap caused by cutting the cable slot.
A quick coat of FORTRESS Black Gloss Metal Paint and it was left a few hours to dry.
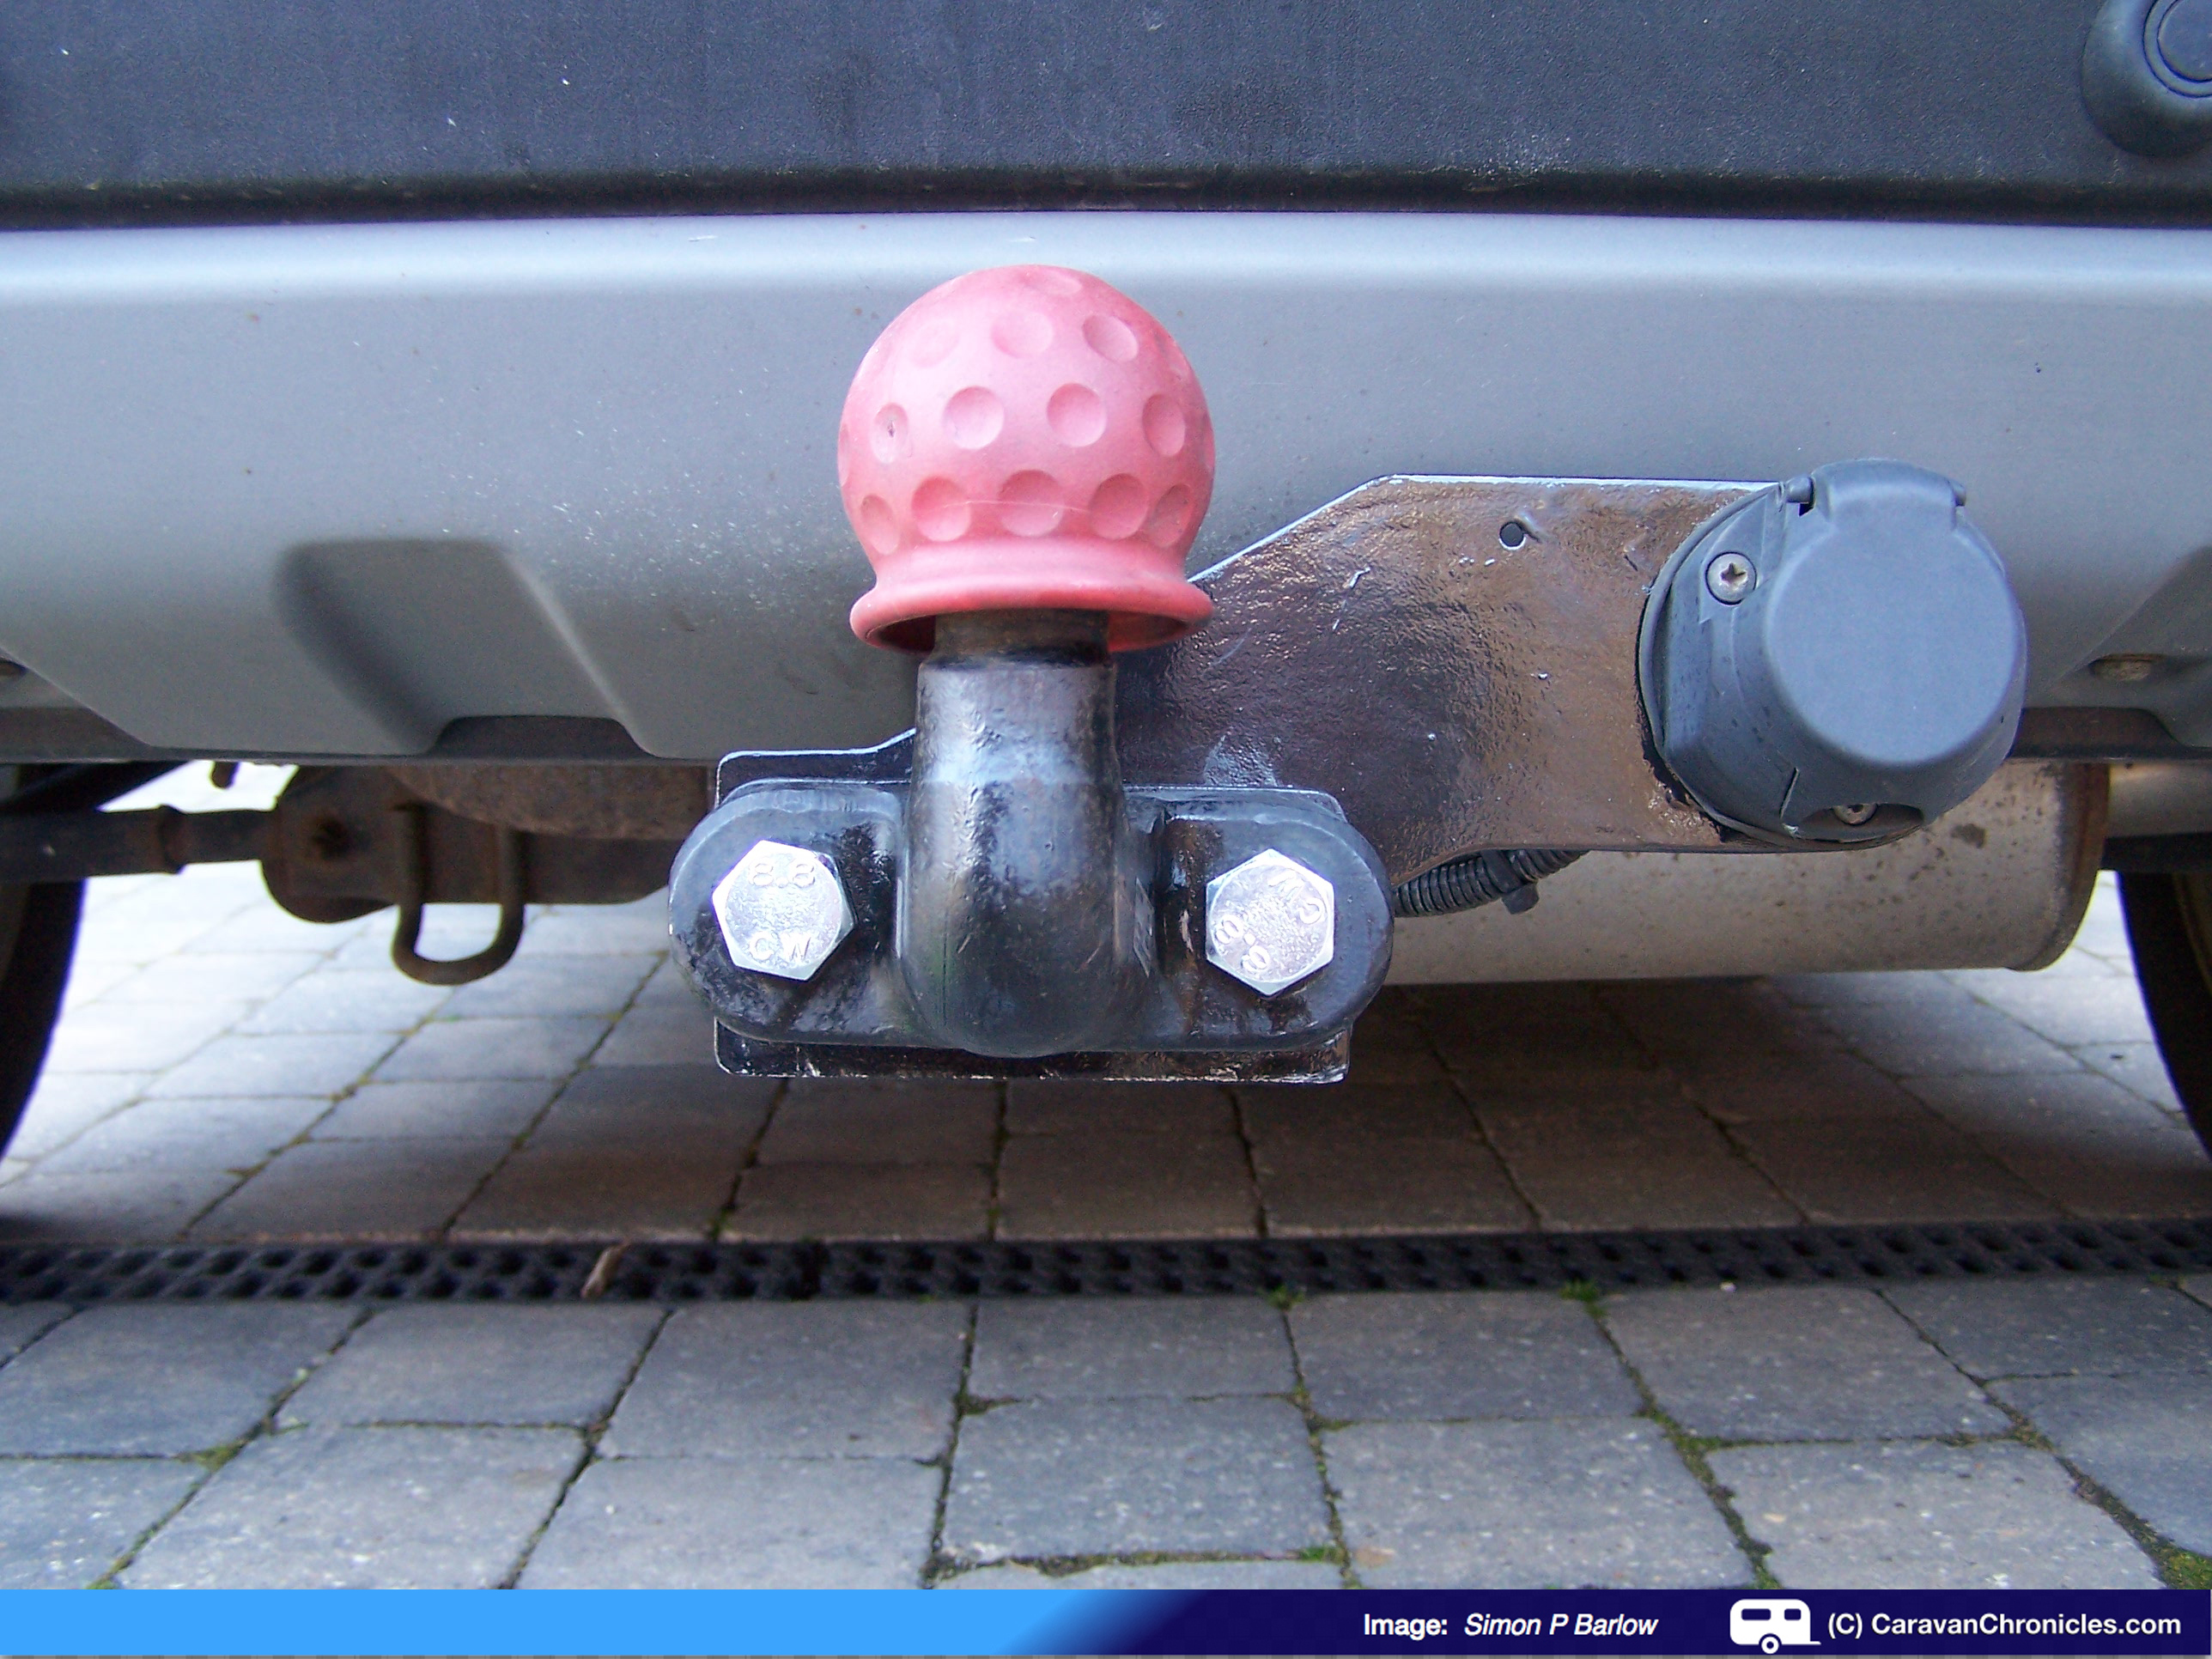
The finished bracket installed on the Freelander. The whole job only took and hour (excluding paint drying) and the result is now the socket and cables are clear of the bottom of the tow bracket so there will be less chance of catching it when off roading. The extra spacing will also allow a bit more articulation of the caravan’s A frame without touching socket. The distance is not too much so that the cable from the caravan risks hanging below the coupling too.
The other advantage of raising the 13 pin socket up is the fact it is now less likely to get sprayed with water from under the vehicle when travelling on wet roads, so hopefully reducing future maintenance.
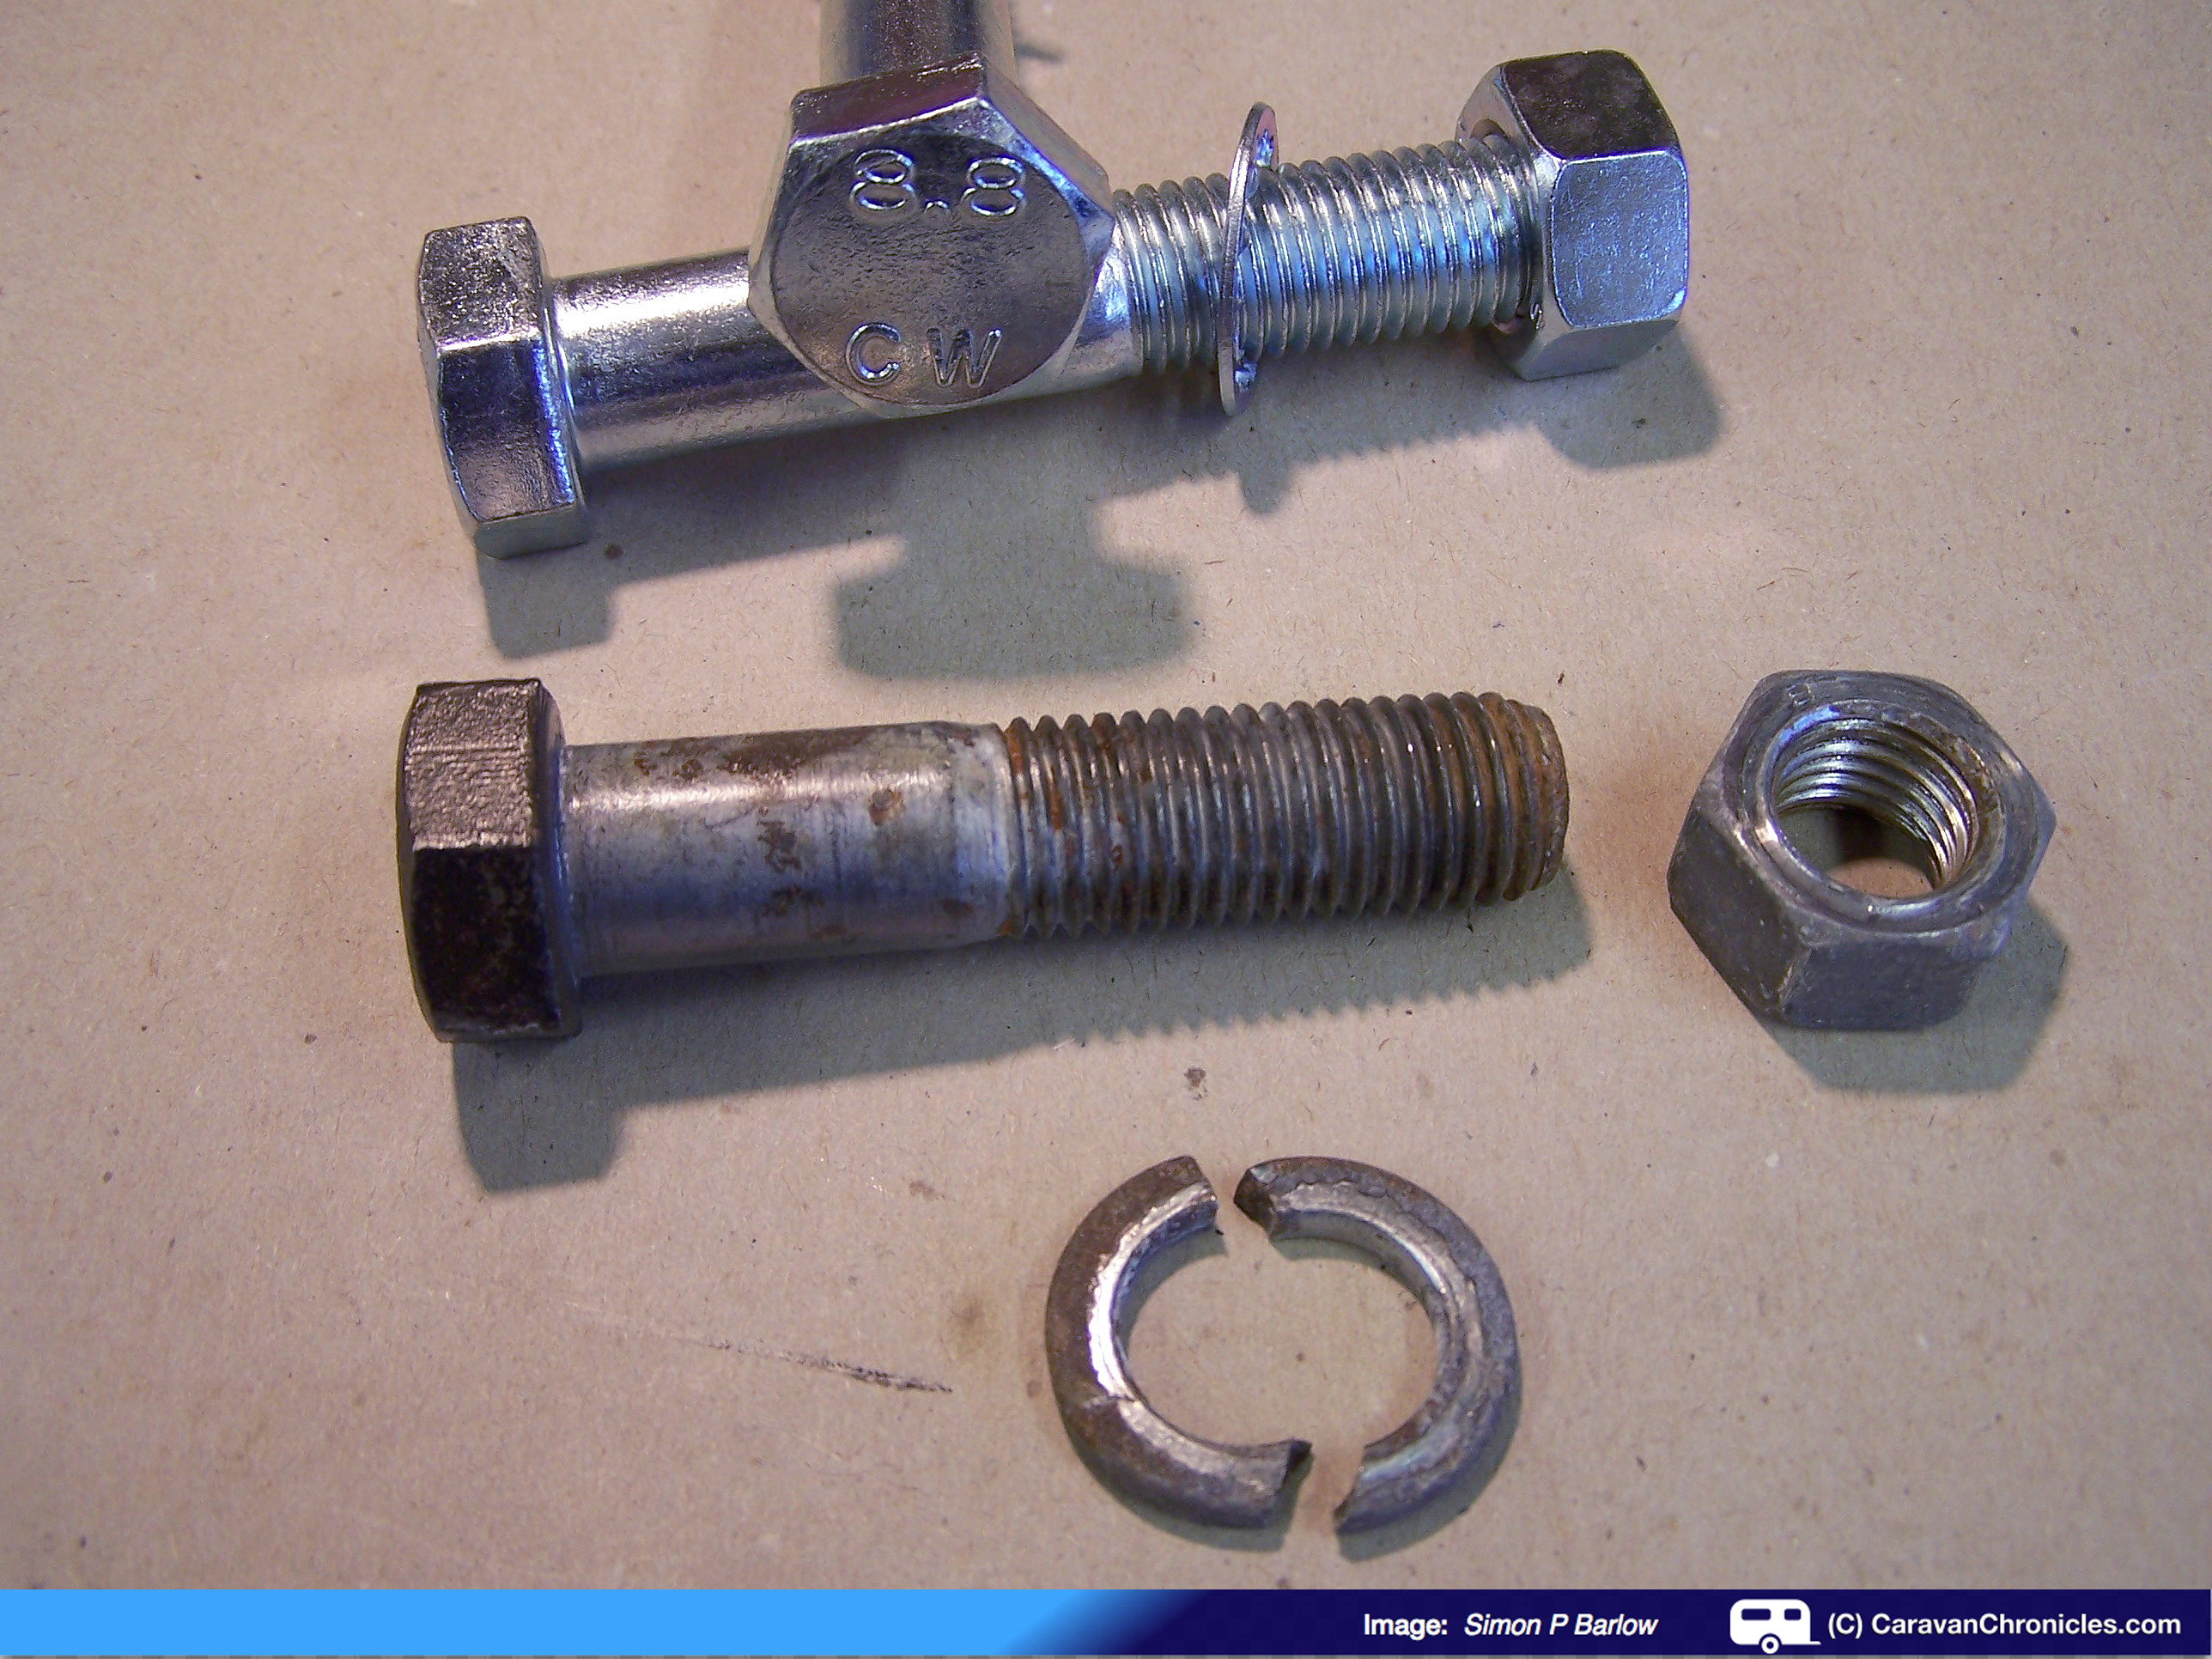
One thing I did find in removing the tow ball to mount the bracket is one of the split washers on the back of the bolts holding the tow ball on had a crack in it. Split washers for this type of application are not reusable items and each time the tow ball is removed and replaced, the split washers should be replaced. I inspected the bolts and nuts closely as they were installed back in 2006 when we bought the Freelander. There was a slight amount of surface rust on the shanks. I used a rotary wire brush in the pillar drill to clean them up and inspecting with a magnifying glass I could see slight pits in the surface. As these take all the strain of towing, I’ve decided the next job this weekend is to replace them with two new bolts and nuts, and of course new split washers. For the sake of a few pounds, it’s better to be safe than sorry.
Before the new bolts are installed and the cable tied up securely
Hope this was a useful little project.
S
UPDATE – 4 May 2013
I have just replaced the bolts holding the tow ball casting on to the tow bar frame. When slackening off one of the old bolts, the split washer that I’d noticed a crack in yesterday fell to the floor in two pieces.
Click on image to enlarge
I checked in my “machinist’s handbook” for the correct bolts to select. The original bolts were M16. As the original bolts were only 60 MM, I wanted to make sure the shank of the new bolts passed through as much of the holes as possible leaving the shortest amount of thread in the hole. The correct bolts were 90mm, M16 x 2 8.8 High Tensile. You can see the difference in the new and old bolts in the photo above, along with the old split washer that fell off. I also checked on the correct washer for the application, and again referring to my machinist’s handbook as I would be tightening to the maximum torque of 214 Nm (76KN) it recommended using star washers.
Job done. All I have to do now is check the torque after about 25 to 50 miles of towing once the star washers have bedded in a little.
Only a few days to wait as we are off to Troutbeck Head CC site in a few days time.
One of the places we had on out list of “must visit” was Bletchley Park, home of the wartime code breakers. The other was more of a re-visit as the last time we were both in Cambridge was the day before I set off on my round the world flight.
Friday 19th April
We had loaded up the caravan and by the time we pulled out of the storage compound it was dead on 8:20. The traffic was not too bad considering it was a Friday morning and the M60 was flowing quite well, as was the M56, and even the A556 Chester Road short cut to the M6 was quiet. It was so quiet that the on ramp to the M6 didn’t even have the traffic control lights operating. We were heading down to the Caravan Club’s Ashridge Farm site near Letchworth just off the A1(M). Continue reading →
As promised in my previous post, here’s an update on the recent lighting upgrade and details of a problem we had with our Flojet water pump while away.
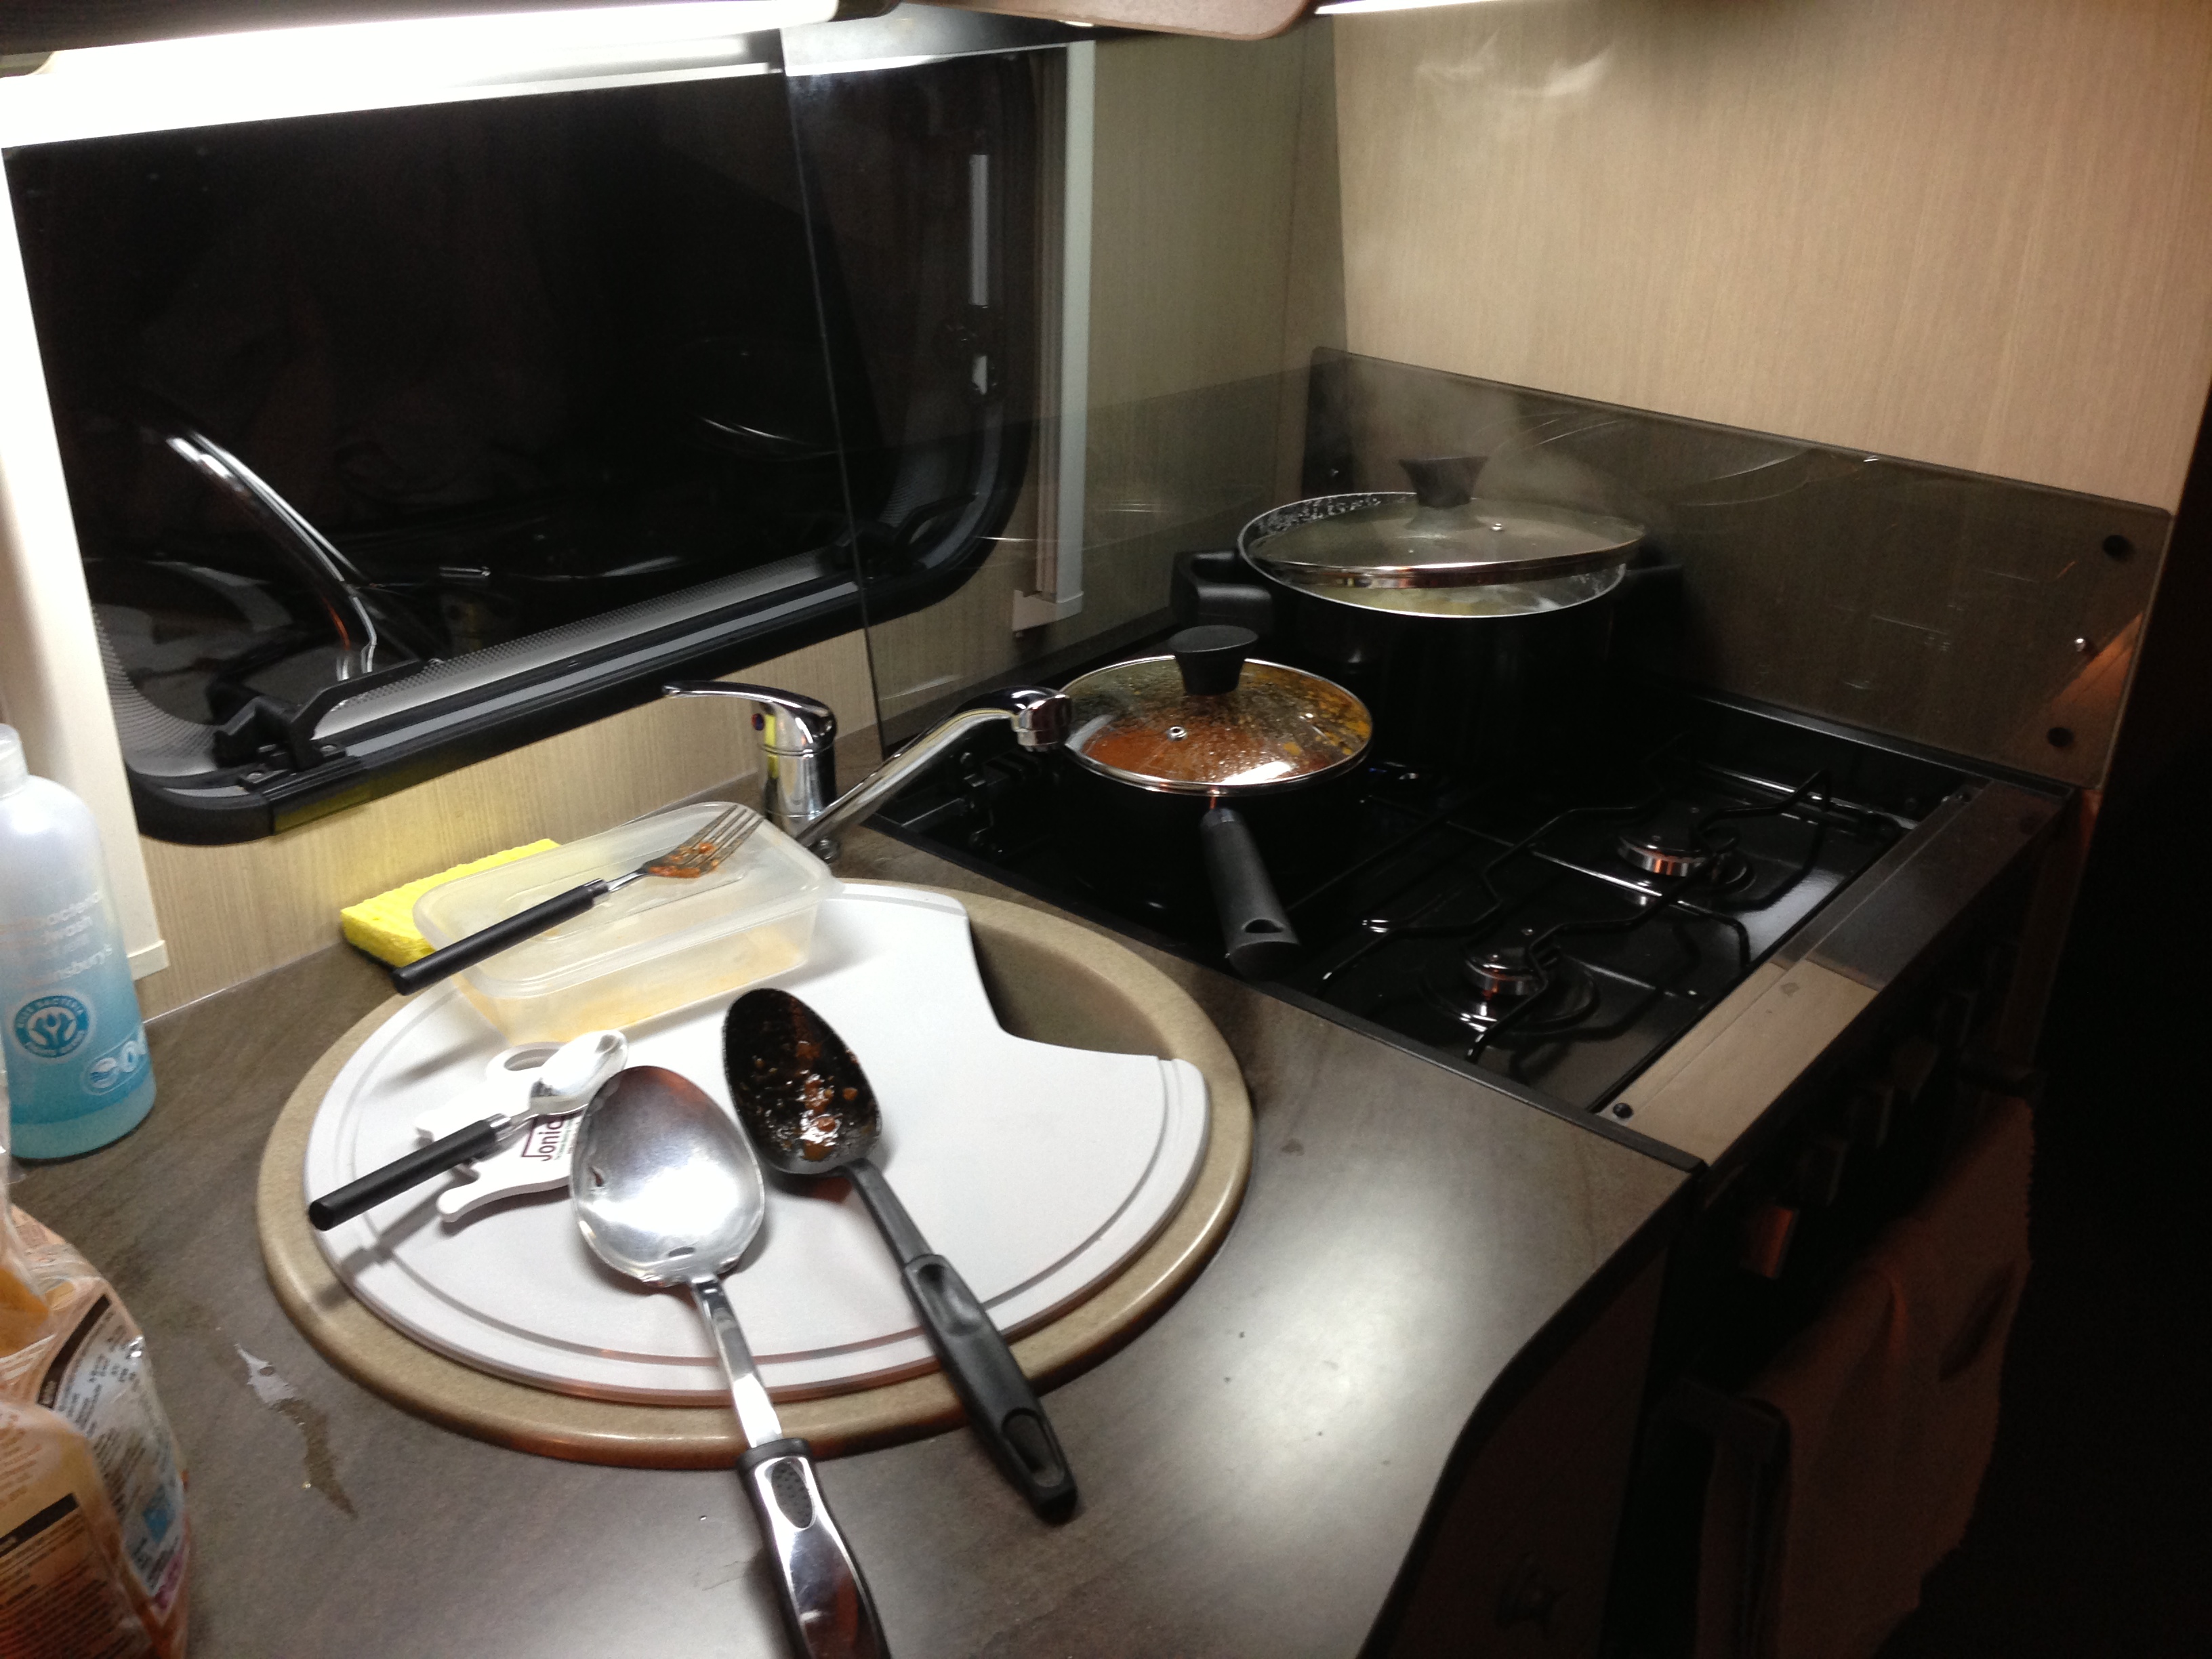
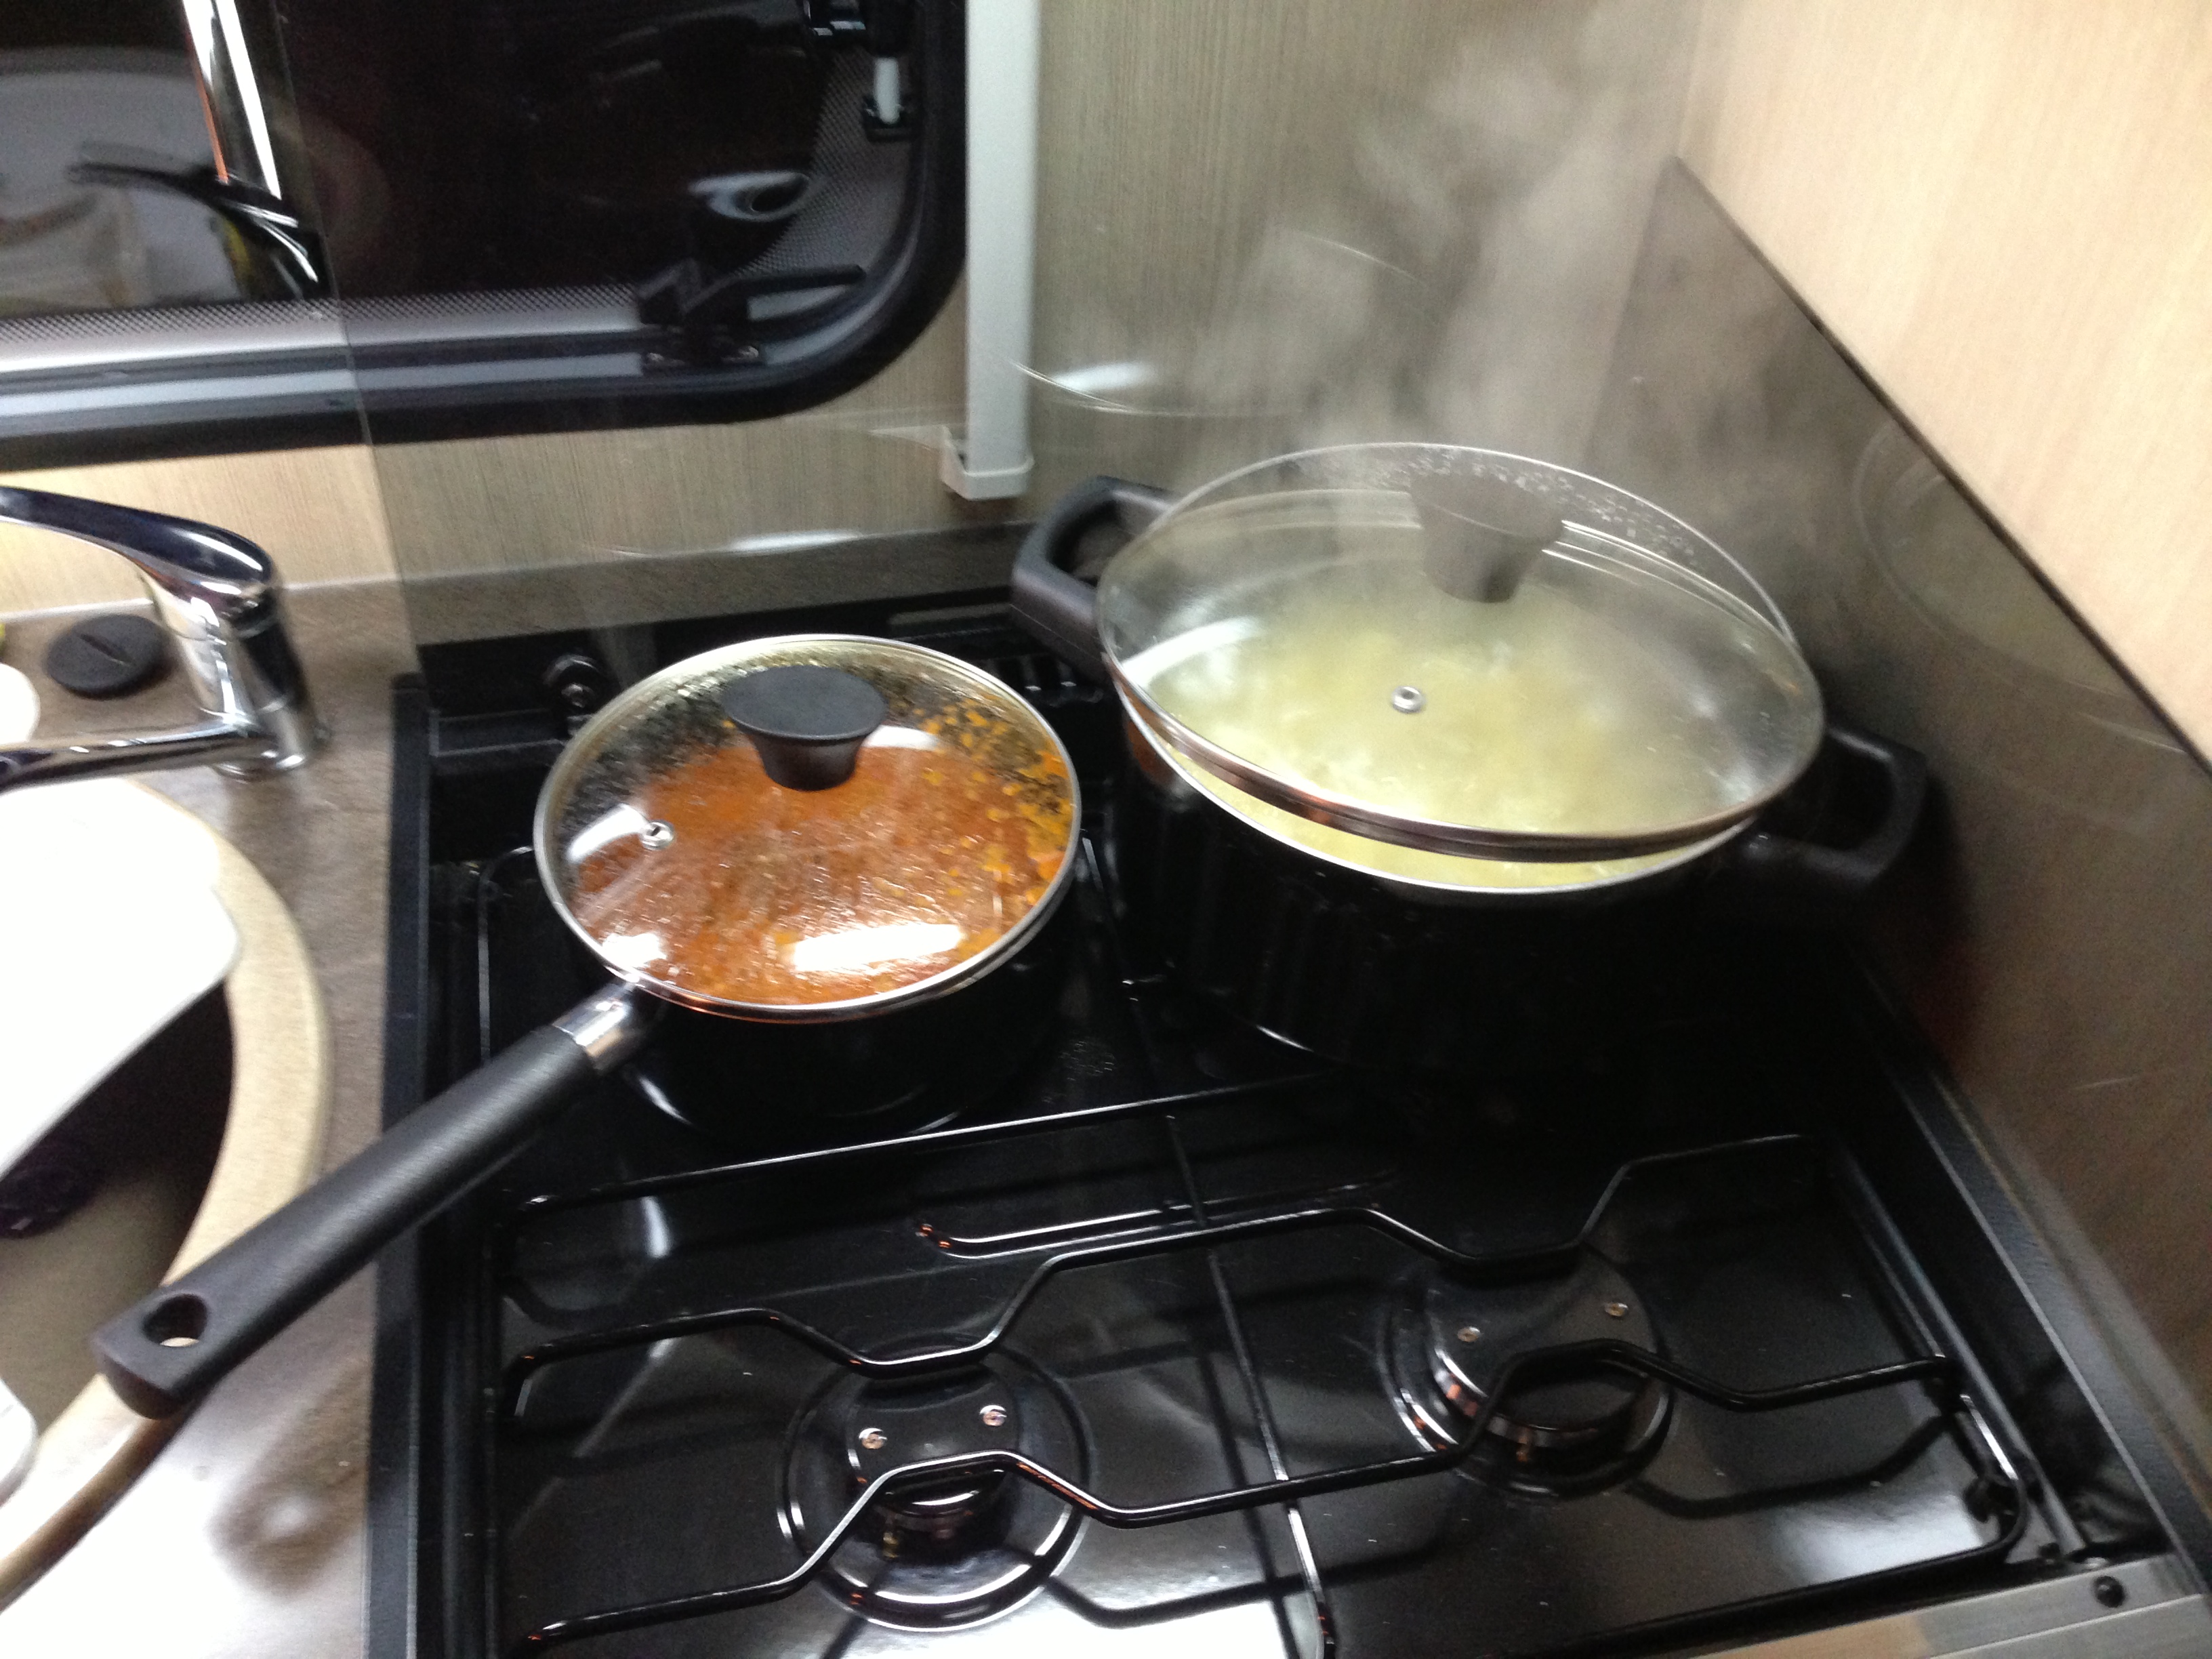
First the lighting upgrades. You may remember in my “Let there be light… or at least a little more light…” post I wanted to improve the light above the cooker area as it was a bit dark peering into the bottom of saucepans on the hob. I swopped out the single 12 volt 8 watt fluorescent unit for a double 8 watt fitting and installed an identical one above the hob area.
Good even bright light over the sink/prep area and the cooktop
Well it was a great success! My alter ego “One Hairy Caravanner” does not have any excuses for not being able to see right into the bottom of every pan! Having the advantage of being able to switch between one or two tubes above the sink/prep area and the hob area is great too.
The light output from the two fittings was even and well diffused although the colour temperature was a little cool, which is fine for task lighting in the kitchen. Once the prep is done, it’s easy to just switch from two tubes to one therefore reducing the power being consumed which is important if you are running on battery alone. All in all, for us a simple little project well worth doing.
No more cooking in the darkness! Again bright diffused task lighting right above the cooking area. (That’s OHC’s Spicy Tuna Pasta cooking by the way)
The other light I installed just above the heating and water heater controls works well too (“Let there be light… part two”). It was now so much easier just to flip a switch to clearly see the controls and as we store the drinks bottles in the recess… we could check on the contents so much more easily! It’s also handy when coming back to the caravan in the dark. Switching on the light from the doorway provides adequate illumination to enter the caravan to turn the main lights on.
Something else we need to update you on as well is our recent purchase of Jonic bedding. After our initial problem (“Things that make you go Hmm…”) we received a replacement mattress cover and two replacement bottom sheets. Not wanting to wash the sheets first in case we needed to return them, we took one of the sheets with us to check to see if it would fit. We compared the corner seam on the Jonic sheet we had fitted against one of the replacement sheets. There was an obvious difference. The replacement sheet corner seam was about three inches longer which ment the fitted sheet would wrap nicely under the mattress. So a huge 10/10 for Jonic’s customer service! We also have to report that the 10+5 duvet, even though light in weight, kept us warm even when the outside temp was down to 1 or 2 degrees at night.
The only other update was about the little device I made in “A little winter warmer…” the inside cover for the bathroom roof vent. Well I am happy to report that too was a success. We were only using the electric towel rail to maintain the temp bathroom once we had used the blown heating system in conjunction with the electric towel rail to get the bathroom to a comfortable temperature despite the outside temperature being only 1 or 2 degrees at night.
OK… now to the problem!
The problem we had on the last trip was to do with the Flojet water pump. When we turned any of the taps on, there was a delay in the pump kicking in.
How it should work
As it is a pressure water system, the pump should run to pressurise all the water in the pipes. Once a certain pressure is reached, the pump switches off. Now turn a tap on and as the water starts to flow through the tap, the pressure in the pipes drops and this drop should trigger the pressure switch to turn on the water pump, maintaining an even flow until the tap is turned off again, when the pump will continue to run until its pre set pressure is reached and it shuts off.
What was actually happening
When we turned a tap on, initially water would flow then reduce to a tiny trickle and stop within a couple of seconds. It would then take 15 or 20 seconds for the pump to start and water would flow again. Turn the tap off and the pump would continue to run until the system was back up to pressure and the pressure switch shut the pump down.
I suspected that the pressure switch was at fault, but not having the paperwork with me for the pump and it still being inside the two-year warranty period, I didn’t want to go poking around while on site. When we returned, a quick posting on “Swift Talk” forum soon got a reply from Swift’s Ash Dhir who posted a link to a page that gave me the info to solve the problem. A couple of other people also posted that they had similar problems and Ash’s info worked for them… and someone else also provided a helpful bit of advice regarding the pressure release valve on the water heater. If you want to know more… sign up to Swift Talk!
So now I have the fix, I’ll be toddling off to the van in the next day or so to do a spot of screw turning. I’ll let you know how I got on.