• Home
  • Help Guides
    • Storage Sites
    • Equipment Reviews
  • Document Library
    • Electrical Drawings
  • Photo Gallery
    • Caravan Log
    • MPG
  • Trip Map
  • Shop
  • About Caravan Chronicles…
  • Contact
  • Links

Caravan Chronicles

~ not just another caravan blog

Caravan Chronicles

Category Archives: Amarok

End of Year Catch Up…

28 Thursday Dec 2017

Posted by Simon Barlow in Amarok, Blog updates, Christmas Markets, Durham, Uncategorized

≈ 7 Comments

Tags

Accessories, Durham, holidays, Jorvik, National Railway Museum, Touring, travel, York

Wow… it’s been quite a while since our last posting, and many thanks to all those of you who have emailed asking if we are OK. We are both fine, thanks.

Back in October we were due to go to the Caravan & Motorhome show and we had  booked in to the campsite at the NEC for 4 days. However, the day before, we actually wondered why we were going. Plenty of other bloggers and video bloggers would be going and posting on YouTube. I guess the plethora of video bloggers filming each other meeting other video bloggers wasn’t what we were about…. so we went to the C & M Club site at Southport instead.

IMG_1207

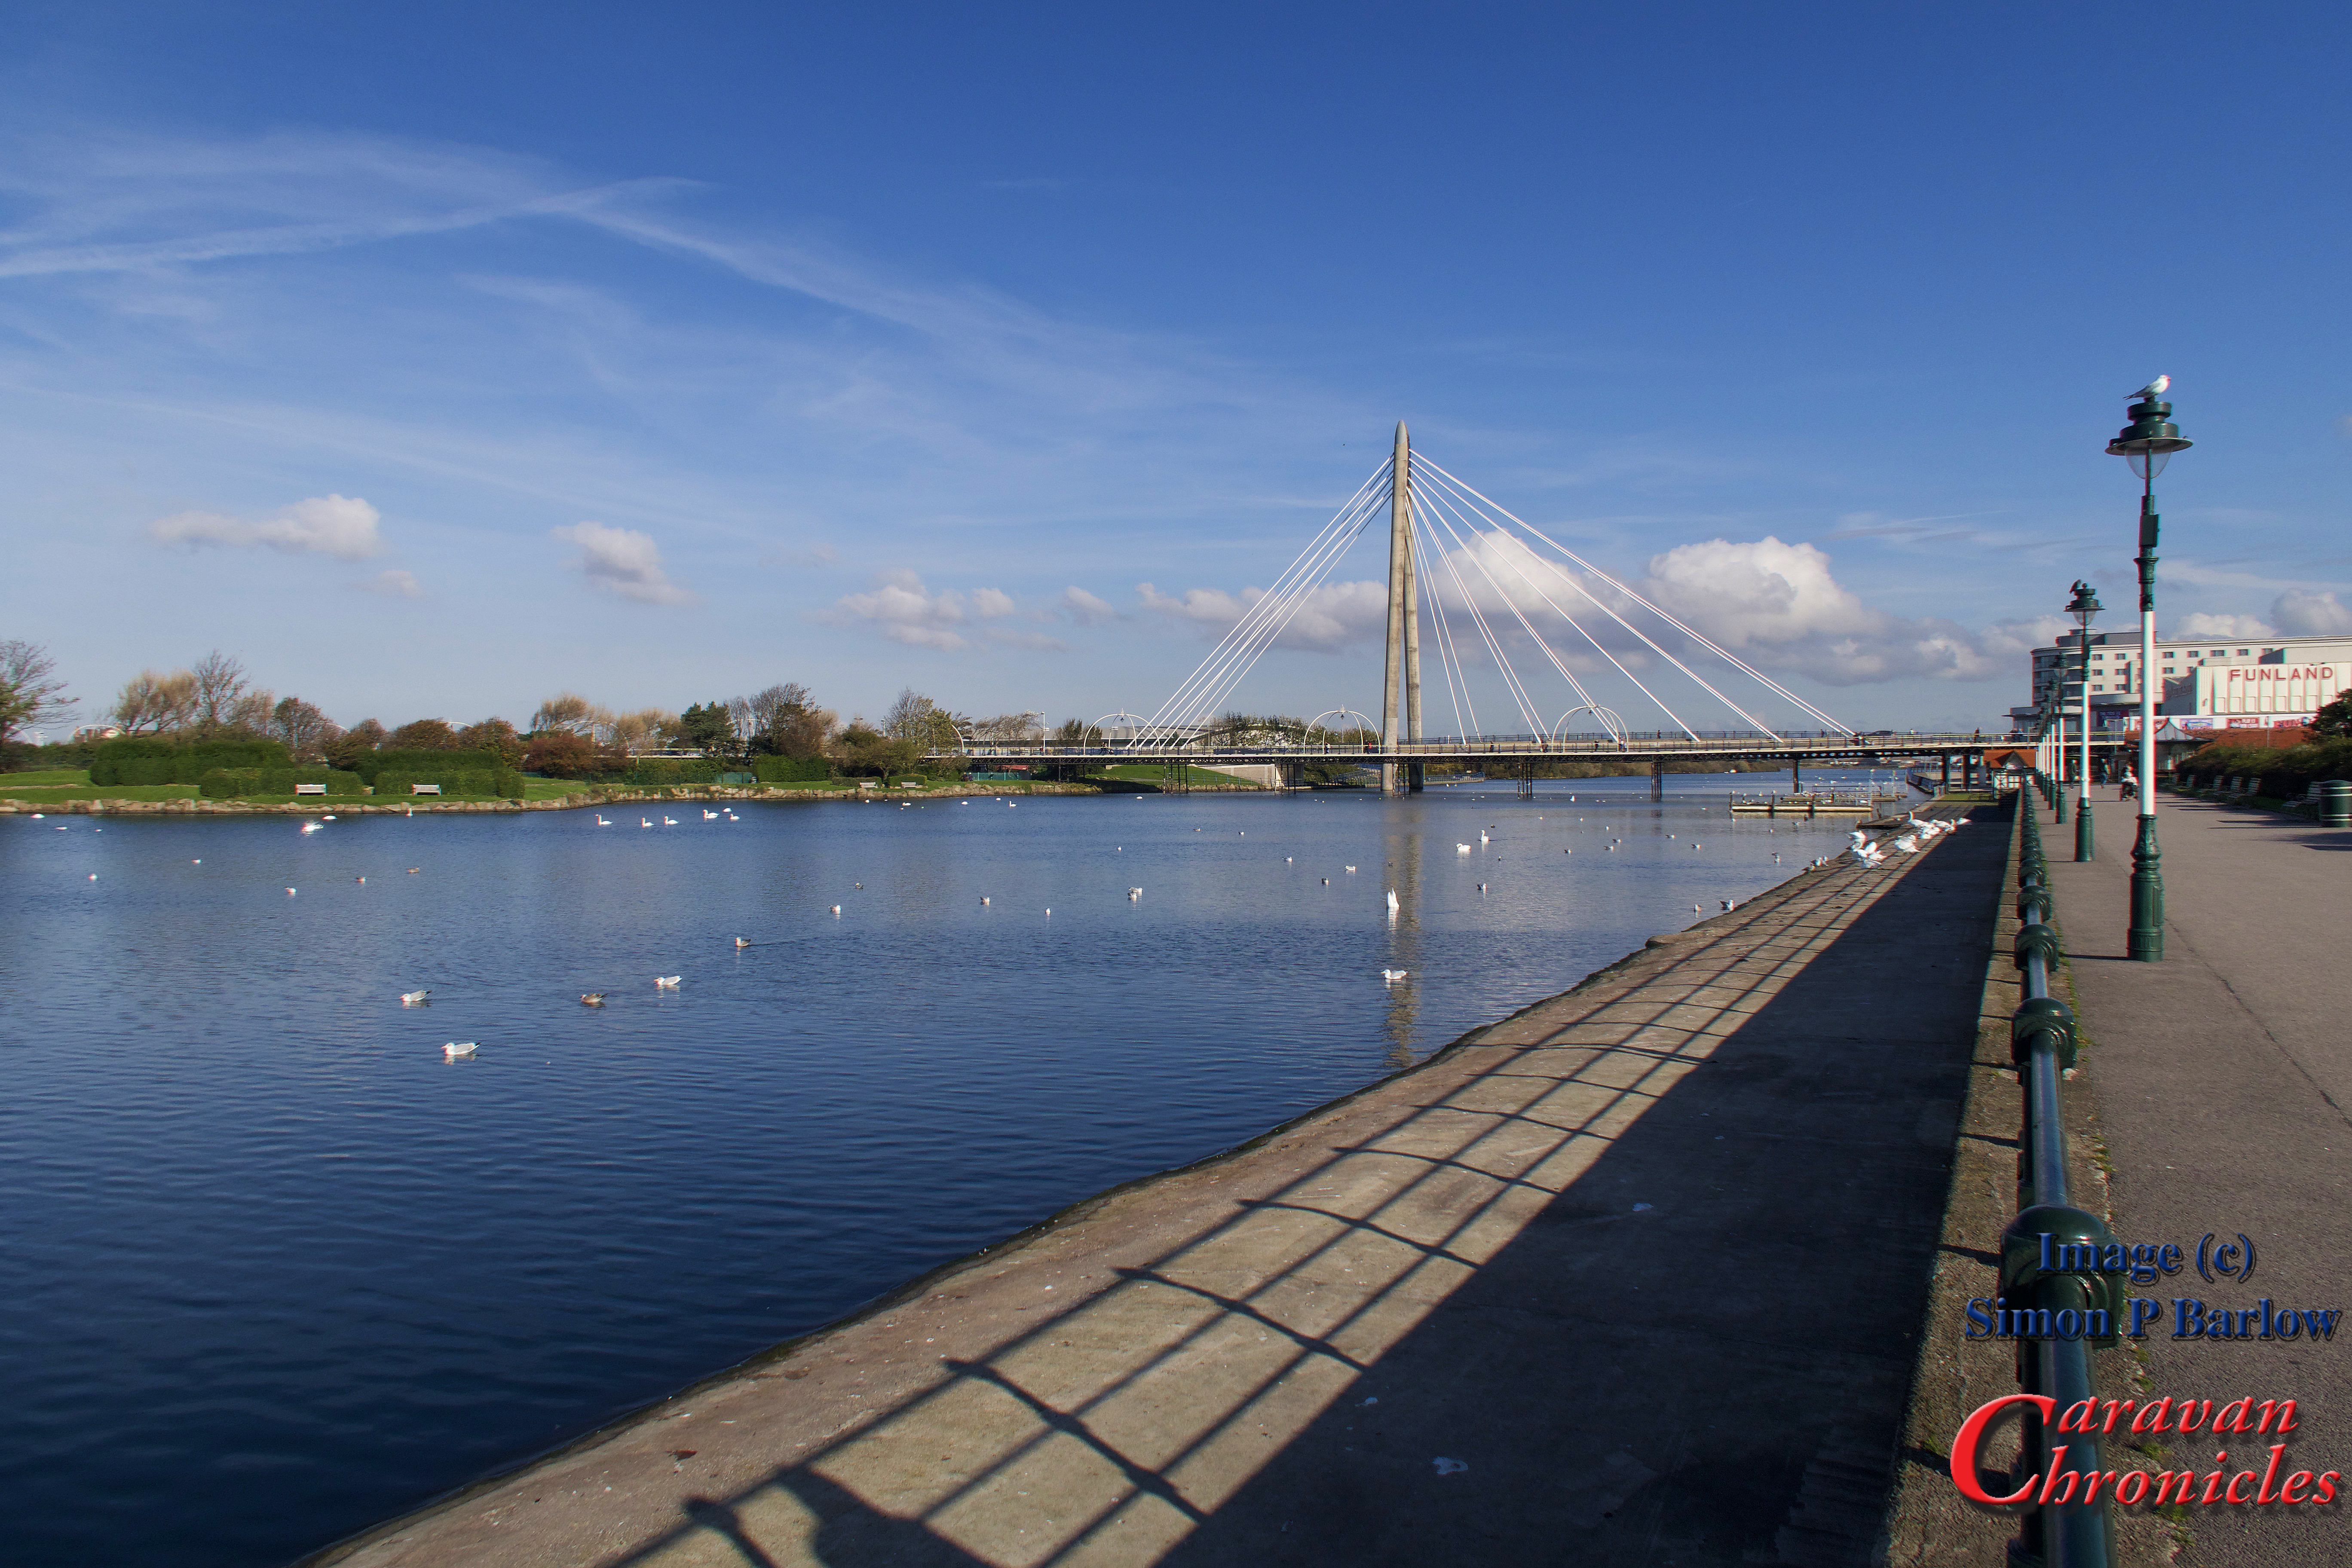
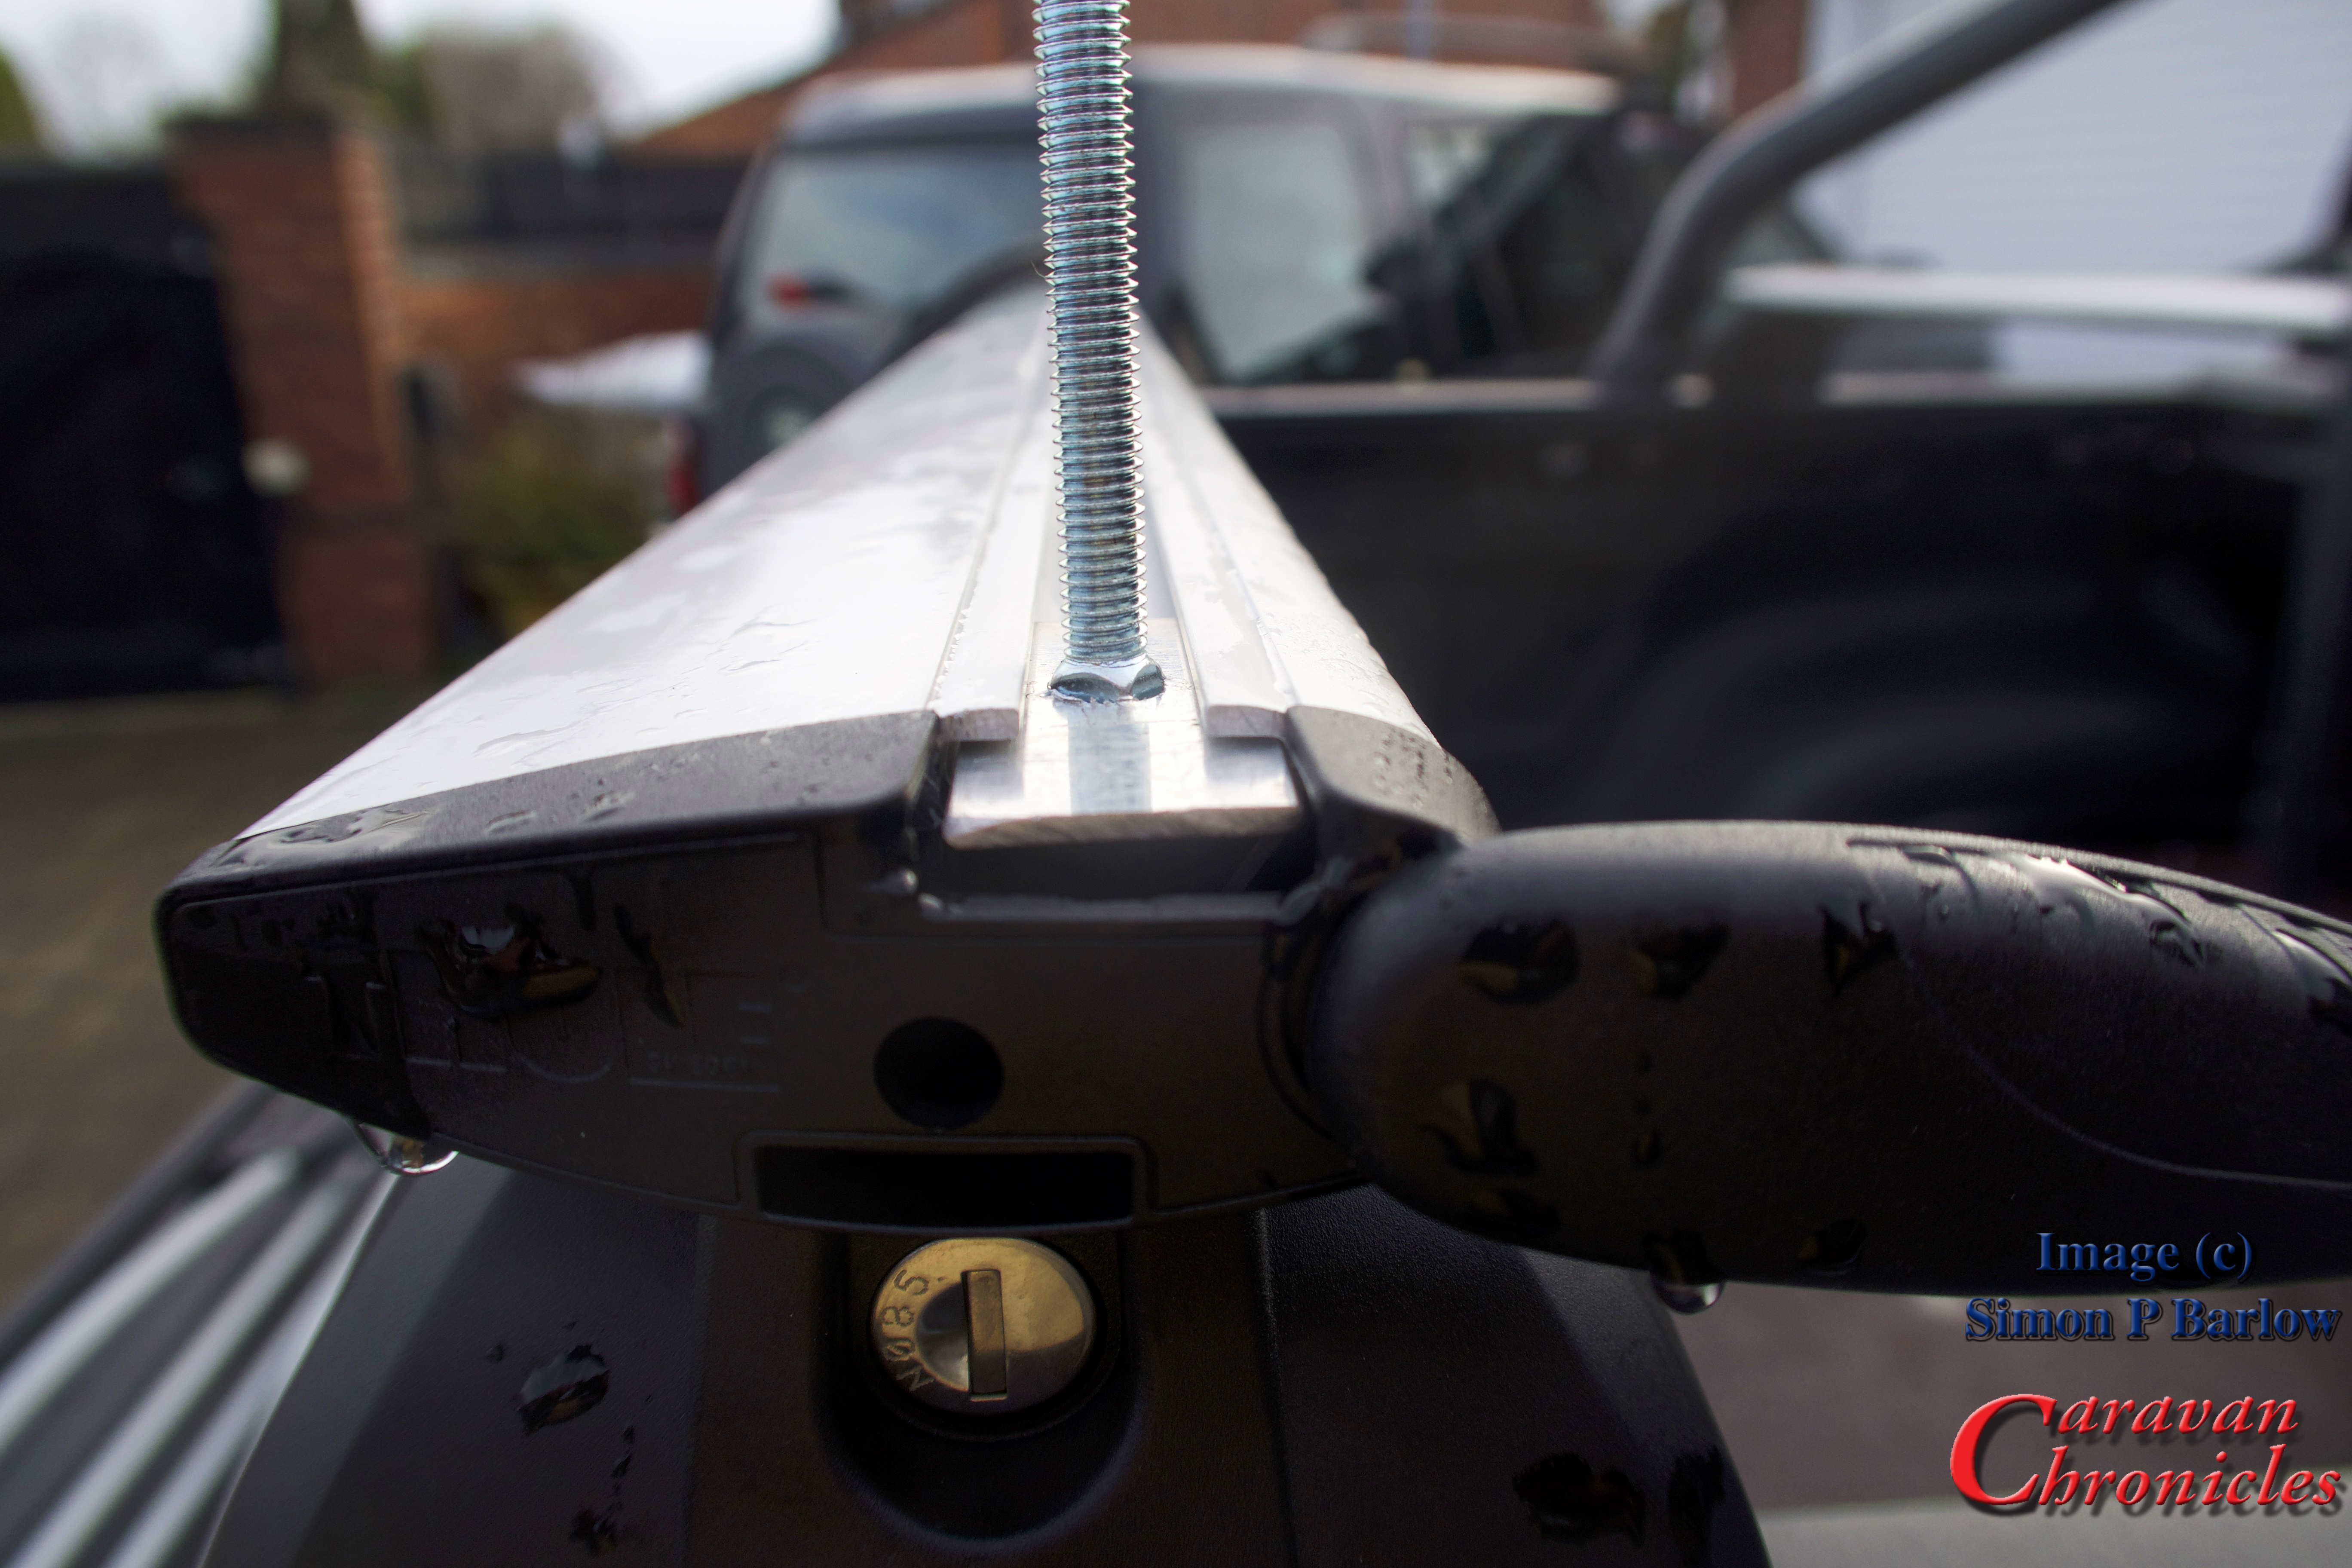
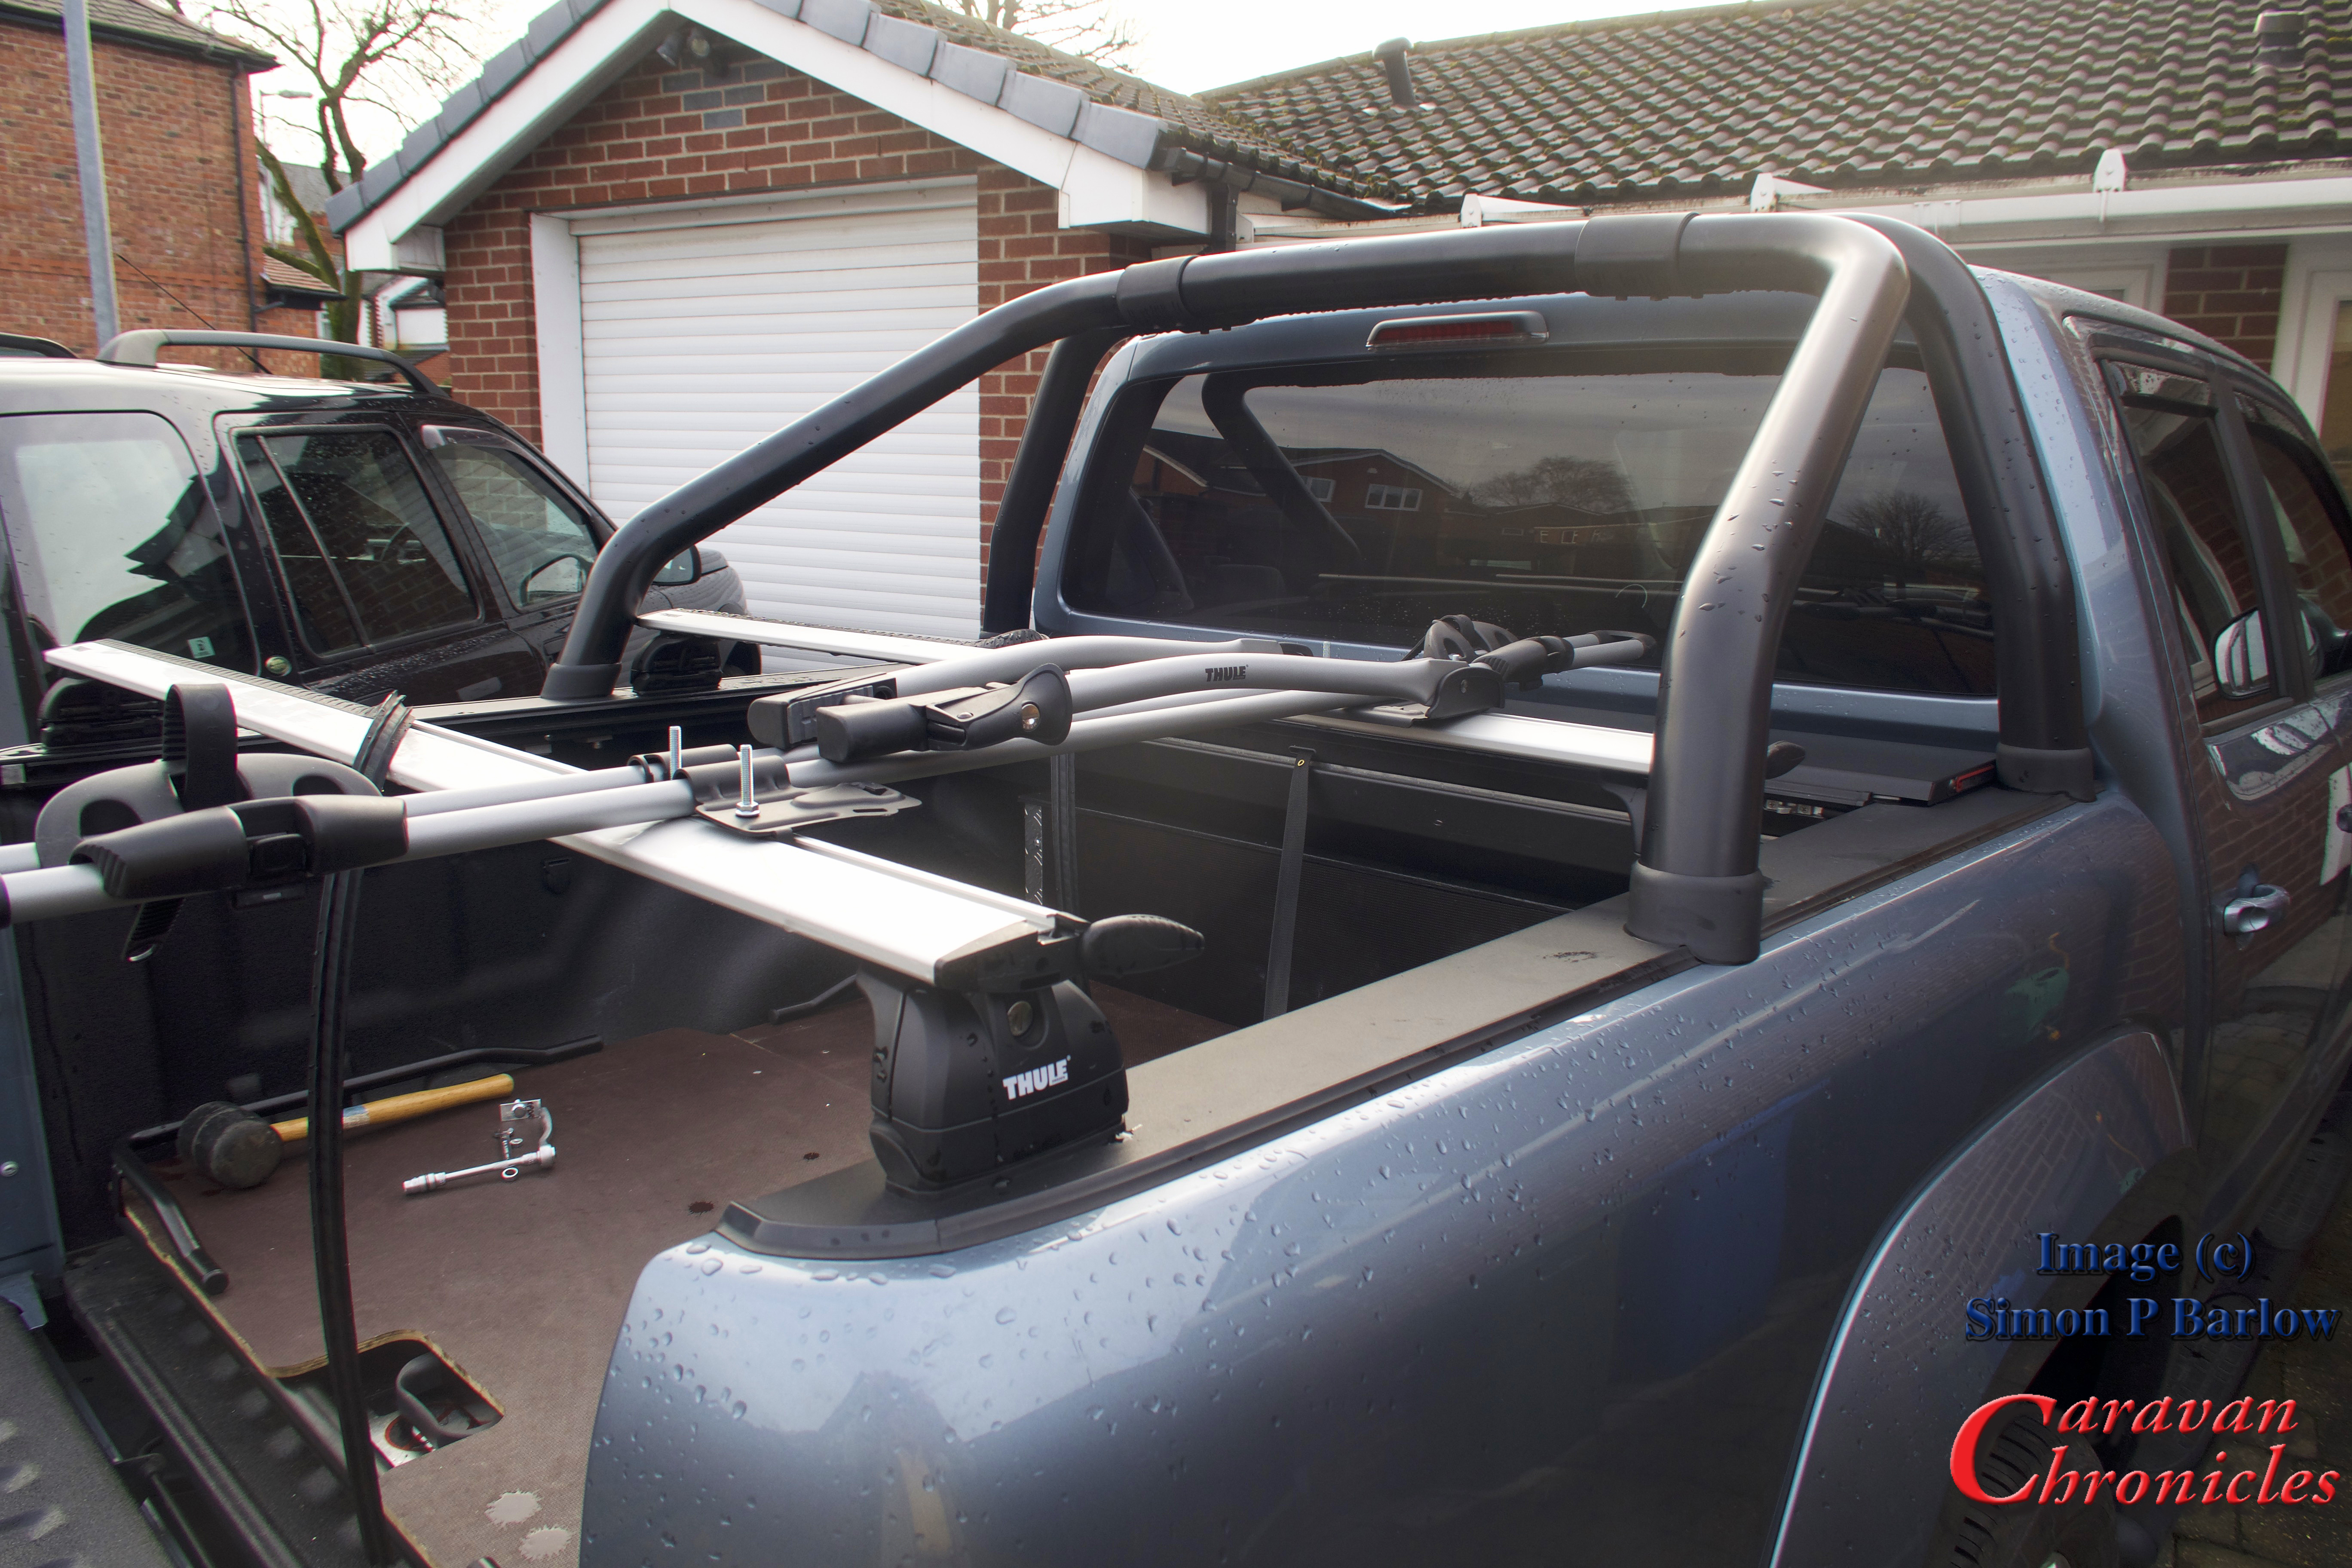
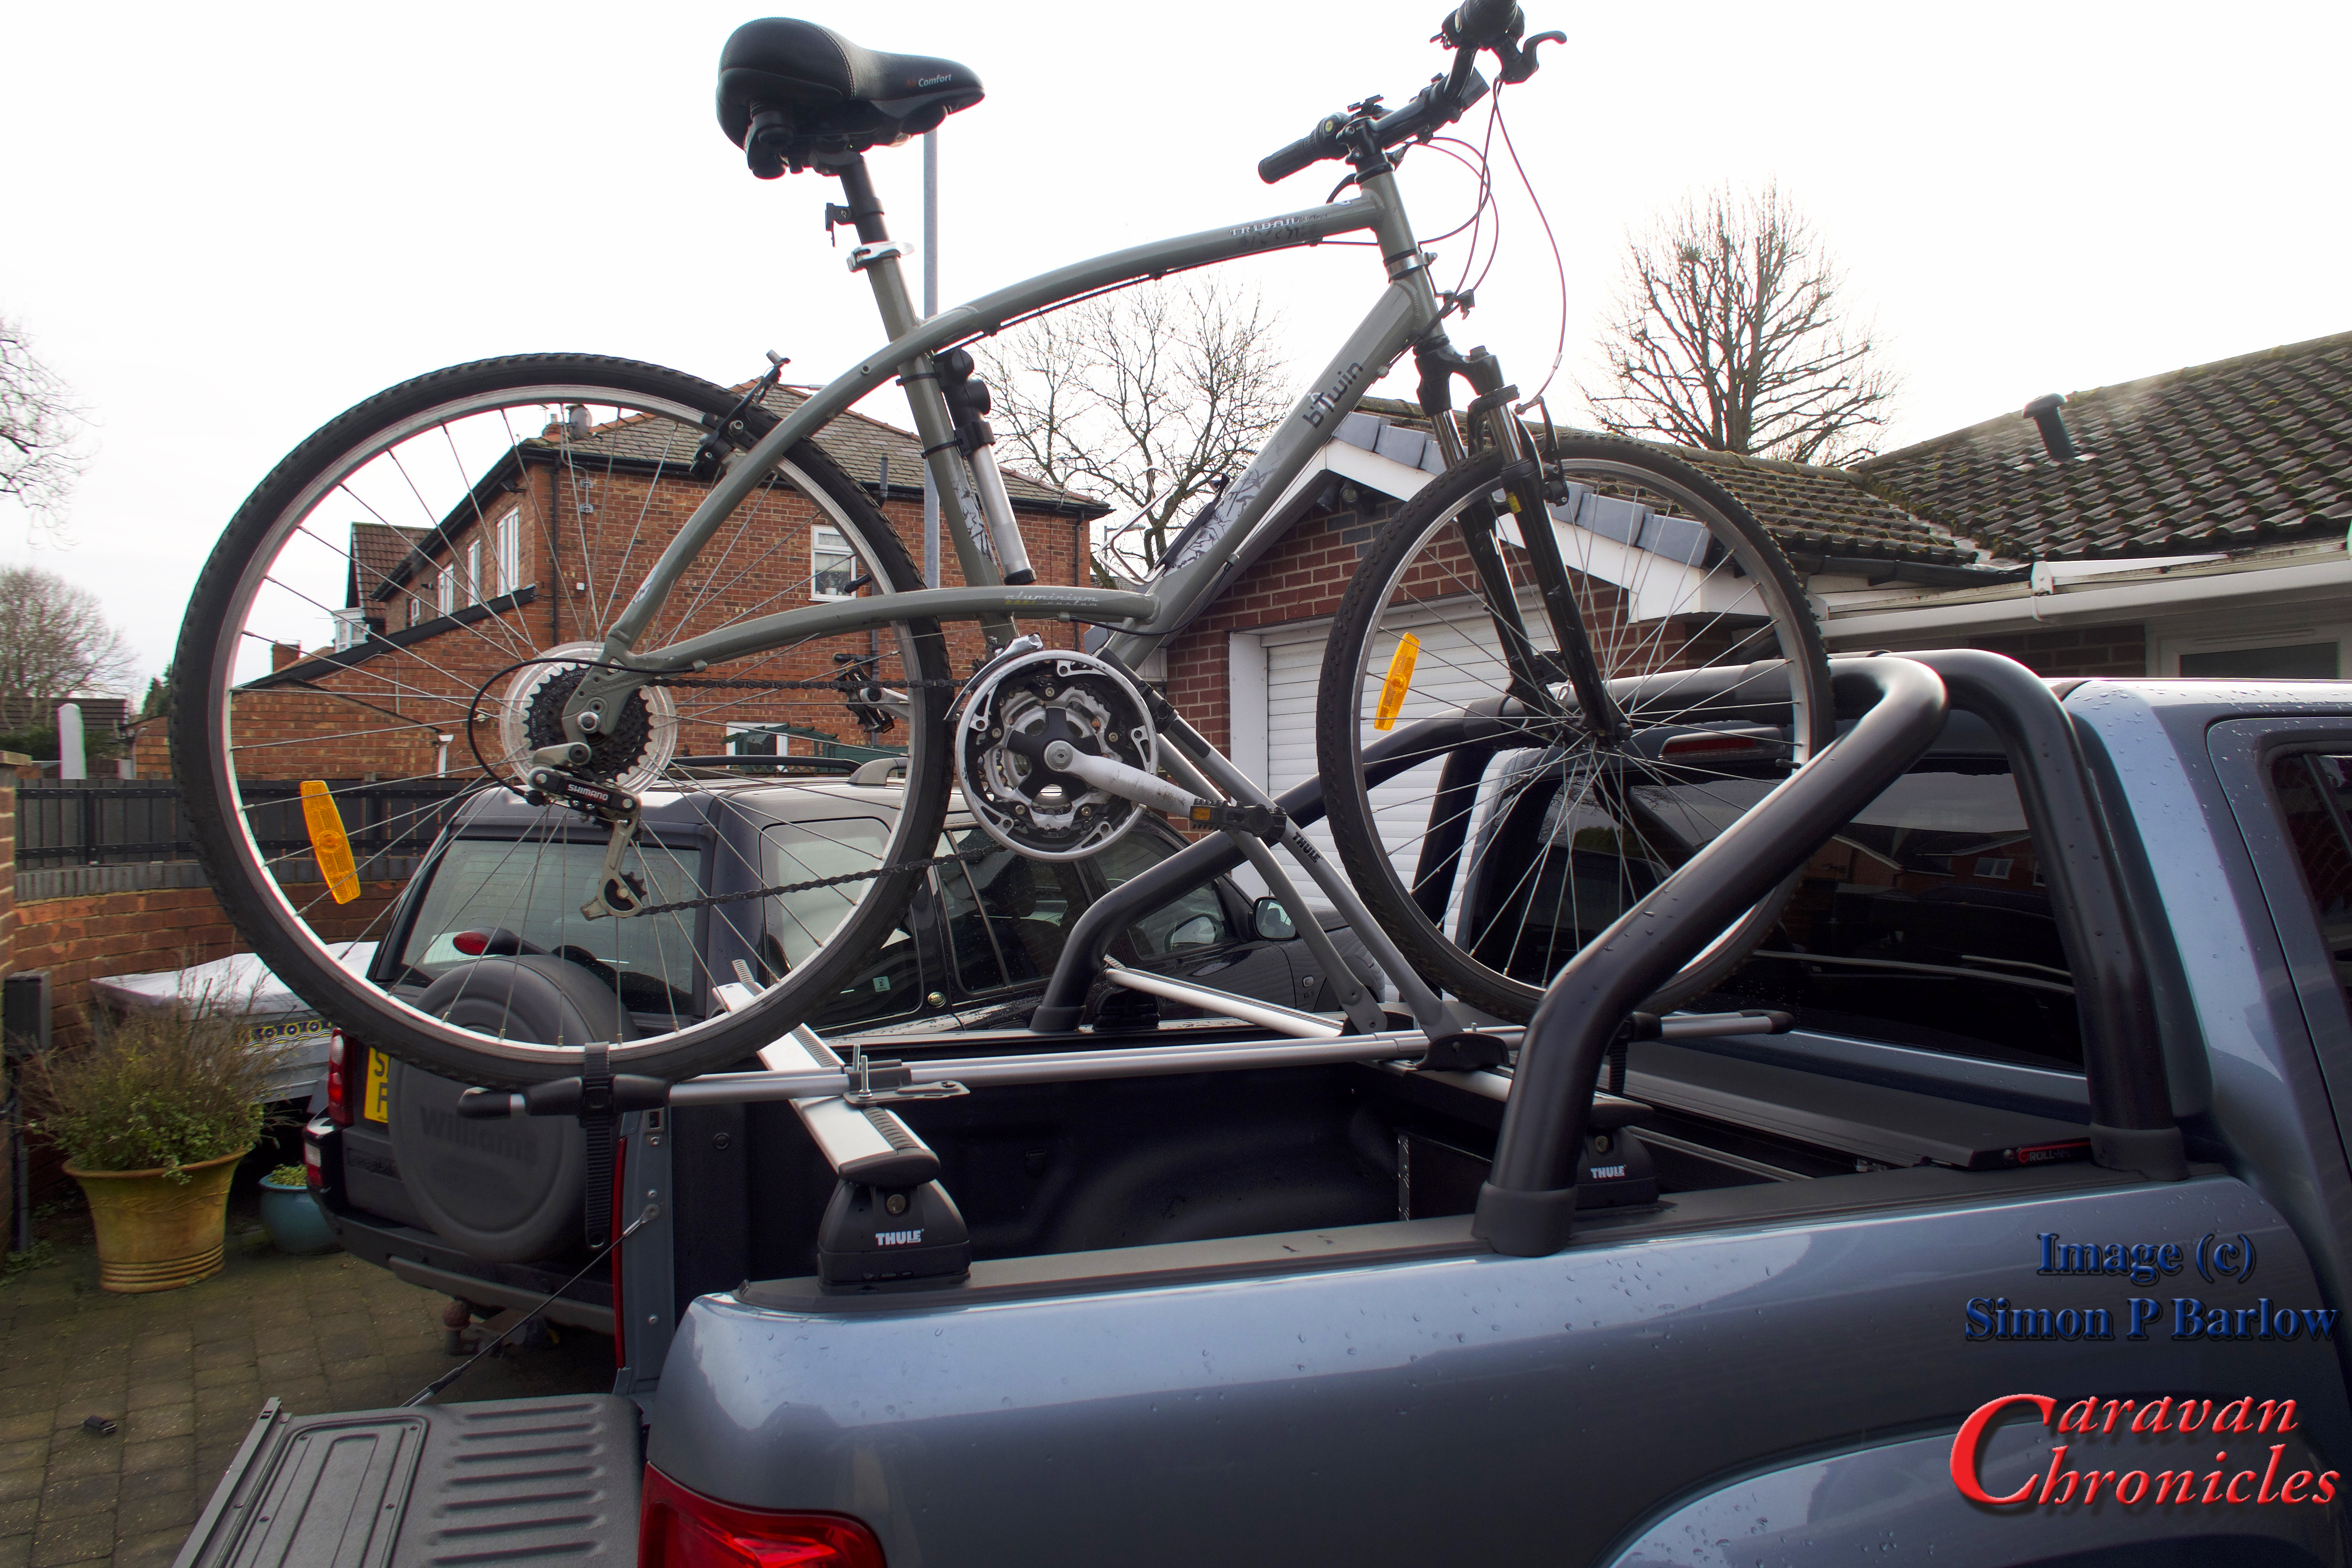
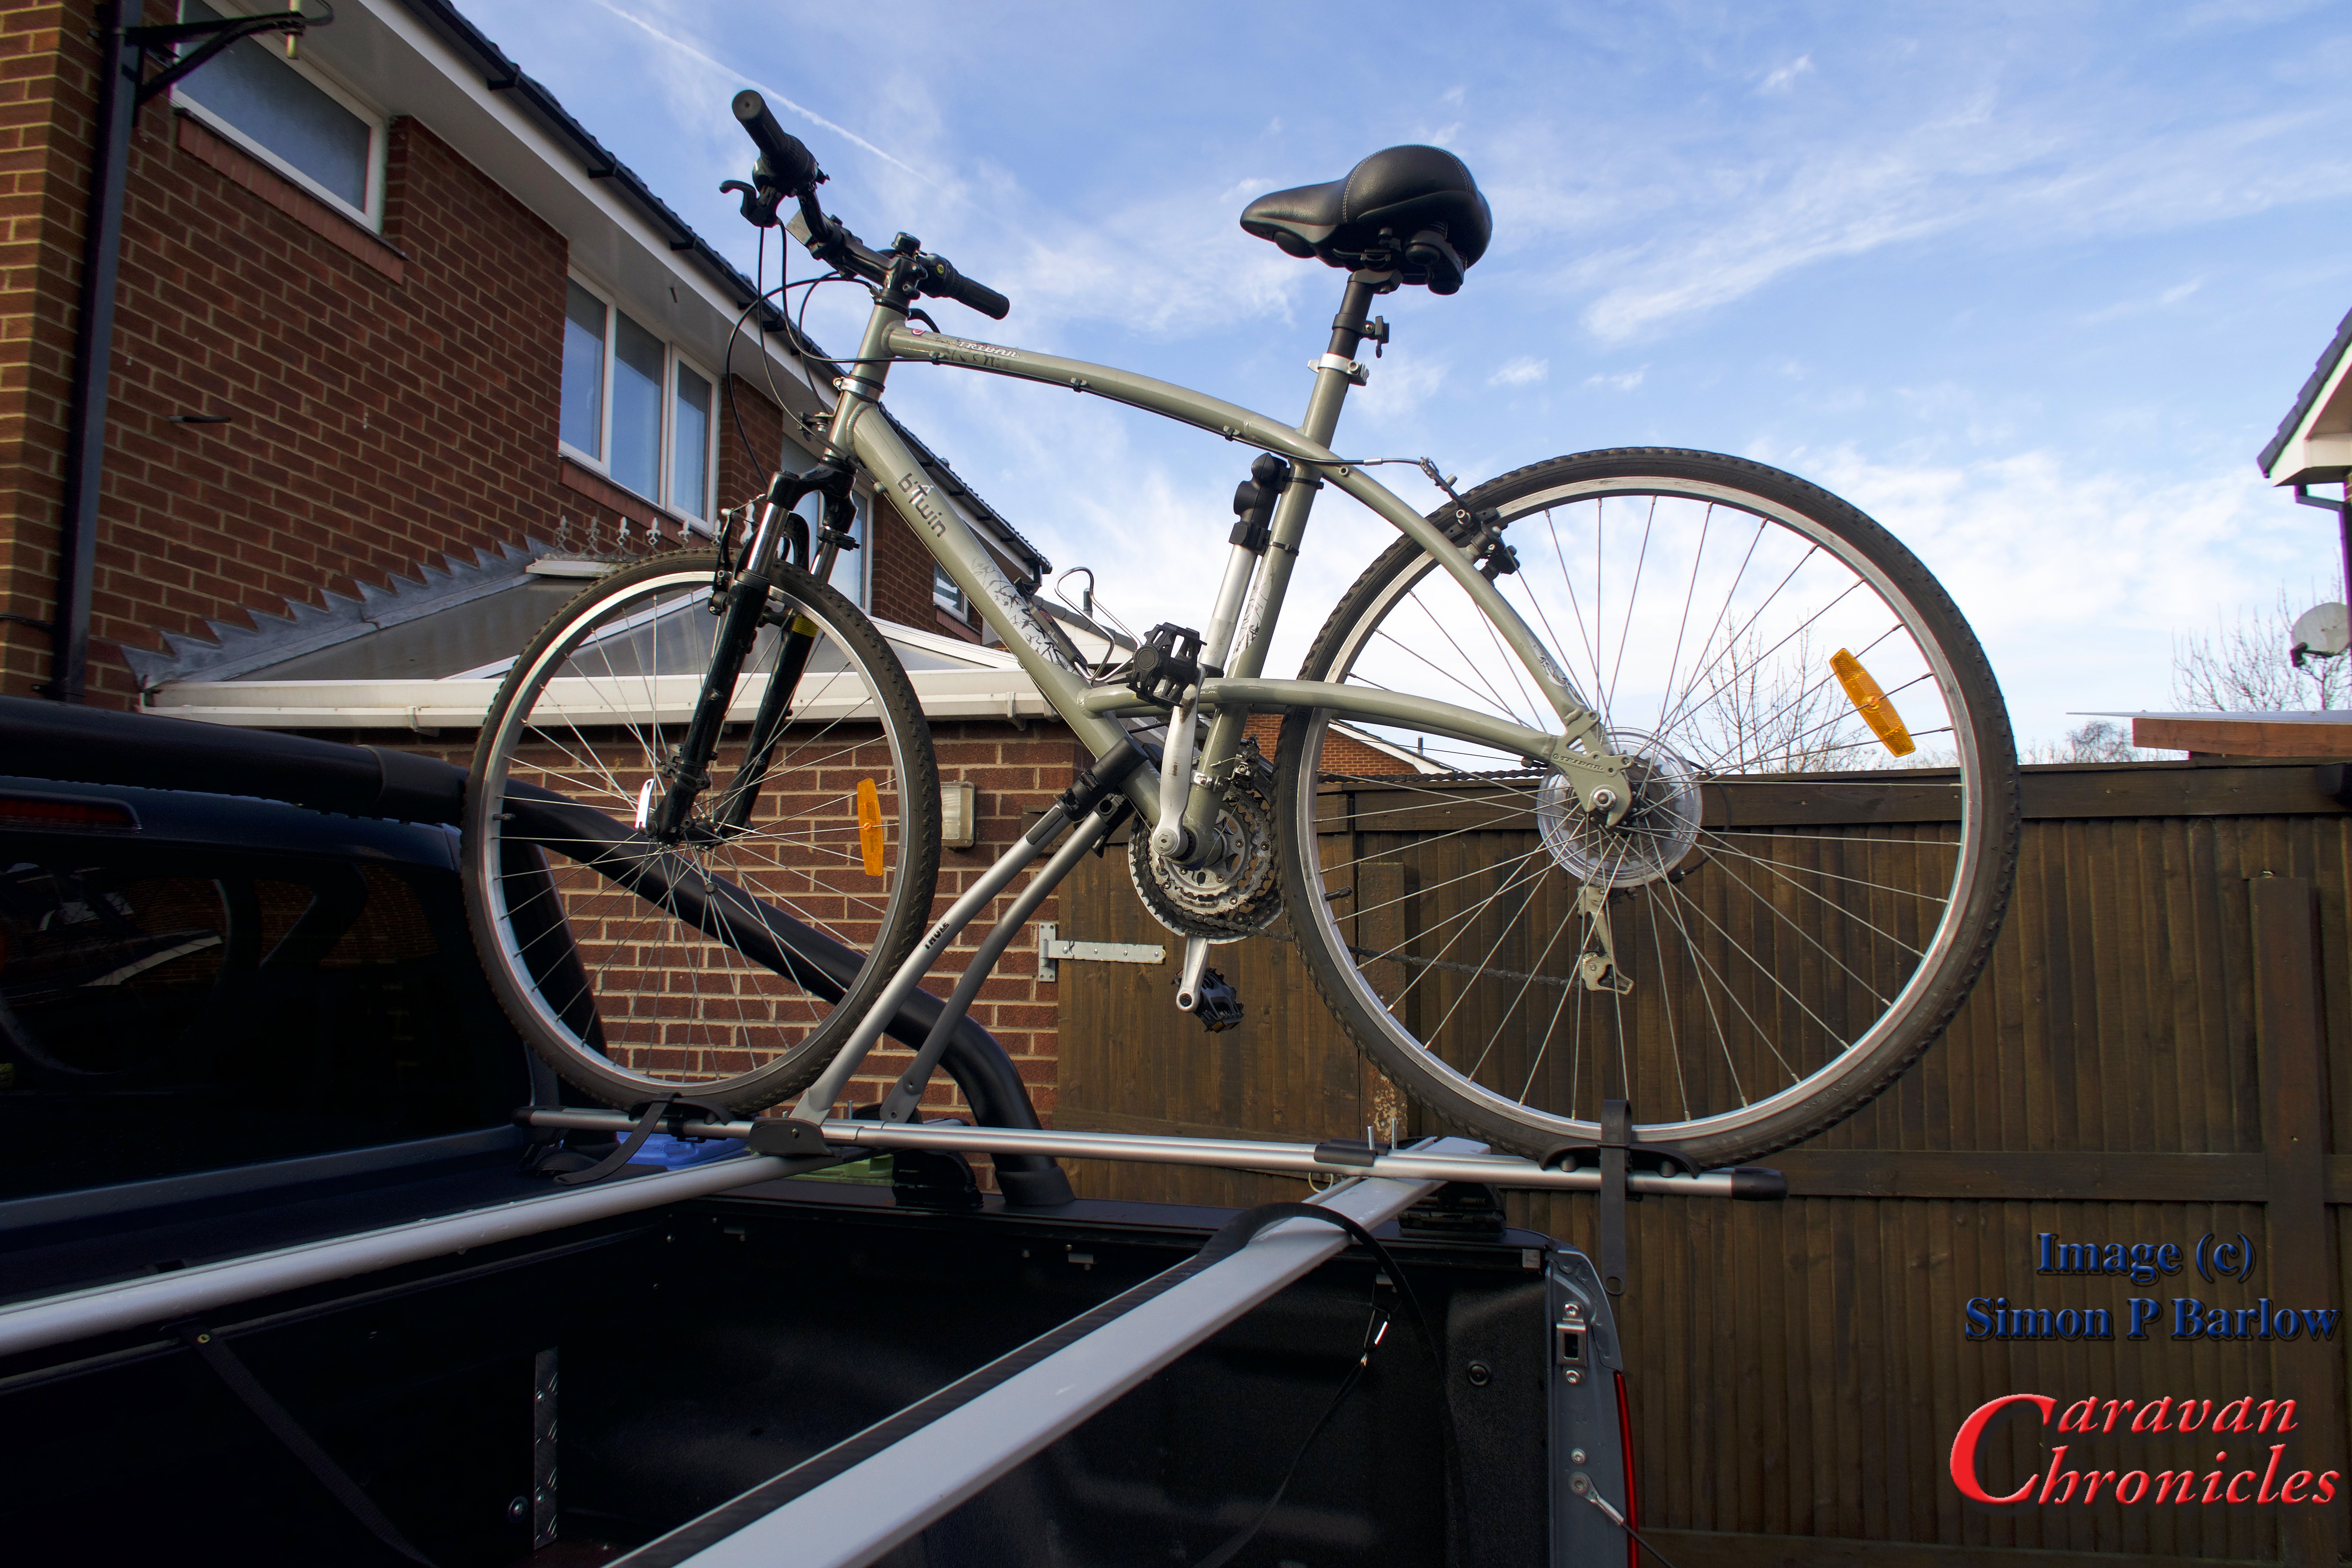
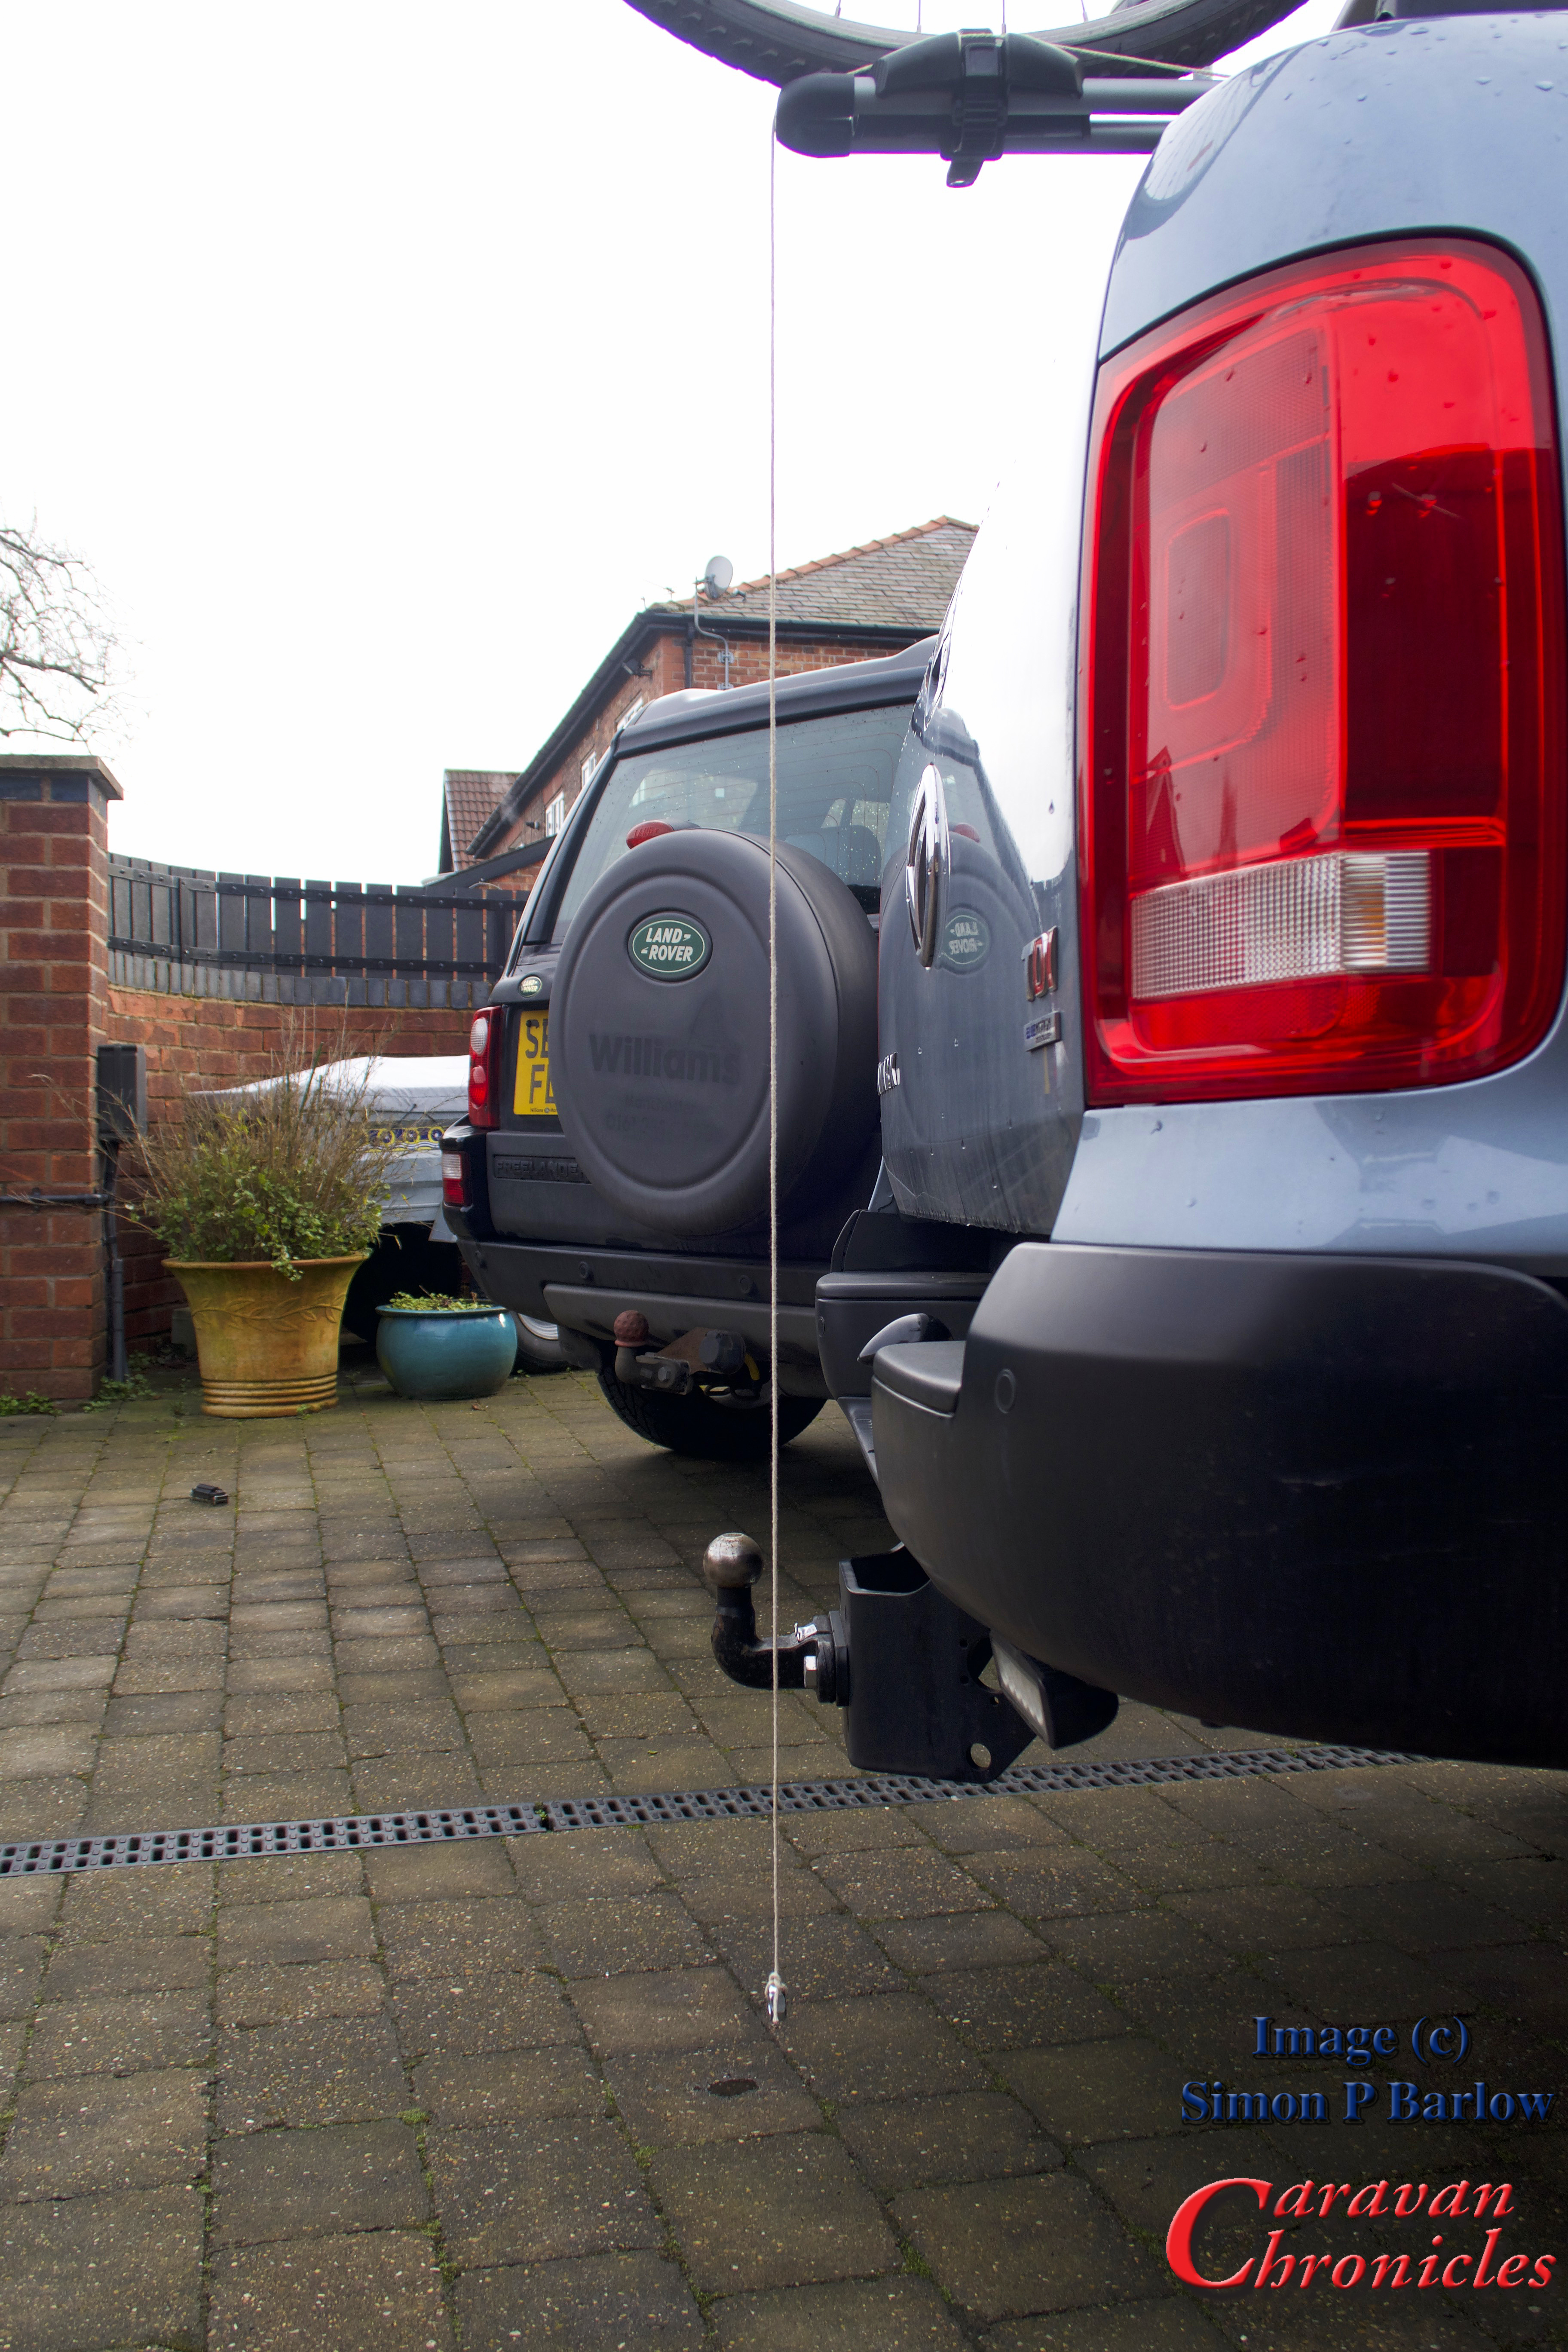
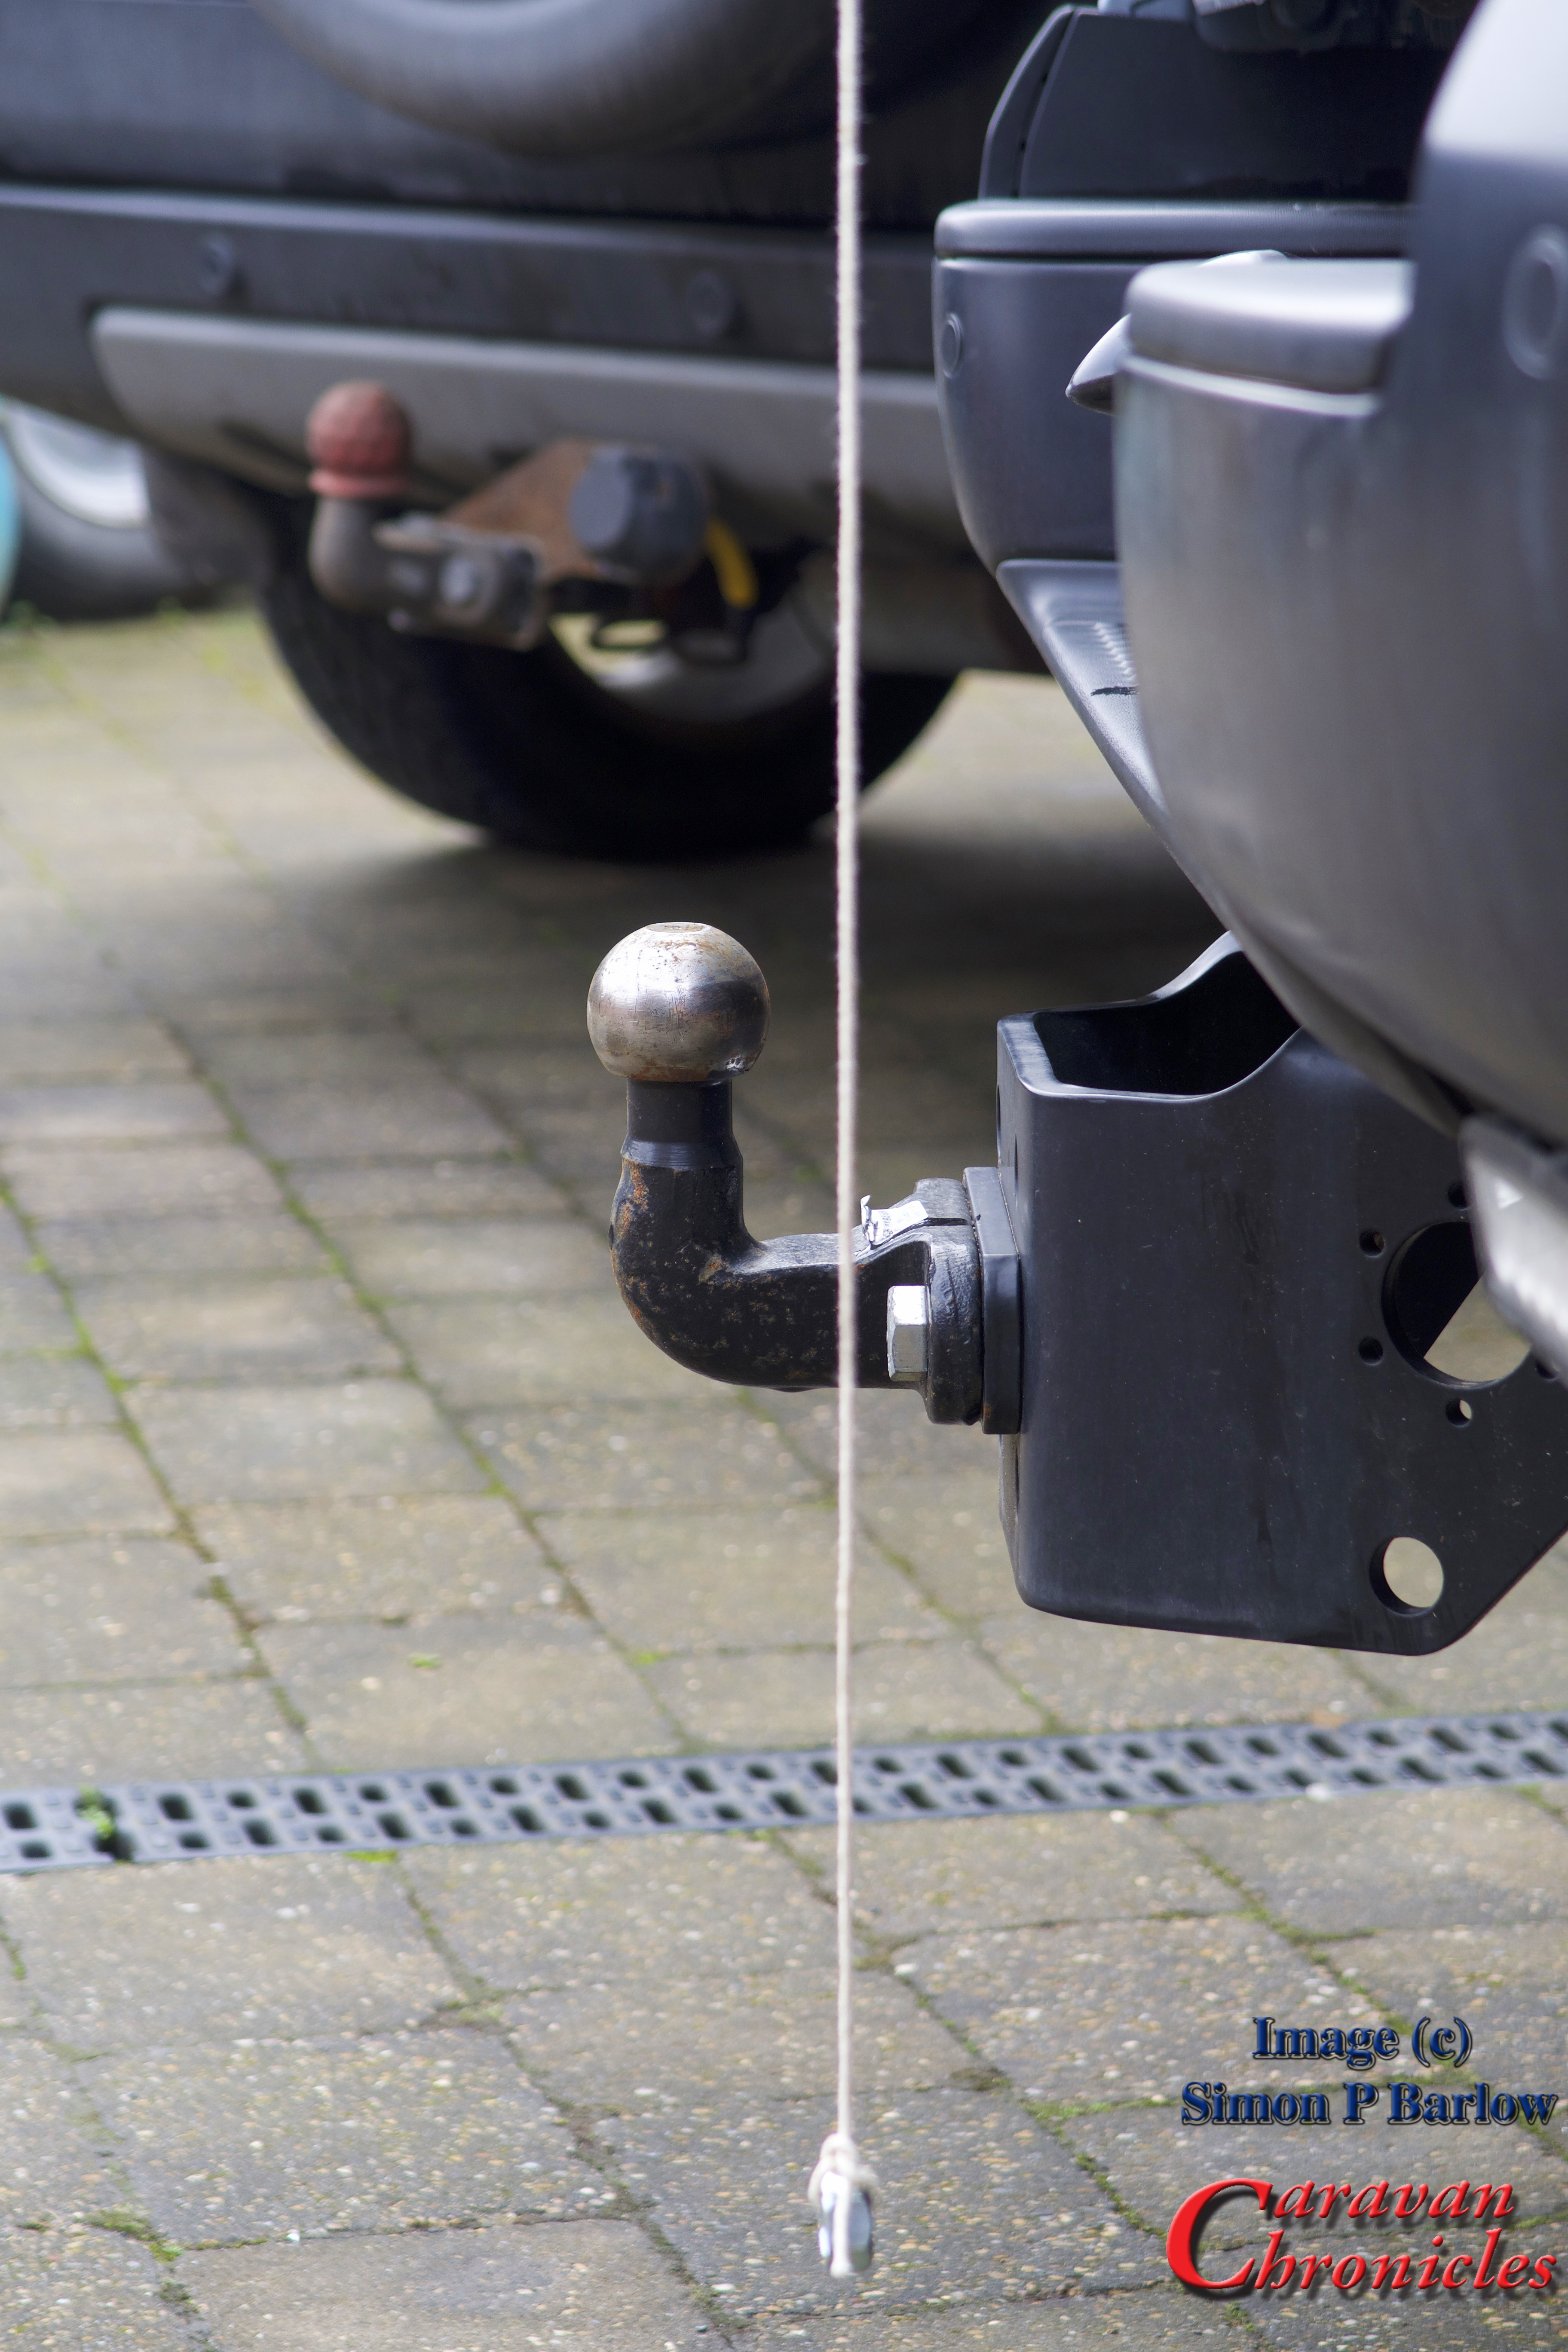
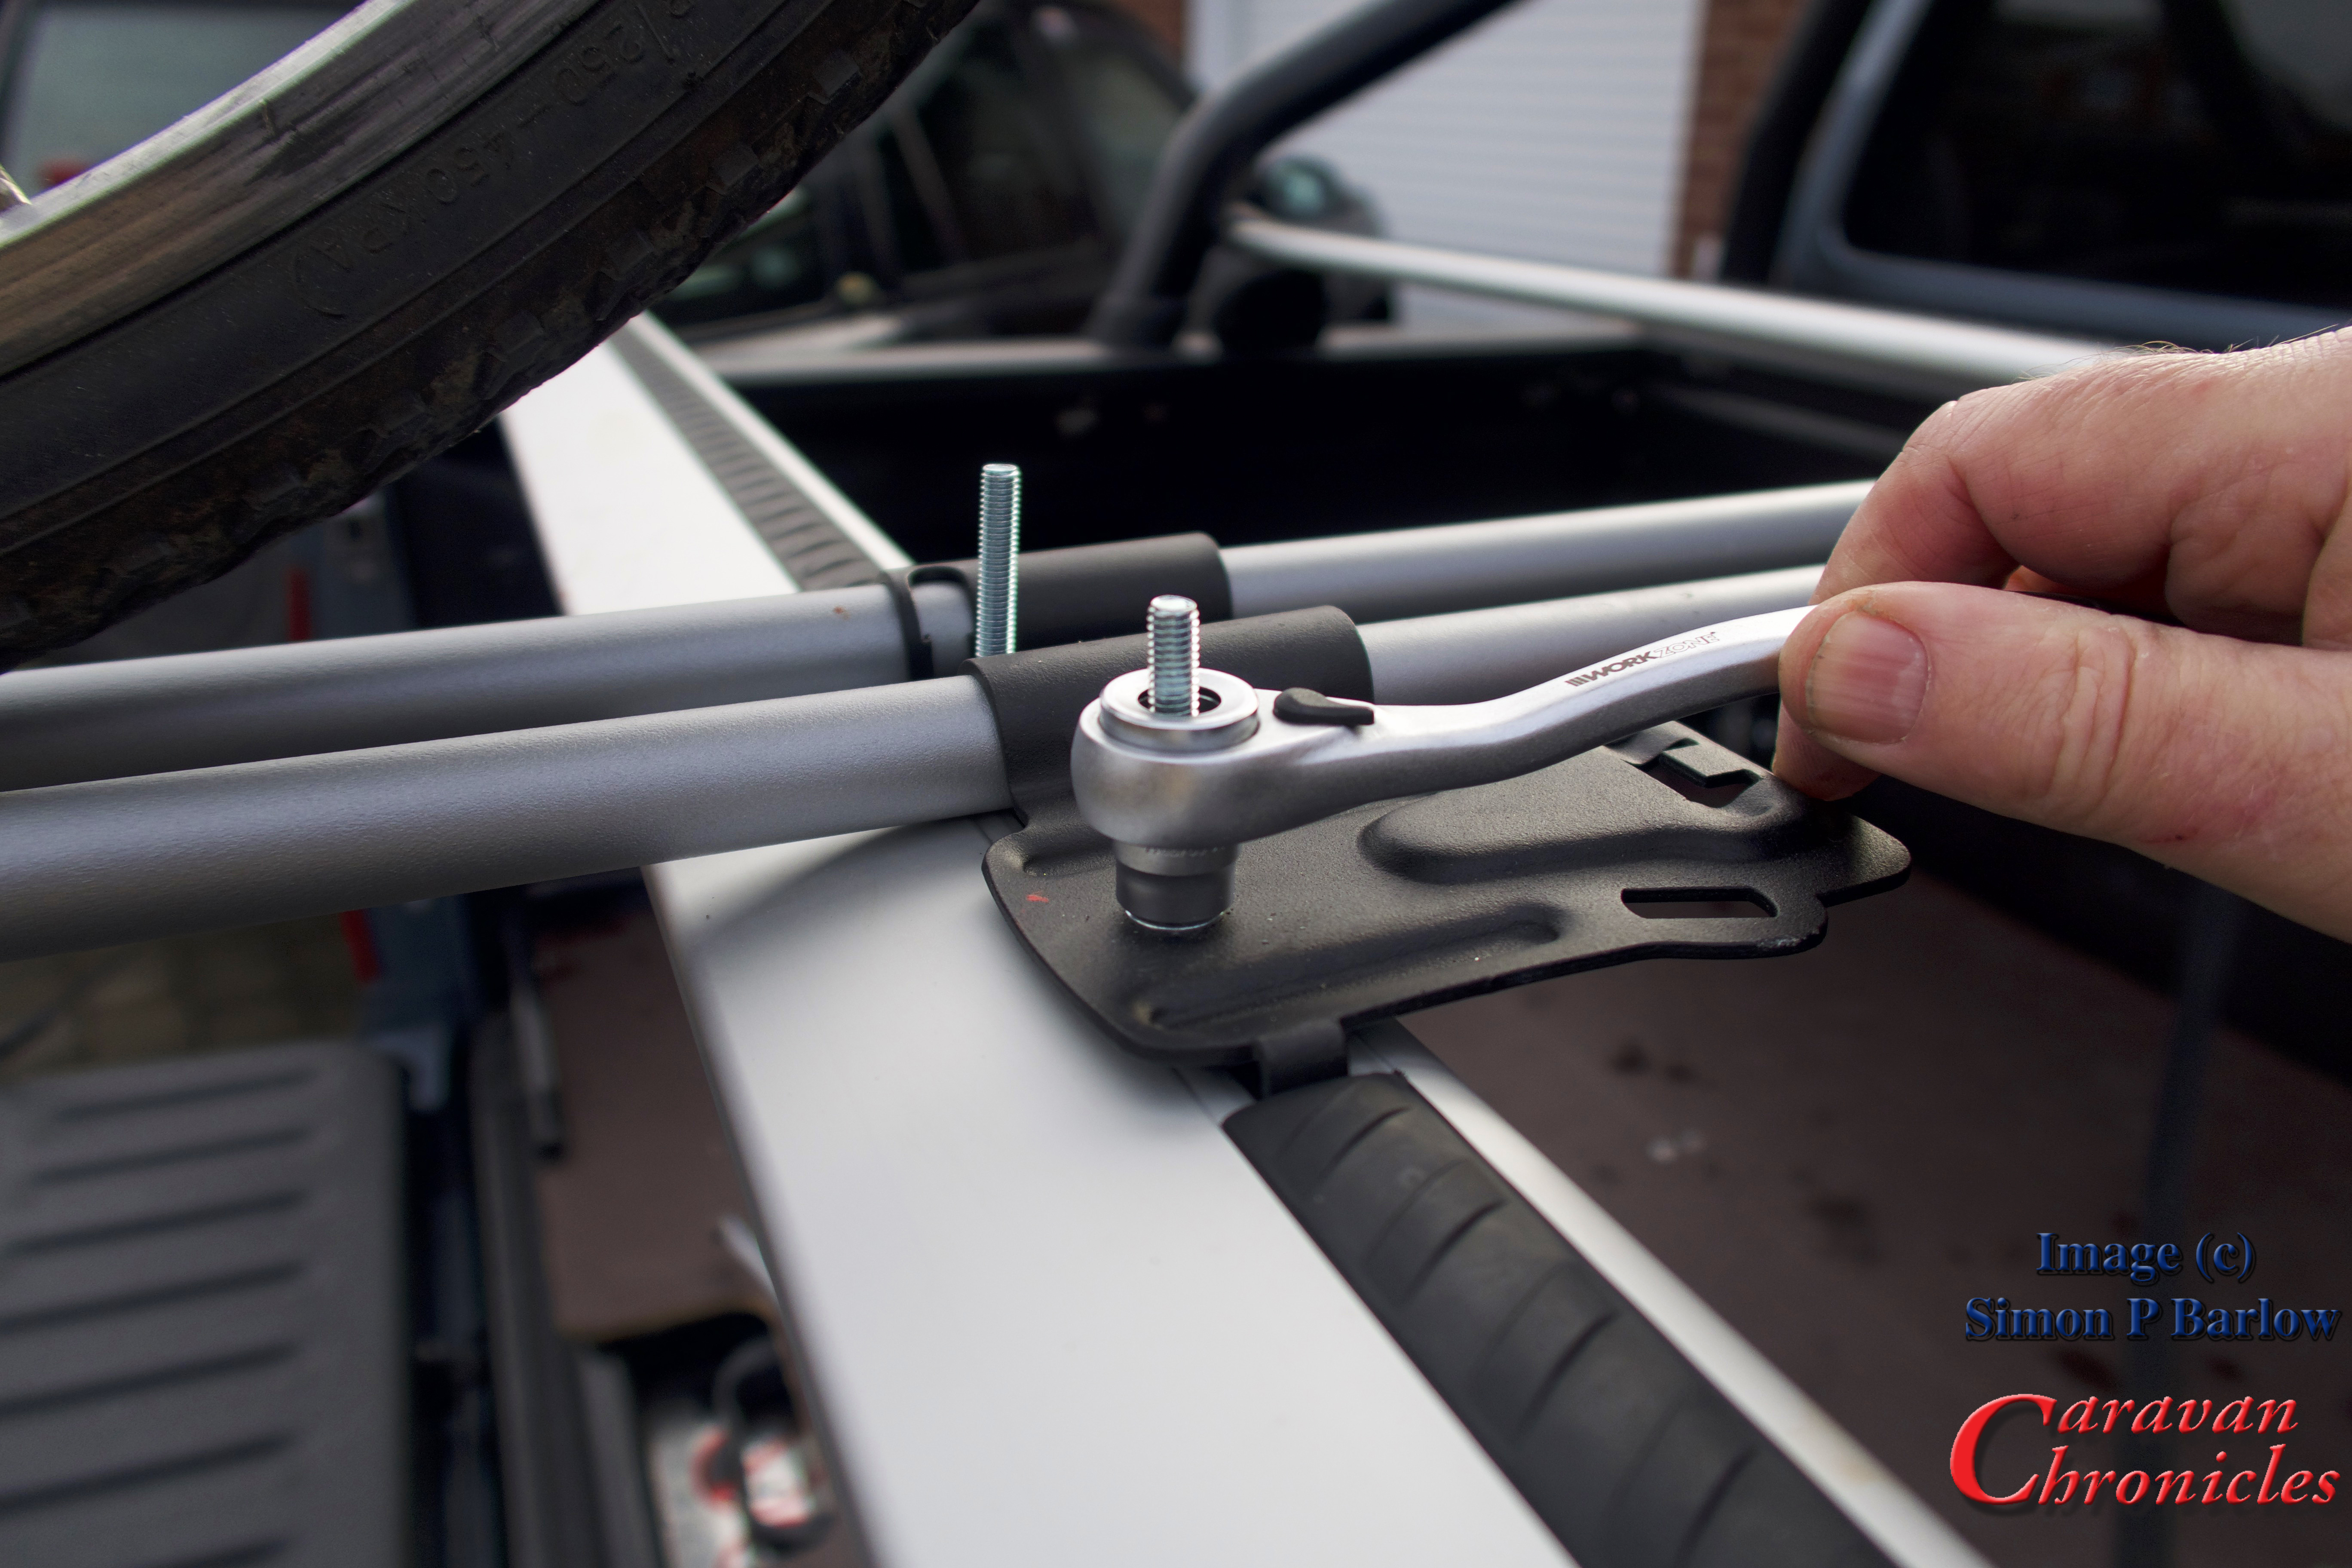
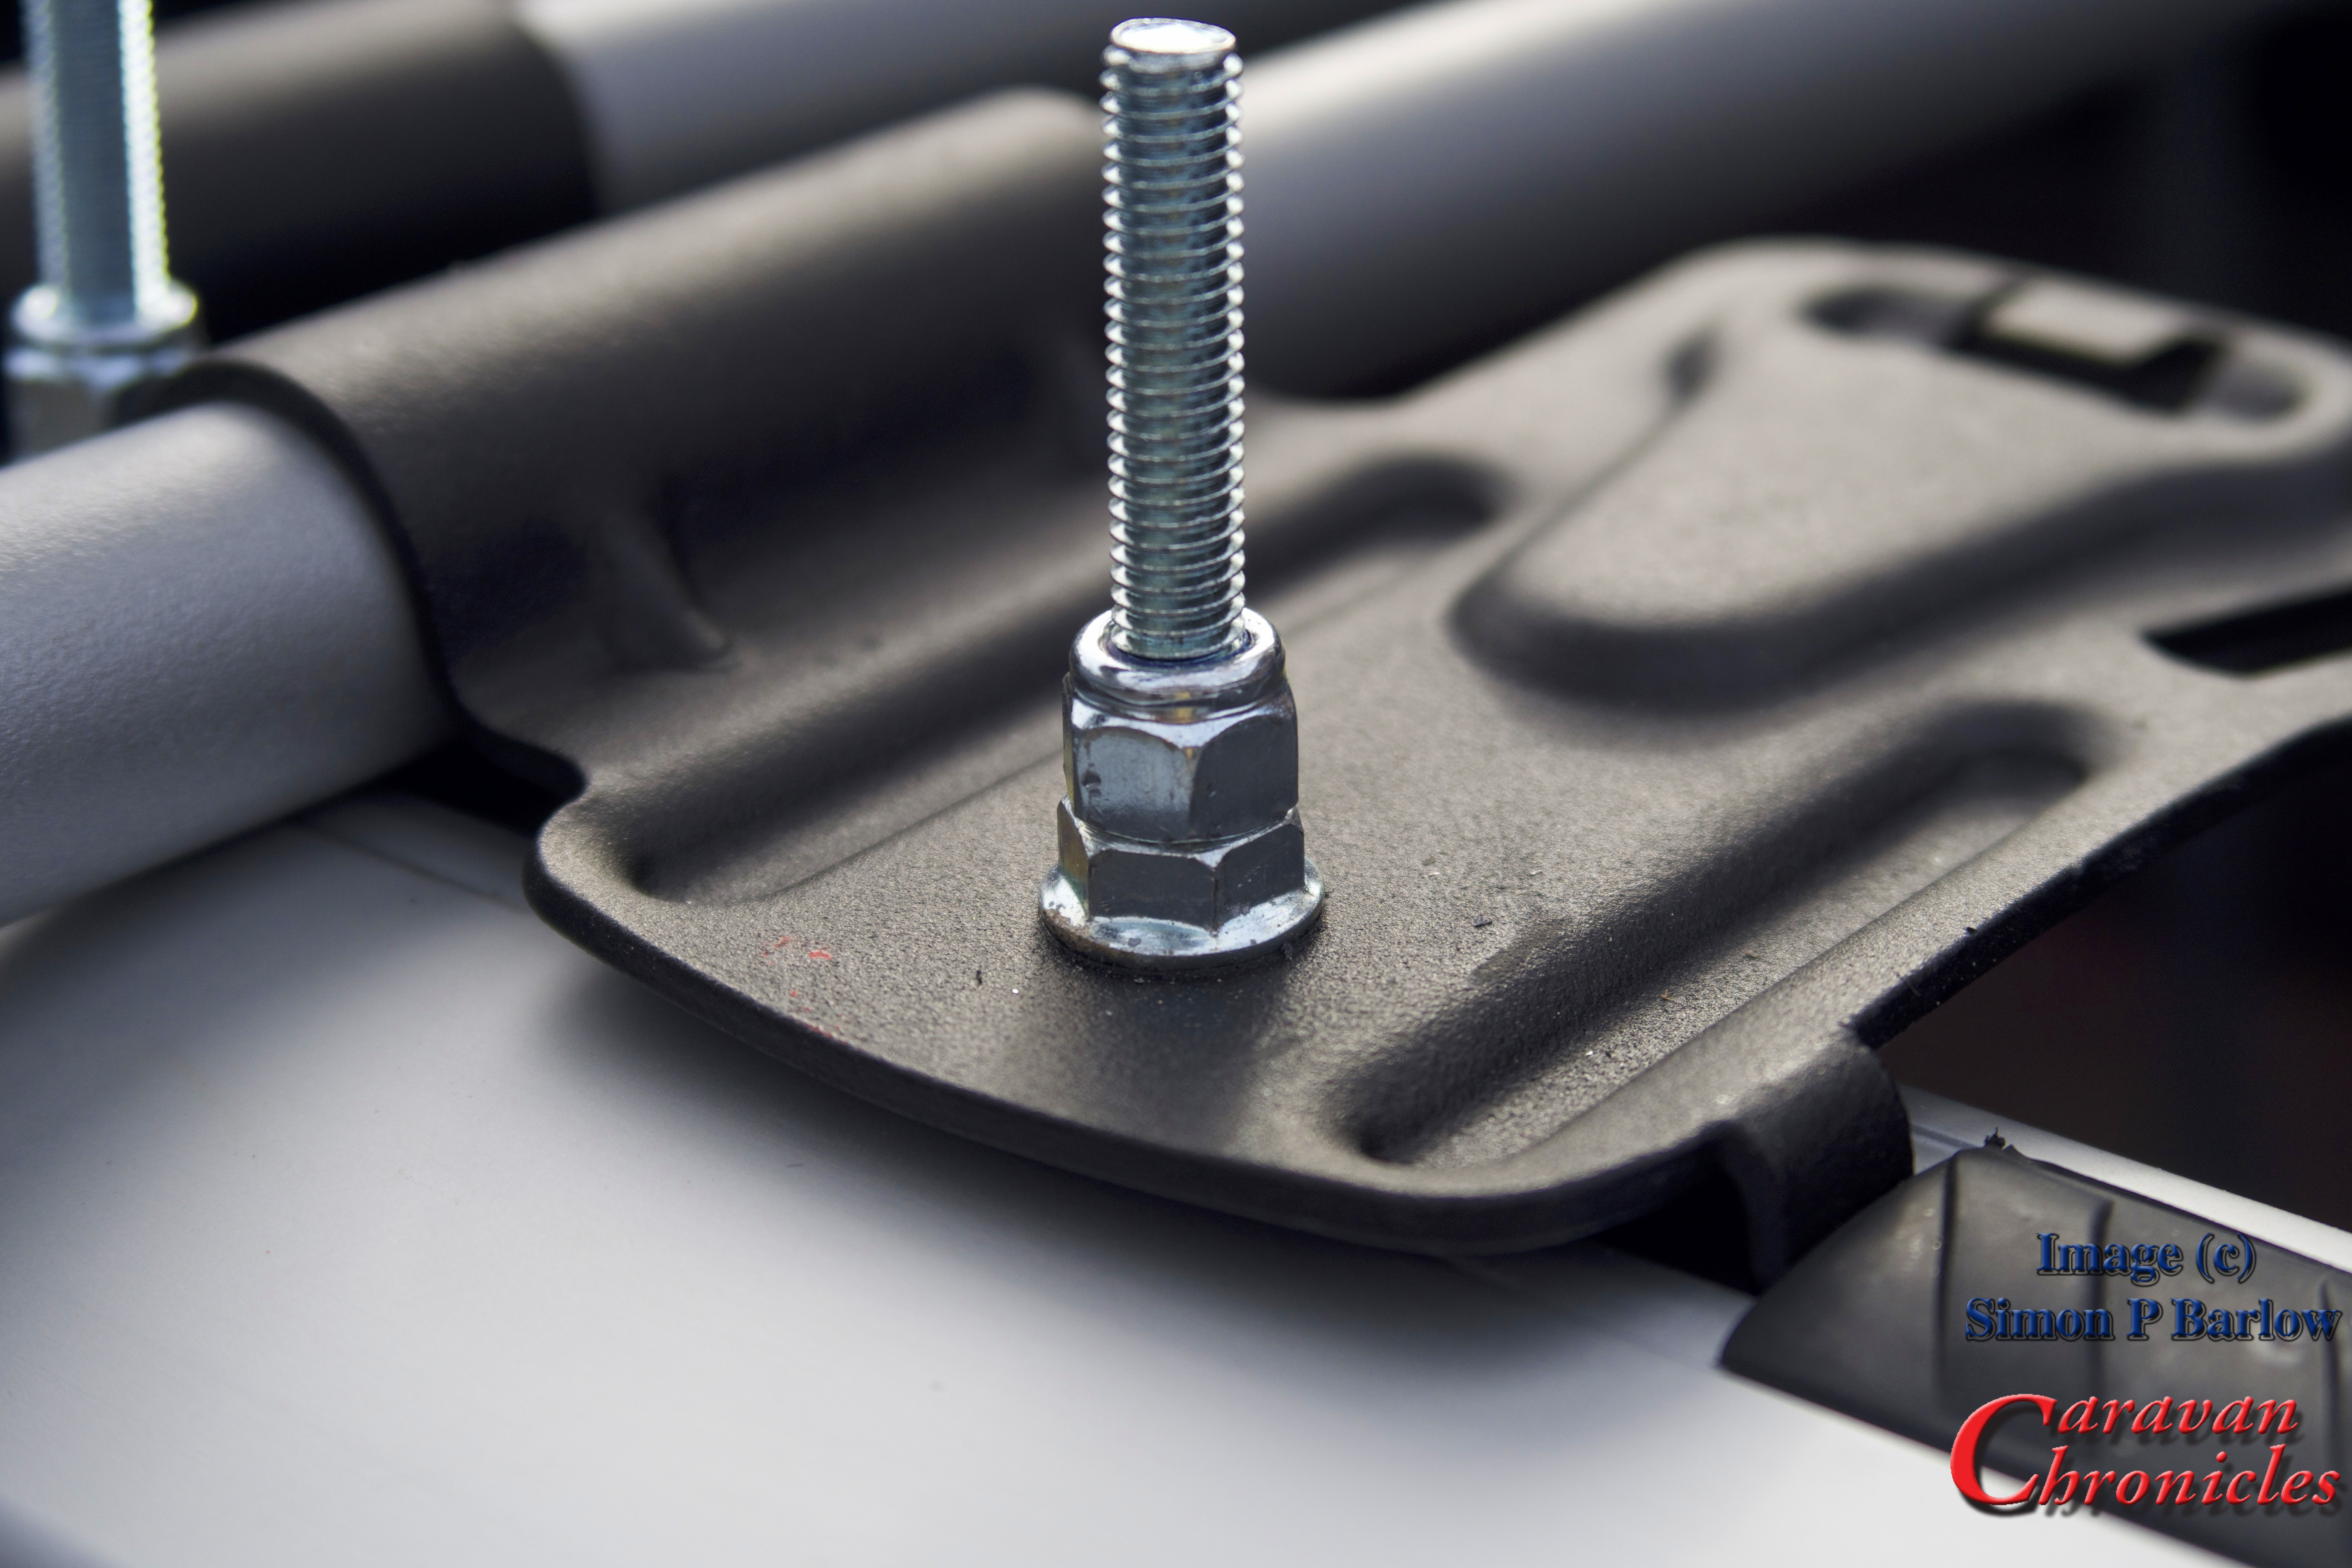
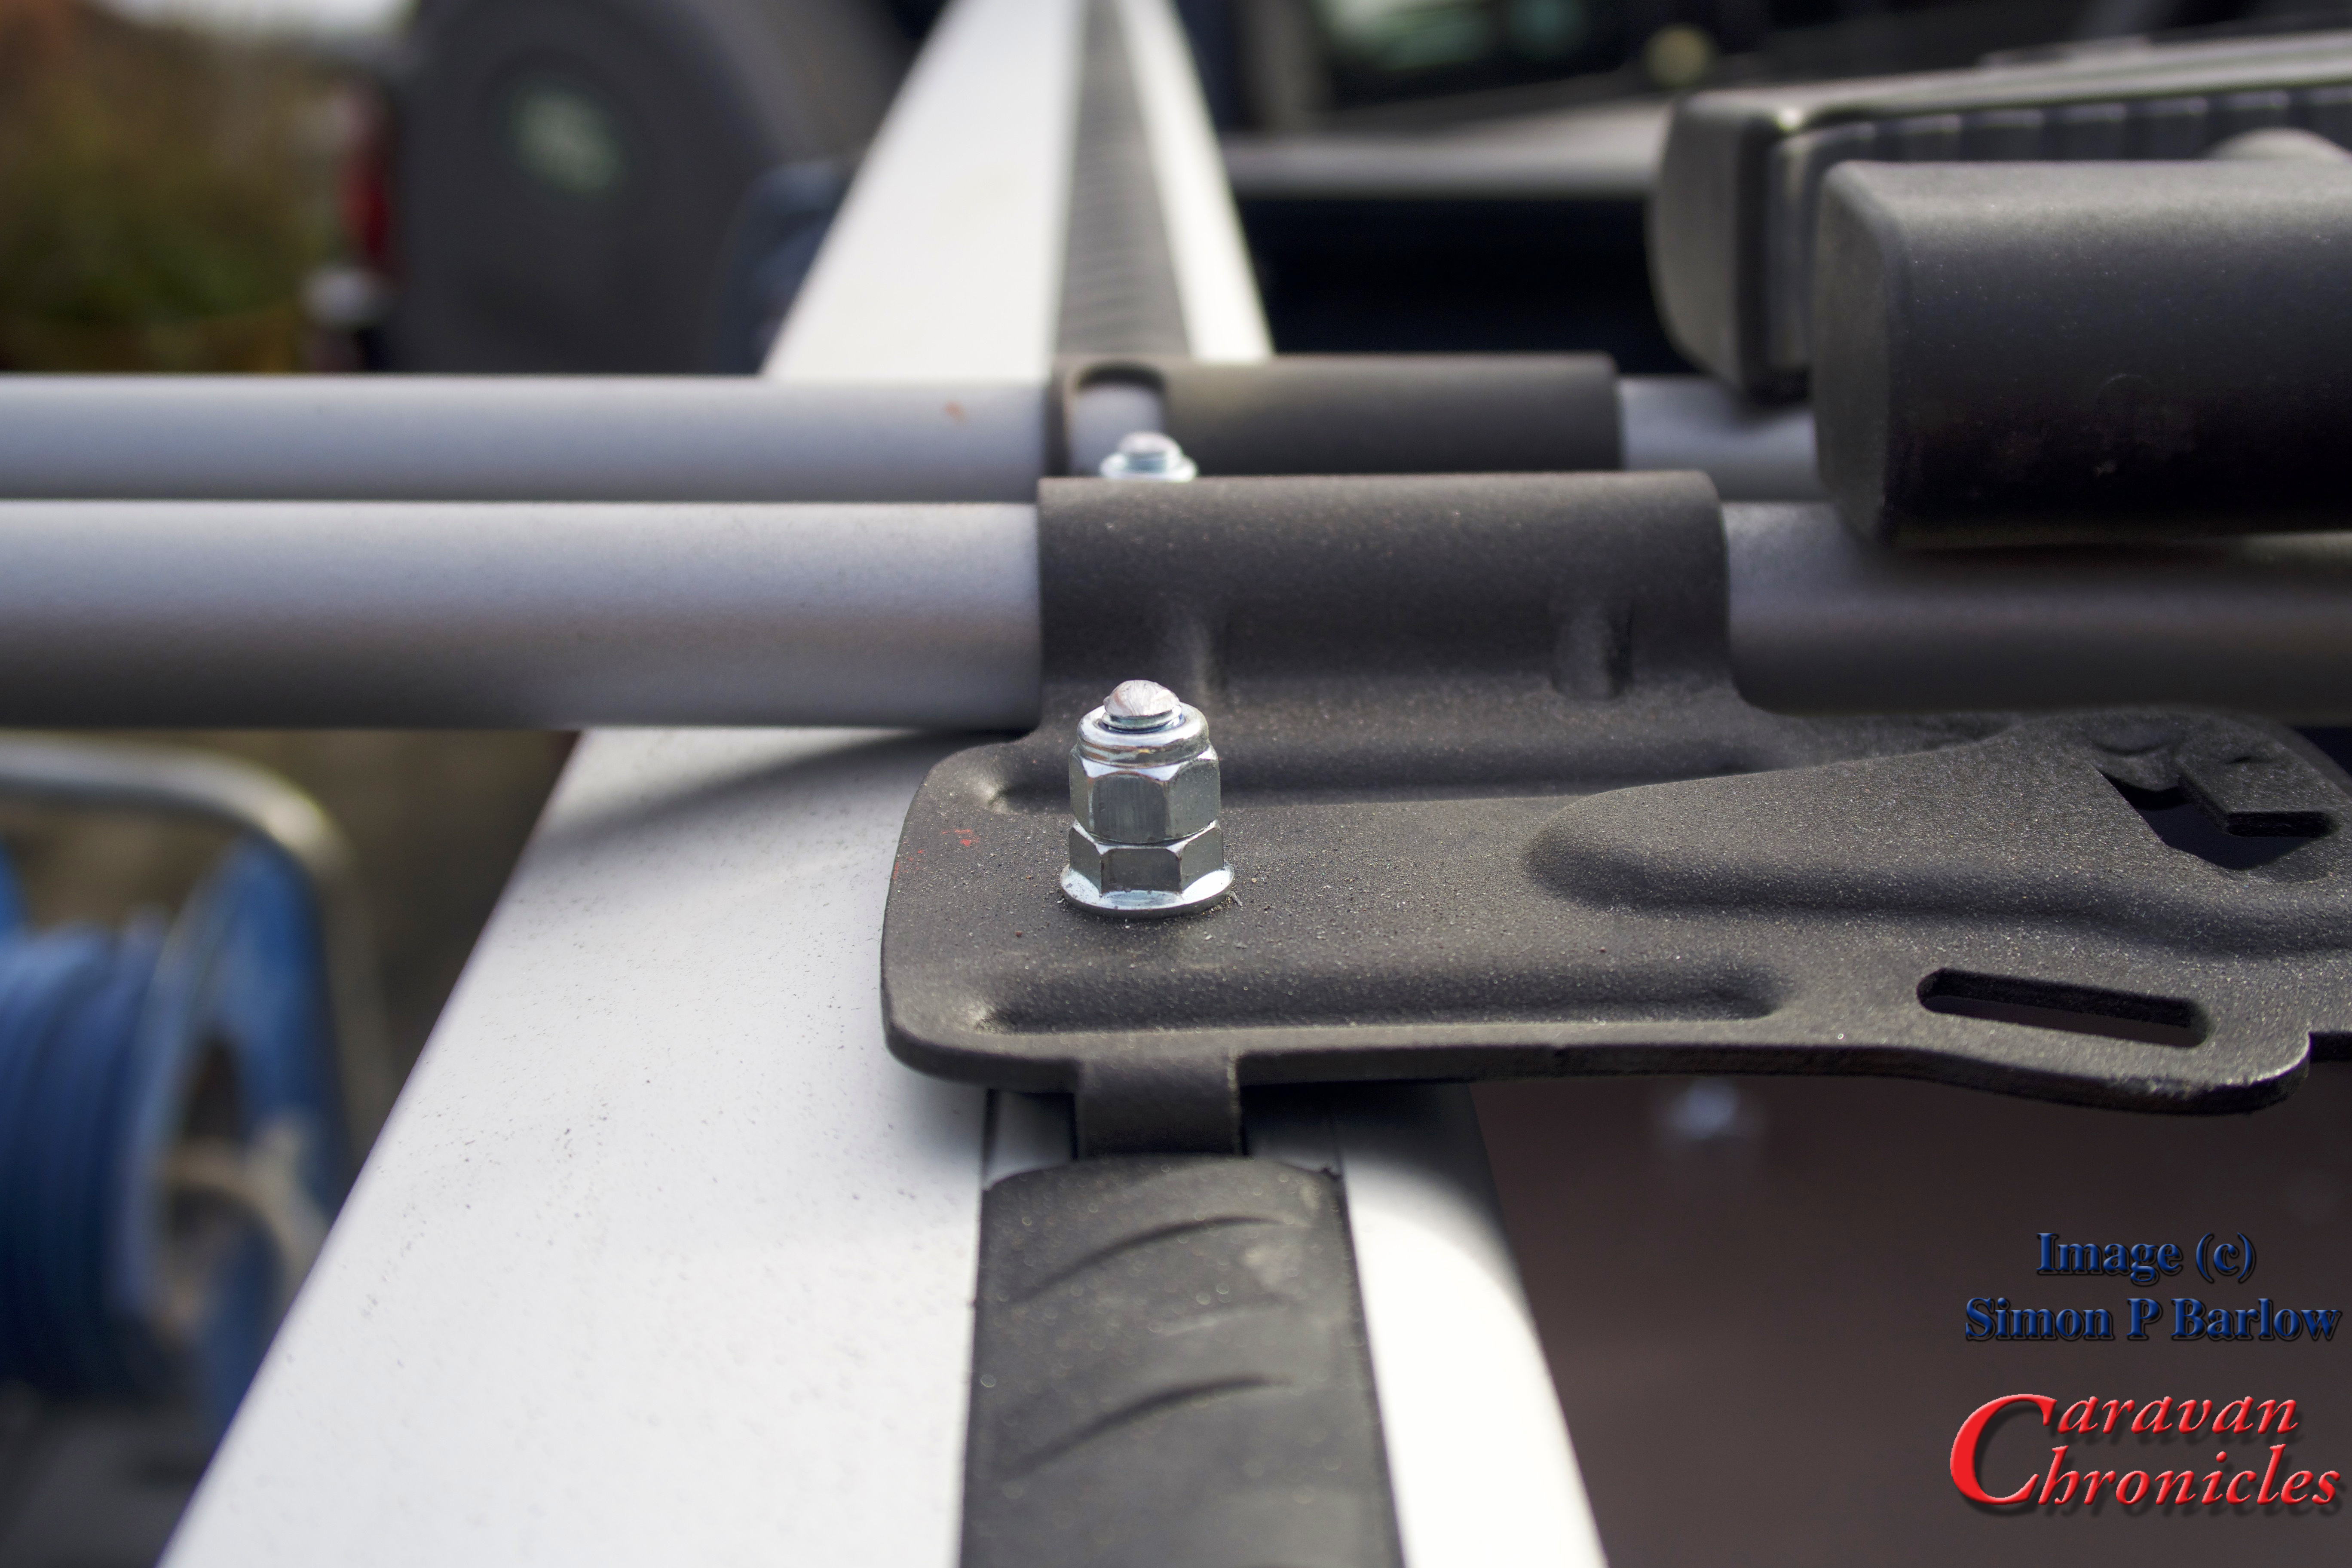
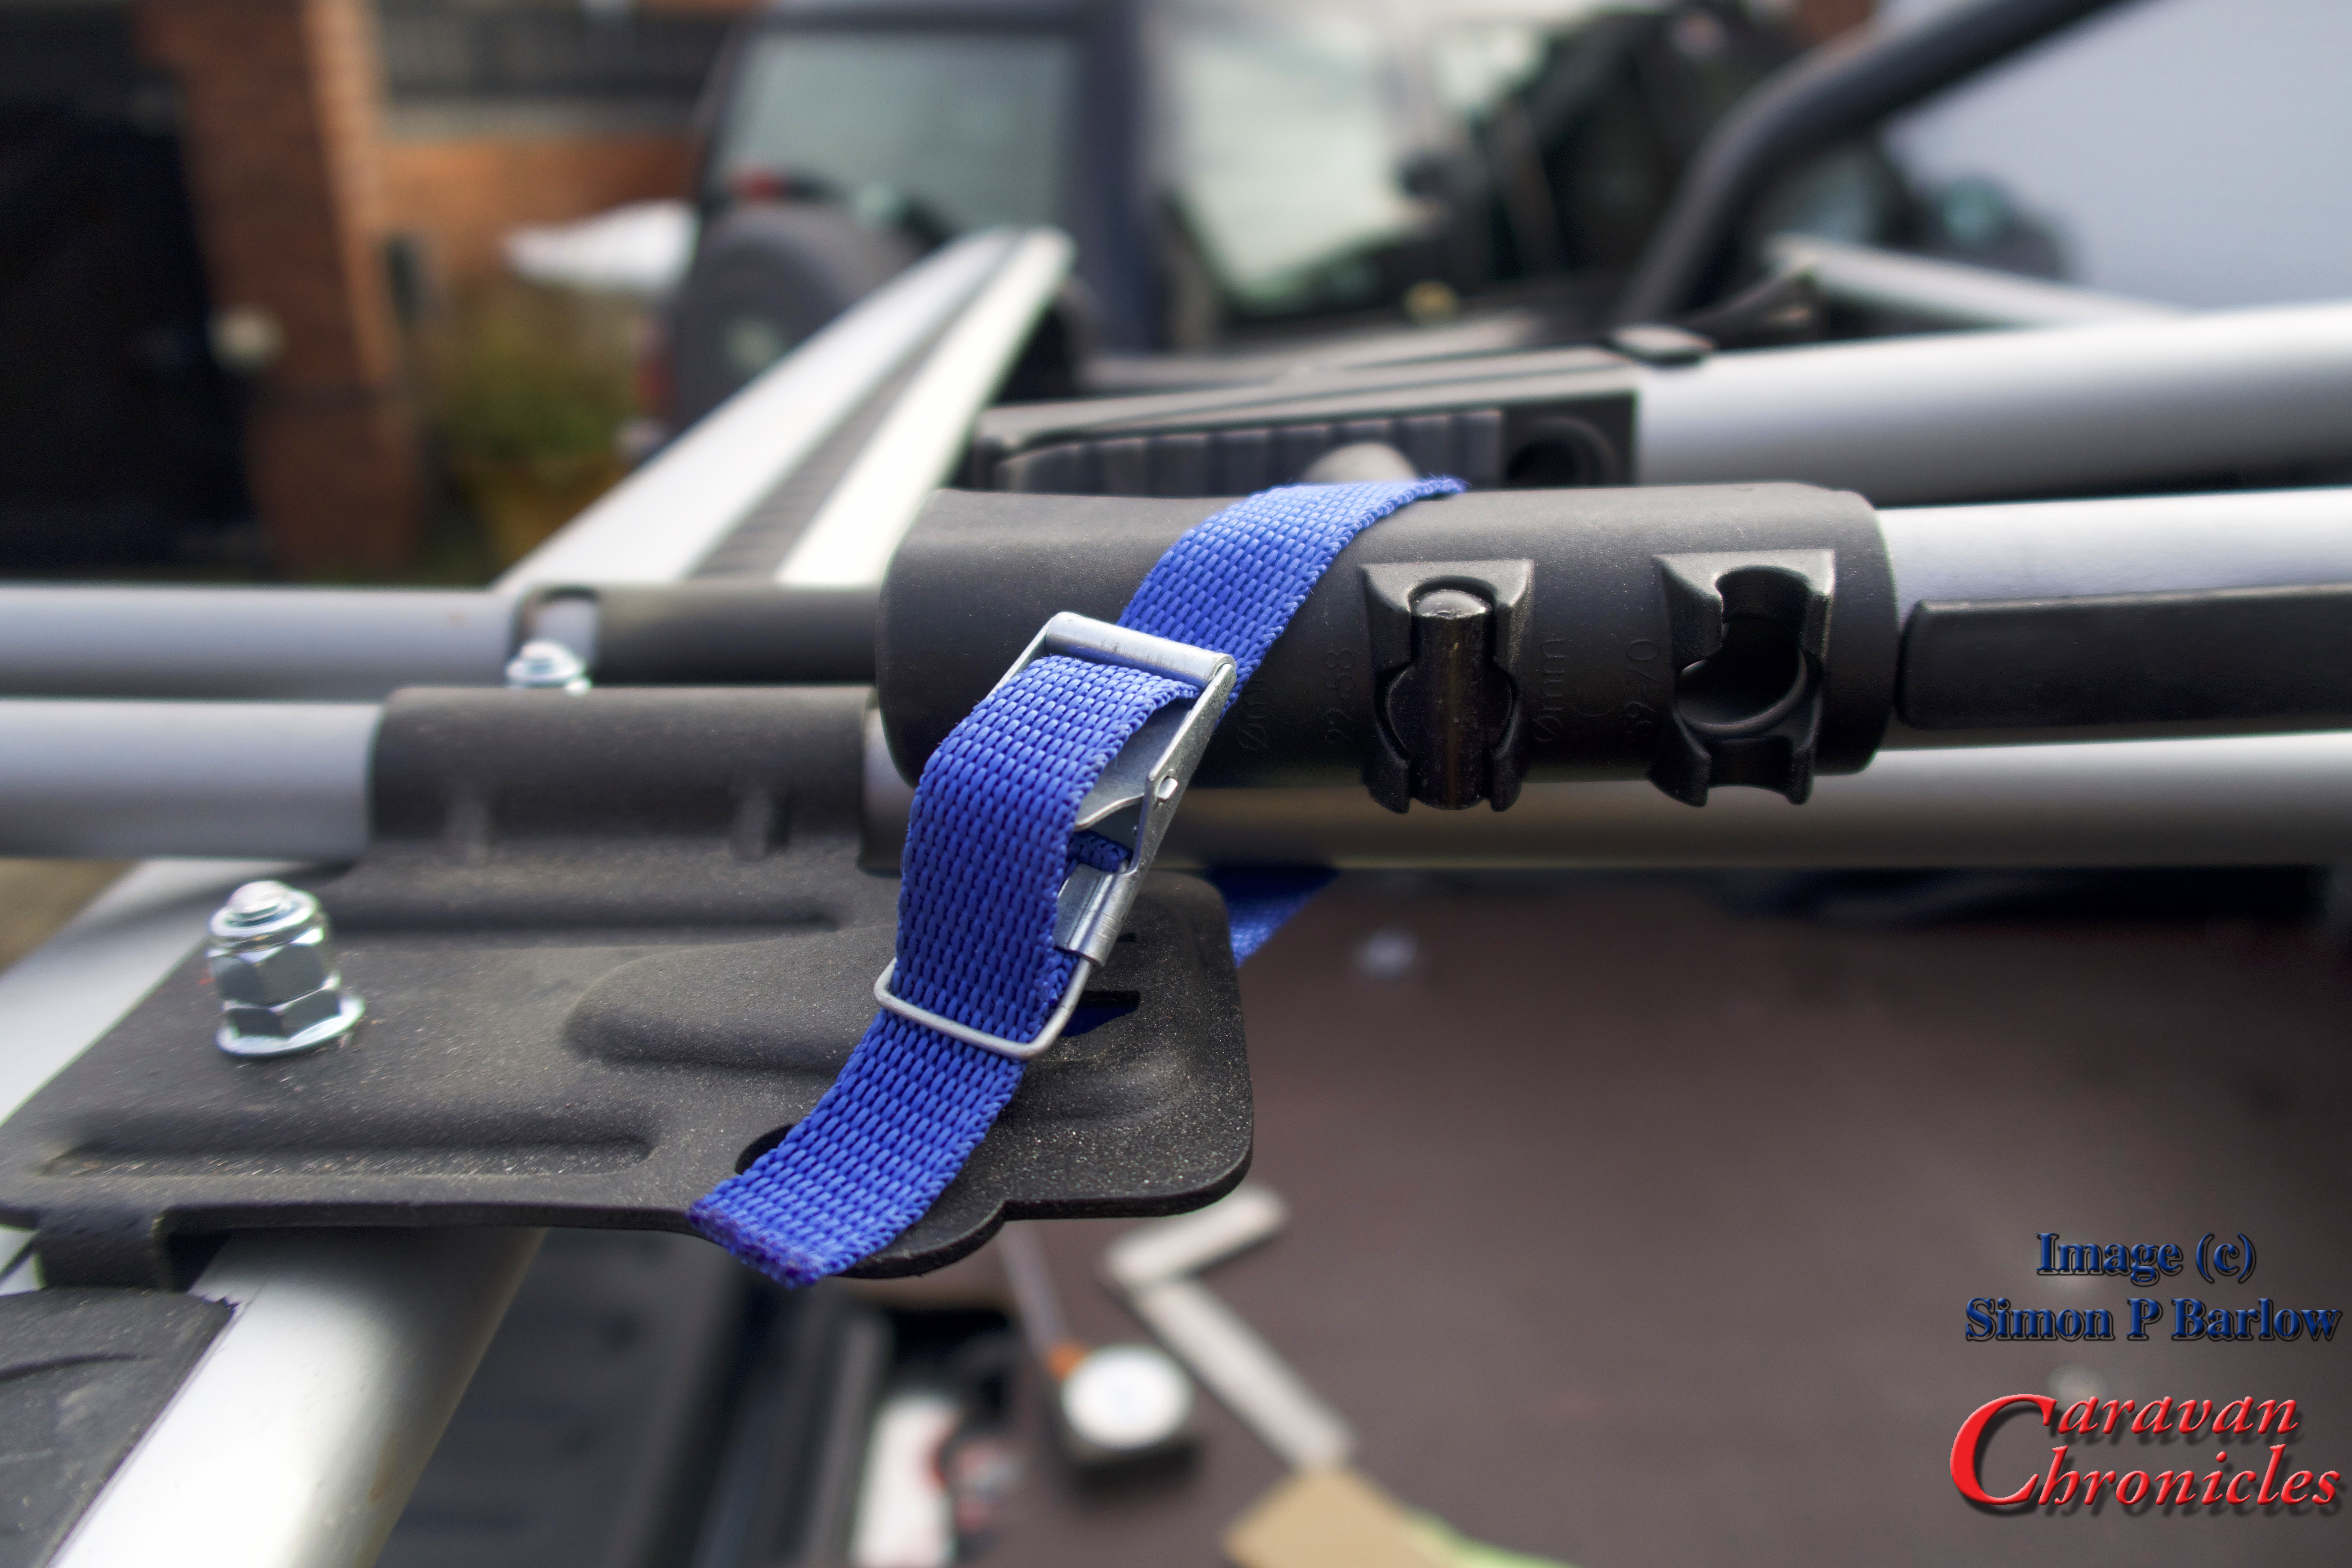
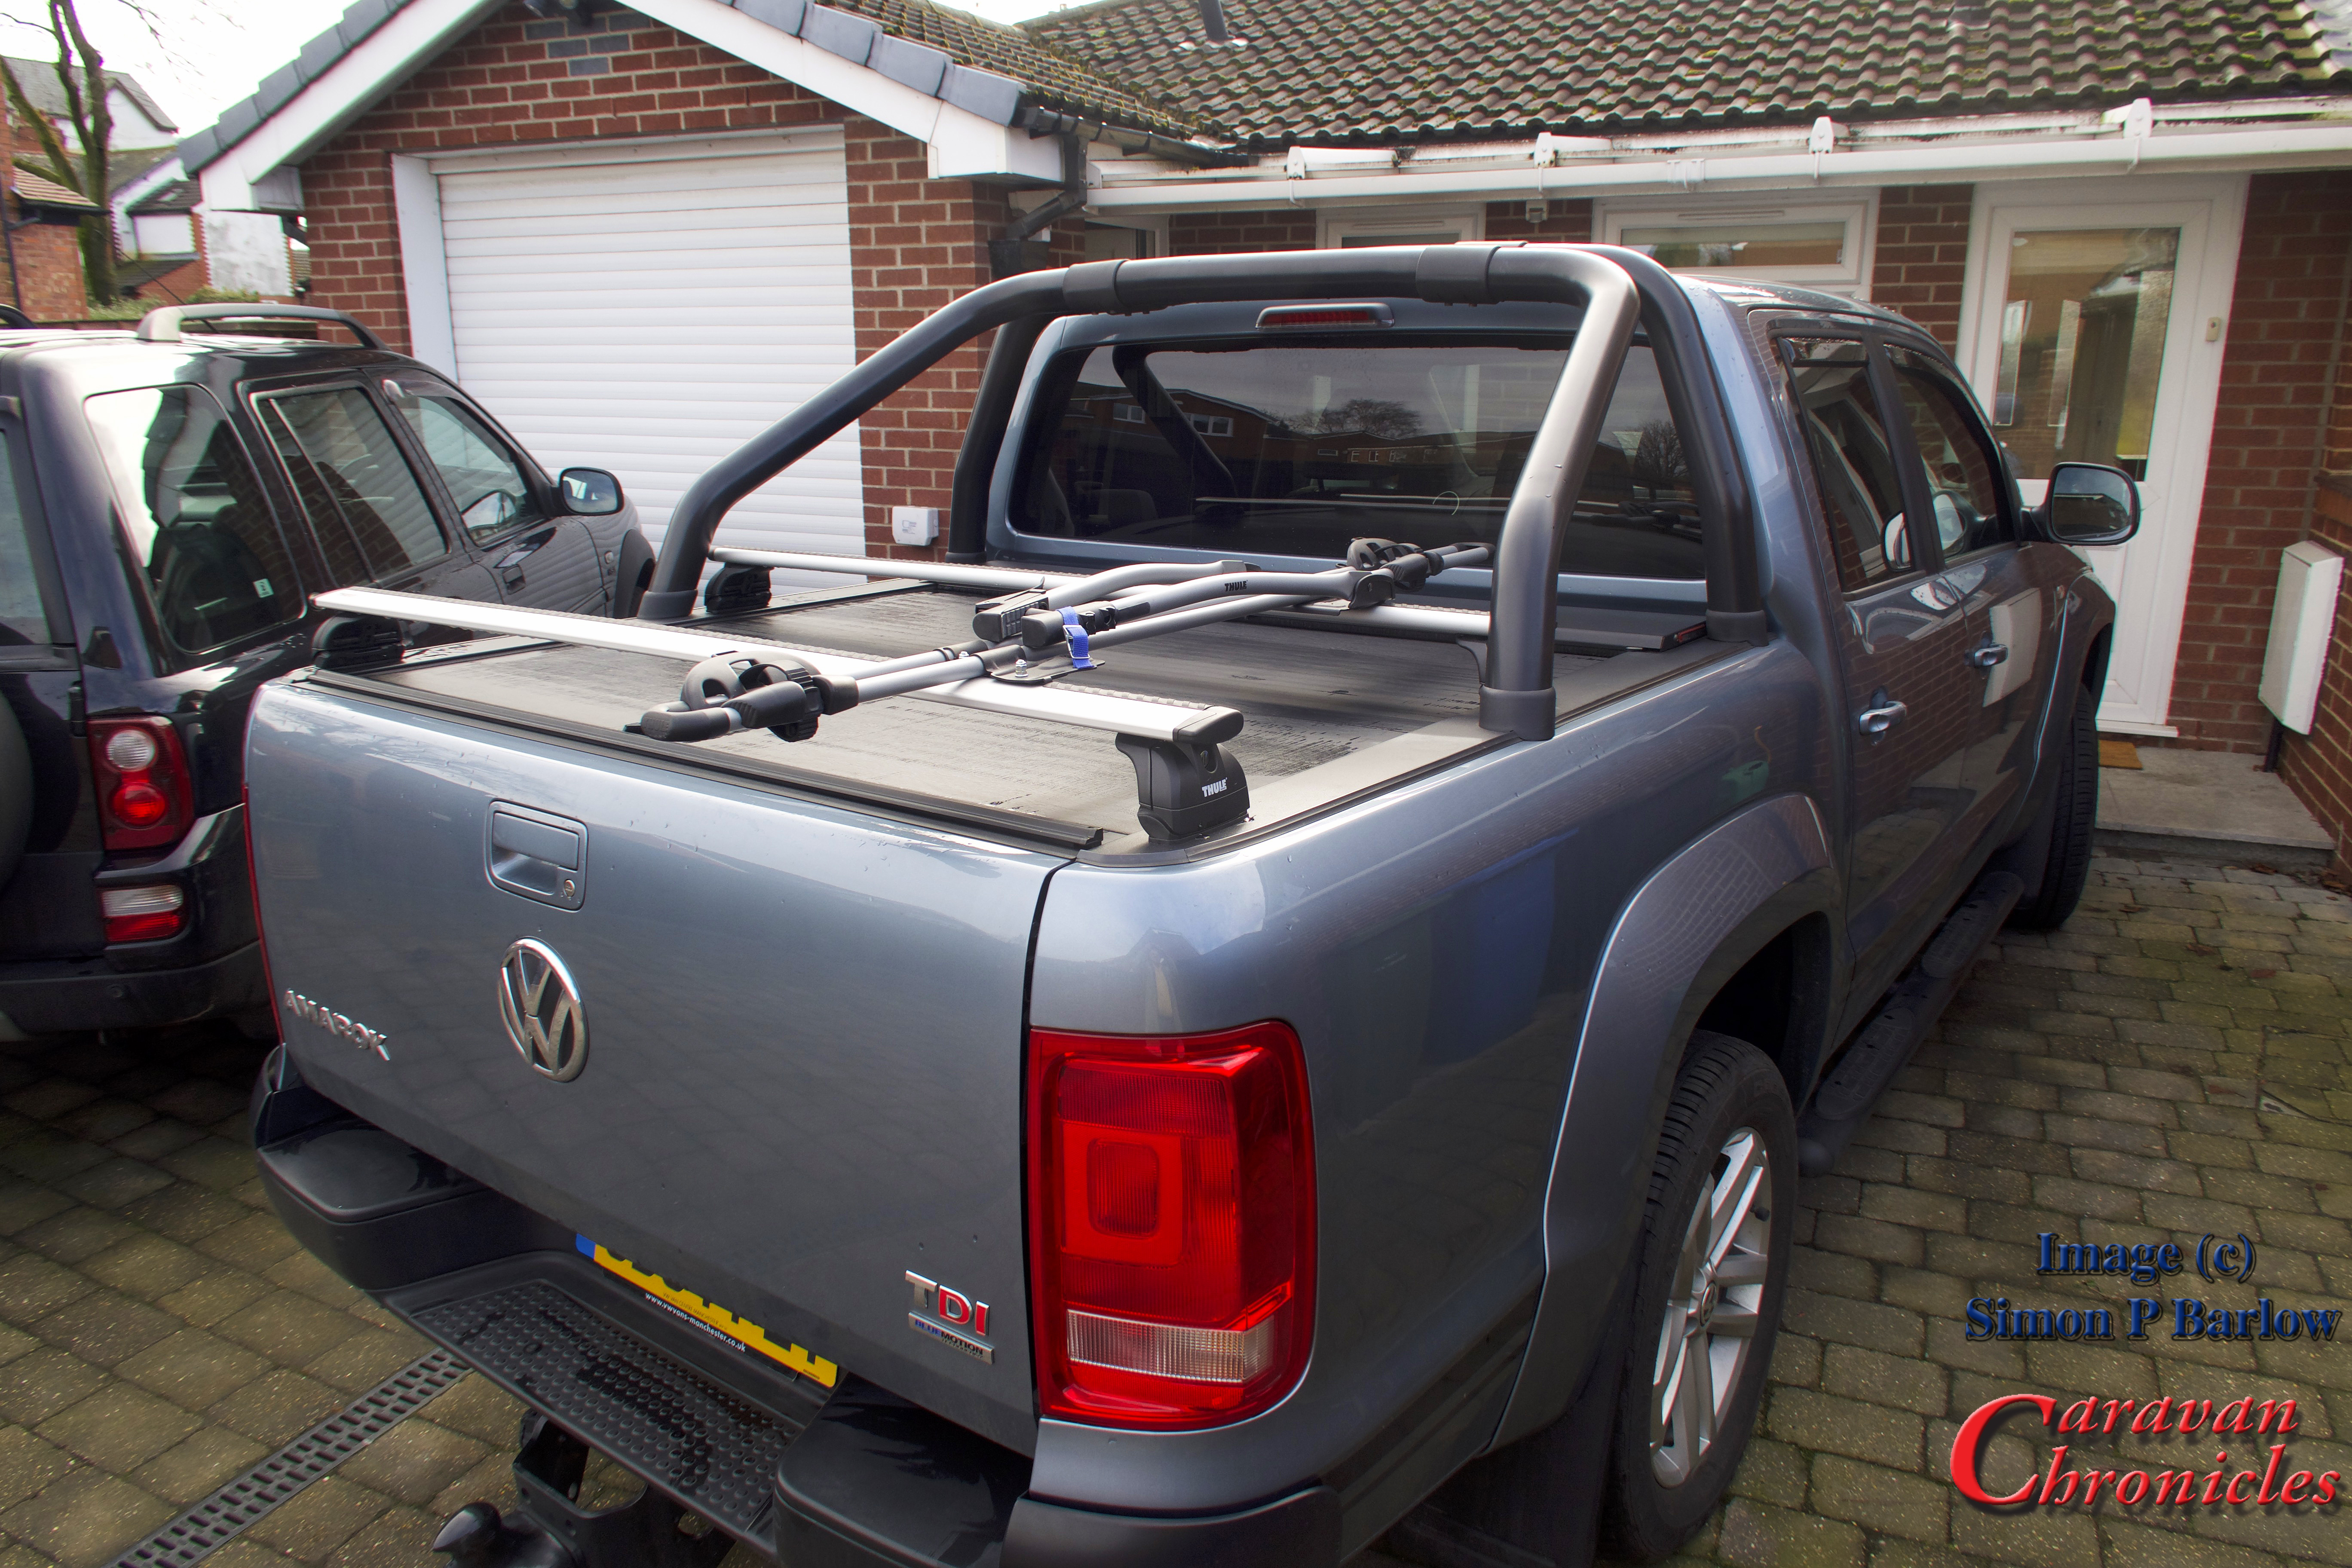
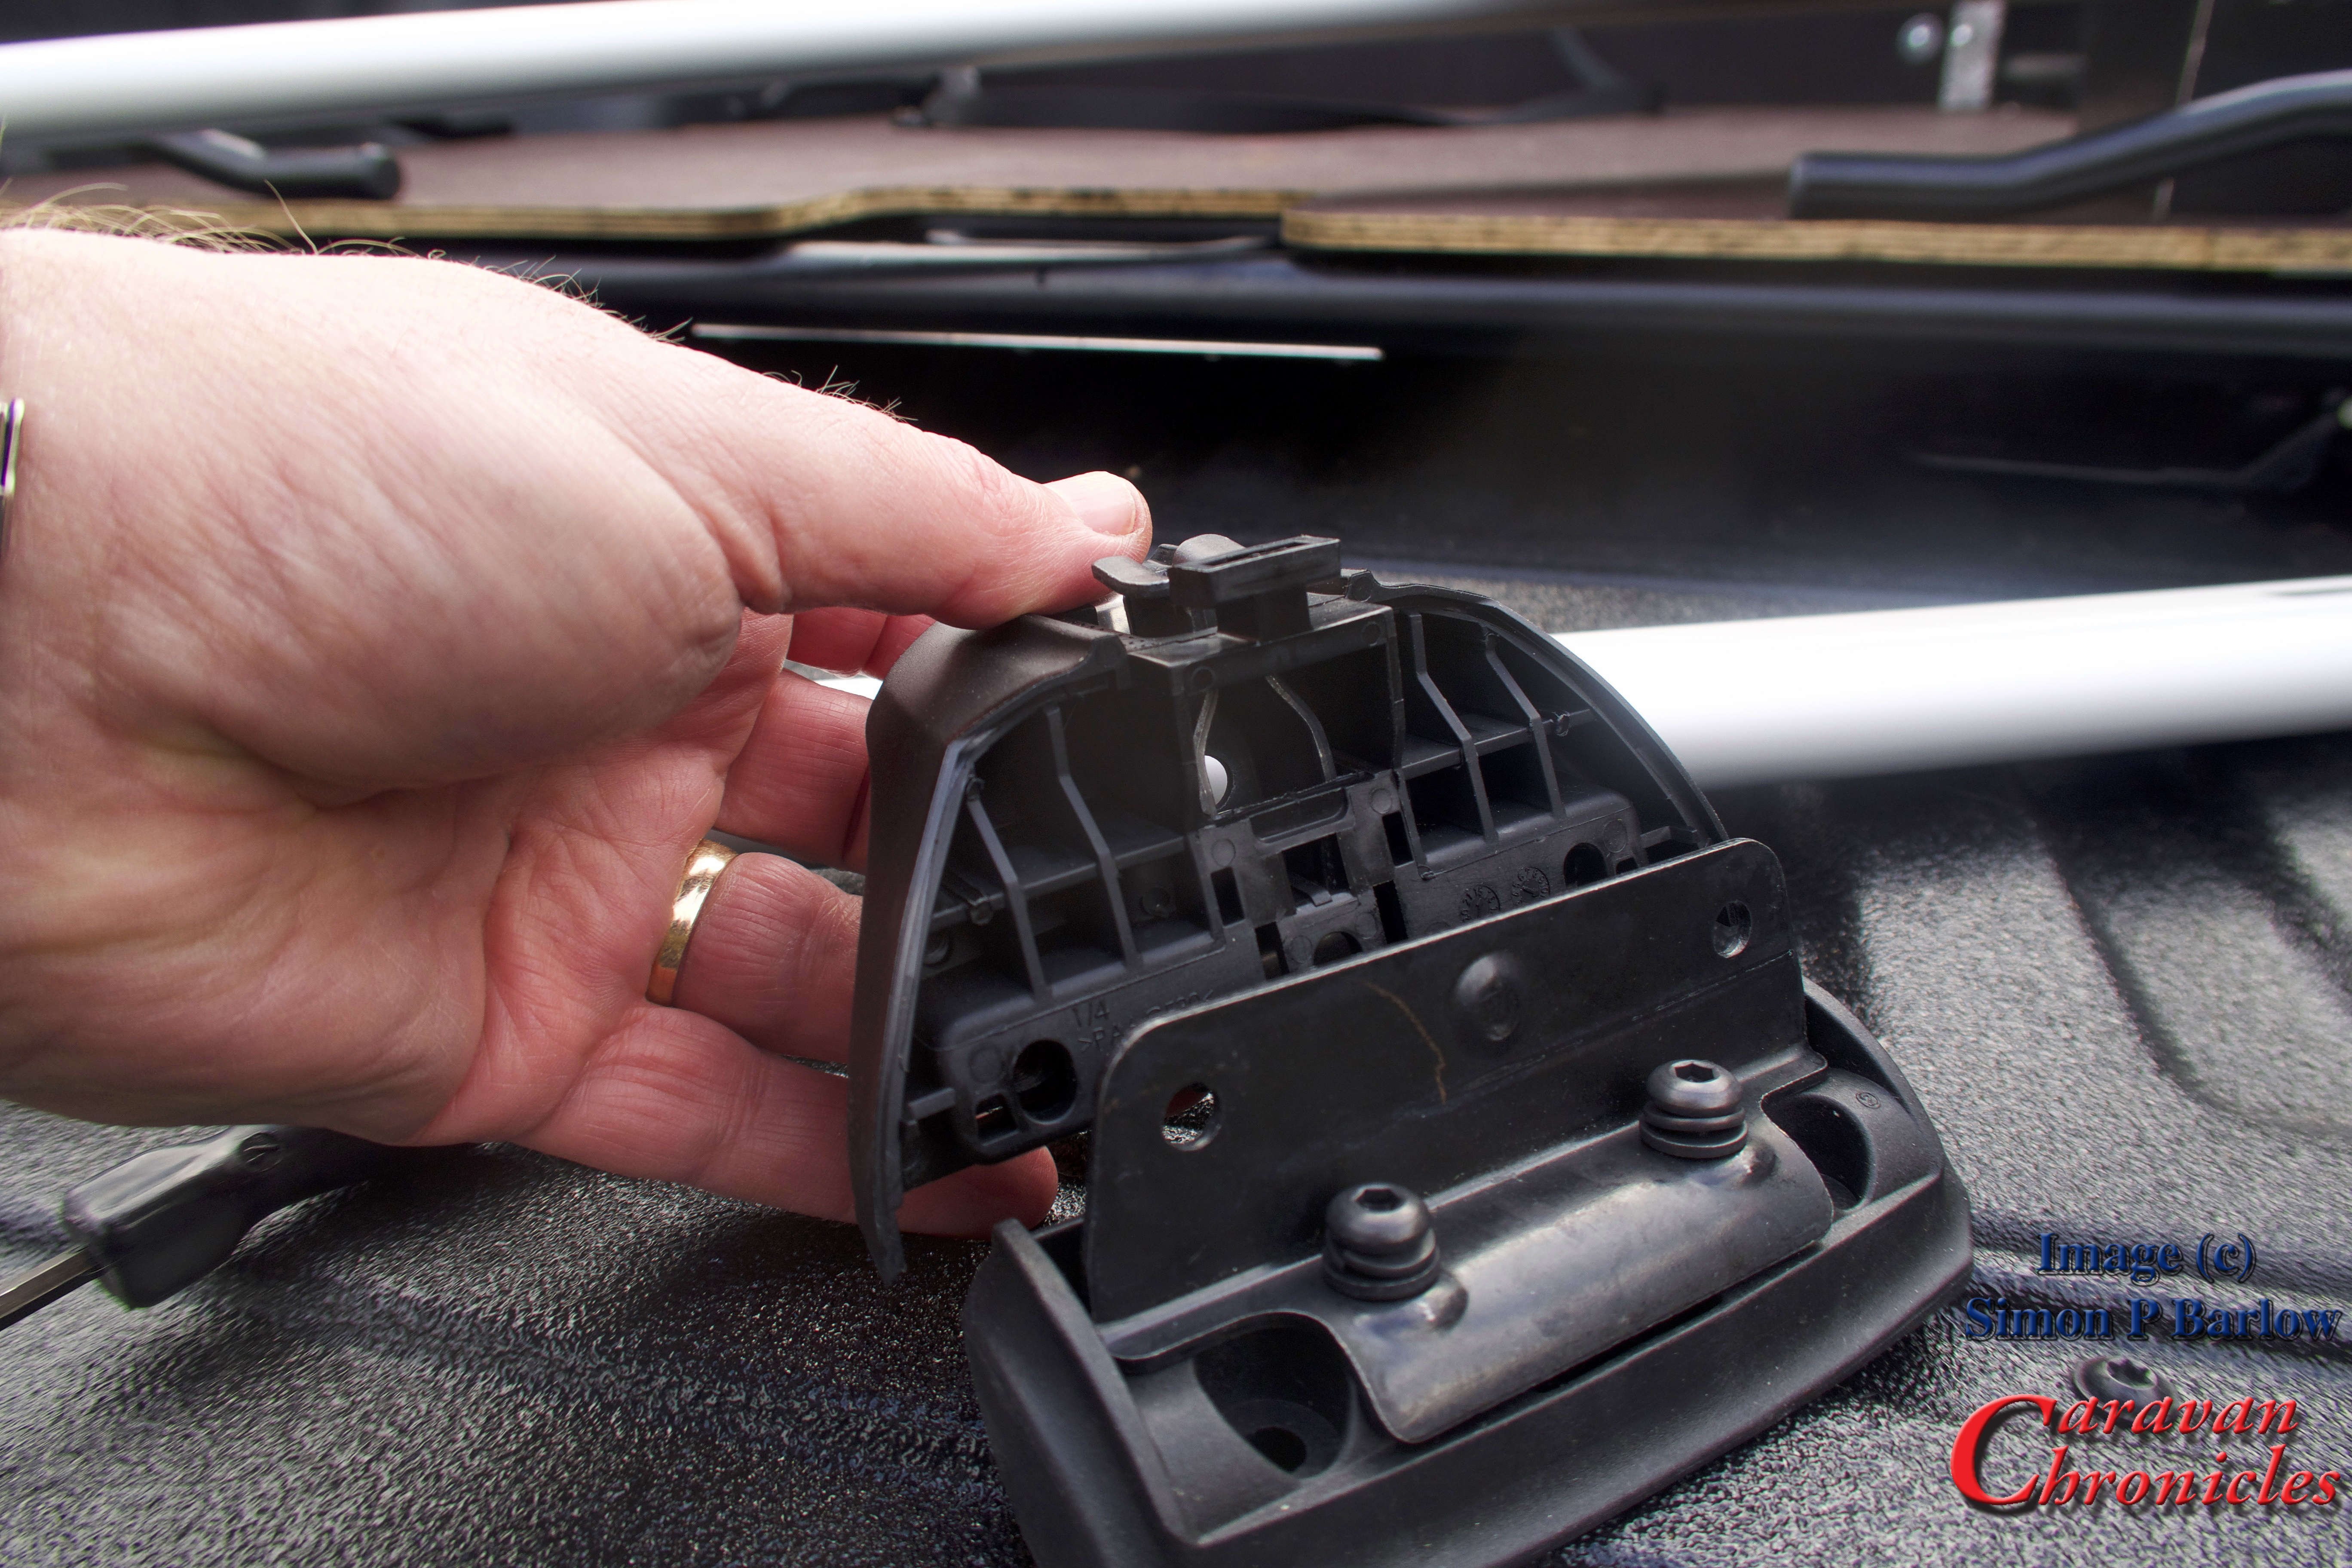
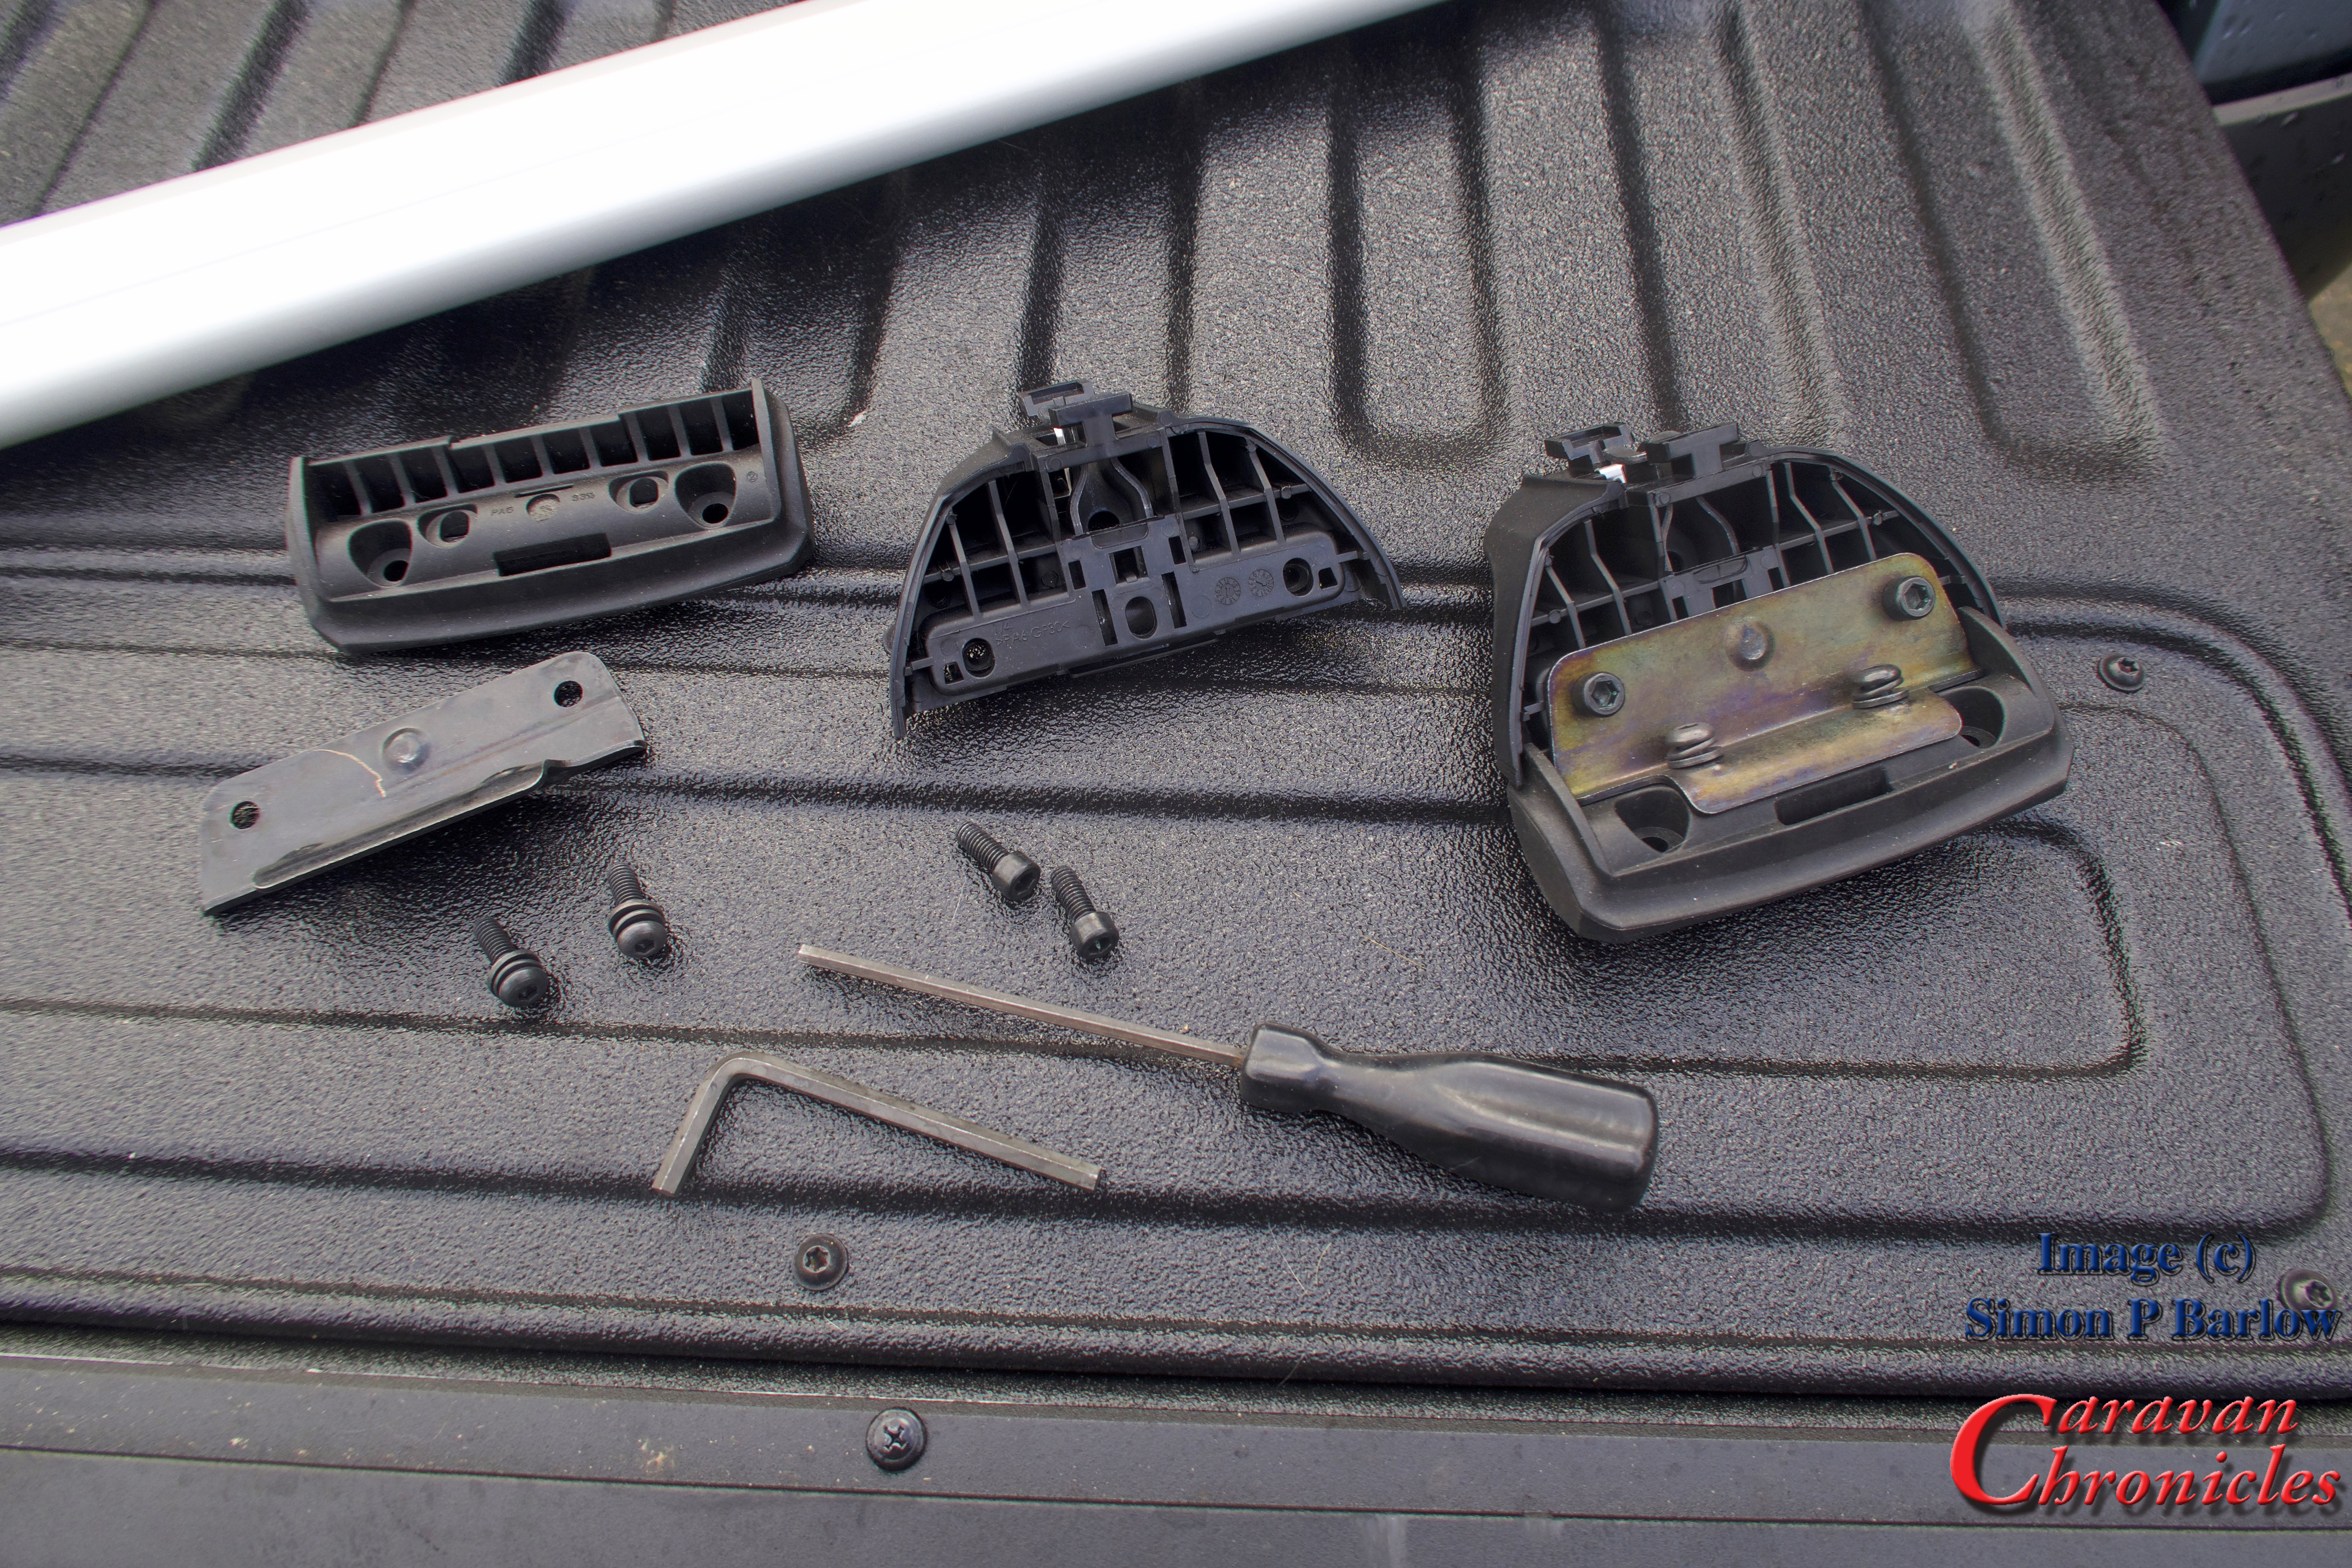
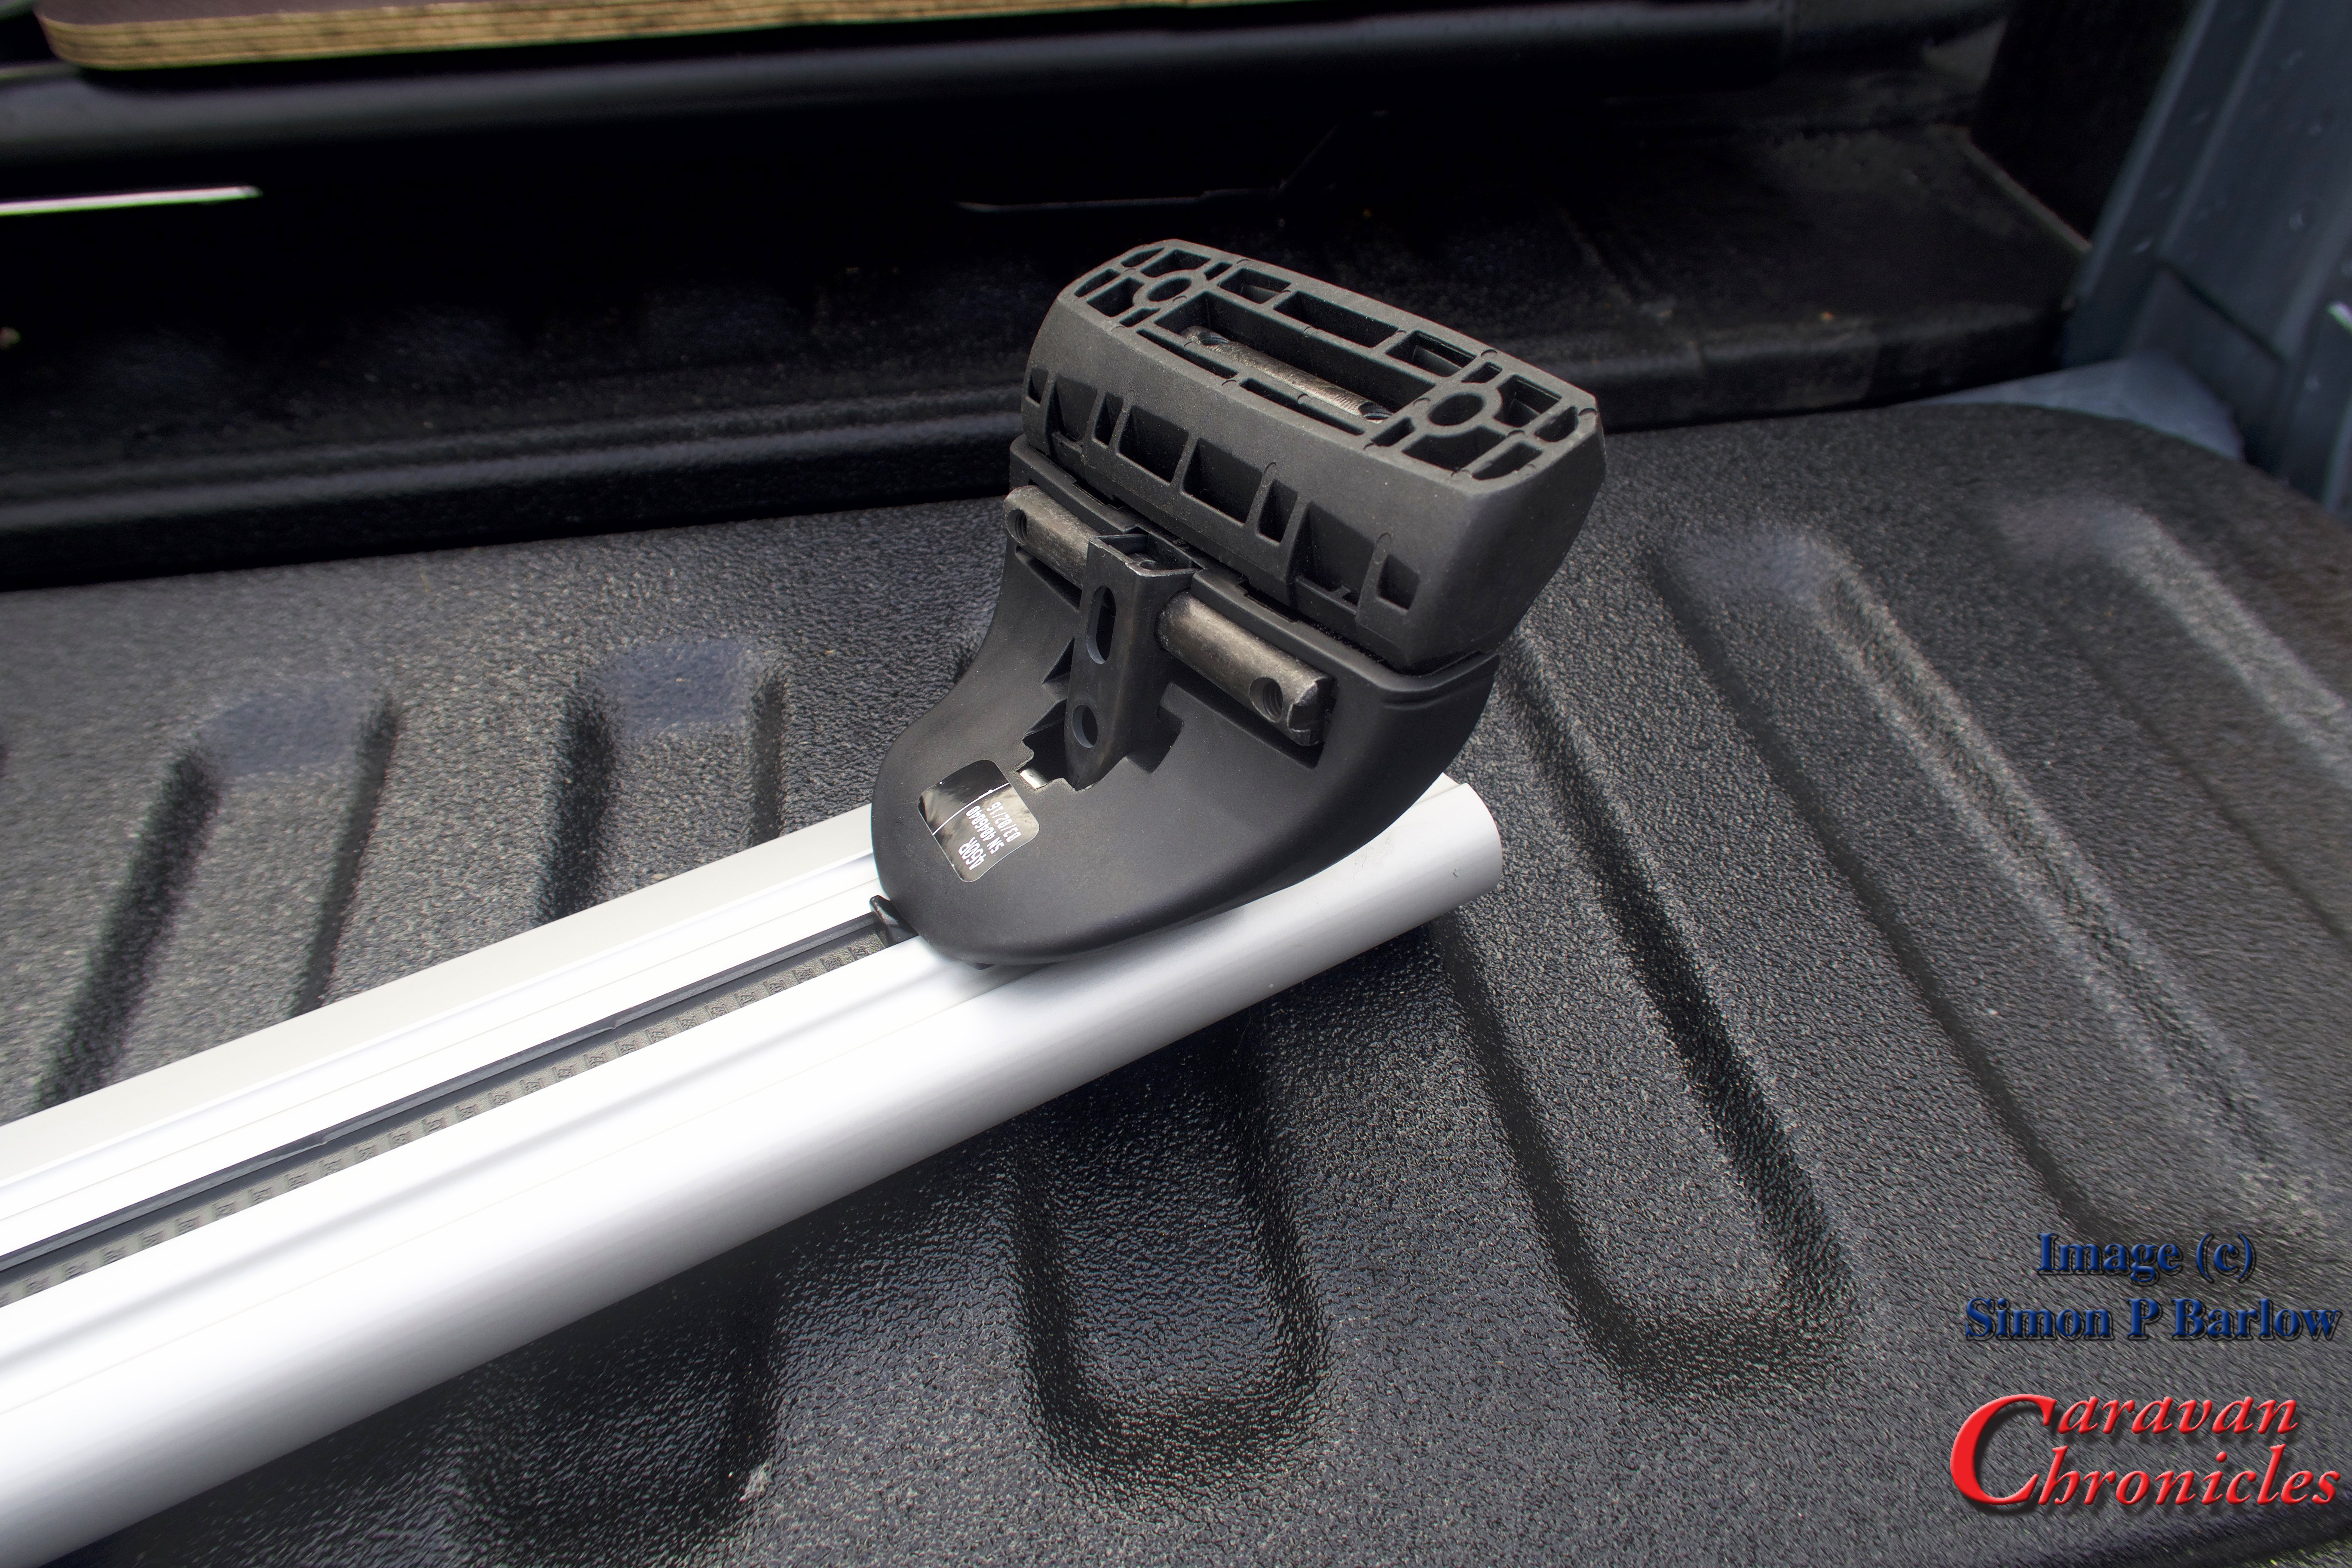
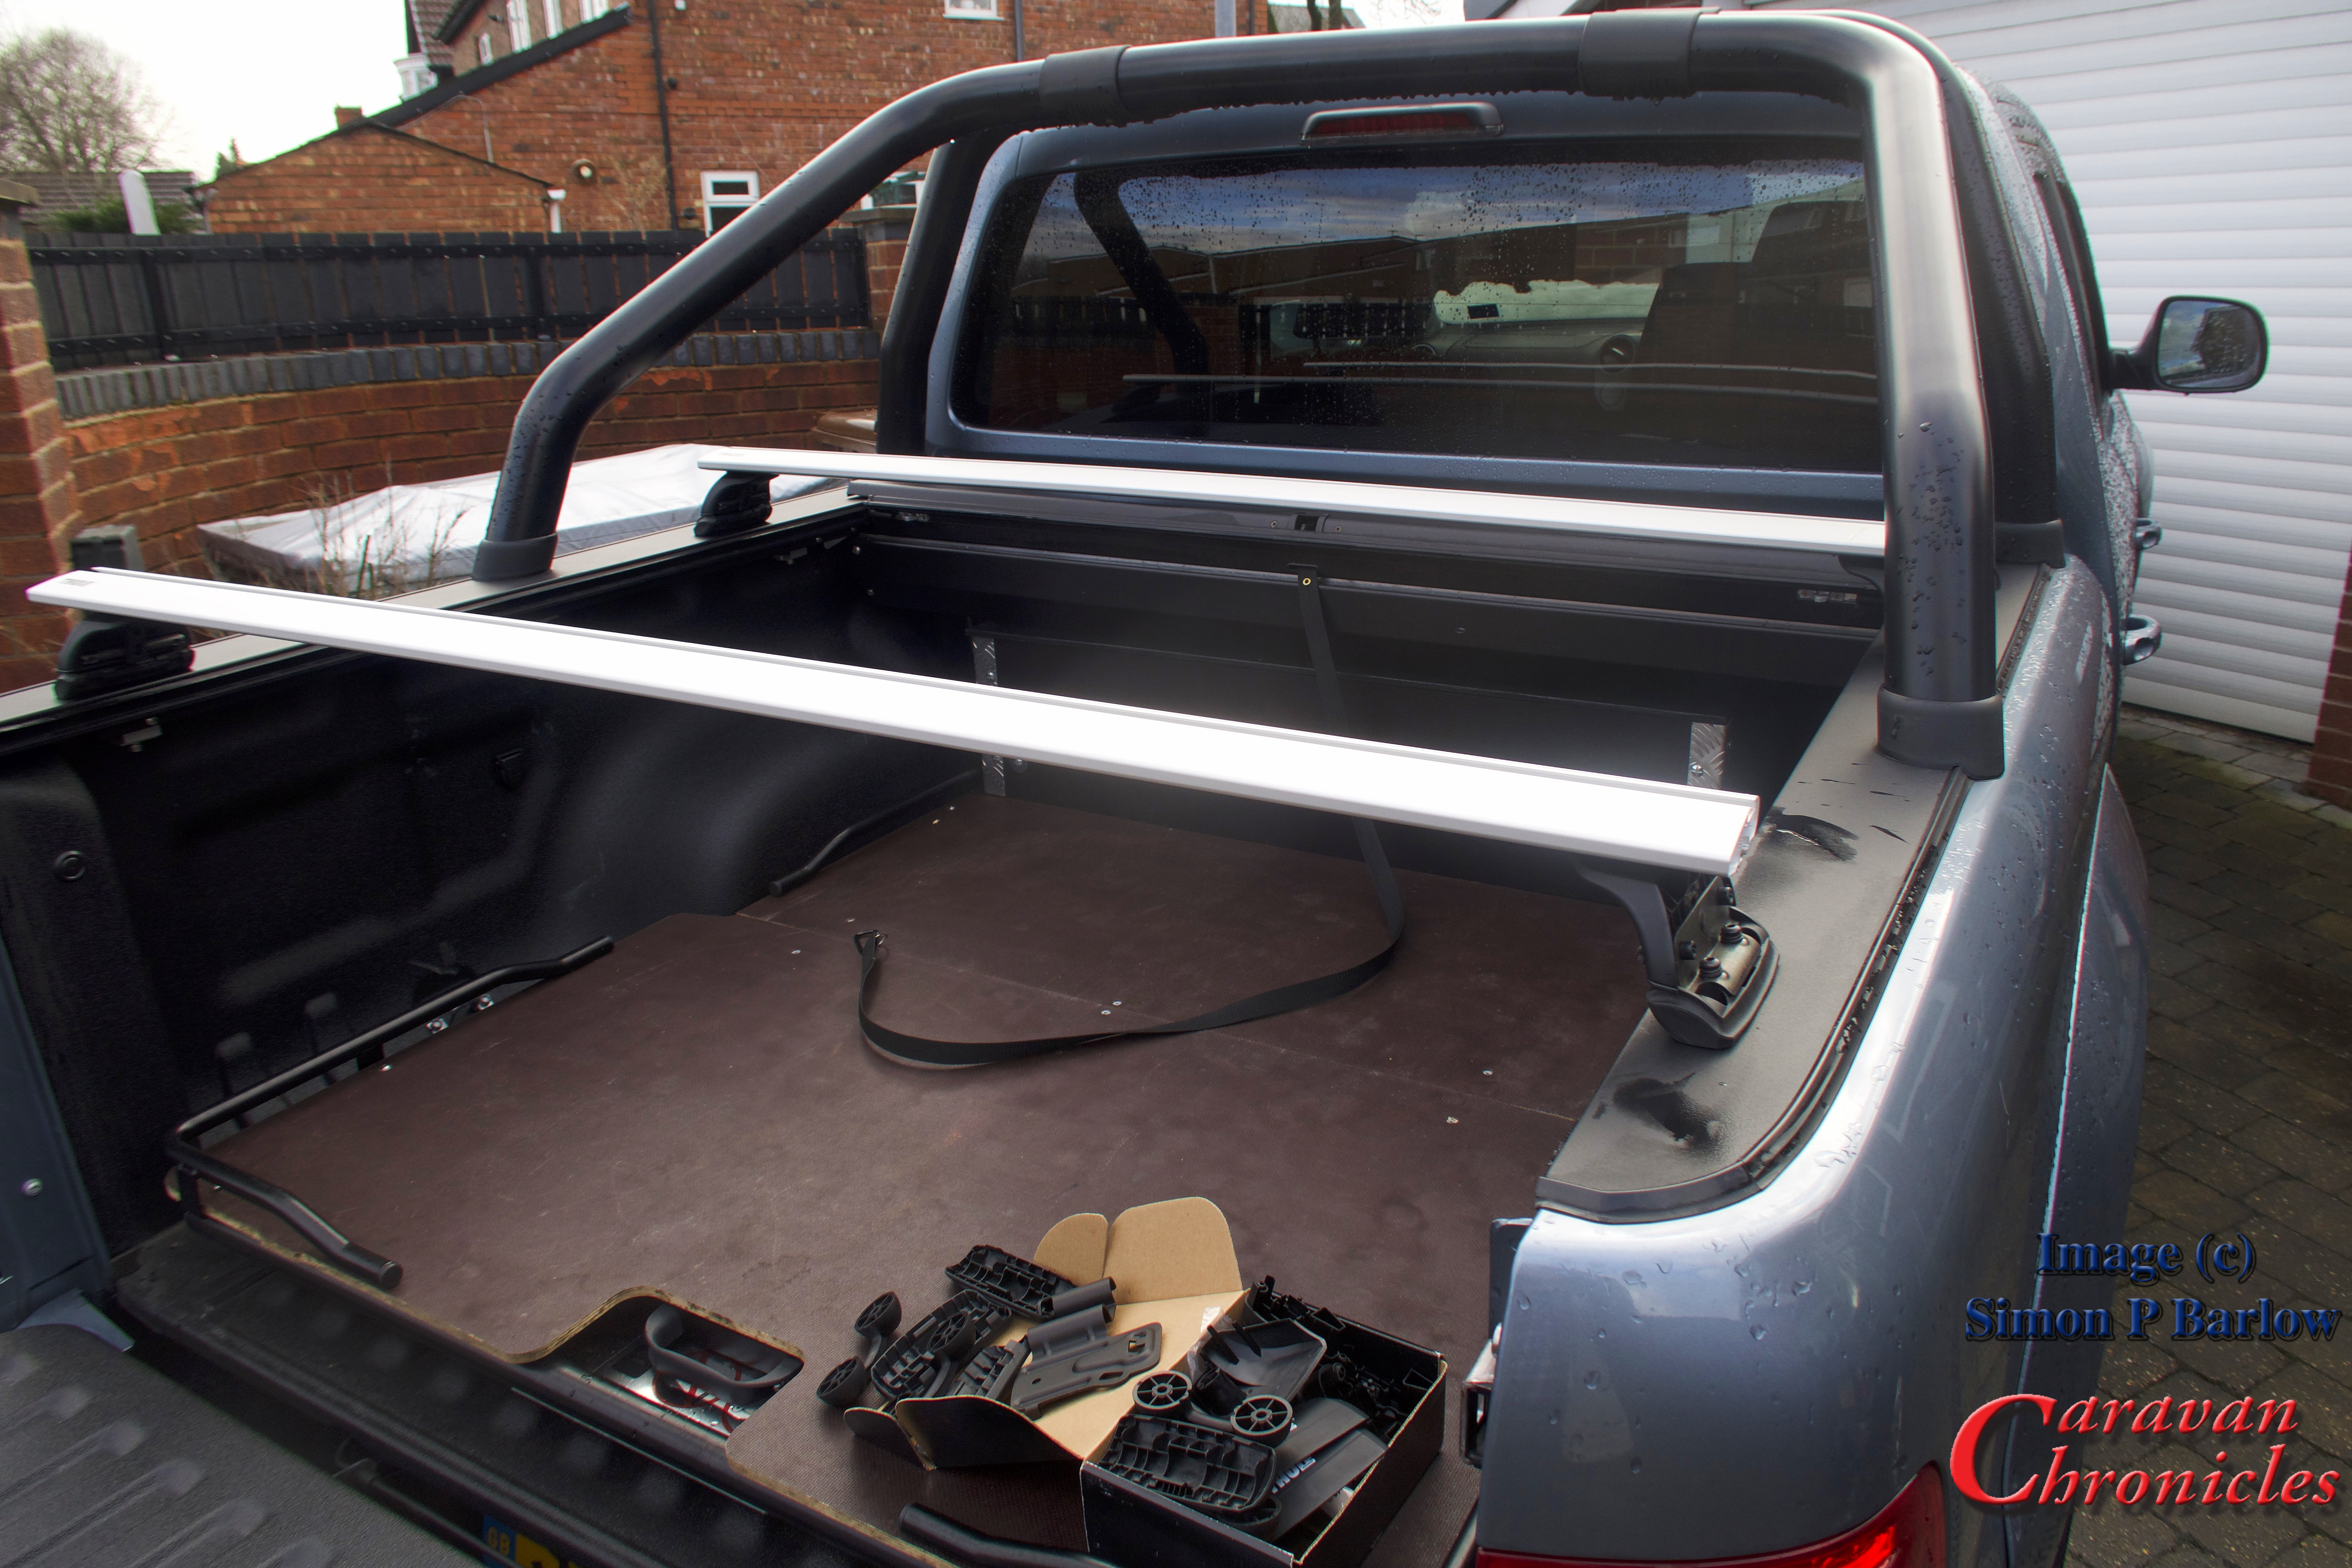
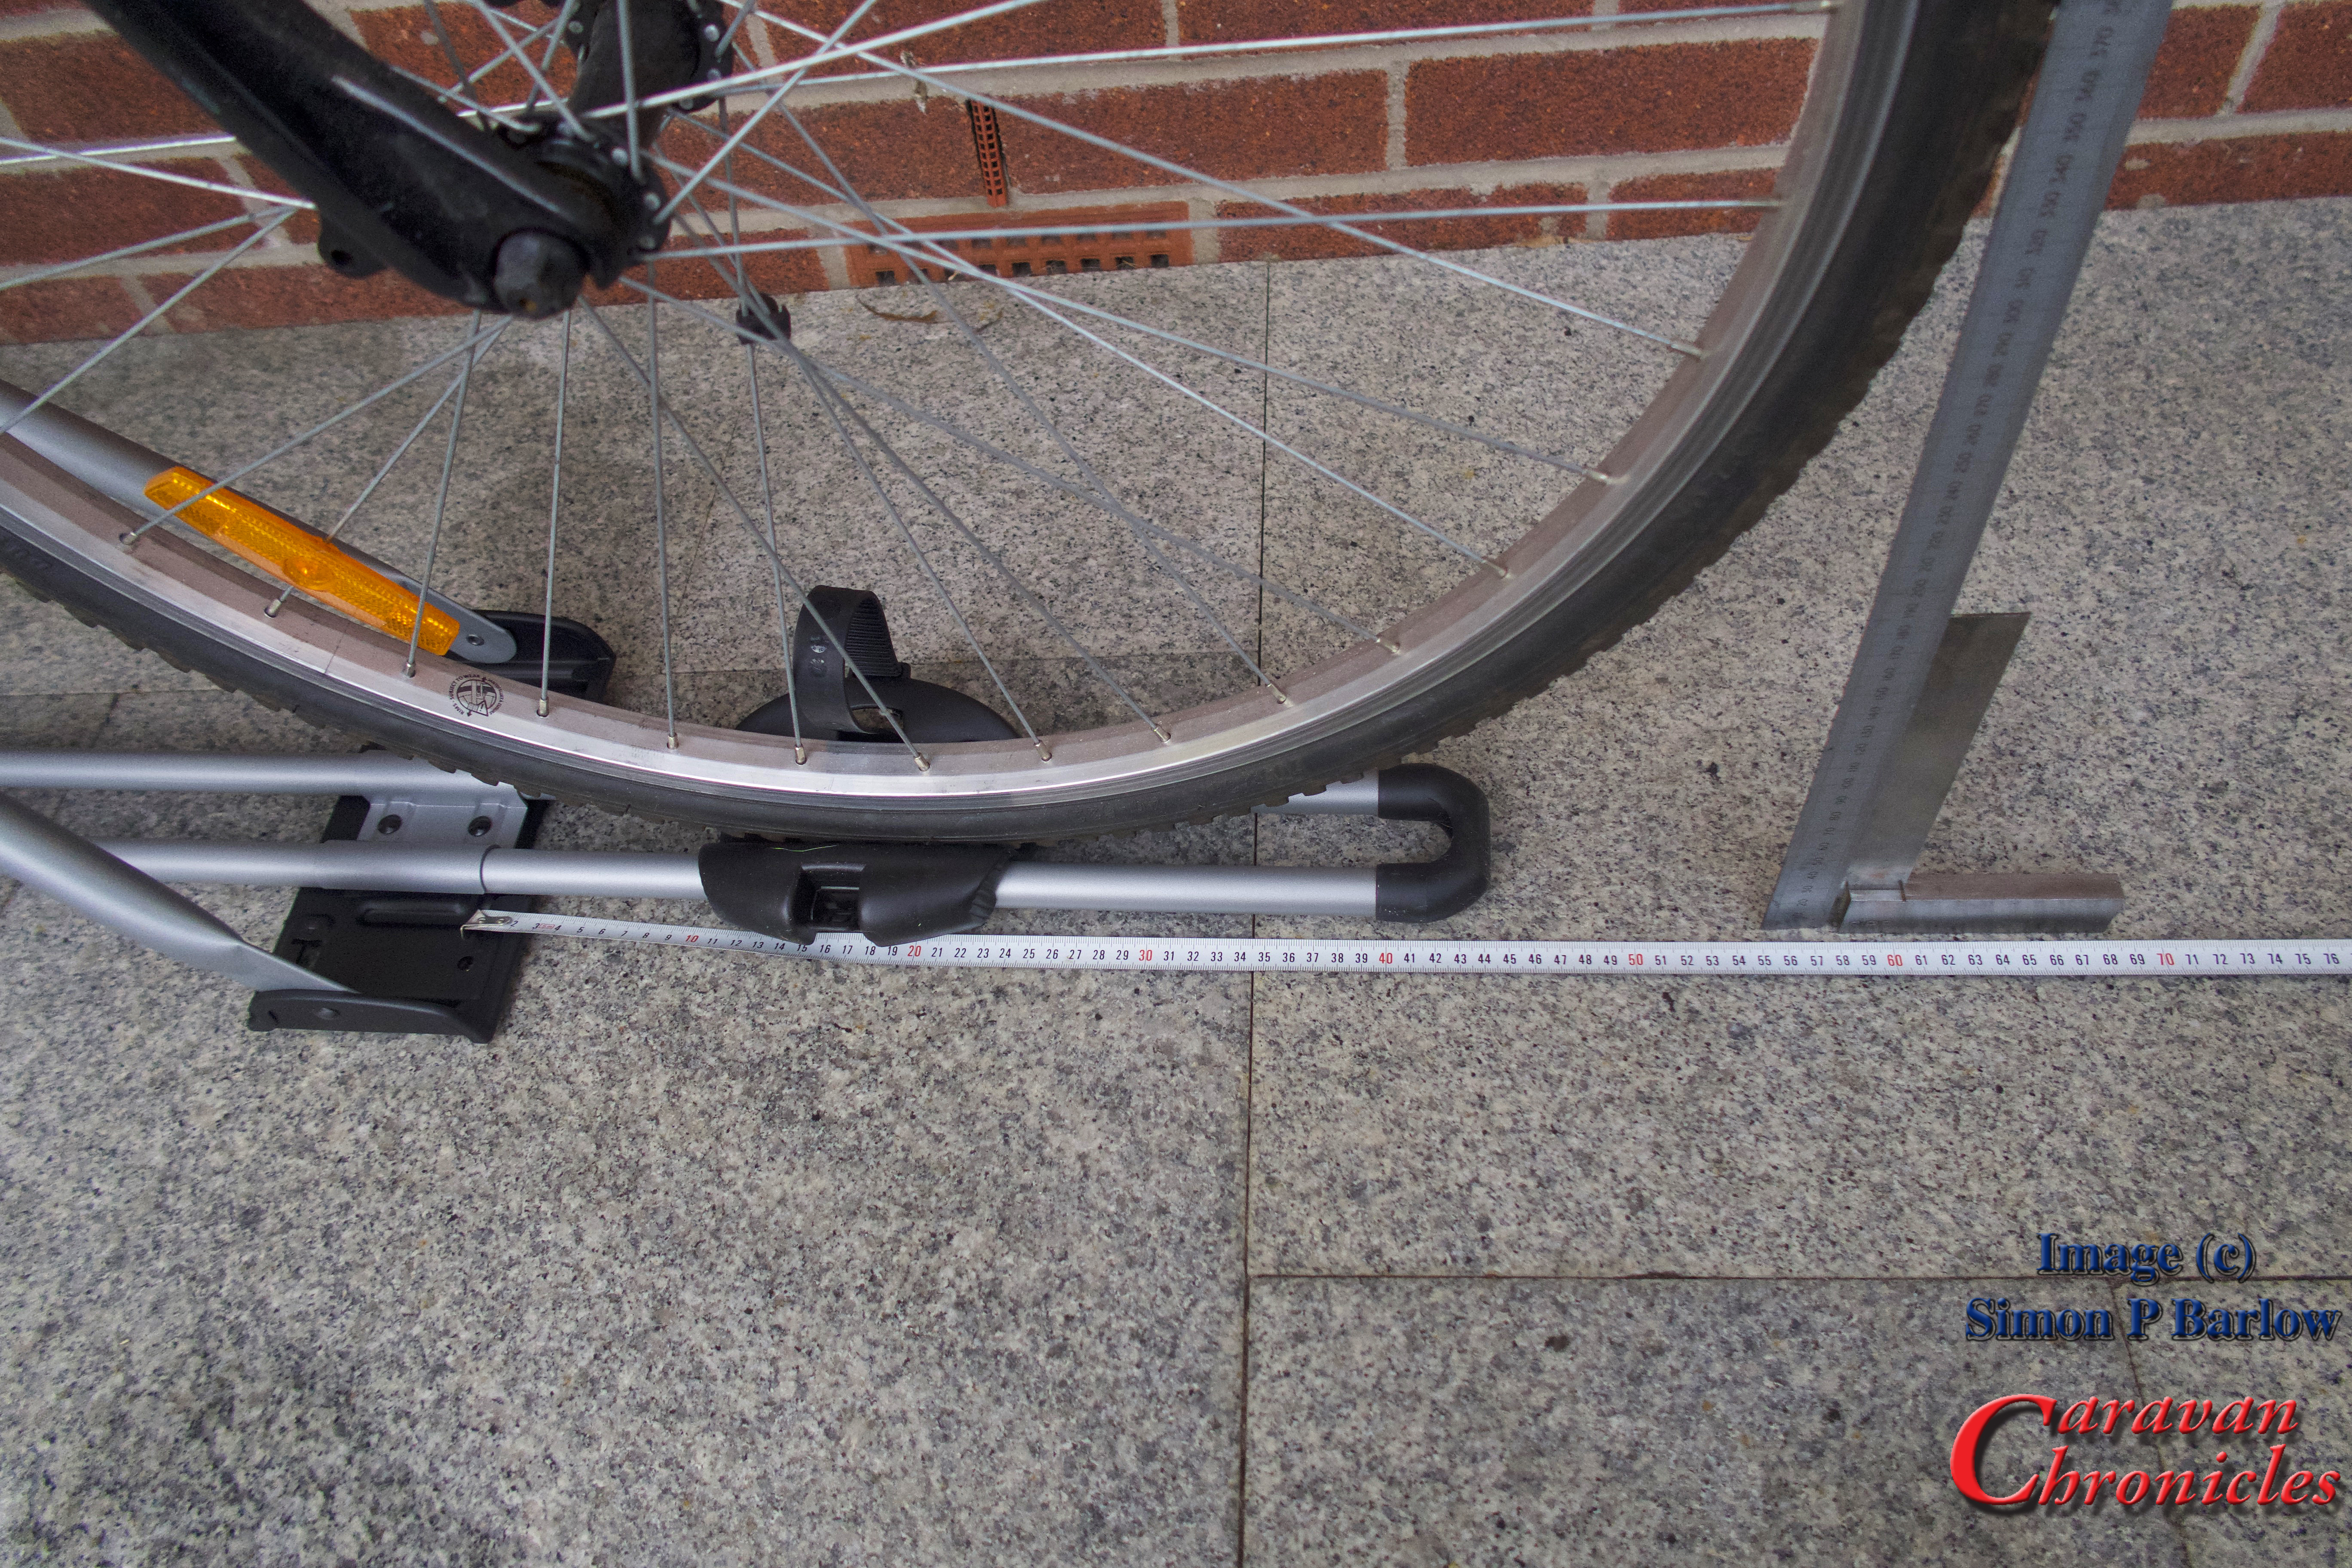
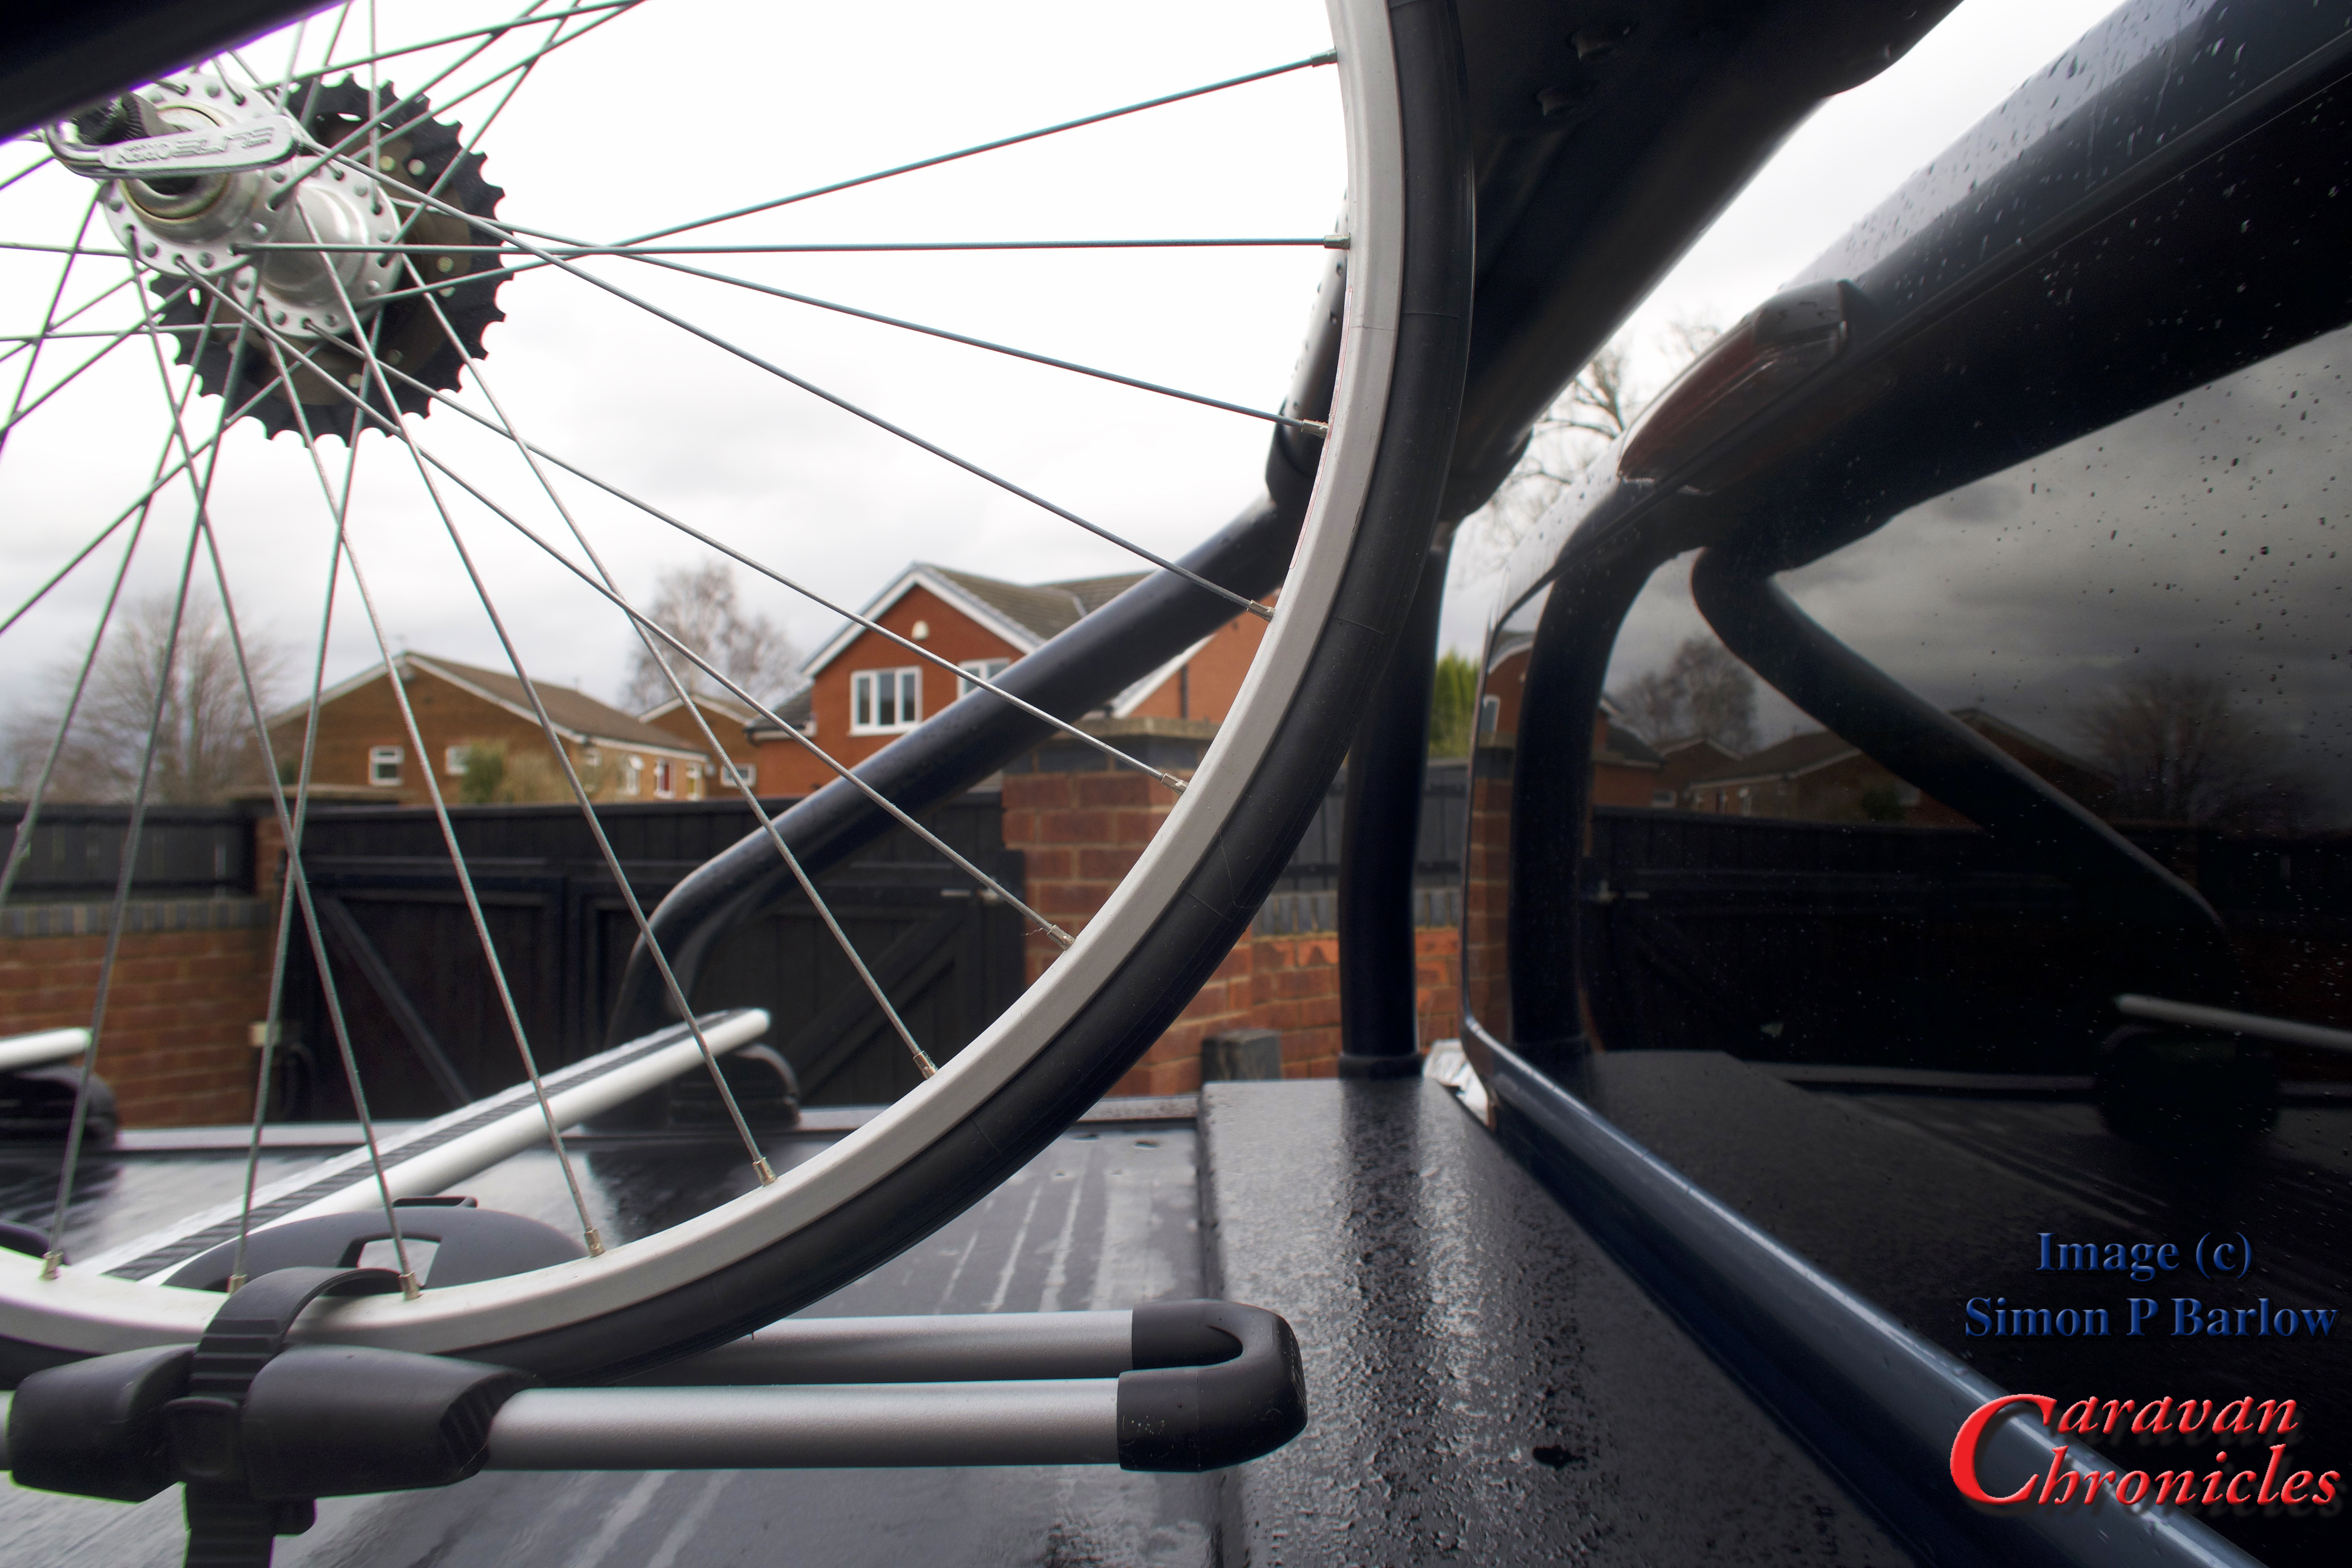
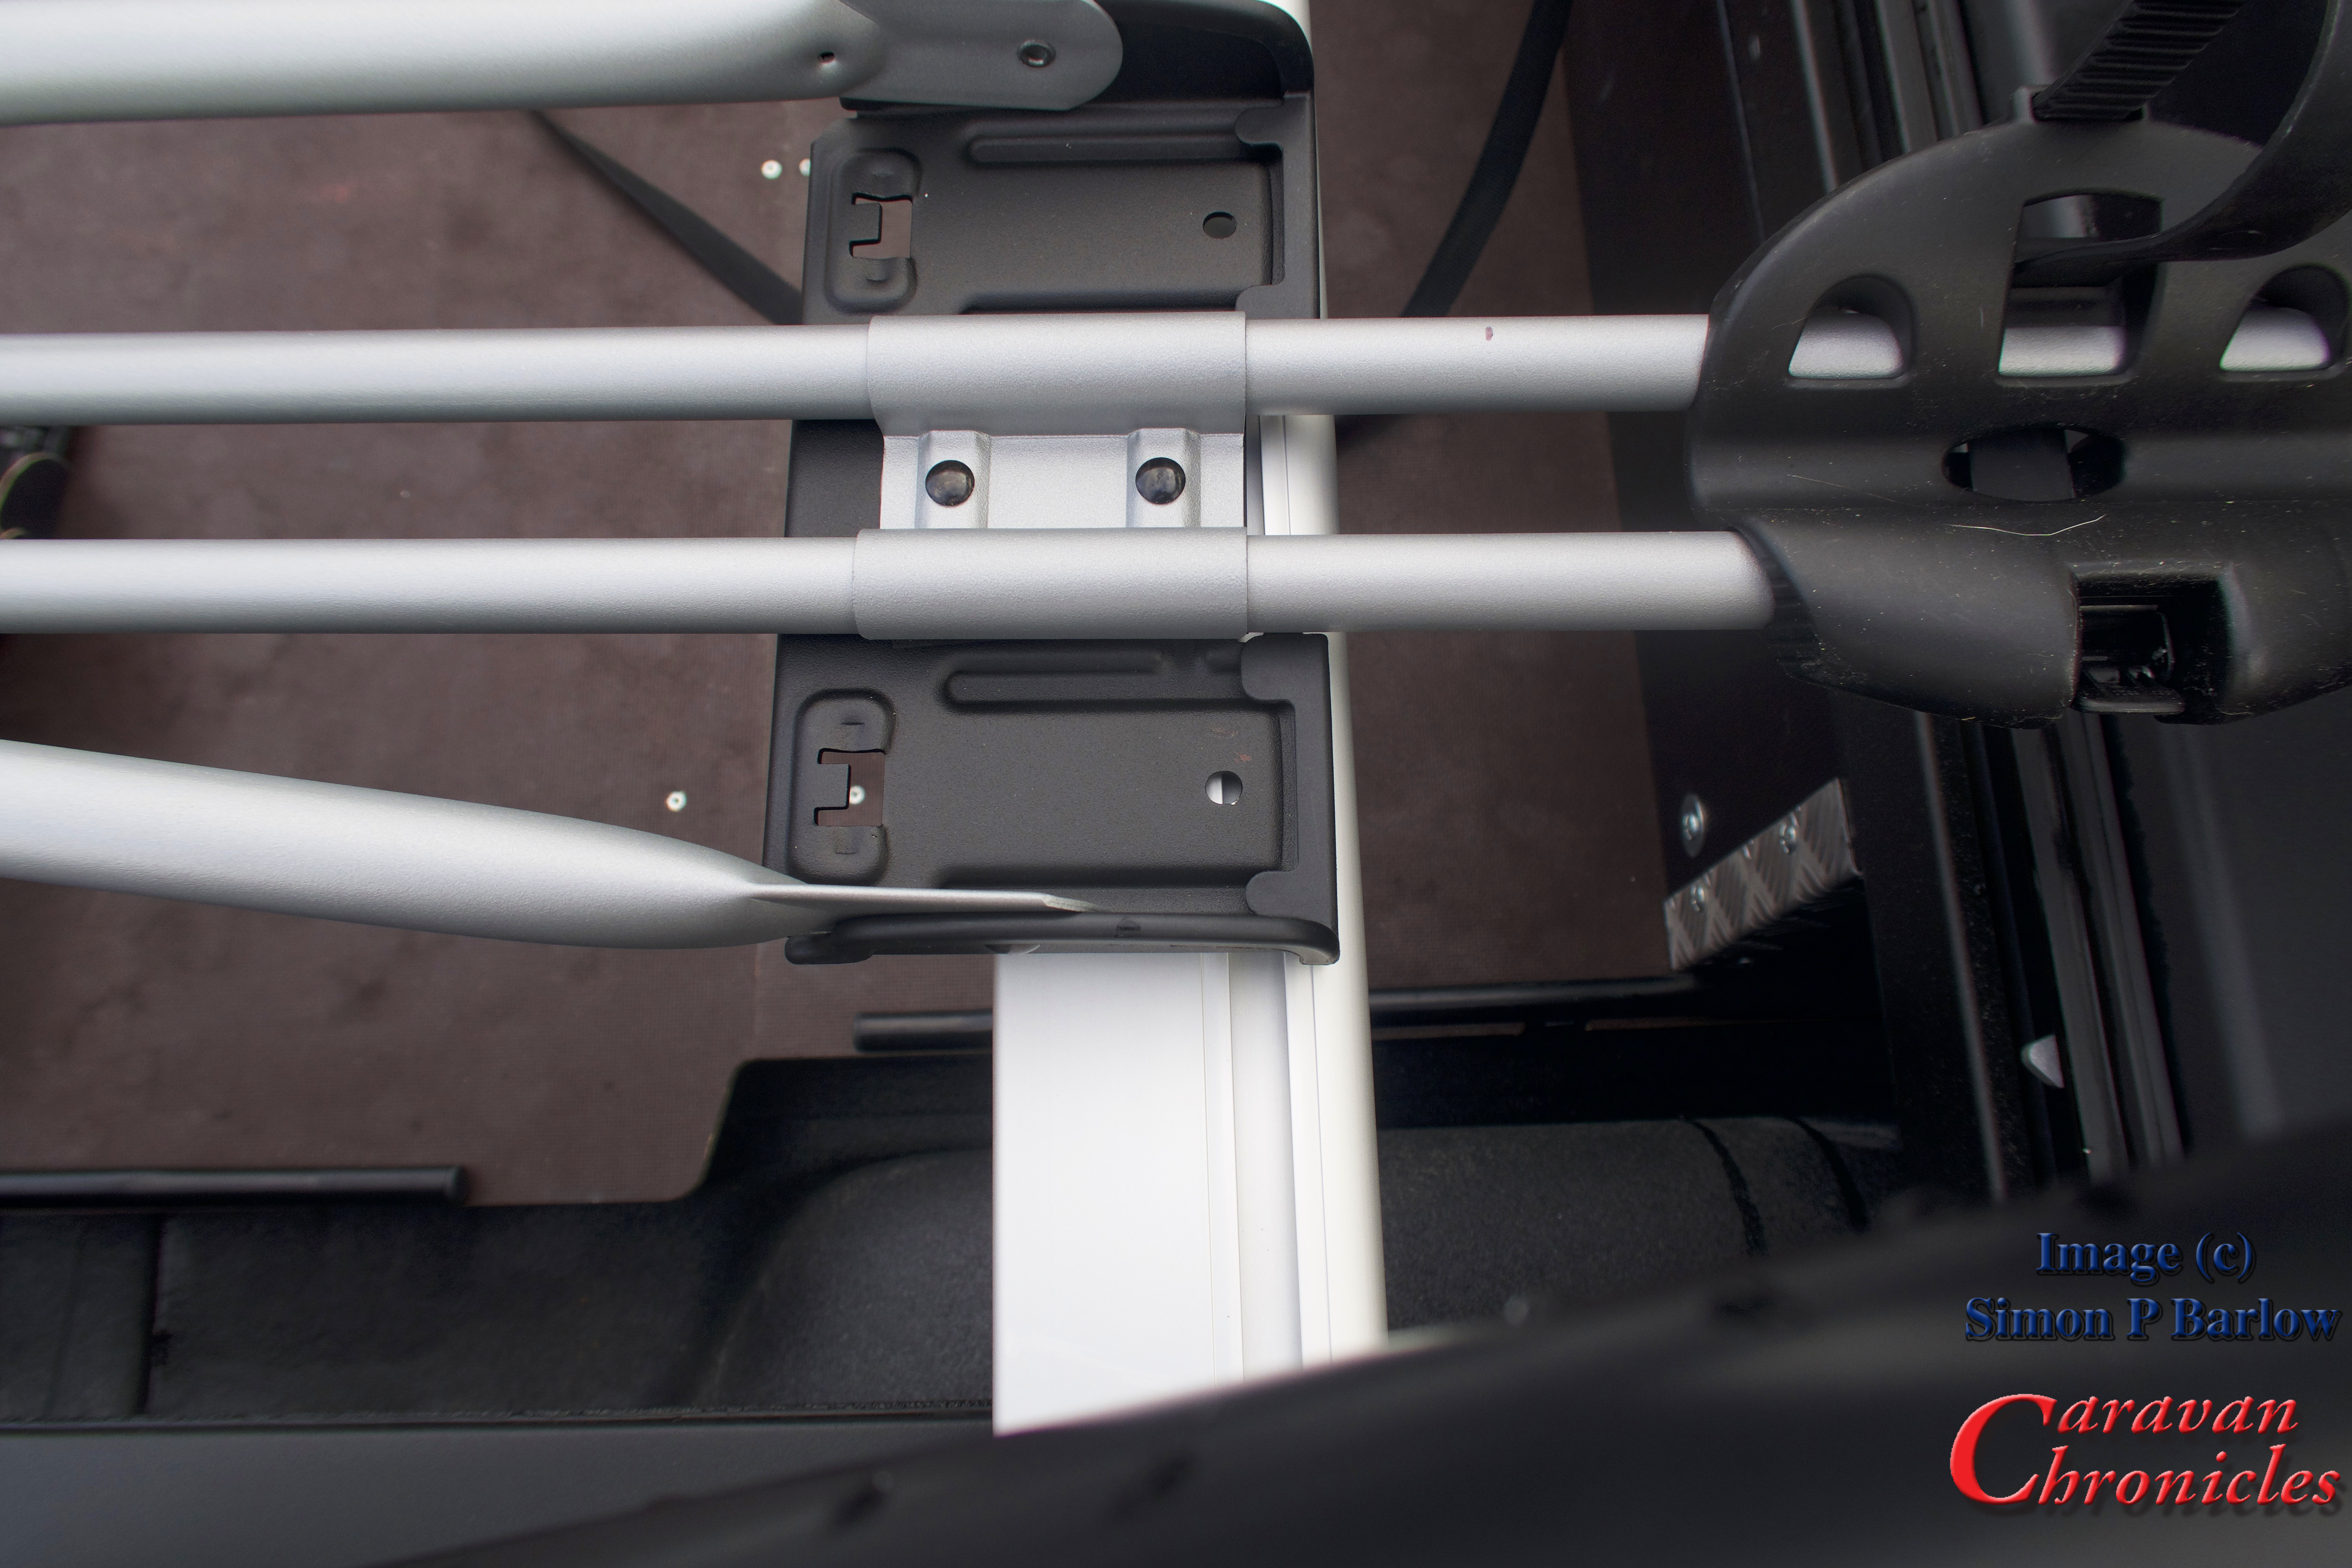
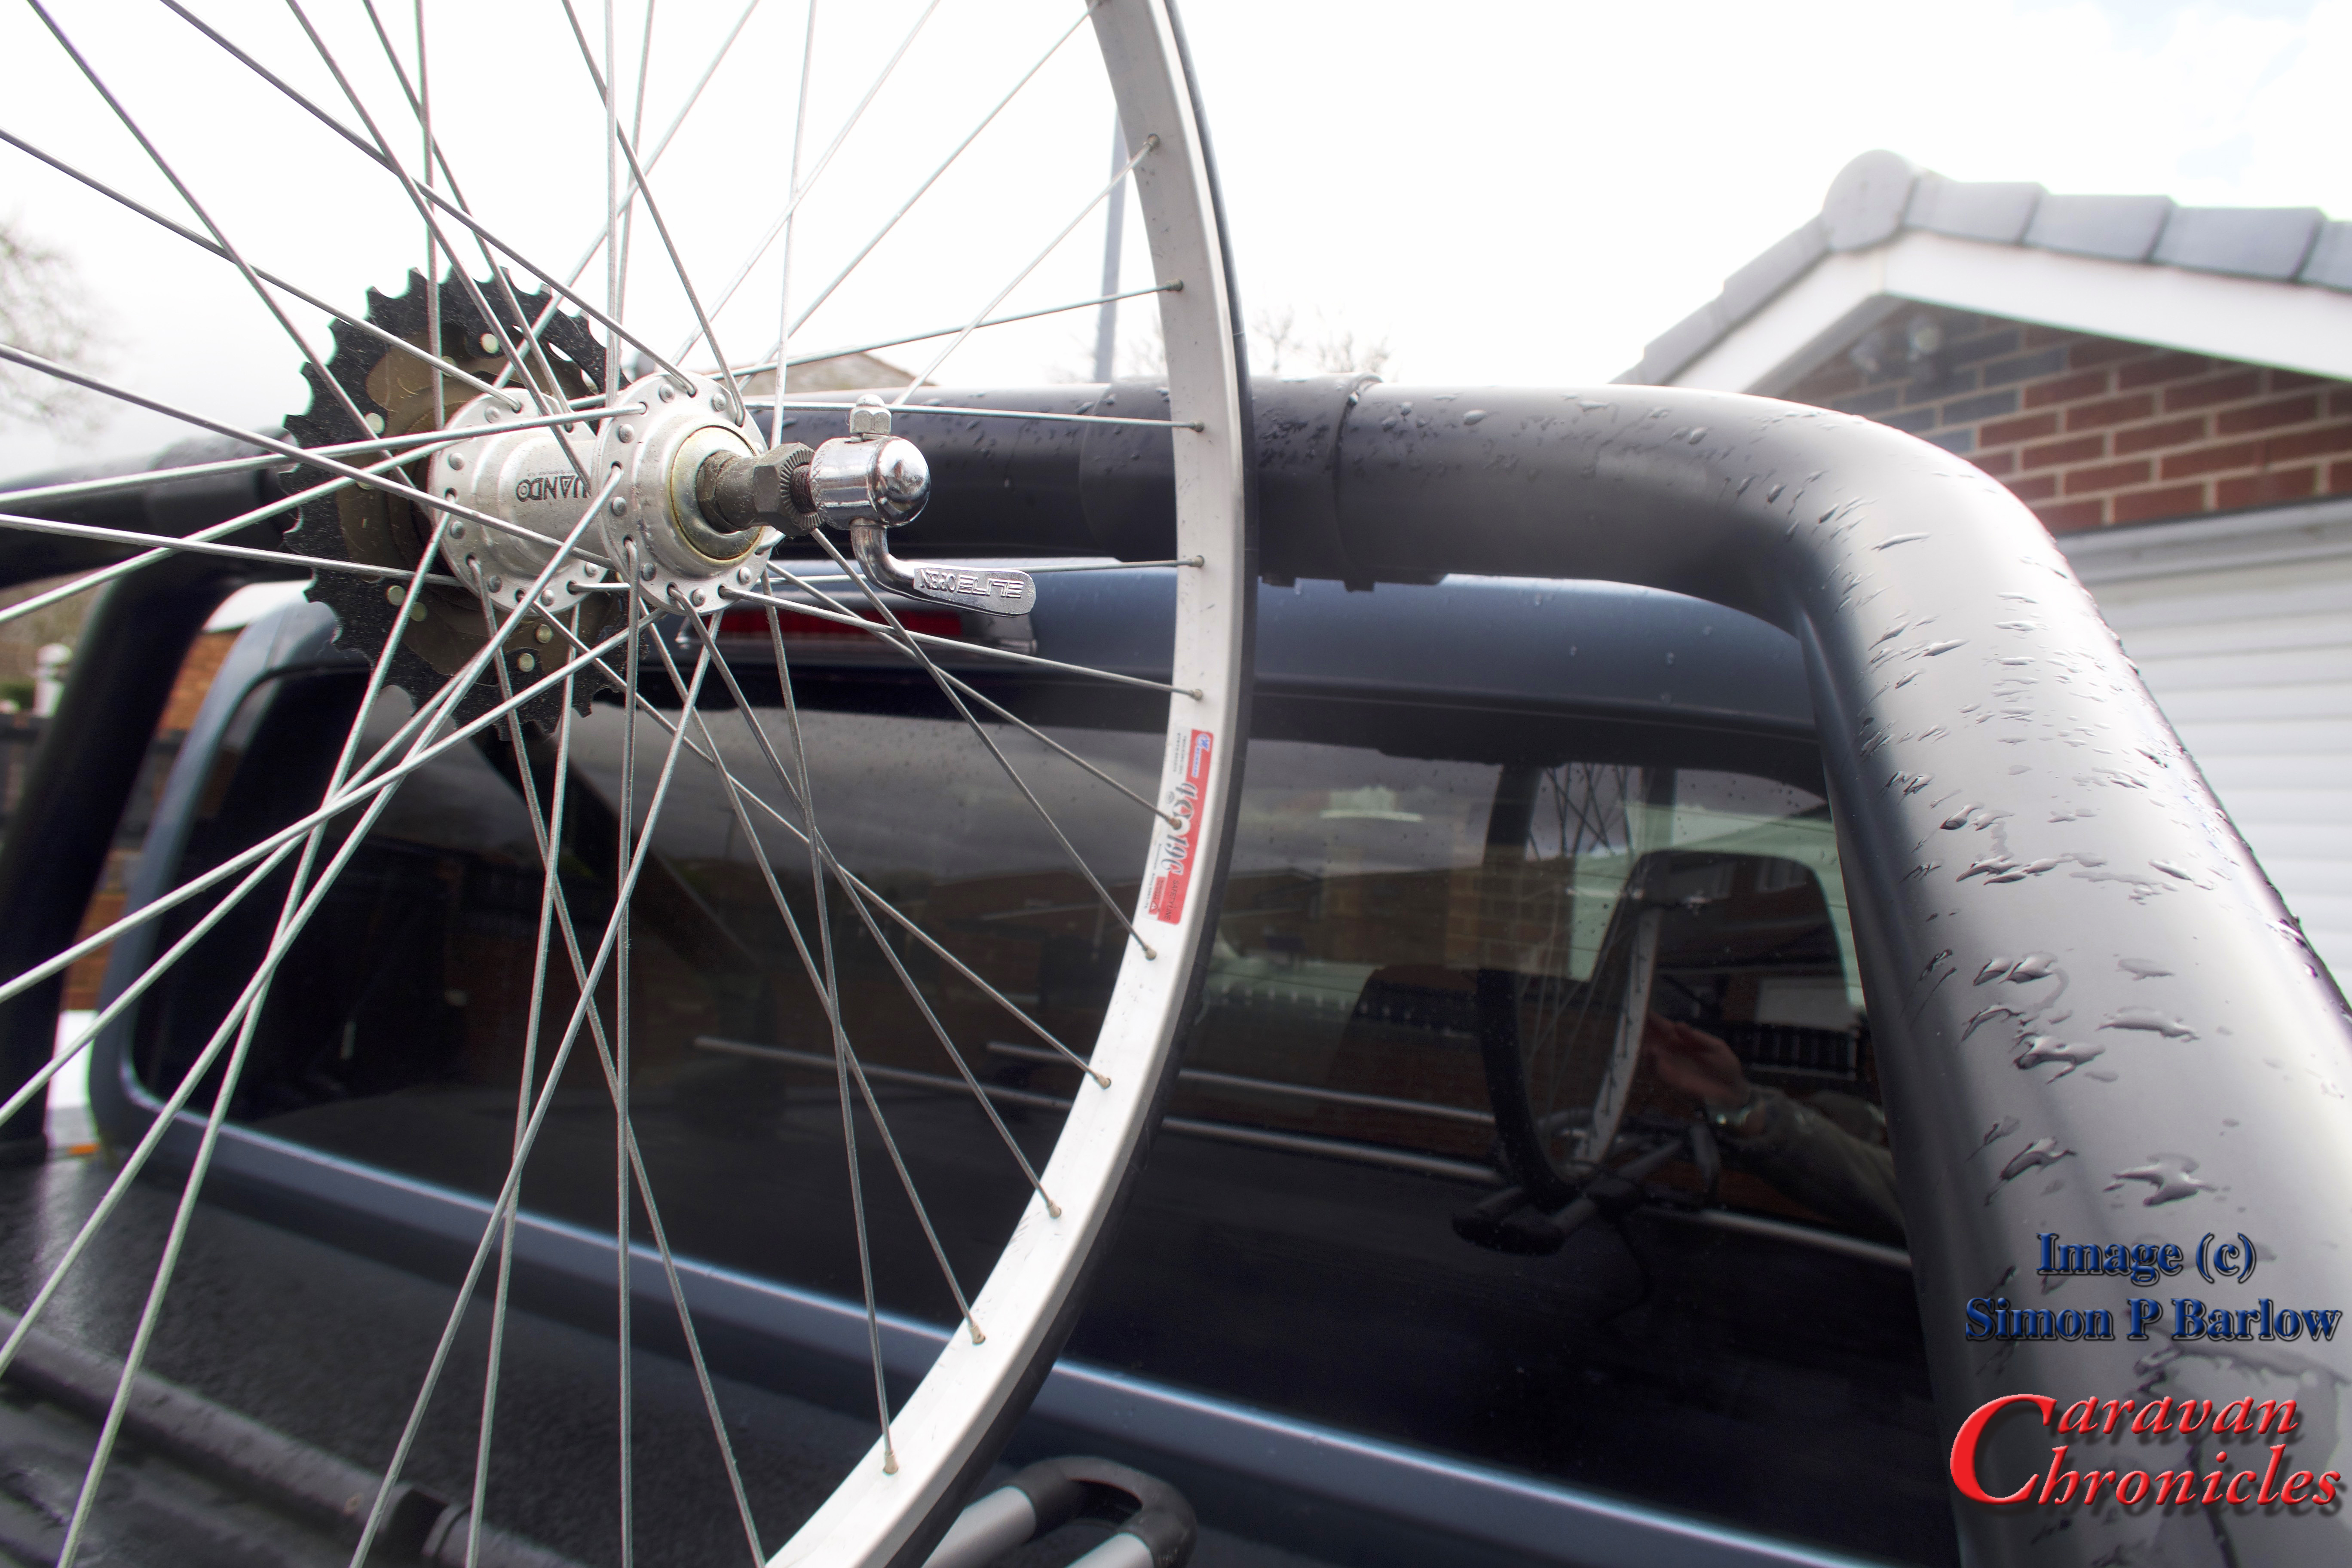
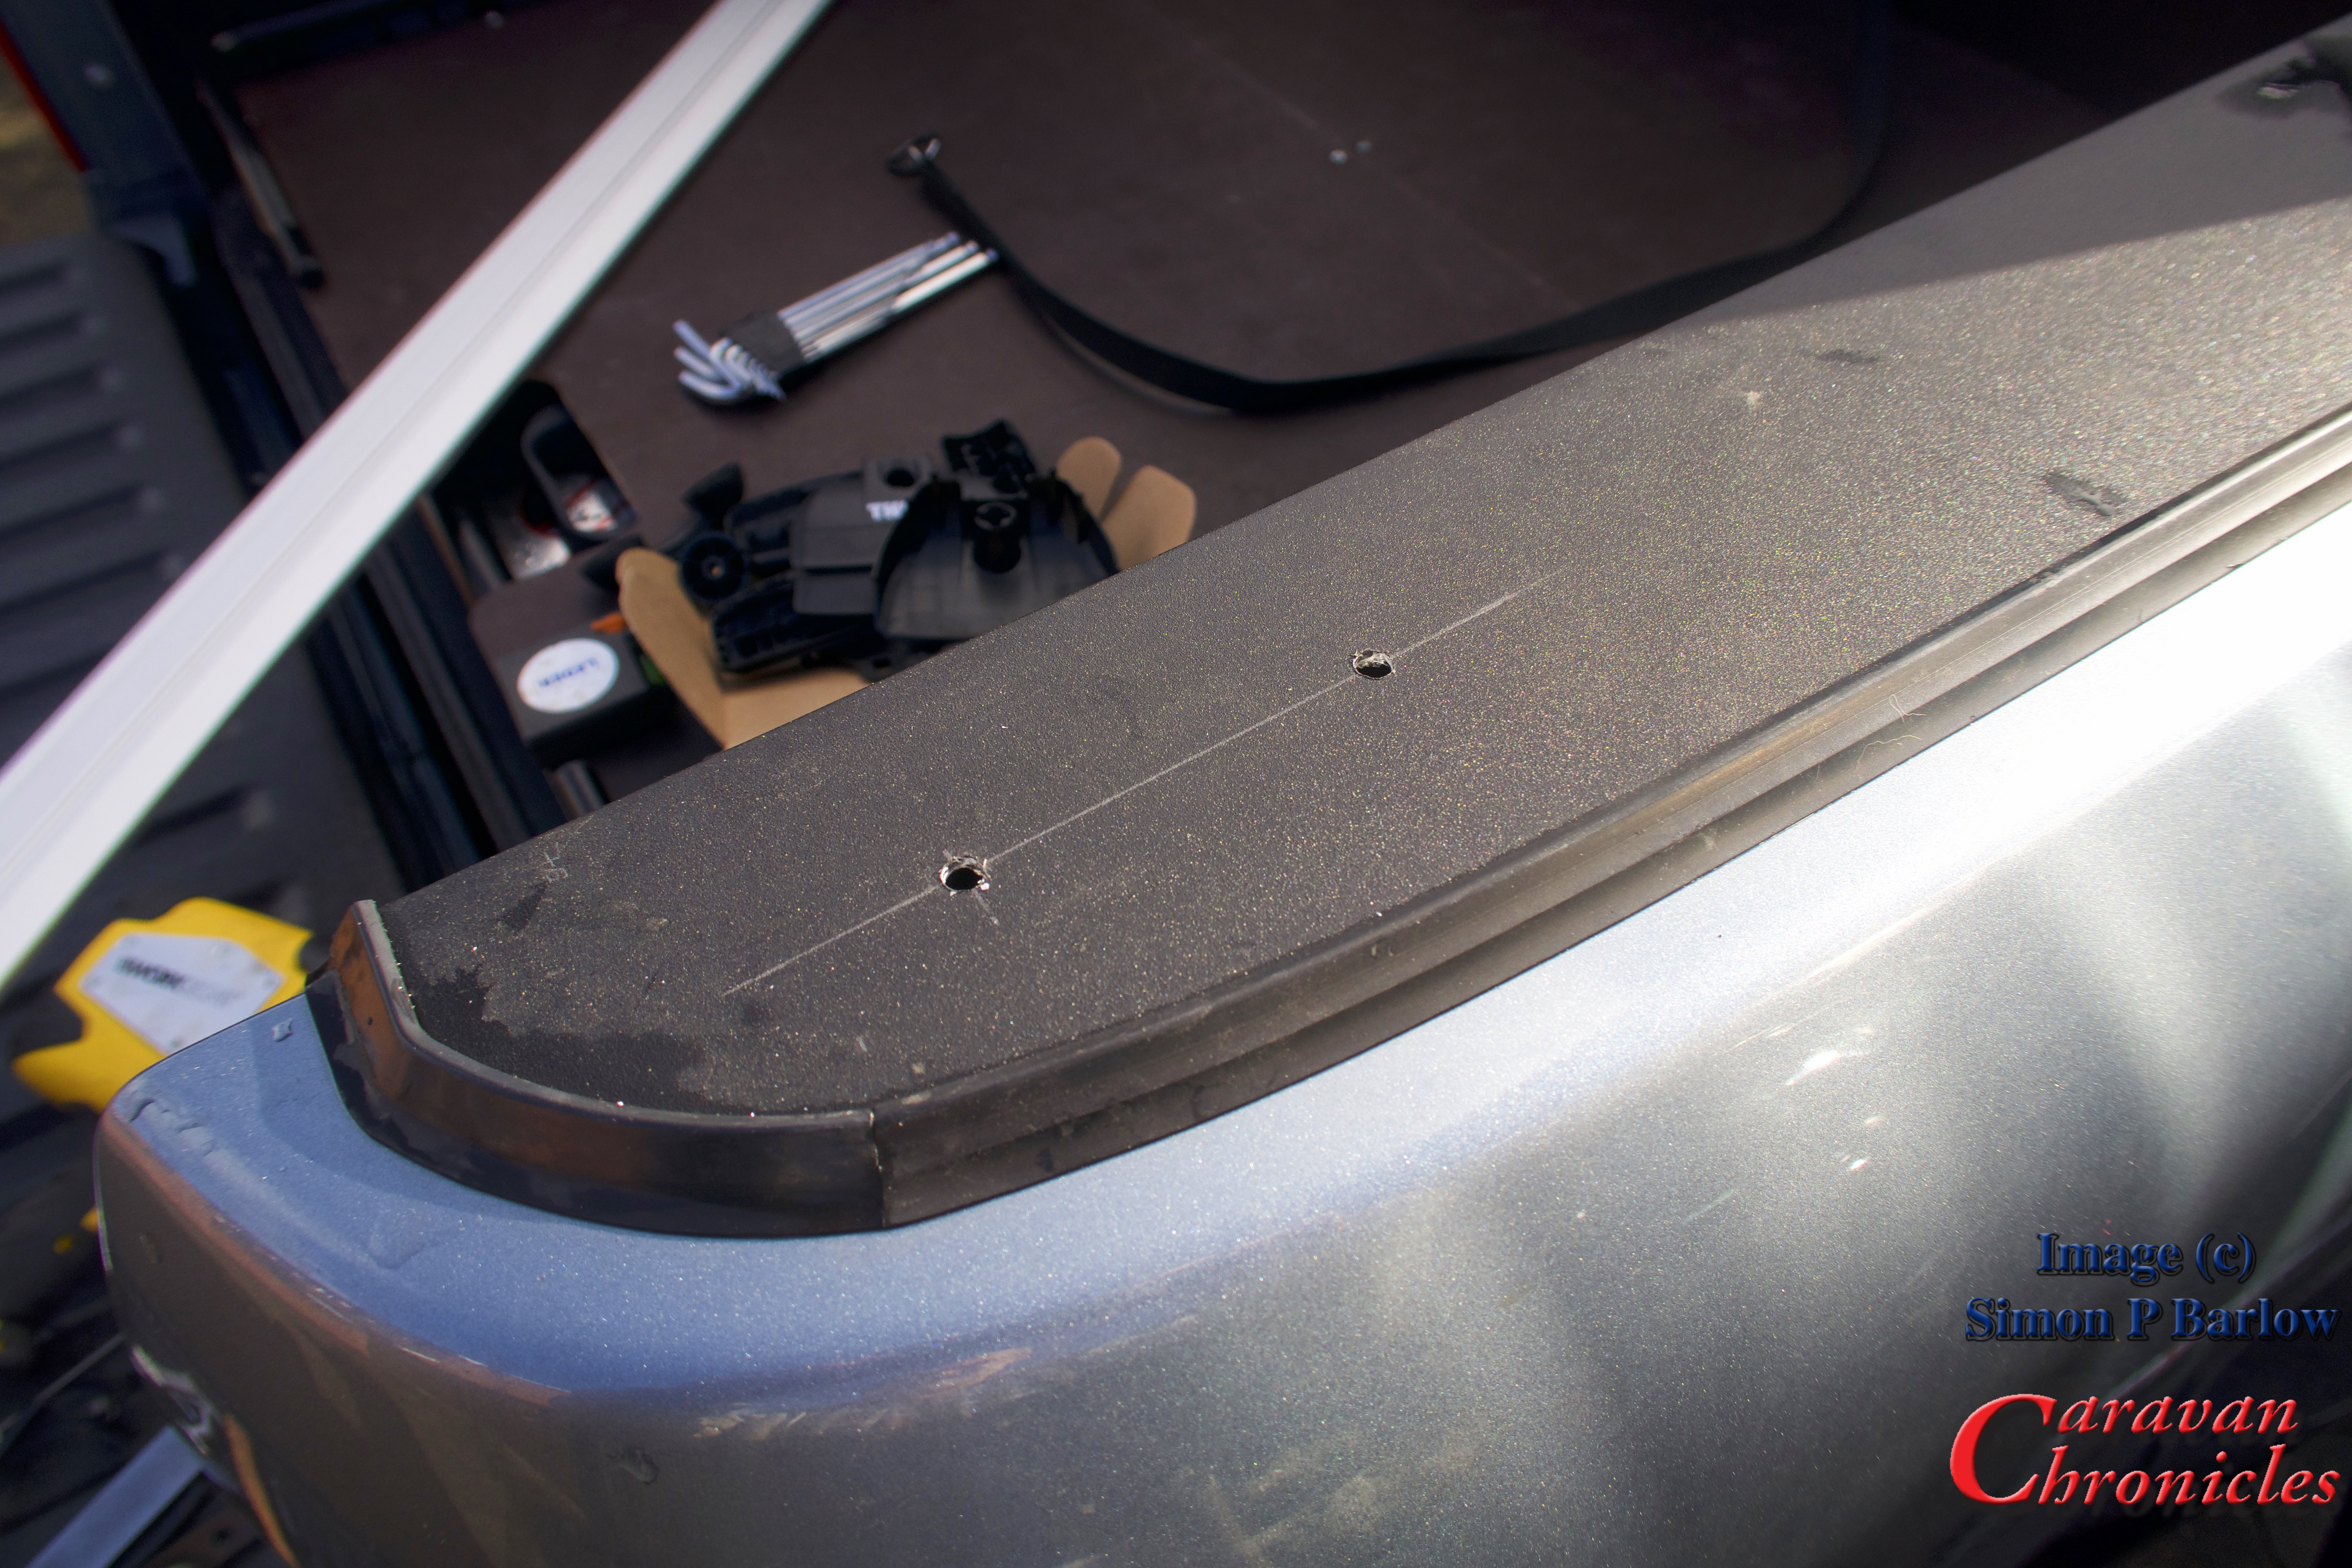
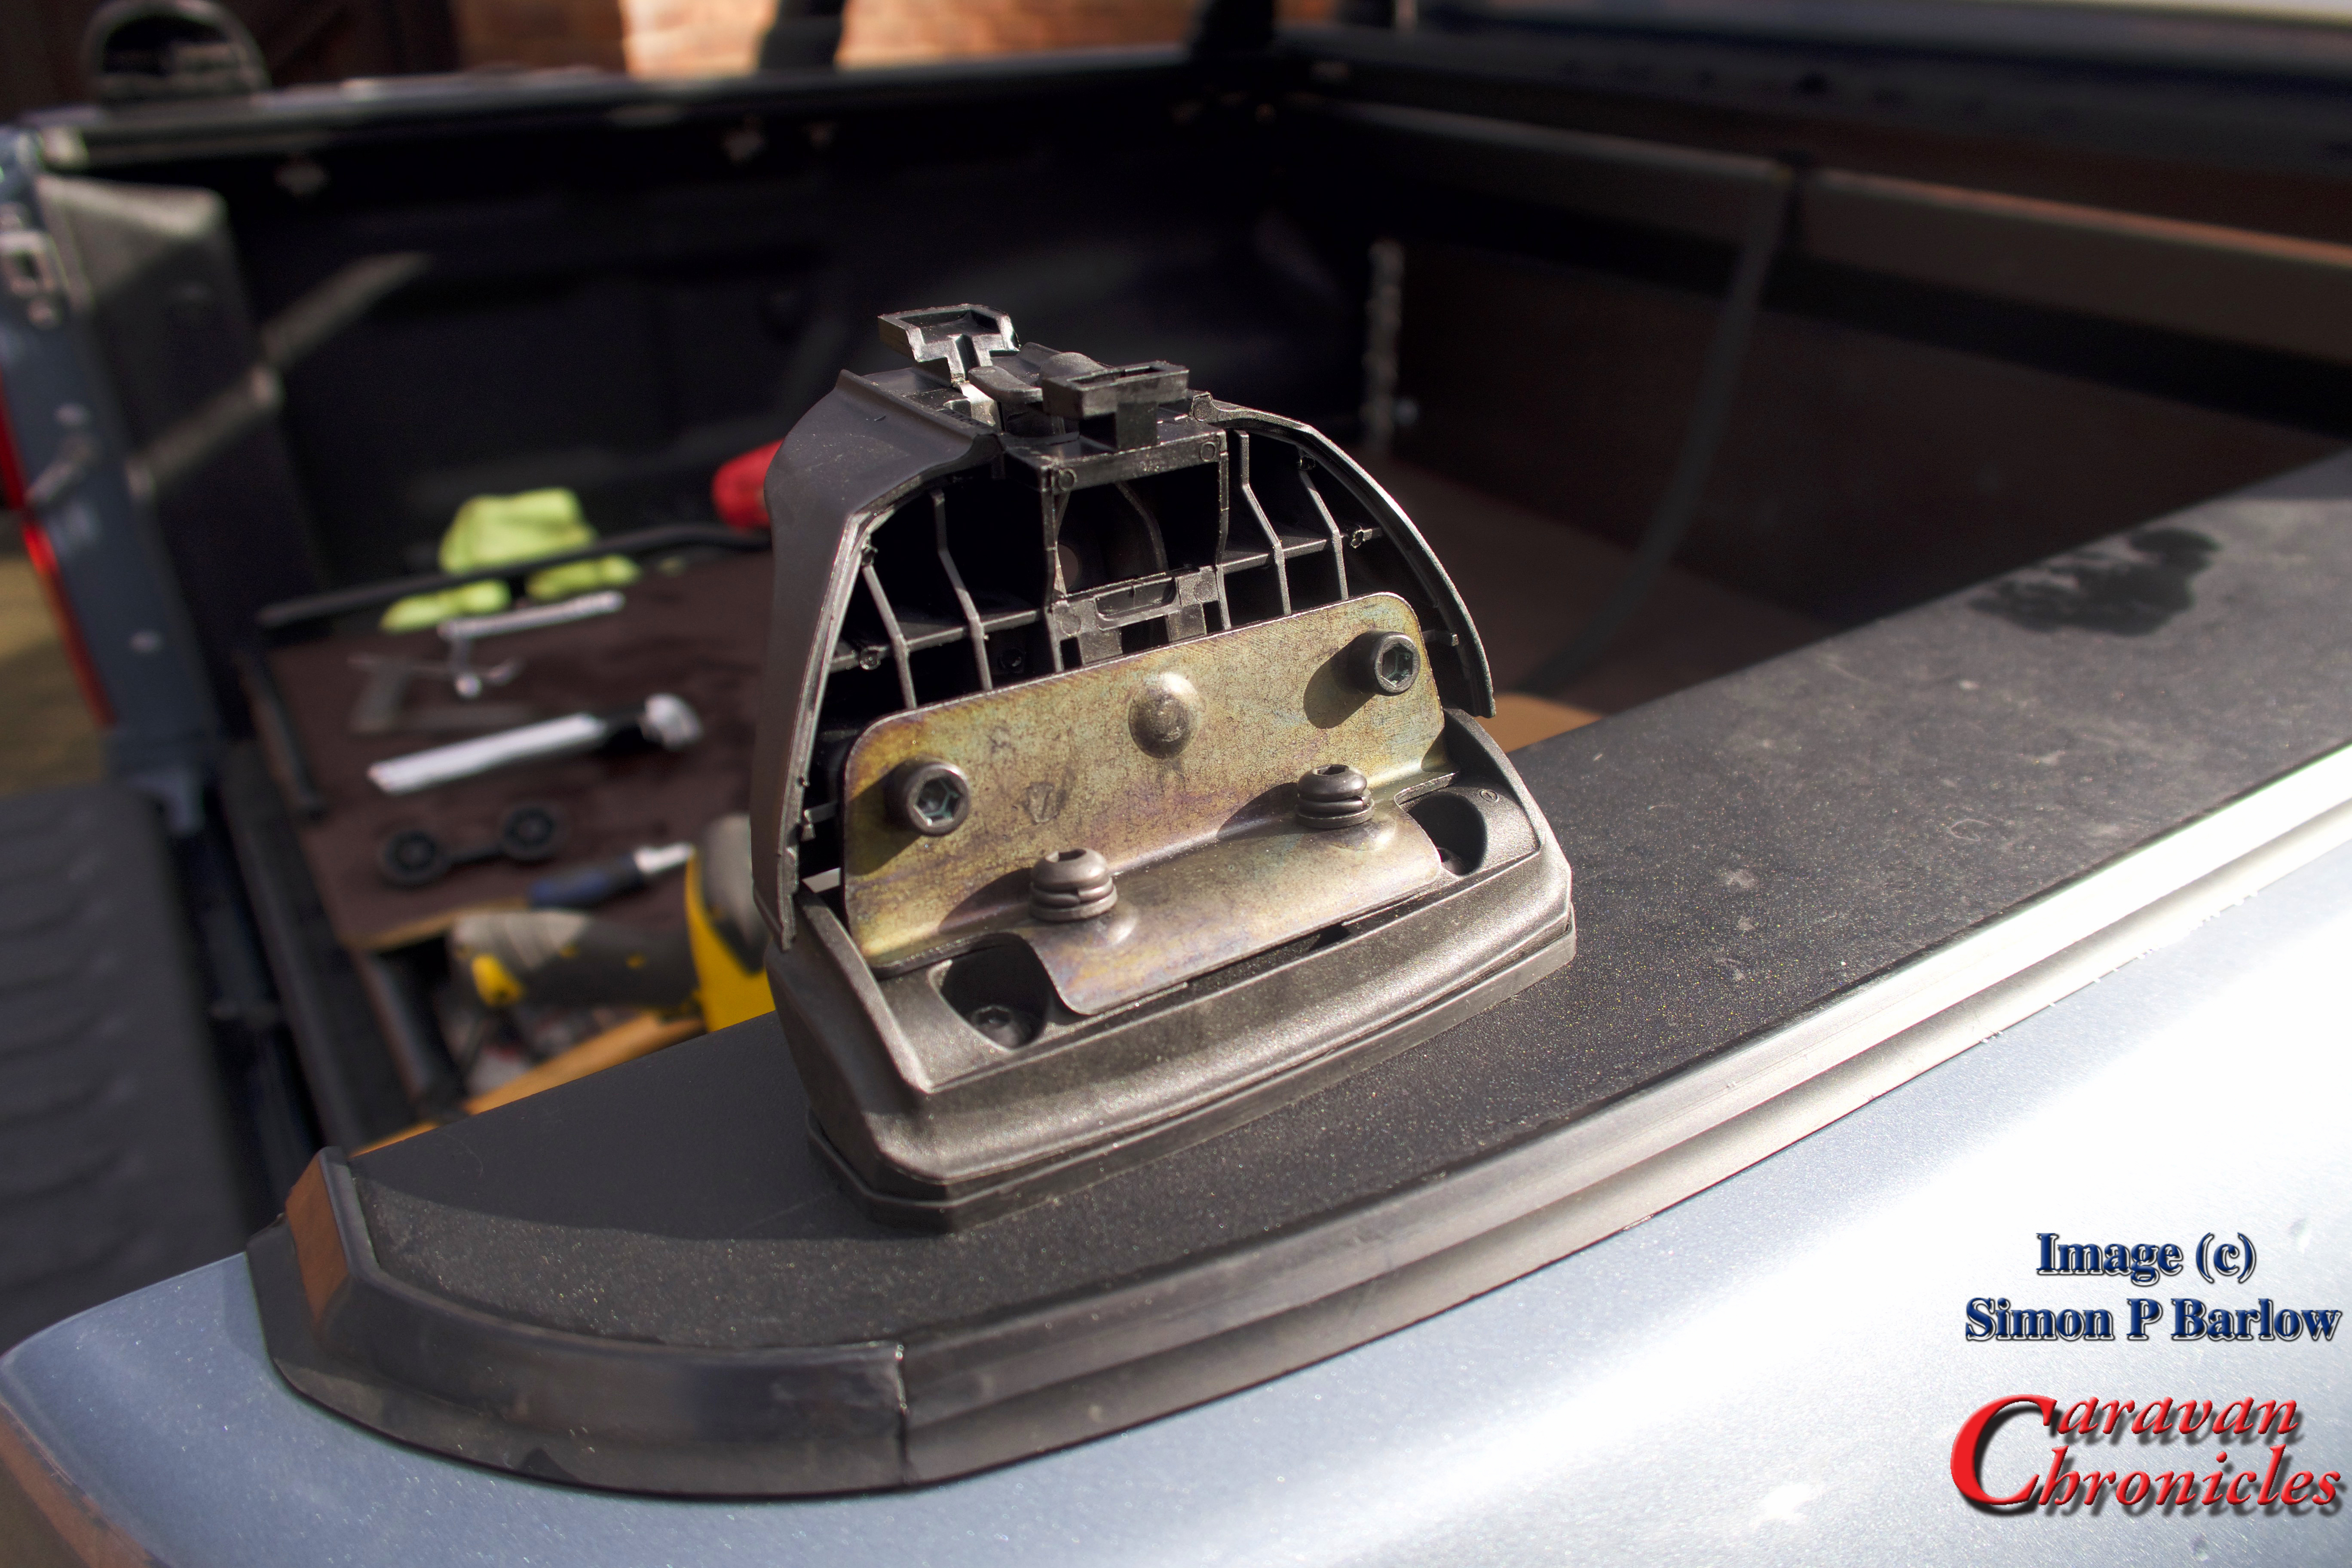
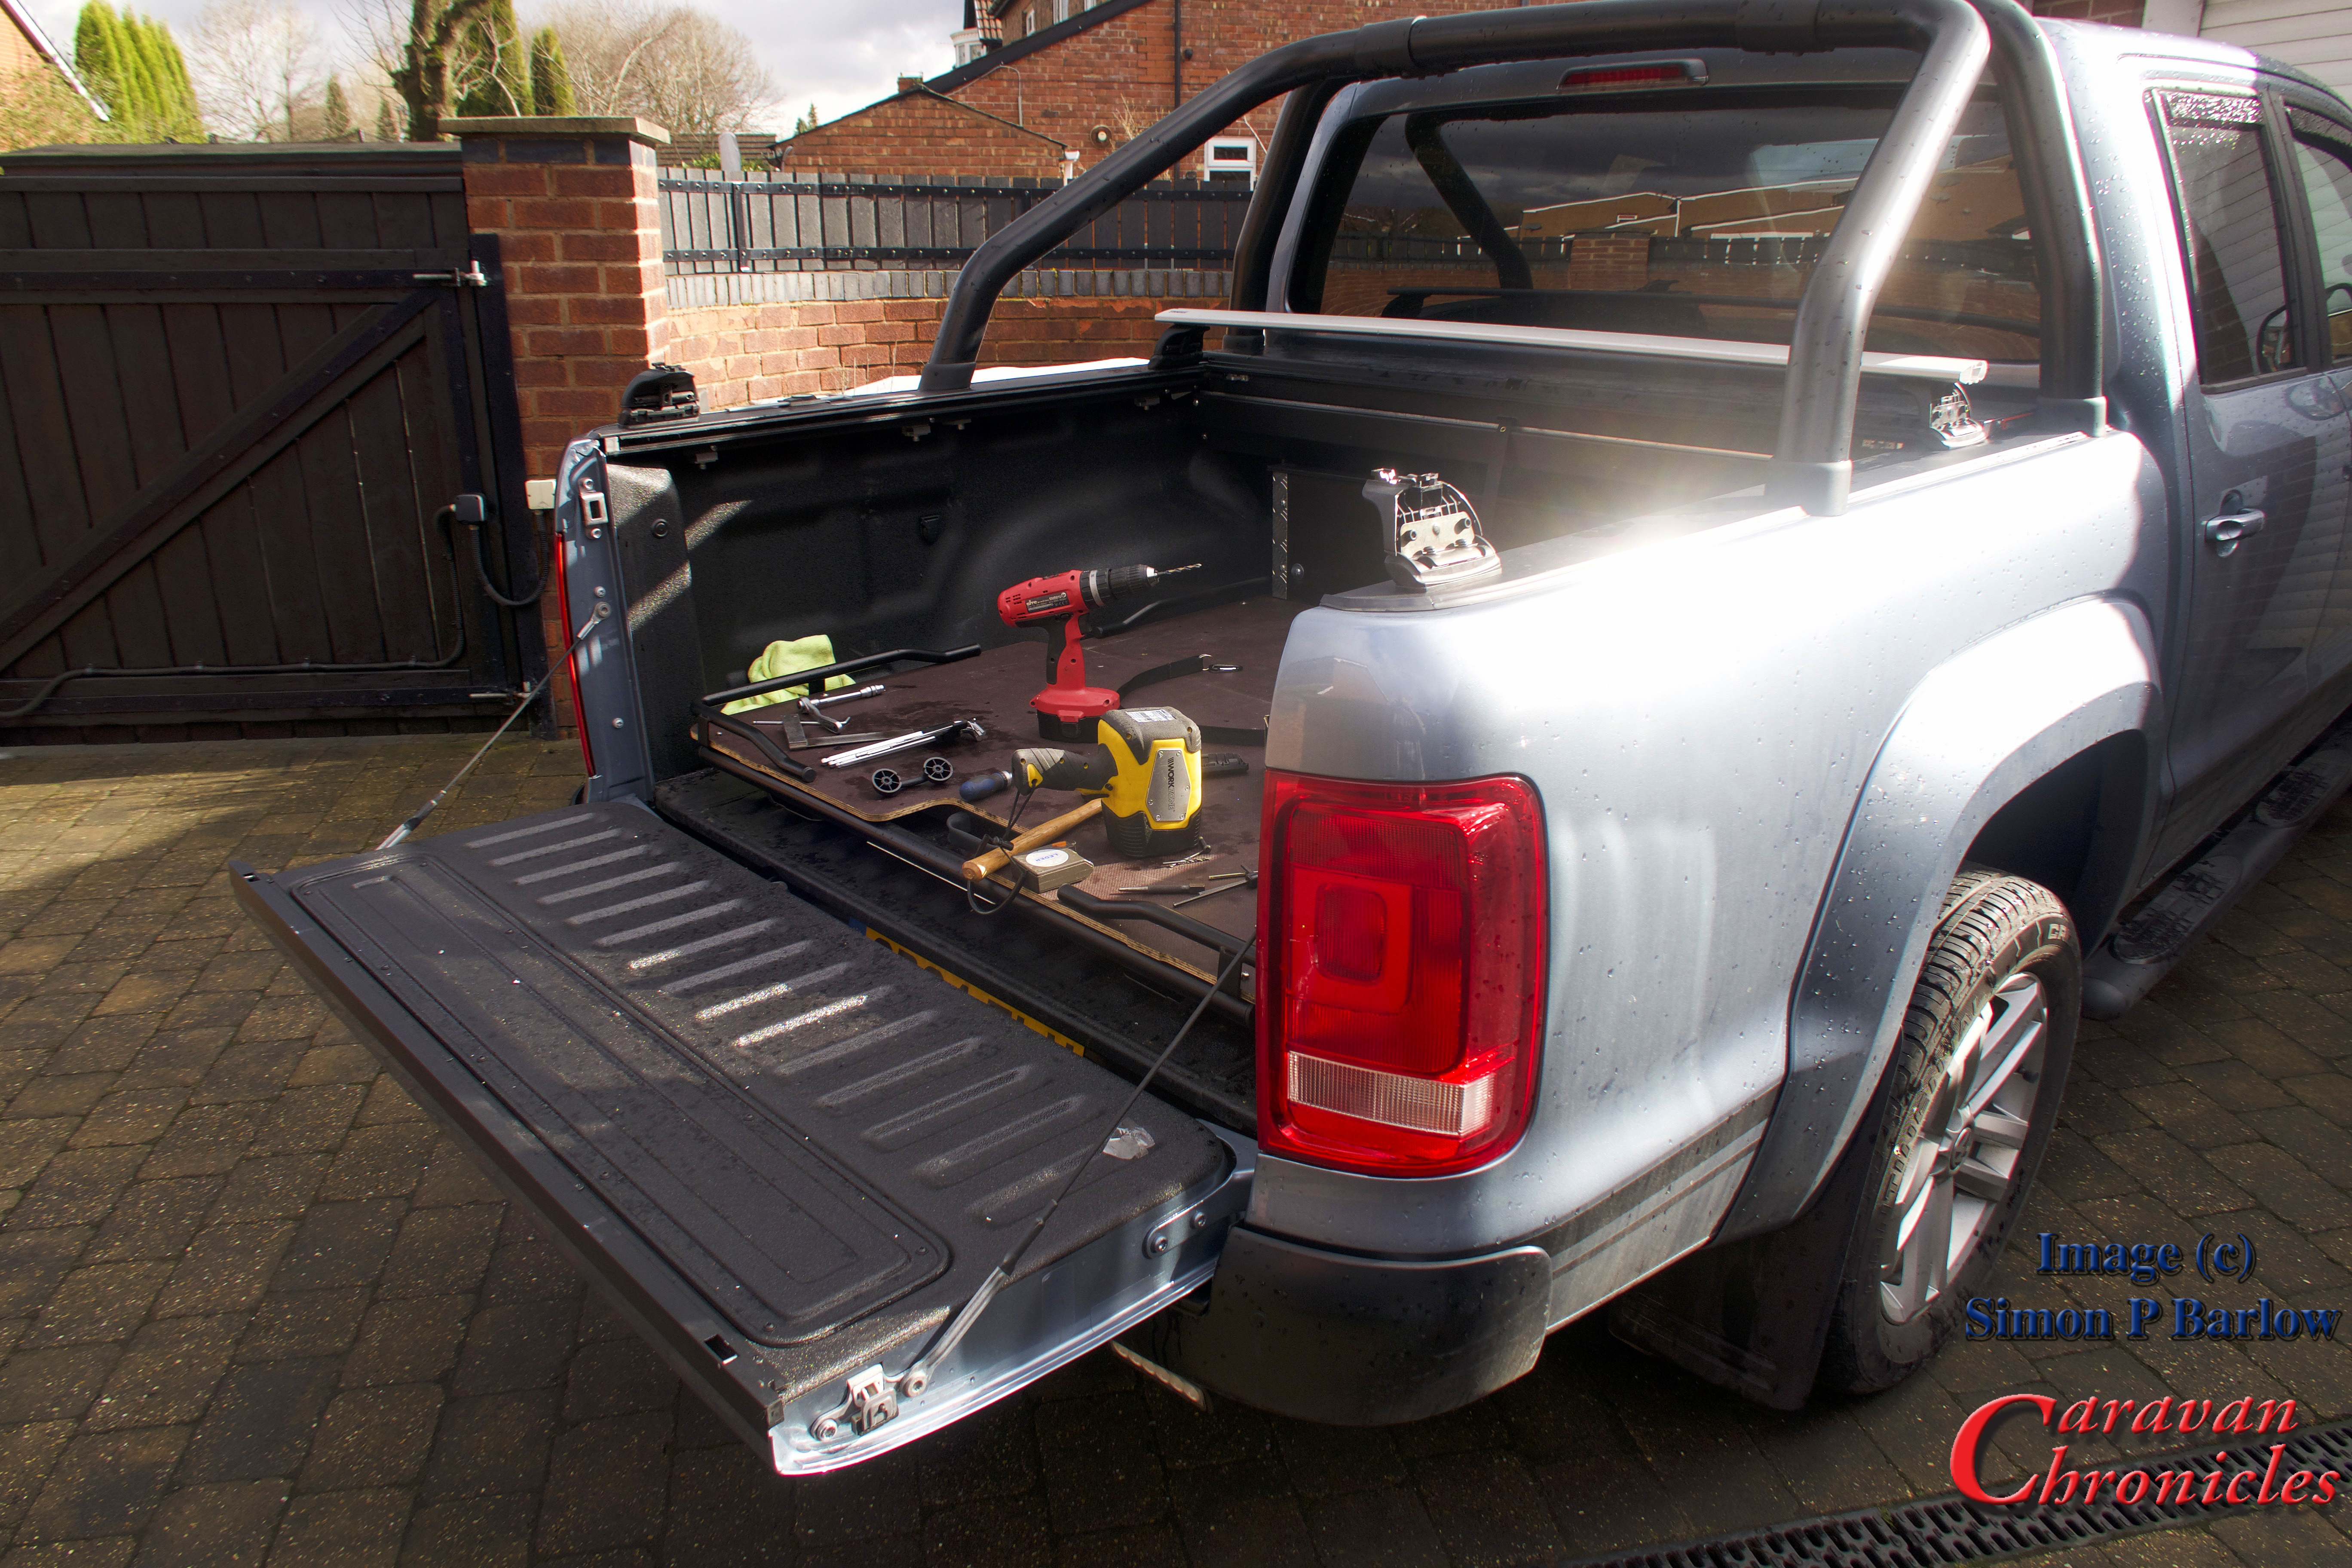
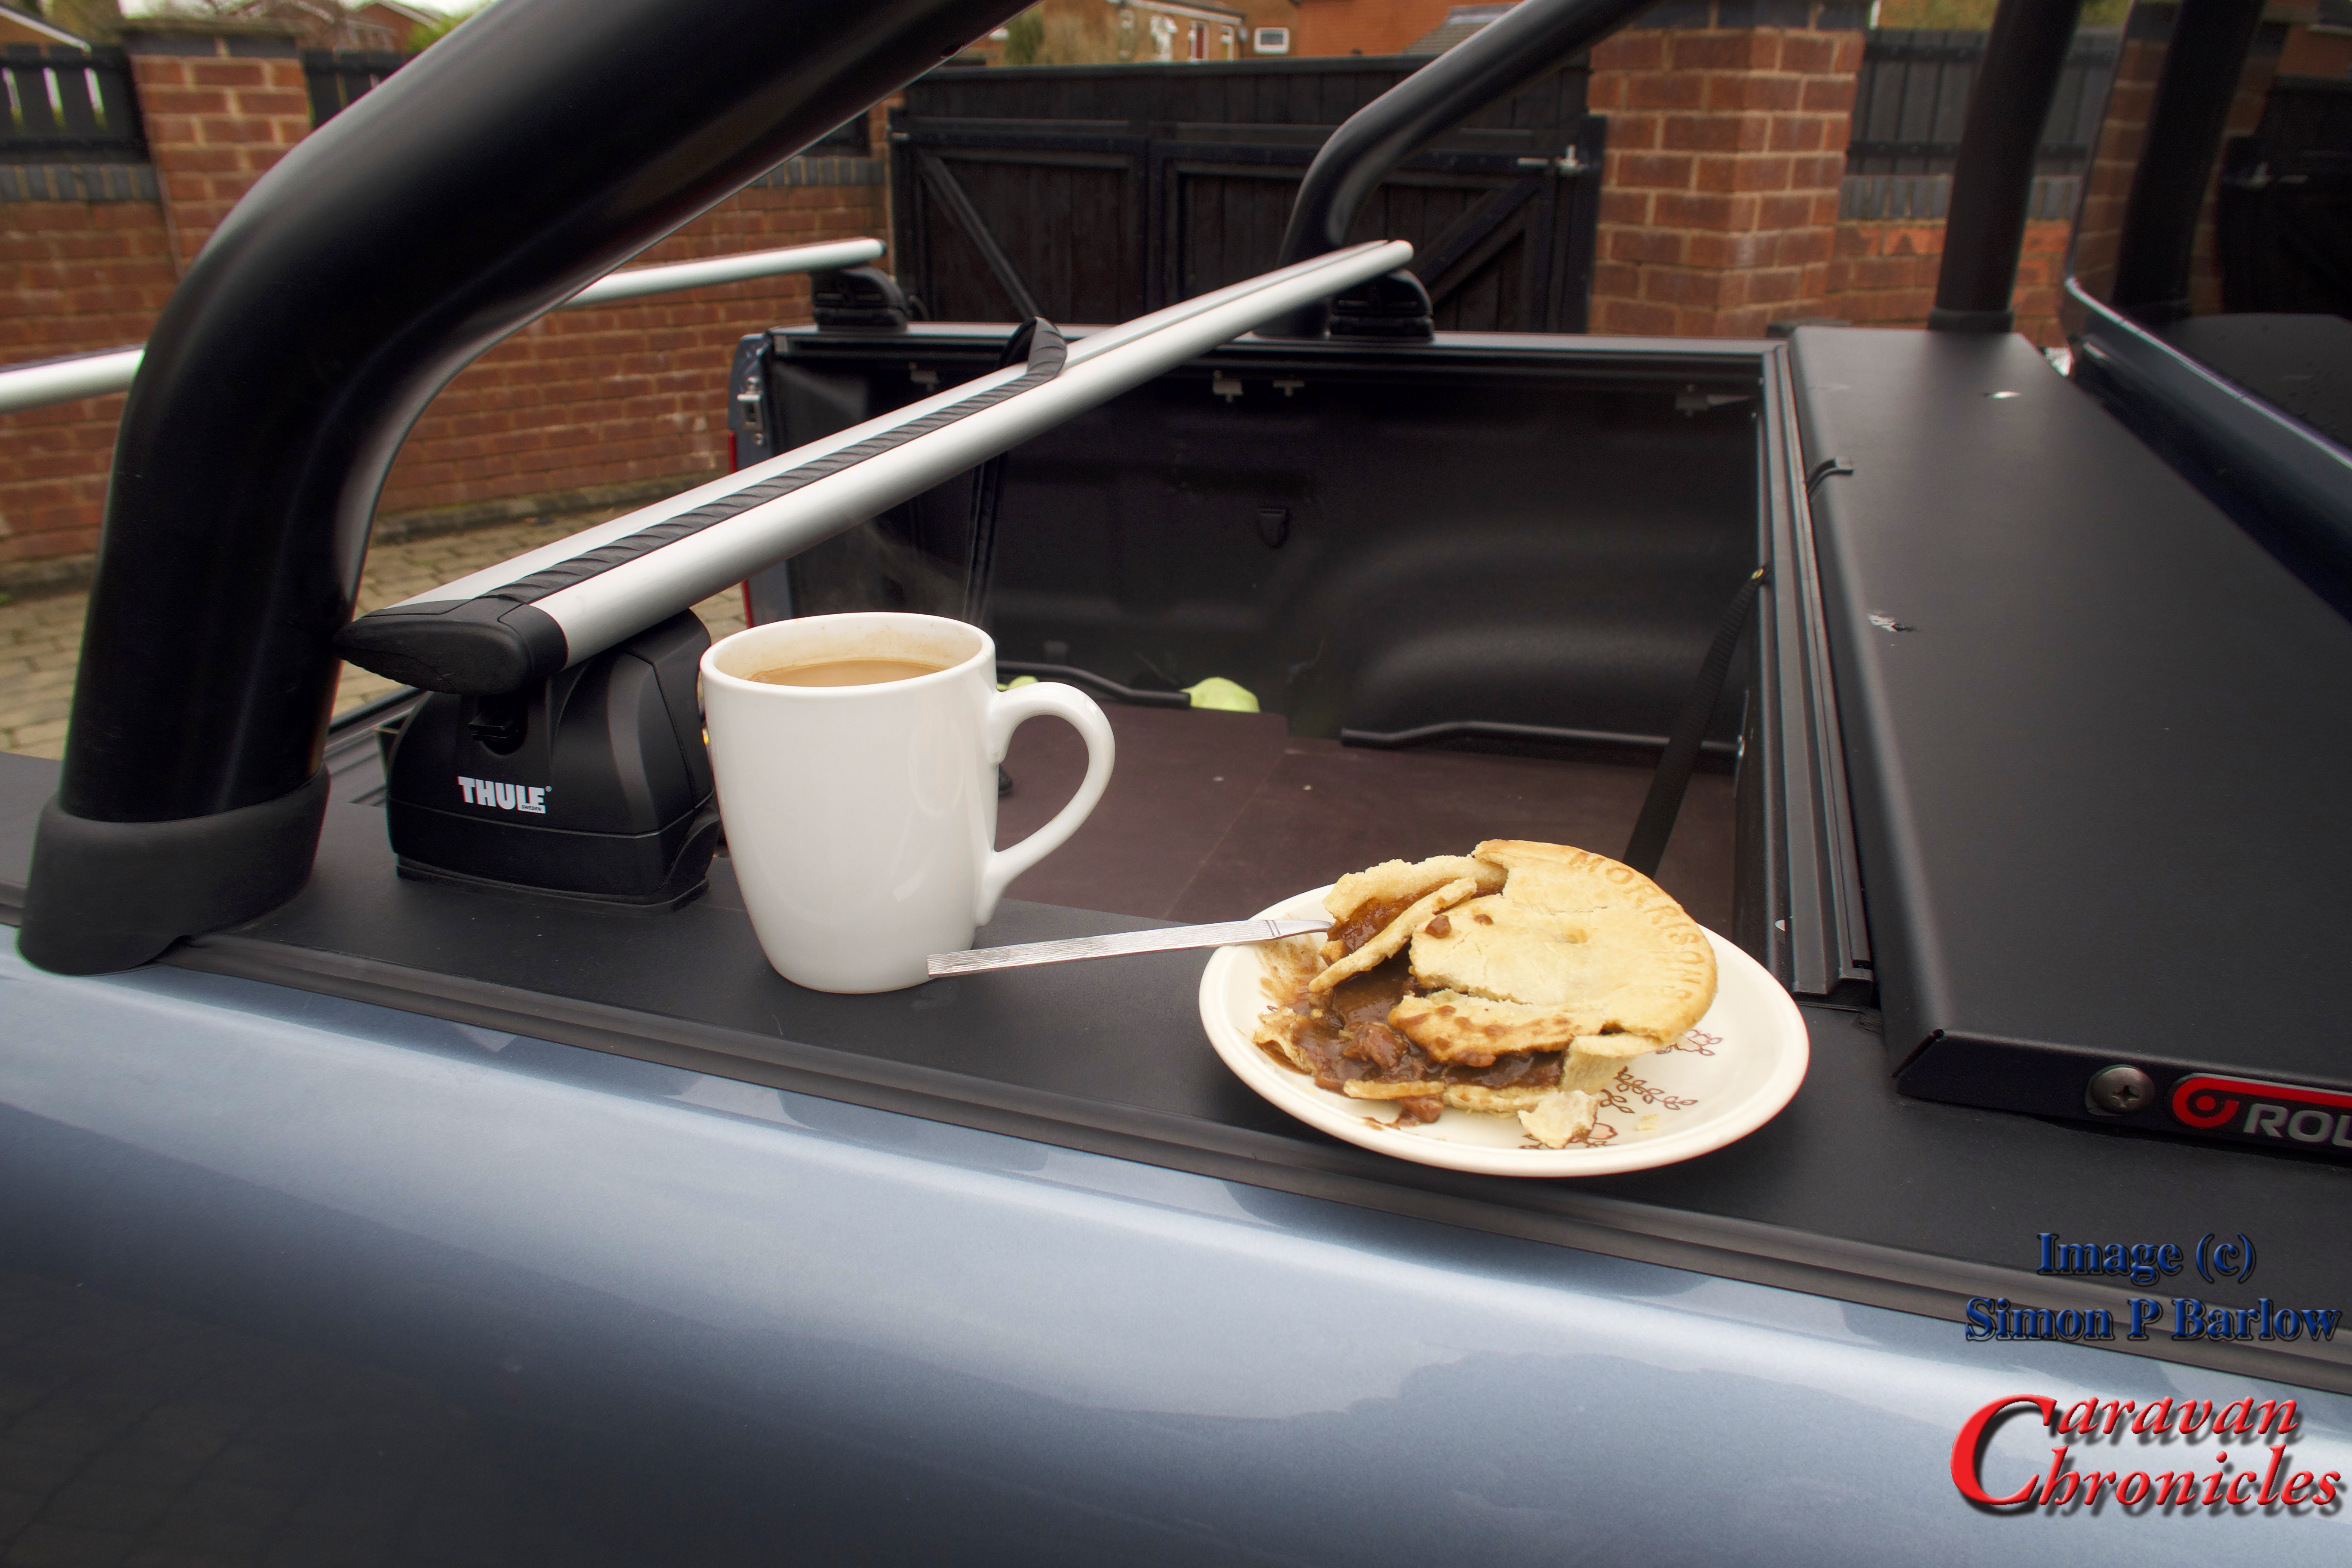
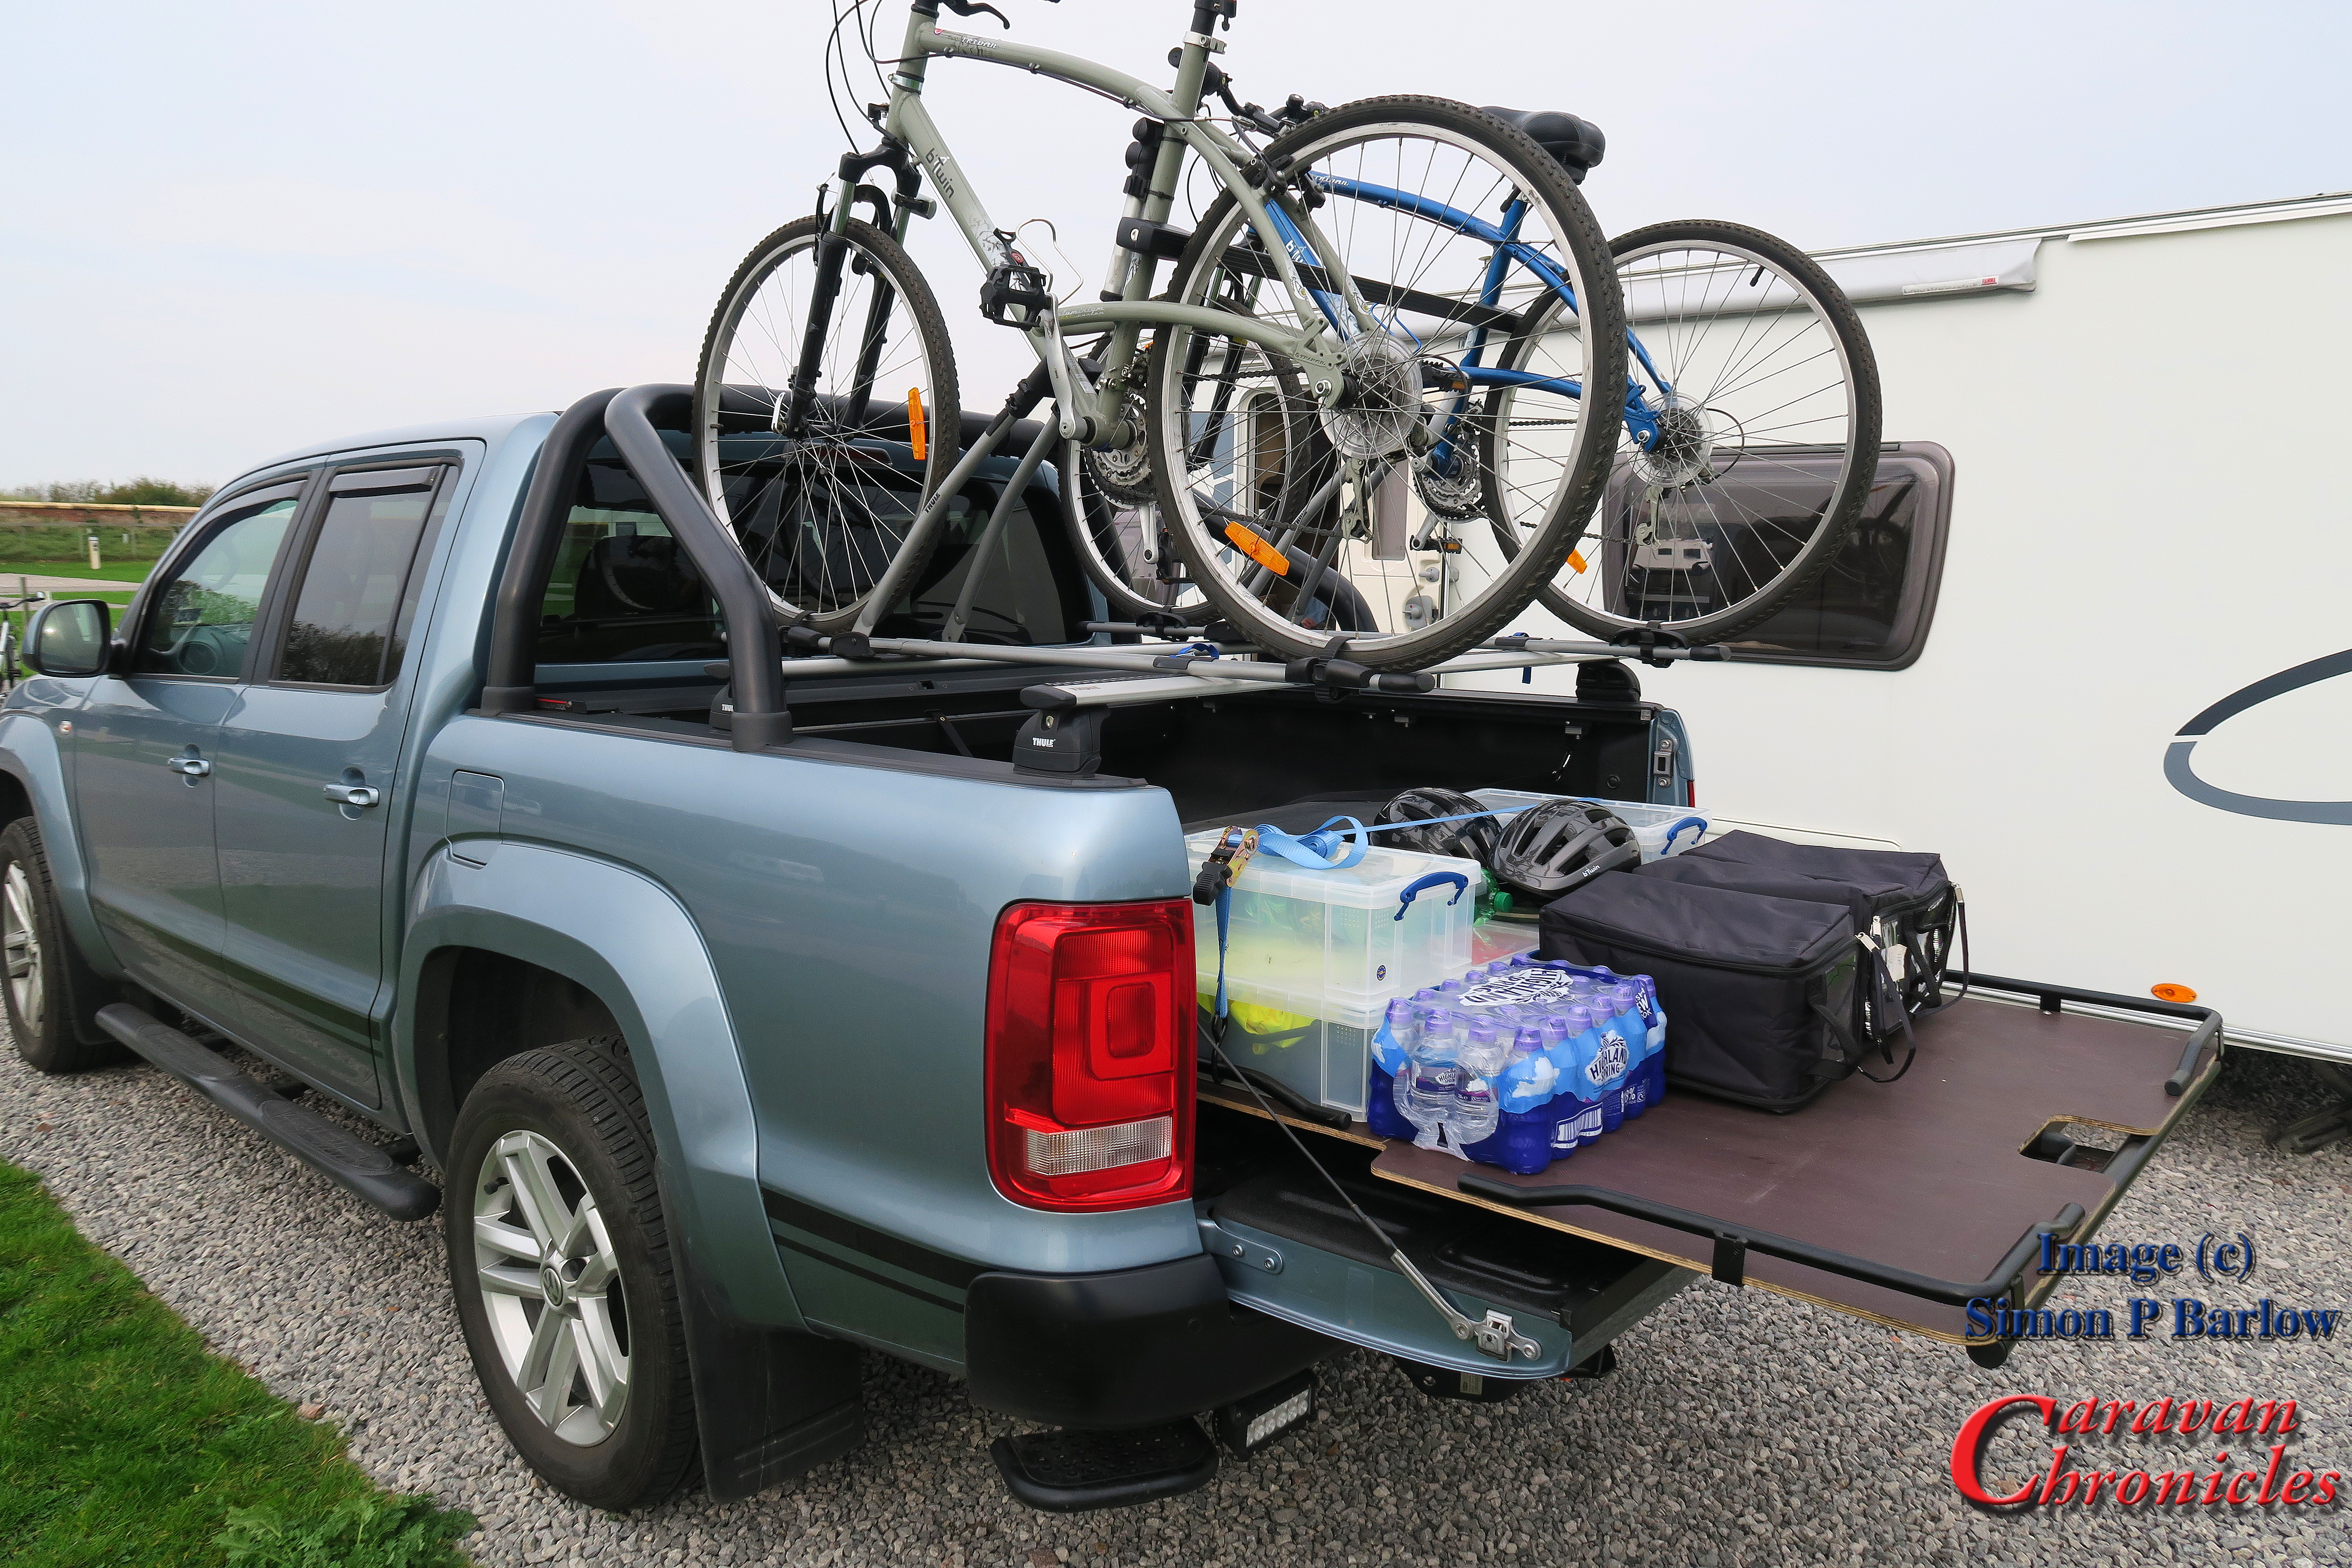
The weather played ball and we had a great few days in the October sunshine getting some cycling and walking in. This was also a bit of a try out for the bike rack on the Amarok and a change in how we pack. Although I’d done a couple of check-runs to make sure everything was stable with the bikes, this was the first real run with the caravan in tow and I’m pleased to report that the rack was stable and didn’t affect the towing in any way.

IMG_1215

The bikes were fairly easy to load and unload thanks to the drop down step I’d previously fitted to the rear of the Amarok and all things considered, I think we will now be taking the bikes on more trips. The other change was to how we pack. We now have ‘pre-loaded’ more of the items we take away with us and this makes things a lot easier having a stacking system with boxes for specific things. We are lucky that I have a “bat cave” at home. It’s a workshop really that allows us to store our packing boxes (check out the Really Useful Storage Box Company ) and get them stocked up ready for the next trip over a period of time. It now takes about 10 minutes to load the Amarok and all thats left is to load the clothes.

IMG_1211

The other bit of kit that we are long-term testing is the Sterling Power Wildside unit. I’ve written a couple of things in the past about this unit and so far the only thing I can really add is that it has exceeded my expectations of its performance. After not using the caravan for a couple of months and having a parasitic current draw from the alarm (the small charging circuit and 12 volt battery in the alarm has failed yet again!) by the time we had towed from Manchester to Southport our battery was fully charged and the fridge was cold as expected.

Christmas Markets…

Many of you will know in December we like to kick off the festive season with a Christmas Market or two. For the past couple of years we had gone down to Birmingham but this year we fancied trying something different. We booked a couple of sites to give us the chance to try somewhere different.

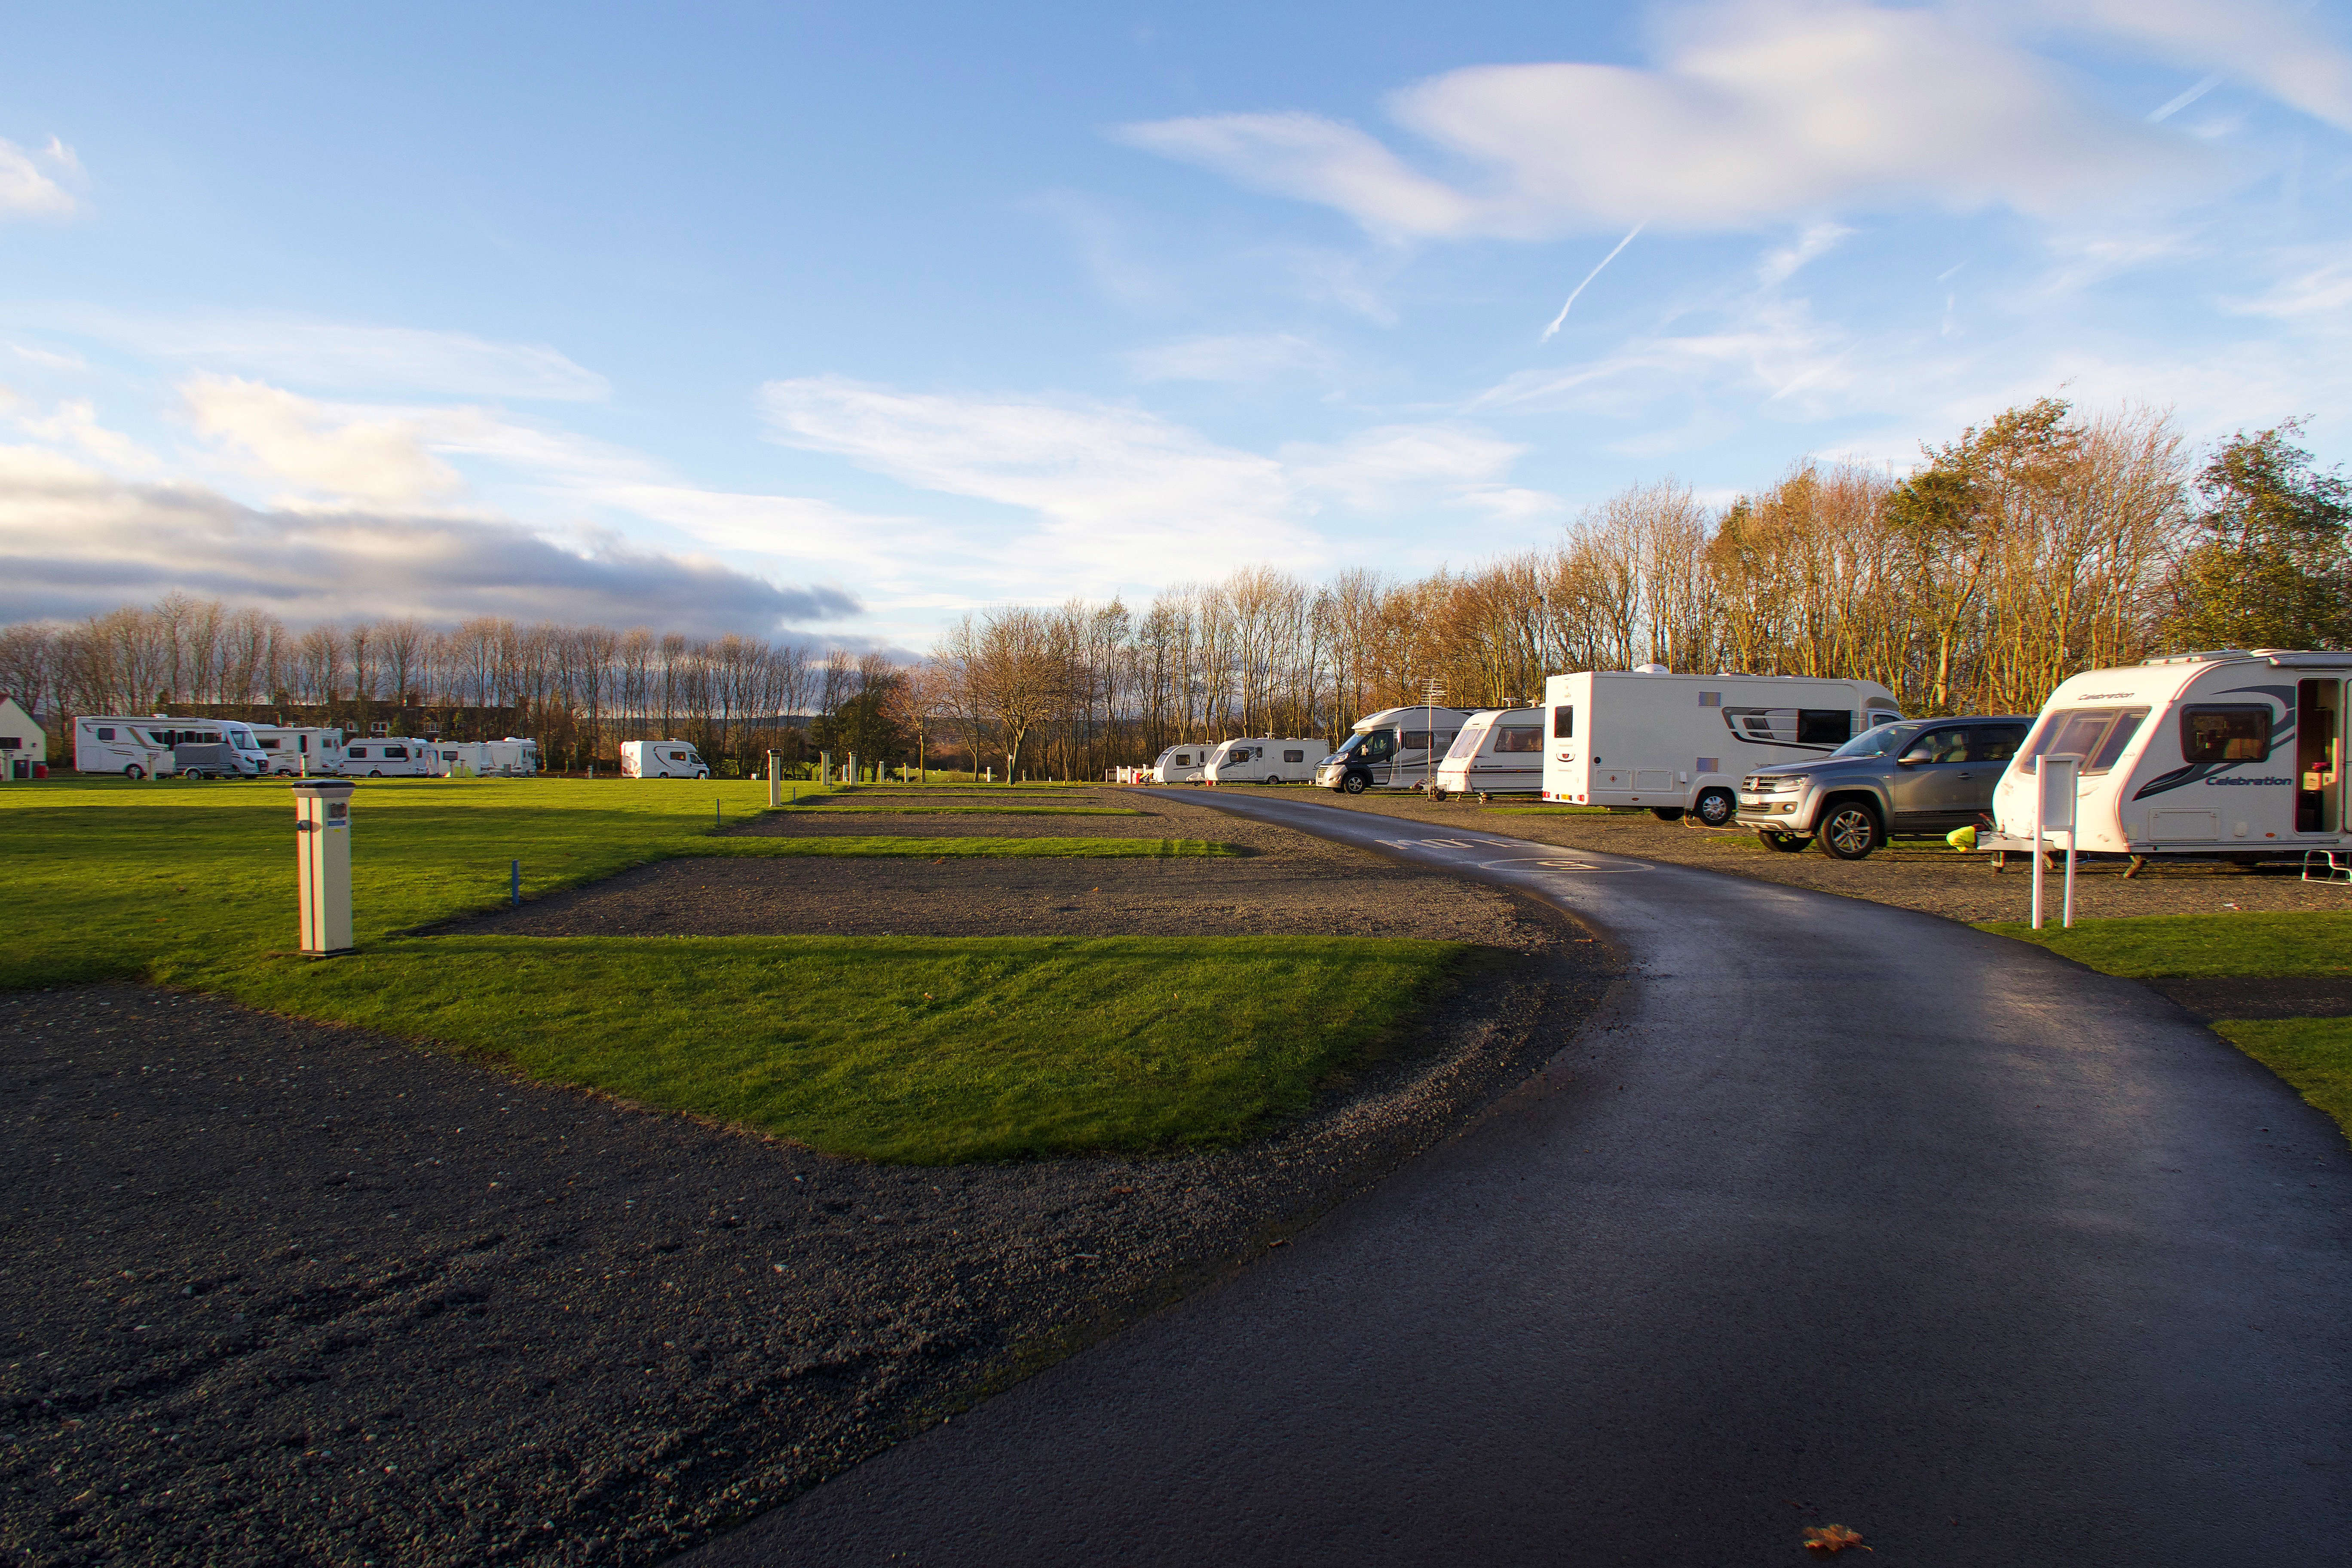
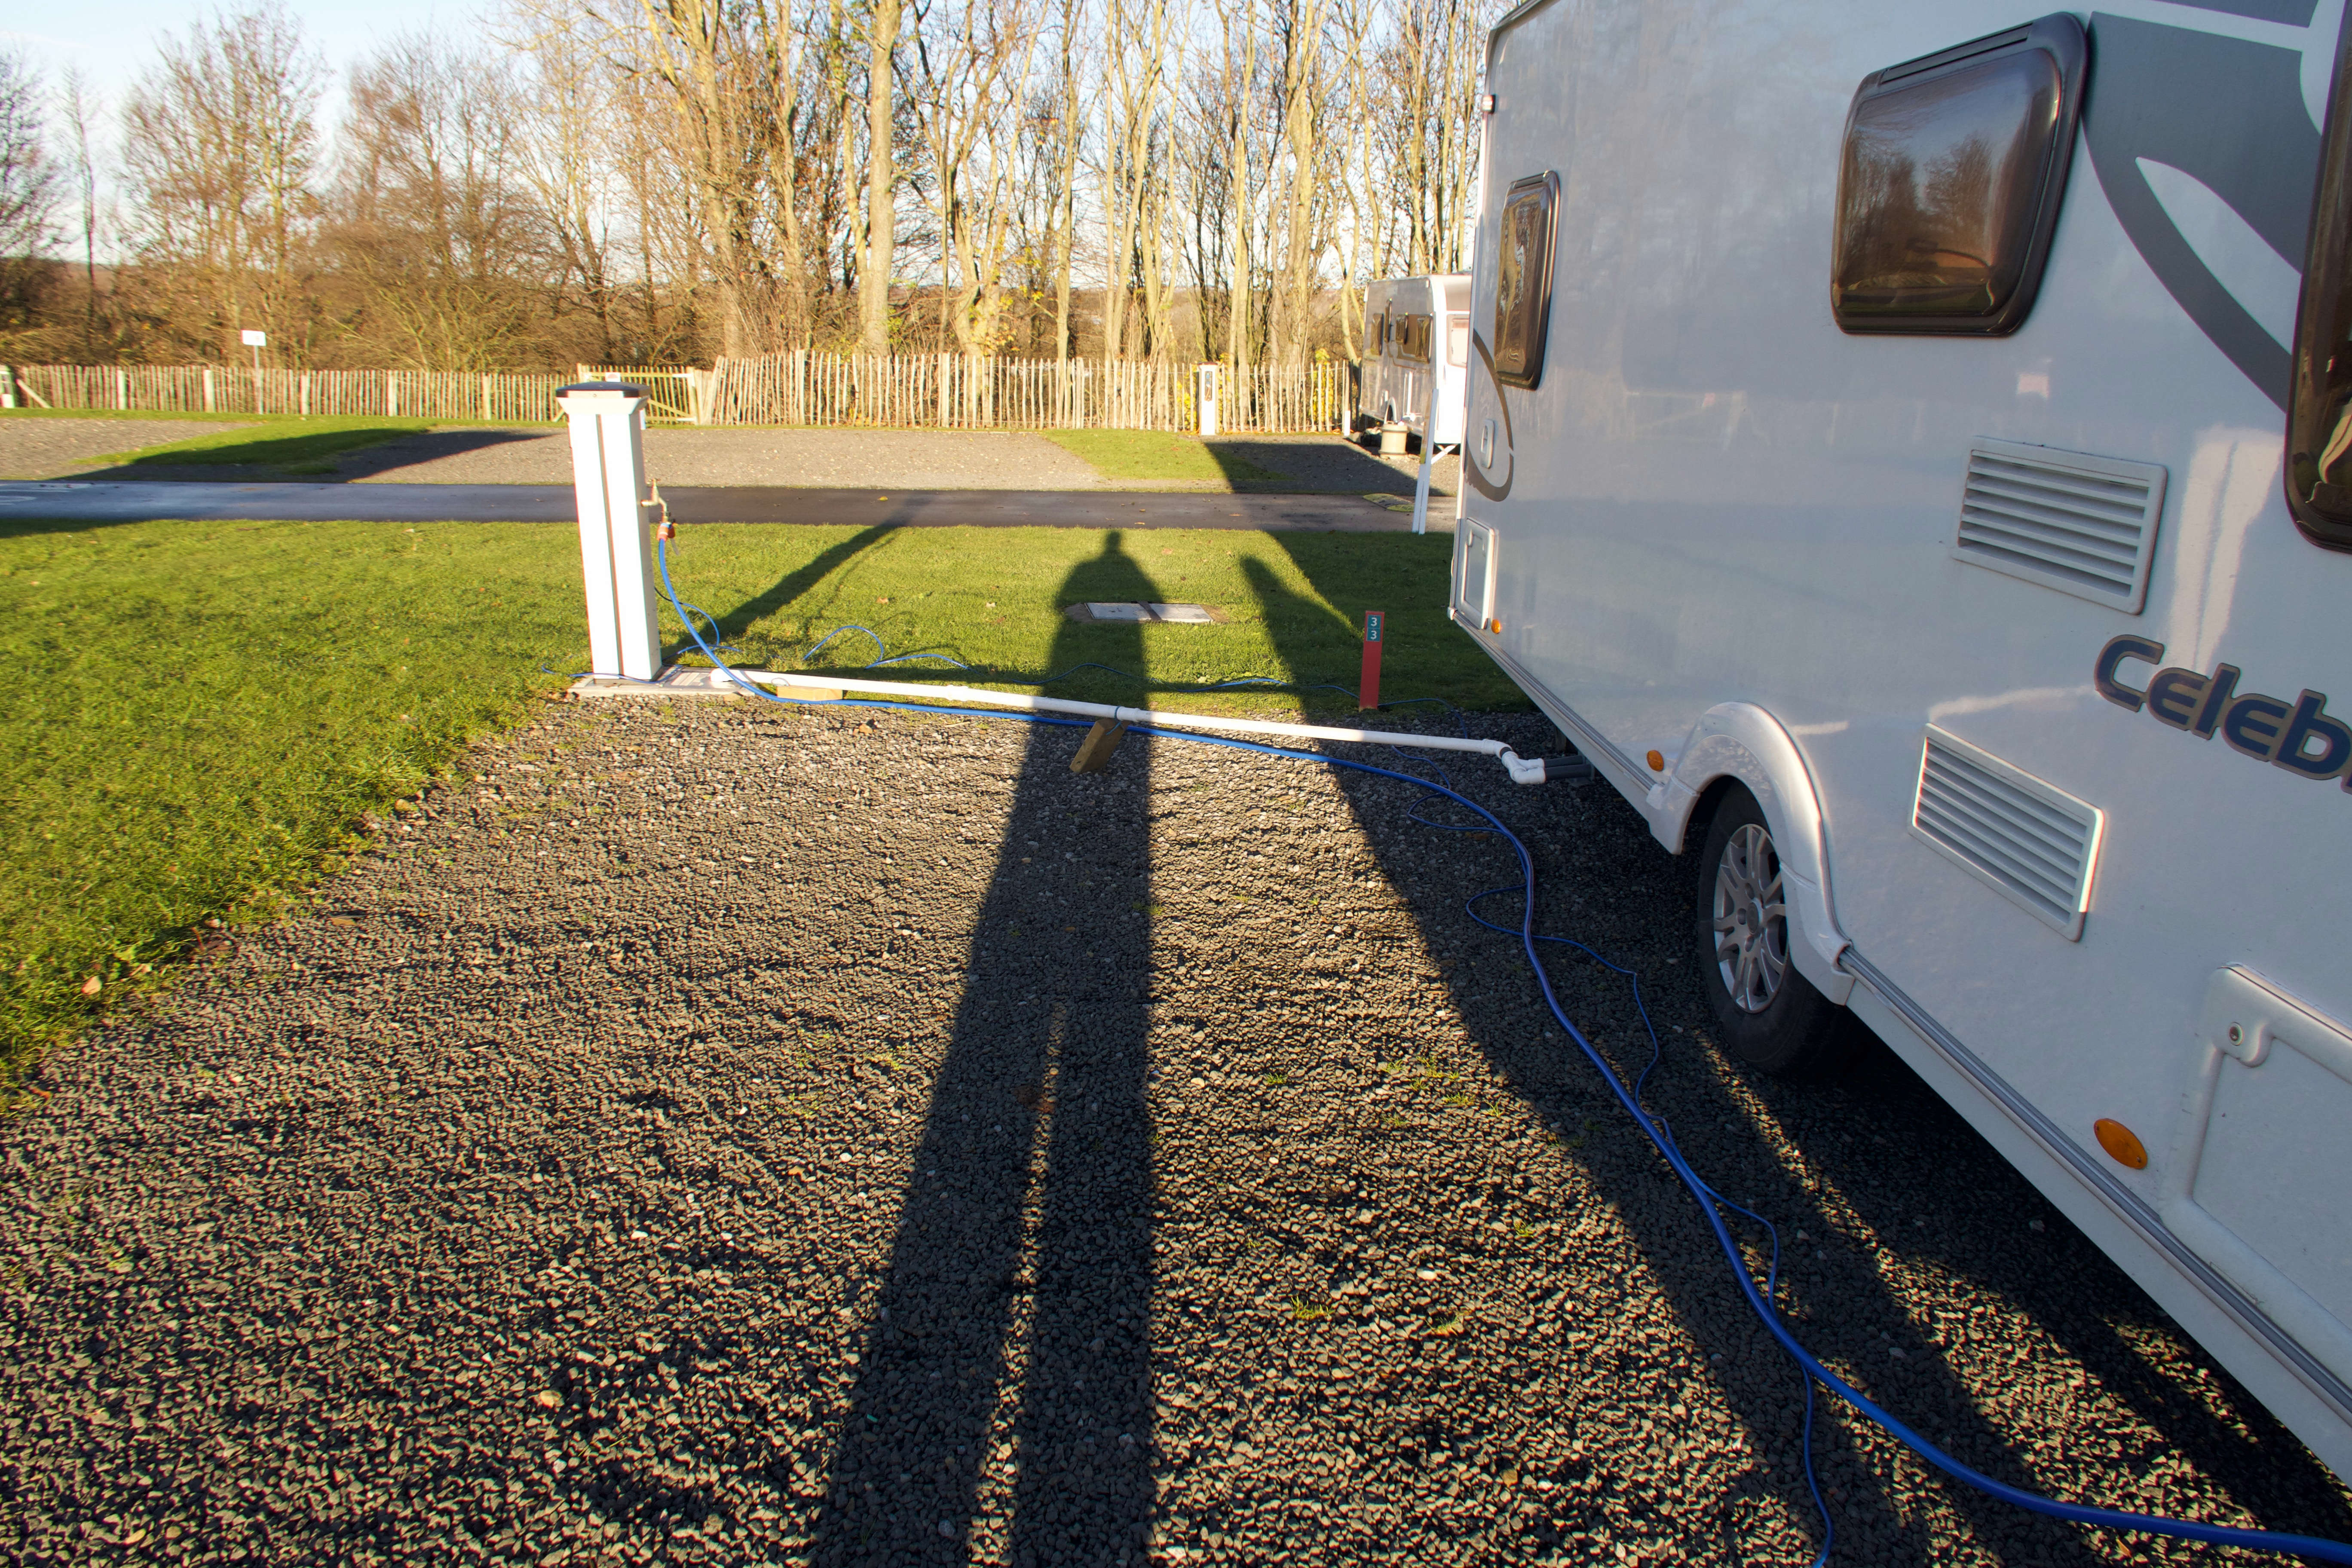
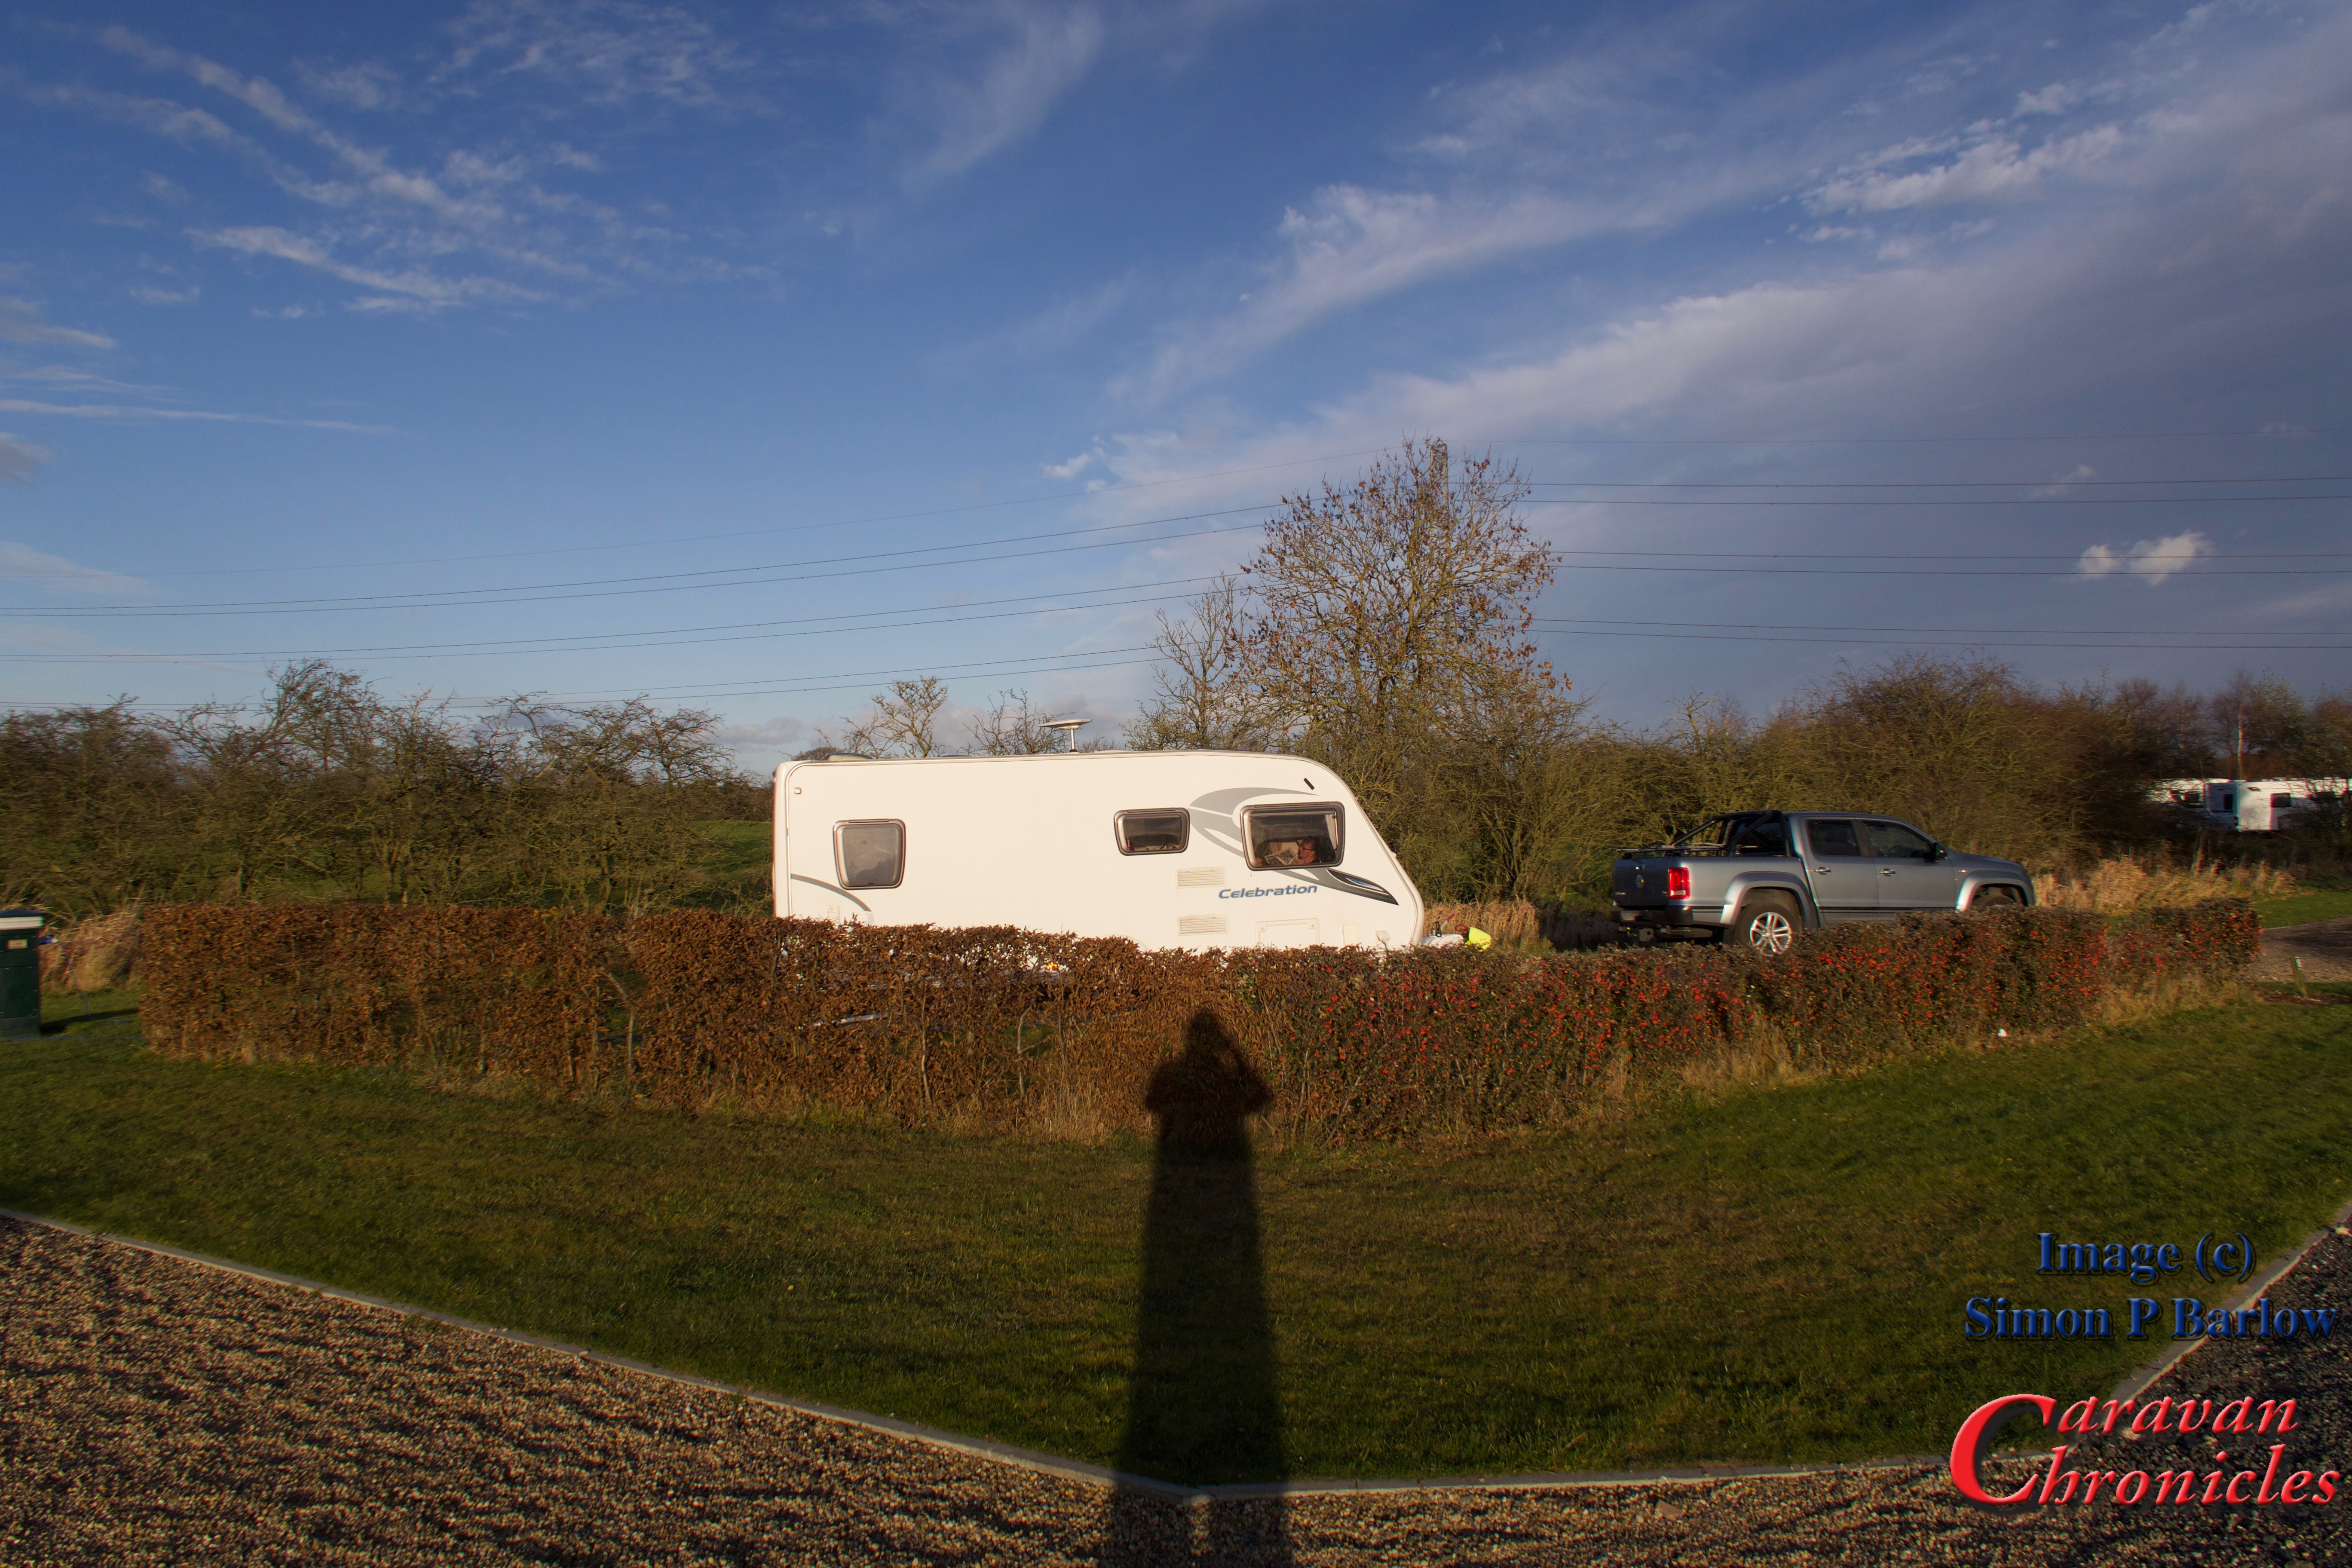
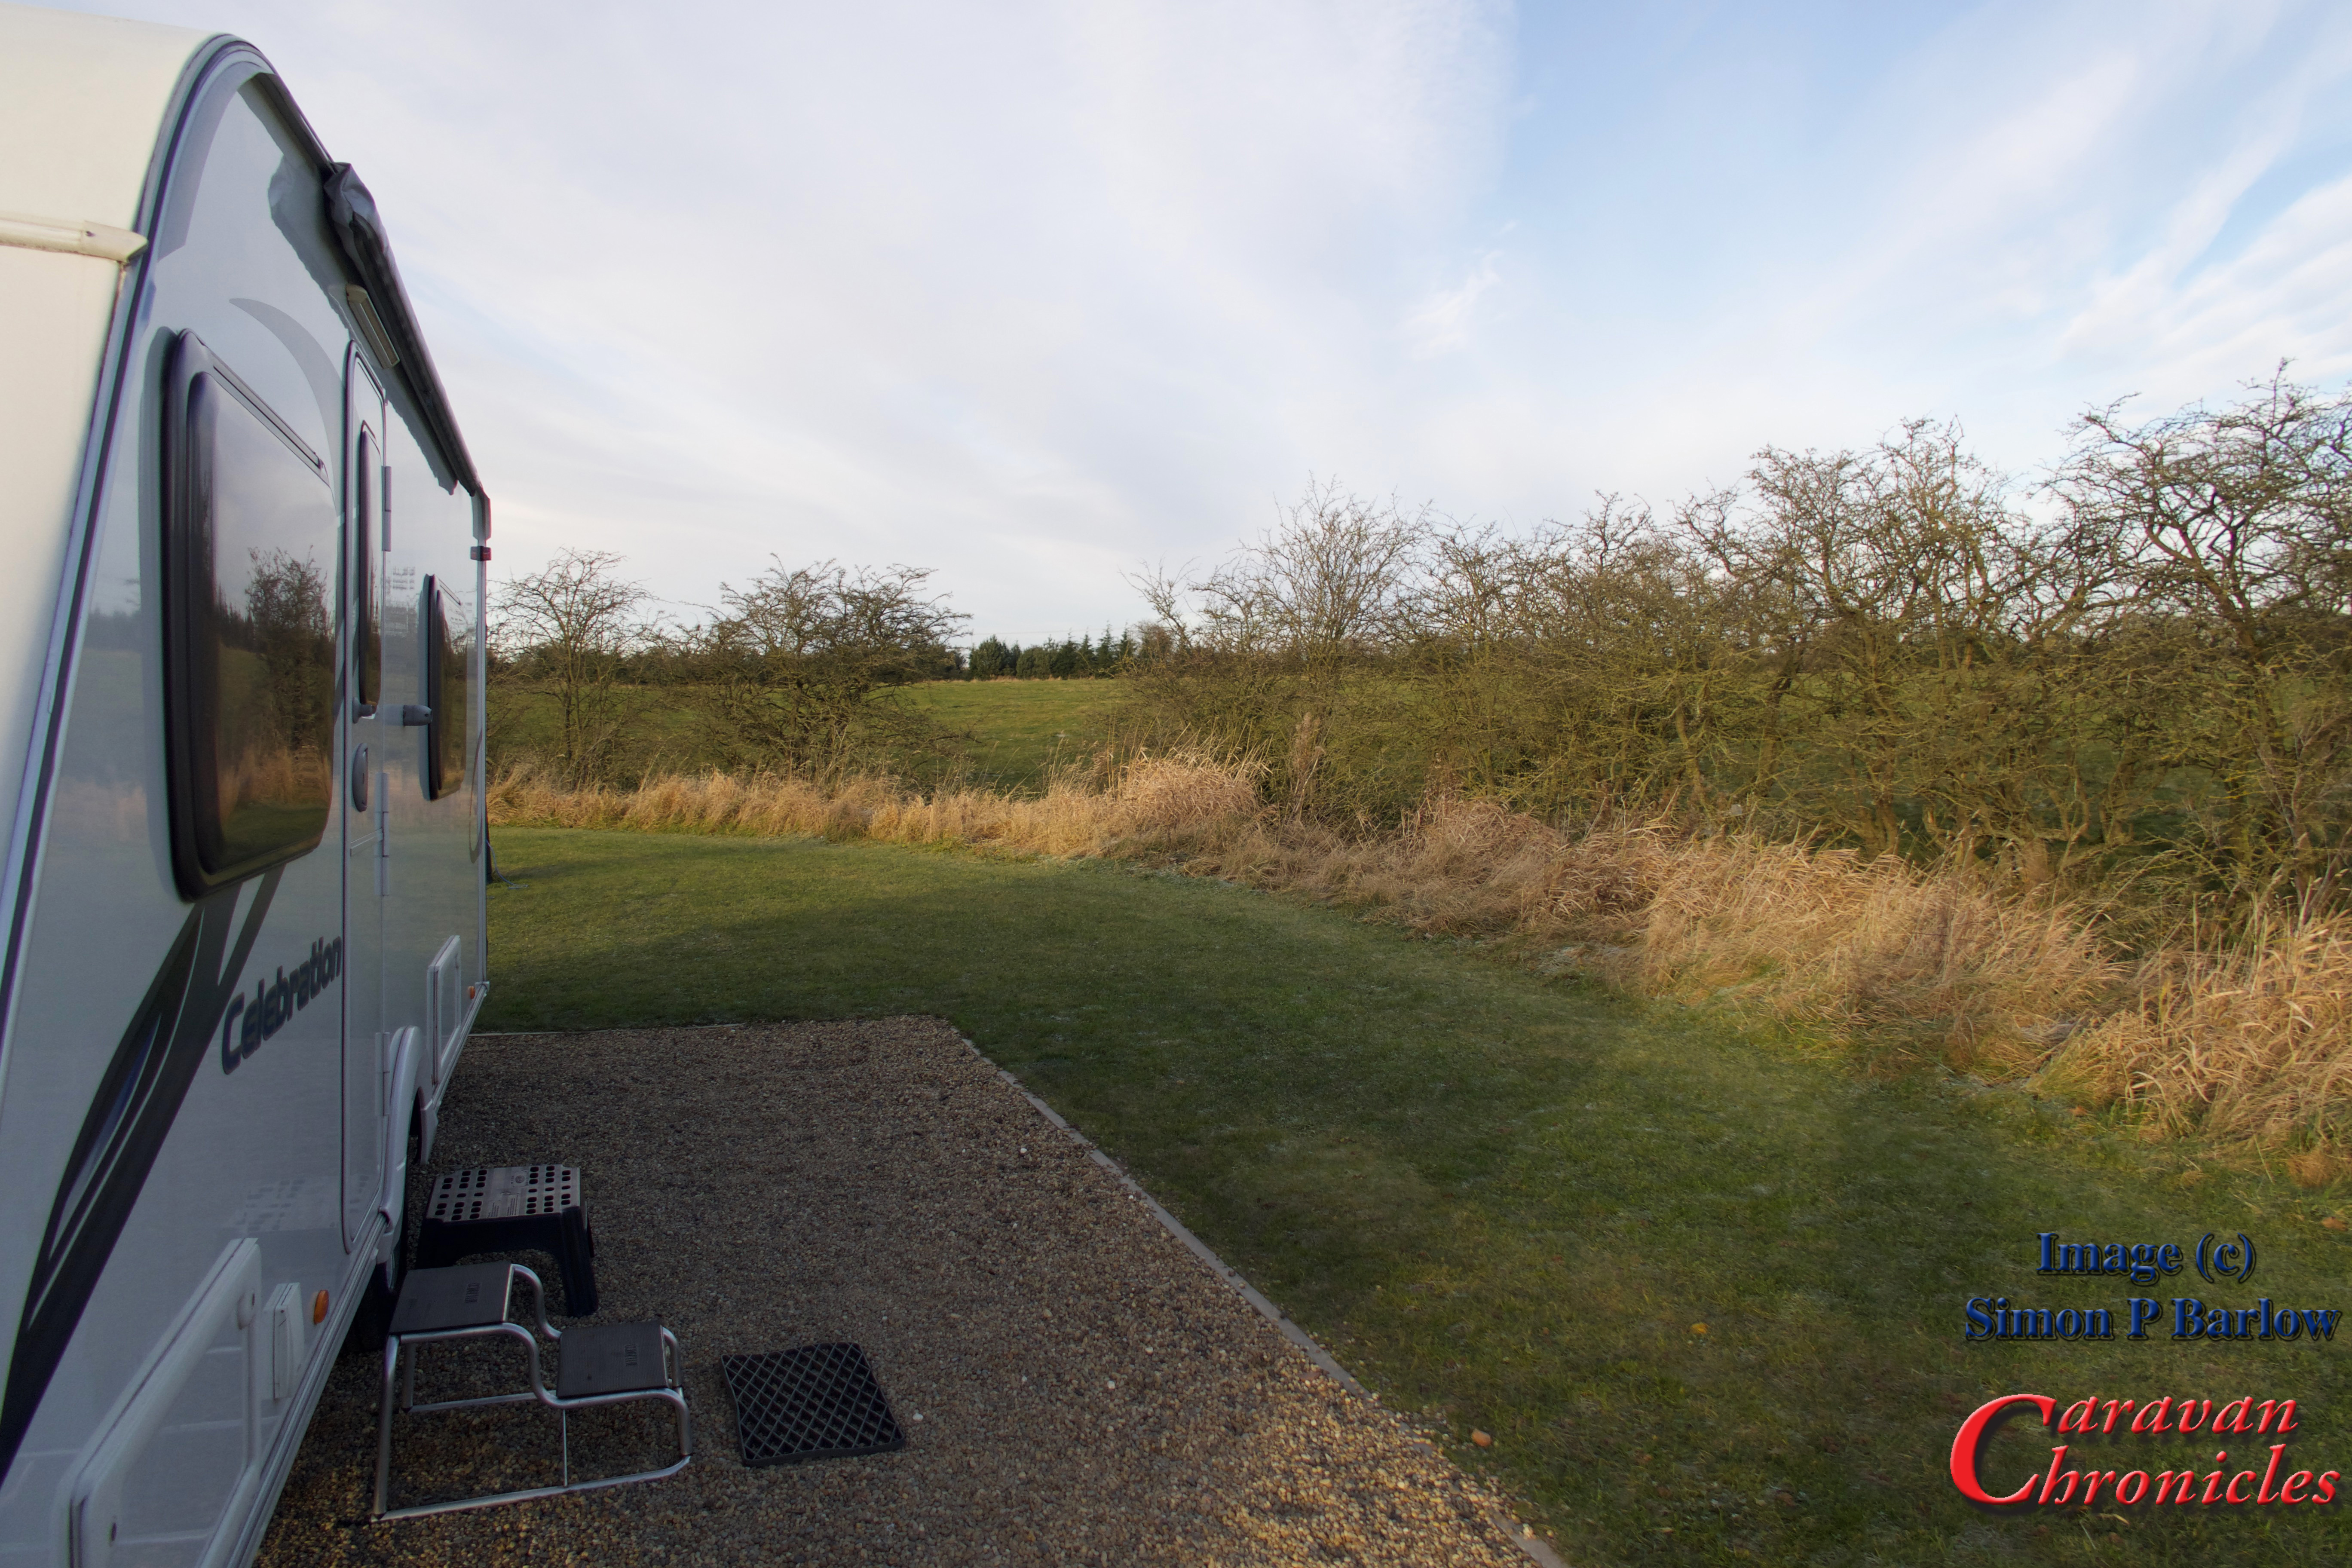
The first was Durham Grange C & M Club site just off the A1M. This would put us very close to Beamish Museum  and Durham. Although Durham Grange is really close to the A1M Junction 62 you can’t really hear the traffic and is a great little site. The general site and facilities were up to standard and the wardens very helpful.

IMG_1234.jpg

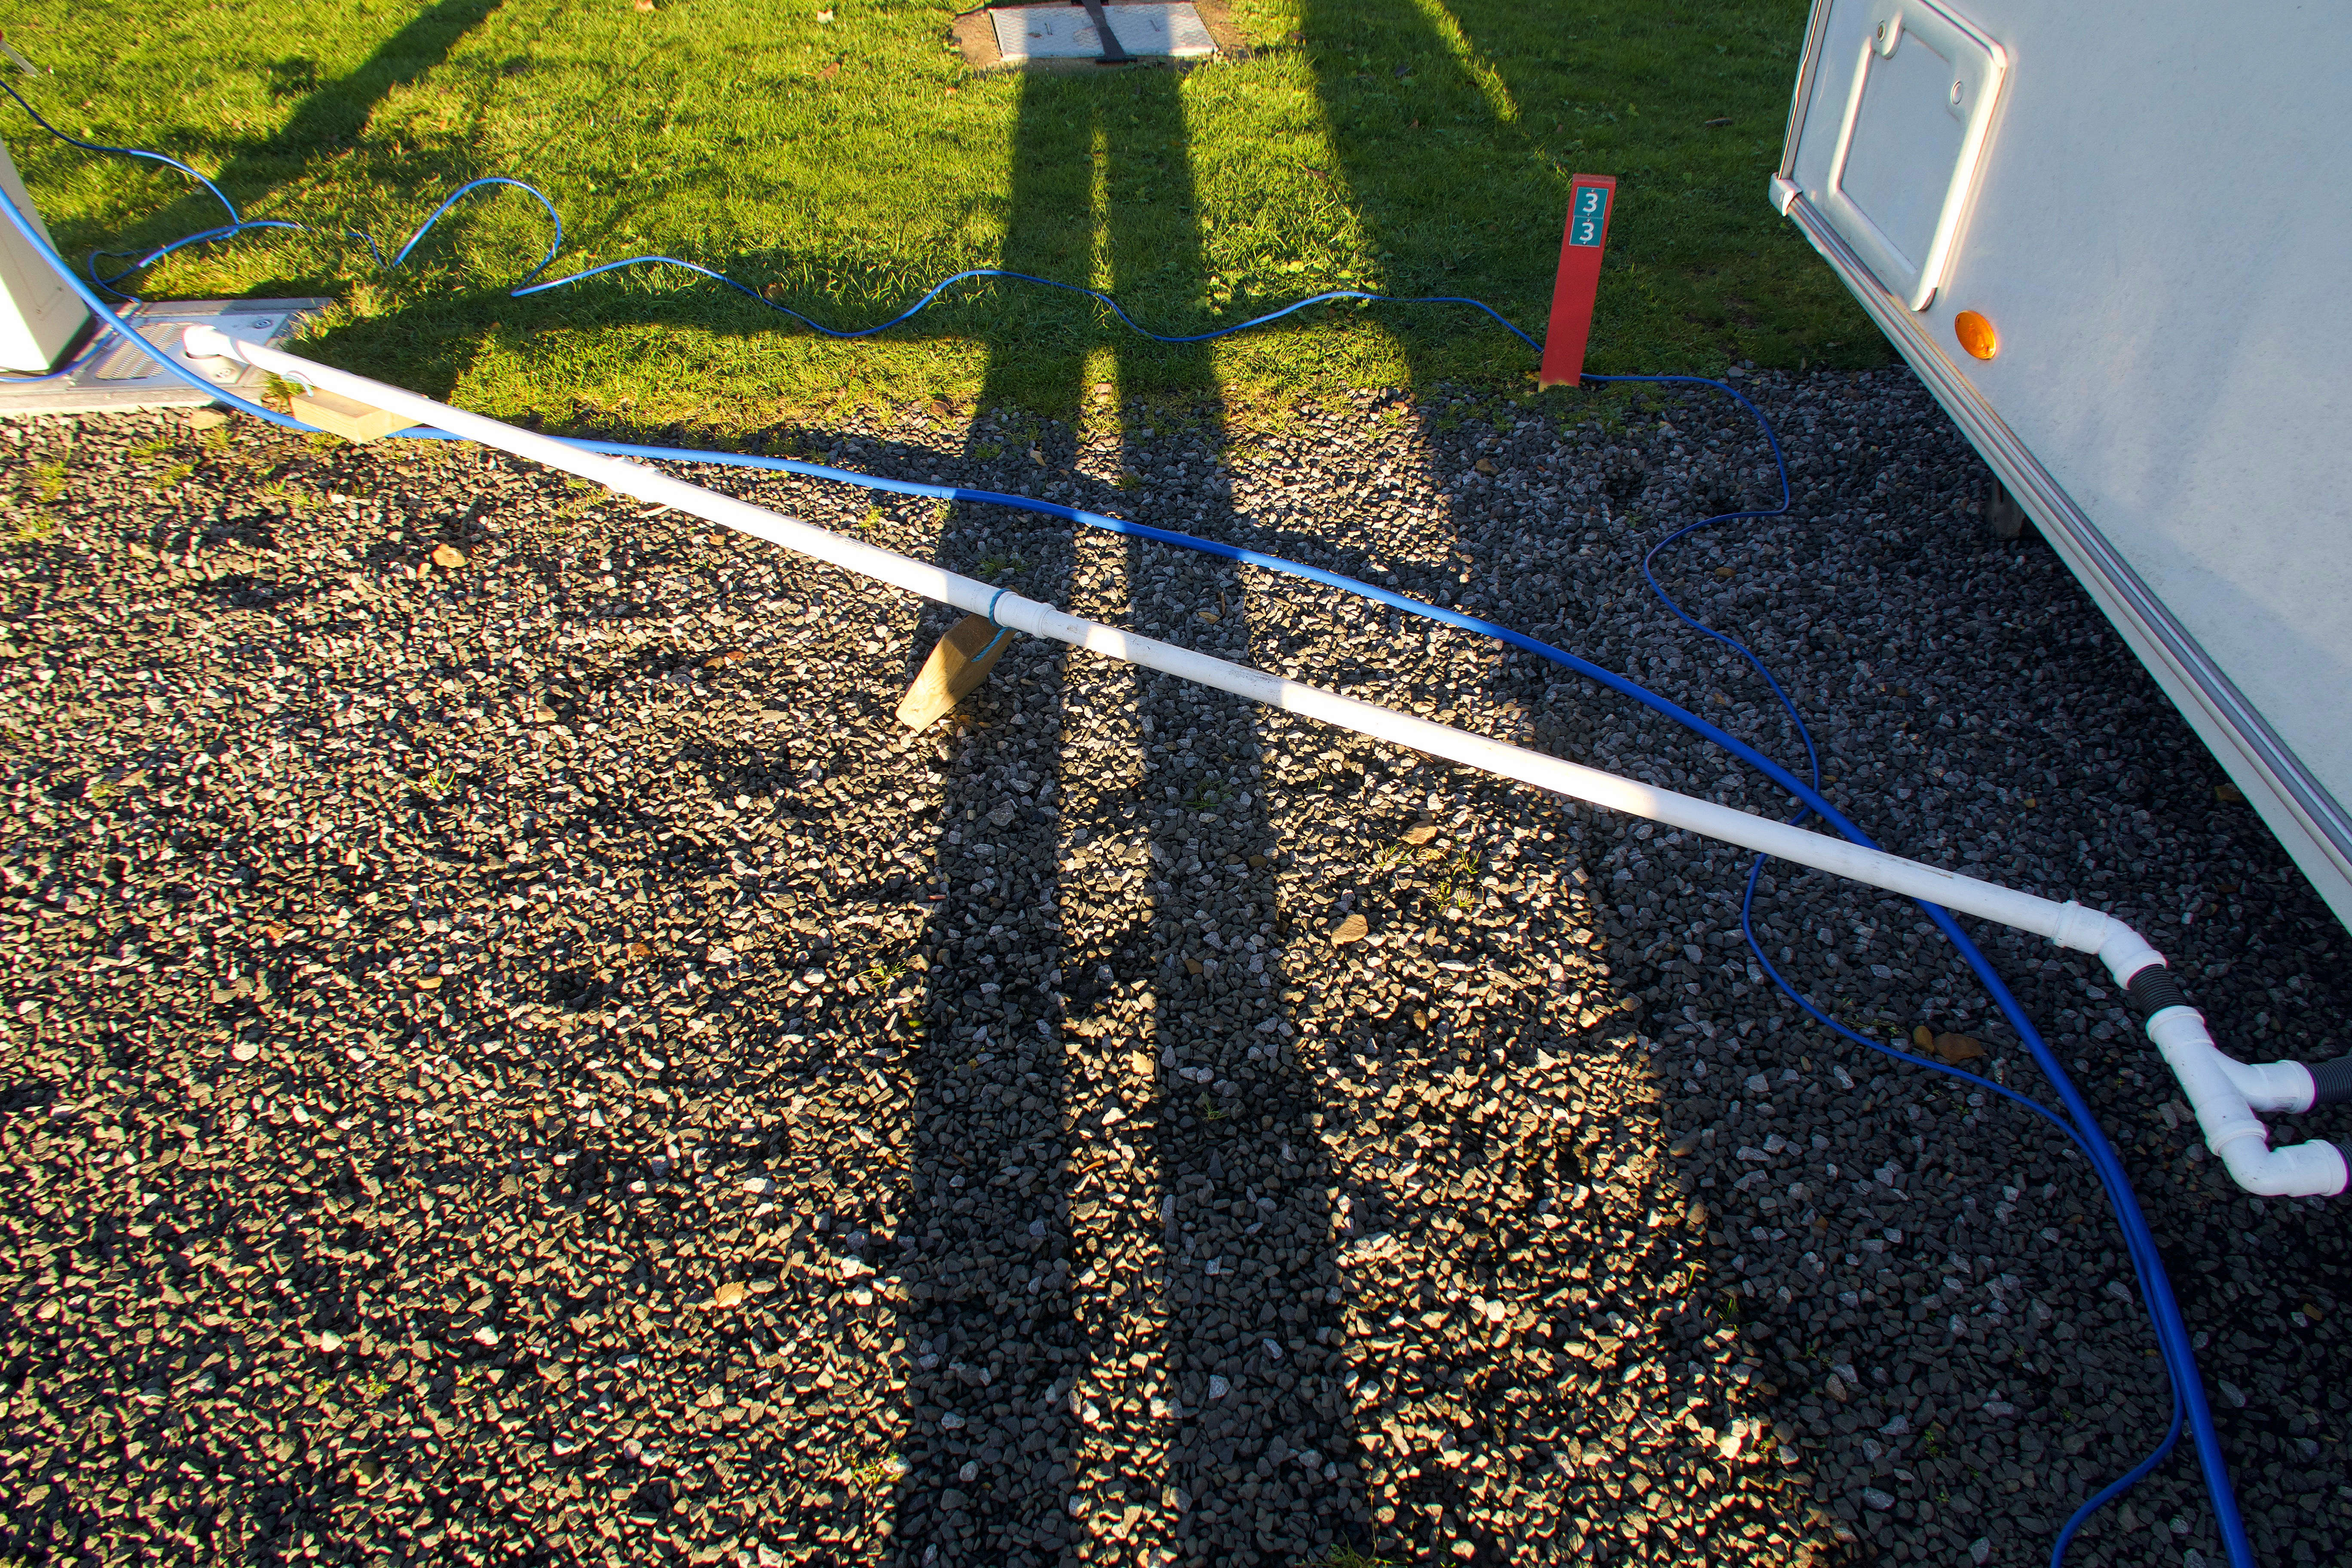
We were on a fully serviced pitch and my standard ‘kit’ of parts allowed connection to the grey water drain without any head scratching.

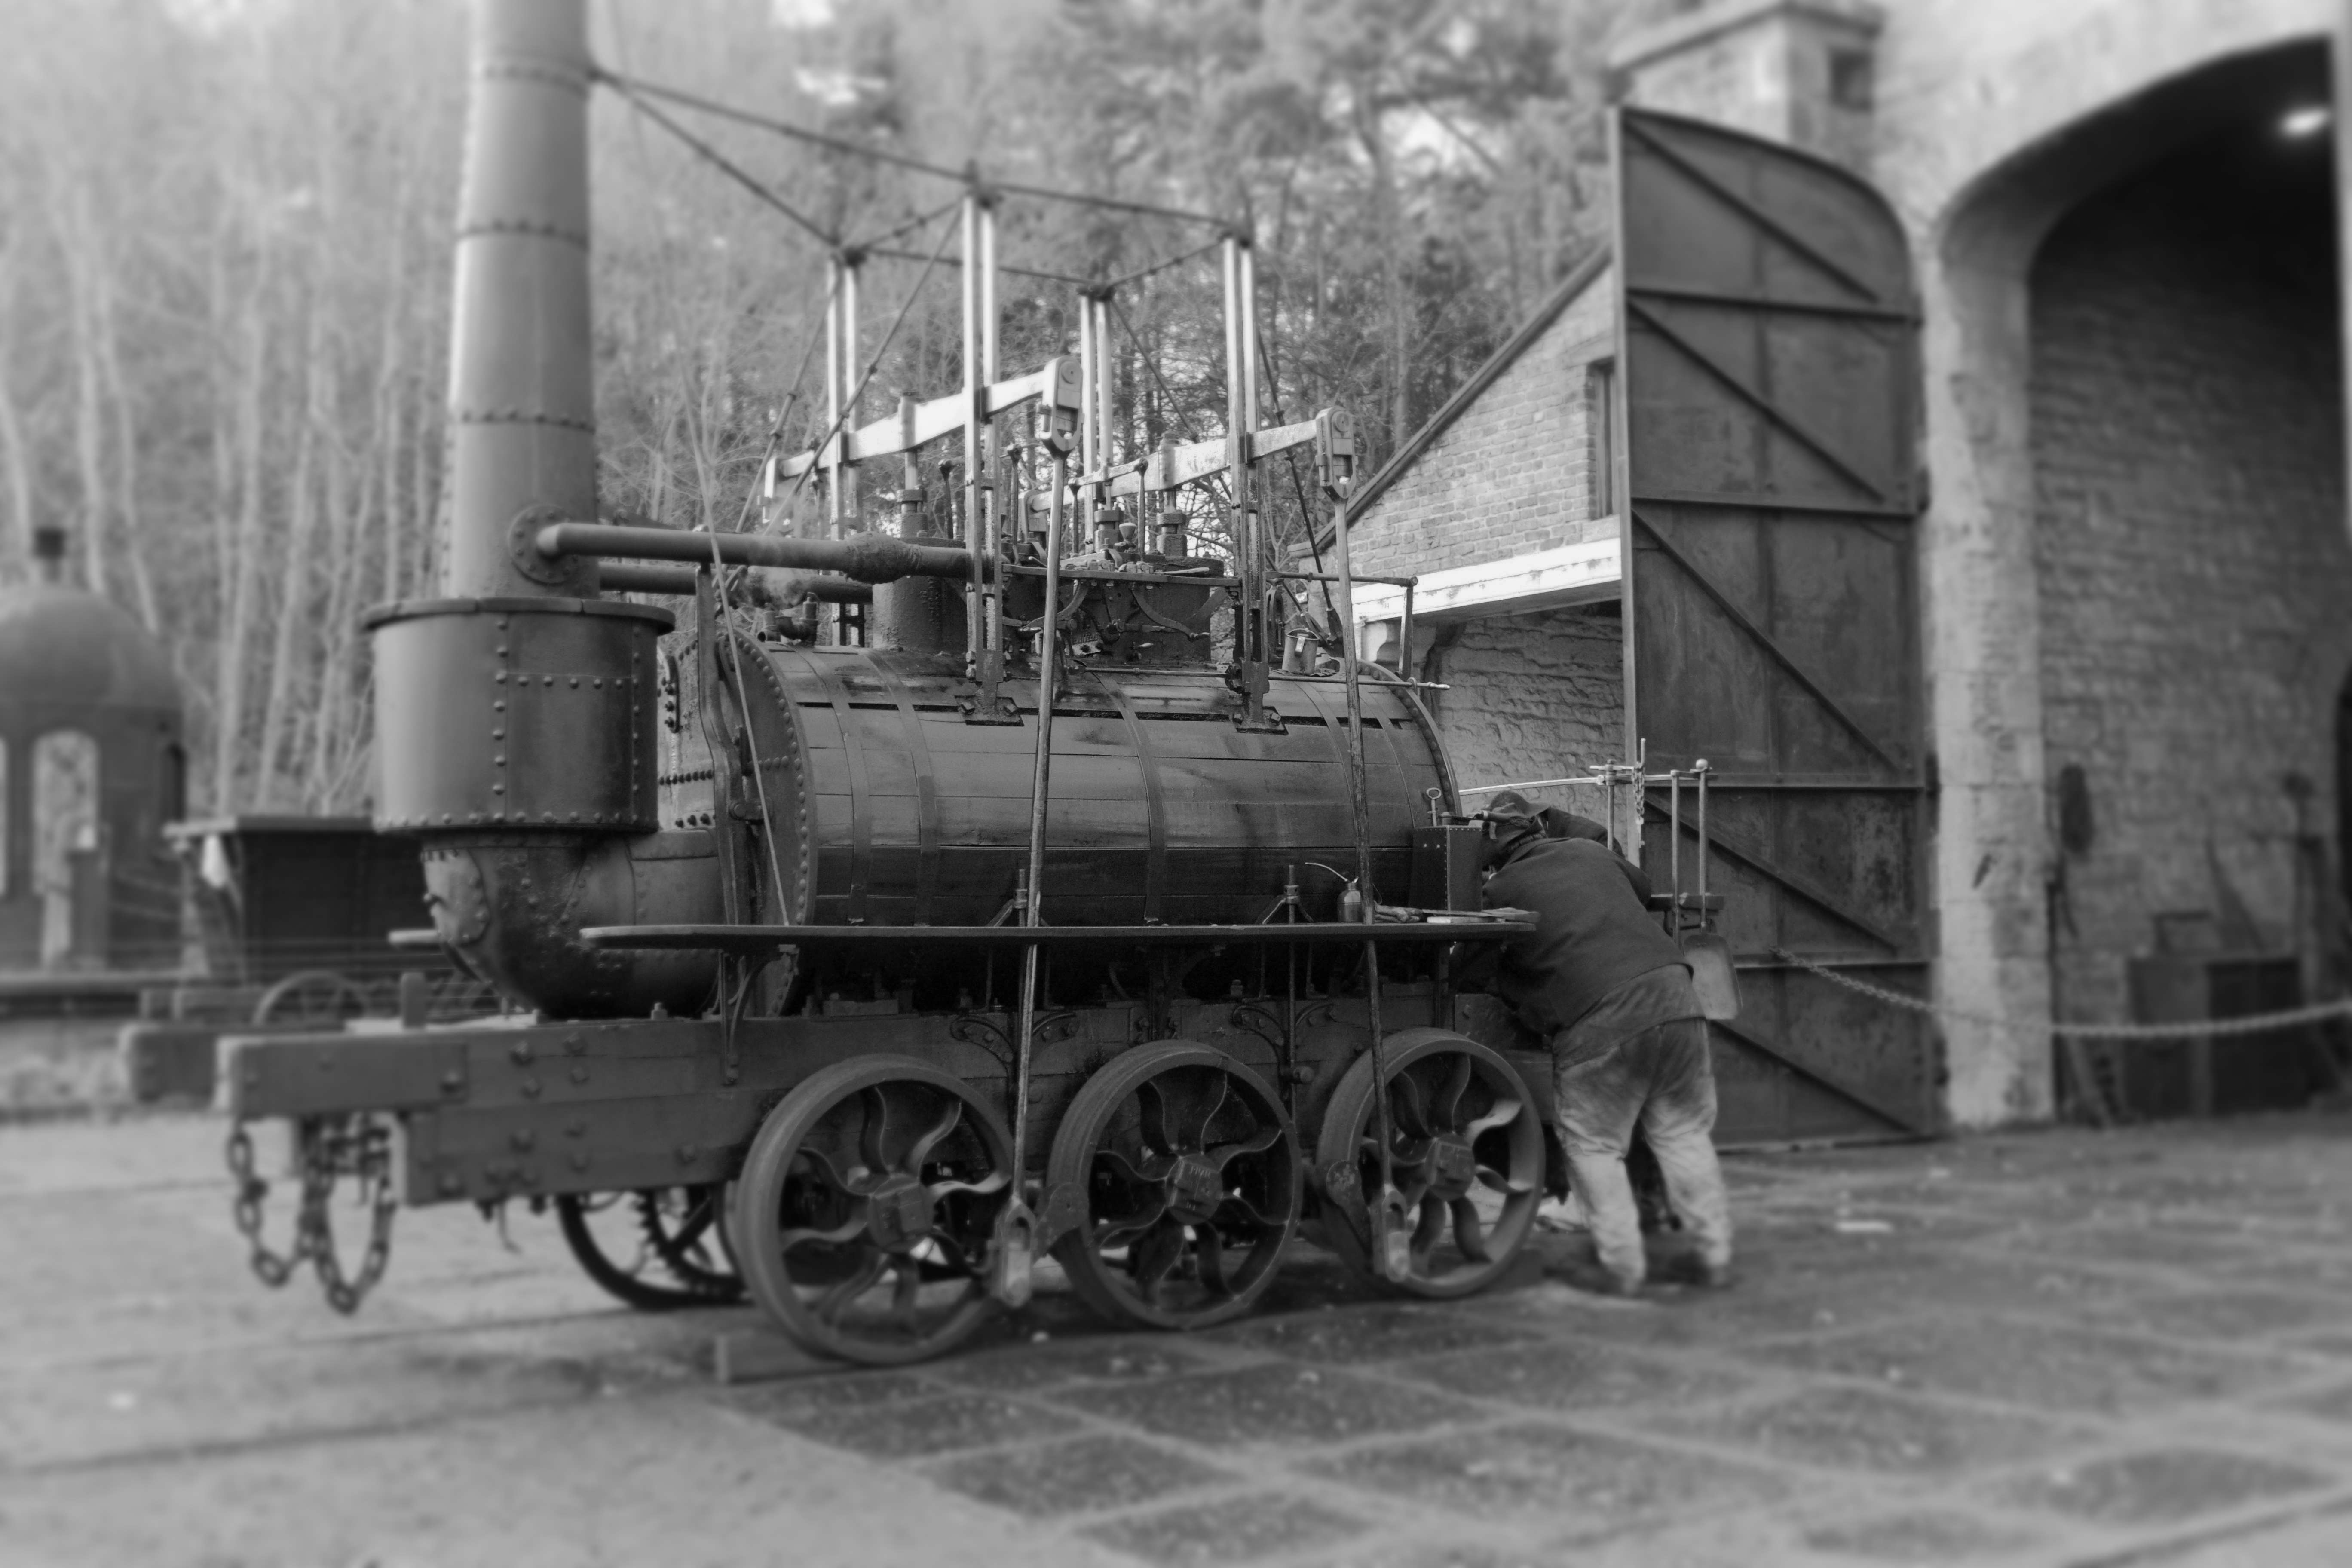
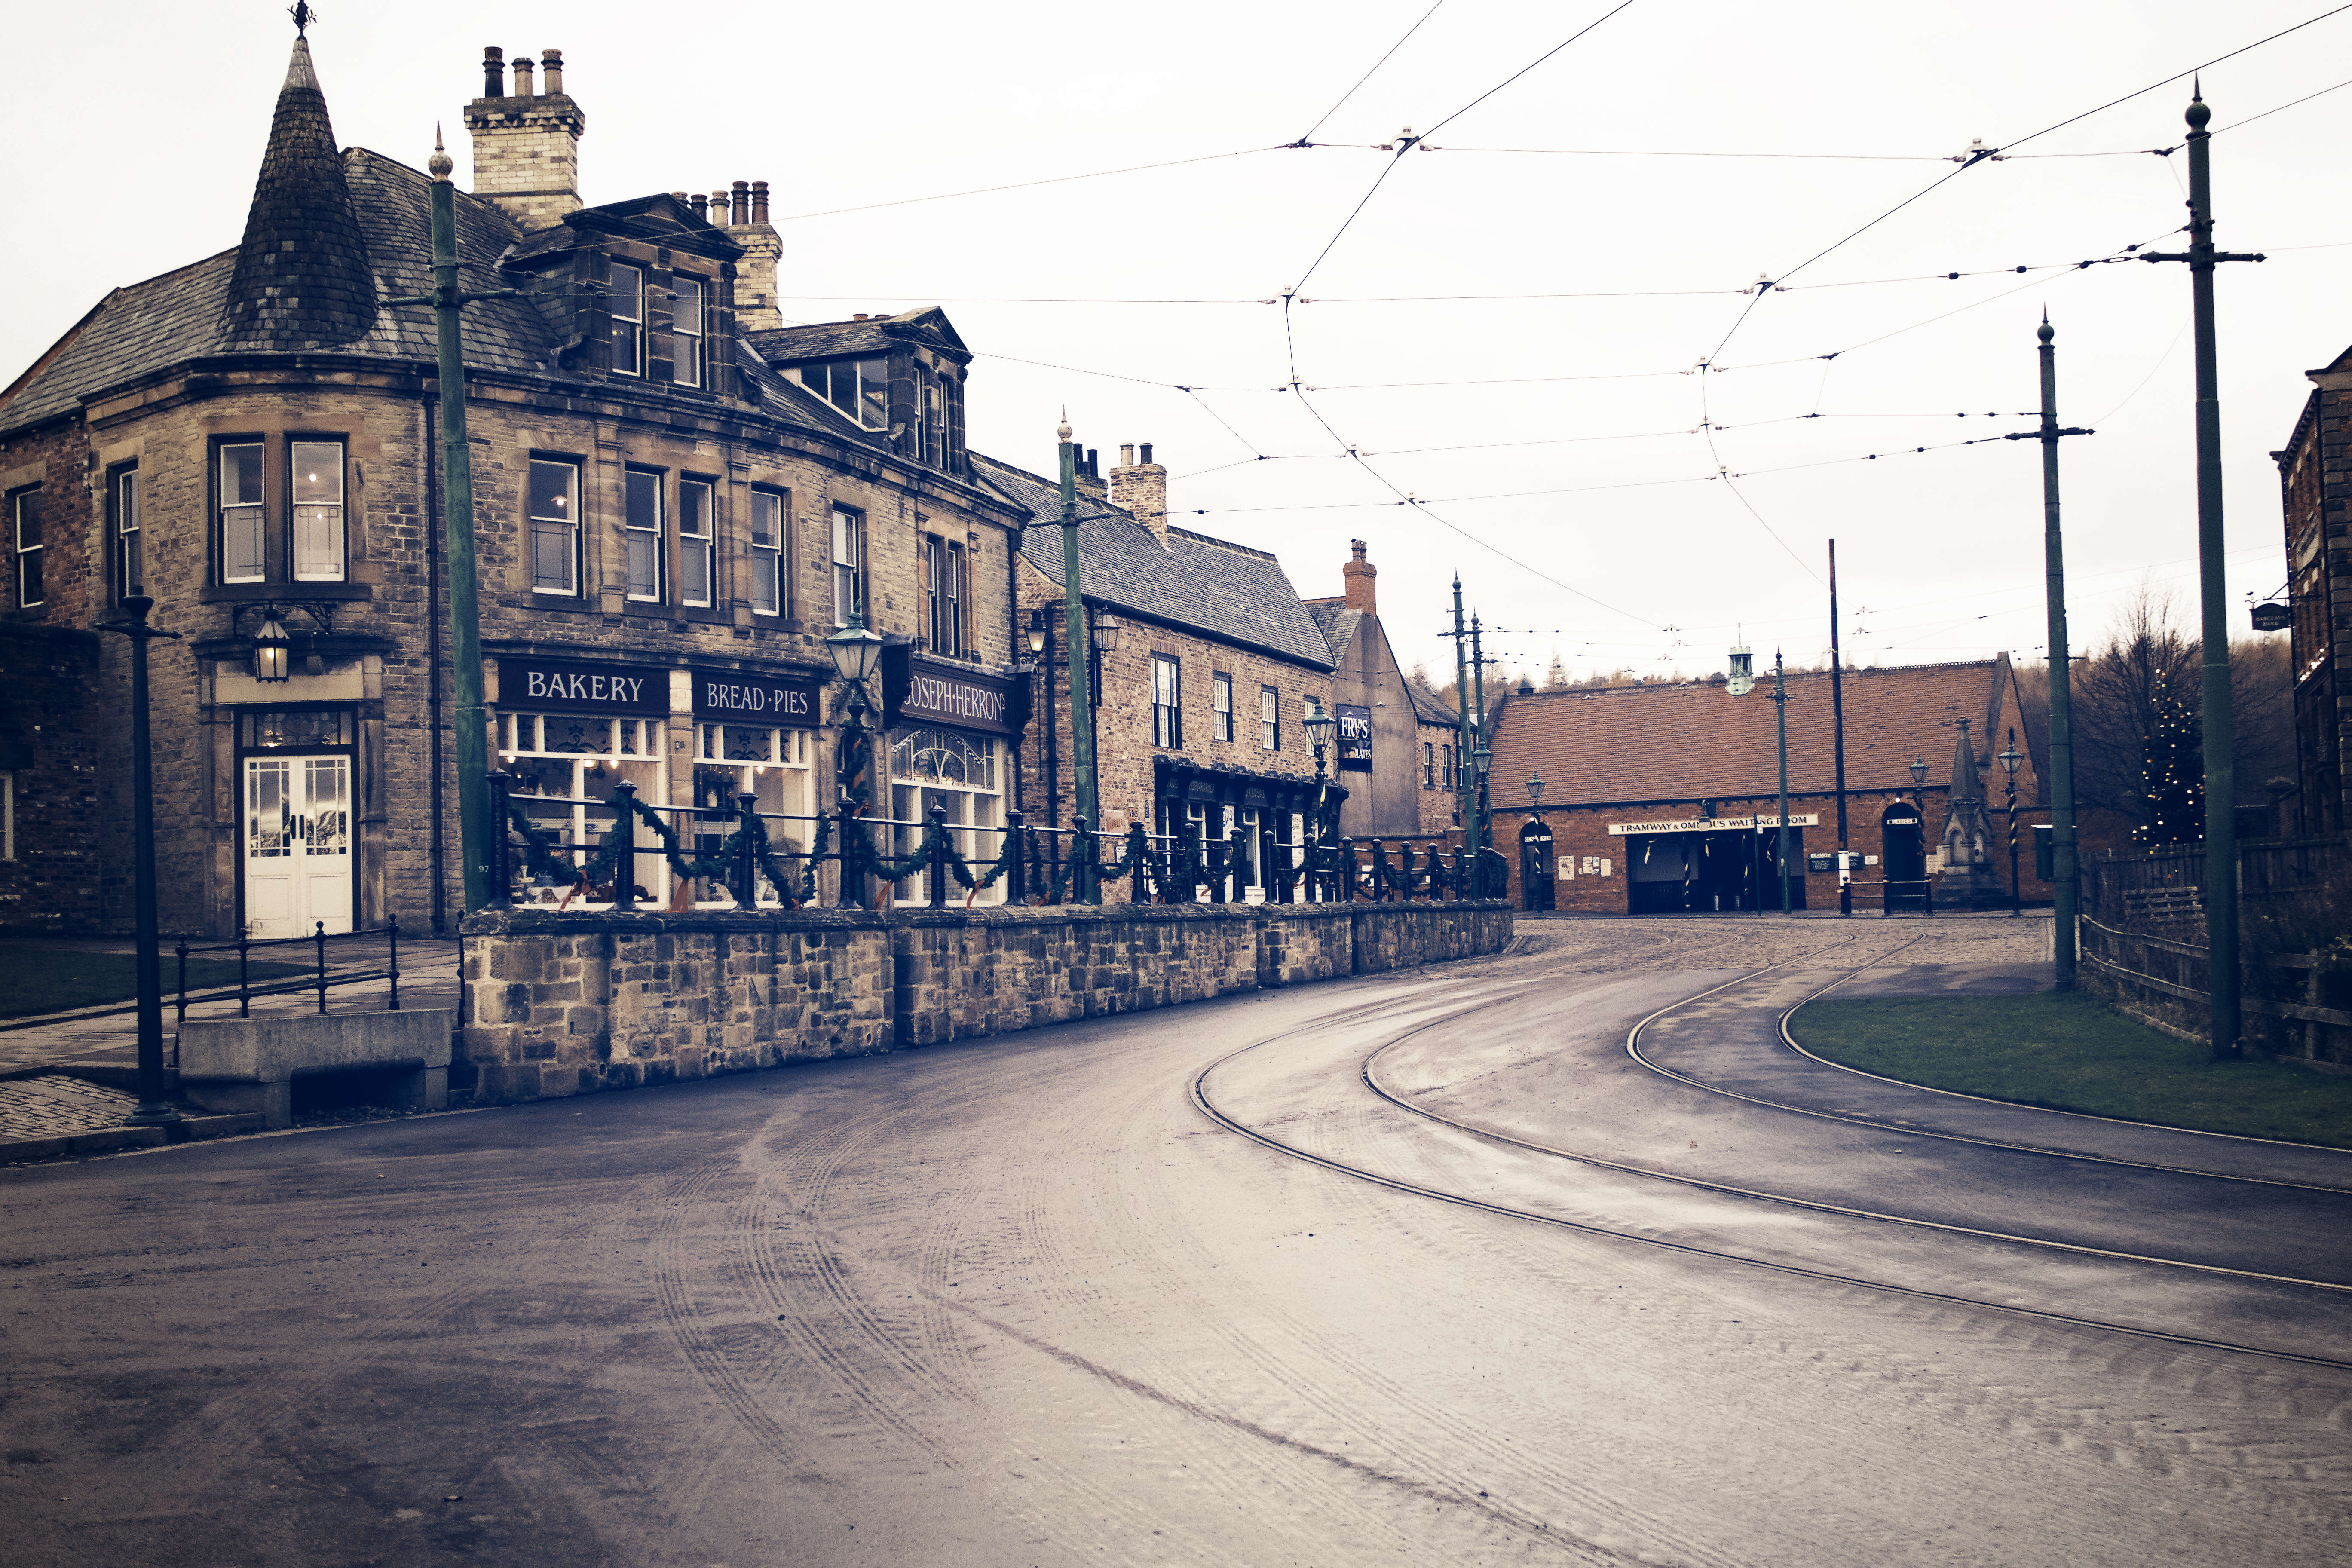
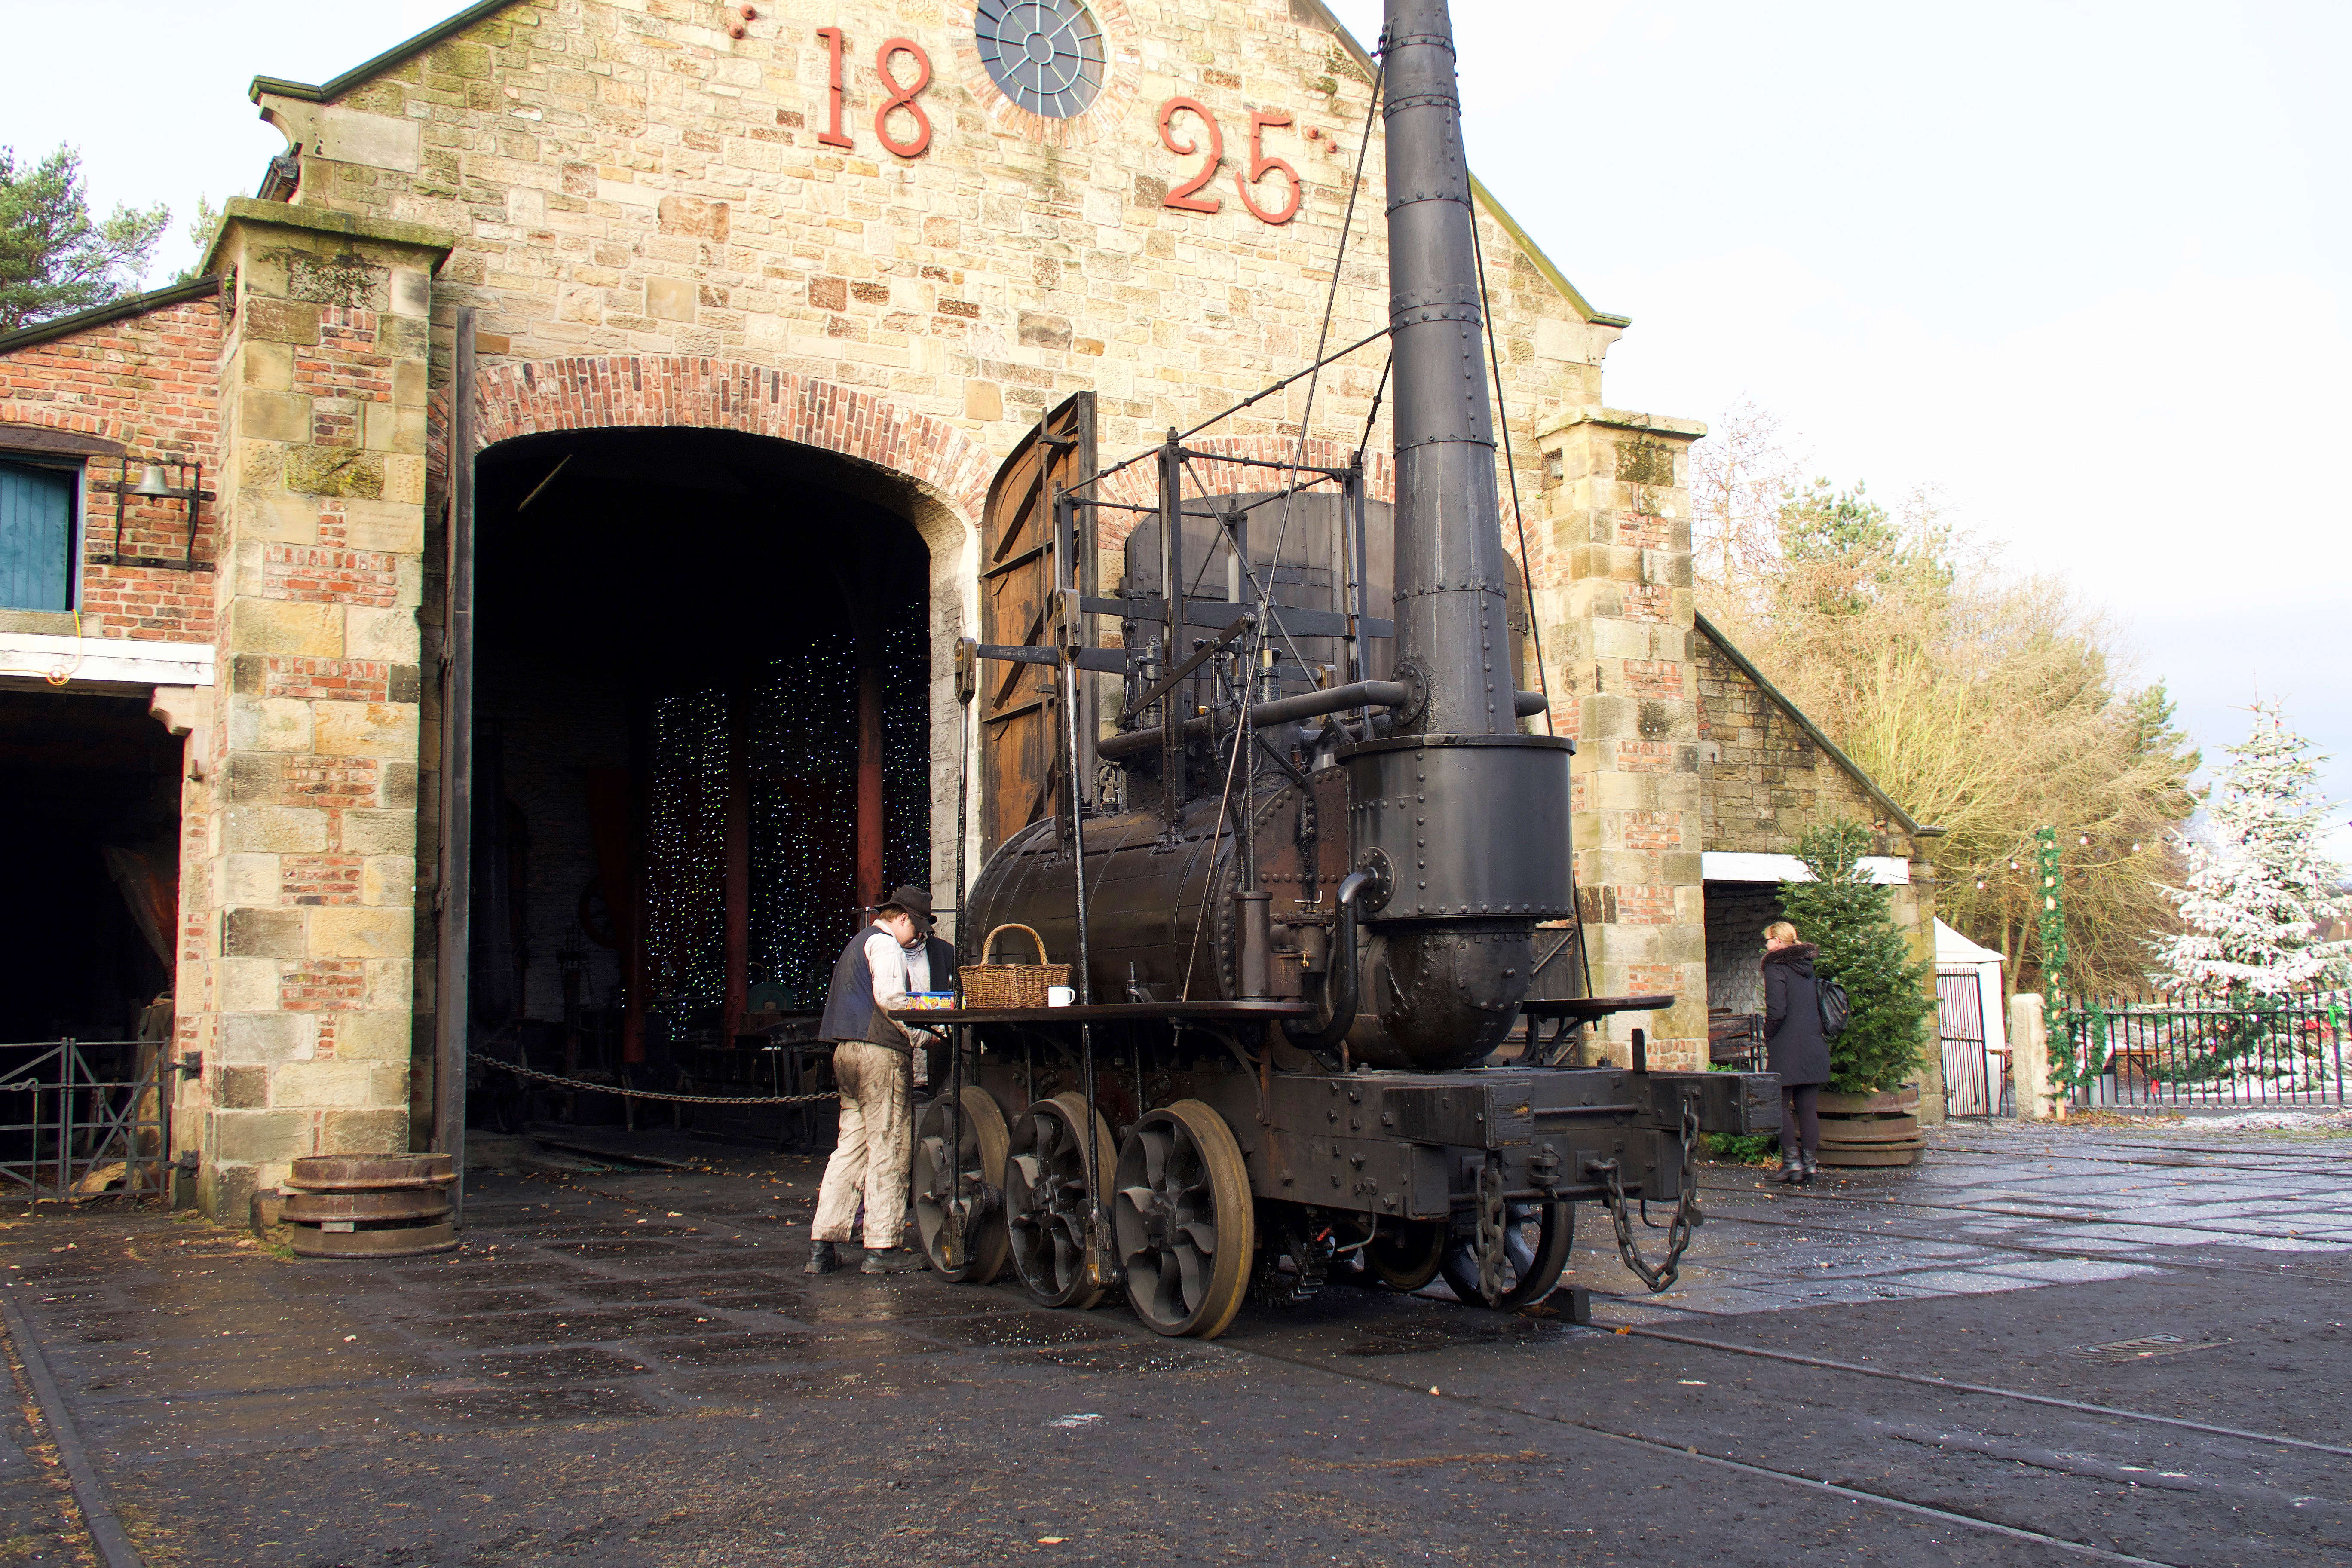
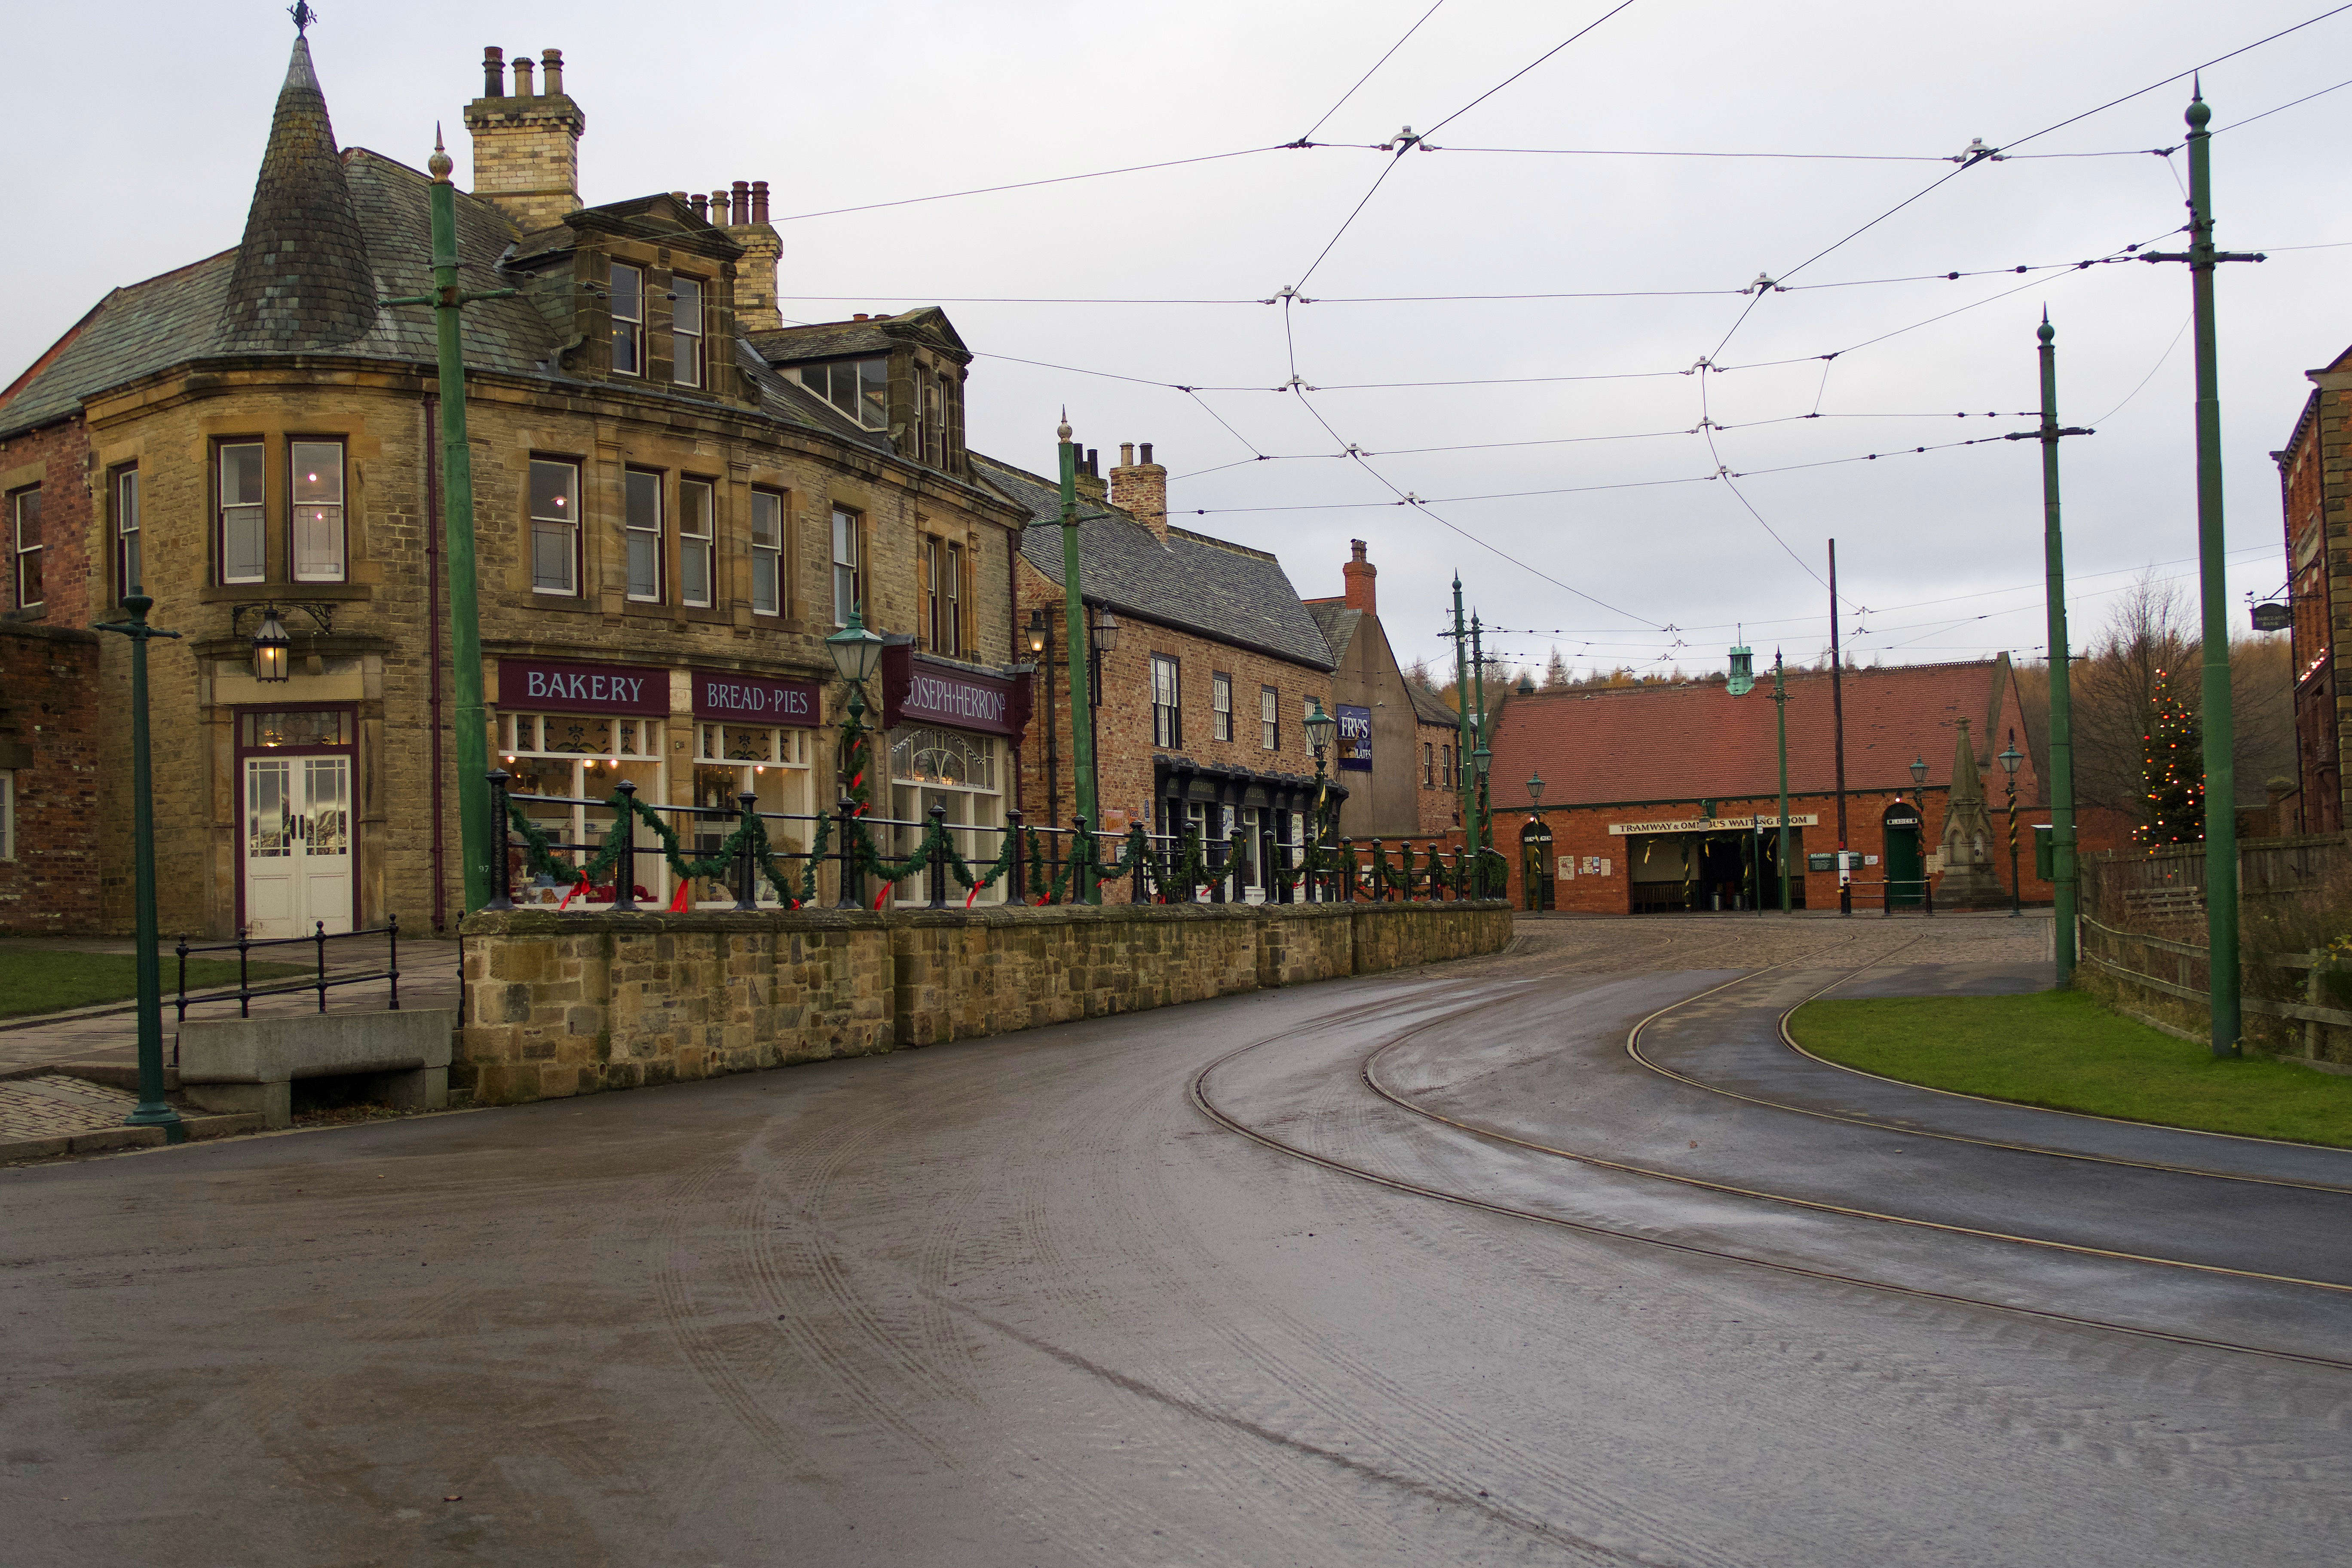
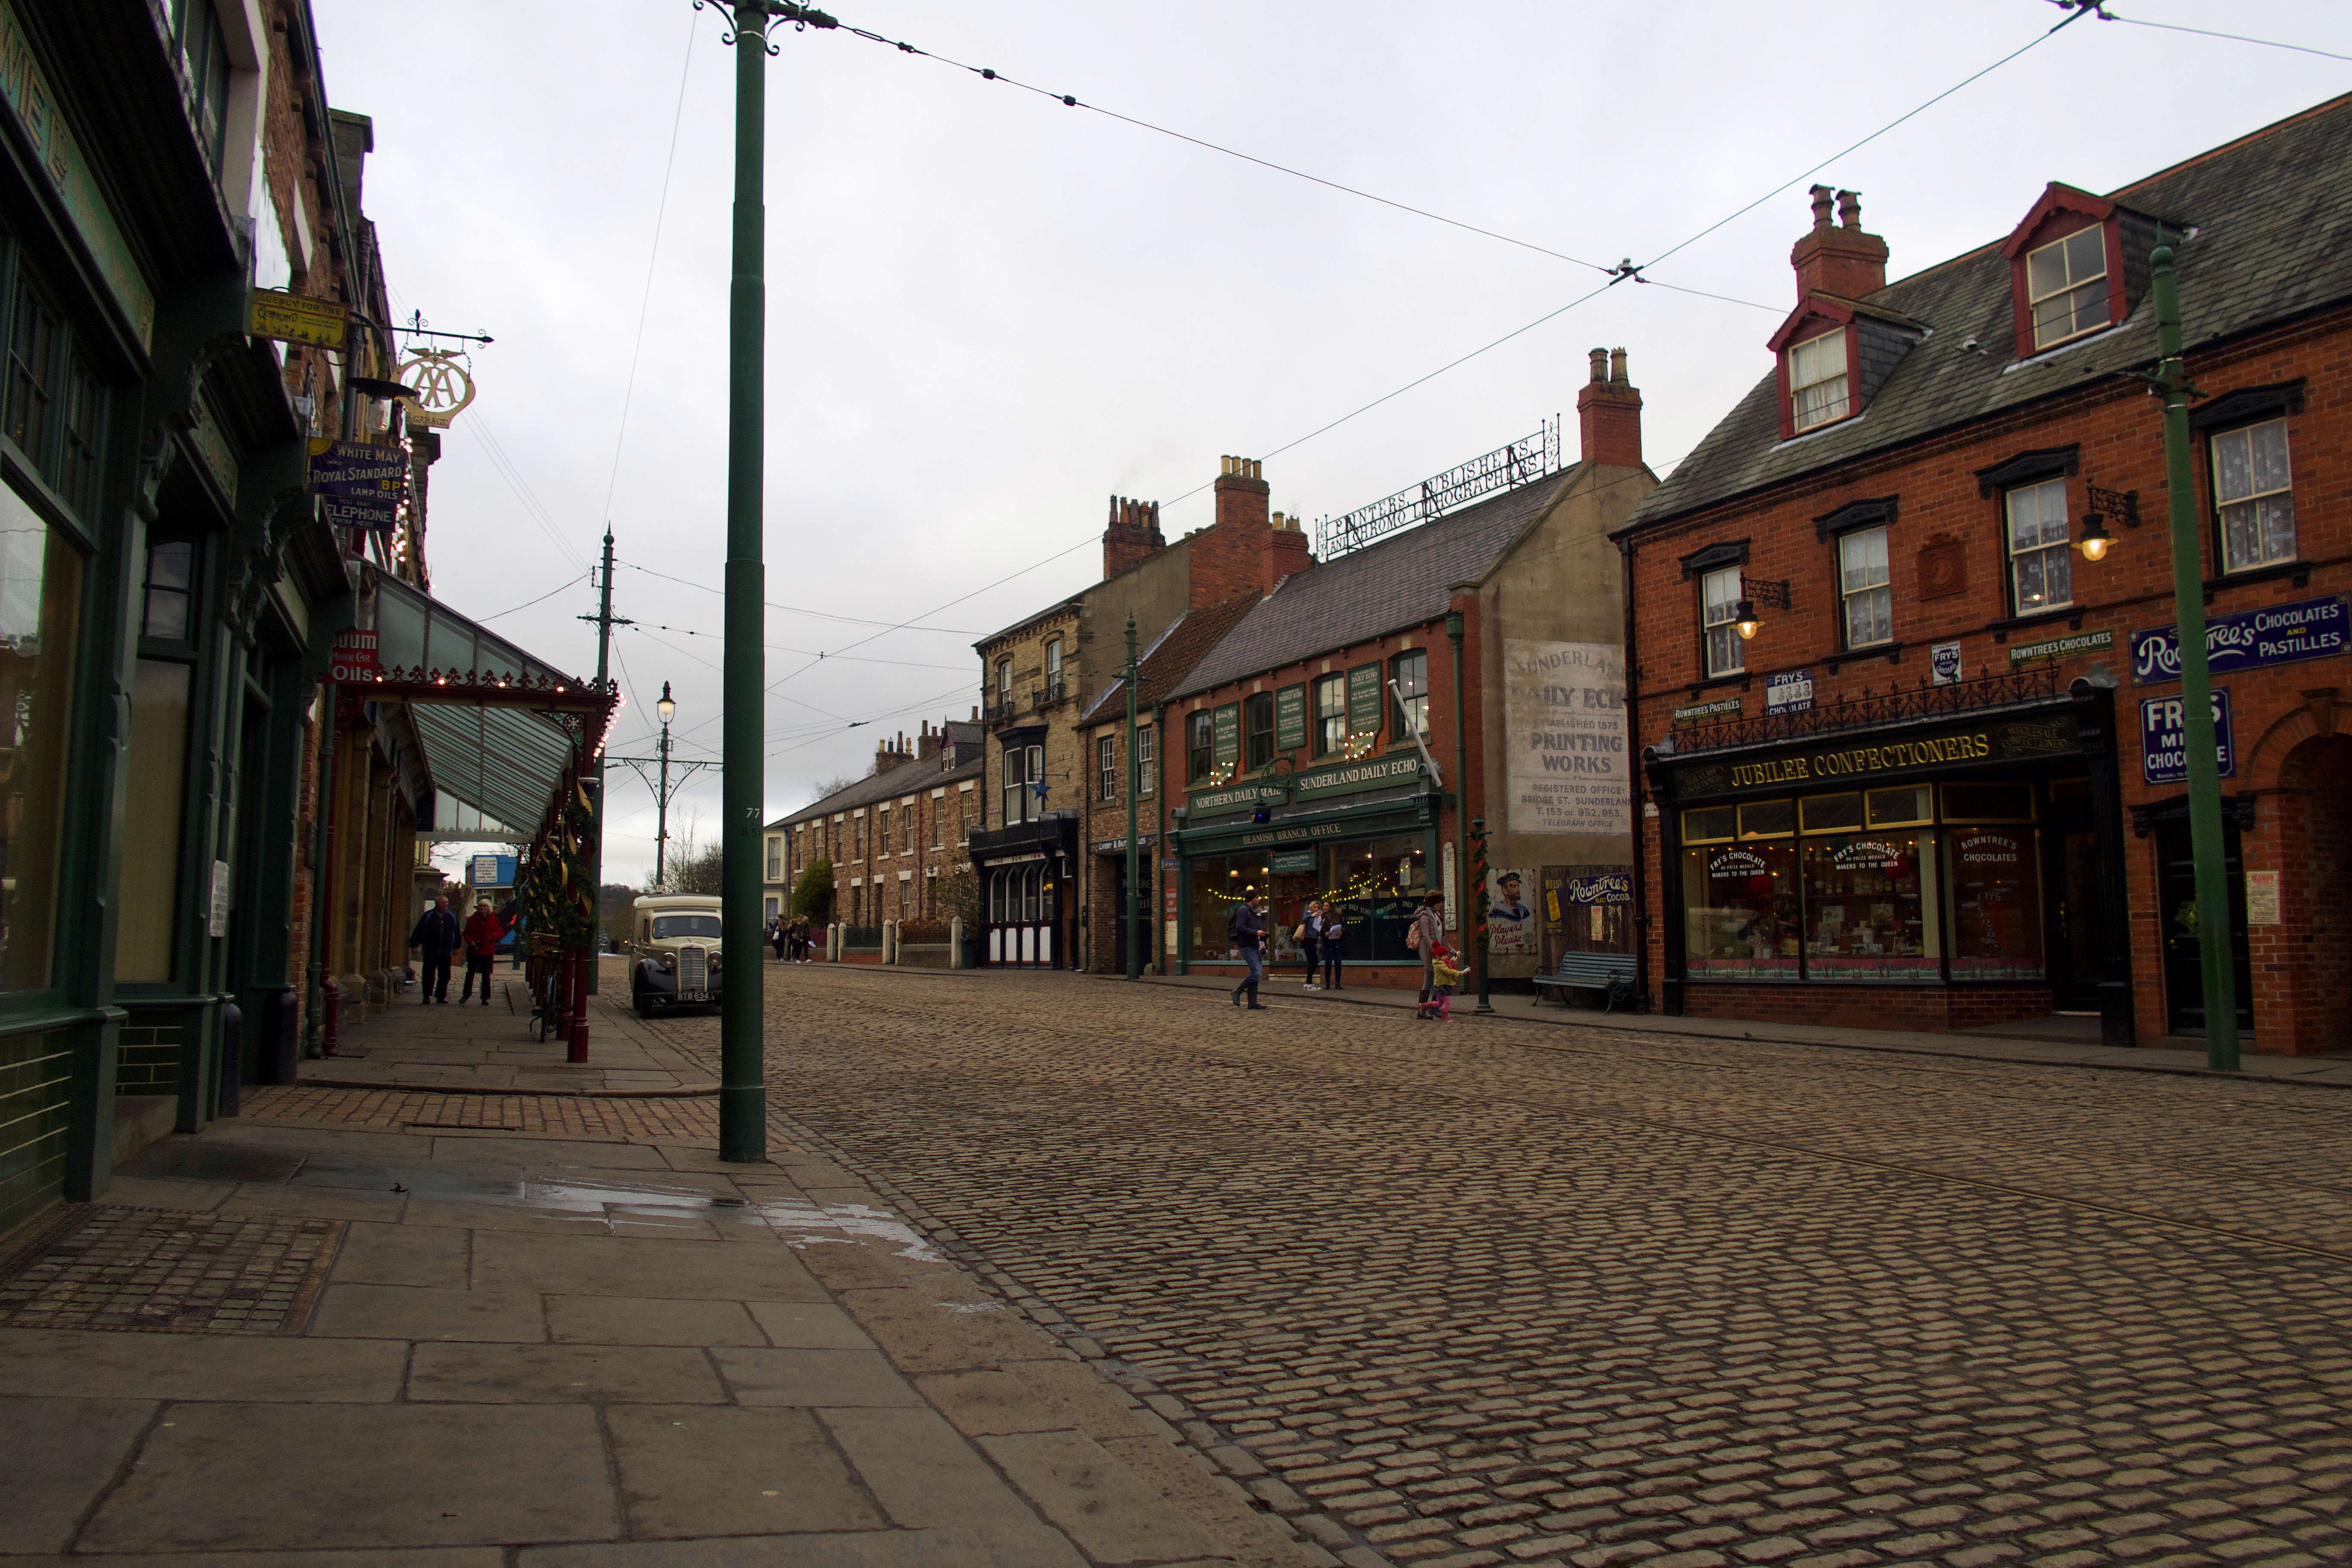
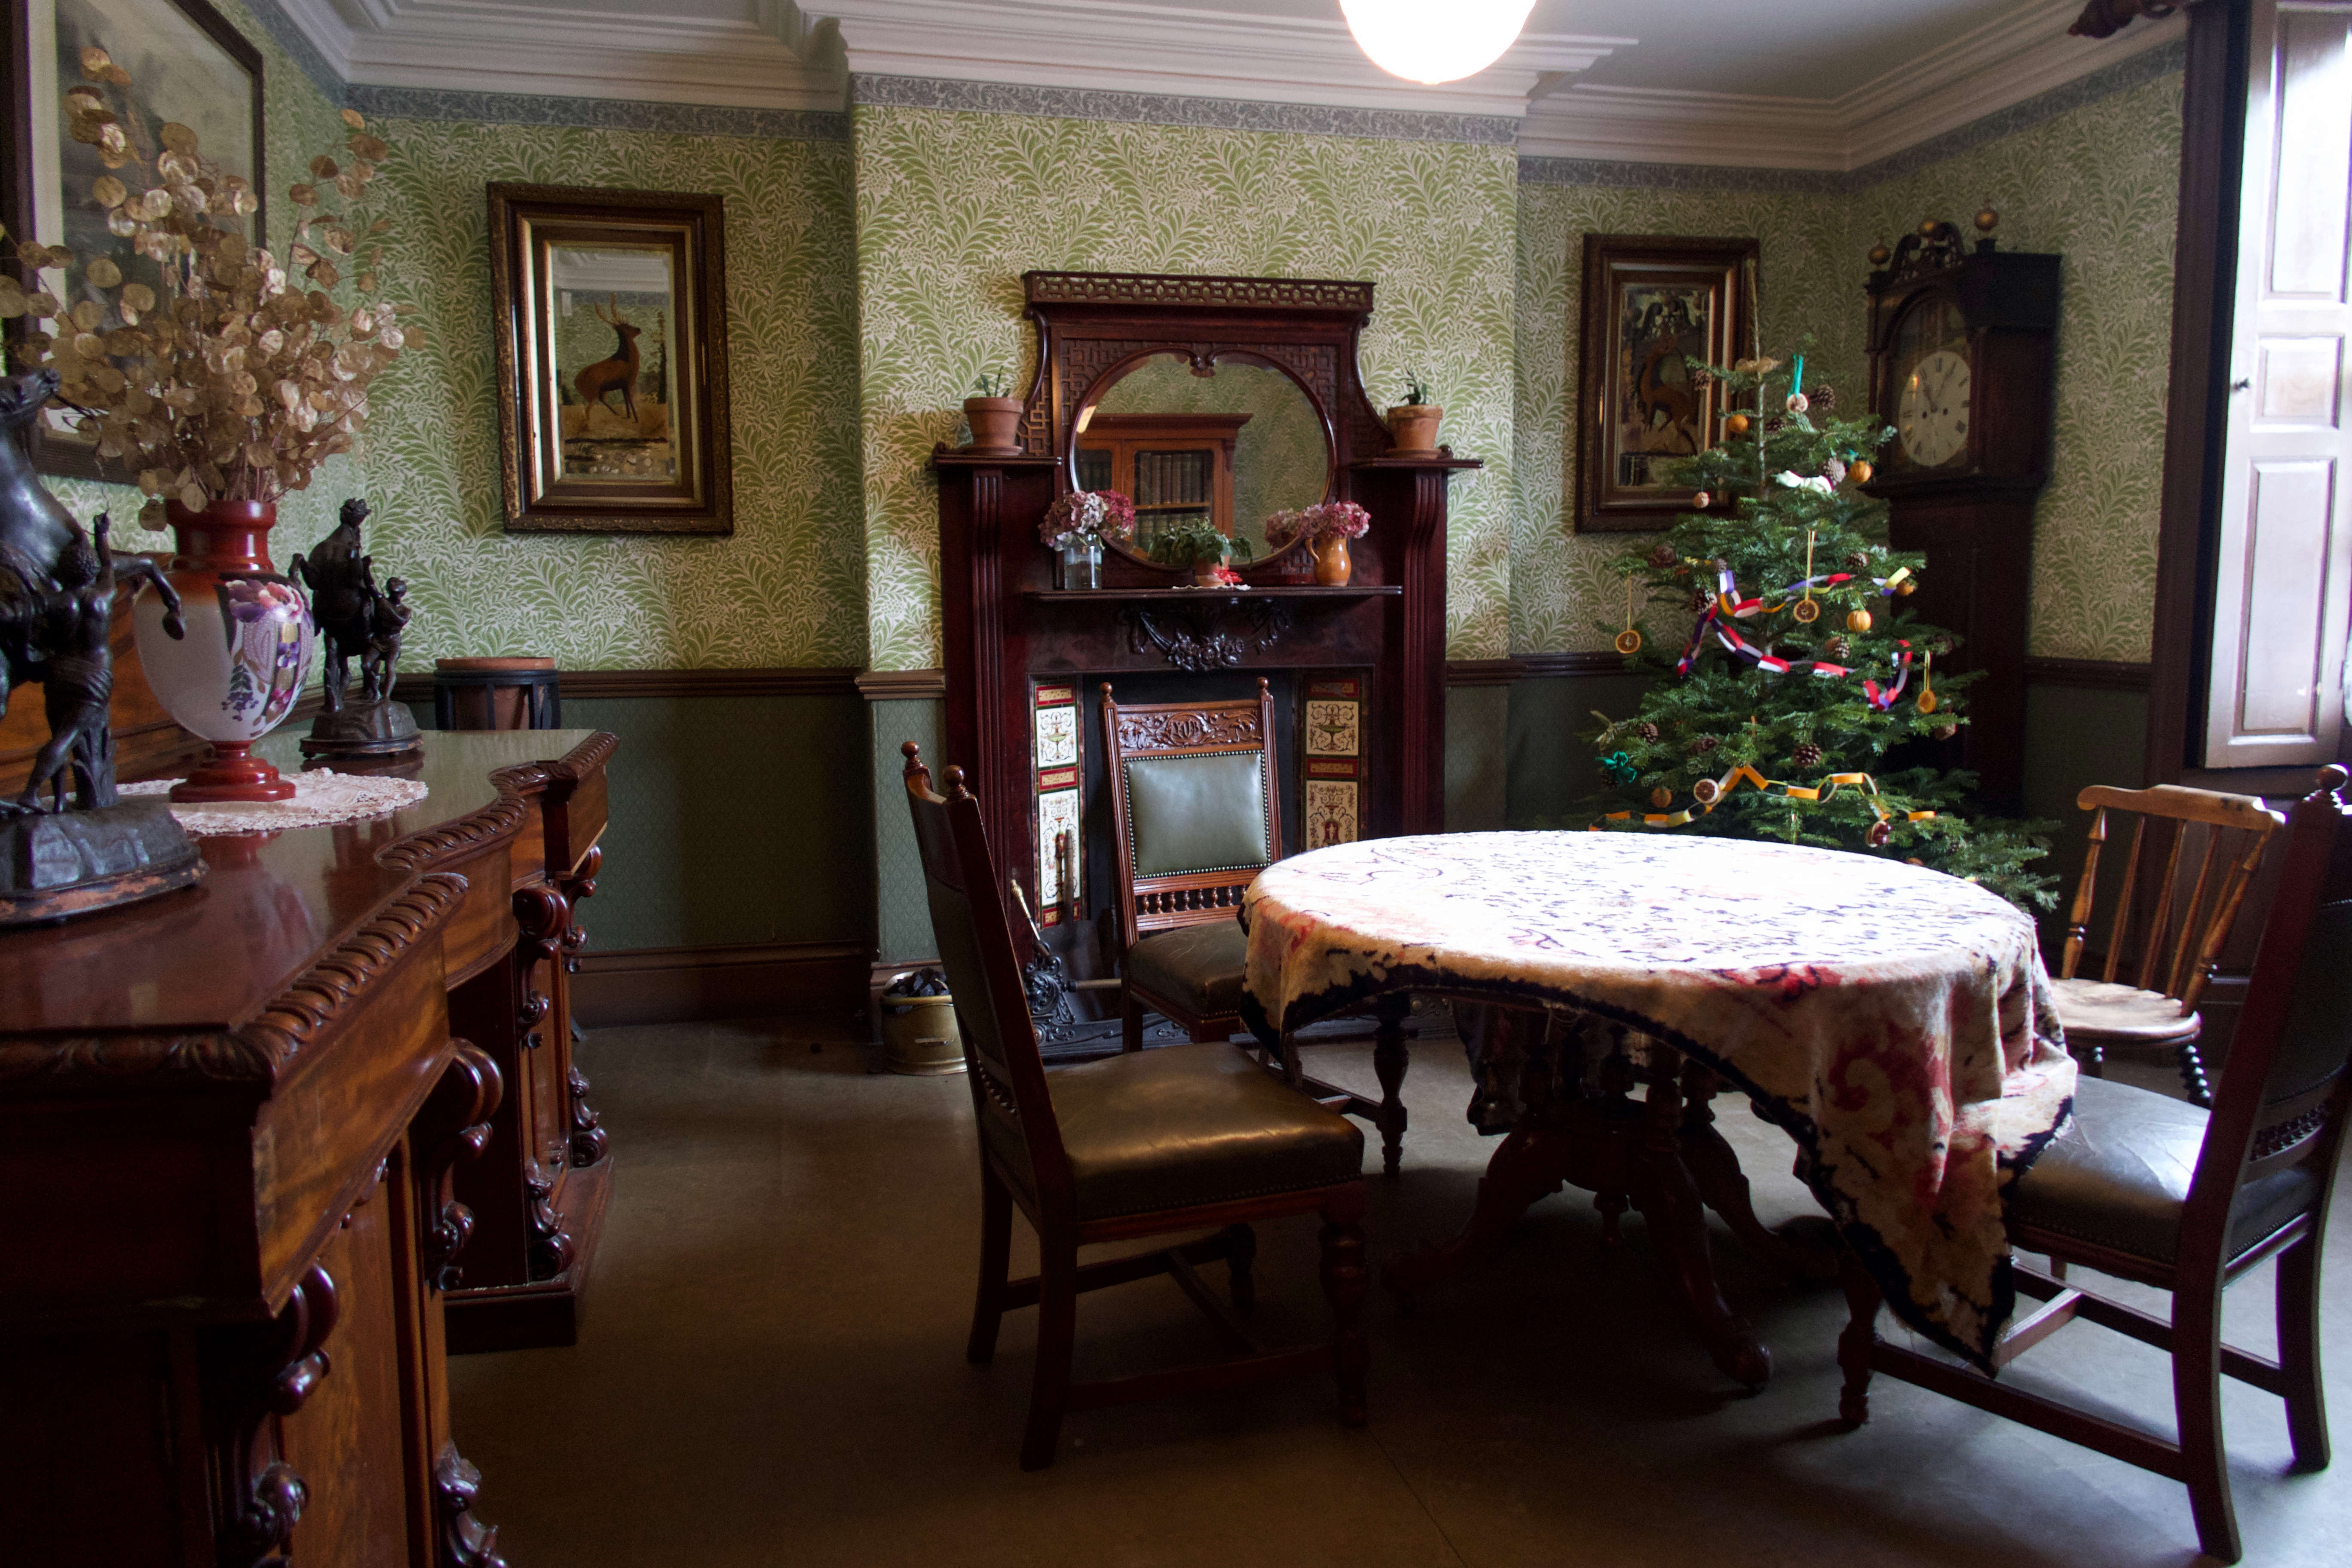
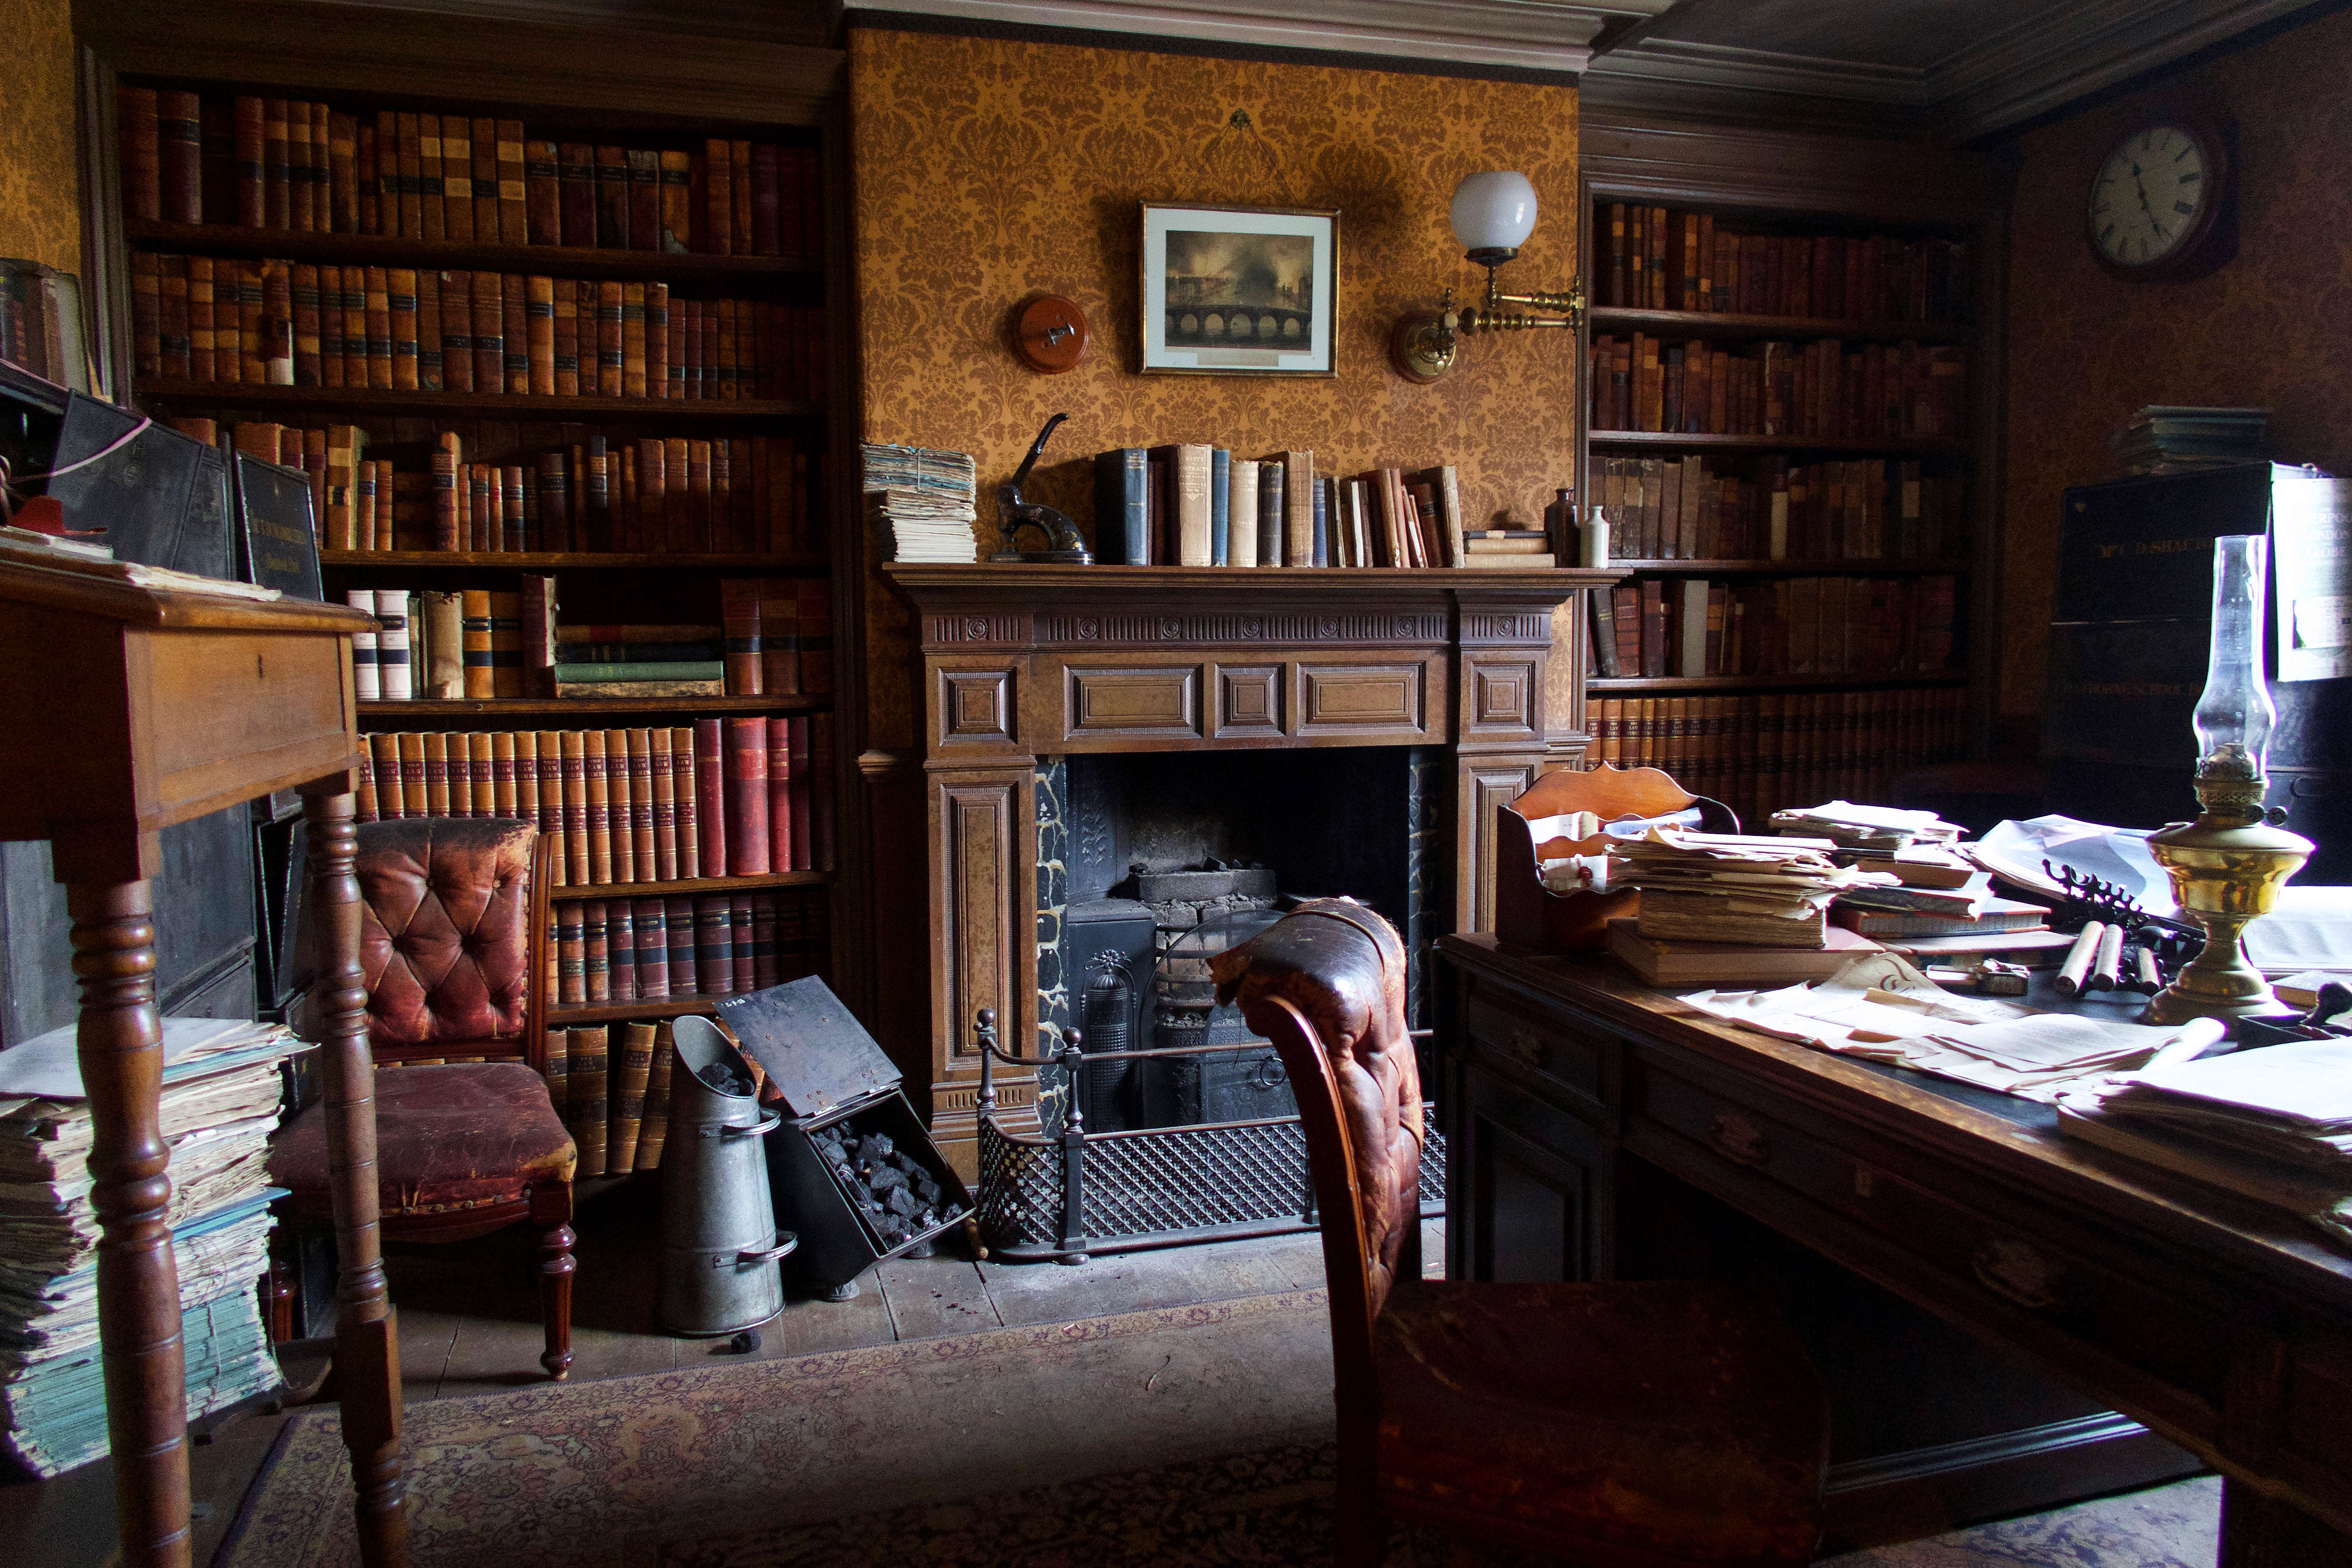
Again we were lucky with the weather, mainly dry but turning much colder. Beamish is only about a 20 minute drive away and it meant that we could have a full day at the museum without having a silly o’clock morning start. If you have never visited Beamish, I would recommend you put it on your “must do” list, especially if you have children/grand children. One thing you must do while there… go and see the dentist and have a chat and then visit the fish and chip shop with the coal-fired frying range. Standing outside smelling fish and chips frying mixed with the smell of coal fires really takes me back to my early childhood.

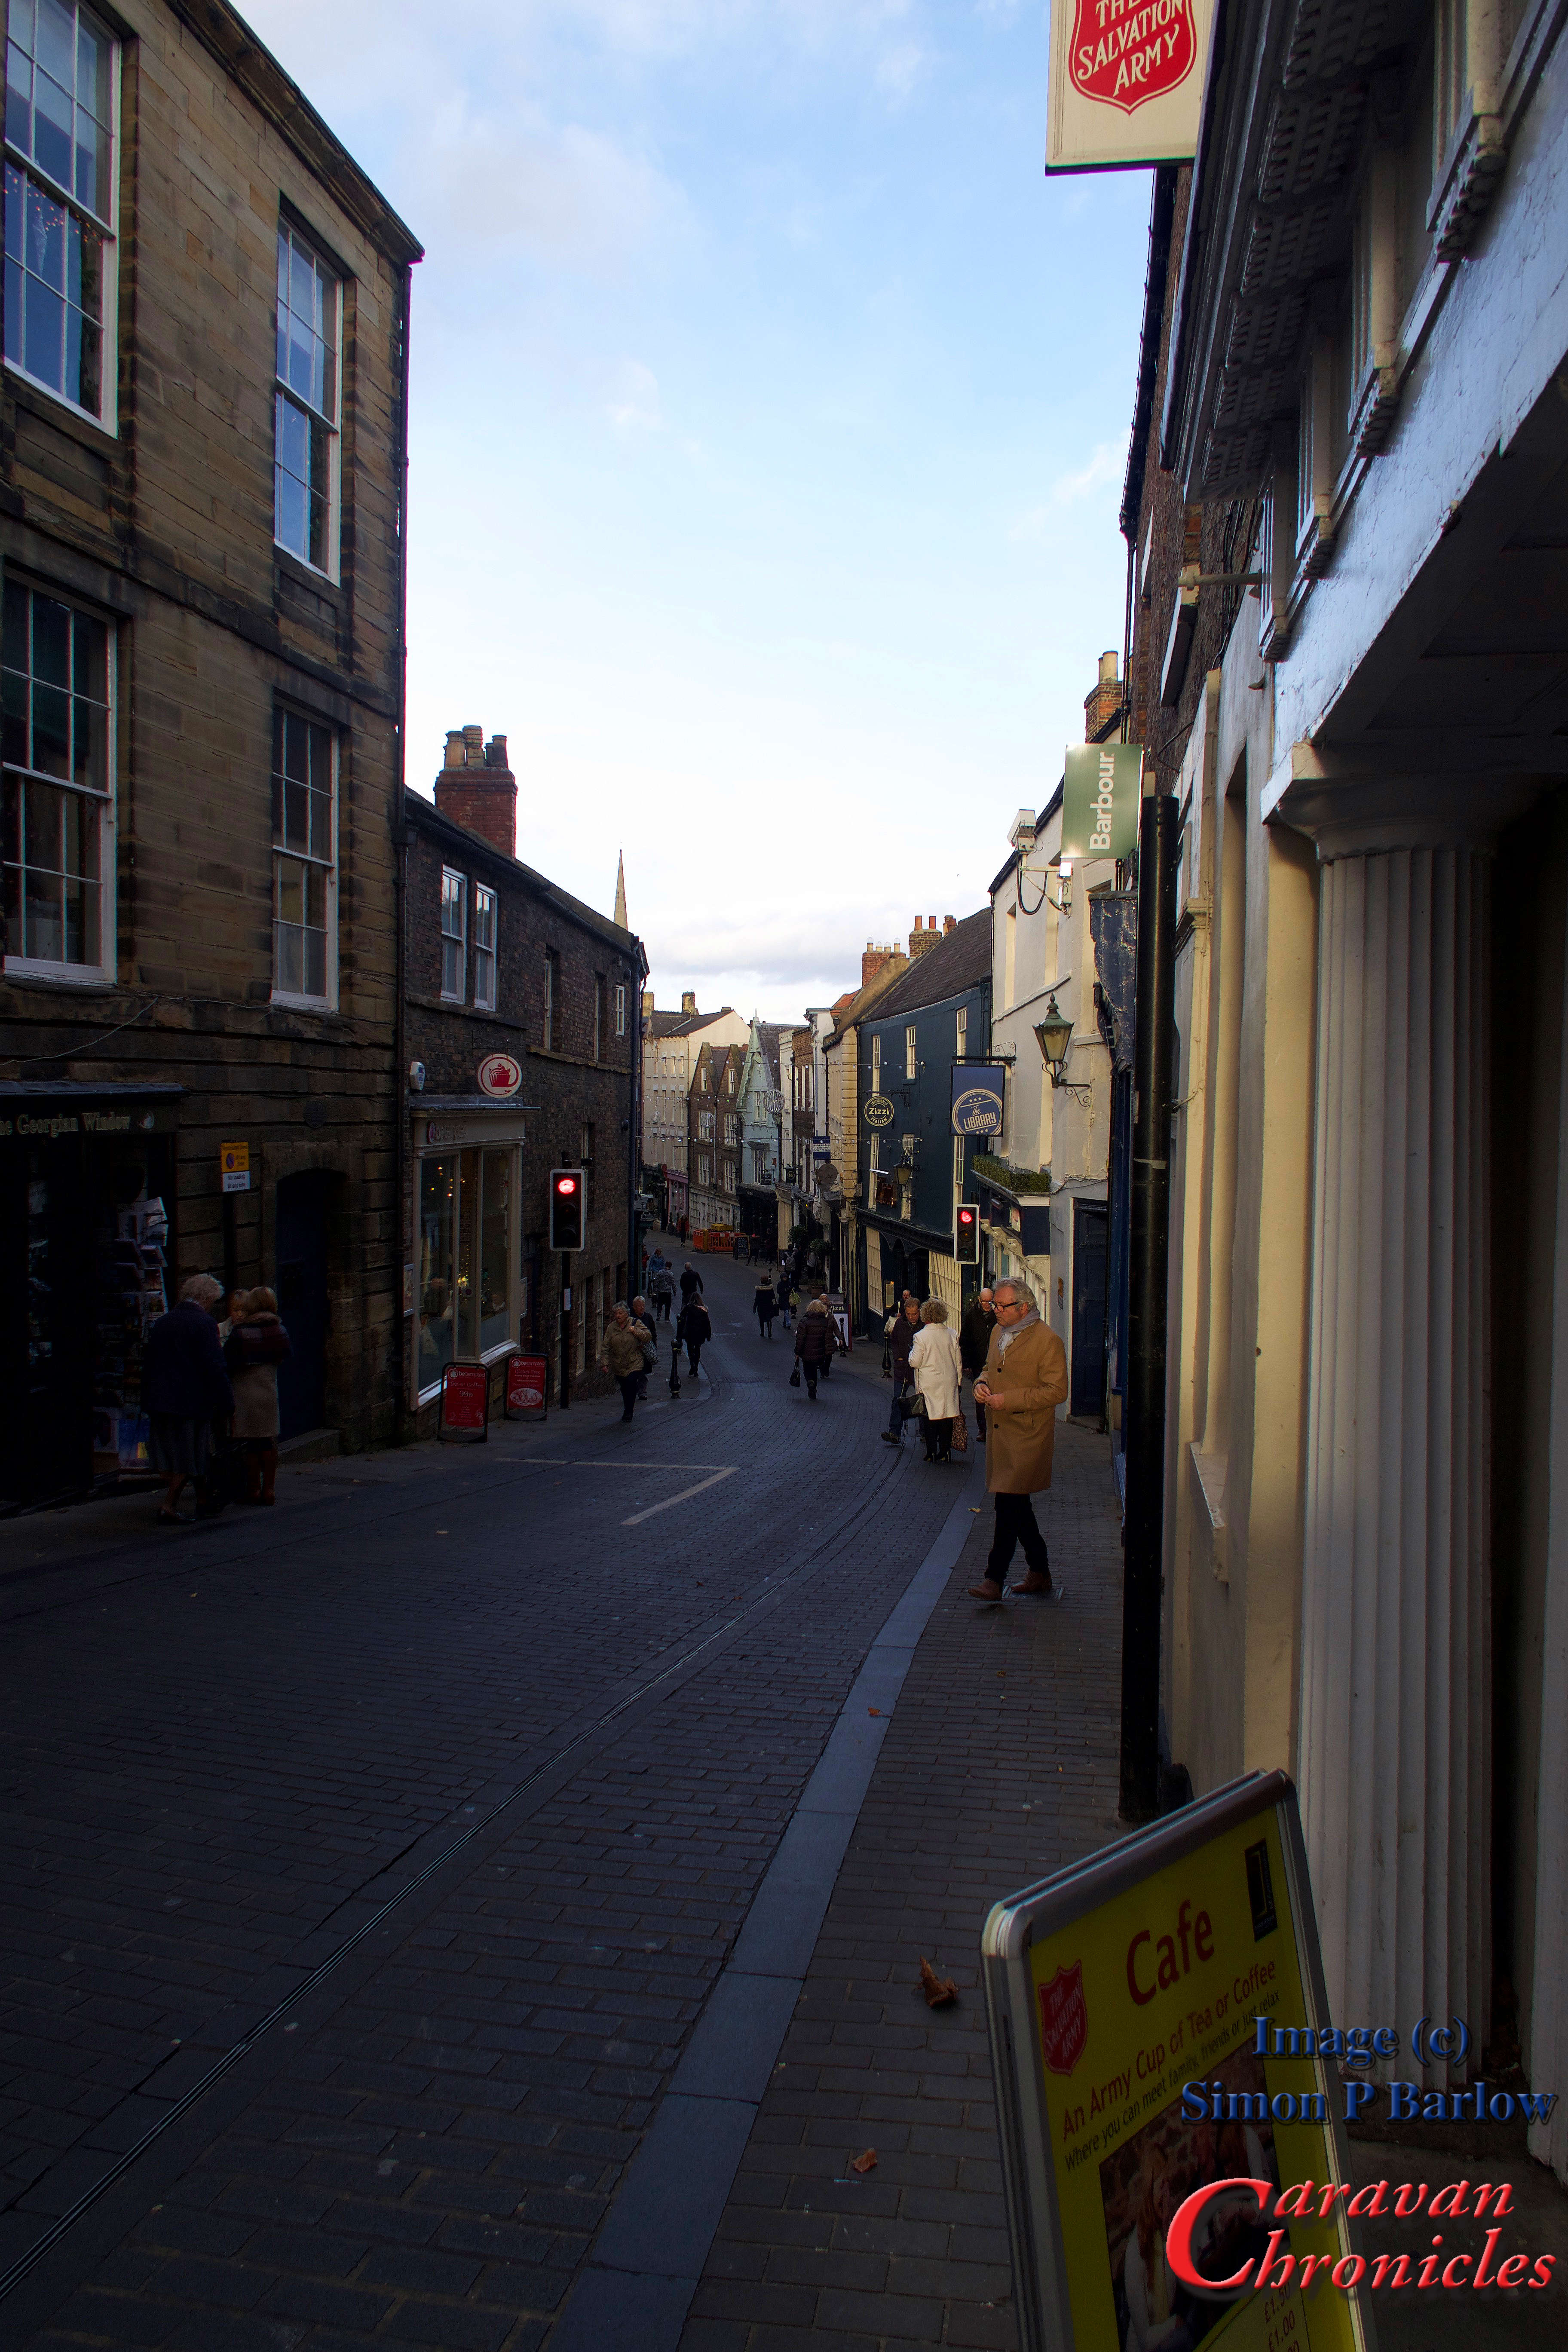
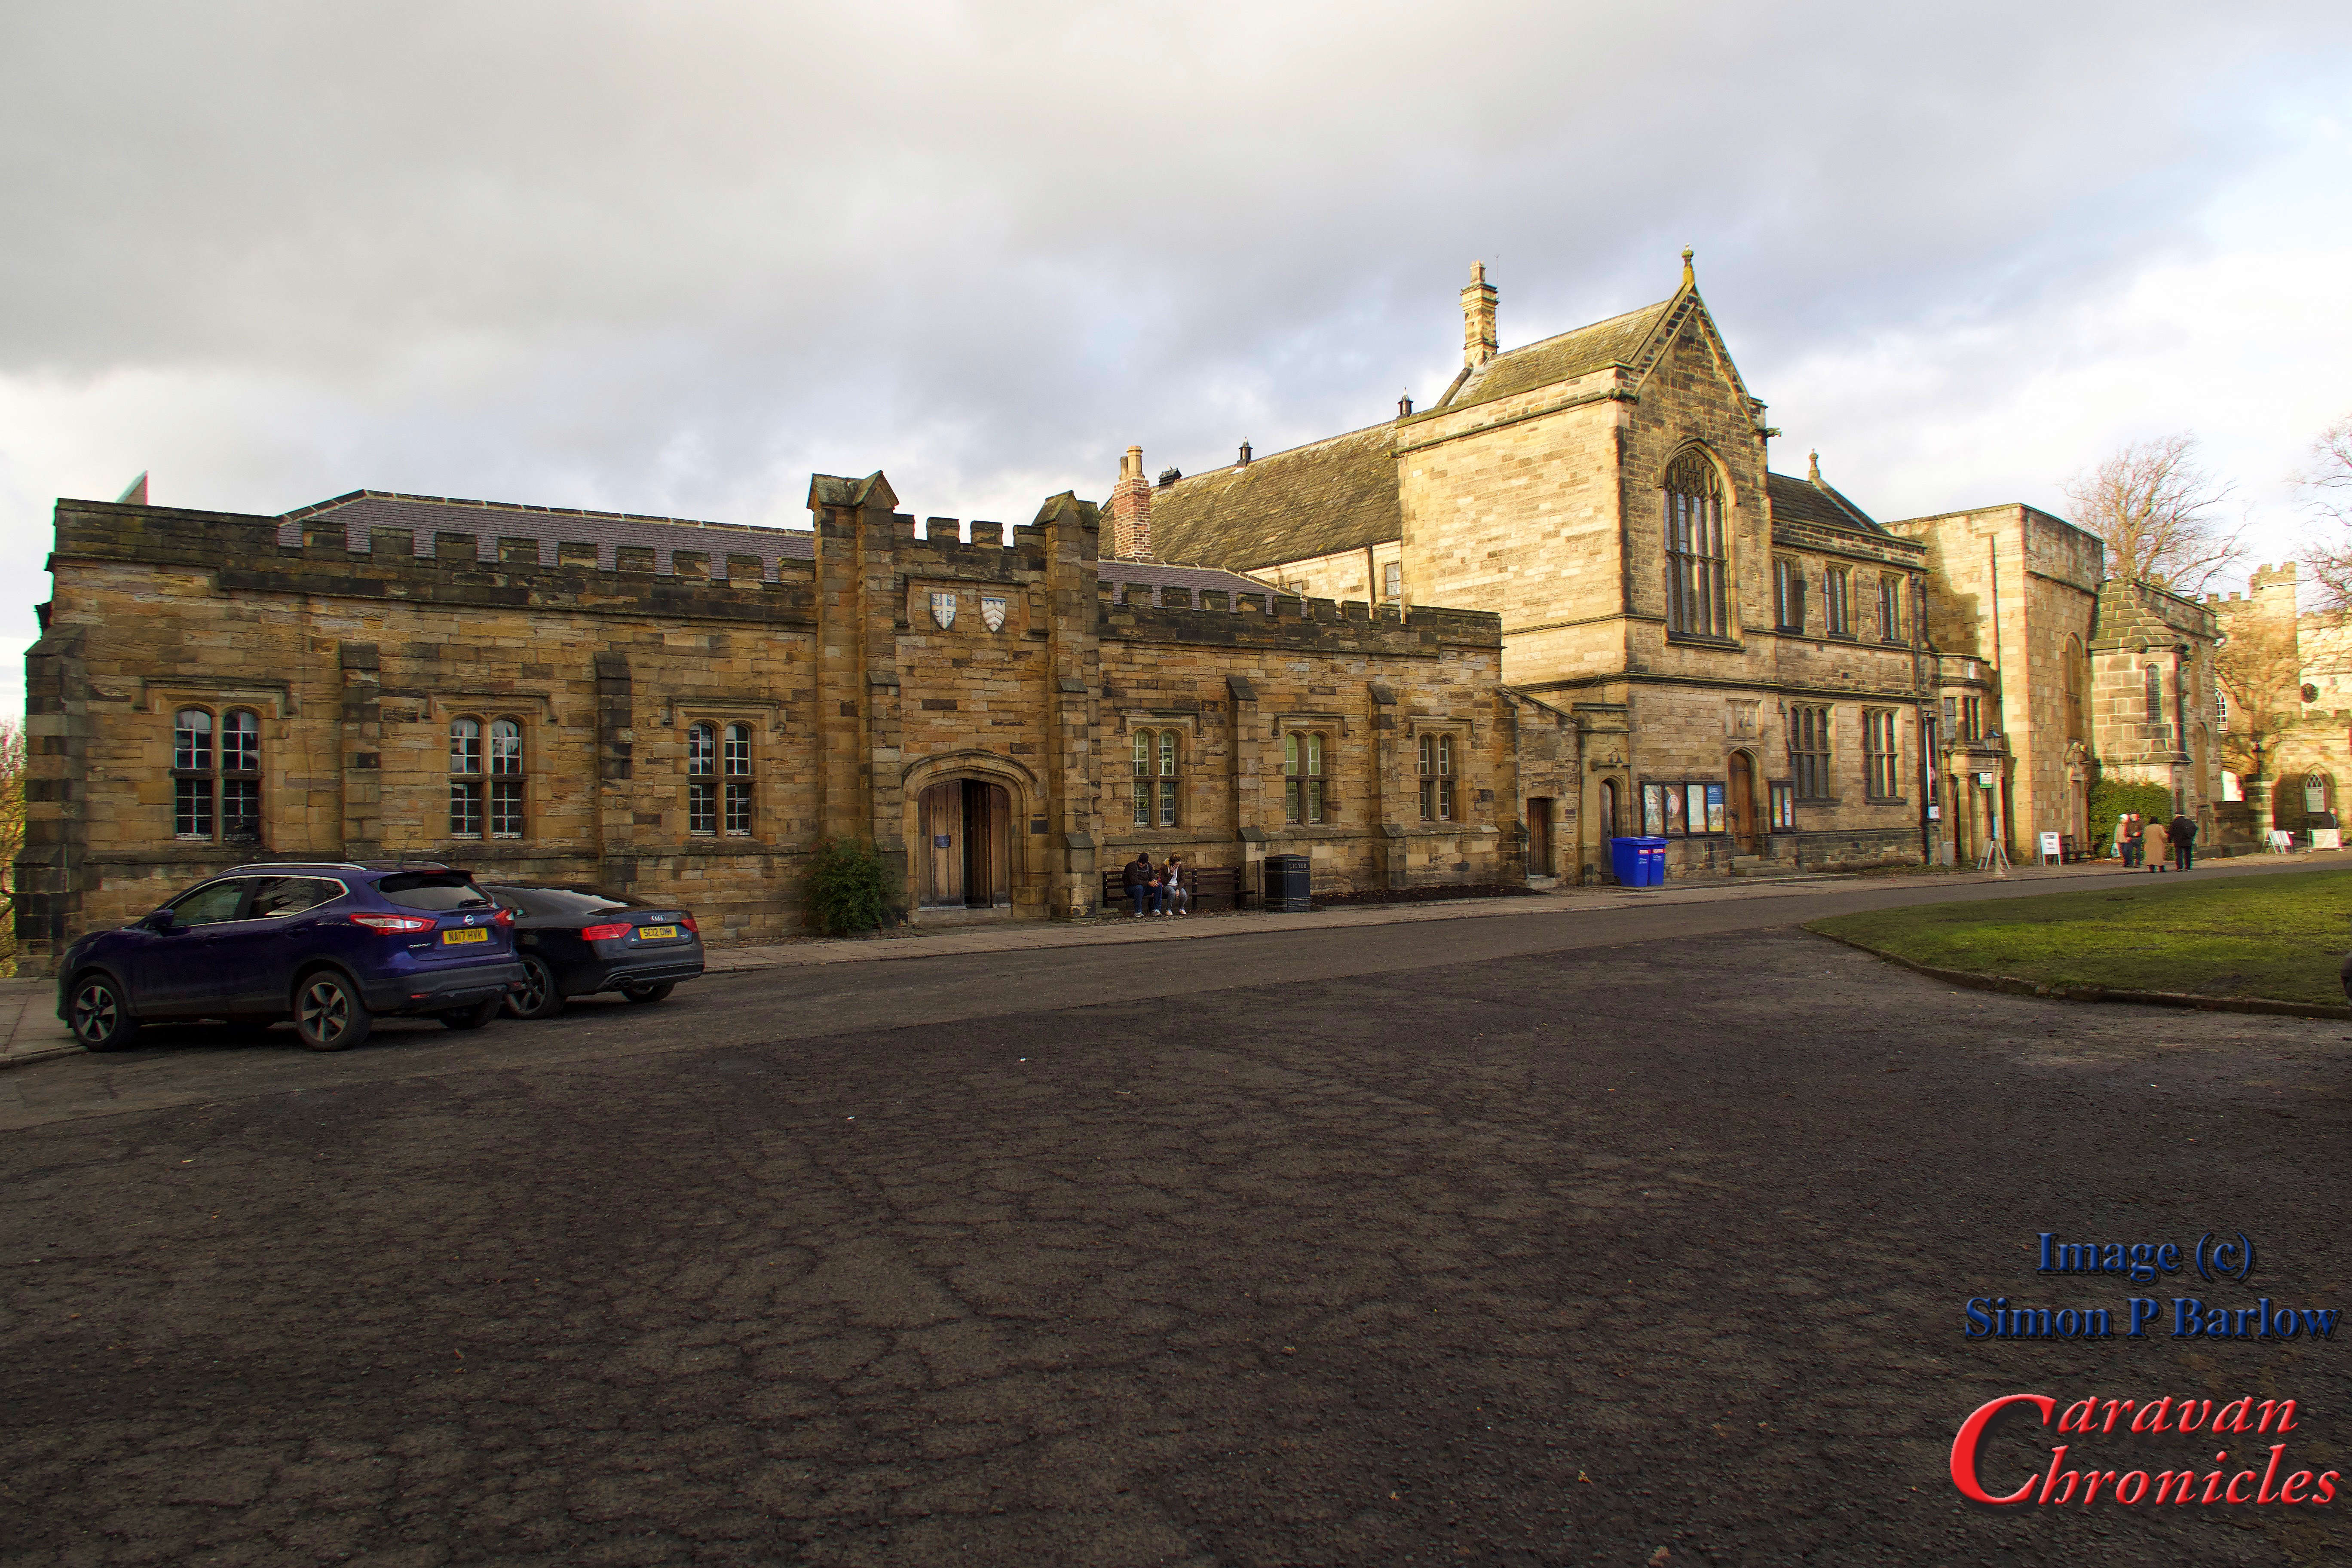
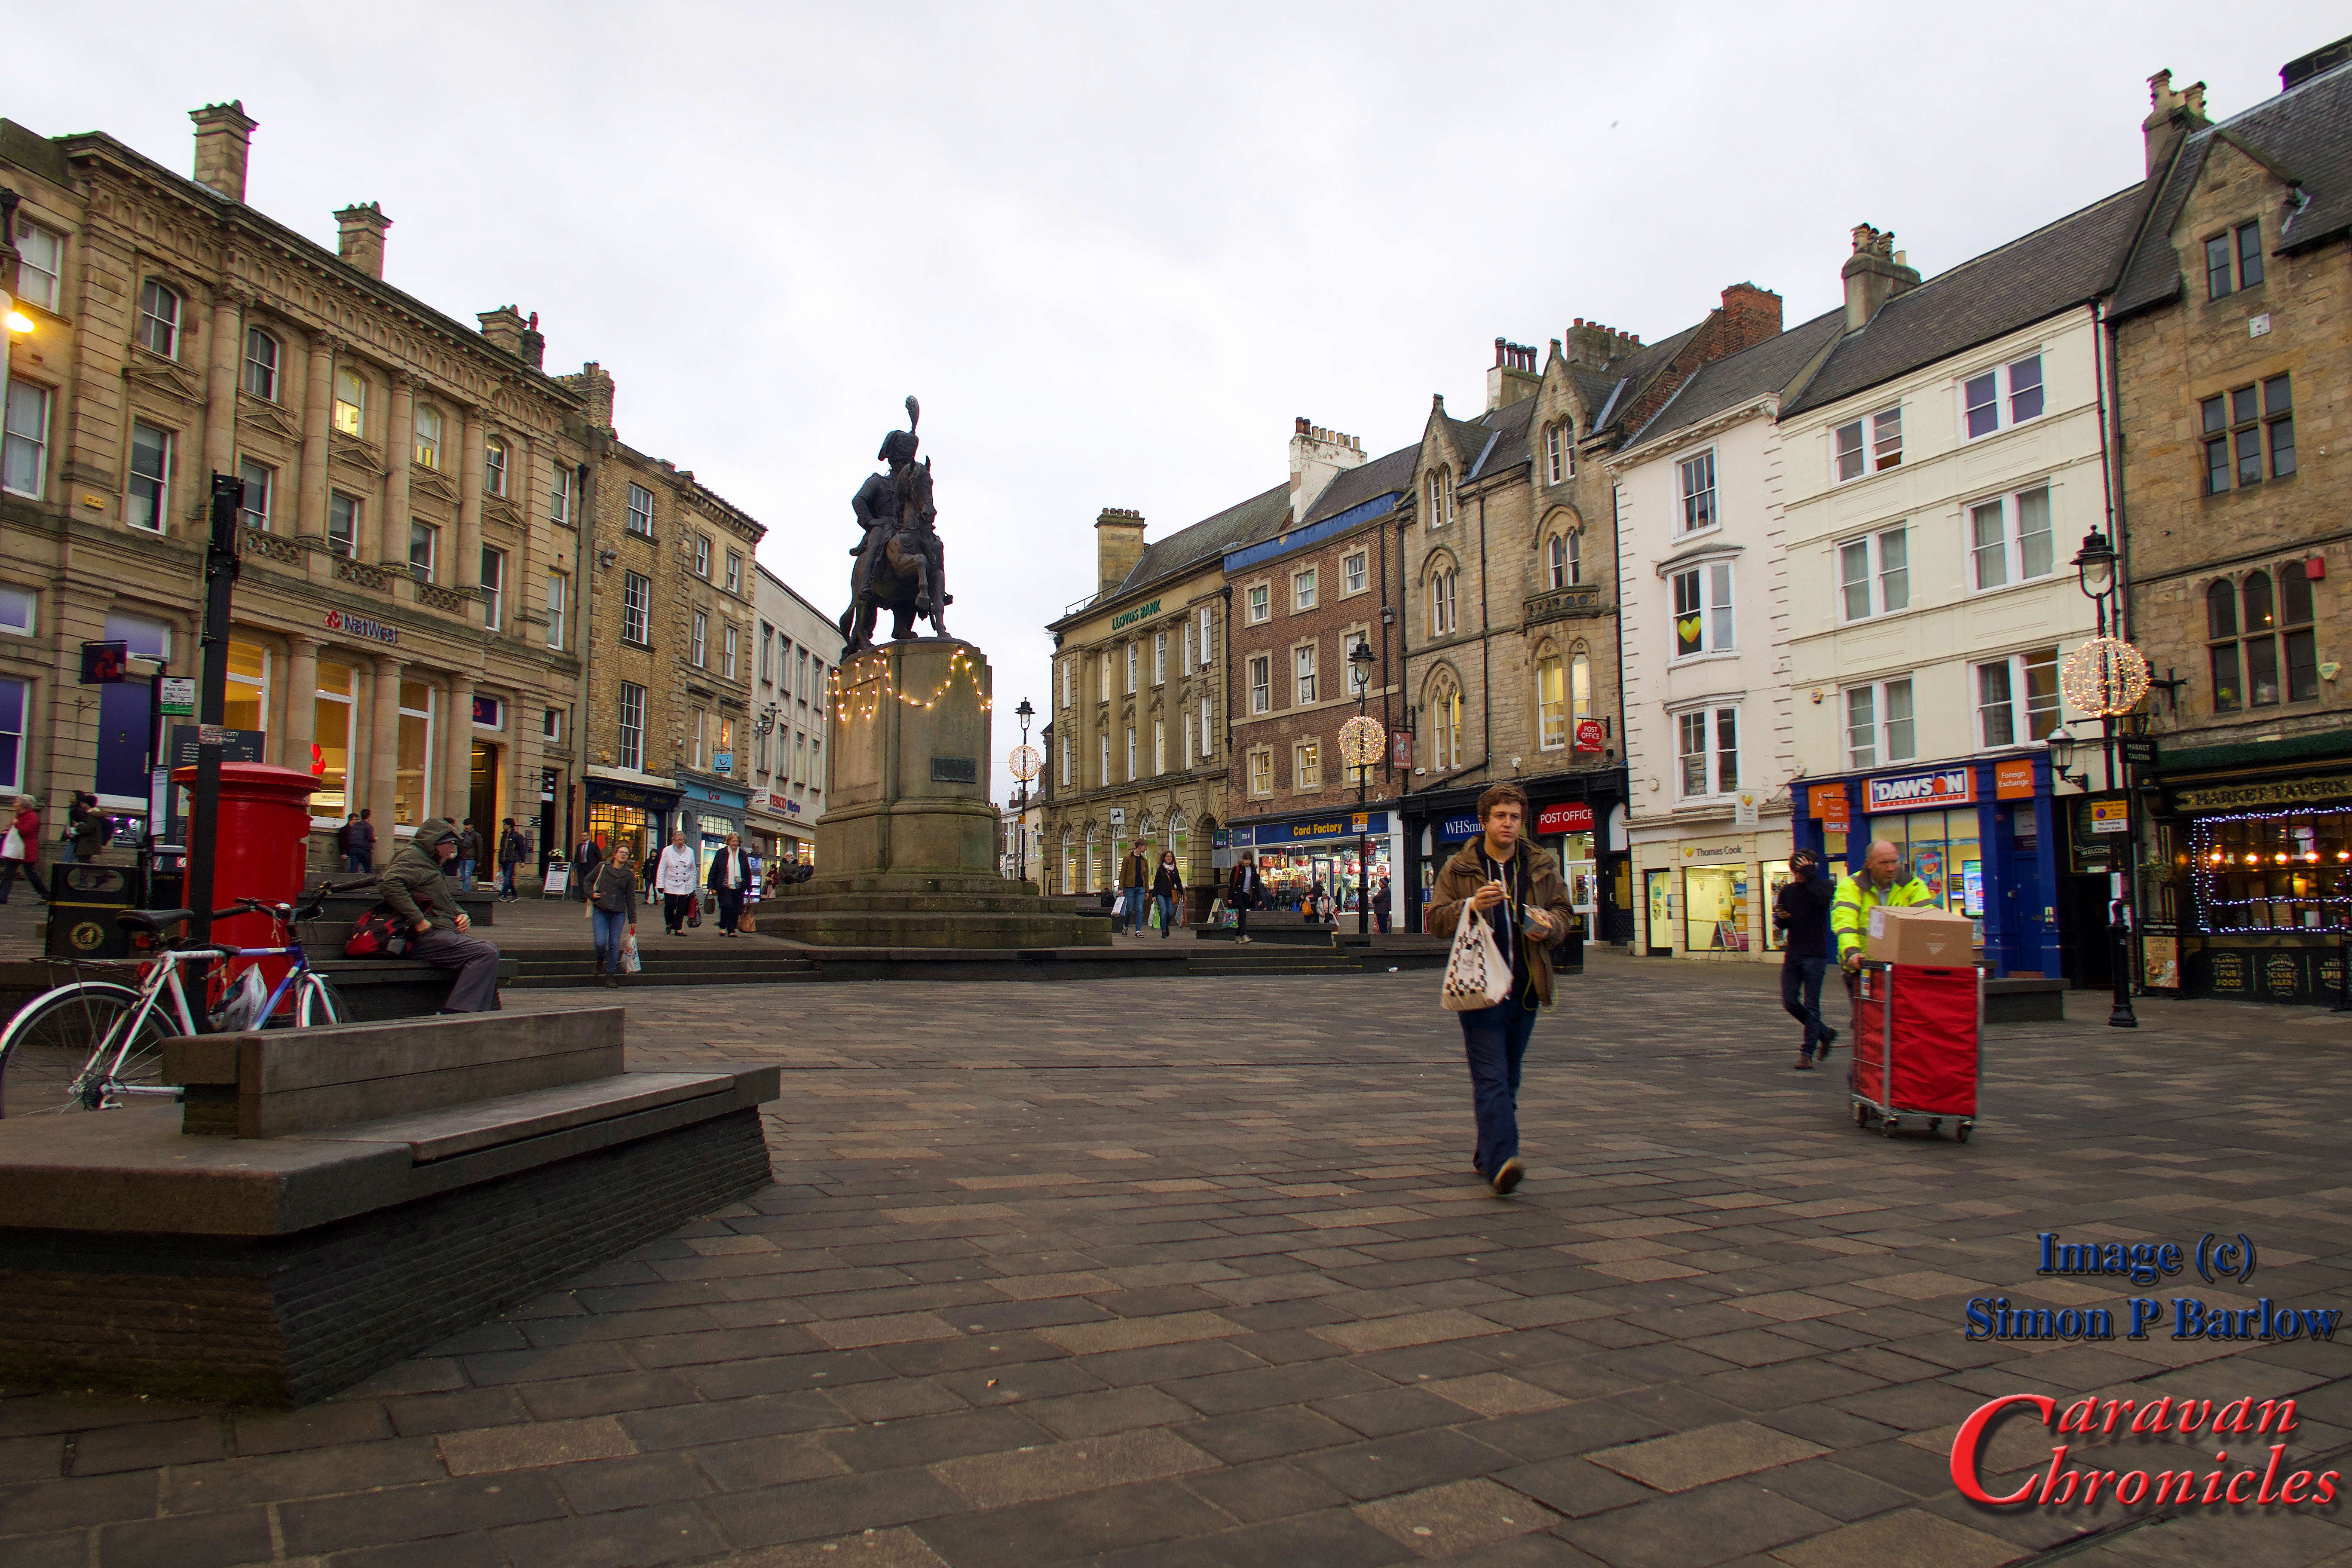
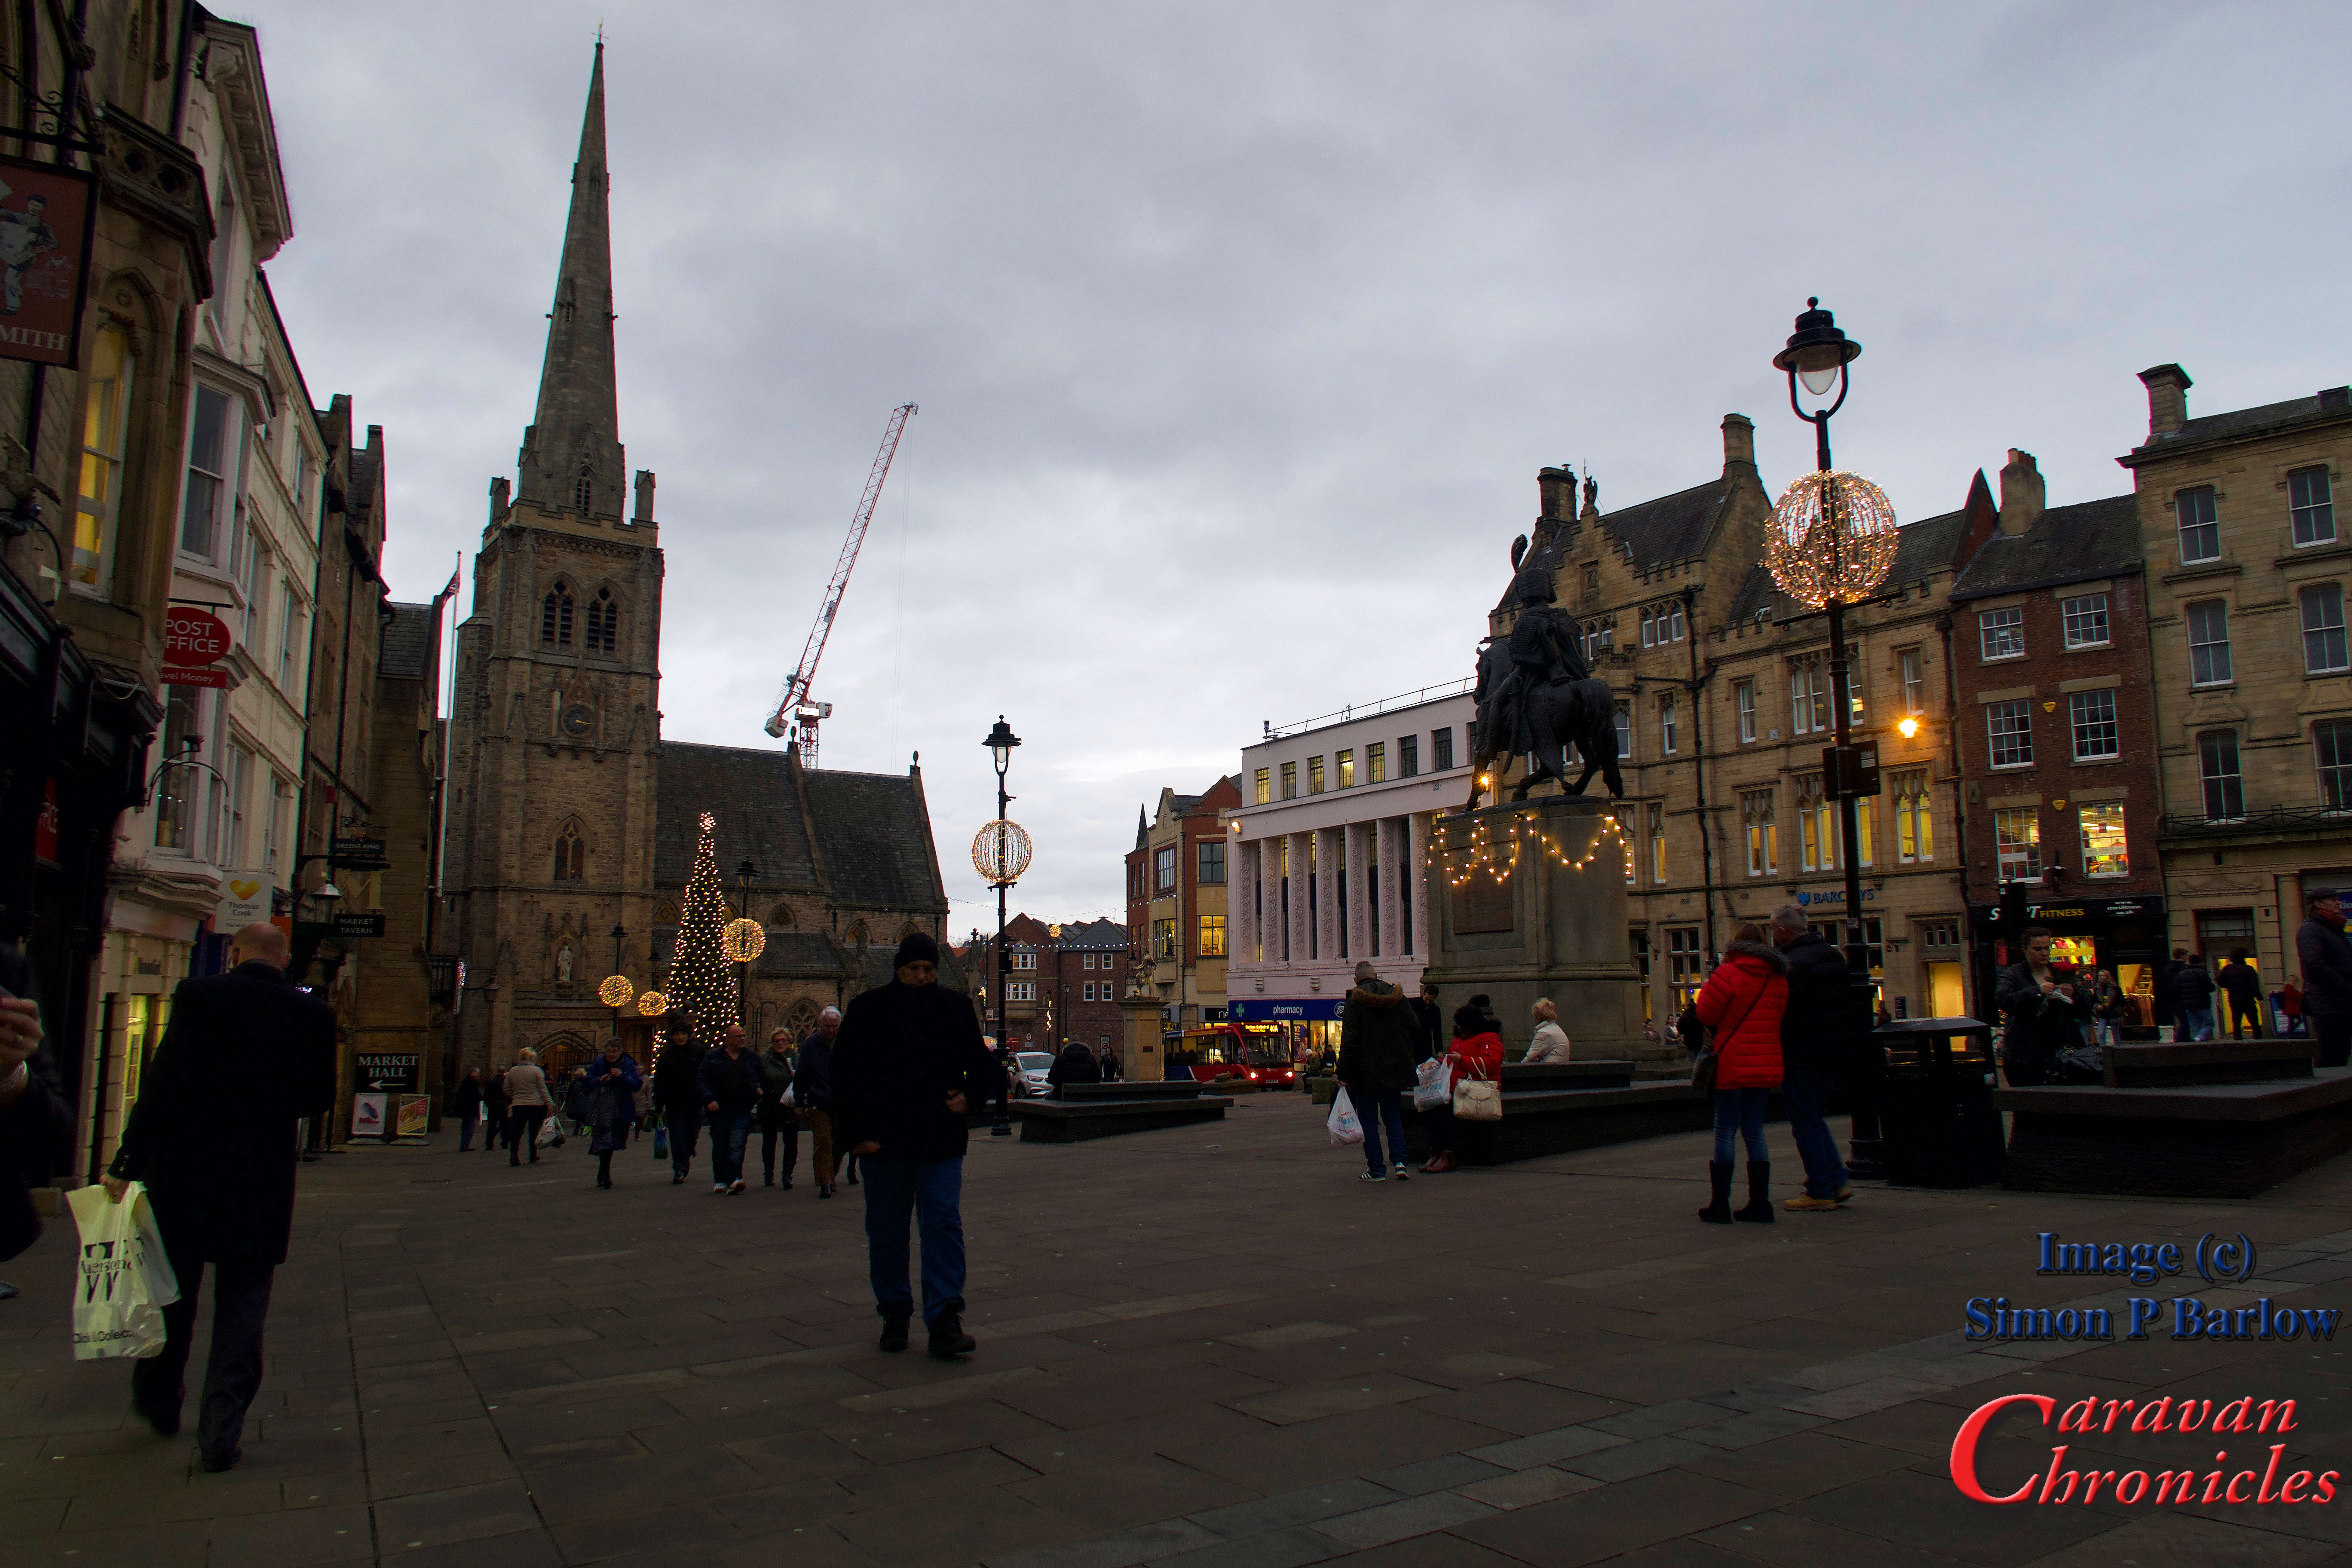
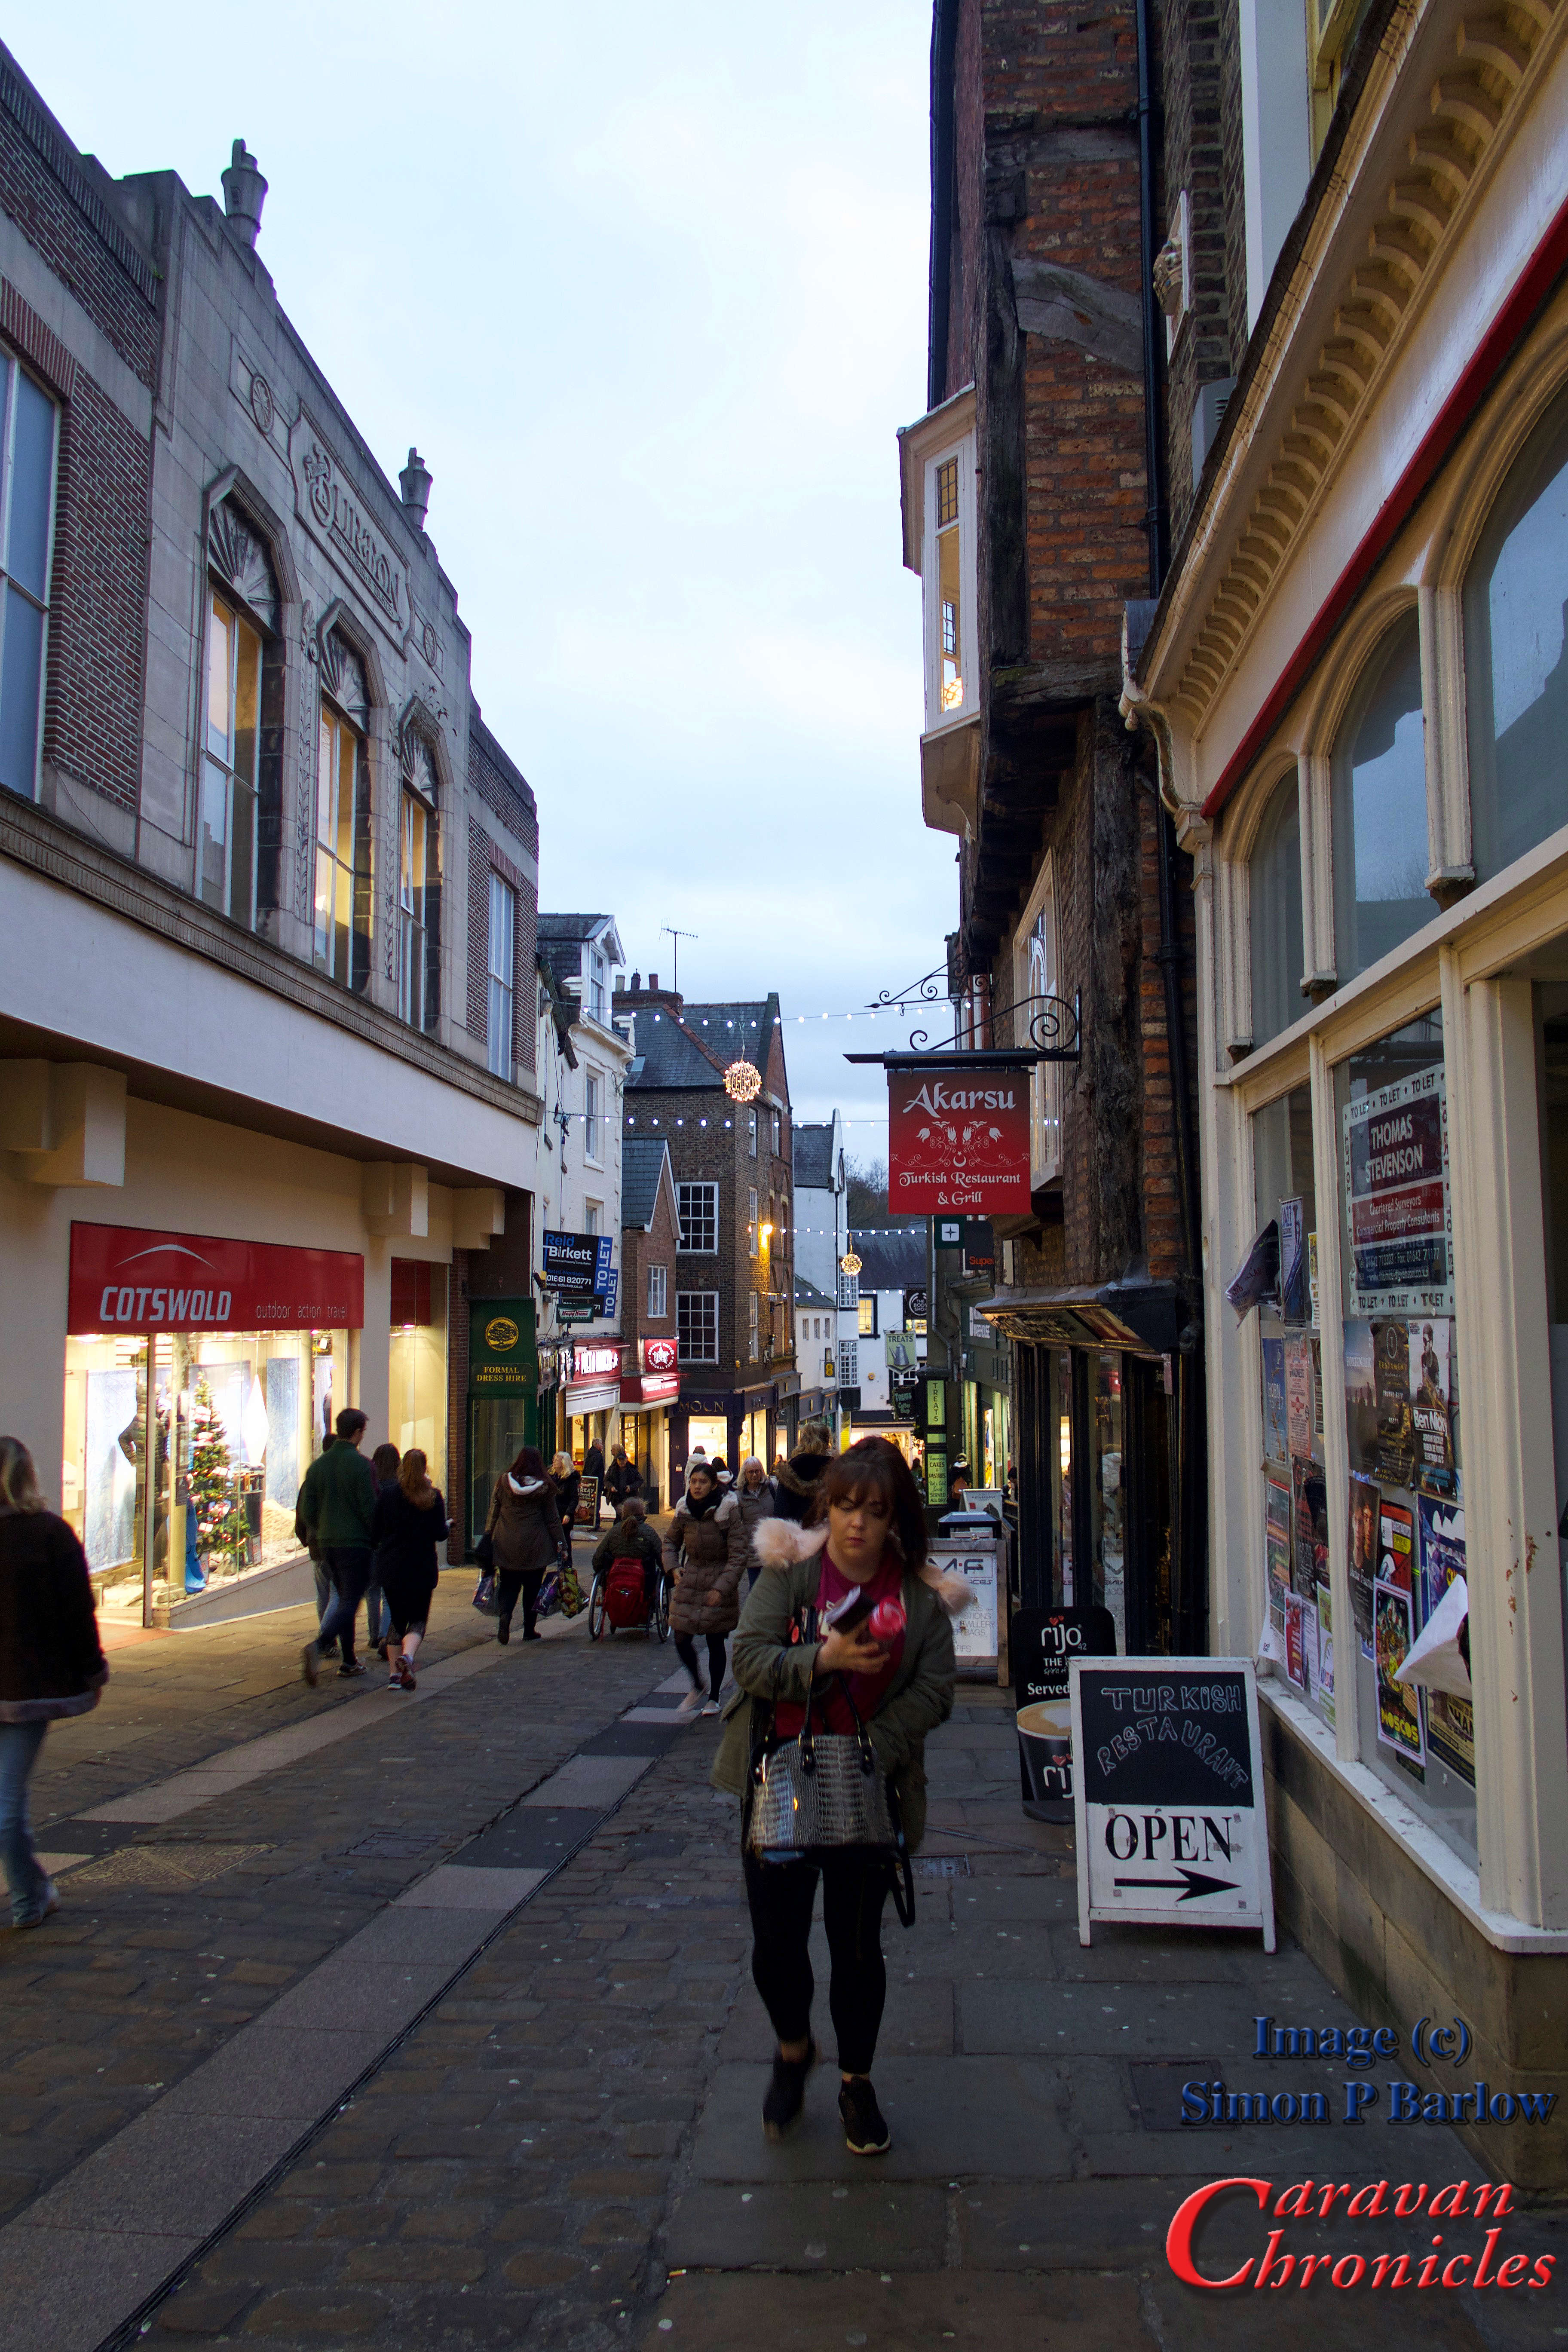
Durham Grange is also a great base for a trip into Durham. The Cathedral and Castle are worth a visit and there are plenty of shops to explore in the tiny streets in the city centre. Getting into the centre from the caravan site is easy. On the other side of the A1M to the site is a park and ride that takes you right into the city centre. However a word of caution….. if you walk you have to cross two-three lane slip roads to the A1M and it’s busy even out of peak periods. Trying to walk back to the site in rush hour has to be avoided. We got the park and ride bus in but decided that it would be safer getting a taxi back. In summer however, if you ask the wardens they have a map with the details of a riverside walk into the town centre.

Three days at Durham Grange really didn’t give us chance to explore further, it has been added to the long list of “must go back so we can see….” collection.

Next stop…. York

York has to be on everyone’s list of favourite cities. We had chosen a Tranquil Touring site – York Caravan Park for the second part of our festive tour.  Despite the weather forecast of strong winds for the next 24 hours and an increasing chance of light snow the further south we got, the drive down from Durham was an easy tow and the sat nav directed us round Yorks outer ring roads. The only real traffic we saw was around the ring road. As York is a bit of a no go for visiting by car the ring road and feeder roads to the various park and ride points can be a bit congested, but a bit of patience and we were only around 15 minutes late based on what our sat-nav had predicted when setting off. The temperature by now was also dropping and hadn’t risen above four degrees for the whole journey.

IMG_1281

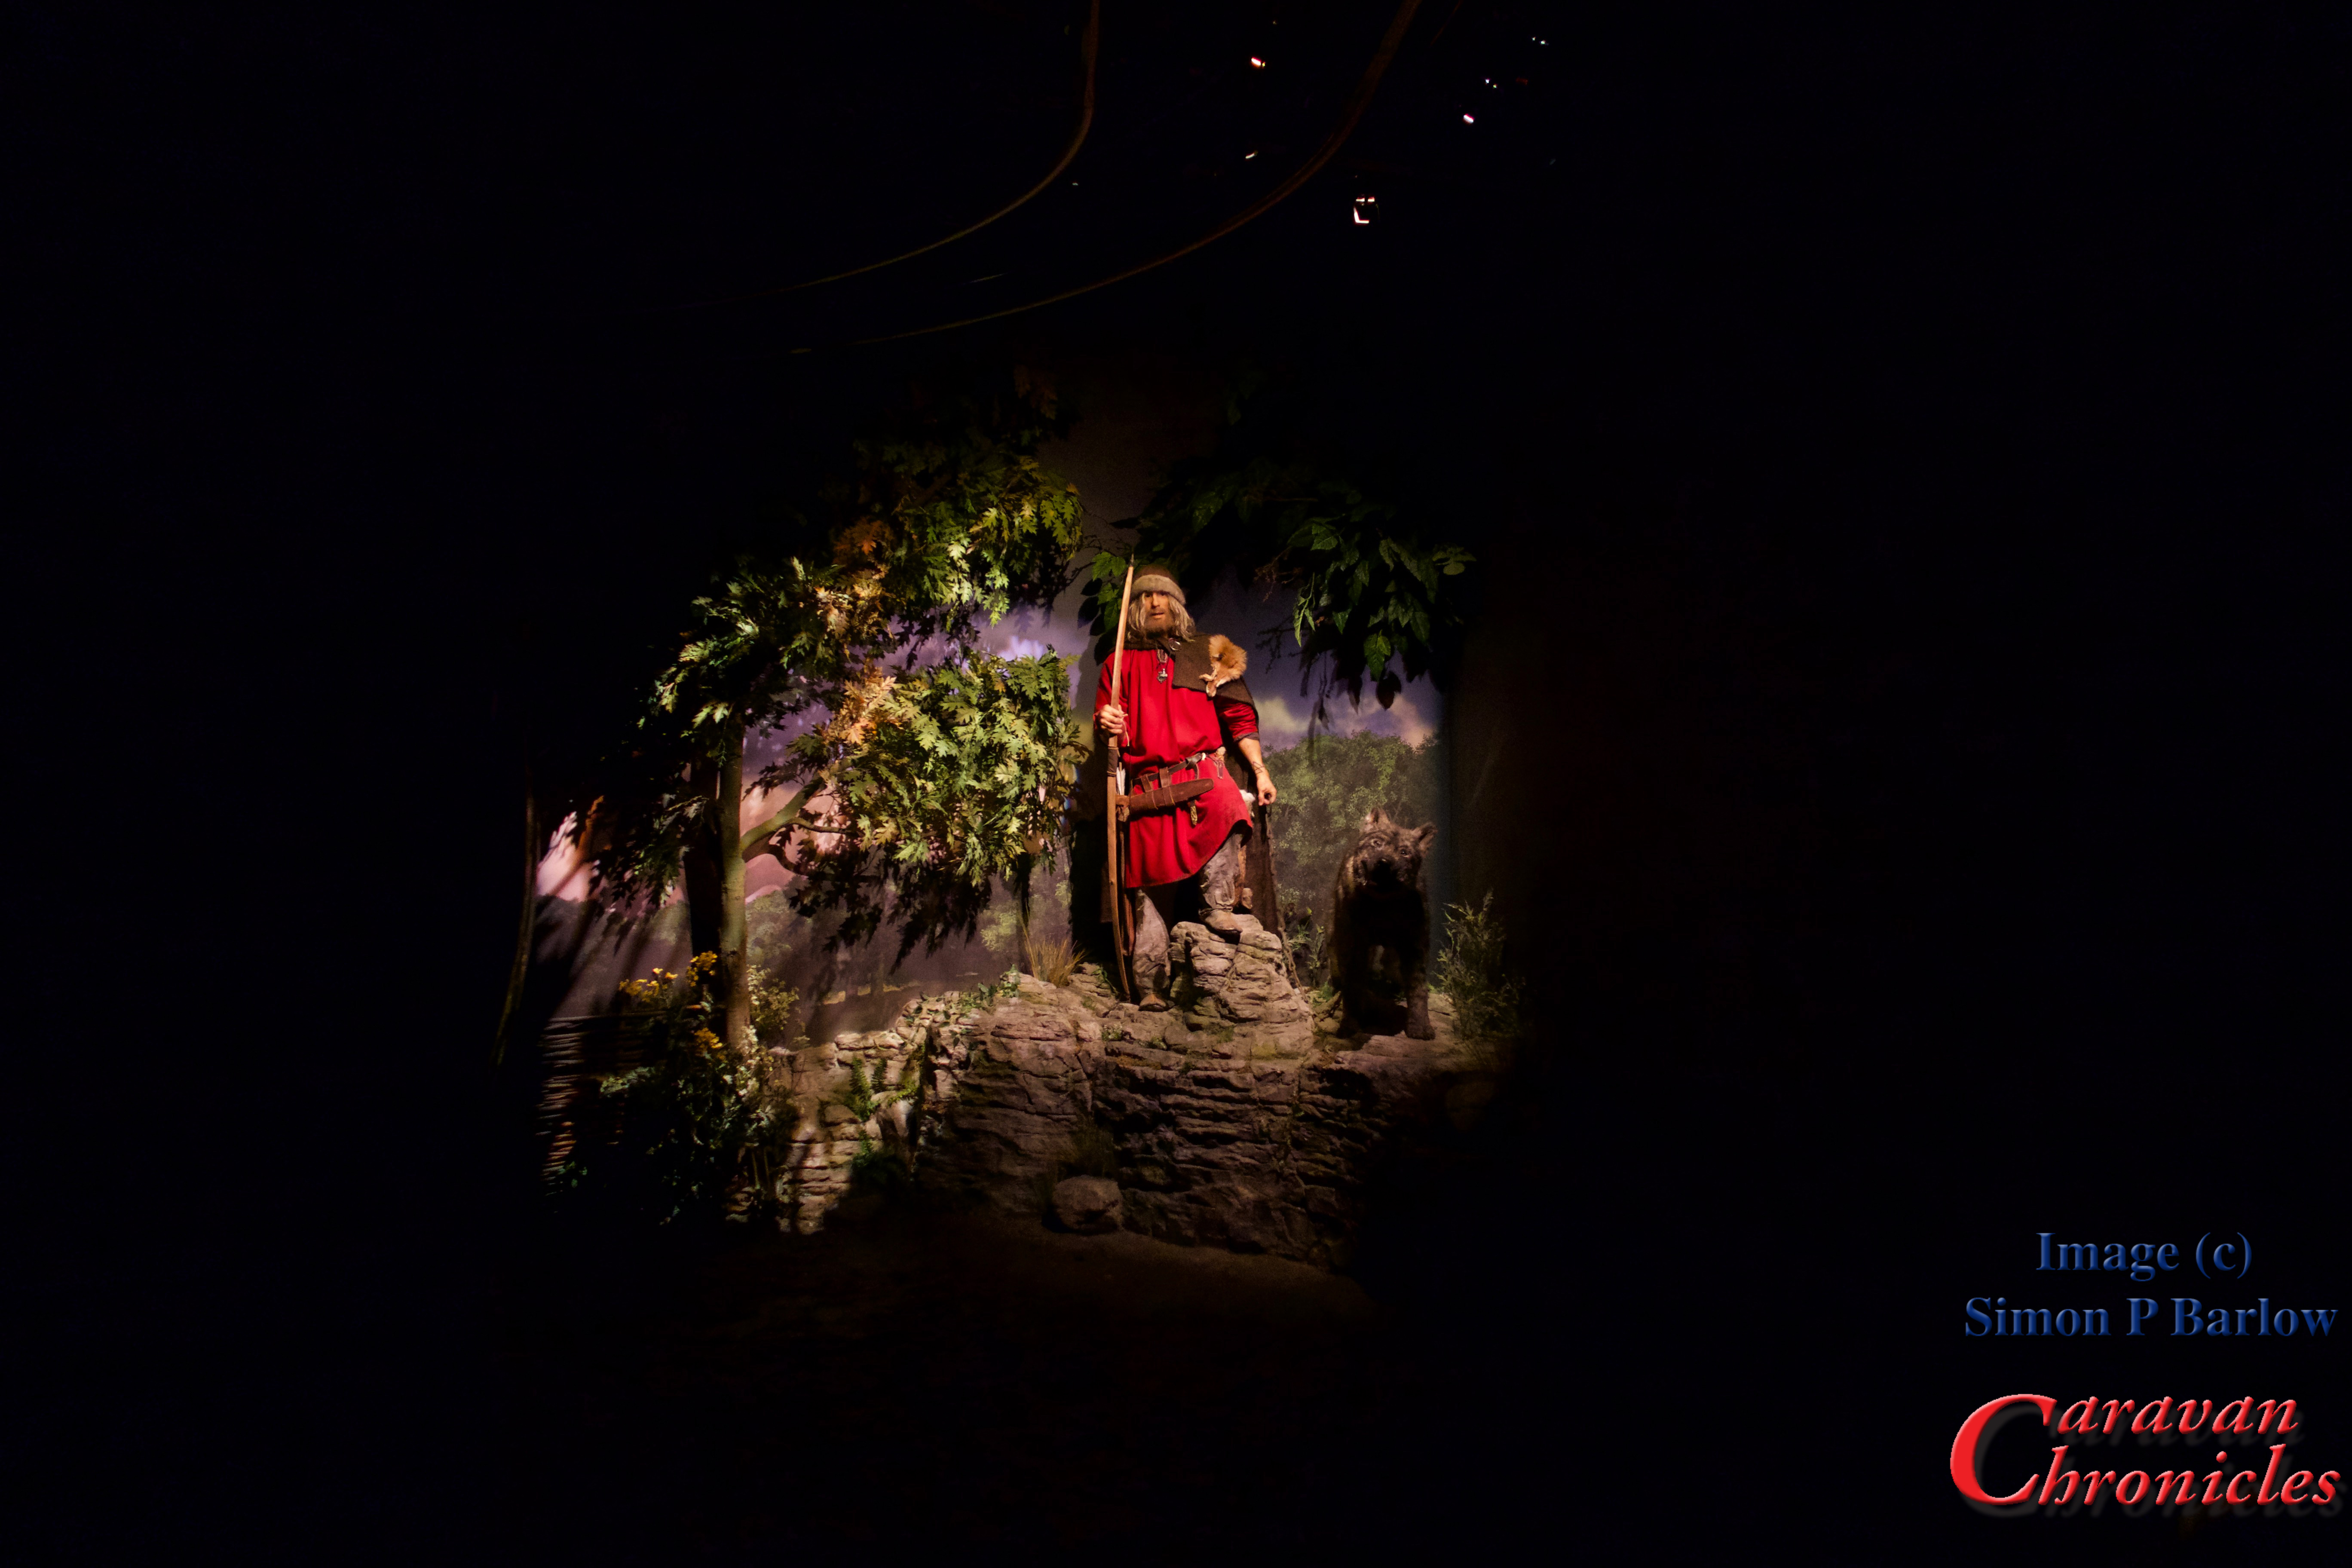
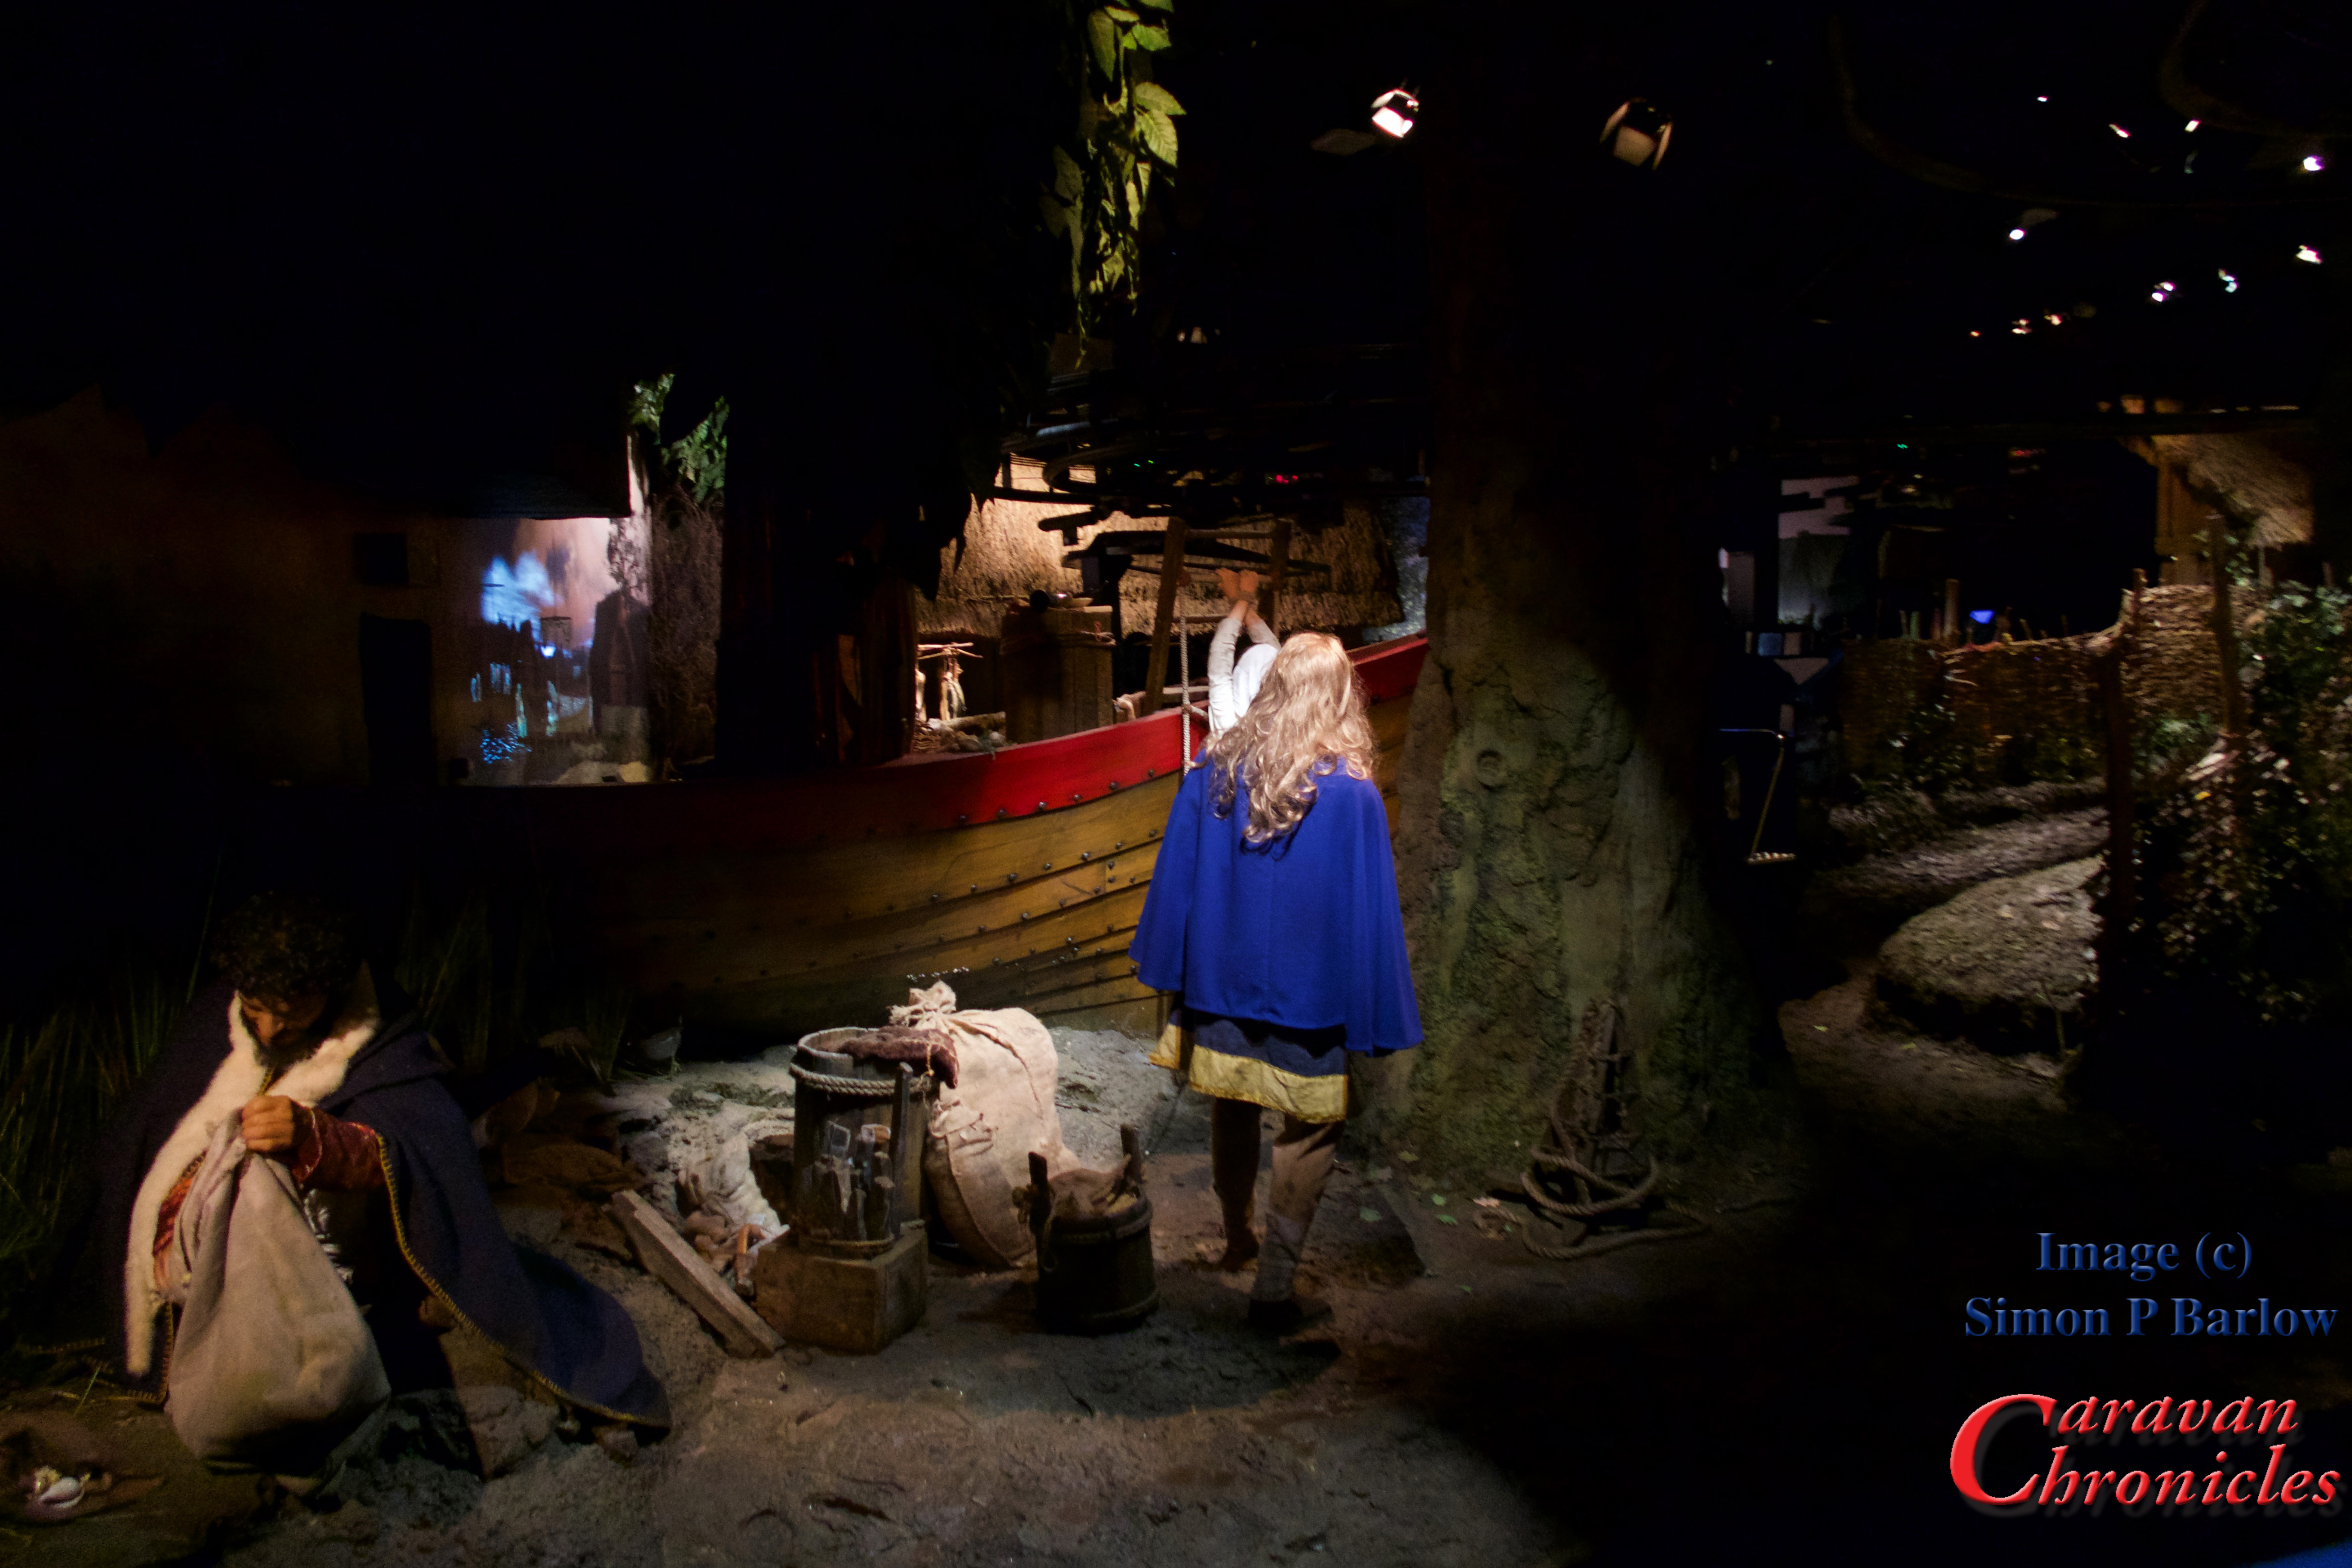
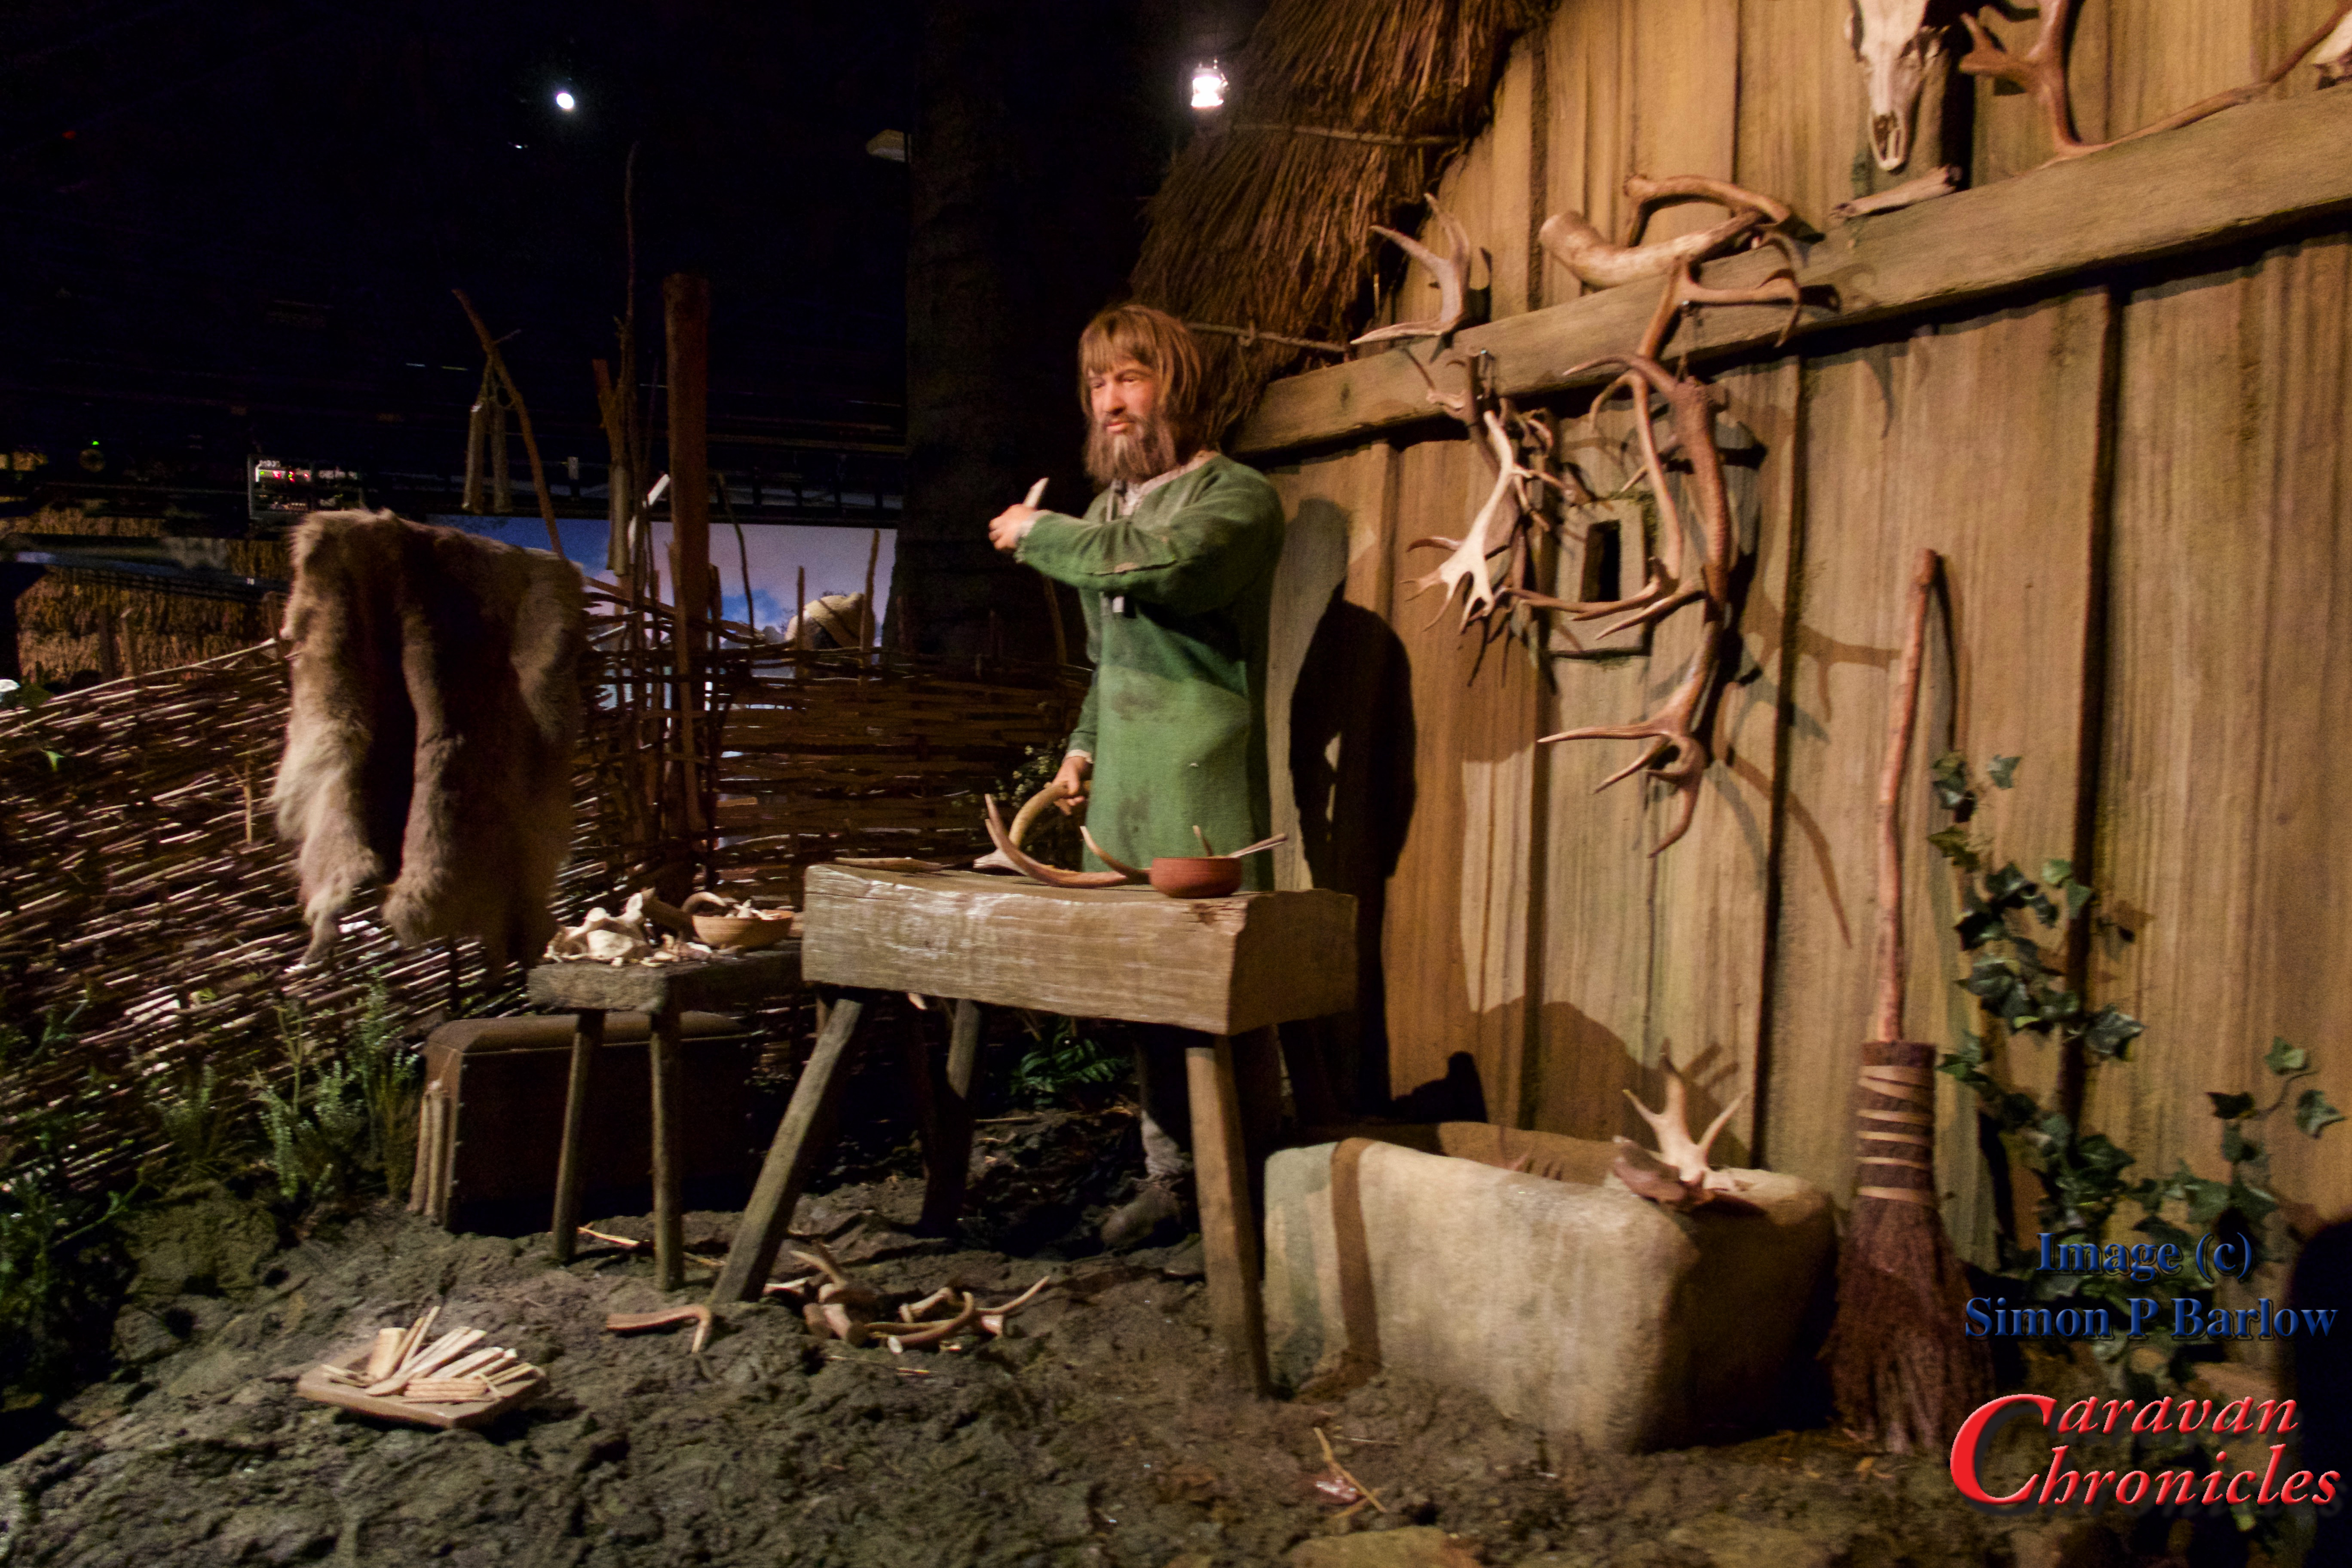
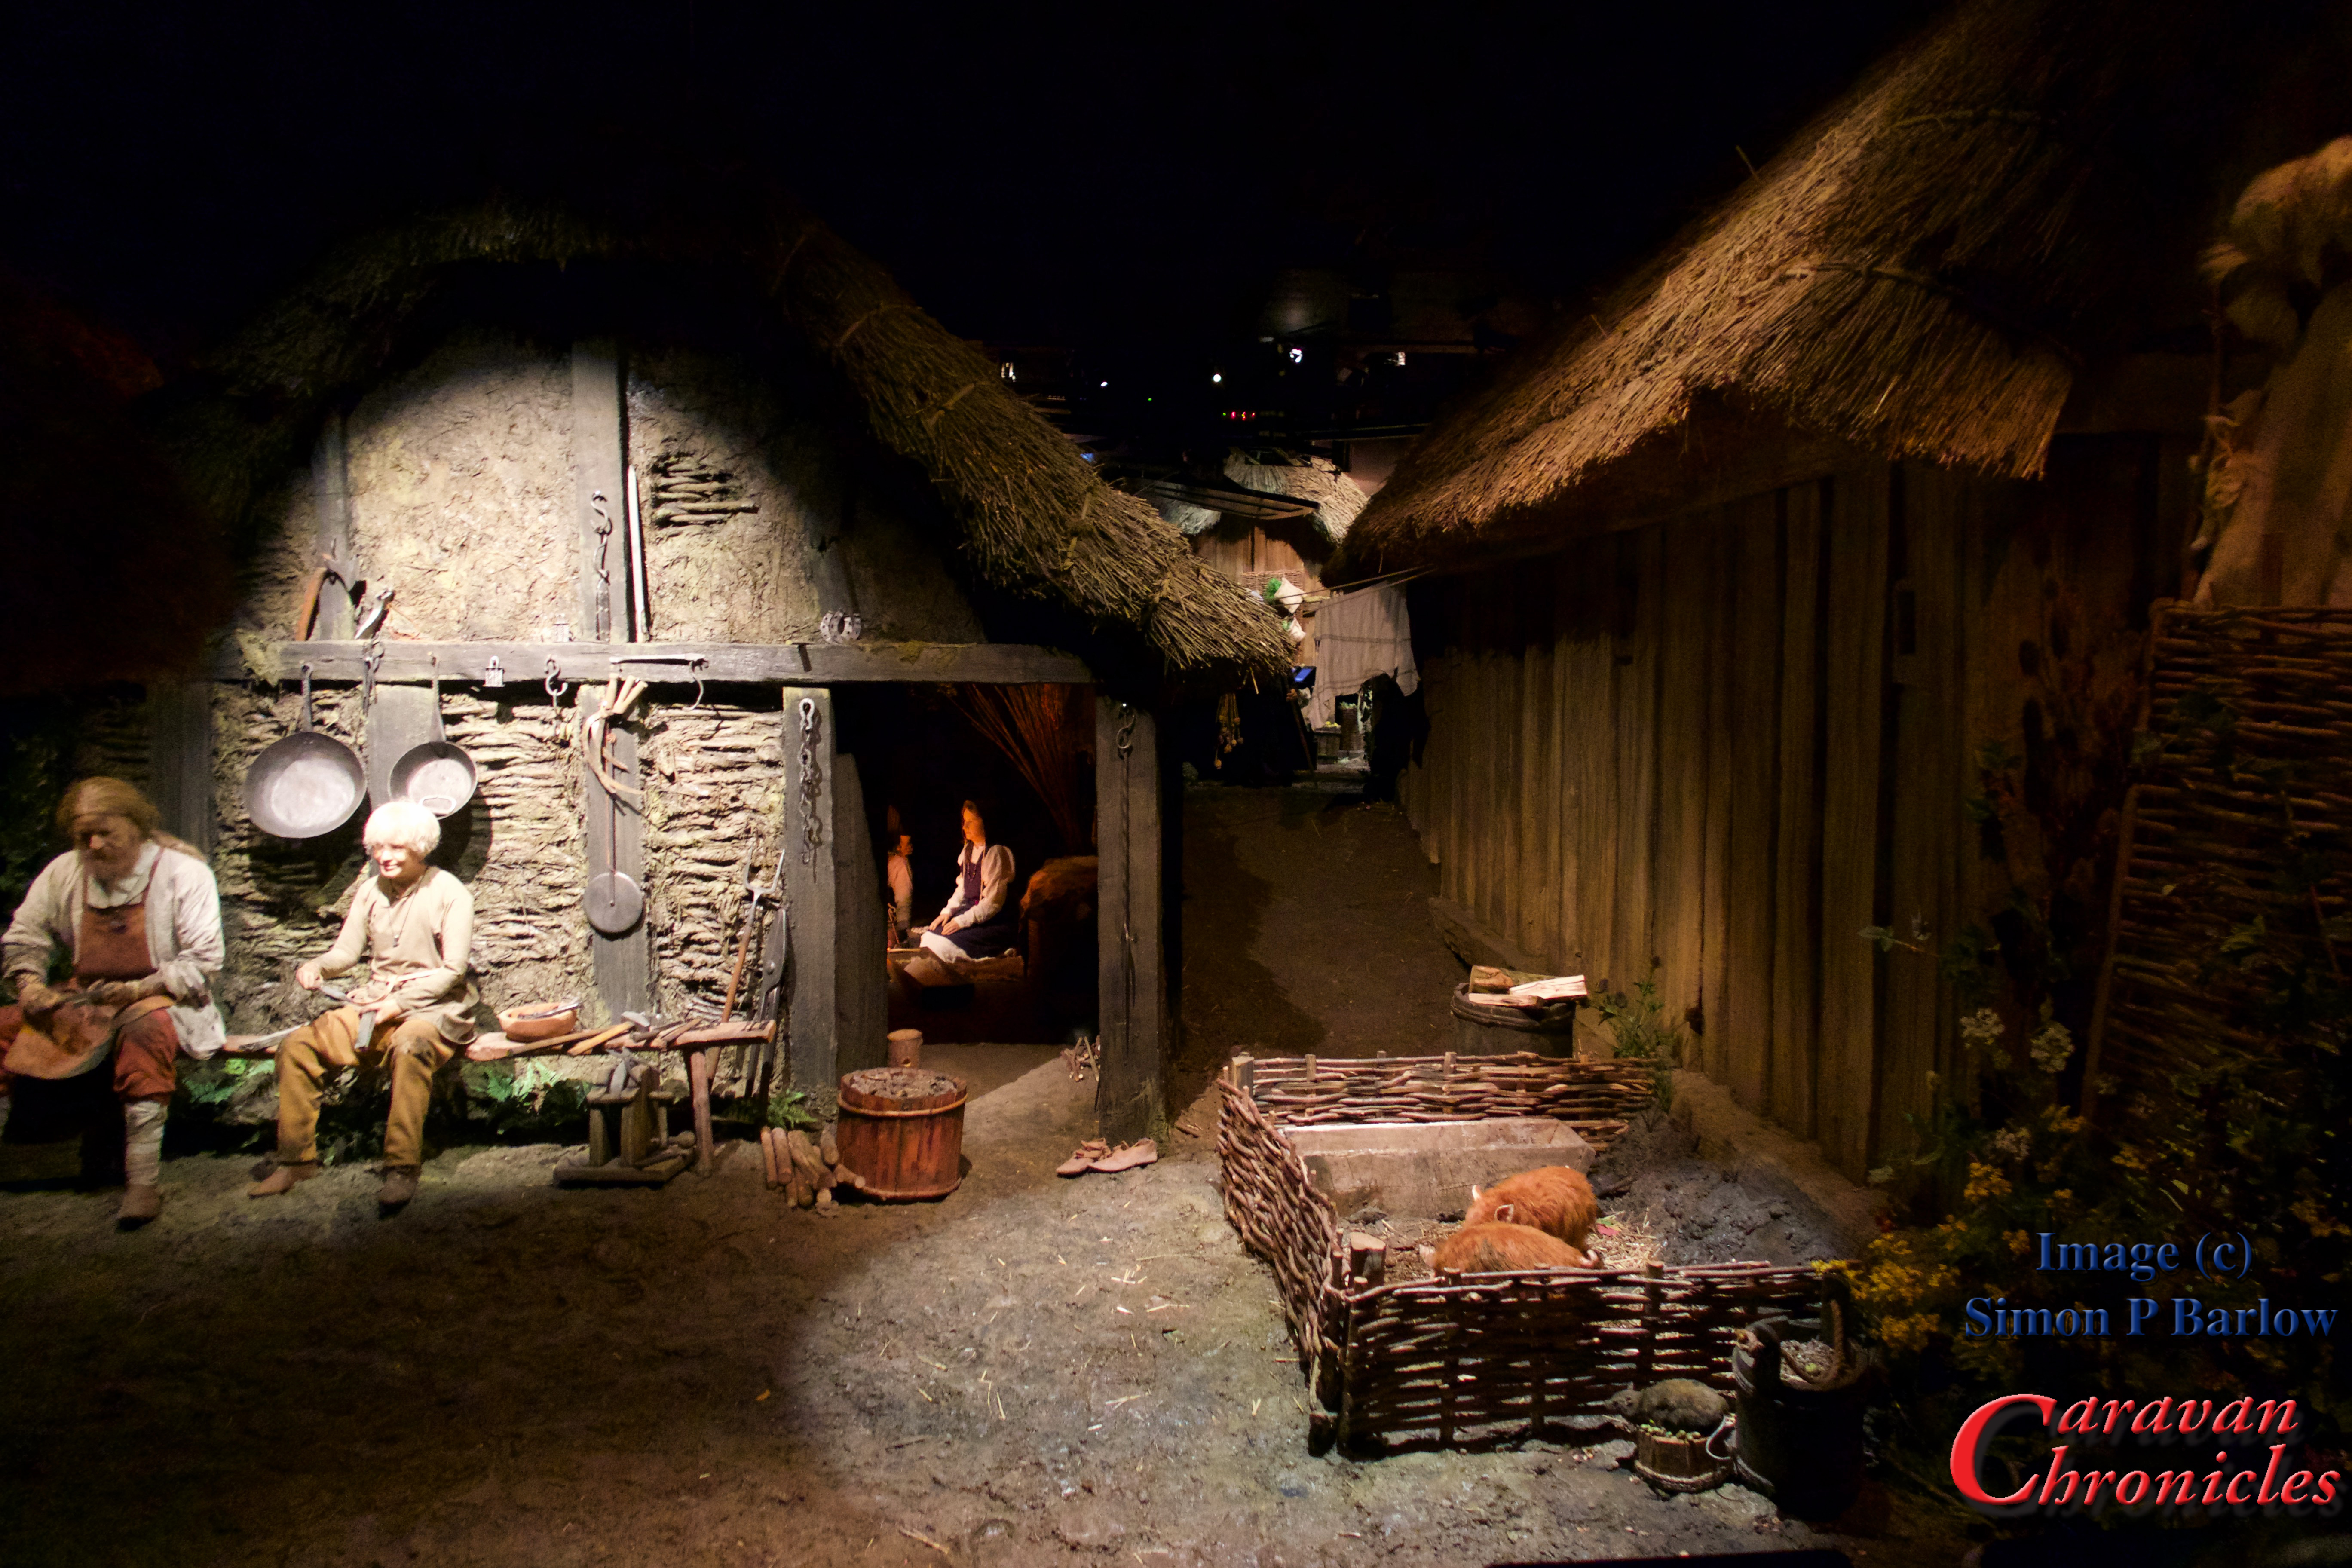
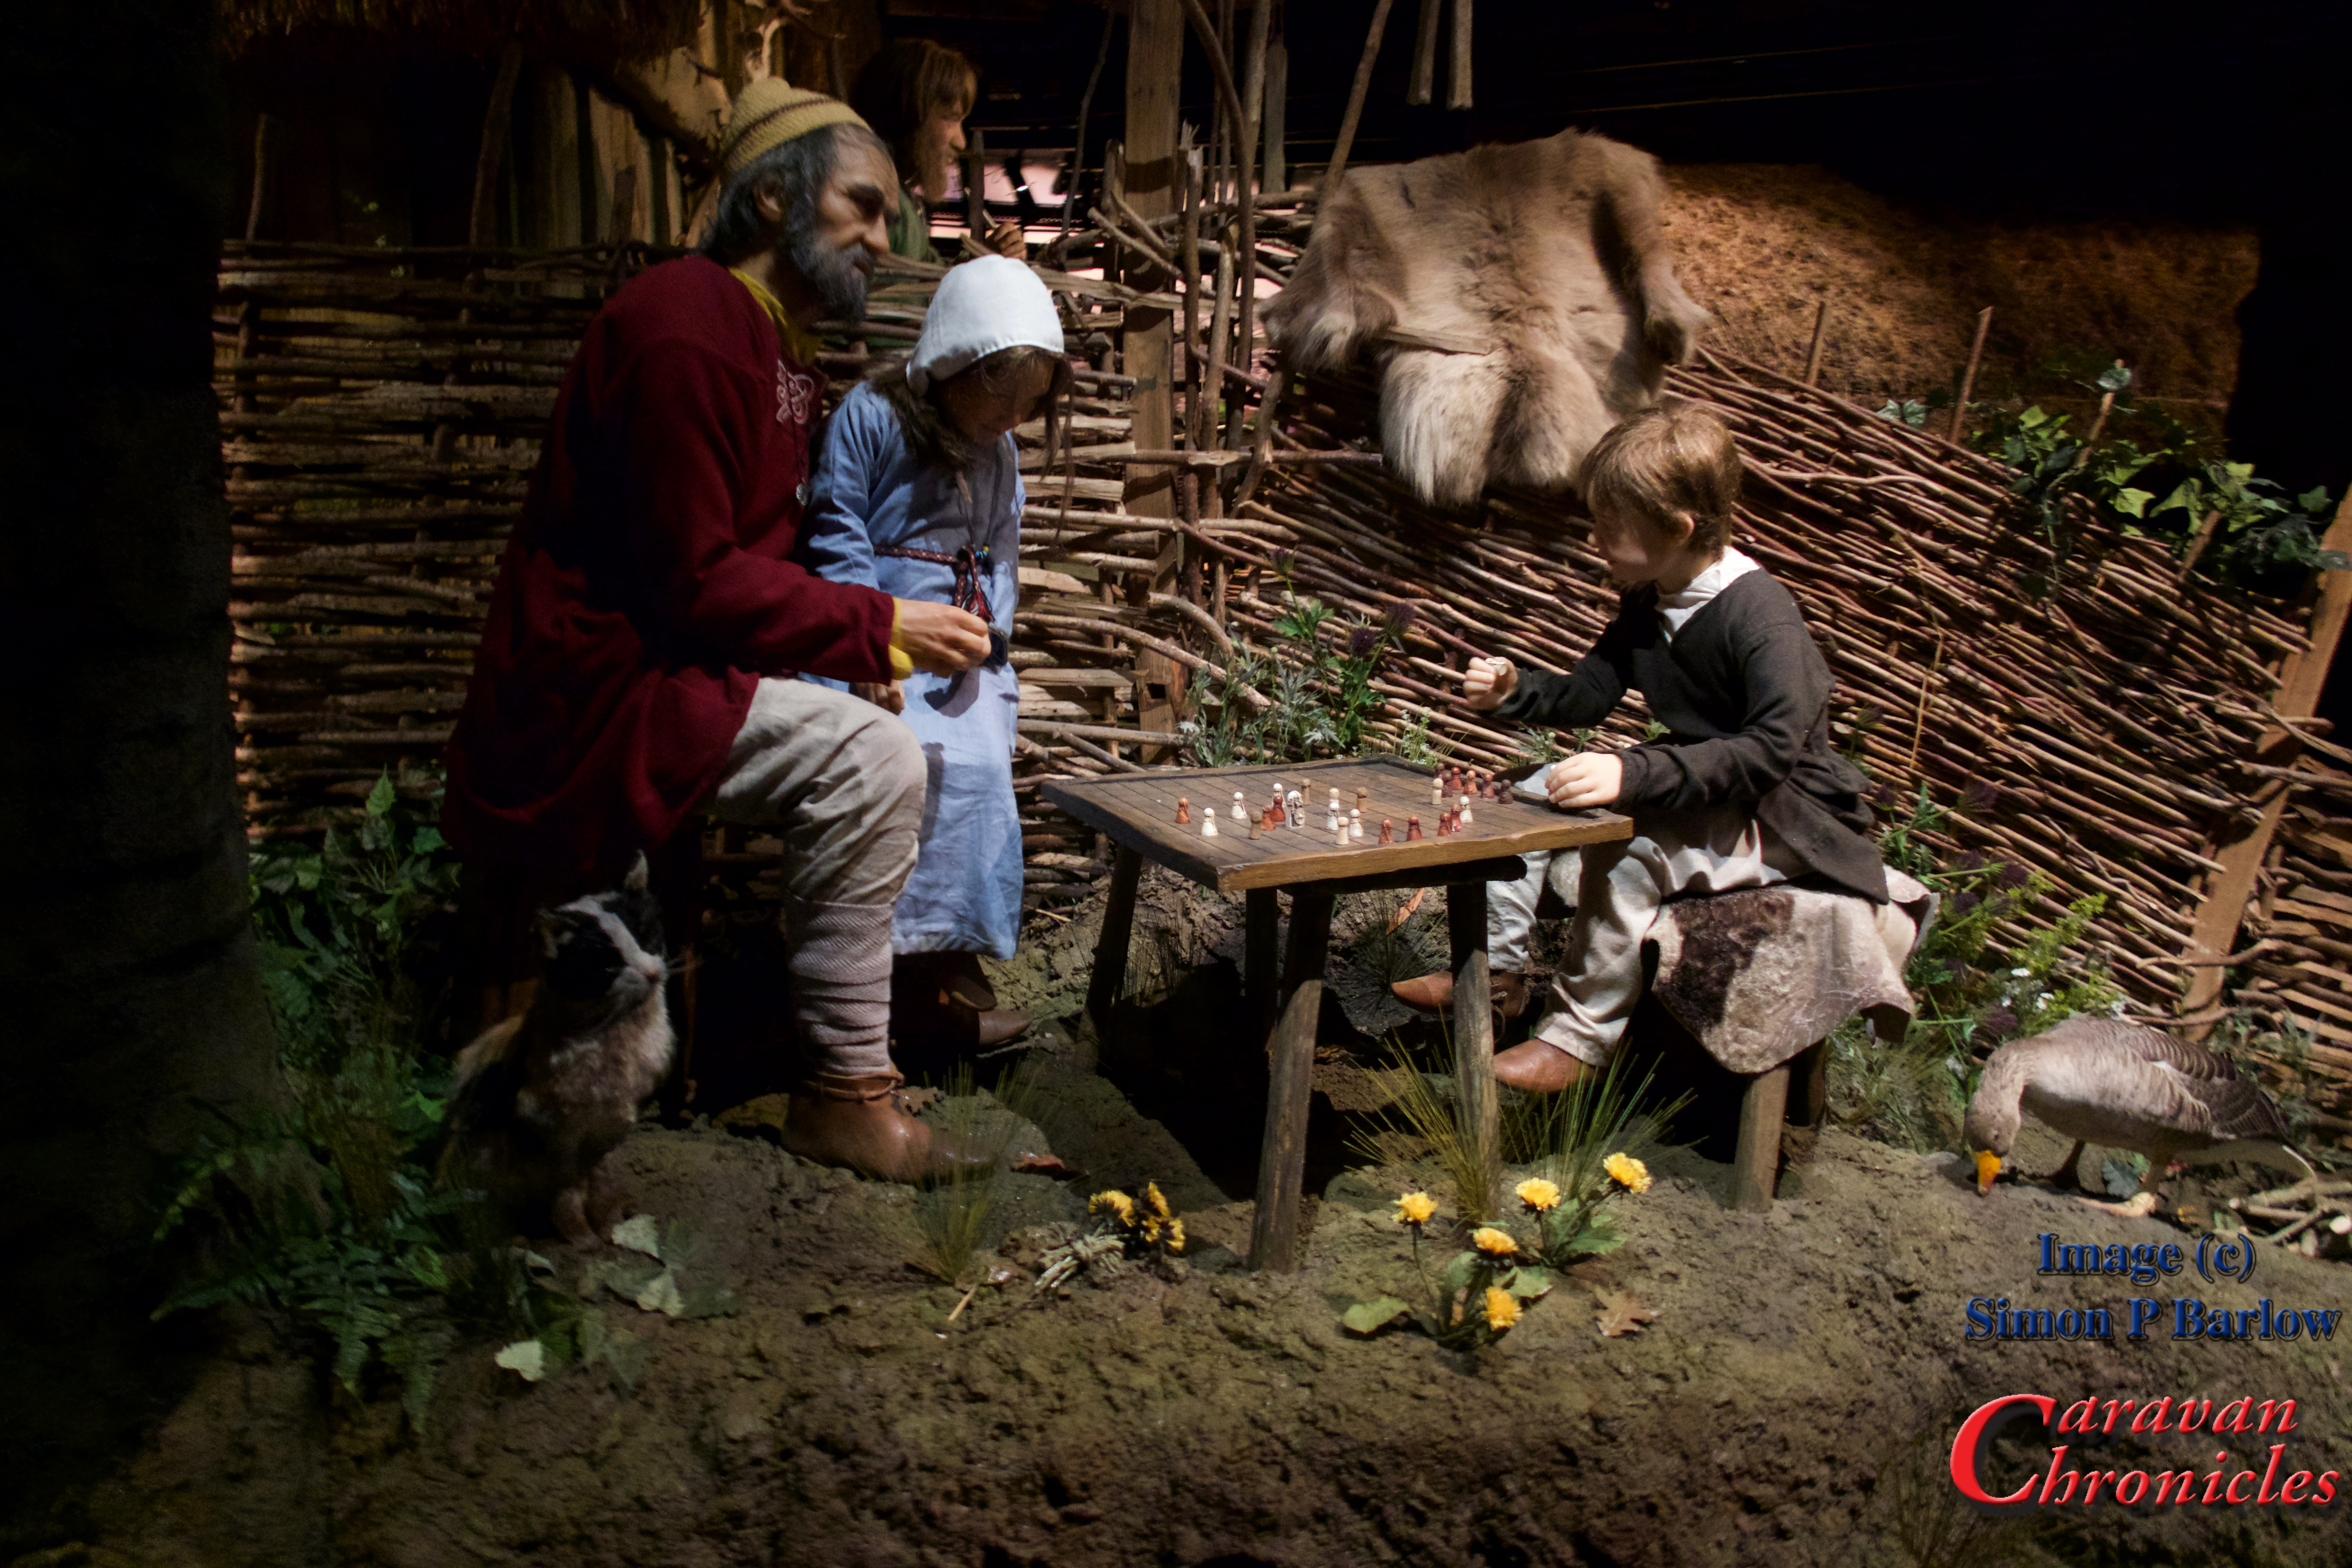
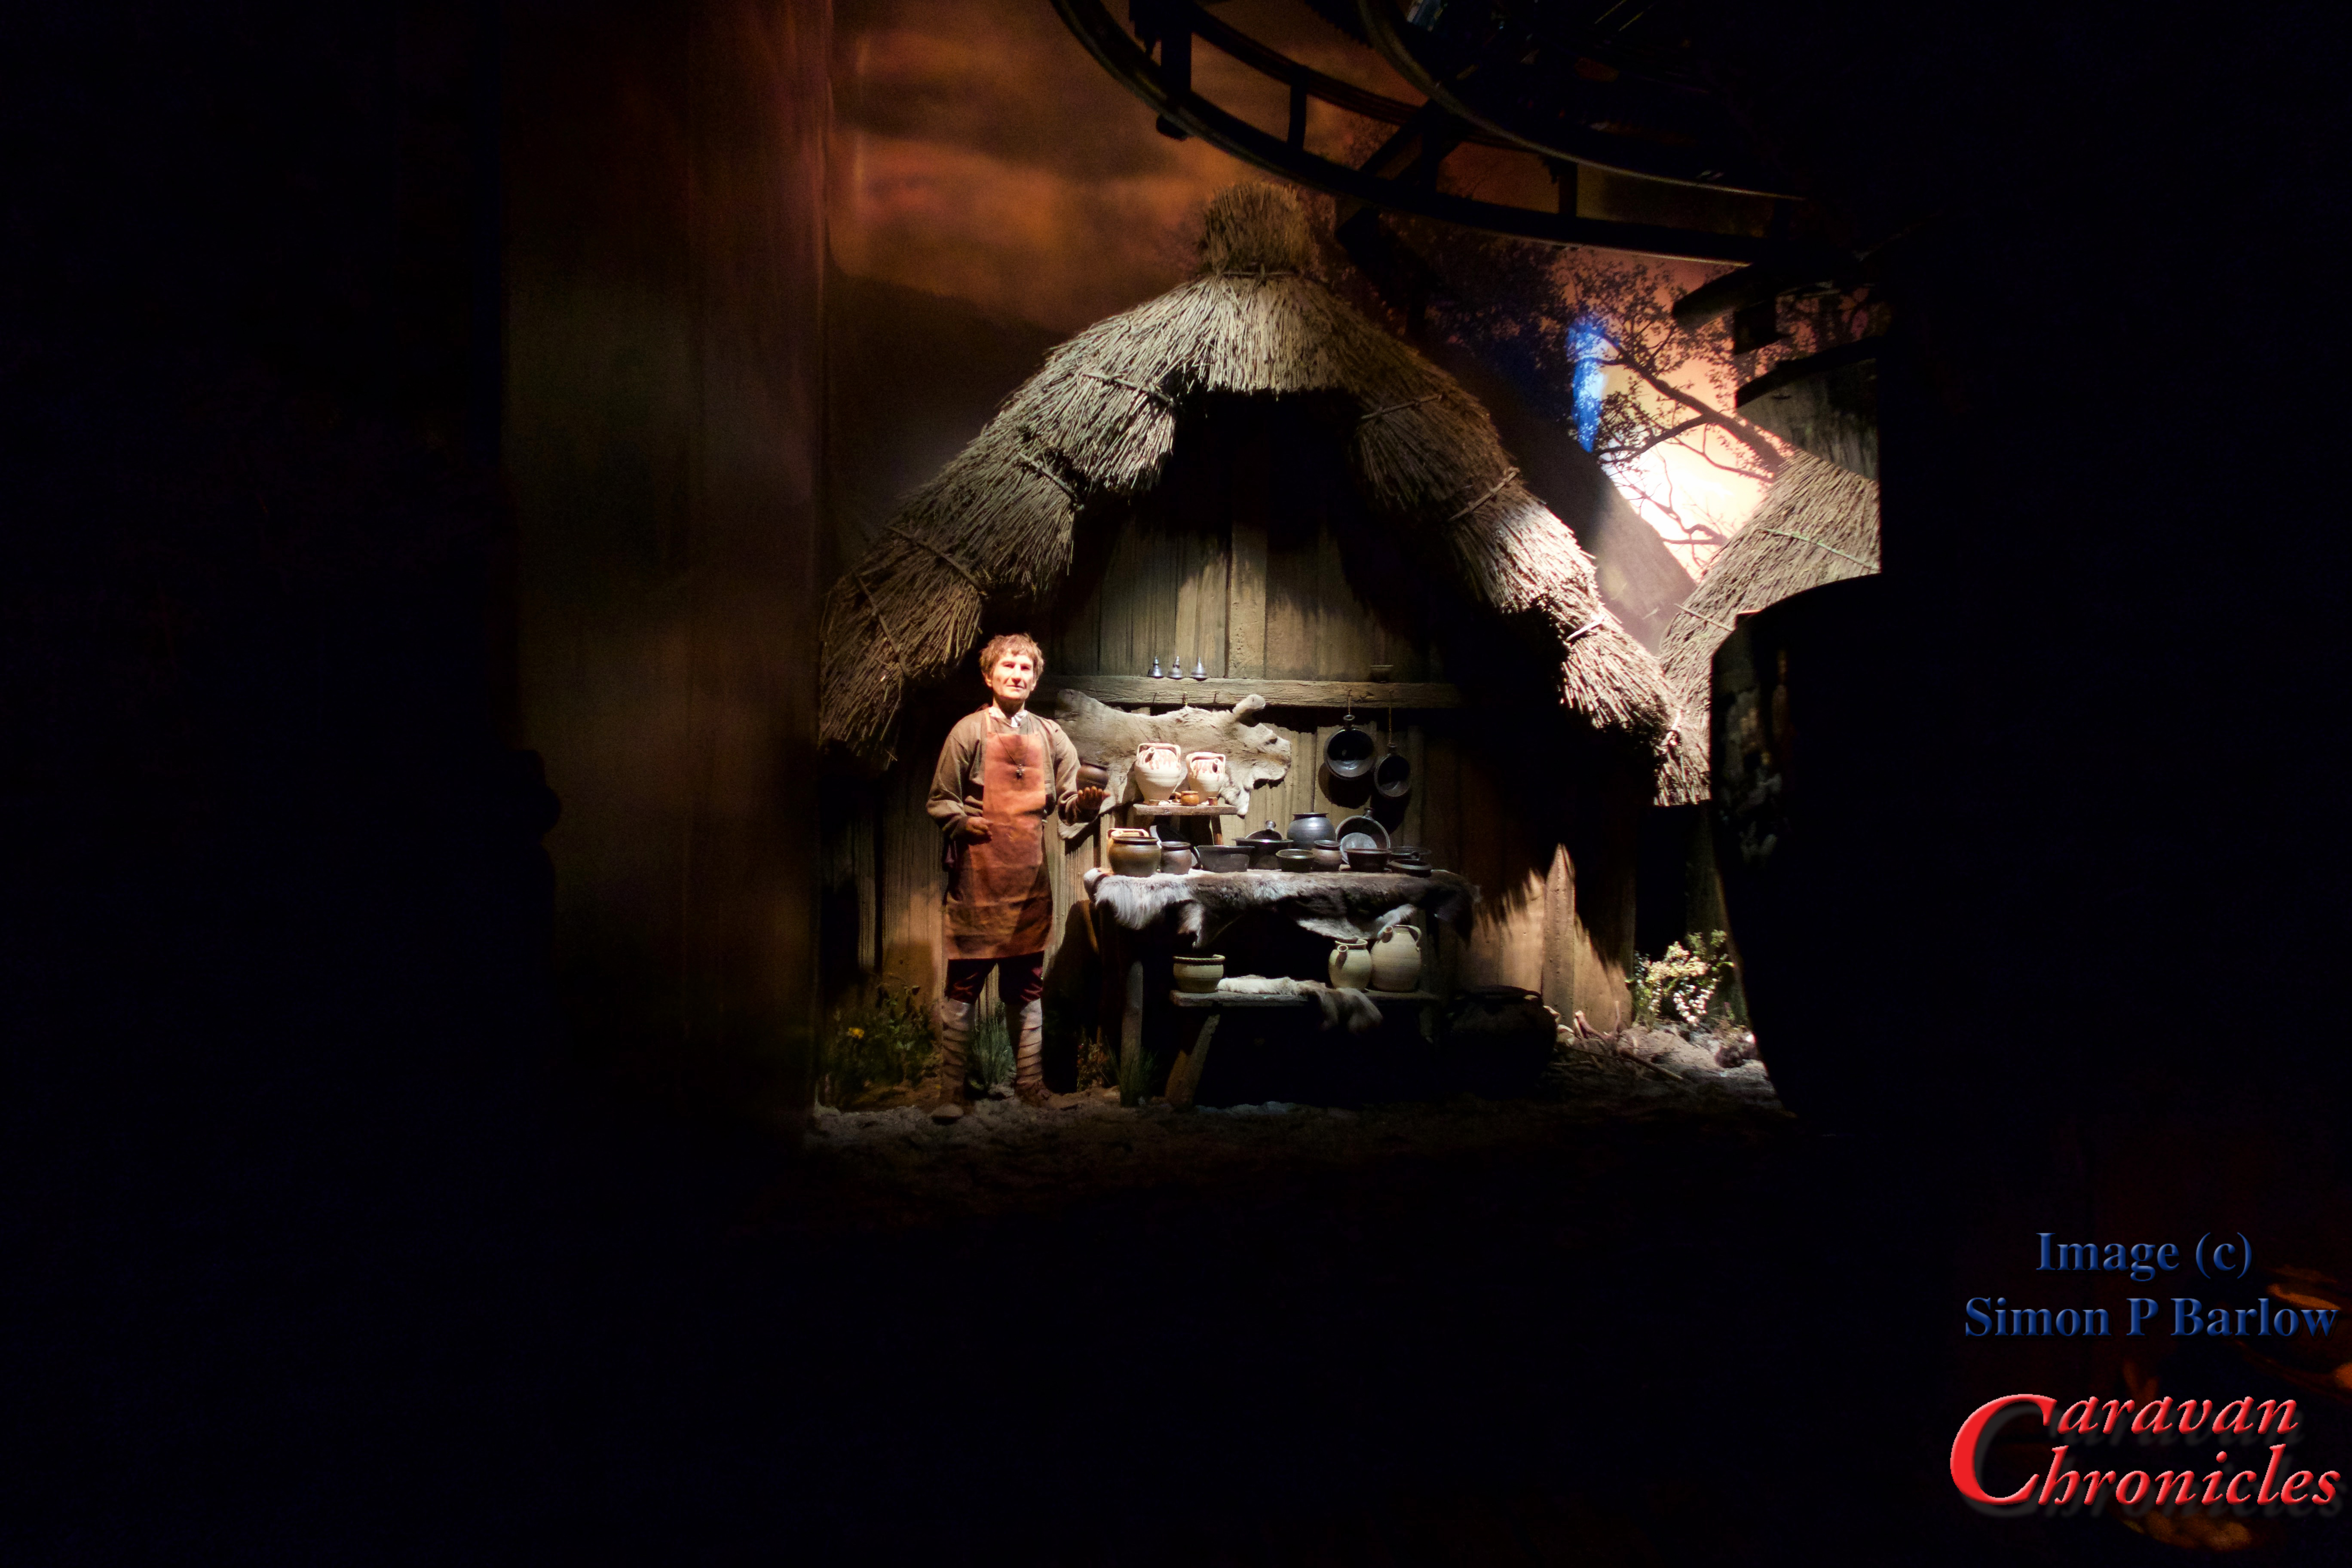
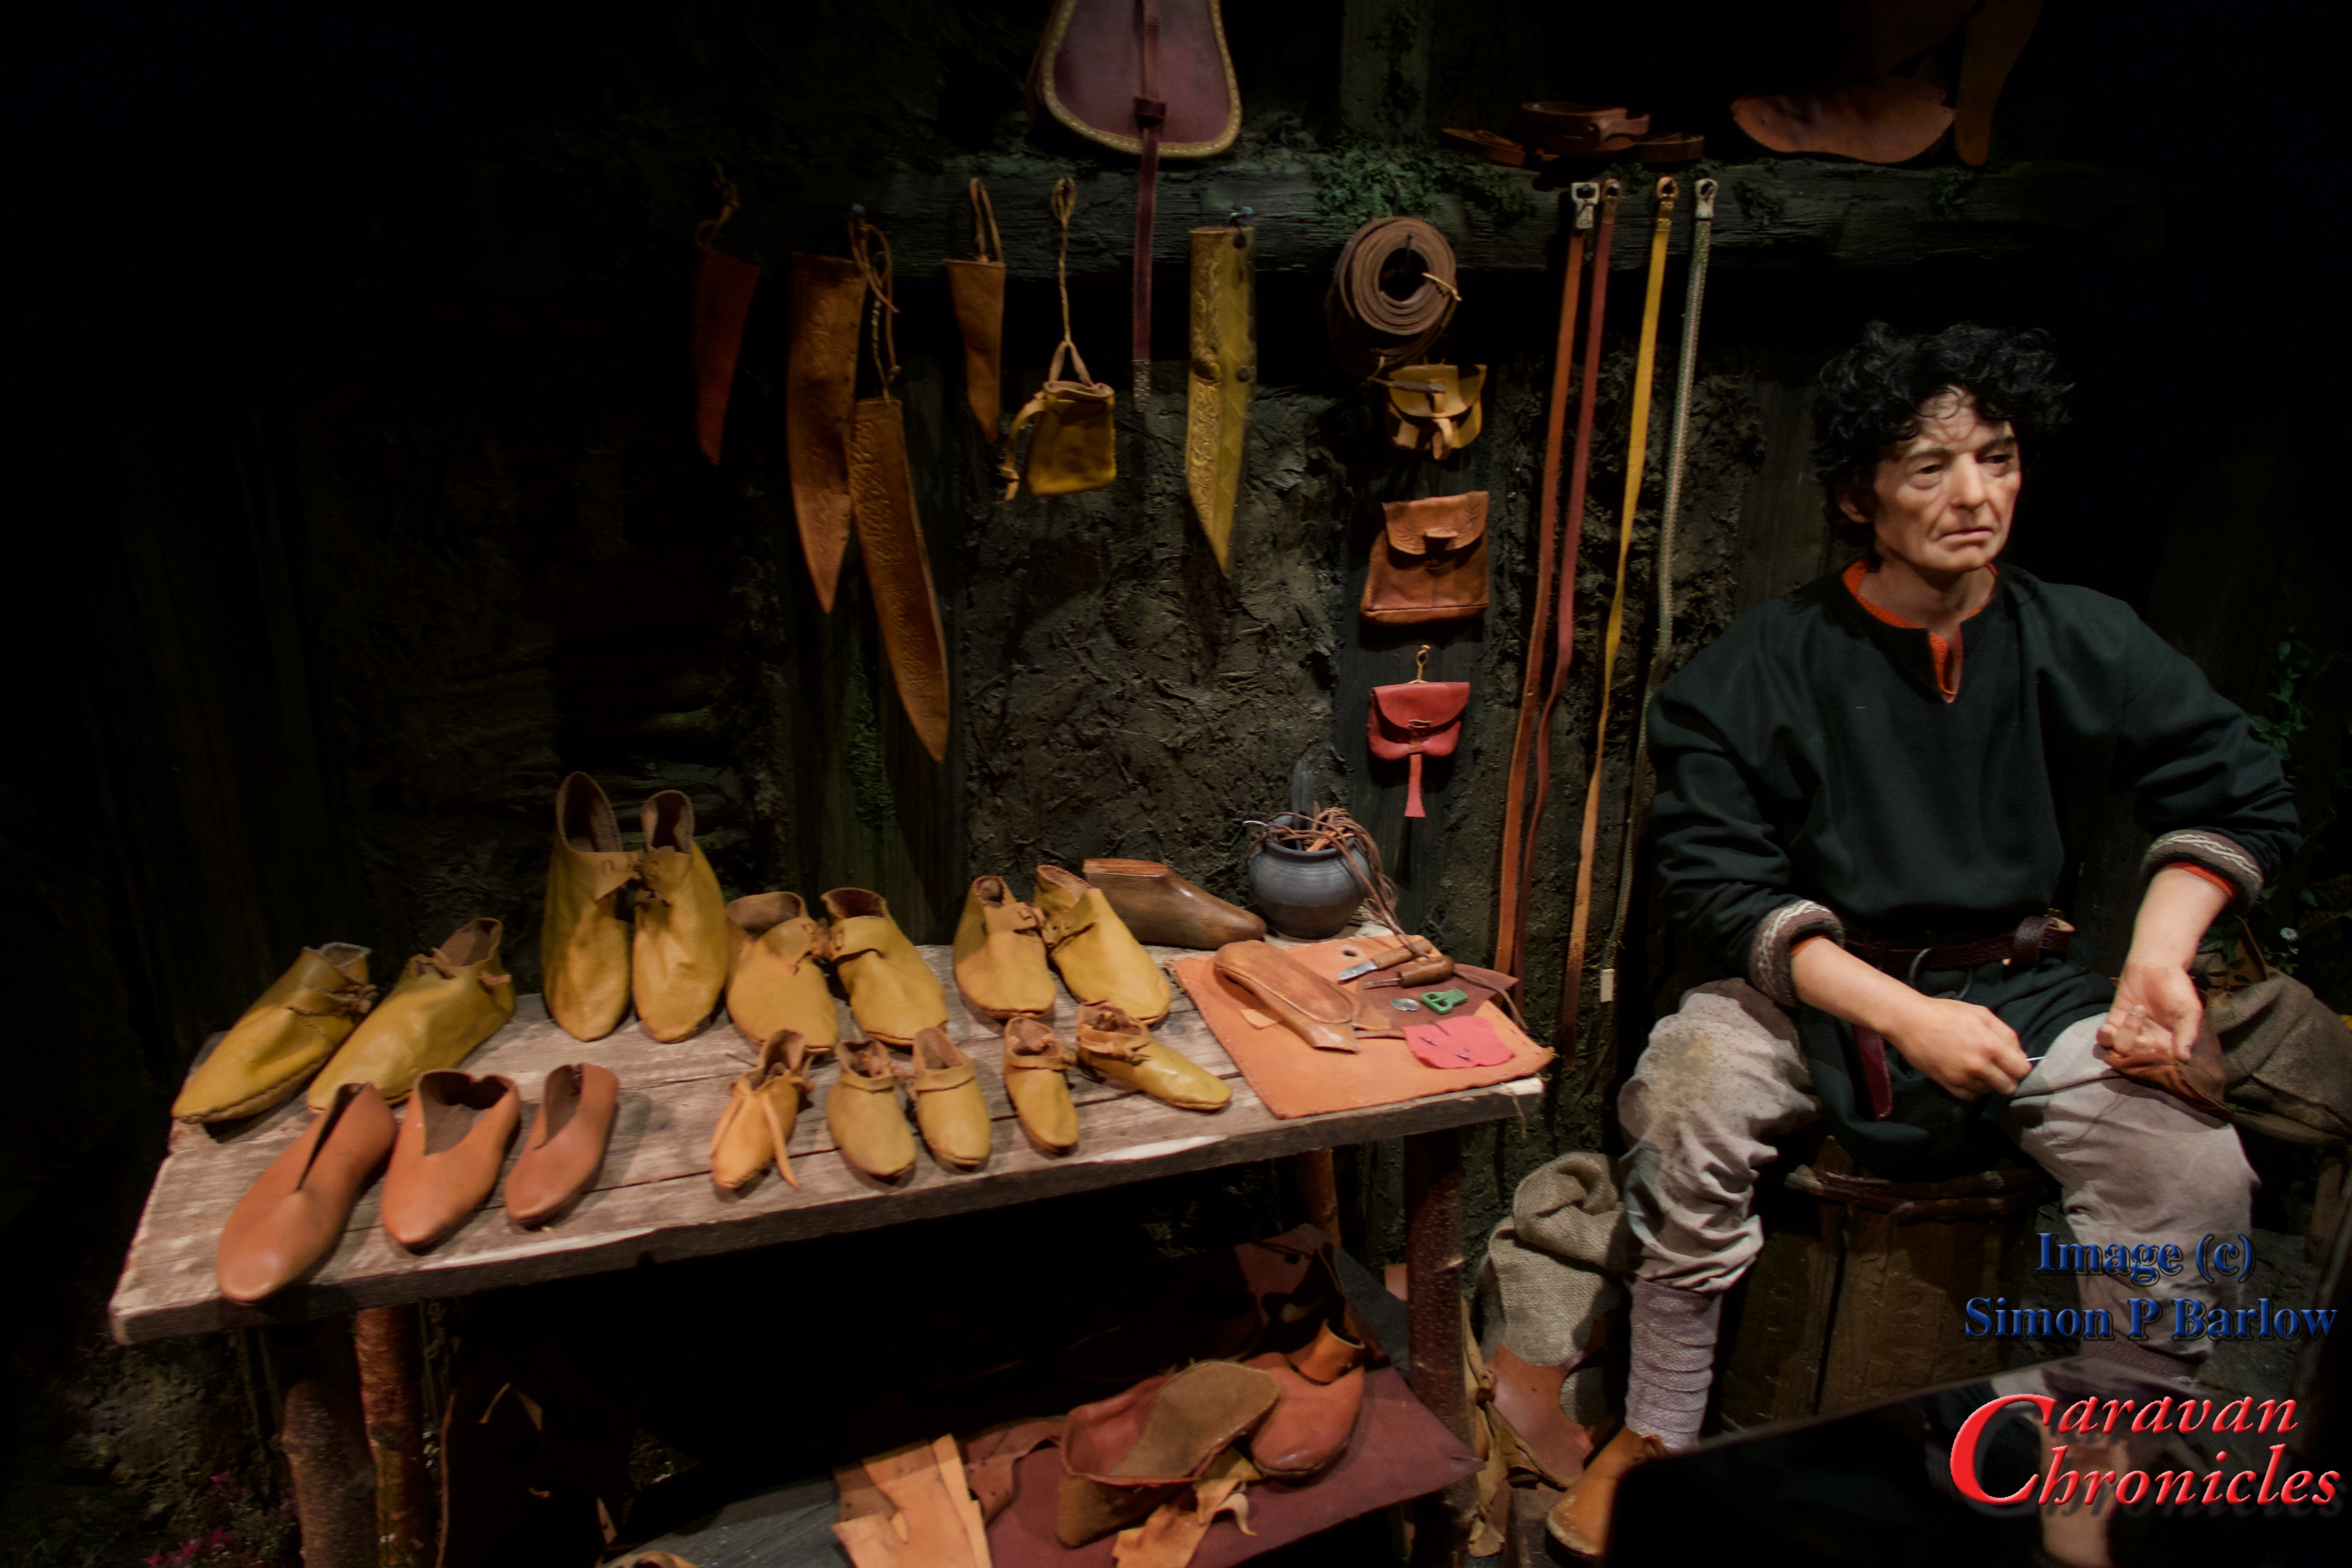
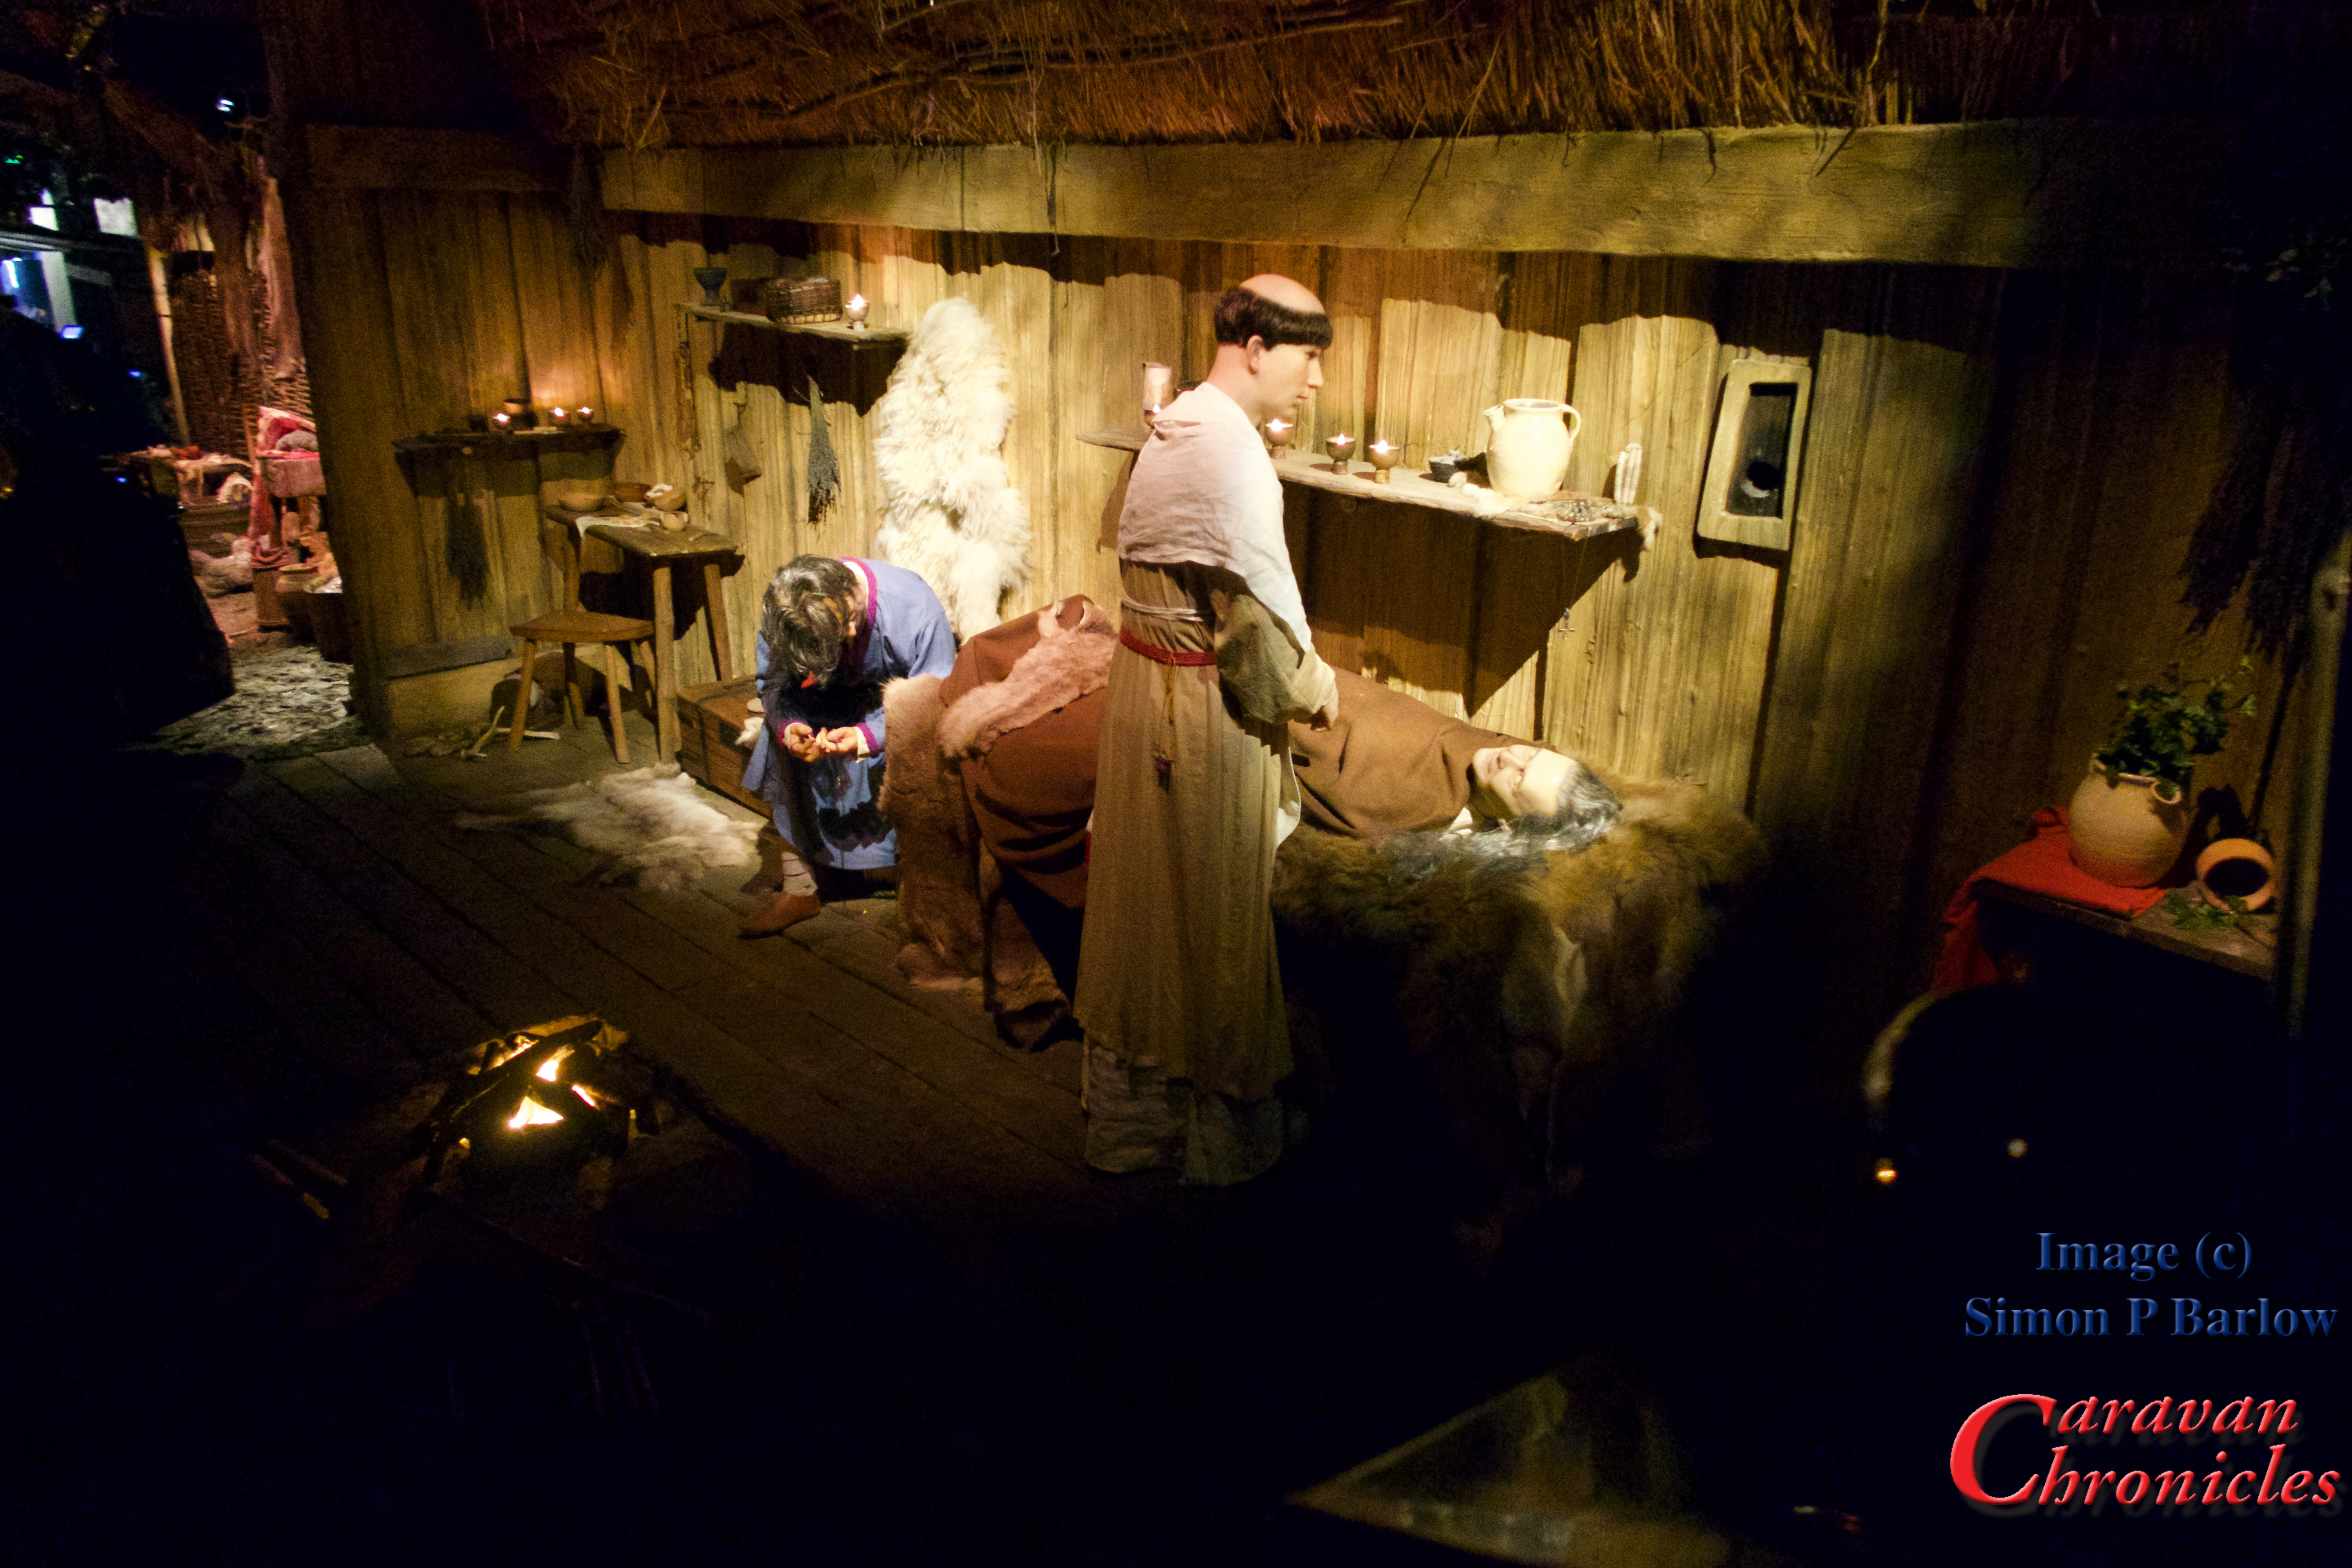
York Caravan park is only a couple of miles outside York and right outside is a convenient bus stop with a bus that will whisk you right into the centre in about ten minutes.  It had been several years since we had both been to York and one of the stops Sue wanted to do was Jorvik viking centre. The bus dropped us off and we headed in the general direction of Jorvik through all the Christmas Market stalls. At one end of the market was a large teepee that had a log fire burning in the centre and a bar serving all manner of festive spirits. While Sue opted for Mulled Wine, I decided on a mug of hot chocolate with Baileys… well it was only three degrees with a bit of a wind chill.

We really enjoyed Jorvik and it seemed bigger than we remembered it… which I don’t think it was unless they dug a bit more up. Unusually I didn’t see a restriction on taking photos… so I managed to sneak a few… without flash of course (just in case… and I hope I’m not in breach of copyright!).

While mooching round the shops we came across The Cat Gallery (45 Low Petergate) and couldn’t resist a visit…. emerging with a rather fitting mug for Sue “…everything tastes better with cat hair in it”. We headed back towards the station to catch the bus back to the site. As it was Sue’s birthday today, a bit of a tradition to mark the start of our Christmas is the annual viewing of National Lampoon’s Christmas Vacation. Nothing better than sitting in a toasty caravan with frost forming outside, a satisfied fullness from an enjoyable meal and a couple of drinks watching a favourite movie.

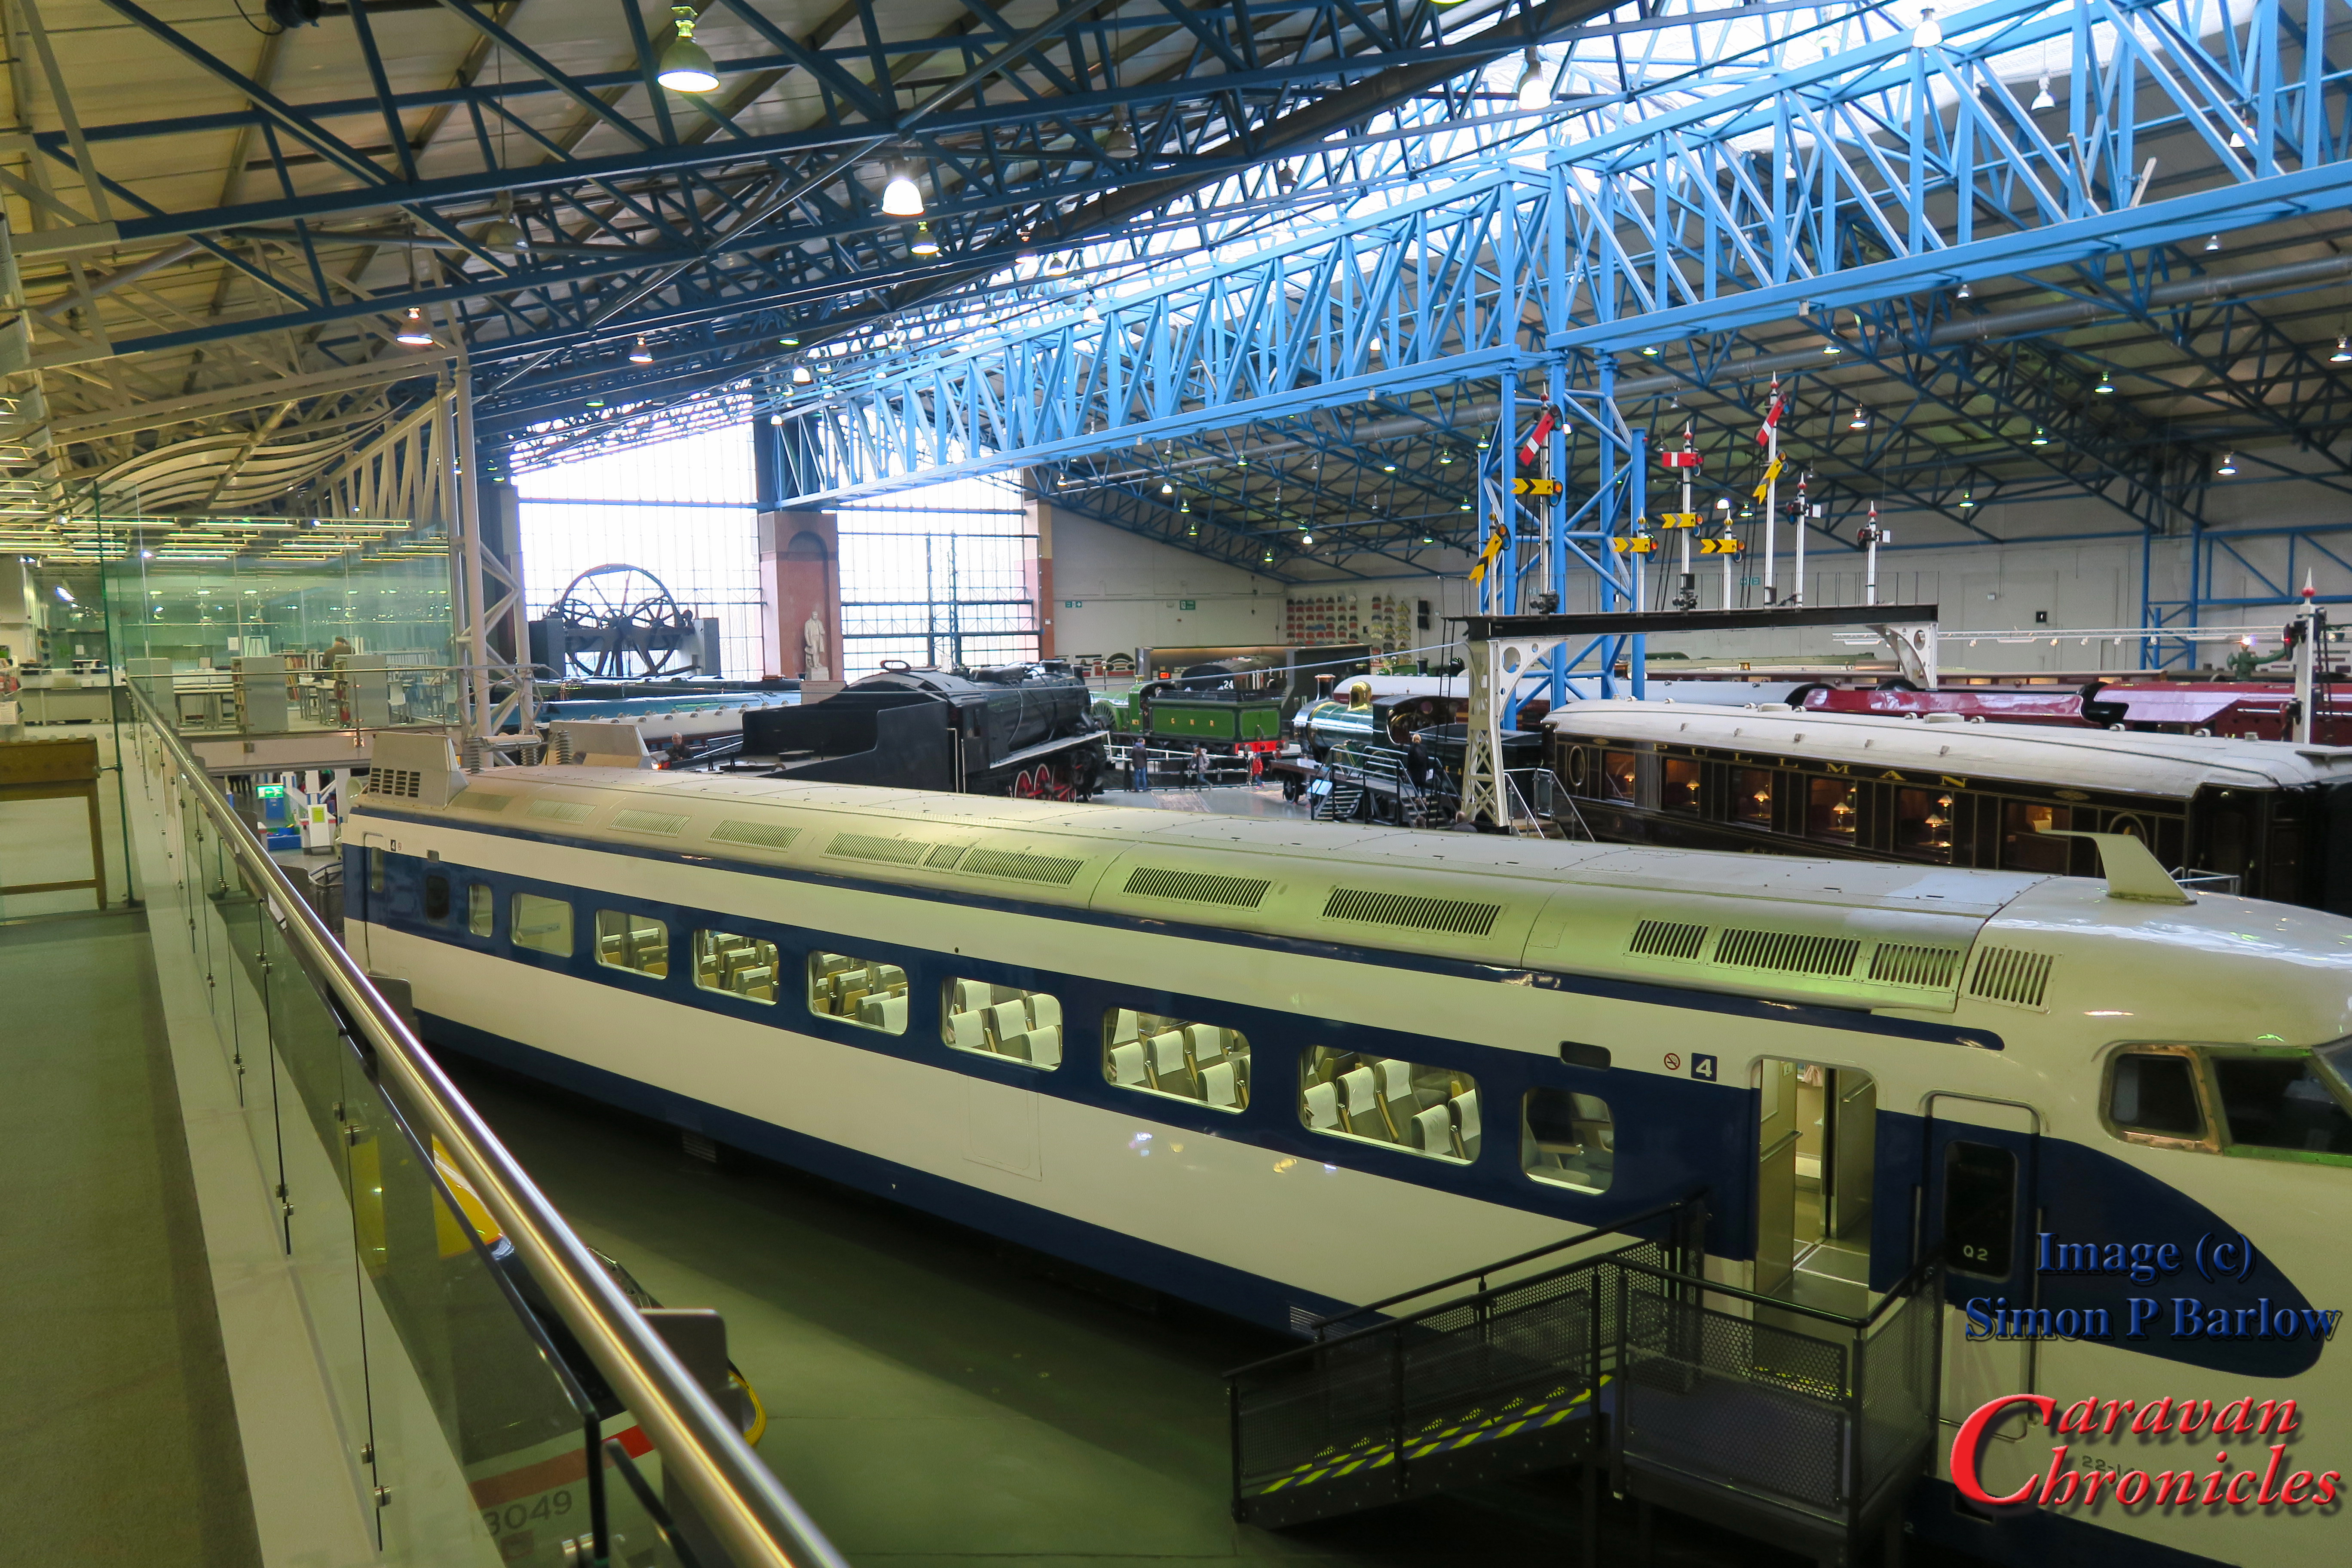
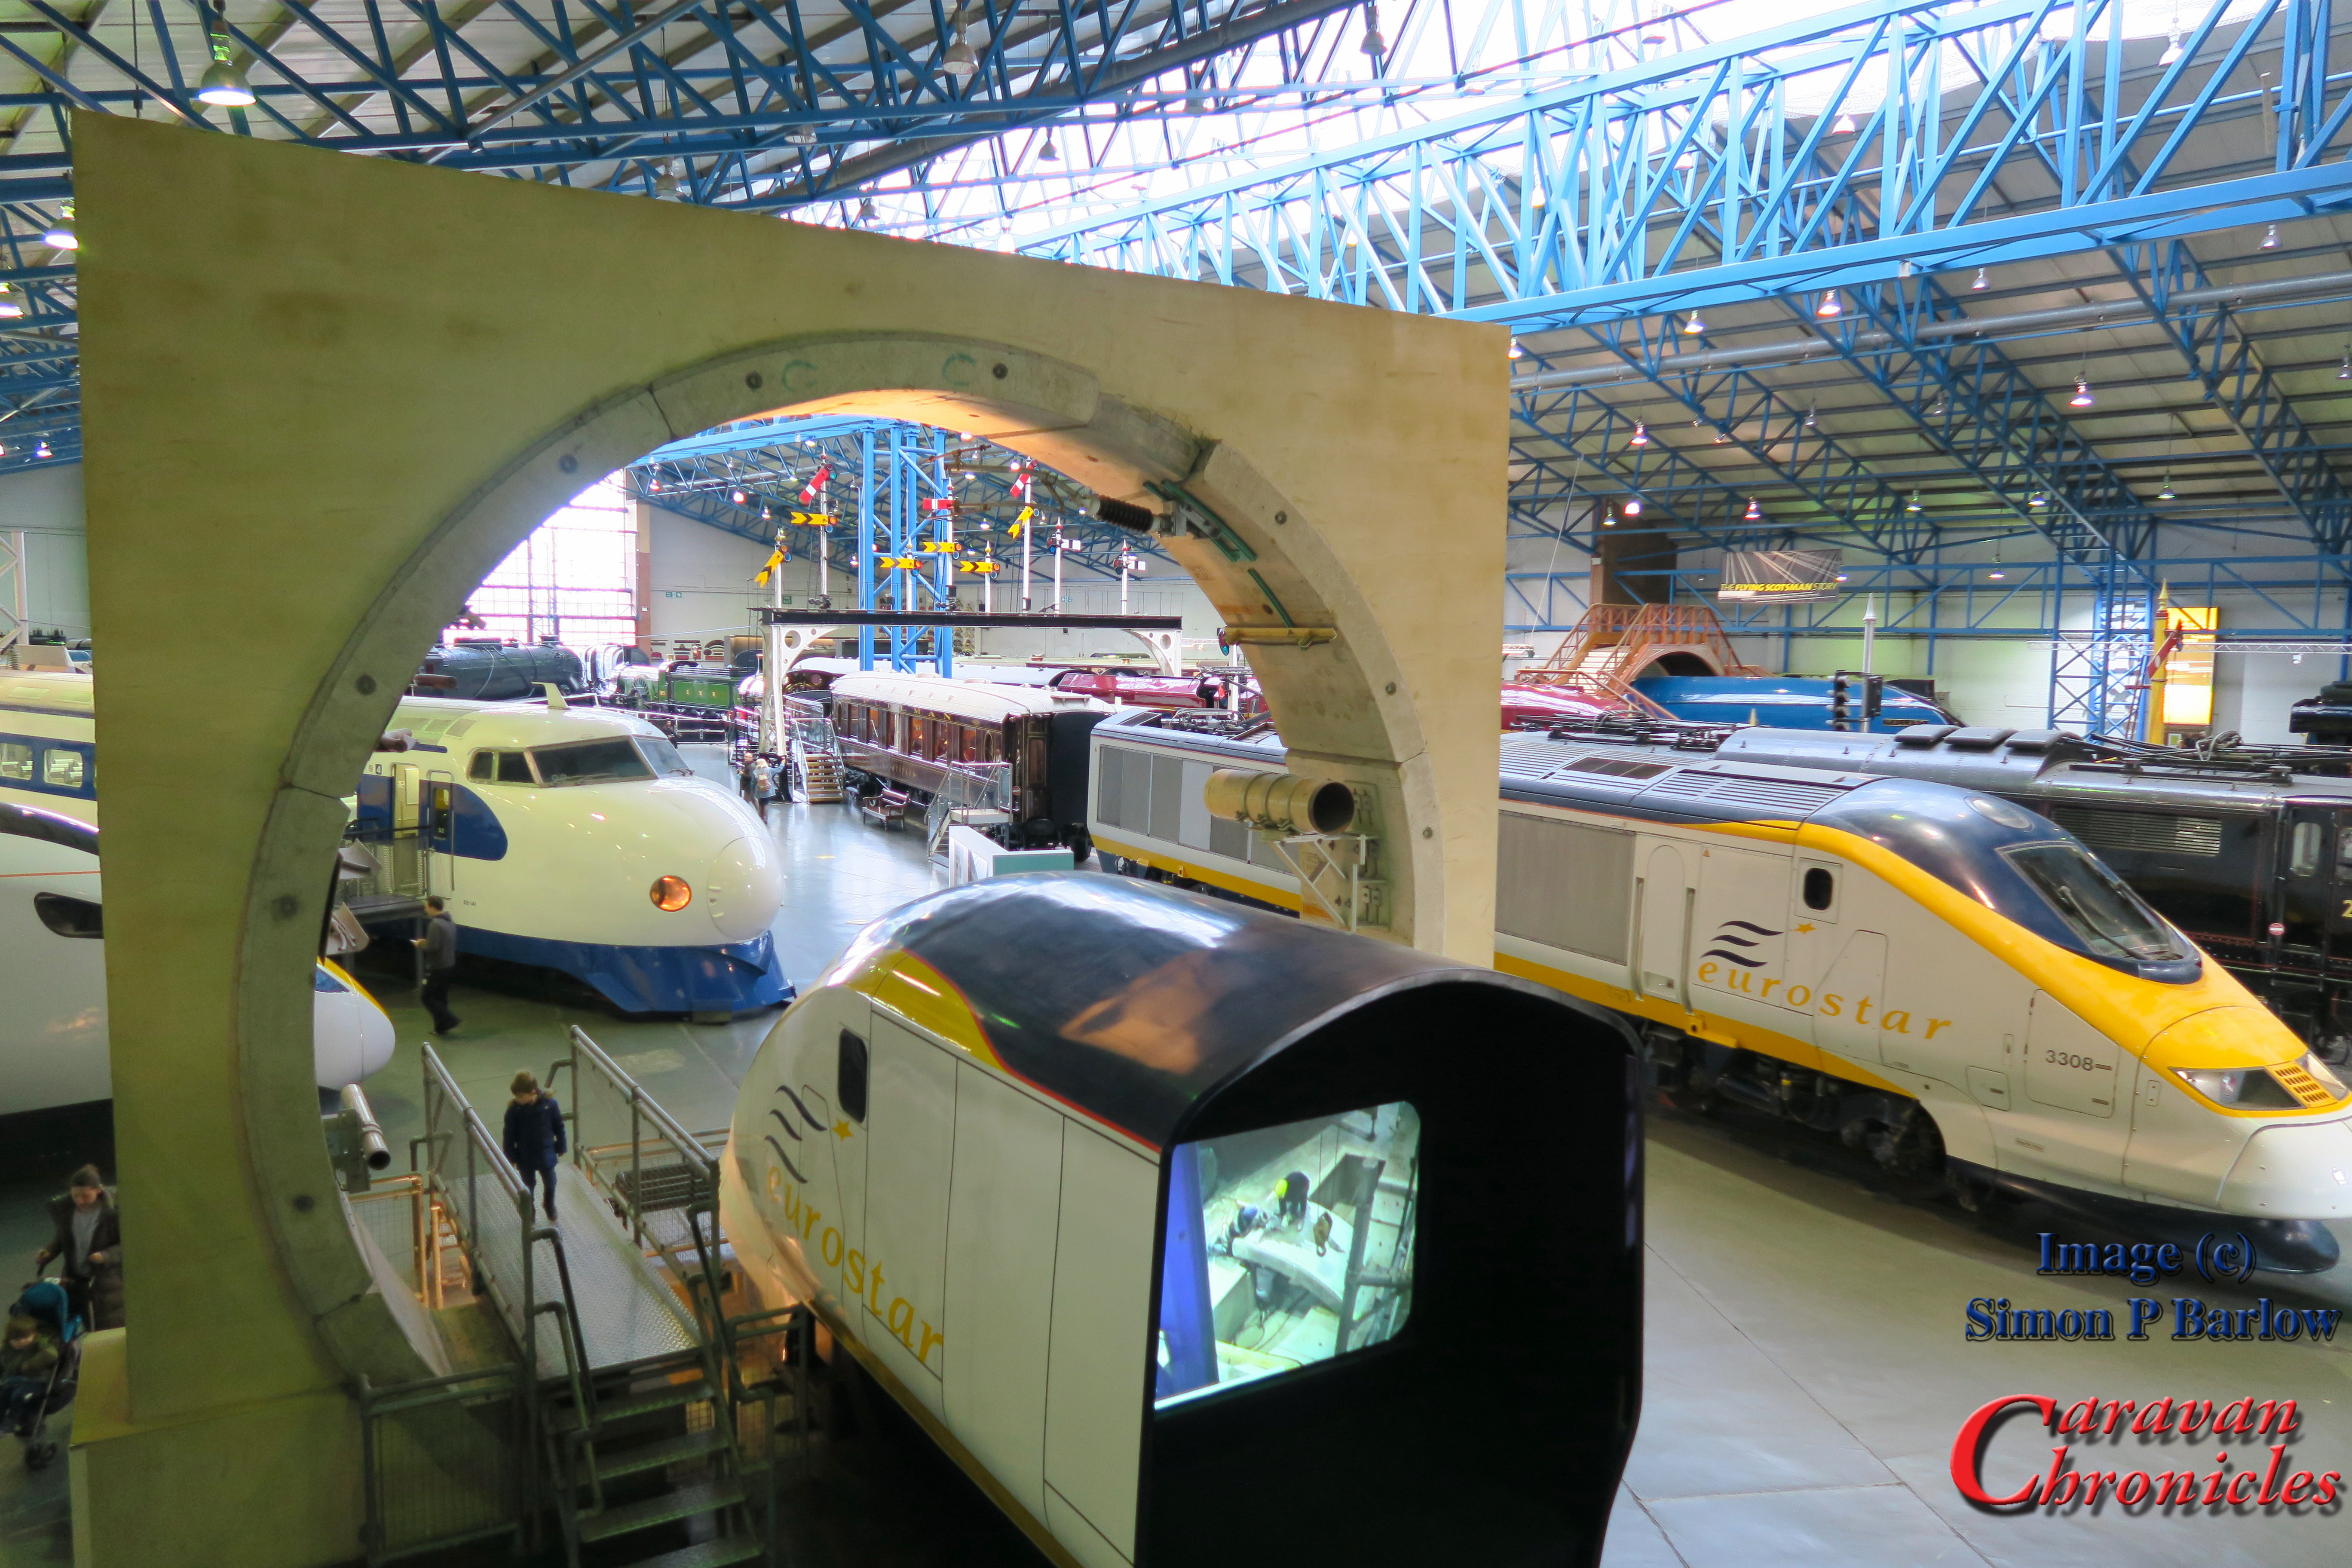
National Railway Museum…

A visit to York cannot be called complete without a visit to the NRM. The cold weather had now really arrived and far to our west in the Pennine hills snow was forecast. We however had a cloudy but bright frosty morning.

IMG_1297

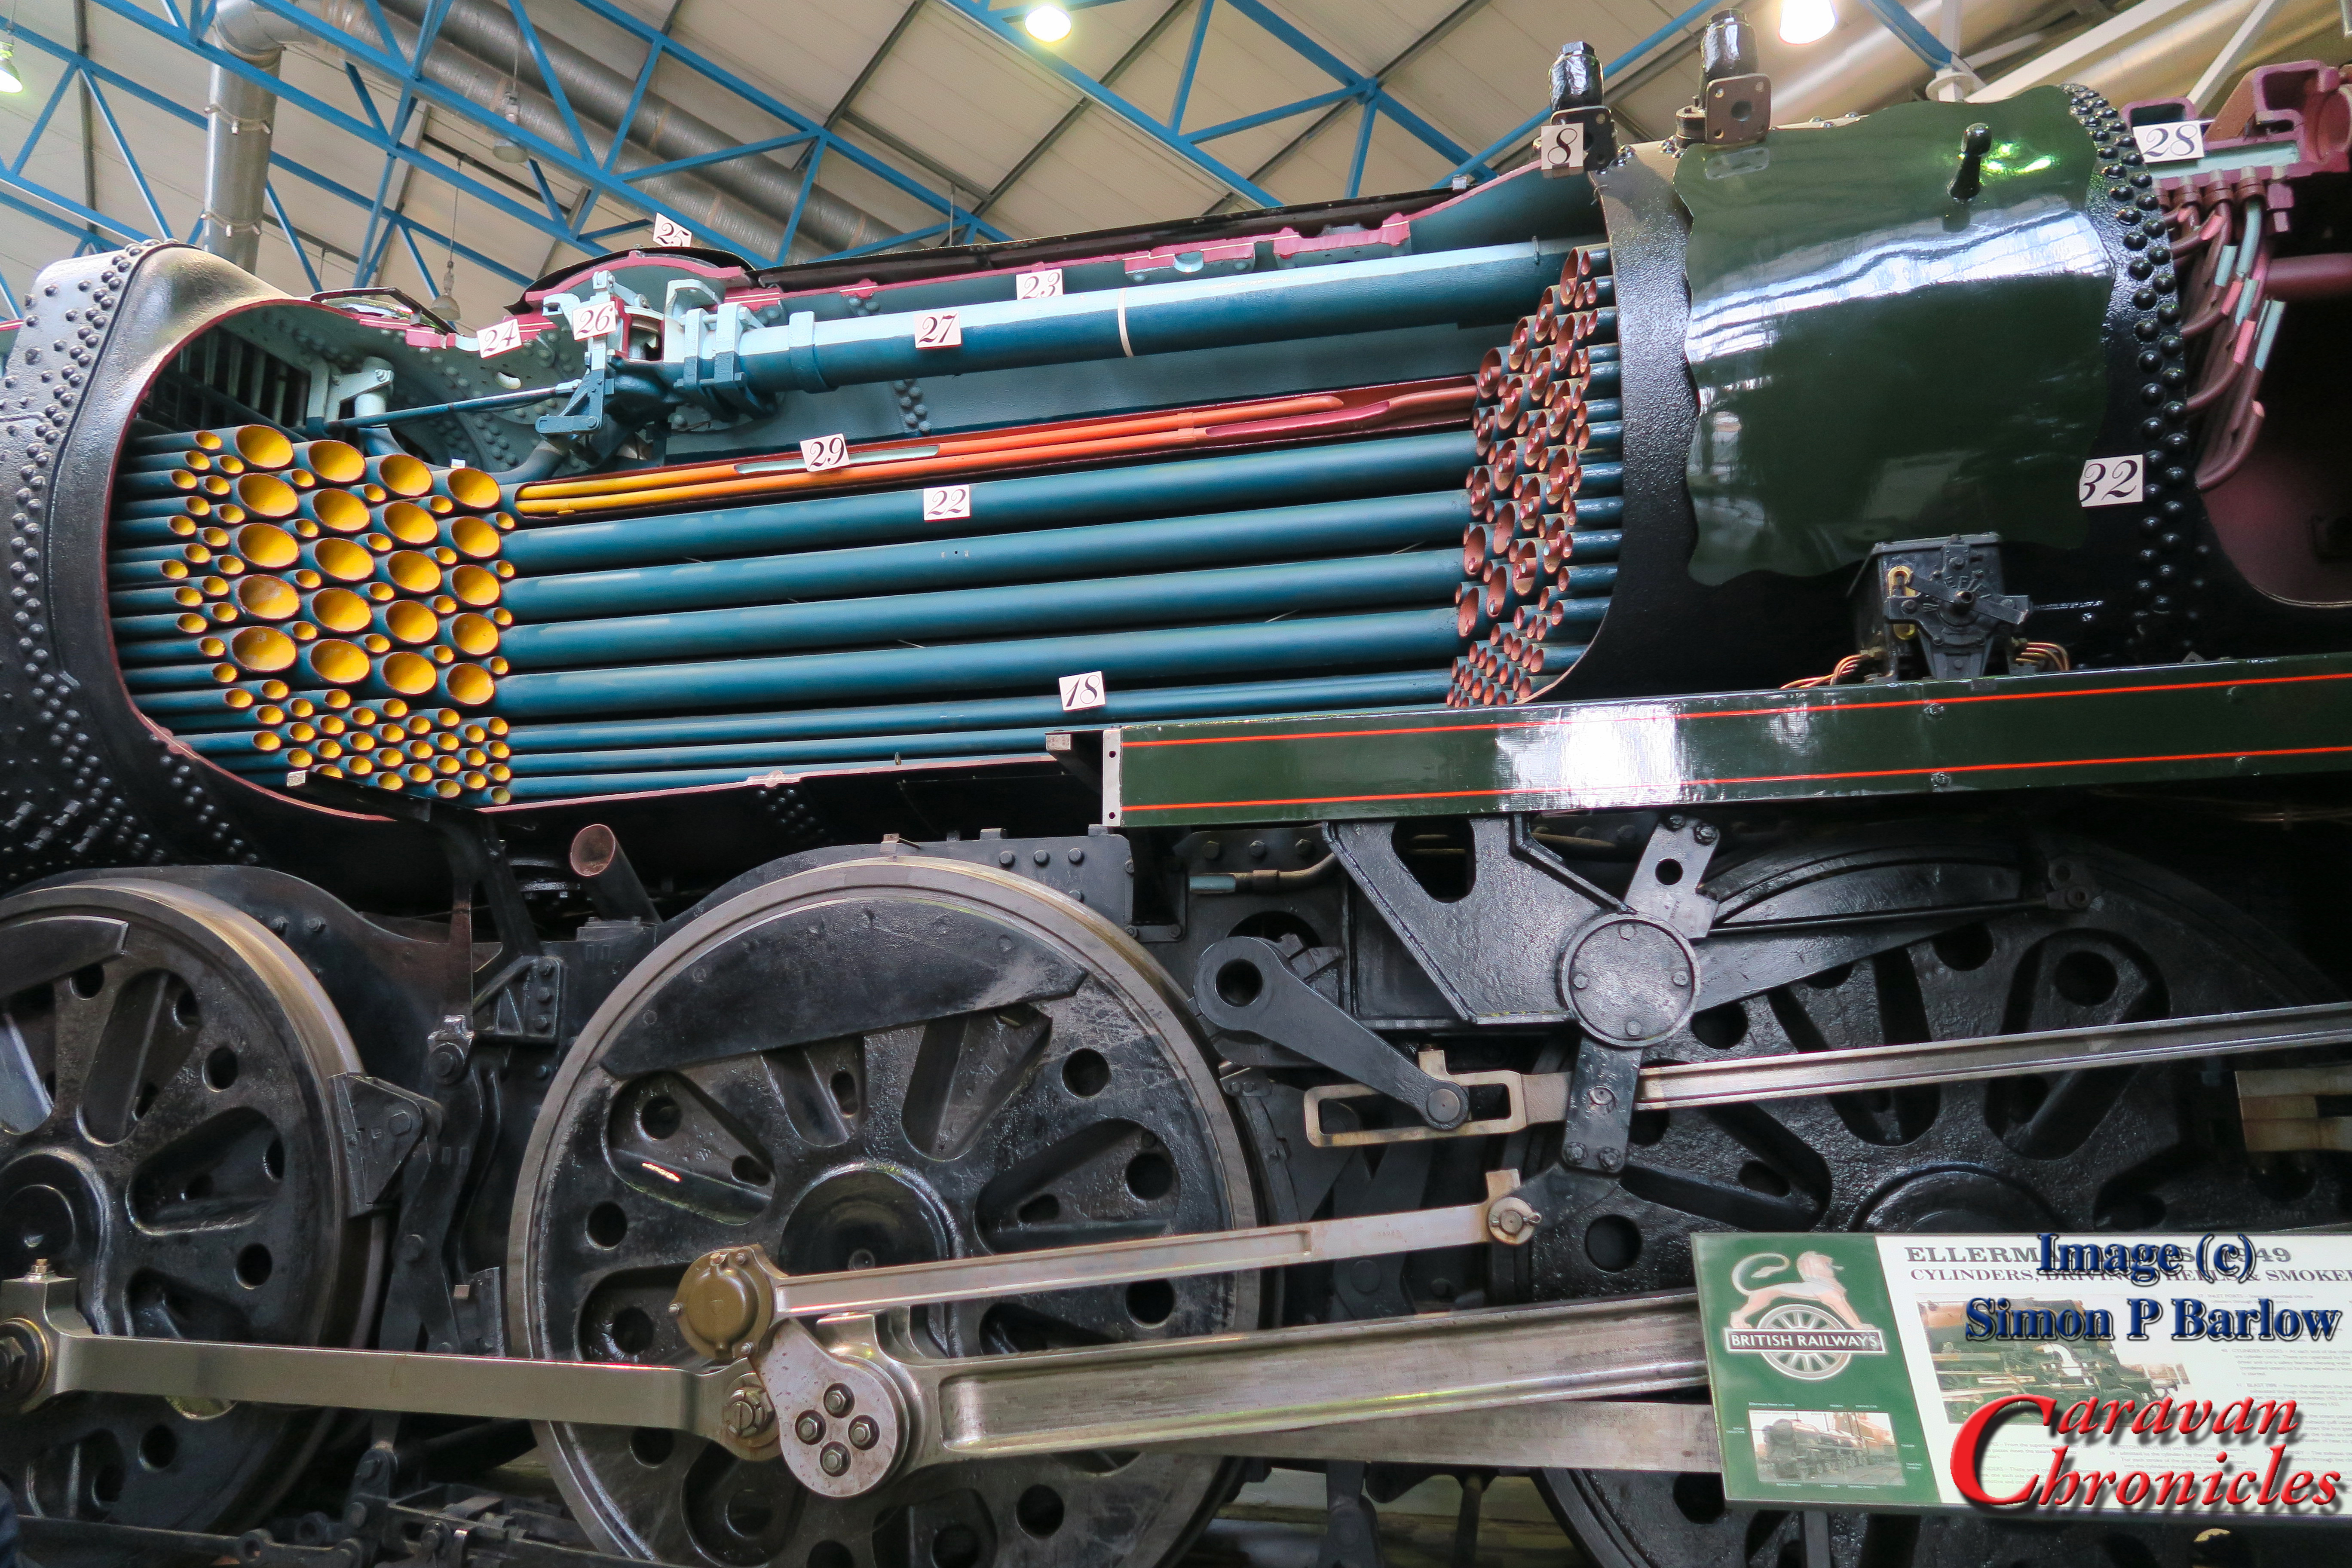
We caught the bus again and this time stayed on all the way to the railway station. You can cut through the station over the foot bridge to the railway museum.. which if it’s raining can be handy. Over the past few years we have done quite a few railway trips on heritage lines and visited a few of the museums but the last time we were here was 32 years ago. A lot of the exhibits had changed of course and the site has expanded.

By mid morning we were part way round it was time of a coffee and we stopped by The Dining Car Restaurant and Sue tried out one of their speciality teas with a sausage sandwich and I can say their coffee was up-to-standard and so was their bacon sandwich. A huge improvement on the old BR offerings!

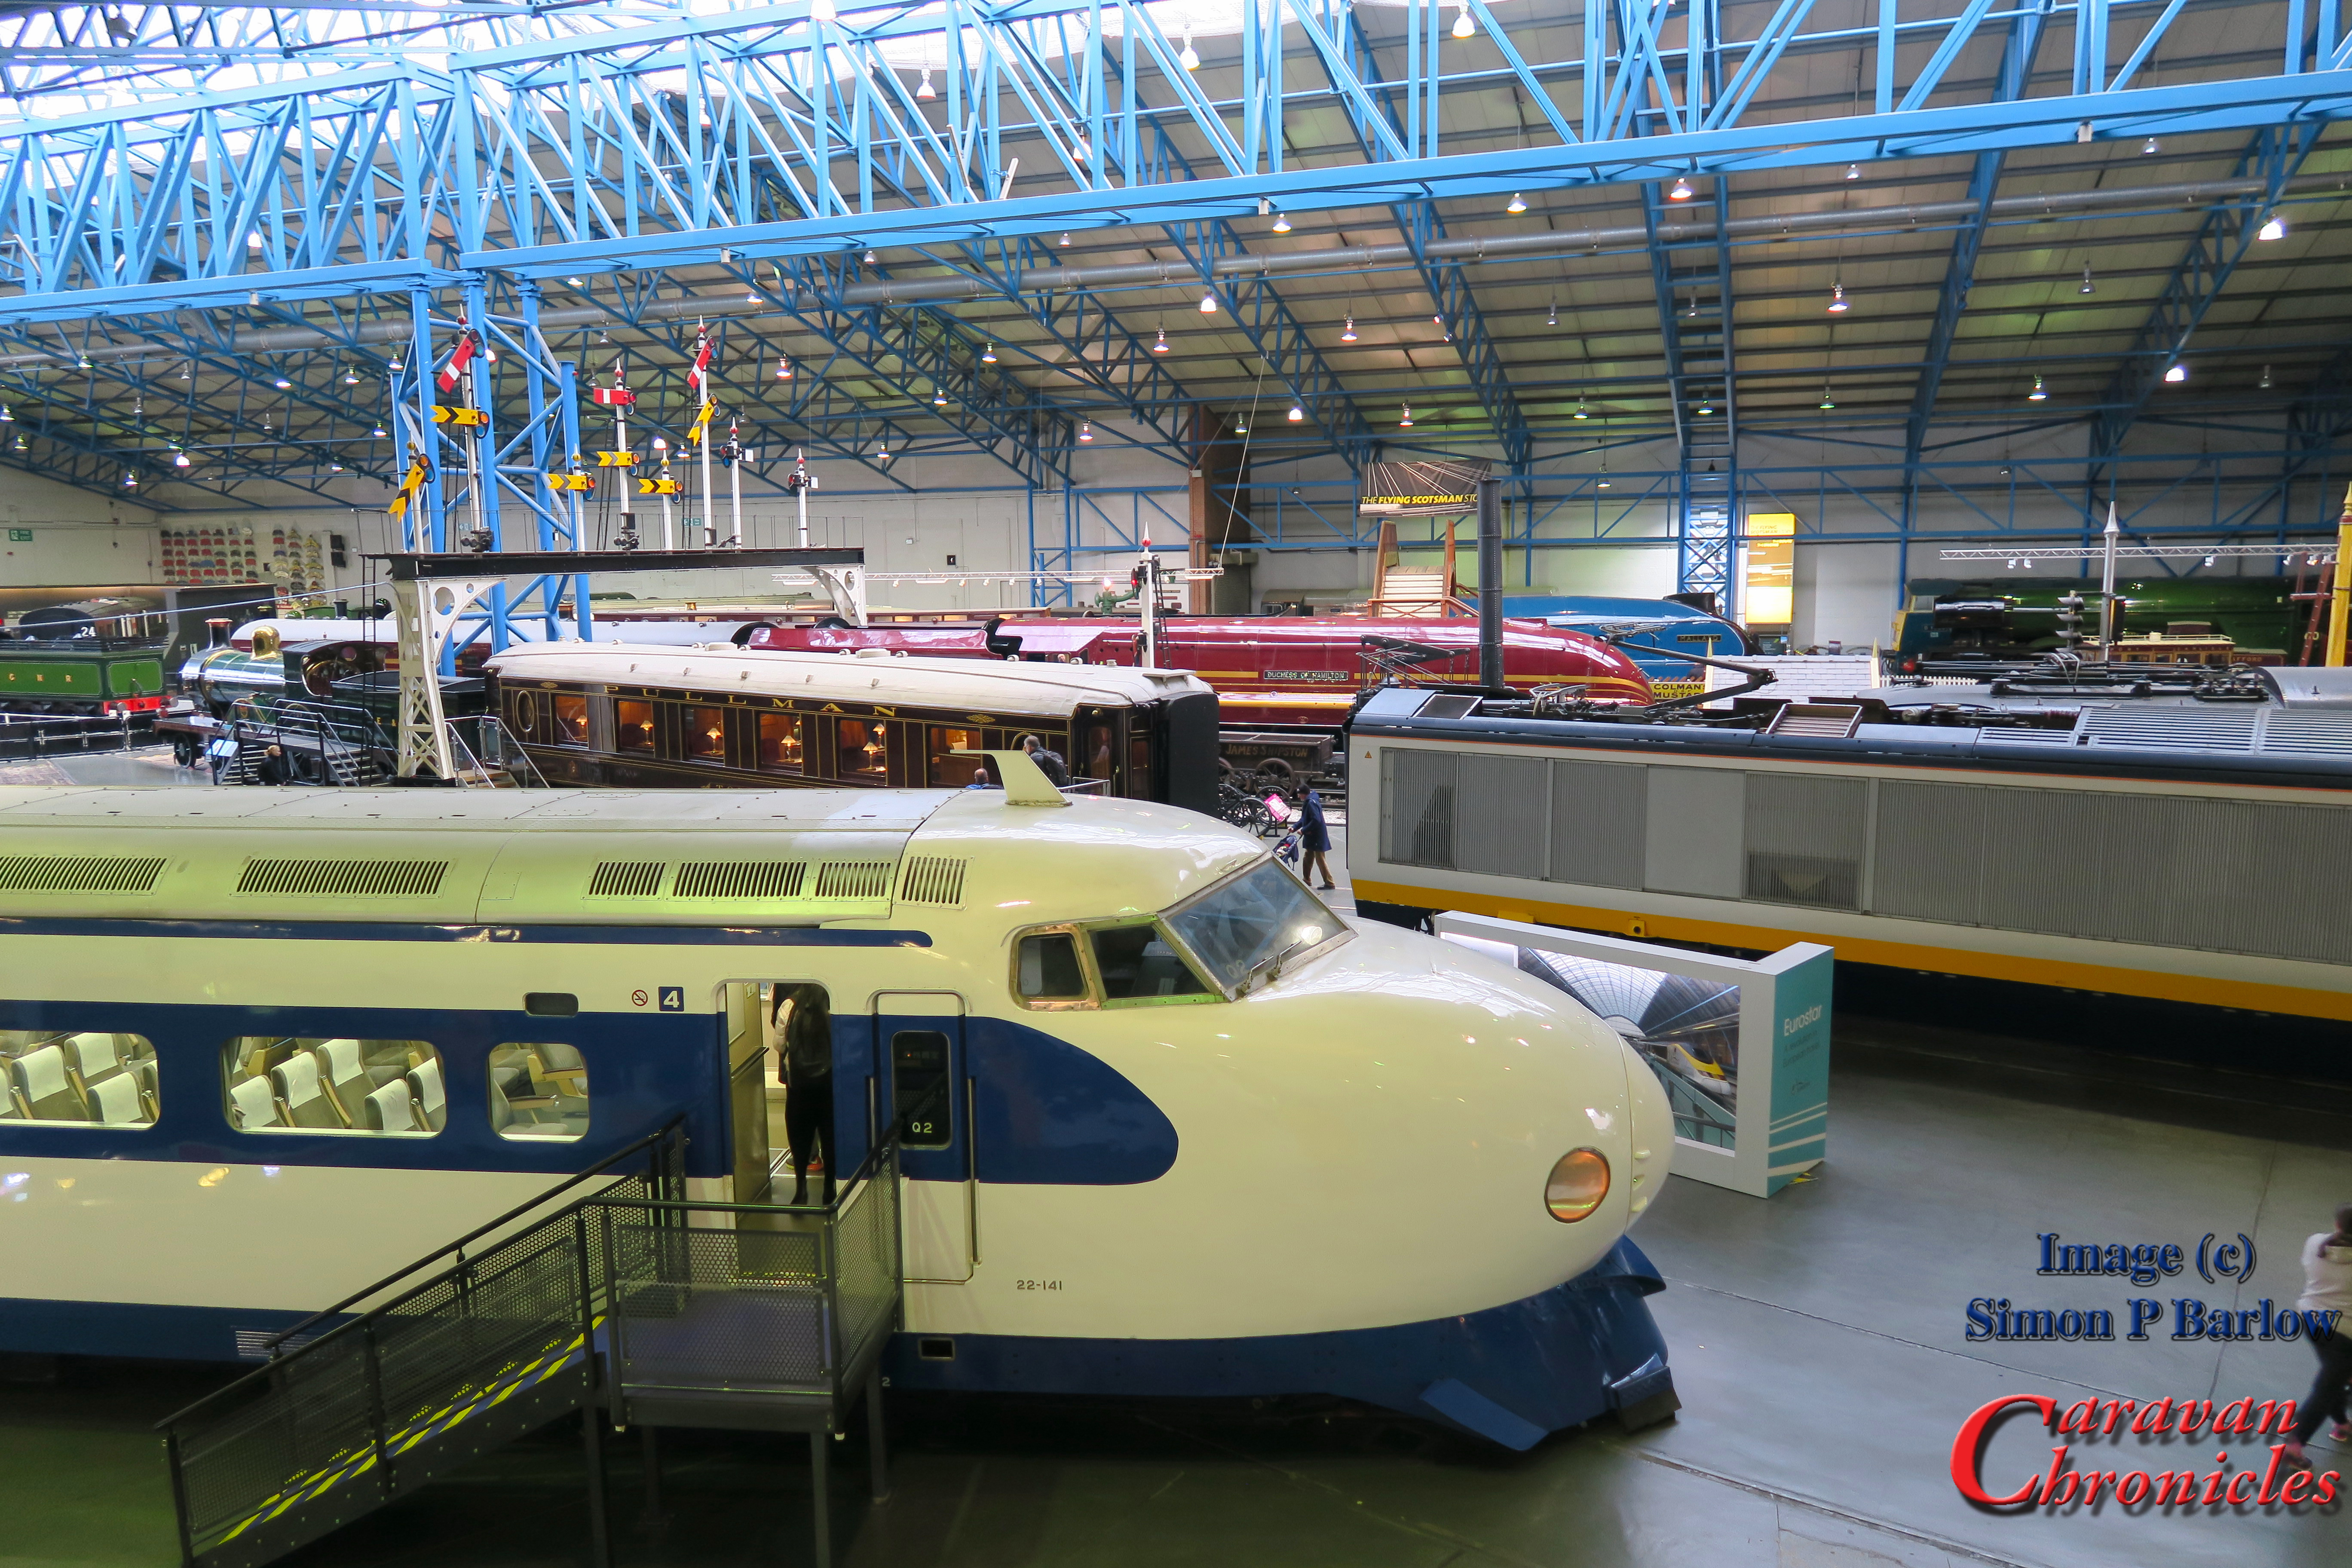
One of the things that I personally think is a “must see” at the museum if you have any interest in railways is hidden round the back of the Flying Scotsman in the store-room. The museum has opened up its stores so you can wander the shelves and see some of their collection that they haven’t got room to put on display and in here you will find the layout used to train signalmen. Each day (check timings) a number of retired signalmen put on a live demonstration on the layout of how signaling works and that is followed up by what can only be described as a re-enactment of a rail disaster. The one we watched saw 7 signalmen going through the sequence of events and demonstrating on the layout with running trains what happened. Very thought-provoking. It’s a must see but please check the timings so you don’t miss it.

IMG_1299.jpg

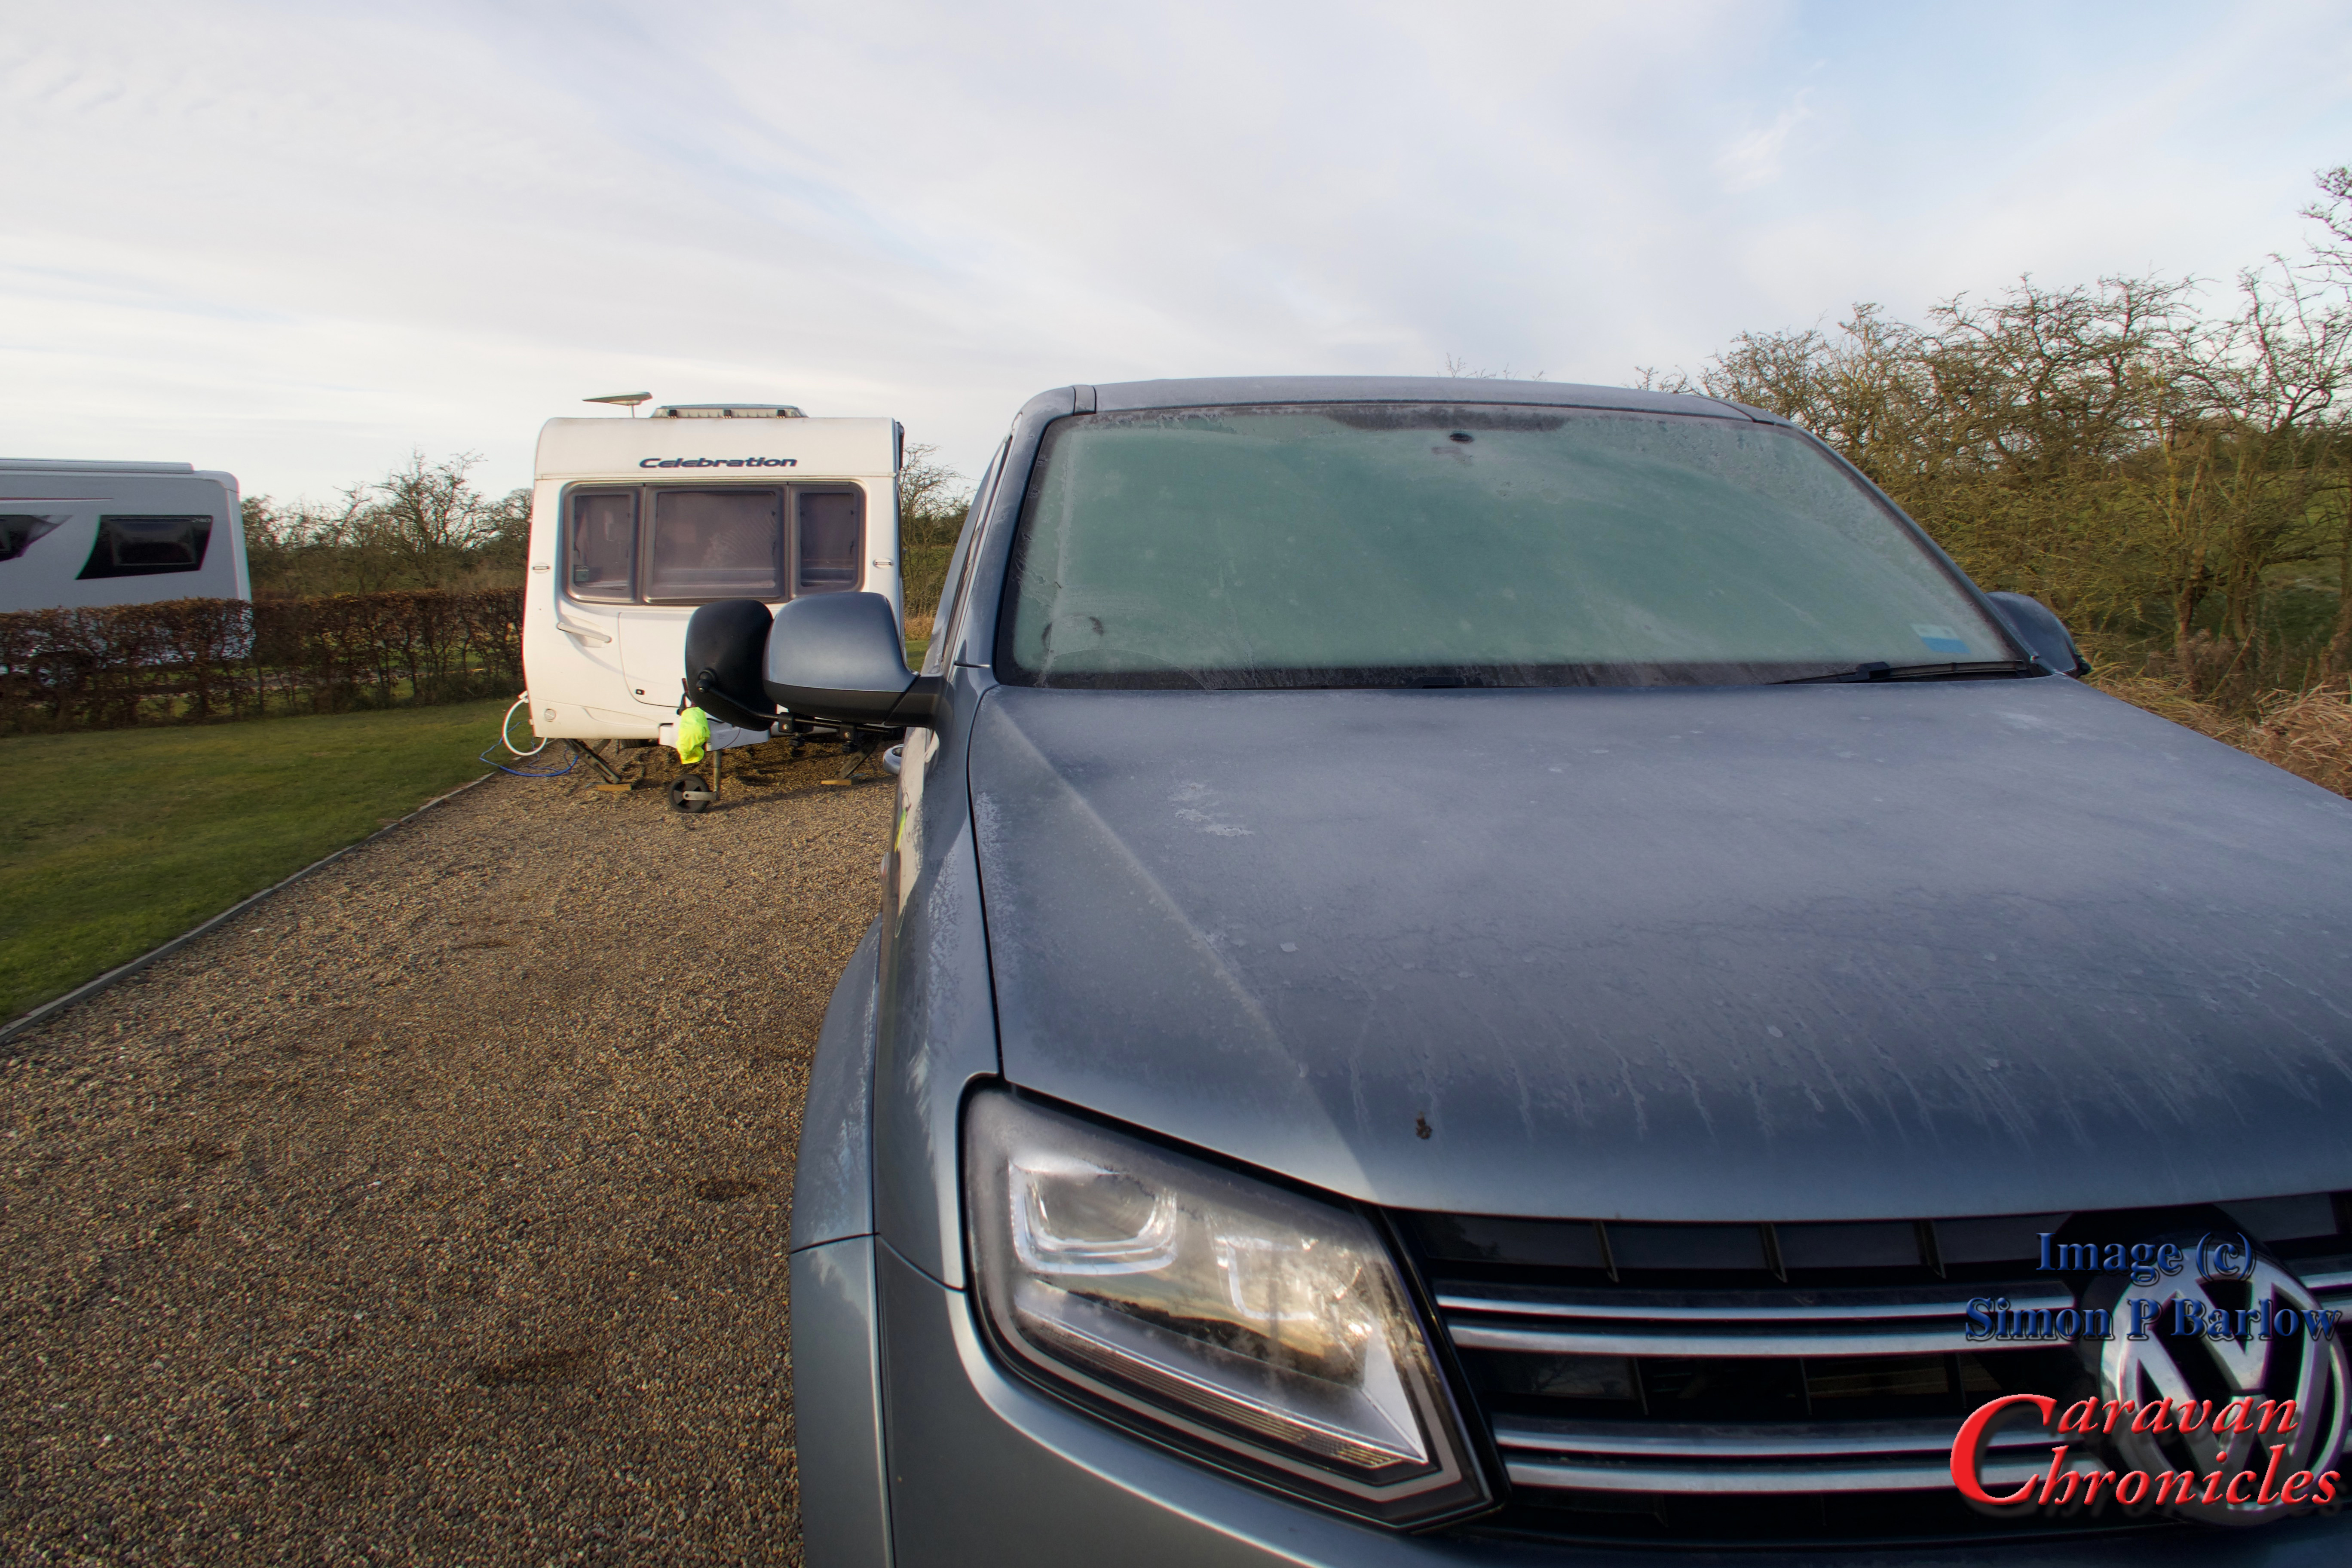
It seems that these breaks are over all too soon. The temperature was hovering around  one degree and the water hose had frozen overnight as we started to pack up. Snow was forecast later that day and the Pennines had already had an inch or two of snow and it was falling over the M62 west of the Pennines for the run back to Manchester. Thankfully towing our caravan with the Amarok is quite easy and we have a towing ratio of about 65% which really makes things easy and stress free in difficult weather conditions.

The snow wasn’t too bad and not as much as was forecast and we arrived back at the storage facility at the time the sat nav predicted when setting off. Last trip of 2017 done and planning for 2018 can commence.

Some other bits…

As I write this Caravan Chronicles this year has had over 7.8 million page hits – around  14.5 million since I started the blog (I’m still amazed!). This year has basically doubled the number of the previous years total. A lot of this is due in part to links from other blogs and forums, to some of the technical pages. I did look at some of the links into the site and saw that how to connect batteries for example were linked to off grid housing forums, boating, canal boat, sailing, RV, eco and everything in-between.  I now find that I receive emails containing questions from all over the world about all sorts of subjects. How many emails?…. well this year it’s been over a thousand that I’ve answered. As a consequence it now takes me a bit longer to respond.

I have found out though that folks that follow links to Caravan Chronicles from some forum or other that they don’t really know about Caravan Chronicles and simply assume that there is a highly paid team in the background answering questions and have a specialised knowledge of their particular field of enquiry and get quite upset when I tell them I haven’t a clue about the house batteries on a Fairhaven 32 foot motor launch and how they are connected (totally made up question of course).

I remember the late (and great) John Wickersham once telling me “Once you have answered a question in print that will be your life”.

The other question that pops up now and again are about ‘merch’ as the Americans refer to it. Do I have a shop with stickers, mugs branded paraphernalia etc. Nope, nada. So far I have resisted the temptation to commercialise, product place or have adverts on the blog. I don’t really want to go that route.

I do however do the occasional review of products that manufacturers send me and try to attempt to be as honest as I can with what I write. I do also work with a couple of manufacturers on products that they are developing or ideas that they have but these don’t get written about.

What’s happening in Caravan Chronicles in 2018…

Well there will be some trips of course and we will be visiting our “local” caravan show at Event City in January.

We are in two minds whether to get a new caravan… we would like a twin axle, twin bed, mid bathroom layout, but we keep thinking there is nothing wrong with the one we have… decision decisions!

There are a few things that are going to be changing on the blog. I have been procrastinating on starting a searchable Q & A page. I’m not sure if this is possible in a WordPress blog and it might mean having to change how the site is hosted. I also want to link up to an interactive travel map. I’m still researching this one though. I’ve also been thinking about the blog’s style and look…. it’s over five years old now and does it need an update?

Towing covers….

OK, so now I have a question for you….. I’m a bit undecided about getting a towing cover. They seem to be gaining popularity and after our trip, the front of the caravan could have done with some protection from all the road salt and grime thrown up. As we have never had a cover of any sorts, I’m looking for a bit of feedback on features to look out for and things to avoid. I’d be grateful for any pointers.

Sue and I hope you have a very Happy New Year and safe travels in 2018.

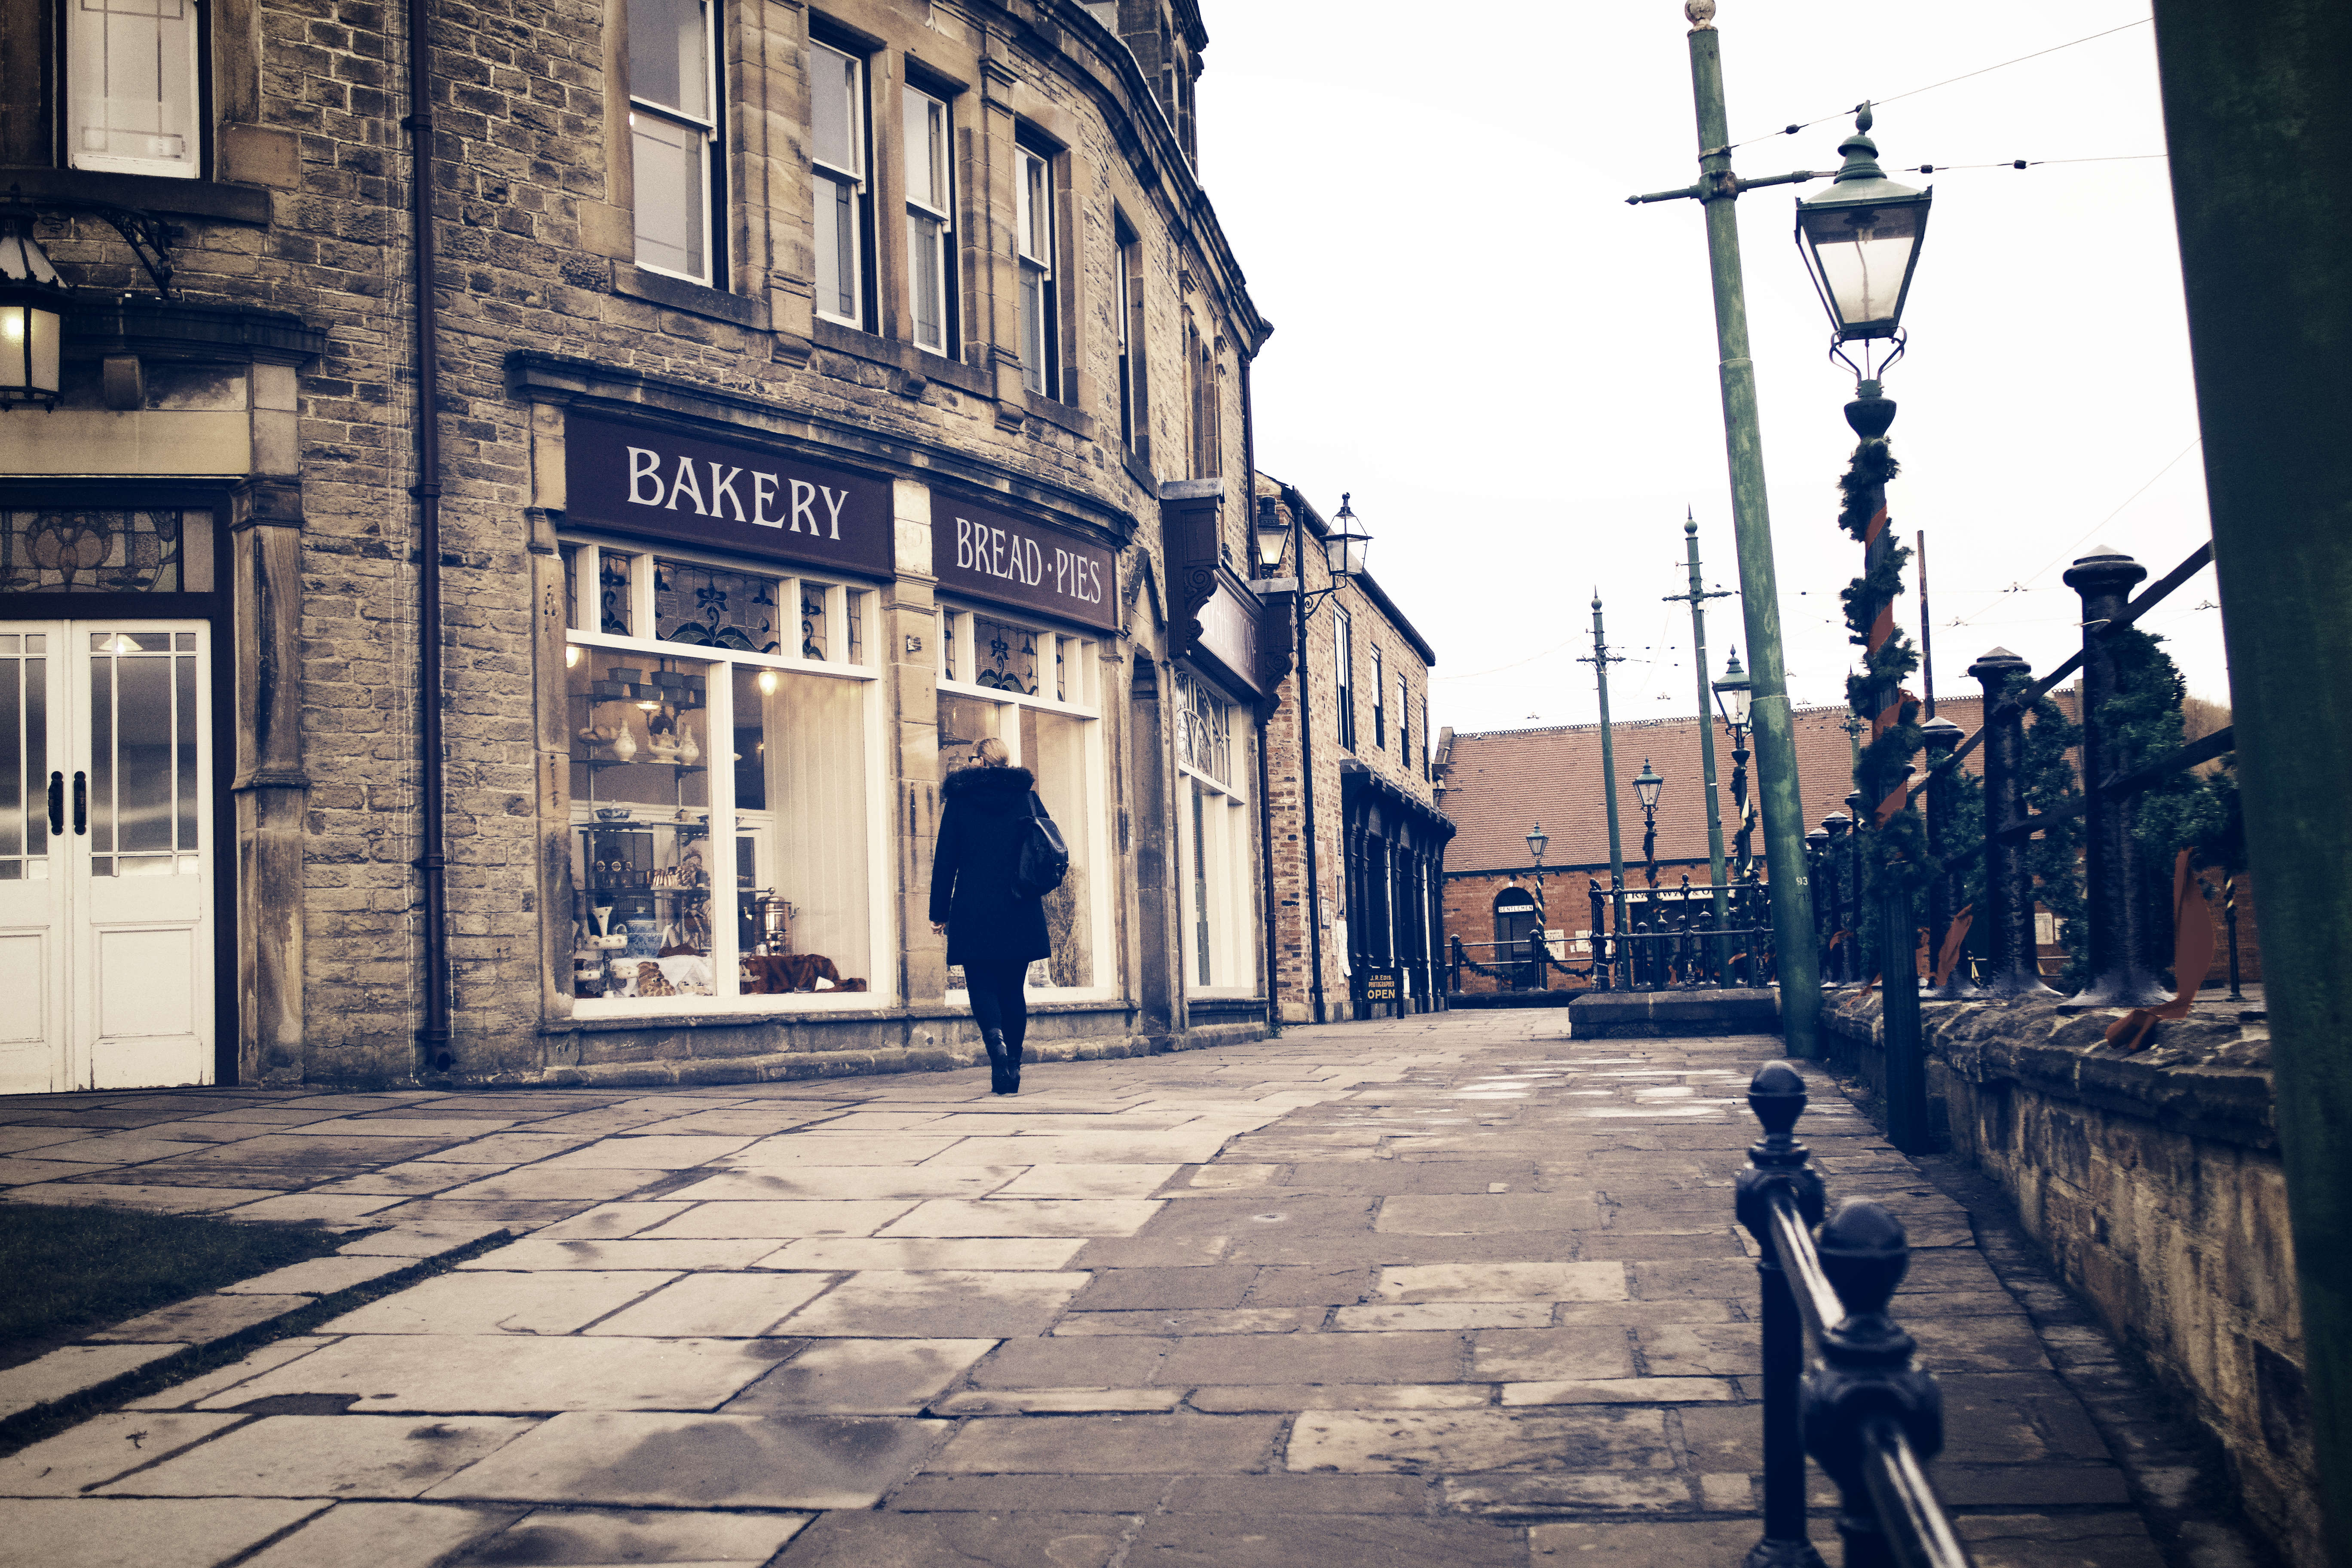
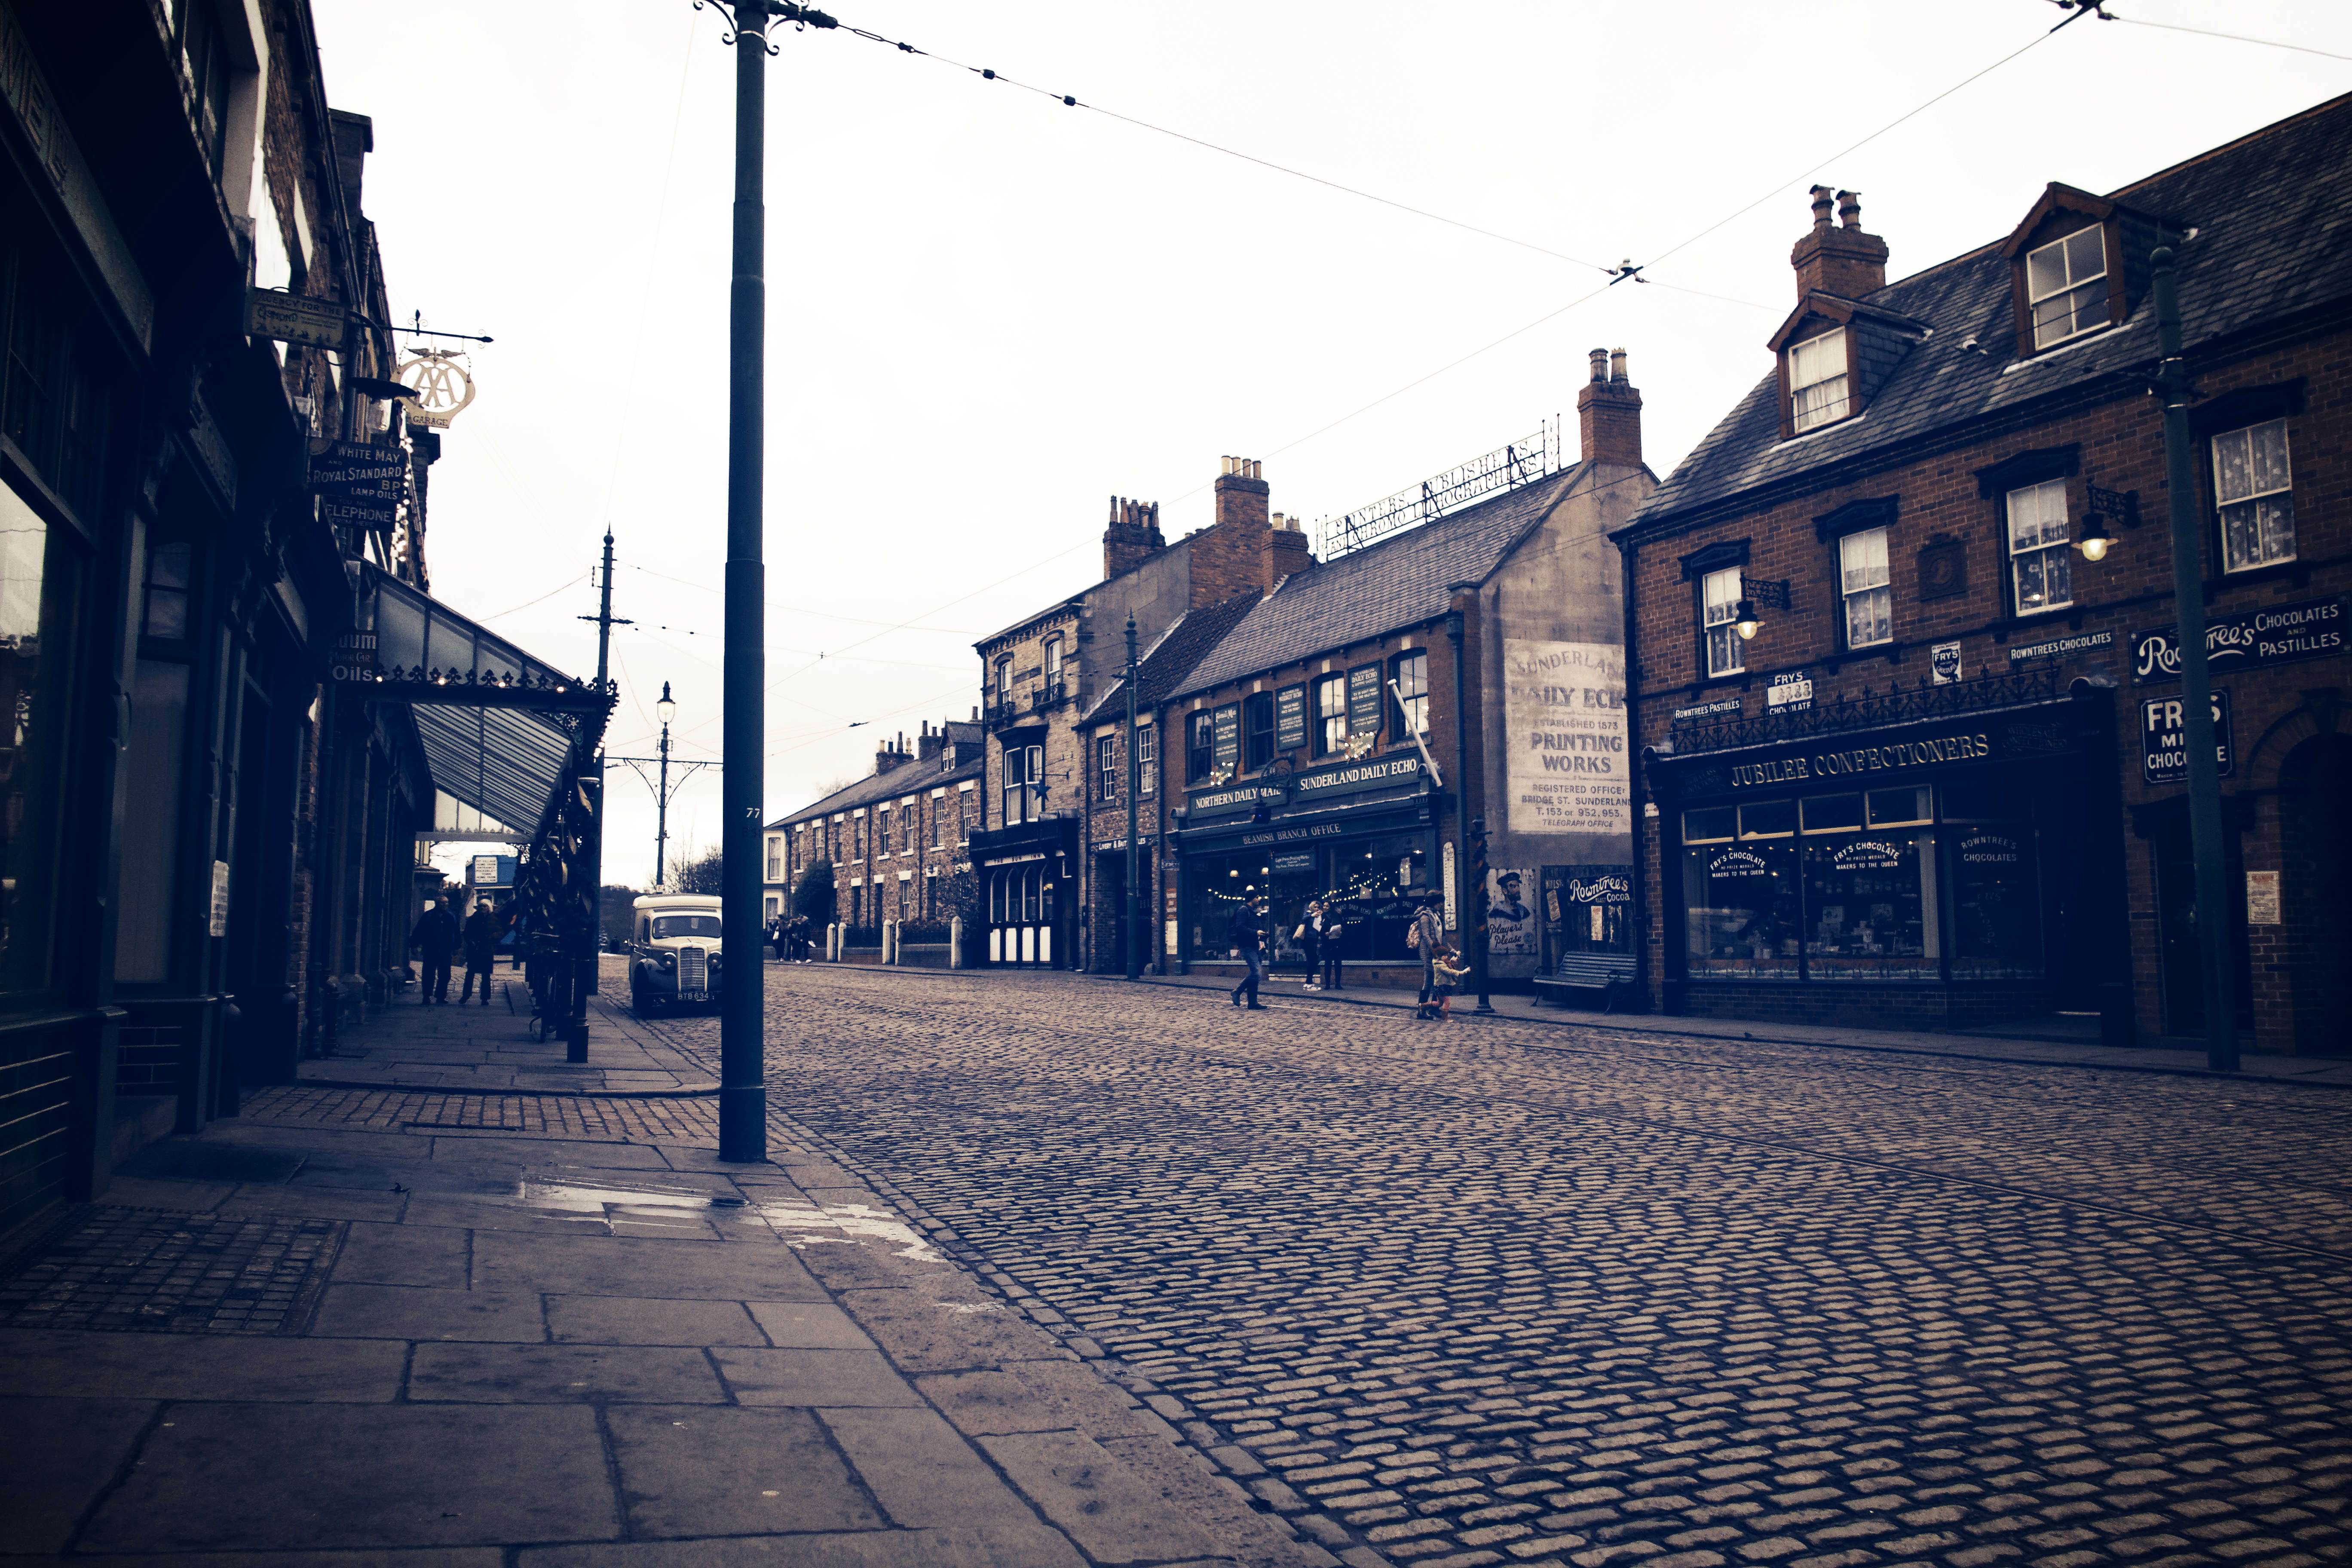
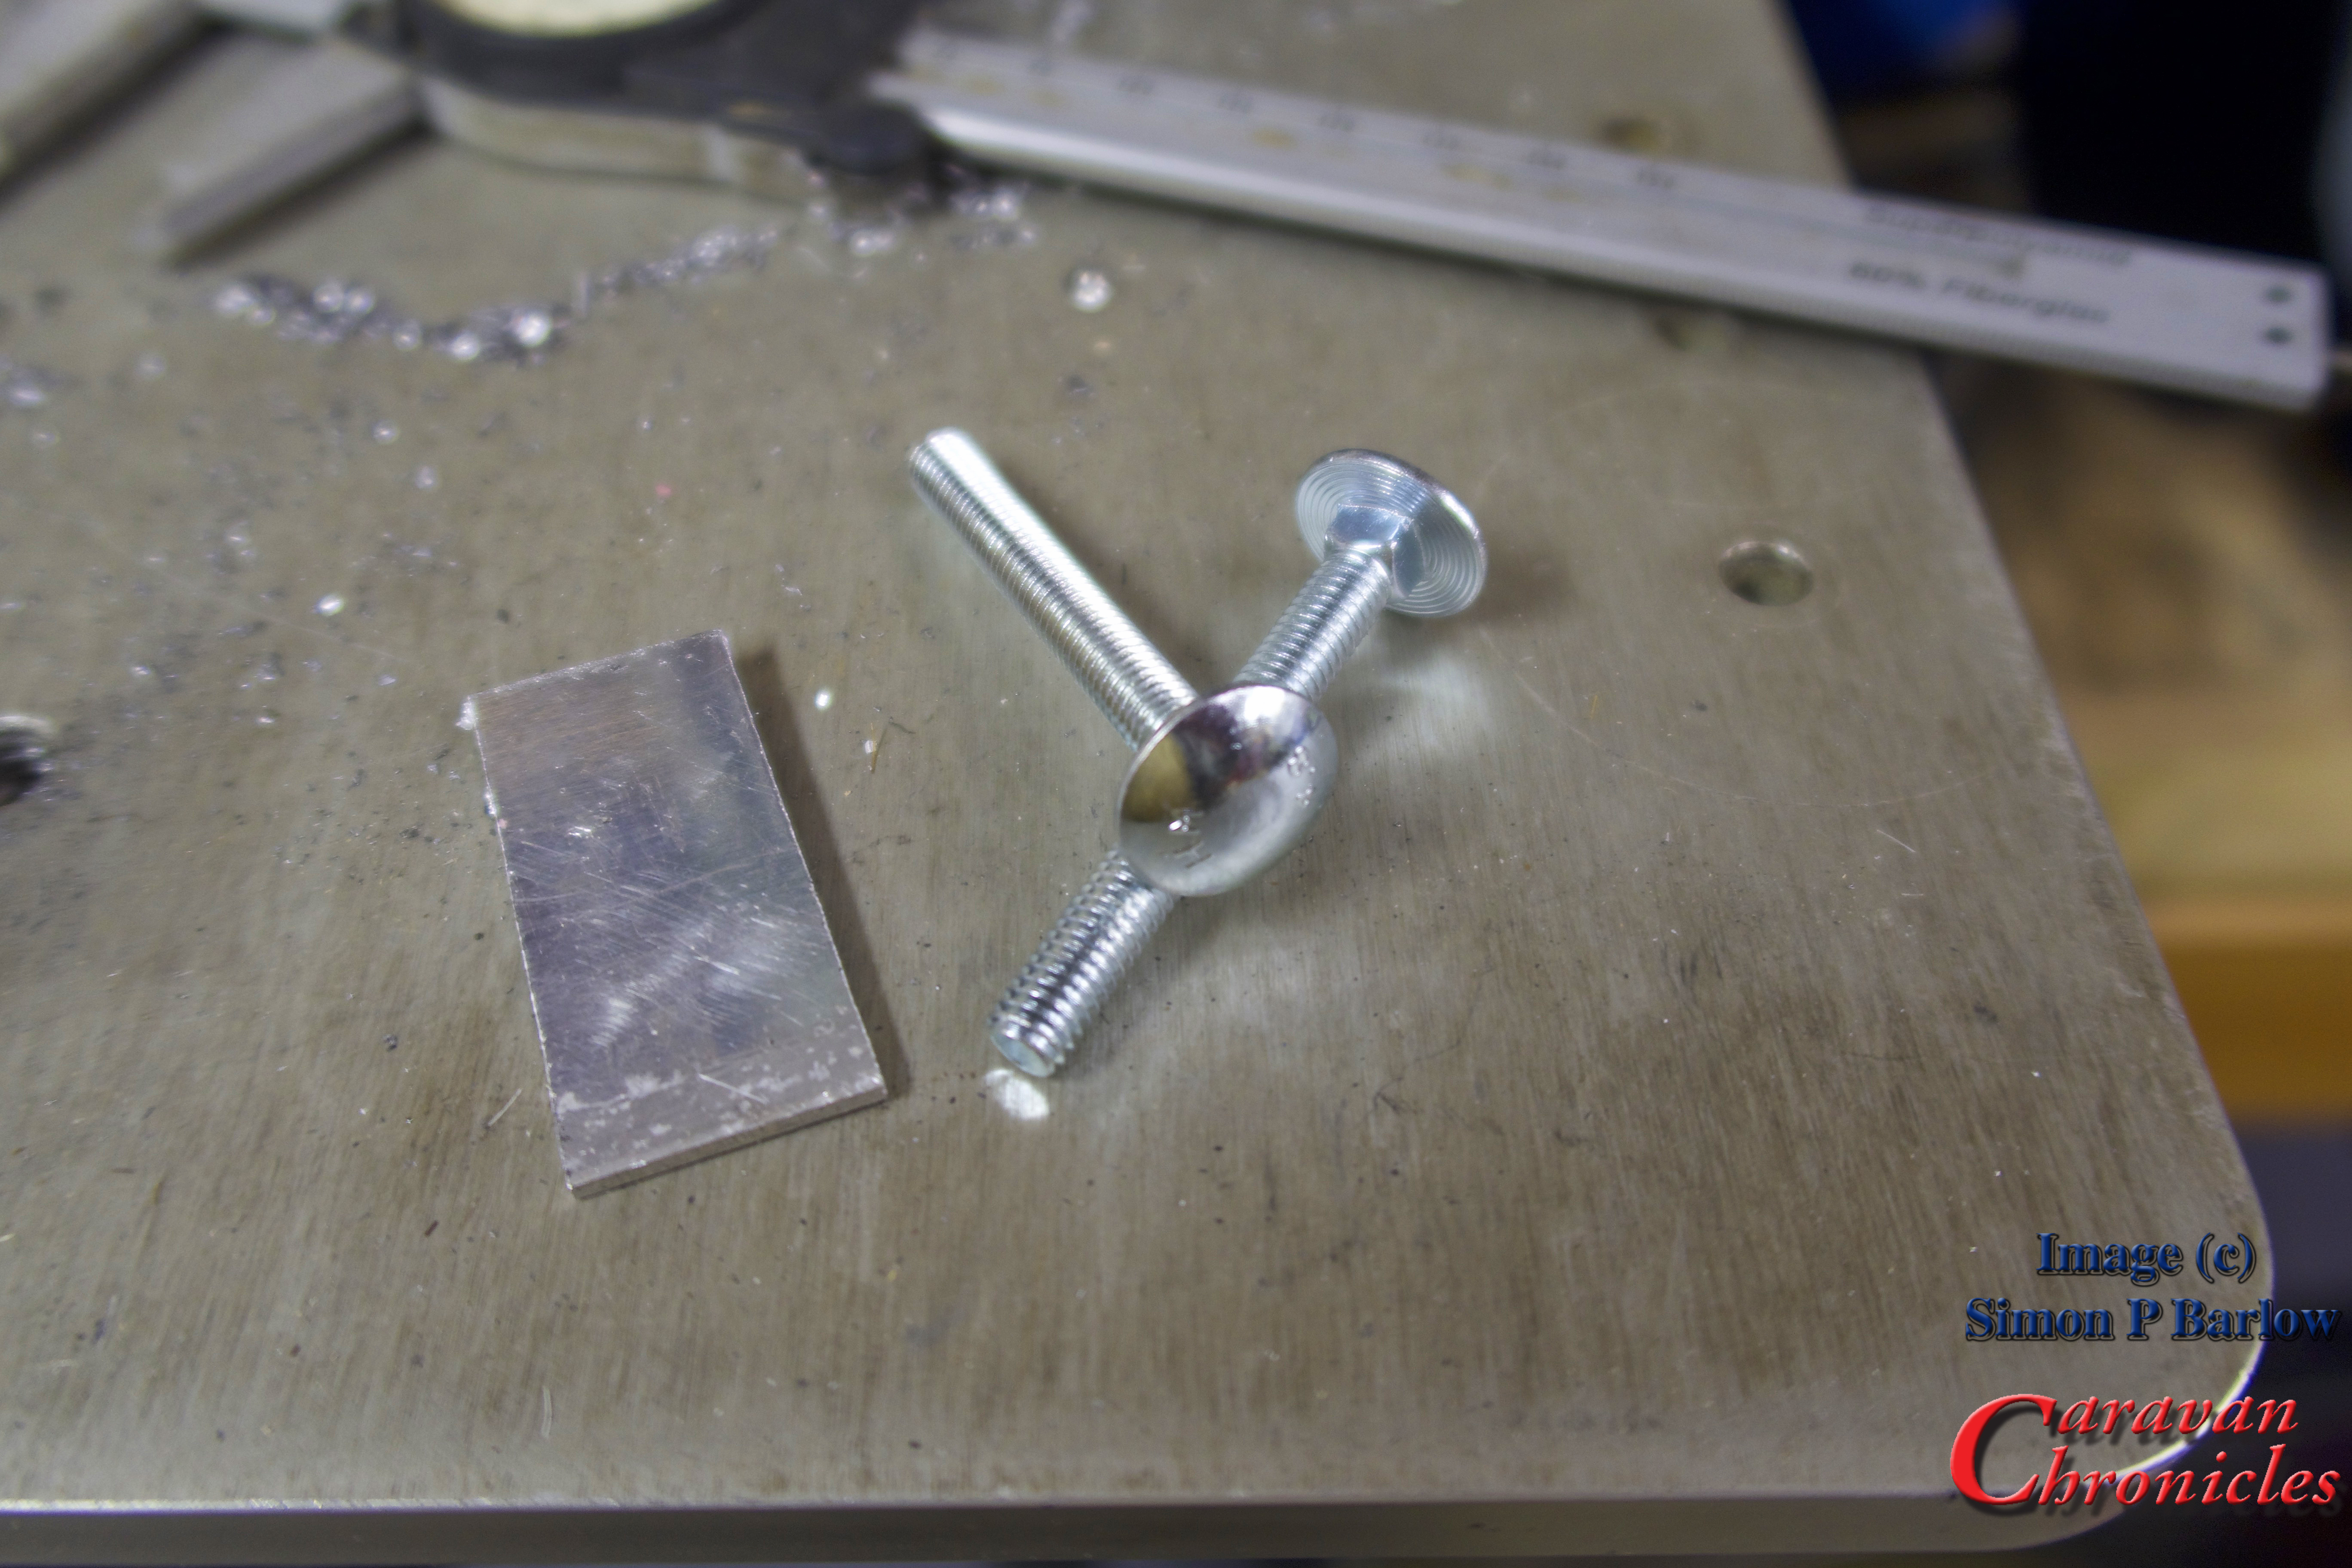
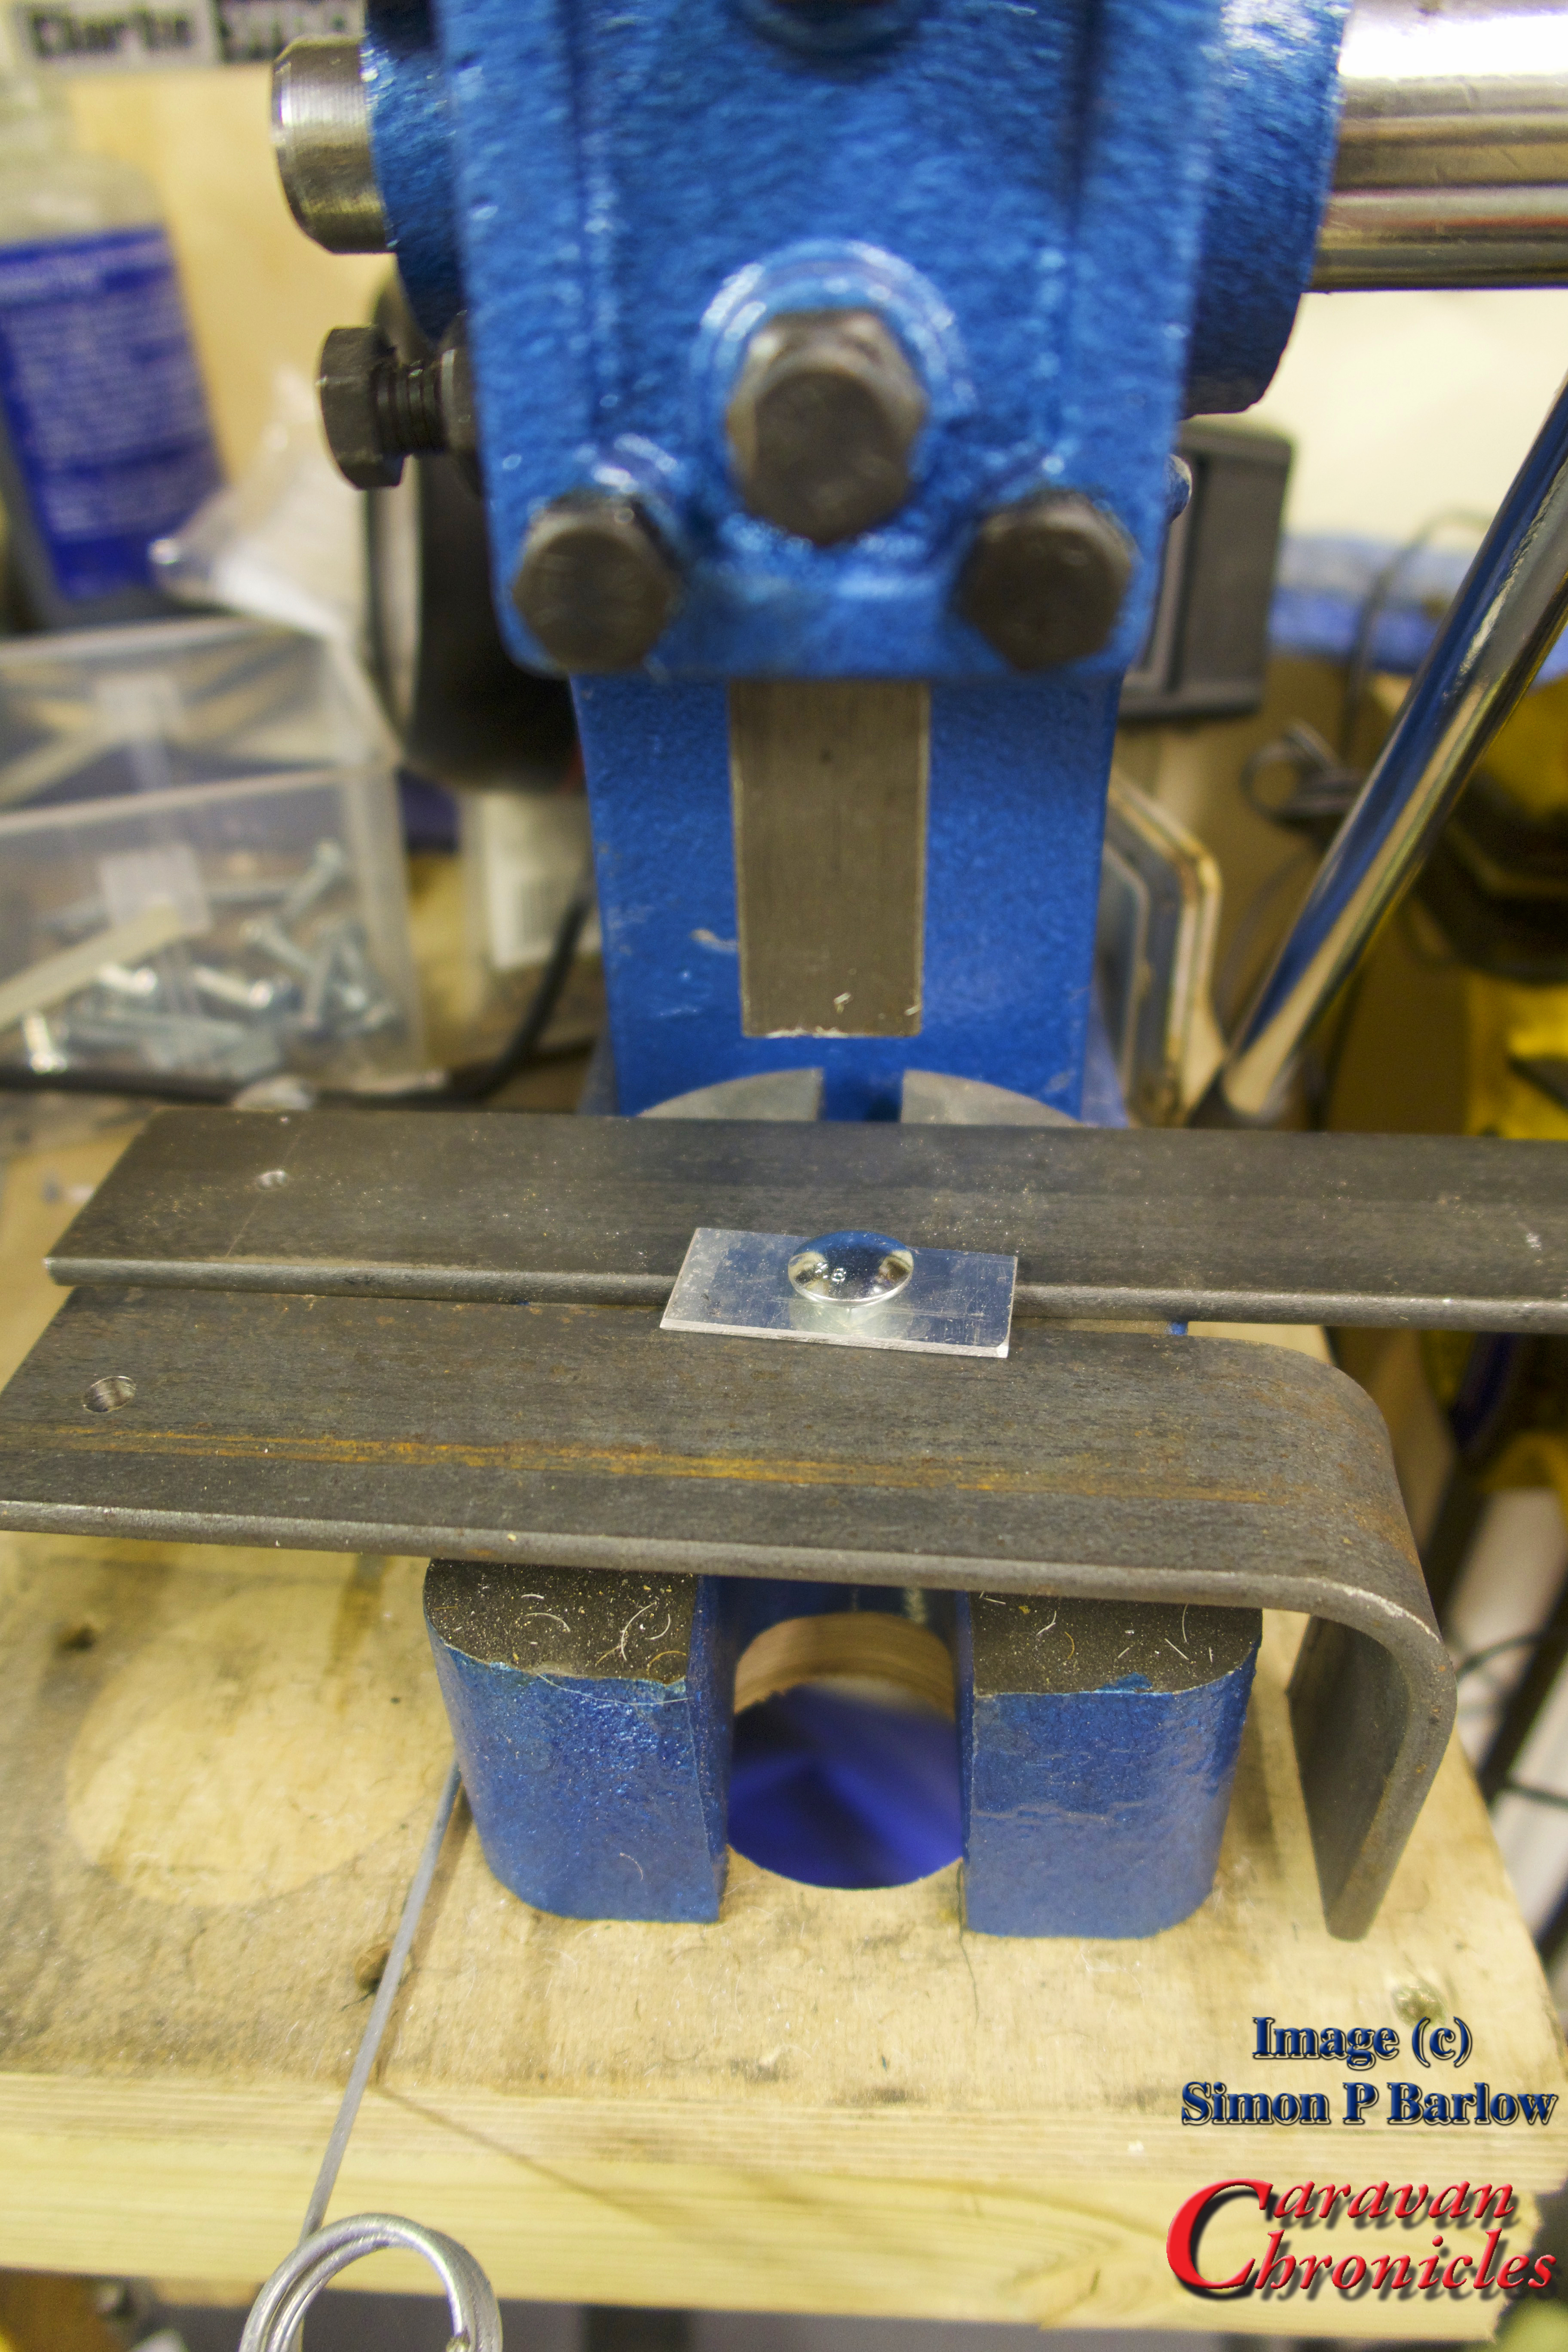
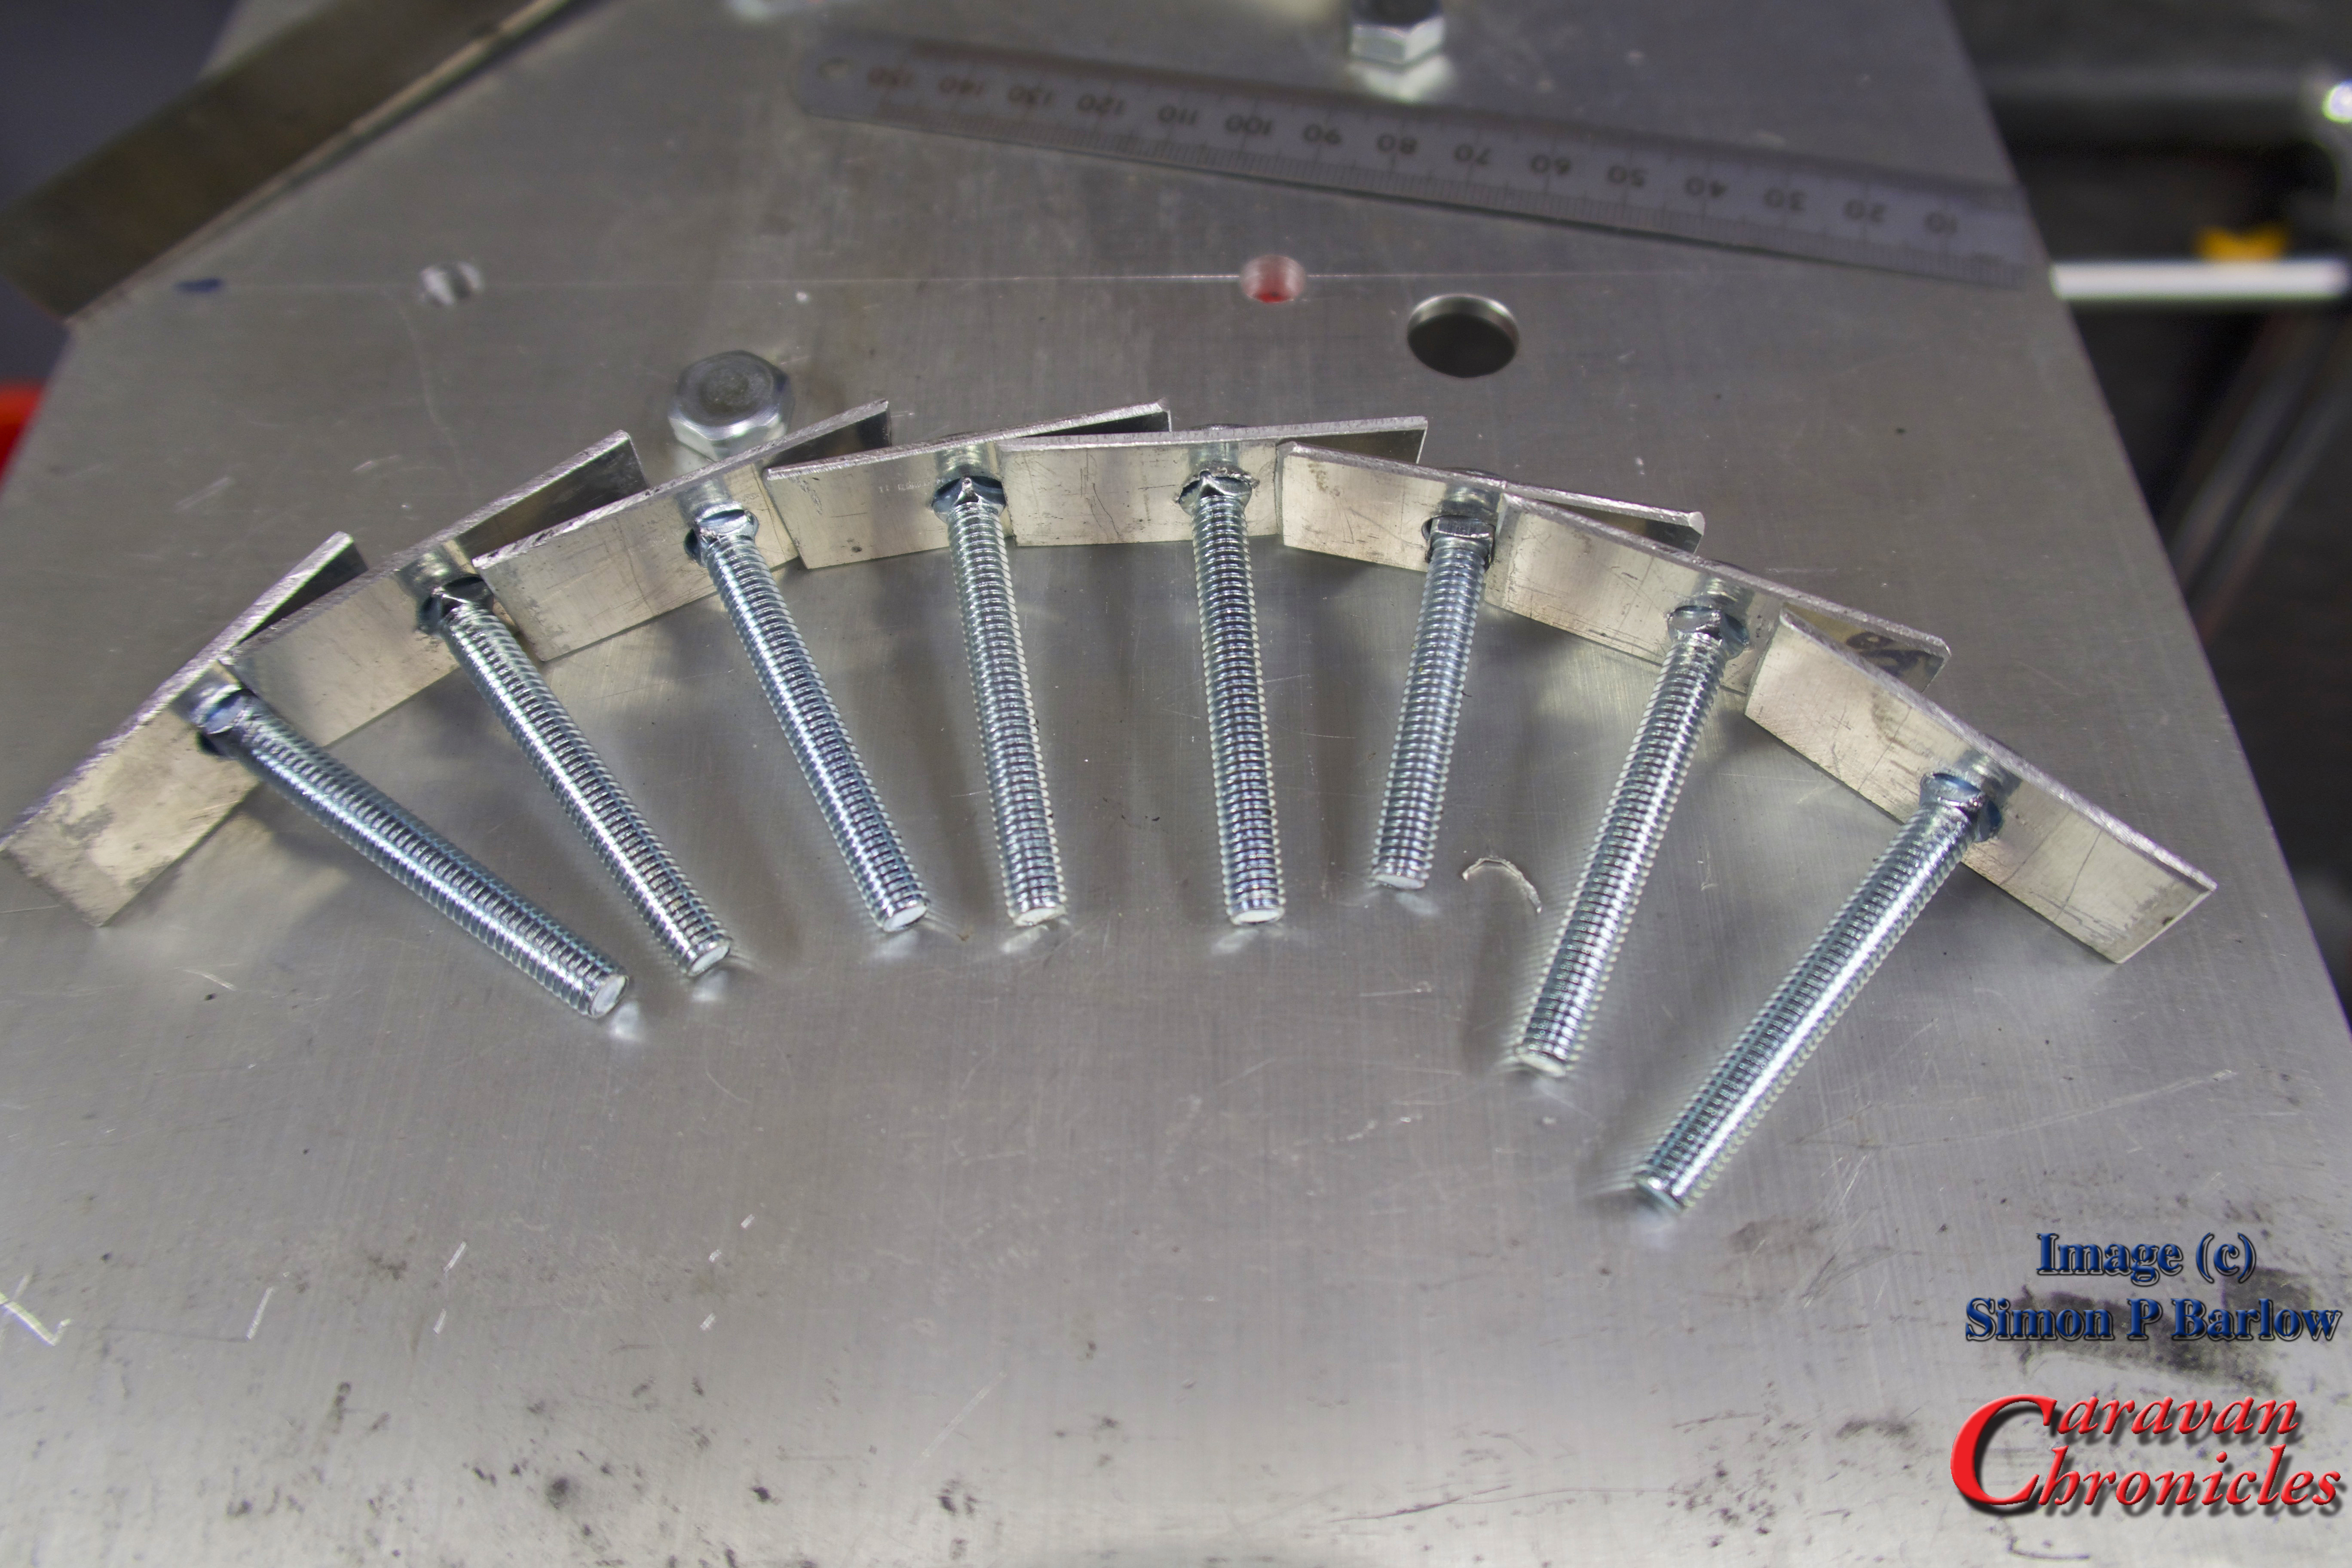
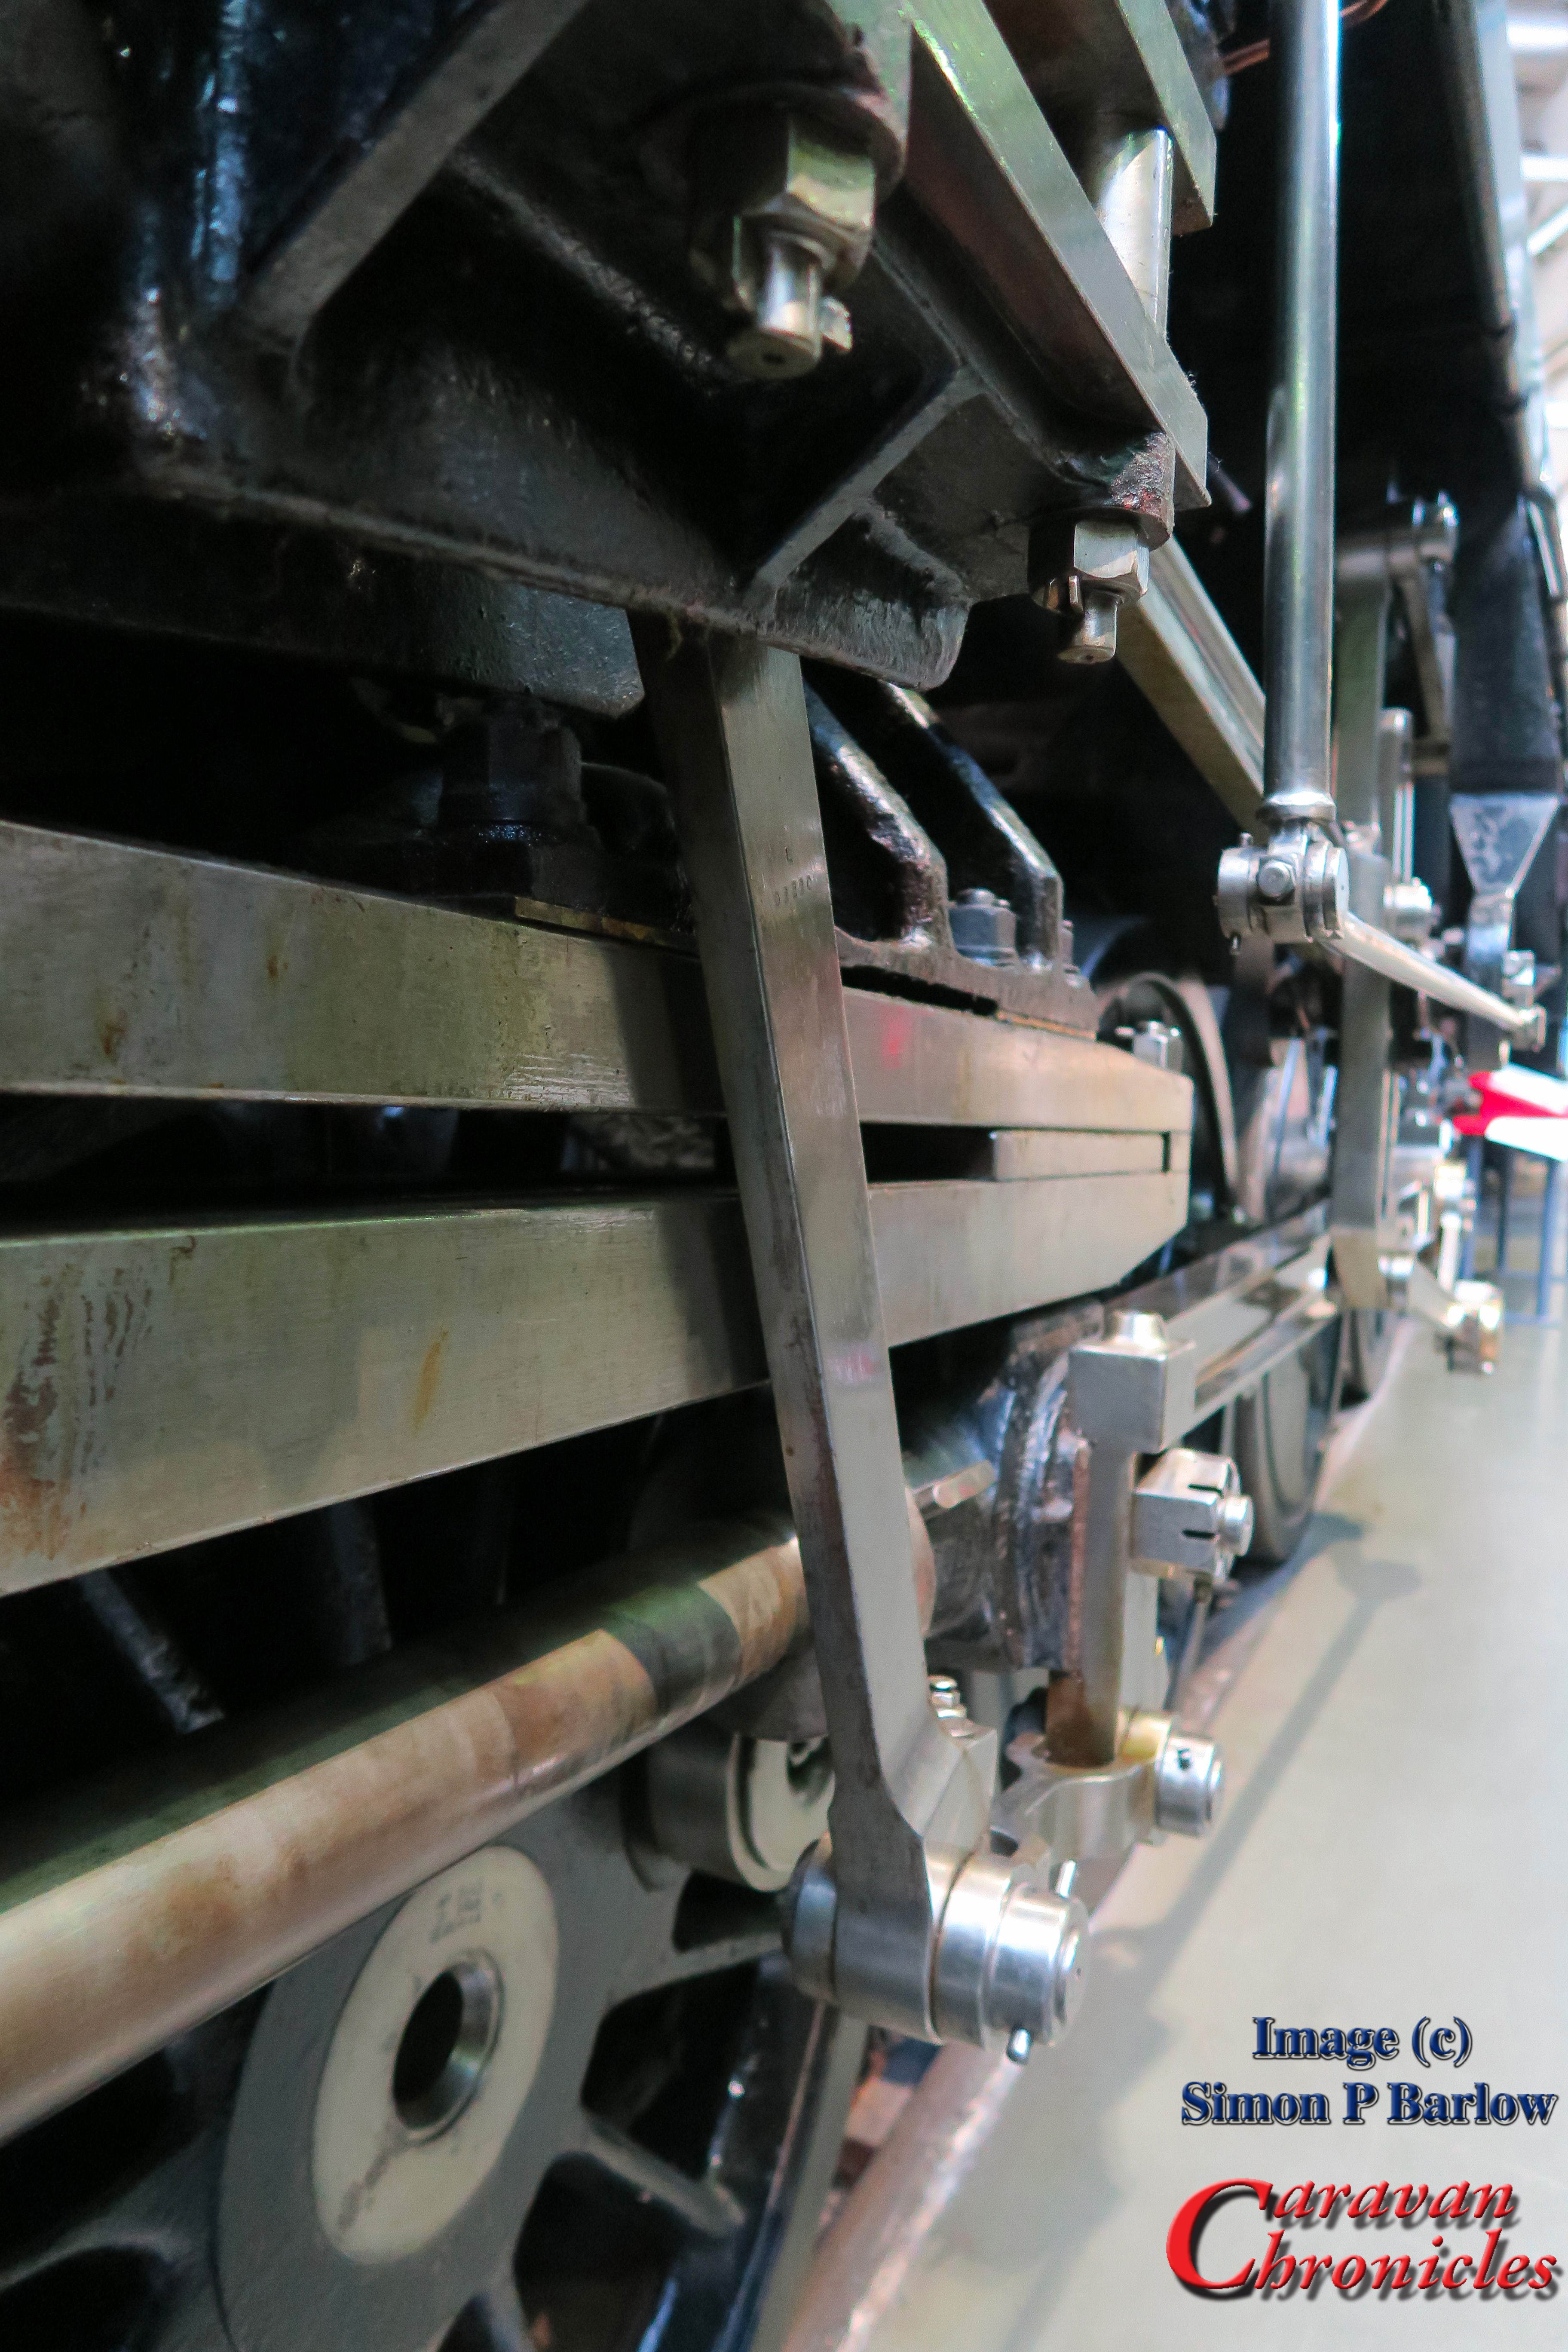
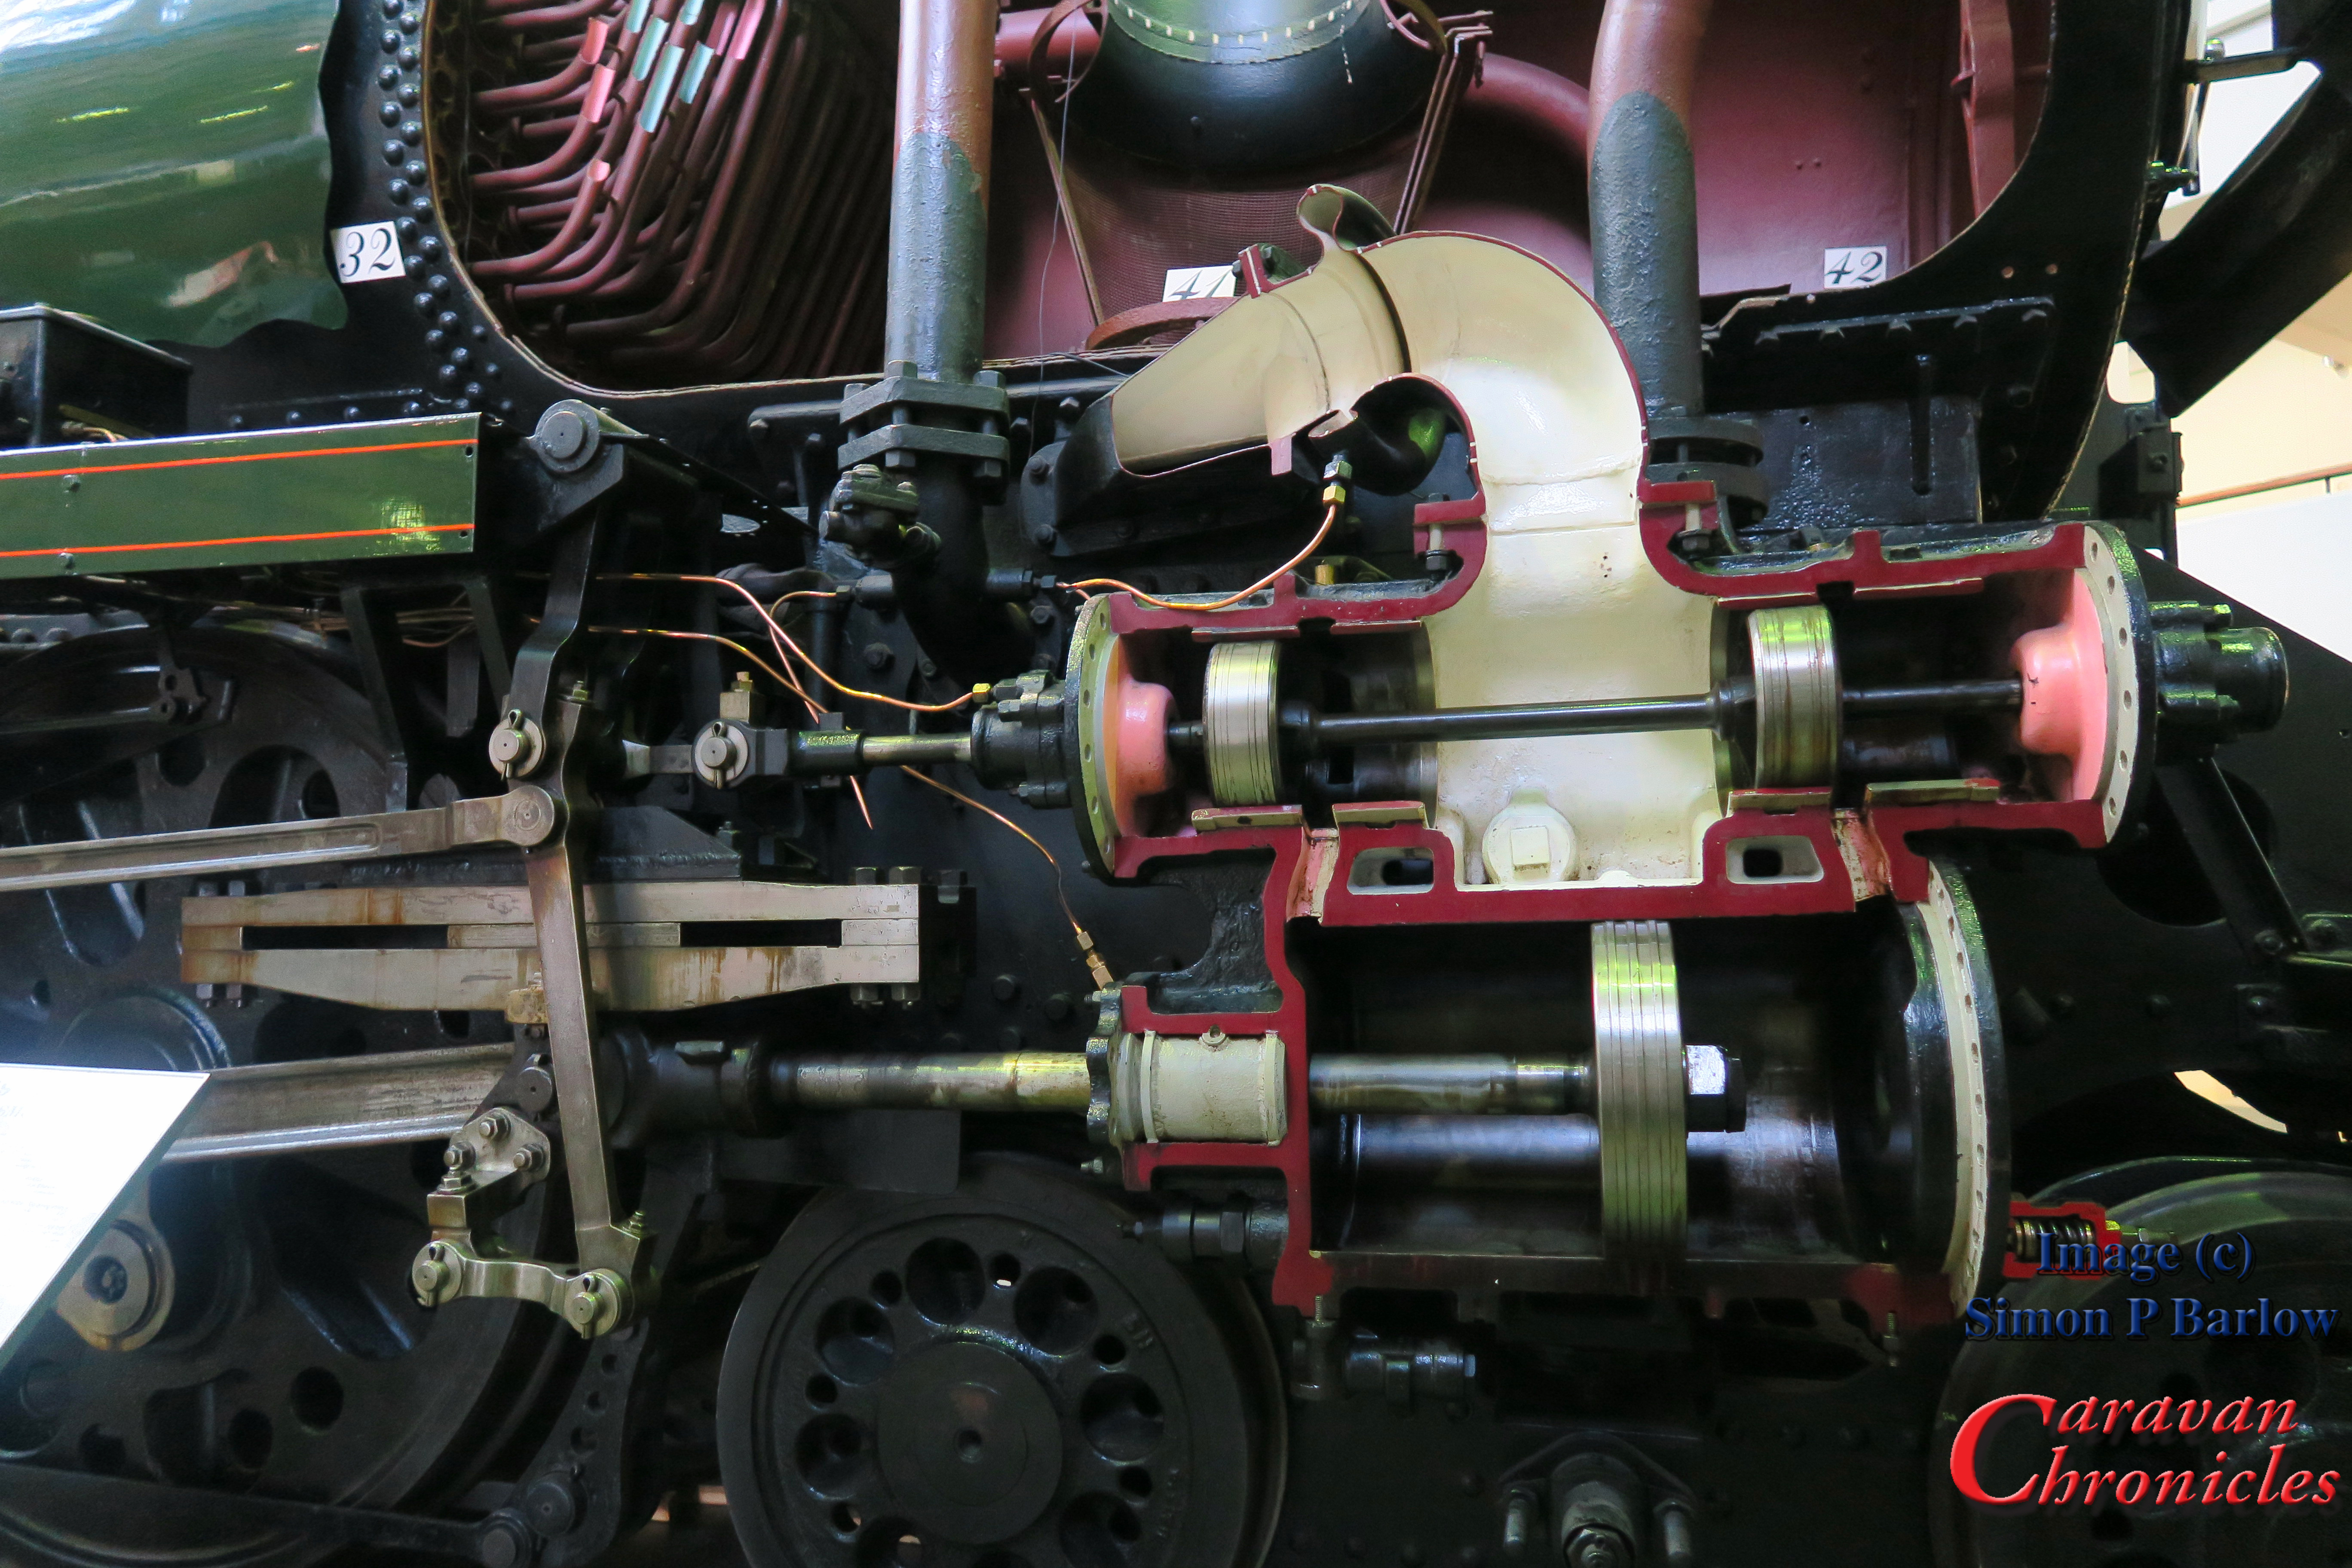
PS… as I sometimes do, a few arty photos…. (proper engineering in monochrome!)

IMG_1311.jpg
IMG_1308.jpg
IMG_1307.jpg
IMG_1306.jpg
IMG_1305.jpg

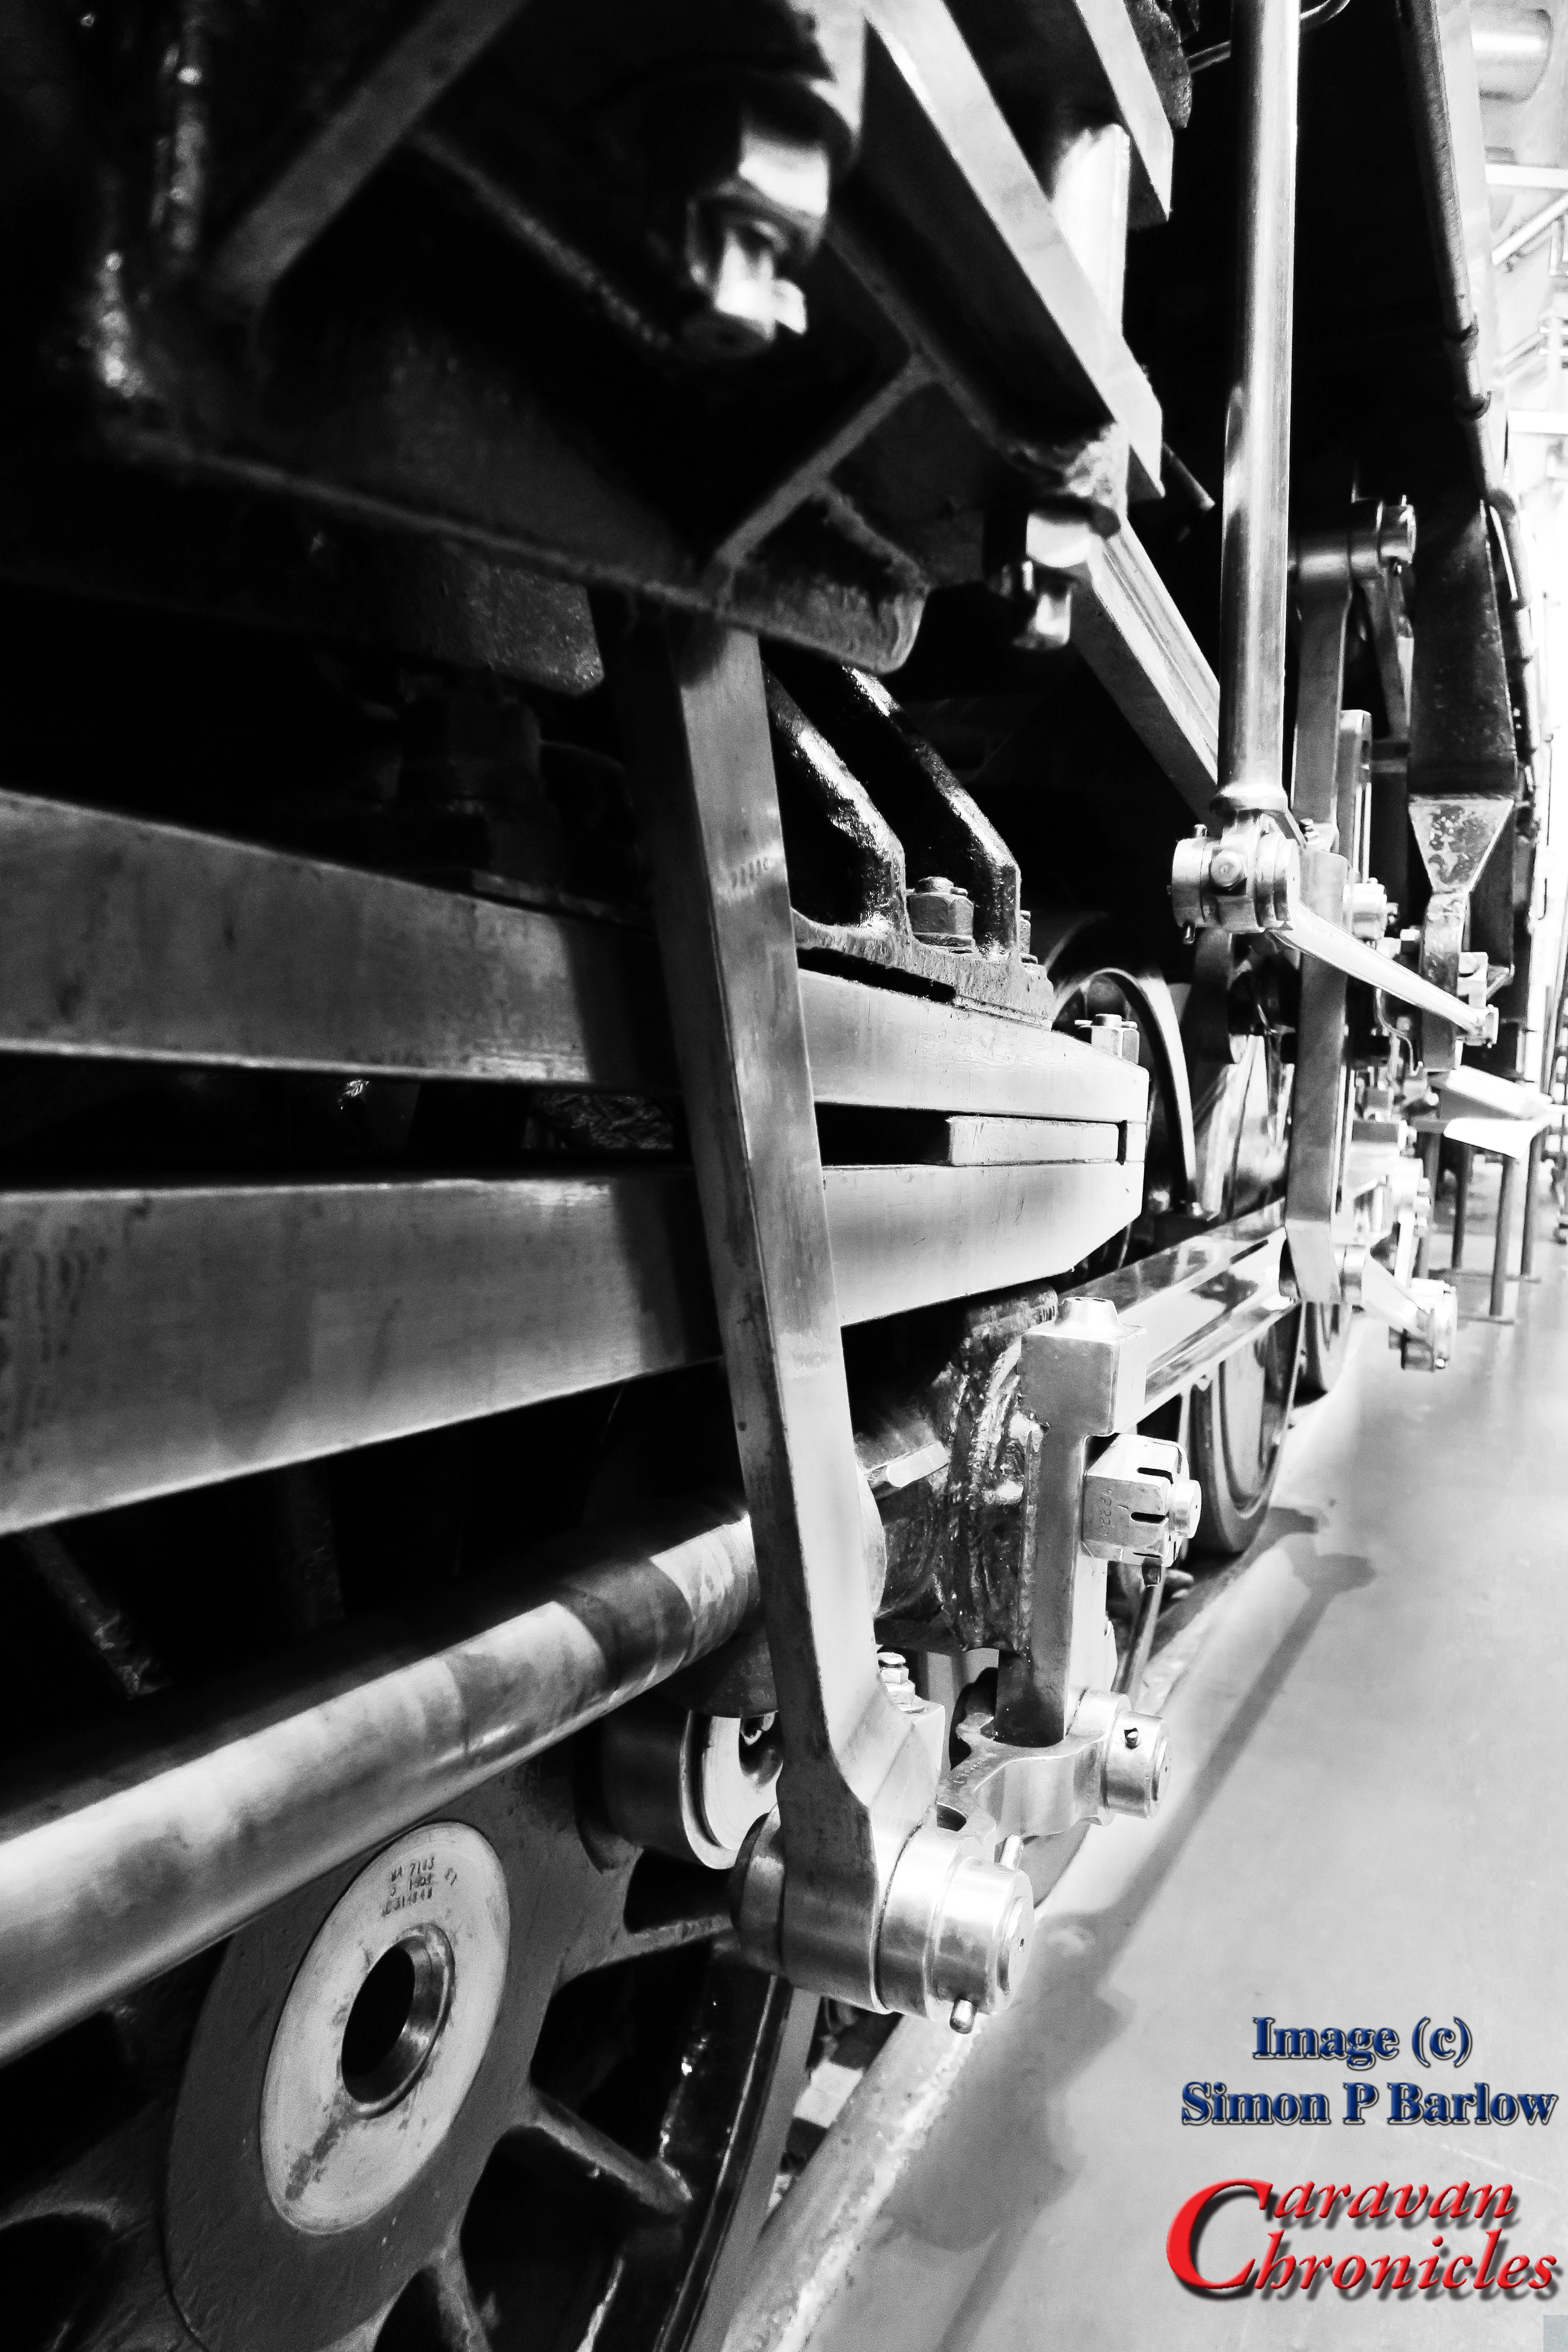
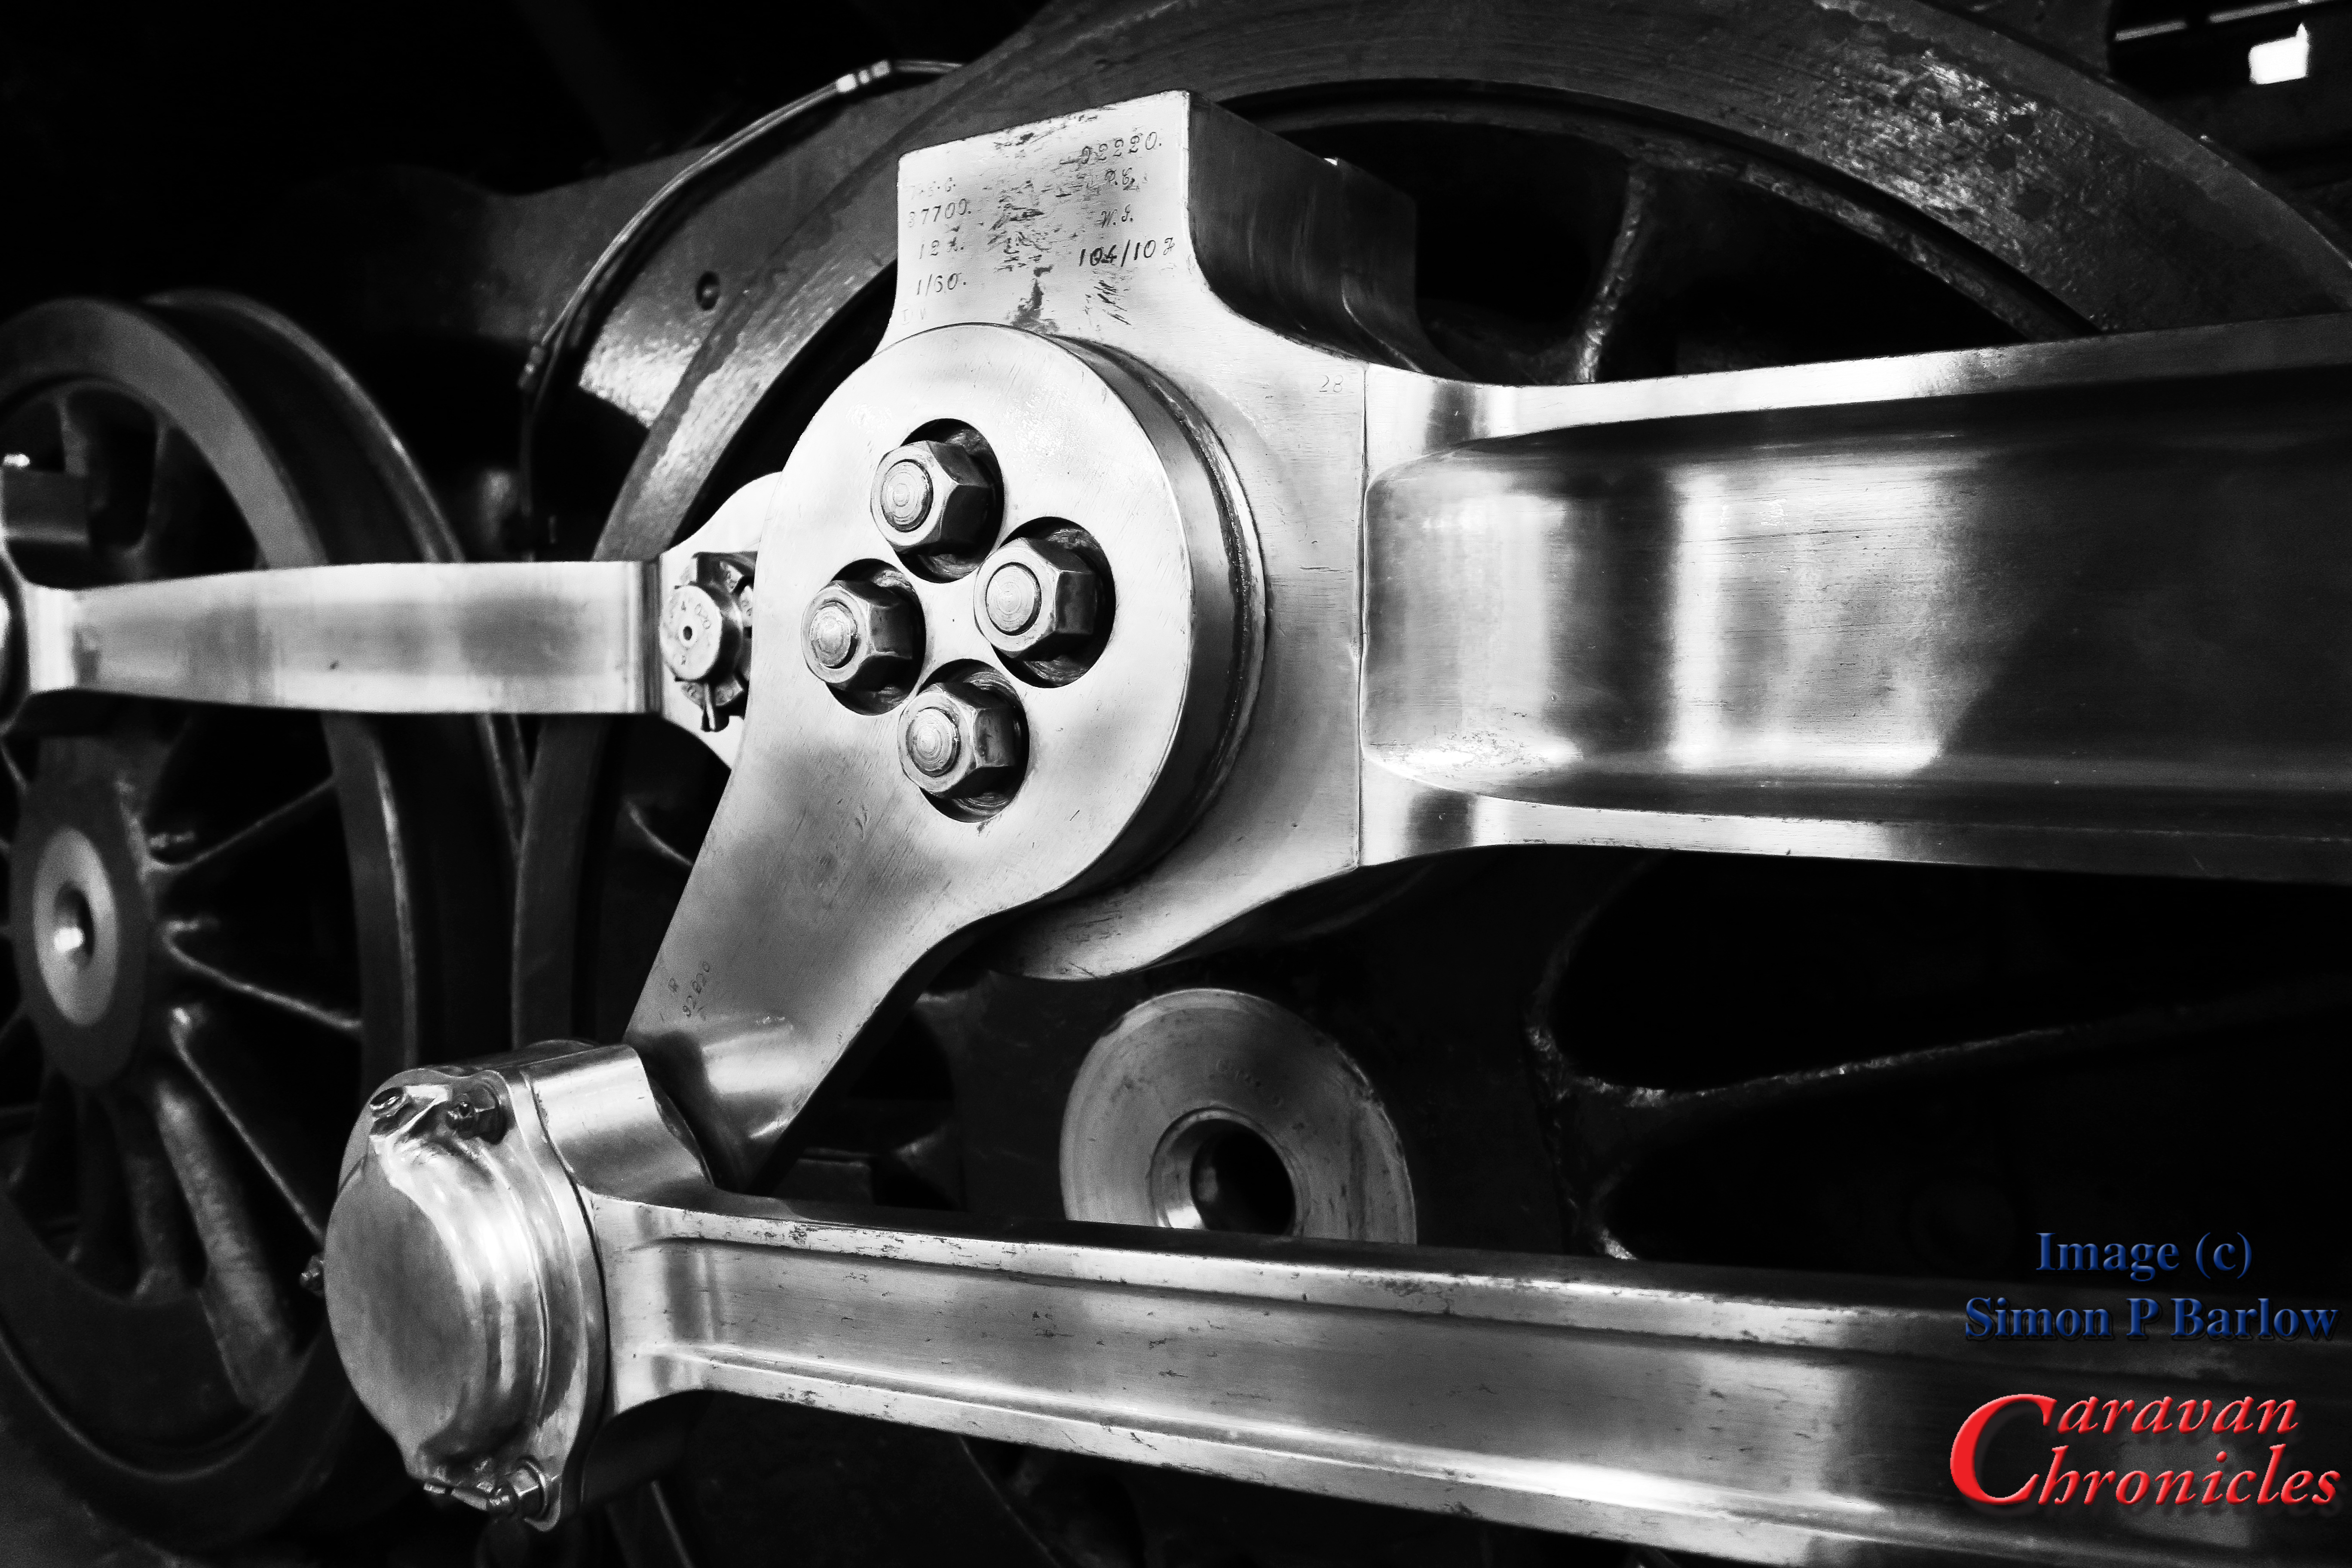
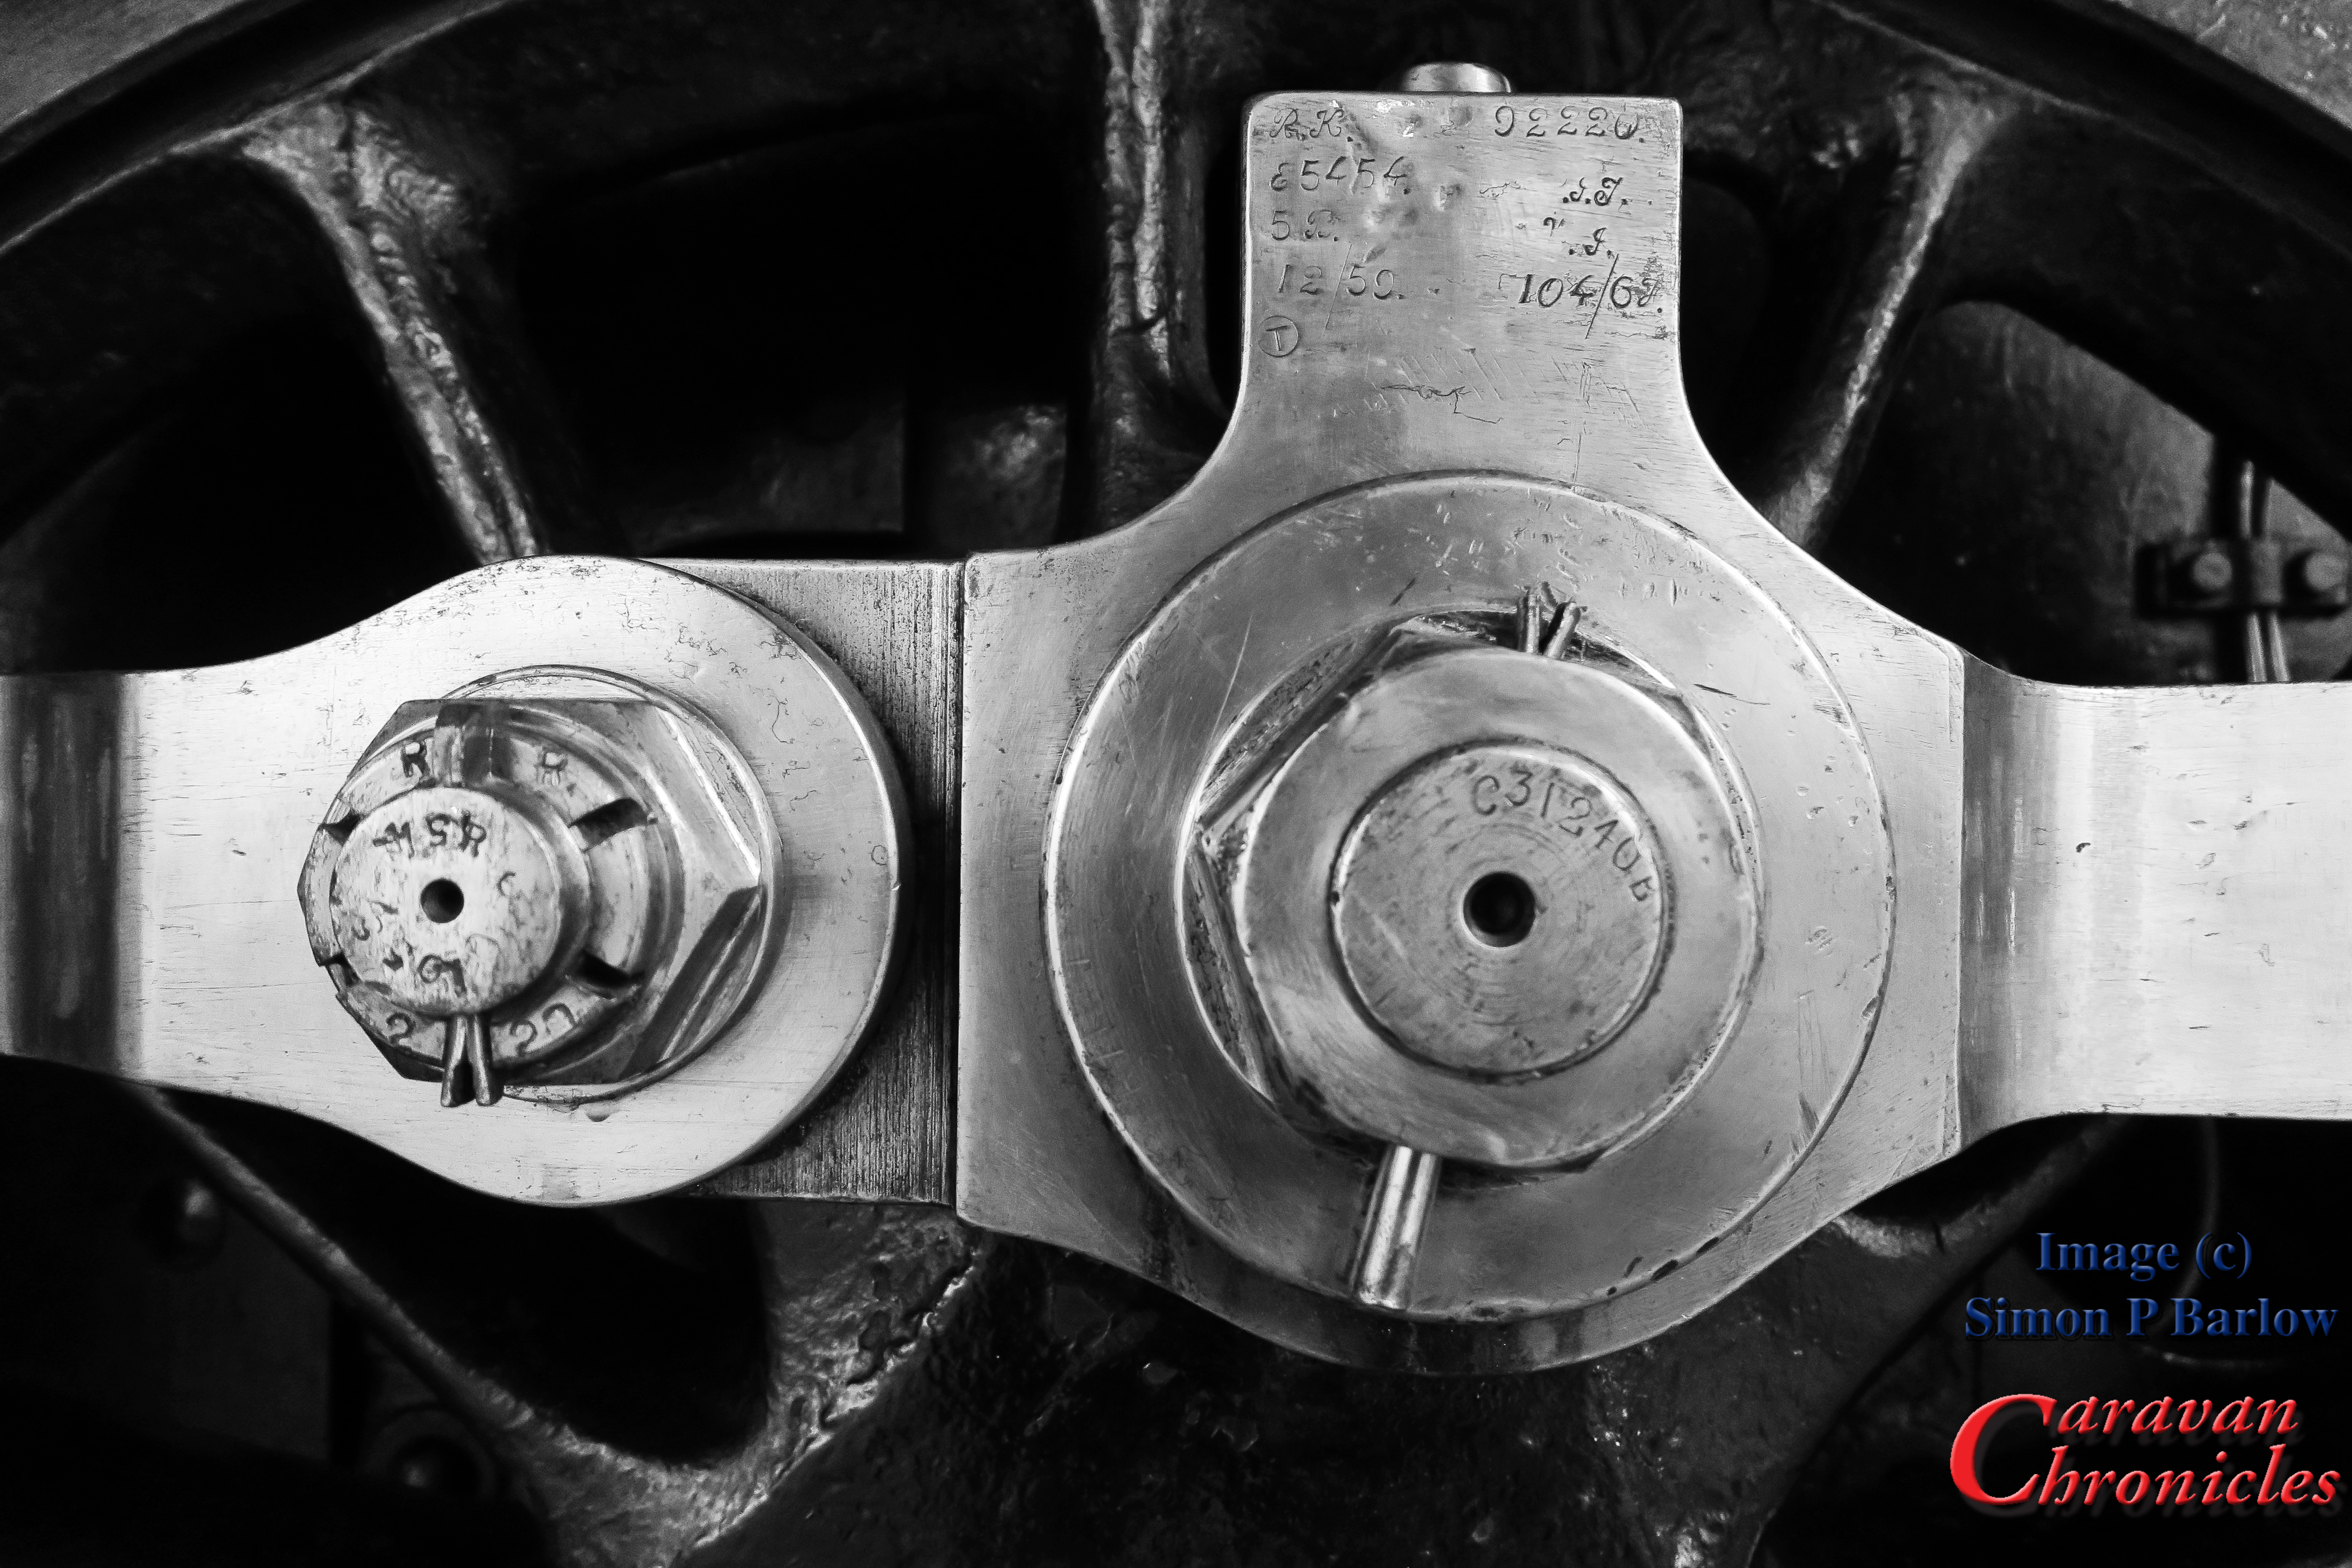
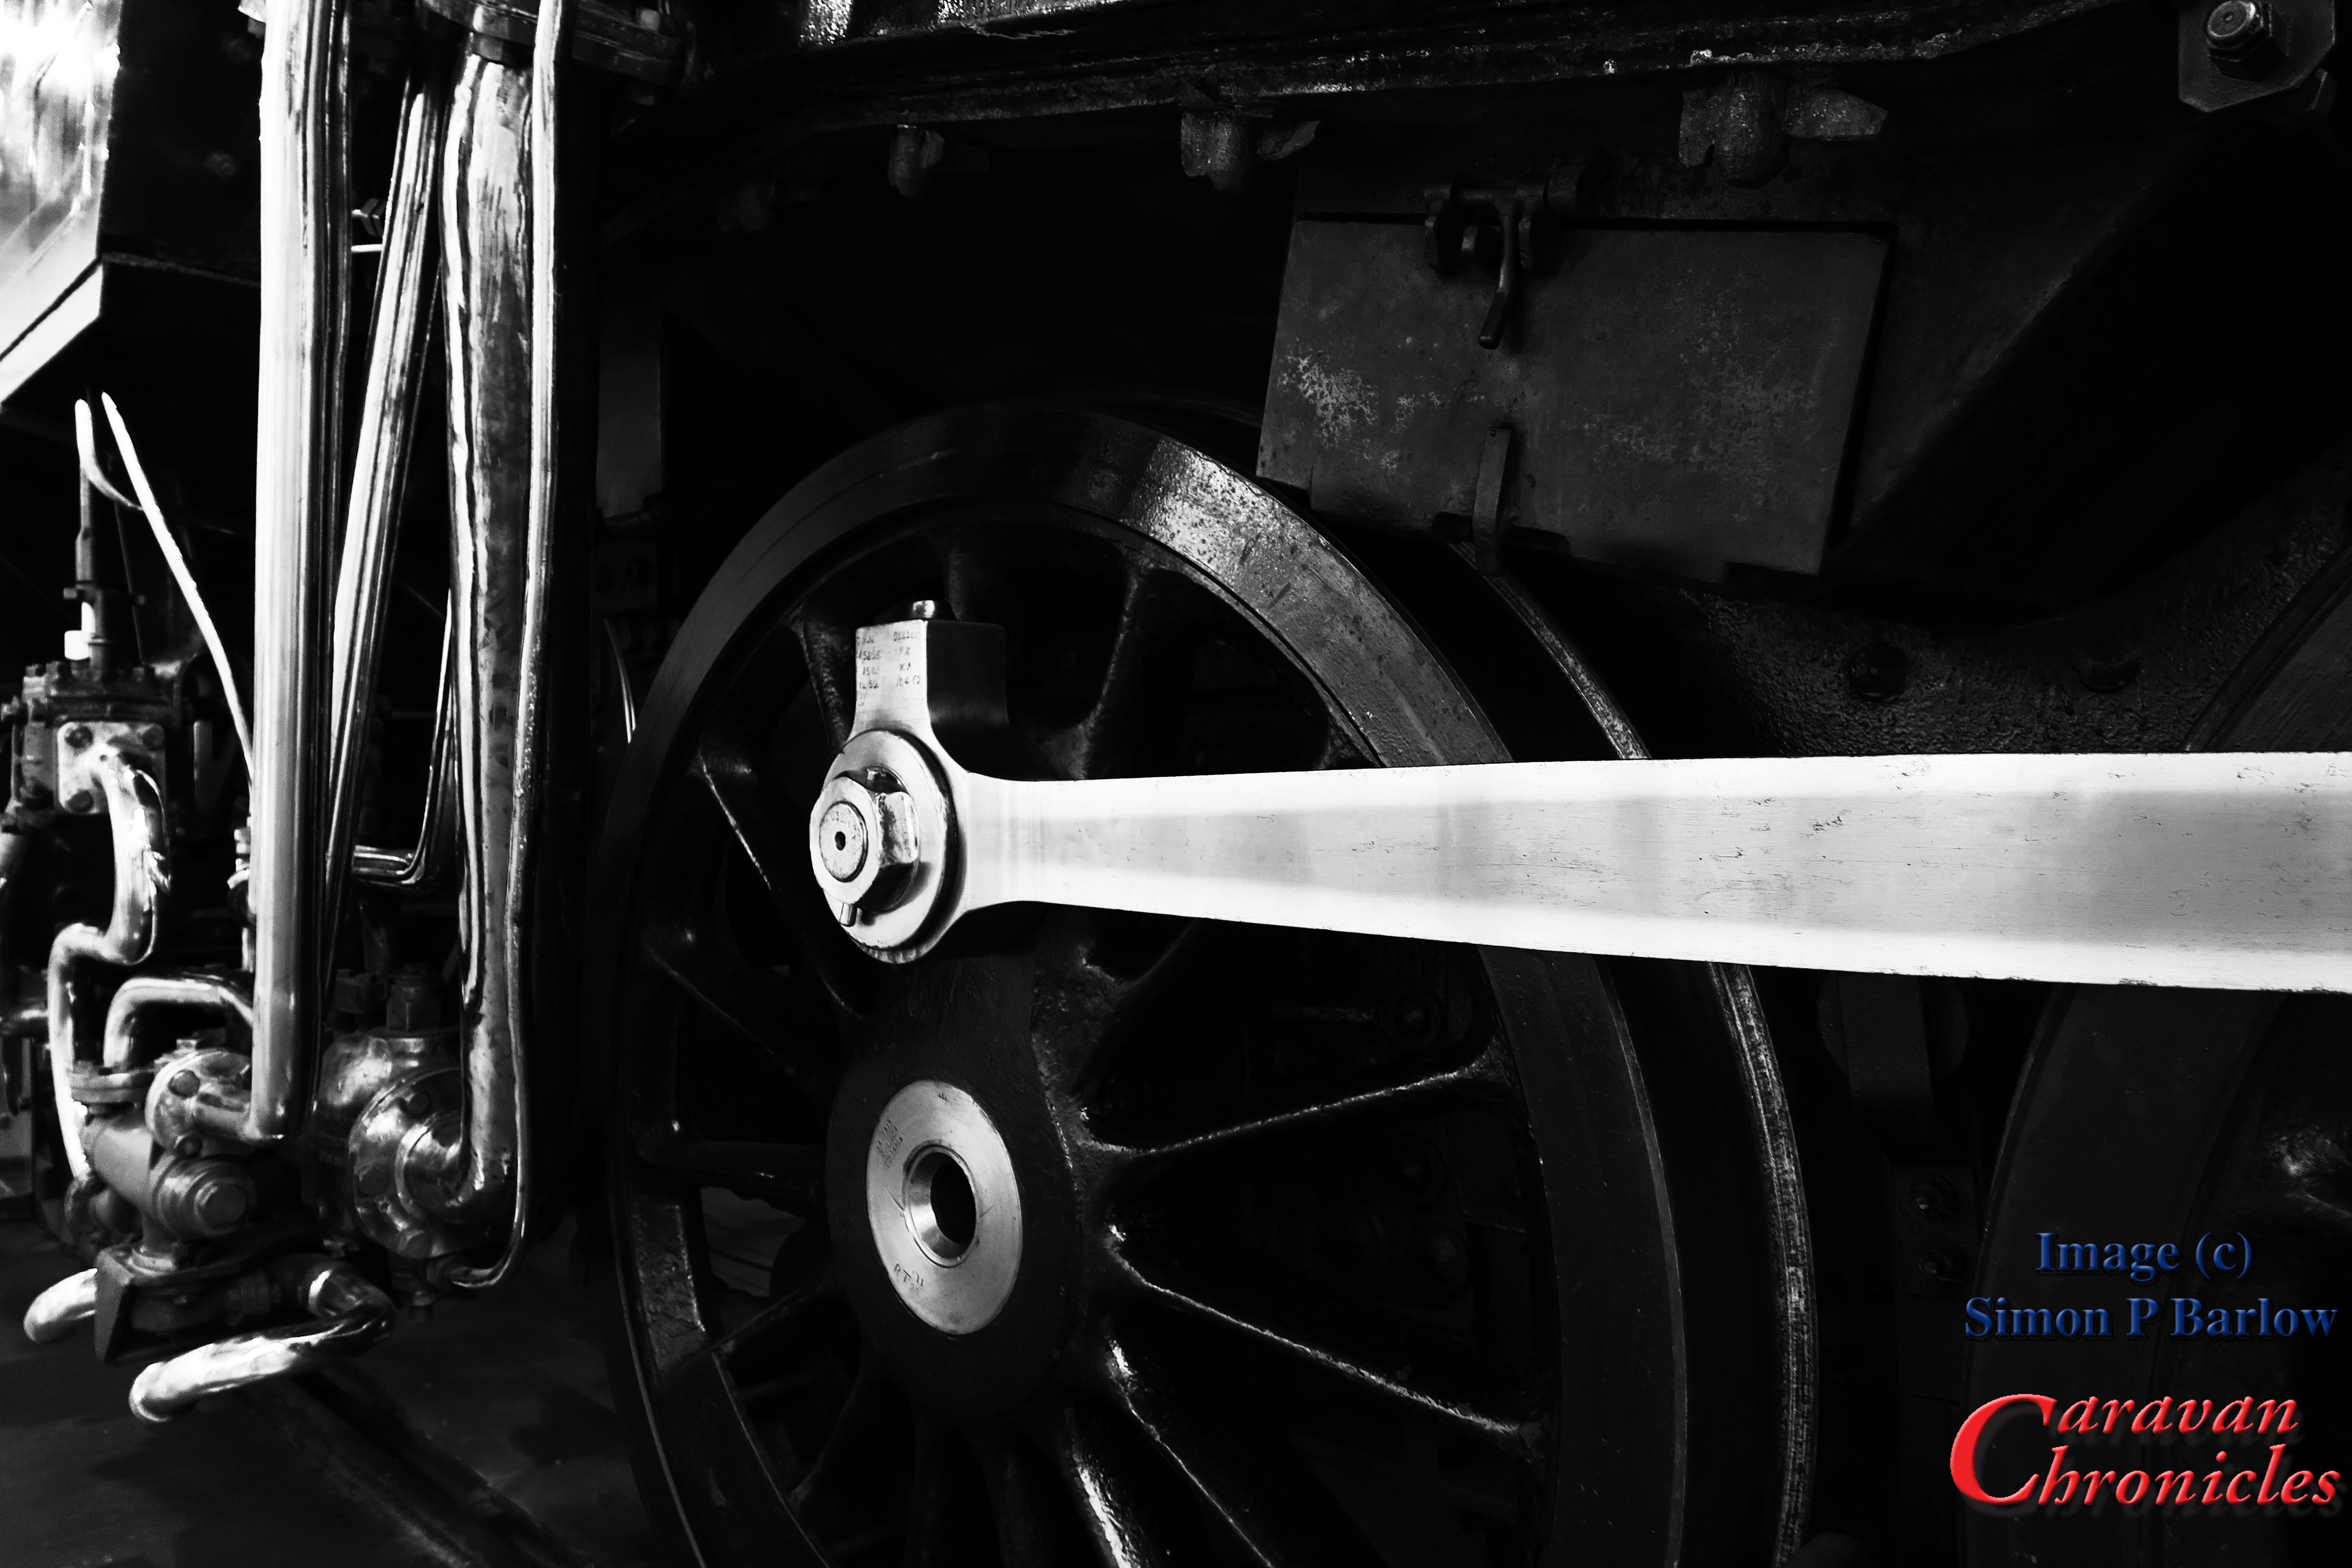
About 12 months ago I ditched using Adobe Photoshop which had been my go-to photo editor for over 10 years in favour of the free Polarr Photo Editor… which I do like for it’s speed and ease of use. I’ve been playing about trying to reproduce the varoius classic postcard looks from the turn of the 19th centtury and mid 20th century…

IMG_1244ga3
IMG_1246ga3
IMG_1246old
IMG_1247old
IMG_1252old
IMG_1262_old
IMG_1262ga3

Share this:

  • Click to share on X (Opens in new window) X
  • Click to share on Facebook (Opens in new window) Facebook
  • Click to share on Tumblr (Opens in new window) Tumblr
  • Click to share on Pocket (Opens in new window) Pocket
  • Click to share on Pinterest (Opens in new window) Pinterest
  • Click to share on Reddit (Opens in new window) Reddit
Like Loading...

Is A Euro 6 Engine Killing Your Leisure Battery?…

21 Friday Jul 2017

Posted by Simon Barlow in Accessories, Amarok, Caravan Electrical Fault Finding, Caravan Electrics, Electrical, Maintenance, Modifications, Off Grid, Technical, Tow Vehicle, VW Amarok

≈ 83 Comments

Tags

Caravan Electrics, Euro 6 Engines, Maintenance, Modifications, Sterling Power Wildside

OK… so that title was a bit dramatic! However here’s the thing… I don’t think everything is peachy with Euro 6 engines and charging leisure batteries.

If you are a regular reader, you know I have recently installed one of Sterling Power’s Wildside units (and so far I’m super happy with it!) but I did get an email from someone who had read all my postings about it and asked me if it might cure his problem. Here’s the gist of his email….

Note: I have edited this down a bit…. and withheld the name of the person and vehicle.

“I have recently changed my car to a new 2017 xxxxxxxxxxxx and after several trips with it, on arriving home there is never enough charge in the motor mover to manoeuvre our caravan up our drive (which is on an incline) and park the caravan round the back of the garage. I have to plug the caravan in overnight before I can use the mover.

This only seems to have started happening since we changed to the xxxxxxxxxx. I had the caravan’s battery tested at two garages and they said it is OK and it is only 2 years old. The local caravan service man said he could not find anything wrong with the motor mover.

As we are on mains at the caravan sites we visit for a few days the caravan battery should be fully charged.

Can you help?”

This did have me stumped for a bit. Battery tested OK, no issues with the mover, so what was going on?

While doing some of the prep work for writing about my installation of the Wildside unit, I had spent a few days prodding about our VW Amarok with a multimeter and making a few notes about voltages etc. One thing that I did cotton on to was the cyclic way the vehicles ECU seemed to turn off the alternator…. well I should really say put the alternator into “idle” mode. Now with the caravan attached (pre Wildside unit install) I did notice that  at the start it seemed to take longer for the vehicle’s alternator to go into idle mode but also it seemed to stay in idle for a lot longer and I was in the process of trying to work out why as initially I’d have thought it would have been less as it was running the fridge and charging the leisure battery.

A picture is worth… you know the rest. Here’s one of my excellent drawings!

Euro 6 Problem 01

Right, here we go… The drawing shows a caravan plugged into a tow vehicle that has the engine-turned off. Pin 9 is live as it should be, and the habitation relay in the caravan is effectively off allowing the caravan’s leisure battery to connect and power the caravan’s internal 12 volt systems. As the vehicle engine is off, there is no power on Pin 10 the fridge circuit, as this is controlled by the vehicle’s ECU.

Really this could be any vehicle with any engine. Now let’s have a look at what happens with the engine running…

Euro 6 Problem 02

Pin 10 is live, turned on by the vehicles ECU and this powers the caravans fridge. It also operates the caravan’s habitation relay which now disconnects the leisure battery from the caravan’s 12 volt systems and connects it to Pin 9 so that the vehicle can start to charge it.

Again, this could be any vehicle with any engine. This is how our Land Rover Freelander works with our caravan. All straight forward.

Now lets look at what happens when the Euro 6 engine puts the alternator into “idle” (or Eco mode etc.)

Euro 6 Problem 03

This is where it starts to get interesting. I have taken a few liberties here and made a few assumptions. I have shown the vehicle’s alternator disconnected. In practice the ECU doesn’t disconnect the alternator, it will reduce the field voltage and hence the output, not really disconnecting it but reducing the output to a negligible amount.

The ECU will also monitor the vehicle’s battery voltage and continue to allow the vehicles general electrical system to drain the battery to somewhere around 75% charge (this may be a bit of an arbitrary figure) The ECU will then turn on (or up) the alternators output to recharge the vehicle’s battery to about 80%. Why 80% well it needs the remaining 20% ‘free capacity’ so that when you brake, the excess energy of engine braking (regen) can be dissipated into the vehicle battery. Remember that on a Euro 6 engine the alternator is capable of generating round about 2Kw.

Now at this point it dawned on me that something could be happening here, but the idea was a bit ridiculous…. guys with far more agile grey cells than mine must have worked this out and I dismissed the idea. I must have missed a trick somewhere.

I did a bit more checking. I was using two 17Ah sealed lead acid batteries as my “leisure” battery simply because it was quicker to charge or discharge them than a 120Ah battery. For a fridge load I was using 3 x 50 watt light bulbs and it was all jury rigged to a 13 pin plug so I could just plug it in to either the Freelander or the Amarok to make comparisons. I was using a trusty old AVO 8 meter, a couple of digital multimeters and a clamp meter to measure current so really the whole set up was super sketchy for anything that I could write about. I thought that I must have been missing something somewhere and I actually kind of put it to the back of my mind. I just got on with installing the Wildside unit and writing it up.

“DING” You have mail……

I received an email from Charles Sterling with some very interesting information. During testing he had come across exactly the same issue I was pondering over but had put off further testing. I guess by now you have worked it out. Quite simply you can get current flow in the opposite direction… from caravan leisure battery to vehicle battery. In testing Charles had measured a current of around 6 Amps.

It dawned on me that maybe during my initial testing with my jury rigged set up I hadn’t missed something and the readings I had seen were correct. Both Charles and I quite separately had (in my case ‘stumbled’) on a potential issue with Euro 6 engines and caravans.

Back to the original email earlier. It now made sense. The sender of the email was setting off from their campsite to travel home with a fully charged battery (being on EHU while they were on site) and during the course of the drive home, the vehicles ECU was actually reducing the fully charged leisure battery down to 80% charge as it actually thought that the ‘vehicle’ battery was at 100% charge. Hence when he arrived home, the caravan’s leisure battery didn’t have enough charge to run the motor mover long enough to put the caravan away.

So what does this mean in practice?

Well effectively (give or take a bit of loss due to cabling) the caravan’s leisure battery will only get charged to about 80%. You can now think of the vehicle battery and caravan leisure battery as being one battery bank because that is how the vehicle sees it. If the leisure battery is fully charged its voltage will be higher than the vehicle battery so the vehicle will turn off (or down) the alternator so that the vehicles electrical system can drain it to about 75% ready for accepting the excess energy from regen braking. The caravan’s fridge helps the vehicle by draining the battery bank that bit quicker.

This also answers another question. While I was testing, sometimes I’d plug-in my jury rigged setup and if my two little 17Ah batteries were fully charged I’d get a low current drain indicated on my clamp meter. I’d dismissed this to a certain extent, but now I realise that as my two 17Ah batteries were fully charged and the vehicle battery would be at about 80% charge, there would be enough of a voltage difference for a short while, that the two 17Ah batteries would try to equalise with the vehicle battery by recharging it slightly..

Whats the answer?

Well thankfully I solved my problem when I installed the Wildside unit a few weeks ago.

Finally…

If you have had any electrical issues with a Euro 6 engine and towing please drop a comment below. I’ll try to help.

As an aside, I am trying to arrange attending a tow bar installers electrical course with a couple of the OEM electrical equipment manufacturers and one of the approved bodies so I can hopefully increase my knowledge base and widen the number of vehicles I can cover. It’s a bit up-in-the-air at the moment as it would appear its going to cost a small fortune! (Sponsorship deals gratefully received!)

Share this:

  • Click to share on X (Opens in new window) X
  • Click to share on Facebook (Opens in new window) Facebook
  • Click to share on Tumblr (Opens in new window) Tumblr
  • Click to share on Pocket (Opens in new window) Pocket
  • Click to share on Pinterest (Opens in new window) Pinterest
  • Click to share on Reddit (Opens in new window) Reddit
Like Loading...

A Step In The Right Direction…

03 Saturday Jun 2017

Posted by Simon Barlow in Accessories, Amarok, General, Modifications, Tow Vehicle, VW Amarok

≈ 12 Comments

Tags

Accessories, Pegasus 4 x 4, T-Step, Technical

OK, so if you read about the bike rack install I guess you might have seen the video of me getting onto the tailgate of the VW Amarok…. akin to a whale wearing a tutu and trying to get on points. I needed something better… well my knees were telling me I better do something about it at least. In the USA, the land of the pickup or Australia the home of the Ute there were plenty of options. The downside was the Amarok has not been released in the USA and shipping charges from Australia are insane. I had to find something closer to home. Doing the usual google searches always ended up with products on sale in different continents so I ended up searching for images that contained the word ‘tailgate’, ‘step’ and ‘Amarok’ and after clicking on various pictures discovered Pegasus 4 x 4 in Bristol. (Note to all the companies out there… spending time correctly tagging and key wording all the photos on your websites pays off!) Continue reading →

Share this:

  • Click to share on X (Opens in new window) X
  • Click to share on Facebook (Opens in new window) Facebook
  • Click to share on Tumblr (Opens in new window) Tumblr
  • Click to share on Pocket (Opens in new window) Pocket
  • Click to share on Pinterest (Opens in new window) Pinterest
  • Click to share on Reddit (Opens in new window) Reddit
Like Loading...

Fitting A Bike Rack to the VW Amarok – Finale…

12 Sunday Mar 2017

Posted by Simon Barlow in Accessories, Amarok, Bike Carrier, Bike Rack, General, Modifications, Tow Vehicle, VW Amarok

≈ 5 Comments

Tags

Bike Rack, Modifications, Touring, Towing, VW Amarok

It’s time to wrap up the bike rack install. I had to wait a few days for the final rack to arrive. Although I had ordered a twin pack of the Thule FreeRide 532 from Holdcrofts via Amazon and they had shipped out a twin pack, it would seem that their courier had ‘lost’ one and to Holdcrofts credit as soon as I emailed them they dispatched another… which the courier took four days to deliver.

IMG_1098 Continue reading →

Share this:

  • Click to share on X (Opens in new window) X
  • Click to share on Facebook (Opens in new window) Facebook
  • Click to share on Tumblr (Opens in new window) Tumblr
  • Click to share on Pocket (Opens in new window) Pocket
  • Click to share on Pinterest (Opens in new window) Pinterest
  • Click to share on Reddit (Opens in new window) Reddit
Like Loading...

Fitting A Bike Rack to the VW Amarok – Part 2…

04 Saturday Mar 2017

Posted by Simon Barlow in Accessories, Amarok, Bike Carrier, Bike Rack, General, Modifications, Projects, VW Amarok

≈ 3 Comments

Tags

Bike Rack, Maintenance, Modifications, Touring, Towing, VW Amarok

OK, so now to fit the actual bike carriers onto the rack I had previously installed a couple of days ago.

We had opted for the Thule FreeRide 532 over the ProRide version. What put me off the ProRide were a couple of videos on YouTube showing just how easy it was to remove a bike supposedly locked on to the rack. The FreeRide 532 has two arms supporting the bike and offered an option for additional security…. which I’m not going to go into for obvious reasons!

I had ordered a twin pack of the FreeRide 532, unfortunately I only received one. It seems the other was lost in transit somewhere according to my enquiries with the supplier. The other thing I found out was they (or it) didn’t come with the “T” track fixings. OK so a quick trip down to my nearest Thule dealer Northwest Towbars to pick up the elusive fixings. They would remain elusive… Northwest Towbars didn’t have any in stock. Not to be out manoeuvred I’d make my own.

To the bat cave again…

I just happened to have some 2mm aircraft grade aluminium handy and cut eight 21mm x 45mm pieces. The FreeRide 532 normally has three mounting locations, but as there was an additional hole that lined up with the “T” track it would be rude not to use it! So I made four for each rack.

img_1069For the threaded bolt I had some dome head bolts handy. The width of the dome head was wide enough so it would not pull through the slot on its own so I was not relying on a 2mm think aluminium plate entirly. To hold the bolts in place I drilled a slightly undersized hole in the aluminium…

img_1074

img_1075img_1077…and used my small press to force the square shoulders of the bolt through the aluminium plate to hold it in place.

img_1078The result was eight “T” track bolts. A quick dressing up on the sanding belt and fine grinding wheel to remove any rough edges finished them off.

img_1079 The excess length of the bolt would be trimmed later.

Fitting the FreeRide 532 Racks

Sliding four of the newly made “T” track bolts in to the WingBars I could place the FreeRide 532 on to the bars.

img_1080I used a couple of nuts to hold the rack in place while I test fitted one of the bikes. It was a bit too tight. The swing up frame section that clamps on to the bike only partially engaged on the bike frame. The whole rack needed moving rearwards by about 10 to 15 mm.

Not a problem, as the WingBar mounting is off set laterally compared to the “T” track, reversing the bar so it faced the other way would solve this and effectively move the “T” track slot rearwards by about 20mm.img_1081

With the WingBar mounted in the other direction the bike was a perfect fit. Also it made it easier opening the end caps of the WingBar as configured the correct way round they were a bit tight against the roll bar.img_1083img_1084img_1082The next thing to address was the overhang. I still had around 50 to 60 mm of adjustment I could make to the rails of the FreeRide rack. Removing everything again and a bit of ‘adjusticating’ with a small rubber mallet soon saw the rails in the correct position. I had not been able to get the rear of the mount flush with the pickup tailgate as was my original hope, but checking with a plumb bob…

img_1090img_1091… It was still shorter than the tow ball and only about 40mm longer than the rear bumper. So the overhang wasn’t anything to worry about.  Even with a bike on the rack it would be clear of the caravan in the tightest of turns. Next it was just a matter of squaring things up and tightening everything down.

img_1092

I ended up locating the rack more to the side than I first planned. This was for two reasons. Firstly, once the second rack is in place it leaves me with nearly 800 mm between the two racks which will allow for the option in the the future of having the ability to install a mesh tray, ski rack, surfboard rack (we don’t ski or surf… ho hum) or slimline roof box if we ever run out of storage in the Amarok. The second reason is it will give the rear view dash cam a relatively unobscured view rearward even with two bikes on the back.

Everything torqued to the correct settings, I topped off the nuts with an additional nylon lock nut to make sure they could not vibrate loose…

img_1093img_1094… and using a Dremmel I cut off the excess thread and ground off any sharp edges.  I need to find a suitable plastic or rubber push on cover for these then I can give them a quick coat of preserving grease.

One thing that I did think about was the prospect of the swing arms bouncing up and down when bikes were not on the rack. A quick rummage in my straps box produced a few of these little blue straps and a handy slot on the mounting plate seemed ideal…

img_1096… problem solved. A simple solution to something that may or may not be a problem.

So one rack fitted, all that is left is to repeat for the other side, when it arrives!

img_1097

Share this:

  • Click to share on X (Opens in new window) X
  • Click to share on Facebook (Opens in new window) Facebook
  • Click to share on Tumblr (Opens in new window) Tumblr
  • Click to share on Pocket (Opens in new window) Pocket
  • Click to share on Pinterest (Opens in new window) Pinterest
  • Click to share on Reddit (Opens in new window) Reddit
Like Loading...

Fitting A Bike Rack to the VW Amarok – Part 1…

03 Friday Mar 2017

Posted by Simon Barlow in Amarok, Bike Carrier, Bike Rack, Modifications, Uncategorized, VW Amarok

≈ 8 Comments

Tags

Bike Rack, Modifications, Touring, Towing, VW Amarok

It’s been a few months since we bought our VW Amarok and I hadn’t originally intended it to take this long to install a bike rack or carrier. What slowed us down was sorting out the bits needed for mounting a bike carrier above the bed of the Amarok. In the USA, pickups are plentiful and there are various companies that make carrier systems and mounts for pickups. My initial thoughts it would be fairly easy and started perusing the Thule website. Unfortunately they did not sell the correct mounting hardware for where I wanted to mount the rack.. on the side rails for the Roll-N-Lock cover.

Searching the internet found plenty of results for the type of mounting I wanted… all in America and the most promising system was produced by Yakimar.

However, trying to find a retailer that would ship to the UK was a bit of a problem as most would only ship to the US and Canada. I did eventually find a company in California that would. The next hurdle was the cost. To buy everything and get it shipped over here would ring up a massive £2180 bill at the checkout. This was not worth it. I out the bike rack on the back burner for a while… and the pound against the dollar slipped in the meantime.

Getting ready for installing the bike rack

I started looking around again at the start of this year and returned to Thule and Fiamma. Could I make up my own “kit of parts” to do the job? Fiamma while having a great selection of racks and bits didn’t provide anything in the way of a roof bar so back to Thule again. While mooching about their website I accidentally got on to the American  area of their site and while looking for mounting feet came across one specifically designed for mounting on to flat roofs. The part was intended for a Fibreglass canopy on a Jeep Wrangler but pictures showed them being used on a number of vehicles and camping trailers. This was exactly the part I needed.

I checked with a number of Thule retailers to see if they had Kit 3113 which was used to mount Rapid Podium Foot Pack 460R on flat surfaces. No one had it, so a quick email to Thule asking if it was obtainable in the UK or Europe was fired off. The answer was a bit surprising. It was an American part produced by the American Division and was not obtainable in Europe.

OK, back to my contact at Worldwide Cyclery in California… did they stock it and could they ship it? It arrived within six days. I also ordered the Foot Pack 460R as it was over £60 cheaper even after paying import duty than buying it in the UK on-line. I now had the means to mount the WingBars(Aeroblade). I just needed to check the size and order these and two FreeRide 232 bike mounts. Before I ordered, I checked the width I’d need. Next problem, The WingBars in the UK were 1500mm wide and in the US being manufactured in English sizes were slightly wider by about an inch. They arrived a few days later from the US!

OK, so now I had all the parts… to the bat cave!

Assembling the 3113 mounting plates

Assembling the 3113 mounting plates

The first task was to assemble everything so I could to a test fit of the whole caboodle on the back of the Amarok before drilling anything… always a good idea! The four Kit 3113’s were assembled first and the four 406R feet were mounted on to them.

img_1048

Assembling the 460R on to one of the 3113 mounting plates.

img_1045

 Once this was done, the sub assemblies were slid on to the ends of the WingBars.

img_1050

Once this was done, I could roughly position the two partially completed WingBars across the bed of the Amarok.

img_1051

I now needed to check the position of the bike on the FreeRide 532 so that would in turn give me the position I needed to mount the WingBars. From the centre line of the mounting plate the front edge of the front wheel is about 550 mm, so the front WingBar needs to be at least 550mm back from the rear of the cab.

img_1044

However, the Amarok’s sport bars have to be taken into consideration as these stop the front wheel of the bike going too far forward and will help protect the cab.

img_1067

This presented a problem. The rear of the FreeRide232 protruded back and hung over the rear tailgate by about 350mm and if possible I wanted everything flush. Not a problem, the two bike wheel mounts can be slid forward and backwards to accommodate various size bike frames and the main mounting point… with a little assistance from a rubber mallet and be slid backwards. So in effect I nudged the two main bars forward so they didn’t protrude over the tailgate and the bike still fitted. You can see my mark as I started to move the main mounting plate on the picture below:

img_1053

While doing the test fitting and adjusting the position of the mountings, I discovered I had a bit of luck. On the Amarok sport bar there are two ABS plastic mouldings that fit round the bars that are designed for mounting spot lights or work lights that just happen to line up and can be used as ‘rub strips’ to stop the front wheels contacting the coated stainless steel sports bars.

img_1065

I could now measure where I wanted the WingBars to be located and marked out the positions. I wanted the rear cross-bar to be as far to the rear as possible (something planned for the future) and worked out the distance from the front bar which had to be located so the bike rack fitted with the front wheel tucked against the roll bar.

img_1054

As the sides of the Roll-N-Lock cover had a slot underneath, I’d previously machined 4 pieces of steel to fit in them and pre drilled and tapped the holes. All I needed to do was drill the sides of the Roll-N-Lock cover.

img_1057

The (supplied) hex bolts passed through and screwed into the steel plates I’d machined. I also added a spreader nut and lock nut underneath… just to be sure! The lock nut wasn’t tightened up to the spreader nut, so if someone tries to undo the hex bolts, they will simply back off a little then spin round.

OK, first one done time to do the other side…

img_1056

Other side complete a quick test fit of the WingBar…

img_1059

While pre-positioning the front bar ready for marking out, I was interrupted by Sue… a welcome coffee and hot pie break!

img_1062

Both rails fitted, it was time to add the covers and rubber strips…

img_1051

A final position check of one of the racks and time to call it a day as the rain set in again.

img_1063

The spacing of the bars will give us lots of options for the future to add a top box, ski mounts – these will allow ski’s to be carried angled upwards over the cab (have to learn to ski first though!) or a mesh tray.

I’ll post part two soon showing the bike carrier mounting and go into some of the little pitfalls I have come across.

Share this:

  • Click to share on X (Opens in new window) X
  • Click to share on Facebook (Opens in new window) Facebook
  • Click to share on Tumblr (Opens in new window) Tumblr
  • Click to share on Pocket (Opens in new window) Pocket
  • Click to share on Pinterest (Opens in new window) Pinterest
  • Click to share on Reddit (Opens in new window) Reddit
Like Loading...

A Few Questions Answered About the Amarok…

13 Tuesday Sep 2016

Posted by Simon Barlow in Amarok, Tow Vehicle, Towing

≈ 8 Comments

Tags

off road, Tow Vehicle, Towing, VW Amarok

I’ve been known as a Land Rover supporter for quite a while now, in fact I started driving Land Rovers 38 years ago back in 1978 and passed my test in one. A lot of people were surprised when I decided to look at something for towing other than a green oval and I have received lots of questions (I mean lots!) about the Amarok.

So far we have done about 1100 miles in ours and I’m still learning about some of its capabilities. One thing that has really impressed me is the awesome eight speed gearbox. One thing that taking any vehicle off-road and sometimes towing on loose or slick surfaces requires is to hold a set RPM while the tyres find traction. With Auto gearboxes normally the gearbox doesn’t like this and shifts up a gear to reduce RPM taking you out of the power band. However, flick the gearbox into manual tiptronic mode and the gearbox will just simply sit in the gear selected until you change. The other thing I found out too was that on slick or icy surfaces, you can select second gear and pull away from stationary to reduce any chance of wheel spin. Do you really need a vehicle that can go off roading with the best… well lets just say you will never have any issues on that sloping grassy CL/CS site!

It would take me far too long to answer all the questions I have been asked and quite frankly it would be flipping boring… akin to reading pi to 20,000 decimal places, so I’ve put together a small collection of YouTube video’s that hope fully will answer a lot of the questions. The first four are courtesy of Miles Continental VW dealers in New Zealand and the first features well-known 4WD professional Pete Ritchie. The fifth video is the inimitable Andrew St.Pierre White of 4xOverland.com (and yes Andrew, they have sorted bluetooth connectivity out) and finally, if nothing else watch the last video… can a two litre engine and auto gearbox pull a road train?


And finally….. if there was any doubt about pulling power……

Share this:

  • Click to share on X (Opens in new window) X
  • Click to share on Facebook (Opens in new window) Facebook
  • Click to share on Tumblr (Opens in new window) Tumblr
  • Click to share on Pocket (Opens in new window) Pocket
  • Click to share on Pinterest (Opens in new window) Pinterest
  • Click to share on Reddit (Opens in new window) Reddit
Like Loading...
Newer posts →
Buy Me A Coffee

Blog Stats

  • 45,897,966 hits
Follow Caravan Chronicles on WordPress.com

Follow Caravan Chronicles and receive notifications of new posts by email.

Some previous posts you may like...

My last post….

Many thanks to all my friends. As I write this I’m in the Christi hospital hoping to go home in a few days. I was told about a week ago that I had about 3 months to live and should start preparing my affairs. Which Sue and I are trying to do. I have some…

A Bit Of A Tour…

Well not really a tour, only two locations. The first leg was down from Manchester to Glastonbury and a stay at The Old Oaks. We first went there in 2012 and had five or six more visits in the next four years. So it had been quite a while really. We were located in the…

What’s The Question I Get Asked a Lot?

“What’s in your toolbox when travelling?” Tricky one… I don’t have a tool box anymore. I recently started mooching around the internet for a smaller tool box… or rather a tool bag. I used to use up until a few months ago a Stanley Tool Bag. It was lighter than a tool box, I could…

#Tourfest North West

Tourfest North west was our first time attending anything like a gathering of bloggers, vloggers and the generally like minded. It was organised by The Caravan Addys with a little help from others I’m sure as it must be a time consuming task and hard work to bring everything together. We opted to arrive at…

More Jobs Ticked Off…

OK we are still working on a few bits and pieces but the weather on Friday and Saturday was ideal for cleaning the outside of the 5th Wheel. So while Sue made a start on the cleaning of the nose cap, I finished the first stage of the water pump relocation project and upgraded the…

A Few More Jobs Ticked Off The List…

Like any project, ticking the small stuff off a list is the way to move forward even if it seems like sometimes you have ground to a halt. A bit lacking on photos…. I’m temporarily unsure of their location… pilot speak for I’ve lost them! I’ll correct that in due course. I built a new…

A Few Little Jobs Done…

It seems such a long time since I posted anything. Last time out with the Dreamseeker I noticed that the charging voltage when we were hooked up to the truck was only about 12.1 to 12.3 volts as measured in the Dreamseeker battery box. I know that the VW Amarok puts out 14.6 to 14.8…

Happy New Year…

Happy New Year to everyone, I hope you have a great touring year ahead. I’d like to take this opportunity to give you a bit of an update on my personal circumstances and a look forward to a couple of projects I’m planning to kick off our year. First… … A HUGE thank-you yo everyone…

Sutton-on-Sea In September

Just like to say a huge thank you to so many people that have commented or emailed me over my last post. It has cheered me up no end…. it really has. Enough to rattle this post off! We recently went back to Cherry Tree Springs at Sutton on Sea for an 7 day break.…

This Might Be My Last Post…

Not clickbait…. Three weeks ago Sue and I were cycling between 8 and 10 miles each morning to get a morning coffee. Arrived back home and…. well time stopped. I had received notice that my test sample for Bowel Cancer screening had come back positive. Two days later I underwent a colonoscopy procedure which didn’t…

Something went wrong. Please refresh the page and/or try again.

  1. Dave Hart's avatar
    Dave Hart on How to: Connect two batteries in parallelAugust 27, 2024

    brilliant and so well explained! Thank you, love your work!!

  2. Simon Barlow's avatar
    Simon Barlow on Caravan Road Lights – Basic Fault FindingAugust 25, 2024

    Please look at my very last post on the blog

  3. Martin's avatar
    Martin on Caravan Road Lights – Basic Fault FindingAugust 25, 2024

    martin here caravan lights worked fine for two stop overs I had then hooking up again for my third trip…

  4. Emmy’s Camper Travels's avatar
    Emmy’s Camper Travels on My last post….August 25, 2024

    I’m so sorry. My sincerest sympathies go to you and your wife Sue. Your ideas and advice have been so…

  5. Steve Walsh-Jones's avatar
    Steve Walsh-Jones on My last post….August 22, 2024

    very sorry to hear this. Your posts have been very informative and enlightening providing an in depth view on different…

  6. thetwinaxletouringscouser's avatar
    thetwinaxletouringscouser on My last post….August 22, 2024

    Good heavens above Simon I am ever sorry to hear of such devastating news for both you yourself and Sue.…

  7. Eileen's avatar
    Eileen on My last post….August 22, 2024

    Simon and Sue, thank you both for sharing your passion for caravans with us. The news is extremely sad, our…

  8. Philip Parkes's avatar
    Philip Parkes on My last post….August 22, 2024

    Simon. So sad to read you last post today. Our thoughts are with you and Sue at this time. Whilst…

  9. Philip Parkes's avatar
    Philip Parkes on My last post….August 22, 2024

    Simon. So sad reading your post today. Our thoughts are with you and Sue at this time.

  10. Philip Parkes's avatar
    Philip Parkes on My last post….August 22, 2024

    Simon our thoughts are with you and Sue.

  11. Luke Tarrant's avatar
    Luke Tarrant on My last post….August 22, 2024

    Very sorry to read this and my thoughts are with you both at this time.

  12. Alan Smith's avatar
    Alan Smith on My last post….August 22, 2024

    Dearest Simon. I have never met you, but I feel as though I have some (limited) knowledge of you and…

CaravanChronicles.com Tag’s…

5th Wheel Caravan 13 Pin Plug Accessories AL-KO Avtex Bear Extender Bike Rack Blackpool Blackpool Illuminations blogging Cadac Camping & Caravanning Club Canterbury Caravan Caravan Blog Caravan Club Caravan Electrical Caravan Electrics Caravanning Caravans Caravan Show Caravan Talk Cheltenham Chirk Christmas Market Christmas markets Cleaning design Event City Factory Visit Fiamma France Freelander Glastonbury Glossop Caravans Humor Insync Jonic Bedding Lady Heyes La Tournerie Ferme Leisure Battery Leisure Battery Charging LPG Refilling Maintenance Manchester Caravan & Motorhome Modifications NEC North Western Caravans Ltd OLPRO One Hairy Caravanner Oswestry Oxford Product Review Project Review Safefill Sat Nav Sterling Caravans Sterling Power Wildside Swift Factory Swift Group Swift Talk Technical The Old Oaks Touring Towing Tow Vehicle Trafford Centre travel Travel Trailer Travel Trailers vacation VW Amarok Warwick Racecourse WiFI

Website Powered by WordPress.com.

  • Subscribe Subscribed
    • Caravan Chronicles
    • Join 672 other subscribers
    • Already have a WordPress.com account? Log in now.
    • Caravan Chronicles
    • Subscribe Subscribed
    • Sign up
    • Log in
    • Report this content
    • View site in Reader
    • Manage subscriptions
    • Collapse this bar
 

Loading Comments...
 

    %d