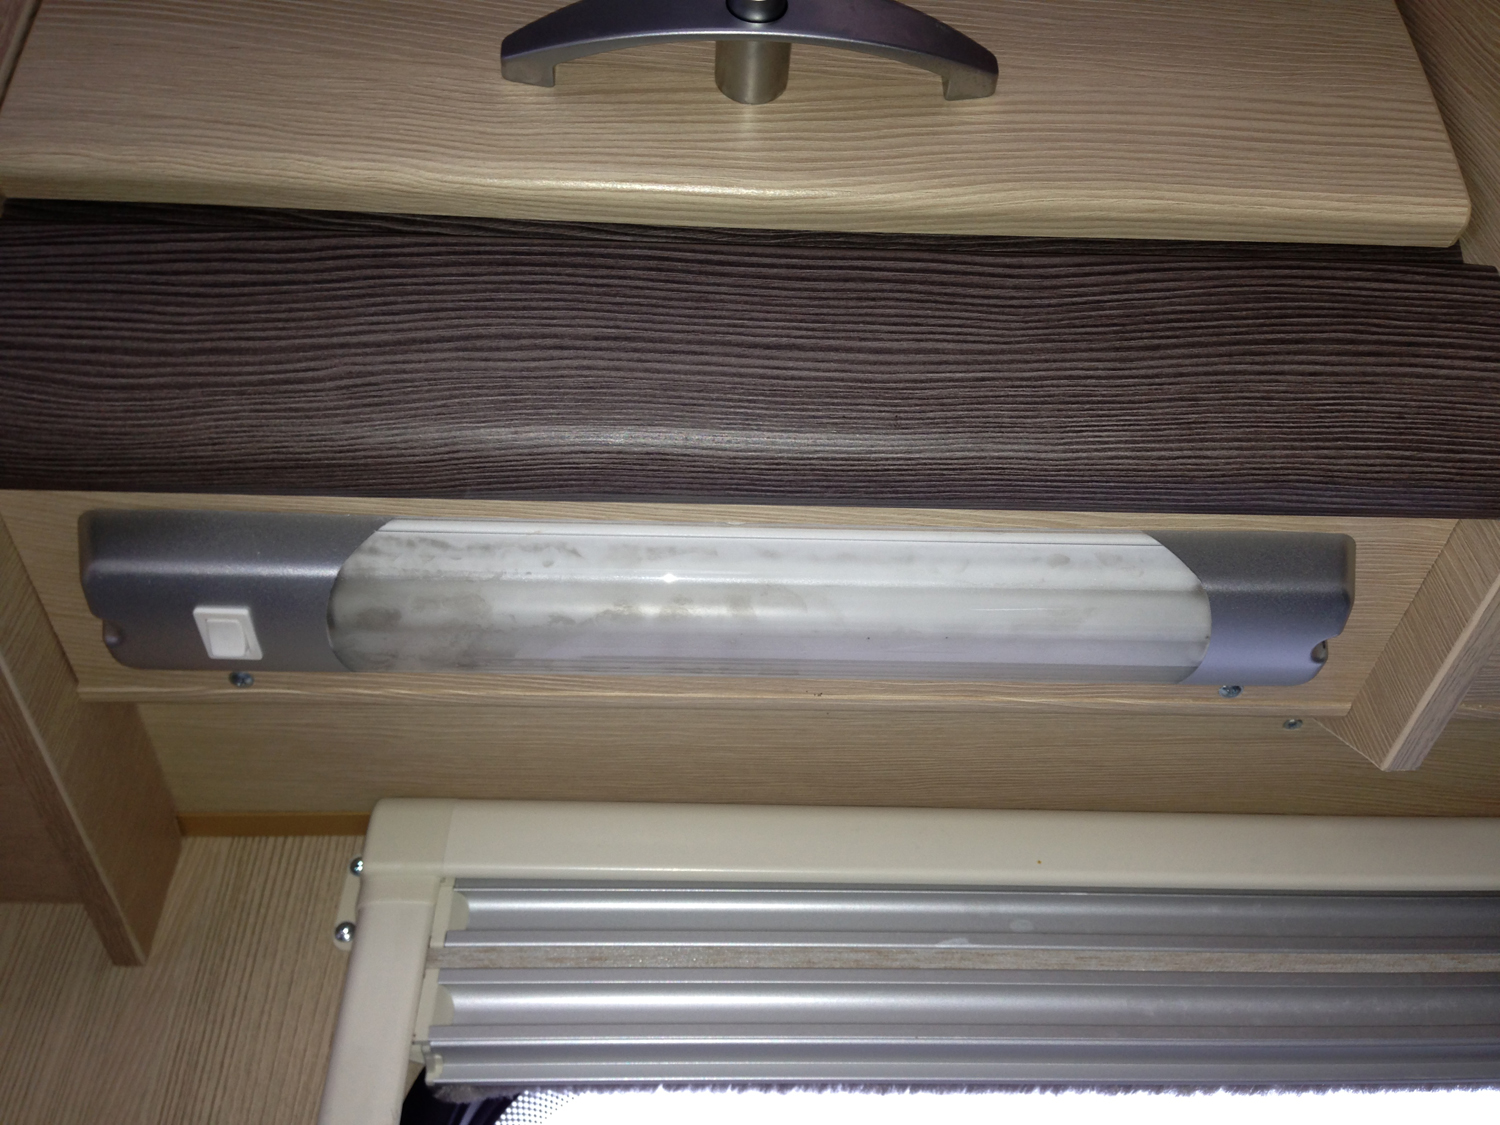
The original light fitted above the sink
Generally the lighting in our Sterling Celebration 550 is, pardon the pun ‘spot on’. However, there isn’t anything that has been designed by one person that another thinks they can improve on it. This is the case with the lighting above the sink and hob. Swift had installed a single tube 8 watt fluorescent fitting above the sink unit which was fantastic at lighting the sink up, but trying to see into the depths of any pans on the hob was like peering into a bottomless pit and “One Hairy Caravanner needed all the help he could get when cooking! It was time for an upgrade.
I had looked on line for suitable alternatives and had considered LED units. While at the Manchester Caravan and Motorhome show last week we looked at a few options for LED fittings, but nothing stood out as a suitable alternative that would cover the existing fixing holes and cable entry point.
A brief search came up with a suitable alternative offered by Maypole that was a twin tube unit that could be selectively switched between running one or both tubes using the inbuilt switch. It had an opaque diffuser and closely matched the existing fitting. As luck would have it was an item stocked by Go Outdoors and with our discount card it worked out to the same price I could buy it on-line.
Before starting, I identified the fuse supplying the light fitting and removed it. Although the caravan master switch was off, it’s always wise to remove the fuse as well… it just becomes habit to do this after a time anyway.
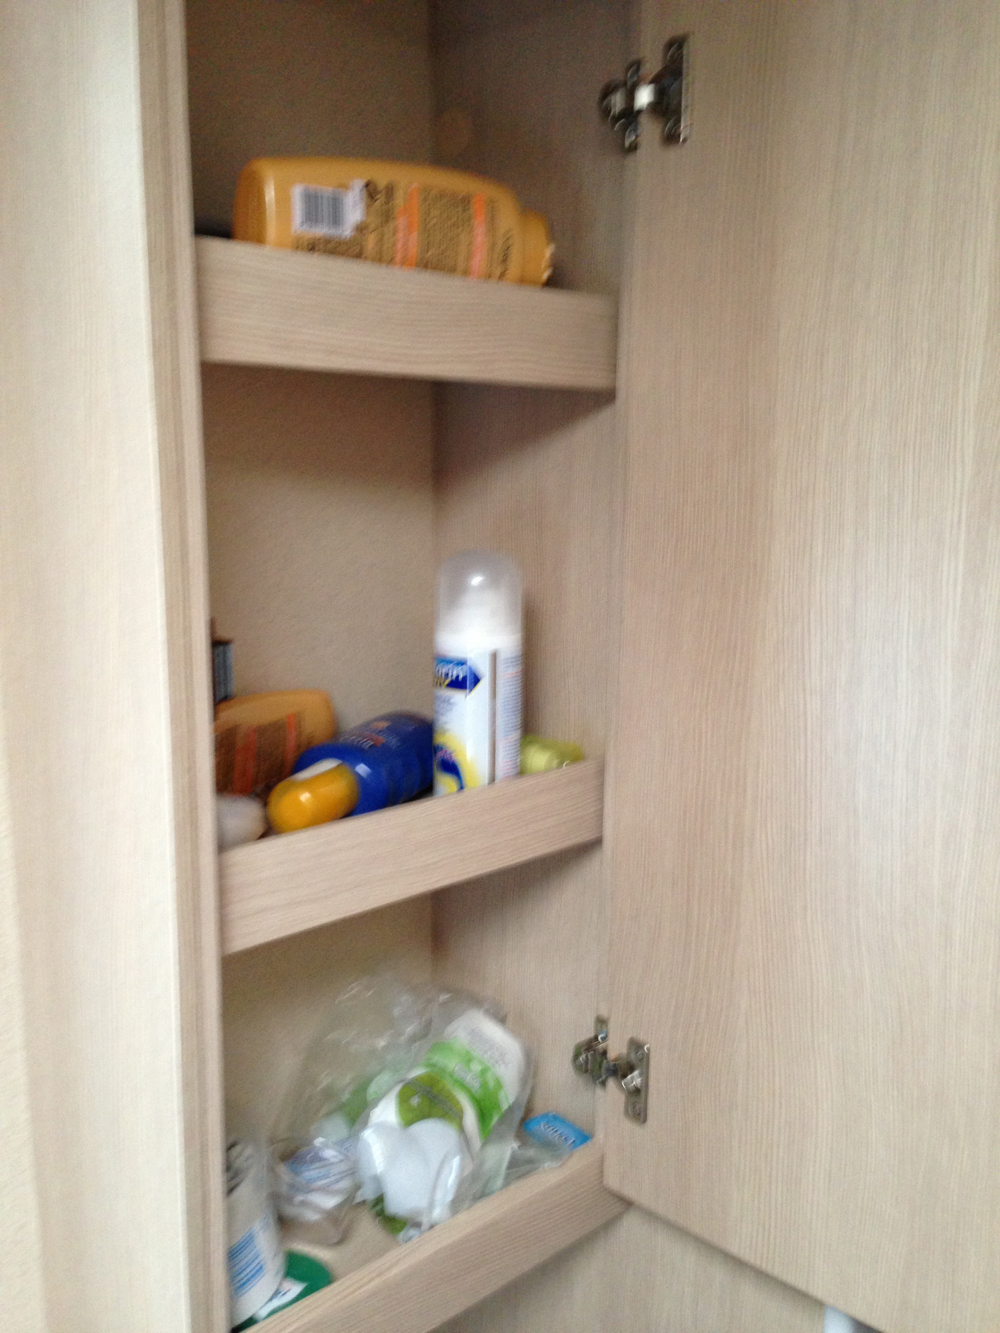
The first task was to drop the bottom panels from the cupboard units – two small screws for each panel and check out a suitable route for the wiring of the second unit. Swift had thoughtfully already machined a hole between the cupboard divider to allow the power cable for the microwave to pass through and even more helpful was the existing 12 volt power cable for the light was long enough to reach the location of the new fitting.

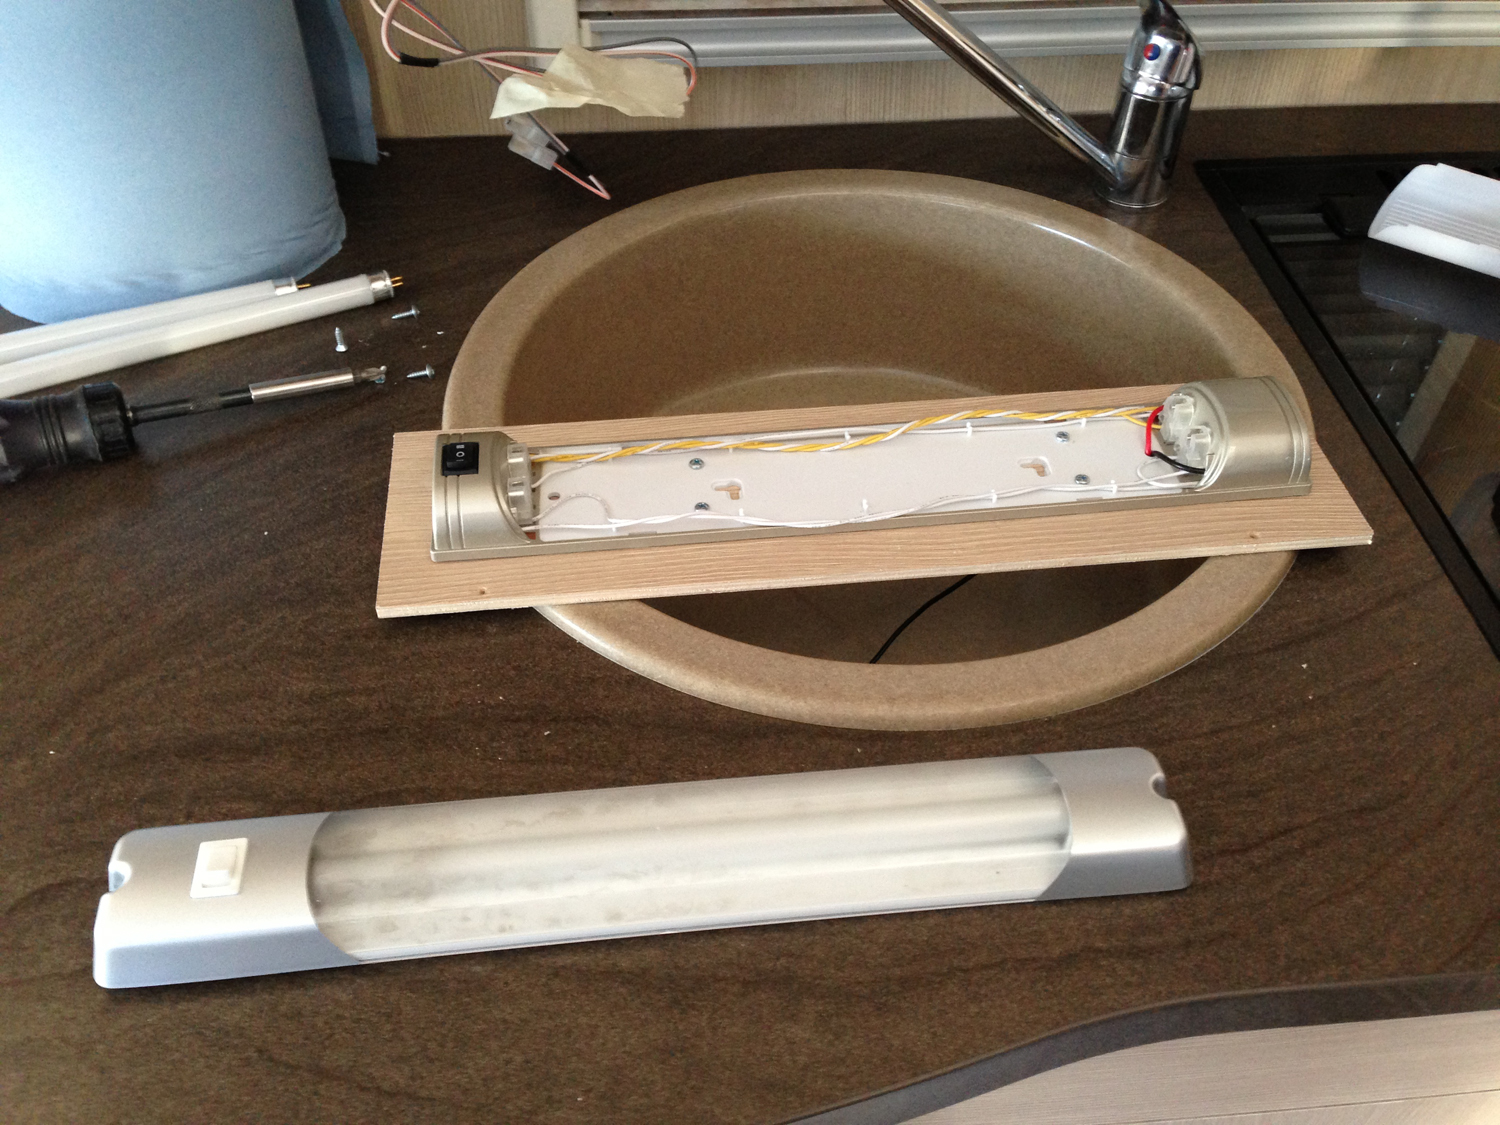
The new fitting screwed to the base panel. The old fitting in front.
With the old fitting removed and the new fitting in place, I could start on installing the new fitting. I had checked before removing the panel above the hob that there would be enough clearance to open the glass lid of the hob without trapping fingers. I also wanted the light to be slightly forward so that it illuminated the depths of any pans on the front burners of the hob. With the position marked I could drill a small hole in the panel for the cable to pass through and mounted the light using four small self tapping pan head screws that matched the ones Swift had used on the original light.

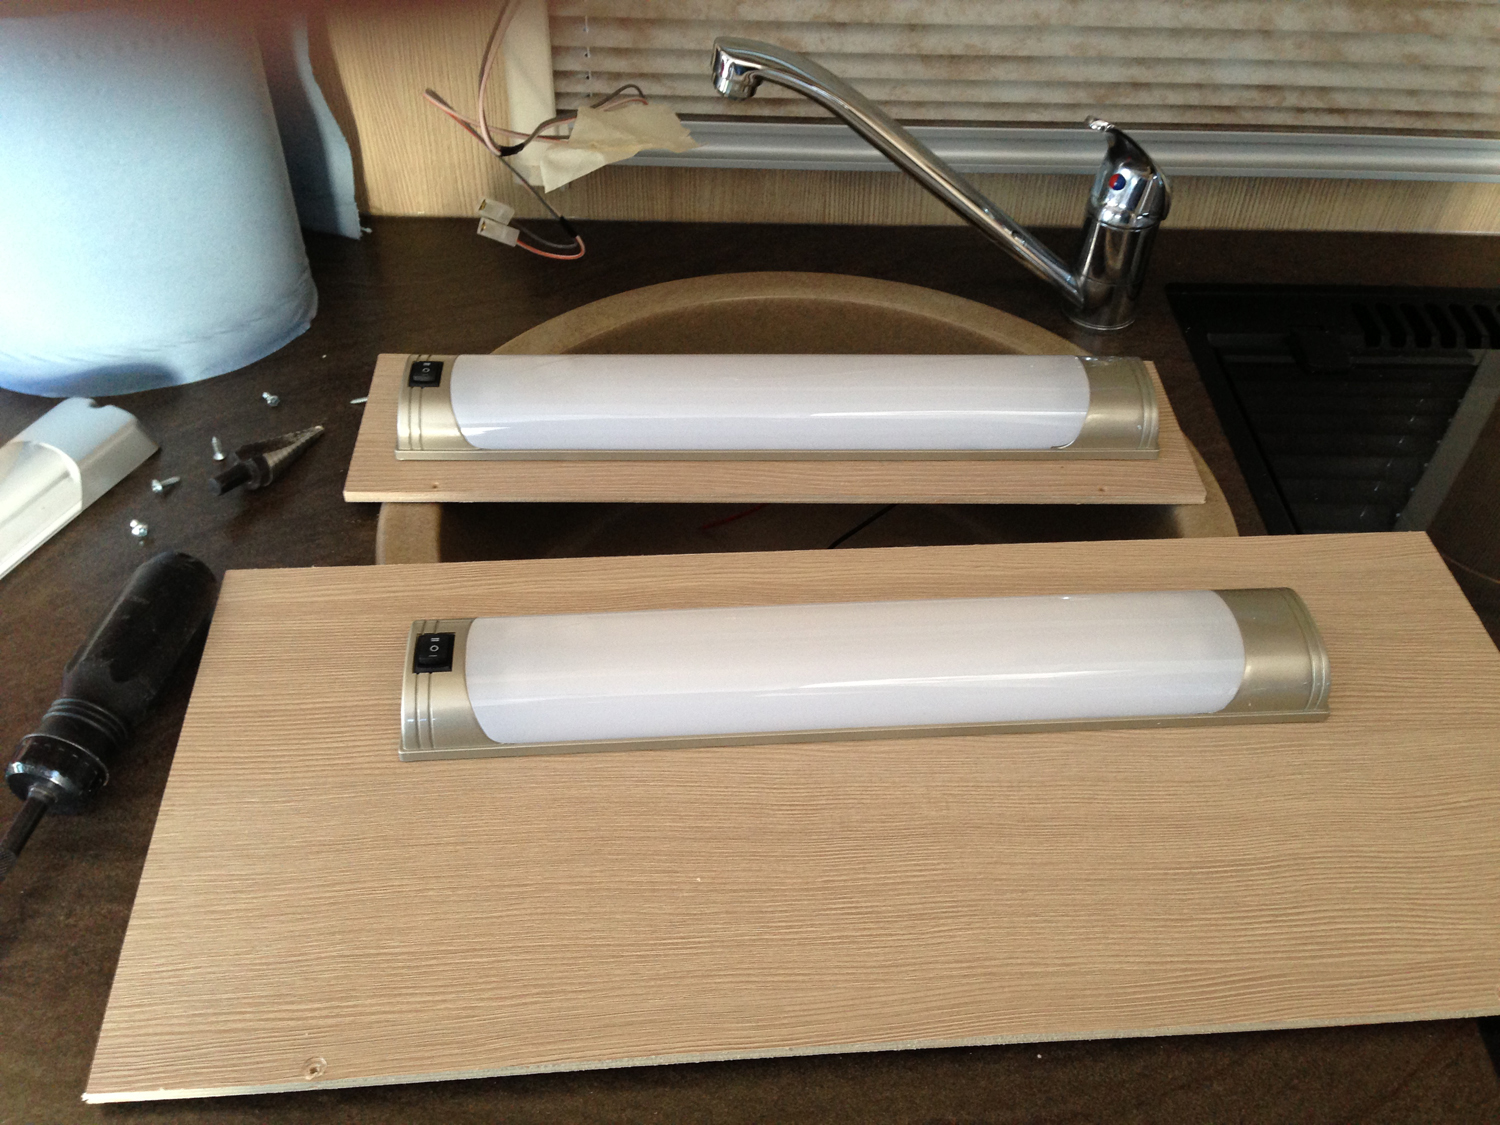
Both light fittings attached to the panels with tubes and diffusers installed
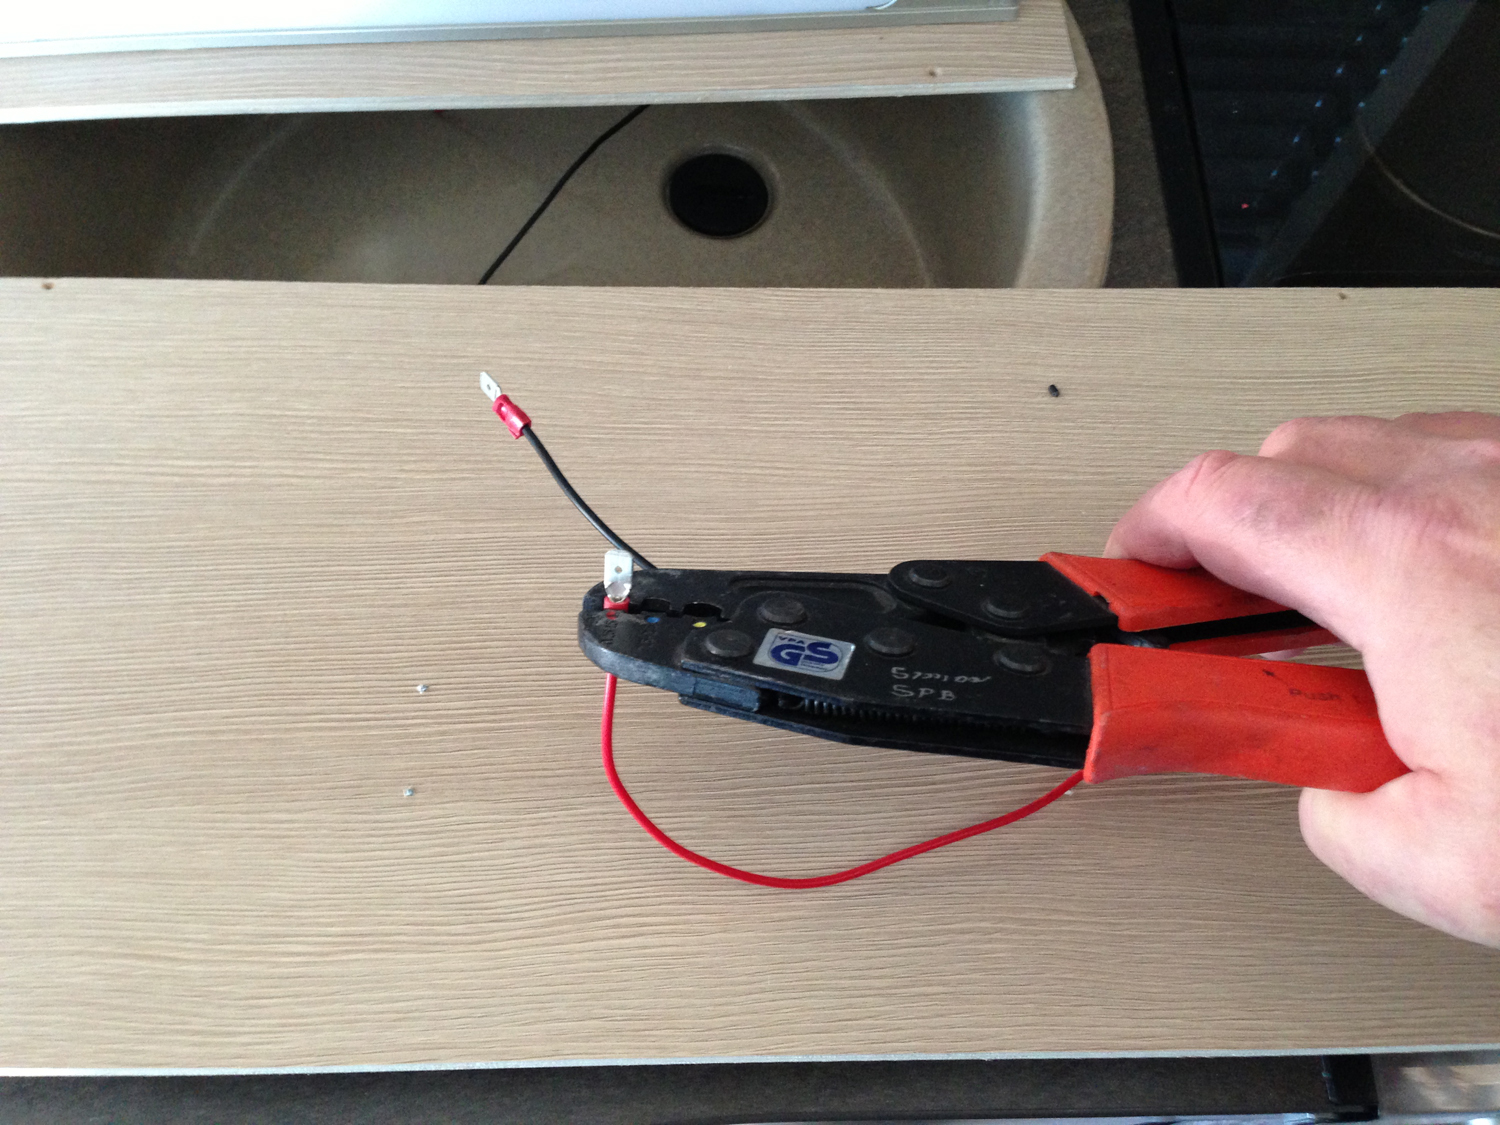
All that remained now was to make the connections. The existing power lead was fed through the hole to the space above the hob. The original fitting had spade terminals crimped on to the leads that pushed into the connector fitted to the end of the existing wiring loom so for the fitting above the hob I crimped on two spade connectors.

Crimping on spade terminals
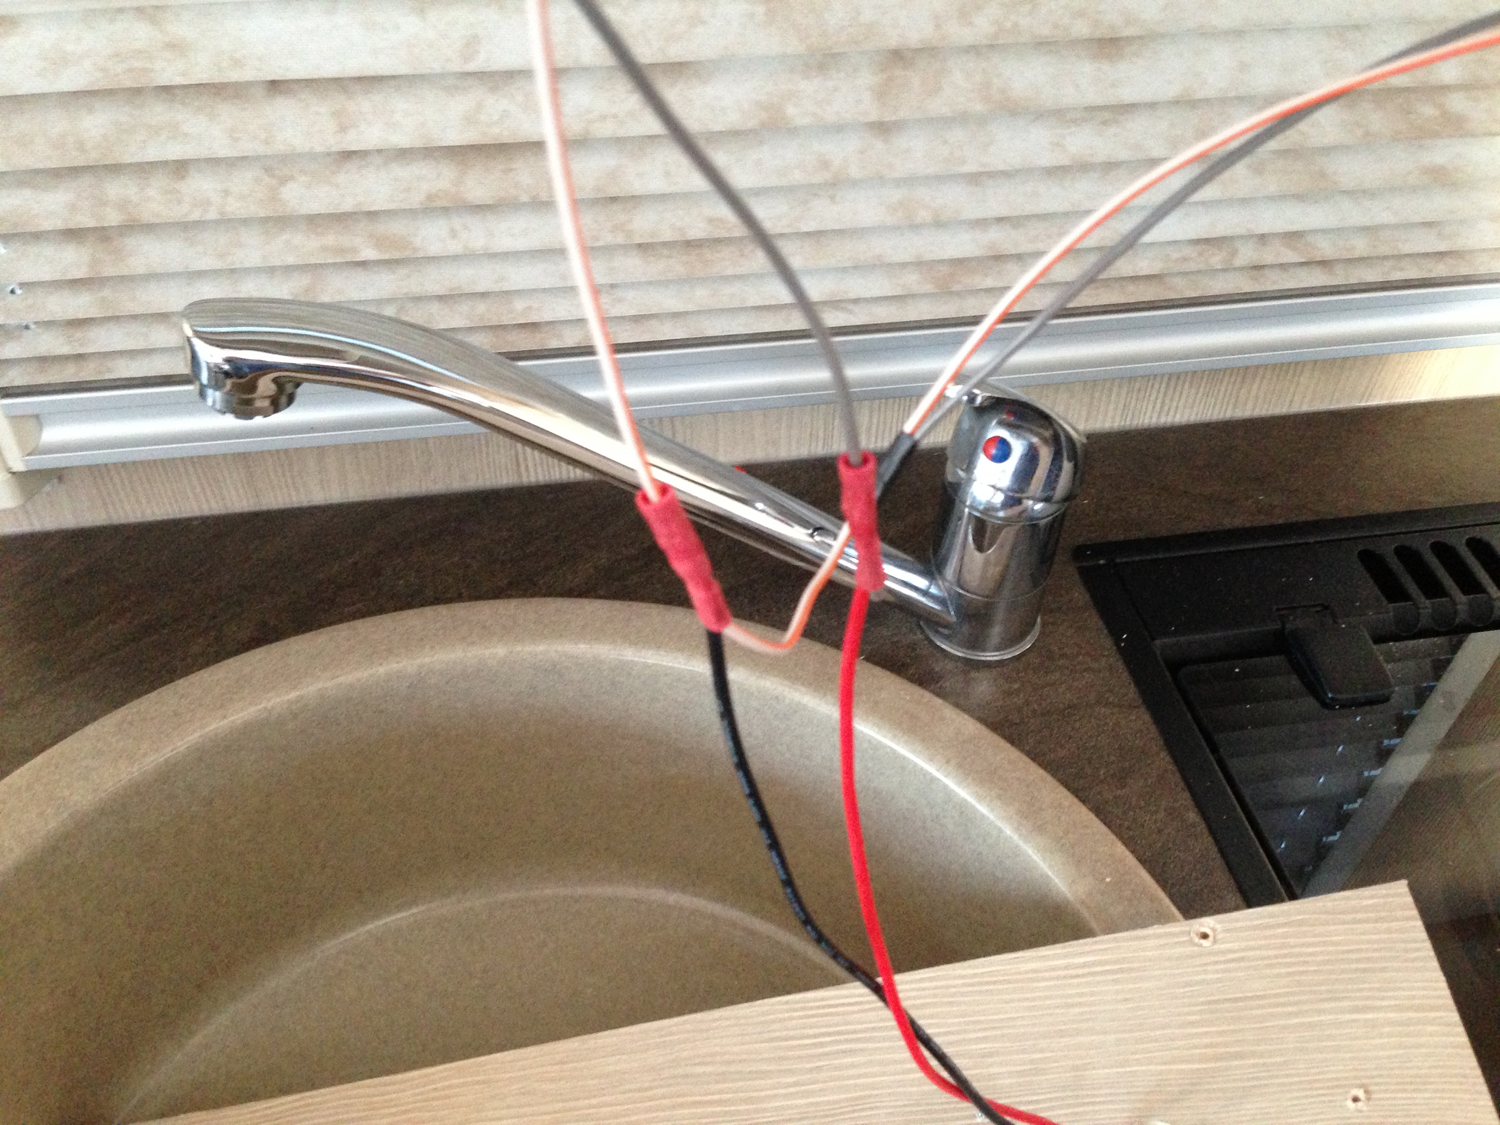
Once these were done, I connected the light fitting and re-installed the panel above the hob unit. This gave me enough slack in the existing loom to install two crimp splices.

Two crimped splices.
If you are splicing into cables, please don’t use IDC (Insulation Displacement Connection) connectors, commonly known as “scotch-loc’s”…. they are not a reliable way of joining cables and can damage the original cable and in some cases reduce the current capacity of the original cable.
All that remained now was to re-install the panel above the sink, replace the fuse for the circuit and test out the fittings.

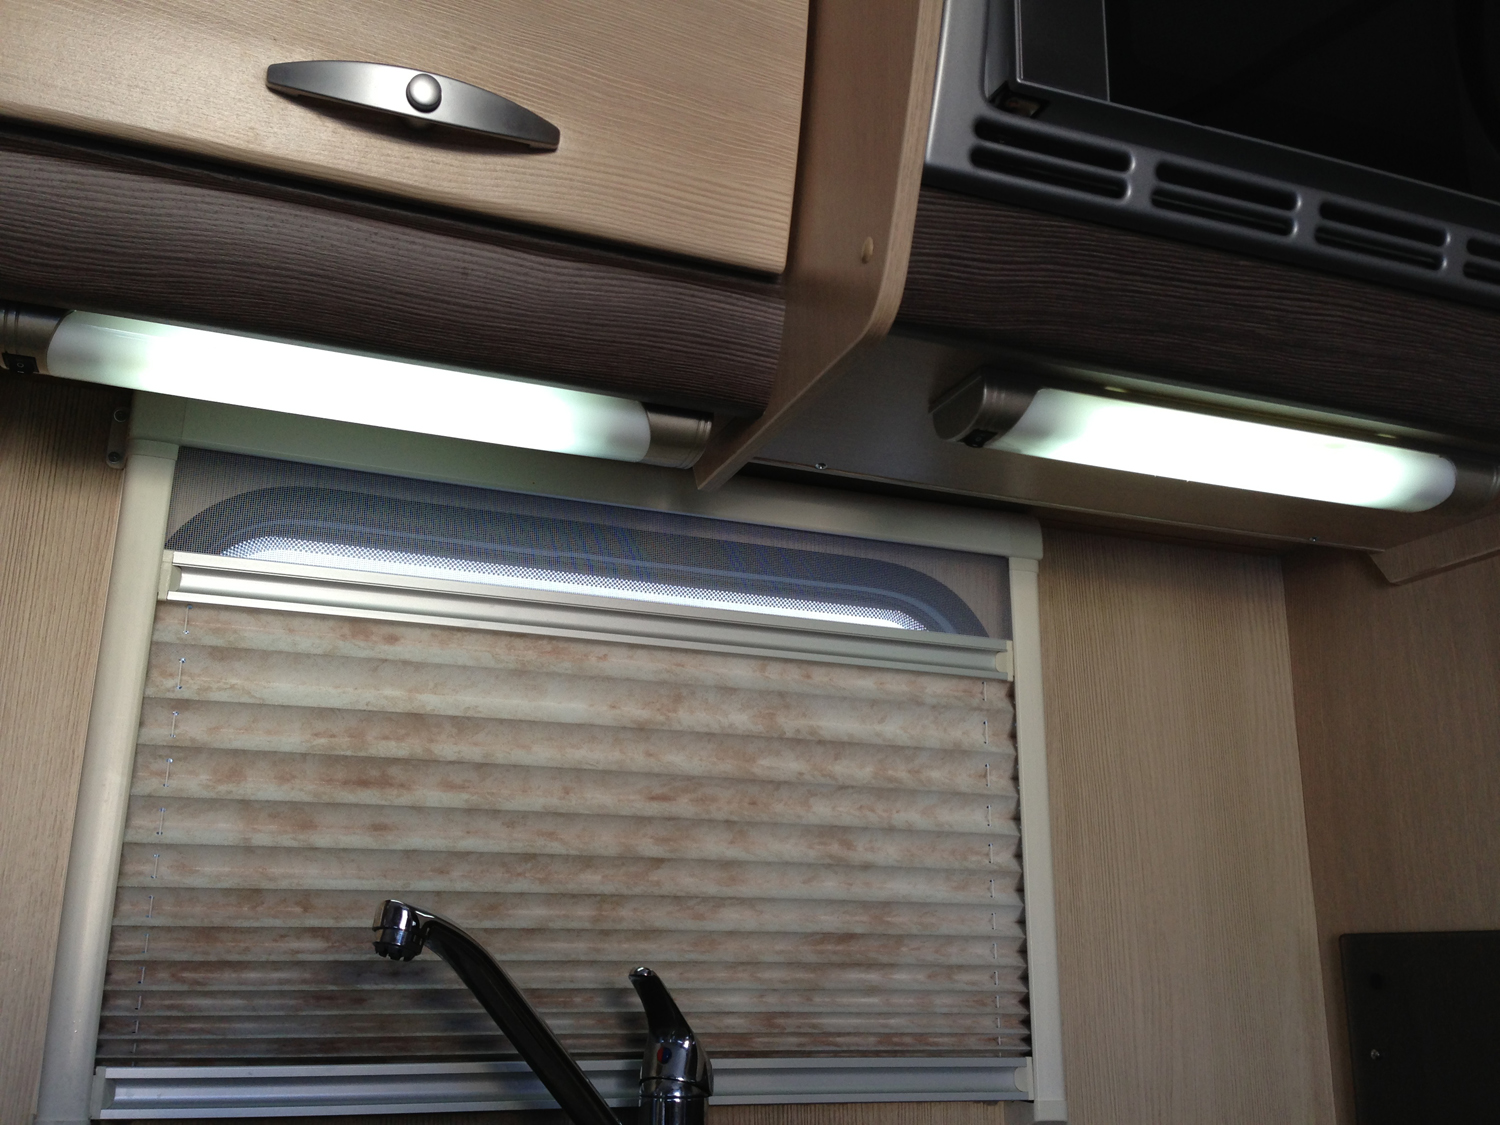
Let there be light…. or two in this case
We now have the ability to switch one or two tubes on above the sink and above the hob unit, so now excuses for the “One Hairy Caravanner” to burn anything on the hob now!
S
PS… sorry about the photo quality, I forgot to take a camera and had to use my iPhone
Caravan Chronicles Shopping...
I have been asked where you can purchase some of the products featured above. Here are the links to the products in the Amazon store. If you click on the links and purchase the items, a few pennies will go to helping the cost of running CaravanChronicles.com
Selection of crimp terminals : Electrical / Wire Terminal / Crimp Set 360pc AST24
Ratchet Crimp Tool : Silverline PL55 Ratchet Crimping Tool, 215 mm
Heat Shrink Sleeve : Am-Tech Heat Shrink Wire Wrap Assortment (127 Pieces )