Our first visit to the caravan storage site in quite a while to check on the caravan was undertaken with some apprehension. It had been over twelve months since we had checked on it and we expected that we were going to be in for a shock.
The caravan was very dirty on the outside but it was the inside we most feared. Opening the door….. it didn’t smell musty…. we couldn’t see any mould… and nothing felt damp. In fact inside was in really good shape. Leaving all the cupboard doors open, the bed partly raised and the roof vents cracked open a touch seemed to have worked. OK, now a list of jobs that needed doing. The leisure battery is now 10 years old and given us good service. It needs replacing… more on that later. The tyres also need replacing and the outside needs a good clean and polish.
I removed the leisure battery which was showing as dead… less then 10 volts, put it in the back of the Amarok and we headed back home to come up with a plan of action. A couple of days later we returned with cleaning supplies…
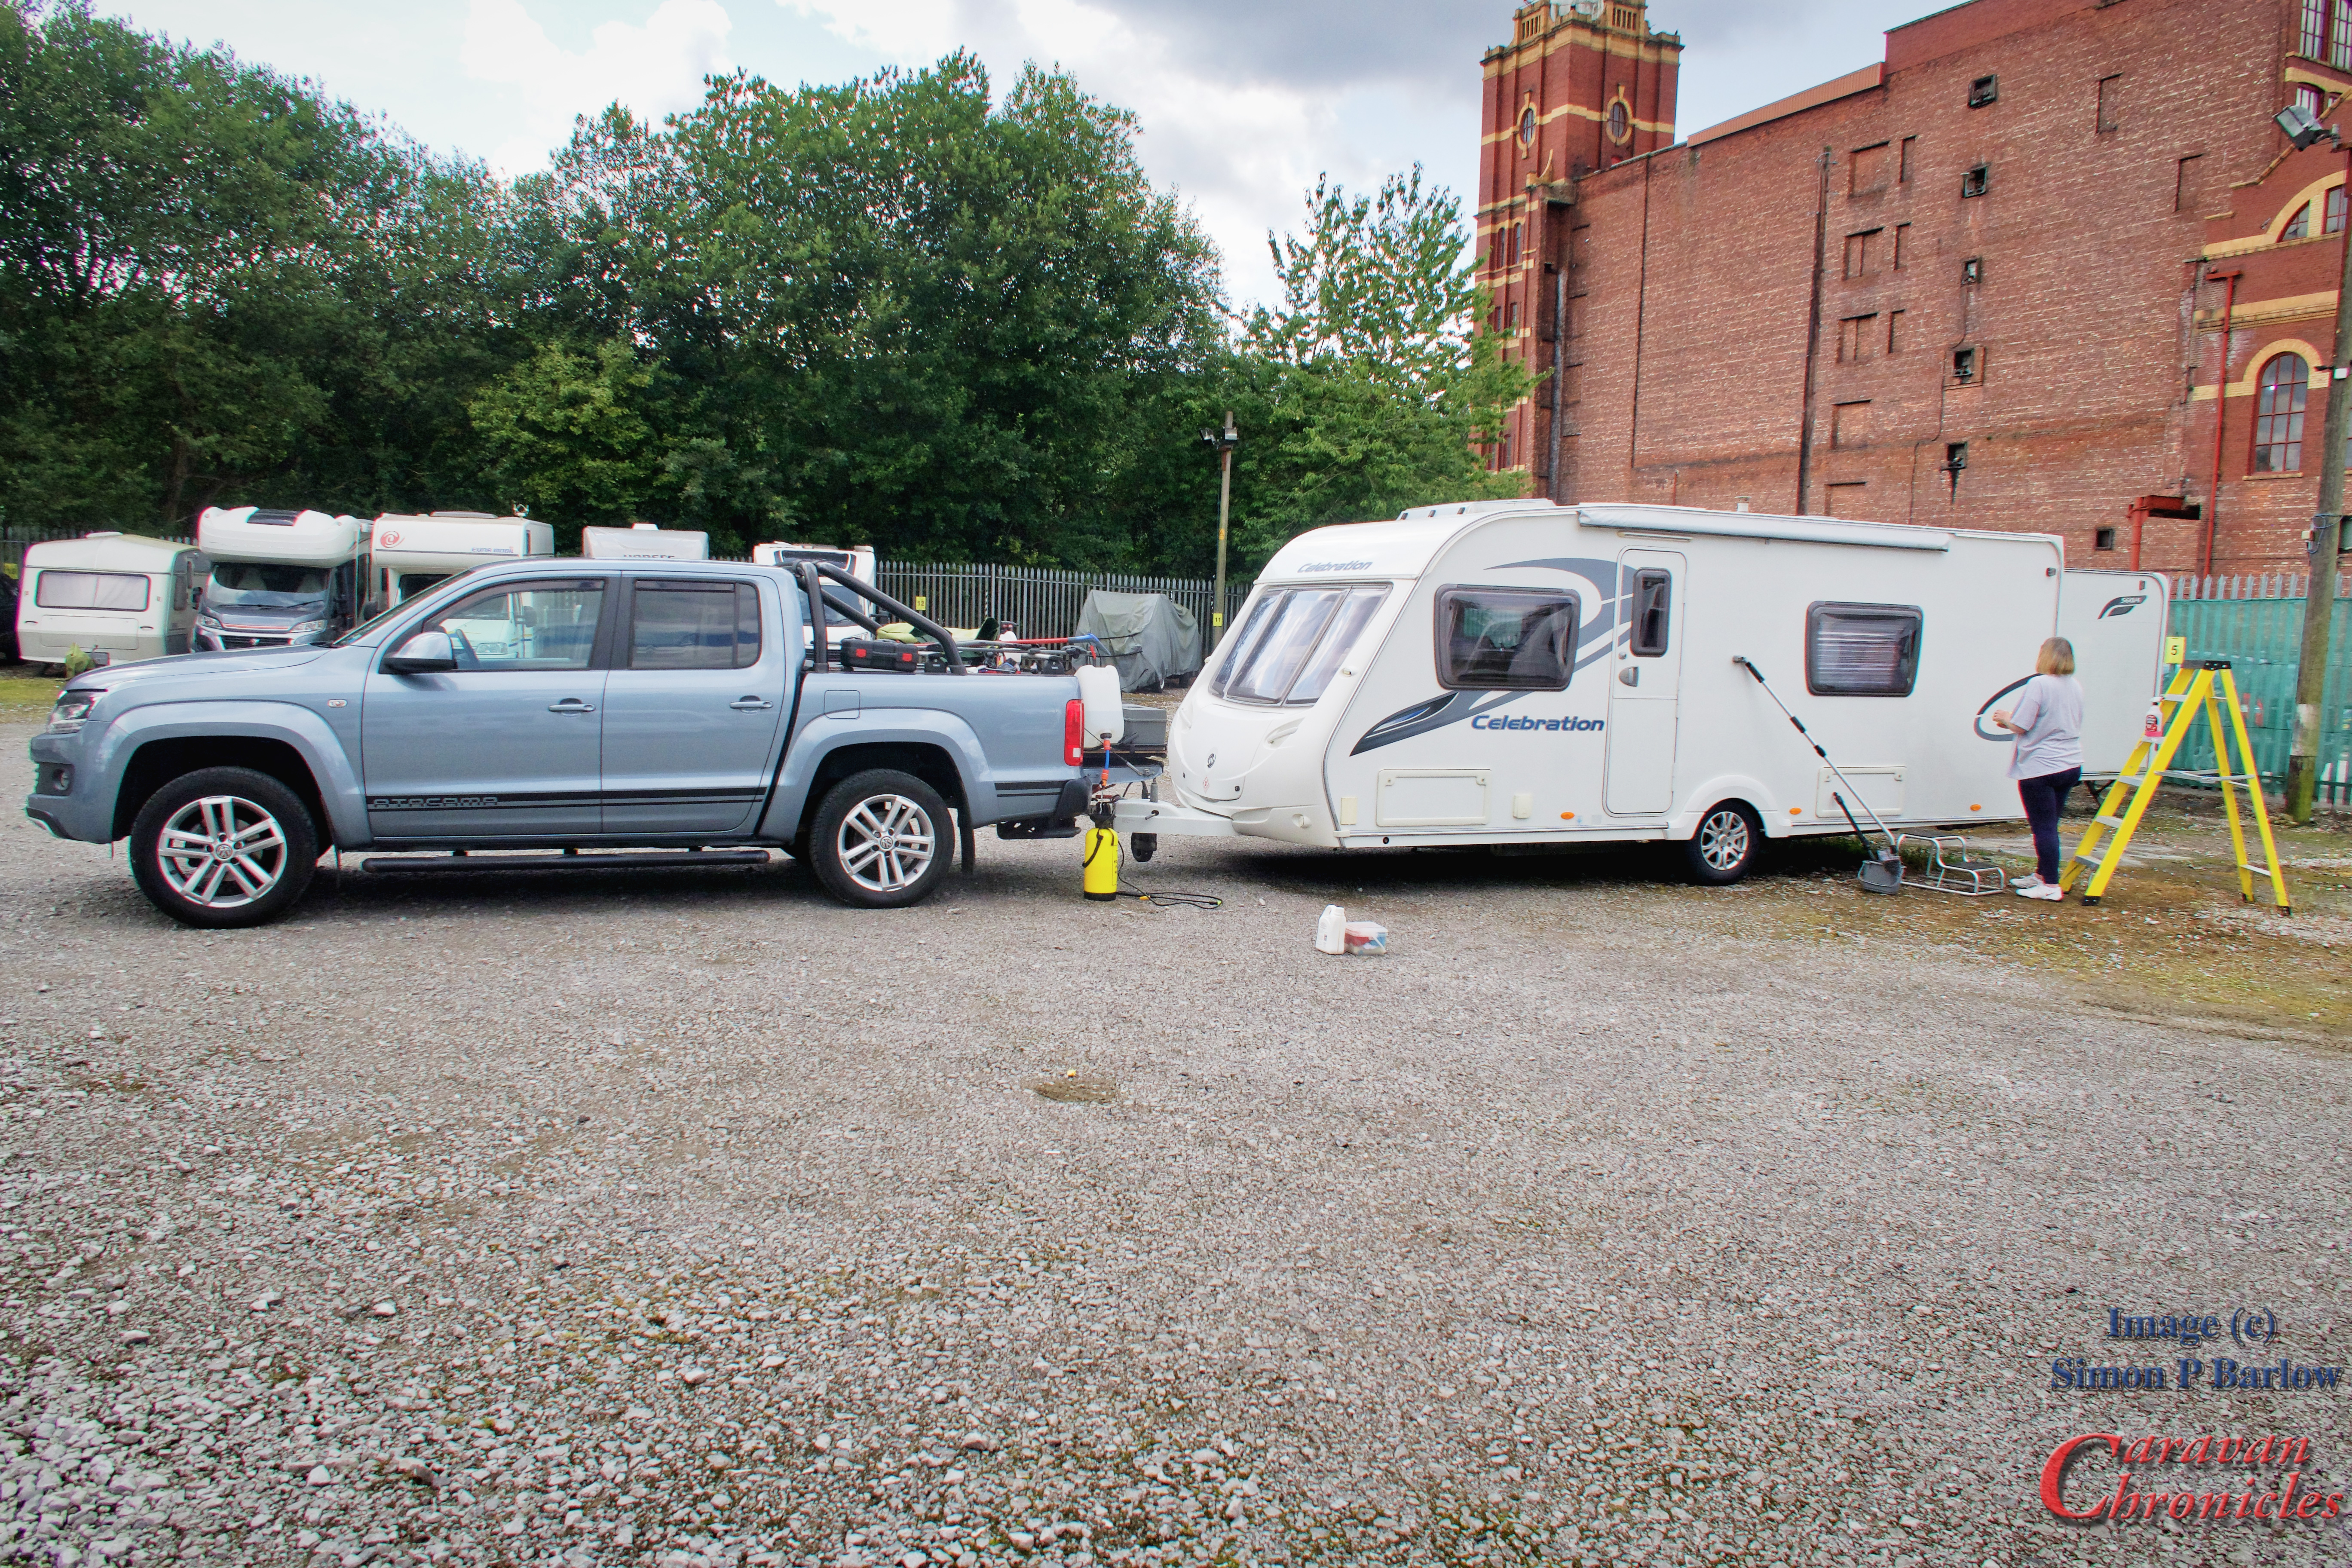
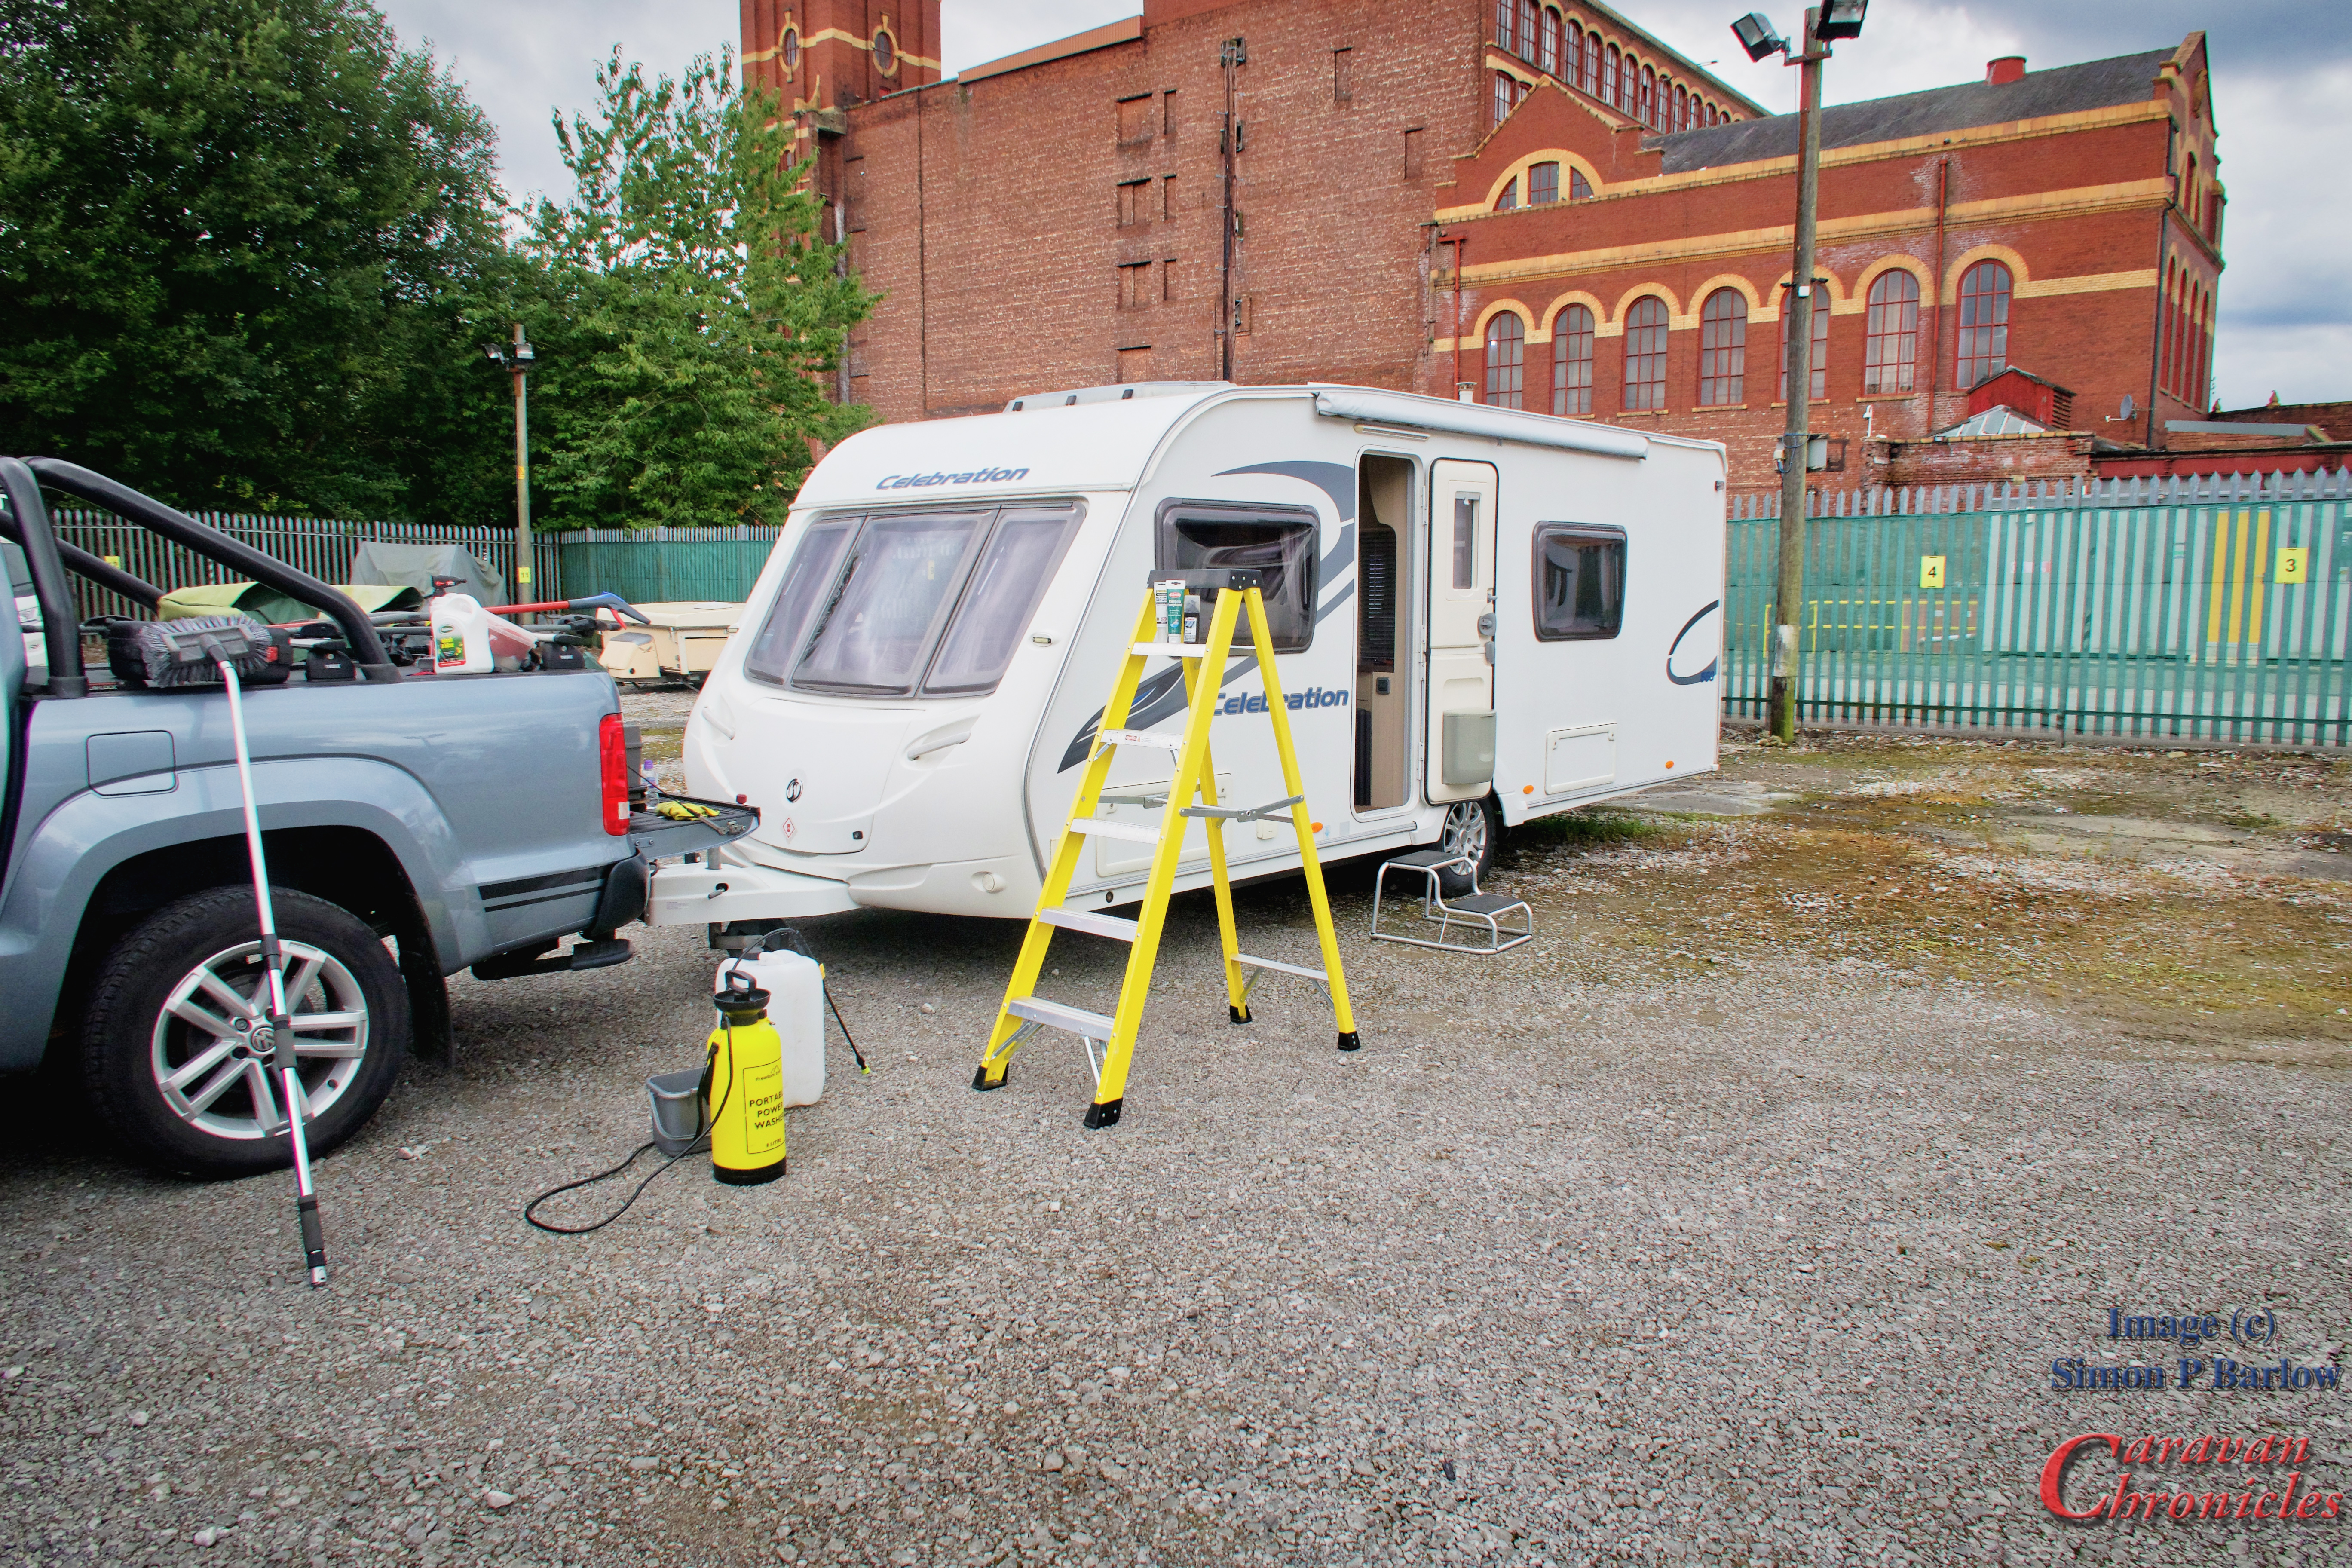
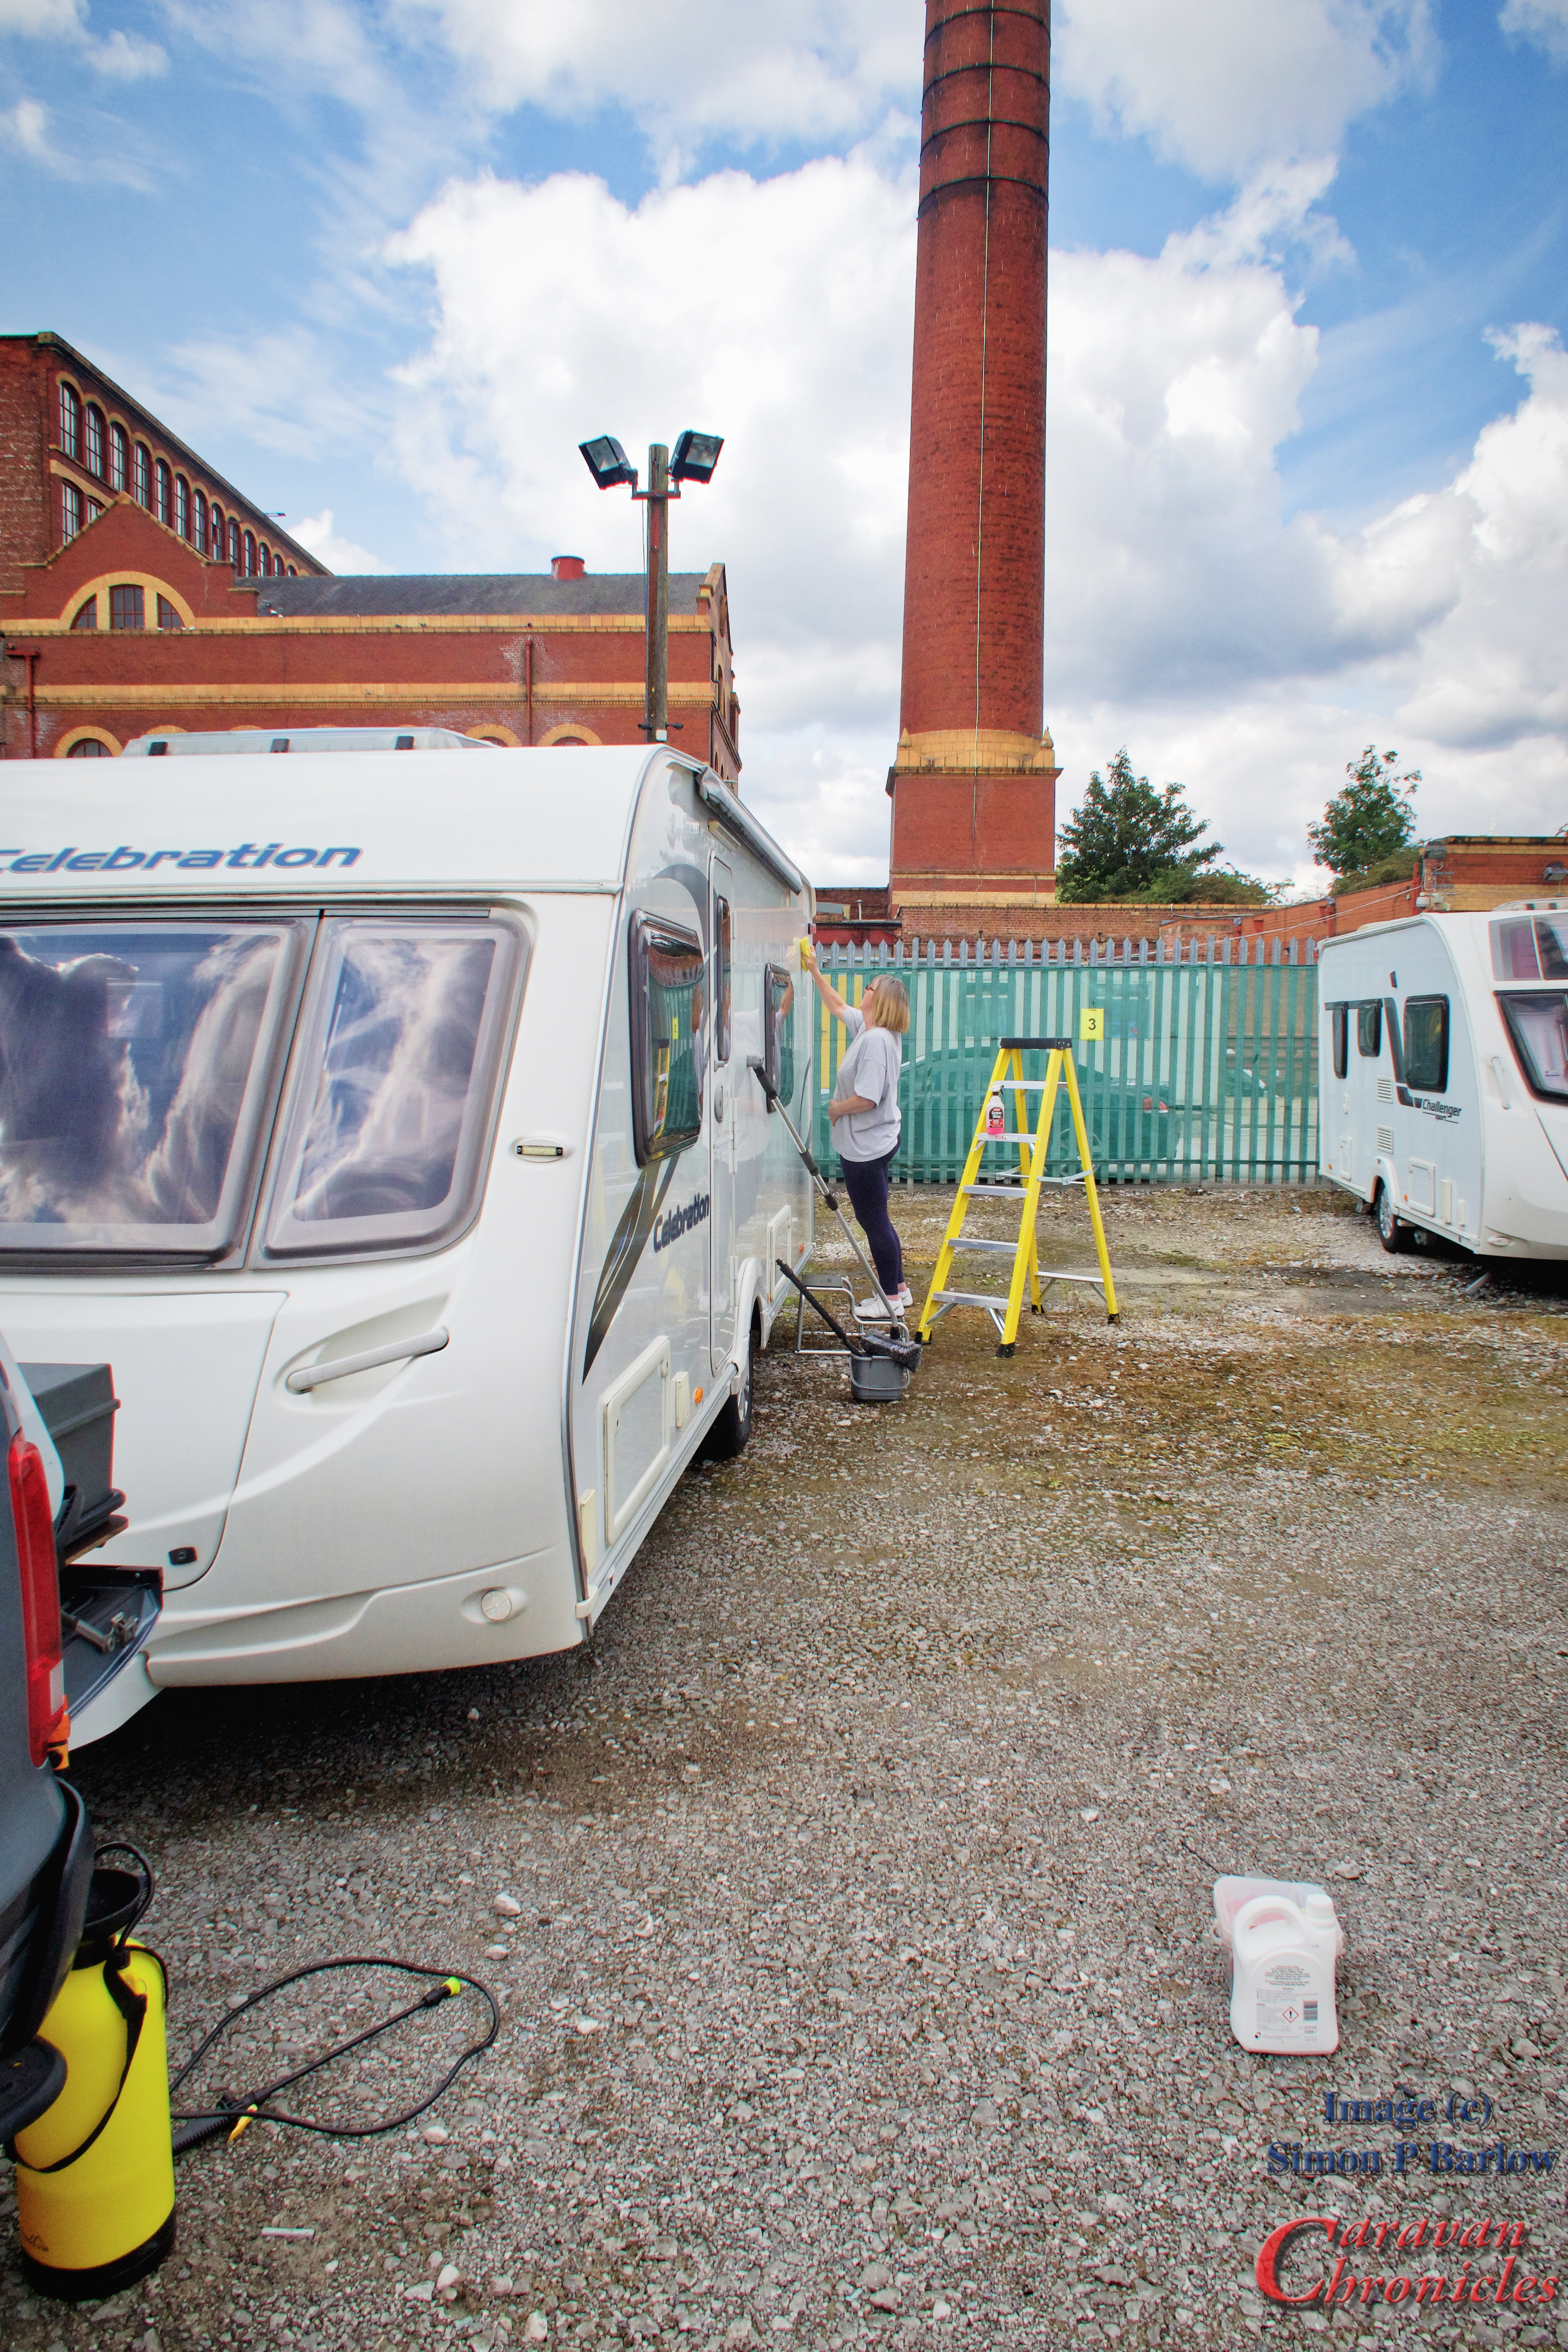
We hitched up the caravan and pulled it forward out of it’s parking spot and set to work. Over the years I’ve tried all the different products for washing the caravan (and cars) ranging from mid priced to the “how bloody much” brands, but in all honesty I have found Morrisons own Wash and Wax Shampoo (It’s bright green) to be really good and it has given me really good results on our 15 year old Freelander, the Amarok and the caravan. A long handled brush for the sides and some small detail brushes for the awning rails and tight places made easy work of the sides. It was all hosed down using one of those pump up pressure washer thingy’s
To rinse I used Car Plan’s Demon Shine (the pink stuff…. also stocked in Morrisons) diluted down in the yellow pump up spray do-hicky. Which works quite effectively. The two products – Morrisons Wash and Wax shampoo and the Demon Shine seem to work together really well and I certainly found that using the two as a shampoo and then as a diluted rinse leave a good water shedding layer on the Amarok that lasts quite a while.
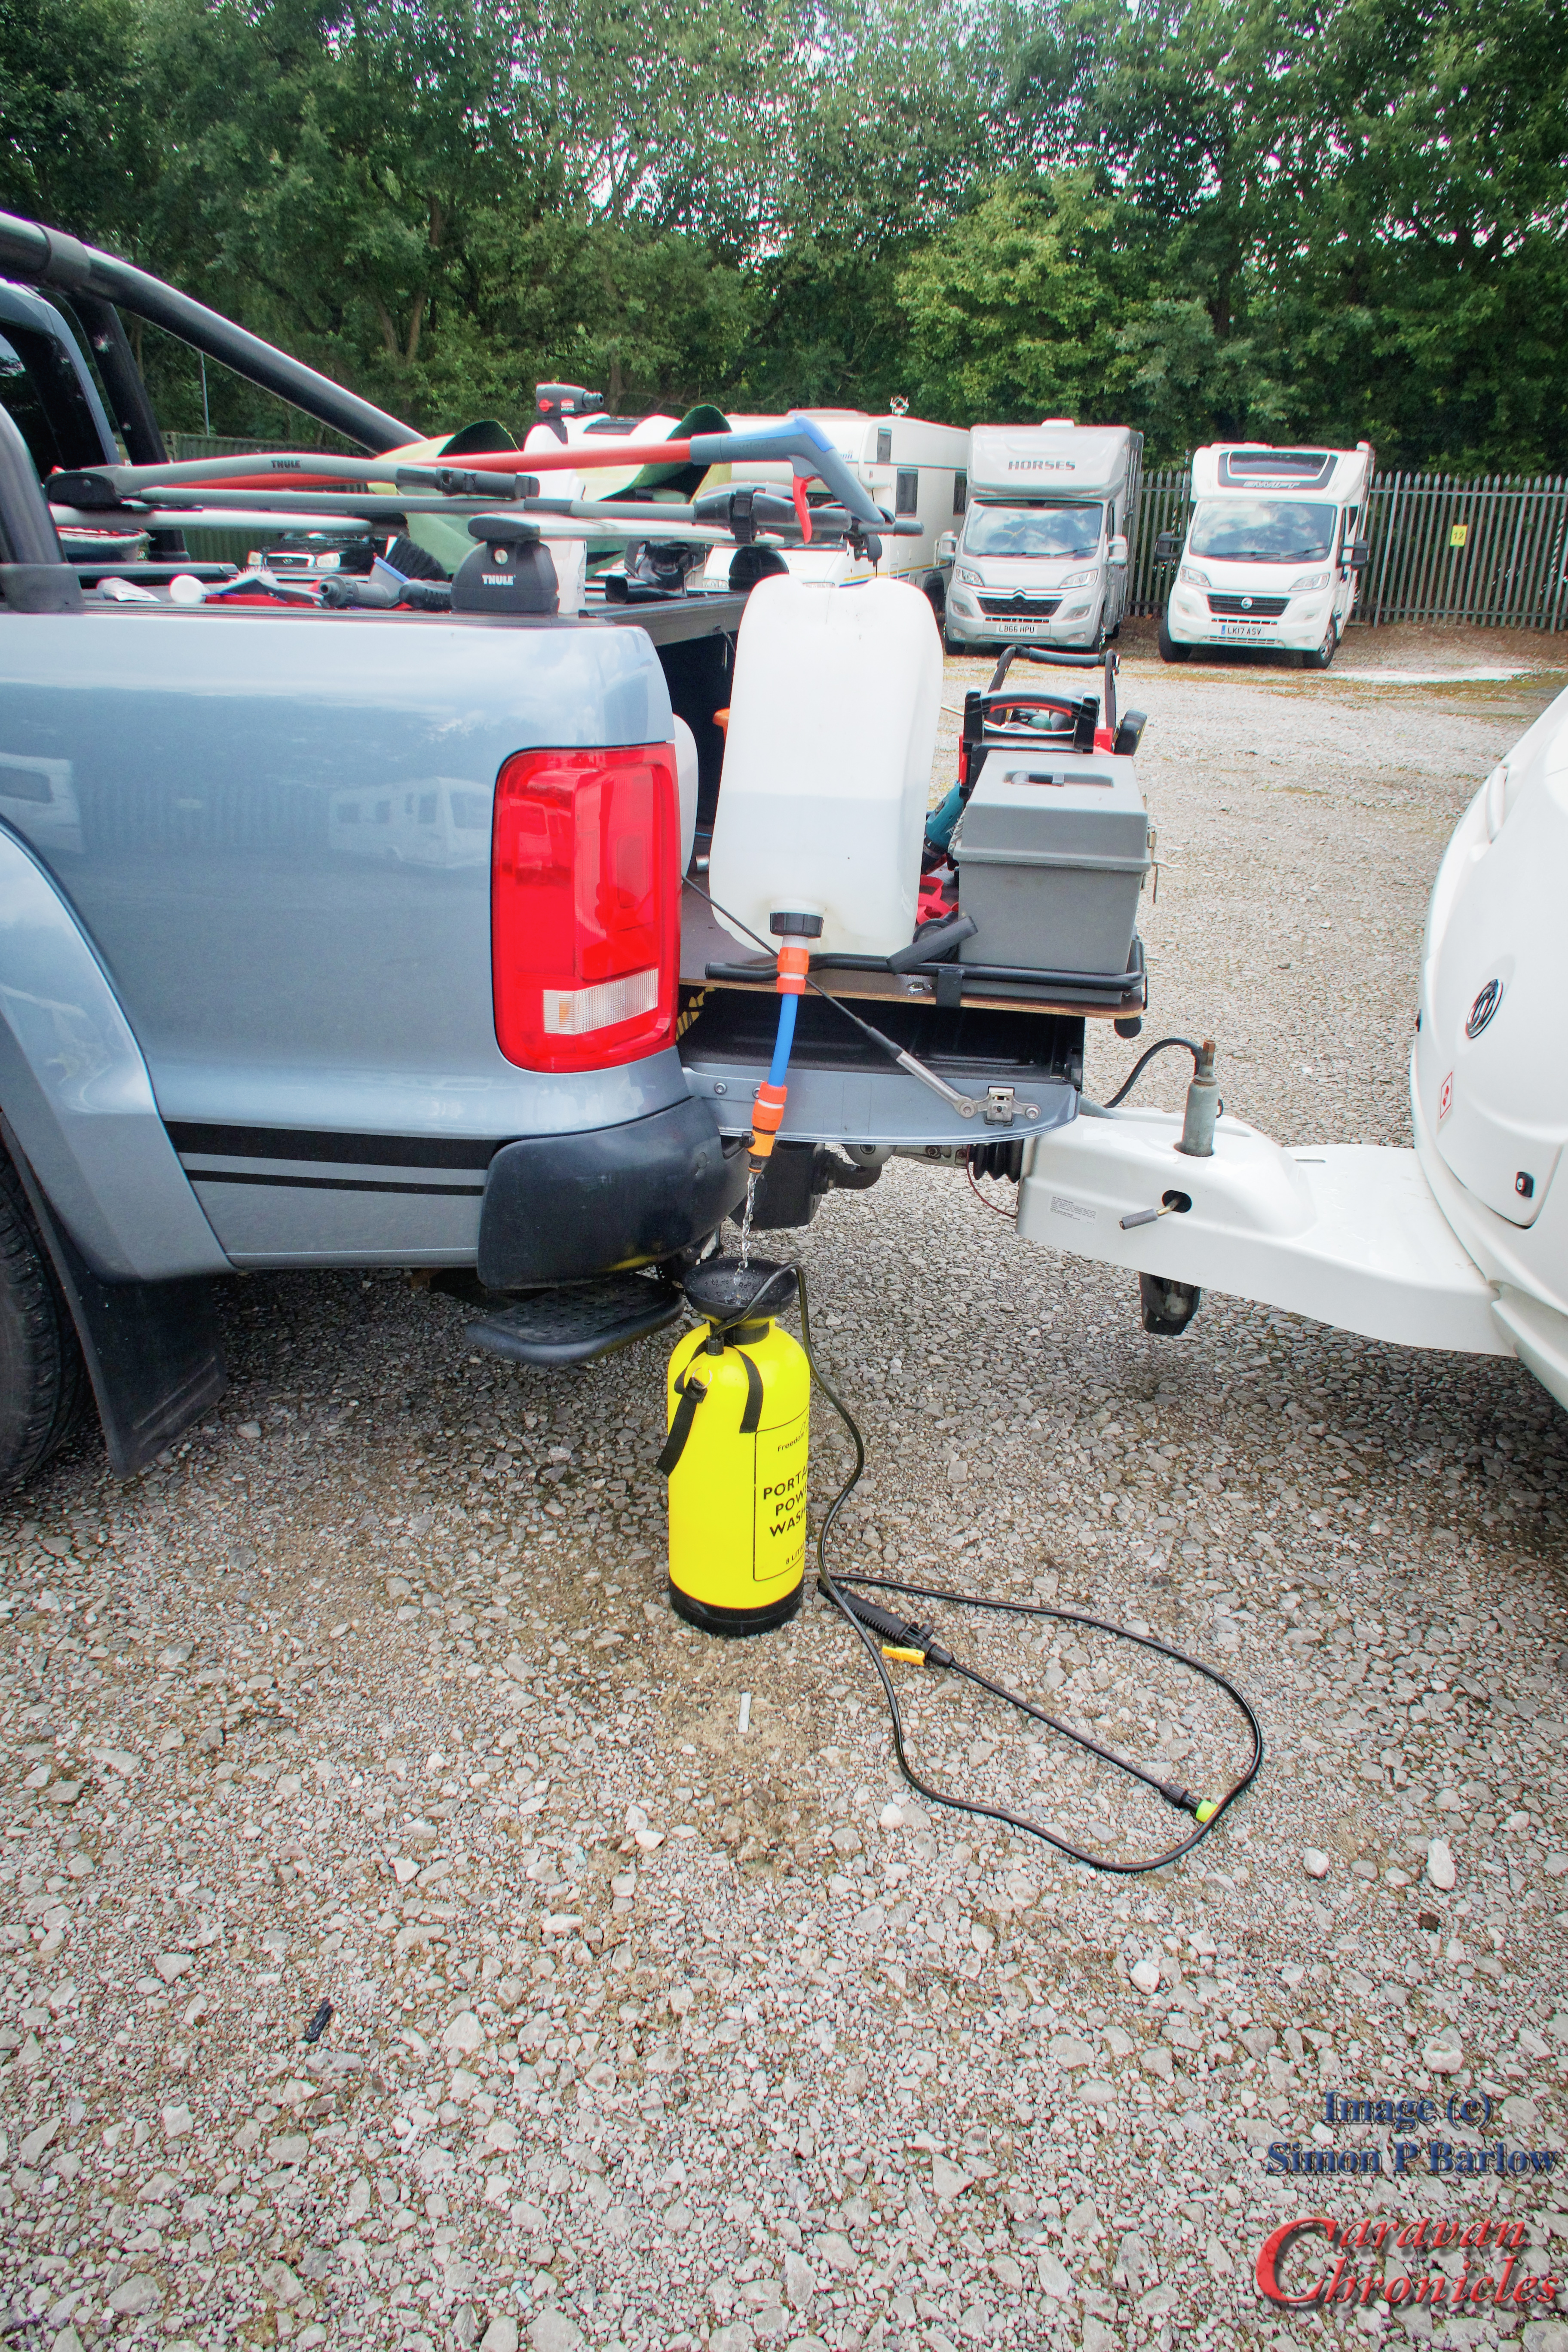
One thing we don’t have at our storage compound is running water. So I have three 25 litre containers that I fill up at home and throw into the back of the Amarok. To save lifting them up to fill buckets…. I fitted a hosepipe connector to one of the lids and all I need to do now is tip the container and open the tap. As there is no venting the sides collapsed inwards a little so tipping it back onto its side from time to time to let air back in means that when the tap is shut nothing can slosh out a vent while travelling.
On this trip we only cleaned and polished the sides… the roof would have to wait for a return visit. Putting the caravan back in it’s spot lead to the next task…. jack it up and remove the wheels. The caravan was fitted with Hankook 185×80 R14 and inspecting them closely revealed no cracks, bulges or damage of any kind. These tyres were now 10 years old it was defiantly time to replace them. We got 8 years use and just over a year standing out of them and I consider that a win. Realistically they should have been replaced at 5 years…. 7 max at a push, so getting 8 out of them with close inspections each trip I’ll consider we got our money’s worth out of them. After much searching on line and checking out the discount with National Tyre via the Caravan and Motorhome Club I called in to my local National Tyre could fit replacements and beat the price even that C & M Club discount gave us with National Tyres on line. As the Hankook’s had given us really good service and long life I replaced them with another set of Hankook’s. National Tyres also fitted new valve stems, valves and balanced the wheels. I know there is a lot of debate about balancing caravan wheels…. well the engineering bit of my brain thinks that anything rotating should be in balance, so I’m going to balance my wheels. We picked the newly re-shod wheels up the following day and returned to the compound to fit them. As it was raining, cleaning the roof was put off until we had better weather.
OK…. I know… you are all saying “Why did he clean the sides before the roof….. that’s bass acwards” OK here is my thinking…. the roof is going to take a few hours to do properly and when you have done that you then have no choice but to do the sides straight away as they are going to be really filthy with all the run off. It’s going to be a really long day to do everything. By doing the sides first, we could get a good layer of wax protection on them and as said earlier, the combination of products give a really good beading coat. So when it comes to washing the roof a simple rinse down would restore the sides back to their pristine finish we had a few days earlier.
As I worked round the roof scrubbing and rinsing, Sue followed me with a squirt bottle and microfibre cloths… using the Car Plan Demon Shine neat finished off the sides and gave another layer of buffed waxy finish.
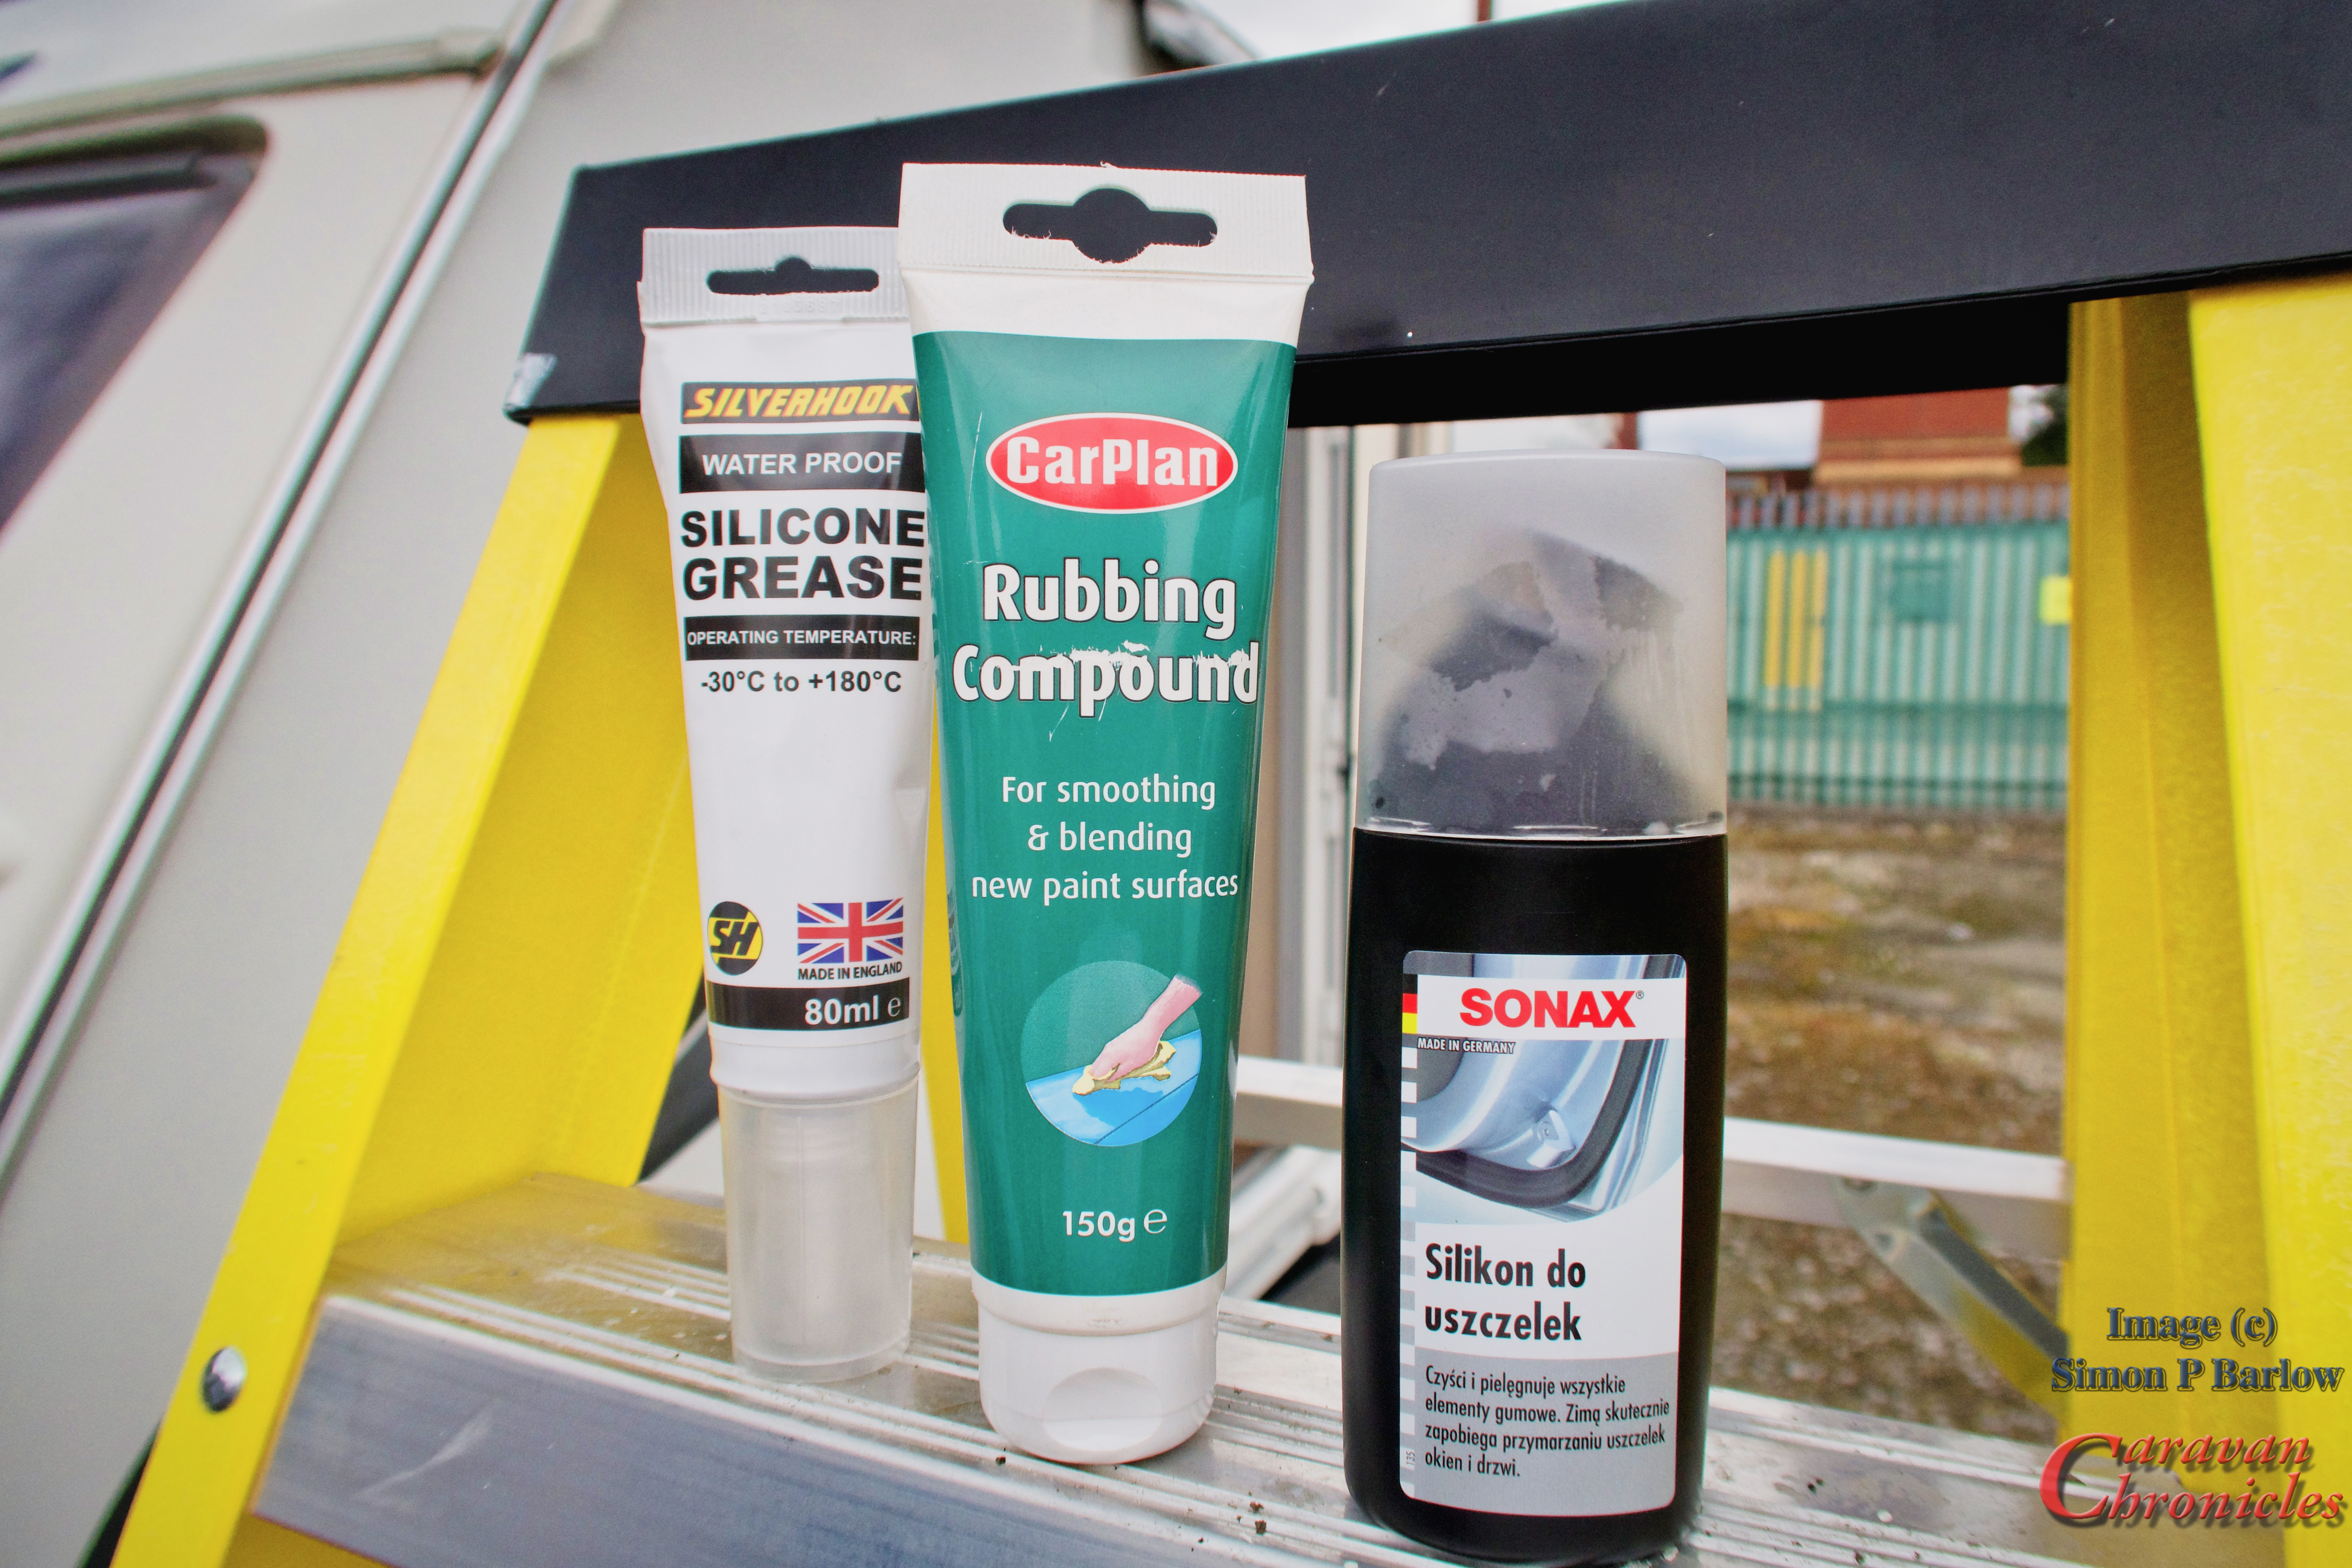
A few other jobs were completed too. All the window and door rubbers were given a good coating of Sonax Silicon… this stops the windows sticking to the rubber and keeps the rubber seals soft and supple. Some of the aluminium awning rail needed cleaning. Rather than use a metal polish (Solvol-Autosol is my normal preference as a metal polish) I used a simple rubbing compound so as not to polish the aluminium too much but brighten it’s brushed finish. And finally waterproof silicone grease for the moving and interlocking parts of the 13 pin plug.

What next?…
I mentioned earlier that our leisure battery had died… well after some tender loving care in the workshop… It’s alive! Well it’s OK for light duty. So the next project is to go lithium. I have planned out a course of action and the first step is to install on the Amarok a 50 Amp feed to the rear of the vehicle and terminate in an Anderson connector. This will allow me to use the full capability of the Amarok’s large alternator to charge Lithium batteries in the caravan via a dedicated DC to DC charger. Next stage will be installing a solar regulator and panels followed up by an inverter and changing the on board charger for a dedicated lithium charger. I also want to remove the inbuilt charger to save weight and make room as I won’t be installing any lithium batteries in the existing battery box.
I’m still in the process of doing my due diligence on equipment for this so watch this space. I’ll go through my thought processes in a later post.
The other change is going to be the rear lights on the caravan. The reversing lights are not very useful when reversing on to a pitch in the dark so I’m going to install two LED wide beam lights just out board of the rear steadies. That leaves me with the existing reversing lights. A quick search on the internet led me to replacement Hella lenses for the existing reversing lights that would allow me to convert them into fog lights with a simple lens change and a wiring change at the fuse block. Swop the reversing light cable with the fog light cable and use the old fog light as a connection point for the new reversing lights… after removing the bulb of course!