
Tags
Caravan, Caravanning, Caravans, Foam Solutions UK, Maintenance, Modifications, Project, Travel Trailer, Travel Trailers
One thing we had noticed using the caravan all year round was the front wall between the caravan interior and gas locker and the window shelf above it always seemed noticeably cooler than the rest of the walls of the caravan. The cupboard under the front draws also was a lot cooler even though it had a blown heating pipe running through it. I’m not sure if it’s just a perceived thing that we think its cooler or if it’s down to the fact that the insulation in the front dividing wall my be a little thinner.
In an effort to try to cure this, I had been on the look out for some sticky backed foam insulation. Searching round the web gave a few results, but it was mainly for sound insulation rather than thermal insulation. However I did eventually discover Foam Solutions UK in Nantwich, Cheshire that offered a whole range of foam for various uses. When I started looking I wanted something that was anti-static and fire-retardant as it was being installed in the gas locker. Foam Solutions UK had just the product, a fire-retardant foam sheet that was designed for use under engine bonnets. I emailed Carole at Foam Solutions UK and she kindly sent out some samples, including a piece of the under bonnet material. A quick measure up and I ordered enough for the front gas locker and to cover the wheel arches inside the wardrobe and under the fixed bed.
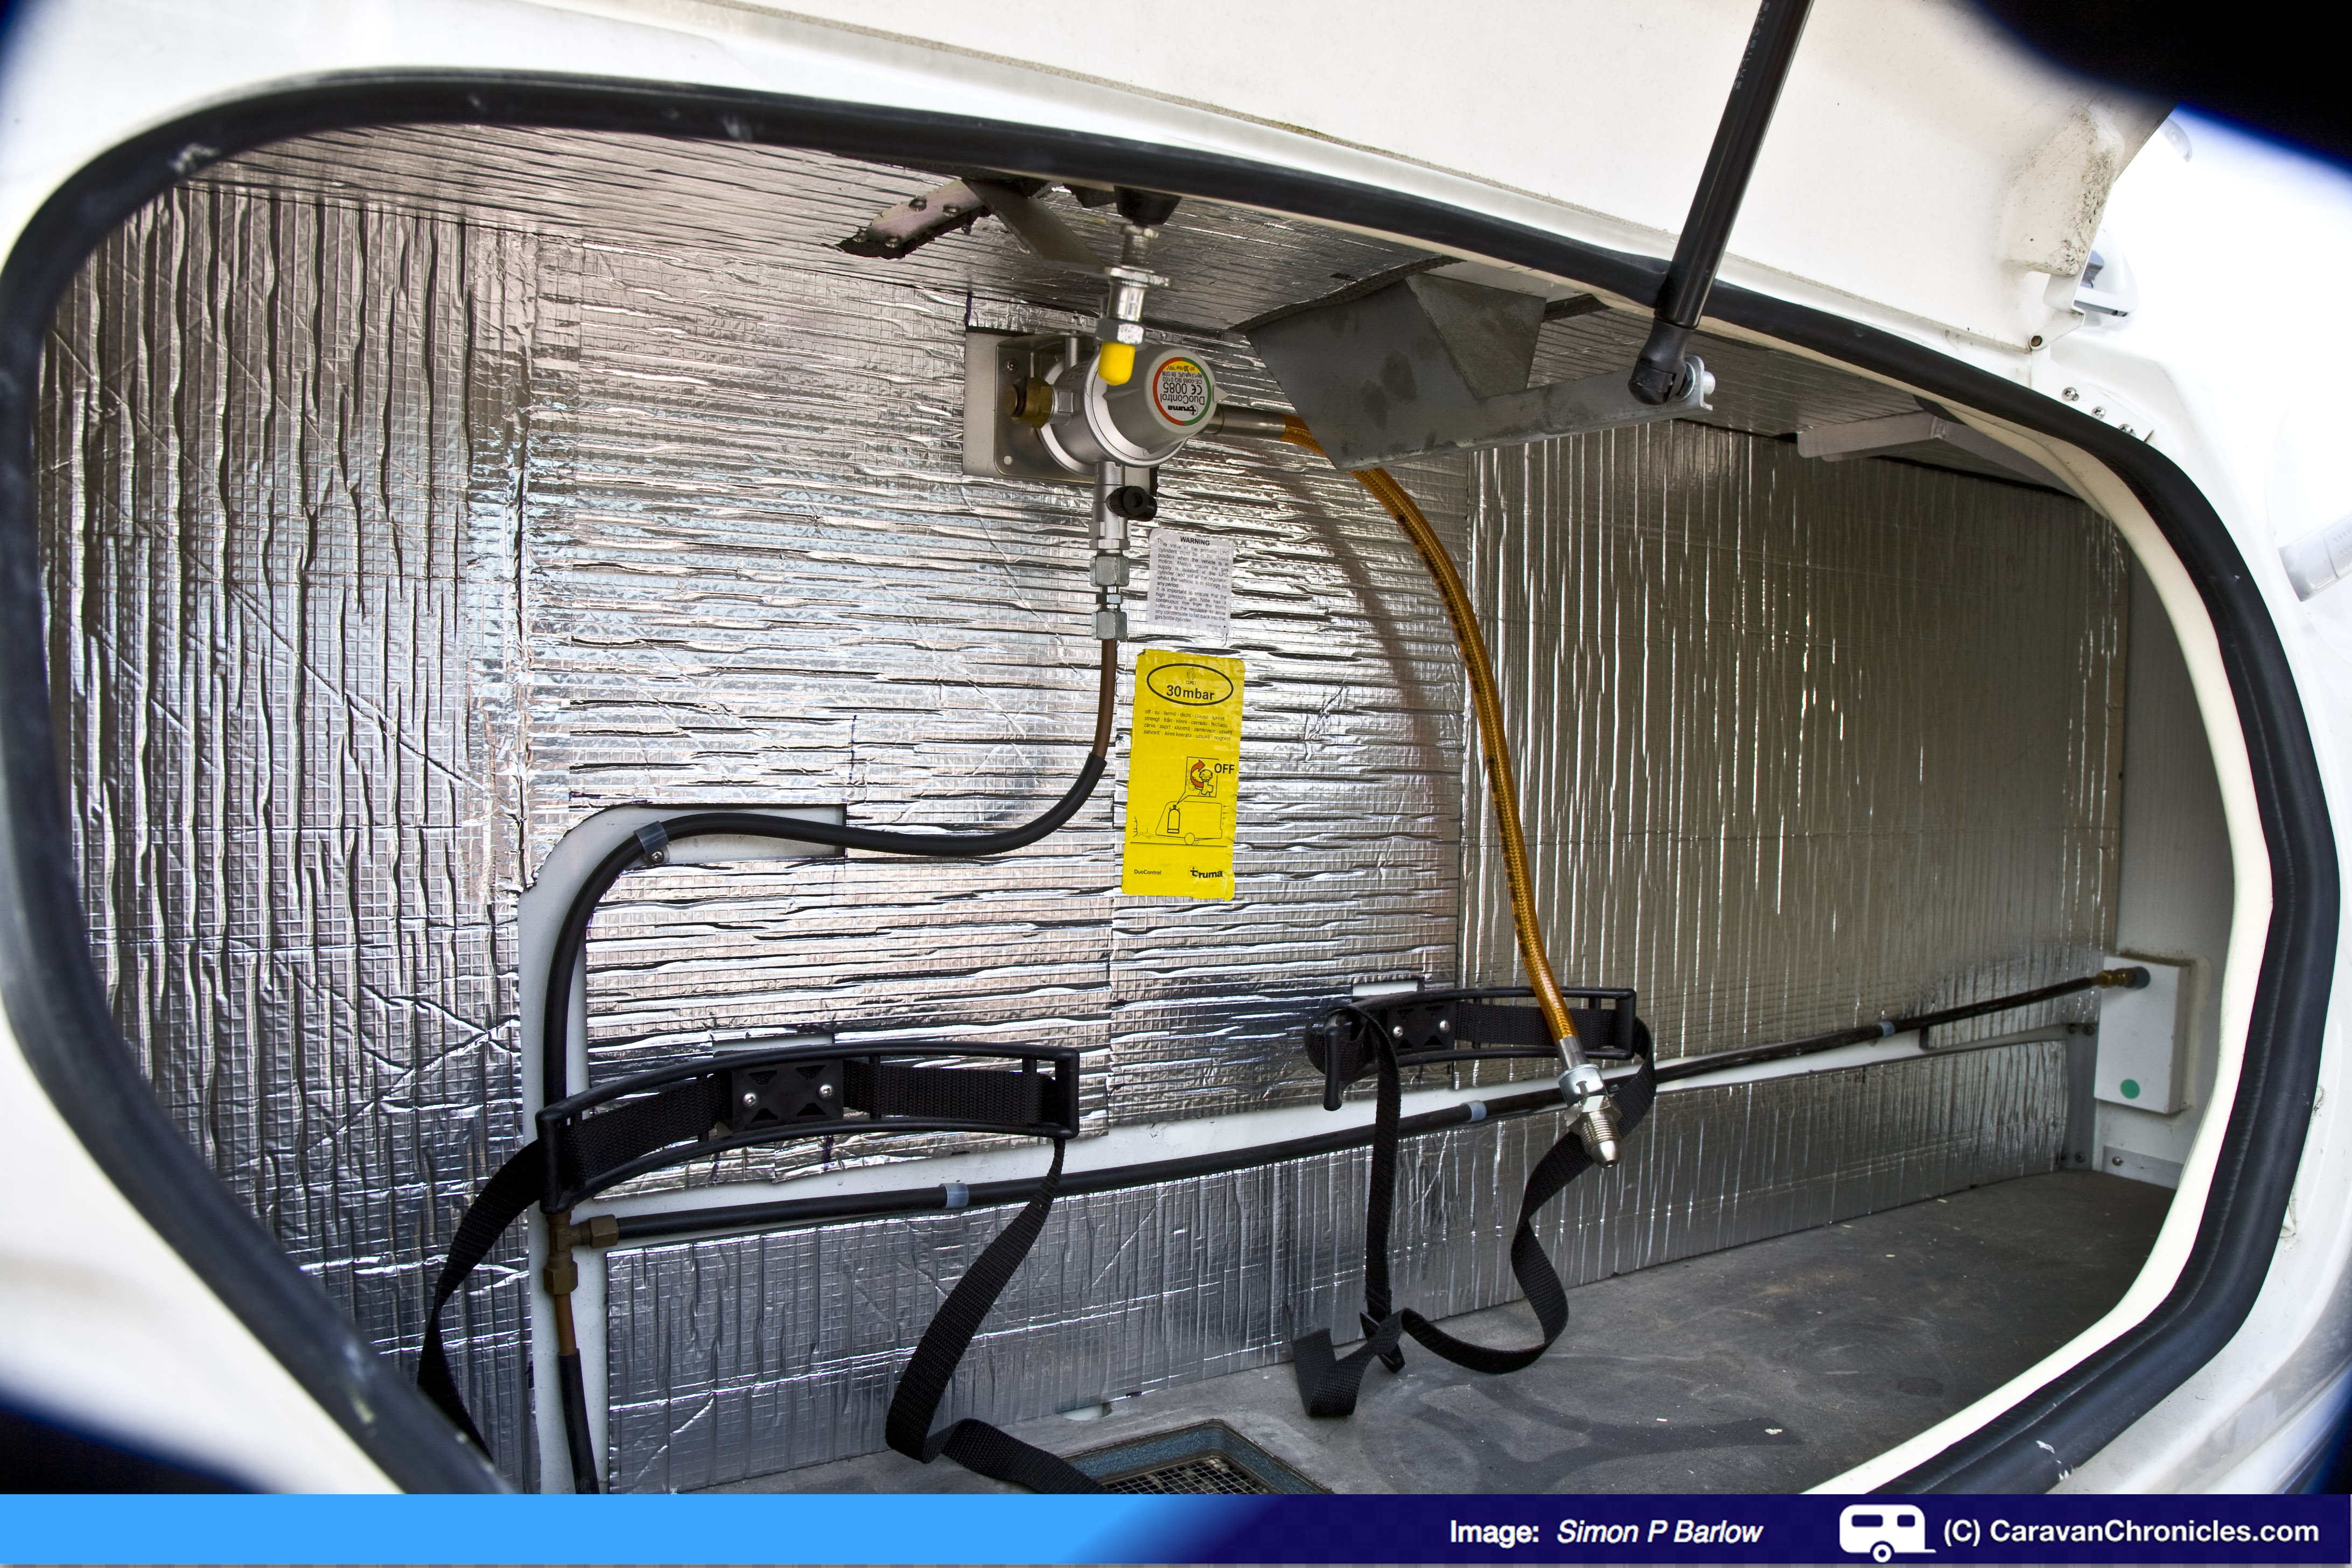
First task was to empty the gas locker and give it a bit of a dust out…..
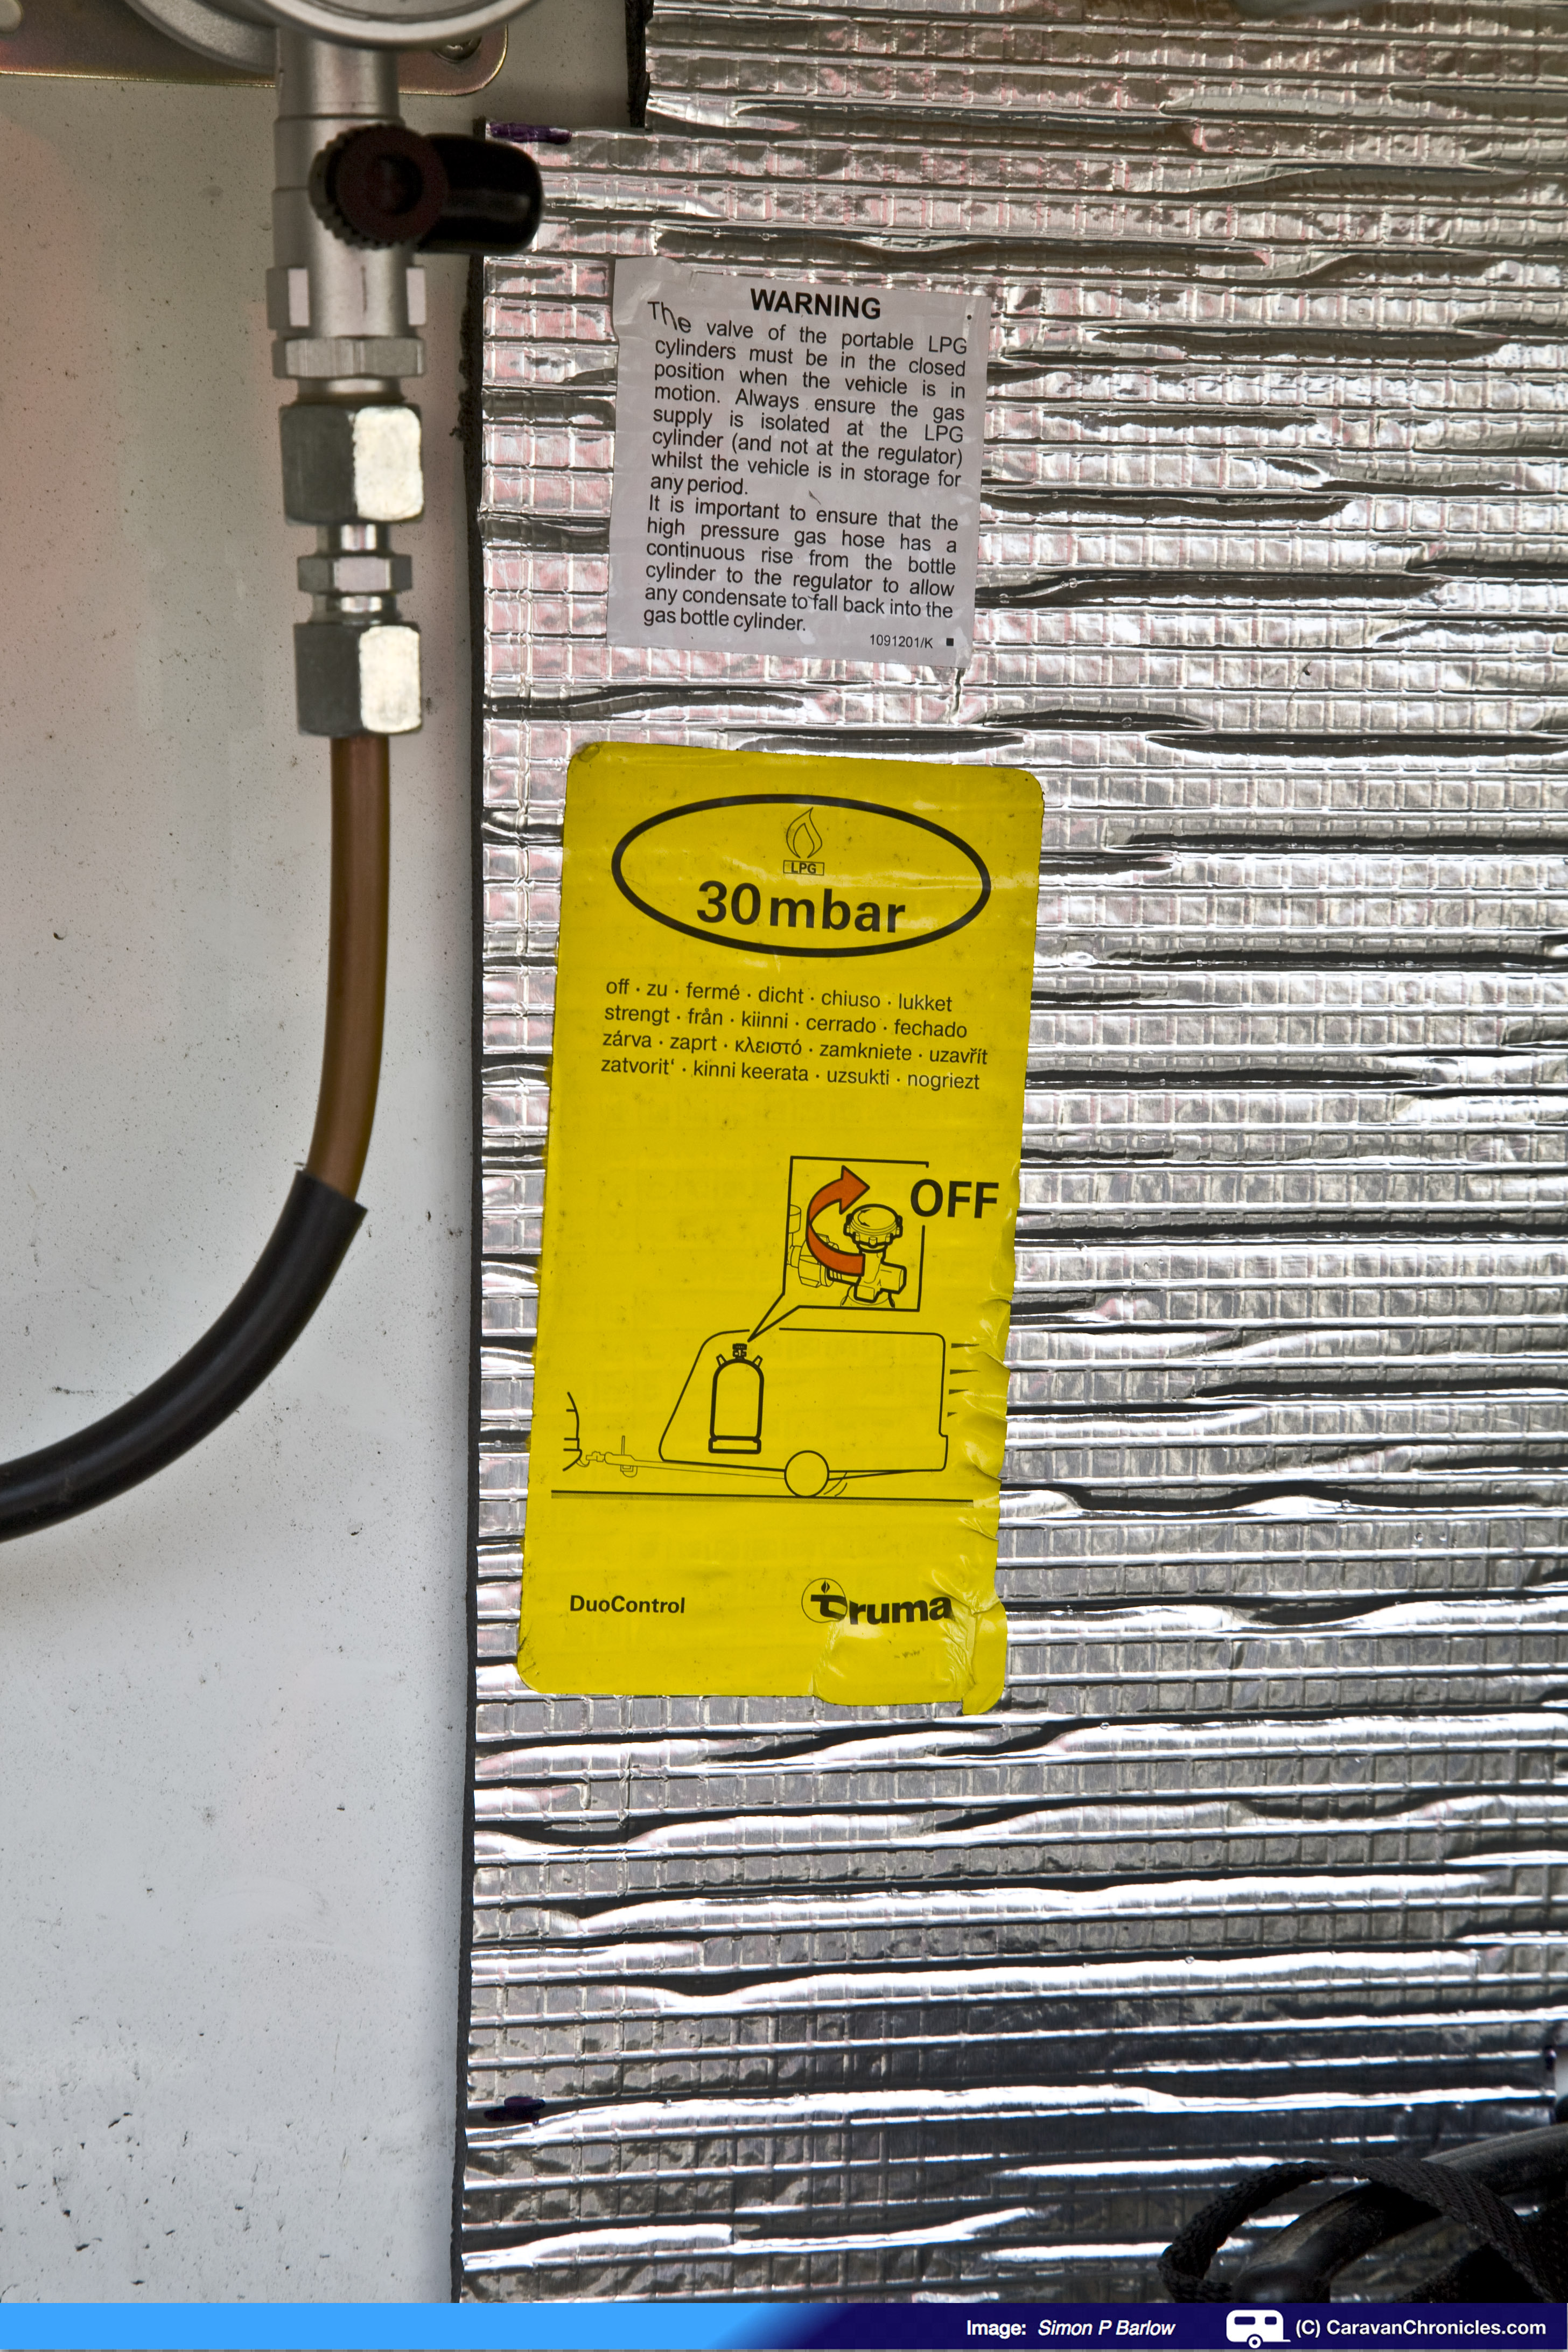
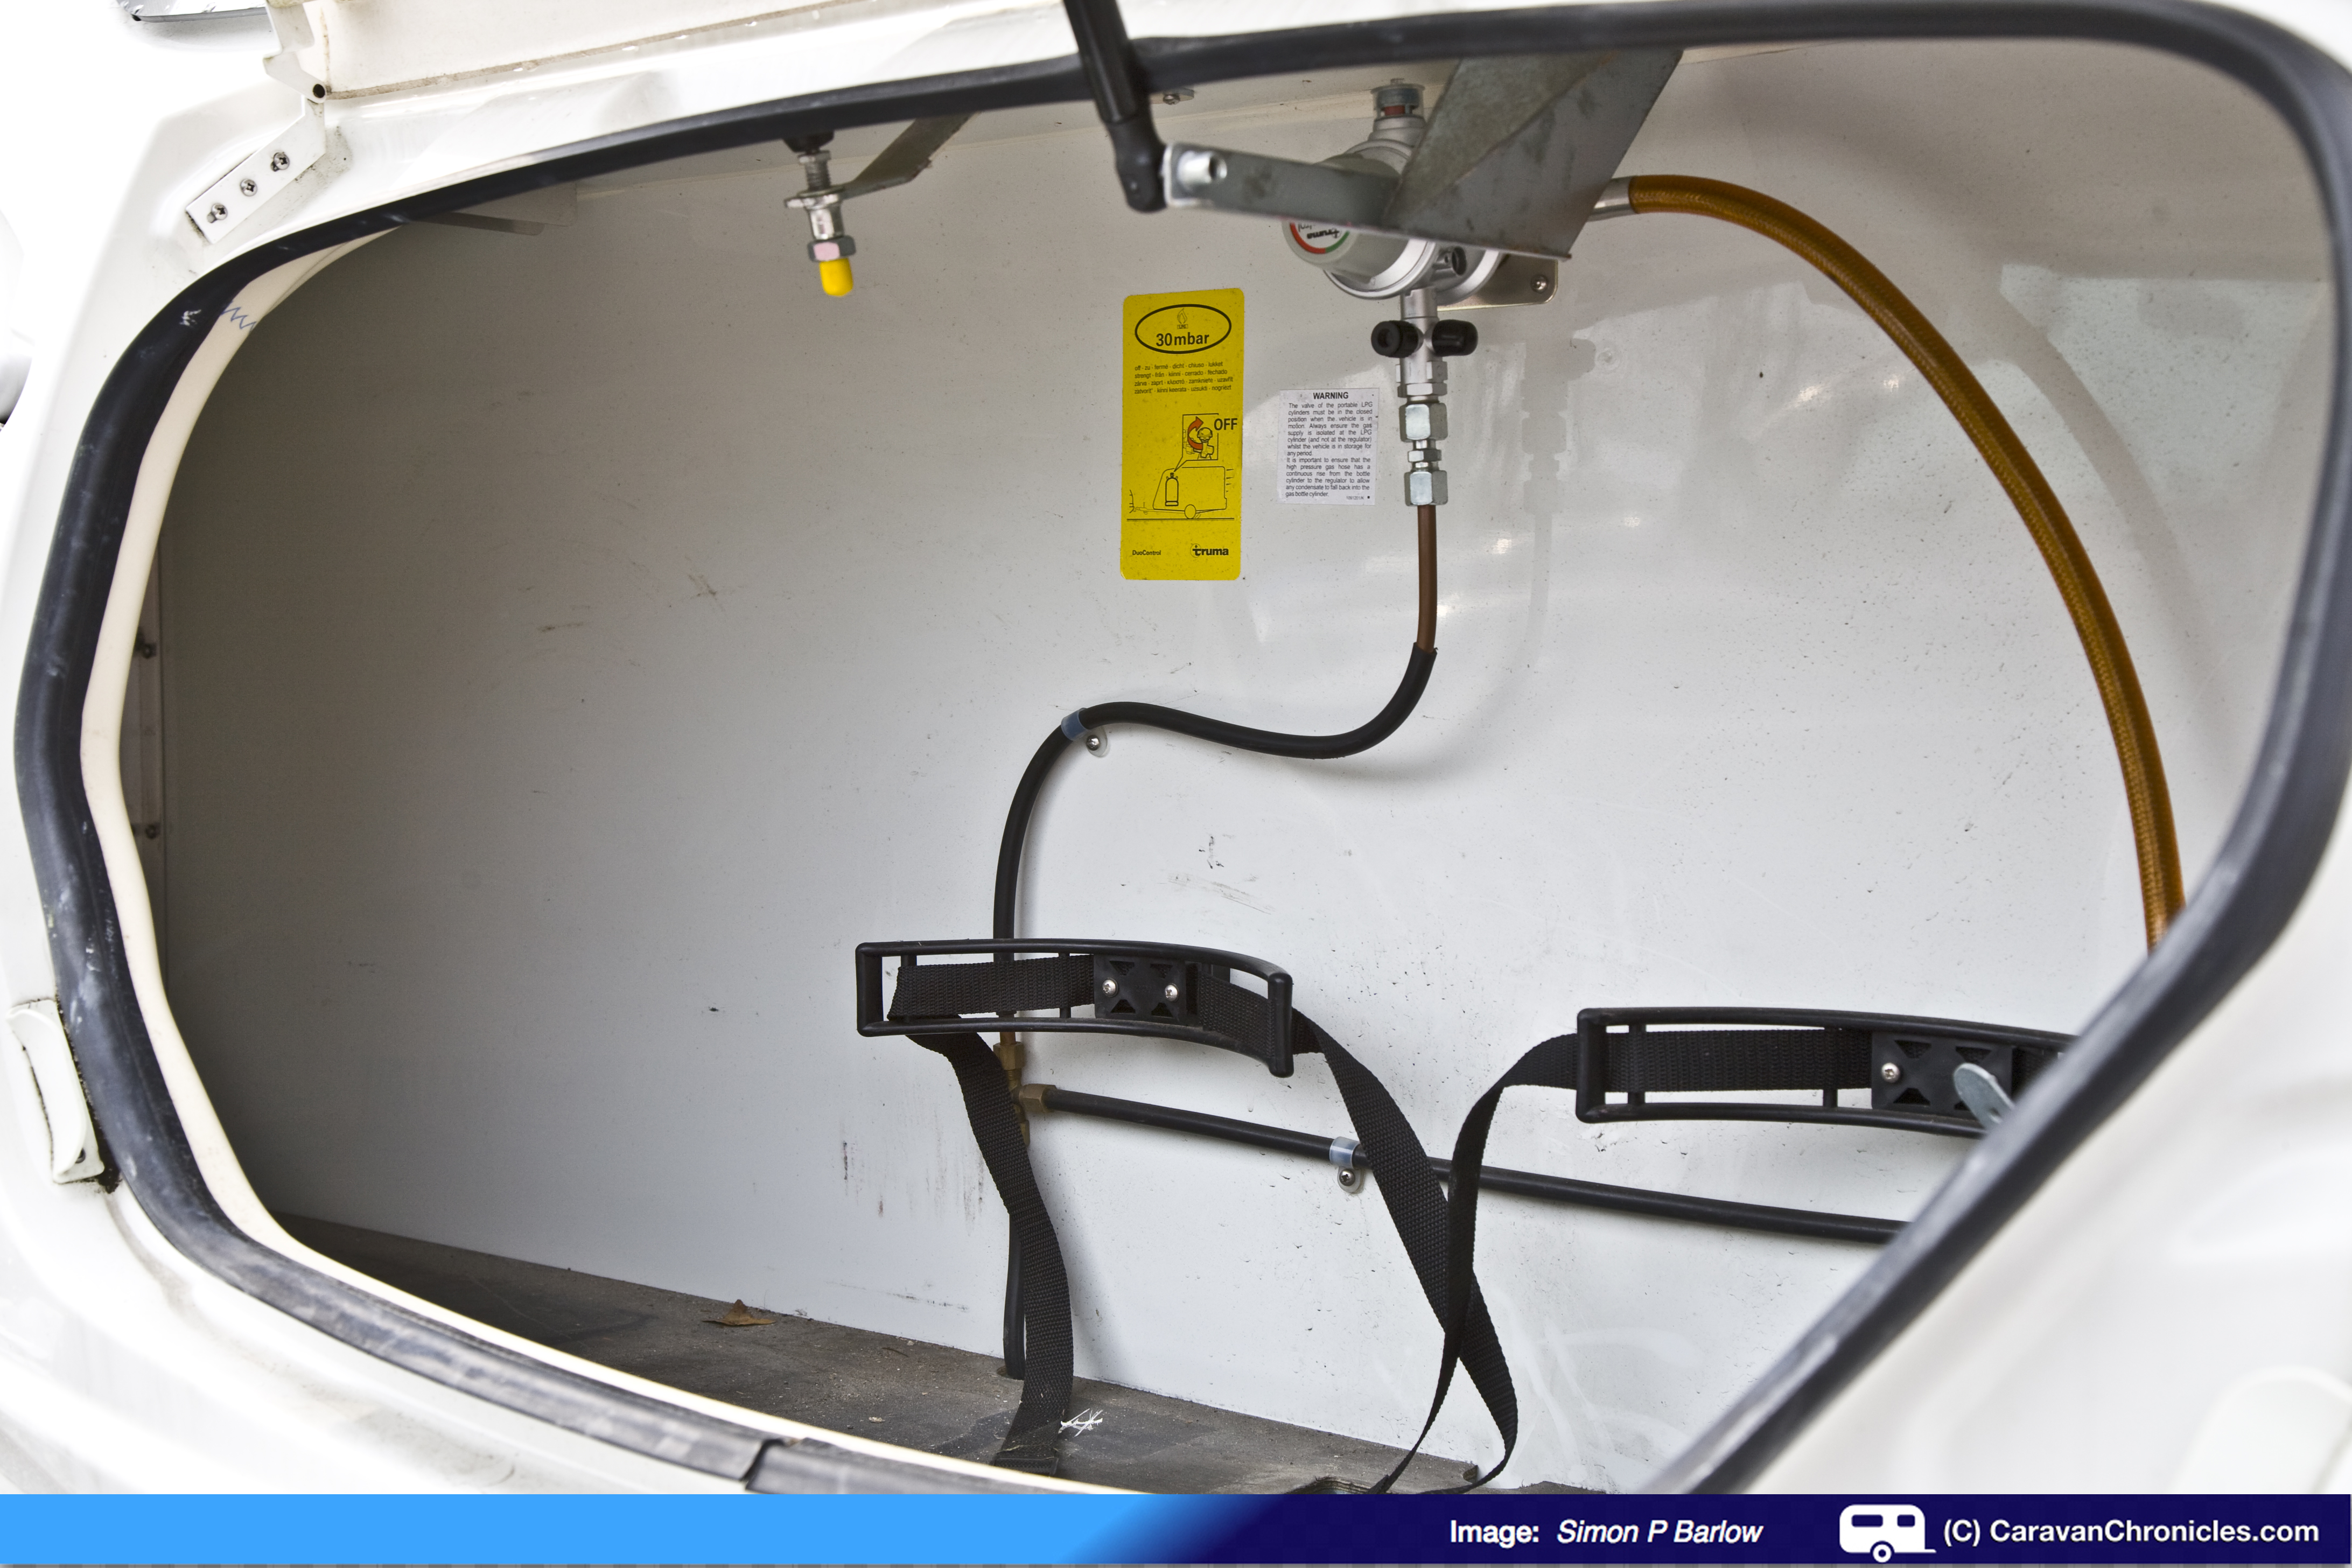 I thought I’d work from both sides into the middle where most cutting would be required. I’d have to make sure non of the gas pipes would be covered so that they could be inspected when it came to the annual service. I also had to make sure that the safety labels and notices were visible, so a bit of careful peeling would be required.
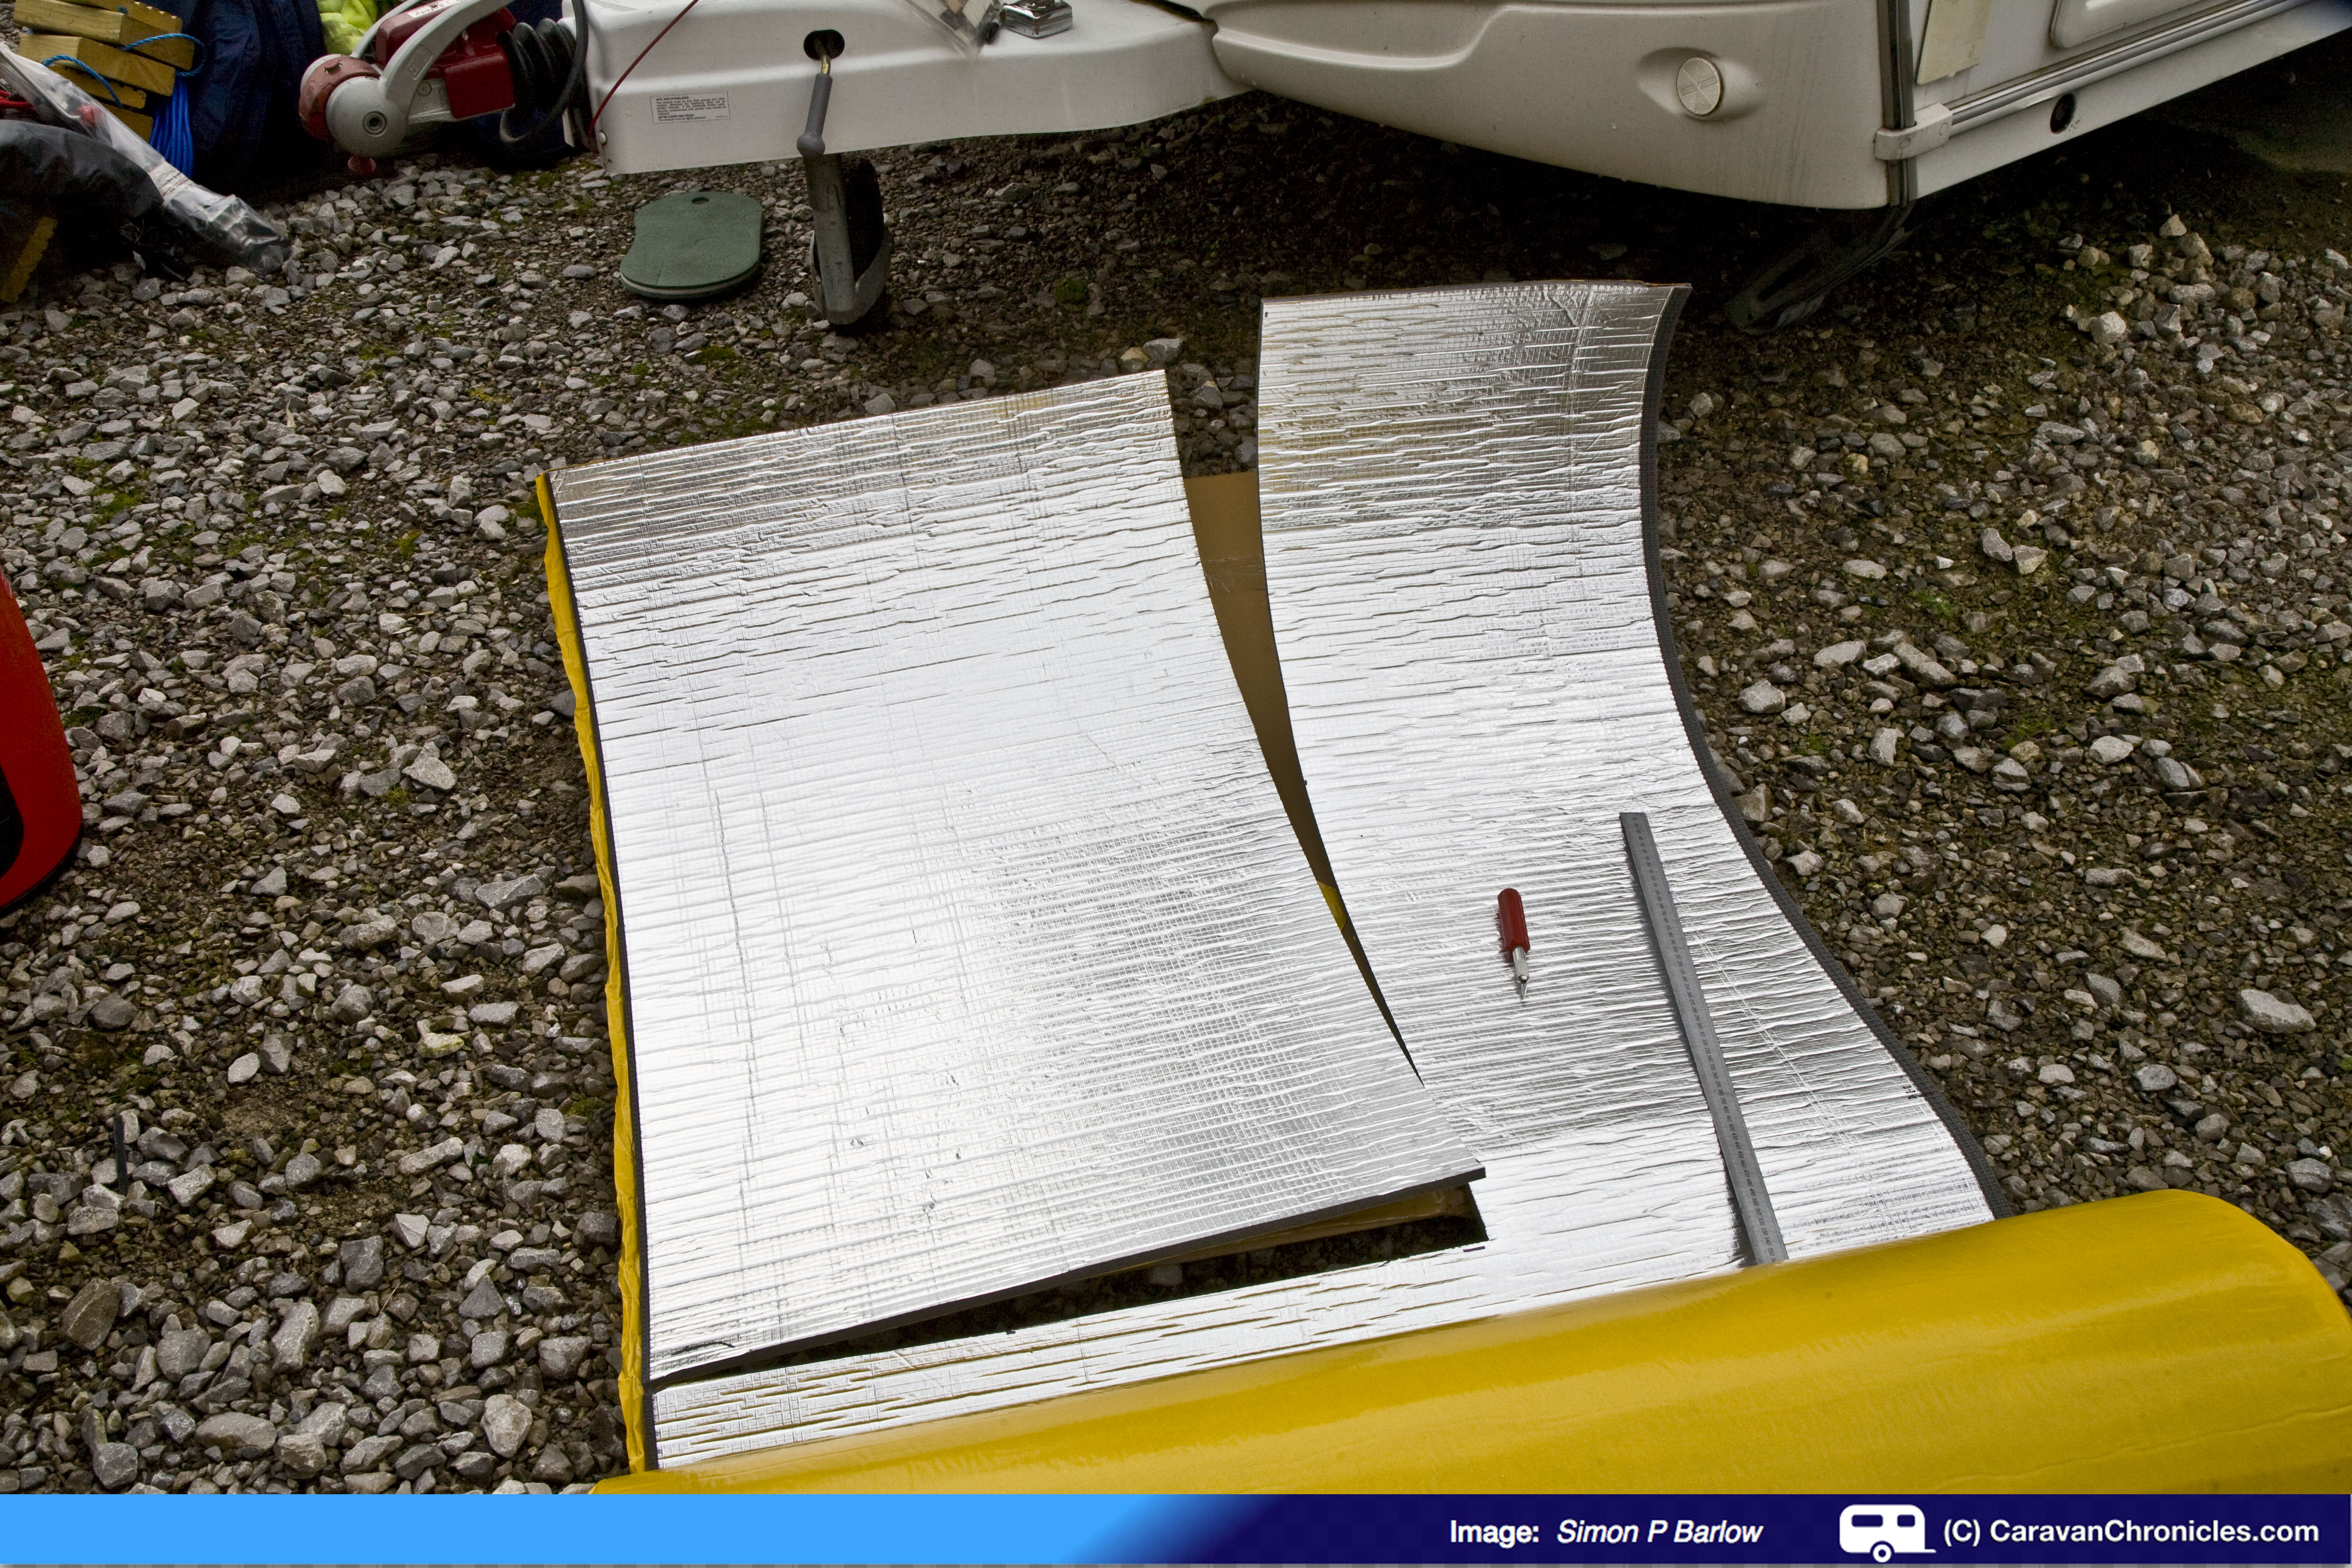
Measuring the first section, the foam was cut with a straight edge and a scalpel in an Exacto knife. I’d taken a couple of large pieces of cardboard to cut on to make it easier.
It didn’t take long to get the first few straight cut pieces installed. One thing though, the sticky back is really sticky and it took a bit of manoeuvring to get the pieces into the locker without sticking them to anything they touched.
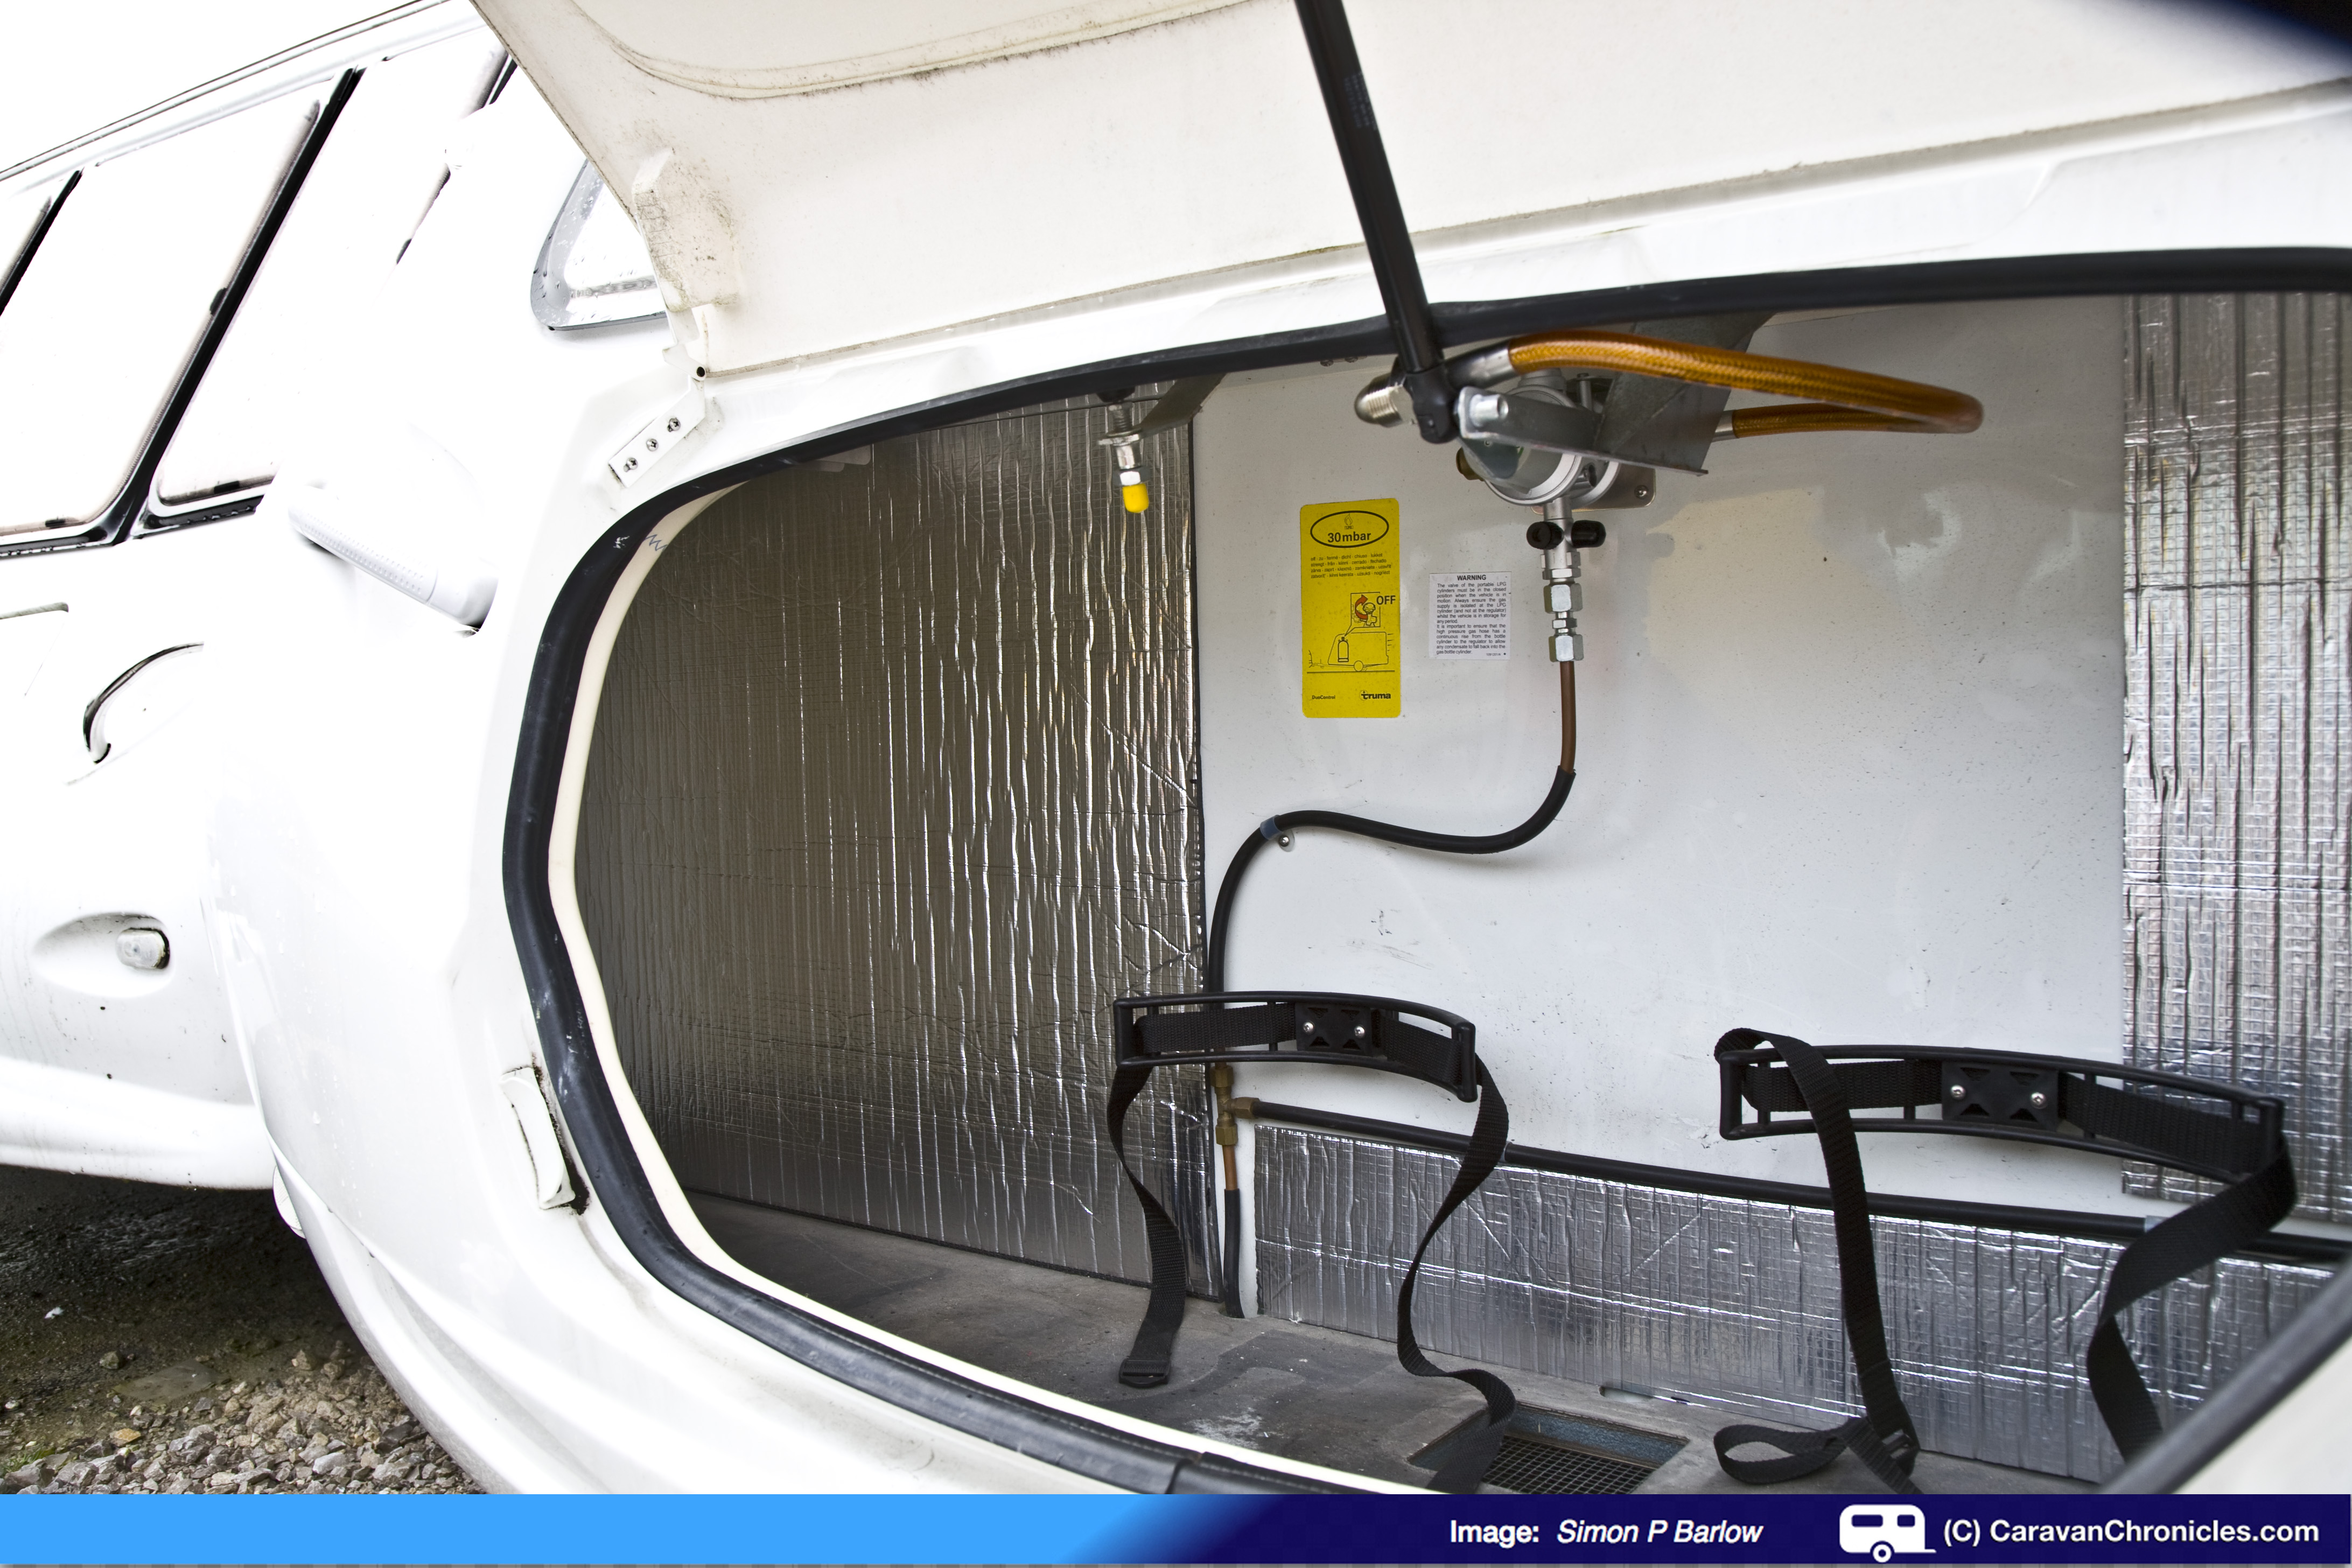
I made sure that I left enough gap to inspect the gas pipe or to get to any screw heads that might require checking for tightness in the future. Peeling the labels off in one piece was a bit of a chore… I will probably try to get new ones at some point in the future.
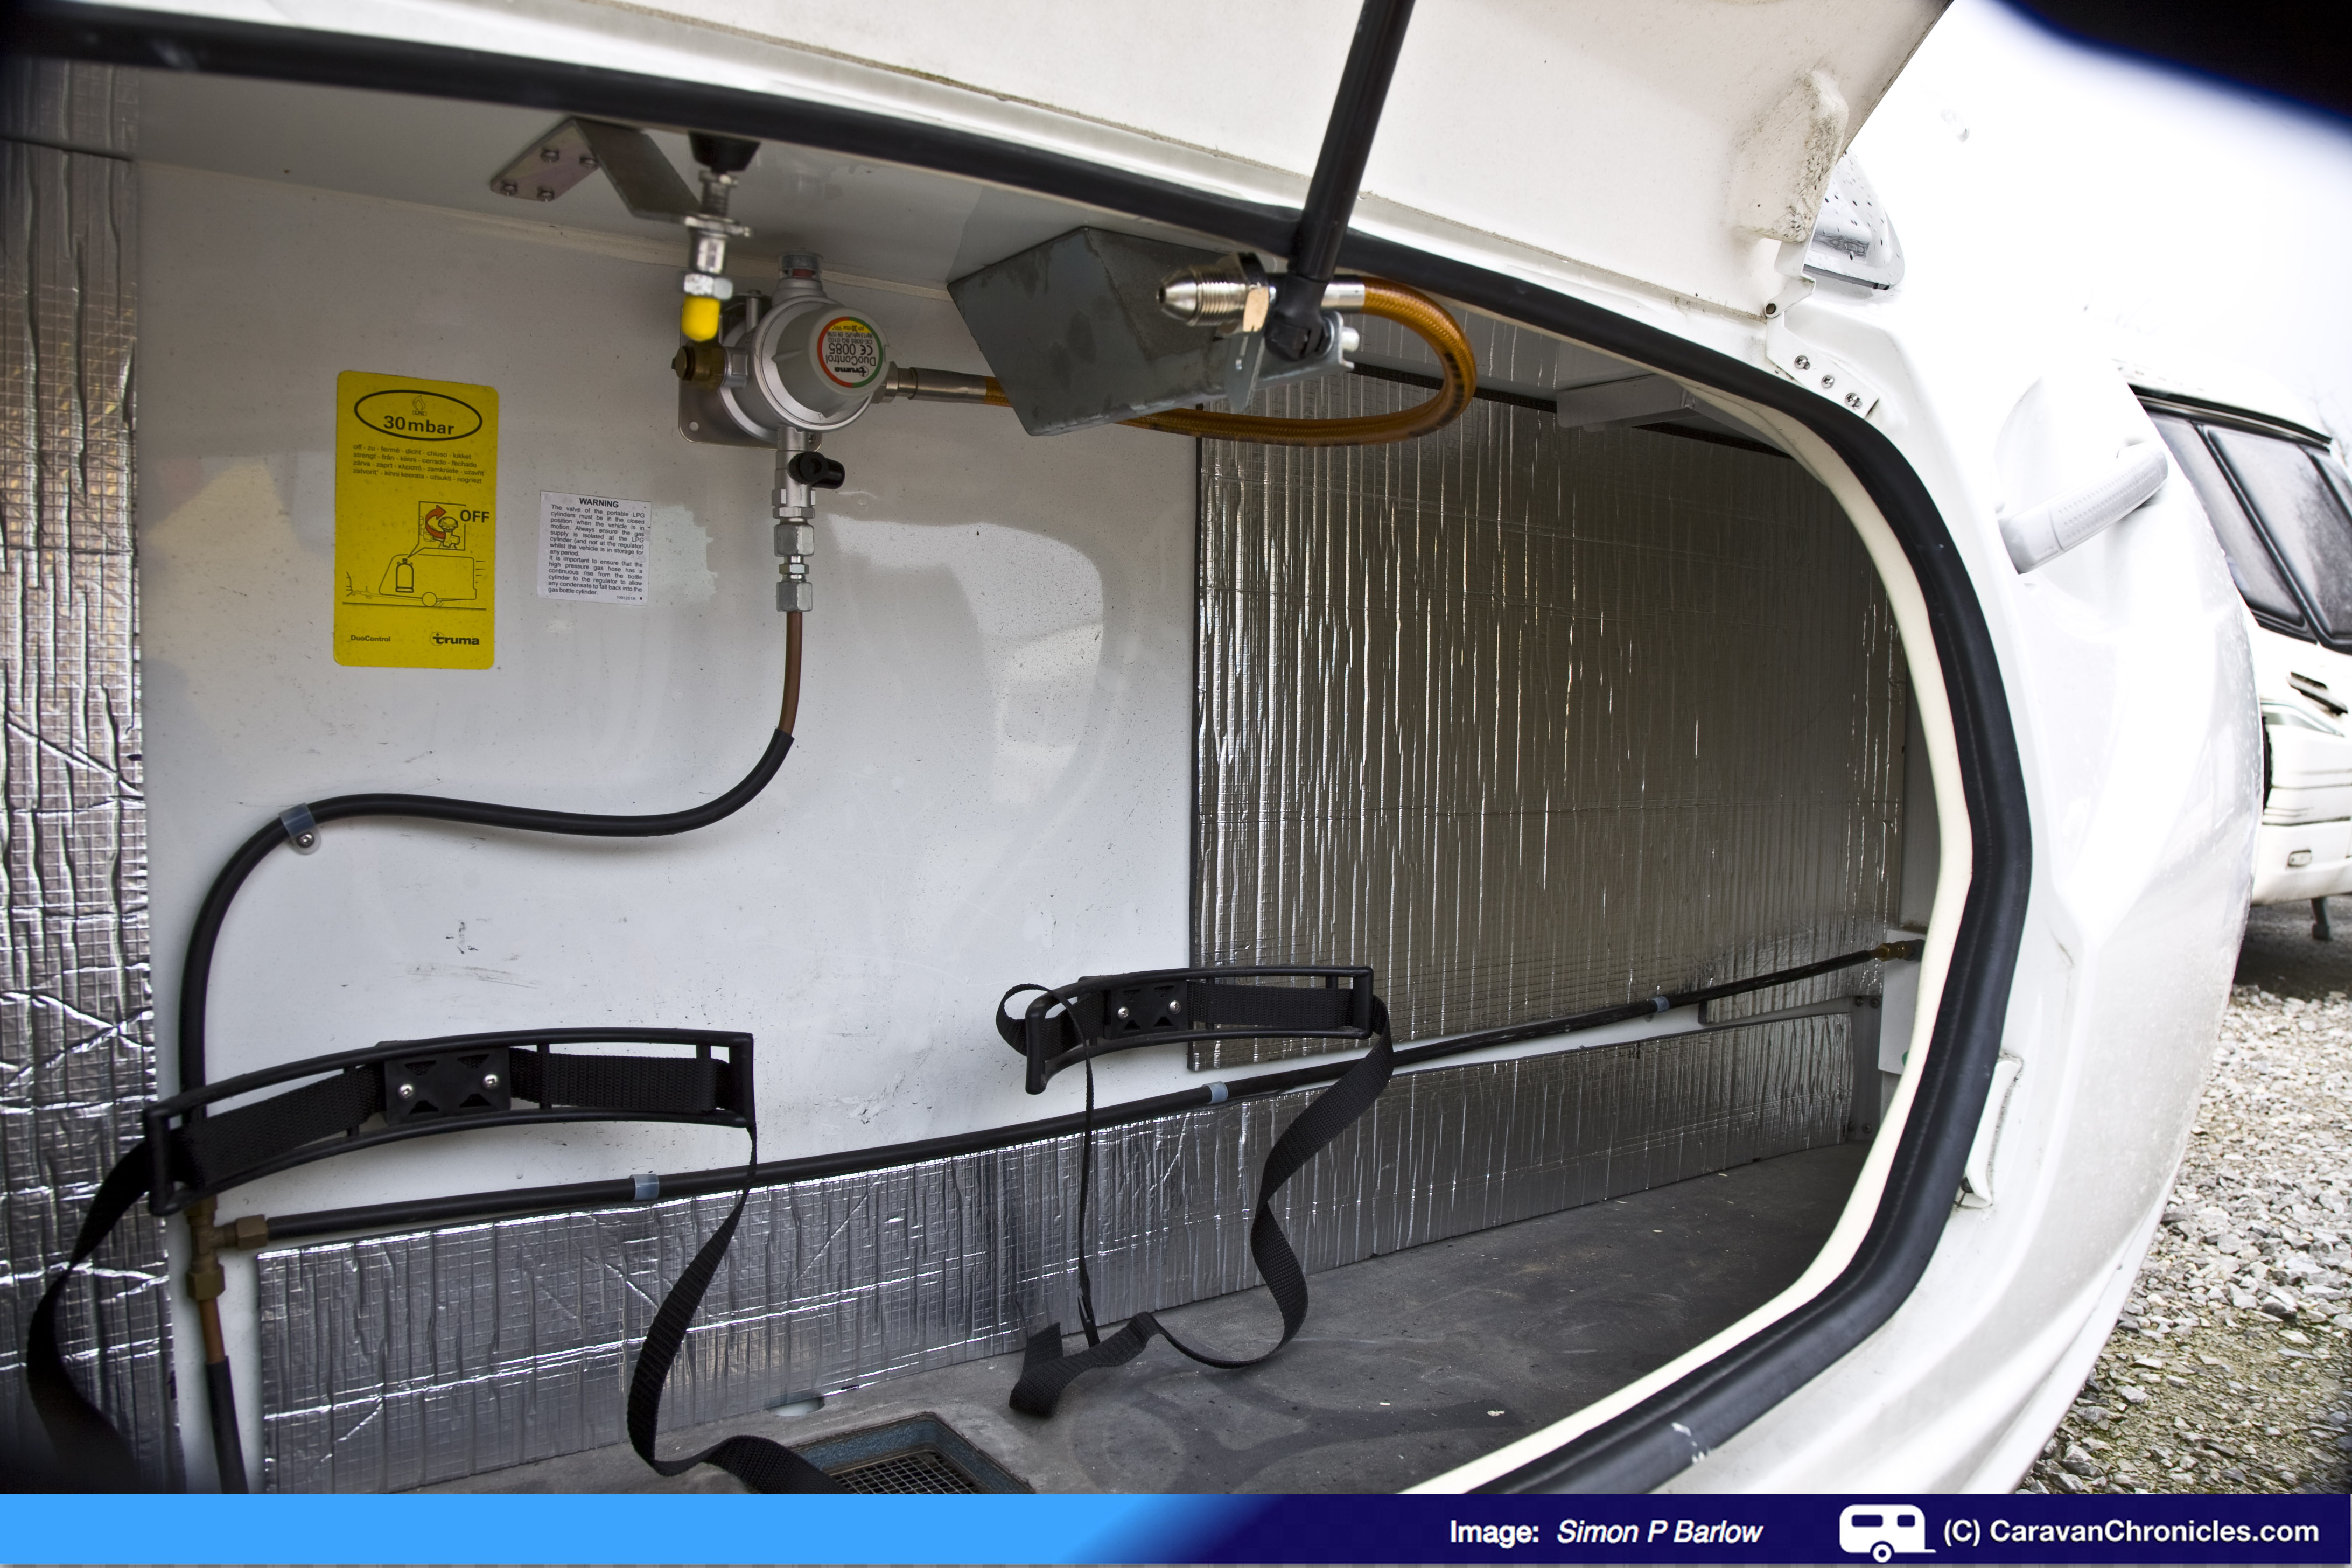
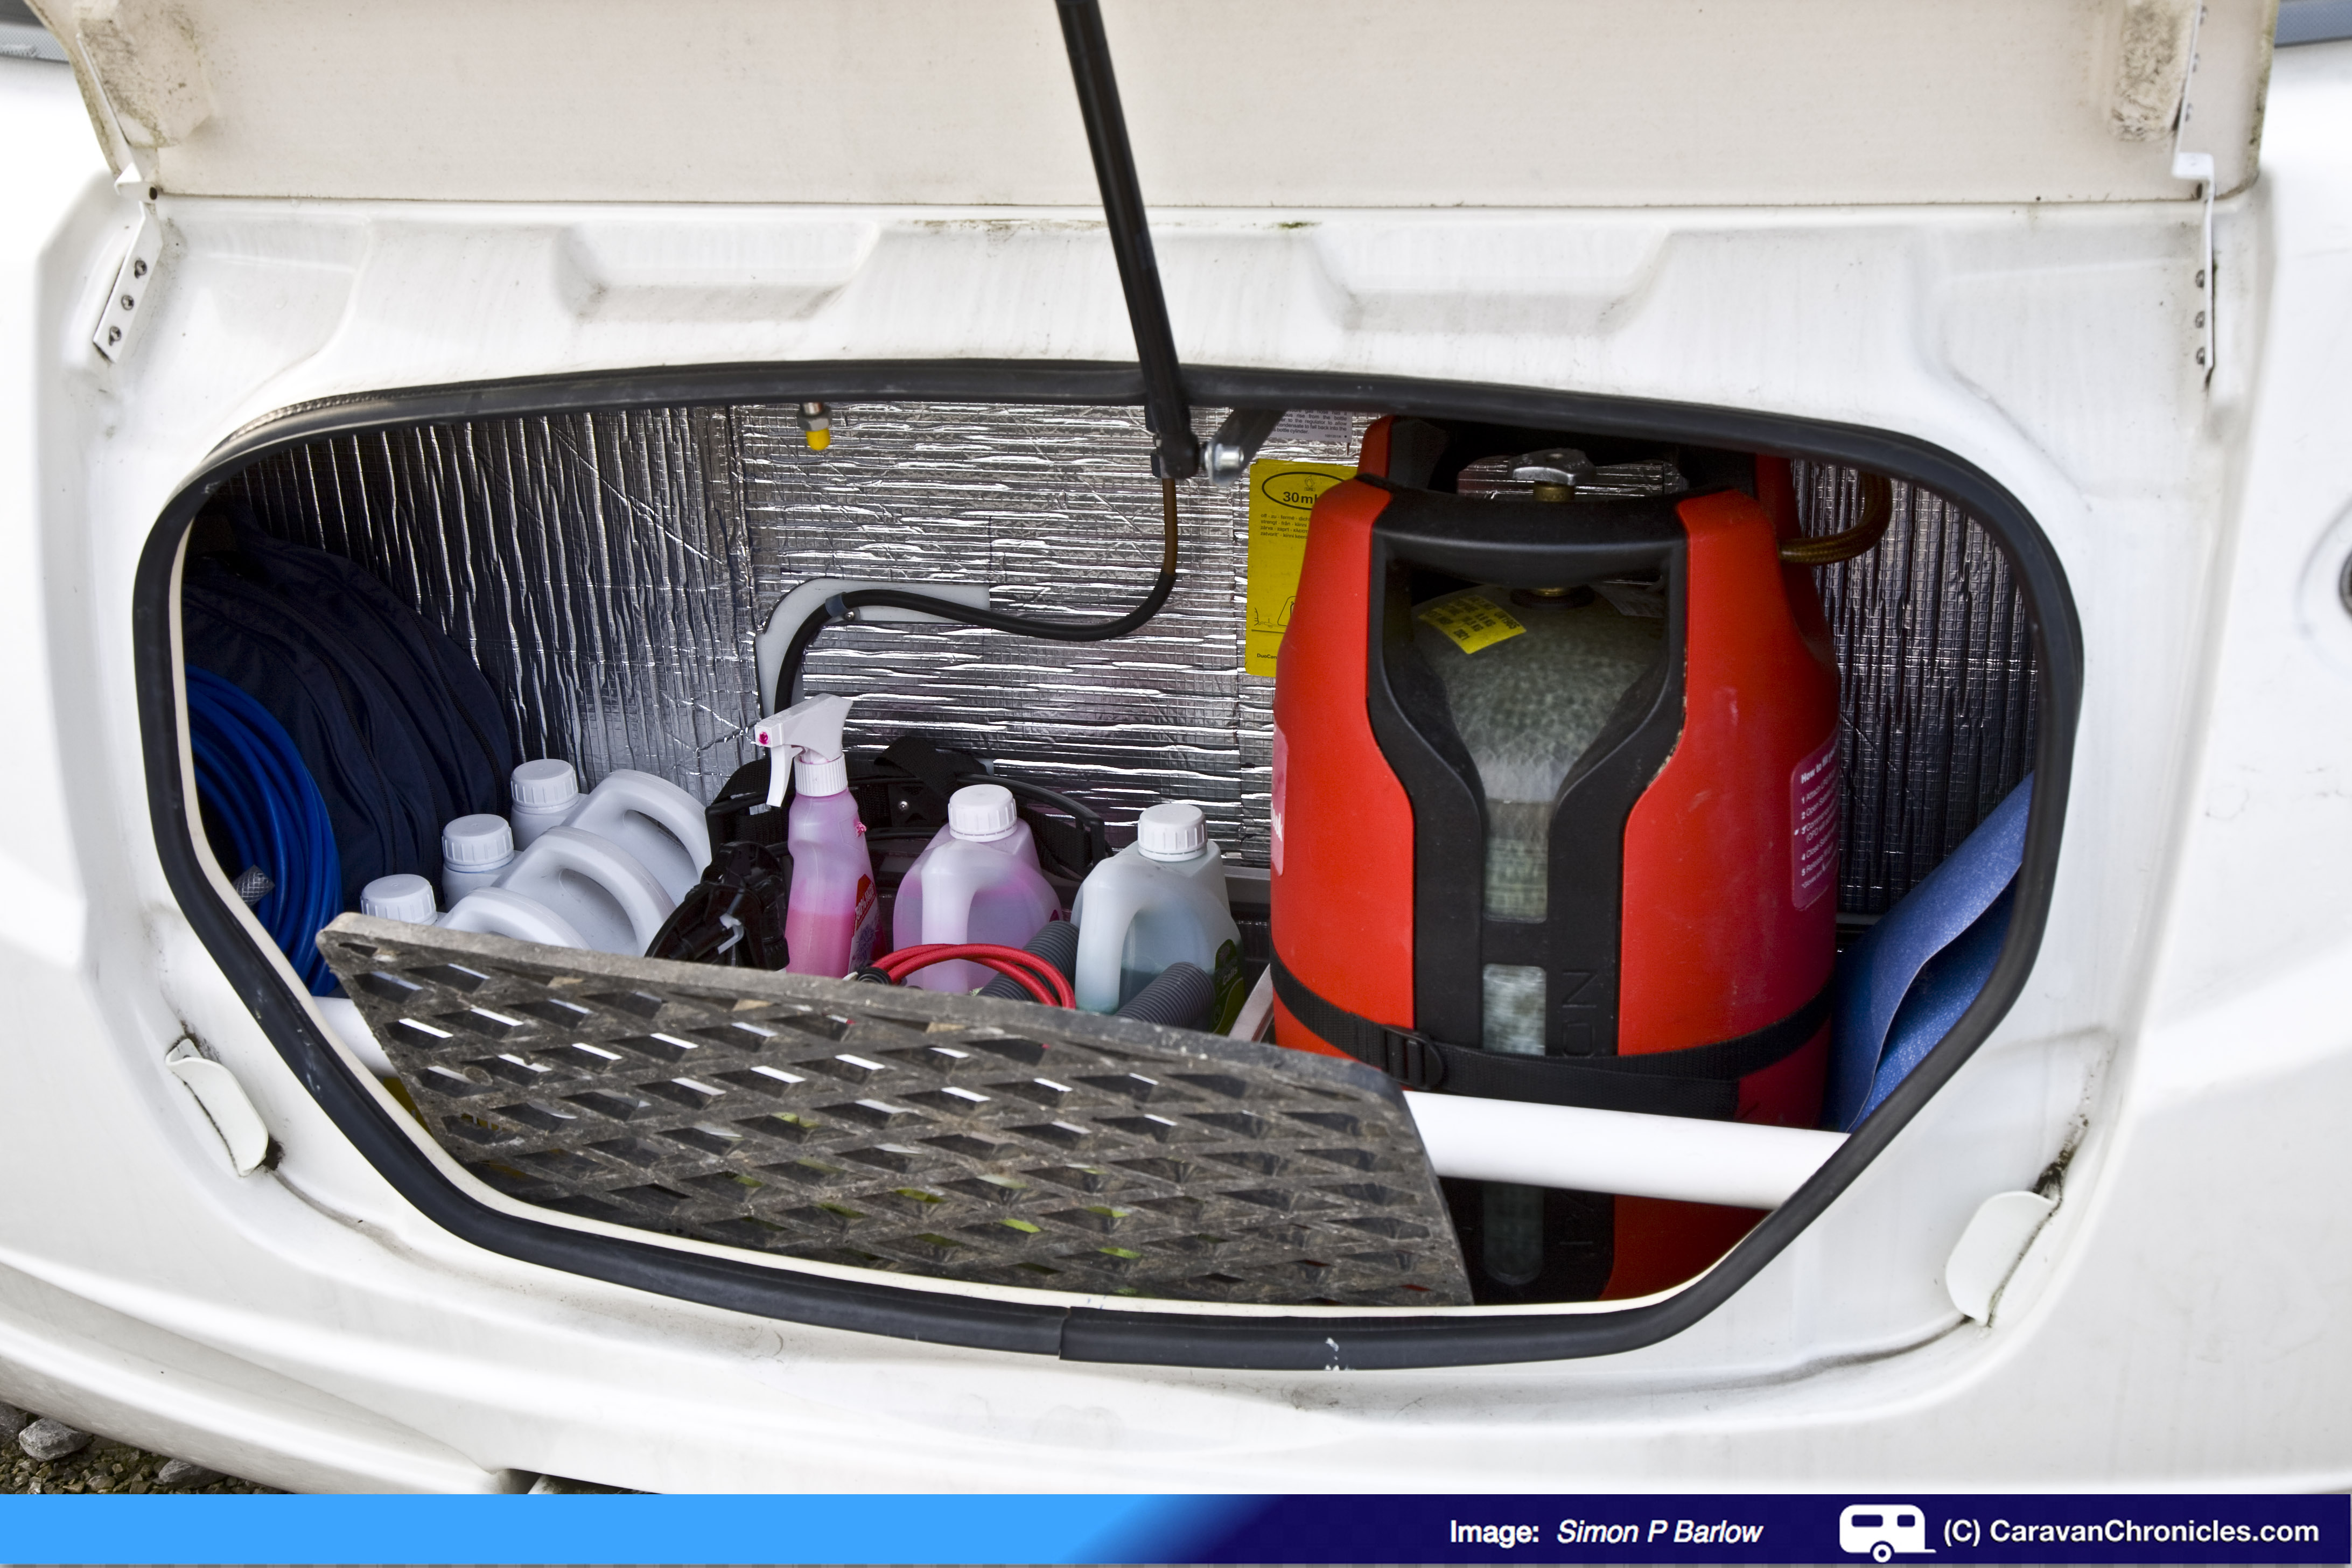
The completed locker….
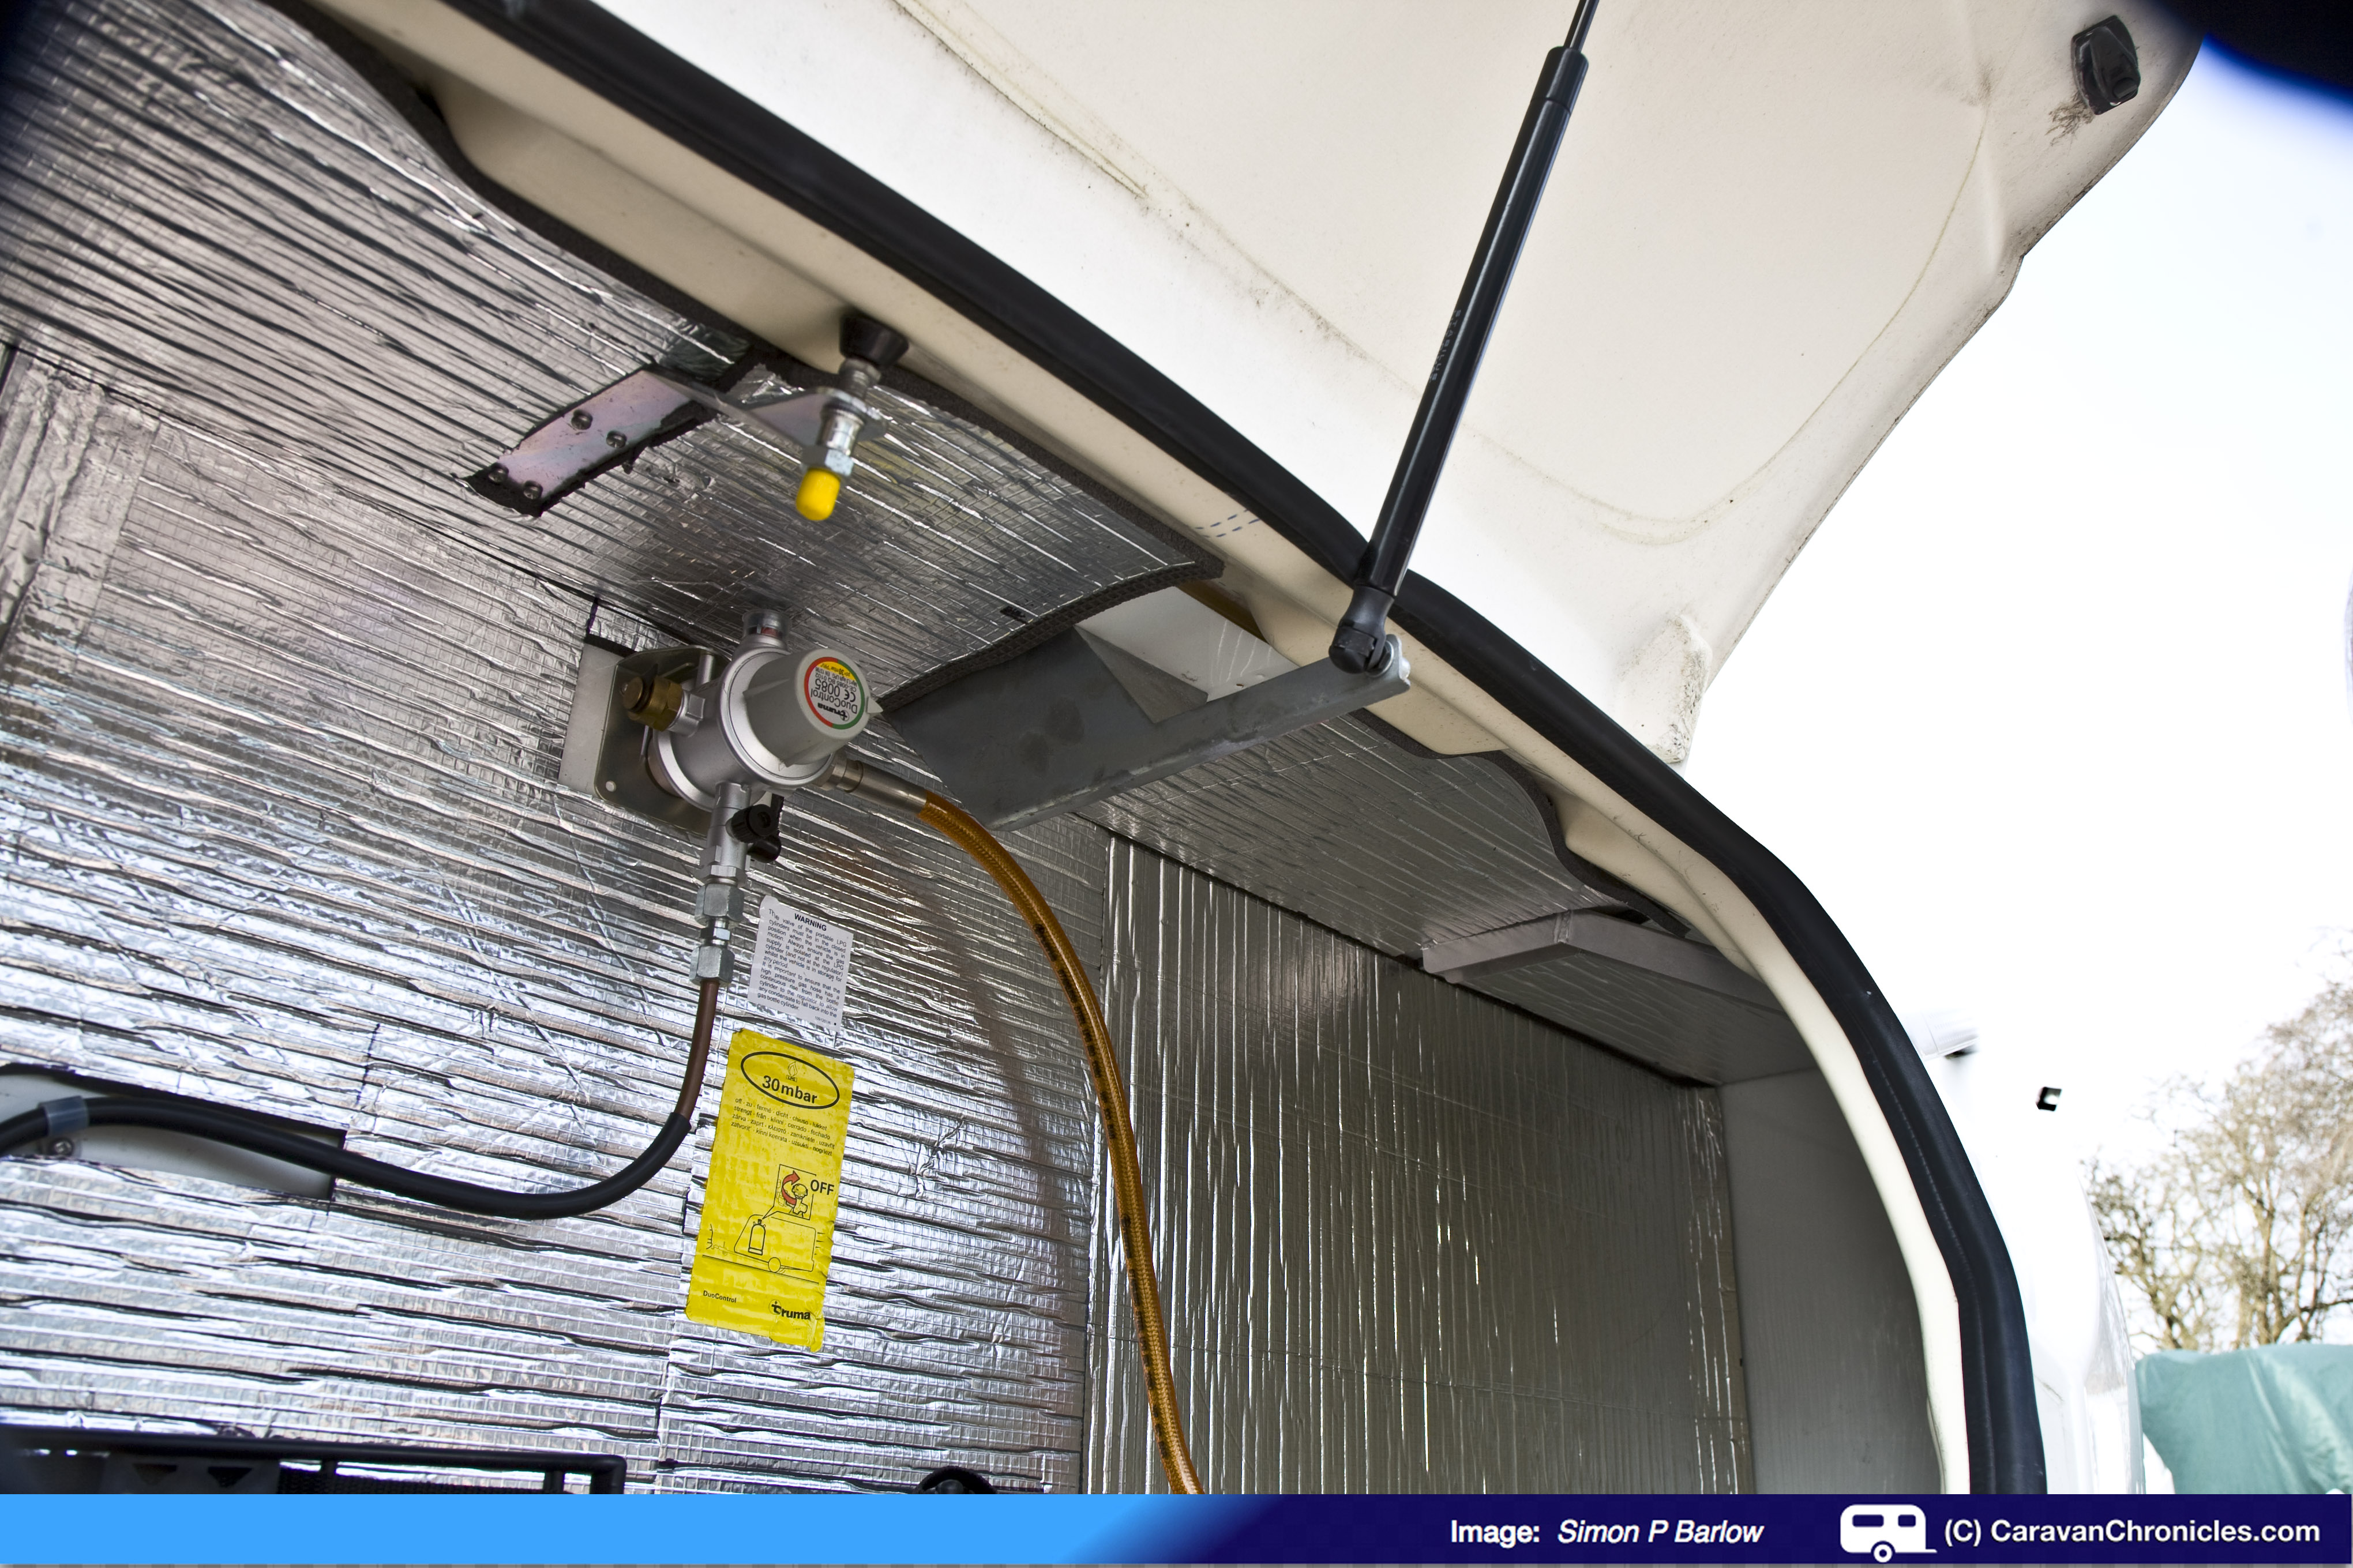
… and the underside of the window shelf….
After a bit of a sort out and removing some stuff we haven’t used for a while (saving a couple of kilo’s in weight!), everything was replaced back in to the locker.
The next job will be to do the wheel arches inside the caravan.
Lucky or what!
When I was feeding in the second piece on the right hand side I had to take it out to curve it to get it in position. When I removed it I spotted something stuck to the bottom edge ( I did say it was really sticky!)….. it was my Wedding ring! I thought I’d lost it somewhere between our last stop in France – Camping Risle Seine and reaching home back in October 2012. It could have so easily dropped through one of the various vents in the floor in the couple of thousand miles of towing since then, but there it was, stuck to my piece of insulation.
So another little job crossed off the list. I’m not sure how effective it will be, only time and a bit of cold weather will tell. It might very well be a placebo thing…. but as the supermarket slogan say’s “Every Little Helps”.
Contact Info: Foam Solutions UK, Haymoor Hall, Wybunbury Lane, Nantwich. CW5 7HD or http://www.foamsolutionsuk.co.uk or telephone 01270 842 228 or email Carole: carole_395@fsmail.net
Don’t forget you can follow Caravan Chronicles on Twitter and Facebook… the link do-hickey things are on the left hand side.

Whoops should warped not warmed!
This cold area doesn’t happen on my 2014 Clubman SB. Some bright spark has run the Alde heating pipe underneath it! I’m surprised it hasn’t warmed as its like a hot plate at times! 🙂
Has the company you recommend gone bust, because when I use the link or
Type in the name it tells me that the site is shut down
Hi Stephen
Not sure, I’ll try and find out.
Hi Simon I am so pleased to hear that you have found your wedding ring.
How much of an improvement have you found the insulation to be?
Andrew
Hi Andrew
The wedding ring find was unbelievable luck!
The insulation does work, but I can’t really quantify it. When we used to sit with our feet up leaning against the wall inside, the area under the front window always felt chilly and Sue would sometime comment about it. Now, no comments and it does feel warmer. I think maybe it was not actually the wall, but the ‘roof’ of the gas locker which forms the windowsill across the front of the caravan.
That’s great news Simon. We are looking forward to viewing and reading about your next project.
Thanks very much for this information Simon we will be doing the same to our van. I note you will be doing your wheel arches next could you put up a similar post to this one showing how you did the work.
Thanks again and well done.
Hi
I will be posting about covering the wheel arches in the next few weeks as I’m doing it along with another project to be featured separately later this year.
S
Looks good. You could have removed the screws to the bottle holders and gas fittings and refitted them over the insulation. As long as the gas pipe was not bent or undone you should be fine. JW
Hi John
I did consider releasing all the pipe clips and cylinder holders, but gas is the one thing I don’t touch so I decided to leave everything in place. In reality it didn’t actually take any longer really cutting round than it would have done removing all the screws and replacing everything. I also thought that having the cylinder clamp and pipe clips not on a firm backing – i.e. a layer of compressed foam between them and the wall might have some detrimental affect with flexing and vibration.
S
Probably a bit of a ‘stable doors and horses’ tip Simon, but in an electronics workshop I use a hairdryer to warm the glue on equipment labels then a modelling knife to gently tease away from the surface they’re on!
Hi Simon. This is a really worthwhile improvement that you have carried out and it is actually something that I have been pondering about for a while but not simply because of the feeling of a cold area actually in the caravan but because I think there is a link between the cold space within the locker and the rising cold air meeting the inside of the window during periods of storage. I have noticed that there is a patch of lighter coloured sill board on the nearside of the caravan and it looks very much like condensation that has evaporated/dried out and left the resultant staining. We do not have the issue anywhere else in the caravan. It is a 2001 Elddis Crusader SuperSirocco.
I remember the same feeling of that area being colder when we had our Senator, but never actually got around to insulating it. Now we have our Unicorn S2 which doesn’t have a gas locker at the front the problem doesn’t exist; however I might consider copying your solution for the side gas locker. By the way, congratulations on the neat finish! Alan