
After our trip out to Donkey Creek Farm I started procrastinating about the slide out bed we used to have in the Amarok. Did I need it… was it worth it….. should I put it back in? Well my body kind of made the decision for me after loading and unloading some heavy boxes from the bed reaching over the opened tailgate it kind of said “We ain’t doin’ that again big boy“.
I had to set about working out how to install the base of the slider in and around the Reese 5th wheel hitch and where it could be mounted. It also needed to be raised up 35mm so it would pass over the 5th wheel hitch cross rails and still allow me to pull the pins so the hitch could be lifted out if required.
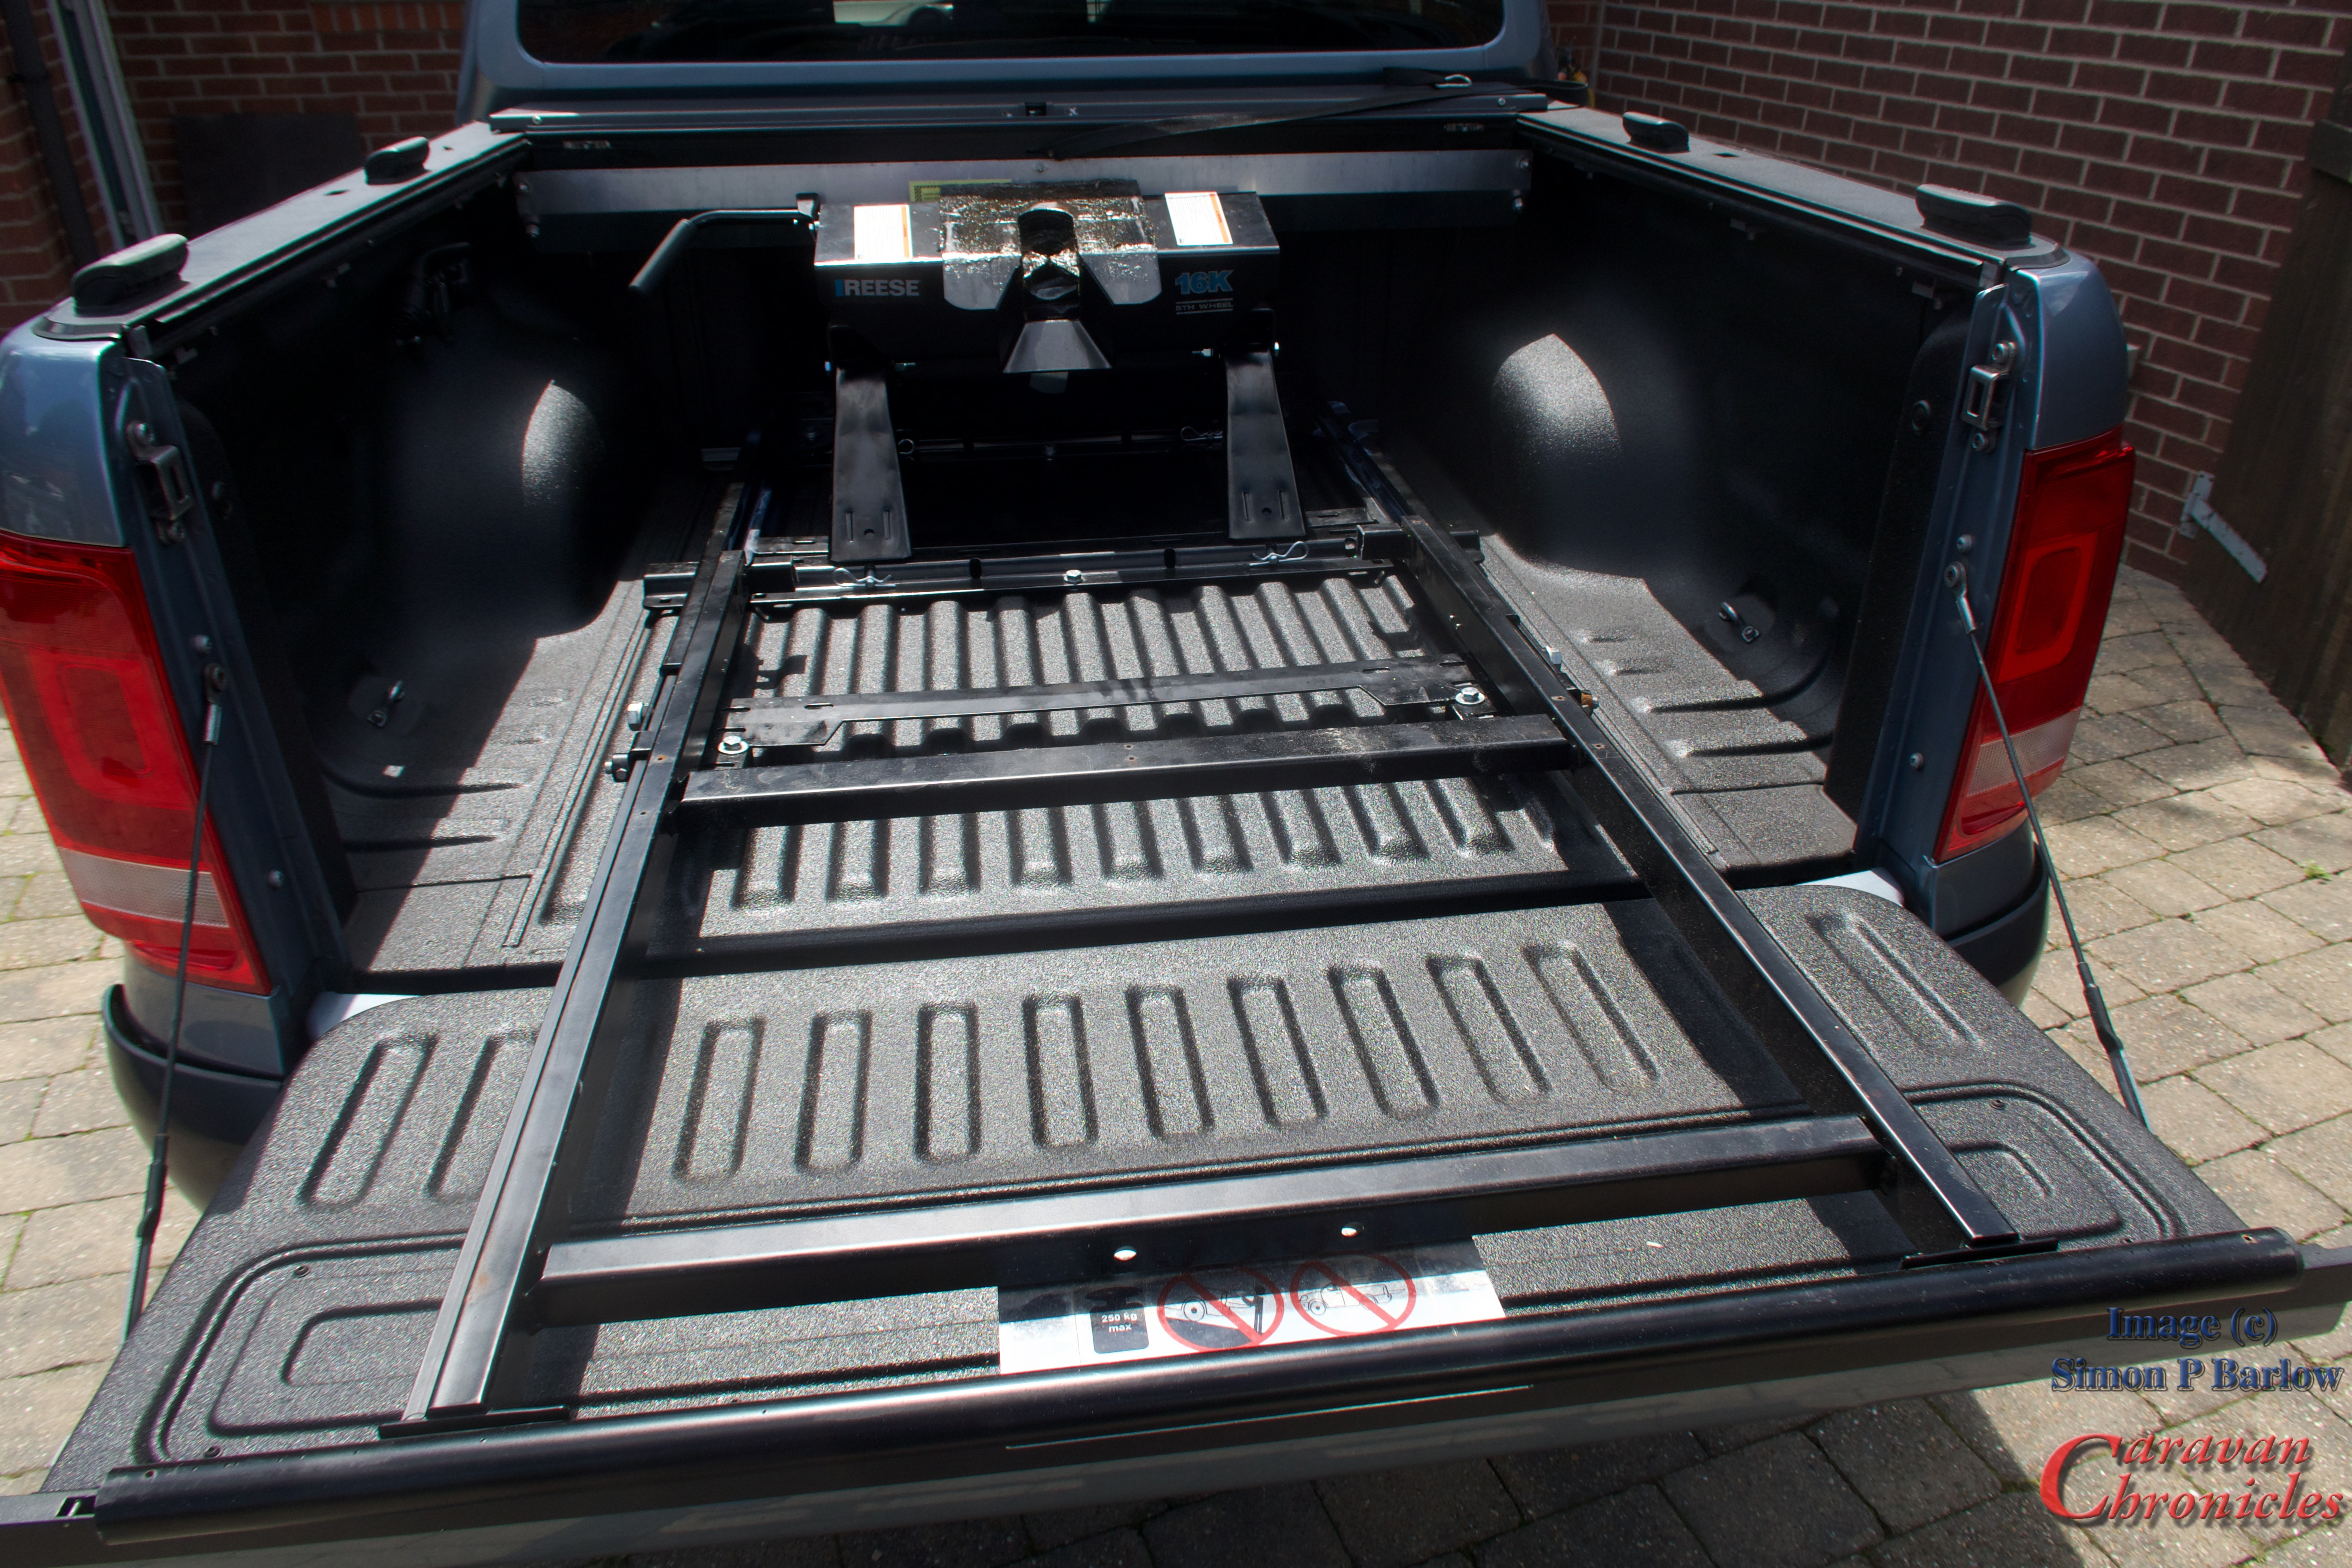
I got lucky…. with only having to cut out the rear cross bar the slide bed would fit and the original mounting holes lined up with the holes I drilled in the truck bed when I first installed it. Next step was to fabricate some spacers to raise it to the correct height.
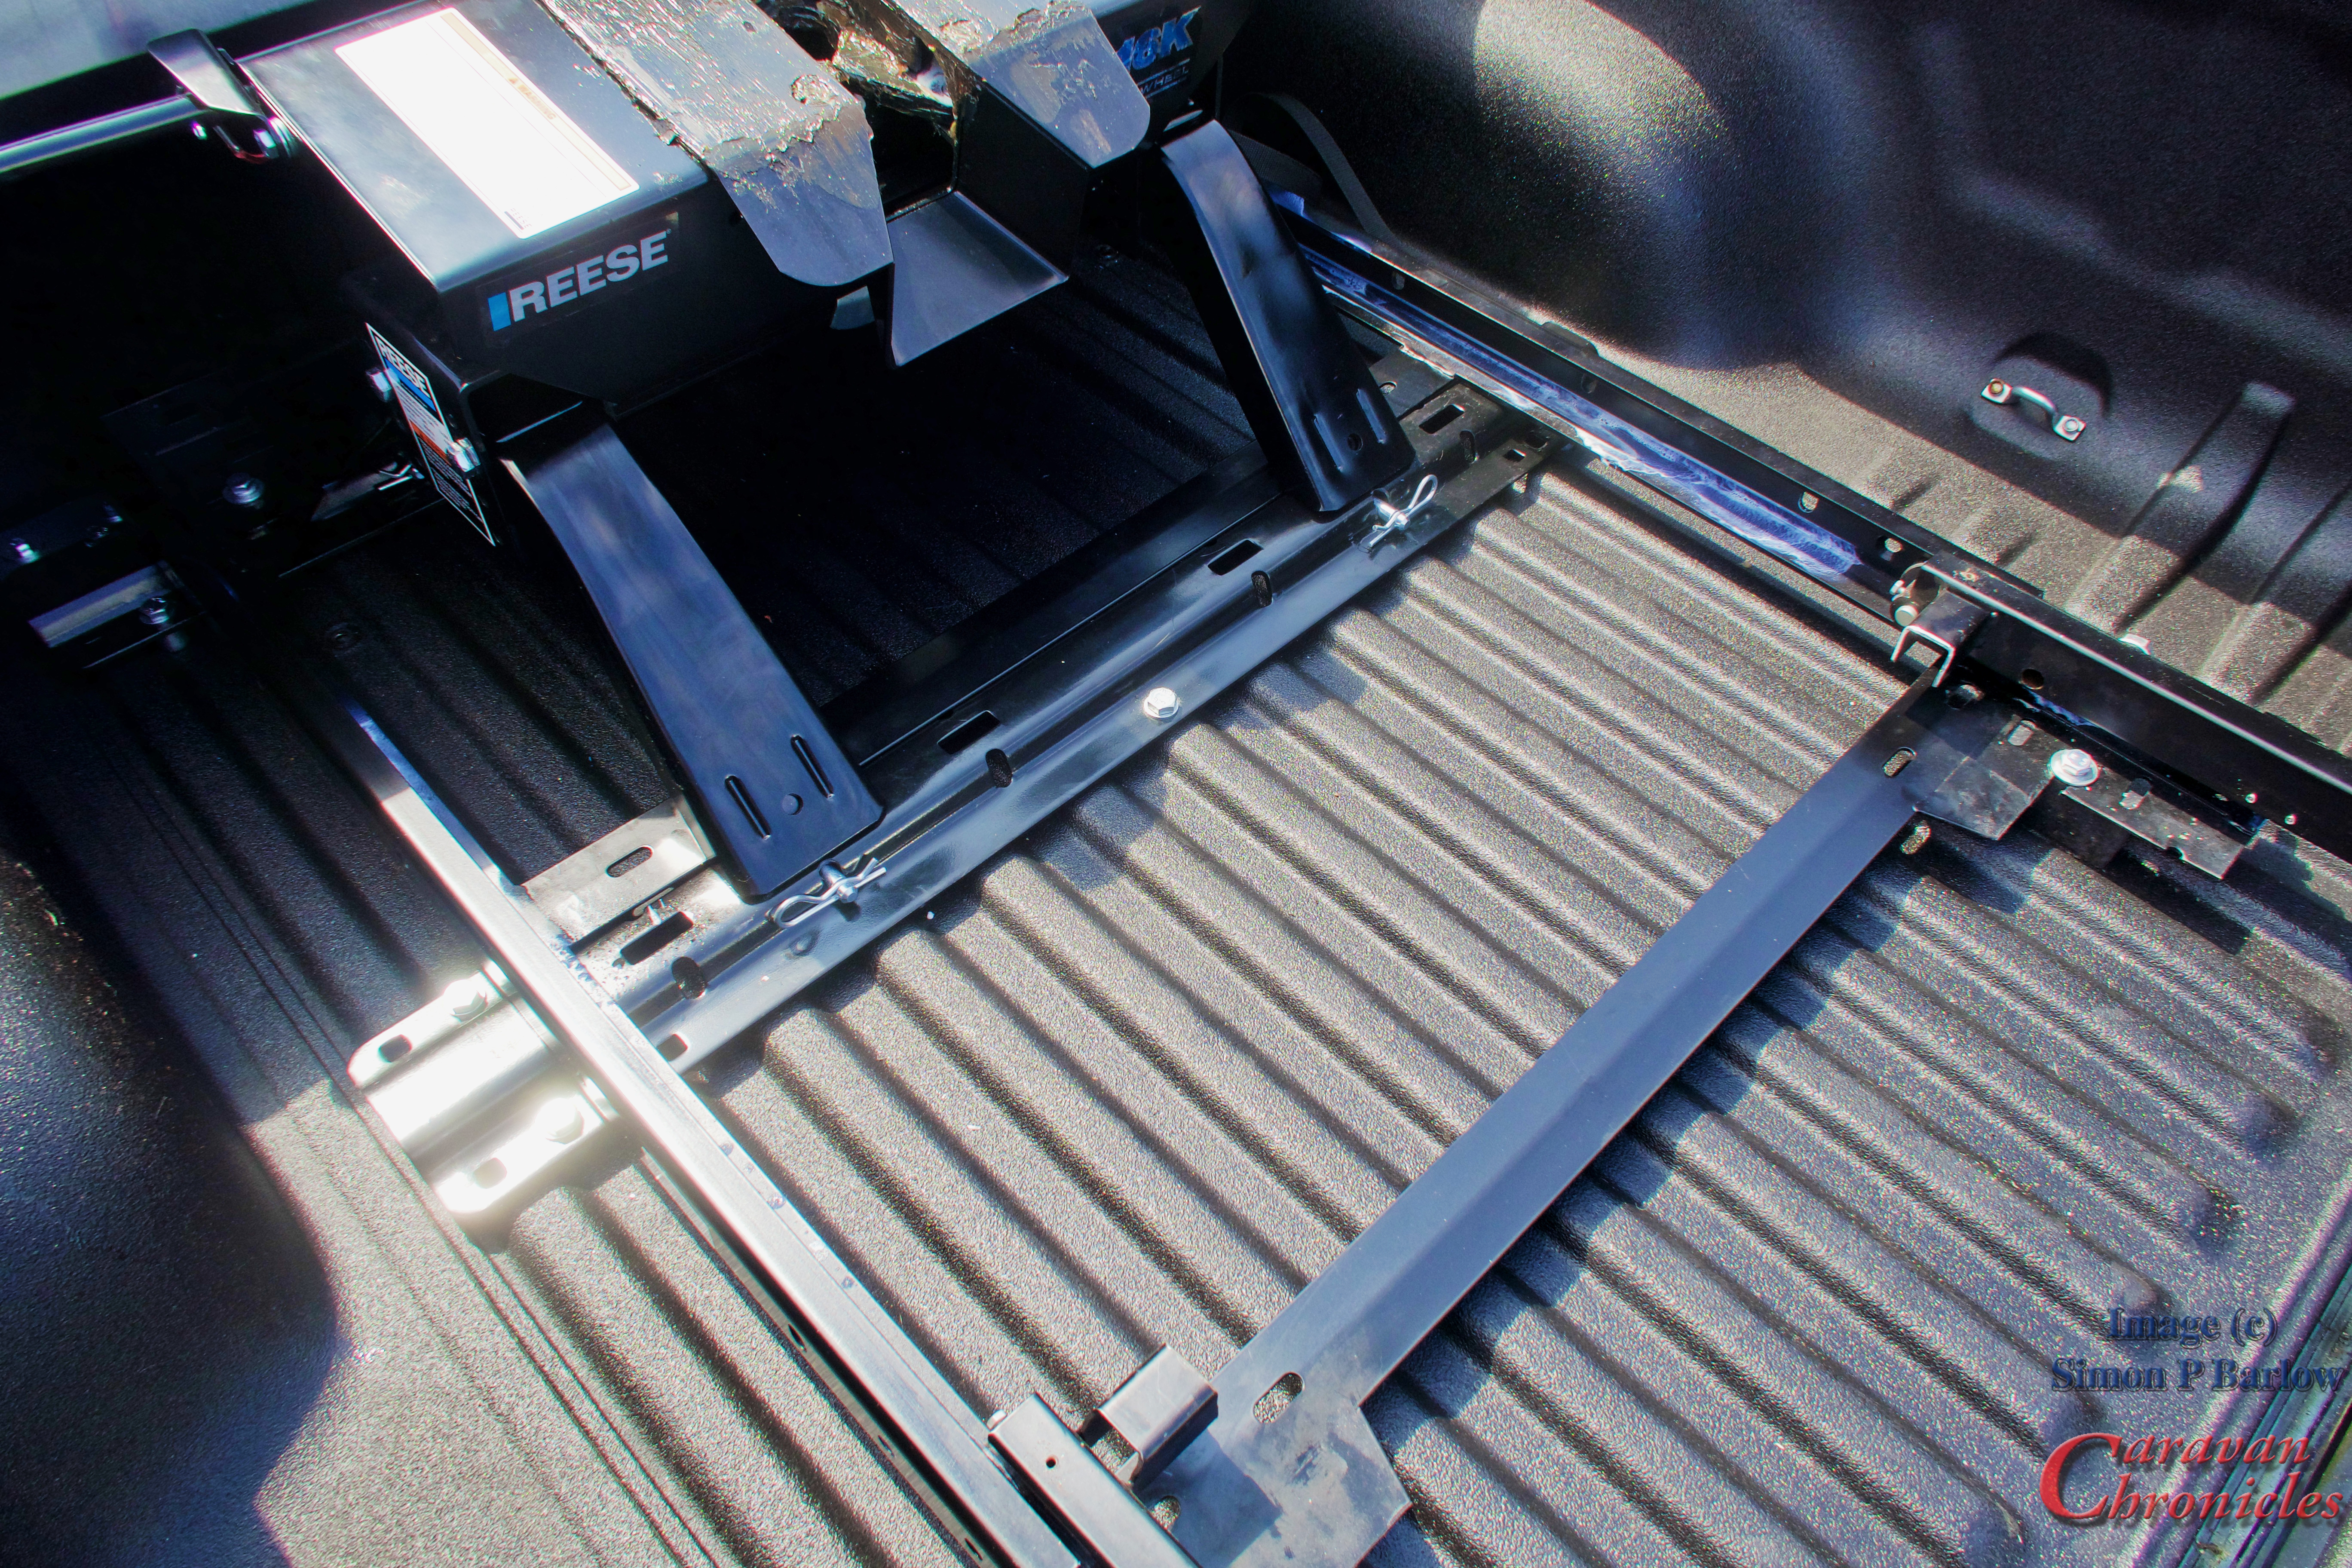
I just happened to have a couple of blocks of high density poly in black so cut 4 100mm long by 35mm wide slats to fit under the frame and drilled 10mm holes through them for the mounting bolts. A quick trip to Francis Kirk – my local engineering fastening company. (I’ve been going there since 1976 for all my fastenings) got me four M10 grade 8 bolts of the correct length… I even splashed out on coated ones and nylock nuts.
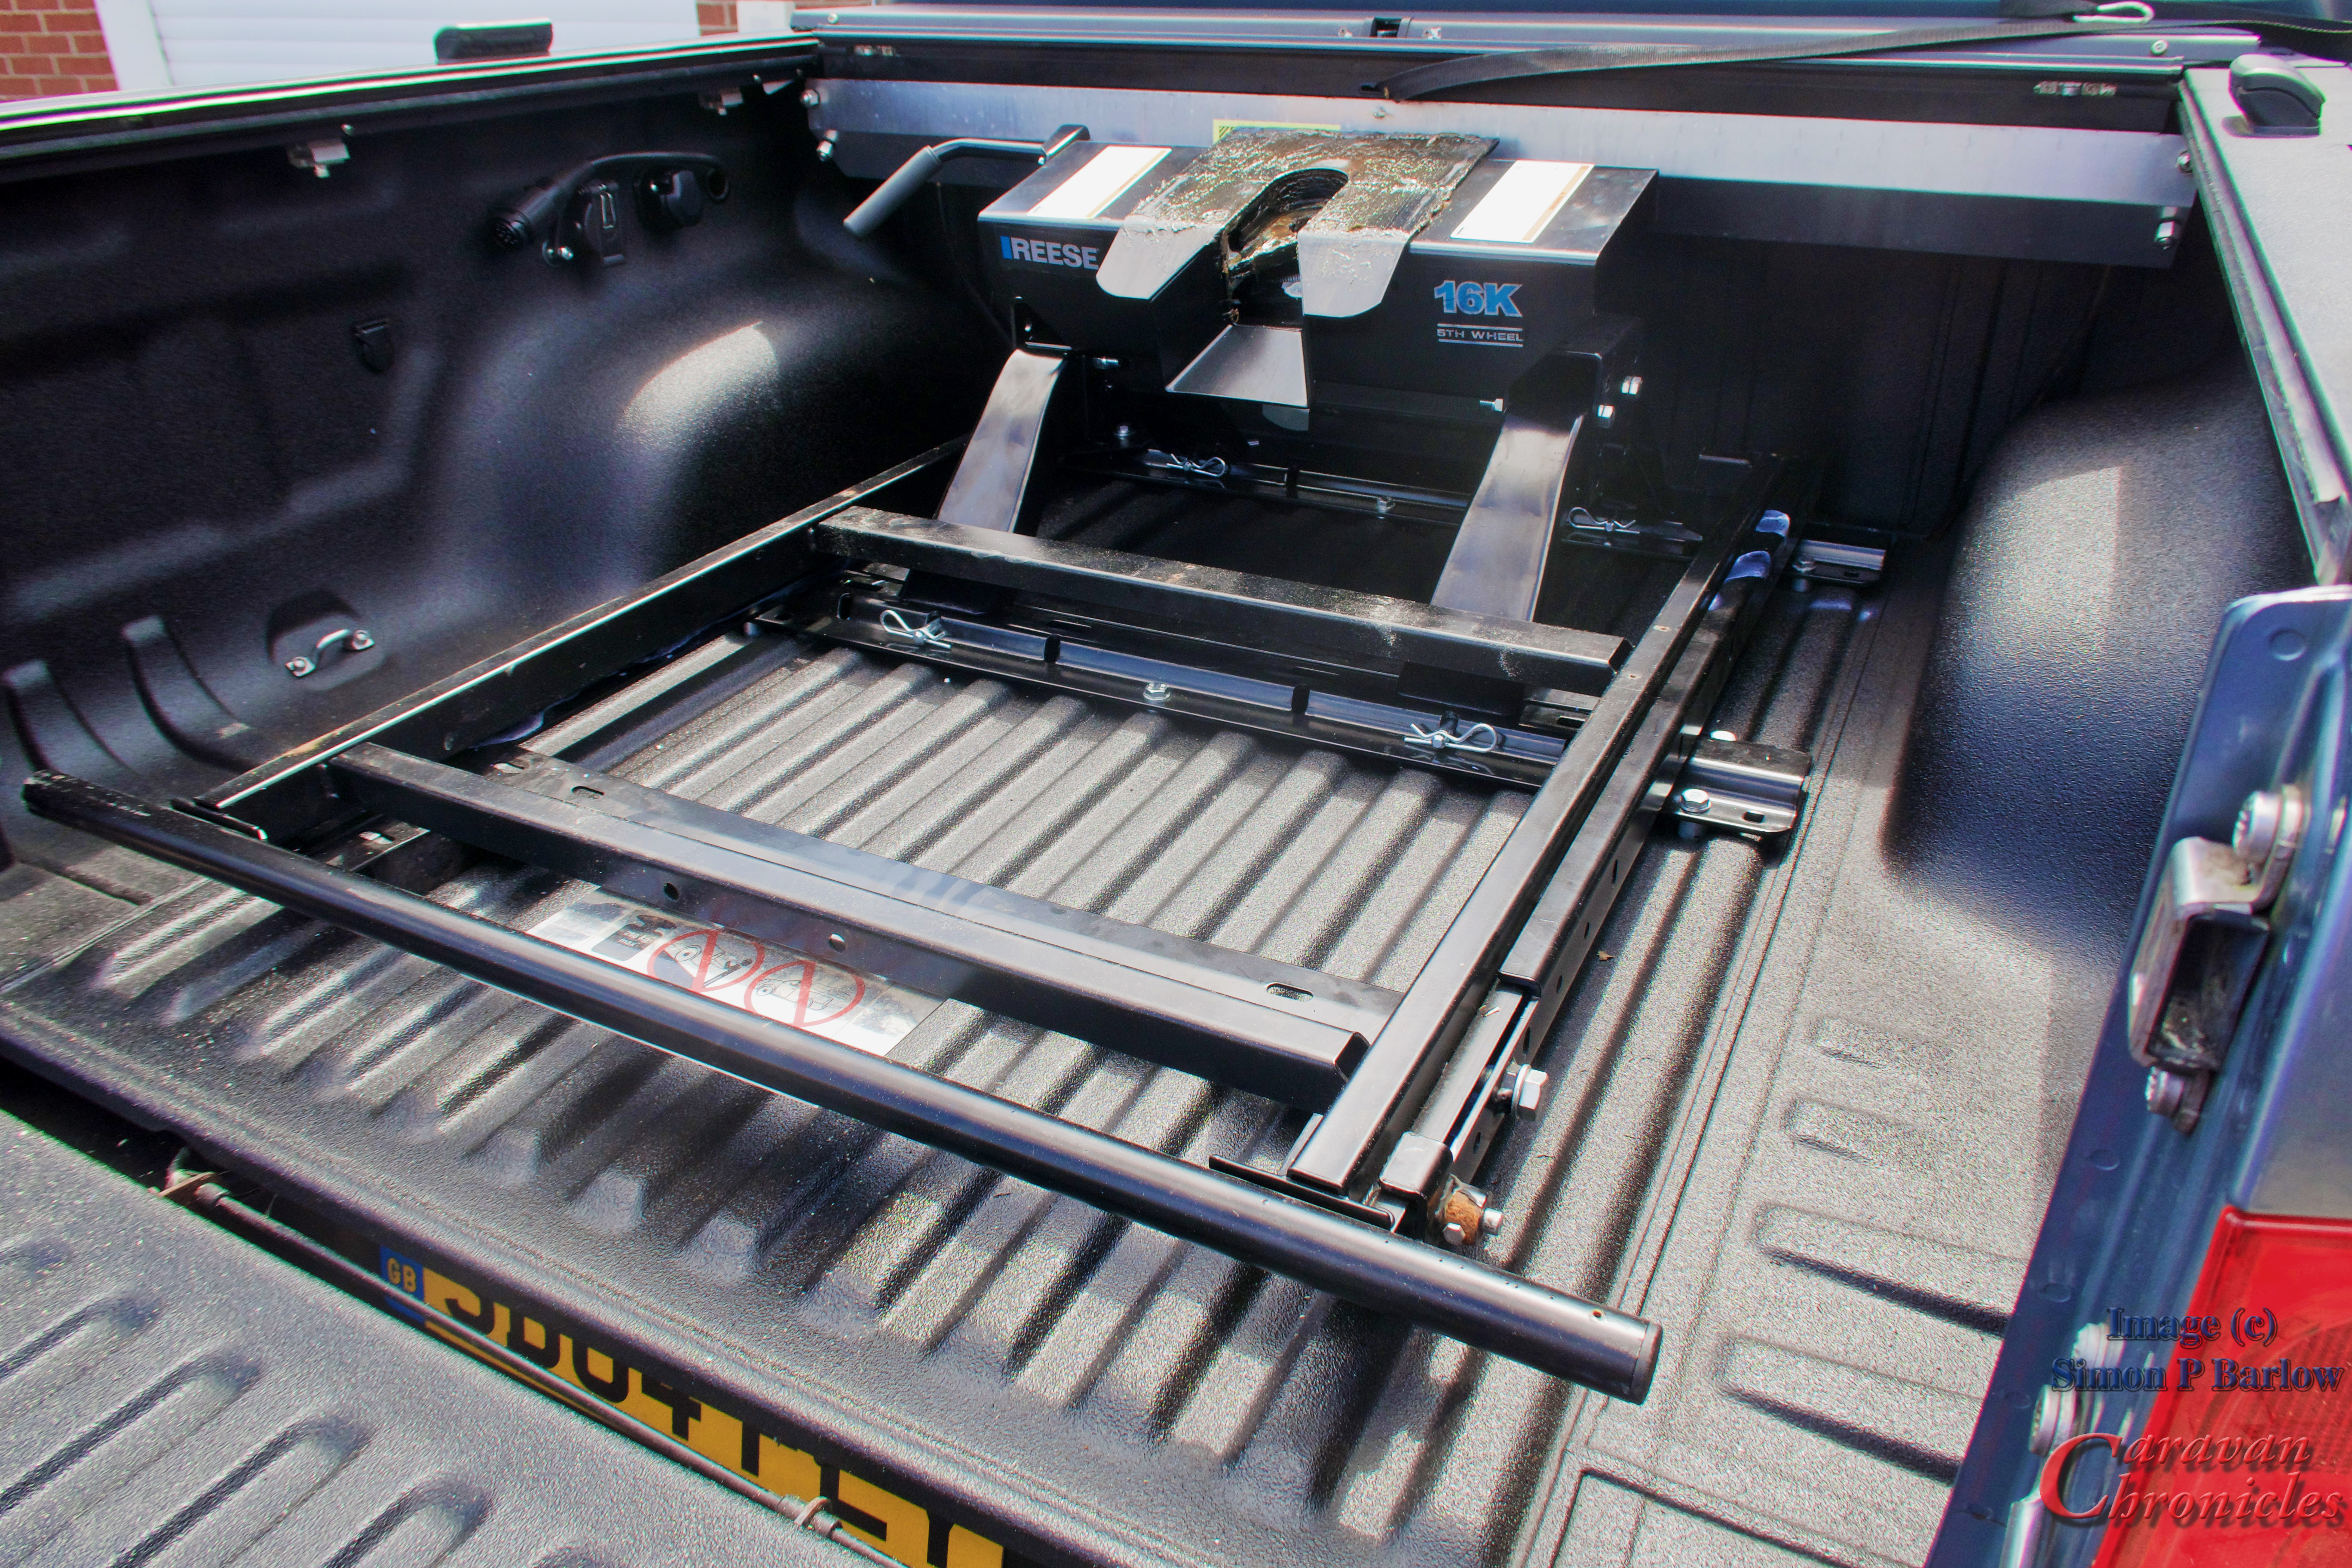
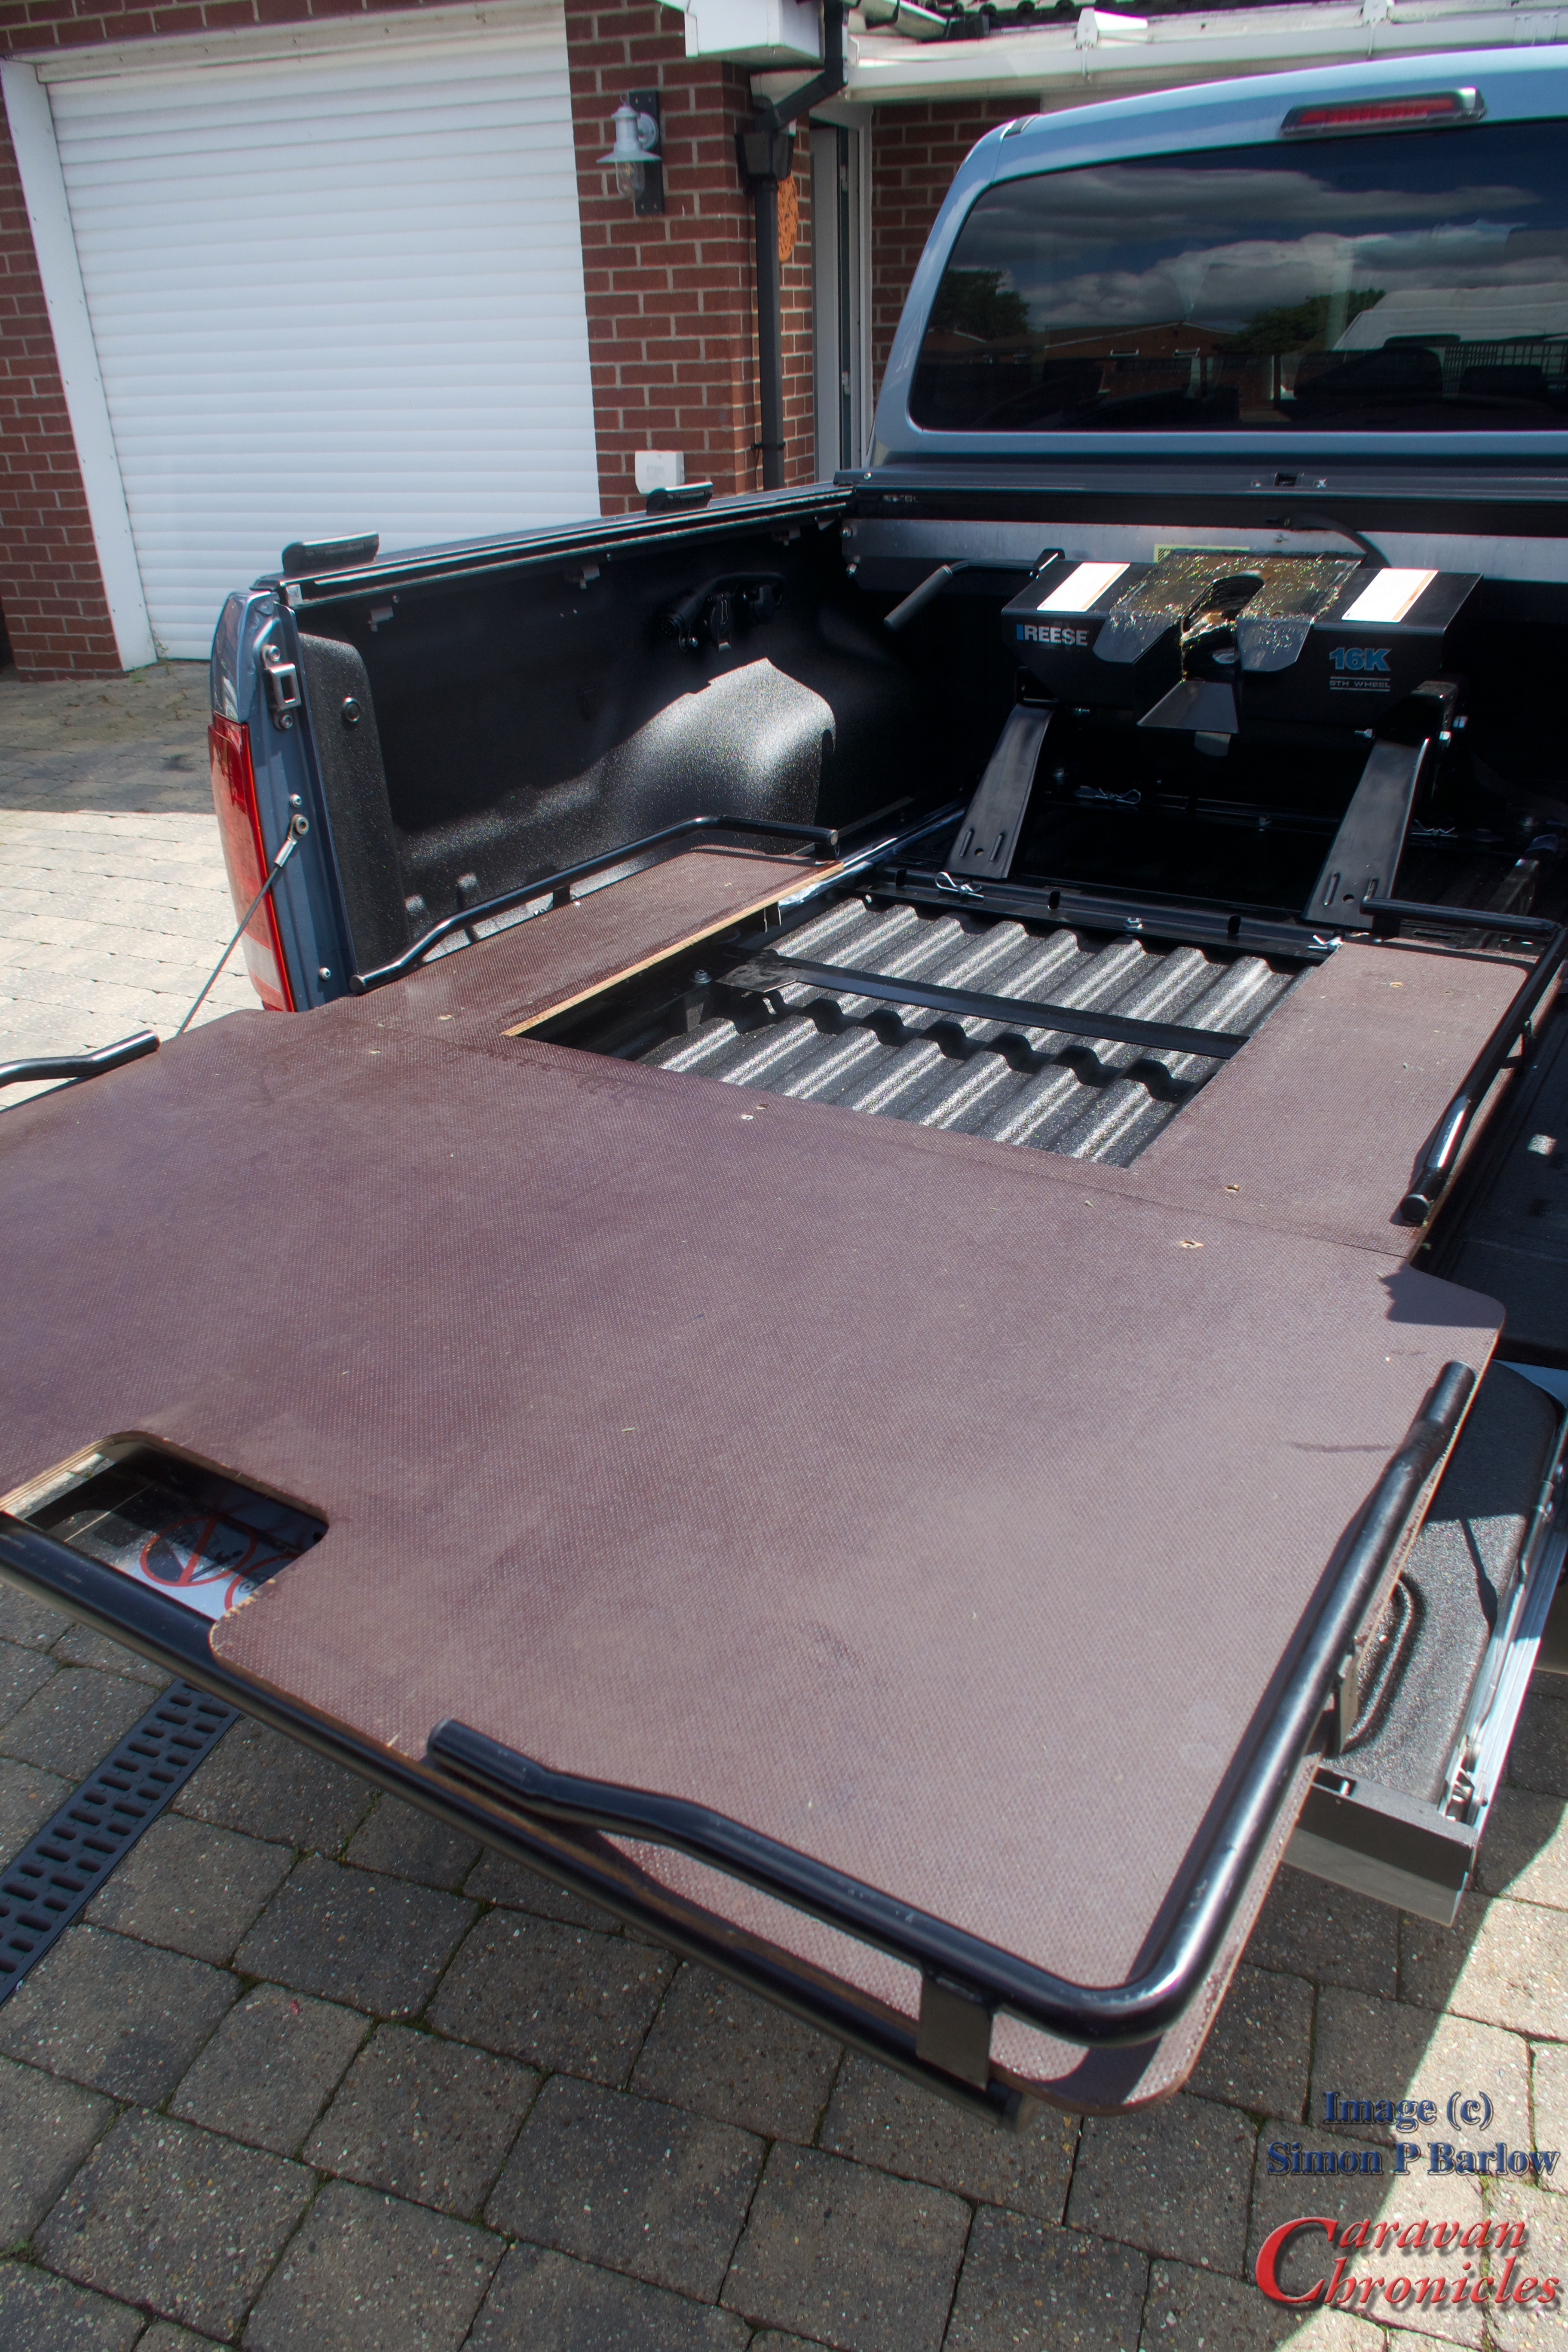
A test fit of the sliding frame allowed me to see where I needed to cut so it would clear the hitch. A bit of quick work with a four inch grinder and cutting wheel and it slid in without any problems. I needed to remove the original locking pin system and a couple of coats of black rust preventative paint on cut areas that I’d smoothed off with a fine grinding disc soon had the sliding tray ready to be fitted again.
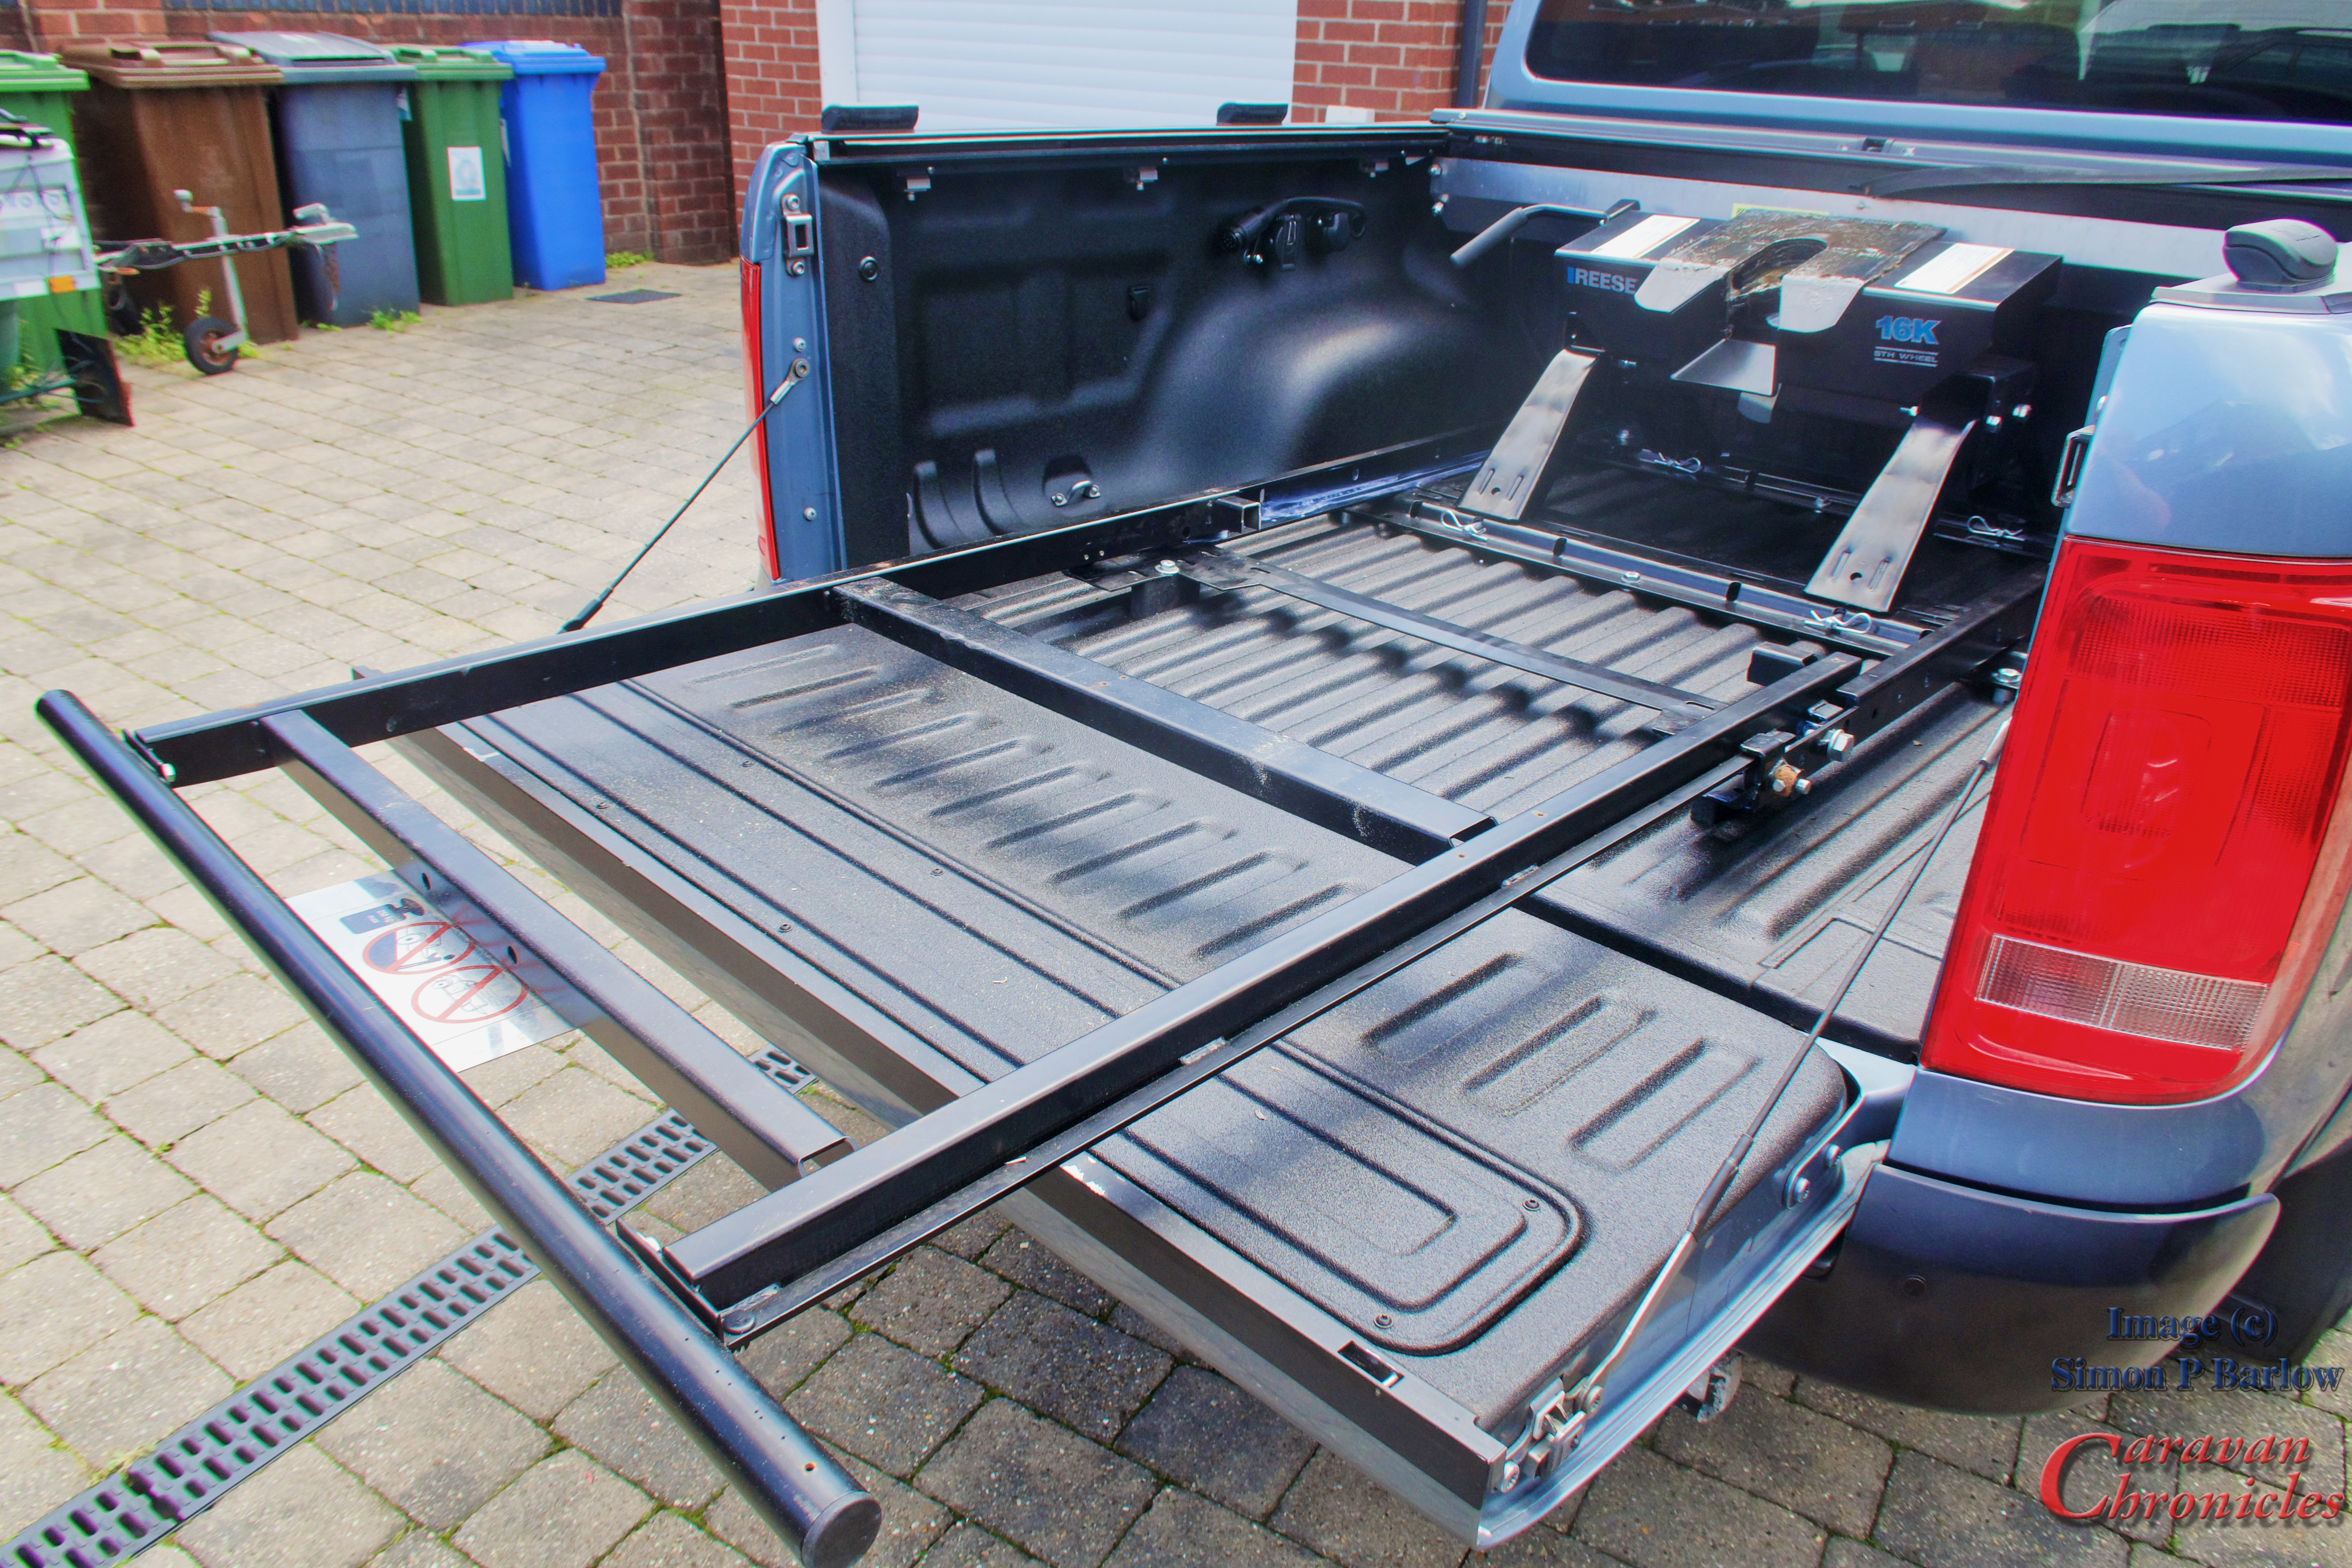
I did a couple of other mods that allowed the ray to slide out further. Previously it only came out about an inch past the tail gate, now it comes out about 10 inches which will have a great advantage… more on that later.
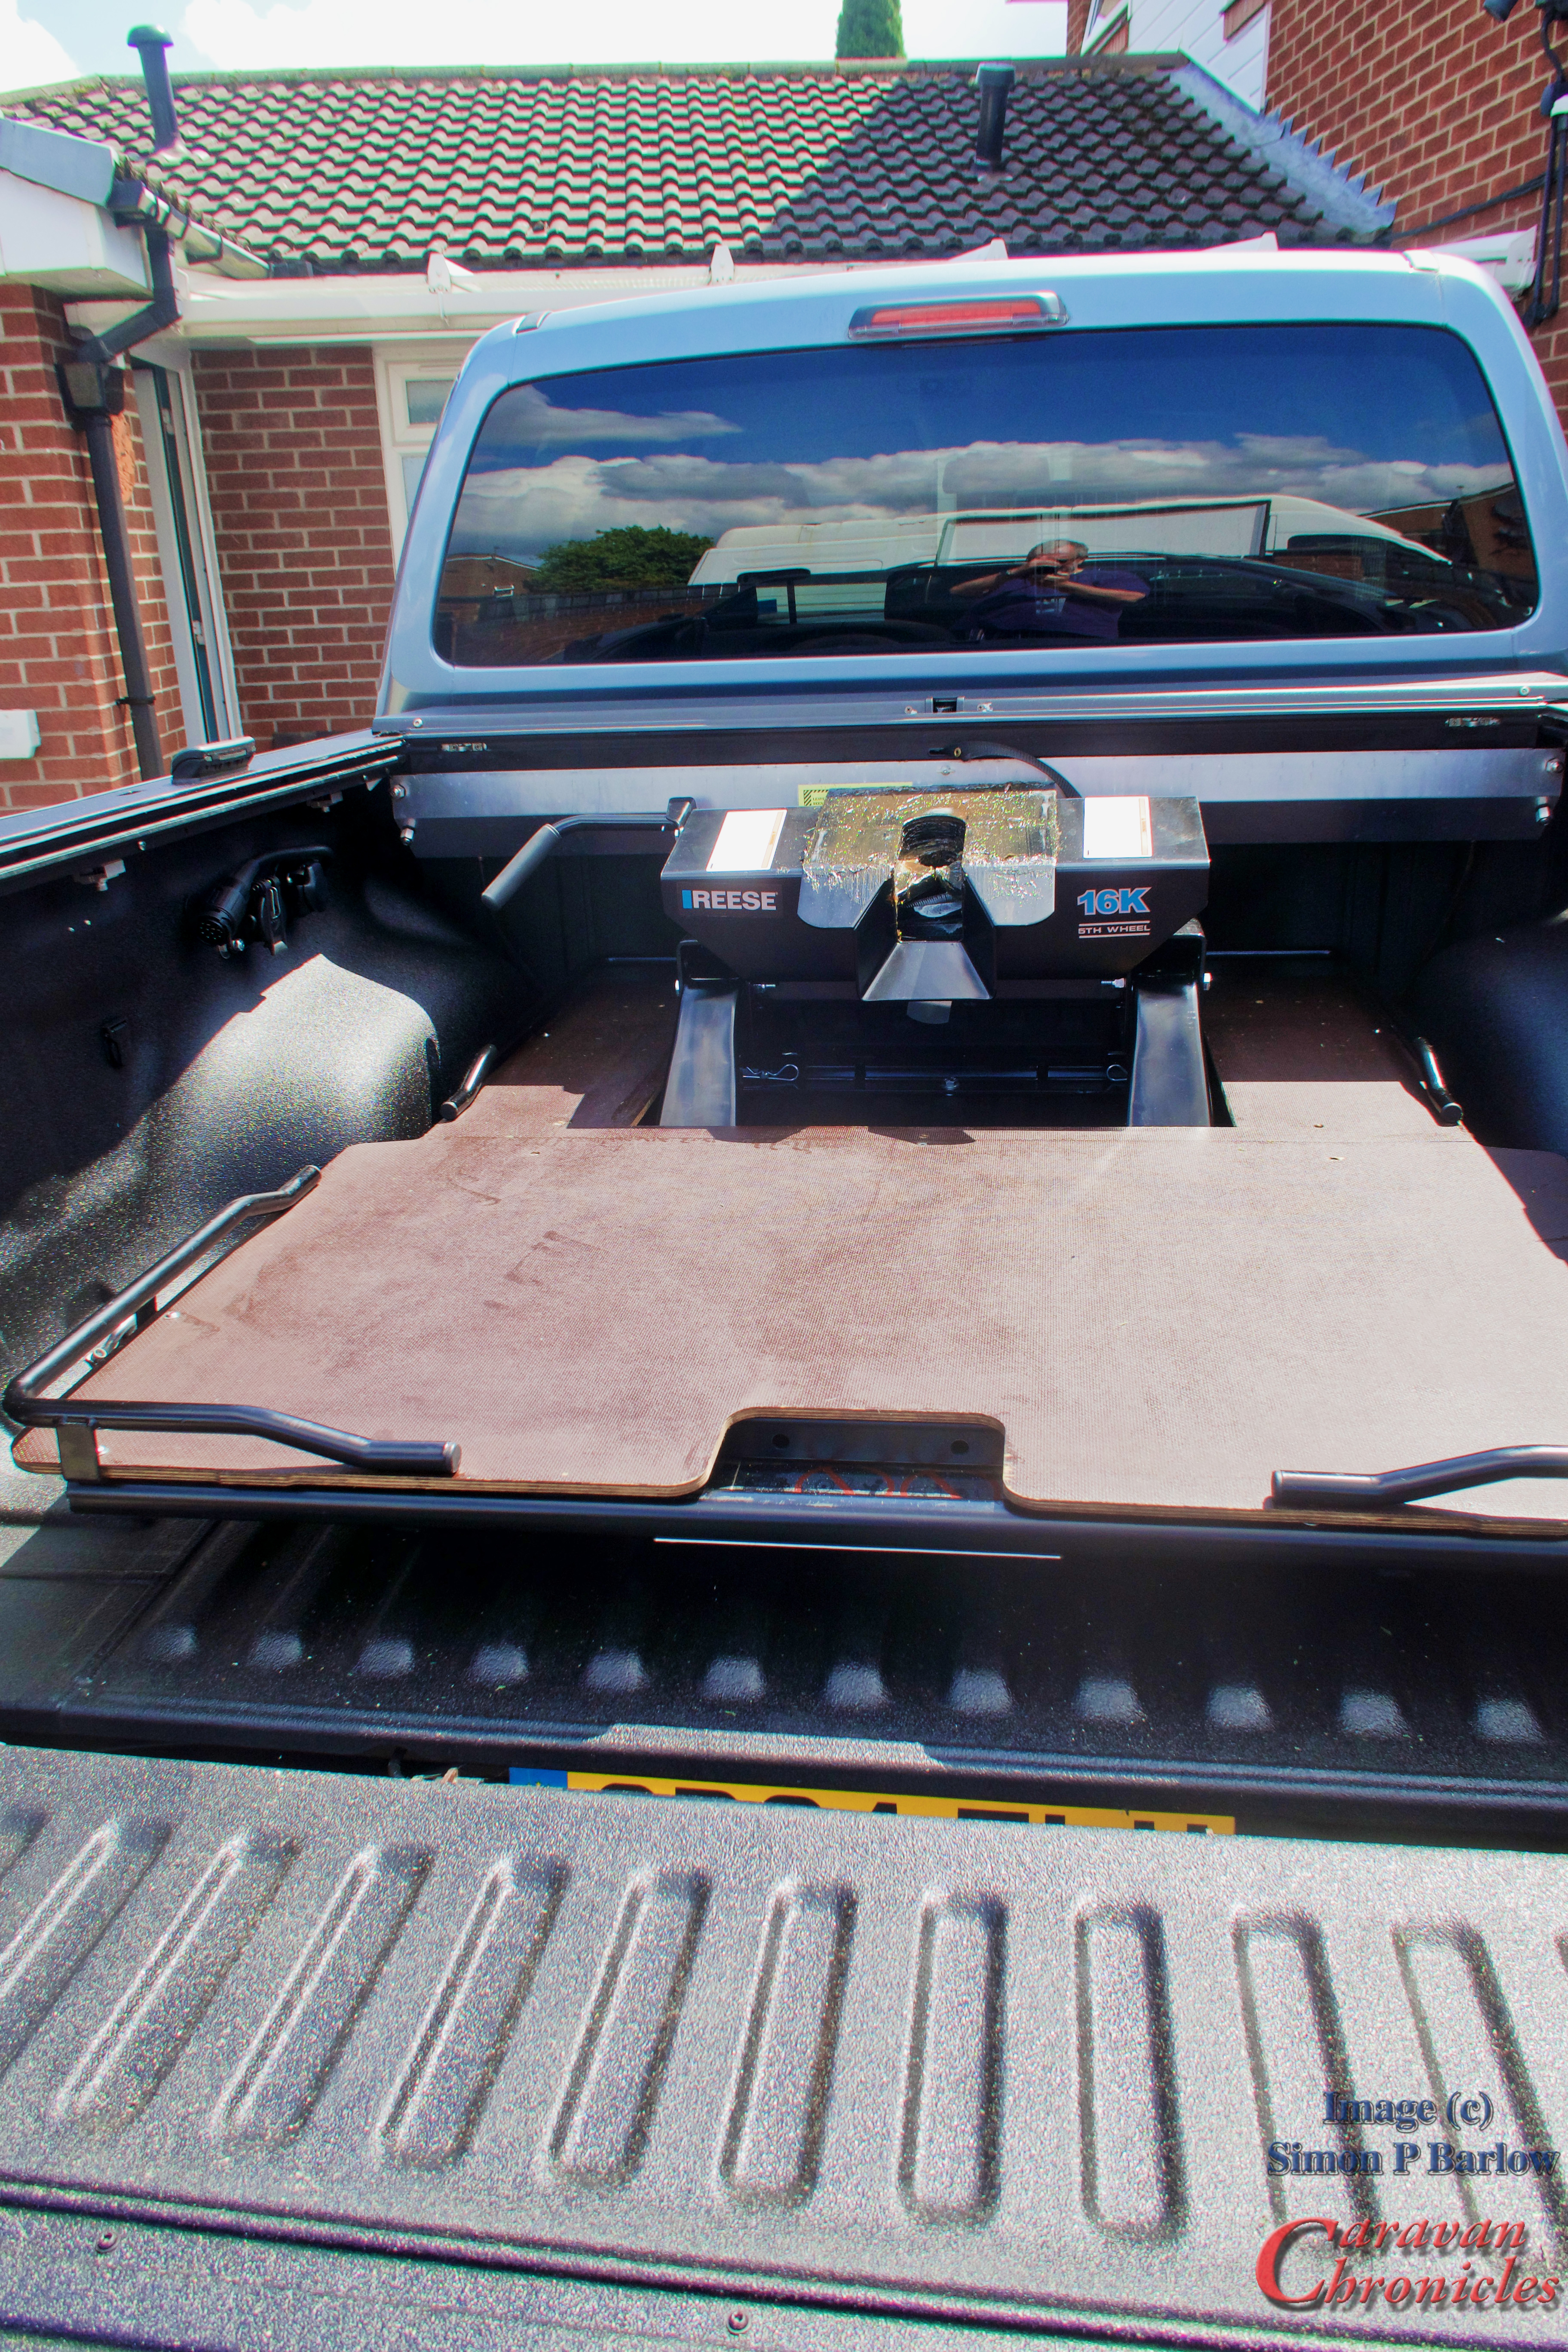
It was now time to refit the decking and do some trimming as required so it would fit around the hitch.
I cut the sheet so that the section in the truck would remain in one piece and if I needed to the hitch could be lifted out and the cut section replaced giving me a full size sliding bed once again. I do like having options!
The trimming was actually quite easy. The board is Phenol faced marine ply and quite easy to trim. I gave all the edges, especially the new cut edges several coats of clear brush on wax and let it soak into the ply. I’ve found that this is usually better than any polyurathane edge sealant when it is in an area that is prone to dinks and abrasion. The wax penetrates quite a lot and soaks into the layers protecting them from water.
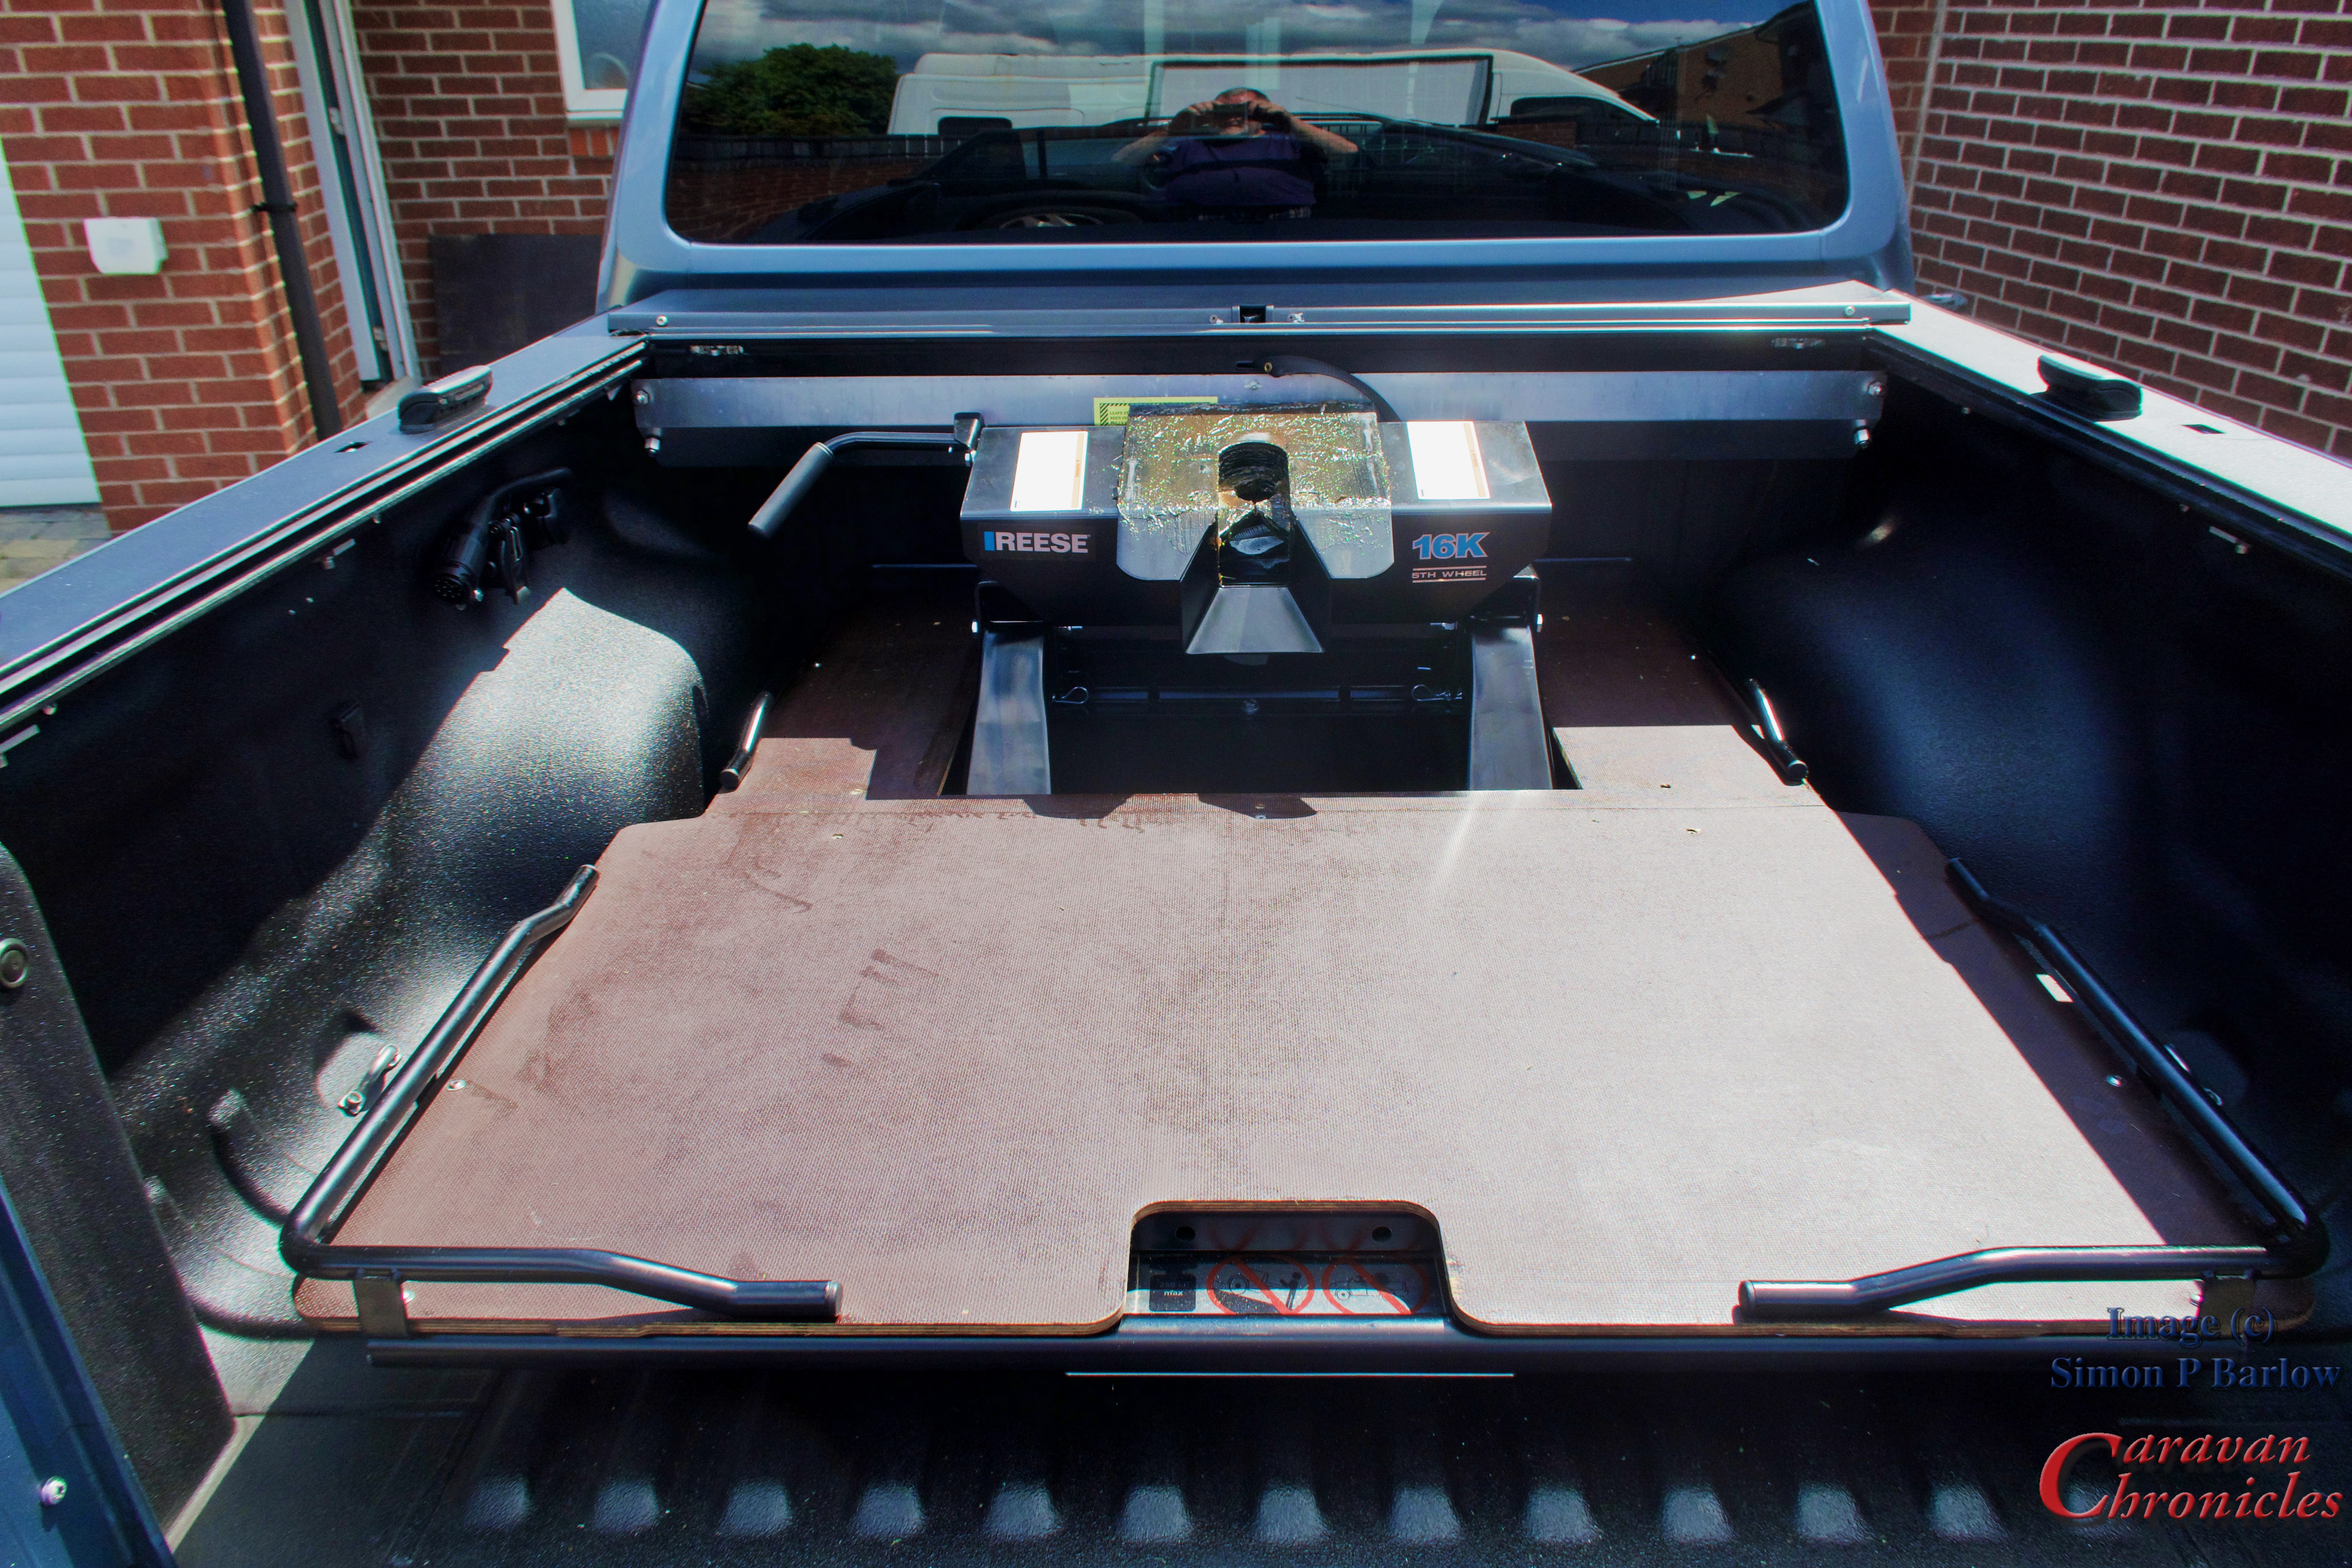
Everything was given a spray and rubdown with Boeshield as a protective against the elements and looks as good as the day I installed it.
Next little job is to find two waterproof boxes to mount on the sliding bed either side of the hitch for my recovery kit and straps. This is why I wanted to make the slide tray come out further than it originally dis so I would have better / easier access to the two “fingers” either side of the hitch.
I need some low profile narrow boxes 200mm wide, 200mm high and about 600mm long with a hinge lid. I did start looking around at what is out there but I suspect that they might need to be fabricated out of aluminium diamond tread plate.
A couple of bonus things…. there is enough space under the 5th wheel hitch to allow me to store two of the “Really Useful Box” company’s boxes under the hitch which will be fairly secure when the slide tray is stowed.
The second is there is now enough room under the sliding bed to be able to store some kit and it pulls out far enough for me to sit the Cadac on for a bit of tail gate BBQ’ing.
